DIY Subway Art
Subway art has been a HUGE trend in the decorating world for a while now.
I’m making my grand entrance to the subway lovin’ party a little late…but better late than never right?!
This gorgeous piece from Restoration Hardware was the art that started it all.
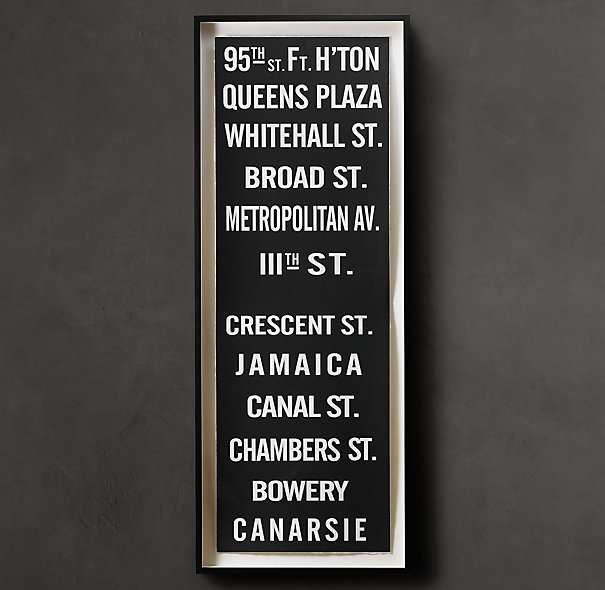
But at $850 that just was not gonna cut it in my household (Heck I wouldn’t even buy it if you moved the decimal up to $85.00)
So, in came the DIY blogosphere.
But, I wanted to create mine without buying vinyl letters (pricey) or tracing on letters and painting them (time consuming.) So, I came up with my own way of doing things.
Supplies:
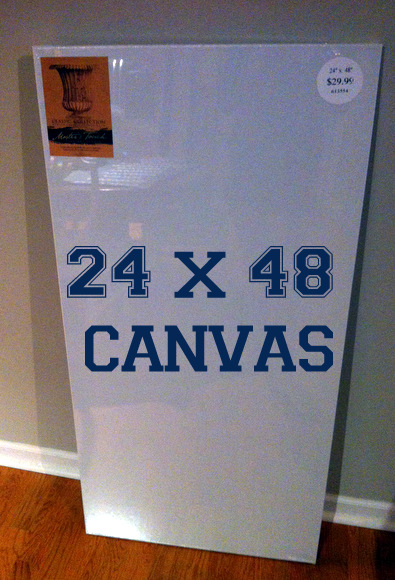
-24 X 48 inch canvas (Mine was $15 from Hobby Lobby with a coupon)
-Mod podge (already owned)
-Foam brush (already owned)
-Black acrylic paint (already owned)
-24 x 48 B & W poster ($4.99 at Fed Ex Print Shop)
TOTAL COST: $20
First, I decided what words I wanted to include for the poster. We currently live in St. Louis, but sometimes take the train to Chicago to visit family and friends. So, I decided to go with all of the stops on the train between STL and CHI.
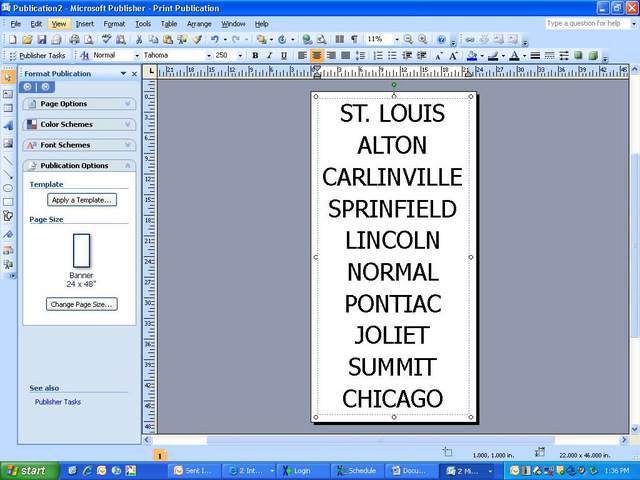
Then, I opened up Microsoft Publisher and created a banner that was 24” x 48”. I typed in my text and chose a font and size that fit the text box.
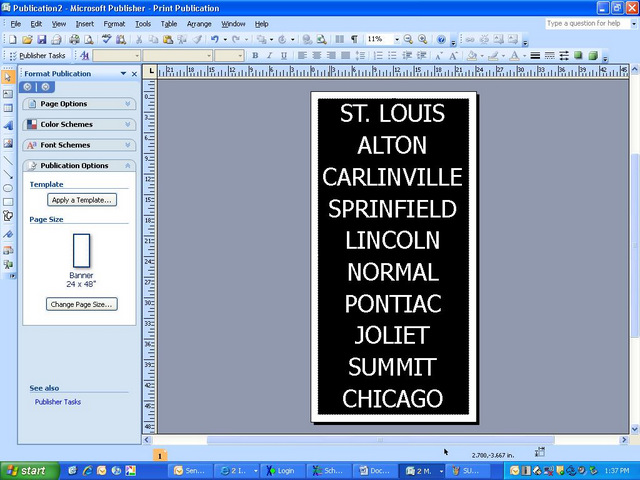
Make sure you change the font color to white and the background to black.
When you get it looking just the way you like it, pop in a thumb drive and save the image.
Next, head to a local print shop (I used Fed Ex) and give them the image off of your jump drive. Tell them you want a 24 x 48 poster in black and white (Note: Make sure you get it in black and white or else it will cost mucho dinero!!)
Mine was done in about 5 minutes.

I headed home eager to get that bad boy onto my canvas.
I then slowly mod podged the canvas (from the top on down) and smoothed the poster right on over it.
At first, I was freakin’ out because it was looking bumpy and bubbly.
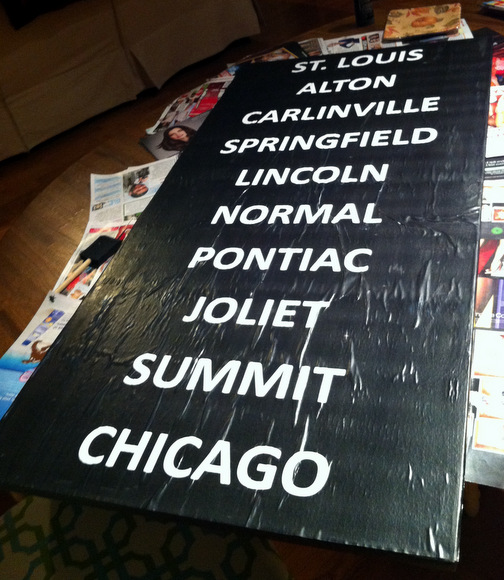
But, I took a deep breath (and sip of wine) and mod podged the front of the poster, being sure to smooth out any bumps along the way.After it fully dried, it was ready for the final touch.
I used the black paint to fill in the sides of the canvas, and give the piece a uniform look.

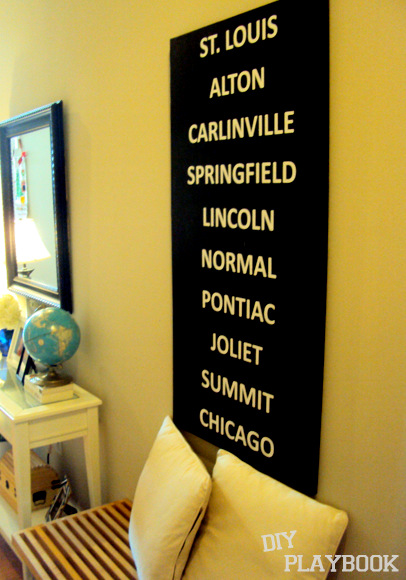
I’m now officially a part of the trendy Subway Art crowd! Woo hoo!

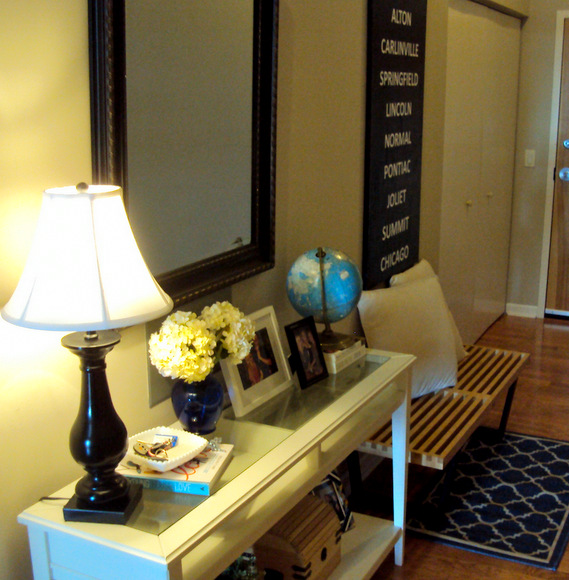
And this bad boy stands tall and proud in our hallway.
Casey

Hey there!
I’m Casey Finn, the voice behind The DIY Playbook. I’m a Chicago gal teaching you how to design, DIY, and maintain your home…by yourself! Learn more about me right here.
