How to Make a Holiday Window Box
If you remember from my Christmas home tour last year, we created a holiday window box on the front of our house. We didn’t do any outdoor lights, so this was our one way to make things festive on the outside of our home. My mom’s friend, Denise, is a former florist and she helped me create the holiday window box last year. It turned out so beautiful so I asked her to come help again this year! Plus, I figured I would document the process to share with all of you, since I received lots of questions about how exactly we did it.
While I haven’t started decorating the inside of our house for Christmas yet (we’ll tackle that this weekend!), I’m happy that the outside is looking good! Here are all of the details about this year’s holiday window box.
Holiday Window Box Supplies

- Window Box (I DIY’ed this one over the summer. You can find the full tutorial here).
- Dirt
- Assorted Greenery (We used Cedar, Blue Berried Juniper, Pine, Cypress, and Noble Fir)
- Faux Berries
- Large Ornaments
- Large Pine Cones
- Shears
- Gardening Gloves
Pickup Some Greenery

From left to right: Cedar, Blue Berried Juniper, Pine, Cypress, Noble Fir
The most important part of this project is the greenery. Last year, we used pine, evergreen, and cedar that we picked up from the hardware store. This year, Denise took me to a flower wholesaler and we were able to find lots of greenery and decor that are usually available only for people in the trade. It was a really fun shopping experience and it opened my eyes to the world of a florist – so fun! But even if you don’t have access to a flower market like I did, don’t let it deter you from creating your own holiday window box. As I just mentioned, you can pick up lots of great greenery from your local hardware store!
Add Height
First, make sure you start with dirt in the window box. Last year, as homeowner newbies, Finn and I got rid of all of the dirt in the window box after the summer was over. My mom and Denise laughed at our mistake! I guess you’re supposed to keep it in there and you can use it year after year. (We had no clue!) This year, I made sure to keep the dirt long after our flowers were gone, specifically for this project. Lesson learned. 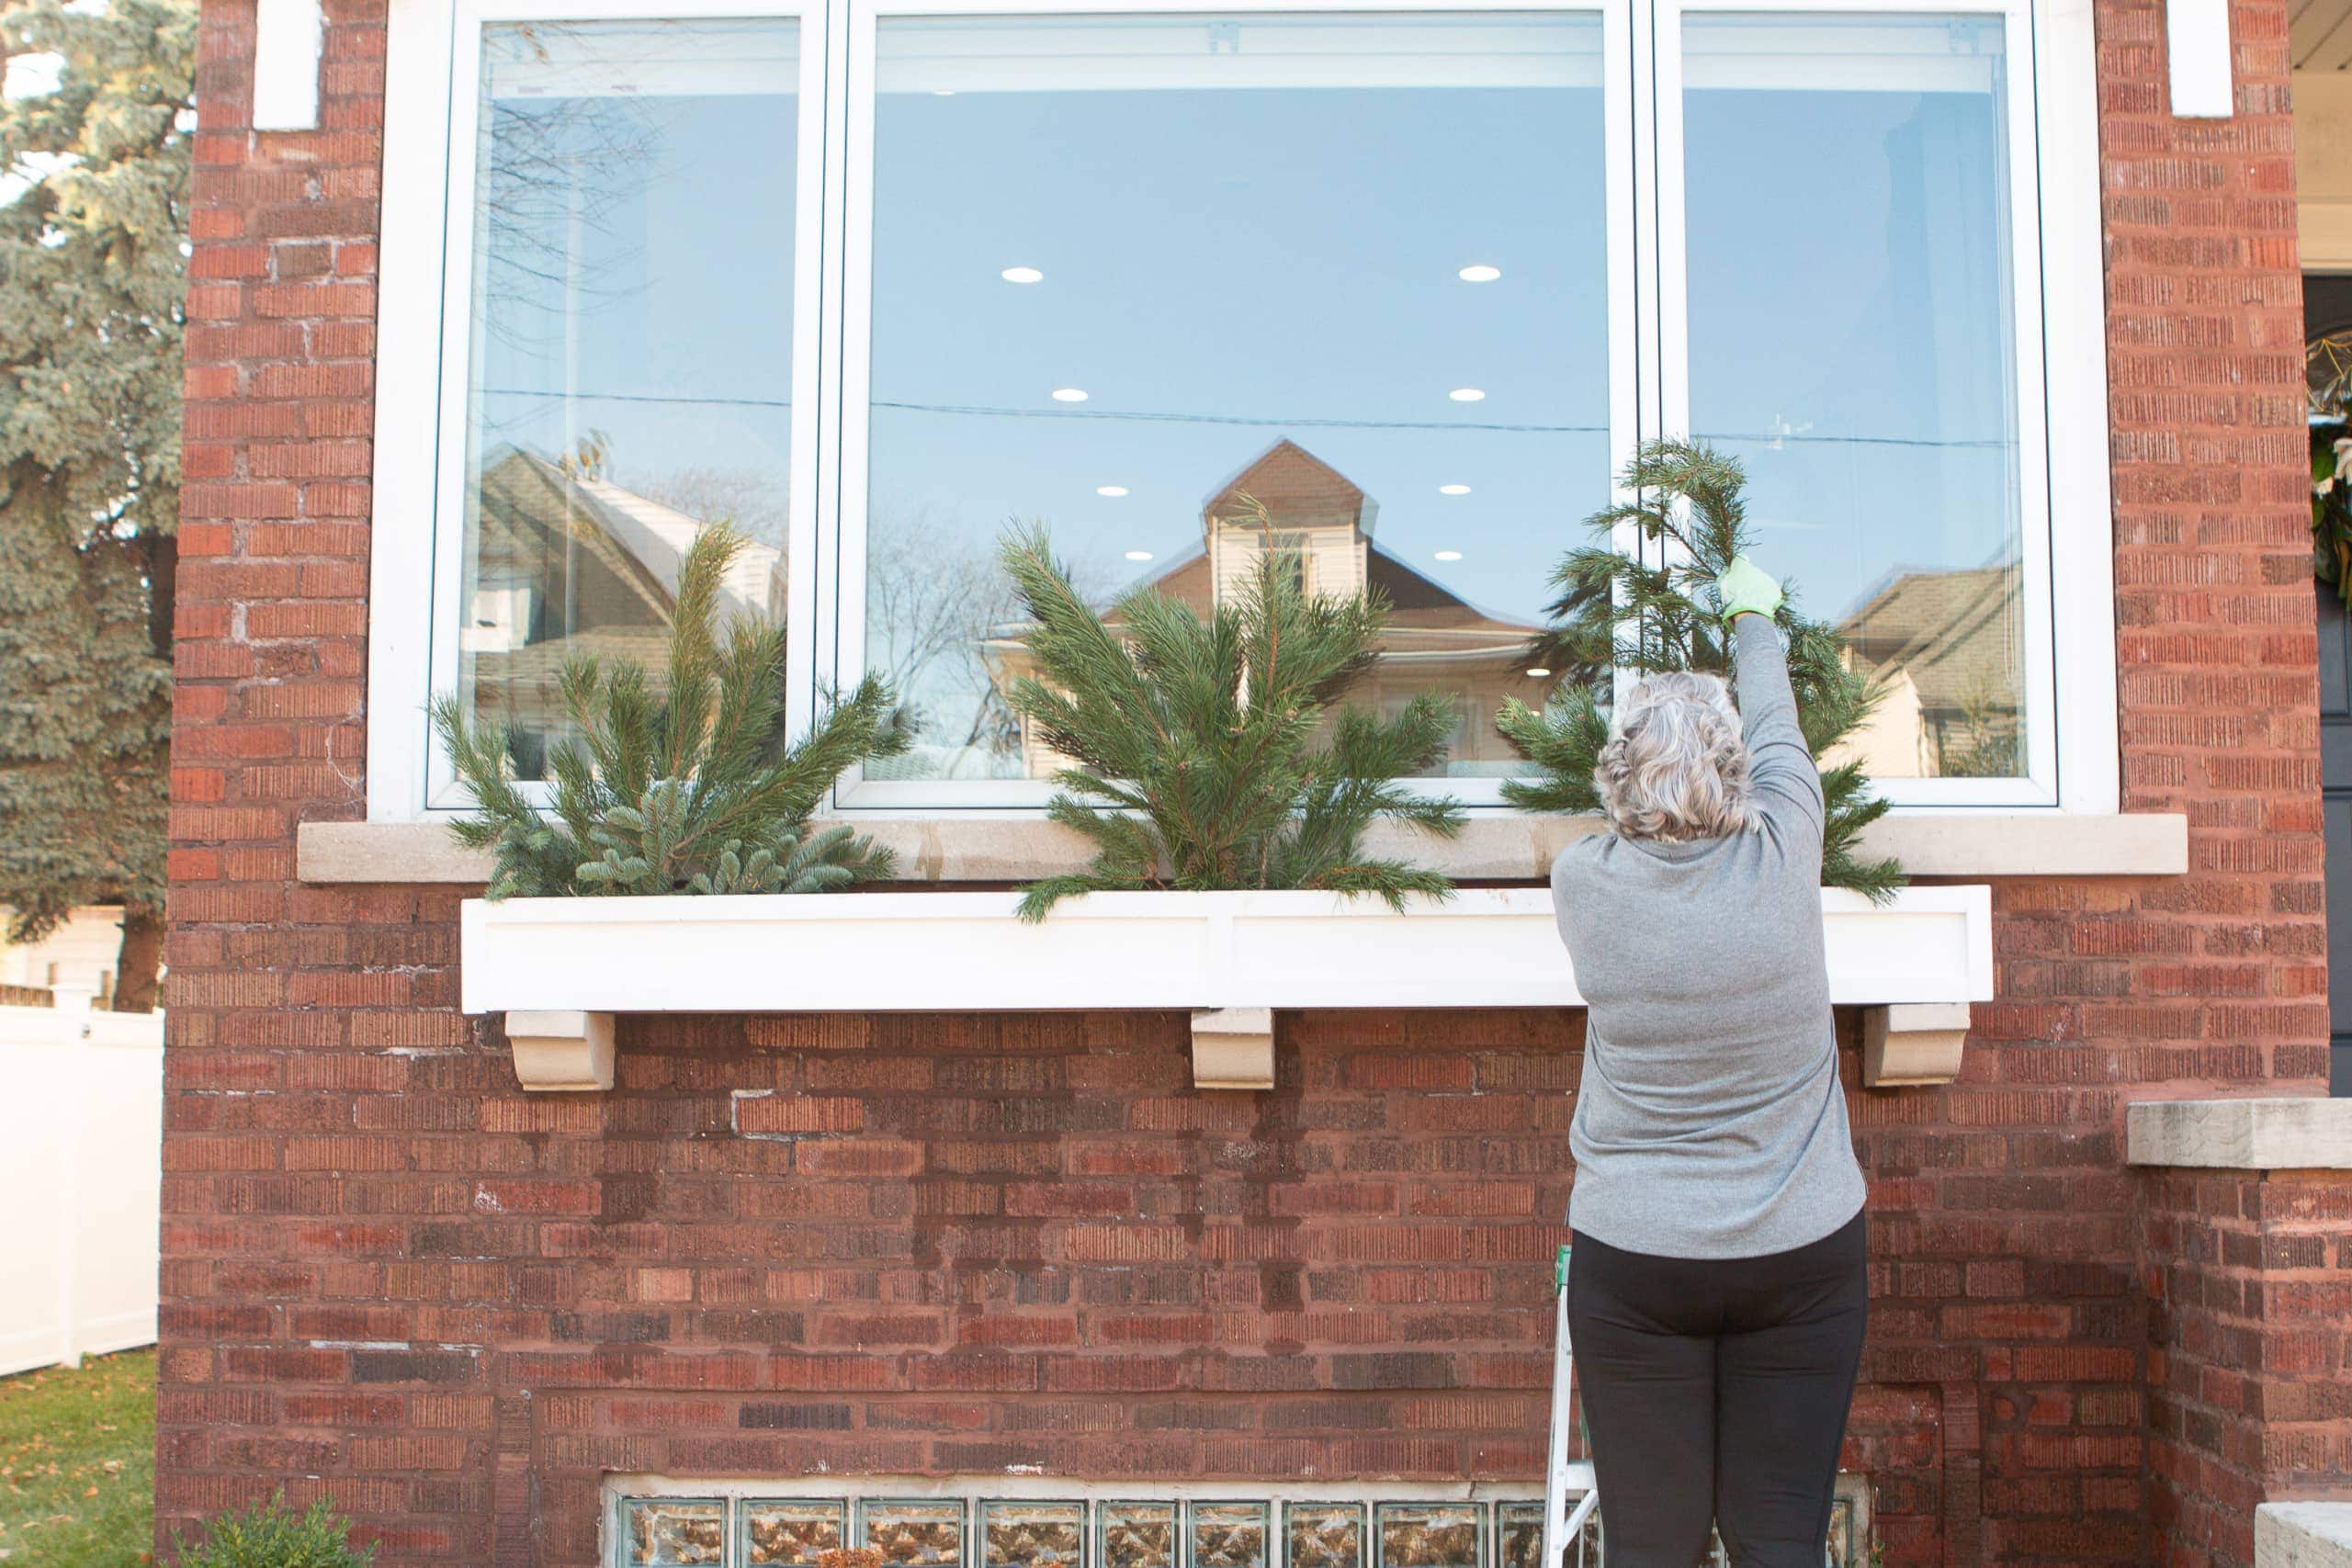
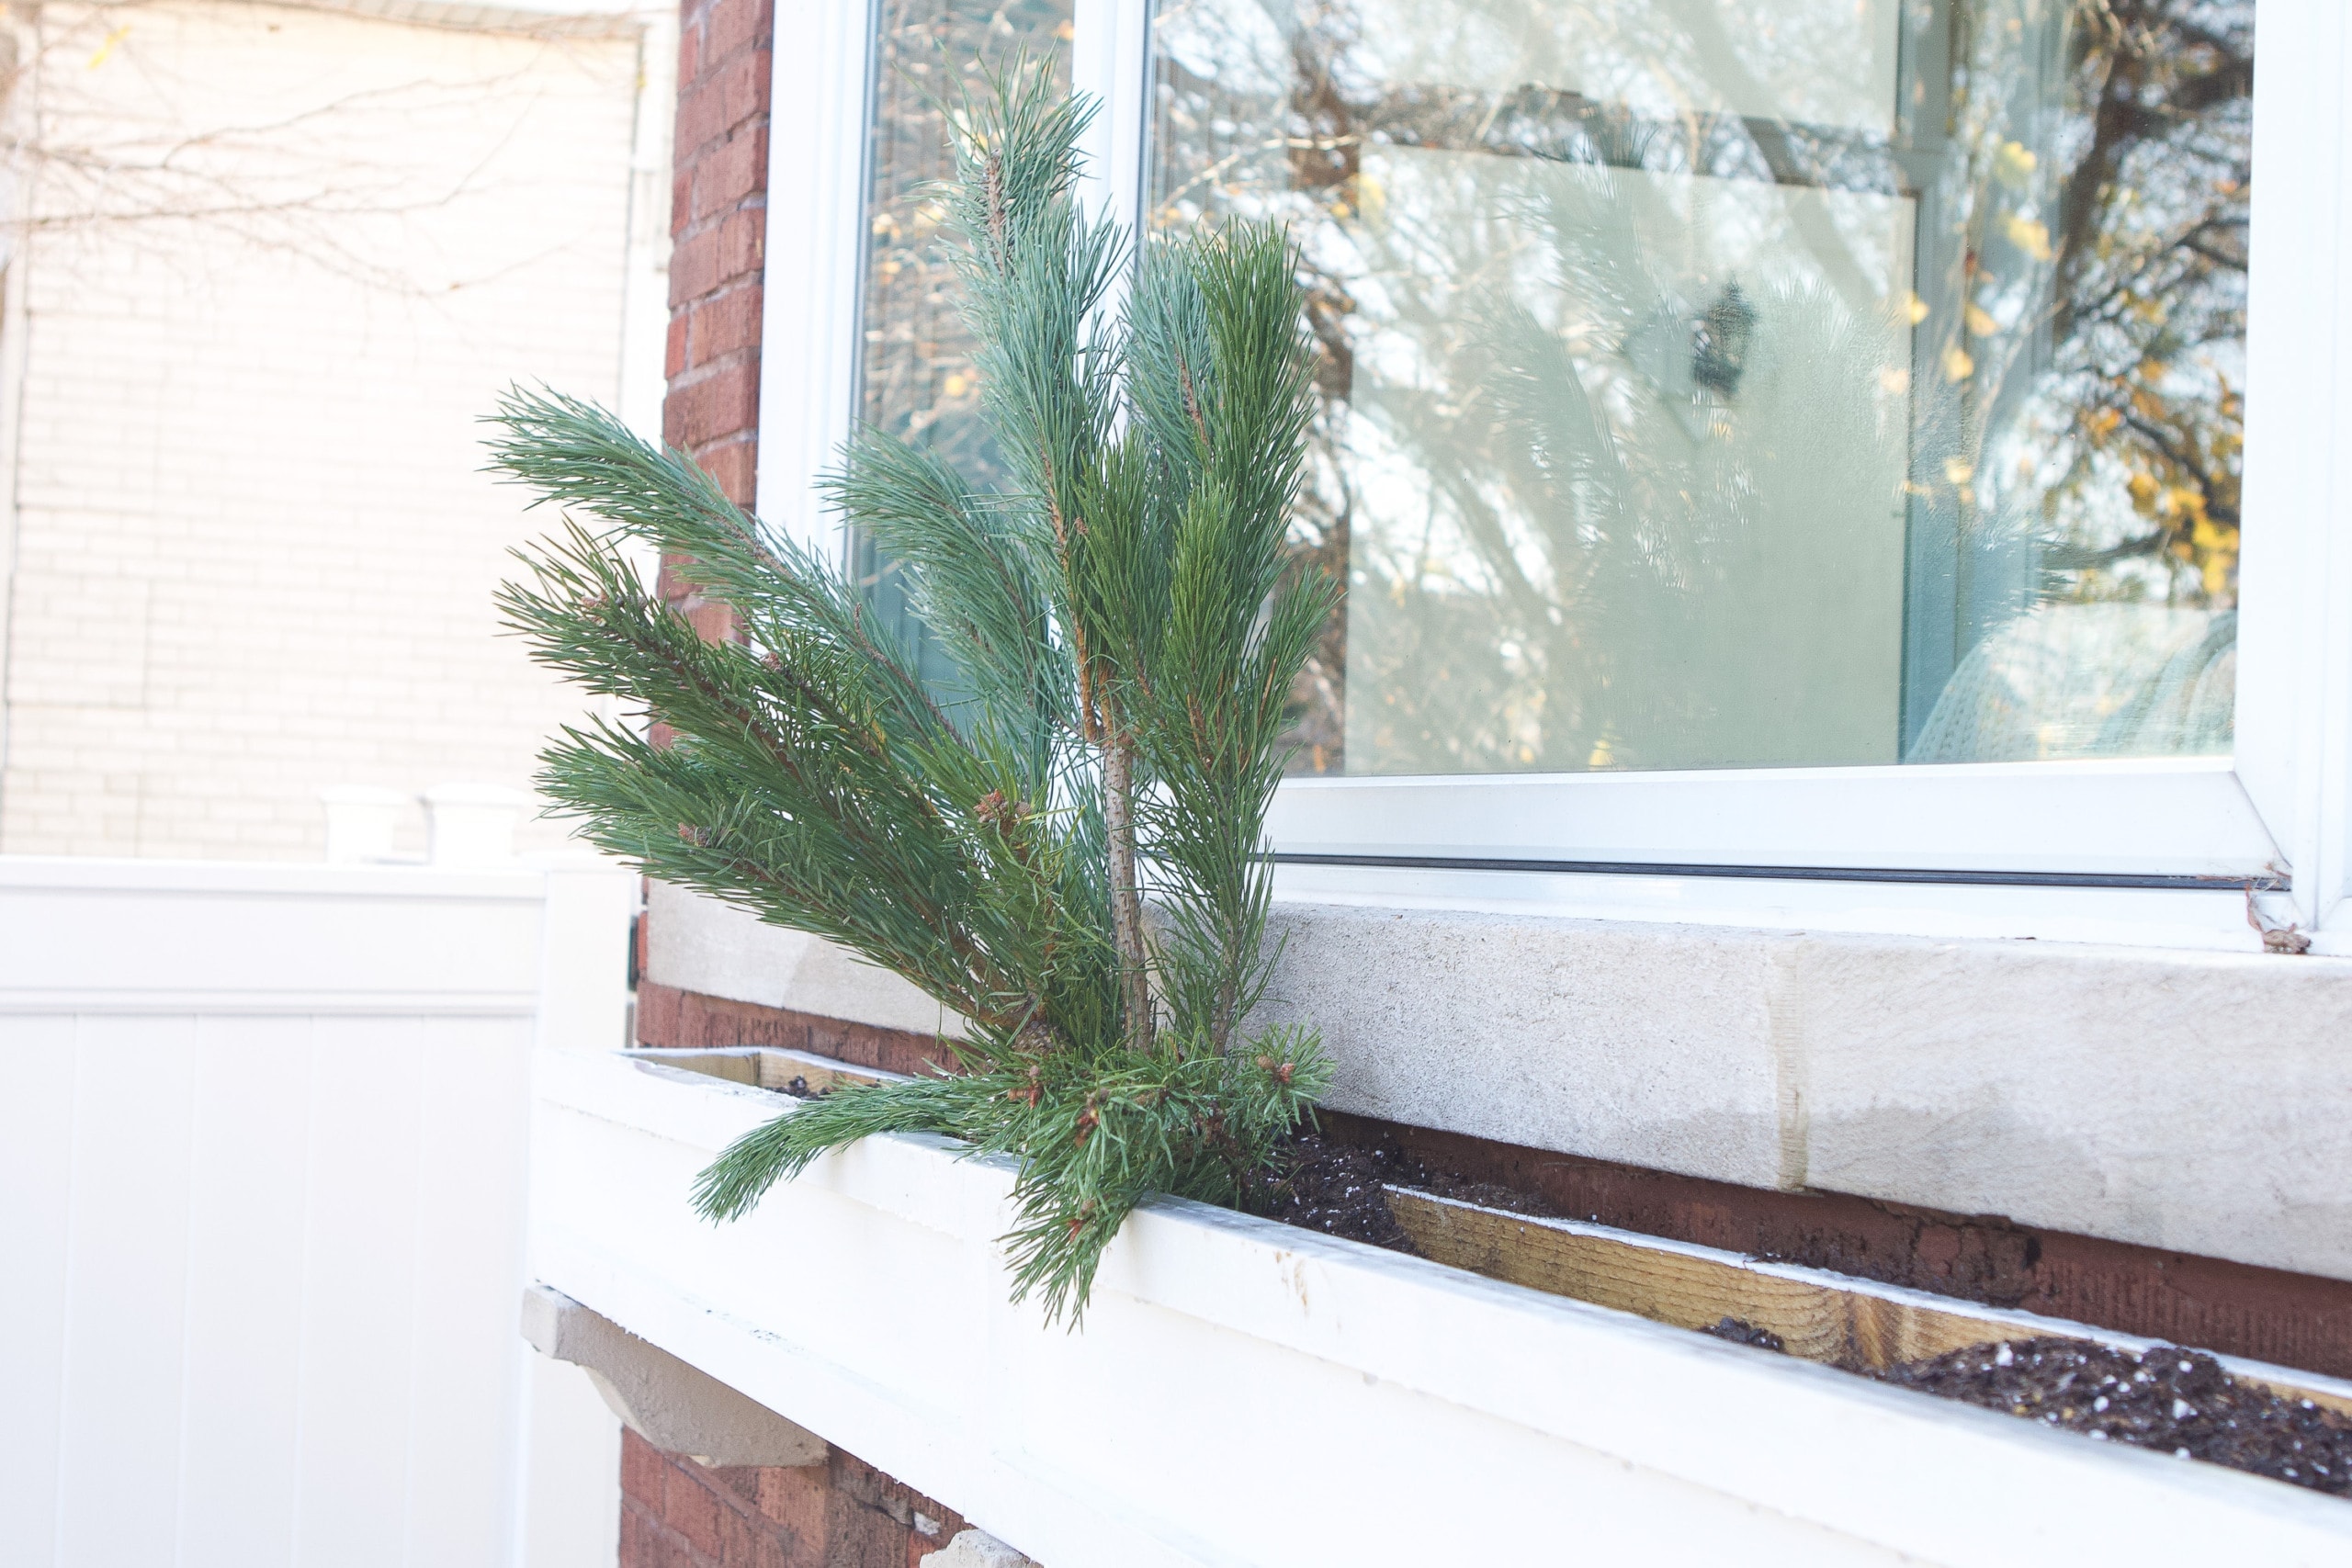
Denise started by using large branches of the Noble Fir to create height in the back of the box. We created three main groupings, so there were three areas with some height from the greenery.
Add More Greenery

There’s really no right or wrong way to do this. You just start stuffing some pretty greenery into the dirt. Keep shears handy so you can easily snip branches as you go. We made sure to incorporate each kind of greenery throughout the box, adding more here and there so it felt uniform throughout.

Once the box was pretty full, we brought some of the greenery down over the front of the window box. The cedar worked great for this as it elegantly draped right over the front and sides.
Add Holiday Touches

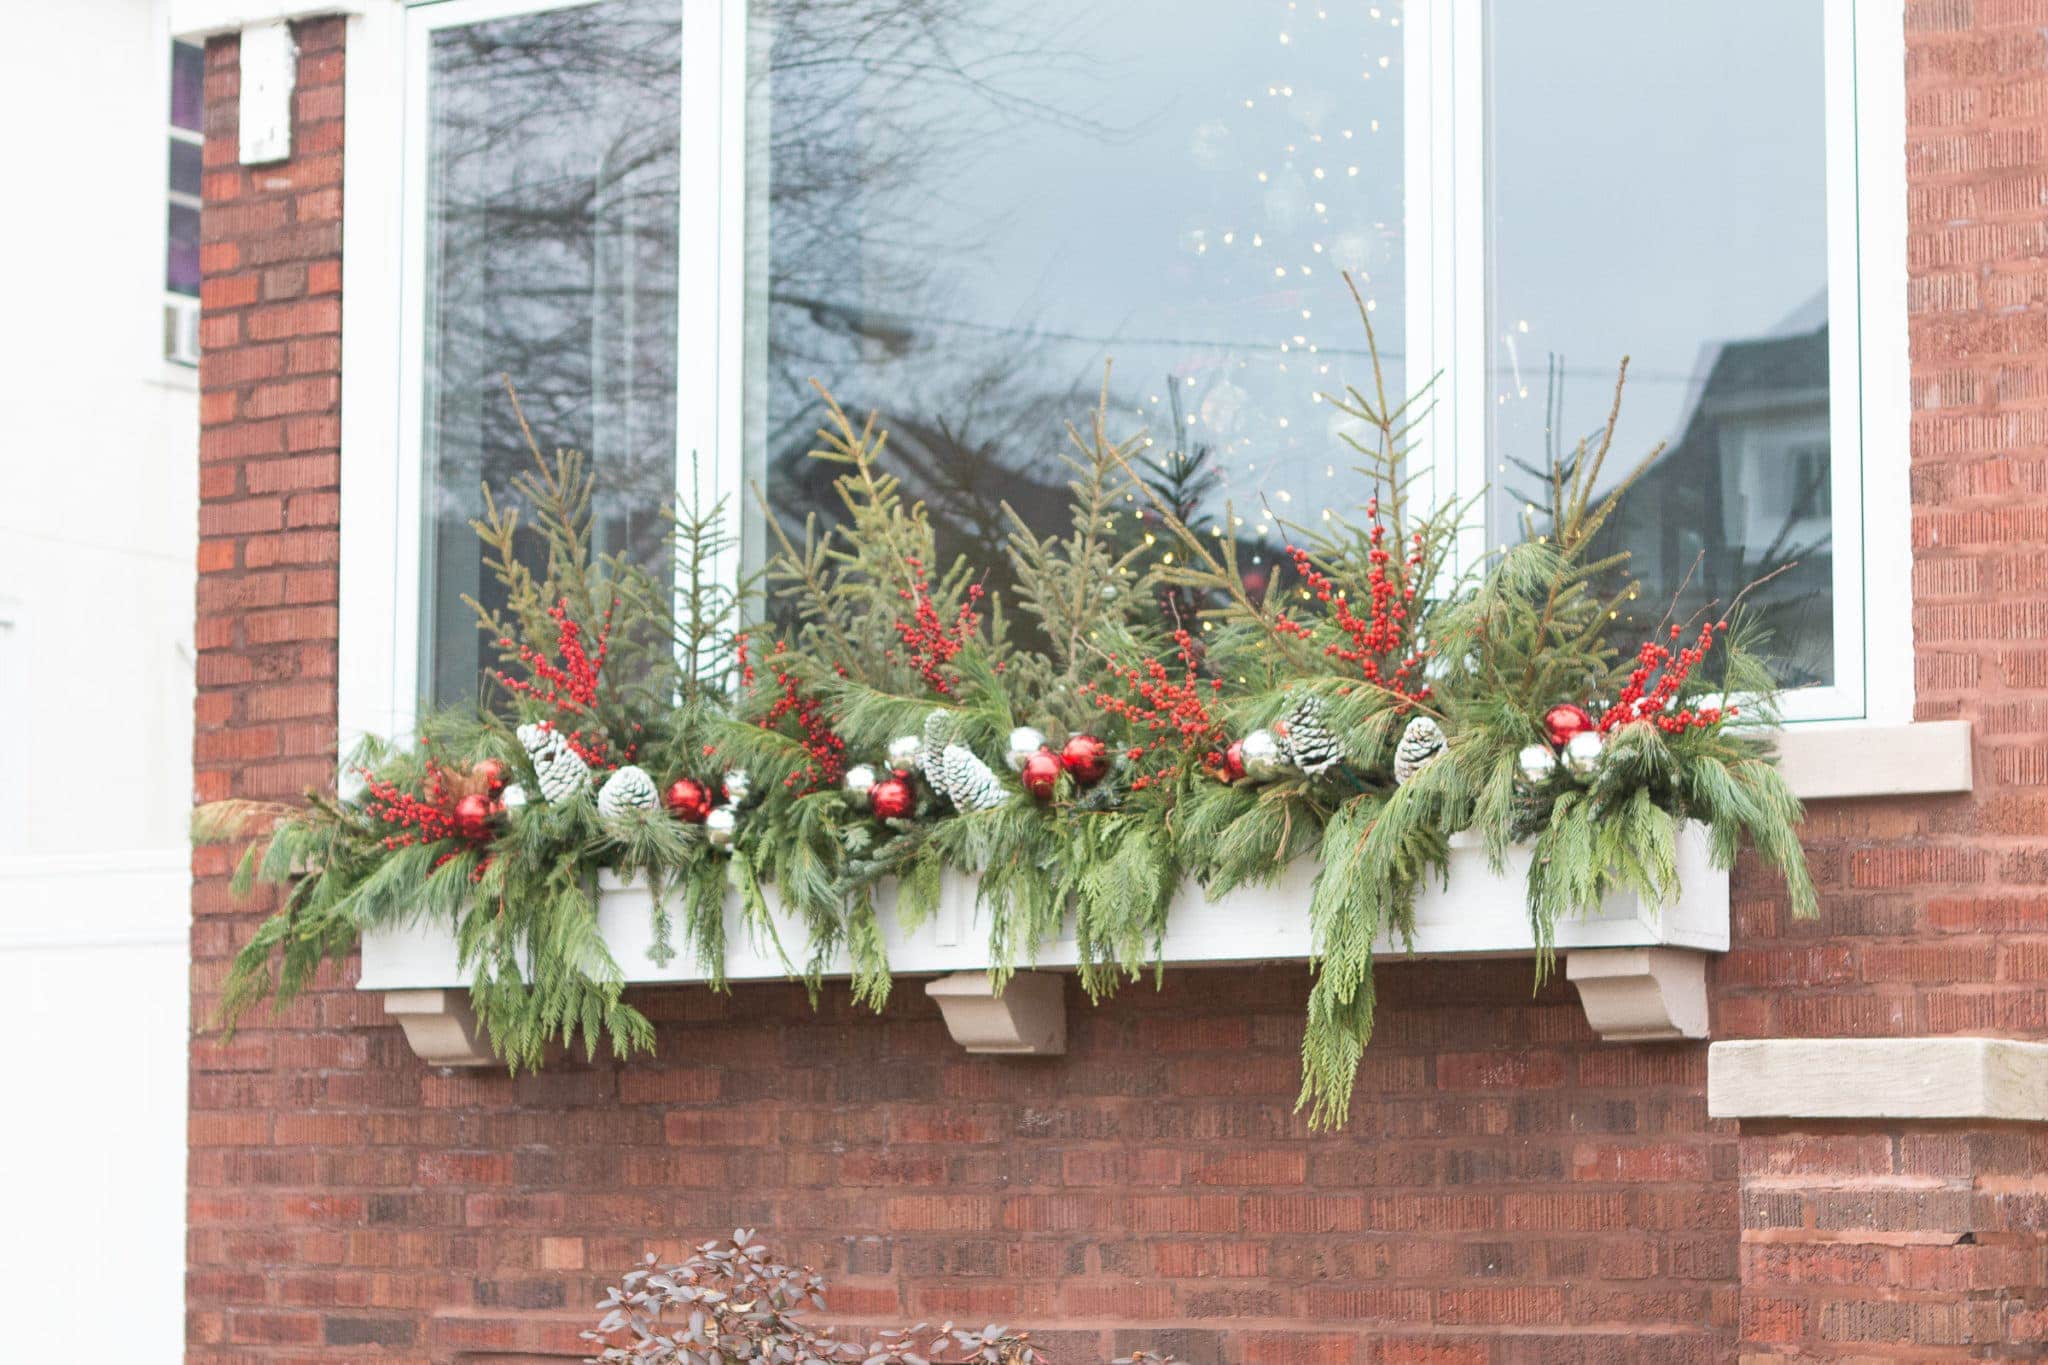
With all of the greenery in, it was time for the fun holiday touches! We used large pine cones, faux berries, large red and gold ornaments, and large sparkly ornaments. These all came on sticks, so it was easy to shove them into the dirt.  These Christmas touches add color and life to the holiday window box. I had some of these leftover from last year’s window box and we picked up a few this year at the wholesale market. However, you can find goodies like this at Hobby Lobby or Michaels.
The best part is you can use these holiday touches year after year. Last year, we used real berries and our squirrels had a field day, so I’m happy that these faux berries will last, and hopefully, the squirrels will stay away!
Post-Holiday Plan

My favorite thing about the holiday window box is that it turns into a pretty winter window box after Christmas is over. Last year, I removed the ornaments and kept the berries and pine cones all winter long. I’m planning to do the same this year. The front of our house just looks so much more put together and pretty with a little greenery in that front window box.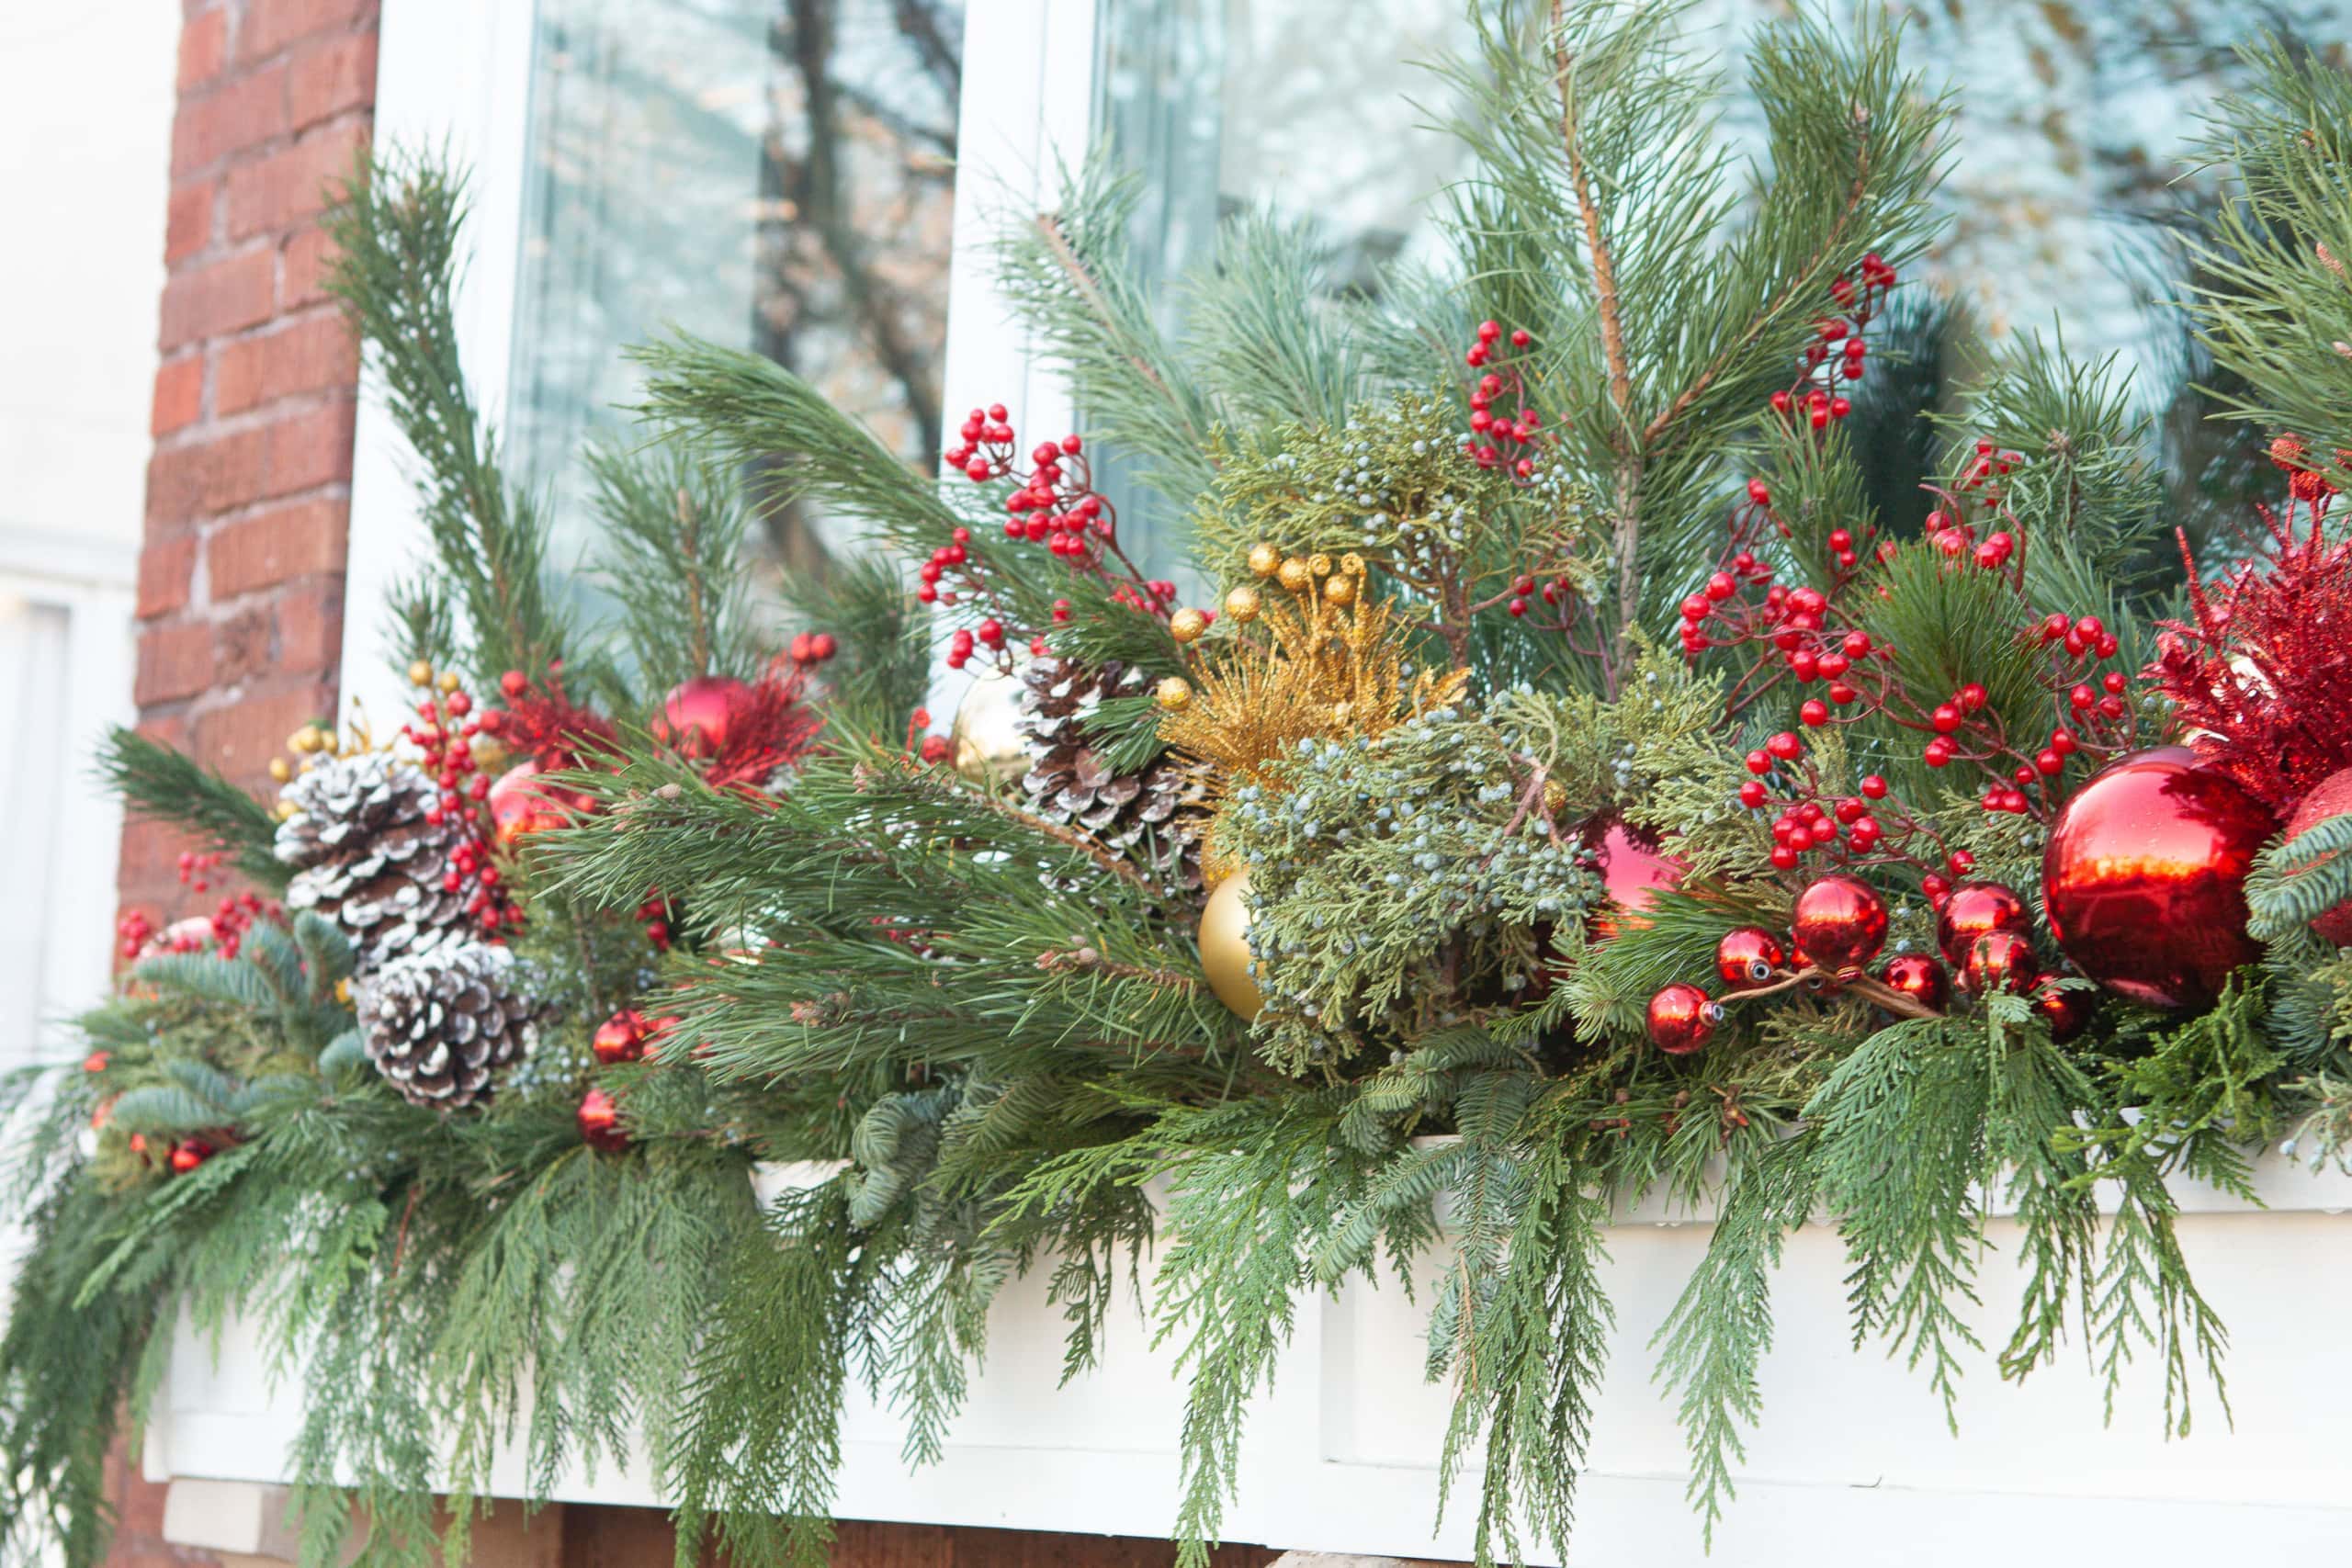
Since all of the greenery is real, I was worried that it wouldn’t last very long. However, last year it literally looked good until March! Because the temps are cold here, the greens stay looking nice and the occasional rain or snow gives the greenery some necessary water. I was amazed at how long the greens lasted! I’m hoping they look fresh for months and months!
So, even though the front of our house is festive, the inside doesn’t have a lick of Christmas going on. That all changes this Friday! I’m excited to blast the Christmas music, sip hot cocoa, and get our Christmas tree up!! The tree will look really pretty in the window behind the holiday window box at night! 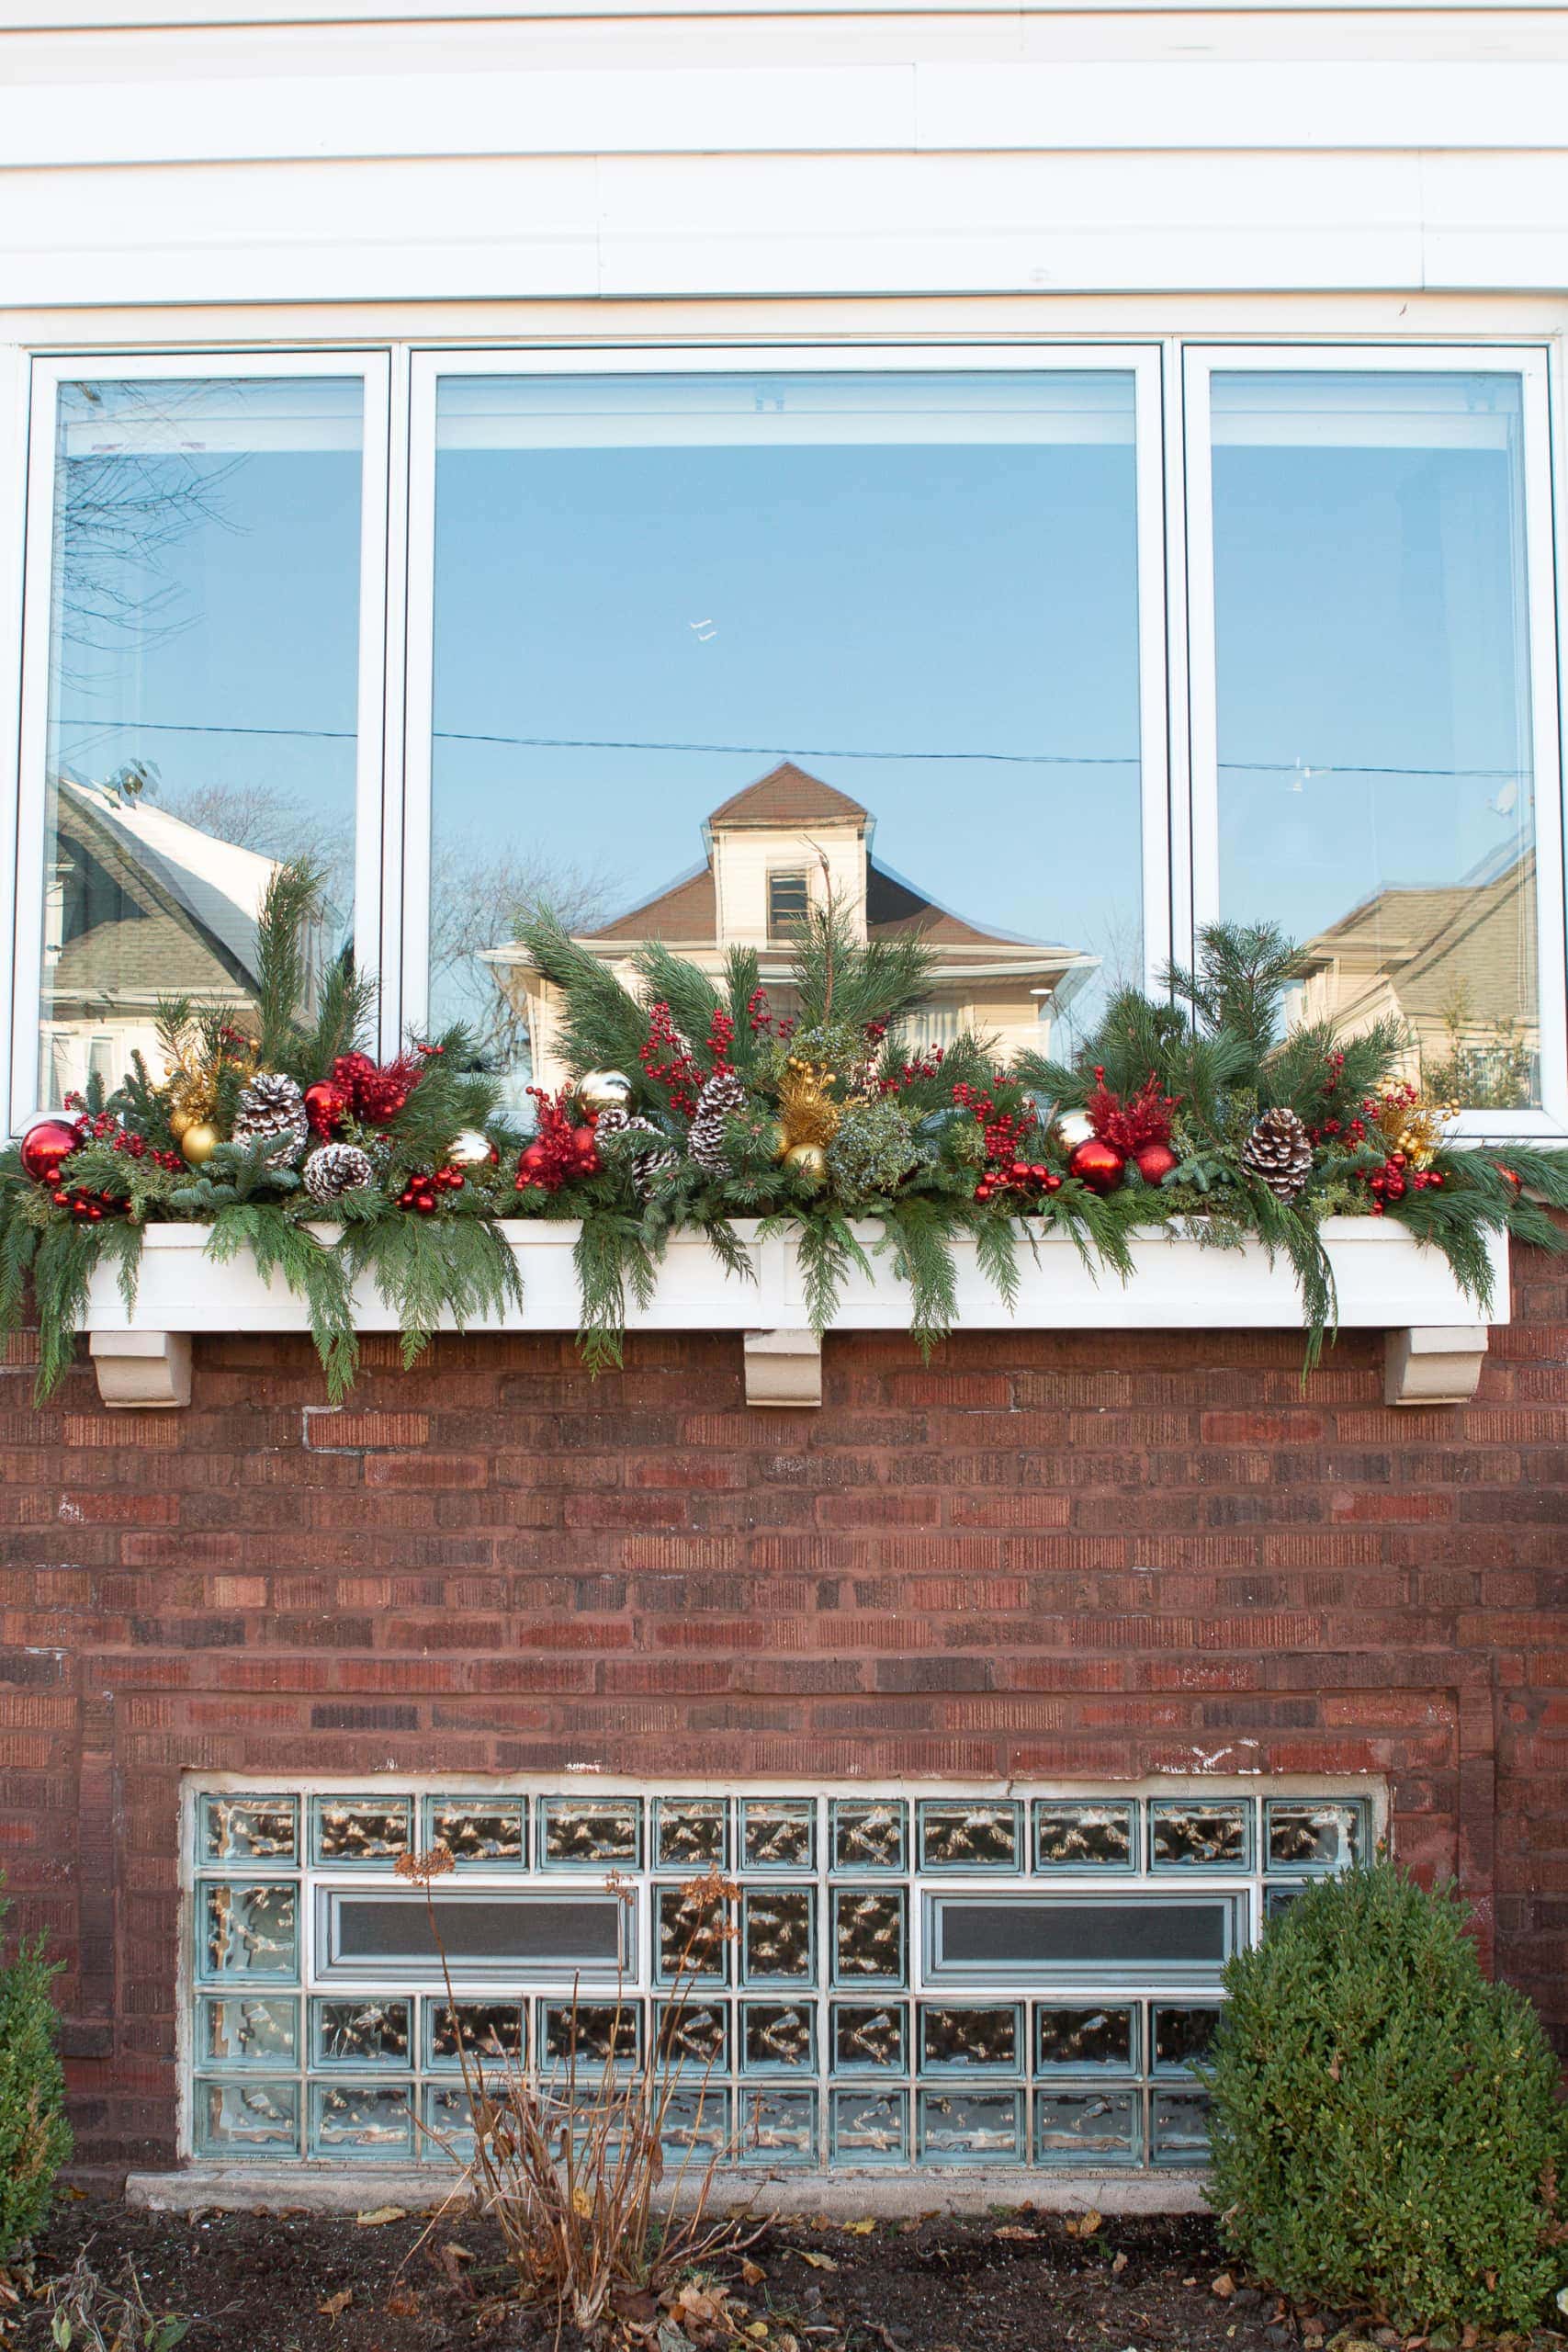 And a big thank you to Denise for creating such a gorgeous holiday window box display. I learned so much from her amazing talent!
Casey