How We Babyproofed Our Home for Rory
Disclaimer: I partnered with KidCo and Safety Matters on this blog post. All opinions are my own.
I shared my home goals at the beginning of this year and you might remember that the goal “babyproof our home” was on the list. While it’s not as glamorous as a bedroom makeover or backyard improvements, it was still a very essential task on our to-do list. Rory is now 10-months-old and she is moving all around, exploring our home. If I turn my back for one second, she somehow ends up on the other side of the room. It’s wild!
While I knew that we needed to babyproof our home, I honestly had no clue where to begin. I would have preferred to put Rory in a bubble with a helmet and protect her until she turned 18-years-old, but, alas, this mama had to be realistic.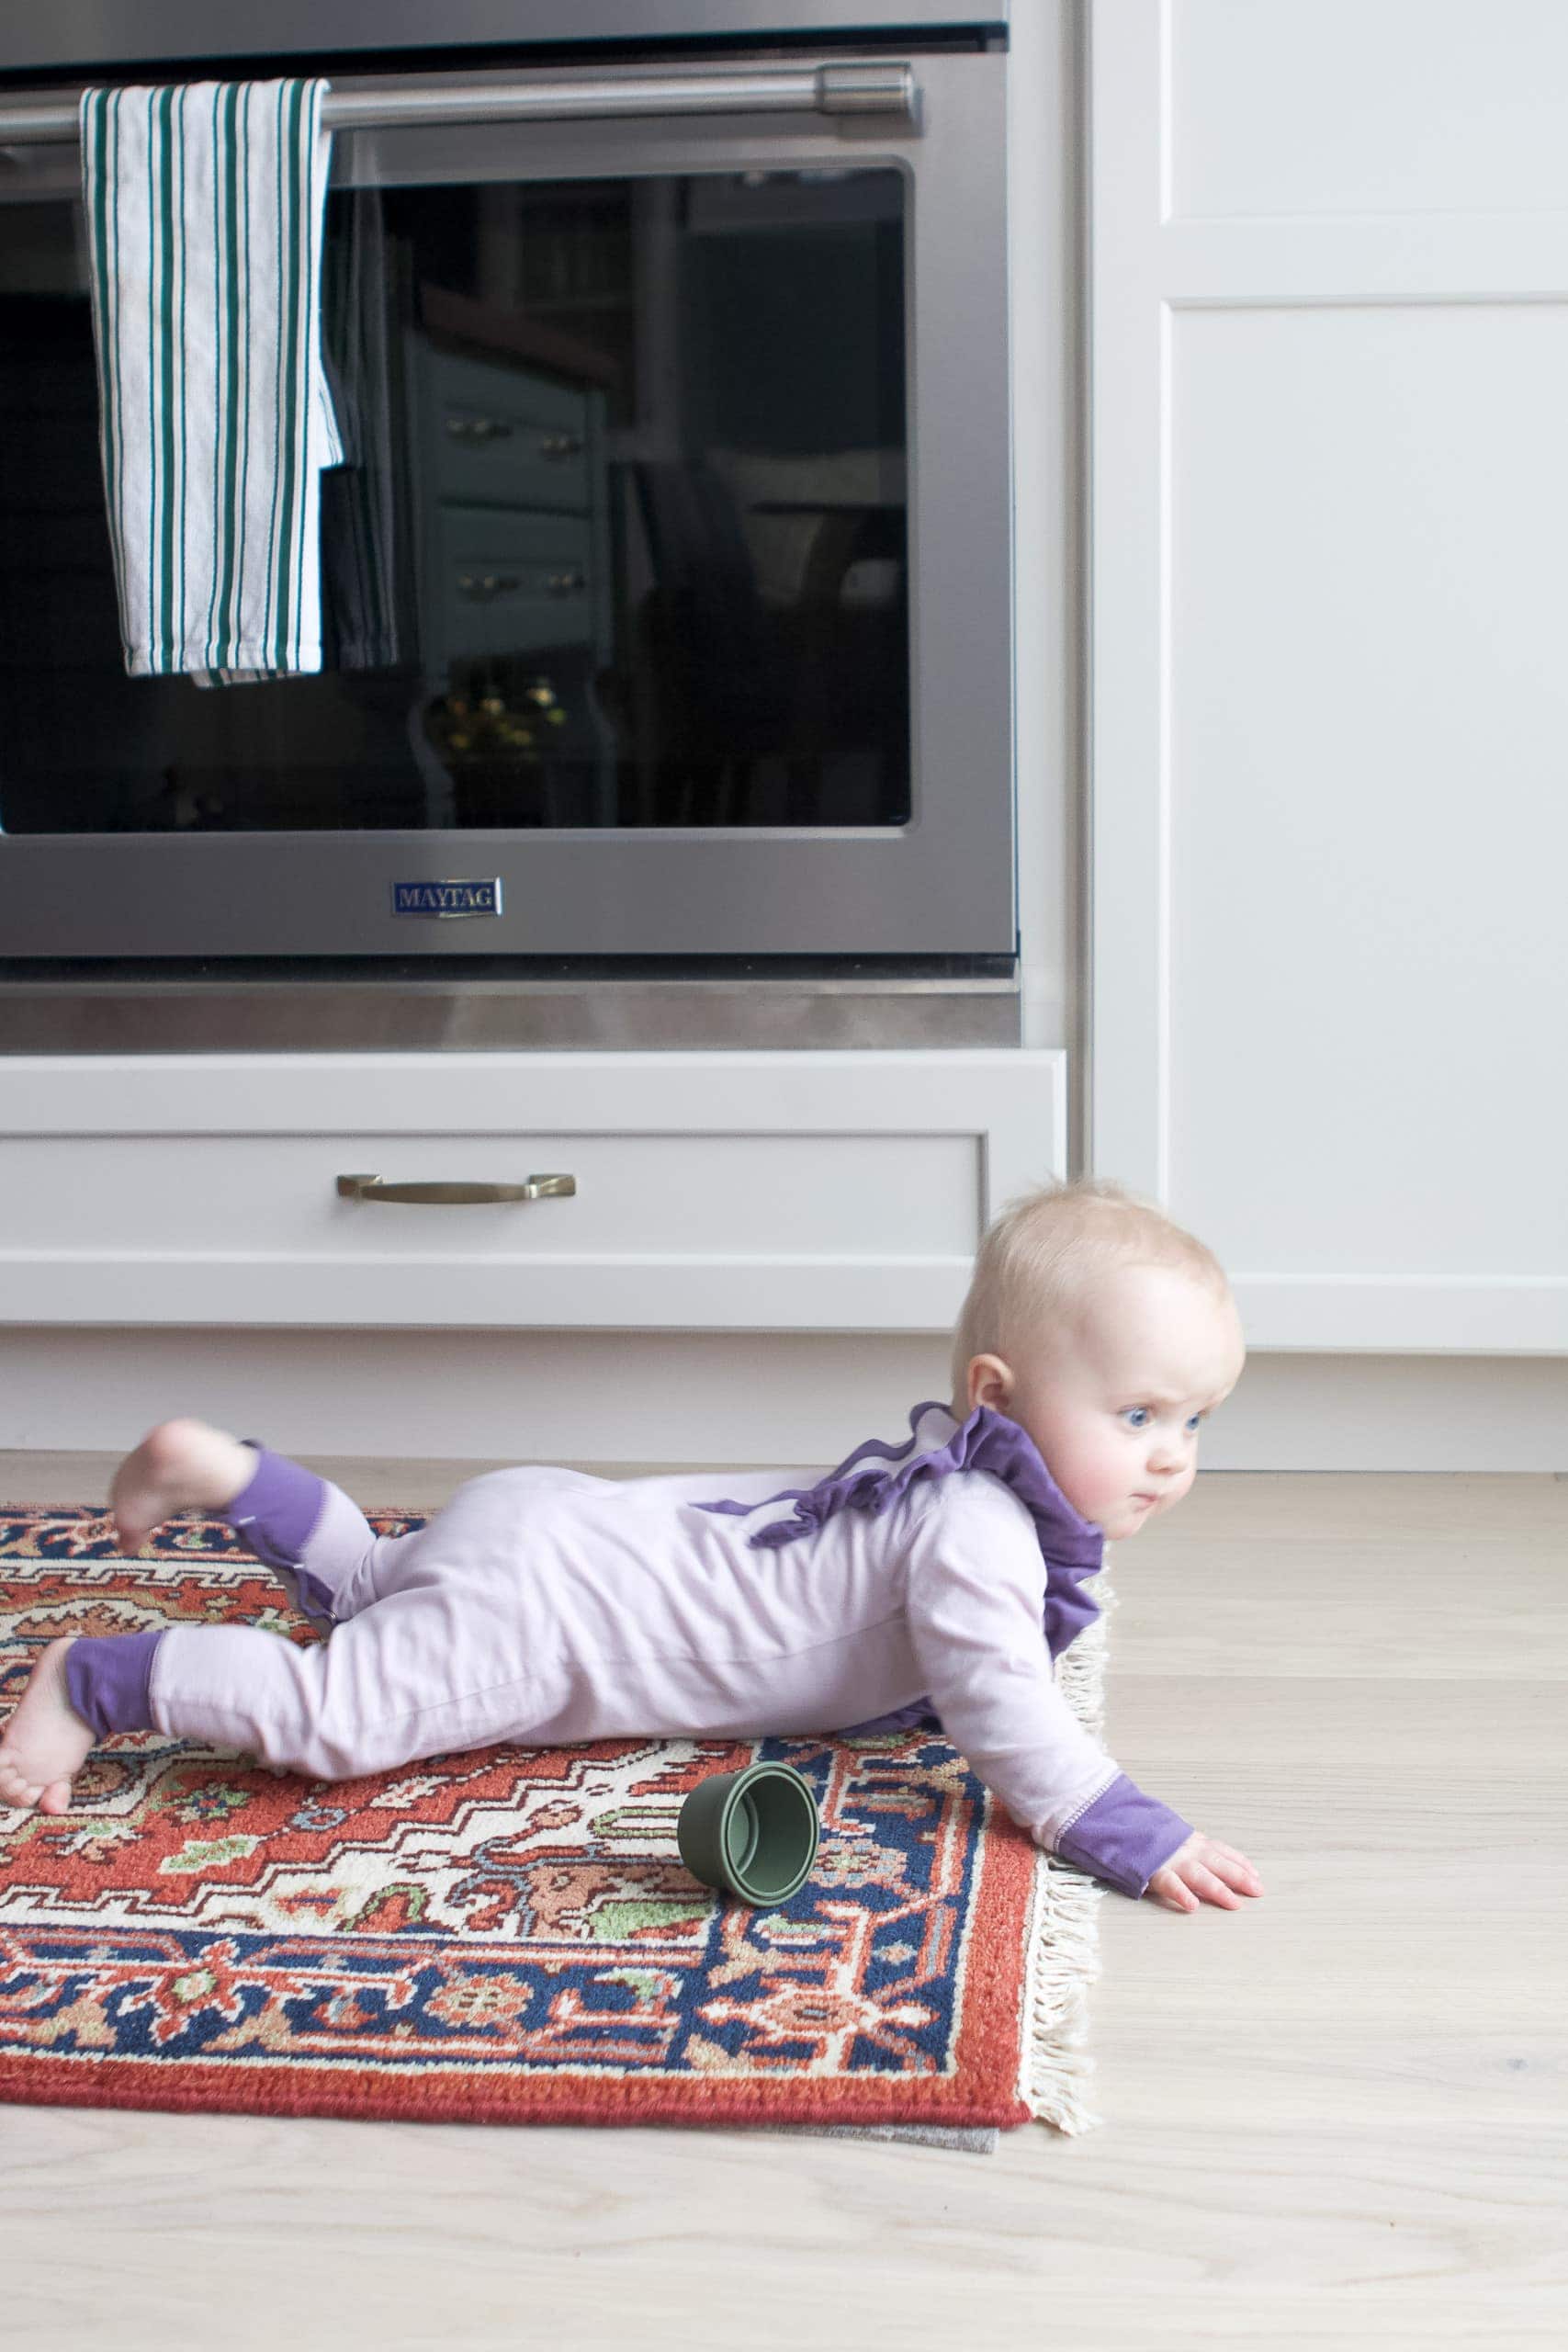
It was right around this time that I heard from a company called KidCo about trying some of their home safety products. Their products looked great, however, I didn’t really know what I needed for our particular home. They then mentioned that they partner with local safety experts who offer free consultations for your home. Yes! This was exactly what I needed because I often believe that you “don’t know what you don’t know!” As a first-time parent, I didn’t want to go overboard securing every inch of our home, but I also didn’t want to overlook any potentially dangerous spots either. So, I had Larry from Safety Matters (a childproofing company here in the Chicagoland area) come out to my house to take a look.
Free Evaluation from Safety Matters
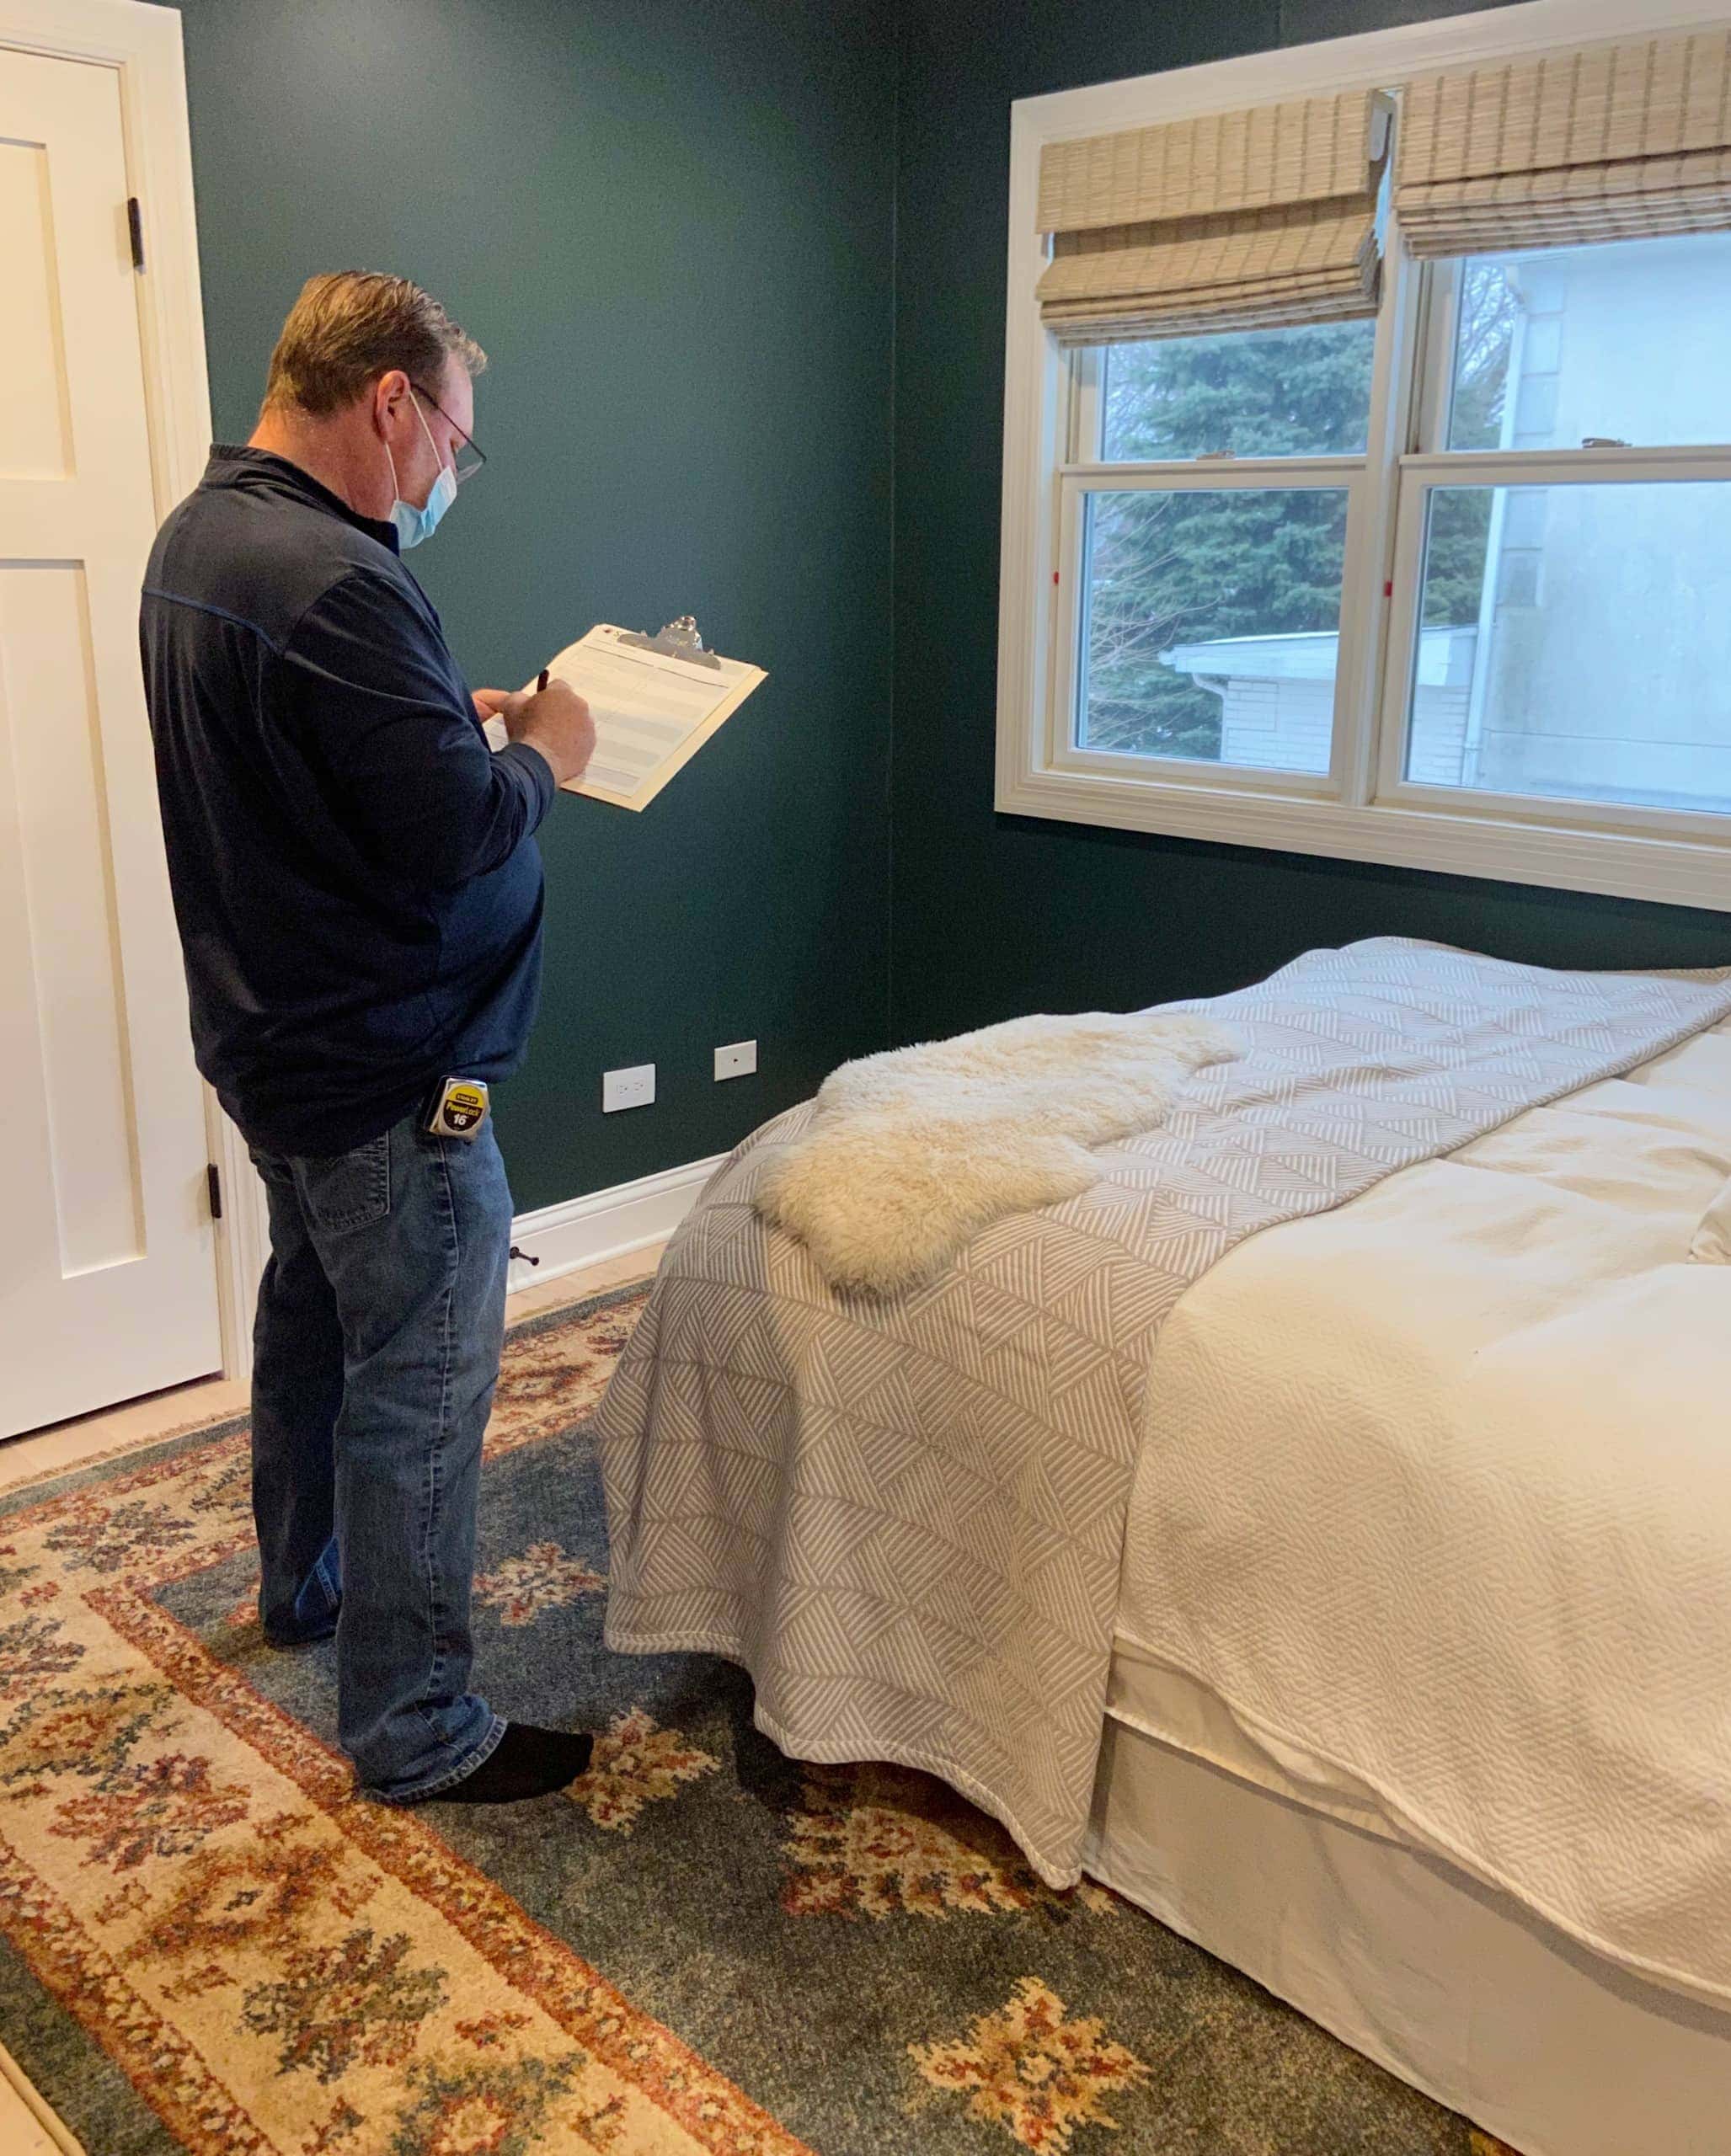
Larry came to our house (masked up and socially distanced, of course) to take a look around. I wanted him to give me the FULL view of all of the dangers lurking around here. We decided that he would write down all the things and then Finn and I could discuss his list to make a gameplan that would work well for our family and lifestyle.
Larry has been in the childproofing industry for decades and he possesses a wealth of knowledge. I pestered him with questions as we walked around. “Which plants are safe to have out? Do we need locks on our particular windows? Do we really need a lock on the toilets?” He answered all of my questions, and then some, and I learned so much from our visit. Safety Matters also creates custom baby gates, so if you have a tricky staircase situation, they can build something that is safe and looks nice for your space.
He was here for about an hour and we thoroughly evaluated each room. He then gave me his recommendations and an estimate that included both the installation and the products. He broke down each line item and it included the product, installation of materials, warranty, tax, etc. You can hire his team to do all of the work for you; you can purchase the items directly from him and do-it-yourself; or you can do a combo of the two.
Figuring Out The Best Plan for Us

Larry left us with a big old list to review and Finn and I walked around our house to figure out what exactly we wanted to do. I think every family is different, so you have to do what’s right for you. Our main goal was to create safe spaces in our living room, kitchen, and Rory’s nursery for her to explore. That means if she was left in the living room alone for a moment, we wouldn’t have to worry about her getting into too much trouble.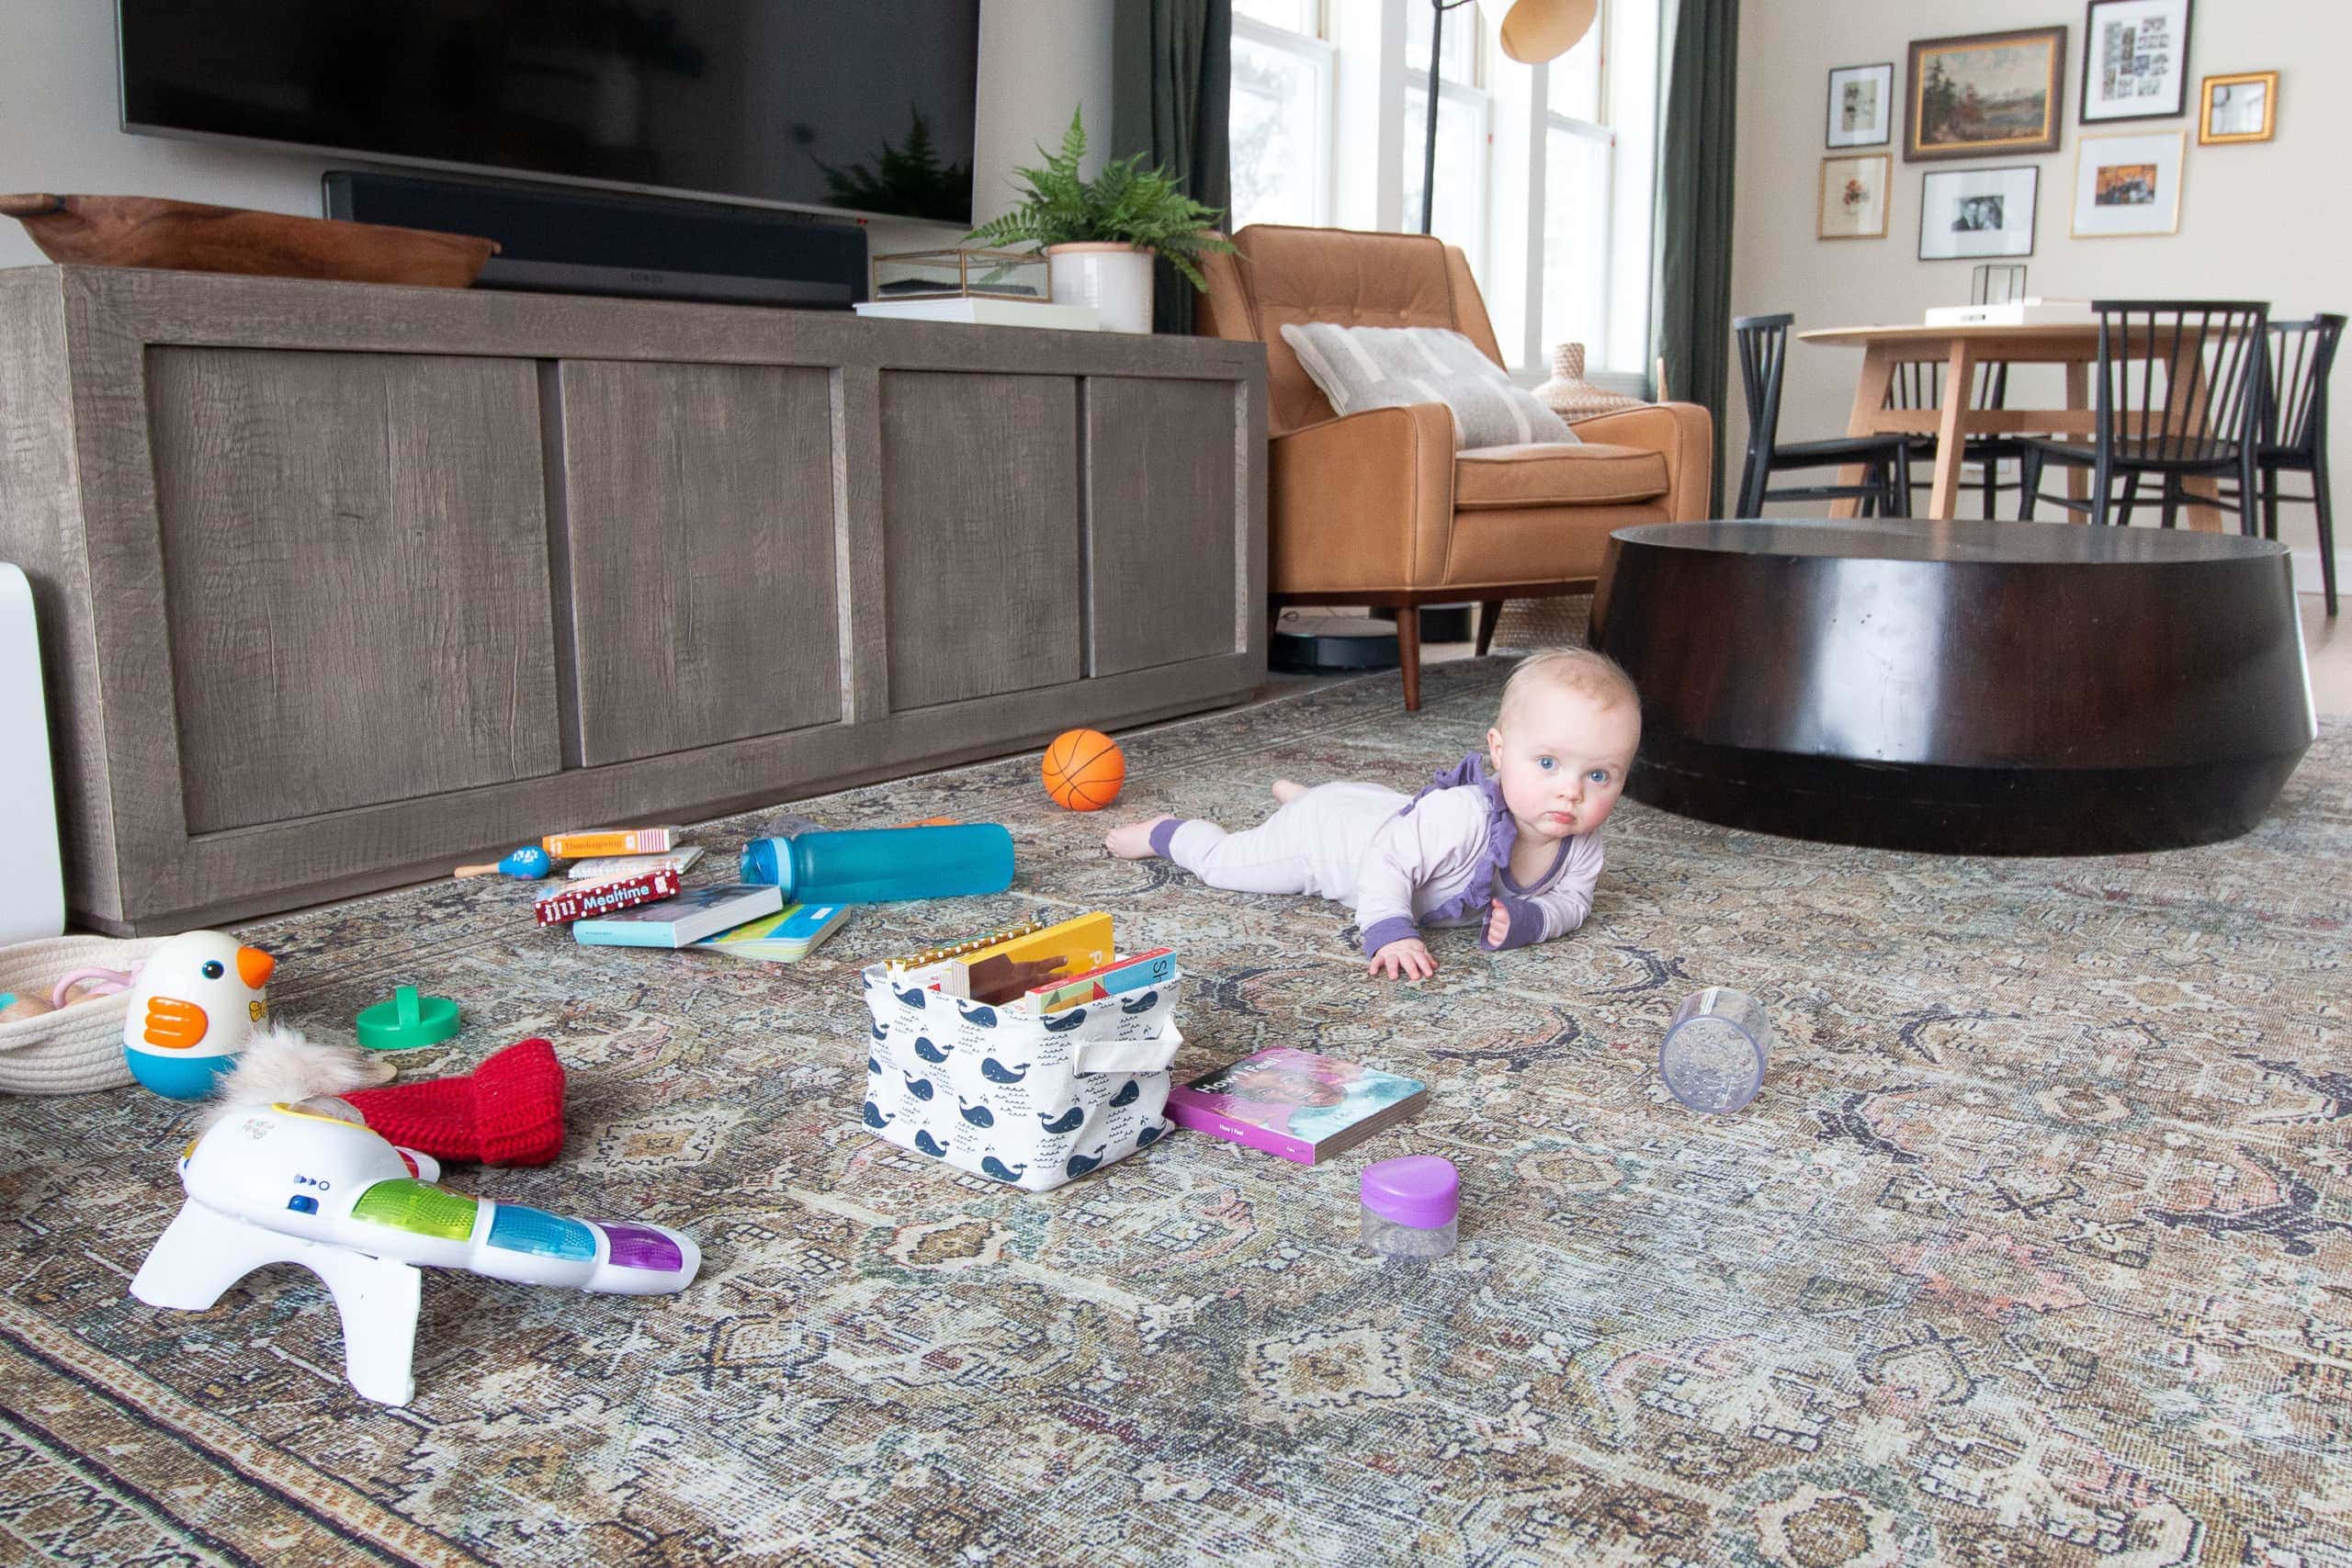
For us, we wanted to figure out a good balance of being able to teach Rory what’s safe and not safe. That way, when she visits my mom’s house or my brother’s house, she knows what she can and cannot do. Babyproofing every inch of our house wasn’t going to give us opportunities to teach her acceptable from unacceptable, so we went through Larry’s list and edited it down a bit.
DIY vs. Professional Install
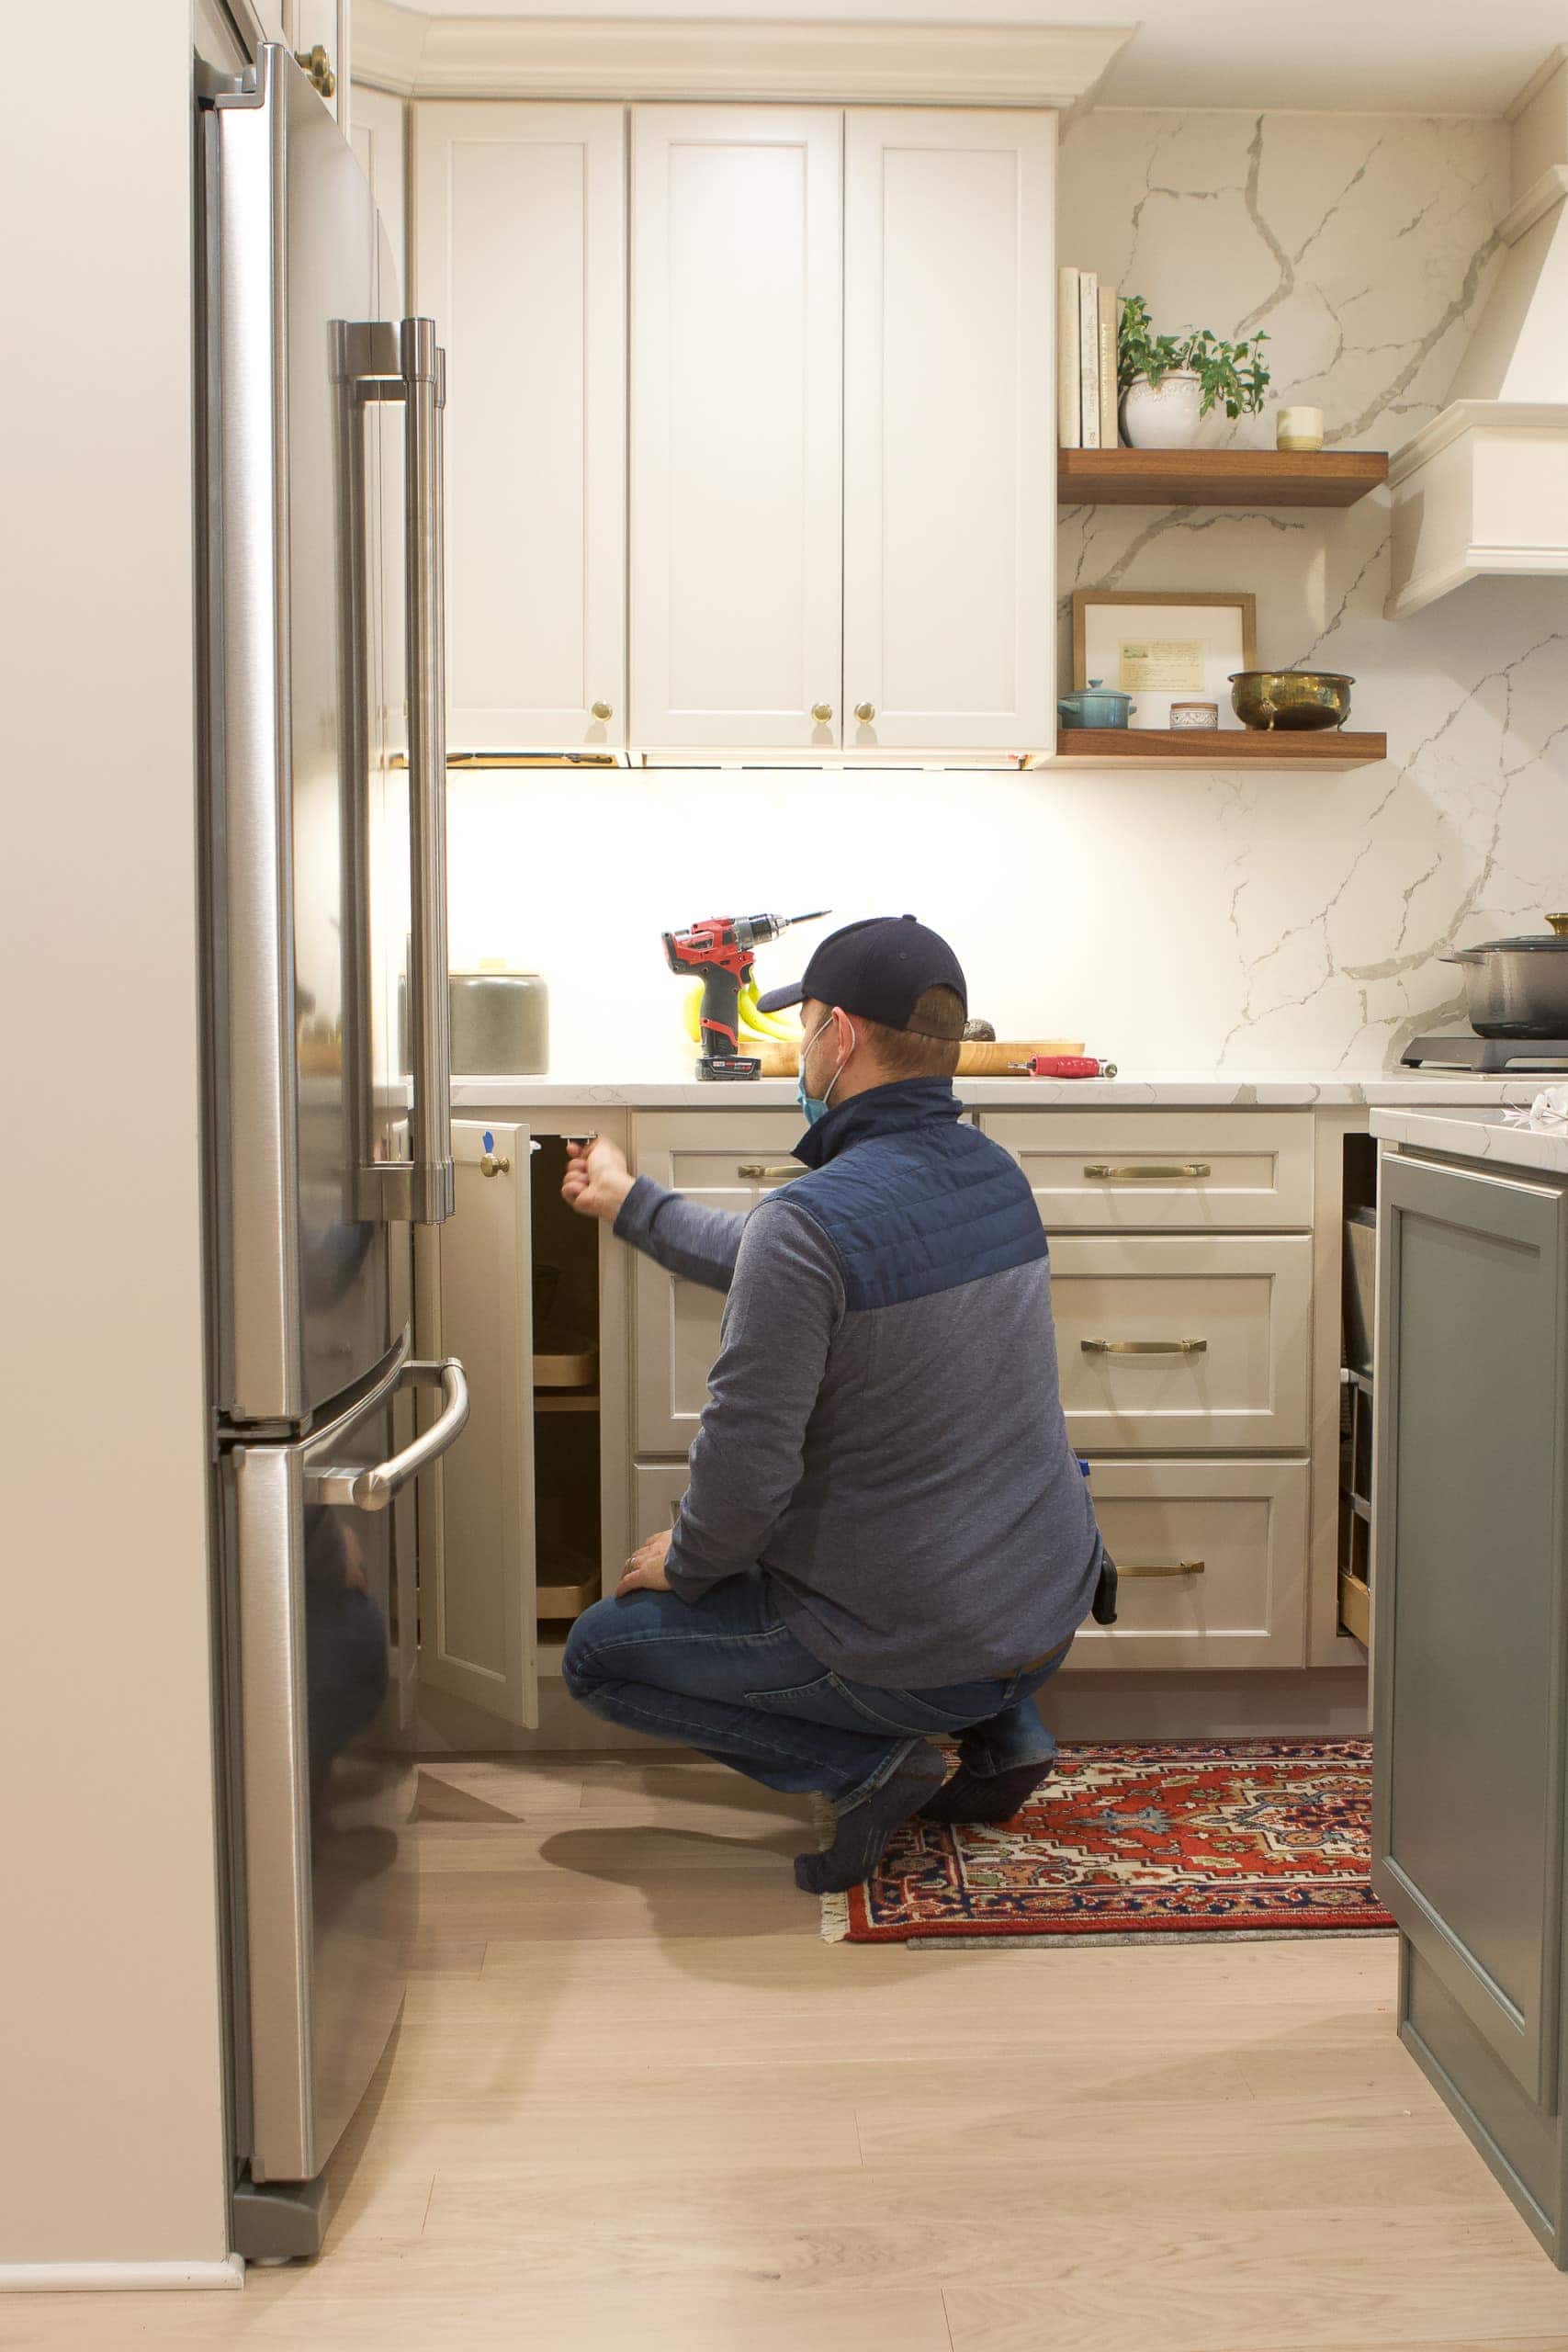
Obviously, we are DIY’ers and we’re not ones to shy away from projects. But because I’m reviewing both Safety Matters and KidCo for this post, we had a professional from Safety Matters come to install most of the items so I could write about the experience.
It took Paul, from Safety Matters, about three and a half hours to complete everything, which made me realize that it probably would have taken us an entire weekend, so I’m happy we ended up having him do it for us. However, I did have Paul set aside some of the items so I can show you how easy it is to install on your own if you want to go that route!
Tips to Babyproof Your Home
Okay, so here’s what we ended up doing around here to make a secure space for Rory to explore and play…
Furniture Straps
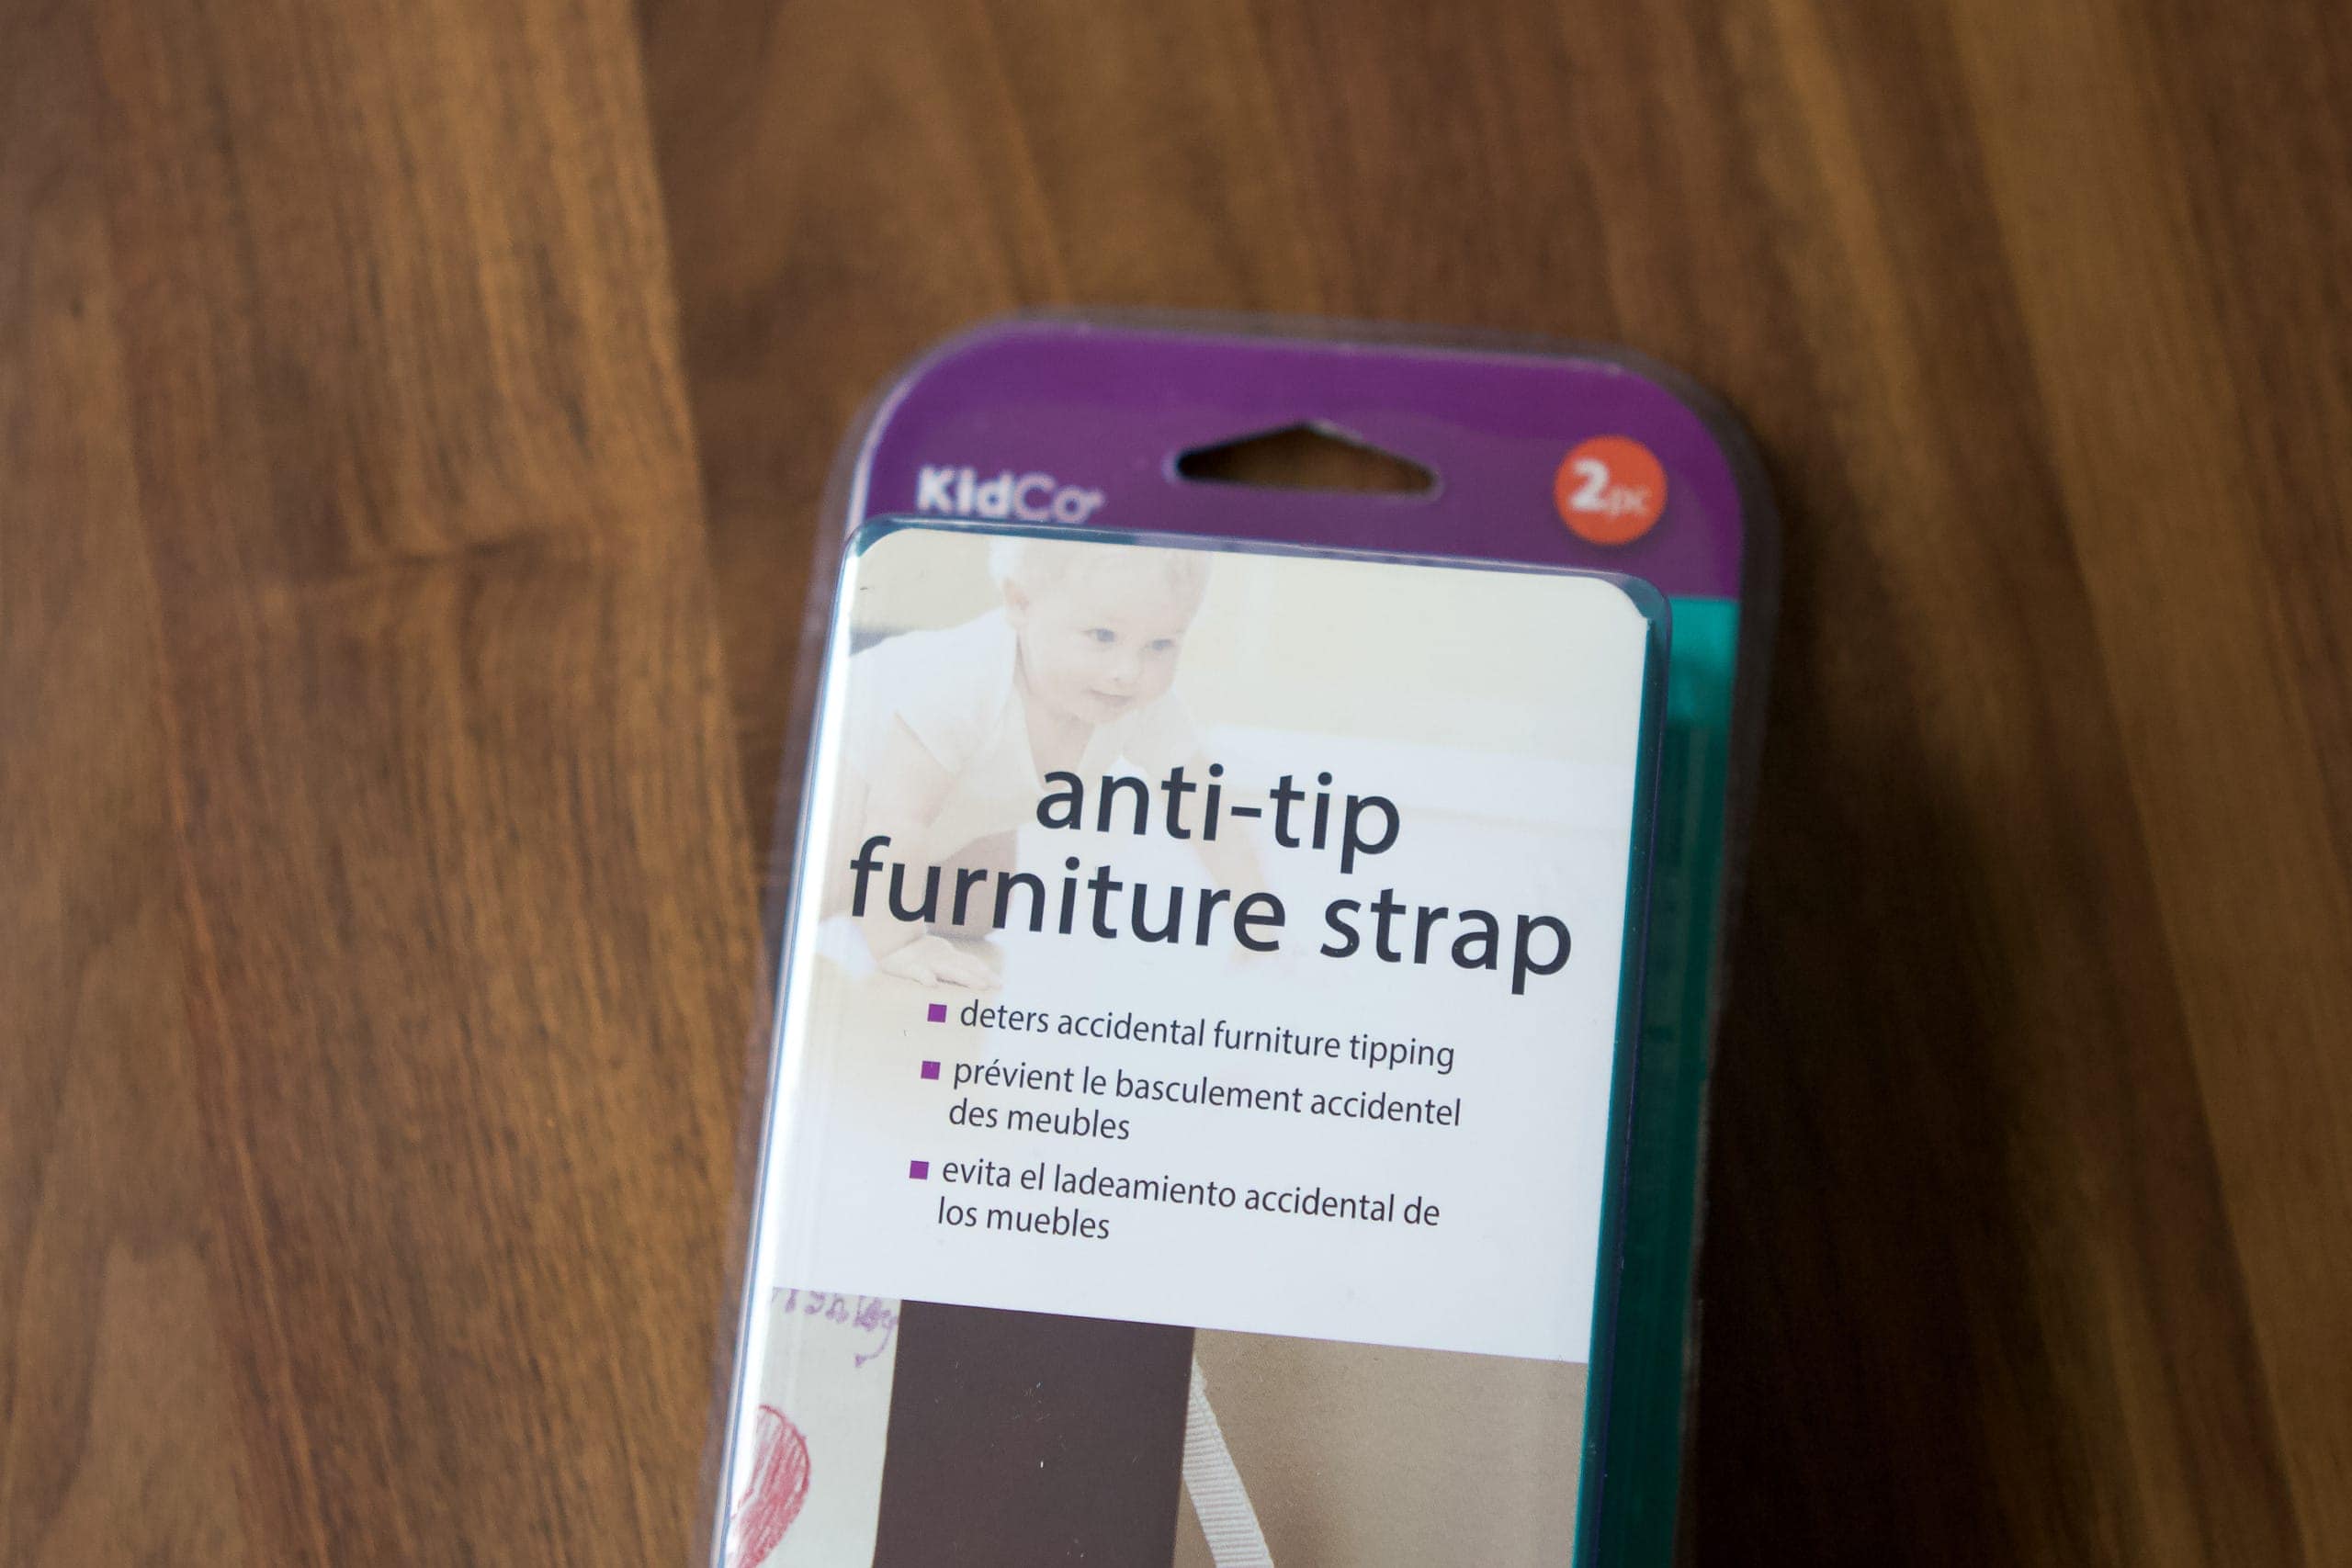
Number one on my list was to secure every single piece of heavy furniture in our house. Rory is pulling up on everything and the scariest thing to me is a piece toppling over on her. It’s hard for me to even type that out because it scares me so much. 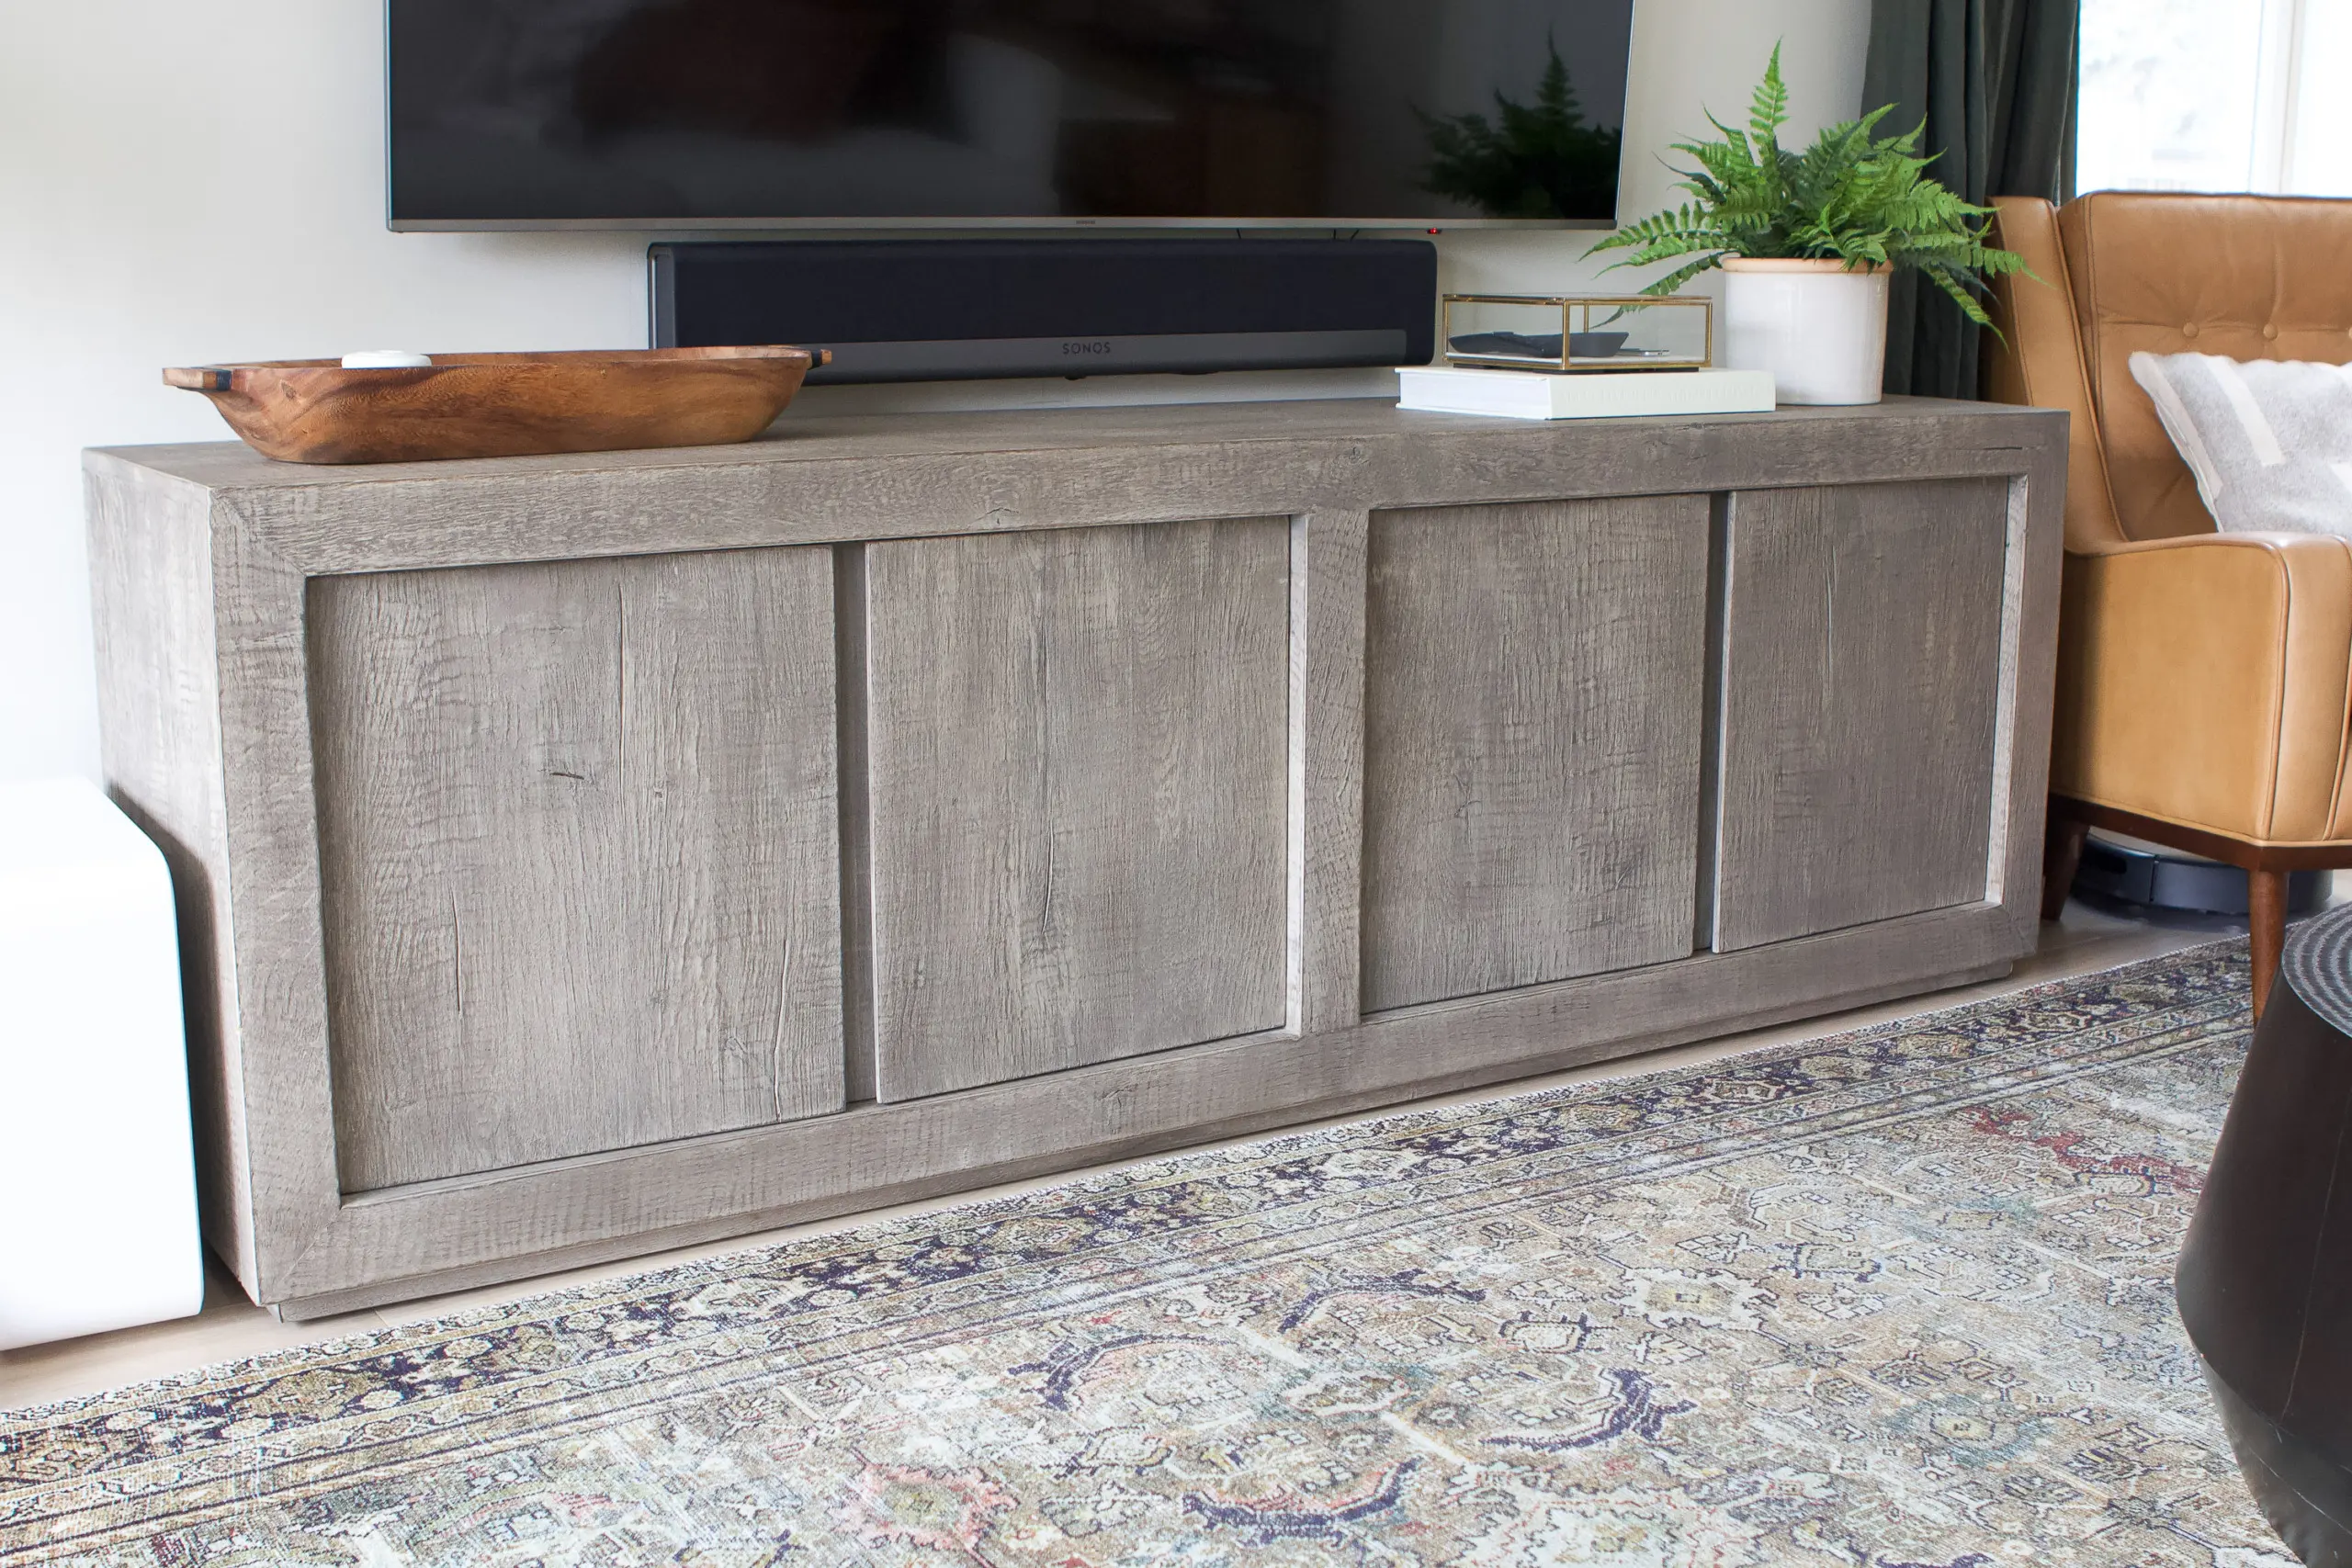 I had Paul secure our living room console, front mirror, and the party hutch with these furniture straps. It’s important to use two straps on each piece (one on each side) and secure them directly into the studs of the wall.
 Since our front entryway console doesn’t have a back, we ended up using a different strap to attach it.
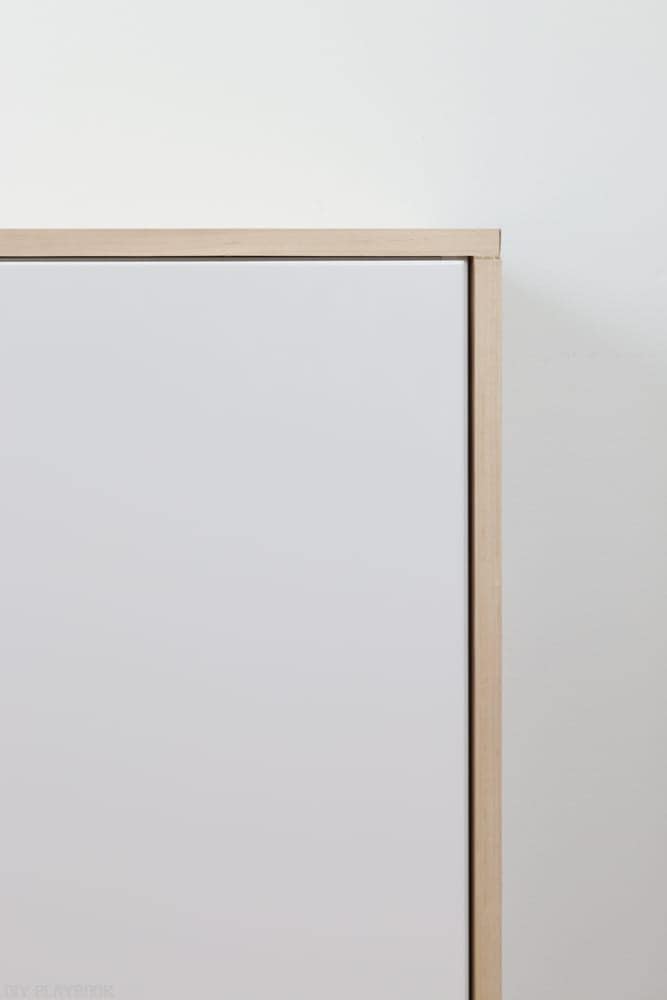
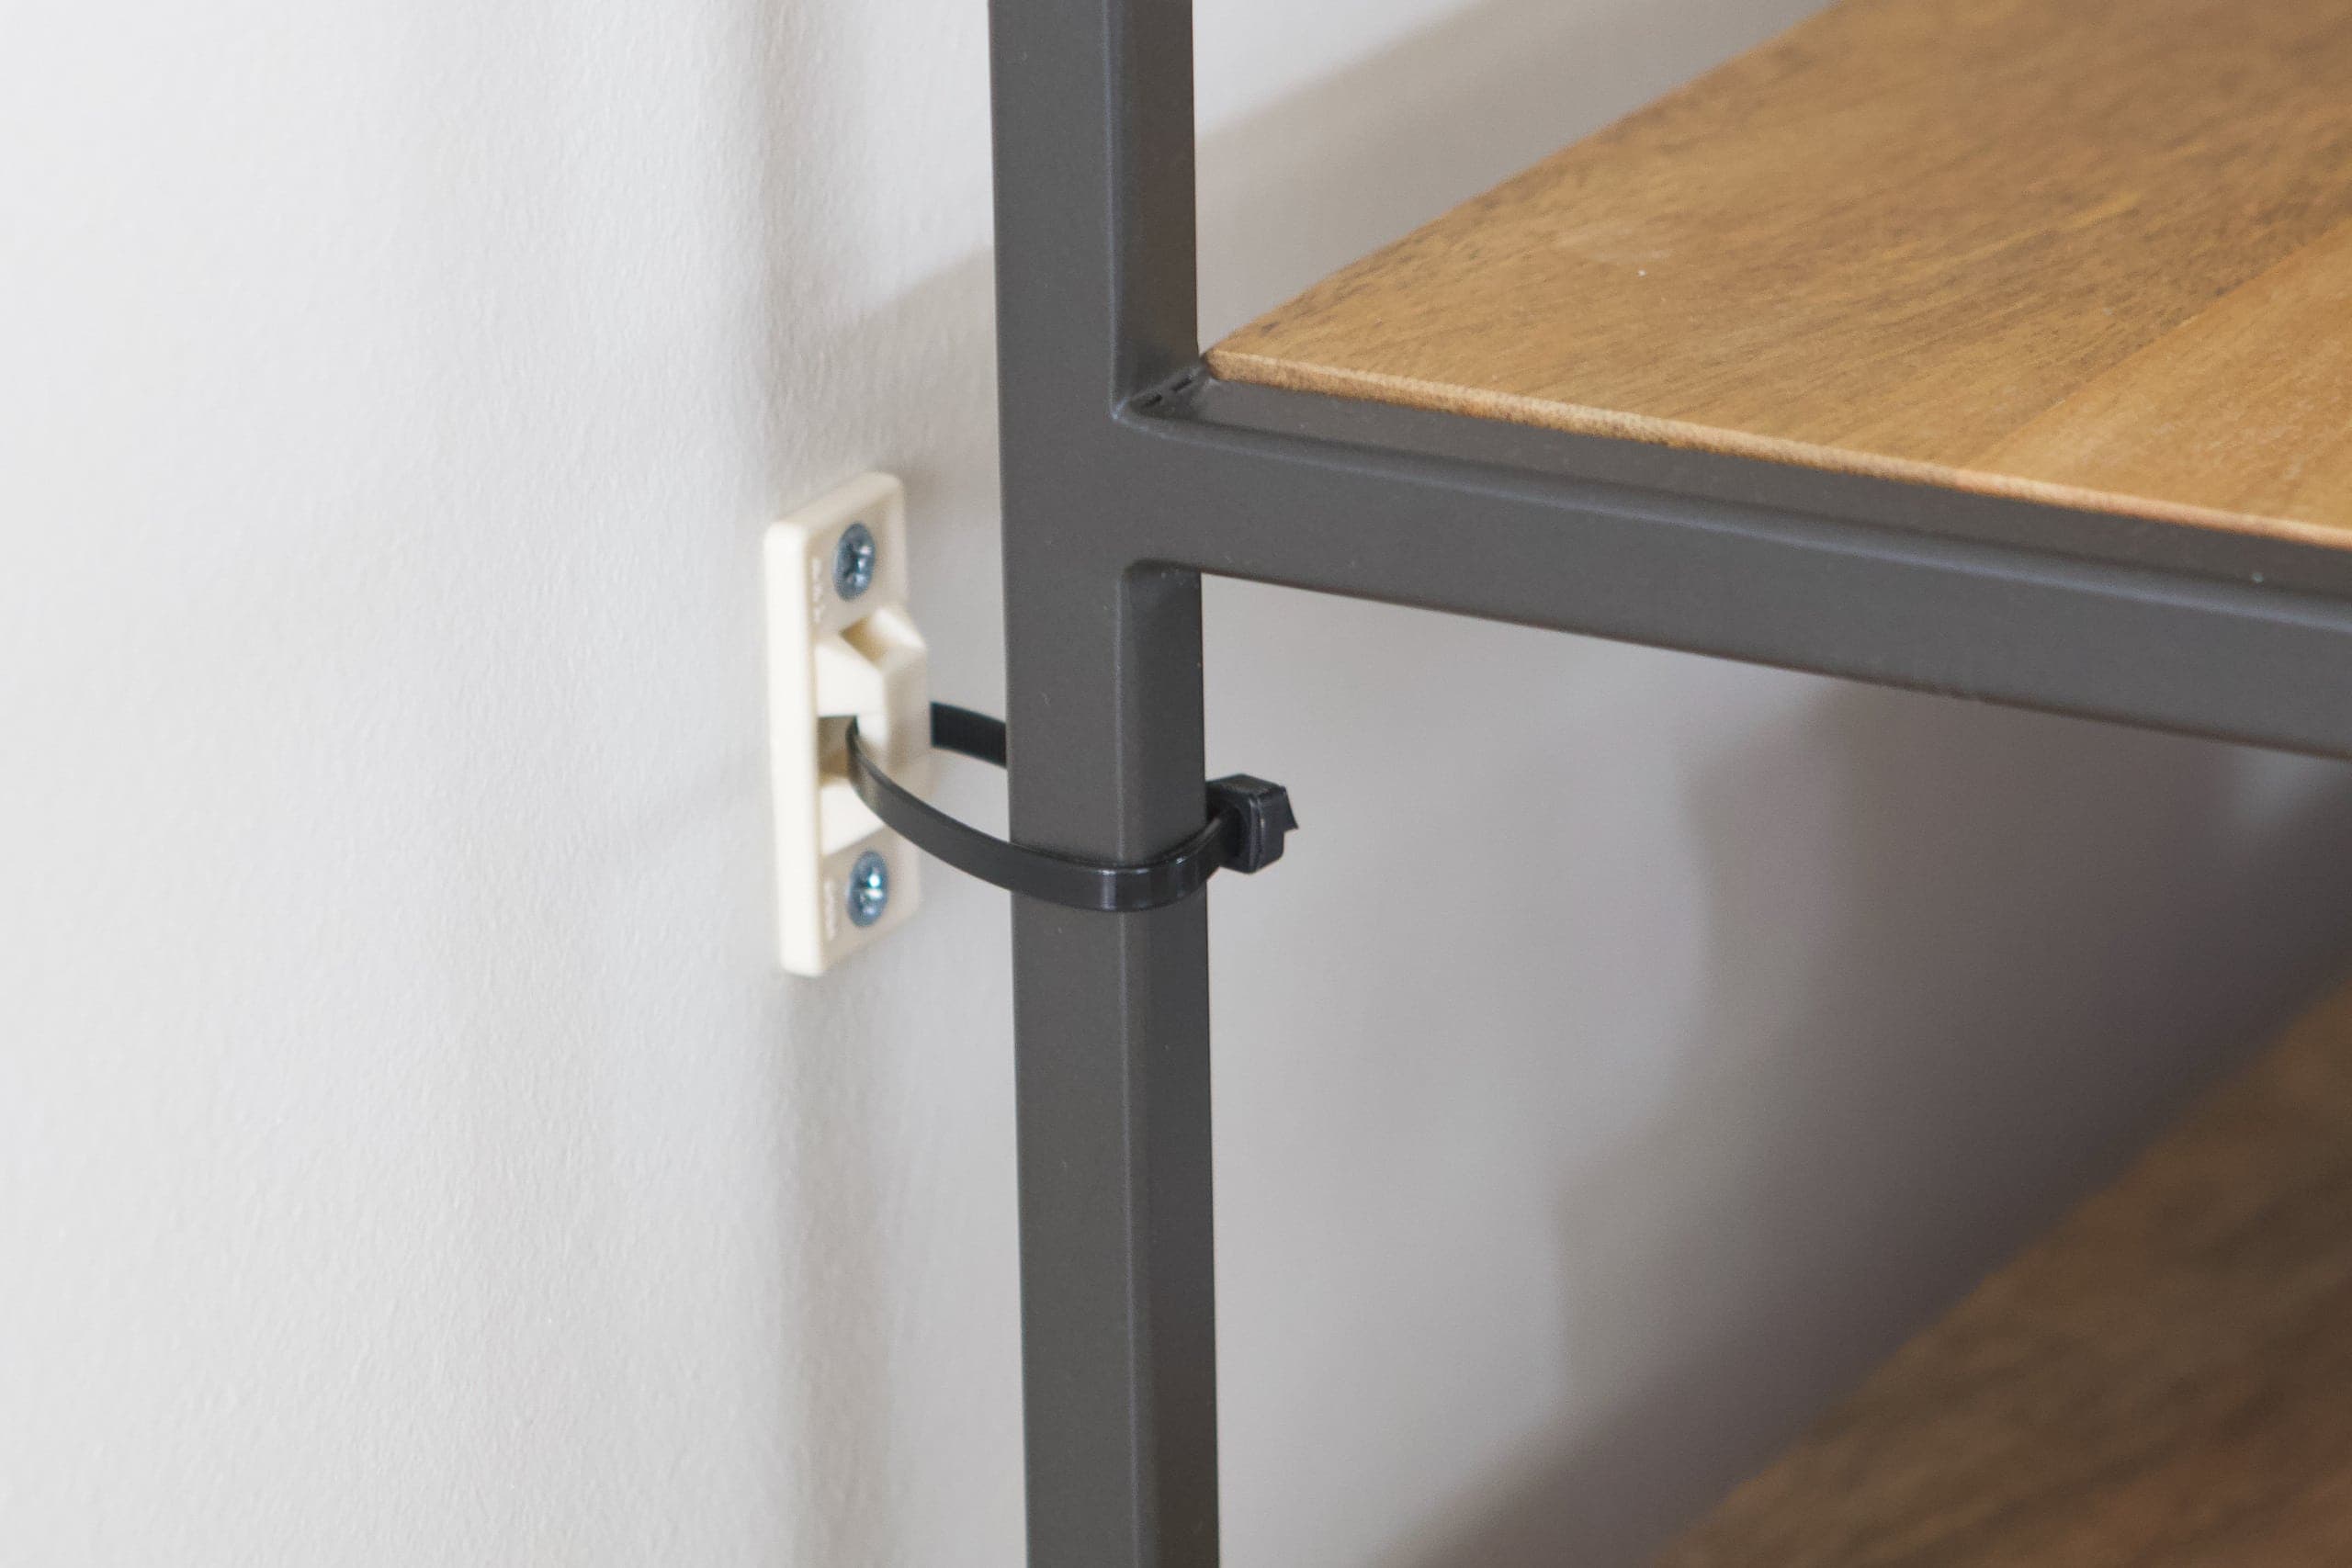
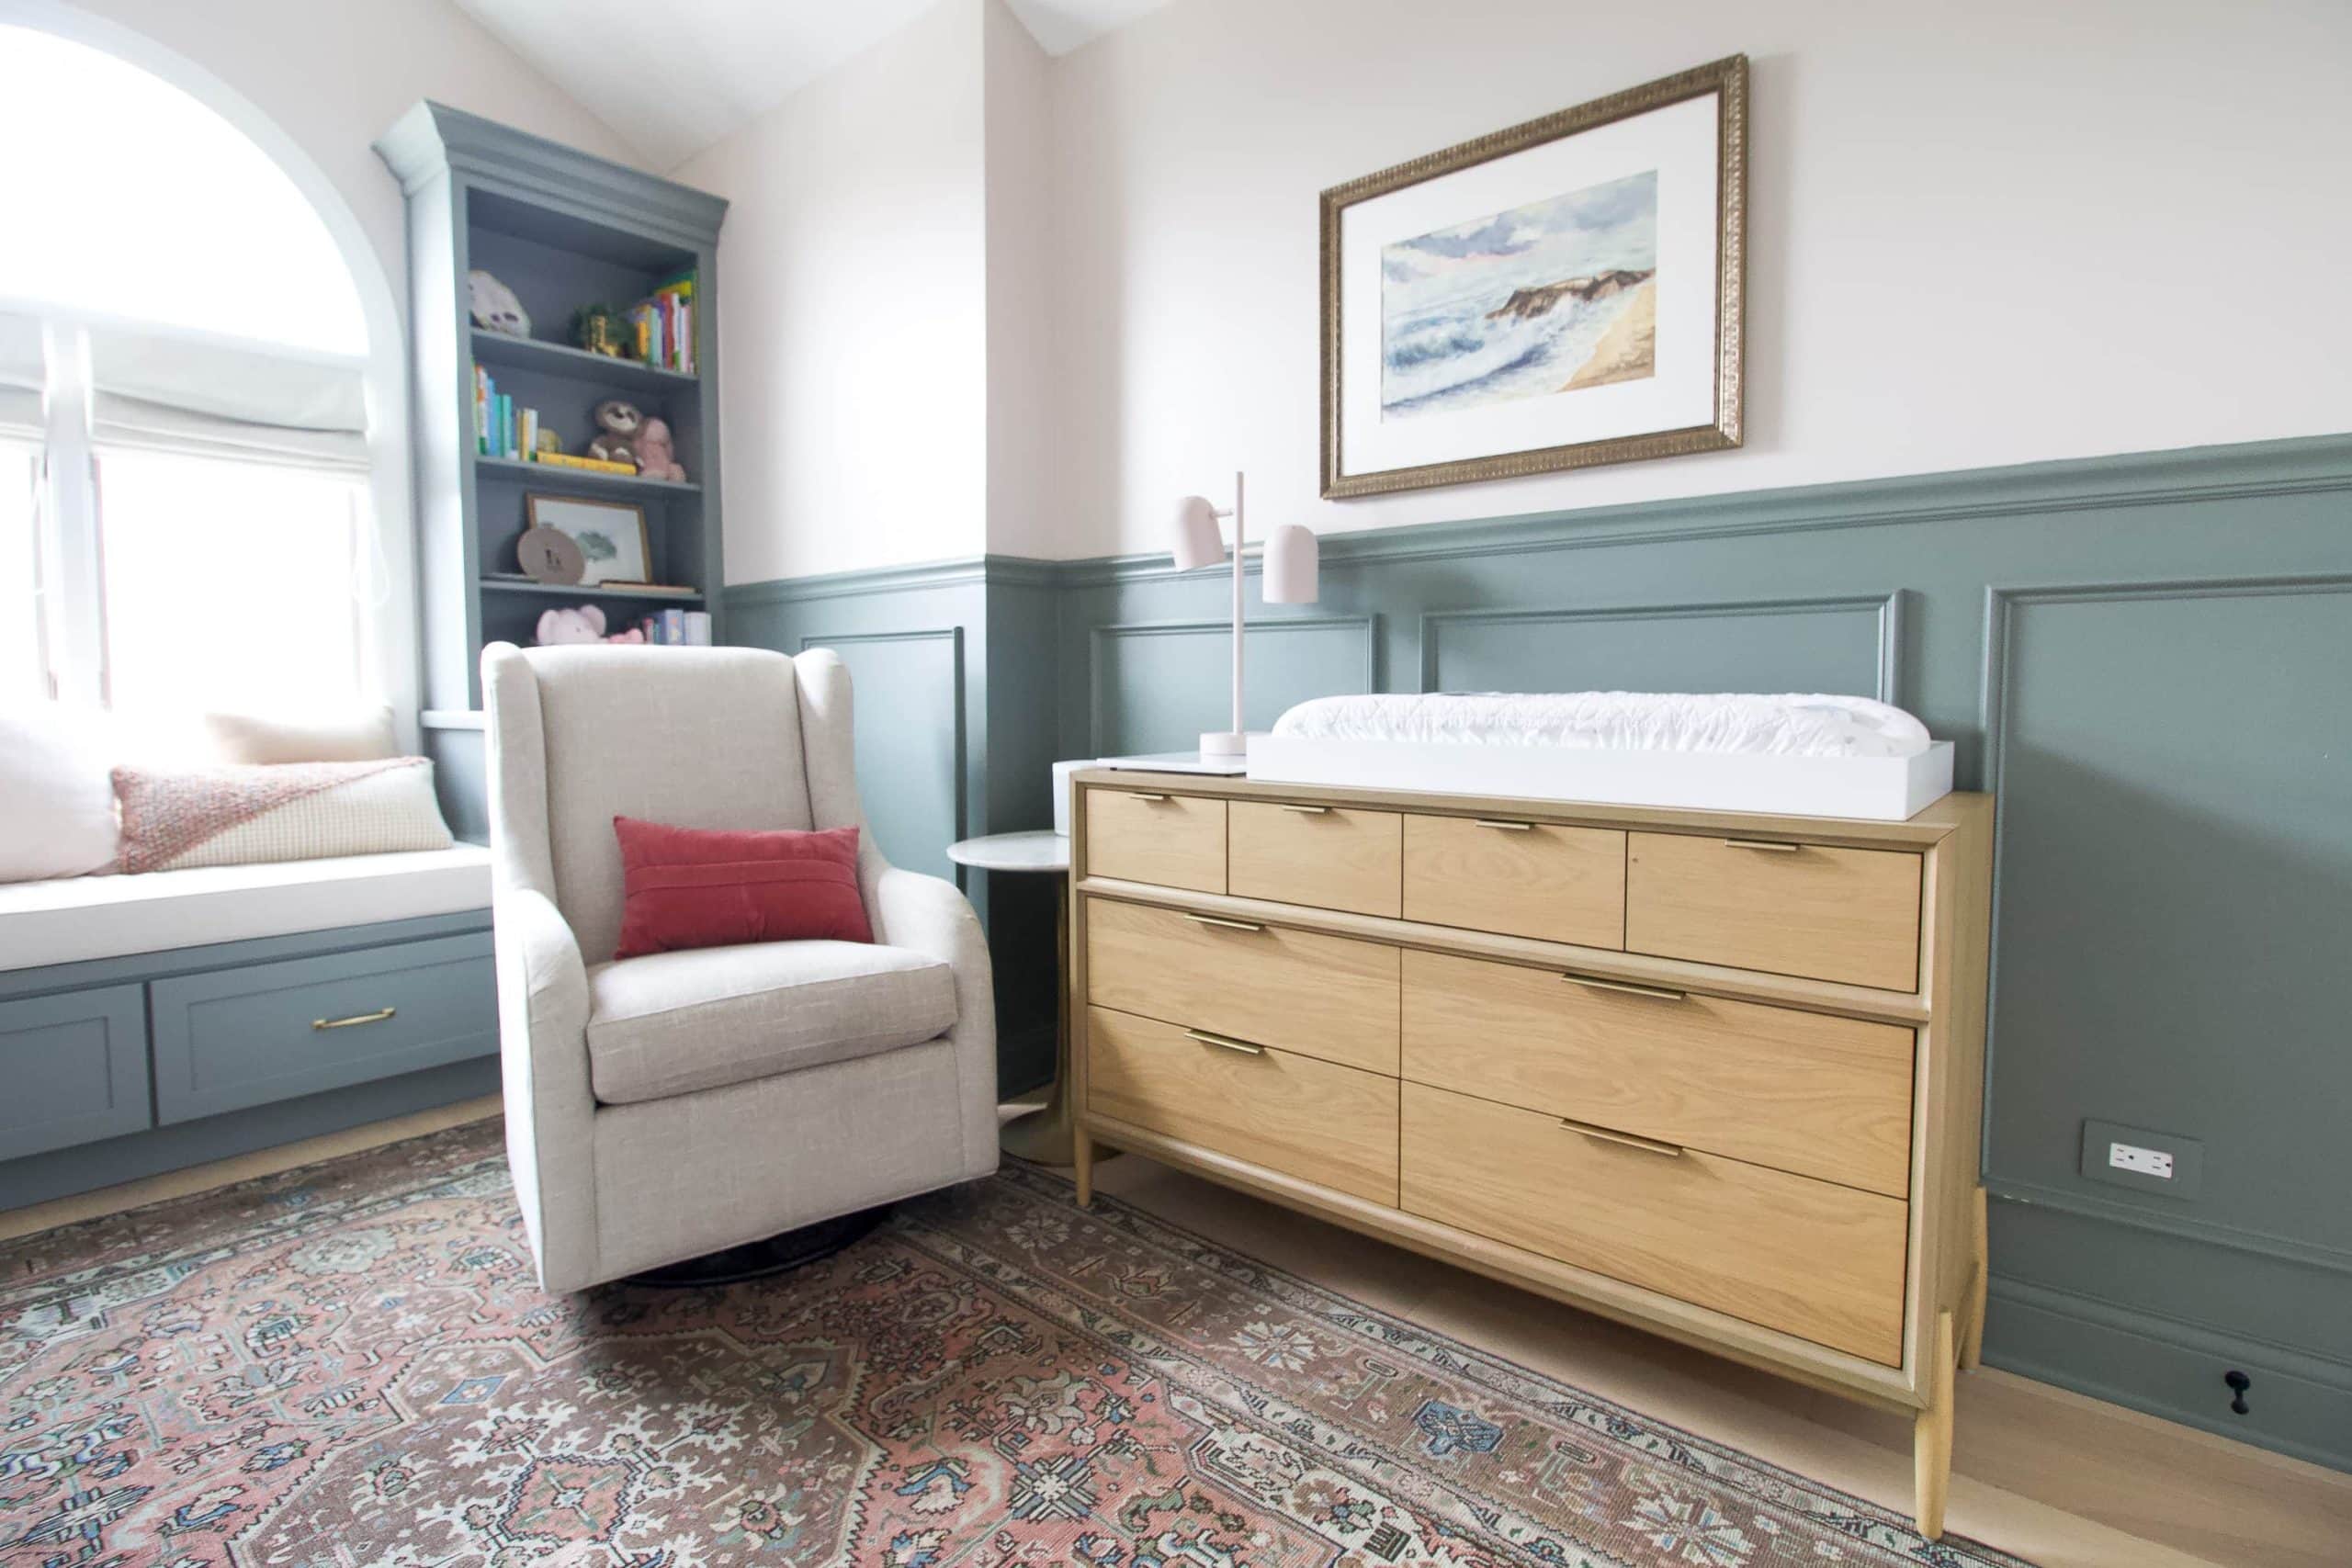 I went ahead and secured Rory’s nursery dresser myself using these furniture straps and I’ll be sharing that entire process in Friday’s blog post.
Cabinet Locks
Okay, onto cabinet locks. We didn’t want to lock every single drawer and cabinet in our house…only the ones that actually contain dangerous stuff inside.  In fact, we purposely wanted to leave some drawers and cabinets for Rory to explore. She has full reign to pull out the Tupperware or the kitchen towels.
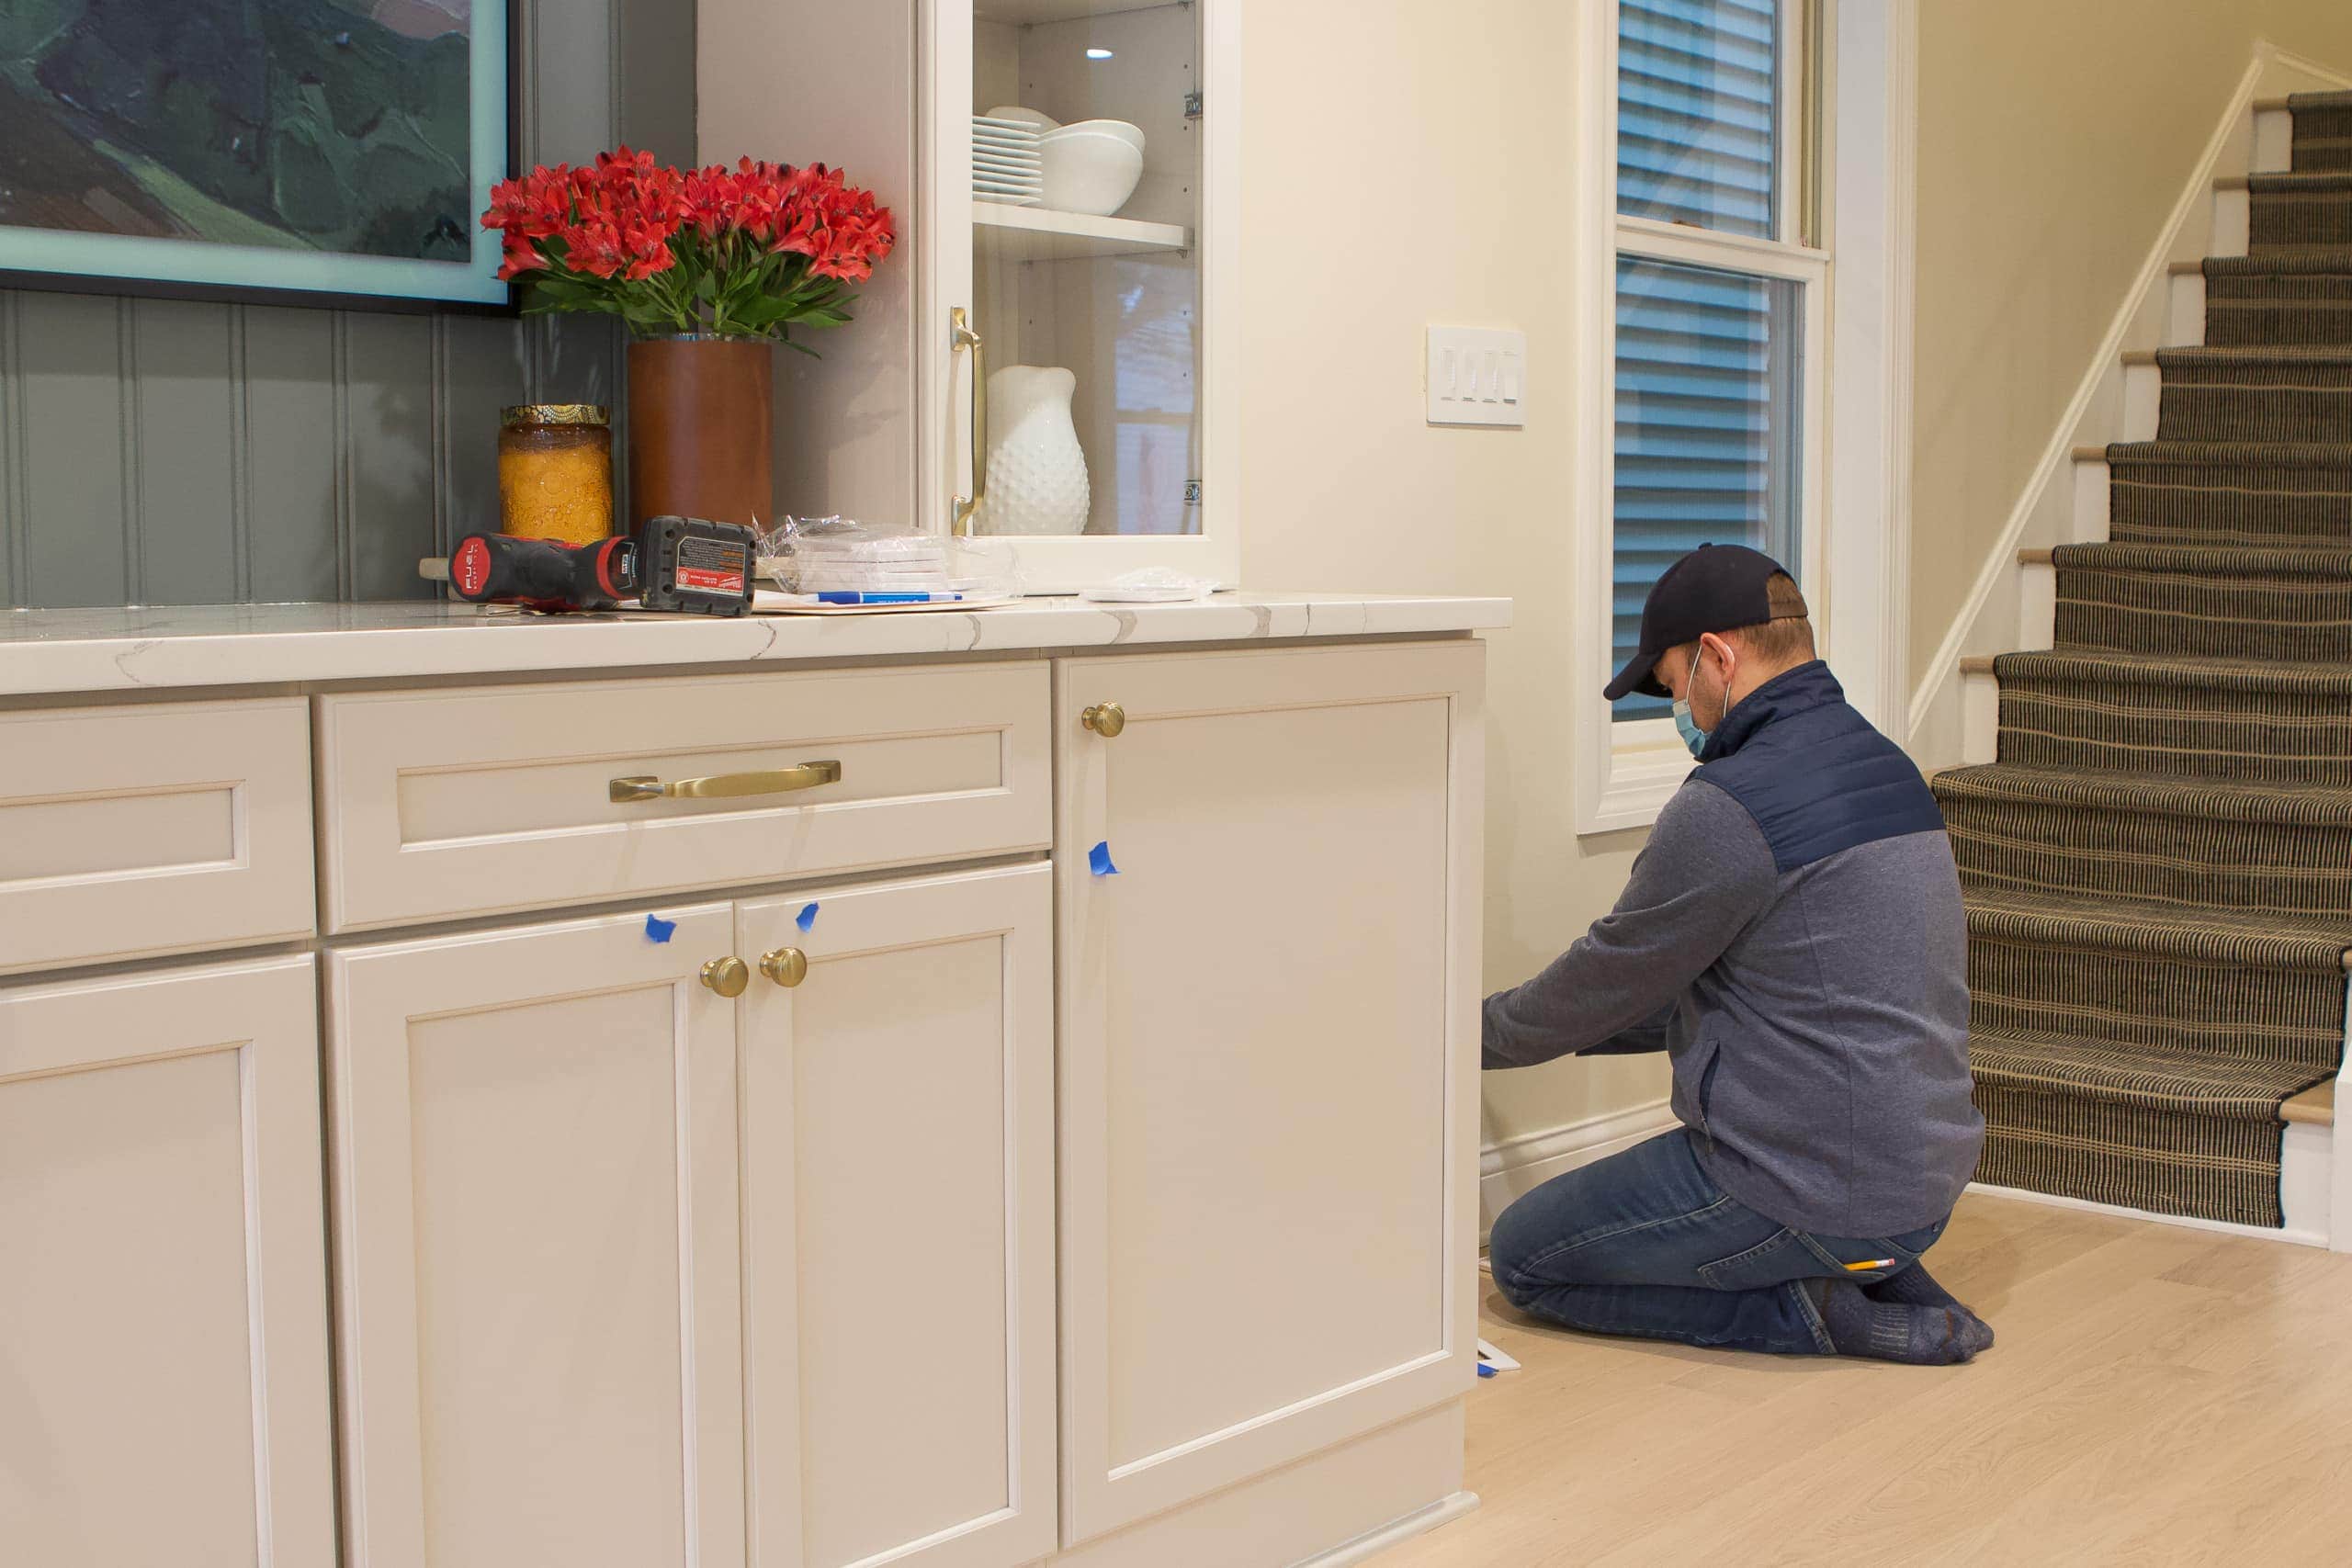
Since we weren’t securing all the things, I went around our house and put a piece of painter’s tape on the items I wanted to be locked. That way, Paul could easily go around and secure the ones that needed it. I highly recommend this to make the install day flow even smoother.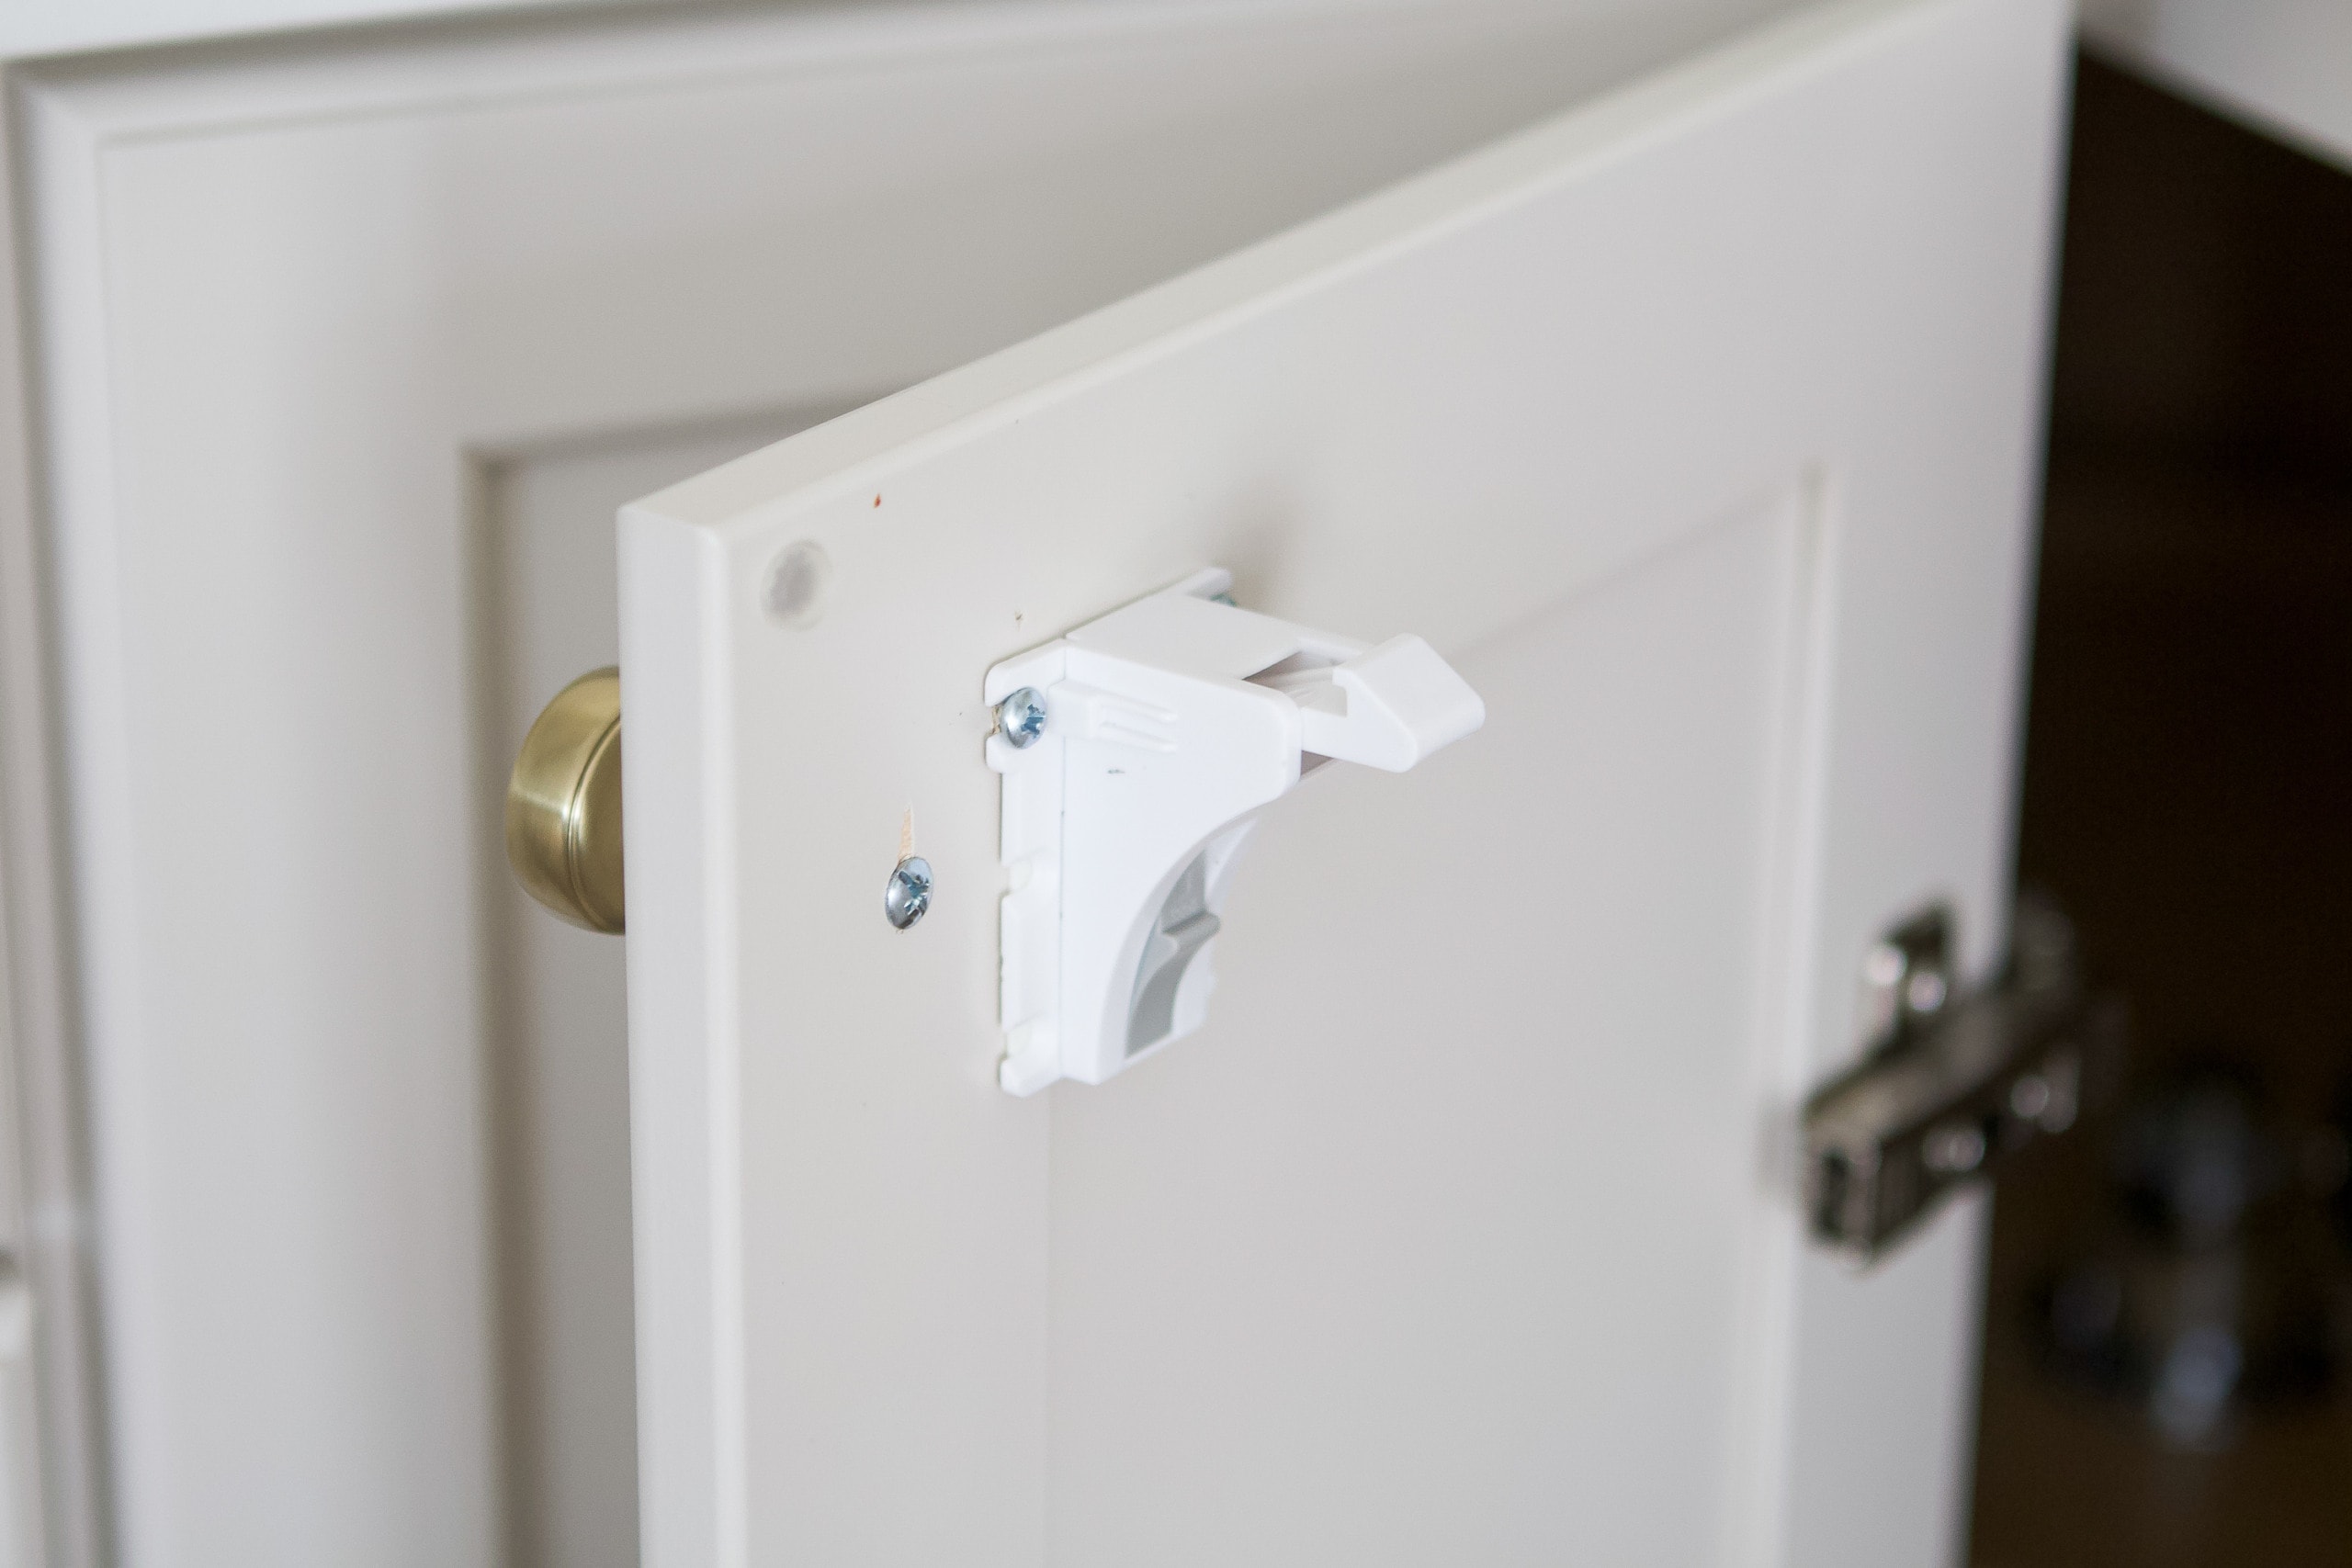
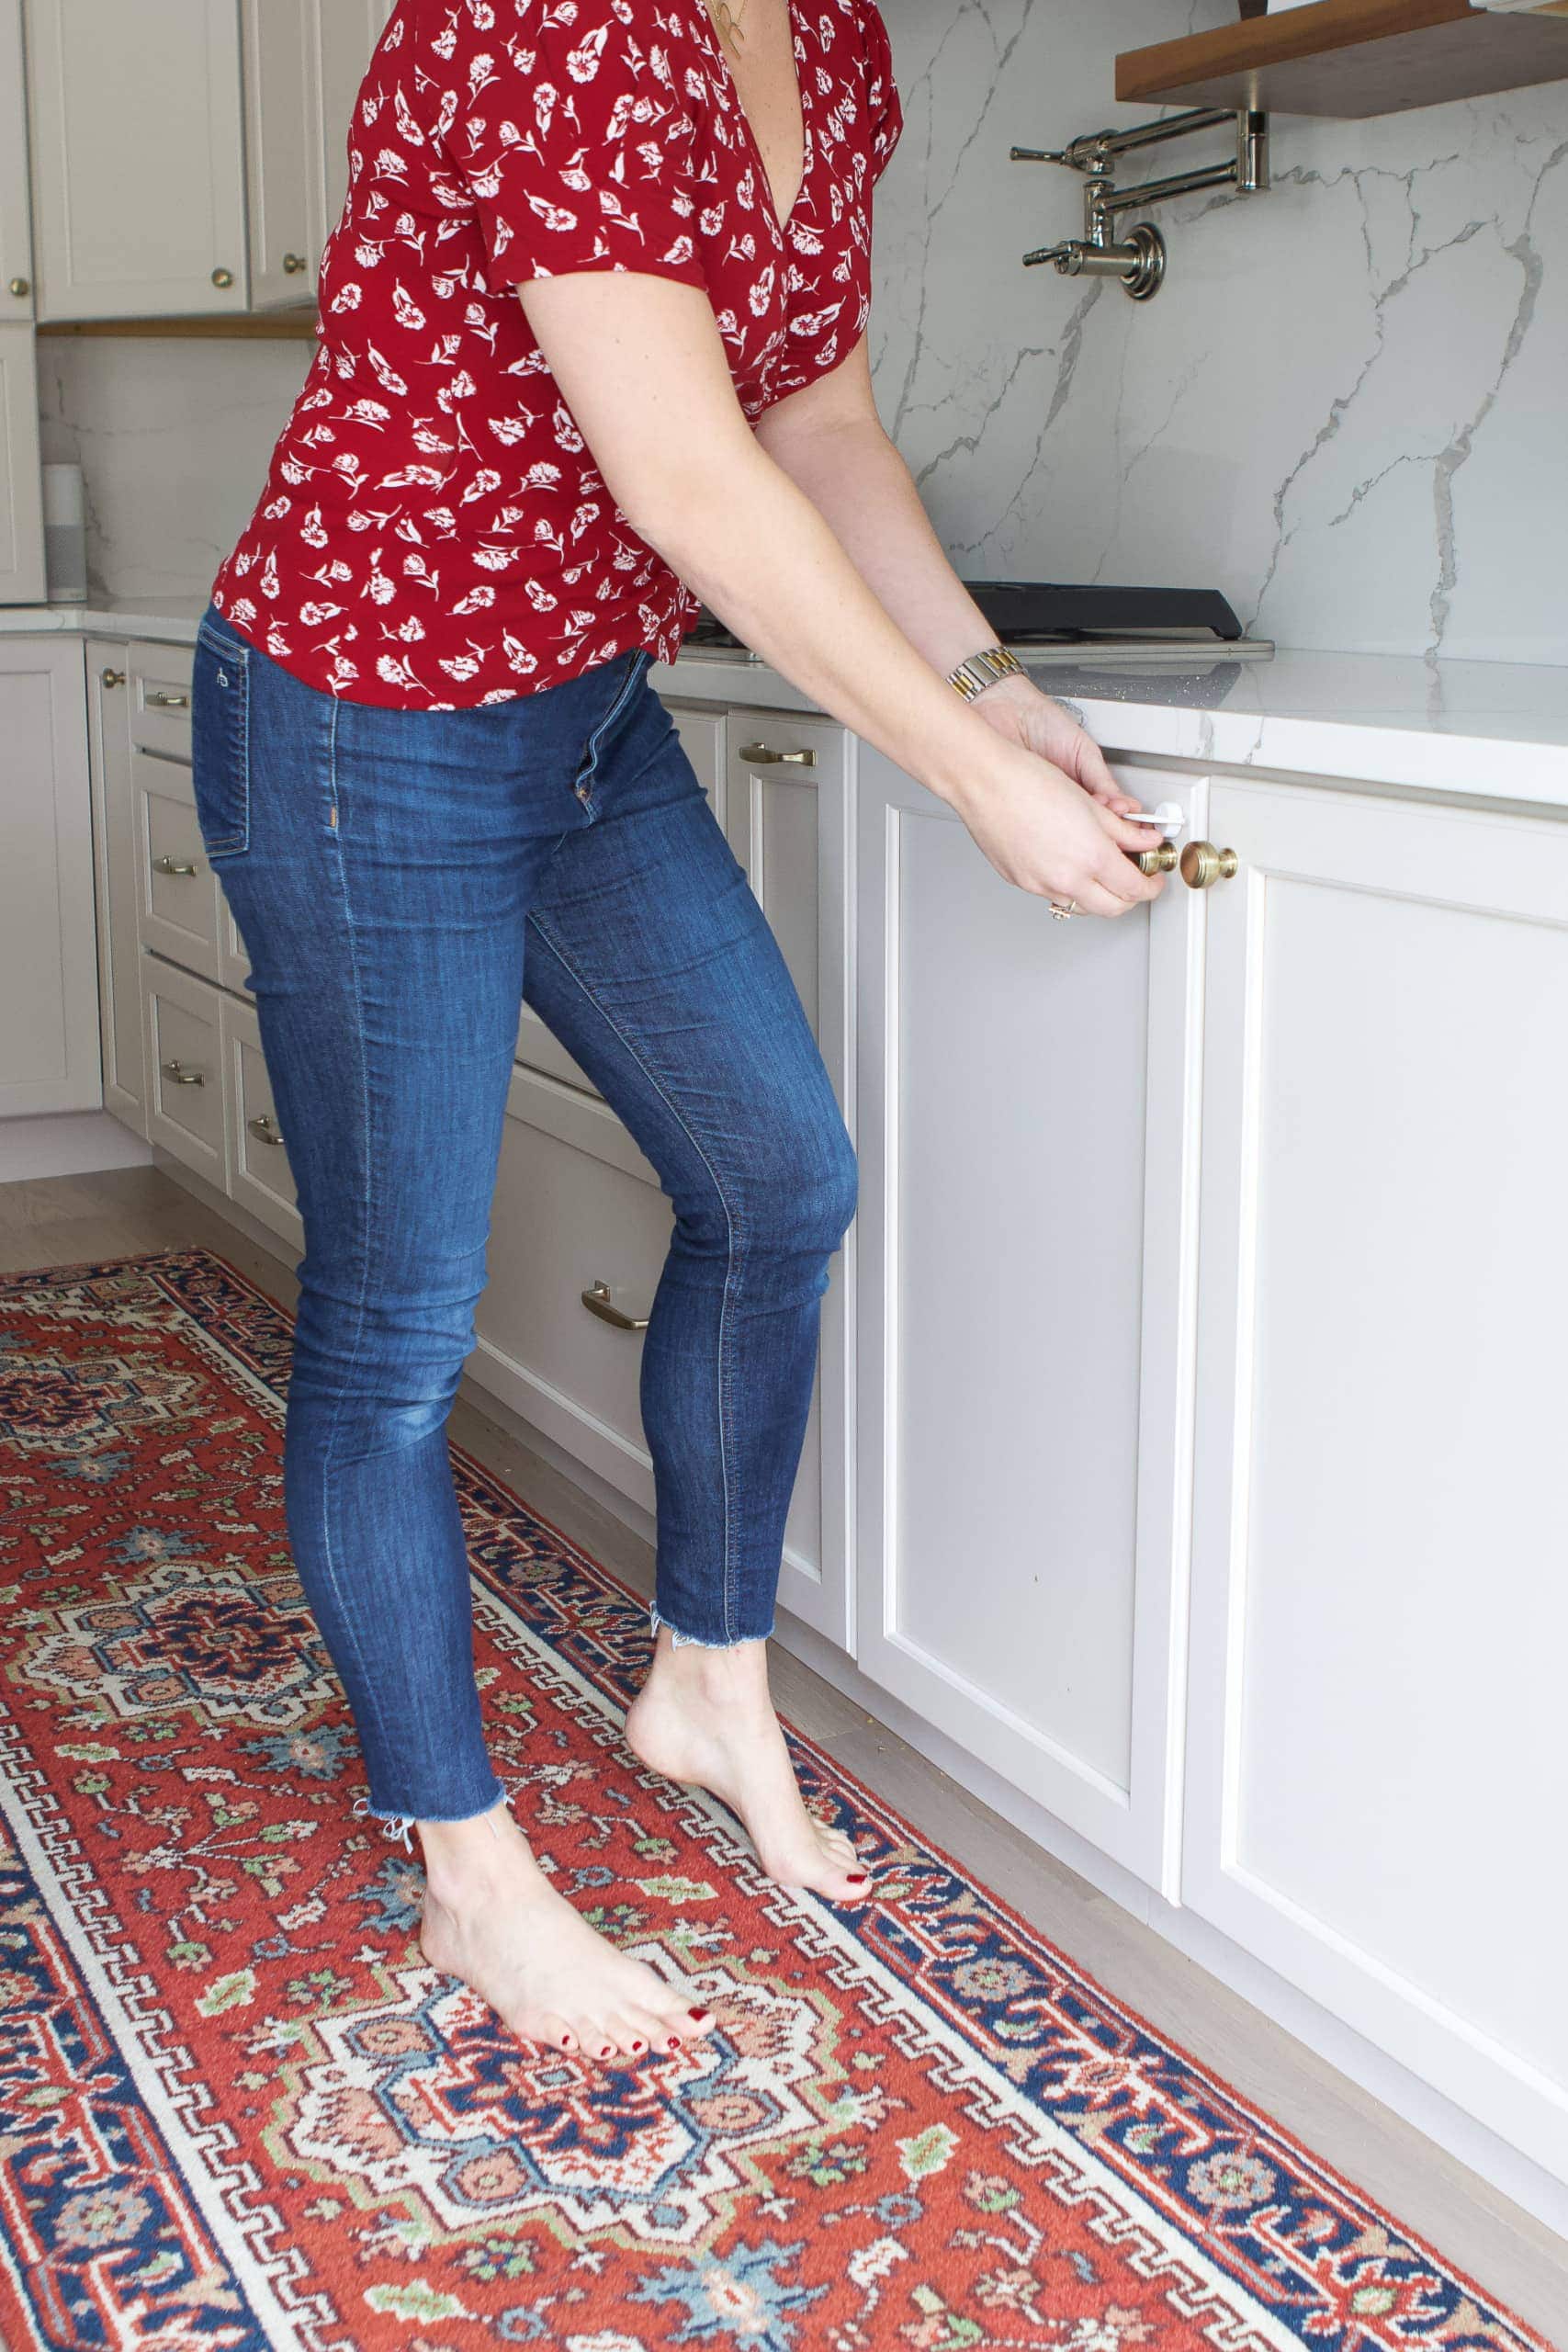
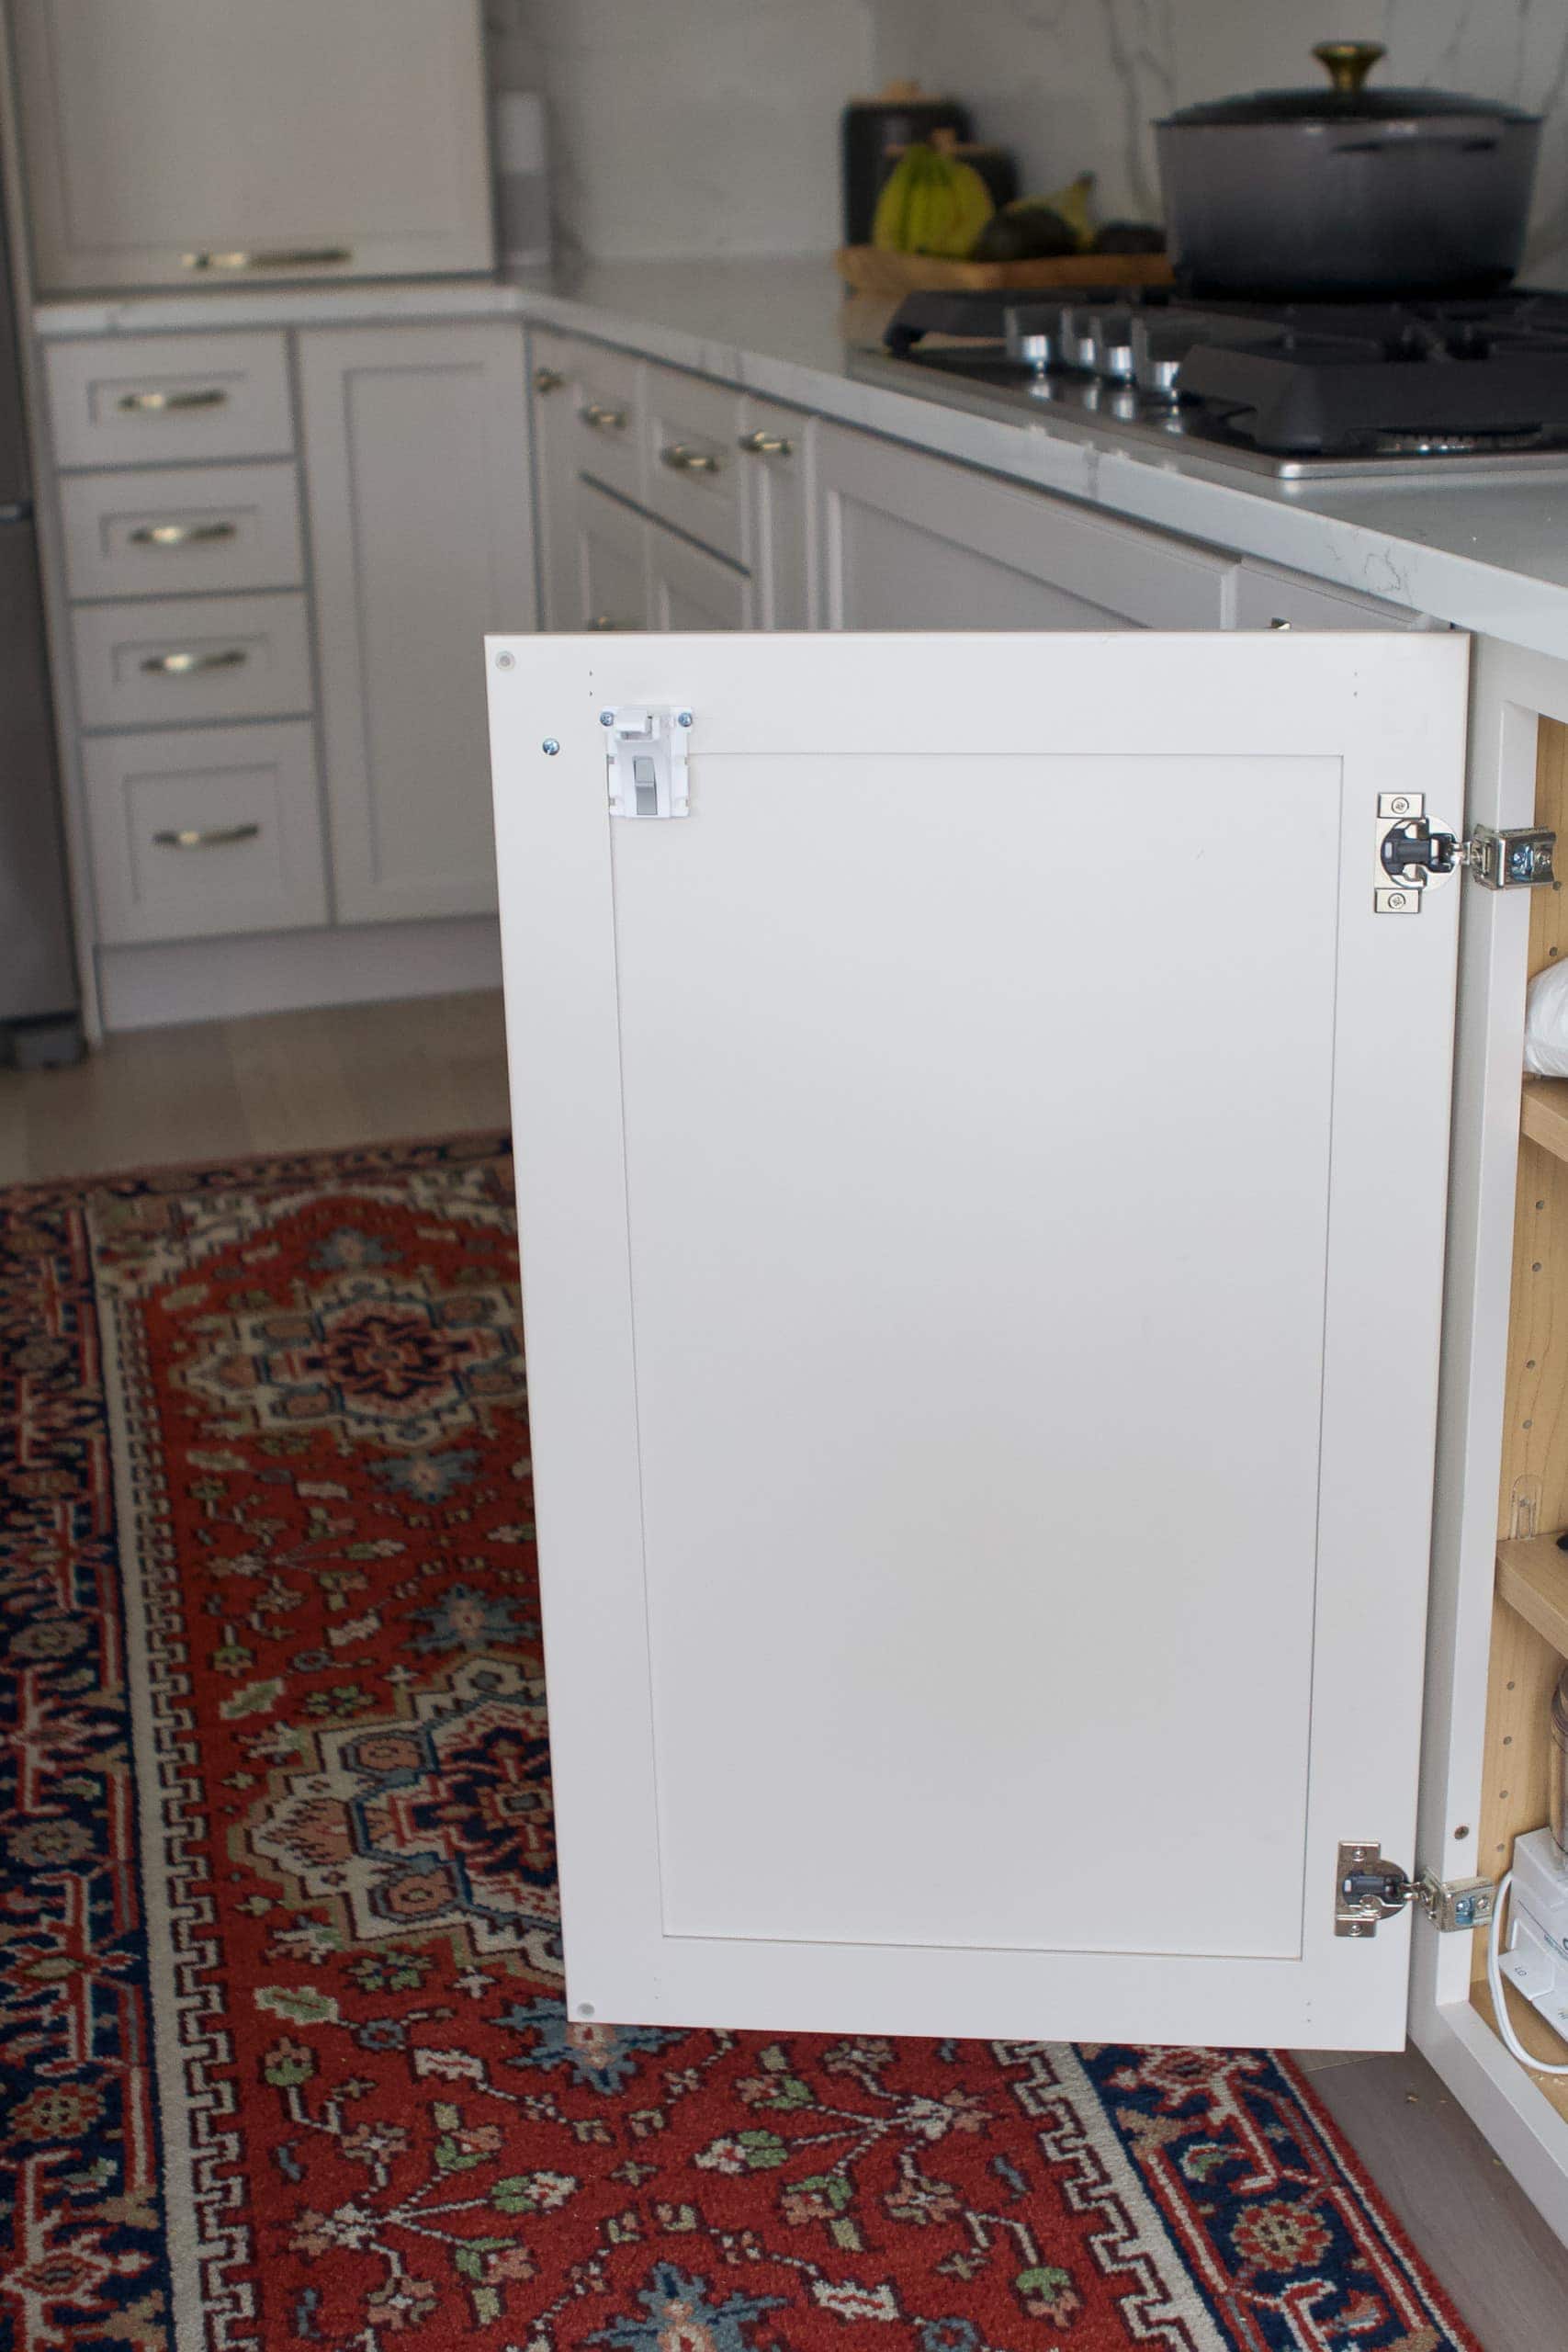
We ended up choosing these magnetic cabinet and drawer locks. I love them because you can’t see them from the outside and they’re magnetic. 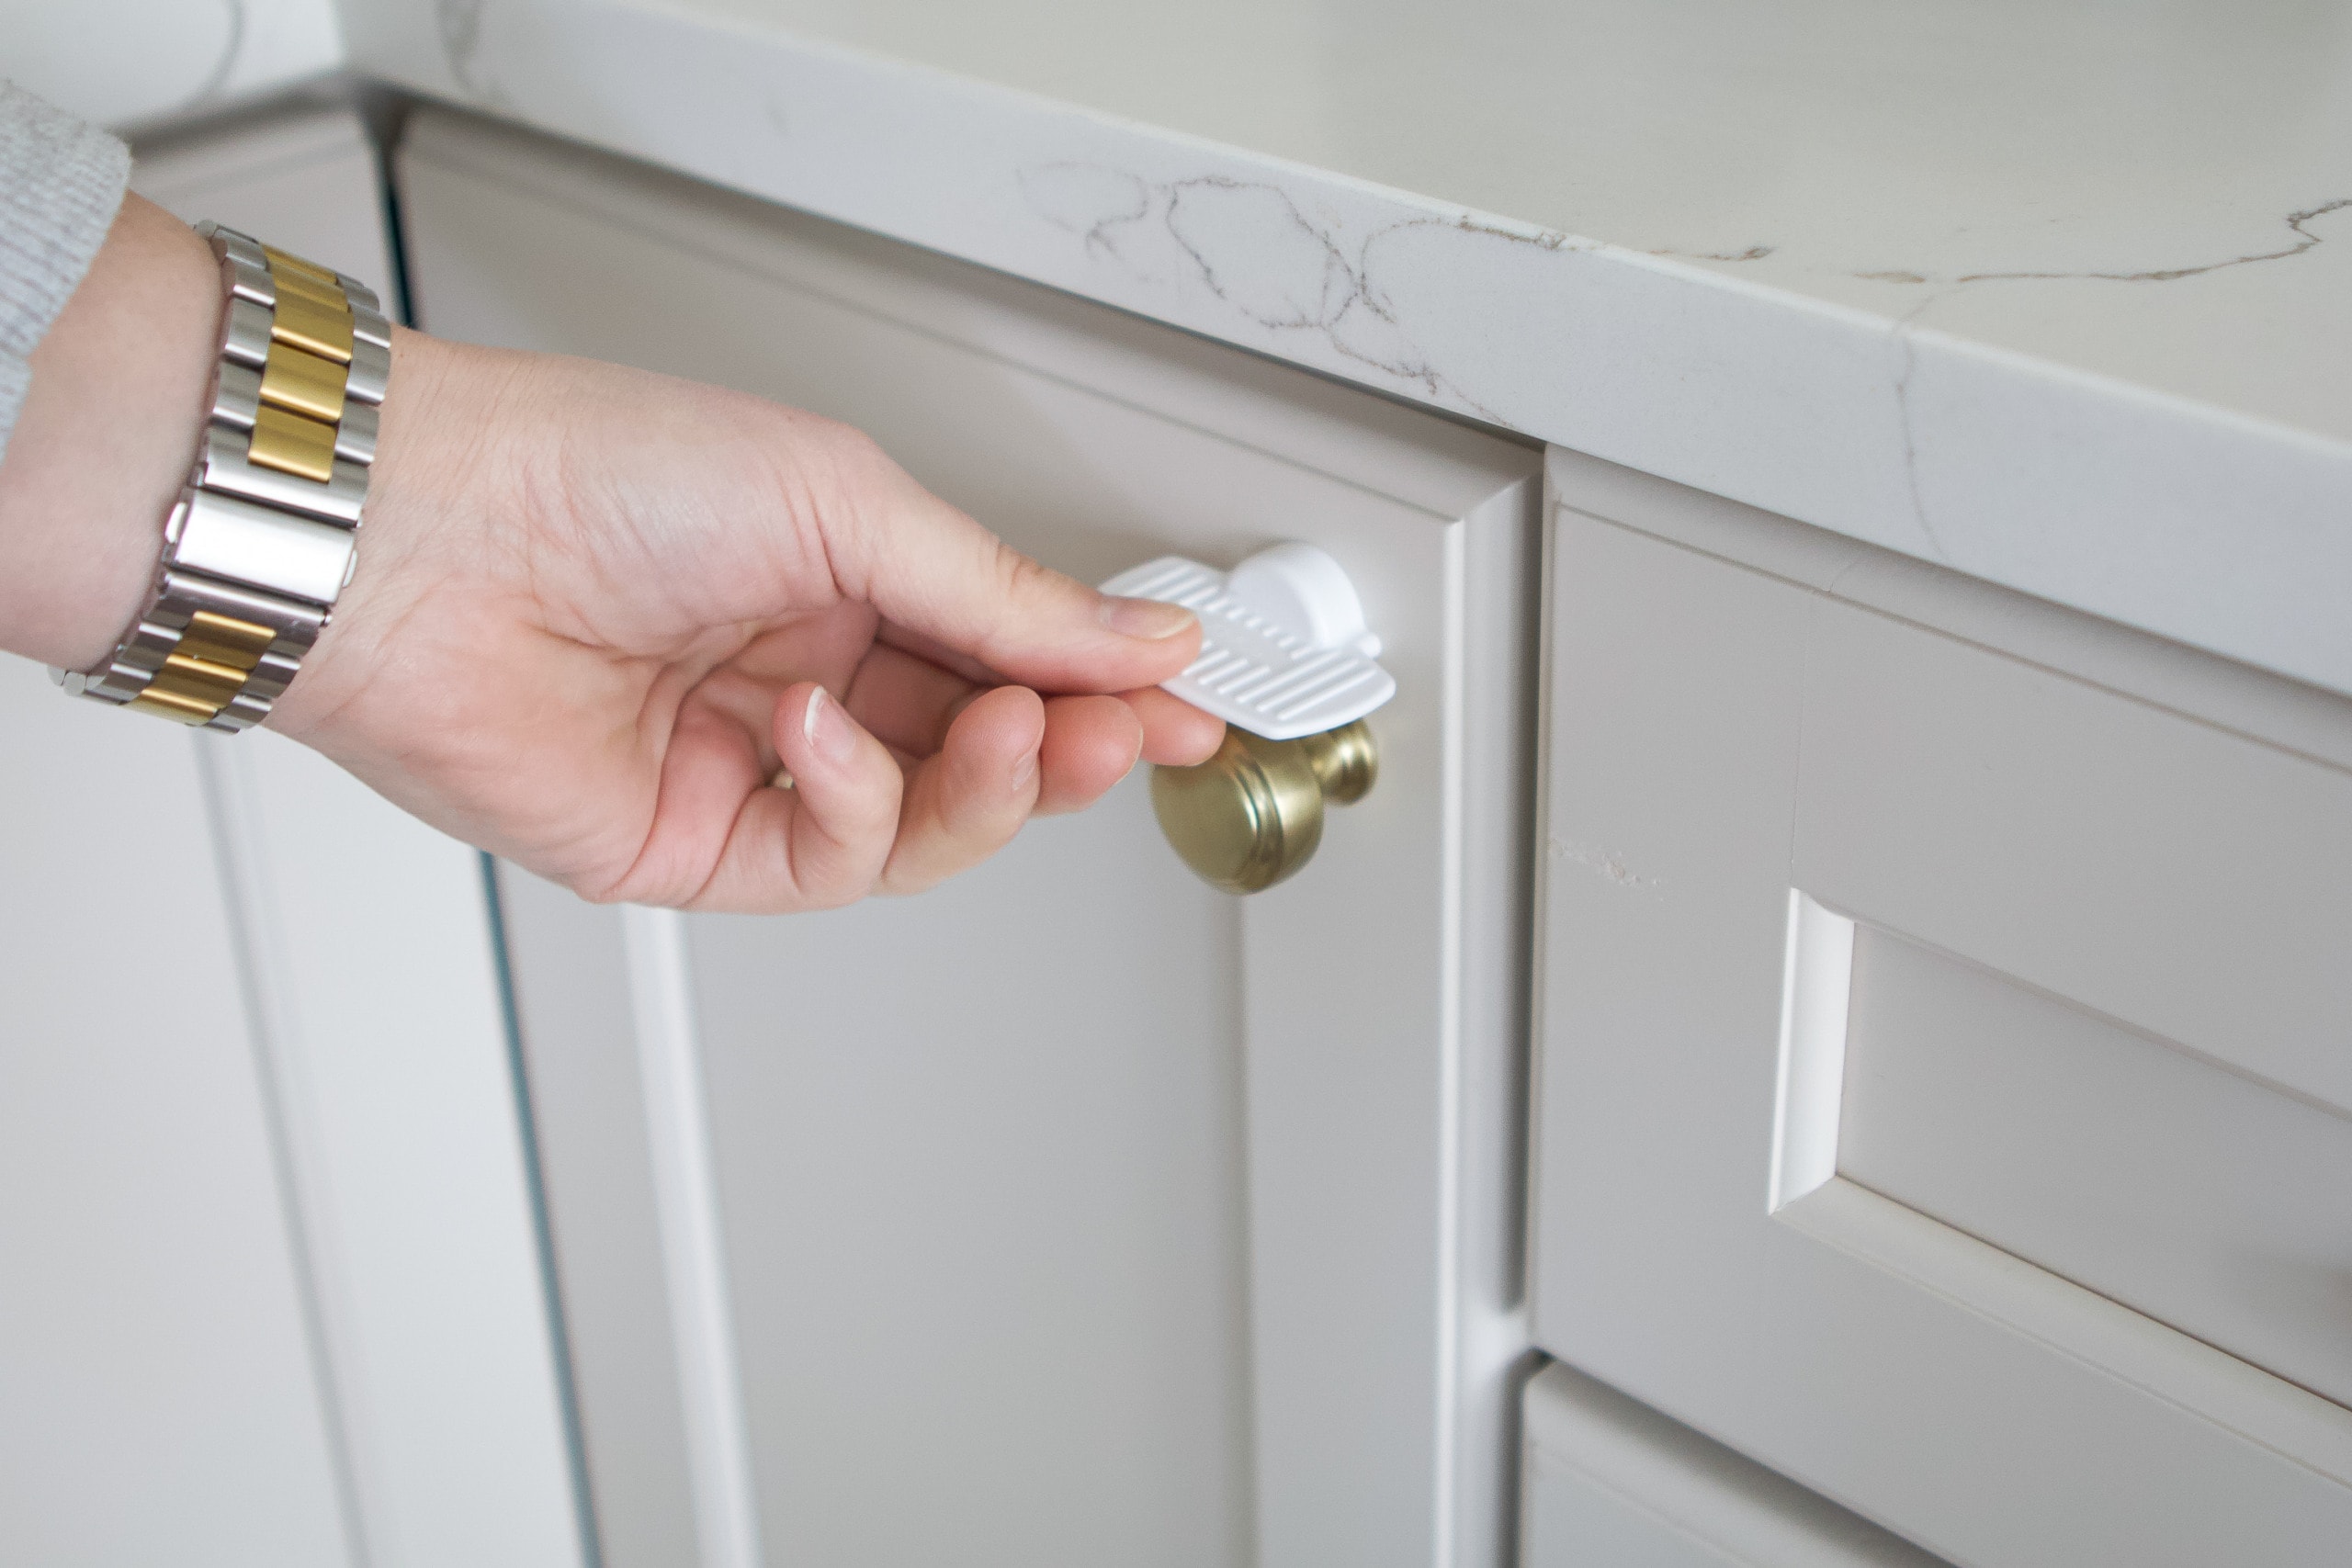
The locks come with a little magnet “key” and you simply put it up to the cabinet to unlock it right through the cabinet front. 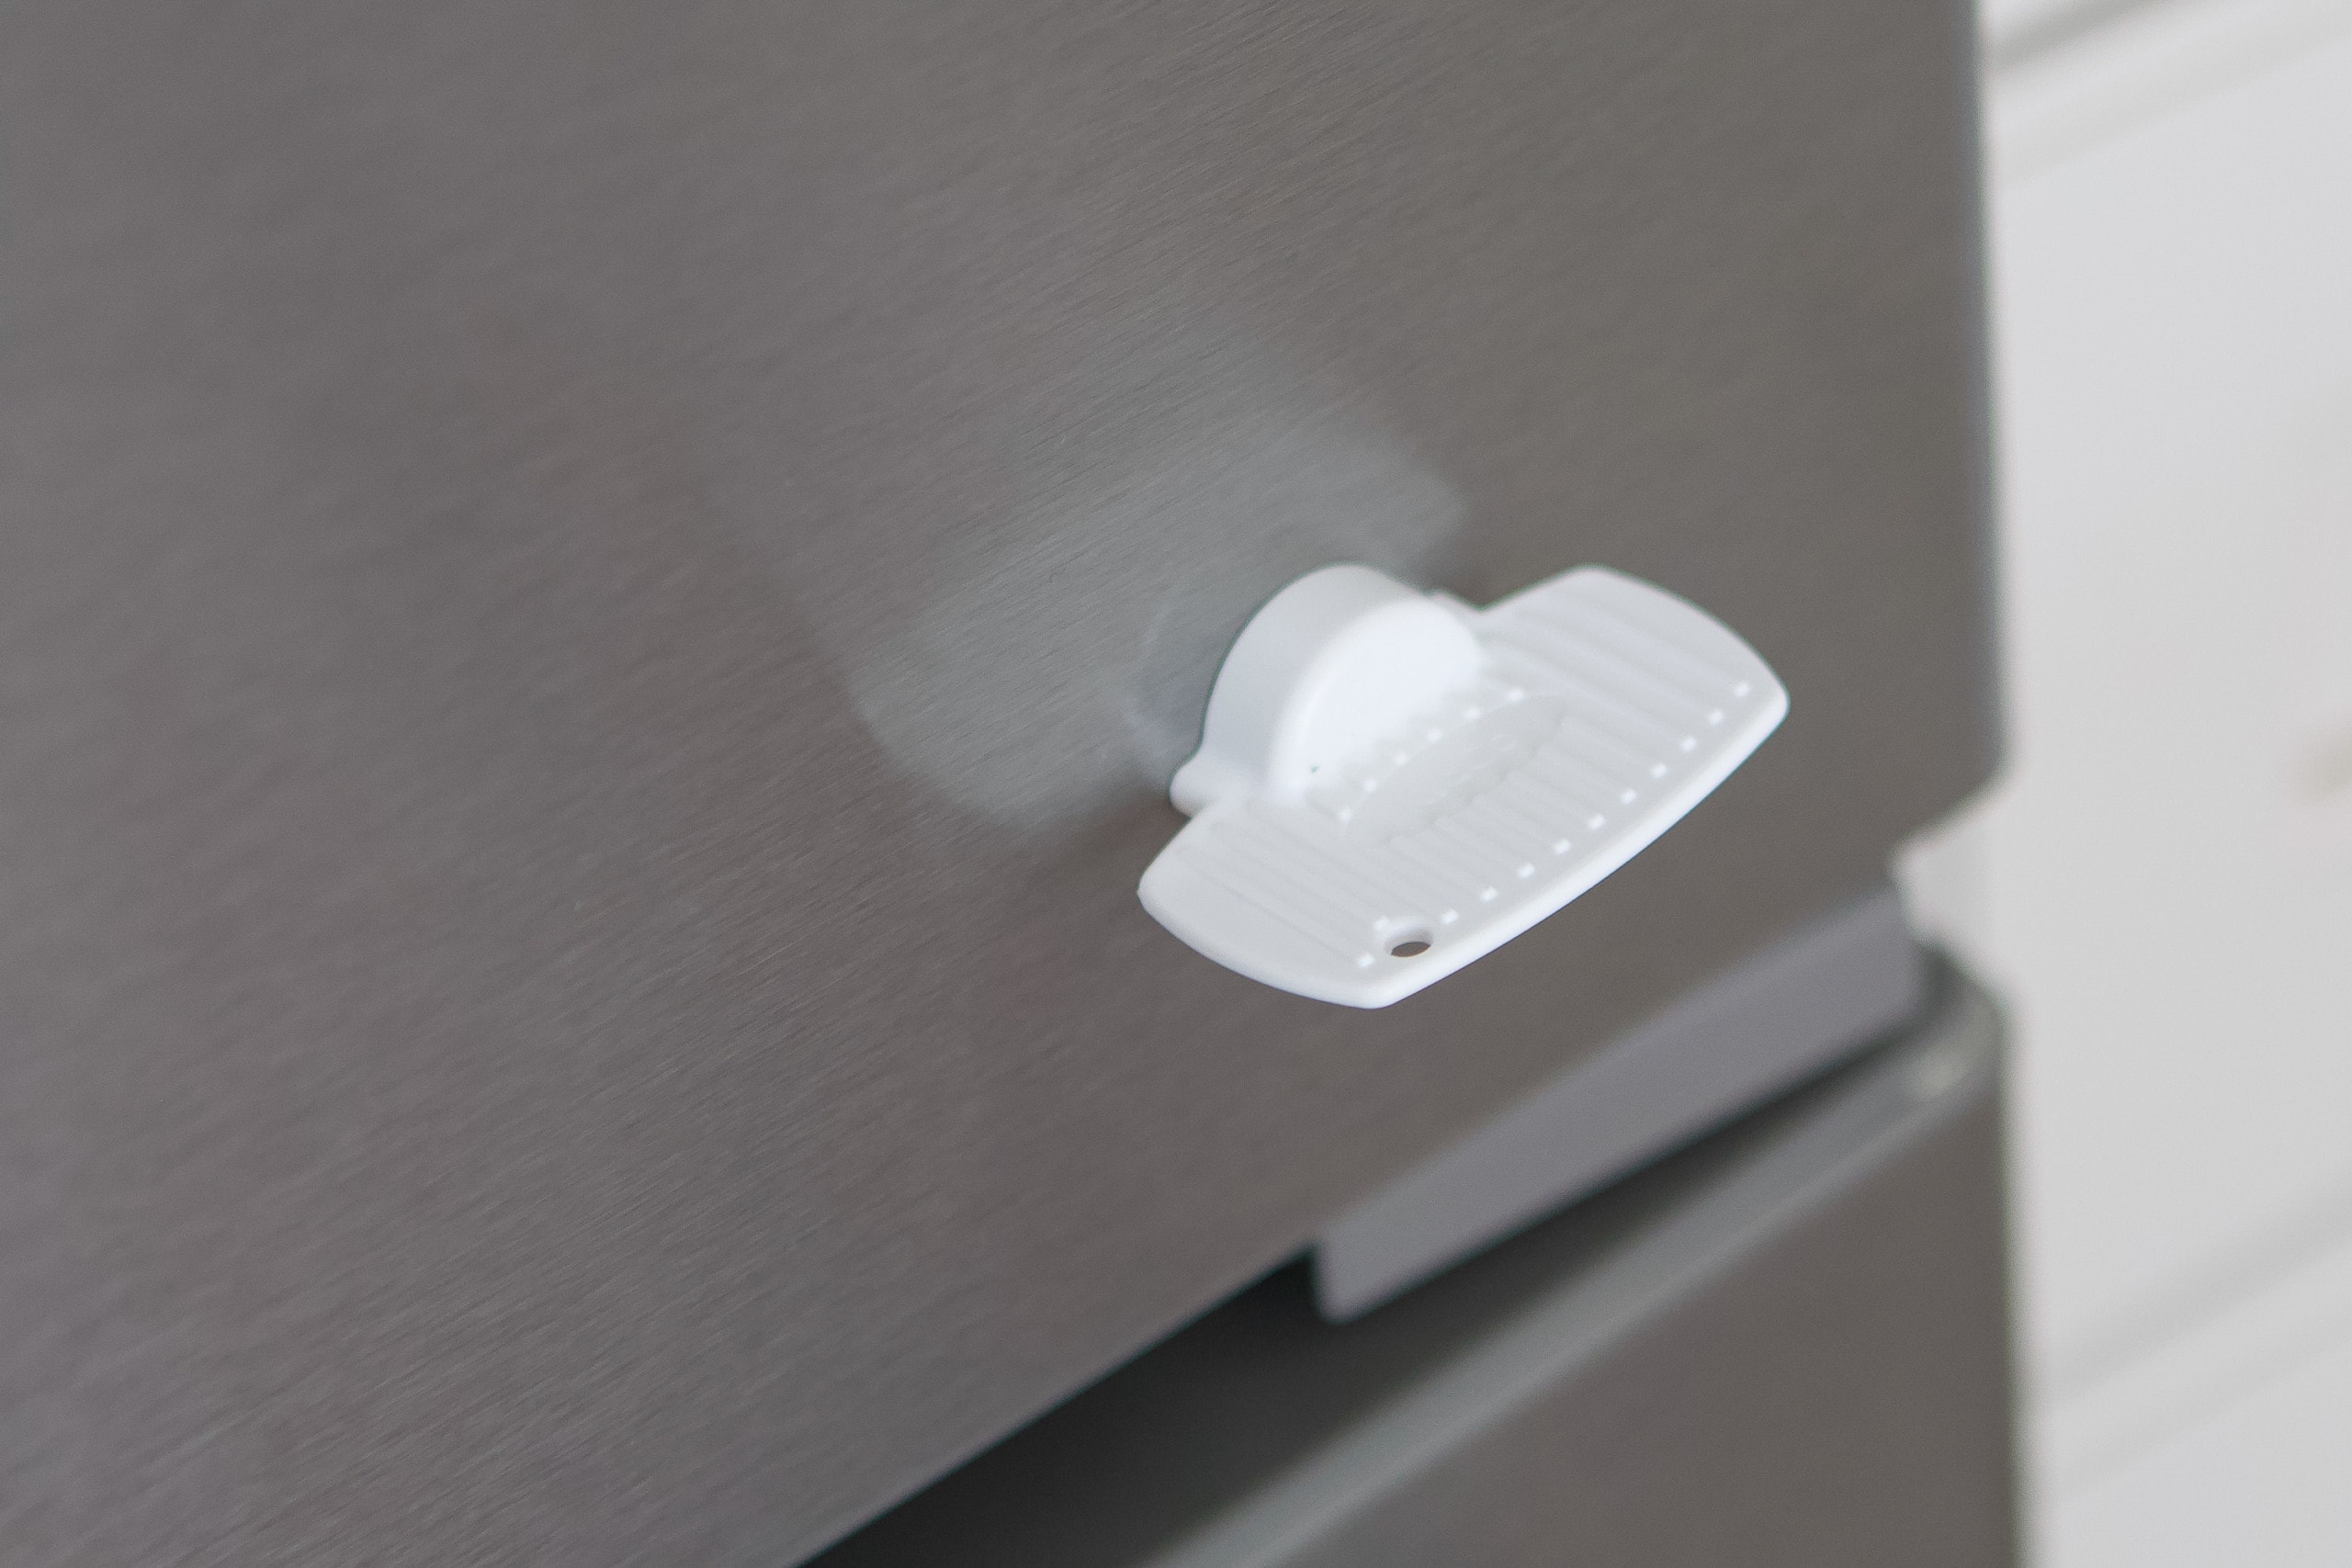
Now, these keys are pretty much gold in our house (ha!), so we keep one attached to the fridge and one on the oven in the kitchen, and more of them in various areas around the house. That way they’re always within reach.
I’m not gonna lie, it has been an adjustment for the grown-ups in this house, but we are slowly getting better at remembering which drawers and cabinets have a lock on them. 
We can also push them into an open position so they don’t automatically lock. This is a lifesaver when we’re working in the kitchen and need to open things up quickly. Then, if Rory is in the room, we can slide them back into the locked position. 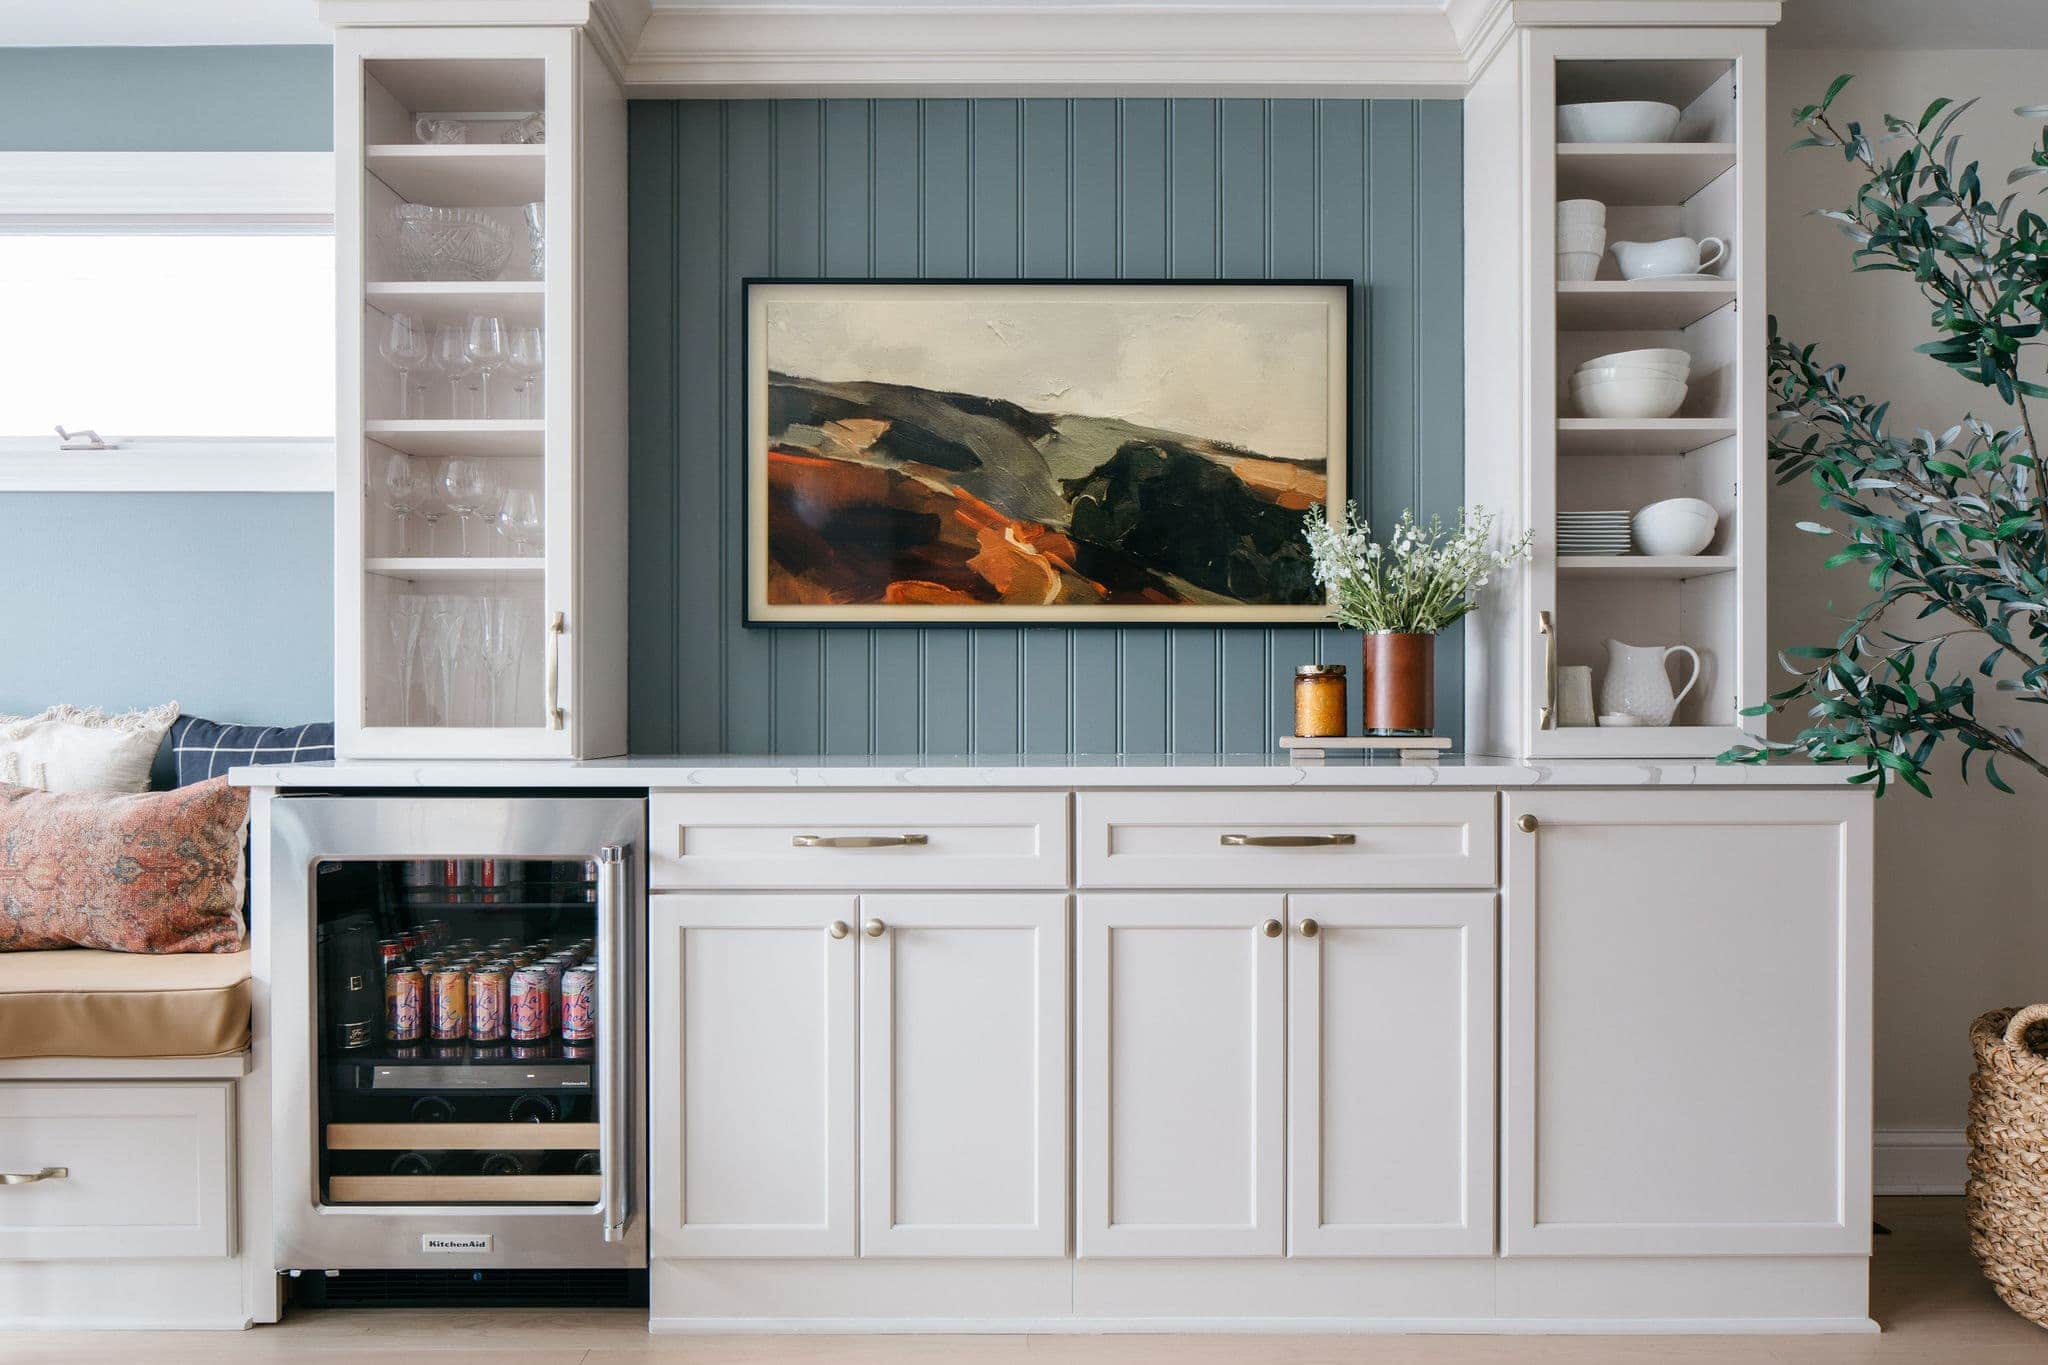
We ended up adding these magnetic cabinet locks throughout the kitchen, our guest bathroom, the laundry room, to the cabinets in Rory’s built-ins, and to a cabinet in the living room. It’s safe to say we have our magnet keys in every room in the house!
Door Locks
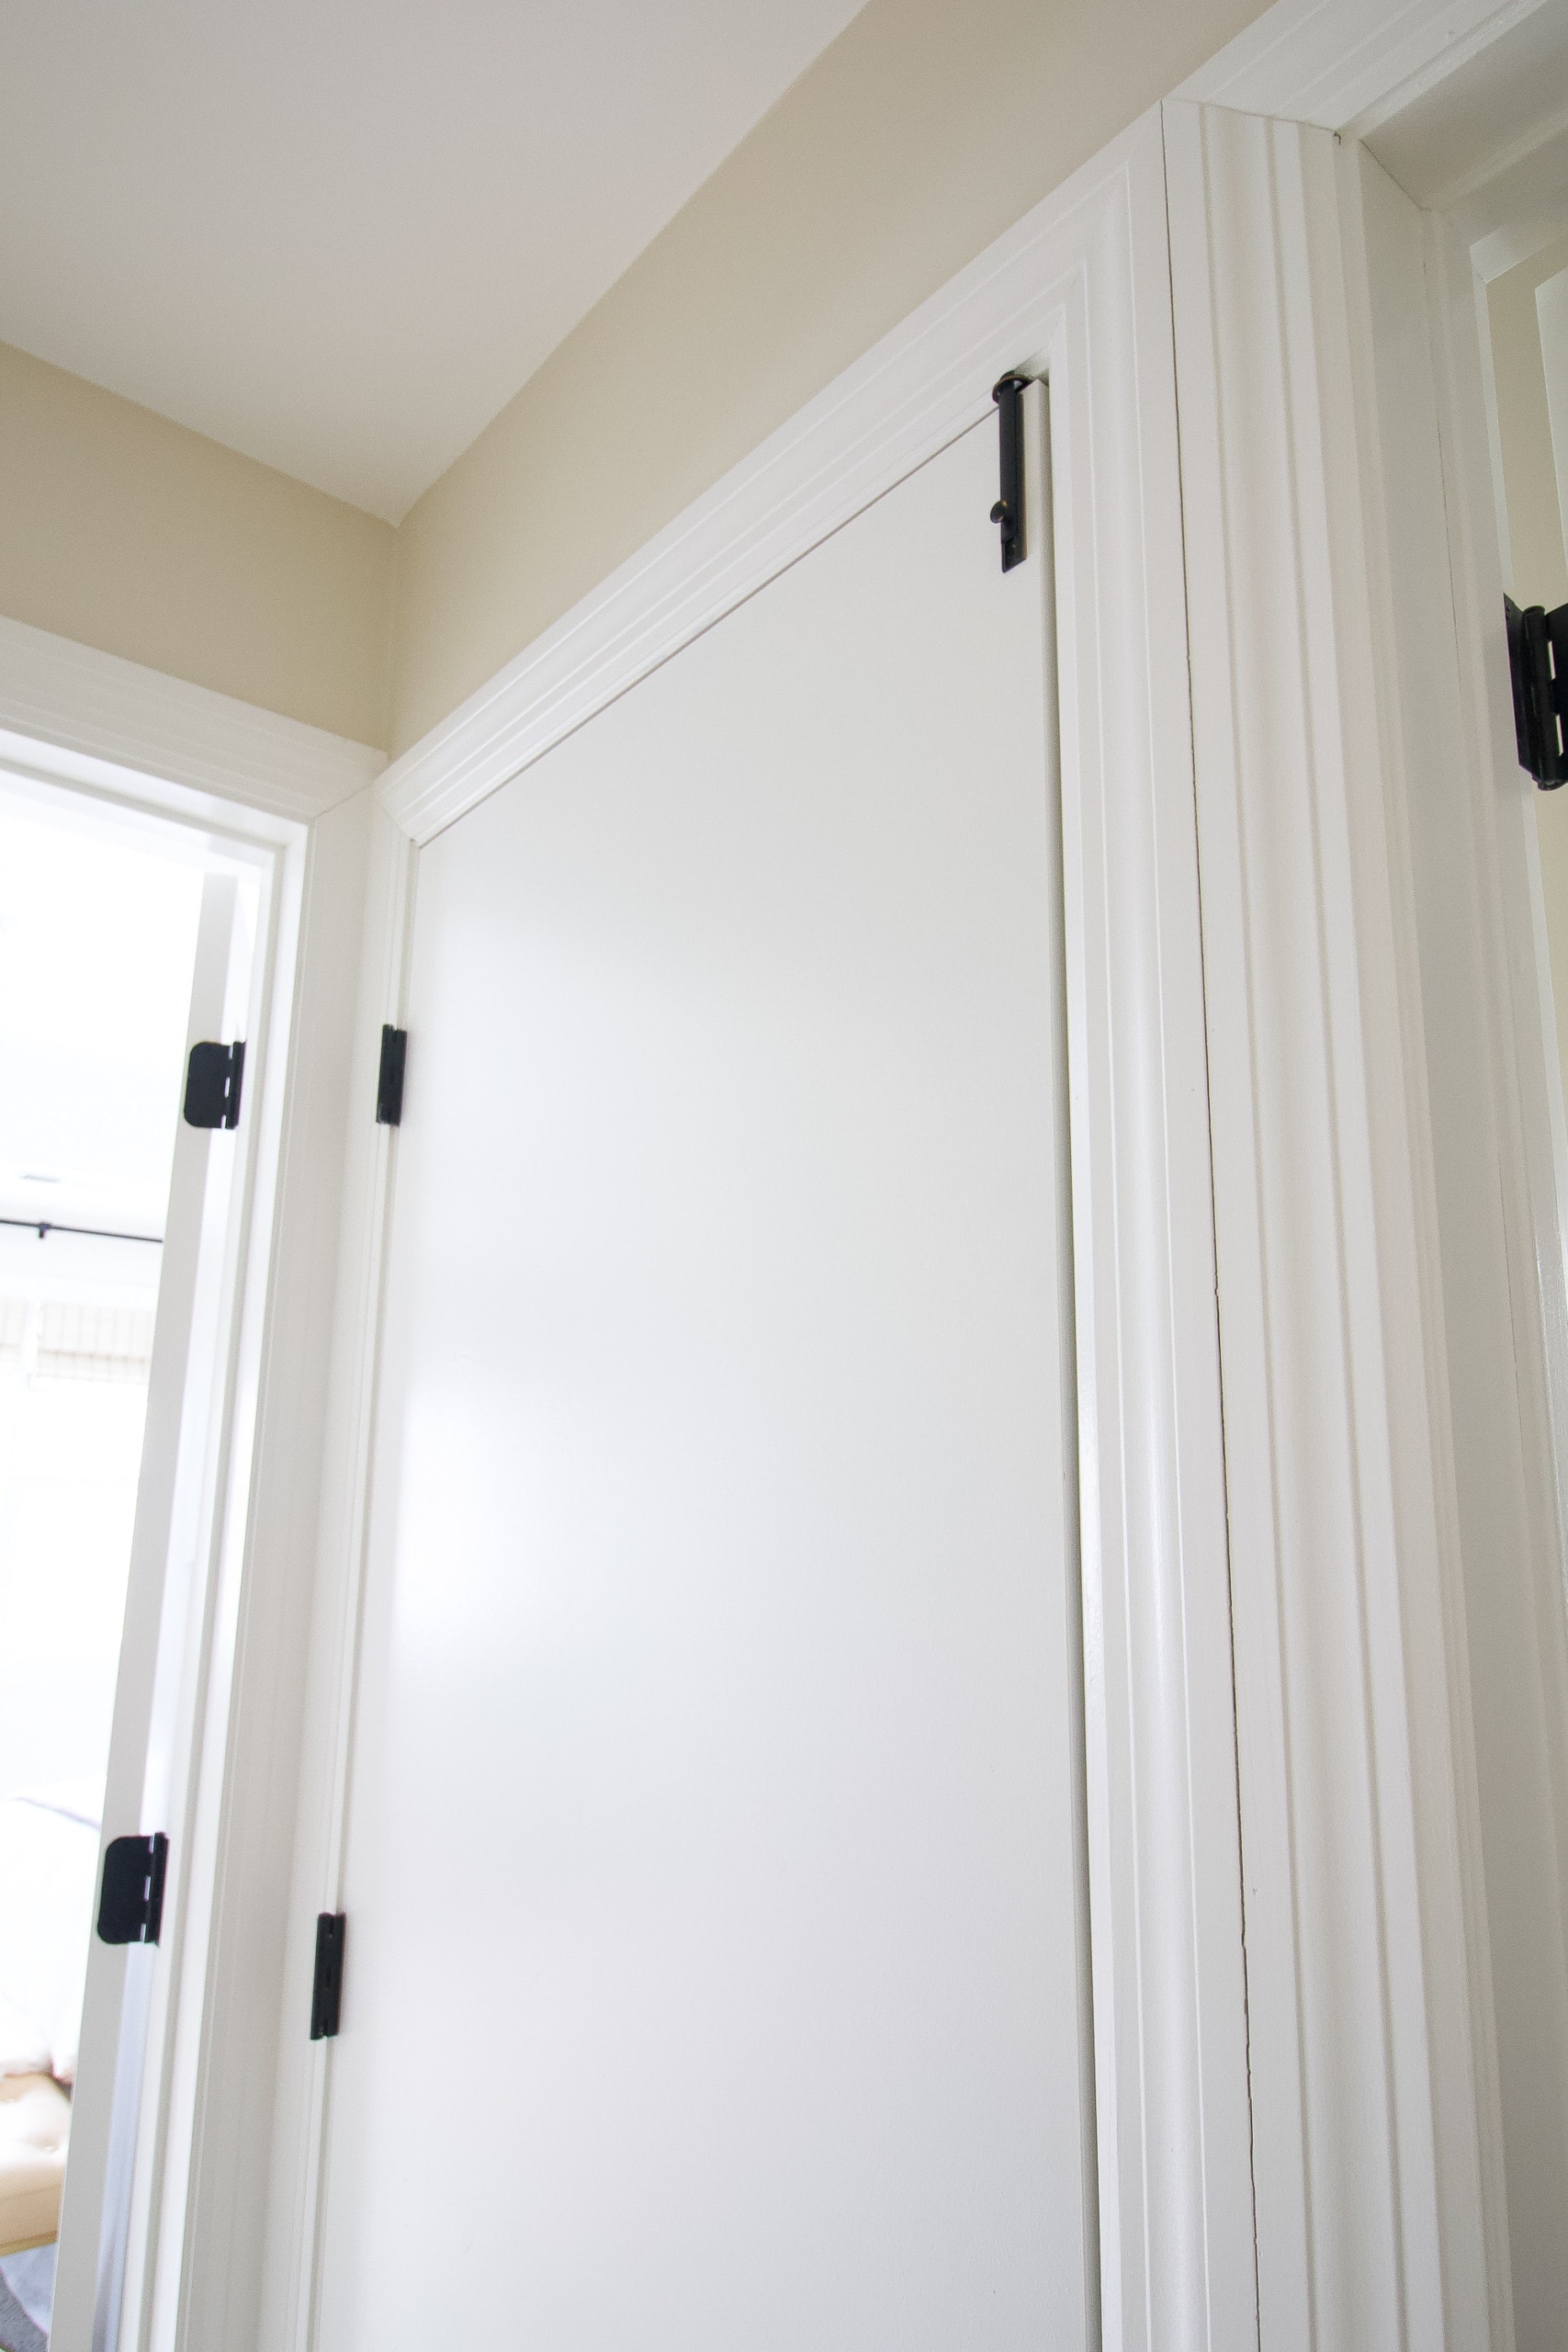
Rory is a long way away from reaching the door knobs in our house, but we wanted to go ahead and put door locks on our furnace room, medicine closet in the bathroom, and the storage rooms in the basement. 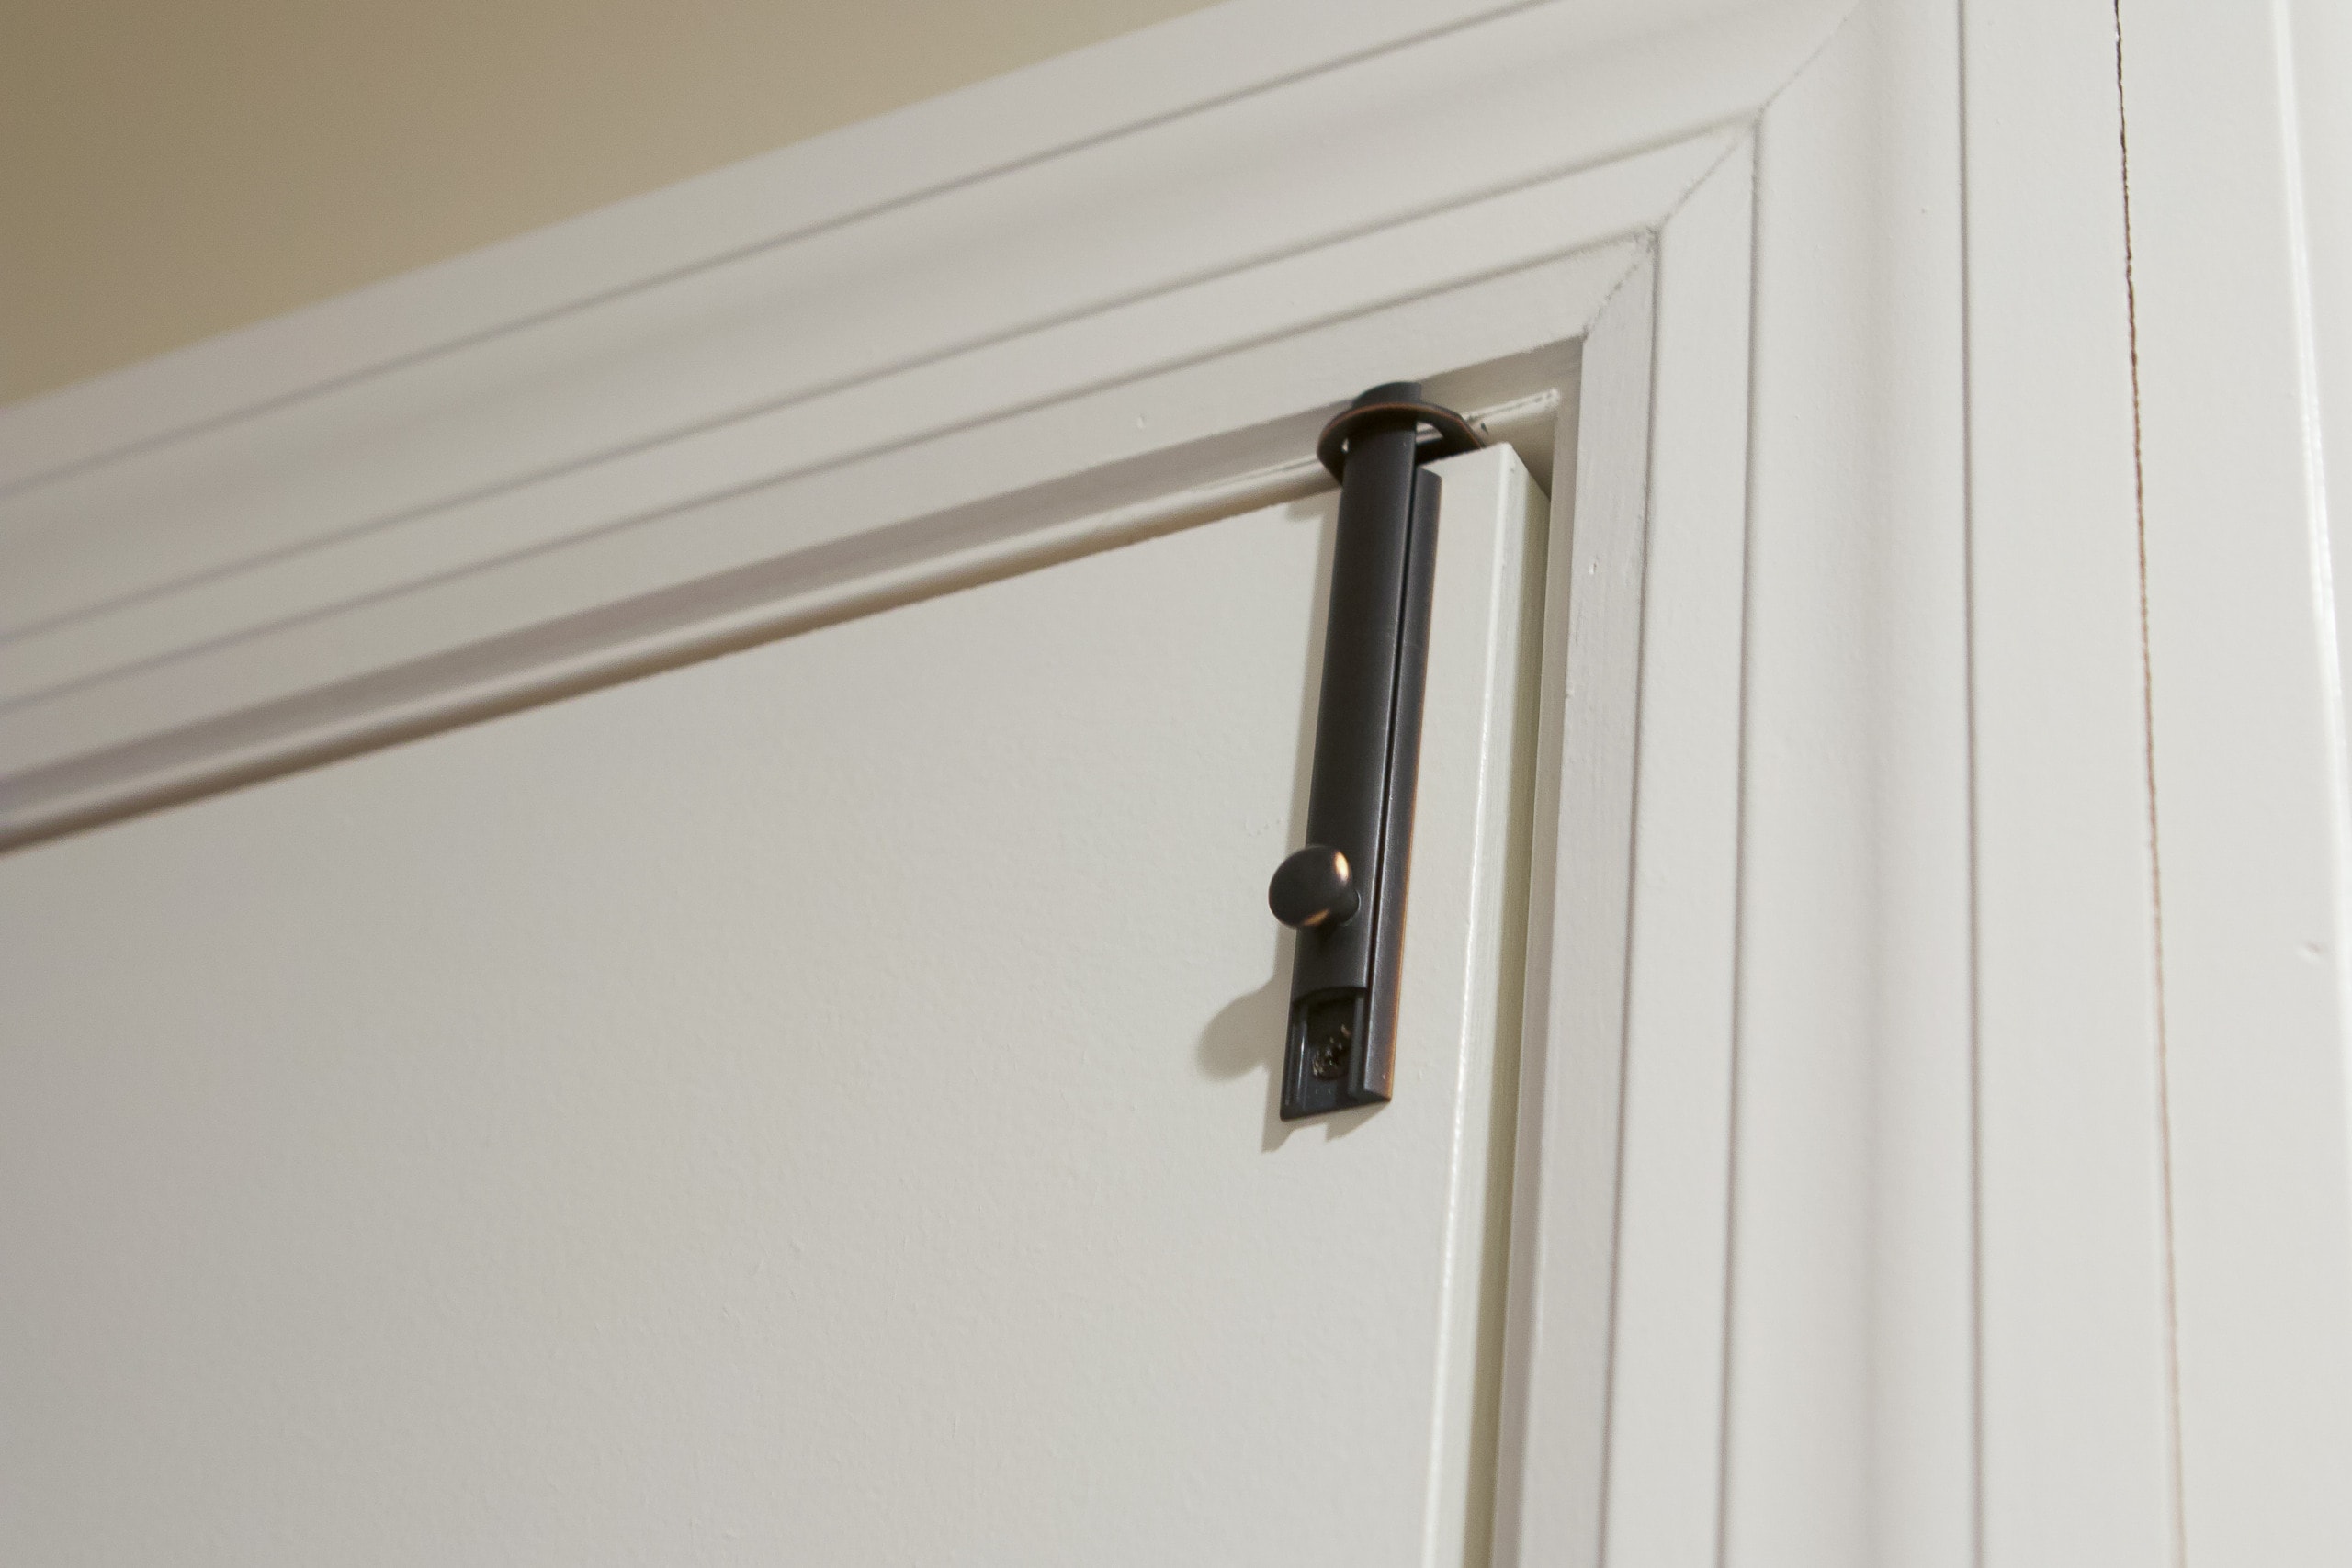
These are black door locks, located at the top of the each door, that slide down to unlock. They are super easy to use and they match our black door hardware nicely.
Retractable Baby Gate
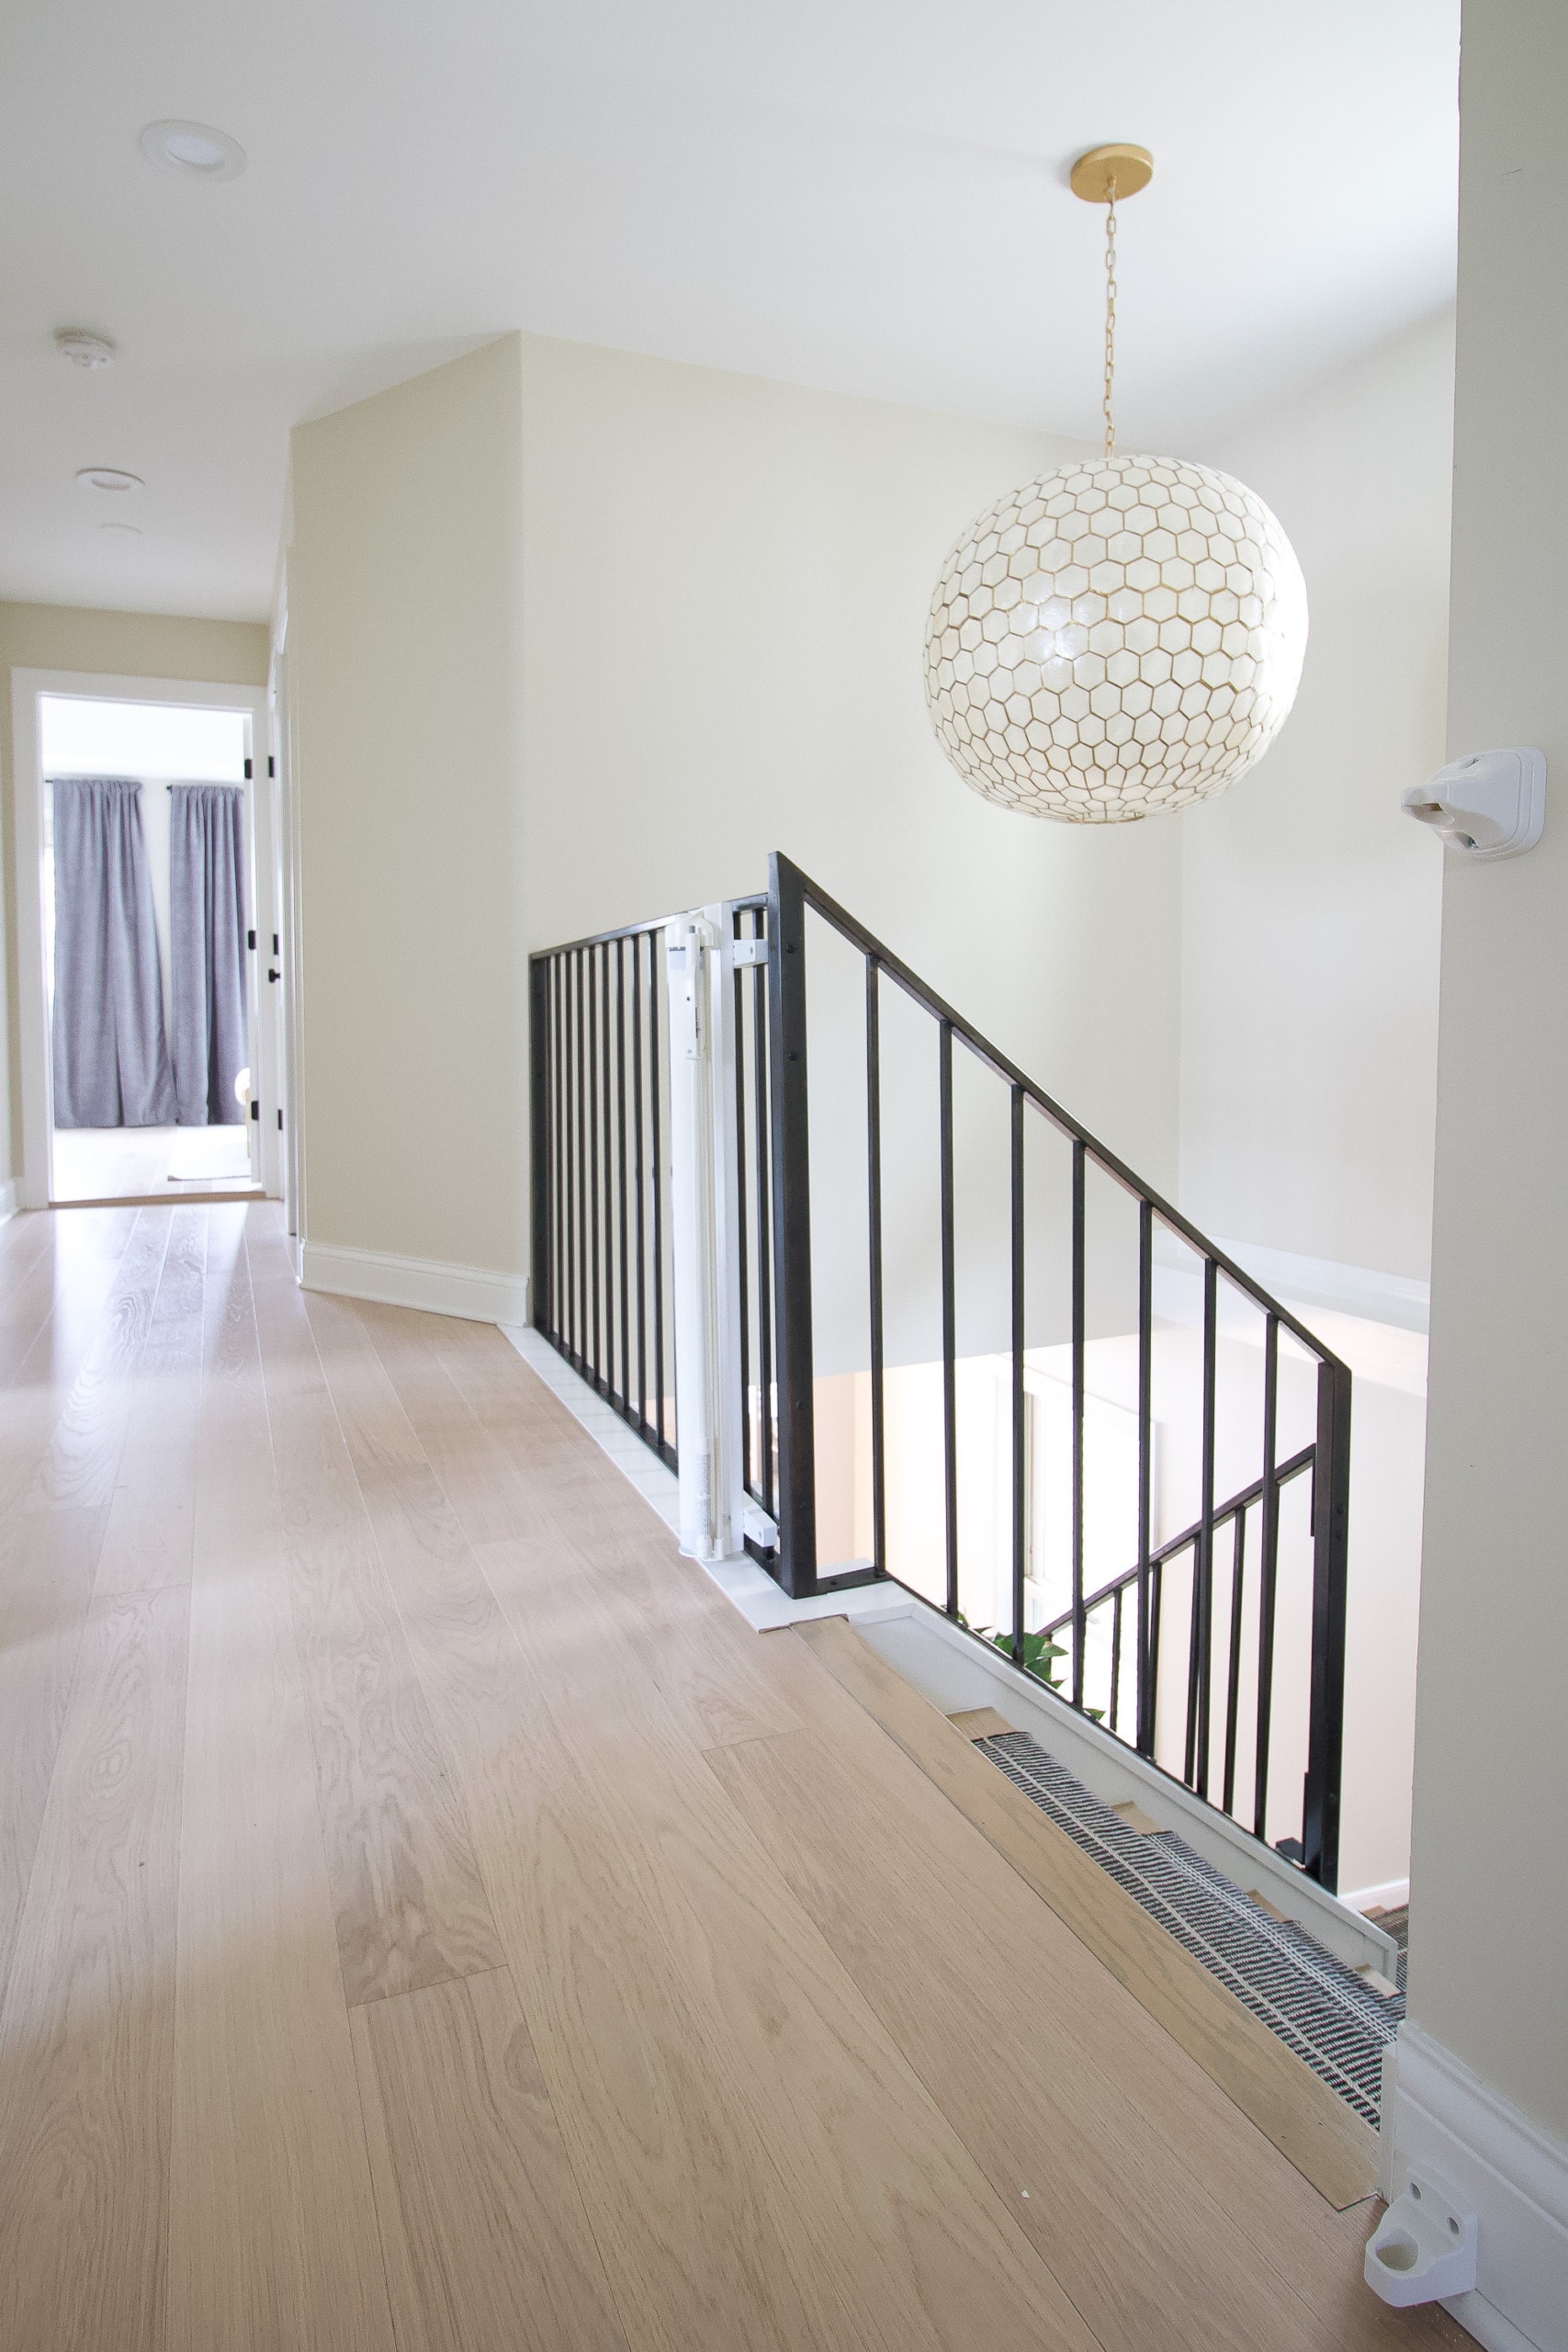

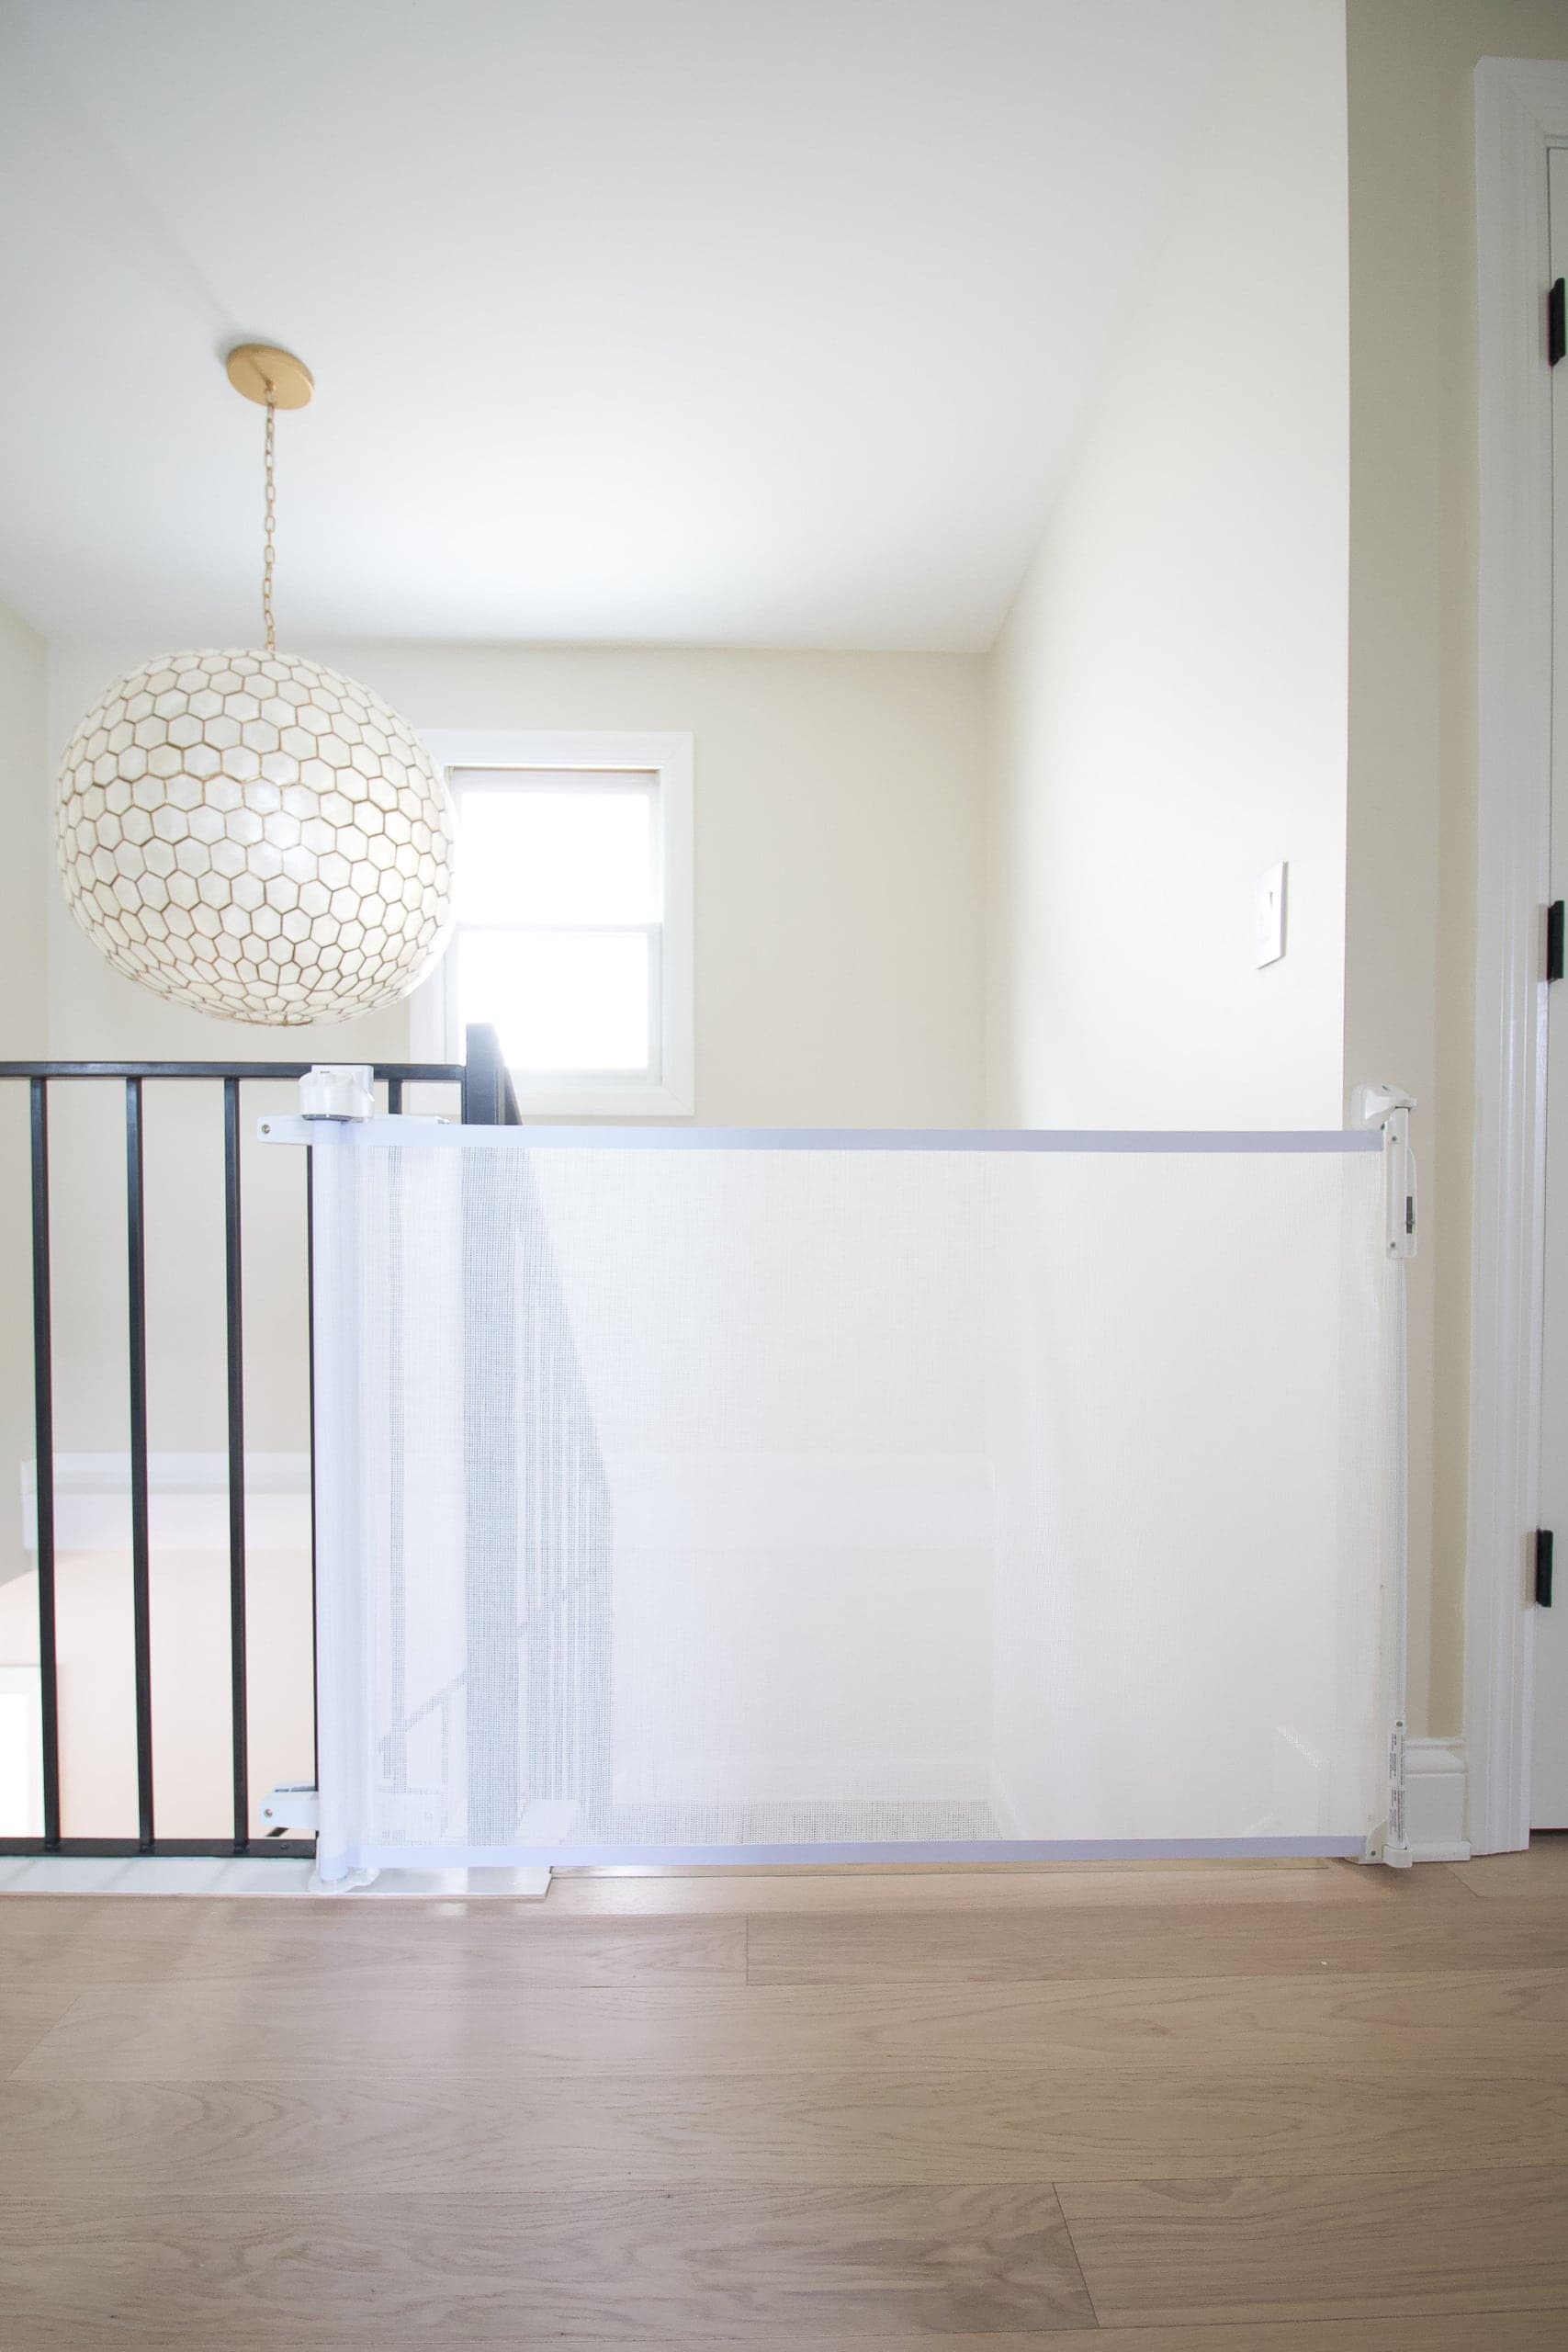
Okay, now the biggest thing I was worried about was the stair gate. We absolutely love our custom metal railing and really didn’t think about babyproofing when we designed it. Oops. I looked into traditional gates and couldn’t figure out the best way to attach them to the metal and the wall. In the end, we decided to go with this retractable baby gate from KidCo at the top of our stairs. 
The gate attaches directly to our metal spindles and then the other side is attached to the studs of the wall. It’s super secure and isn’t going anywhere! I’m happy we have a retractable one, not only because it somewhat disappears when it’s open, but because it’s a lot easier getting through when holding Rory! 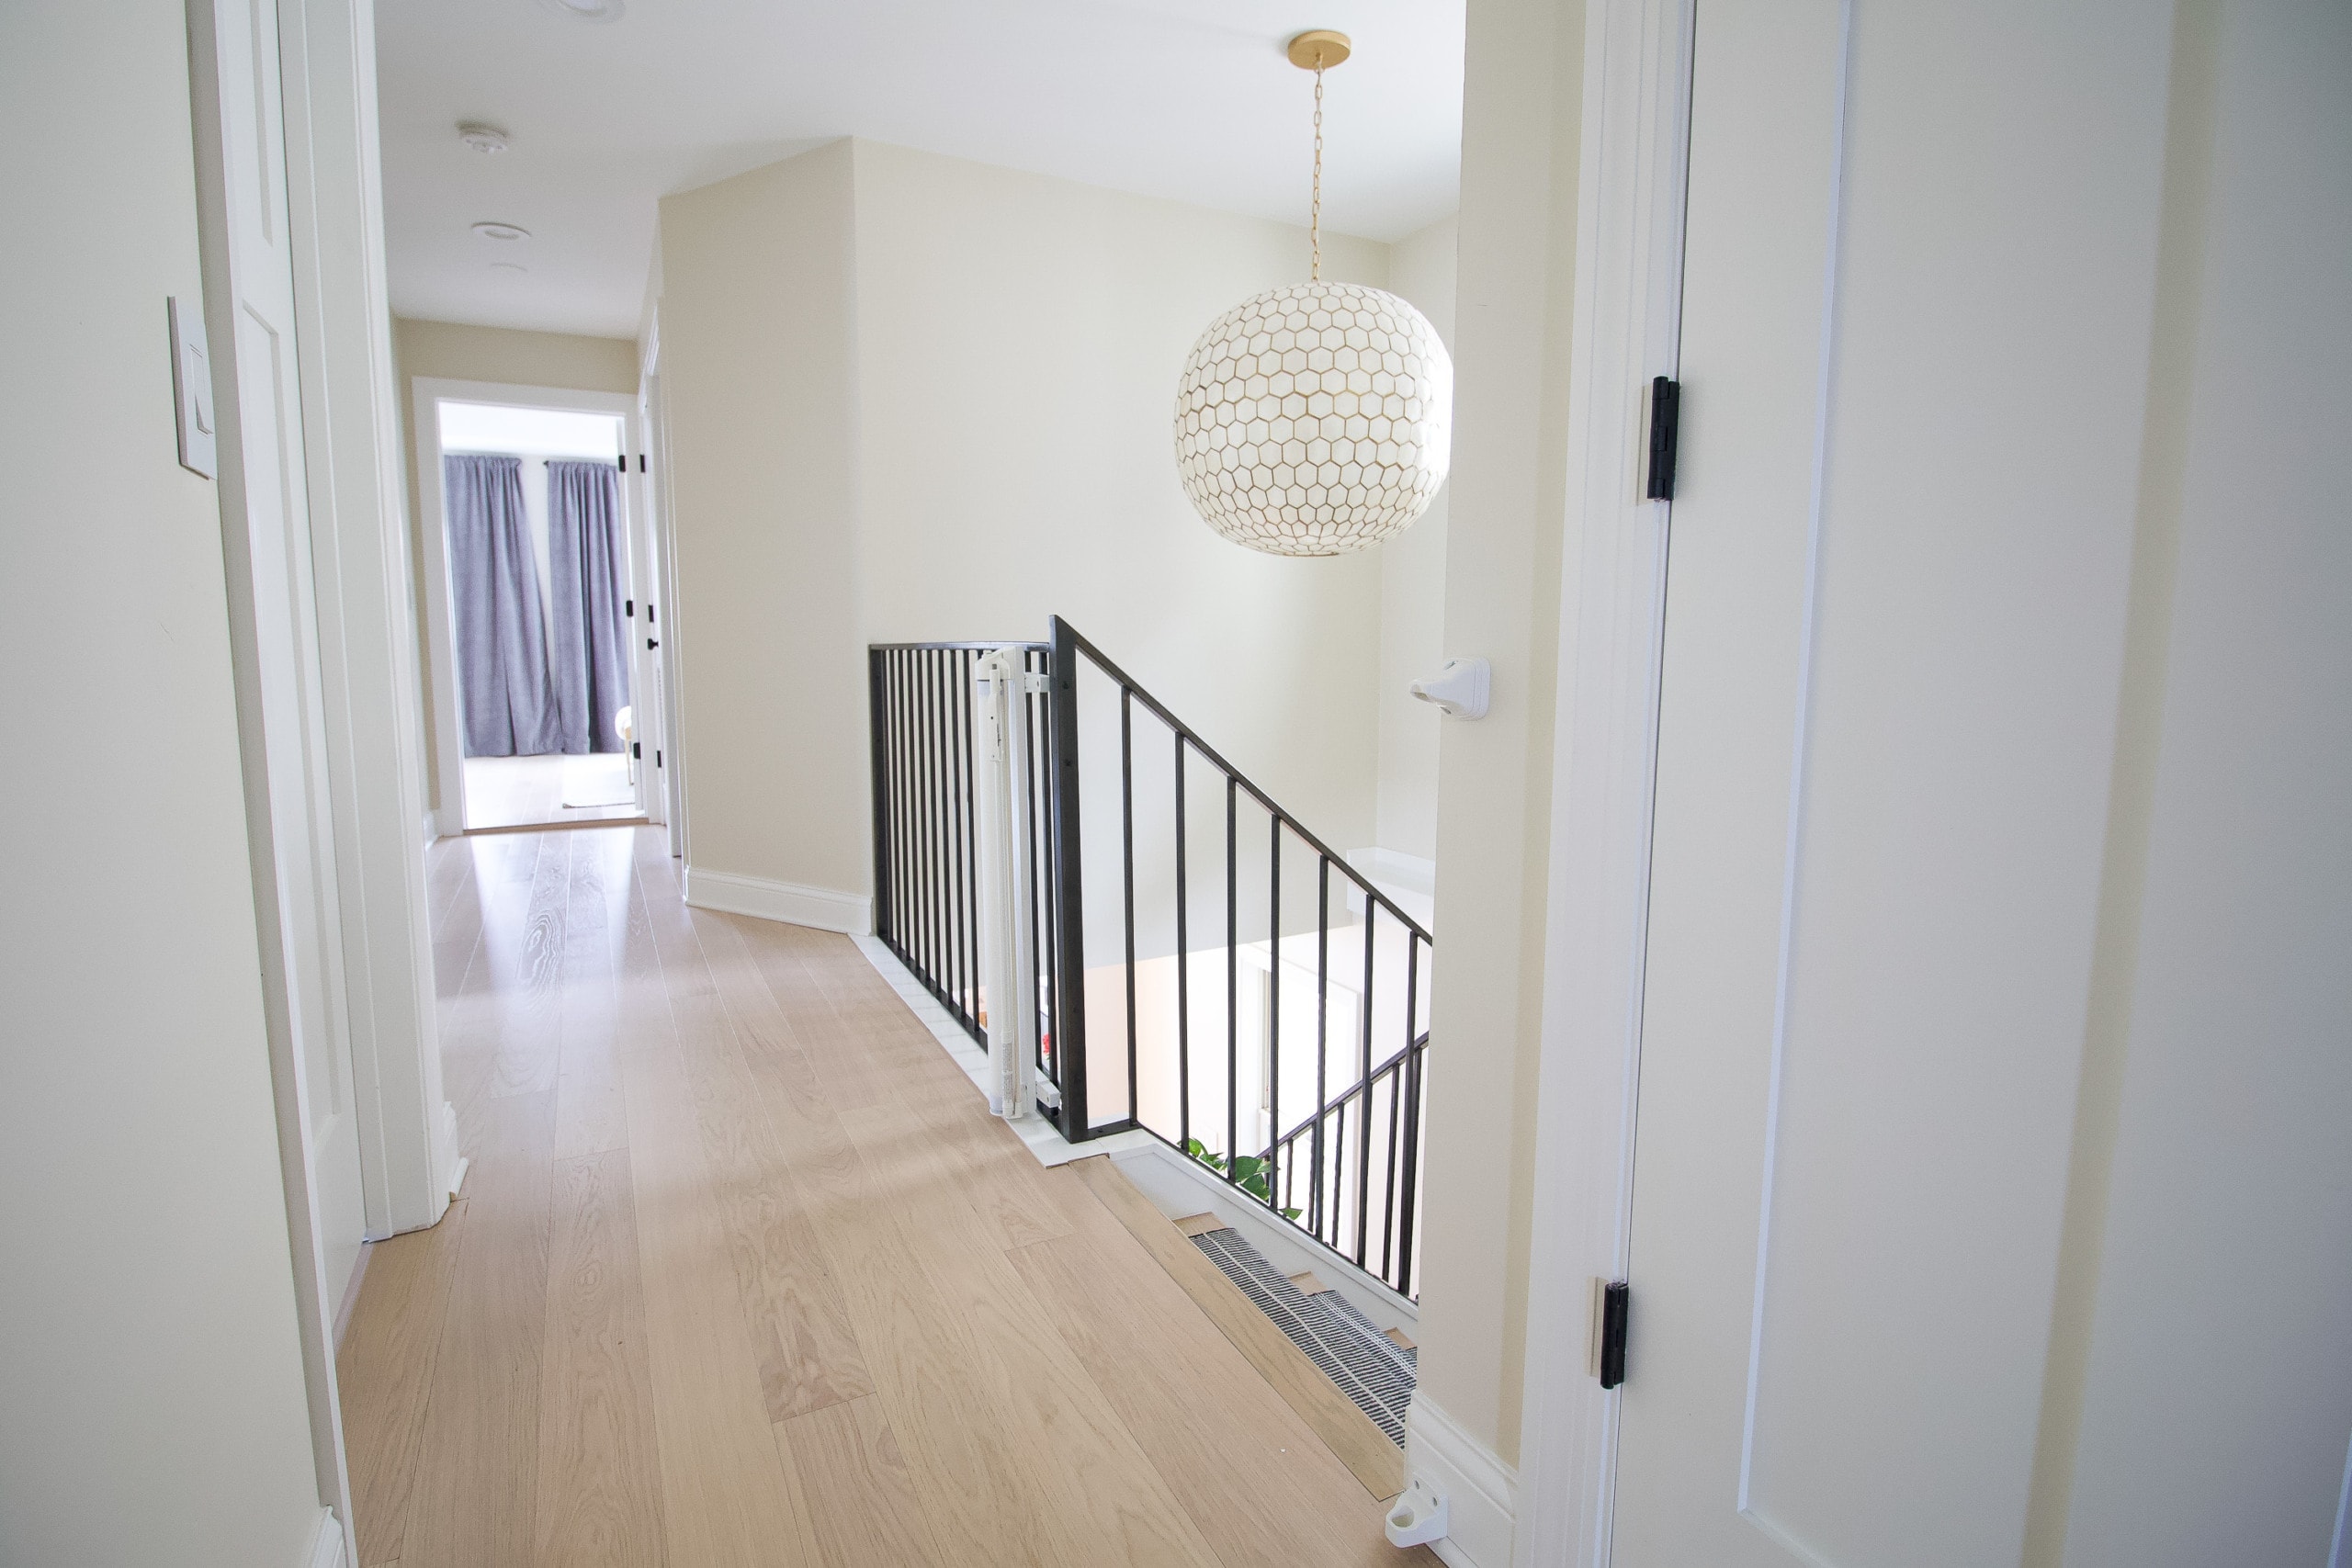
Some of the traditional baby gates that block part of the walkway kinda scare me when going up and down the stairs. I didn’t want to go that route because I’m already nervous enough holding a baby and walking down the stairs. If this gate is open, it’s easy to walk through. 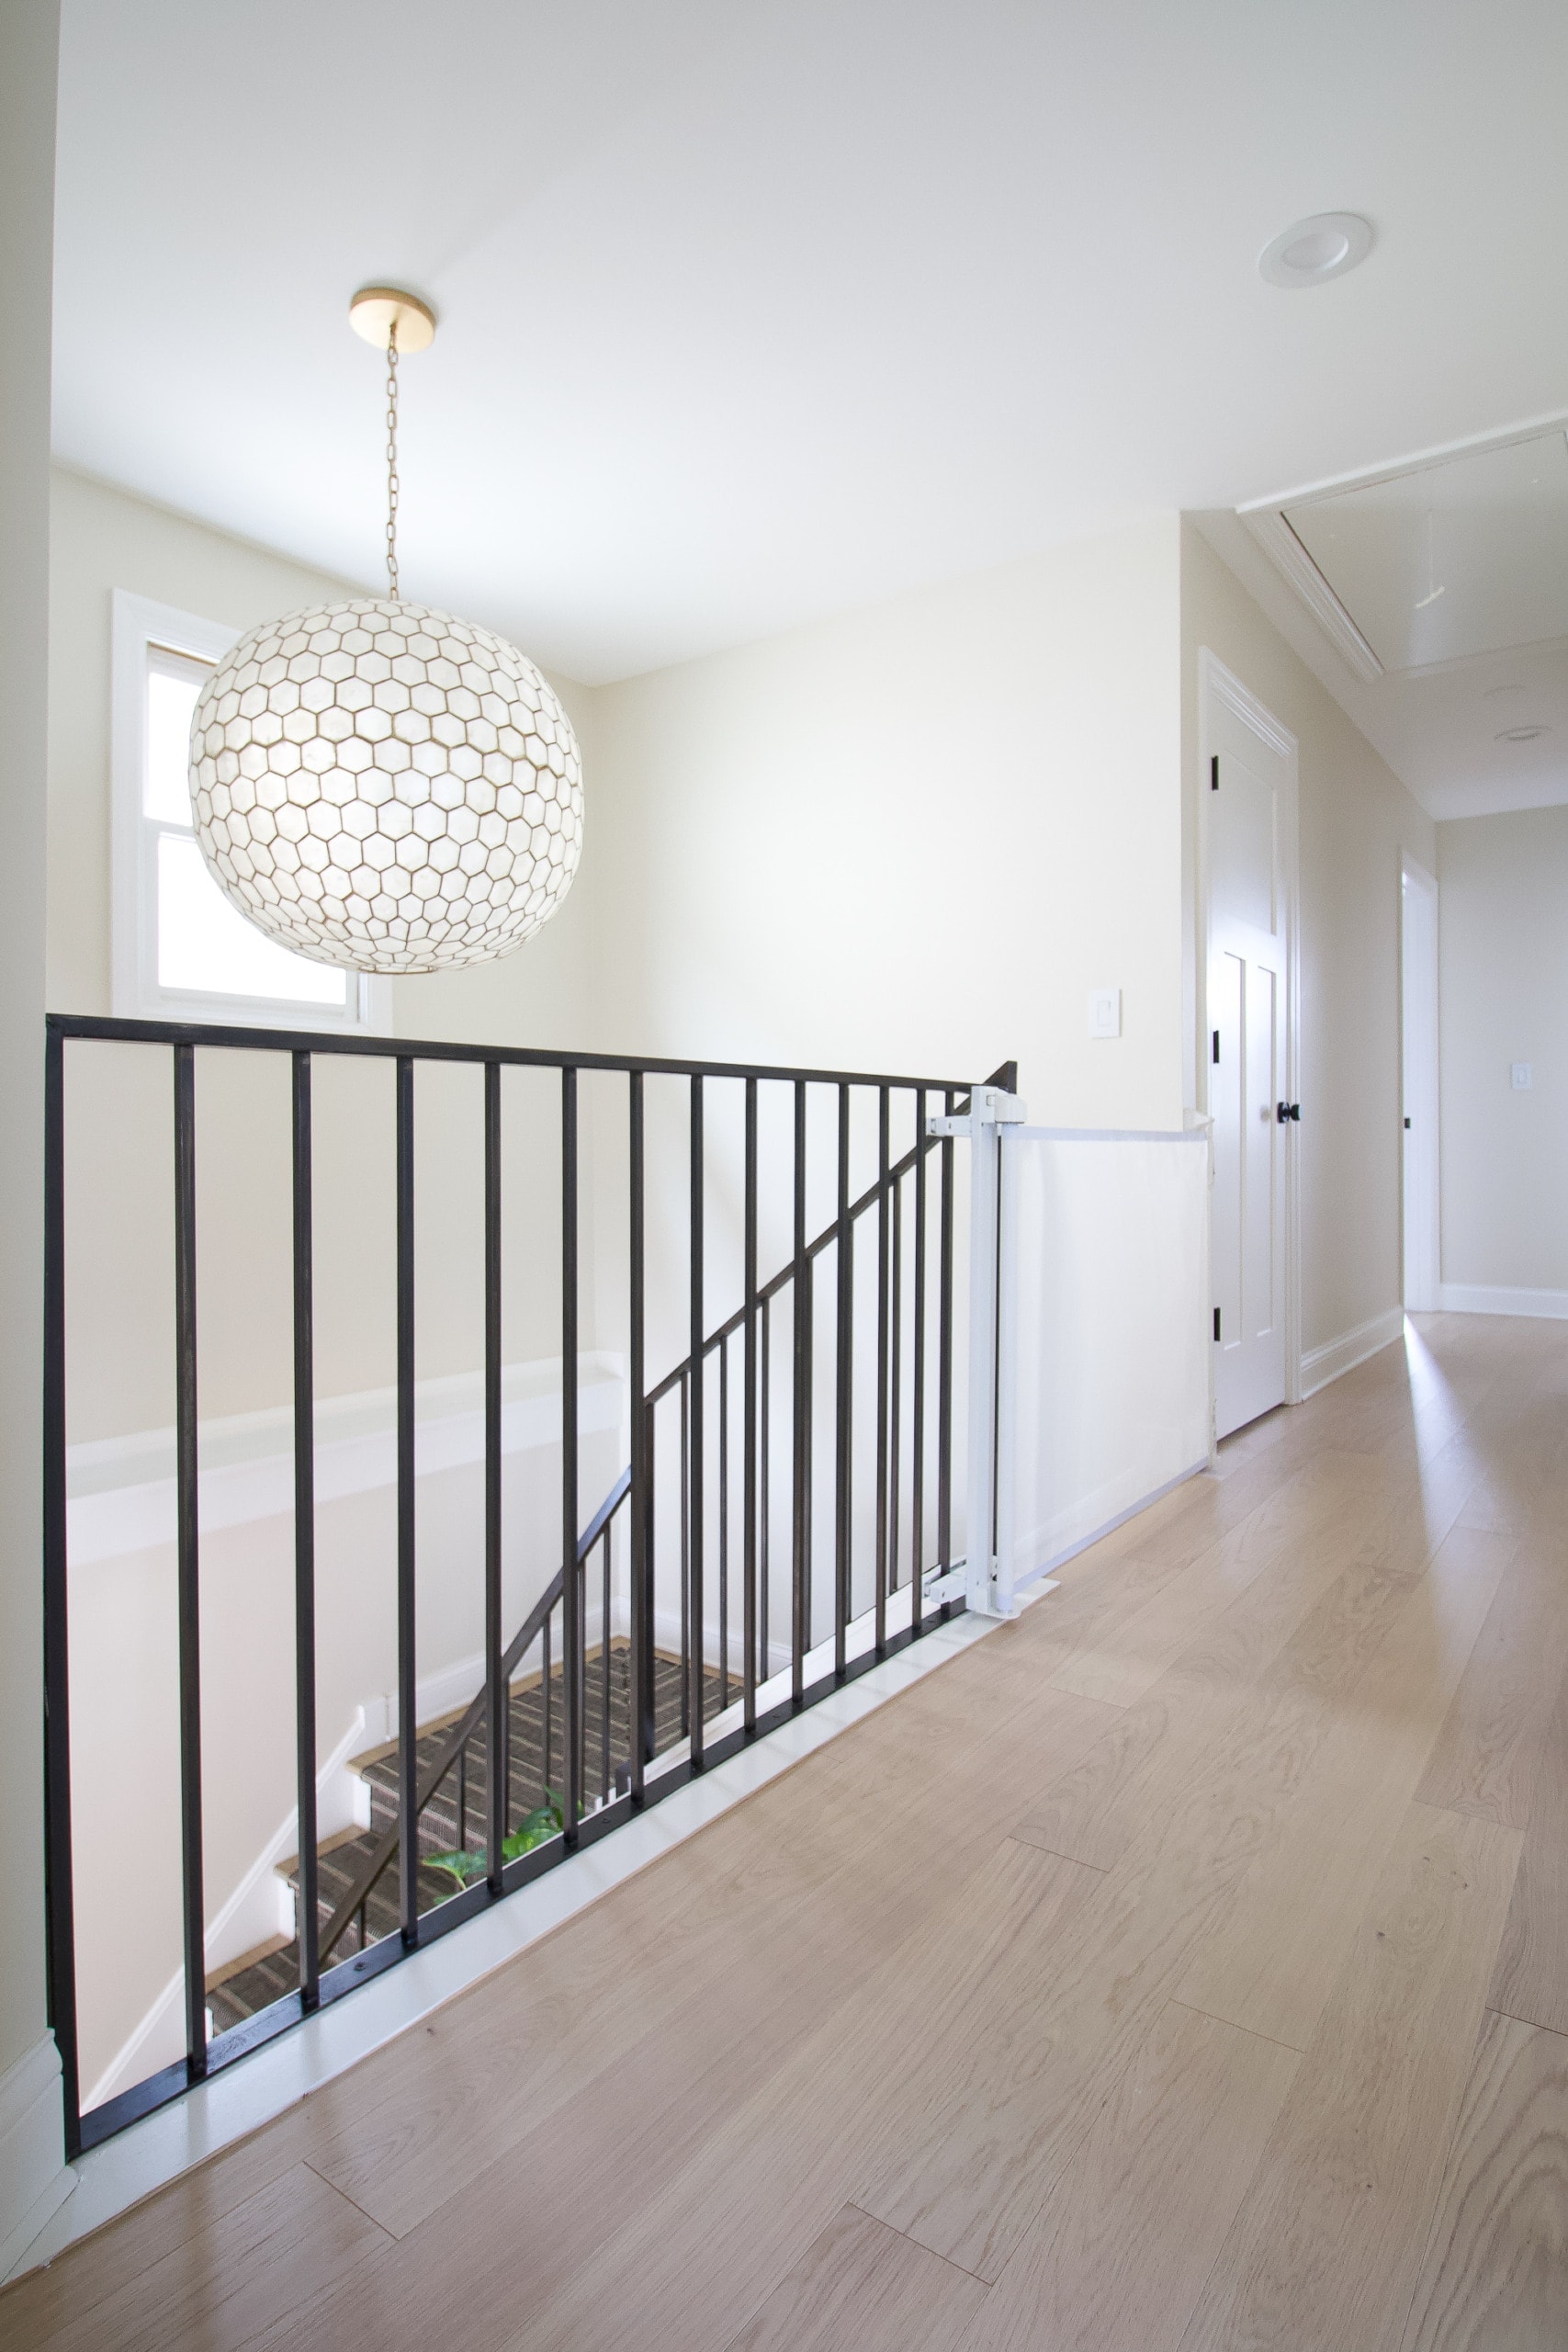
For now, we just have a gate at the top of our stairs. We may eventually add another one to the bottom of the stairs once Rory starts walking.
Childproof Electrical Outlets & Power Strips

Outlets were next on the list. We ended up swapping out all of the outlet covers in our kitchen, living room, and Rory’s room with these. I’ve only ever seen the caps that you put into your existing outlet. Larry, from Safety Matters, told me that those are actually pretty hazardous because often people remove the plastic part to plug something in, leave it nearby, and a kid can get their hands on it and choke. I had no idea! With this outlet cover, you just slide it up to plug something in.
Toilet Locks
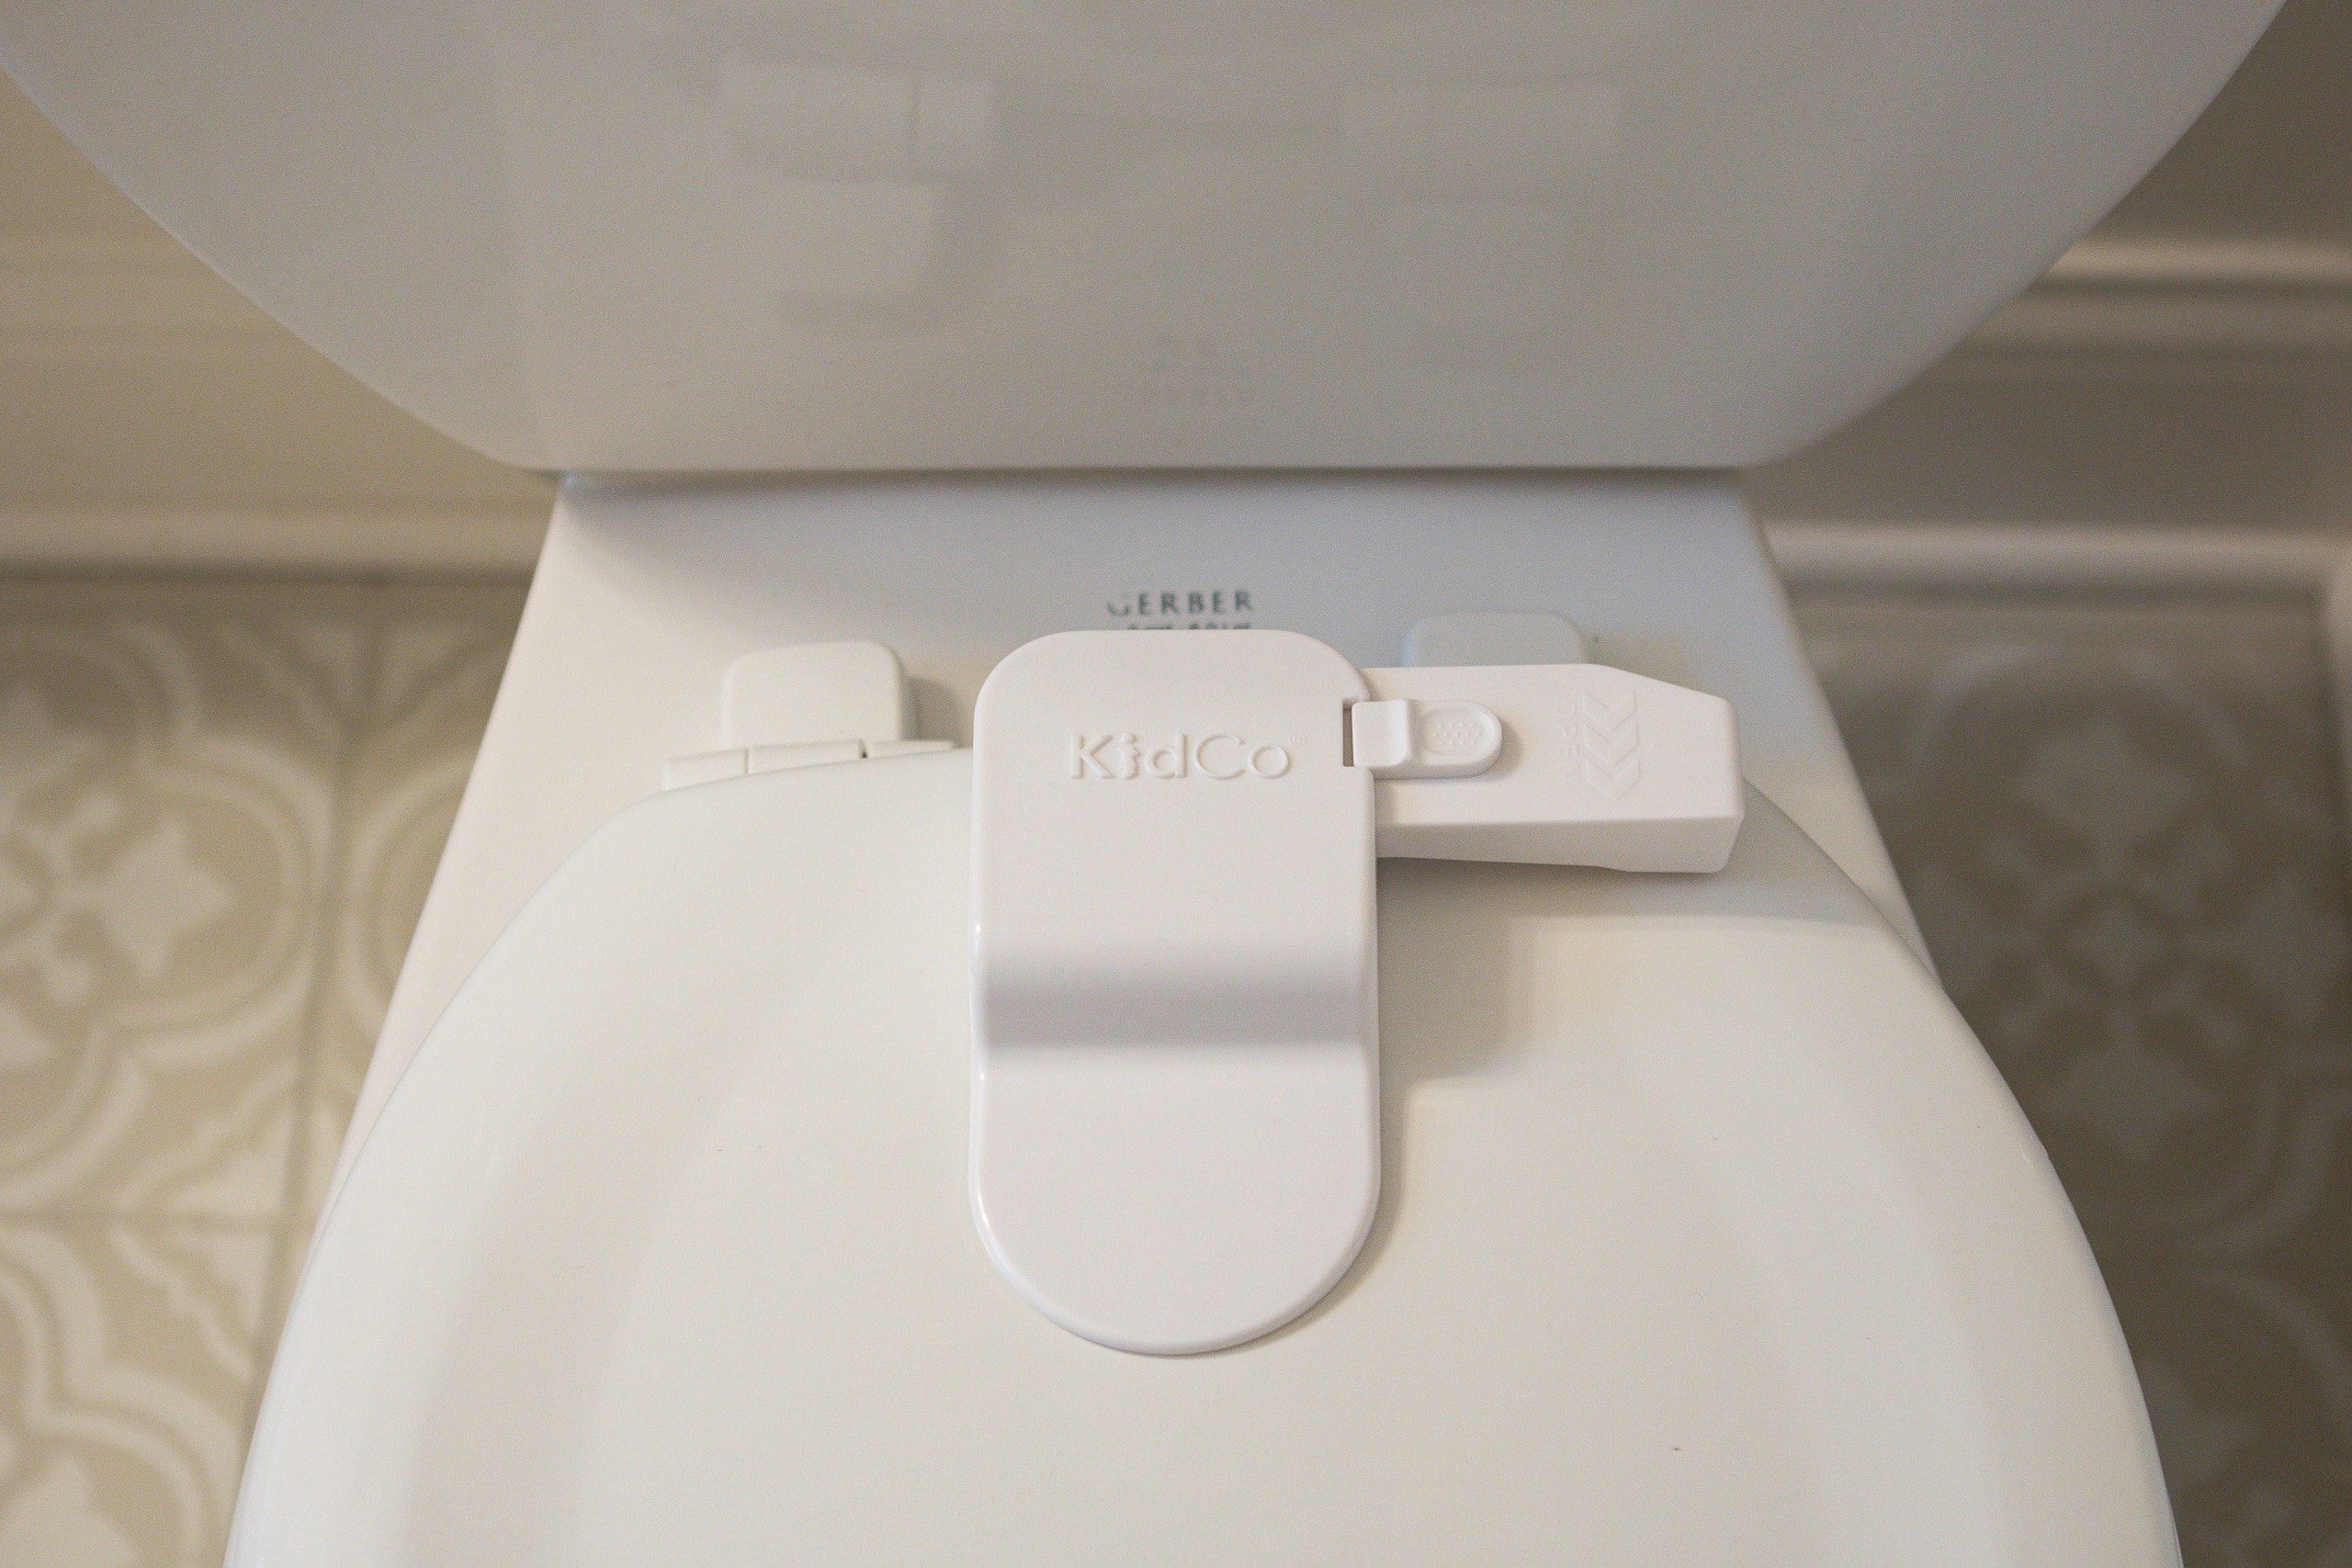
I wasn’t super keen on the thought of adding toilet locks to all of our toilets. (There’s nothing worse than having to pee really bad and struggling to open the darn lid!) But, when Larry told me that toilets are actually the #4 drowning hazard for toddlers, it scared me straight.  We ended up putting these locks on a few of our toilets around the house.
KidCo Babyproofing Products We Used
Here’s a list of the items we ended up using around here…
Keeping Our Baby Girl Safe

In the end, I’m so pleased that we took these steps to babyproof our home. I feel much better knowing that Rory can explore without getting into too much trouble. Keeping her safe is our number one priority, so it was well worth it to do all of this. And be sure to check back later this week for a step-by-step tutorial on how to add furniture straps to your dressers to prevent them from tipping over.
Casey