DIY Chicago Flag Adirondack Chair
We talk about creating a home filled with “personality” a lot here on the blog. But what does that really mean? To us it’s all about making your home less generic and more individualized to you and your family.
The items you display in your home should explain to guests who you are, what you’re all about, and what you love! So with that being said, if we bring items into our homes that lack personality, we sometimes get creative and tweak them so they’re a little less generic and a lot more “us”!
Today’s project is ALL about that! I saw this child-sized Adirondack chair at HomeGoods and immediately thought of my nephew Harry. They just moved into a new house and have a yard for the first time ever! So my guess is my nephew will be out in the backyard constantly! As a little housewarming gift for him, I decided to buy the plain white patio chair.

Adding Personality to a Plain Chair
But it was missing something. It needed that extra dose of personality. That’s where some paint from Michaels came in. I picked up a few acrylic paints in satin, grabbed my paint brushes, and started brainstorming what I could paint on the back of the chair.
Since I’m not the most artistic person ever, I decided to go with a simple pattern for the back…the Chicago flag! All it has are 2 big light blue stripes, with 4 red stars in the middle. That I could handle!
Painting the Chicago Flag
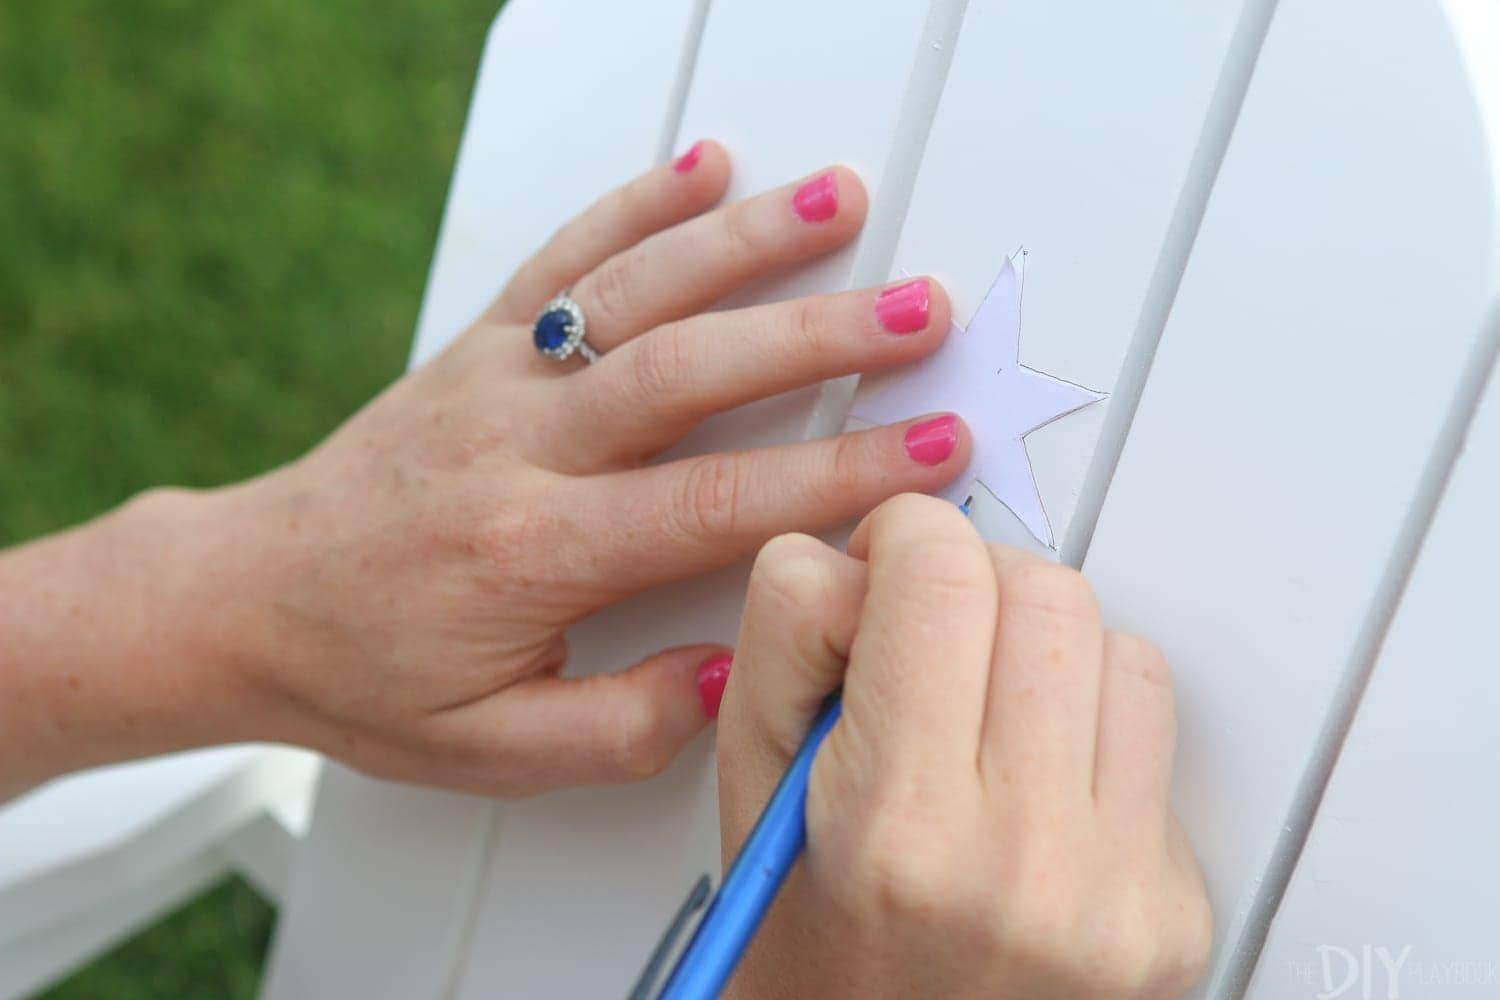
Because free-handing this was not in the cards, Bridget drew a star pattern and we cut it out on a piece of paper to use as a template. 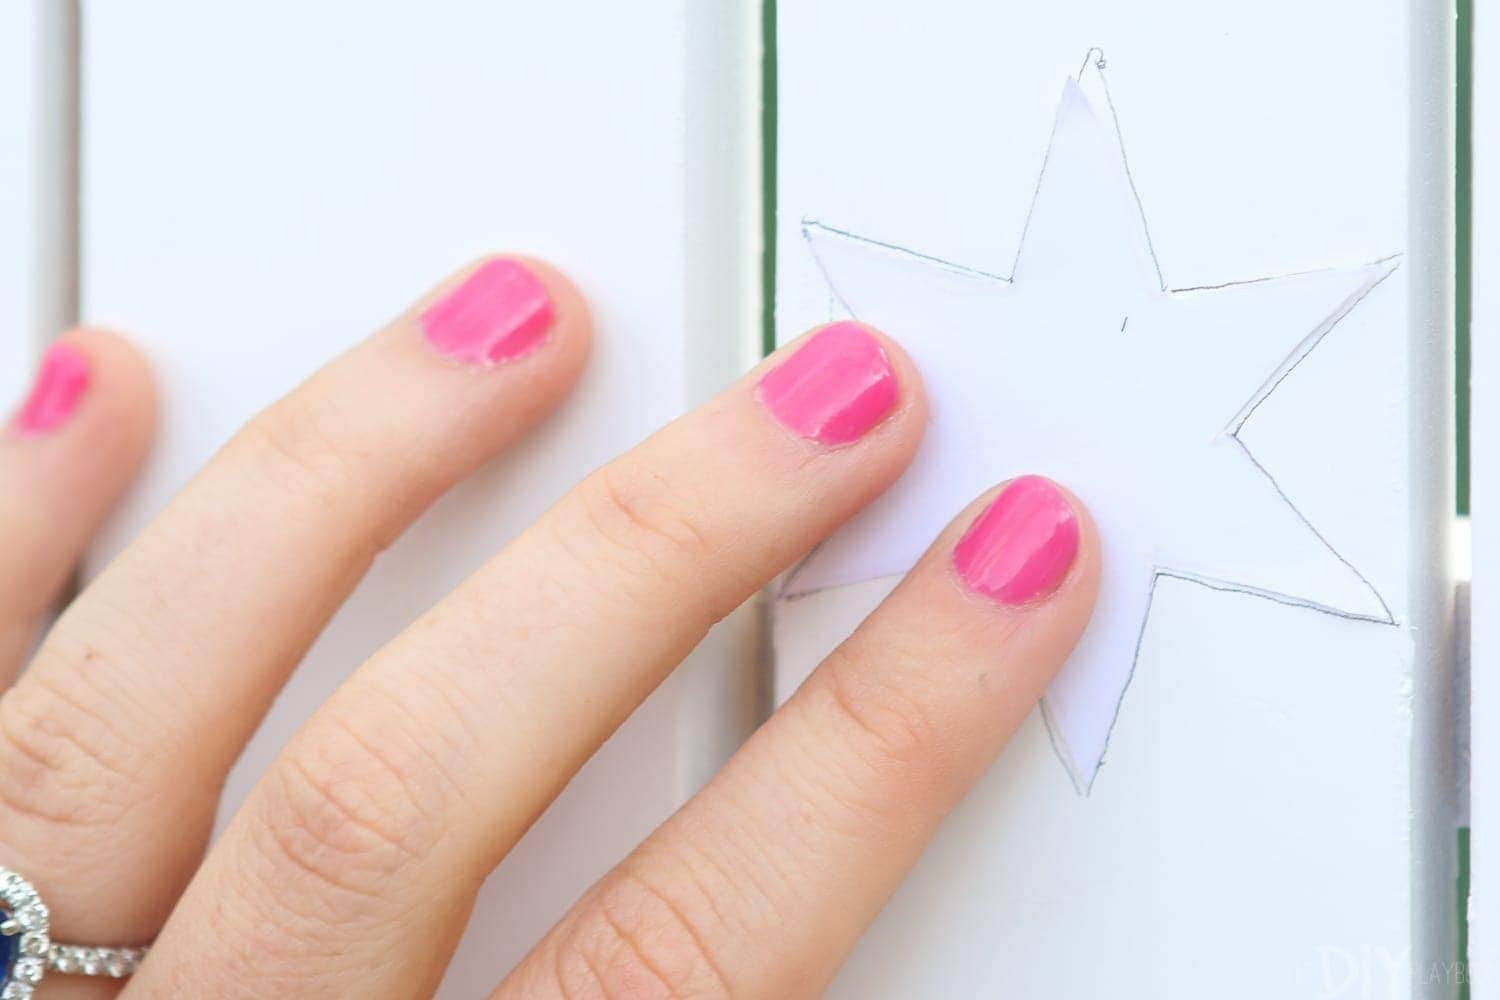
After some outlining with pencil, we were in business!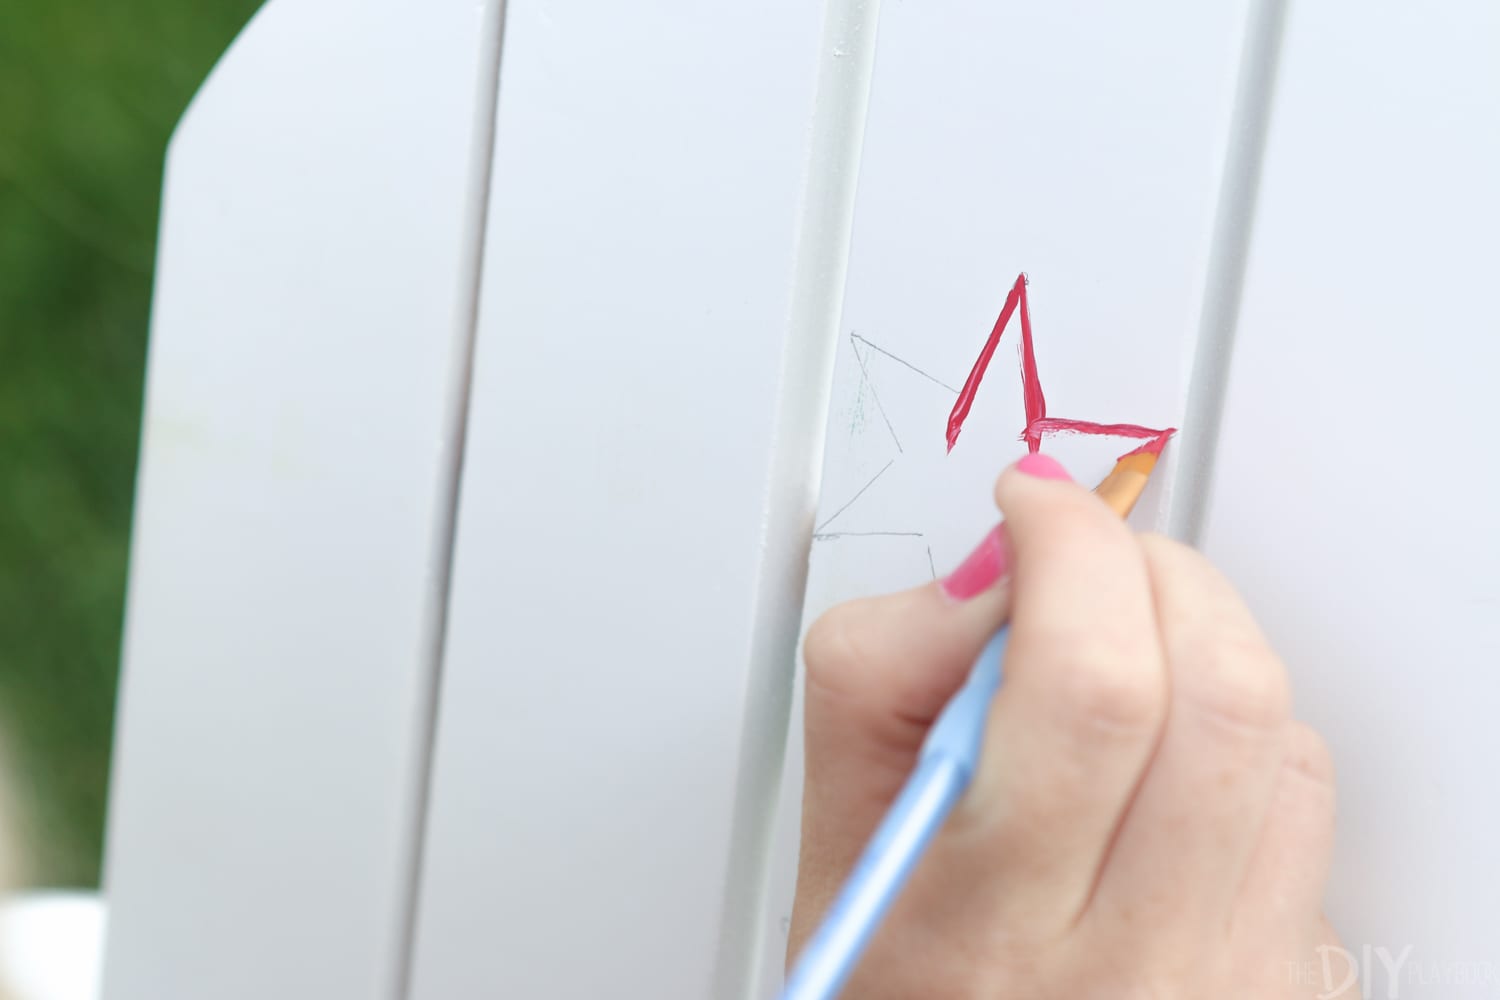
Then I just took some red paint and filled in the star. 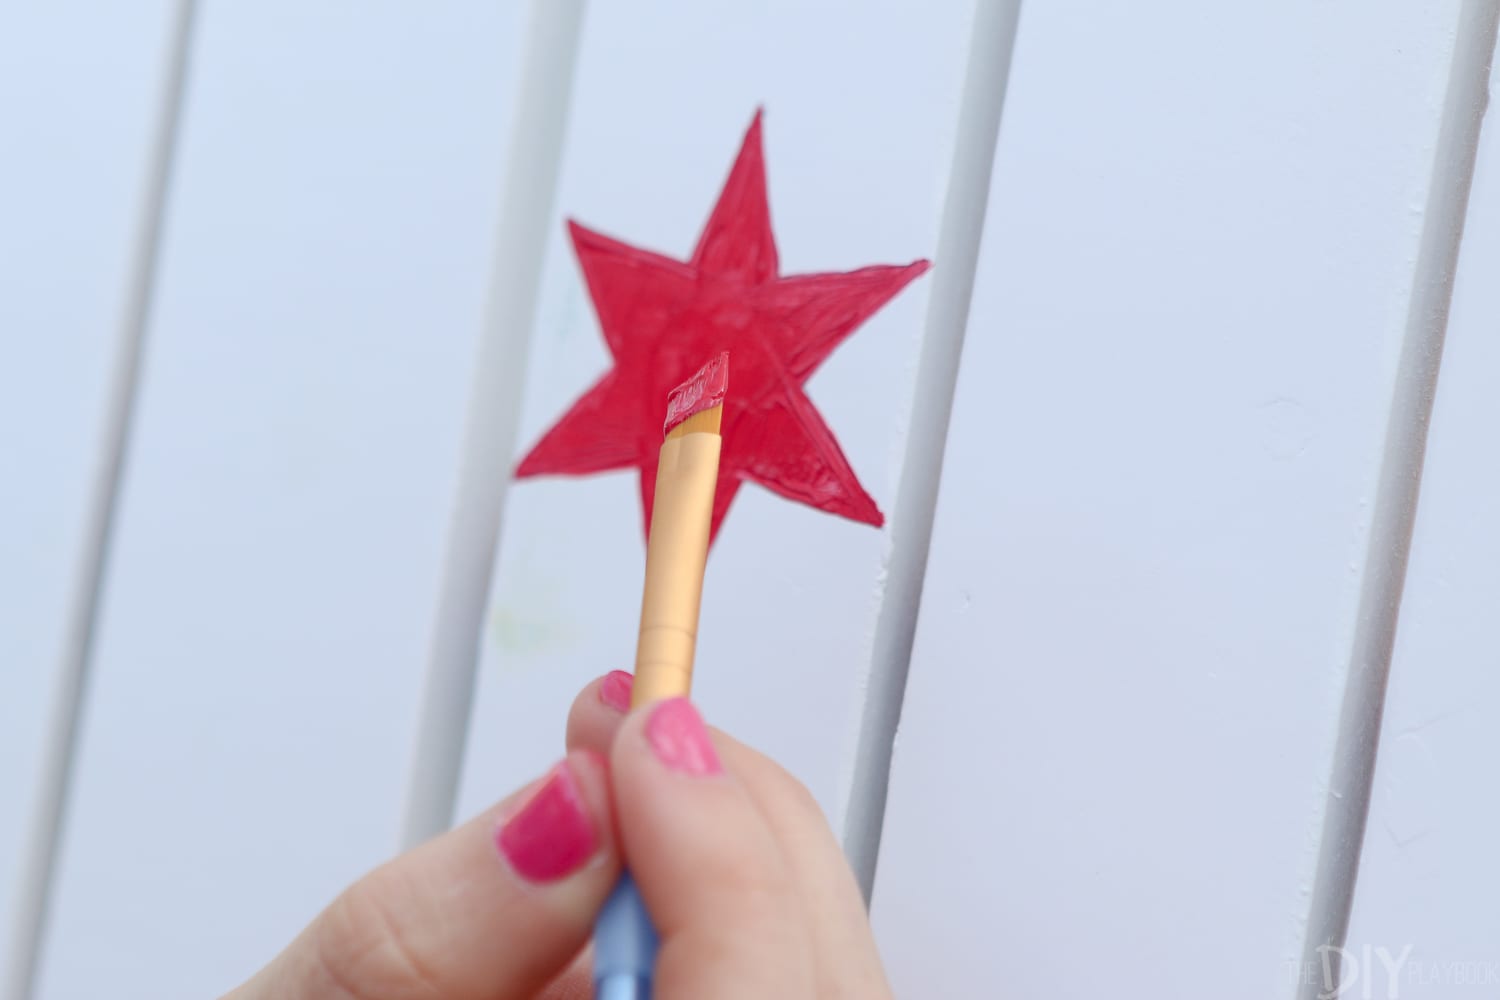
In order to get a really vibrant red, I ended up having to do 2 coats of red. I let it dry completely in between coats (only about 15 minutes) before slapping on more paint. This ensured that I got a nice solid color!
With the stars done and dry, I tackled the blue stripes. Does painting get any easier than this? All I had to do was paint 2 slats completely with the light blue paint. 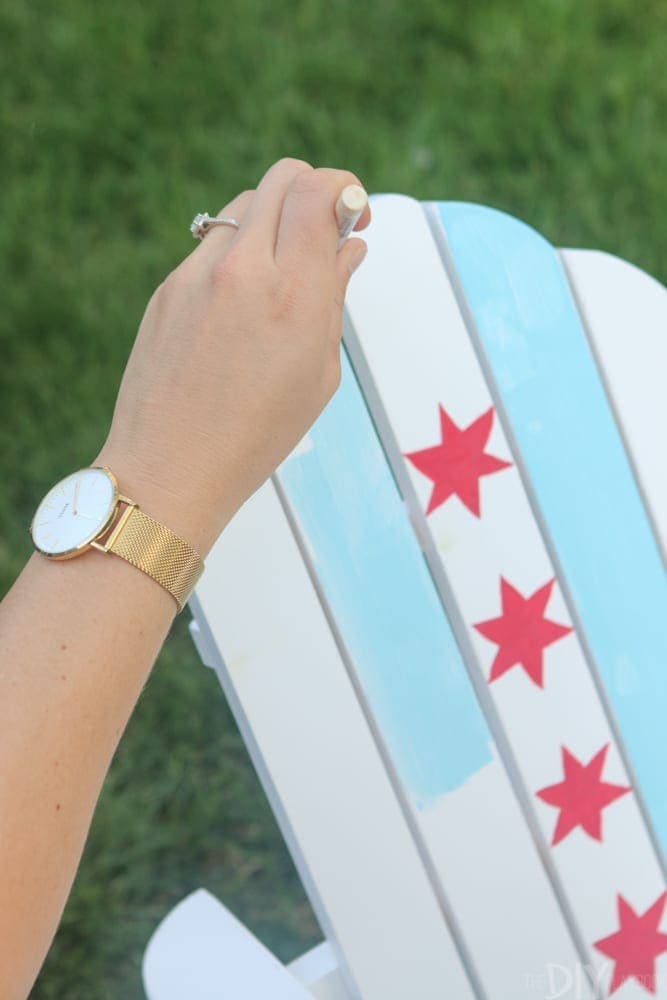
This area ended up needing 3 coats of paint to fully cover. But once it did, I was left with a soft pretty blue color. 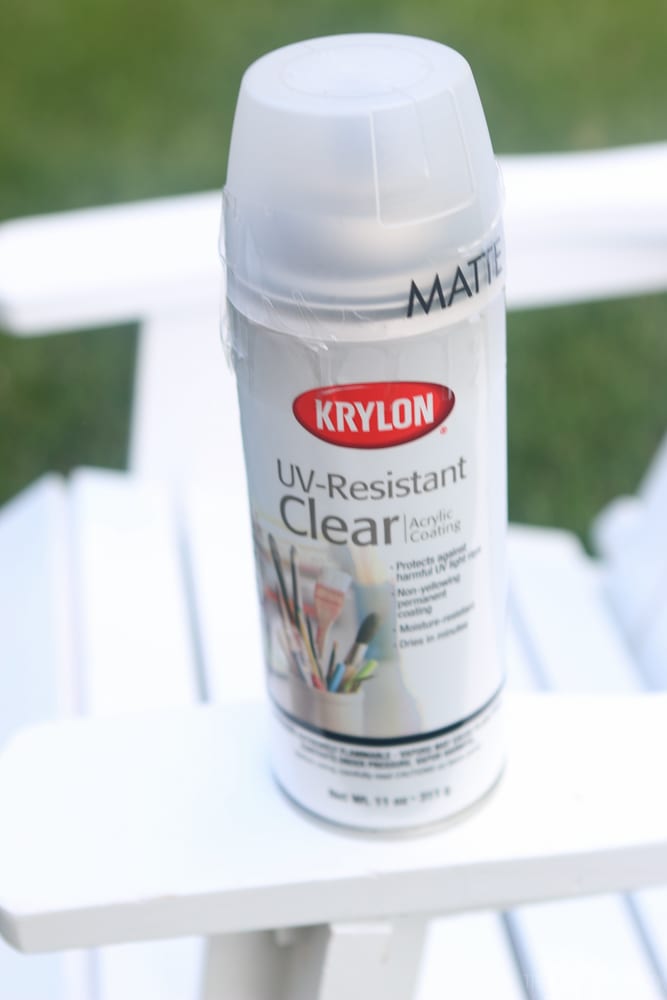
Because this chair will probably be outside, I picked up this UV resistant spray paint. It goes on clear (so you can’t even tell it’s on there!), but it works to protect wood from the harsh sun. I did a nice even coat of this over the chair to ensure that my paint job would look pristine for years to come.

It took me about 30 minutes to add much more personality to this tiny Adirondack chair, which was time well spent in my opinion.
A Happy New Chair Owner
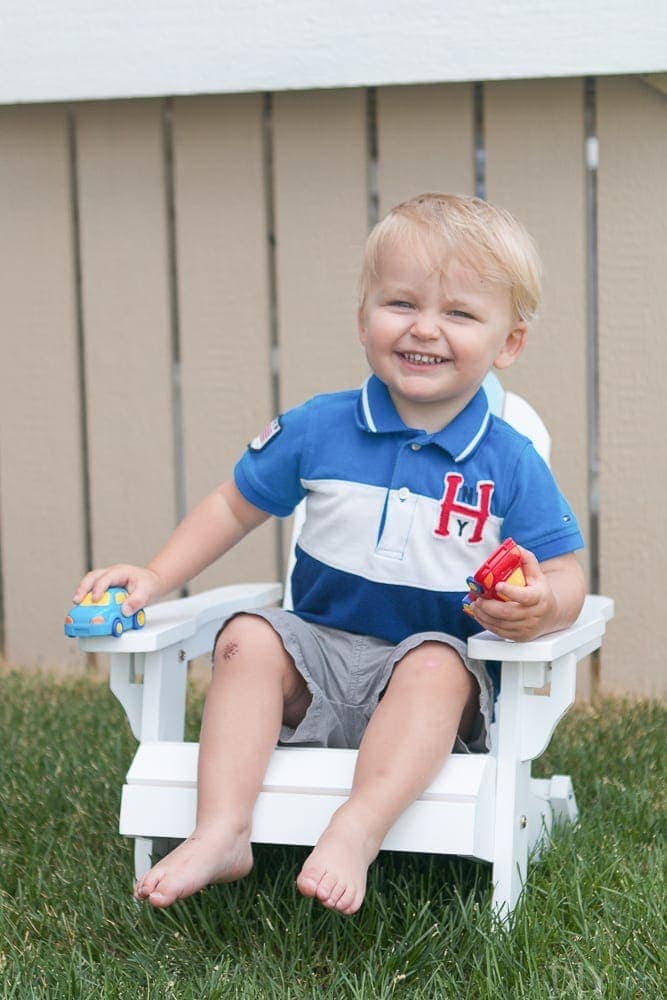
As Chicago lovers my brother & sister-in-law really appreciated the extra touch on the piece of furniture. But more importantly, my nephew loves his new chair! I mean how cute is he?!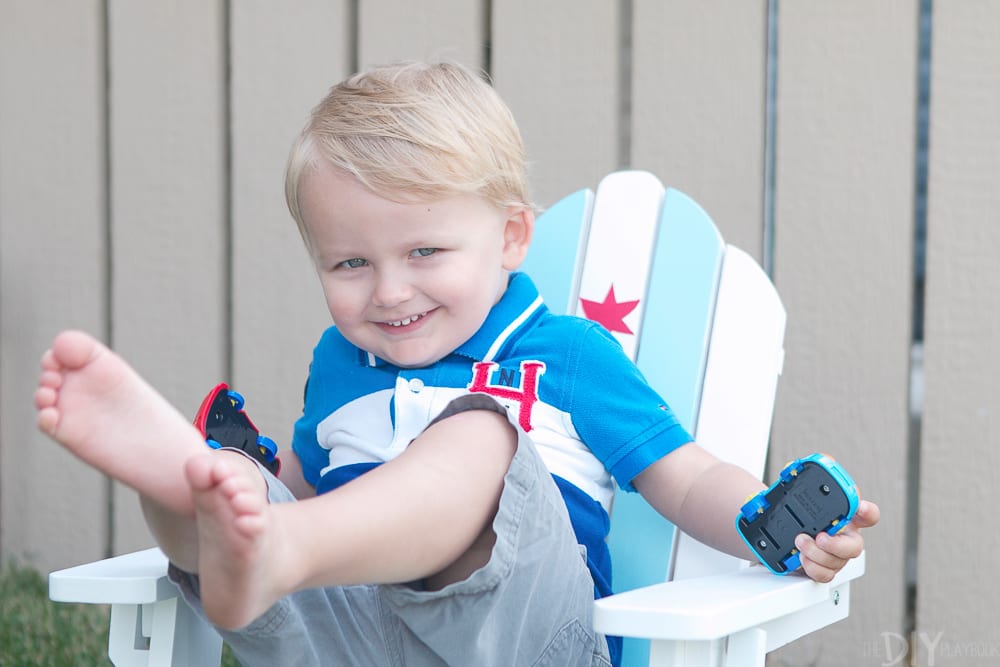
Just goes to show that with a little time, creativity, and a few craft supplies…you can transform plain pieces into one-of-a-kind pieces.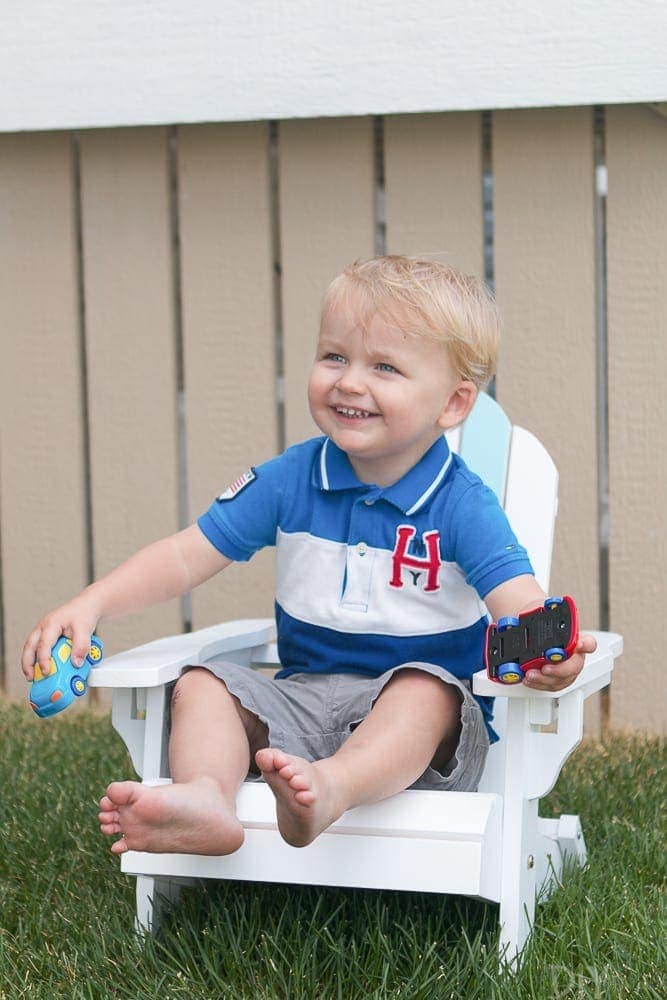
Casey


