Faux Wood Flower Box Tutorial
Disclaimer: This is by far one of my LEAST favorite DIY projects in the history of the DIY Playbook. Even though I’ll go back to the normal positive tone after this rant, don’t let anything about this post make you believe that this wasn’t the most ANNOYING and FRUSTRATING process ever. For one reason and one reason alone– drilling into concrete/brick is absolutely awful. And unlike I was, do not be fooled by the YouTube videos that make the process look graceful and simple. Not. Even. Close.
More like a ____(insert swear word here)______ MESS!
Now that we got that negativity out of the way, let’s get back on the positive train and proceed with today’s project, shall we? Faux Wood Flower Boxes.

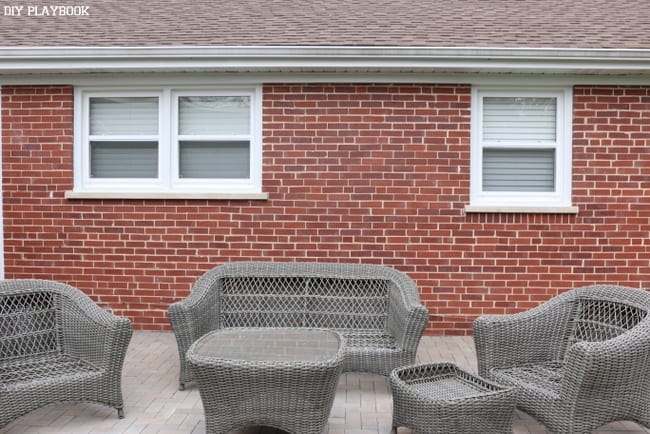
A part of my summer DIY to-do list was to incorporate some charming flower boxes under my windows. I love the look of flower boxes but didn’t love the price tag that came along with real wood flower boxes. And quite honestly, May has been the craziest month EVERRR so I was not in the game to completely DIY wood flower boxes on the cheap.

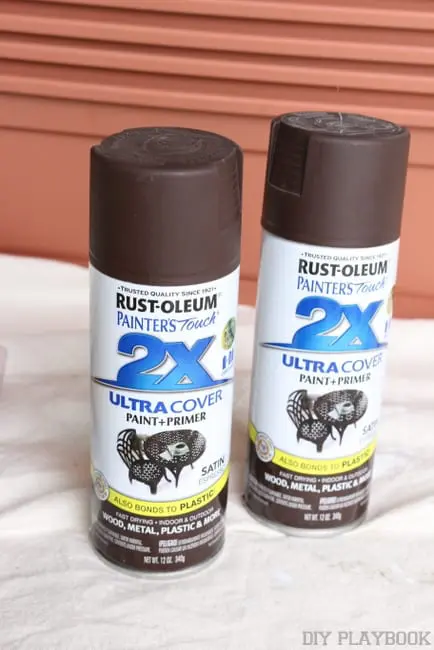
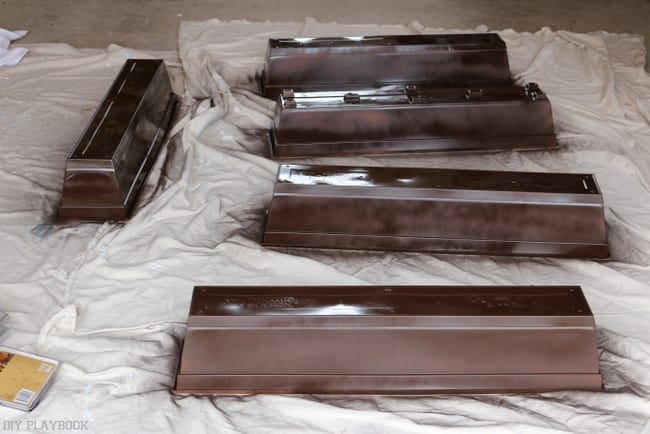
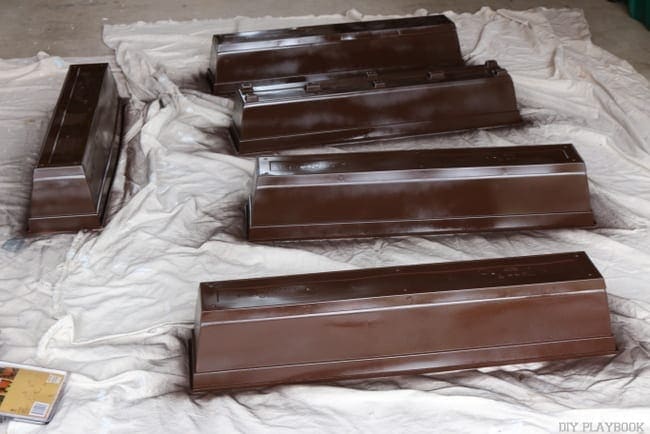


So after a little internet research and not finding a cheap alternative, I stumbled upon these cheap plastic boxes at our local hardware store. At $9 a pop, these were more in my price range, yet the orange-y plastic look wasn’t going to cut it against the red brick. Enter brown spray paint. I gave these plastic flower boxes TWO coats of spray paint just to make sure they were completely covered.Eventually I flipped the boxes and spray painted the inside of each of them as well. Somehow the plastic-look was gone and these boxes transformed into giant KitKat bars and every time I look at this photo I immediately crave chocolate. Anyone else see it?
I put a coat of that same brown spray paint on the brackets I bought as well. Each package of brackets (good to hold one flower box) cost about $9, making the total for each flower box and hardware combo $20-ish. This project definitely isn’t free, but considering that one wood box can cost upwards of $50, I’d say I did pretty well cutting down the cost.
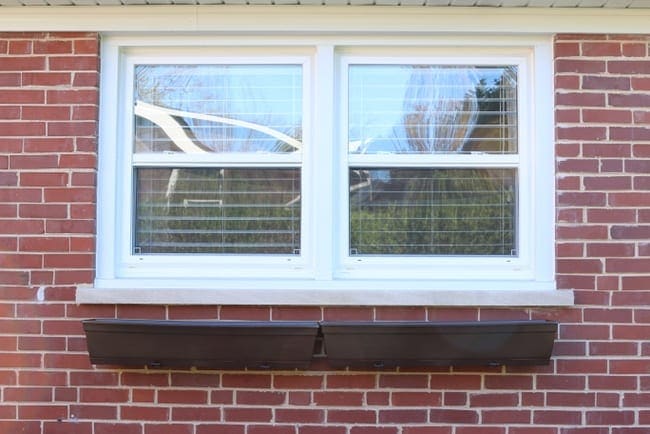
Let me re-emphasize one more time… do NOT let this picture allow you to think, “wow, that doesn’t look too hard to do, I can totally tackle this project after work one day”. I made that mistake so you don’t have to. After literally FOUR trips to our local hardware store in one evening, I was very close to throwing those oversized KitKats in the garbage. But having already invested a little over $100 in the project for 6 window boxes, I couldn’t bring myself to throwing that money down the drain. After some frantic calls home to my dad and lots of swearing, I was finally able to secure these bad boys to the brick (about 5 days later).

A few tips when drilling into concrete:
1. Use Concrete Screws
2. … and a Concrete Drill Bit
3. Use Lots of Muscle
4. .. and a hammer
5. Drill into the mortar (aka the brick’s “grout”) as much as you can so you can avoid drilling into solid brick.
6. When drilling into the mortar, don’t tighten the screw too much or you’ll “blow out the mortar” and have to start OVER. (Again, I made the mistake so you don’t have to)
Literally it’s been about a month of having these babies up and even though they feel sturdy to the touch, I continue to have nightmares that I’ll come home someday and the brackets will be broken off.
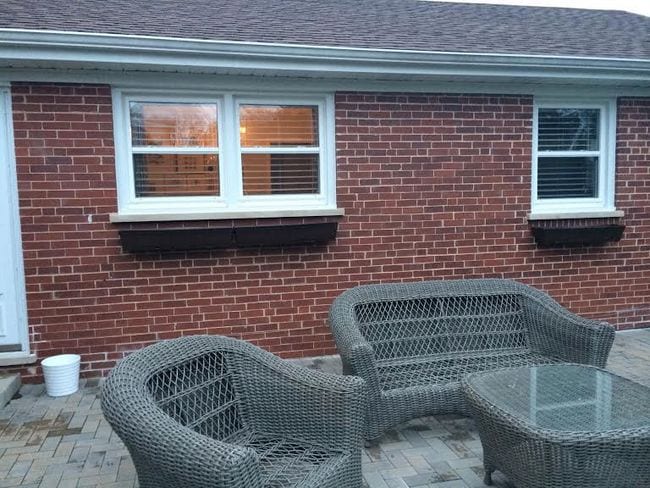
Knock on wood, all flower boxes are still currently hanging (and filled with flowers!).

I had two sets of double windows where I had to hang two flower boxes instead of one (3 inches down from the bottom of the window to the top of the flower box is what is recommended online). So on top of what a freaking NIGHTMARE these things are to hang, you have to try to make sure both boxes are level with each other. <– add insult to injury why don’t you flower boxes. Rude.

When all was said and done, I don’t think they’re exactly perfect, but in my eyes, they’re as close as they’re going to get. And although I will probably continue to curse this project until the day we move out, I am pretty proud of myself for sticking with it and figuring it out… all by myself.
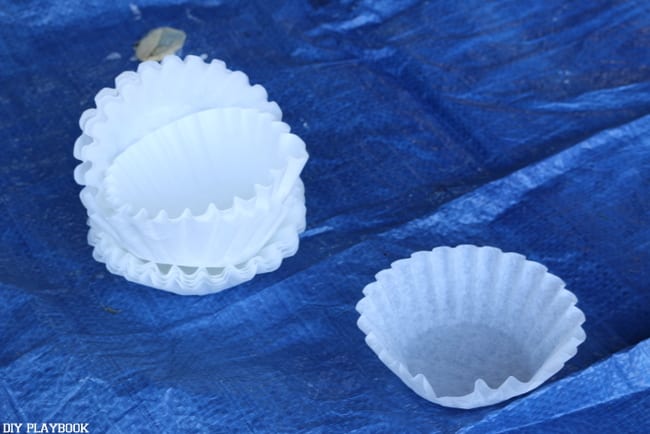
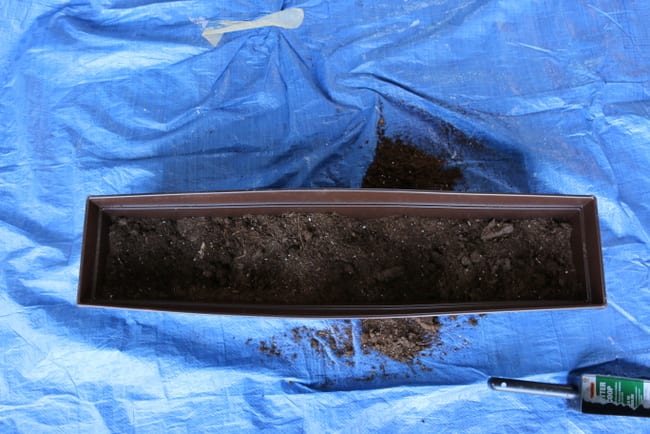
Now all that was left to do to these flower boxes was to add flowers. I tossed some coffee filters on top of the holes so that dirt didn’t leak out when I watered them and filled each of them up with potting soil.
Lesson Learned: Drilling into to concrete is officially my worst enemy. I hope we never have to work together again…. like ever.