
My Home Coffee Bar Setup (as an Espresso Beginner)
After one too many $7 vanilla lattes, I finally decided it was time to build a home coffee bar. If you’re thinking about taking the plunge into homemade espresso, here’s everything I bought, what I’ve learned so far, and the beginner tips I wish I’d known from day one.
If you’ve been following along on Instagram, you know I’ve completely fallen down the espresso rabbit hole over the last few weeks. I asked all of you for espresso machine recommendations, read through hundreds of messages, rearranged my kitchen countertop, and have been spending every morning learning how to pull the perfect shot.
I am by no means an expert yet, but I figured I’d share everything I’ve learned so far in case you’re thinking about taking the plunge, too.
My Coffee Journey
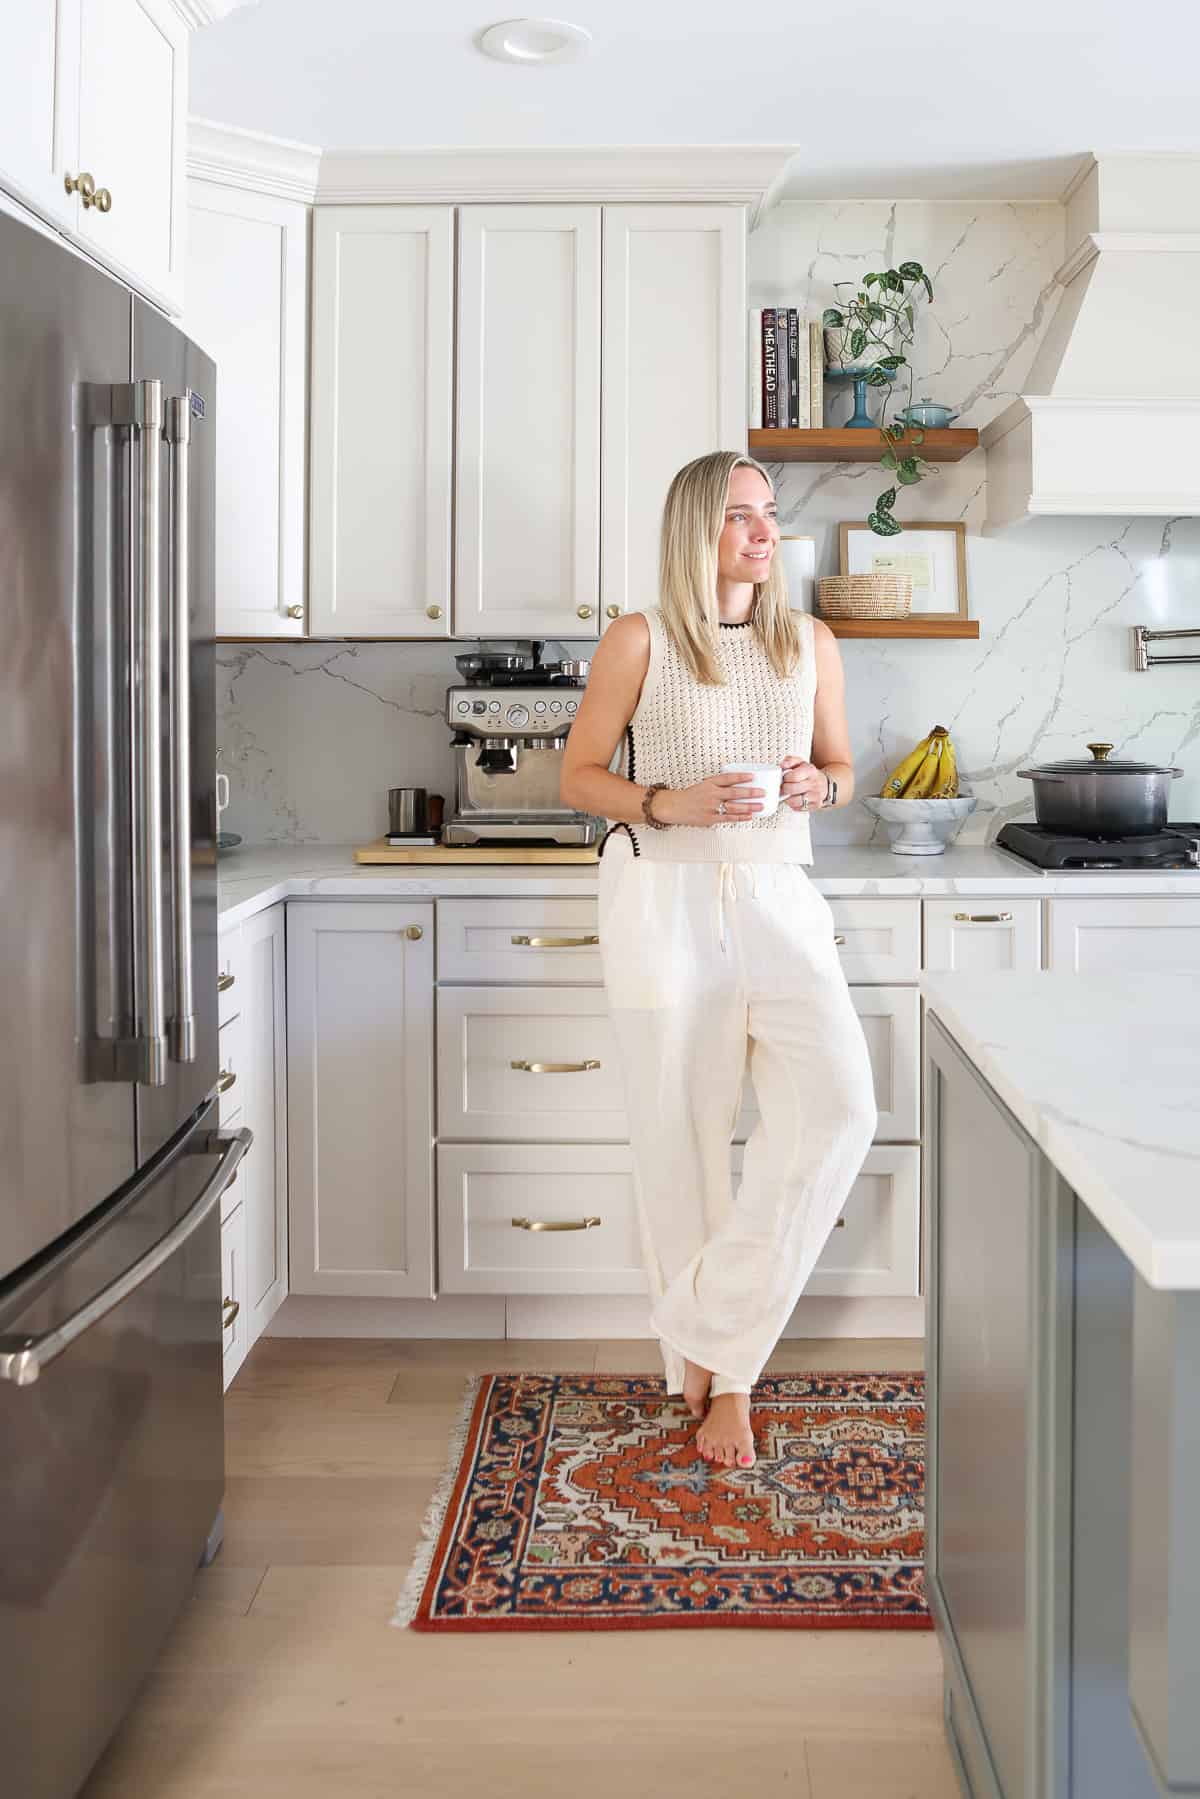
My coffee journey has been a little all over the place.
I started drinking coffee in my early twenties and was a regular drip coffee girl for years. Then we had a Nespresso machine for a while. When I was dealing with insomnia, I switched to decaf. And over the last year, I’ve become completely hooked on a daily vanilla latte from my favorite local coffee shop. The problem? Those daily lattes started adding up!
I’m a total espresso newbie. If you’re looking for advice from a barista, this isn’t that post. But if you’re thinking about buying your first machine, hopefully learning from my mistakes will save you a little trial and error.
Why I Chose the Breville Barista Express
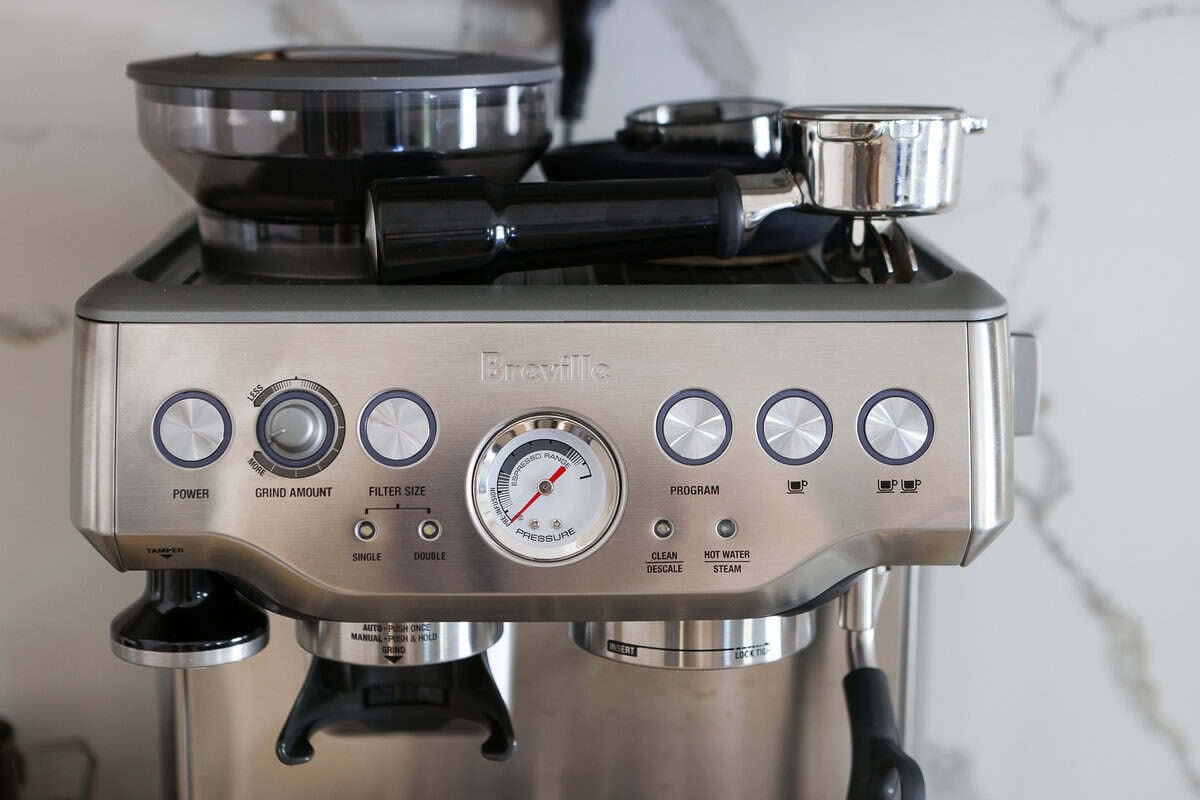
Before Prime Day, I asked my Instagram community one simple question: What espresso machine do you own and actually love? The response was incredible. Hundreds of you weighed in, and one brand rose to the top over and over again: Breville.
After comparing models and reading what felt like every single DM, I landed on the Breville Barista Express. It checked all of my boxes—I wanted something that could make my everyday latte, grind fresh beans, and pull espresso for weekend espresso martinis. I considered a few of the more automated machines, but I actually liked that this one would teach me how to make espresso instead of doing everything for me.
I’m only a few weeks in, but so far it’s been a worthwhile investment.
Creating My Home Coffee Bar
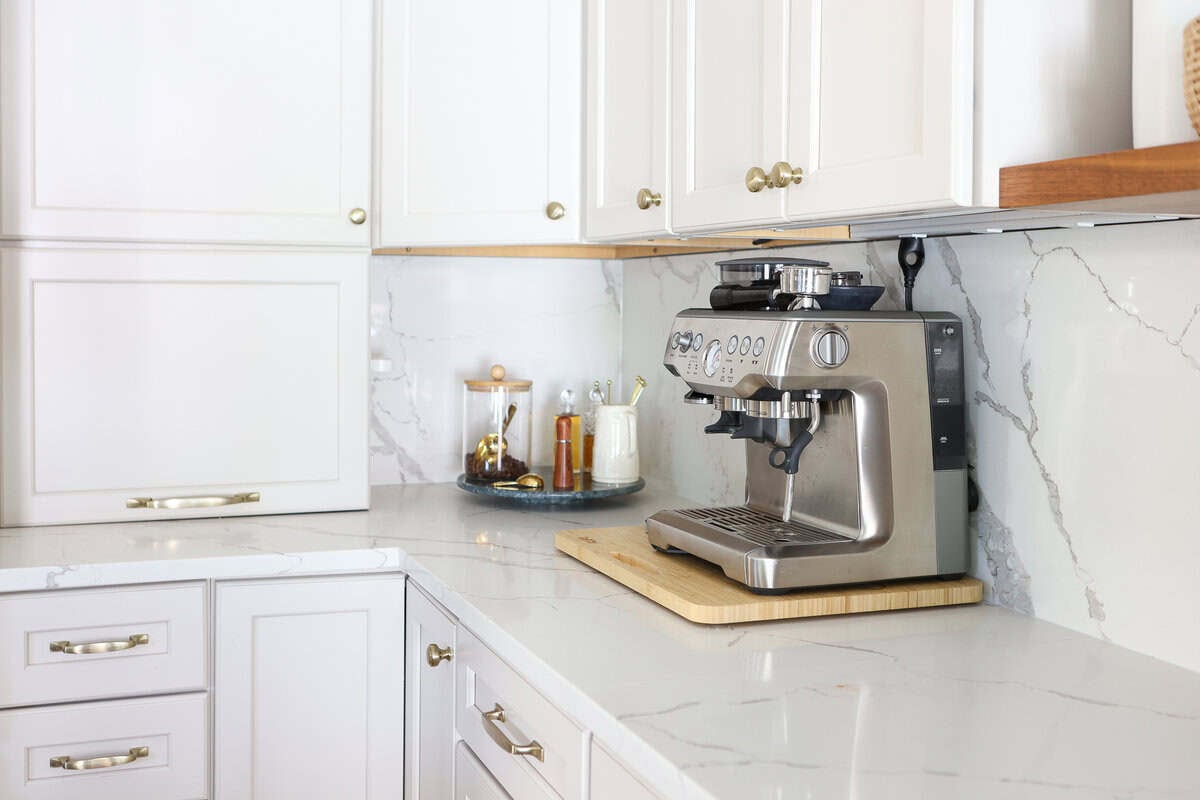
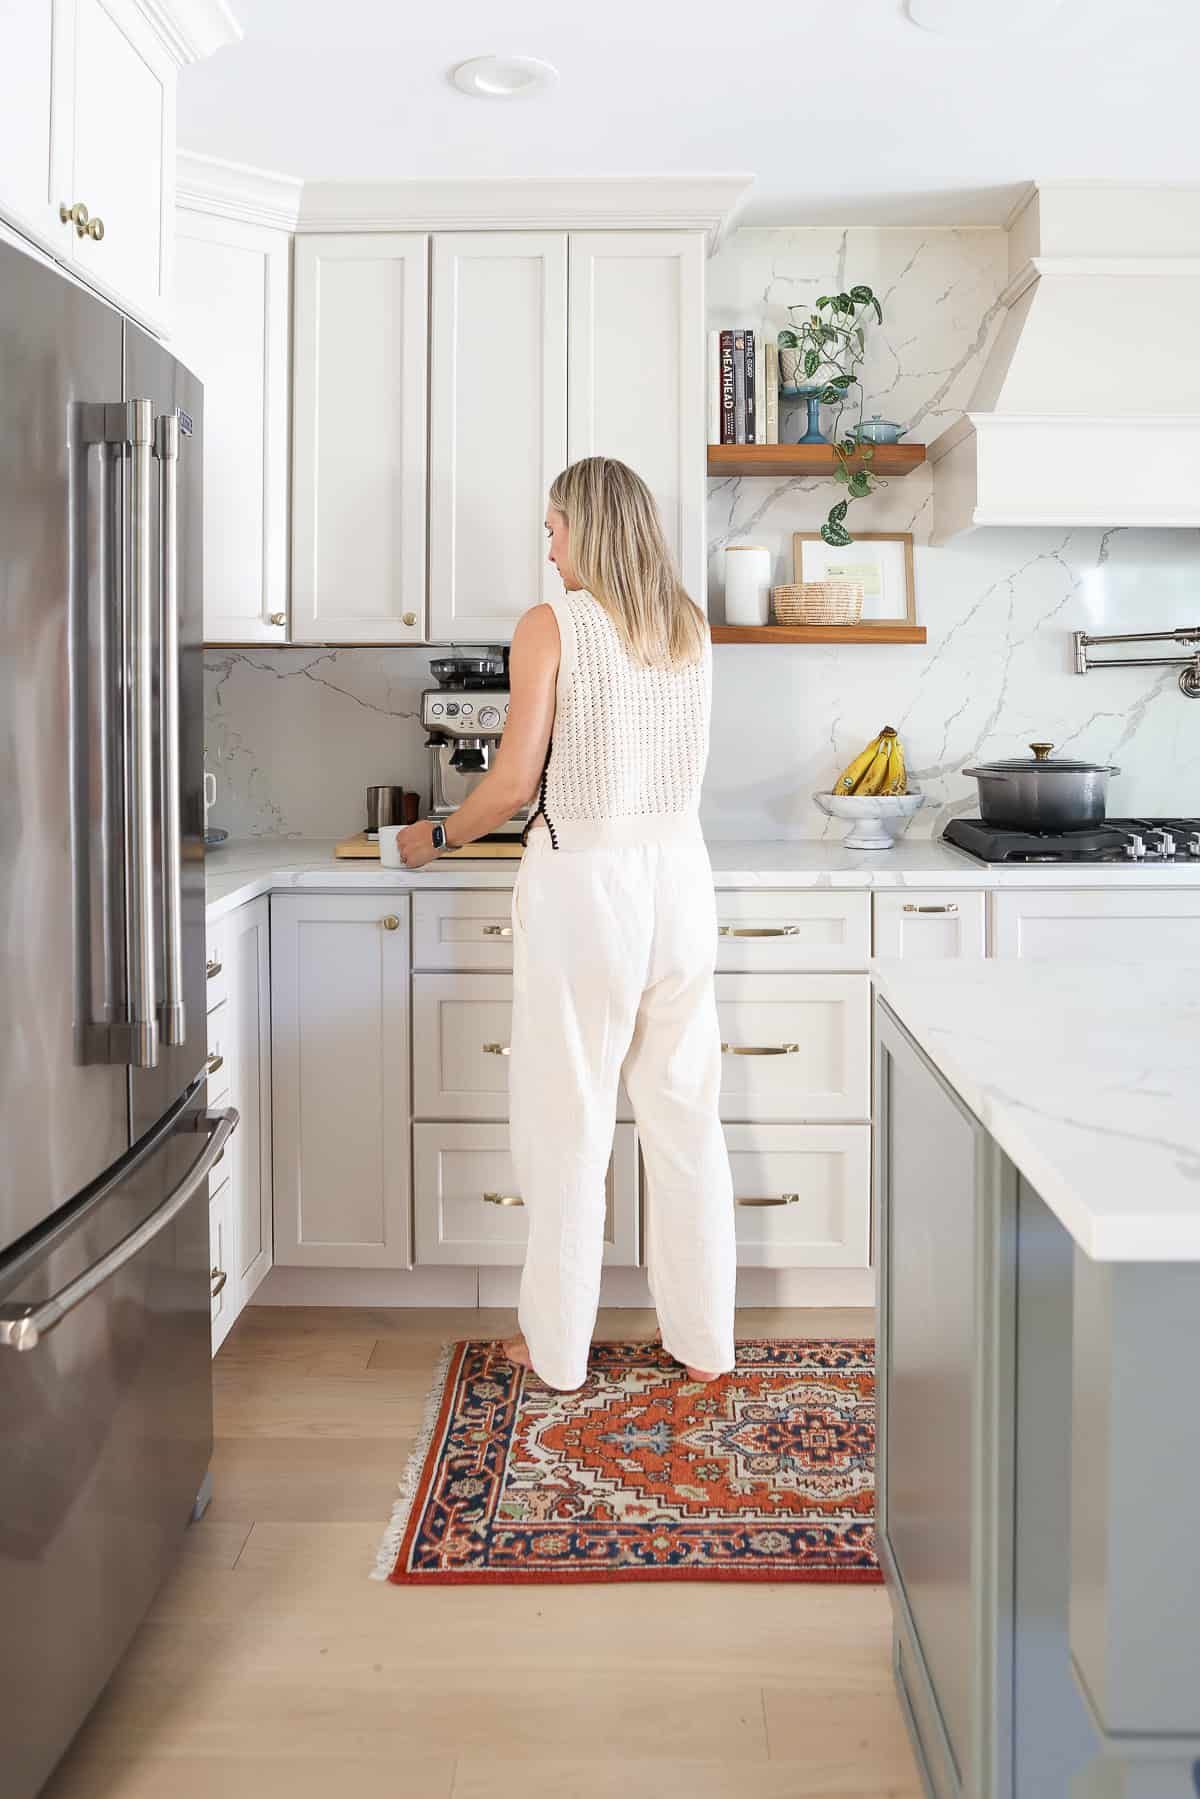
The best location for a home coffee station is wherever you’ll actually use it every day. For me, that meant carving out a little corner of our kitchen close to a water source instead of trying to create a separate coffee bar somewhere else. I wanted everything within easy access, since this little coffee setup has quickly become part of my morning routine.
Before this, we kept our drip coffee maker tucked away inside an appliance garage. Since I’m really the only coffee drinker in our house, I packed the coffee machine away for now. (I’ll absolutely bring it back out if we have overnight guests or need to make a full pot of coffee.)
That little swap actually ended up working out really well because our toaster now lives inside the appliance garage instead. The kids can easily reach it and make their own toast in the mornings, which has been an unexpected win. You can peek inside every cabinet in our kitchen right here.
That freed up the perfect little corner of my countertop for an at-home coffee bar.
I wanted the space to be beautiful, but even more importantly, I wanted it to be functional. If I was going to use this every single morning, I wanted everything within easy reach.
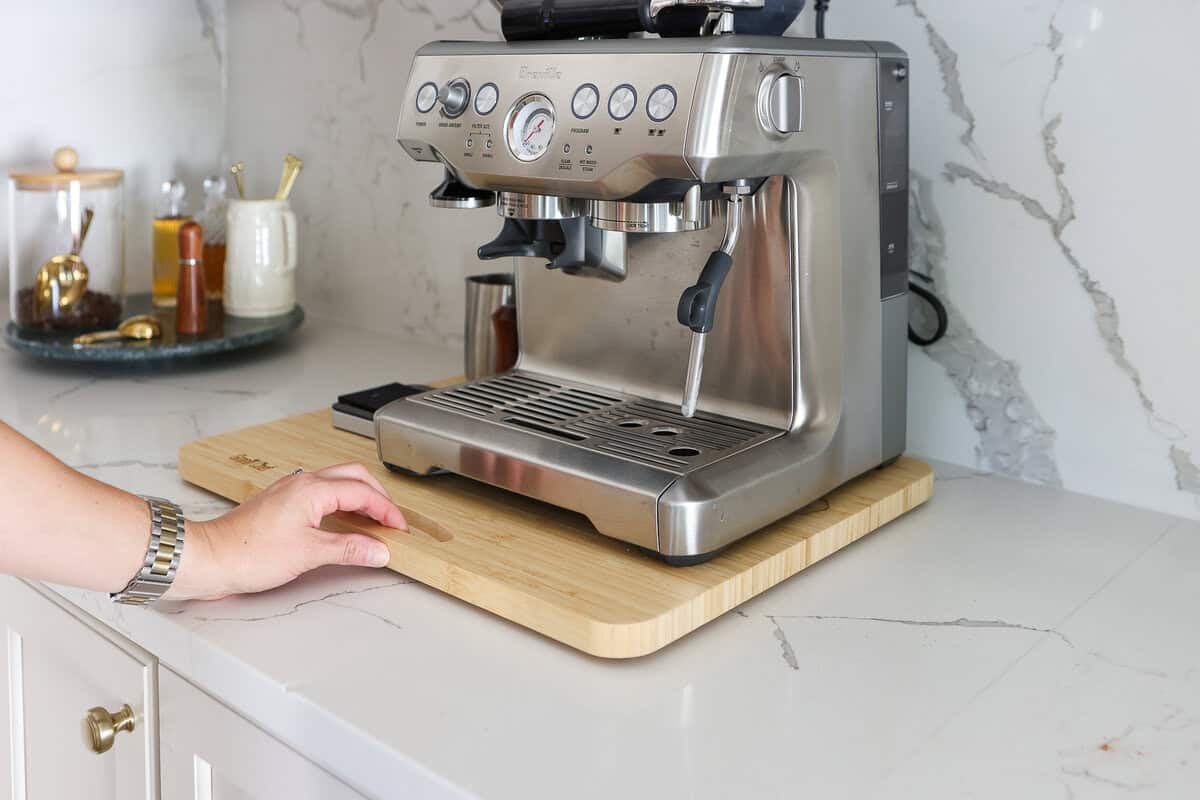
One of my favorite additions was a rolling wooden tray underneath the espresso machine. Several followers recommended this, and it has been such a smart addition. Instead of awkwardly reaching behind the machine to refill the water tank or add beans, I simply slide the whole machine forward.
It’s such a simple trick, but it makes using the machine so much easier.
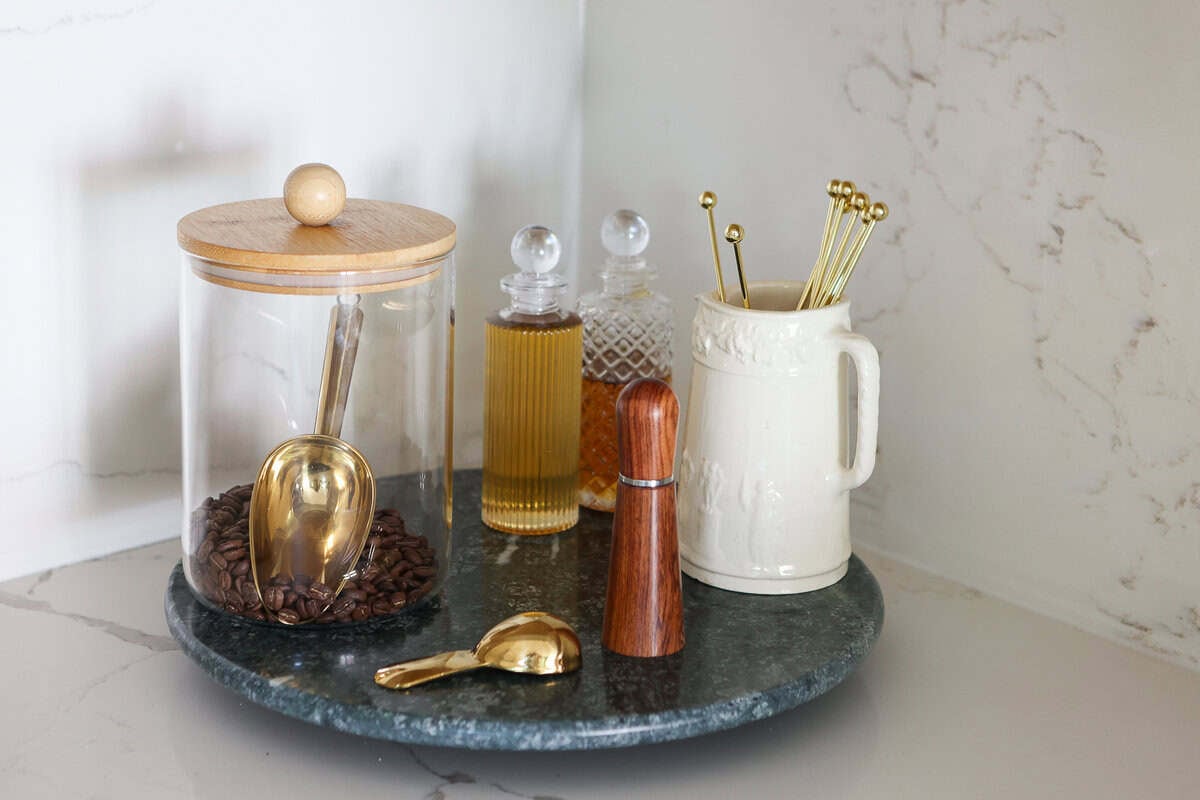
To finish the space, I added a green marble lazy Susan in the corner that holds my coffee beans, vanilla syrups, and a few everyday accessories. It keeps everything organized while making the entire setup feel intentional instead of cluttered.
Sometimes it’s those small styling touches that make your daily routine feel a little more special.
Even if you have a small kitchen or are working with small spaces, don’t feel like you need an entire built-in coffee bar. A small section of countertop, an unused space, or even a bar cart can become a really functional coffee station.
Espresso Accessories I Bought
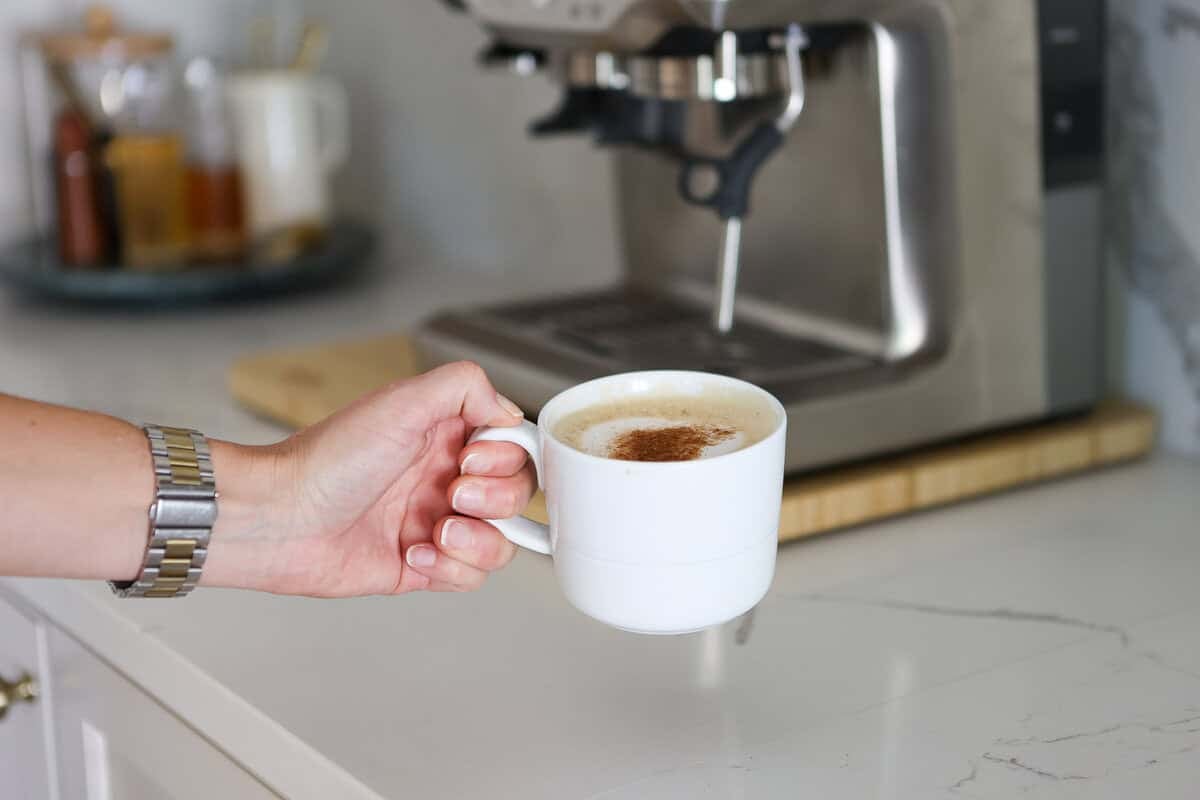
One thing I really appreciate about the Breville Barista Express is that it comes with almost everything you need to get started. It includes a tamper, milk pitcher, dosing funnel, and several other accessories, so you definitely don’t have to buy a bunch of extras right away.
That said…after watching approximately one million espresso videos (okay, maybe closer to fifty), I realized there were a few accessories that could make the learning process much easier.
Here’s everything I added to my setup.
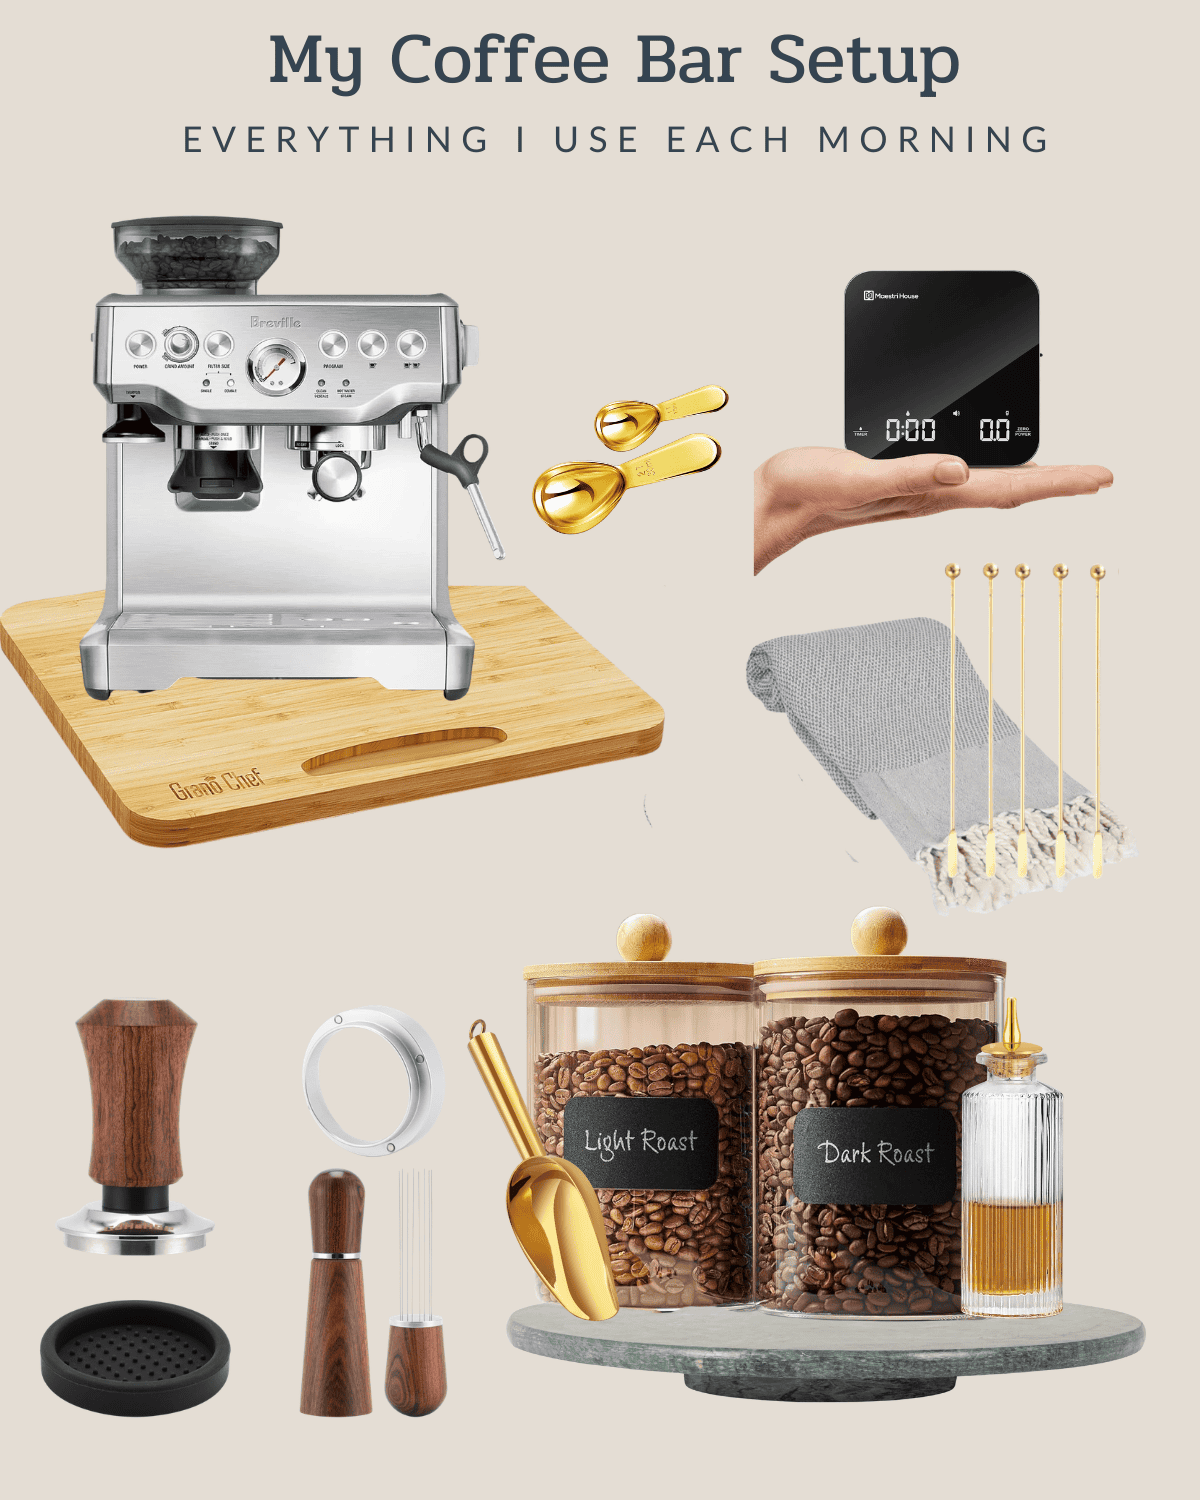
If you’re creating your own coffee bar, remember that you don’t need everything all at once. Start with a good espresso machine, quality beans, and a few helpful coffee accessories. You can always build your setup over time.
Breville Barista Express
The star of the show. This machine grinds fresh beans, pulls espresso, and steams milk. It definitely has a learning curve, but I love that it gives me room to grow instead of simply pushing a button.
Espresso Scale
If I could recommend just one accessory, this would be it.
The scale weighs your espresso while simultaneously running a timer. As someone who had never made espresso before, having both pieces of information in front of me made learning so much easier.
WDT Tool
This funny-looking tool with all the little needles helps break up clumps in your freshly ground espresso before tamping. I had no idea this even existed until a few weeks ago, but now it’s a part of my morning routine.
Spring-Loaded Tamper
The machine includes a tamper, but I upgraded to a spring-loaded version that makes it much easier to apply even pressure every time.
Glass Bean Jars
Fresh beans make a huge difference, so I wanted a pretty way to store them on my countertop. This airtight container is the perfect way to store coffee beans. Plus, I added this gold coffee scoop for extra style points.
Syrup Bottles
I filled these cute bitters bottles with regular vanilla syrup and one with sugar-free vanilla syrup so I can make whatever kind of latte I’m in the mood for. The syrup I got is too thick for the spouts, so I have the tops on them. You may need to troubleshoot this based on the syrup you use.
Gold Stir Sticks & White Pitcher
The gold sticks live inside a white ceramic pitcher that has actually been in my family for years. It’s one of my favorite little details and makes the coffee bar feel even more personal.
What I’ve Learned as an Espresso Beginner
I want to start by saying that I am far from an espresso expert.
Before buying this machine, I’d only ever made drip coffee. We do own a Moka Pot that I’d use occasionally for espresso martinis, but this is my first real experience making espresso at home.
Honestly, I assumed you’d pour in some beans, push a button, and voilà…coffee shop-quality espresso. That is…not how it works.
One of the biggest surprises for me was just how much every little detail affects the final shot. The freshness of your beans. The grind size. How firmly you tamp. Even how long the espresso takes to pull.
Change one thing, and your espresso can go from sour to bitter to delicious.
The first couple of weeks definitely involved a lot of trial and error (and probably two full bags of coffee). Part of what made it difficult was that I’d never really tasted straight espresso before. I only ever drink lattes! So when I was trying to figure out if a shot tasted “right,” I honestly had no frame of reference.
I’ve actually started to love the process. Every morning feels like a little experiment. I make one small adjustment, pull another shot, and see if today’s latte is even better than yesterday’s. It’s a fun morning ritual.
It reminds me of Finn’s quest to perfect his Old Fashioned. On paper, it’s a pretty simple cocktail, but every tiny detail—the bourbon, the bitters, the technique—changes the final drink. It took him almost a year to perfect his recipe.
I have a feeling this espresso journey is going to be the same. Someday I’ll have my perfect vanilla latte dialed in. I’m just not there yet.
My Best Beginner Espresso Tips
1. Buy the freshest beans you can find
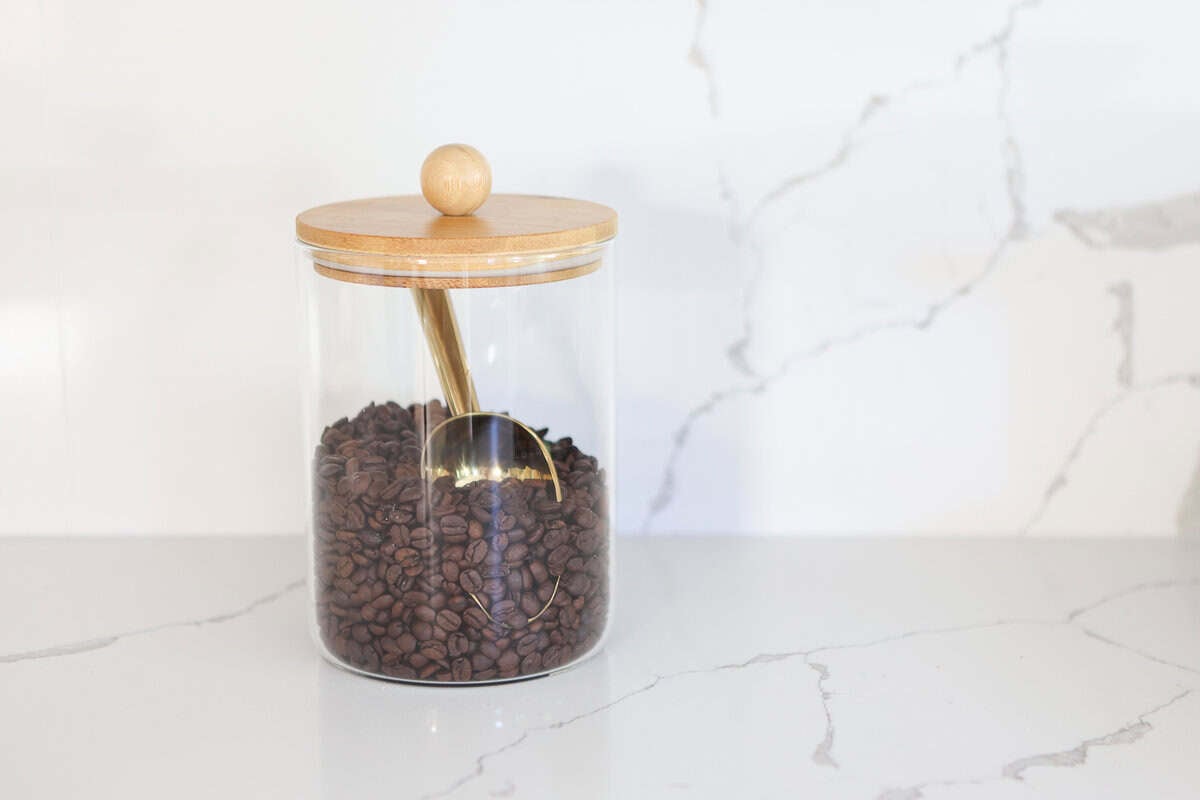
This has made the biggest difference by far. When you’re shopping for espresso beans, don’t just look for a “best by” date. Instead, look for a roast date. Ideally, you want beans that were roasted within the last couple of weeks.
I had a surprisingly hard time finding freshly roasted beans at my grocery store, so I ended up ordering directly from Intelligentsia. I bought both their Black Cat Espresso and their decaf version, and the difference compared to older grocery store beans was immediately noticeable.
If you have a local coffee roaster nearby, that’s another great place to start. Oh, and don’t forget your water quality, too. I use filtered water from our fridge instead of tap water.
2. Use a scale
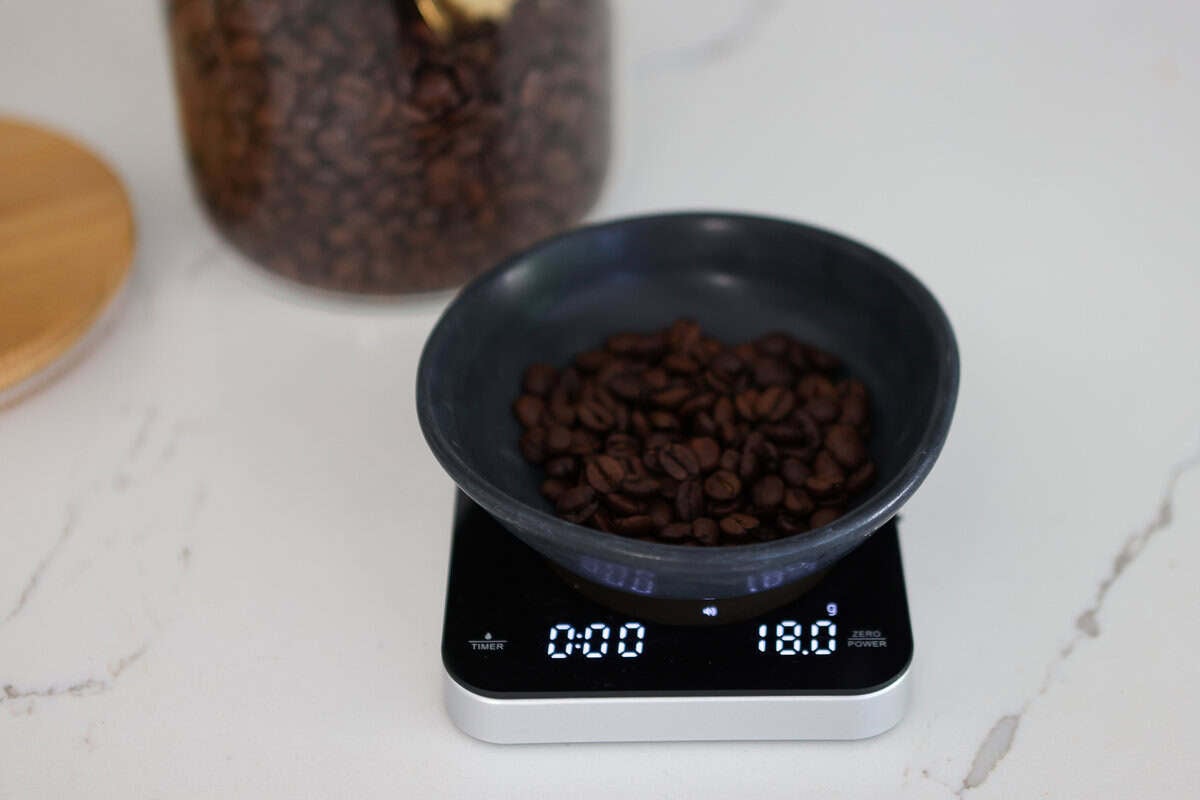
This was probably the biggest “aha!” moment for me.
- I weigh out 18 grams of beans, grind them, and then pull a shot until I have 36 grams of espresso.
- My scale also has a built-in timer, so I can see both the weight and the extraction time at the same time.
- The general guideline is a 1:2 ratio (18 grams in, 36 grams out) in about 25–30 seconds.
- If your shot is much faster than that, you’ll probably need a finer grind. Adjust the coffee grinder to a lower number.
- If it’s much slower, you’ll likely need a coarser grind.
Once I understood that, everything started making a lot more sense.
3. Let your machine fully warm up
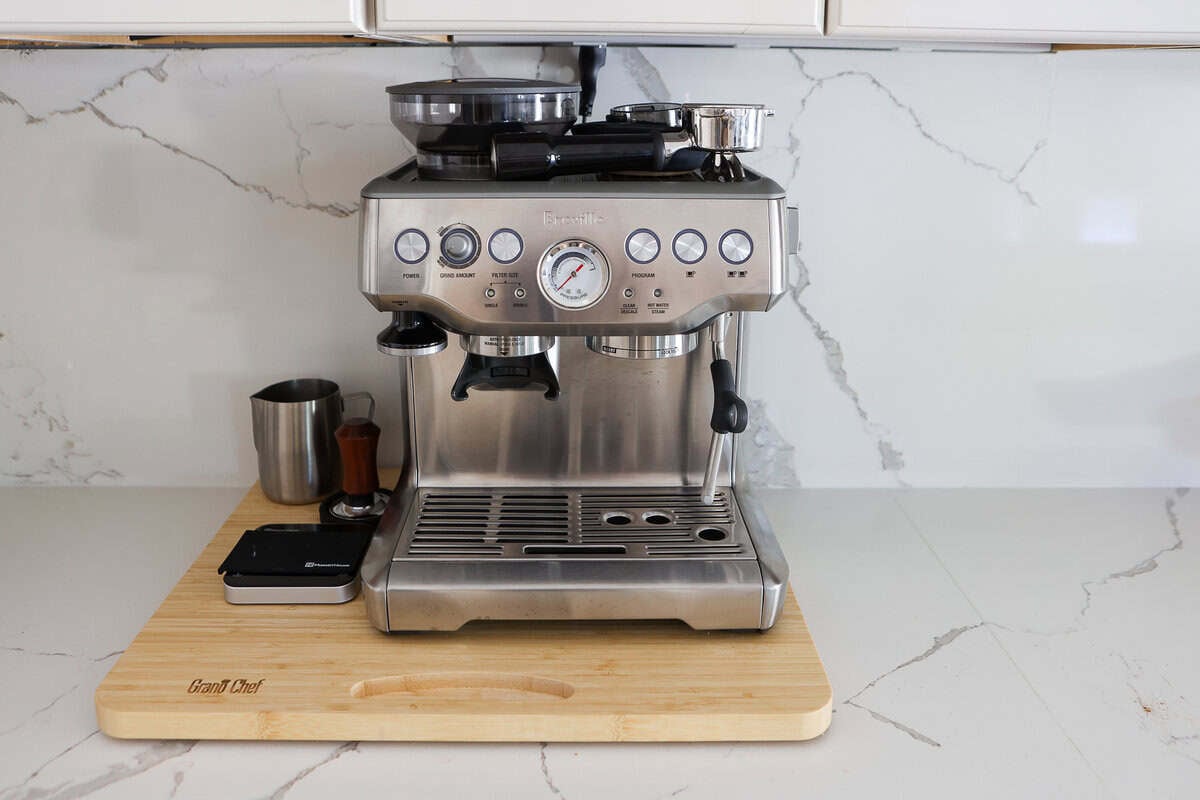
I usually turn the machine on first thing in the morning, make the kids breakfast, pack lunches, and then come back about 15 minutes later to make my latte. Giving it time to fully heat up has helped me get much more consistent results.
4. Don’t be afraid to experiment
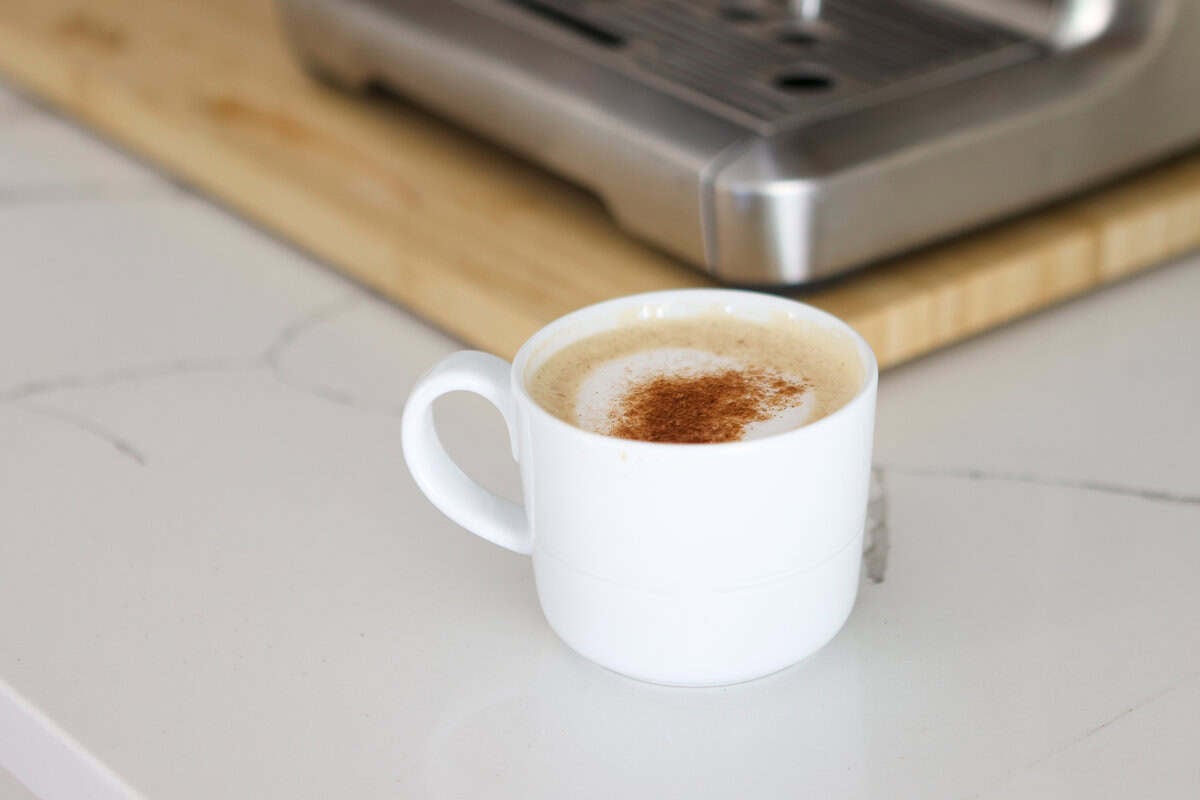
You’re probably going to waste some beans. You’re probably going to make a few sour lattes. You’re probably going to make a few bitter ones, too. That’s part of learning!
The nice thing is that once you dial in your settings for a particular bag of beans, you can usually leave everything alone until you open a new bag.
What’s Next?
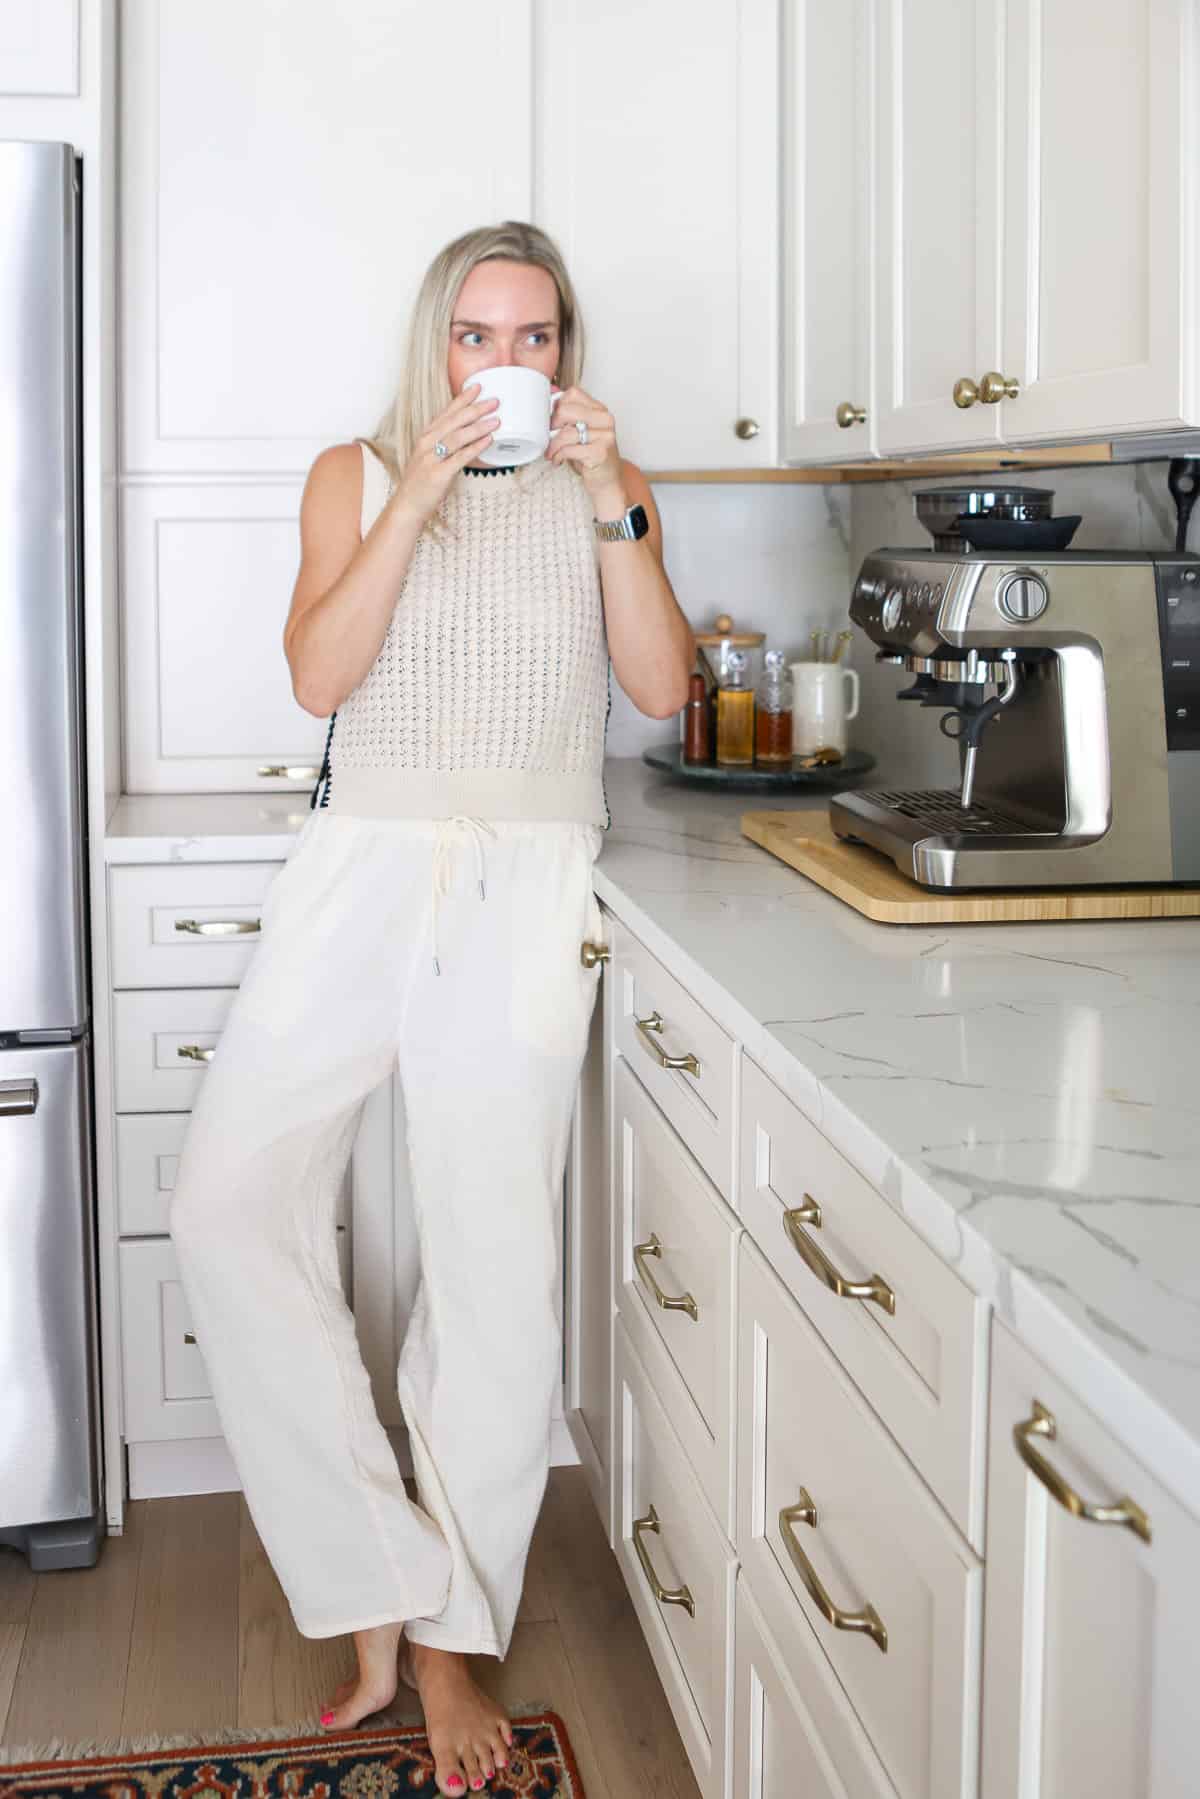
Right now, I’m focused on pulling consistently good espresso shots. The milk, though? That’s still very much a work in progress. I’m getting closer, but I haven’t quite mastered that silky, café-quality microfoam yet. And latte art is going to be a long long ways away!
If you have any favorite espresso tips, milk frothing advice, or accessories I should try next, I’d genuinely love to hear them. Leave me a comment below. I have a feeling this little coffee journey is just getting started…


