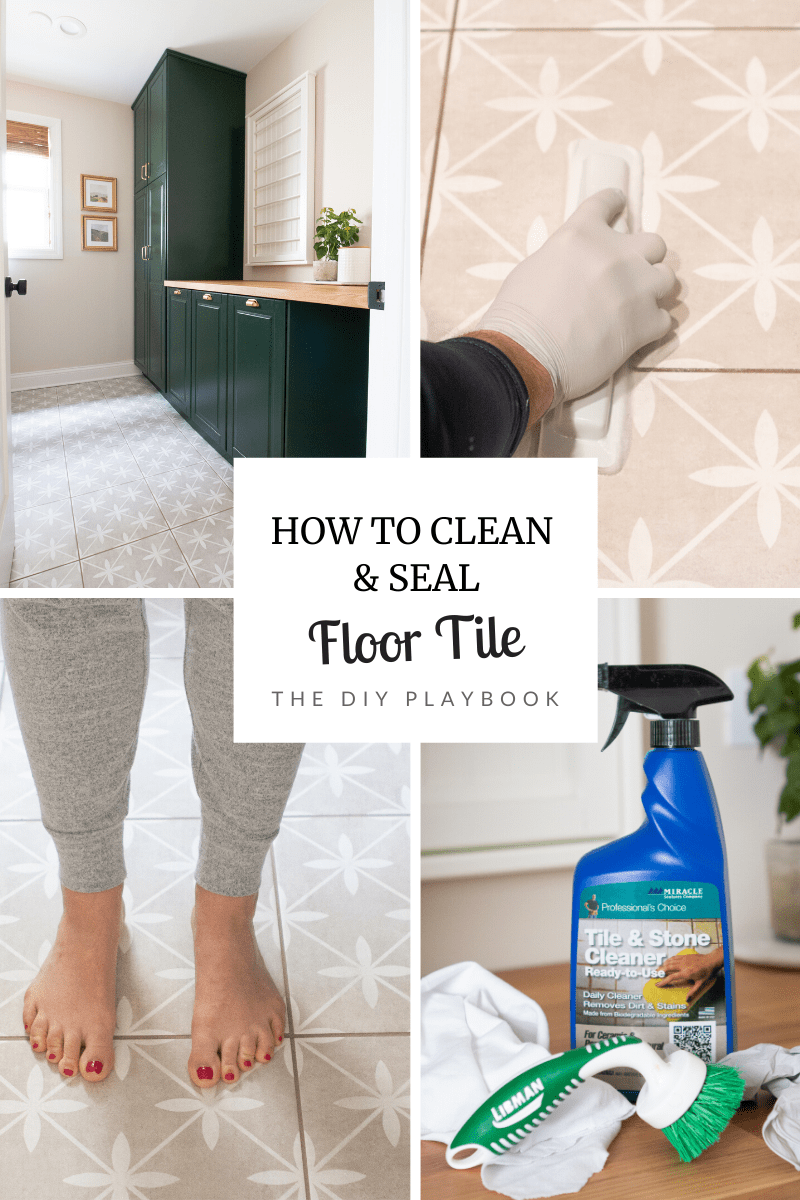
How to Clean and Seal Porcelain Tile and Grout
Disclaimer: This post is sponsored by Rust-Oleum.
We’ve been thoroughly enjoying our laundry room over the past few months. It’s wonderful to have an organized space to tackle laundry (see how I organized it here!), and I still love everything about the design, colors, and overall vibe in the space.
However, there was one task still lingering on my to-do list for this space…sealing the porcelain tile and grout.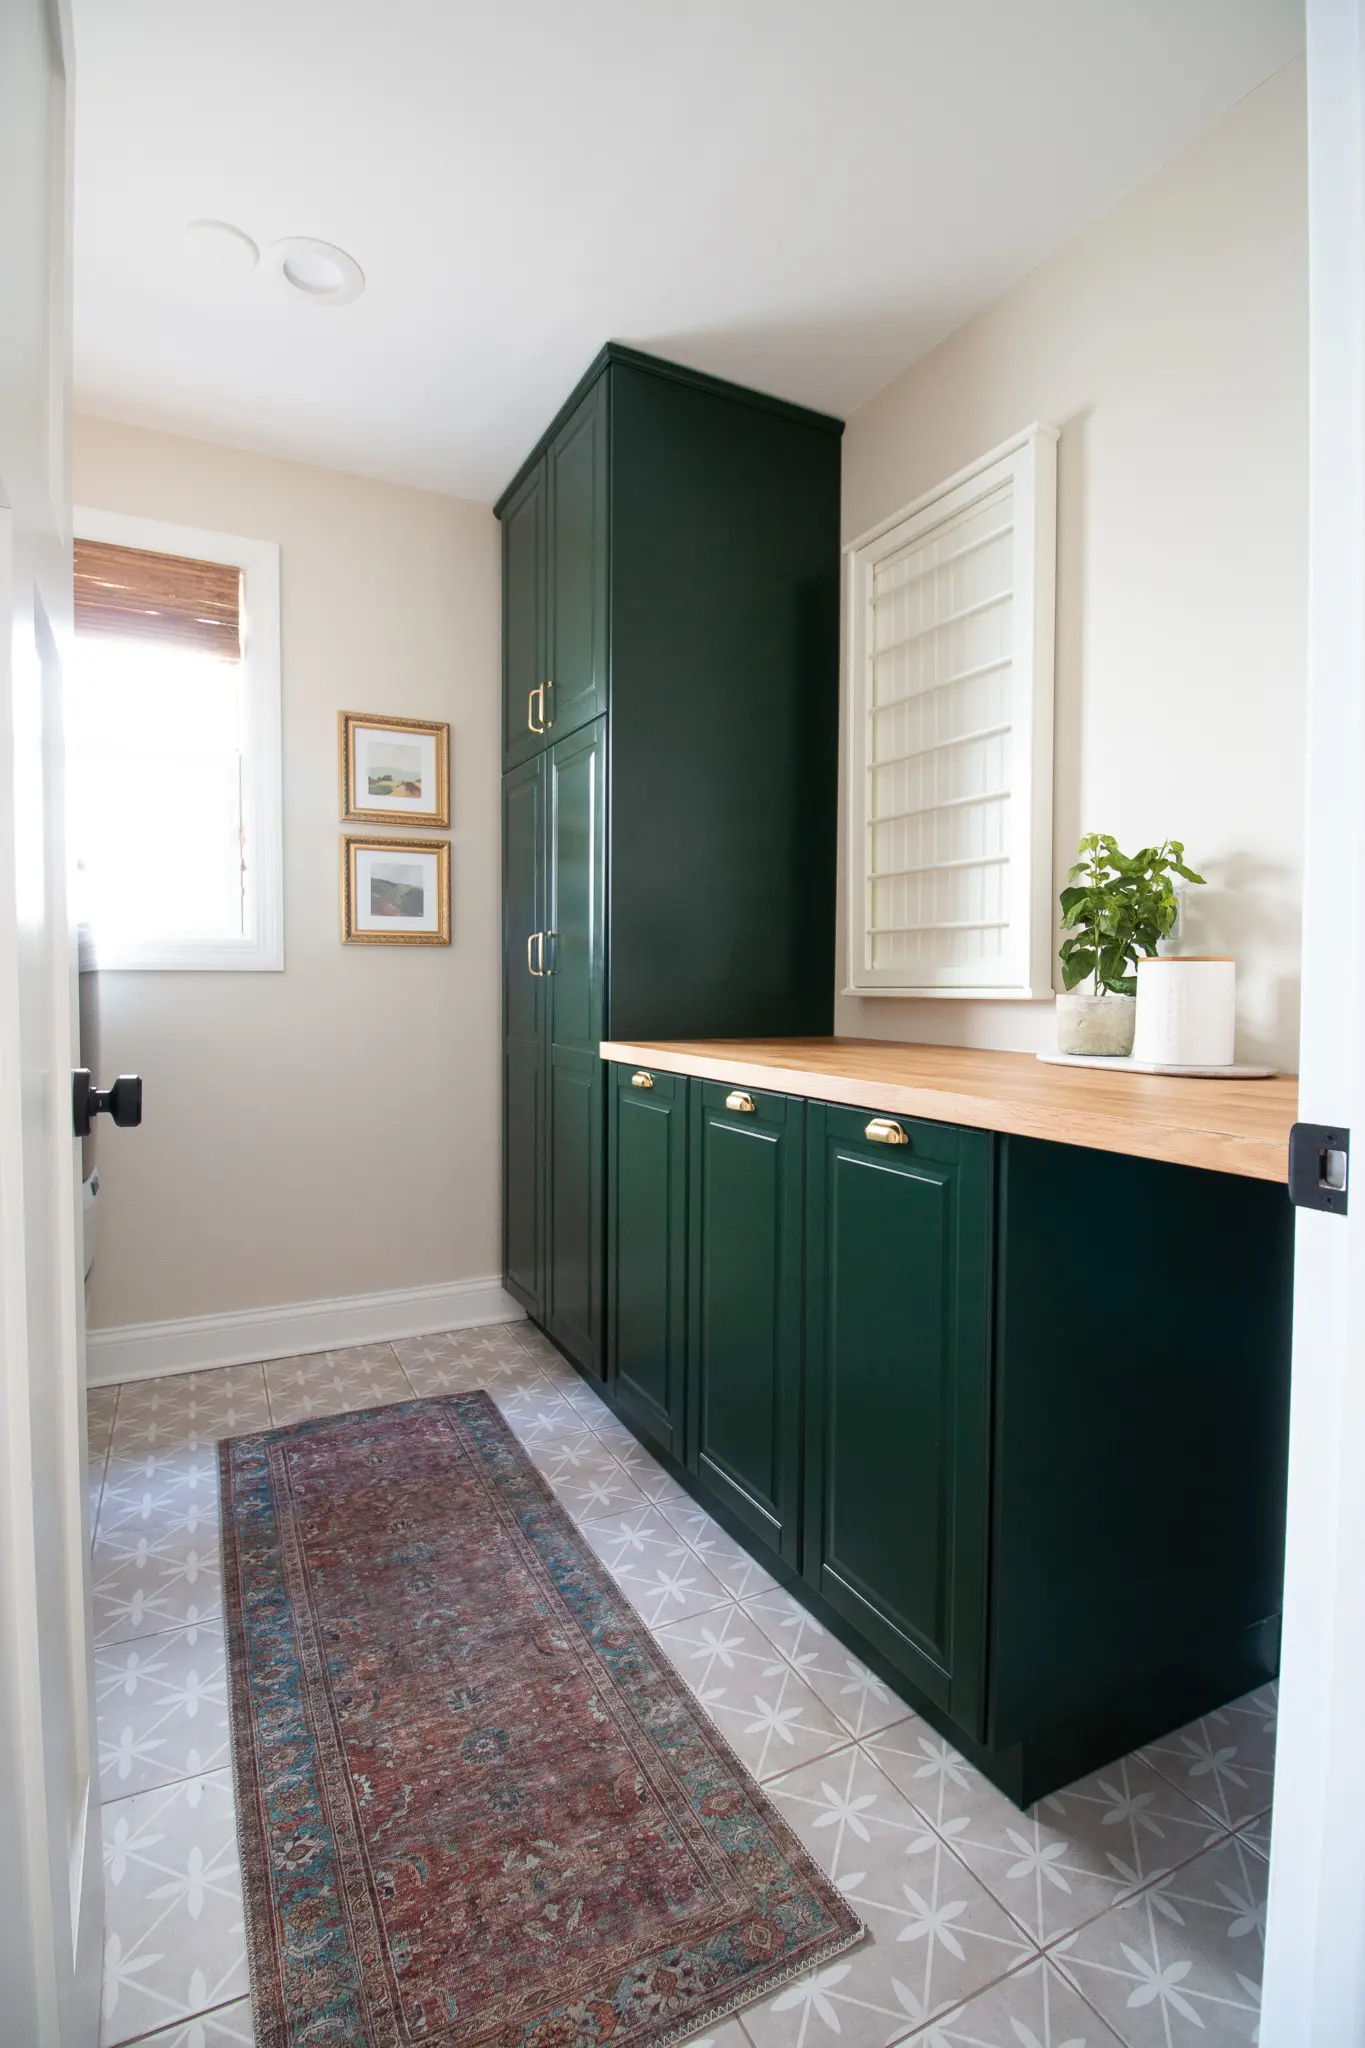
I know many of us are spending more time at home lately and it’s a good time to tackle those tasks that can easily slip to the bottom of your home’s to-do list. Sealing your tile, stone, and grout on a regular basis is key to prevent it from getting dirty and damaged.
A top reason grout is stained or becomes loose is because it wasn’t sealed, or the sealer is worn down. Some people try to use bleach or other harsh chemicals on their grout to clean stains, but that is a huge no-no! That eats away at the grout and makes it so much worse. Don’t do that…trust me.
Lately, my favorite go-to cleaning tool is this hand-held steam cleaner. There’s a variety of attachment heads, including one for cleaning tile grout.
When Do I Need to Seal My Tile?
 While the porcelain tile in our laundry room didn’t require sealing, the grout does – and regular re-sealing is important. Depending on how much your tile and grout are exposed to wear and tear, will determine how often you need to complete the sealing process.
I also noticed that I had some staining in my grout lines from spilled laundry detergent. If the grout is sealed properly, that won’t happen. So, I knew it was probably time to clean and seal our porcelain tile. The same goes for ceramic tile, tile backsplashes, and natural stone countertops. You’ll want to seal these regularly to keep everything looking good!
An easy way to test if your tile surface needs a fresh coat of sealant is to place a few drops of water on the surface and see if it beads up. If there’s moisture absorption into the tile or stone in less than a minute, then it’s time to reseal!
Cleaning the Tile
As with many DIY projects, this one is all about the prep work. You want to get your tile and grout clean before you seal it. If you seal dirty tile, it will forever remain dirty! So, cleaning it thoroughly is the first step.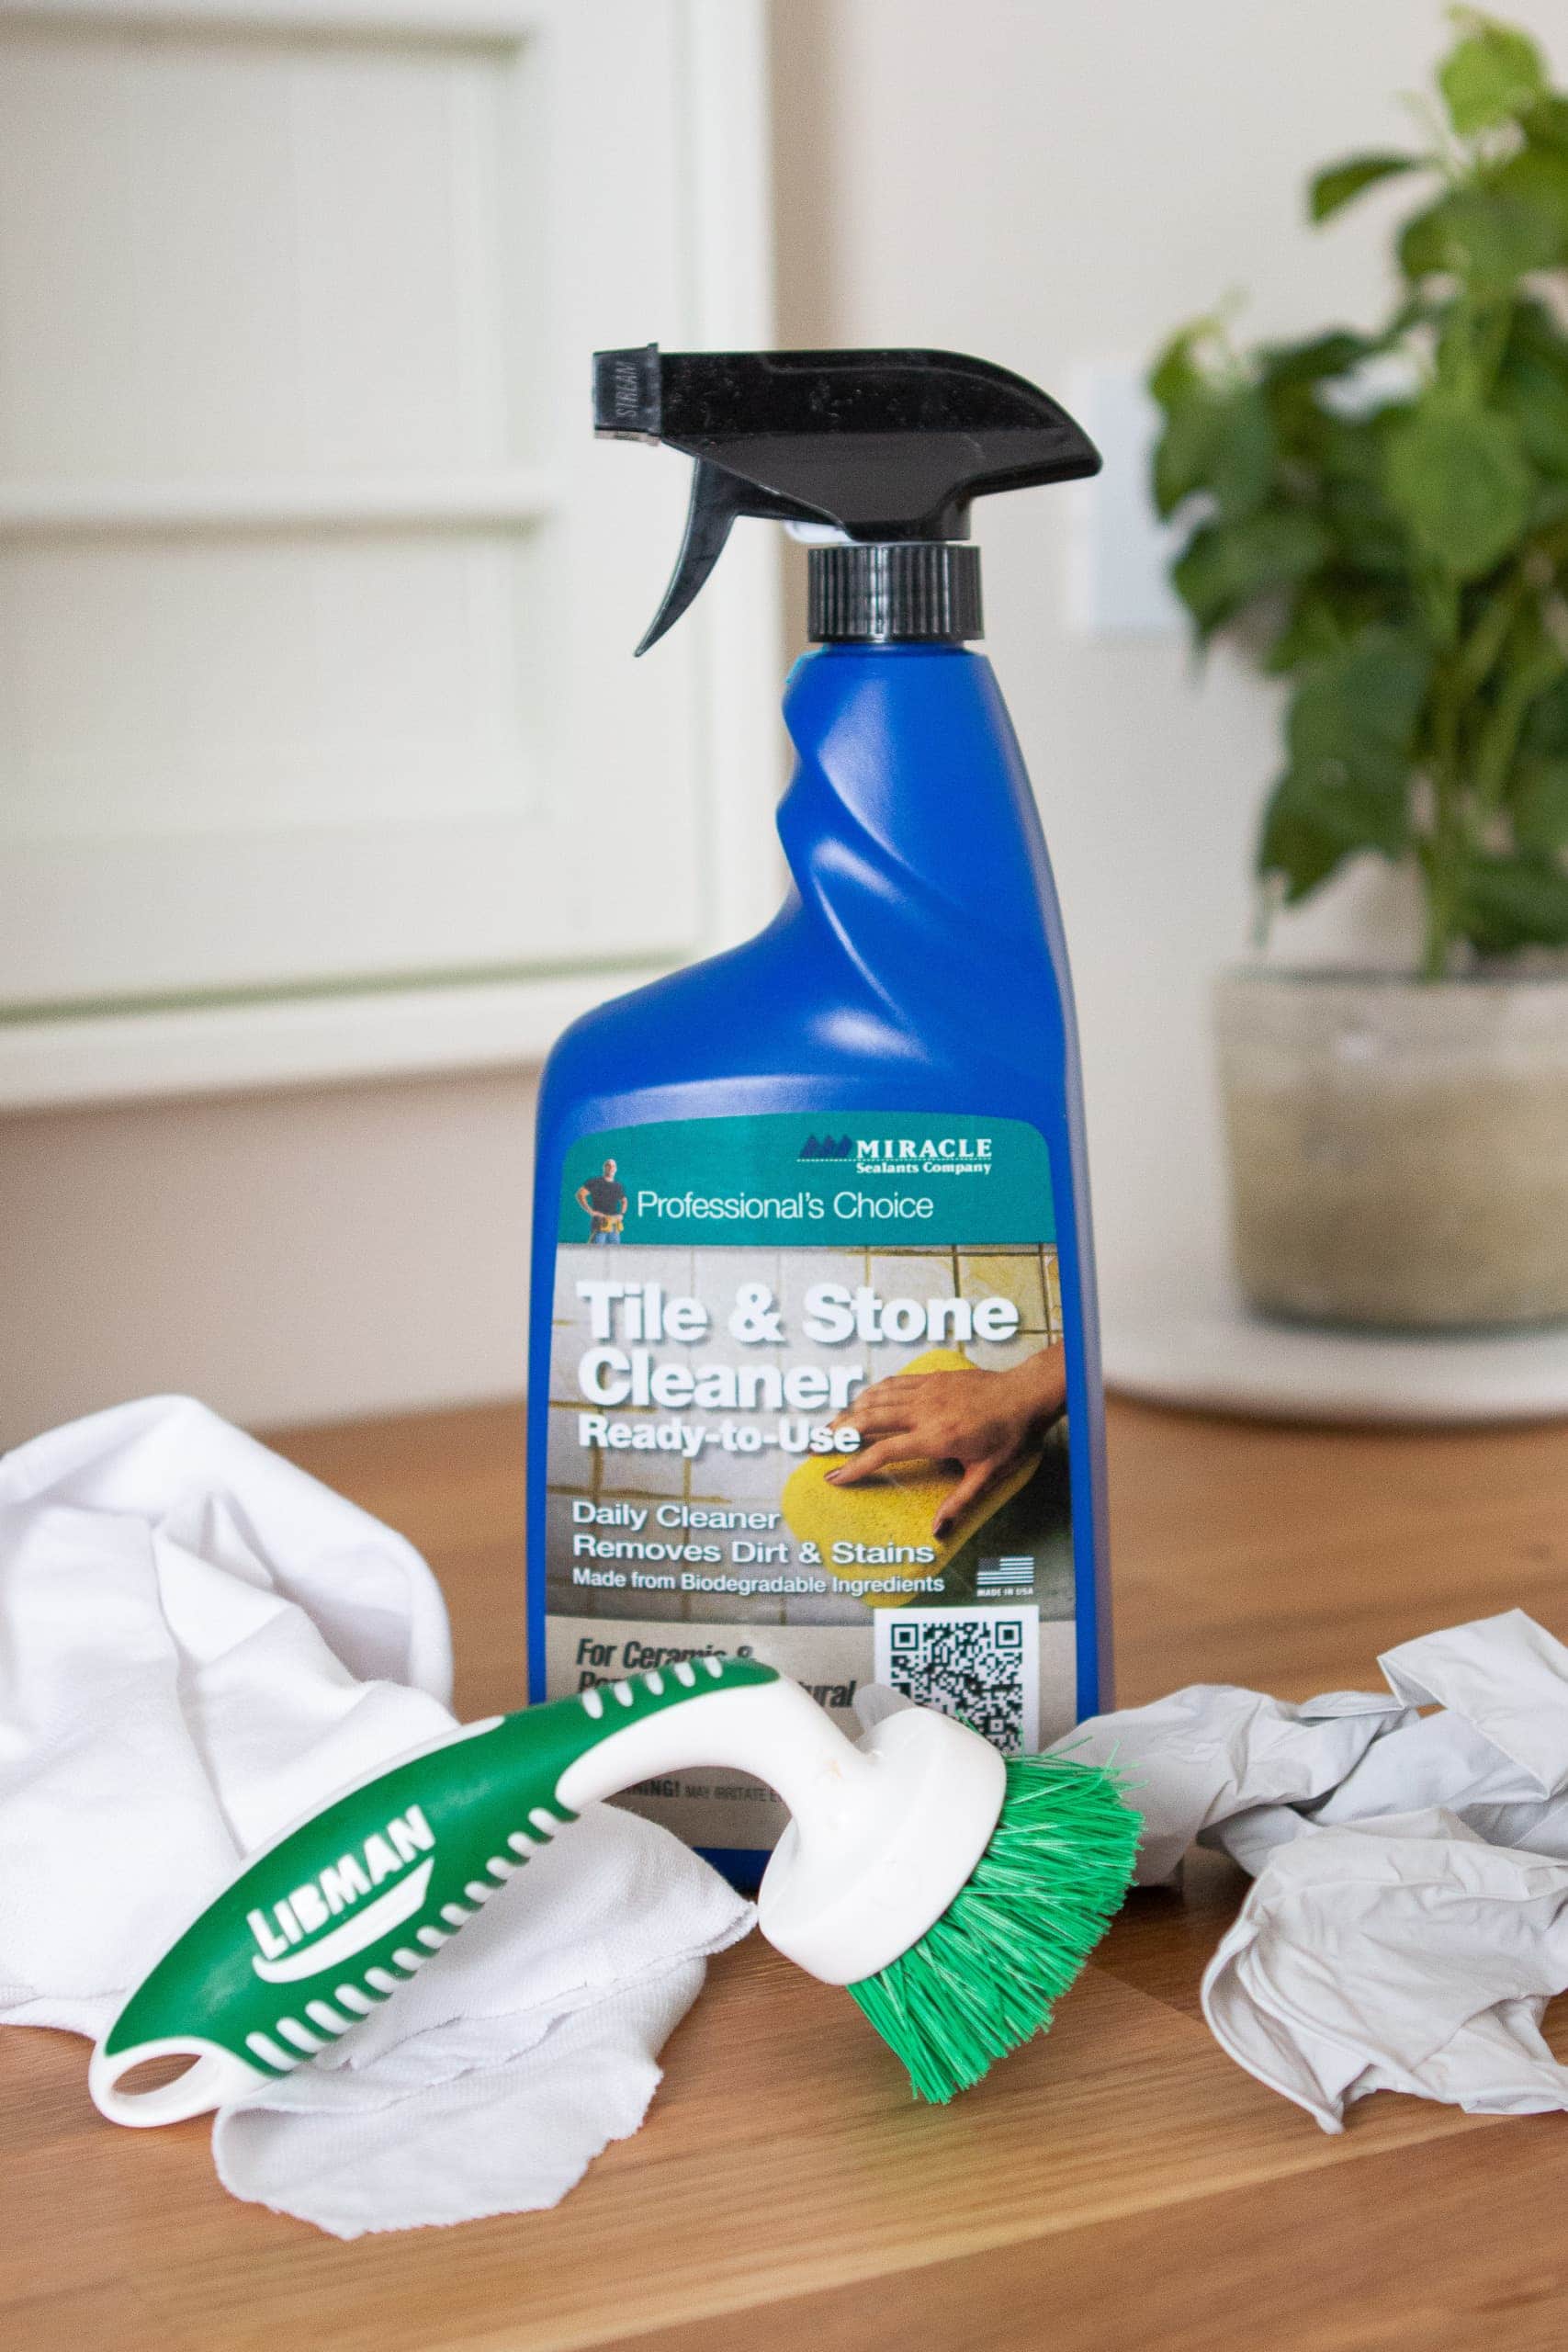
I used this Miracle Sealants Tile and Stone Cleaner. It’s excellent choice for a tile cleaner because it’s non-toxic, yet it can tackle really tough stains. It comes in a bunch of sizes, but I went with the spray bottle which was more than enough for our laundry room.
I’ll be able to use it for years to come all over the house! Even though I used it on my porcelain floor tile, it can be used for all kinds of medium to dense porous tile and stone (granite, marble, ceramic tile, and more). You can see the full list of types of tiles and surfaces here.
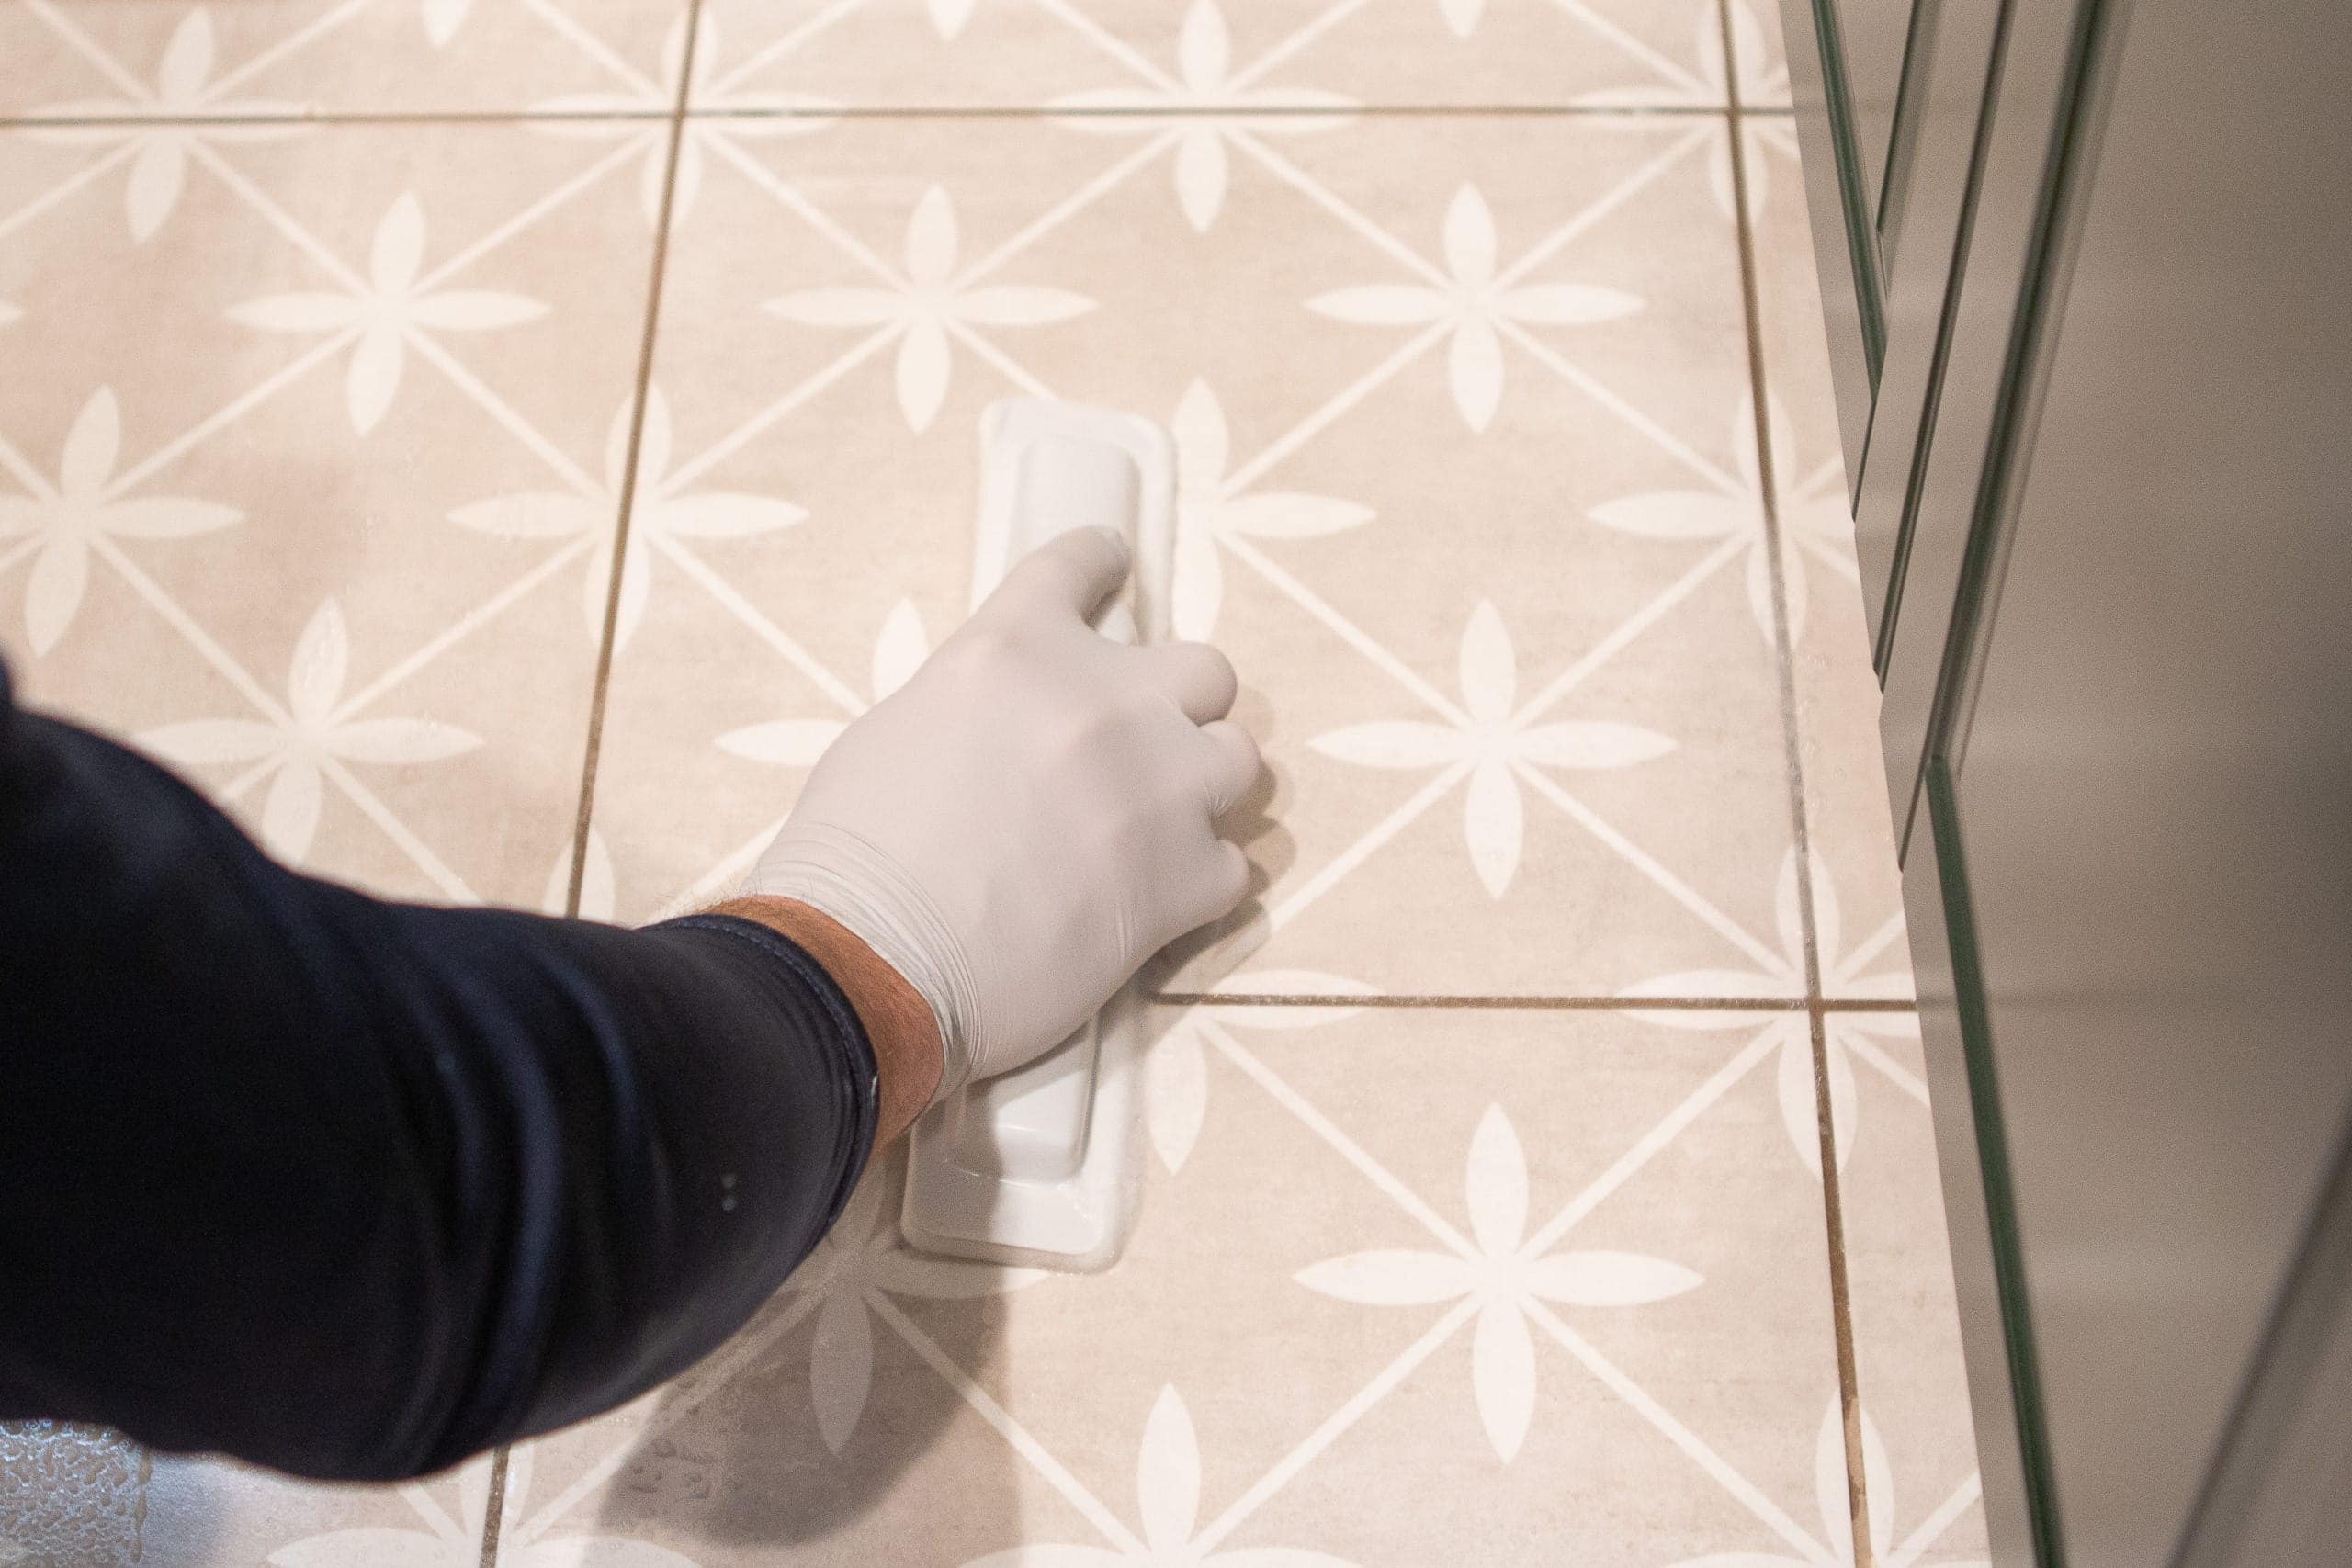
First, I vacuumed the tile to get rid of any debris. Then, I took a good look at the floor, searching for stains and really dirty areas. You’ll want to spot treat those areas first so they get extra attention!
I followed the manufacturer’s instructions, spraying the cleaner onto the stain and using a brush to agitate it (I wore gloves too, just to be extra cautious). Then, I let it soak in and sit on the surface for about fifteen minutes. Once the time was up, I used some warm water and a cloth to wipe up the residue. 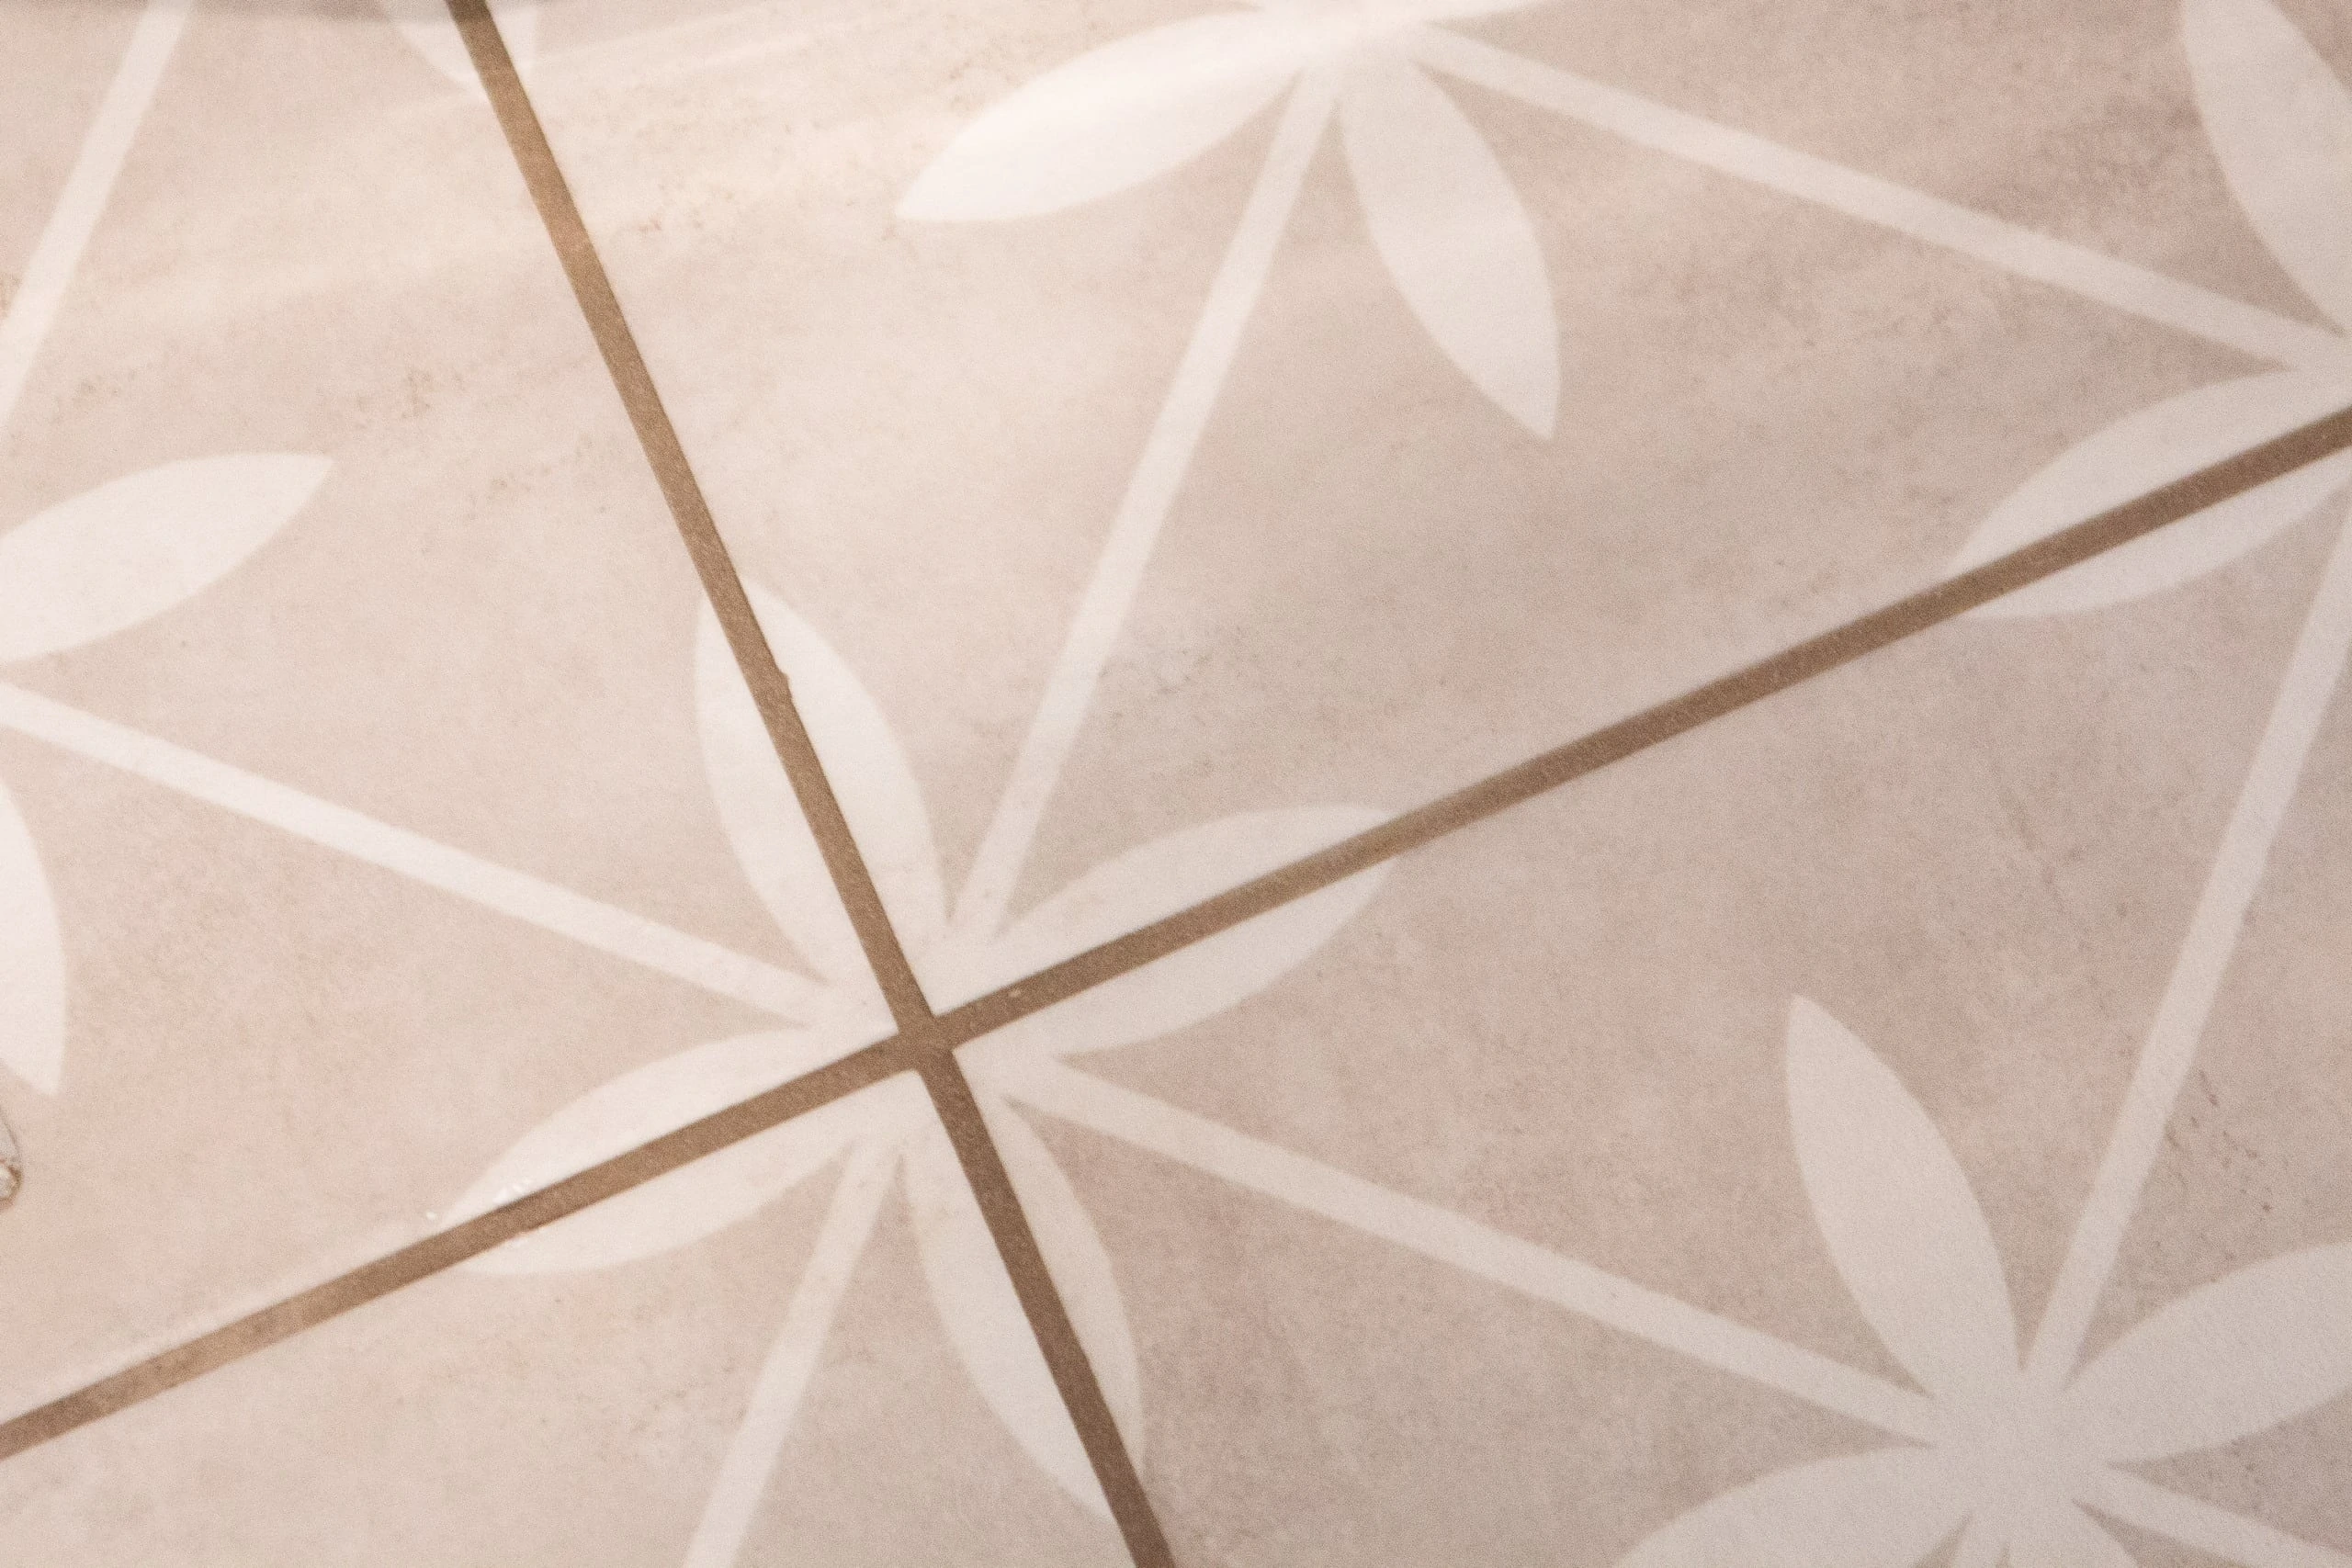 I did this on all of my “trouble spots” and they all looked much better after just one cleaning. Now, the grout stains are gone from the detergent! Hurray!
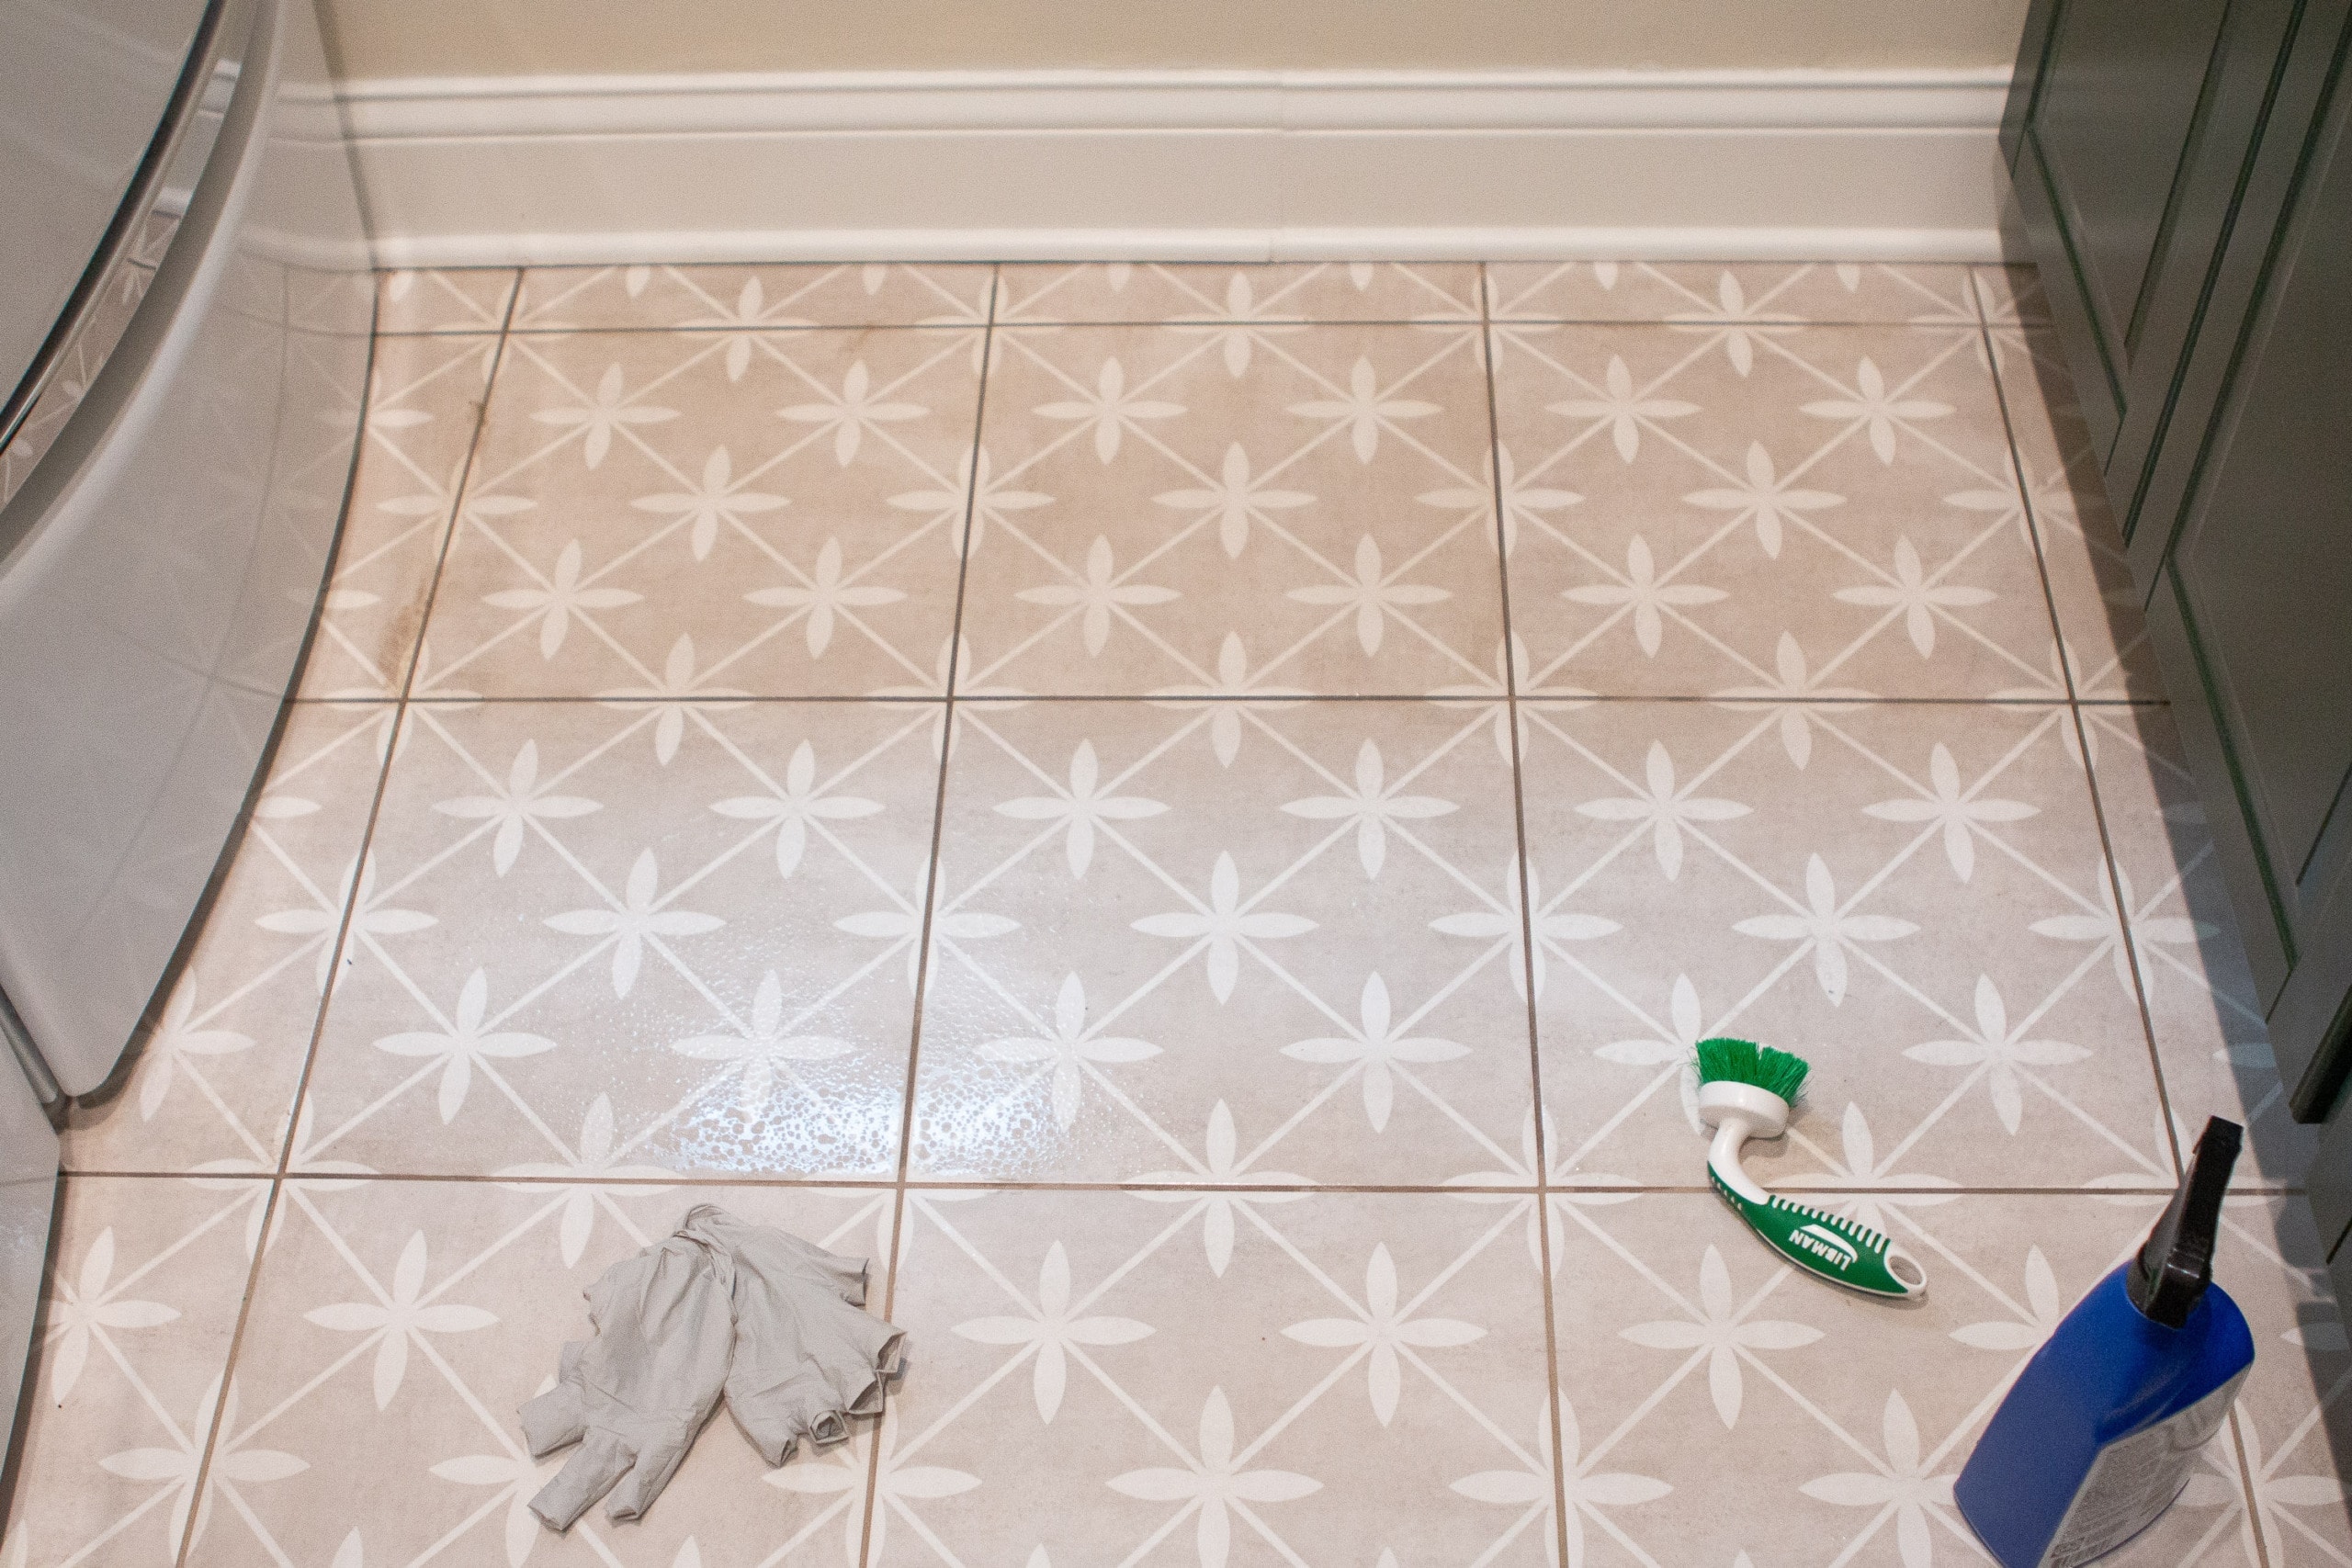
I then tackled the rest of the floor, starting closest to the window and working my way out of the room. You’ll want to work in areas that you can reach because you’ll do small sections at a time. I did two rows of tile at a time…spraying, agitating, waiting, and wiping. The application part was easy. It was the waiting that was time-consuming. But once I was done, the floor was looking pretty darn good!
Removing Grout Haze

I couldn’t get started on sealing the floor until it was 100% dry…which took a few hours. While it dried, I decided to test out another product Rust-Oleum sent to me…their Miracle Heavy-Duty Cleaner. This is an industrial-strength cleaner that removes dirt and grease. But, I was also drawn to another property of this product – it removes grout haze! 
I tiled the laundry room at the end of last year and there has been a slight grout haze left on the gorgeous green tile. I’m sure no one else notices it but me; however every time I walk into the laundry room, it bugs me. The best time to get rid of grout haze is within 72 hours of tiling. This haze had been on there for months, so I wasn’t so sure this would work.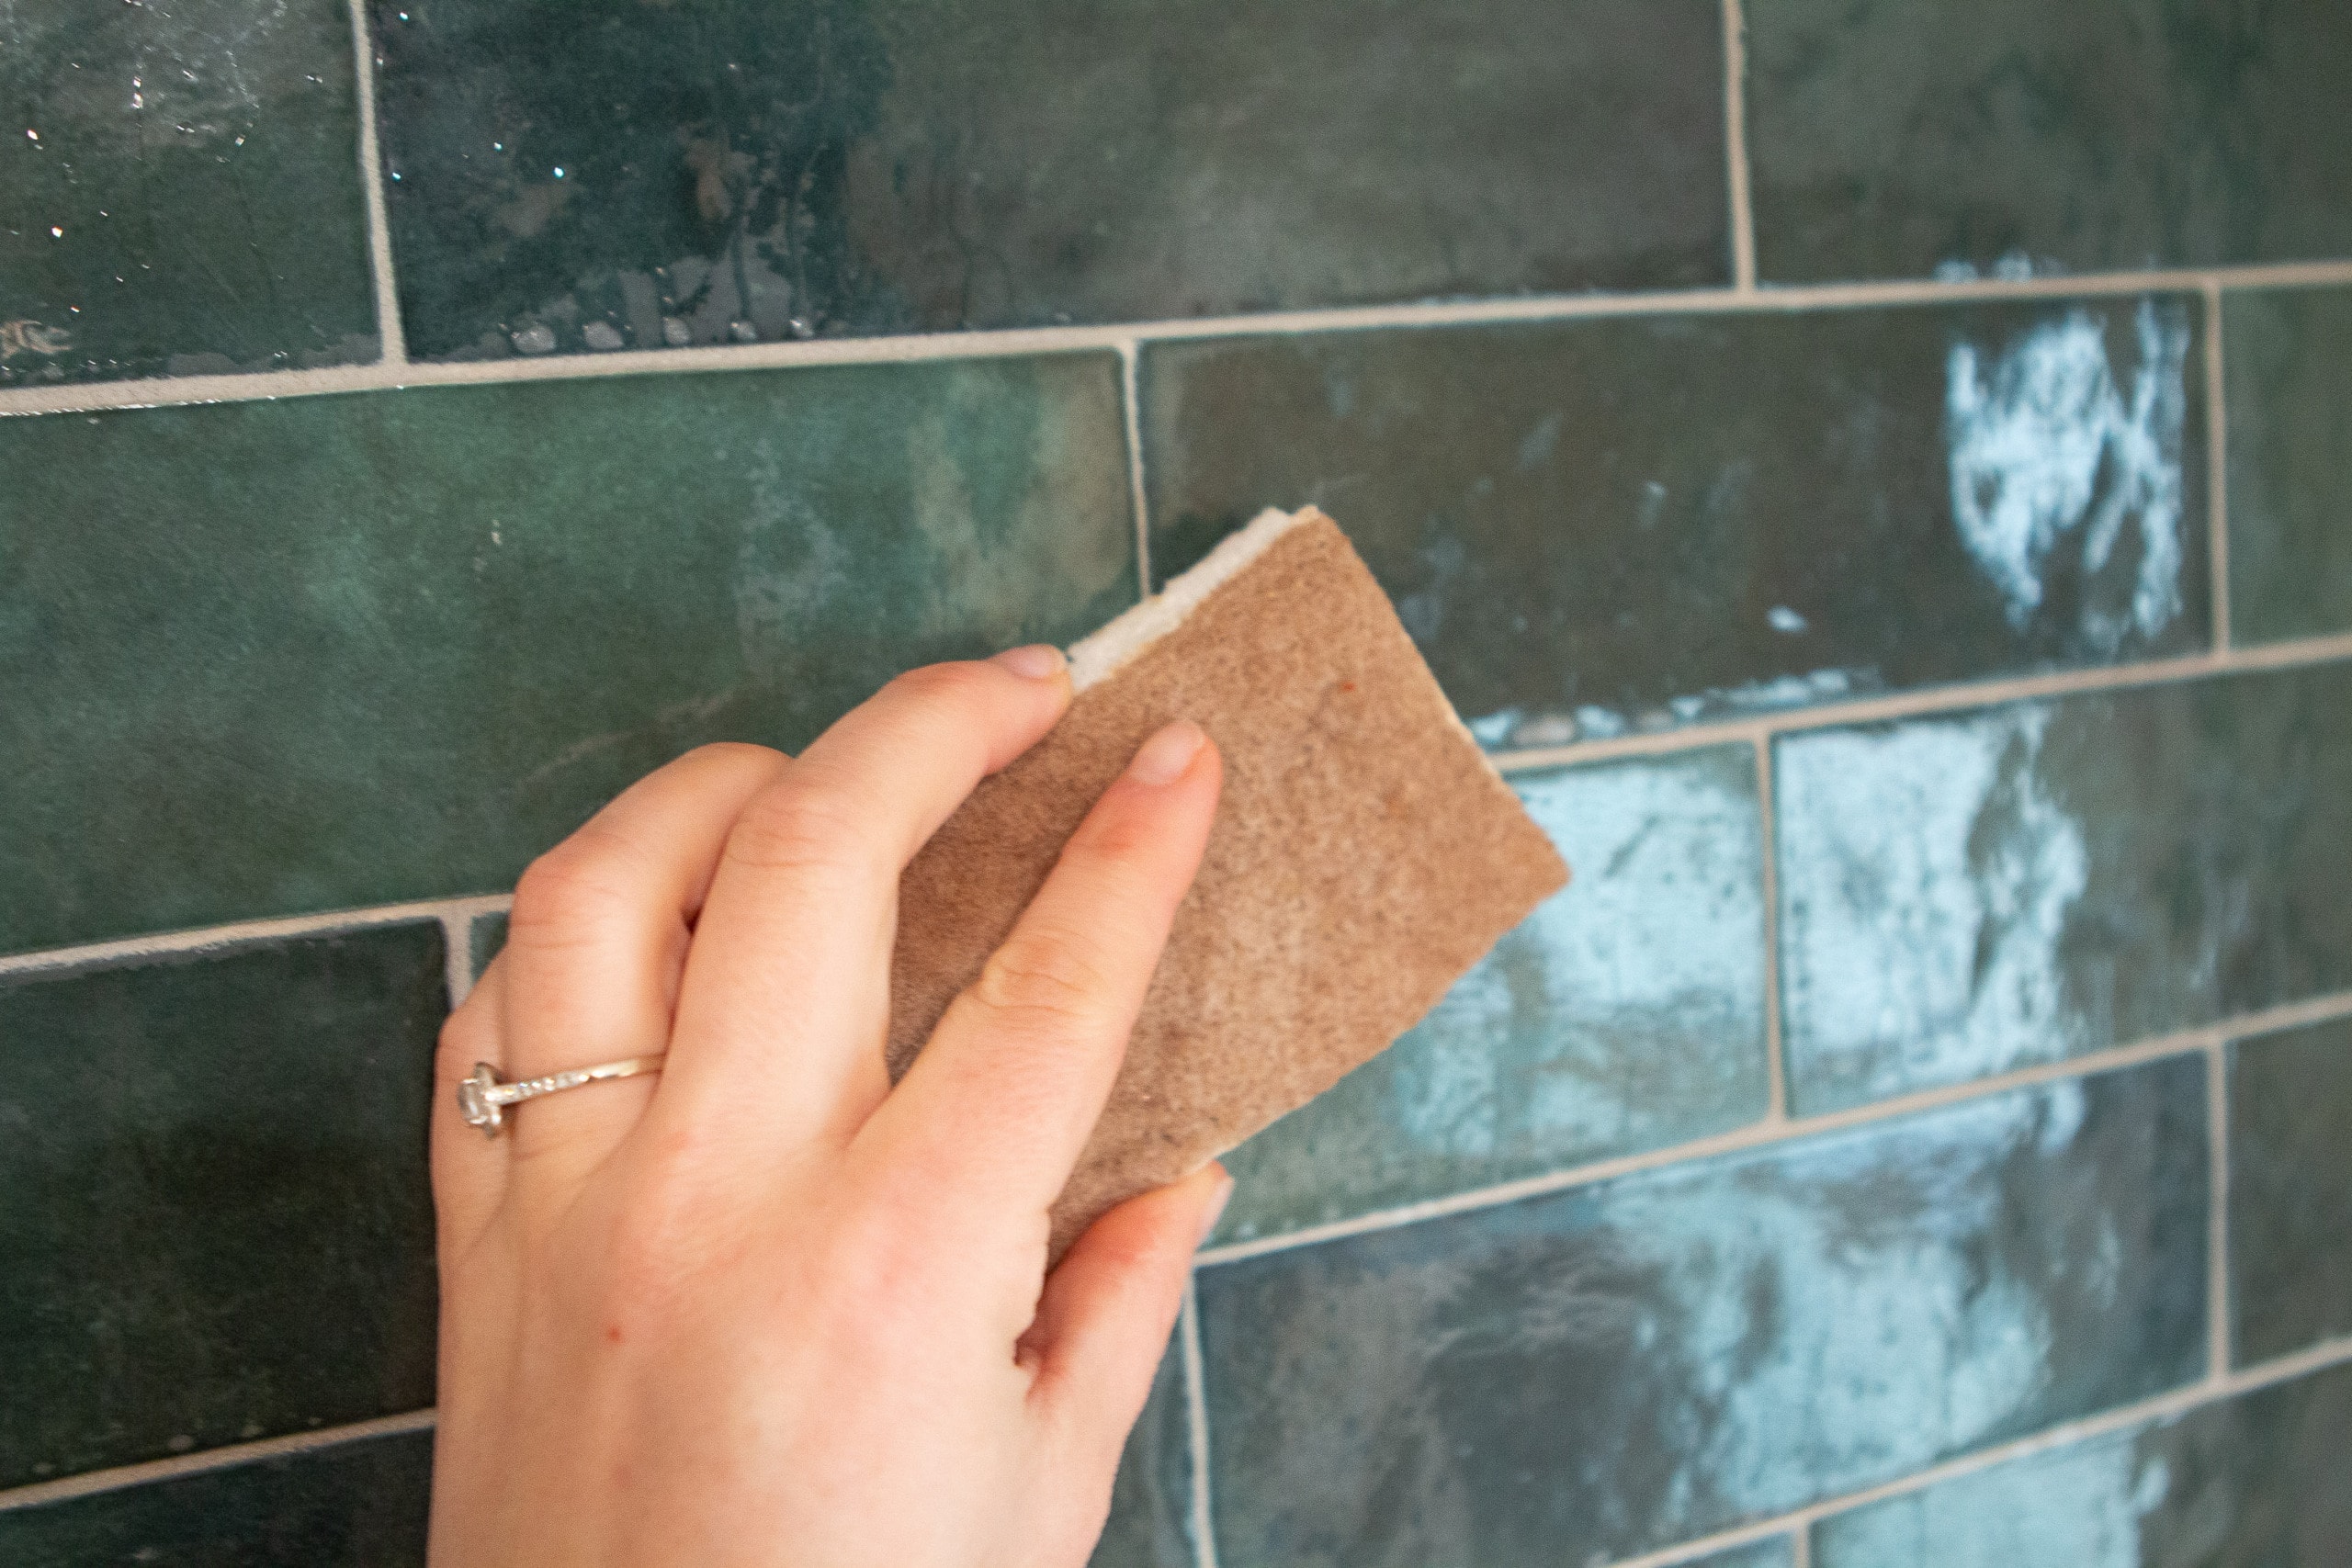
You have to let the product sit on the tile for five to fifteen minutes, which is tough when you are working on vertical wall tiles. I saturated a small kitchen sponge and delicately sponged the wall in the spots that needed some TLC.
I was careful not to use too much product because I didn’t want it dripping all over and down the wall. If it dried up, I used my sponge and put more on there. I also used the back of the sponge to agitate a few stubborn areas. After fifteen minutes, I wiped it with some clean towels.
This worked great and I was able to get most of the grout haze off. The stubborn spots aren’t 100% perfect, but they look a lot better. If I had used this in the days after tiling, I’m confident I could have gotten it all off! Next time…
How to Seal Porcelain Tile
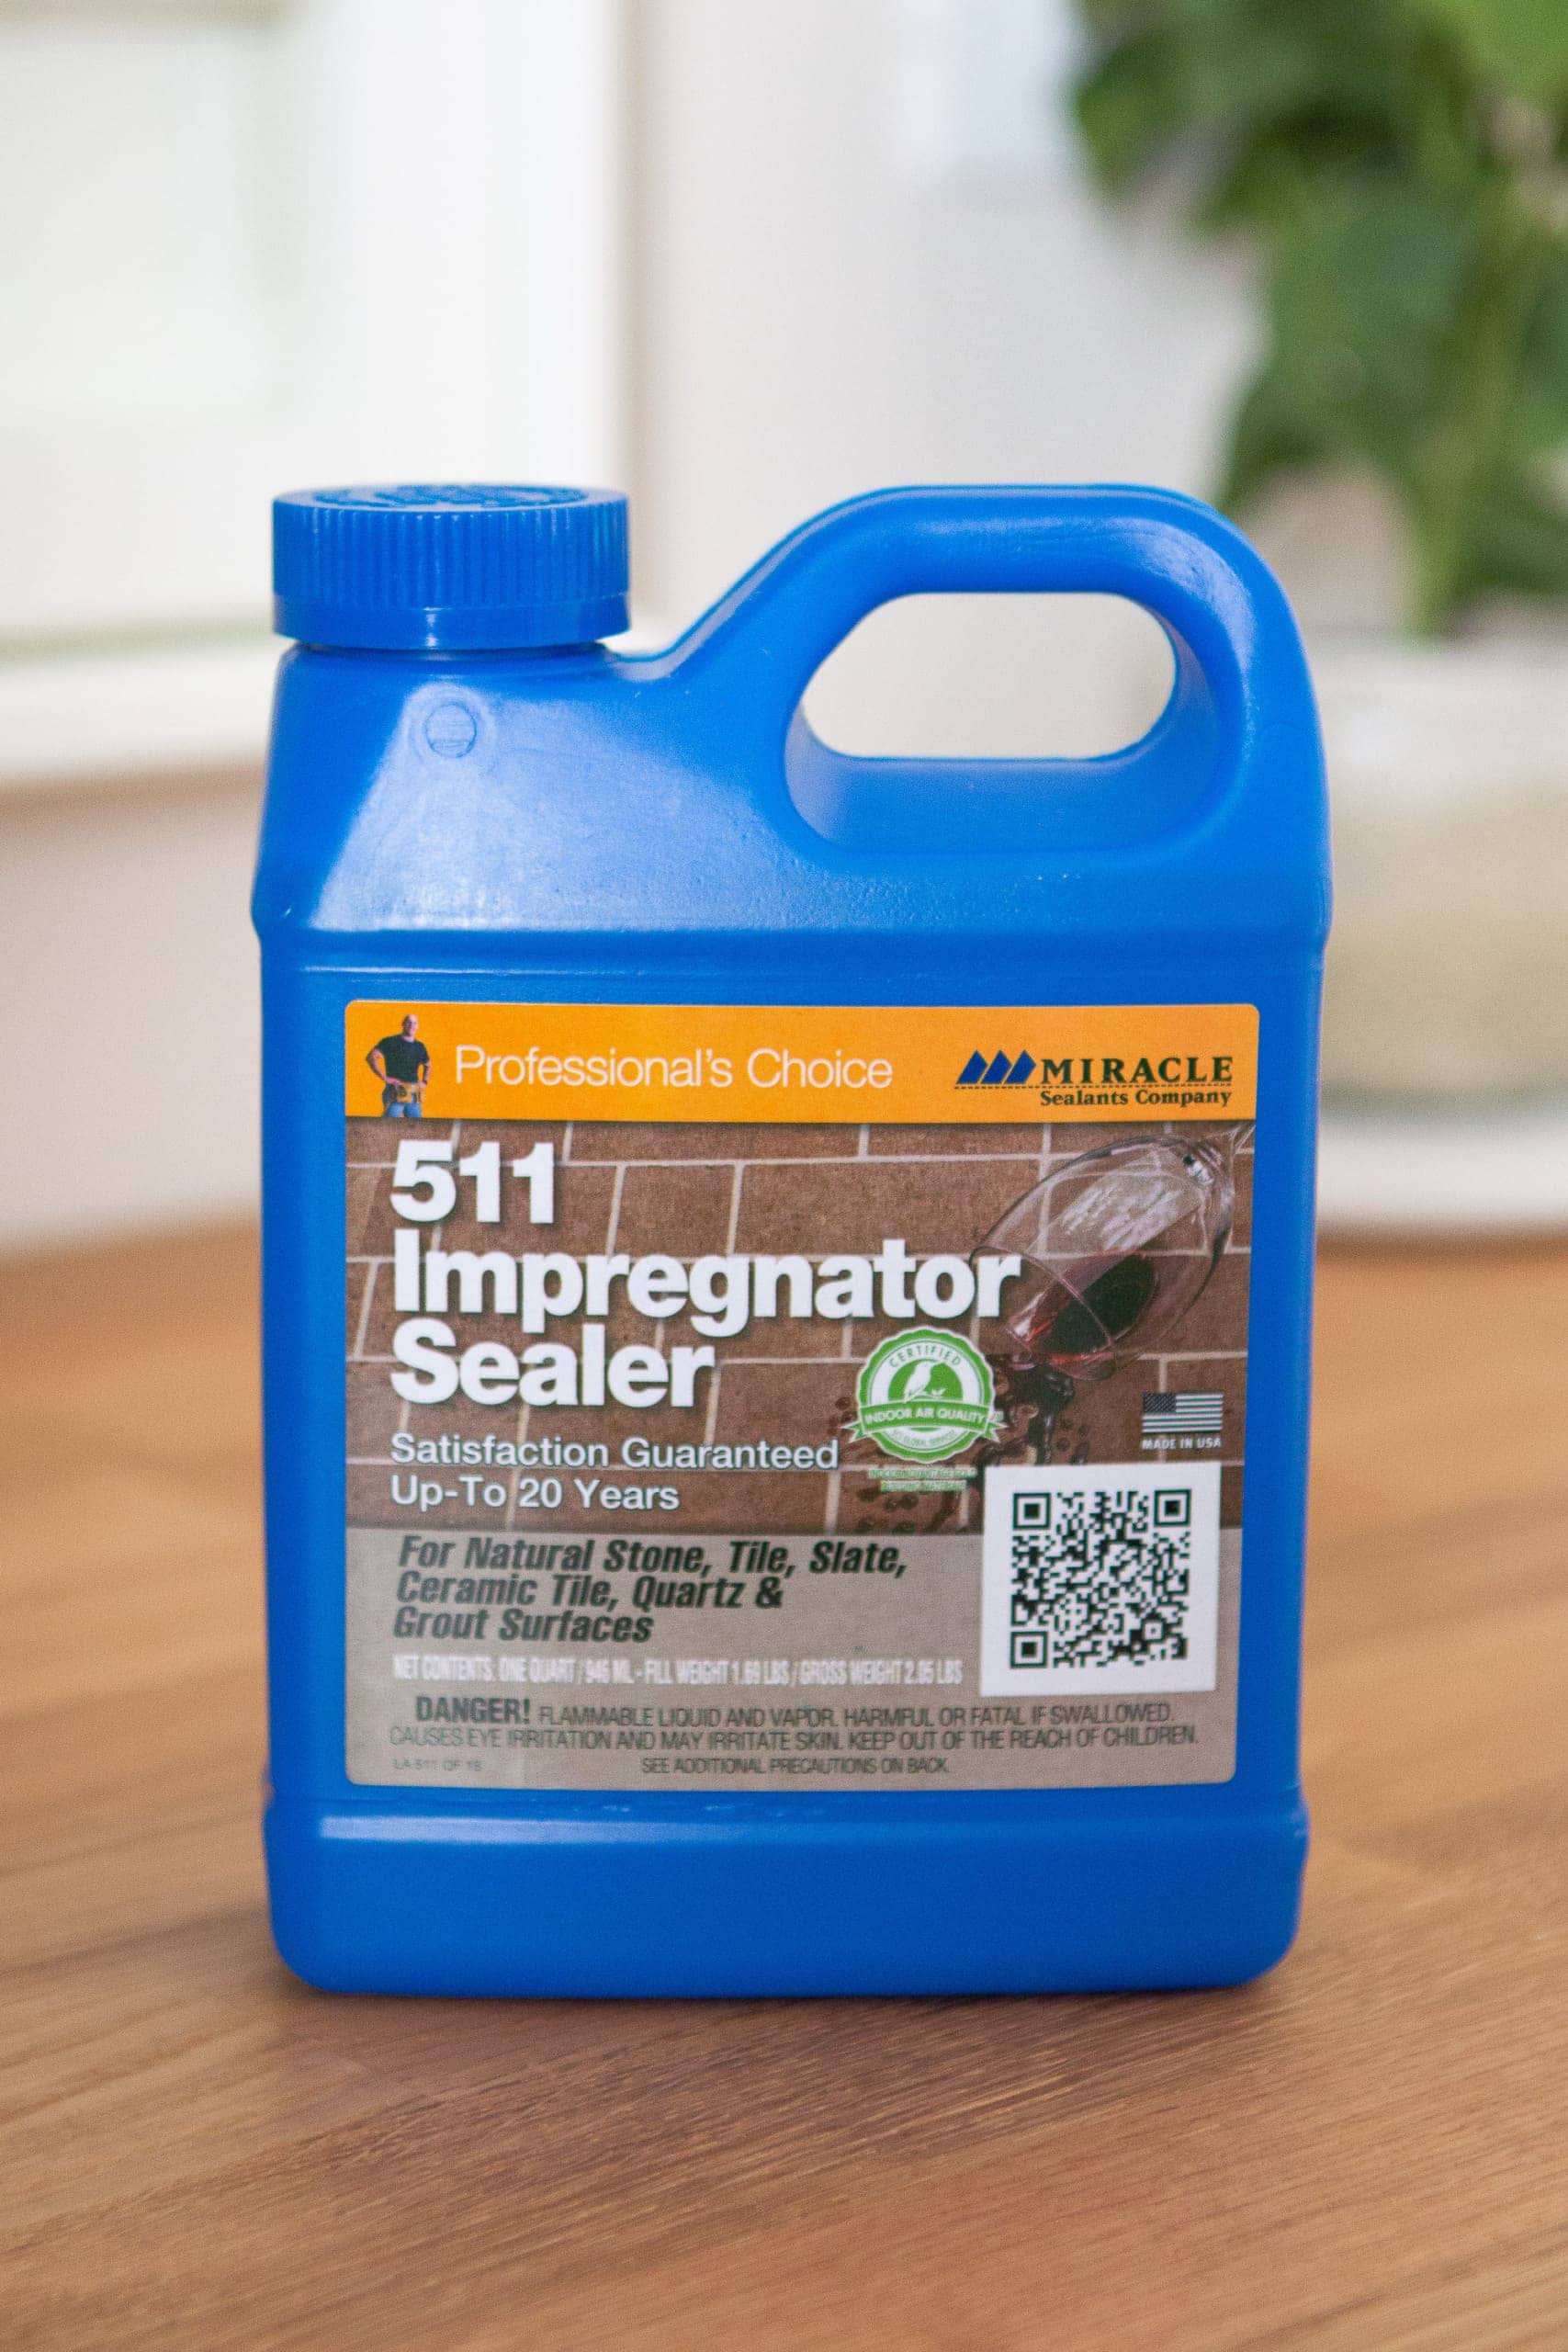
After giving the floors sufficient time to dry, and double-checking that there weren’t any remaining wet areas, finally, it was time to seal! For the next step, I used this 511 Impregnator. An impregnator sealer provides an invisible, protective layer on the tile, so it’s resistant to moisture and stains. It also makes the tile harder and increases slip resistance without altering the appearance. So don’t worry, this won’t make your tile super shiny or look any different at all!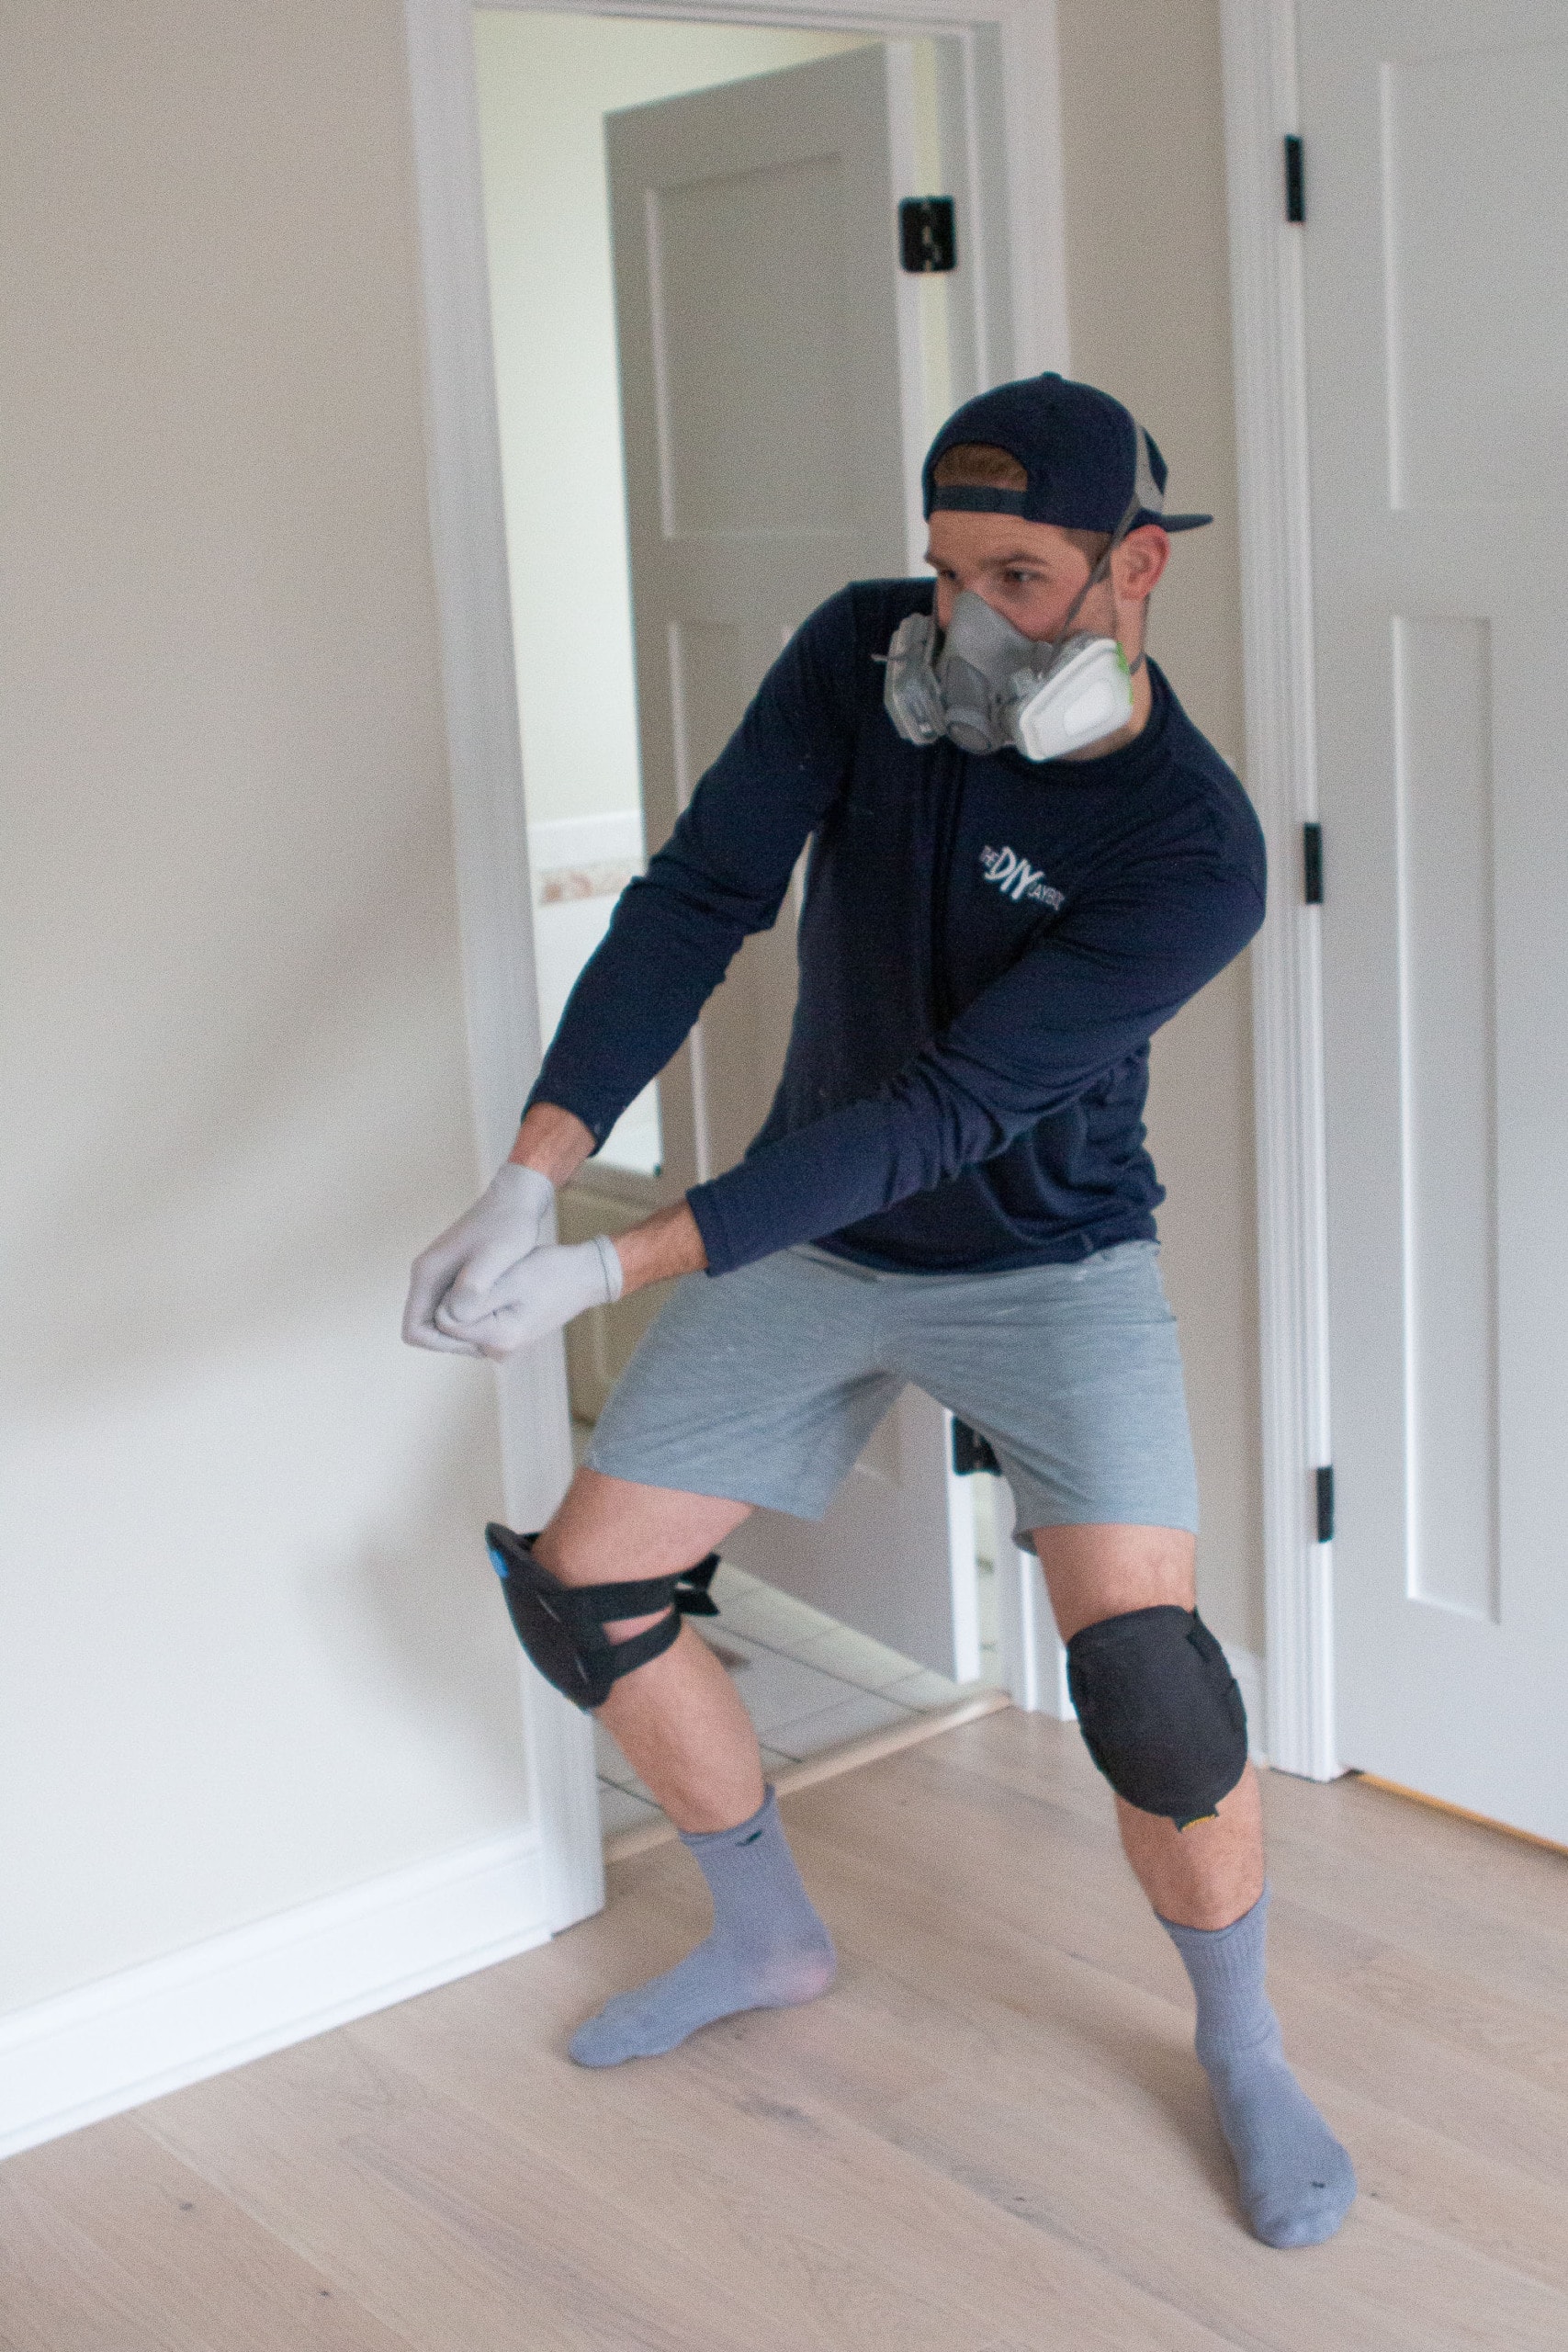
Since I’m pregnant, Finn and I are extra cautious with just about every project, so I had him do the sealing portion of this project because it can be a little smelly. He donned knee pads (all that kneeling!), gloves, and a respirator.
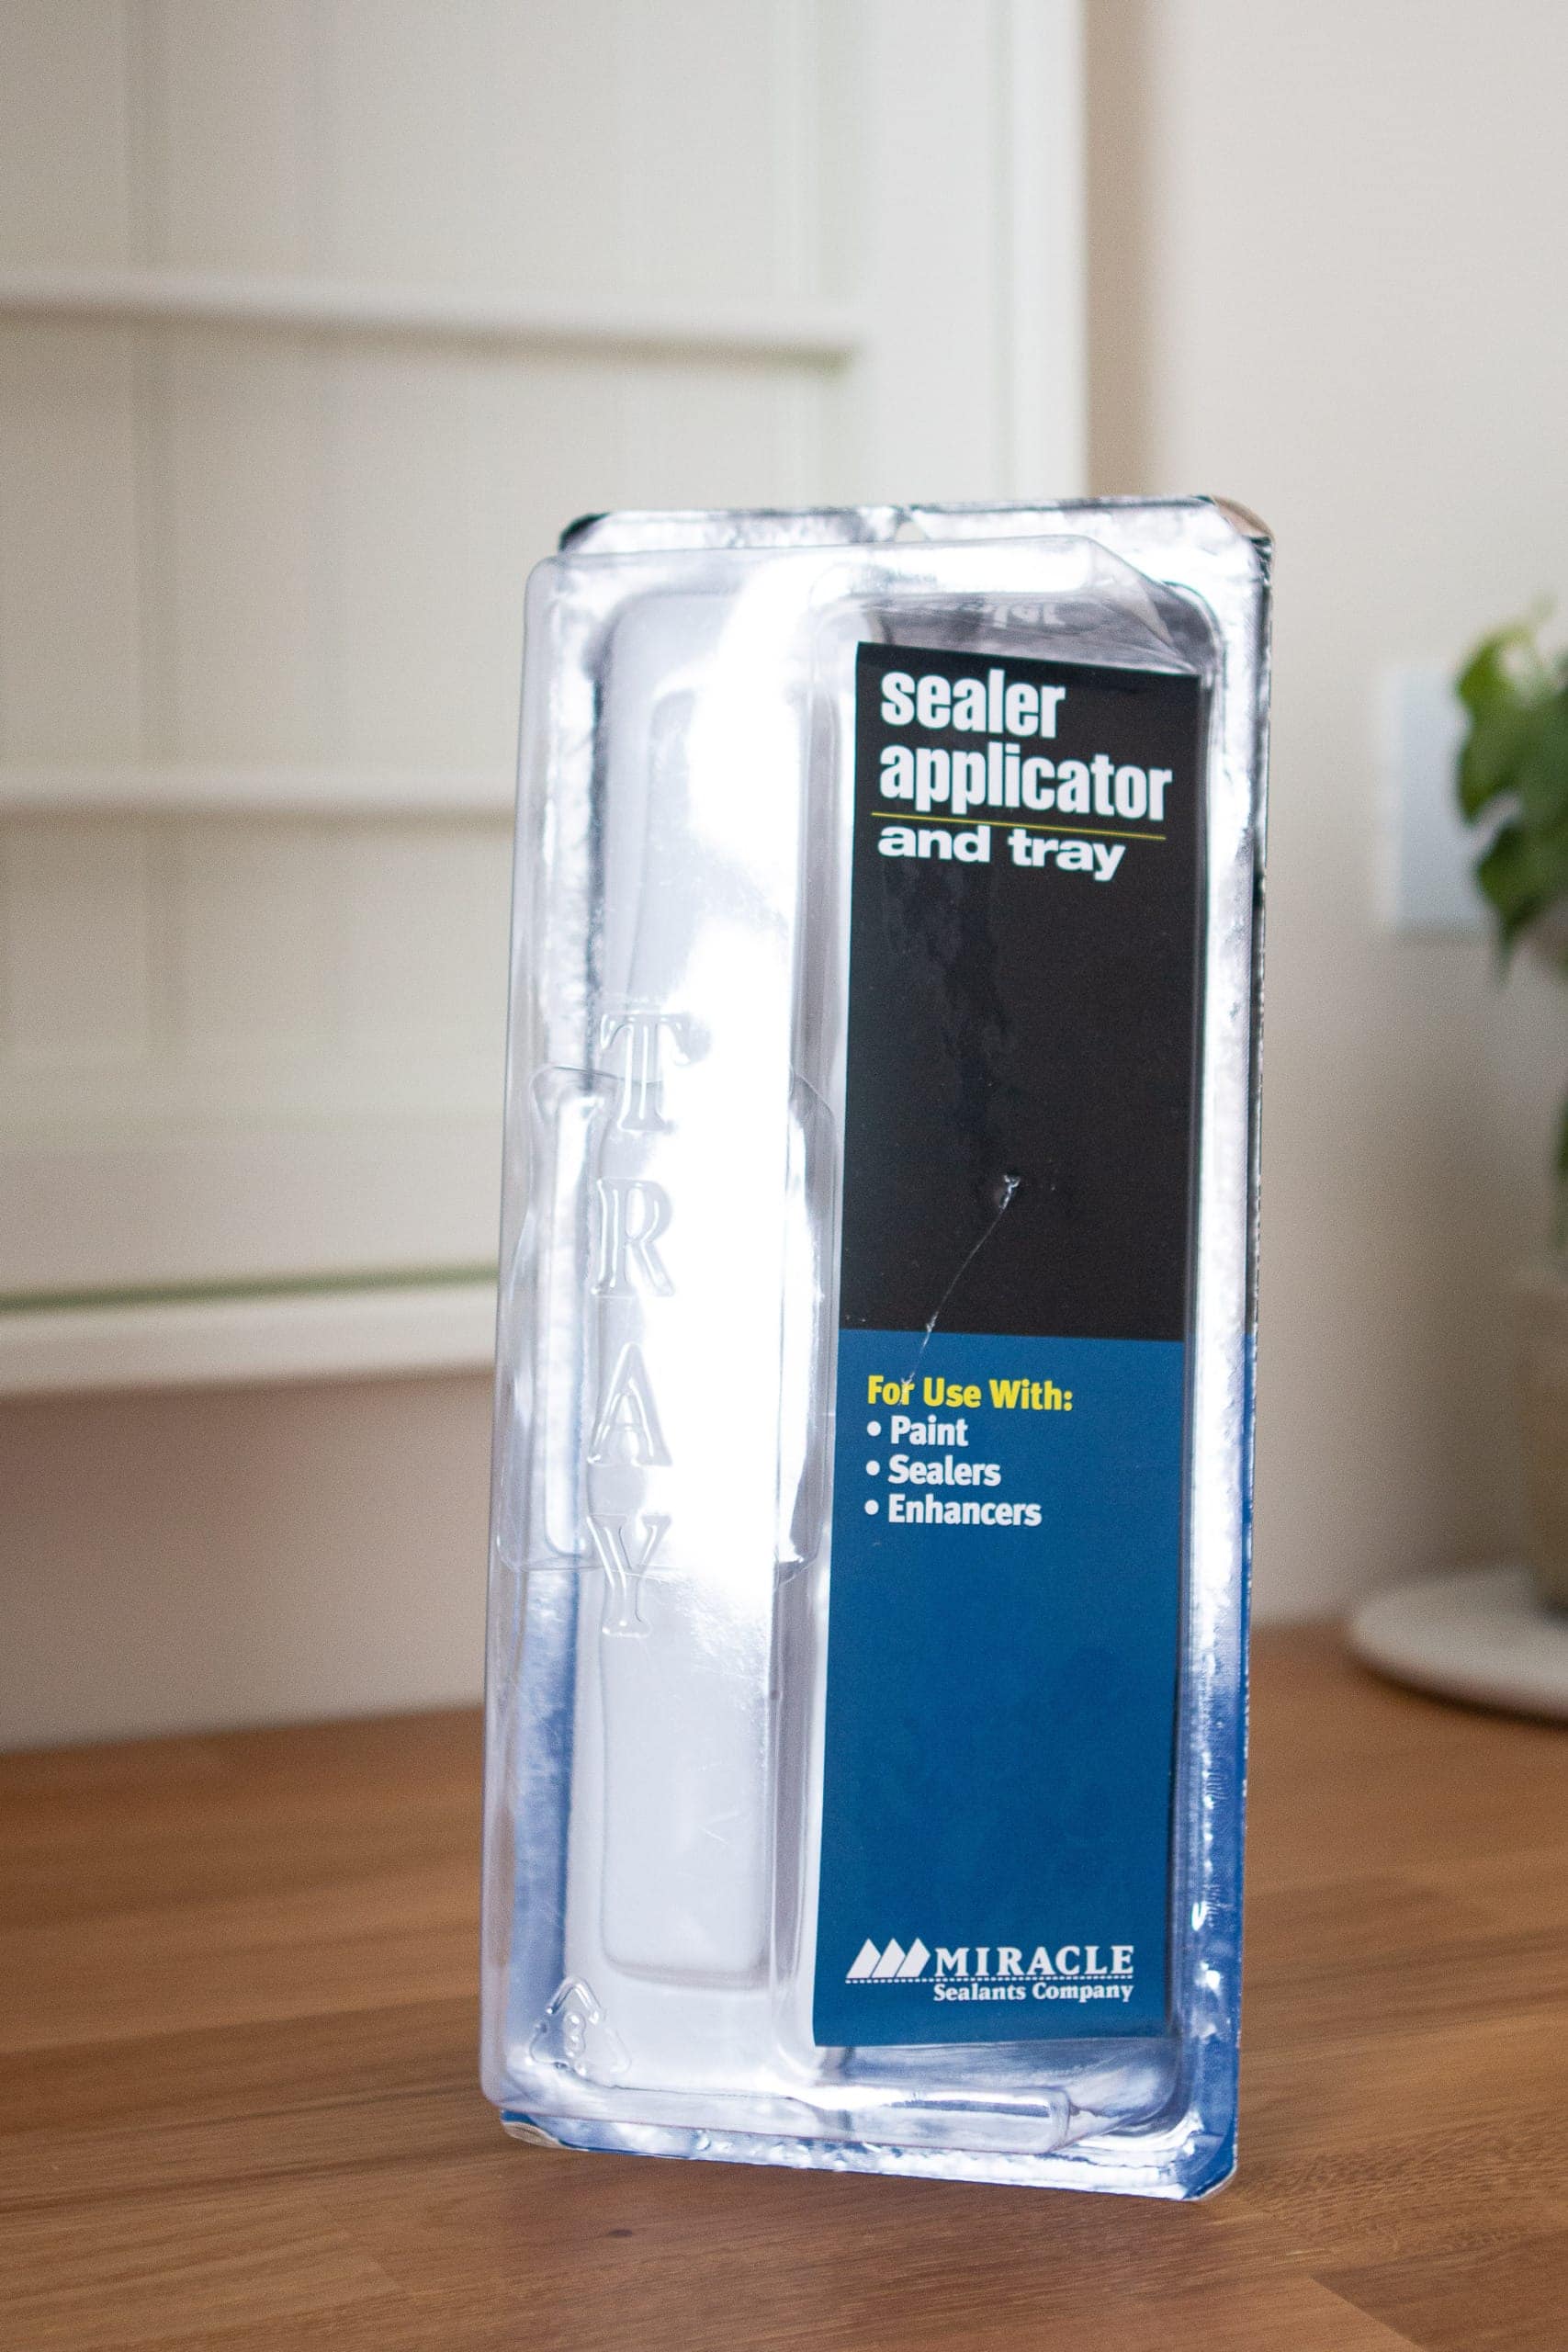
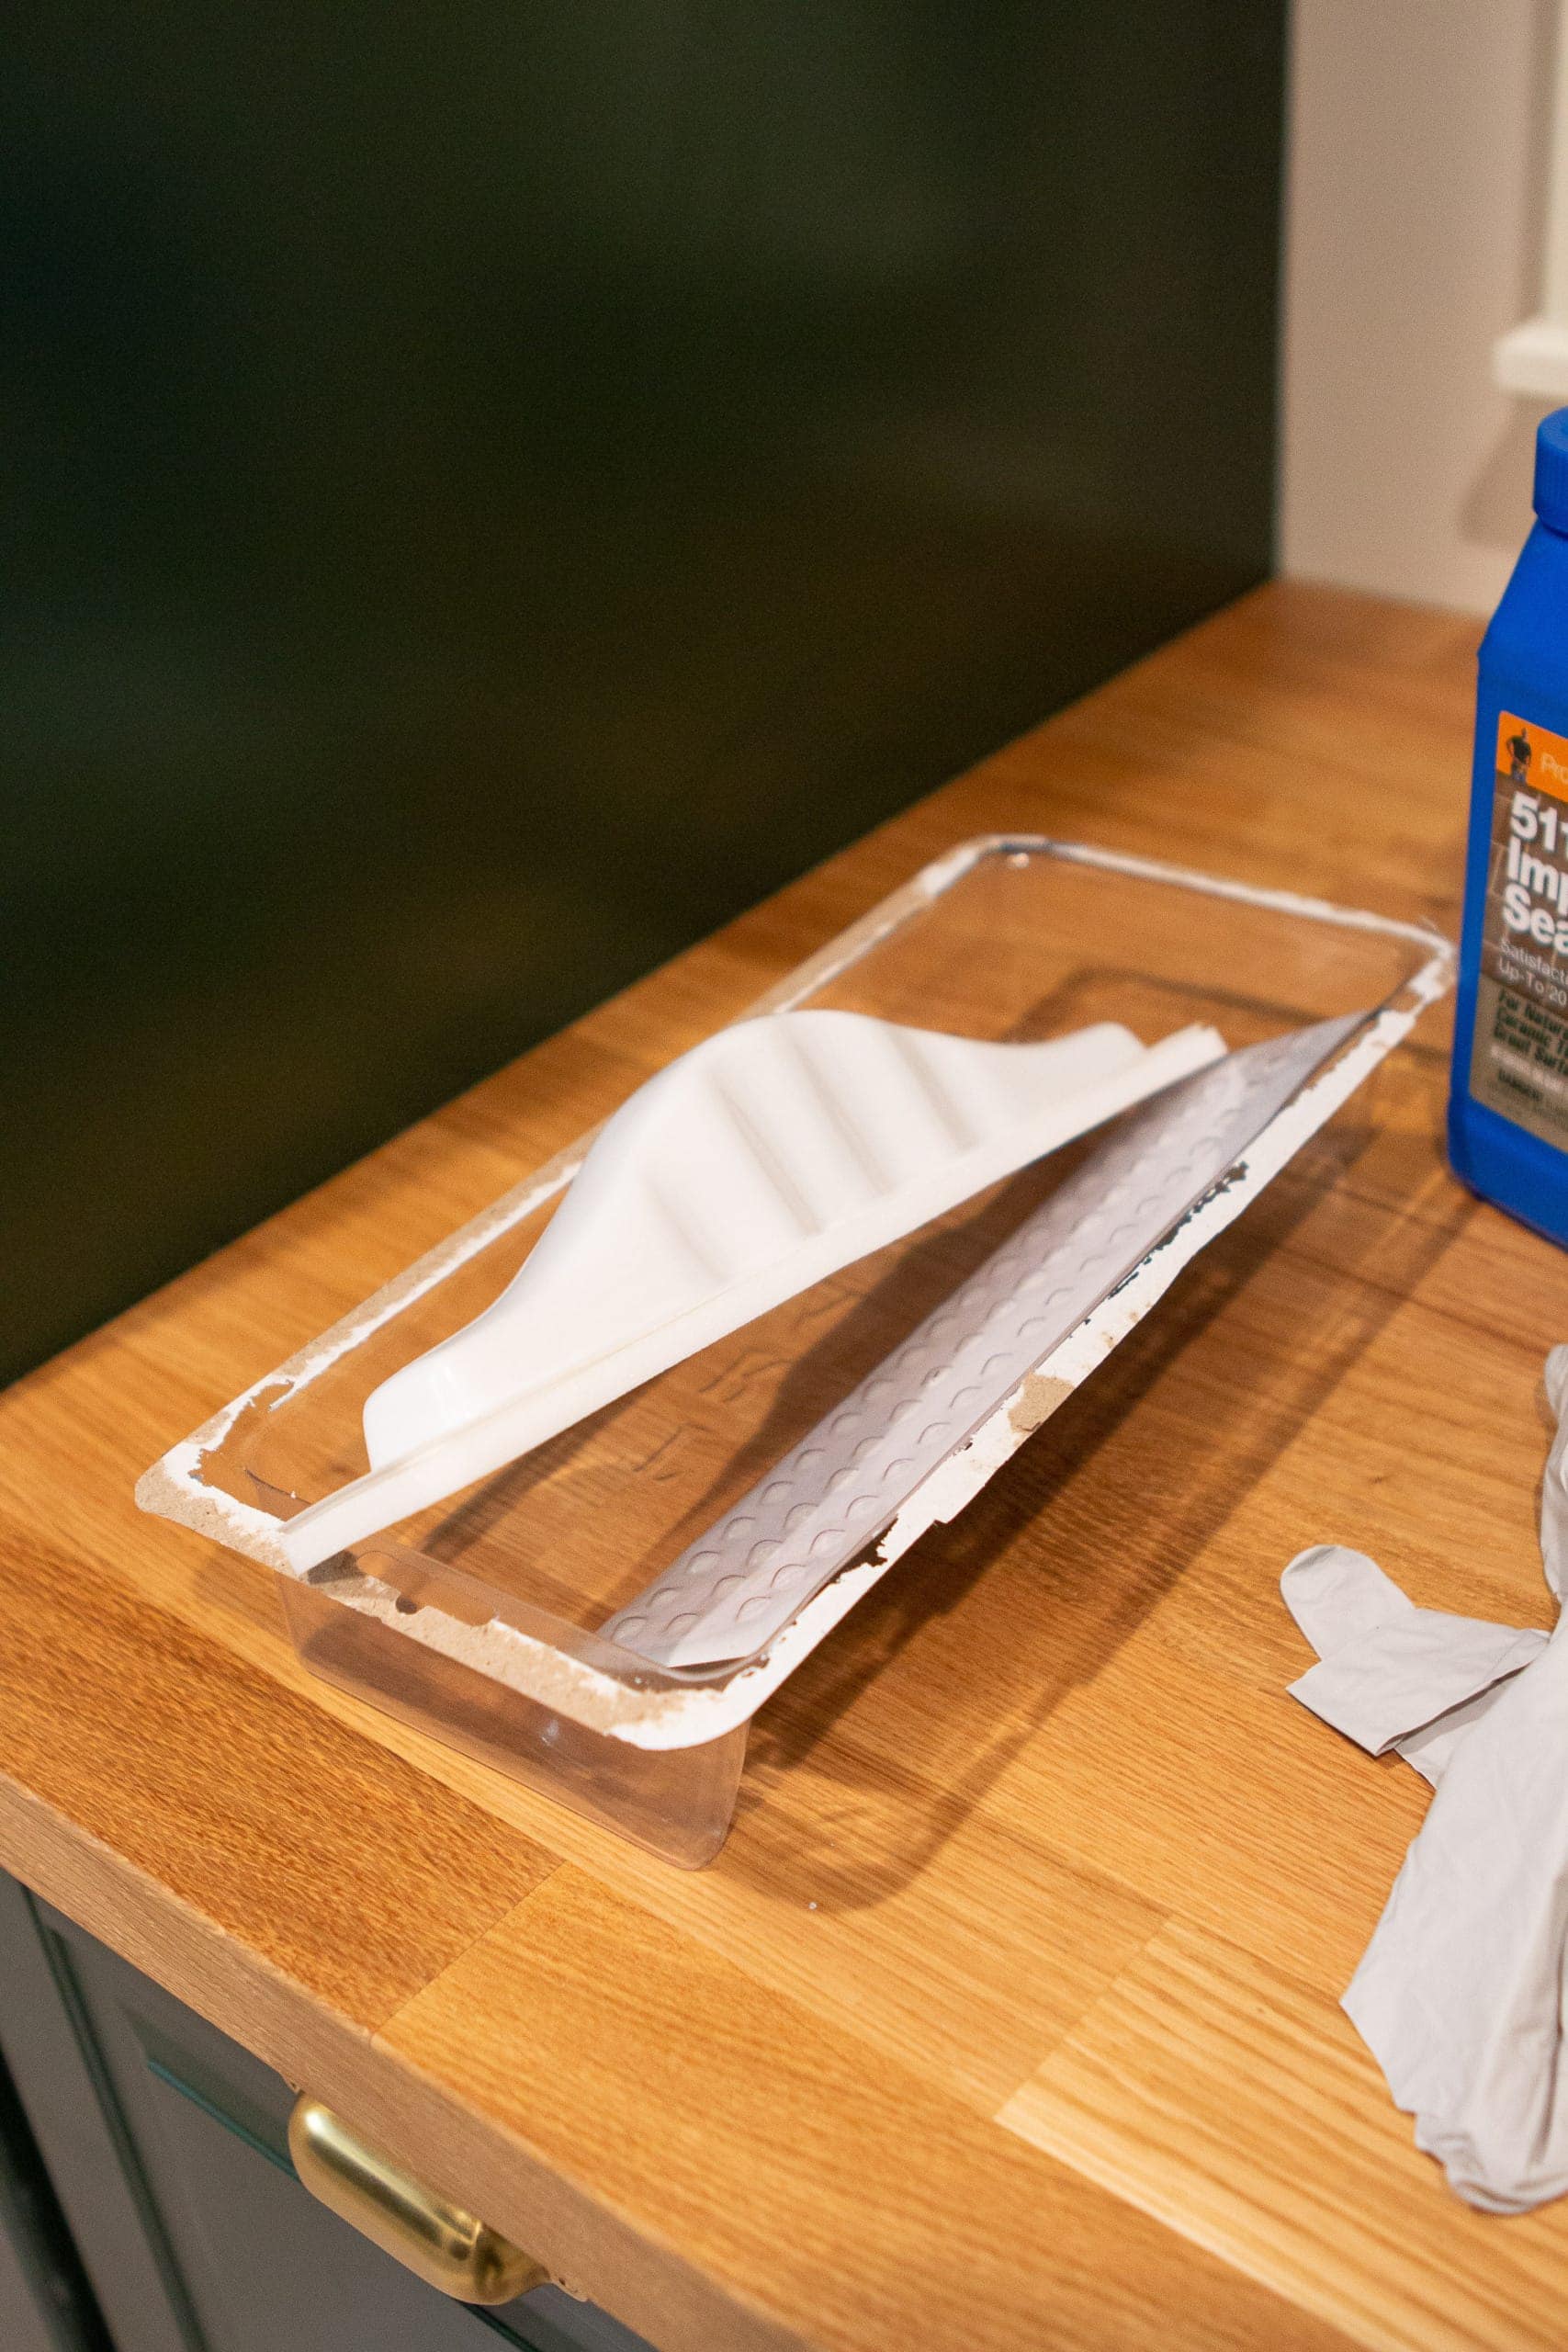
You can use a rag or brush to apply the sealer, but I highly recommend picking up this $4 applicator because it makes the entire process less messy. The plastic part of the packaging is the tray, so you can pour about 1/2 inch of sealer into the tray and then dip your applicator right on in.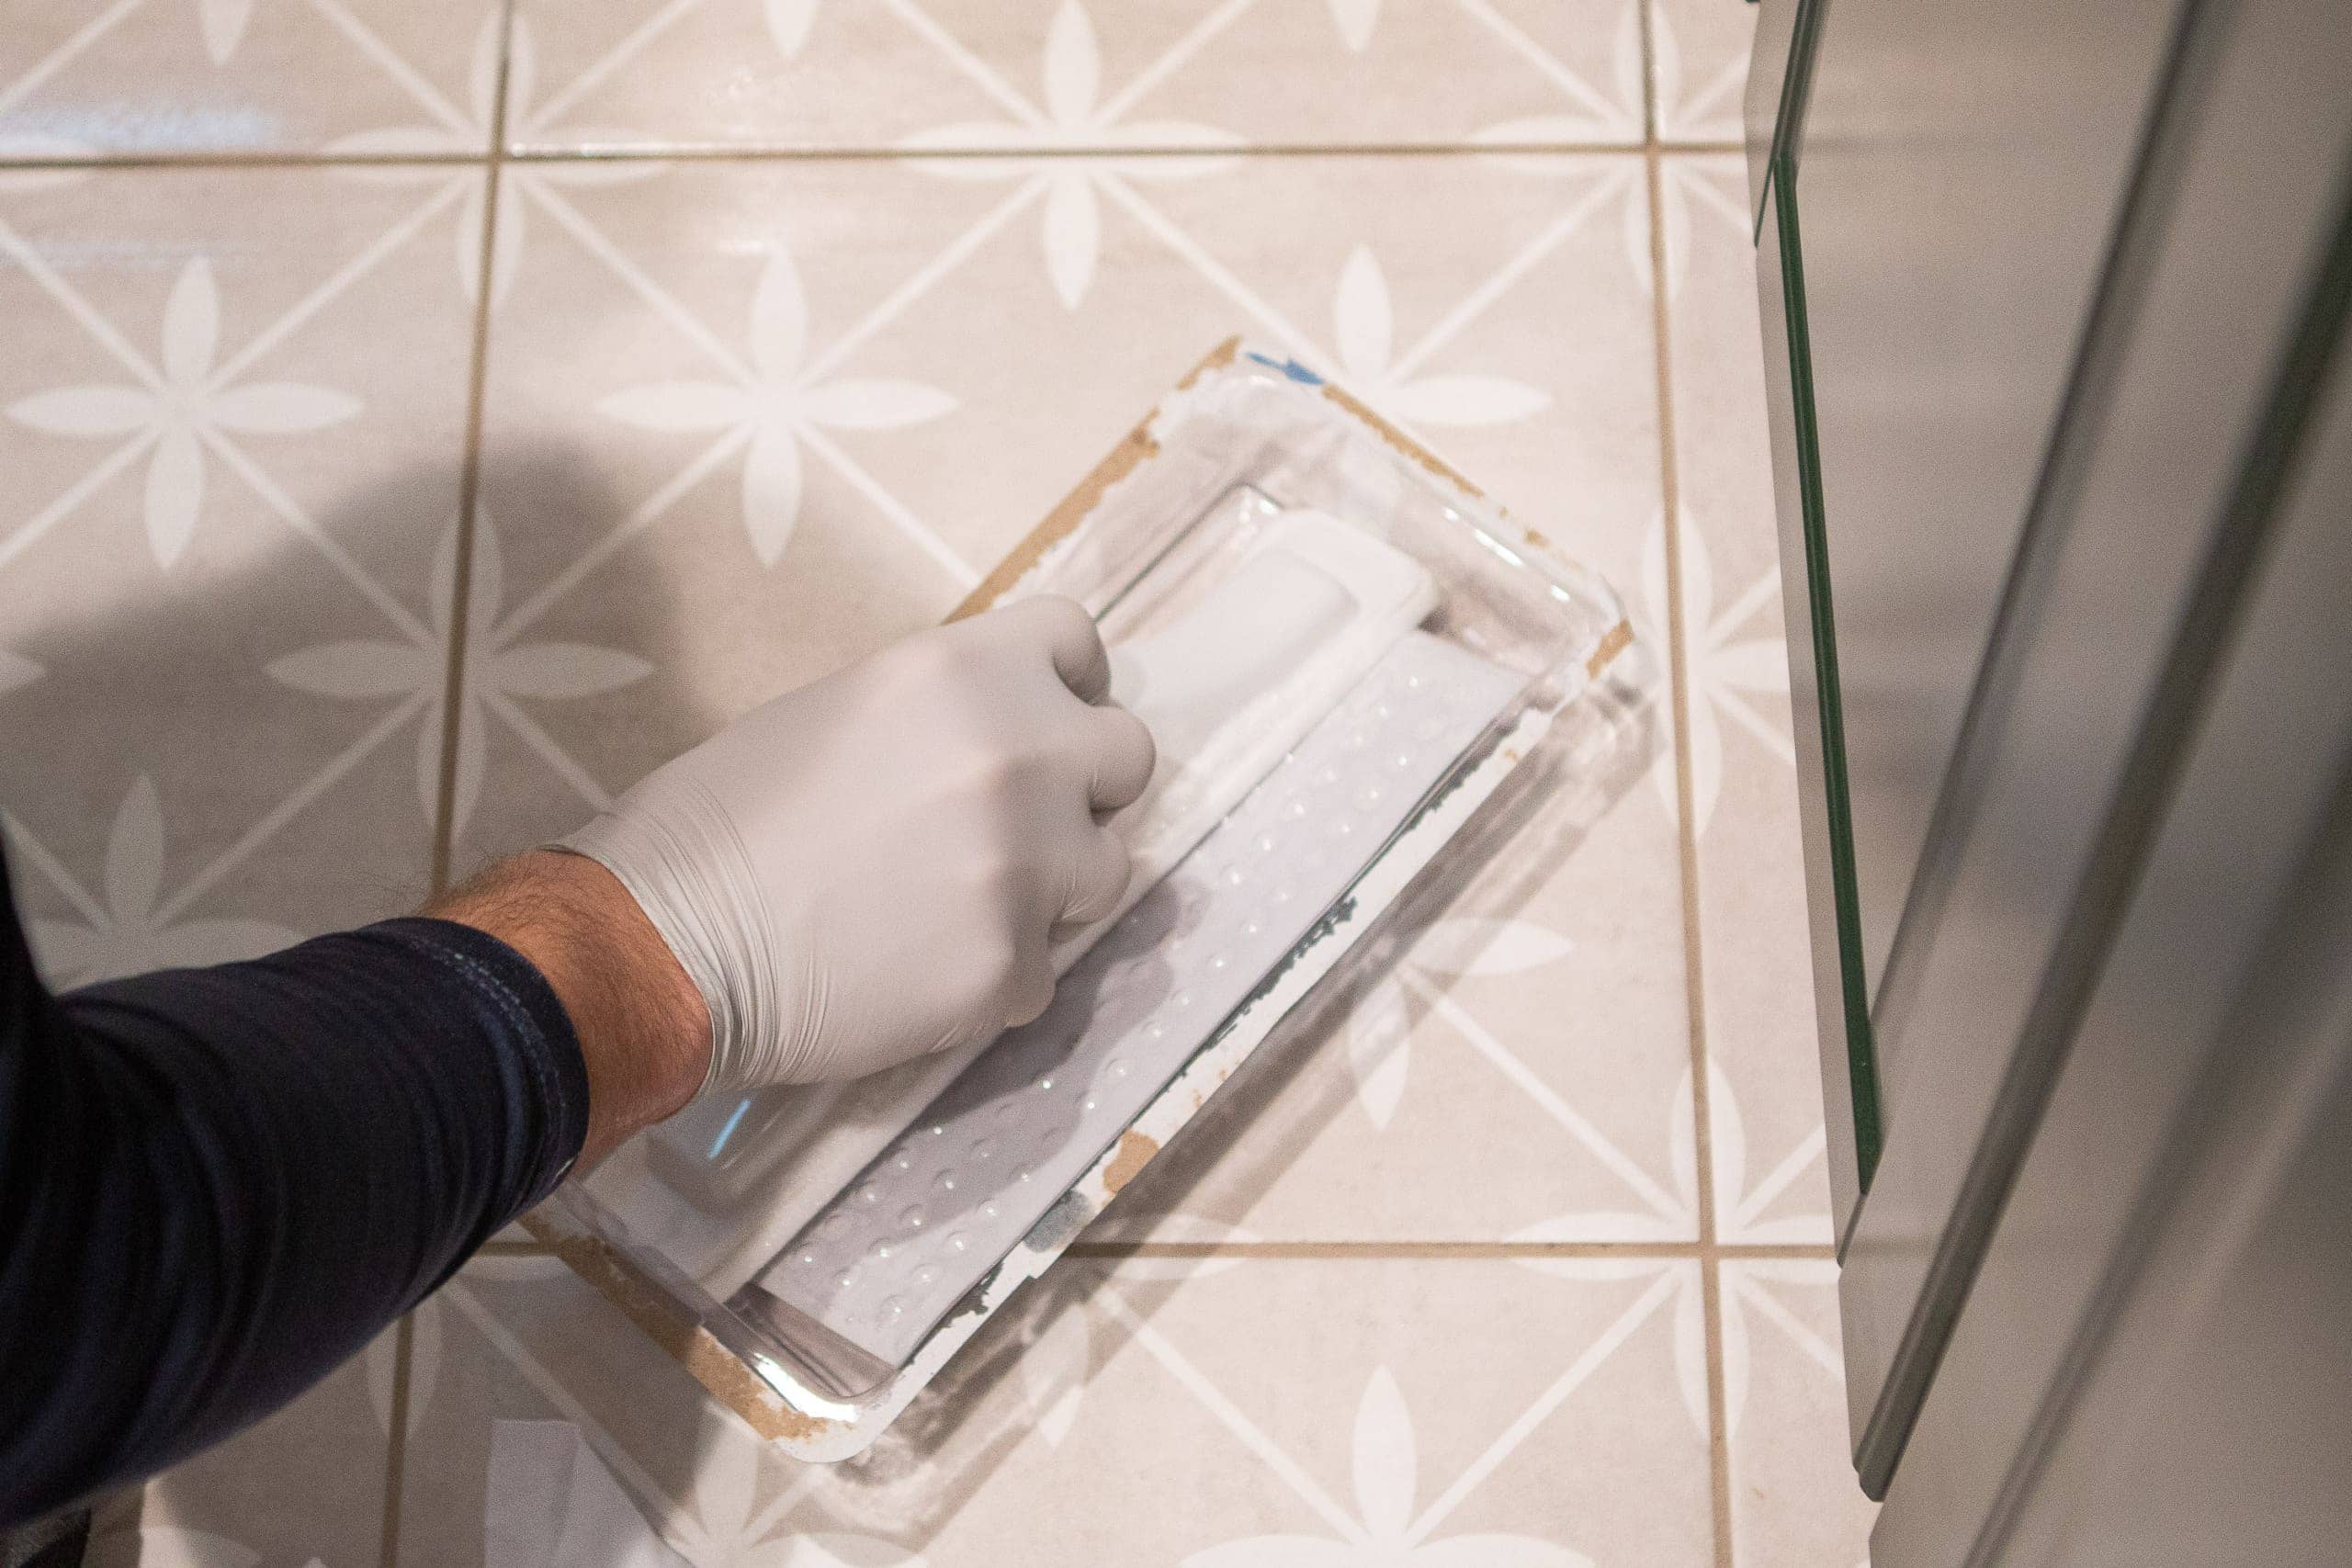
Just like with the cleaning, you’ll want to work in small sections. I had Finn dip the applicator in and do a light coat over the surface of the tile and grout. Make sure you really get into the grout joints. 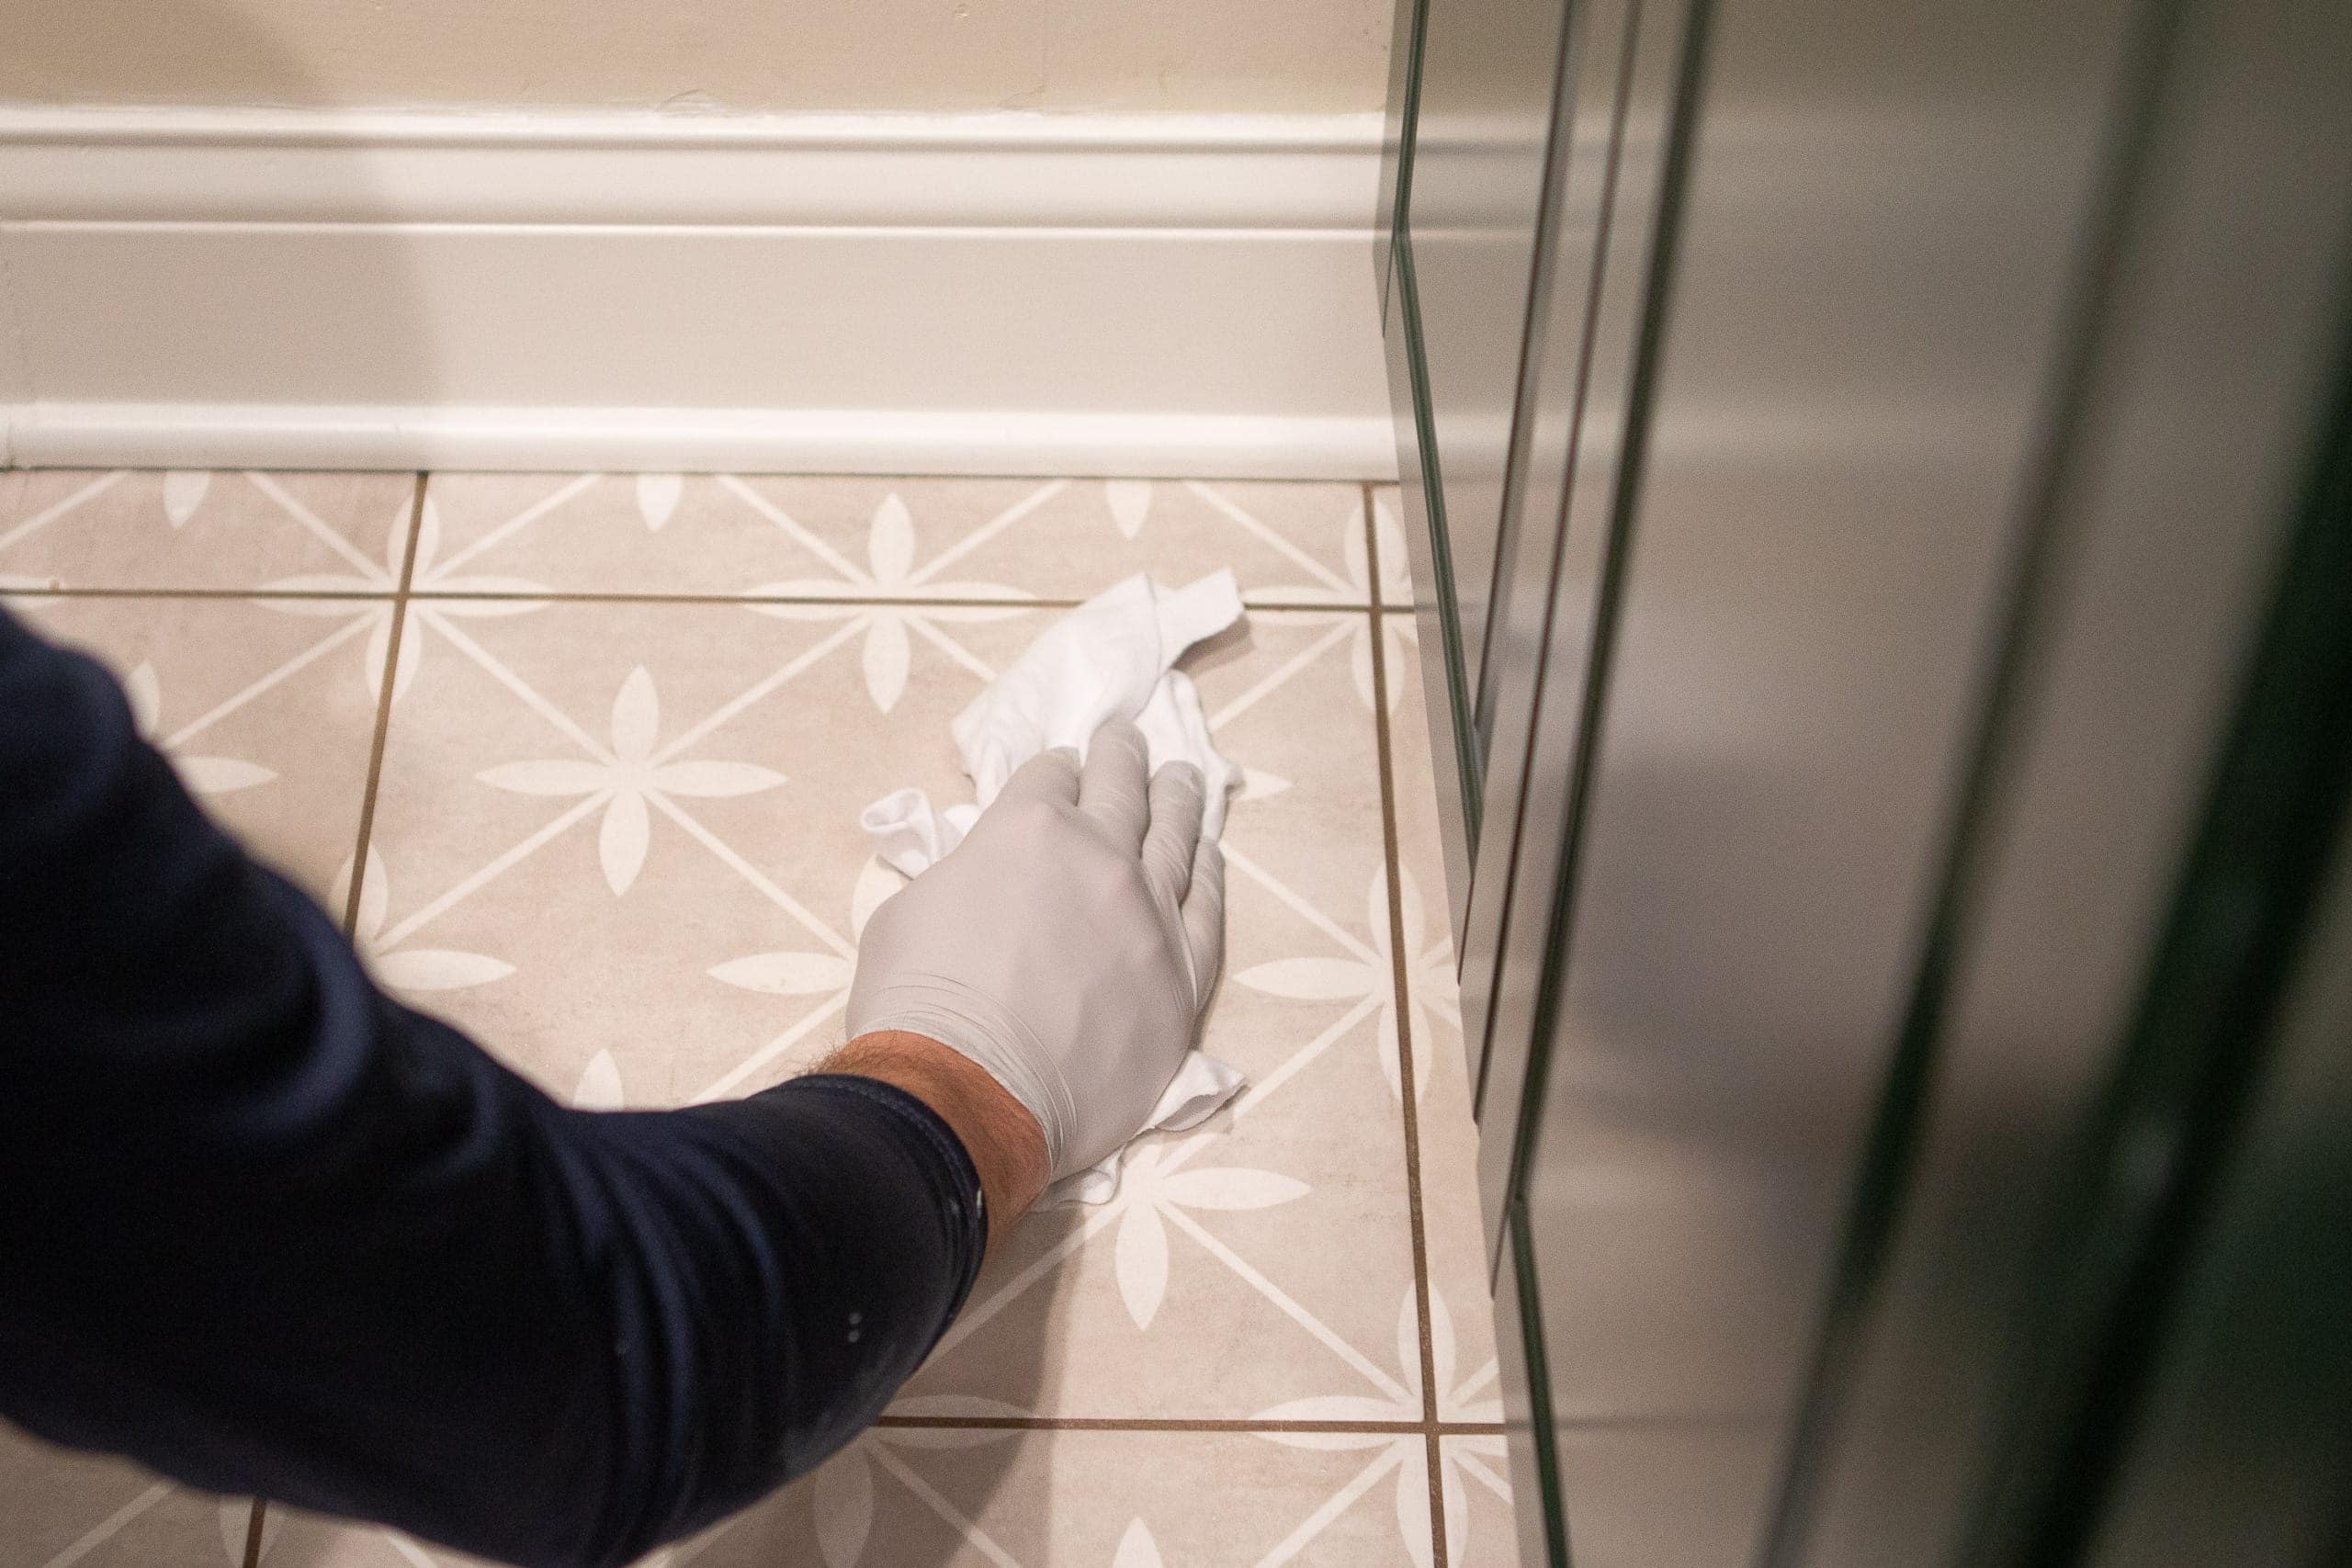 He did about two rows at a time, allowing it to sit for five minutes before wiping it up with a clean, dry rag. If you let it sit for longer than that, it can get tacky. If that happens, don’t worry. Just pour more sealer on and wipe it all up.
It took a little bit of time since he had to work in small sections, but Finn was done with the entire floor in about 45 minutes! I would recommend letting the floor dry for about an hour before there is any light foot traffic. It will take about 72 hours to fully cure, so it’s not quite the time to practice your dance moves (yet)!
Floor Tile – Before & After
Here’s the before and after of the floor tile.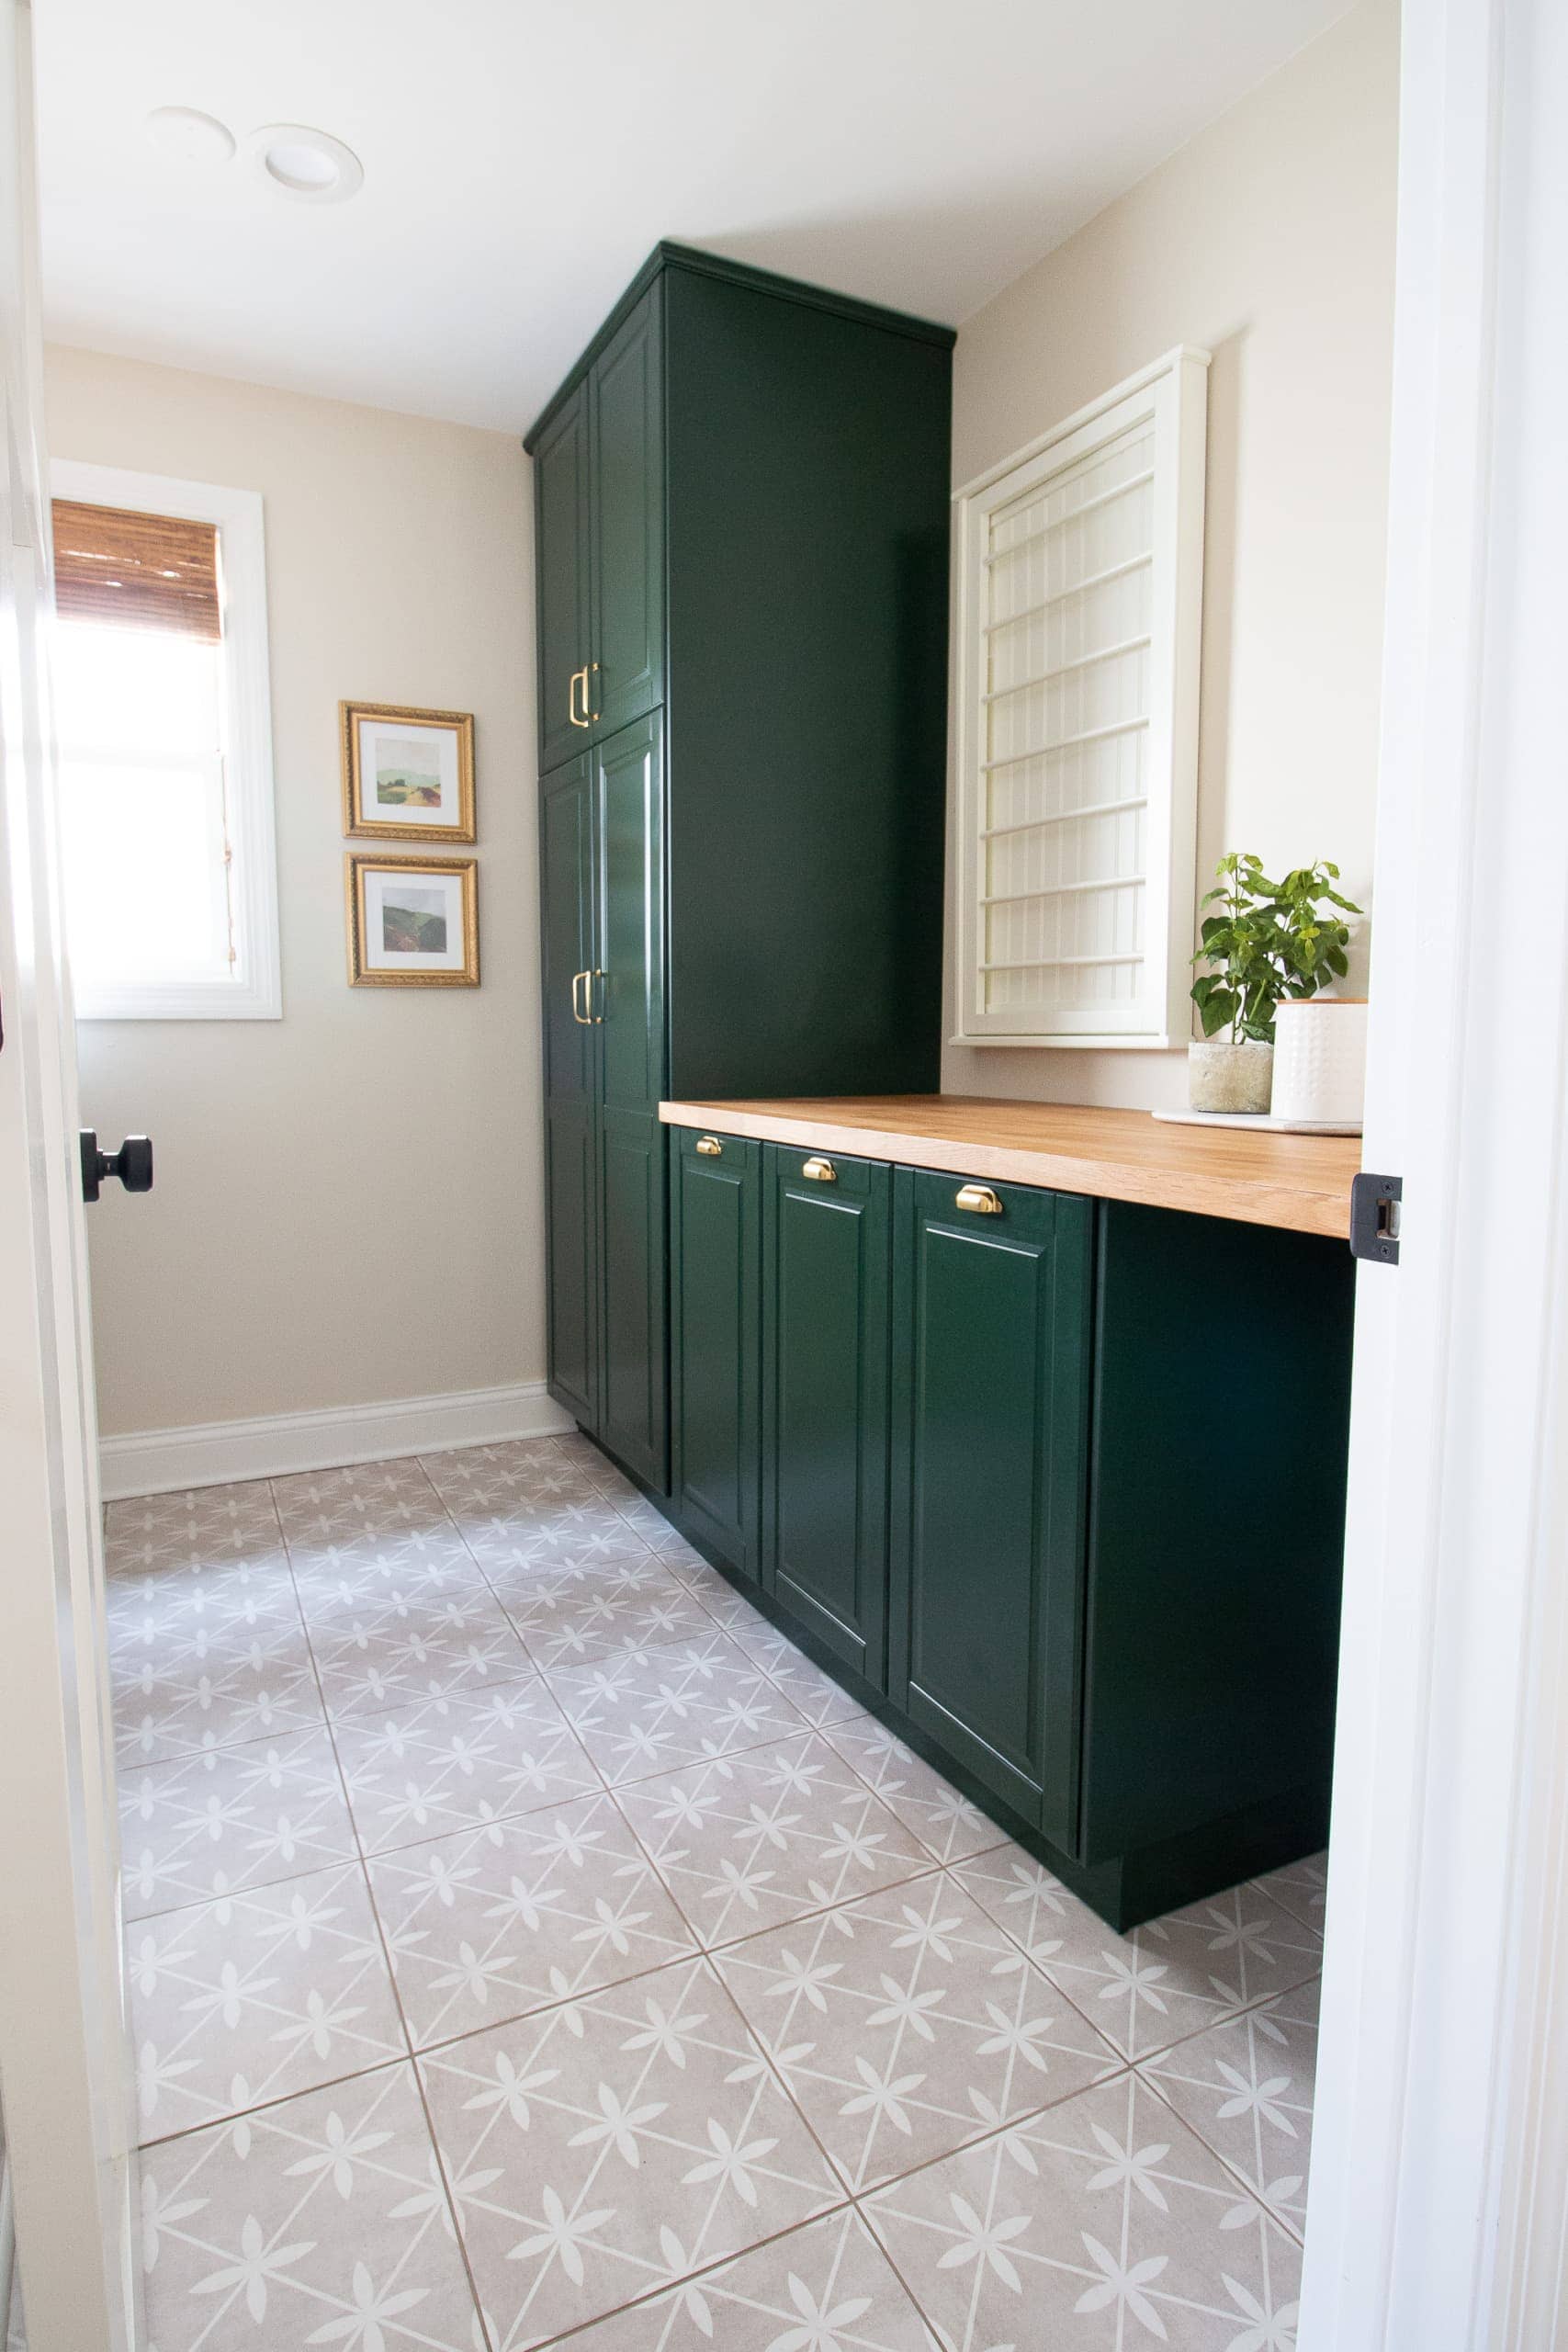
 Not much of a difference, right? That’s the point with this type of sealer!
Yes, the appearance of the tile is cleaner and stain-free, but overall, you can’t tell it has changed because the sealer creates an invisible barrier on the surface.
Plus, this sealer is will last for five years; so we won’t be doing this again for a long time! A protective sealer is a preventative measure that keeps your tile surface safe, and looking good. Now, I’ll just stick to my regular cleaning for our tile flooring.
I love that the porcelain tile floor and grout in our laundry room is now protected from spills and stains! I’m sure that I will soon be sleep-deprived and doing laundry, nonstop; so, my future self thanks me (because I’m sure she’ll be spilling more detergent).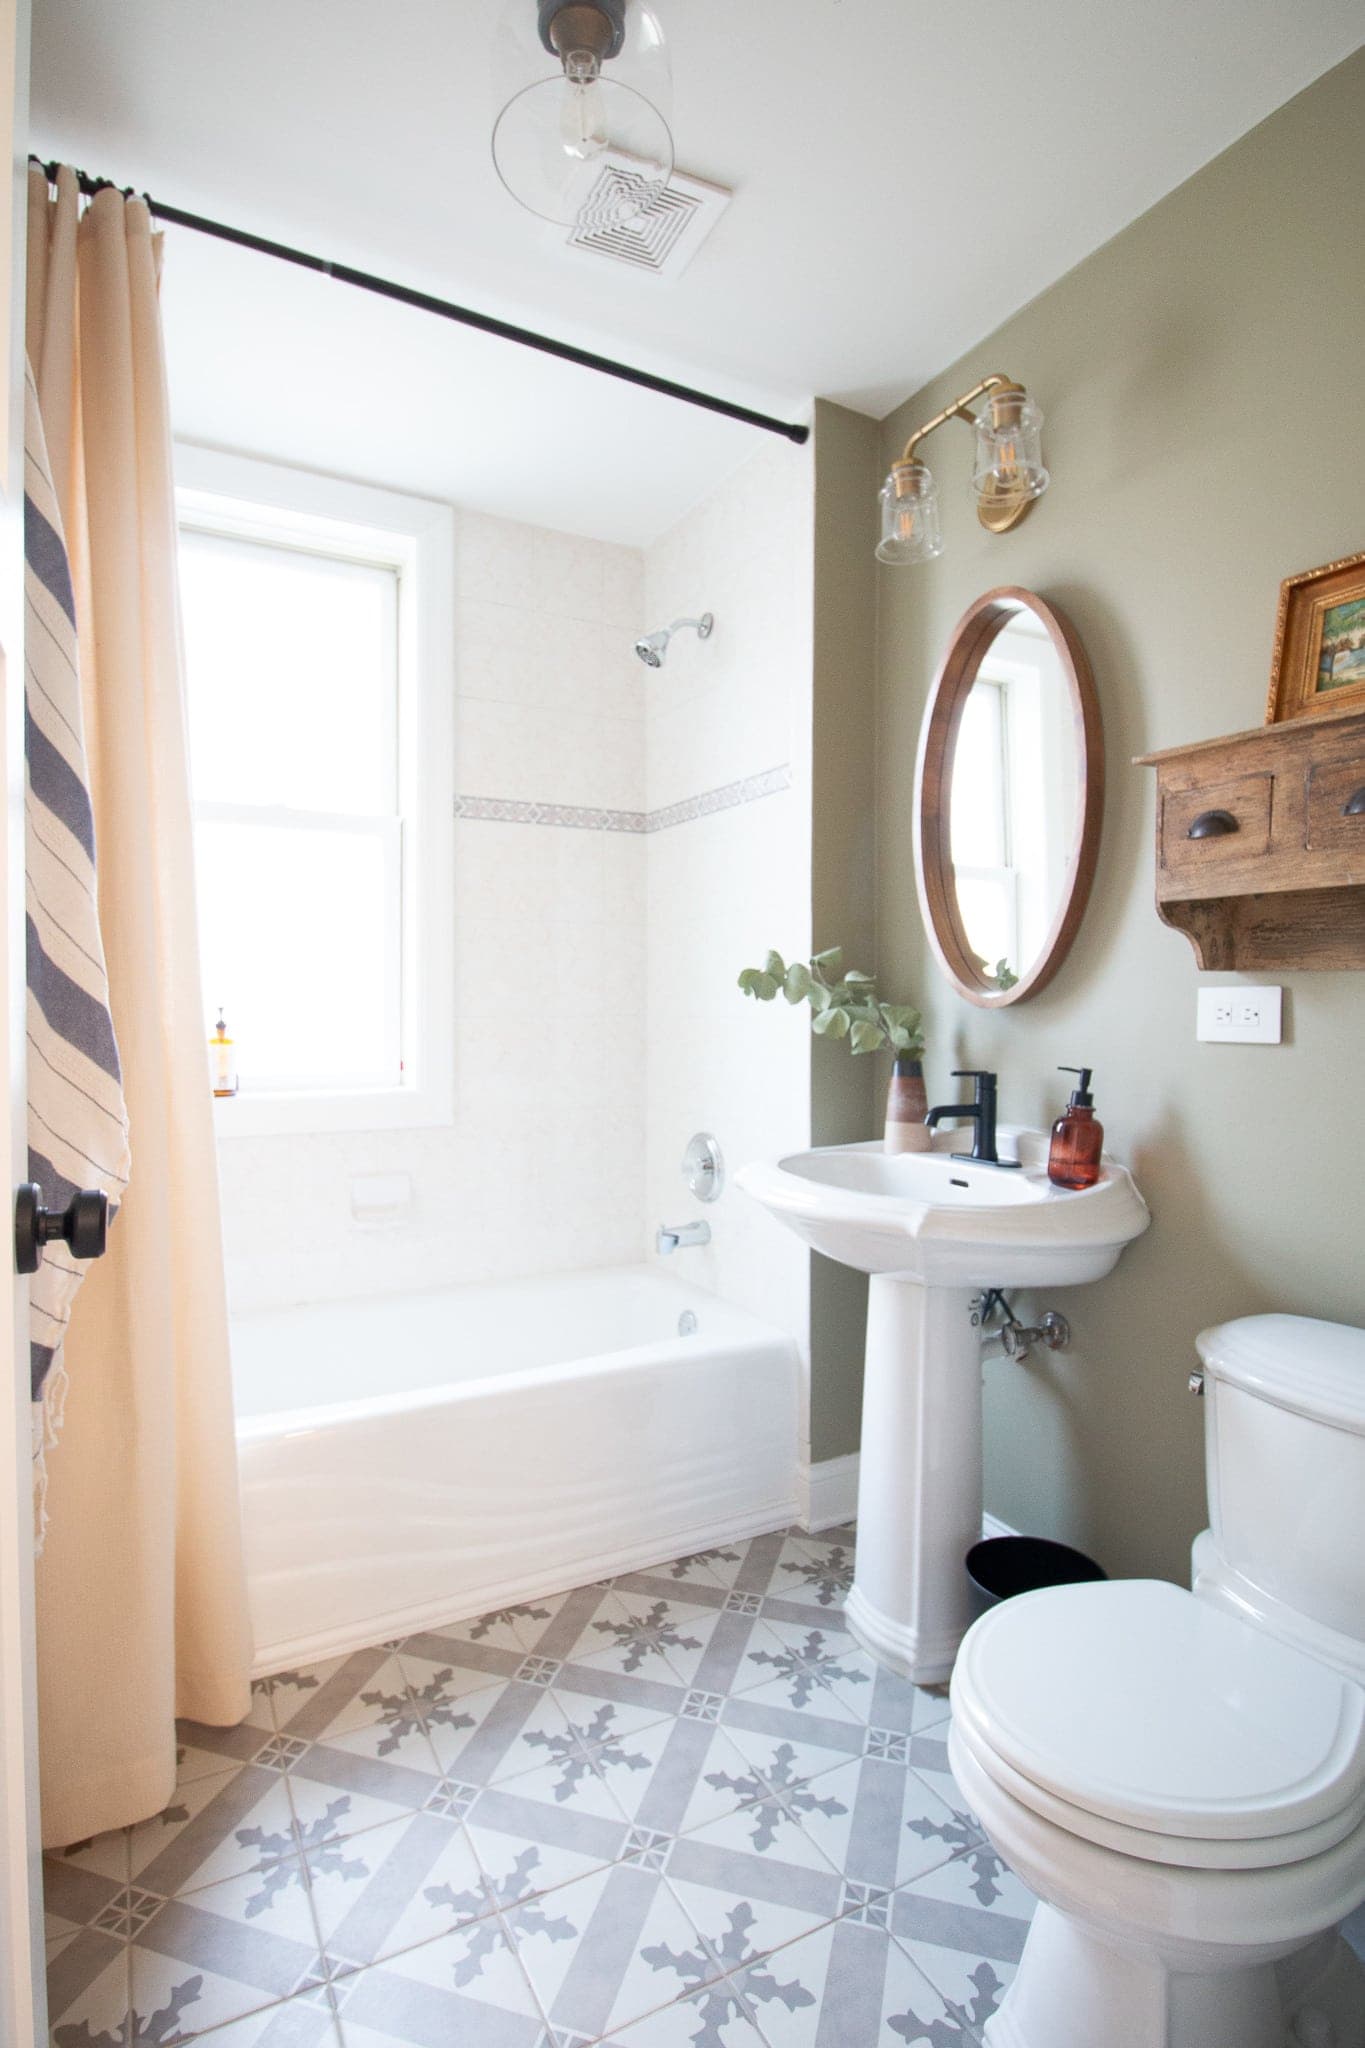
Next up, I need to do the same steps on the tile in our first-floor bathroom. I might as well tackle all the homeowner tasks while we’re hanging at home…
Oh, and if you need any details about the laundry room, this reveal post links all of the sources and tutorials
.
I can’t recommend this project enough – it’s pretty straightforward, reasonably quick, and so important for long-term care of your tiles!
Casey