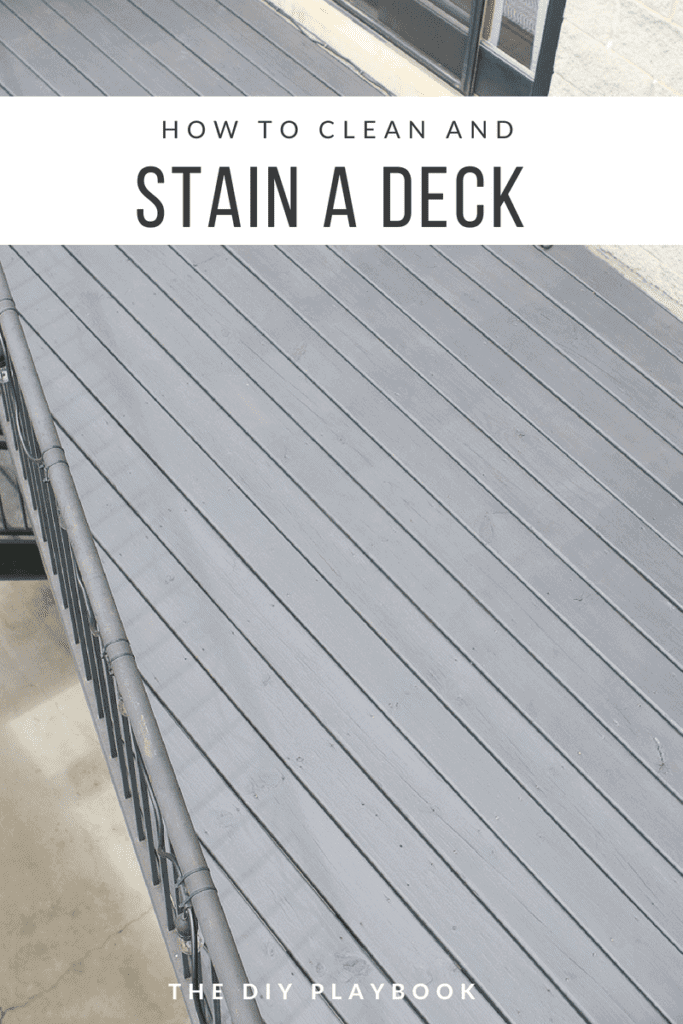
How to Clean and Stain a Deck
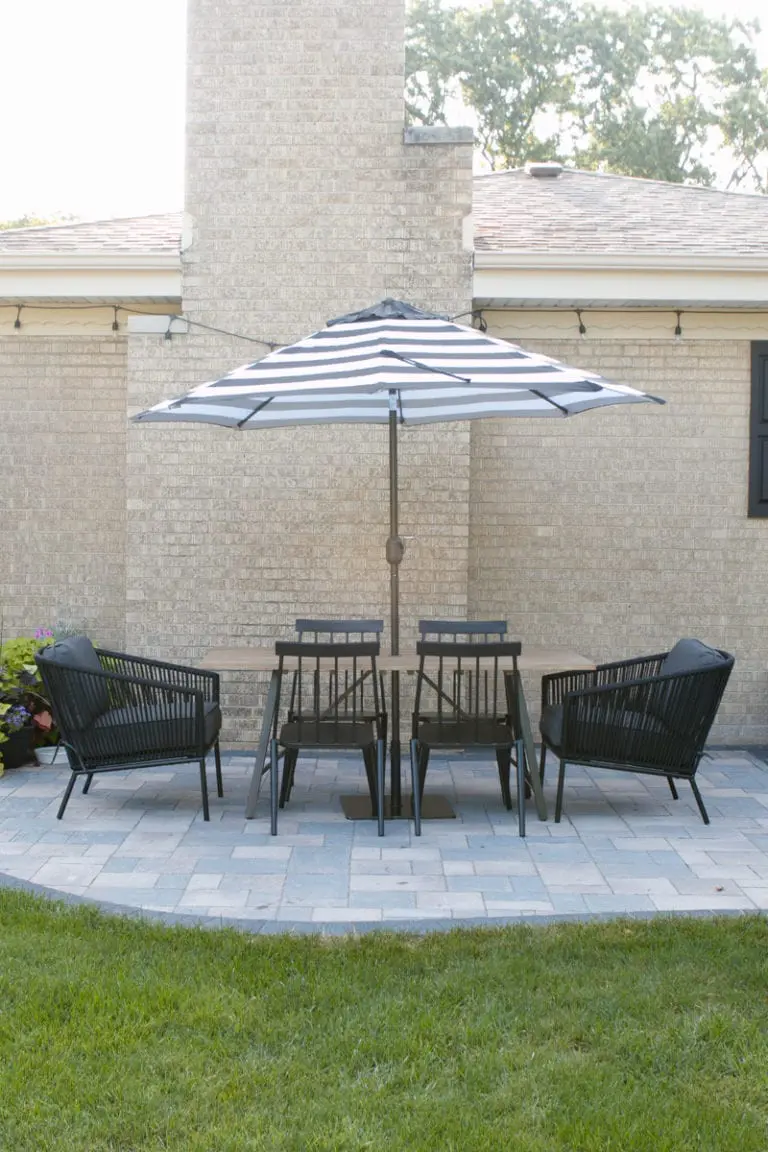
Ever since we moved into our condo almost 3 years ago (whoa!), I’ve been wanting to re-stain our deck. And when I say deck, I really mean small patio. The space is pretty tiny, yet we somehow manage to live it up out here when the weather is nice. Here’s a post showing what it looked like last summer.  But the deck itself has always been lacking. While the wood boards were in good shape, it was in desperate need of some new stain and the wood was just soaking up rain. So this year, I made it my mission to finally get our deck in shape for the summer months!
 I had good intentions to get this done in April, but you really need the temps to consistently be above 50 degrees and dry in order to do the entire cleaning/staining process. April’s weather was garbage, so this project got pushed off until mid-May. Which actually worked out beautifully, because I gave all of my patio furniture to my sister (it works perfectly for her city space) and I had a few weeks of it being bare while I waited for our new furniture to arrive. The only thing still on our deck was our grill, which was pretty easy to roll around and off the area when working.
Our Deck – Before
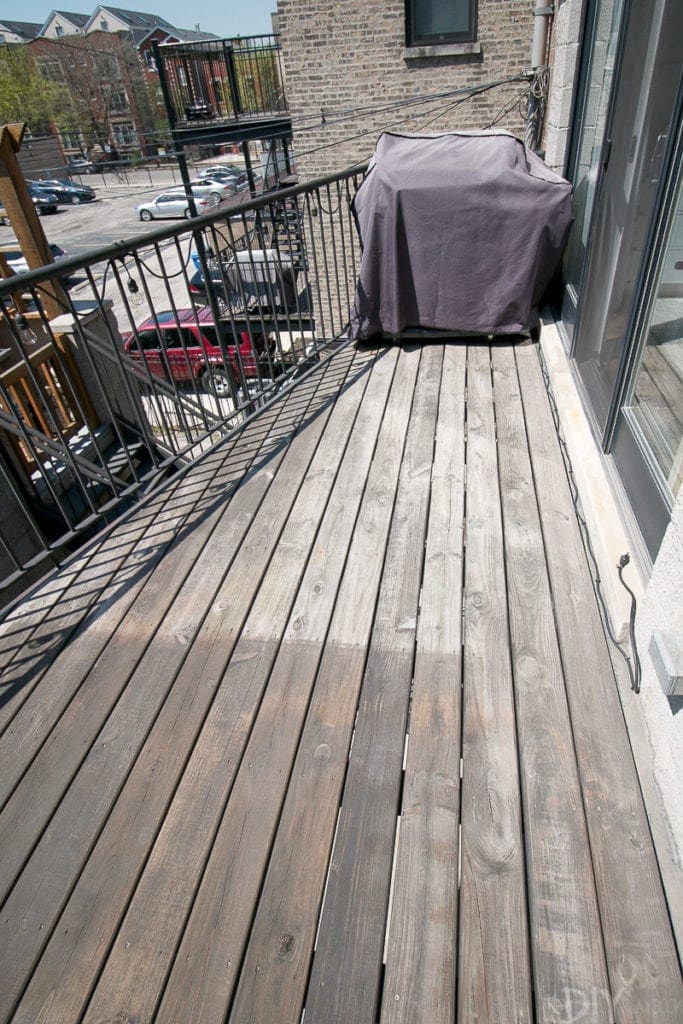
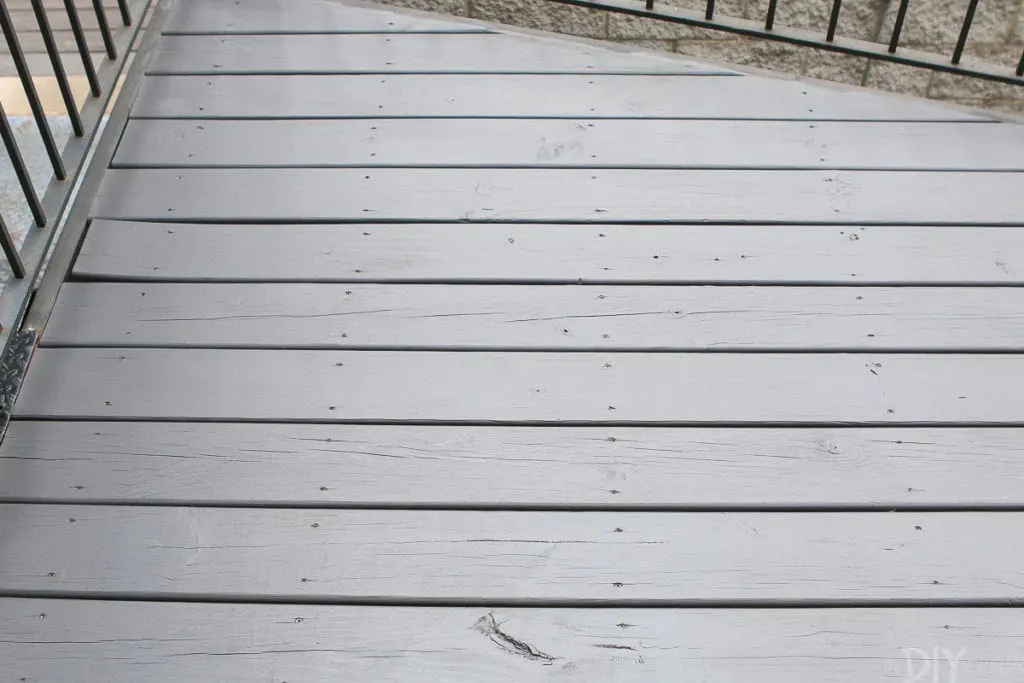
When I look at our deck without any furniture on it, it’s really embarrassing how bad it looks. The wood is soooo dry and it’s just begging for a little moisture.  And let’s talk about the worst part…the huge stain left from our outdoor rug. I think moisture and dirt got trapped under there and seeped into the wood. Plus, the other parts got more sunbleached.
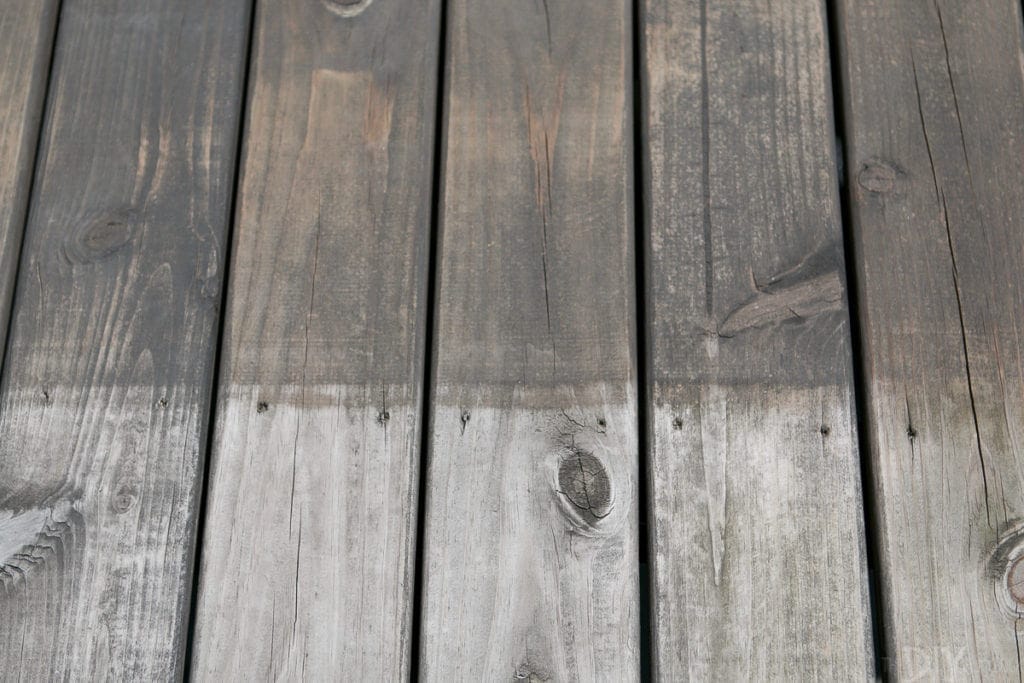 It left me with a huge rectangular dirty spot on our deck. Not cute.
How to Stain a Deck – The Supplies
Clearly, my deck needed some TLC and the good news is you don’t need a ton of DIY supplies to stain a deck. Here’s what I picked up to get this job done.
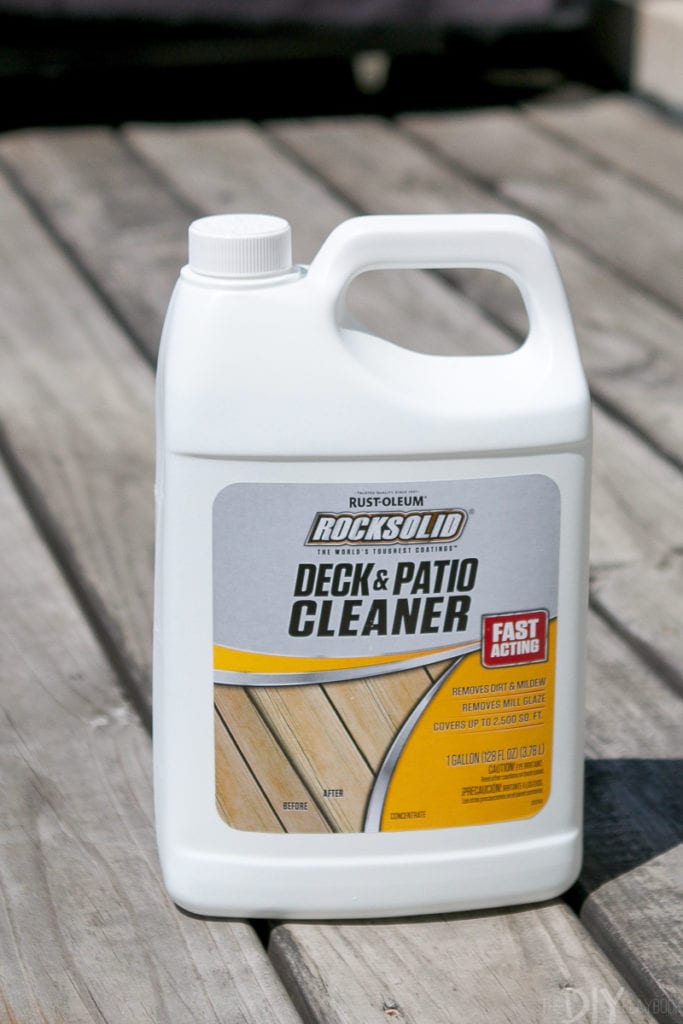
- Deck & Patio Cleaner
- Bucket
- Sanding Block
- Push Broom
- Power Washer
- 1 gallon of Stain
- Paint Brush (specific for staining a deck!)
- Paint Tray
How to Stain a Deck – The Steps
Check the Forecast
First, you must take a look at the forecast. You’ll want the temps to be between 50-80 degrees and you don’t want any rain. I planned to clean my deck on day 1, let it dry on day 2, and then stain on day 3 (to then have it dry out for at least 2 days before any rain). So that’s about 5 days in a row of a dry forecast (which is unheard of for Chicago’s spring). I ended up cleaning my deck one week and staining it the next. Just make sure it’s really dry when you start staining and you have 24-48 hours of dry time with no rain!
Sand Down Rough Spots
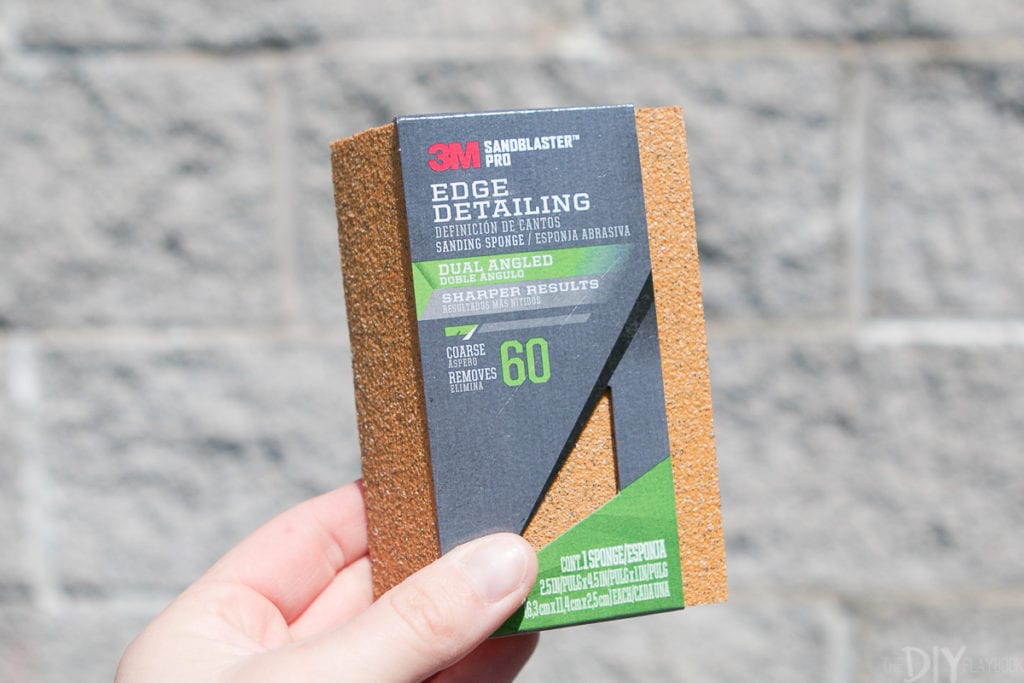
First, take a coarse sanding block and check your deck for any rough spots where wood is poking out. You don’t have to sand your entire deck by any means, just look for any glaring issues and deal with them now.
Cleaning the Deck
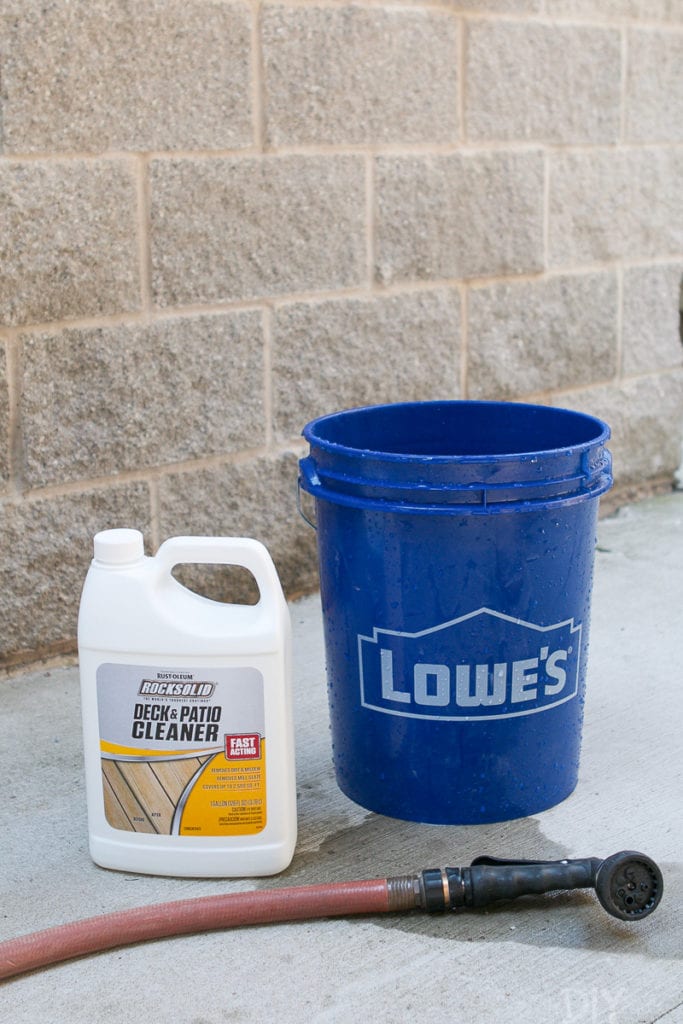 Next, it was time to scrub the hell of our deck. I found this cleaner from Lowe’s and figured it would work well on our patio. I just followed the directions on the back of the bottle, mixed it with water, and got ready to scrub, scrub, scrub.
 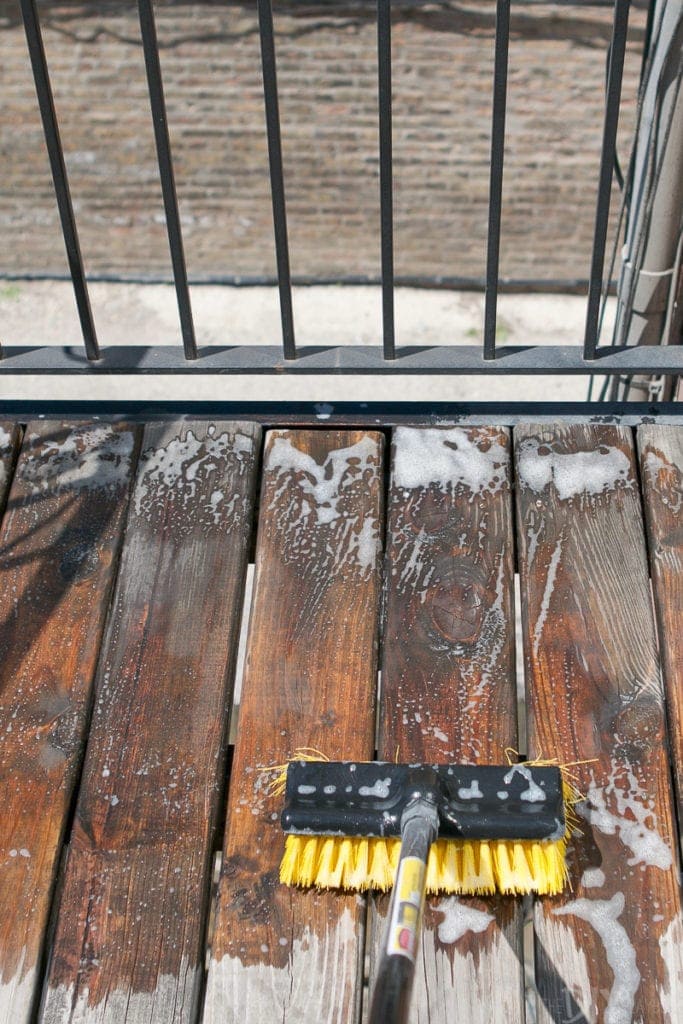 My technique was to dunk the broom in the soapy water and then go to town scrubbing. This was a nice little arm workout, but it certainly wasn’t difficult.
 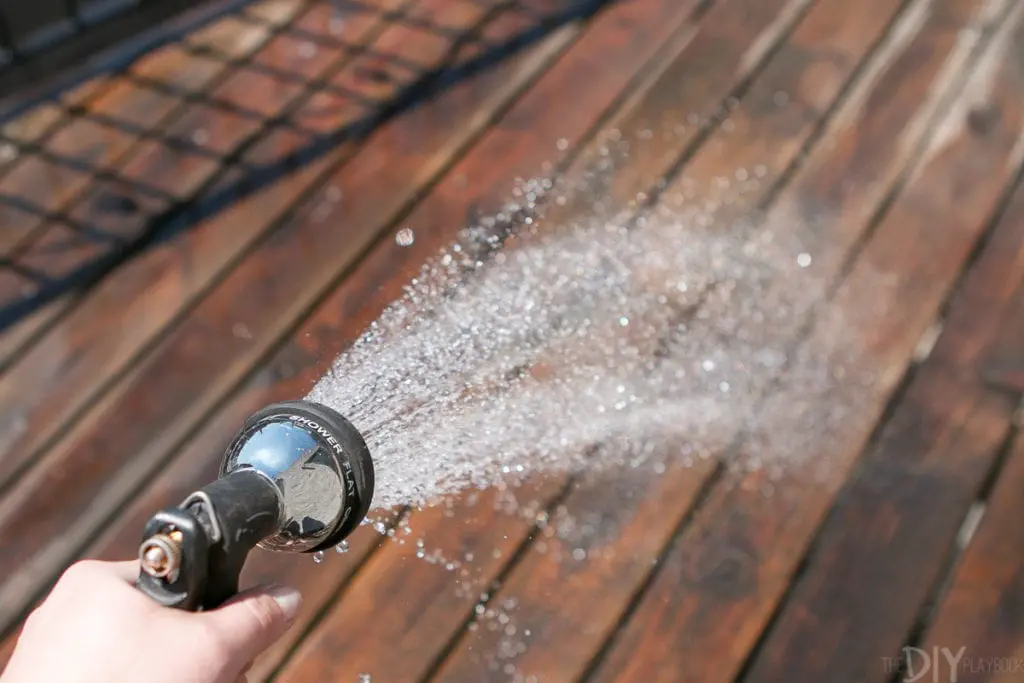 After cleaning the entire patio, I rinsed it with clean water to get all of the dirt off and watched it dry.
 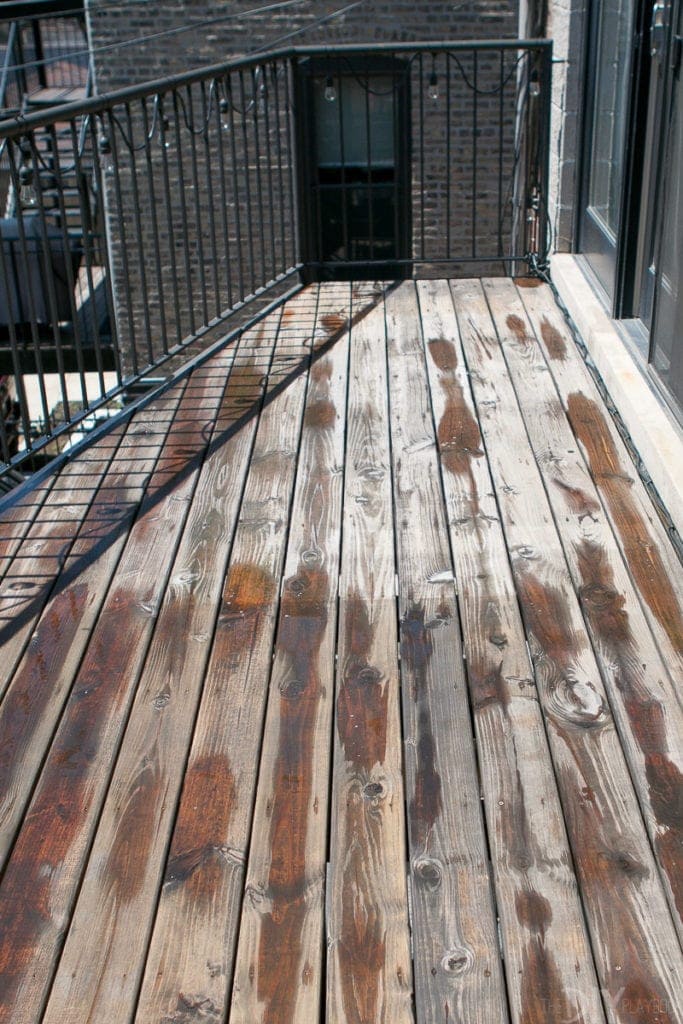 I made sure to really scrub the “rug area” well since it was way dirtier than the rest of the deck. But when it dried I could still see the outline of the rug. Ugh. The worst.
Even though I knew my deck was clean, it needed to be cleaner before applying any stain and the last thing I wanted was the outline of that dang outdoor rug showing through. So I added another step to my staining process…
Power Wash your Deck
I have always loved power washing. It’s really the most satisfying feeling to see grime and dirt wash away with a hose. Plus, it’s so incredibly easy to do. However, we don’t own a power washer.
So I headed to the hardware store to rent one. But once I got there, I realized I should just buy one. The thought of paying a bunch of money to rent for the day and then having to lug it back to the store sounded miserable. Plus, I texted Bridget while at the store and she said she would absolutely use the crap out of it on the outside of her home. That sold me. I ended up buying one for about $130 and didn’t look back.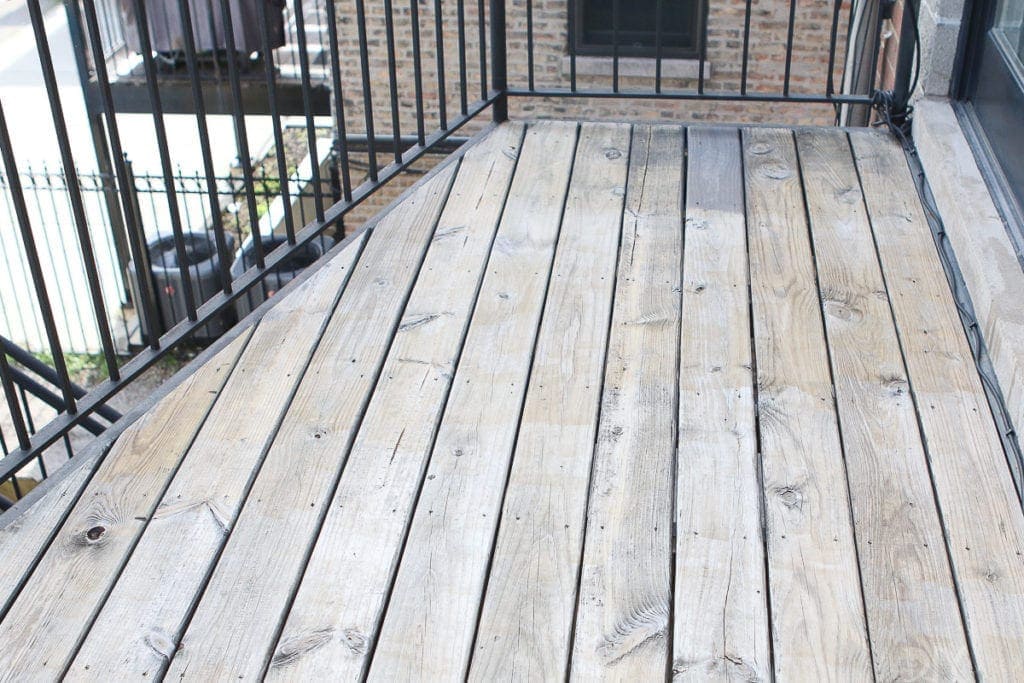 I don’t have any pics of me power washing, because I was a bit nervous about getting my camera or phone wet. But it’s pretty self-explanatory and oh-so-satisfying
Staining Time!
I let my deck dry out for a day and then woke up early to get this bad boy stained. 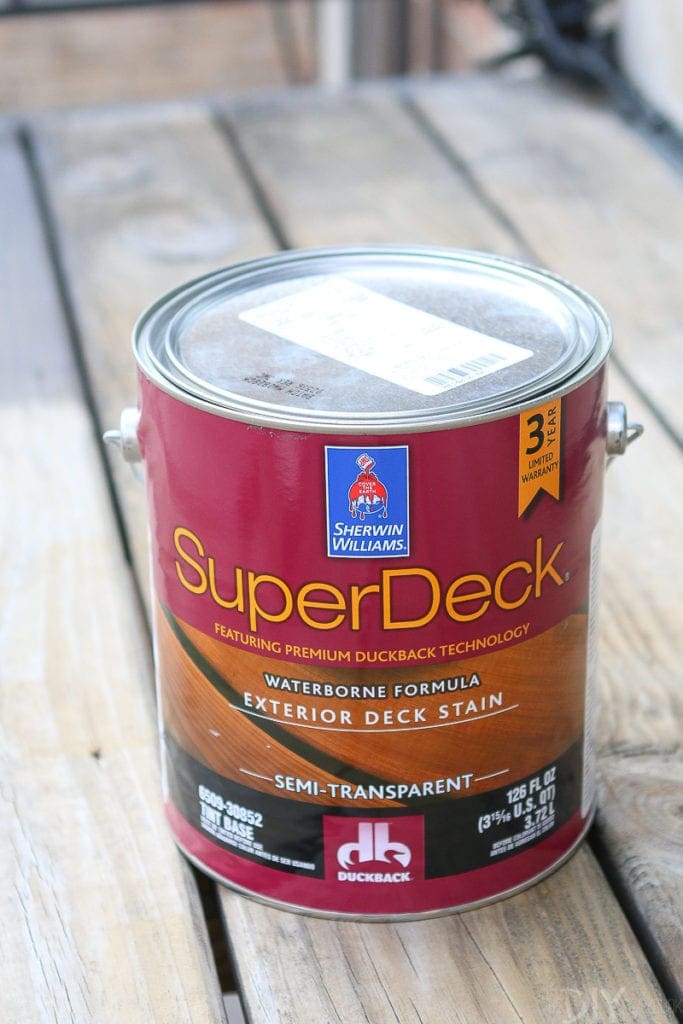
I went with a semi-transparent stain from Sherwin Williams in the color “Harbor Mist”. Well..kinda…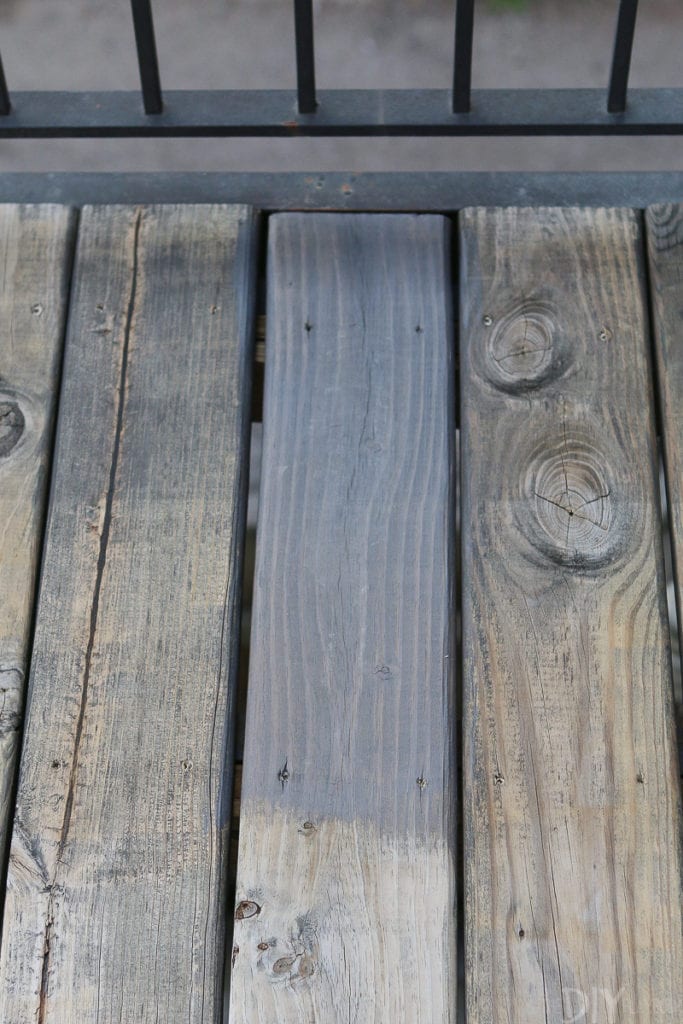
The morning I got started, I painted a tiny section of our deck to make sure I liked the color. I was going for a dark gray color, but it ended up looking a little too silver for me. I headed back to Sherwin Williams where they added a bit more black to the mix to create my own unique color combo. That did the trick!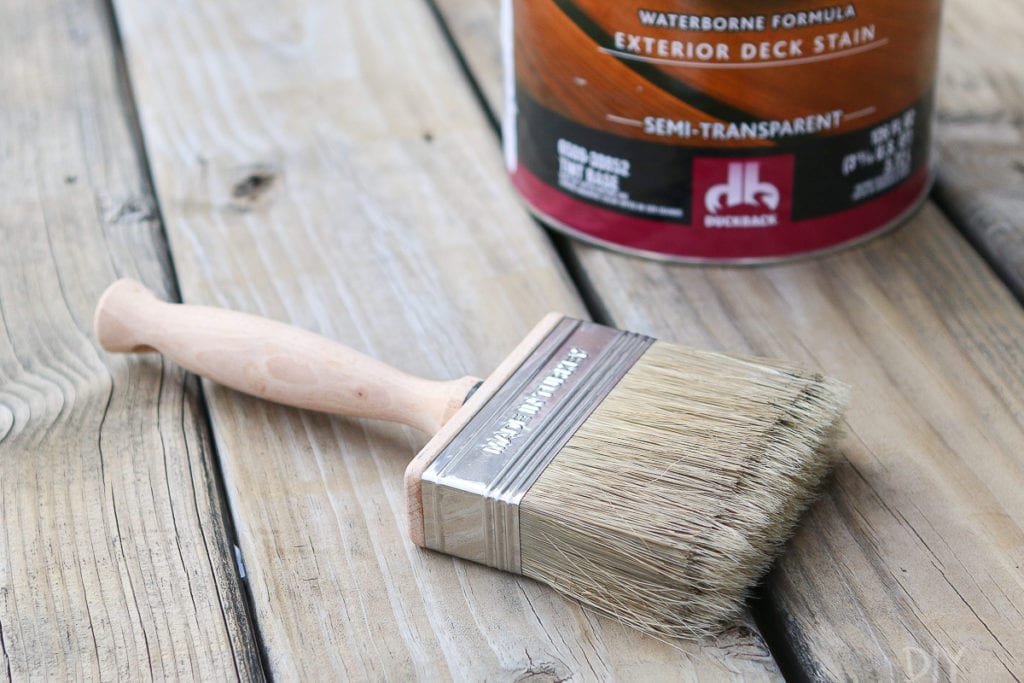 While there, I also grabbed this paintbrush that is specific for staining decks. I’d highly recommend buying one of these because it made the application so easy.
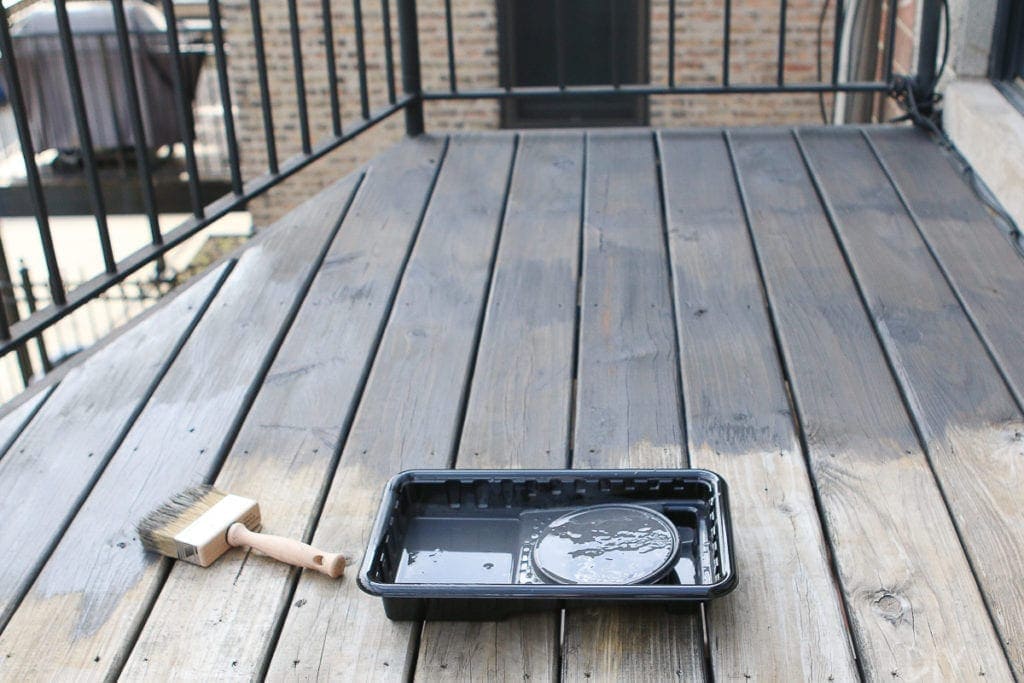
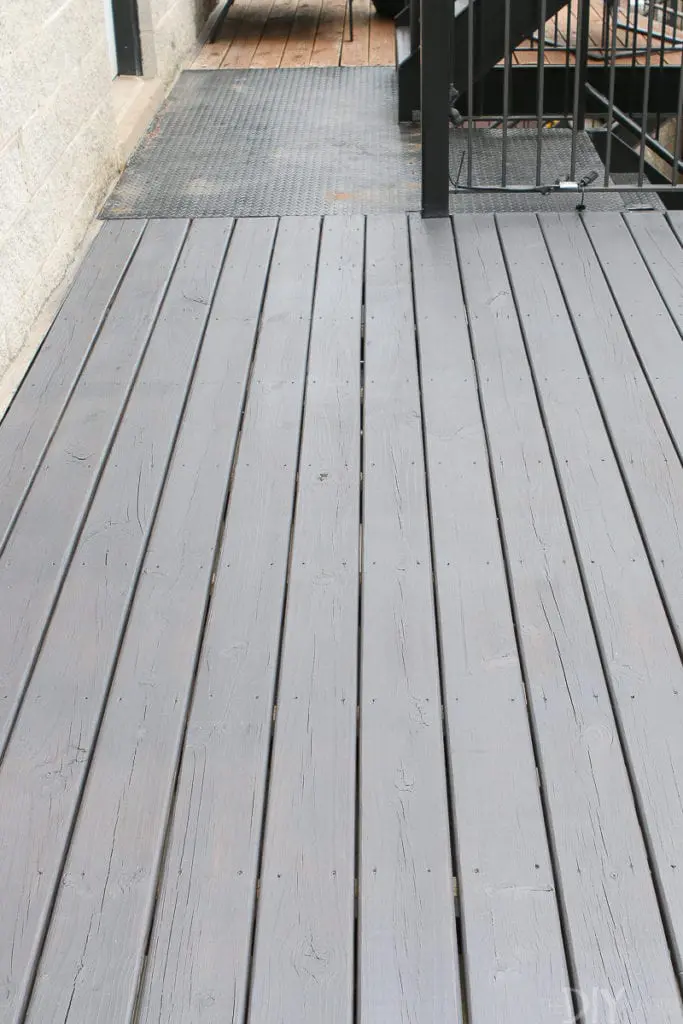
I then went to town, working my way from one side of the deck to the other. Because our deck is so small, it only took me about an hour to cover the entire thing with the first coat. 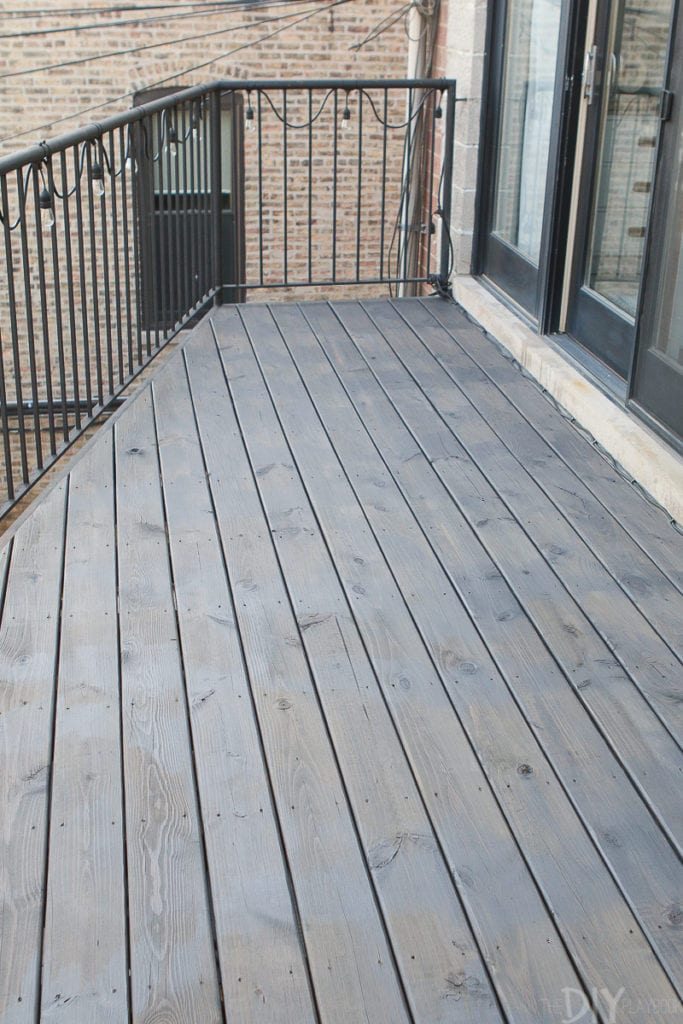
After it dried, I knew I would definitely need another coat because there were some spots with uneven coverage (picture above). So the next day I did one more coat to finish this baby off.
Our Deck – After
 I’m obsessed with the color. It’s the perfect dark gray, but it still shows a hint of the wood grain. I’m really happy I went with a semi-transparent stain as opposed to a solid one. It looks more like wood than painted wood to me…if that makes any sense?
 I
I
t’s 100000x times better. I didn’t realize how bad our deck was before until I did something about it. Now I keep peeking out the window staring at it. It’s beautiful.
Let’s do a little before and after pic of our little patio space…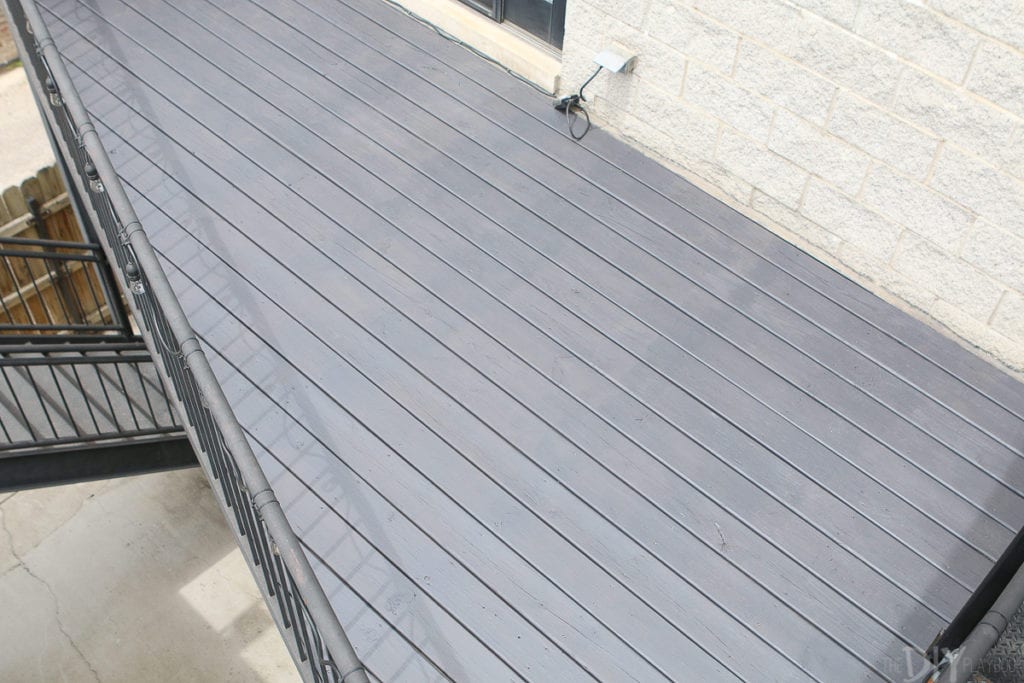
What Now?
Now that our deck is complete, it’s time for some furniture and flowers! The furniture I ordered should be coming this weekend or next (I’m sooooo excited!) and then I’ll work to get this space looking good for the summer ahead. I’ll be sure to keep you guys updated as I make progress on our city patio. But for now, I’m happy to get that big DIY project crossed off my to-do list.
P.S. If you need help choosing a stain color, I tested seven stains on four types of wood in this blog post.
Casey