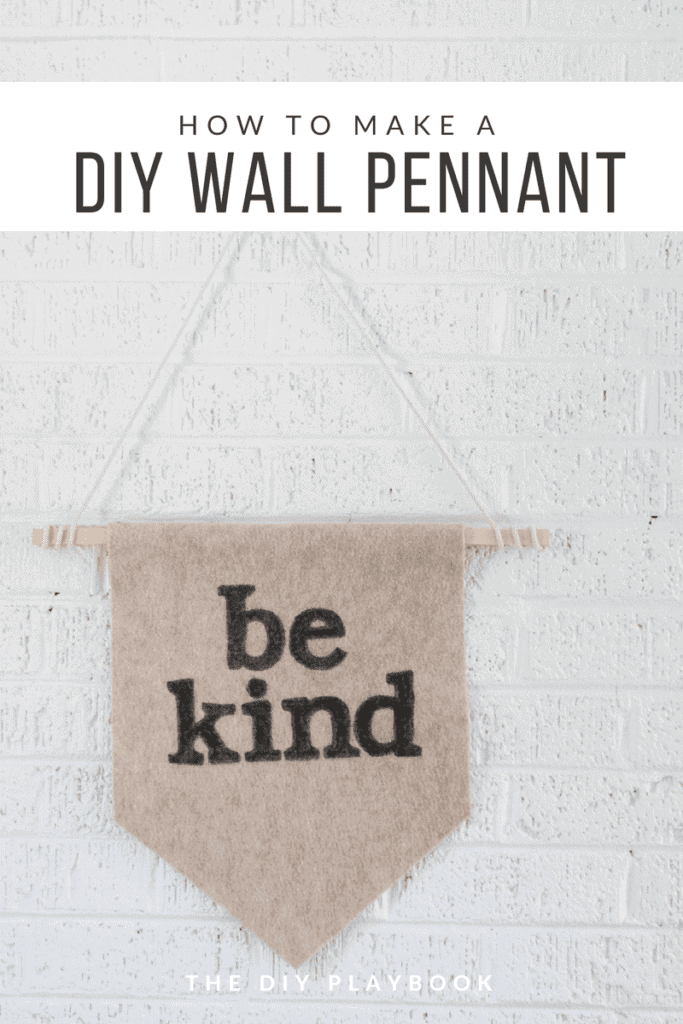
How to Make a DIY Wall Pennant
[Disclaimer: This post is sponsored by Michaels Stores and we are honored to be Michaels Makers. All opinions and photography are our own and are not influenced by Michaels Stores]
This month, our Michaels Makers challenge was to create decor for a dorm room. As two girls who absolutely LOVED decorating our own dorms (way back in the day!), we were excited to come up with something fun and easy that any college kid could create right now before heading back to school in the fall.
Side note: We both had very colorful rooms in college…Casey’s dorm room decor was hot pink and orange, with lots of polka dots. Whereas Bridget’s room was blue + green + Hawaiian (yikes)! Obviously, our tastes have changed…haha.


If you’ve been a reader for awhile, you may remember this dorm room makeover we did a few years back. We had an absolute blast on that project and it reminded us of some of the challenges of decorating a dorm room. The biggest hurdle? Lots of ugly white walls in need of personality.
How to Make a DIY Wall Pennant
 Today’s craft solves that problem with a DIY wall pennant that can be personalized for any dorm room! We went with our favorite sentiment (“Be Kind”), but this craft can easily be adjusted to showcase a monogram, school pride, or any quote!
Project Supplies
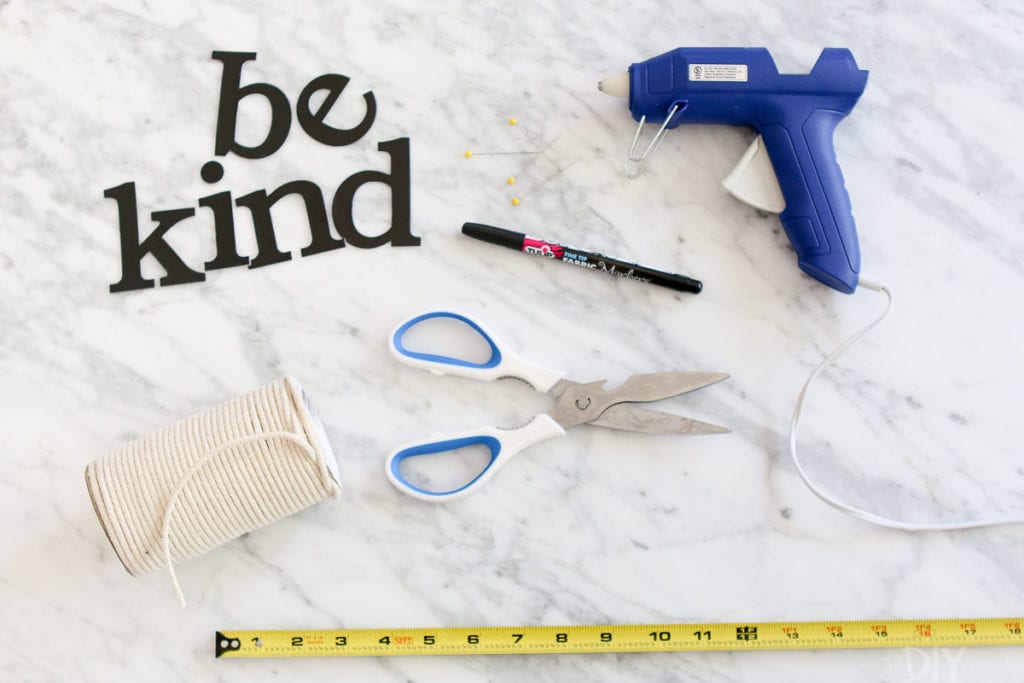
- Felt (we went with a natural color)
- Pins
- Wood Dowel
- White Rope
- Letter Stencils
- Pen
- Black Fabric Marker
- Iron-on Adhesive
- Hot Glue Gun
- Iron
- Scissors
- Tape Measure
- Straight Edge
DIY Wall Pennant: How-To Video
We actually created a little time-lapse video to showcase just how quick and easy this project truly is. It’s only a minute long, so you can watch above (or click here to view it on our YouTube channel).
Project Steps
Here’s how to create this DIY wall pennant. Honestly, it should take you less than 20 minutes! <— our kinda craft project!
- Drape felt over dowel and pin it in place.
- Cut iron-on adhesive to size and place on felt. Use iron to bond it into place. Peel off other side of the iron-on adhesive and iron again. Remove pins.

- Cut the rope and use the hot glue gun to secure it to each side. We wrapped it around a few times to make sure it stays secure.
- Cut the felt so it comes to a point. We found the center point and the used a straight edge (a box lid) to draw lines 4 inches up. Cut the excess felt and discard.
- Grab your stencils (we used stickers) and outline them with pen onto the felt. Next, color in the inside of those outlines using a black fabric marker.
- That’s it…you’re done!


We realize that not every dorm allows you to create holes in the wall, so we suggest using a command hook to secure this cute pennant to your wall. That way you can easily remove it at the end of the year without damaging the wall.
Going off to college is scary, but getting everything you need to DIY your dorm room doesn’t have to be! With Michaels huge array of art supplies, you can get all of the things you need to make your dorm the coolest on the ‘block!’. Time to fire up Pinterest and head to Michaels!
Obviously, this easy craft is suitable for any home (not just dorm rooms!). We want to make larger versions to hang in our own homes. How cute would this look in a nursery or in a gallery wall? We absolutely adore it and plan to make more soon.
Now, we’re dying to know…what did your dorm room look like back in the day? Was it decorated to perfection or was it a messy place for studying and sleeping? Give us the scoop!
Bridget&Casey