10 Things I Learned from DIY-ing my Garage Floor with Epoxy
If you want to add epoxy to your garage floor like we did a few weeks ago in B’s garage, we highly encourage you to check out this list of the top tips we learned along the way before you get started. Hopefully you can learn from our mistakes!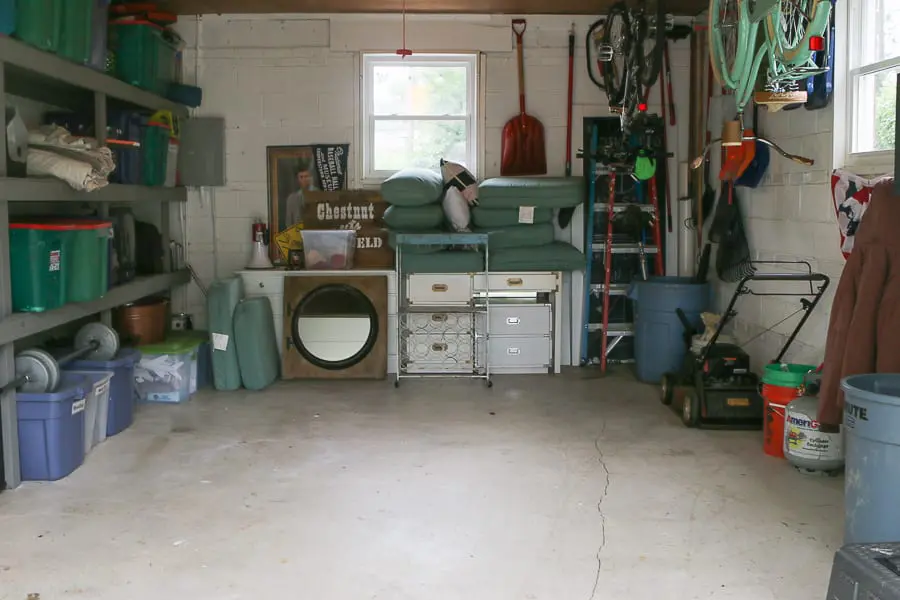

We promise this project was not as intimidating as we originally thought it would be, but we cannot stress how important it is to follow ALL directions super precisely… which brings us to our first tip.
Read all directions and follow them carefully

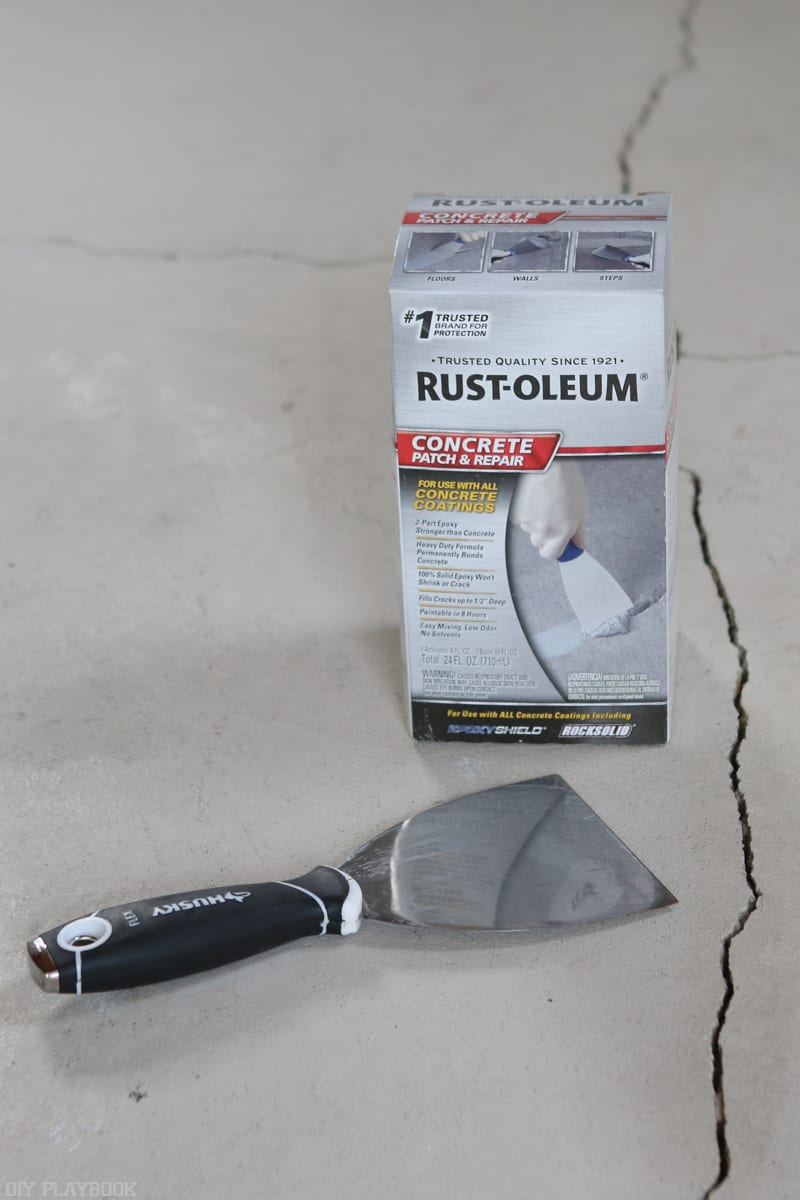
We cannot emphasize how important it is to read ALL of the directions for each product before starting. From the etching, to patching the cracks, and then onto apply the actual epoxy, reading all of the directions is by far our biggest piece of advice. We found that each product had very specific instructions and following those steps PRECISELY was extremely important.
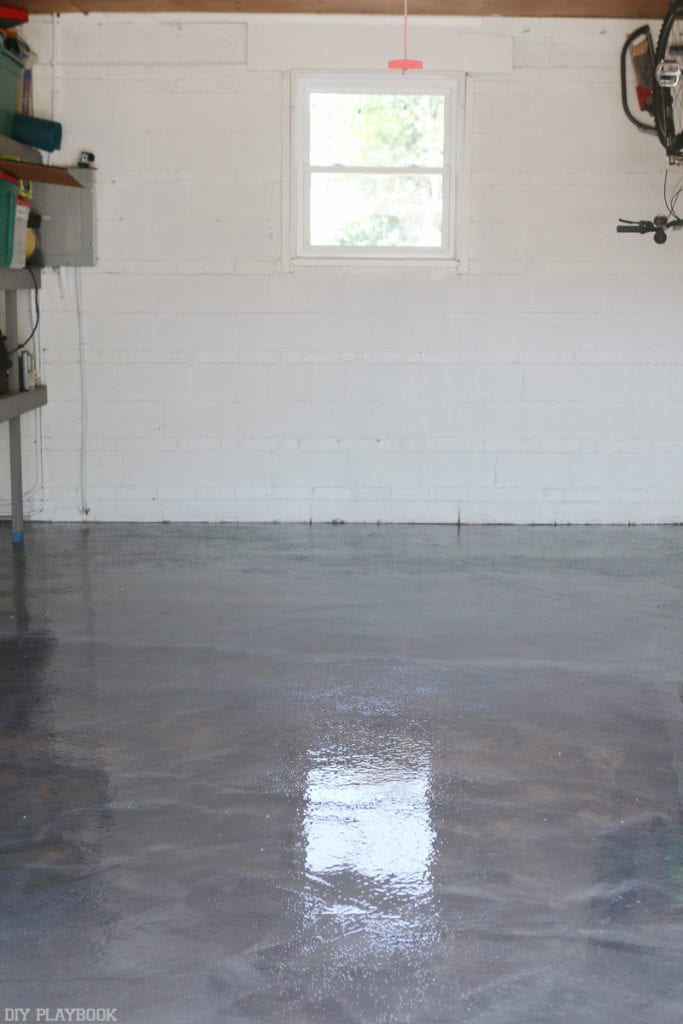
Watch Tutorials

Image and Tutorial via Bower Power Blog
Like we mentioned in Tuesday’s post, we made sure to read other tutorials and watch as many videos as we could (we really liked this post for more details — thanks Katie!). Watching these videos and reading the tutorials online gave us a much better idea of what steps we needed to take and helped us avoid making some mistakes. <— you’re already on the right track by reading this post!
Have all the supplies on hand in advance
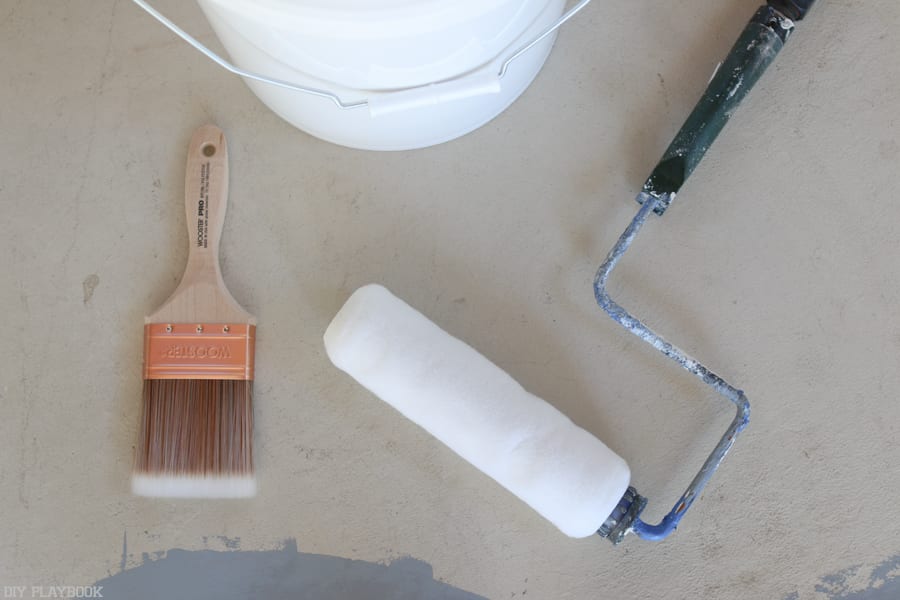


Shopping for ALL of your supplies in advance will save you a lot of headaches down the road. Outside of the actual product, I had to take inventory of the supplies I needed for this project (full list here). I didn’t have items like a face mask, a large squeegee, a bristle brush, etc. so making a list of what I needed for ALL steps and buying everything in one stop shopping really helped save time in the long run.
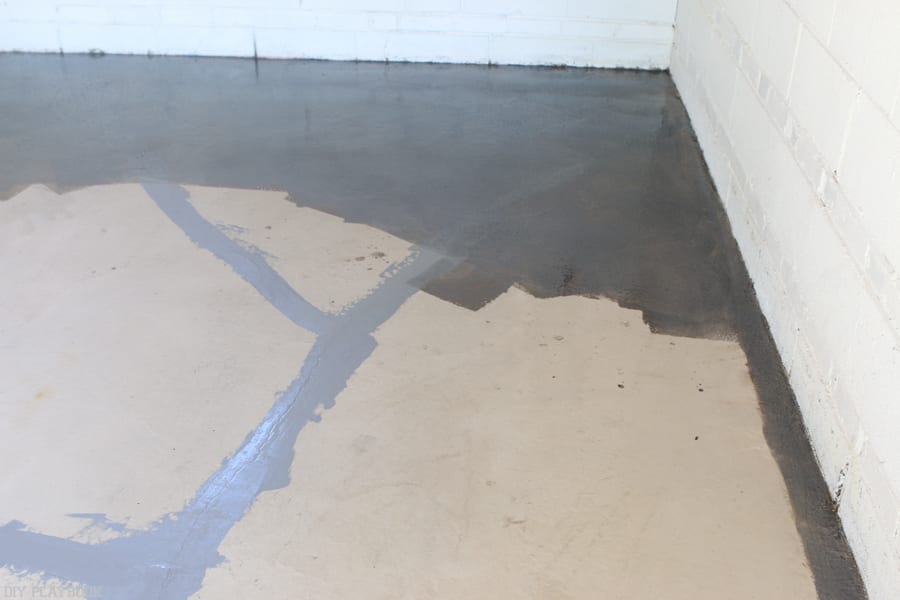
Allow enough dry time

Like I mentioned in the tutorial post, the prep work is the most important part of this process and making sure that there is more than enough dry time in between steps is essential. The floor needs to be VERY dry before patching and the patches need to be VERY dry before epoxy and then the epoxy needs to be VERY dry before moving back into the garage. Make sure you schedule more time than you think you need in between each step just to be safe!
Patch work matters
I was under the assumption that all of the patch work would be covered up by the dark grey RockSolid epoxy, especially because the patches were very light grey. Unfortunately this was not the case in all areas (eek!). I tried my best while patching, but I’m not a great patcher and maaybbeeeee I would have been a bit more conscientious of the look of these patches if I knew they wouldn’t be hidden by the epoxy. #oops
The bucket life of epoxy is not a suggestion…
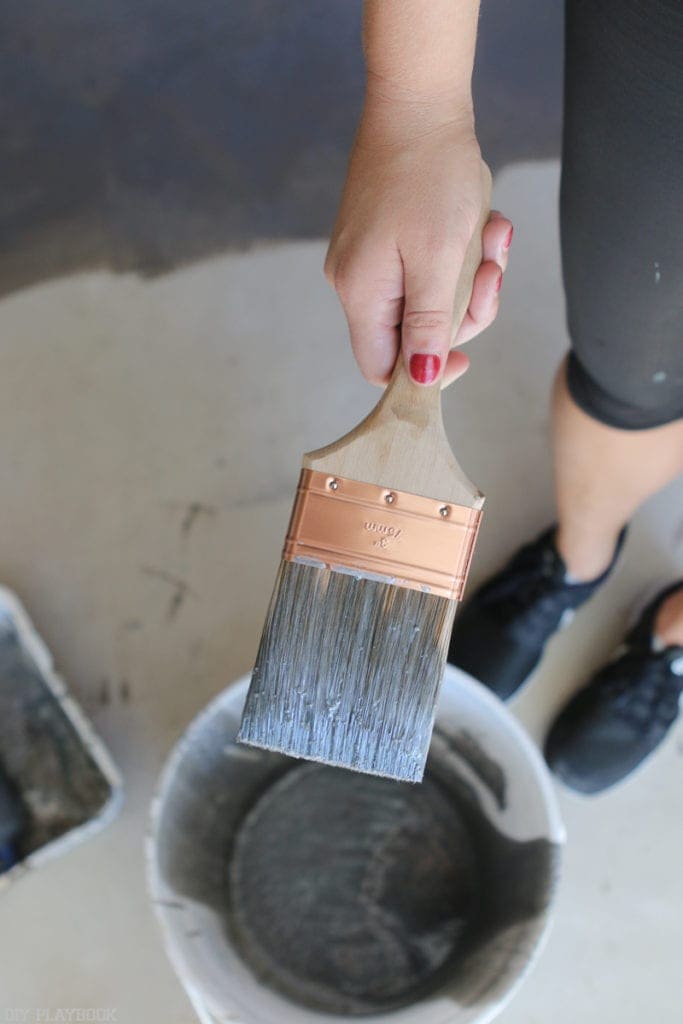
After mixing Rust-Oleum’s RockSolid Epoxy Kit you have 90 minutes to apply the epoxy onto the floor. When the directions say 90 minutes, they mean it very literally. You definitely don’t need to rush while applying the product (90 minutes is plenty!) but keep this time in mind so you don’t get distracted while applying the product. And let’s be honest, at $100 per kit we definitely do not want you to waste this valuable stuff.
Getting epoxy off of your hands is not easy
Don’t even ask how this happened, but it did. We are a bit embarrassed to admit that we got epoxy on our hands … and clothes …and legs and even on our shoes. We quickly found out that getting this product off of your skin is HARD and gets harder when more time passes. We tried soap and water, gasoline (we do NOT recommend that!), goo-gone, and even oily make-up remover and wouldn’t really rave about any of those products! Eventually we did get it off of our skin (I think it was muscle and constant cleaning) but we did not have as much luck on our clothes/shoes. Those stains are here to stay! So wear plastic gloves, and be sure to wear clothing & shoes that you don’t care about getting dirty.
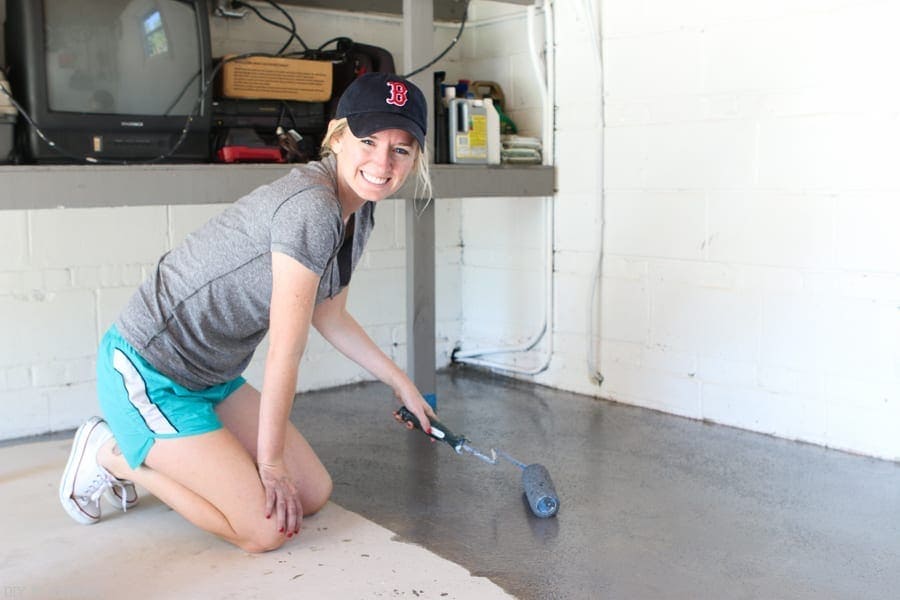
There’s no going back

Once you apply the epoxy there is literally no going back. No taking it off, no covering it up and most importantly, no going back into the garage to fix a spot you aren’t in love with. We started with the back of the garage and moved our way out of the garage until the whole floor was covered. It’s important to REALLY perfect an area’s coverage and roller design before moving on because once you move out of that area, you can’t get back to it in order to “fix” a mistake you may have overlooked. Keep this in mind and really make sure you’re happy with each area before moving on.
When Pedro shows up, act FAST!!
And speaking of not being able to walk on the garage floor after it’s covered in wet epoxy that is close to impossible to get off your skin. We were ALMOST done covering the entire floor, Casey was rolling the last section while I was taking progress photos, when Casey suddenly yells, “OMG, A DOG!!!!”. Much to our surprise, she was right… a random dog from a few blocks down had escaped from his backyard and was heading into the garage and onto the WET FLOOR. AH!!!!!! I froze in shock and Casey immediately snapped me out of it by saying, “Grab him before he walks on the floor!” #duh I somehow managed to grab him right as he stepped on the floor, which was super awkward, since I’m afraid of dogs and I don’t really know this dog’s personality. Long story short — we saved the floor (and Pedro’s paws!) before any permanent damage was done.
Bridget&Casey
P.S. If you’re looking to DIY your own garage, you can check it out here!! =)