Creating a Kitchen Electrical Plan
There have been a lot of tasks for this kitchen renovation that I’ve really enjoyed. Choosing cabinets, figuring out the layout, finalizing the design plan. Those have all been really fun for me. But figuring out our kitchen electrical plan was one thing that I was not very excited about, mostly because I had no idea what the heck I was doing.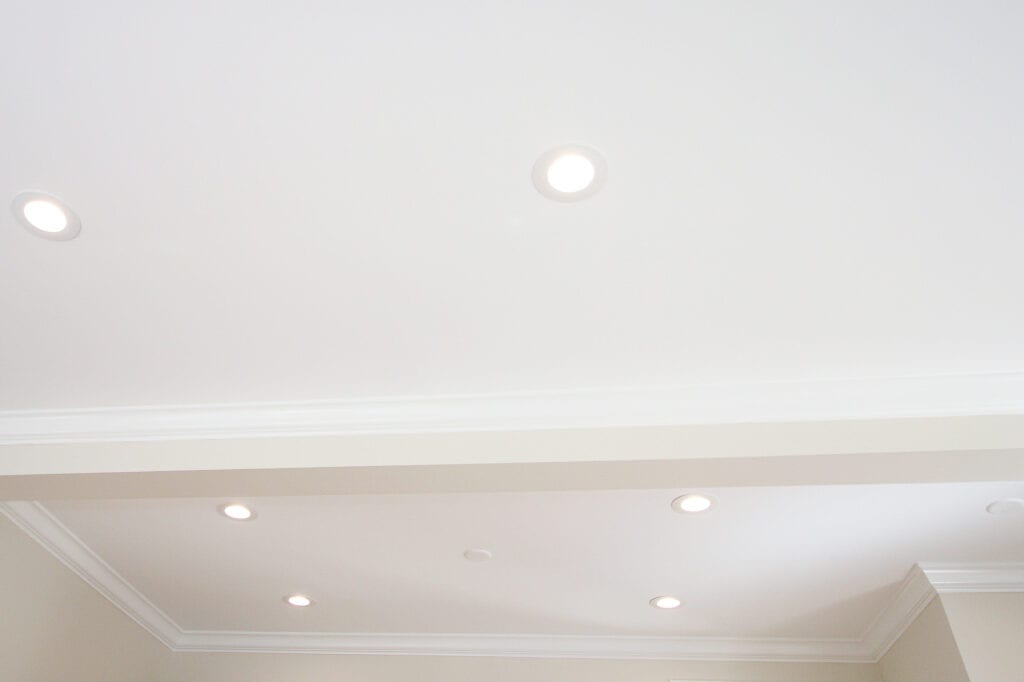
Last year, we had our contractor add recessed cans and outlets throughout our house during our renovation. We walked around with him and he marked the walls where lights and outlets would be placed and we kinda winged it. Honestly, we didn’t really think it through enough. We have far too many canned lights – our living room is fulllll of recessed lighting – and I probably could have used one-third the number of lights that he added. It’s not his fault. I think he just assumed the more canned lighting the better!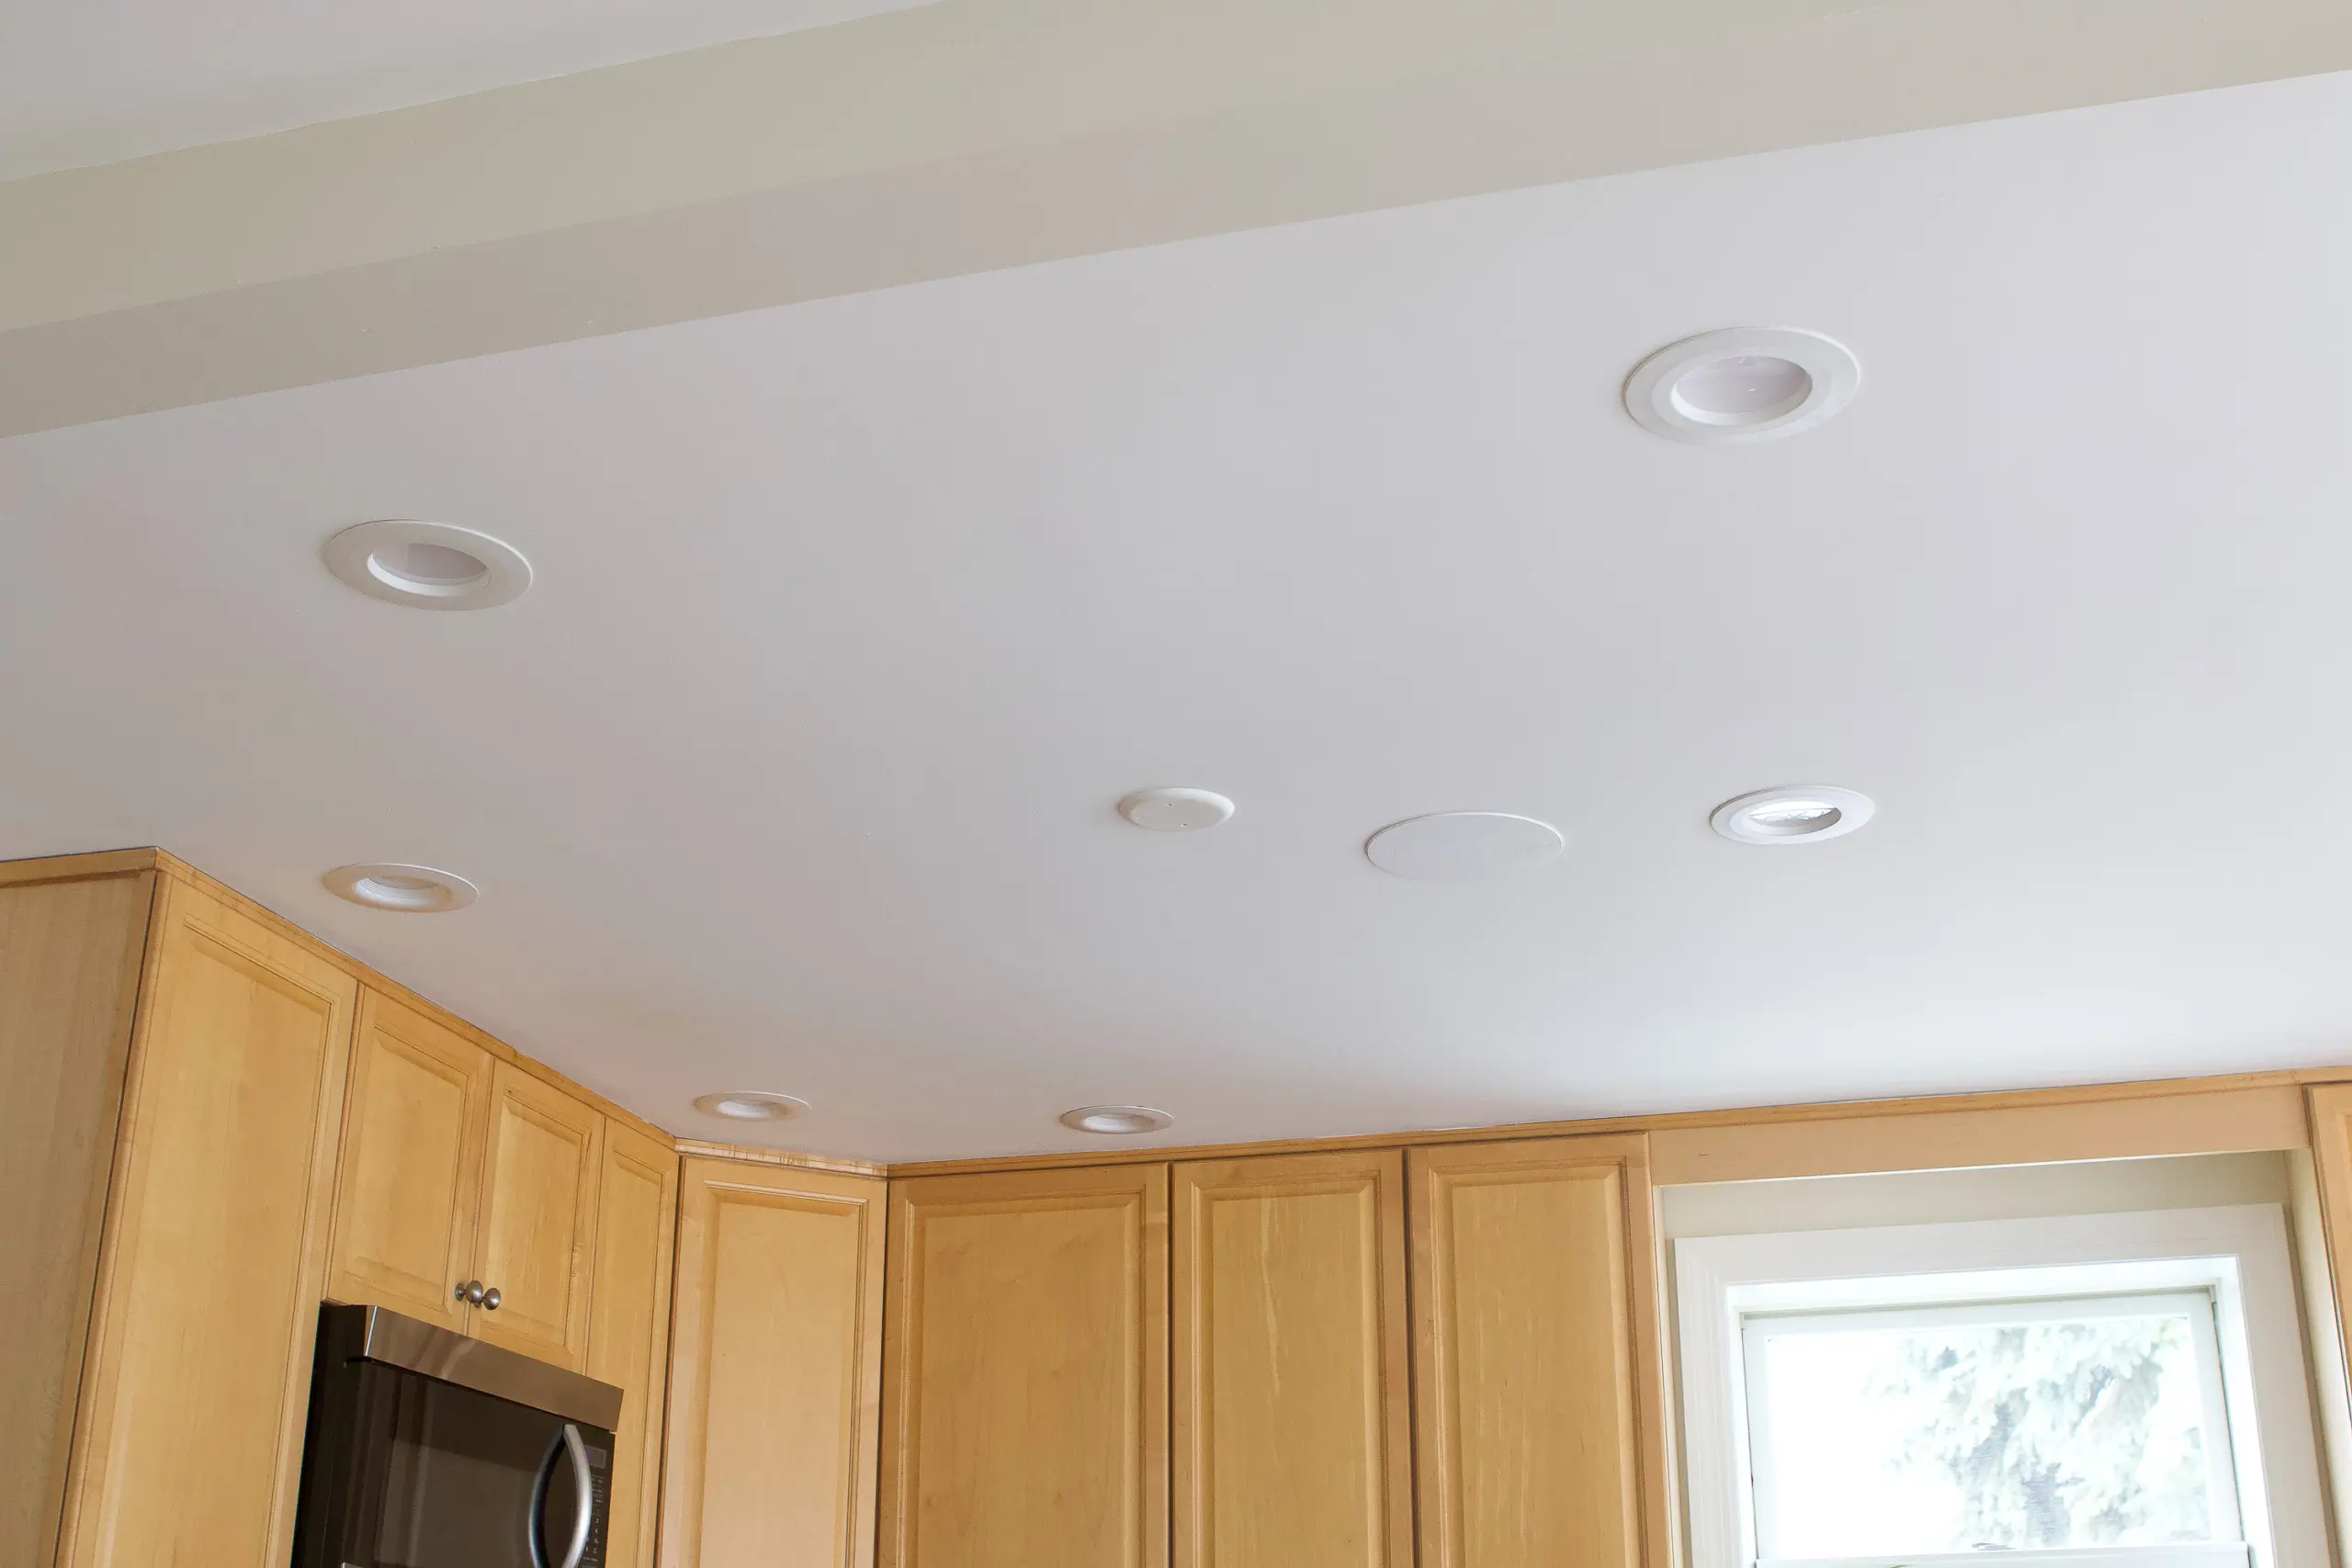
For the kitchen, I was not going to make the same mistake. And since we’re doing an entirely new ceiling in here, now was my chance to fix the light placement. Because, let’s be honest, that old ceiling (above) looks a bit like Swiss cheese. I told Finn that I wanted to really sit down and think through the placement of everything before demolition began and new electrical was added willy nilly. So, that’s exactly what we did.
Our Kitchen Electrical Plan
We took the layout of the kitchen and walked through each section together discussing outlets, switches, and lighting. We then marked on the paper and made a little key for our contractor. Finn then drew it up in Excel to clean it up. Obviously, we’re not super familiar with electrical codes, so this was just our “pie in the sky” wishlist for electrical placement. Our electrician would be the one who would say if it was possible or not. (For the most part, our plan ended up being just fine.)
Here’s our kitchen electrical plan…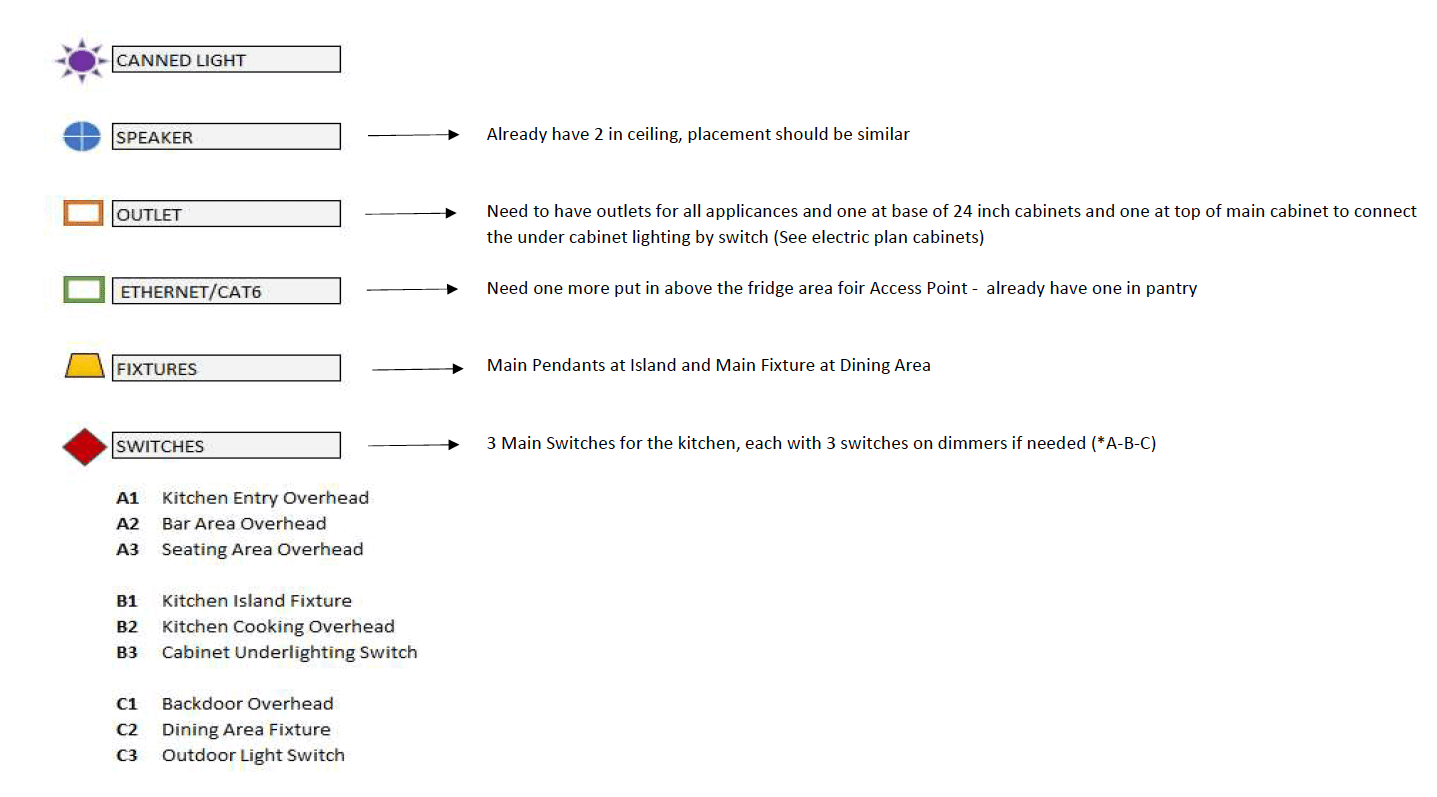

Let’s walk through our final gameplan.
Adding Lighting

Our old ceiling had eighteen canned lights. Eighteen!! This new plan has eleven and I even think that’s a little overboard. In our living room, we just have our canned lighting in a symmetrical grid on the ceiling. But while doing research about lighting a kitchen, I realized that each can should light a space with a purpose. So, you want to make sure that you’re illuminating key areas of the kitchen (by the range, pantry, etc.). Recessed lighting is considered ambient lighting and it helps light up the floors and walls. We’ll be using these same recessed lights that we have everywhere in the house on smart dimmer switches.
We’ll also have accent lighting, with a chandelier over the dining room table and two pendants over the kitchen island. I am so incredibly excited about these additions as they’ll bring a beautiful soft light to the space. I imagine at night we’ll just have those light fixtures switched on. I ended up going with this chandelier and these pendants. I snagged them on sale over Labor Day and they arrived a few weeks ago. Holy smokes, they’re gorgeous. They weren’t cheap, but I always say lighting is the “jewelry” of a room and it’s a good spot to splurge.
Under Cabinet Lighting
Our old condo had under cabinet lighting and we absolutely loved it. It was a great way to illuminate the countertops and it also provided a nice, soft light at night. We’ll be adding under cabinet lighting to our new kitchen and we’ll be installing it ourselves, once the cabinets are in. We’re going to have our electrician wire the space so it’s all ready for us to get in there and actually install it. 
The above image showcases our gameplan for the under cabinet lighting. We’re adding various sizes of these lights (based on the size of the cabinet) and I love that they’re LED, dimmable, and will emit a nice warm white light. The wire will be behind the wall and we’ll have the lights turn on with a wall switch.
I will be sure to touch base when we get these installed to let you know how it goes and what we learn along the way!
In Cabinet Bar Lighting

On the dry bar side of the room, we’re planning to add in-cabinet lighting inside our glass cabinets. This tape light will be plugged in and mounted on the insides of the cabinets to illuminate through the glass. These come with a remote control to turn them on and off and you can even change up the color. I feel like this will be so much fun to use, especially as Rory gets older! I see us changing them red and green for Christmas and maybe a fun color for her birthday. It will be a cool accent for our kitchen.
Concealing Outlets
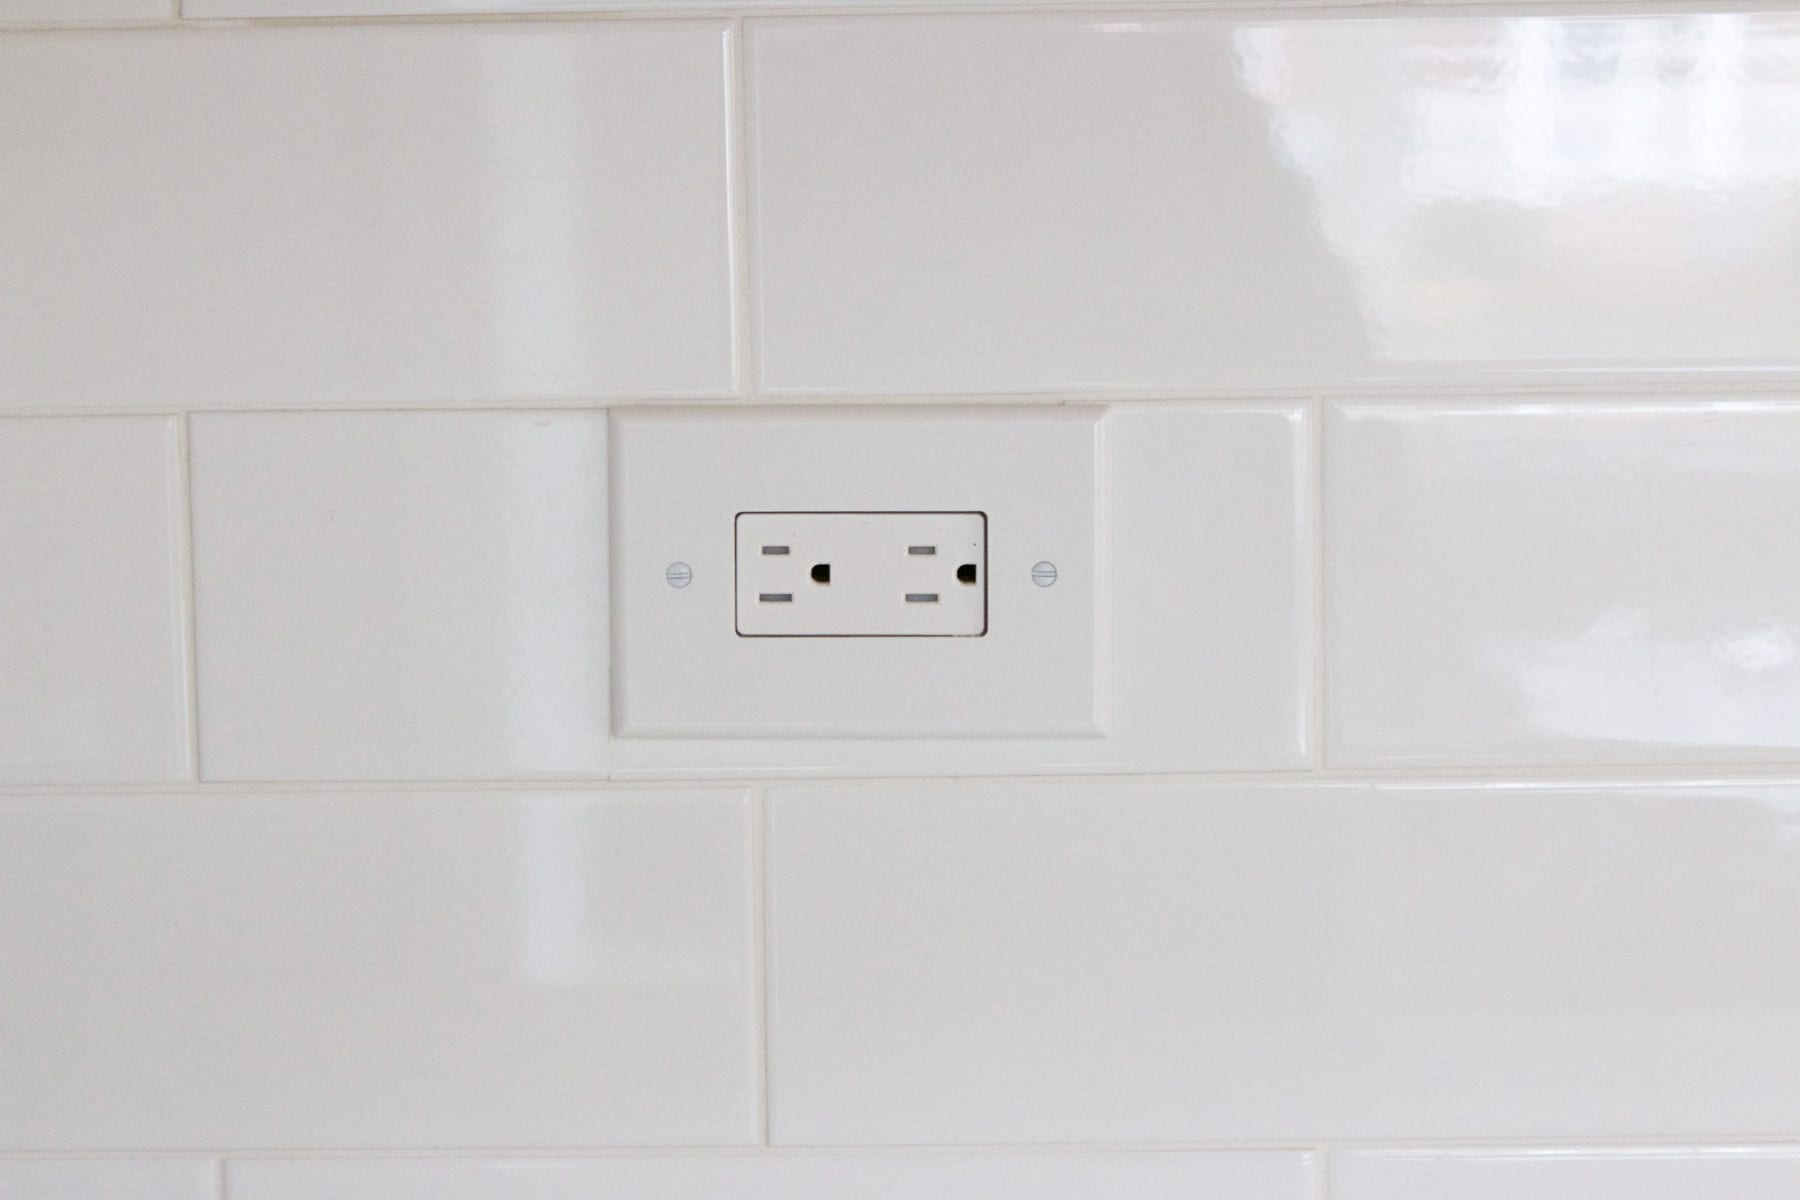
Because we will have quartz up the wall, I wanted to make sure that we wouldn’t have any outlets on the backsplash ruining the look of the beautiful stone. Our old kitchen had far too many outlets and they always bothered me.
Instead of placing any outlets on the wall where they would be visible, we’re going to place a few in the upper kitchen cabinets. You won’t be able to see them unless you look up under the cabinet. I know, I know…what about wires hanging down when you plug something in? Well, we talked about every appliance that has to be plugged in and we created a game plan for each item. These outlets under the cabinets should be additional outlets, so we won’t have everyday items plugged in. They’ll just act as “overflow” when needed.
Our appliance garage will have outlets for the items we plug-in regularly, like our coffee maker, toaster, etc. I’m excited because everything will be hidden and those outlets will be in the back of the cabinet. A majority of our small appliances will be housed in there. We’ll also add a few outlets to the kitchen island on both sides and I’m hopeful that we can put those pretty high so you can’t view them from afar.
As for our phone, iPad, and other electronics, we will have a charging drawer in our bar area. We ended up buying this charging system that we will install ourselves. We’ll then charge most of our everyday items in there, where they’re out of sight.
Ceiling Speakers
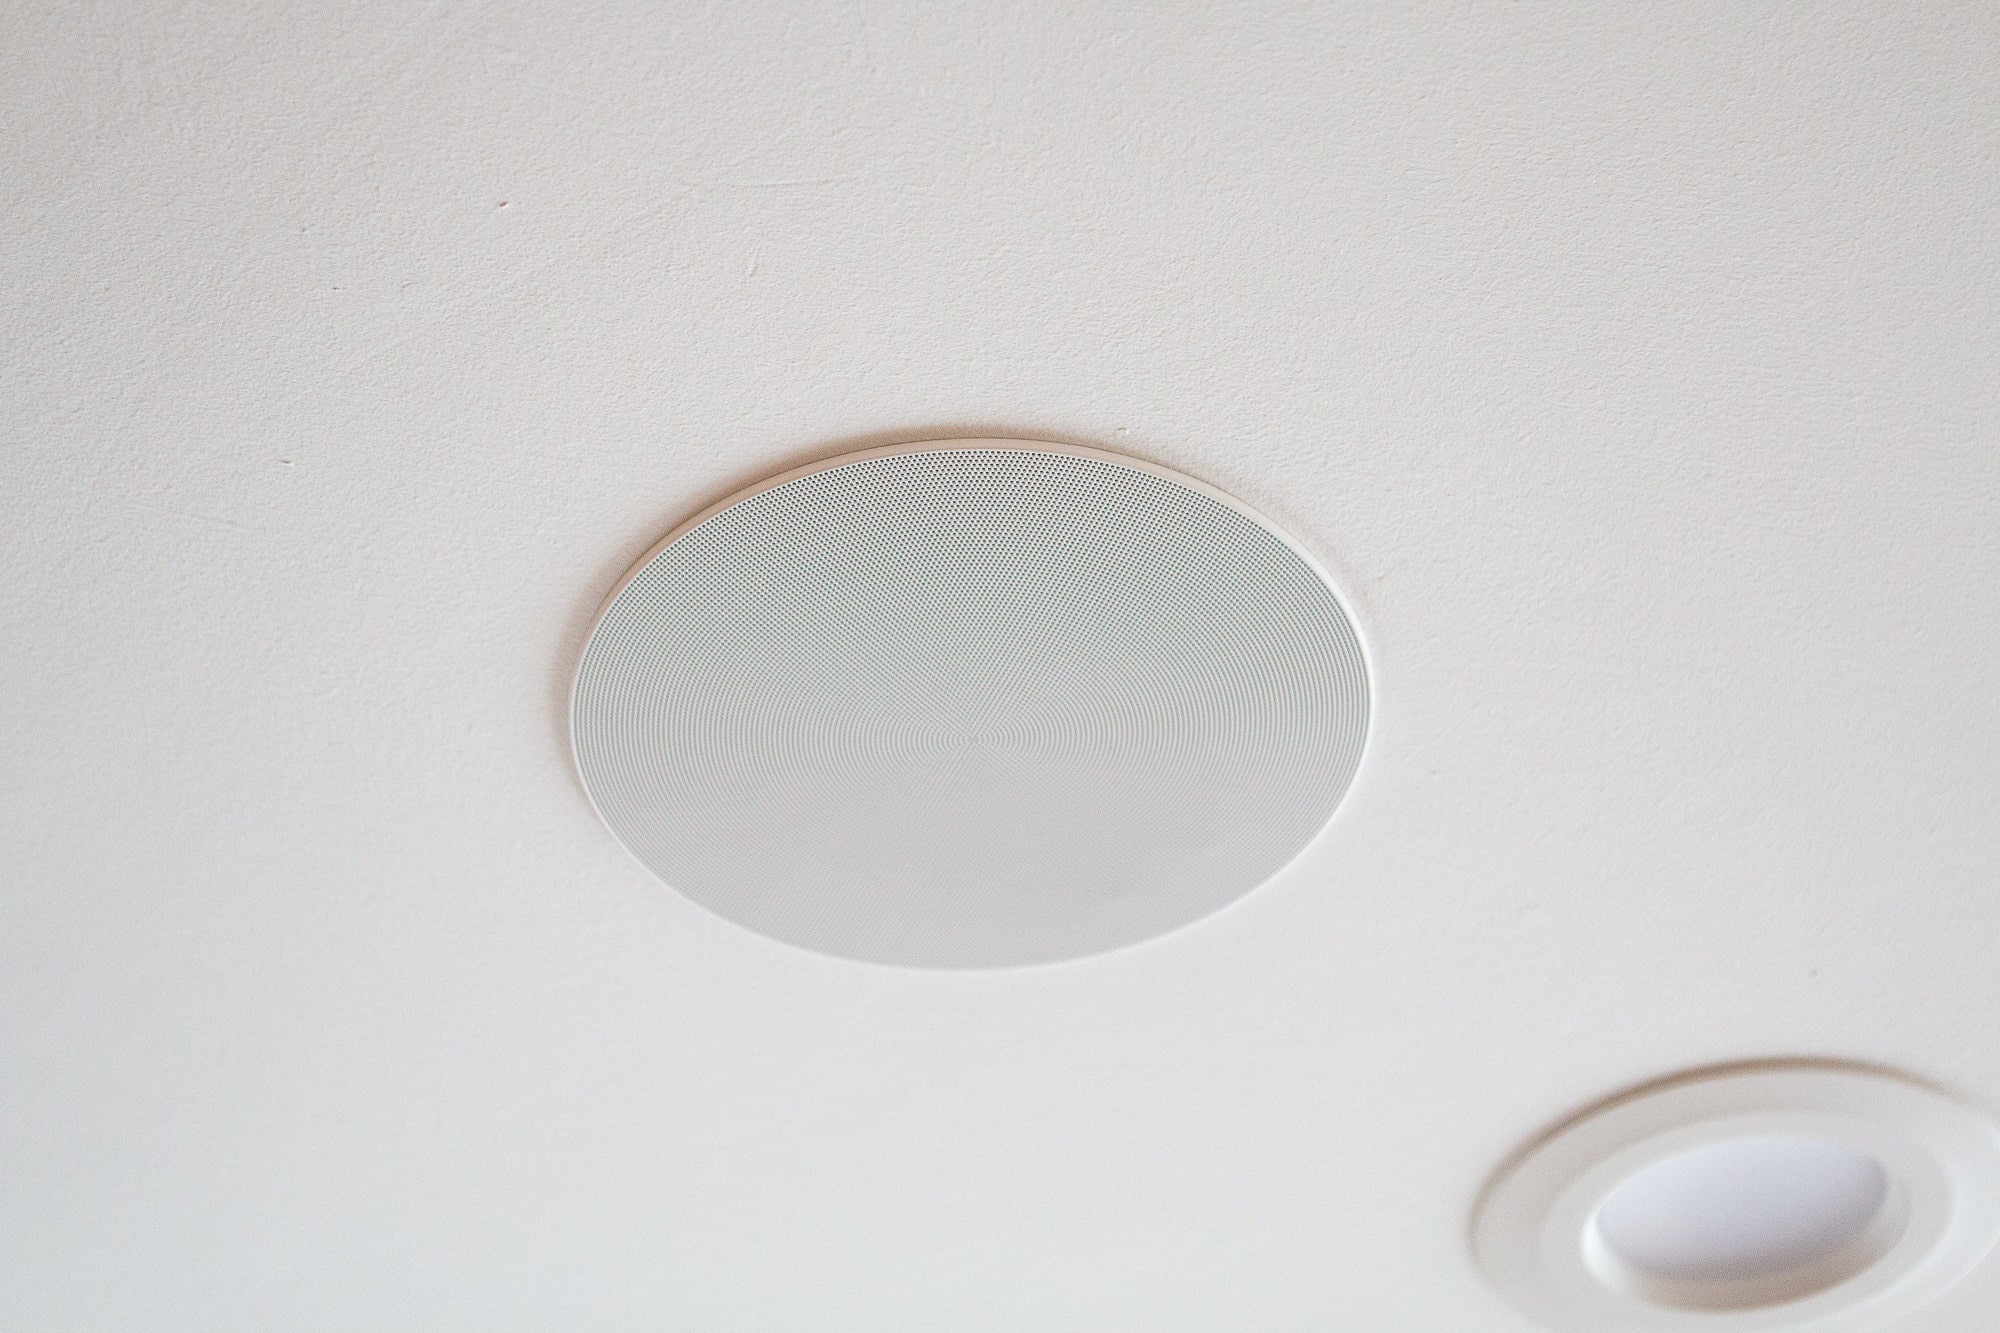
Finally, we’ll have our ceiling speakers for our Sonos surround system. (You can read more about it here.) We already had these in the kitchen, but since they’re taking down the ceiling completely, they will have to get them back up there. We’ve loved these speakers over the past year because we can listen to music or TV while we are cooking away!
So, there you have it, our kitchen electrical plan! I’m excited to have a thoughtful plan for our new space. I’ll be sure to keep you updated as we actually start to see some of this electrical work implemented in here.
P.S. Don’t forget to think about your plumbing plan too. We added a pot filler over our range and I wish I would have added this built-in water filter when our walls were all opened up!
Casey
Catch Up On Our Kitchen Renovation
- Kitchen Before Photos
- Hiring a Designer
- Our New Kitchen Layout
- Design Plan & Mood Board
- Single vs Double Bowl Sink
- Ordering Our Kitchen Cabinets
- Tasks To Do Before a Kitchen Renovation
- Our Old Kitchen Is Out
- Creating Our Electrical Plan
- Our Kitchen Cabinets Are In!
- Kitchen Hardware Guide
- Dining Nook Design Plan
- Choosing Quartz Countertops
- Painting the Kitchen
- Our Dining Room Nook
- Finding a Kitchen Runner
- Our New Lighting
- Our Wood Butcher Block
- The Kitchen Renovation Timeline
- The Big Kitchen Reveal
- What I Learned from Our Kitchen Renovation
- Kitchen Before & After Video
- Our Kitchen Appliances
- Renovation Budget & Cost