Before Photos of Our Kitchen
Okay, friends, let’s consider this to be the very first post in the kitchen renovation series. (Can you tell I’m squealing with delight while simultaneously nibbling on my fingers with fear over here?) Publishing this post means this thing is really happening. You would think that buying an incredibly outdated house and putting all of our money into renovating it last summer (like seriously allll our cash) would have been scarier than this. Nope. For some reason, this kitchen renovation is really freaking.me.out. I guess I just feel this crazy pressure to make it “over the top awesome” while making it functional. I also don’t want to spend tons and tons and tons of money on it. It’s a tall order if you ask me (especially that last part…).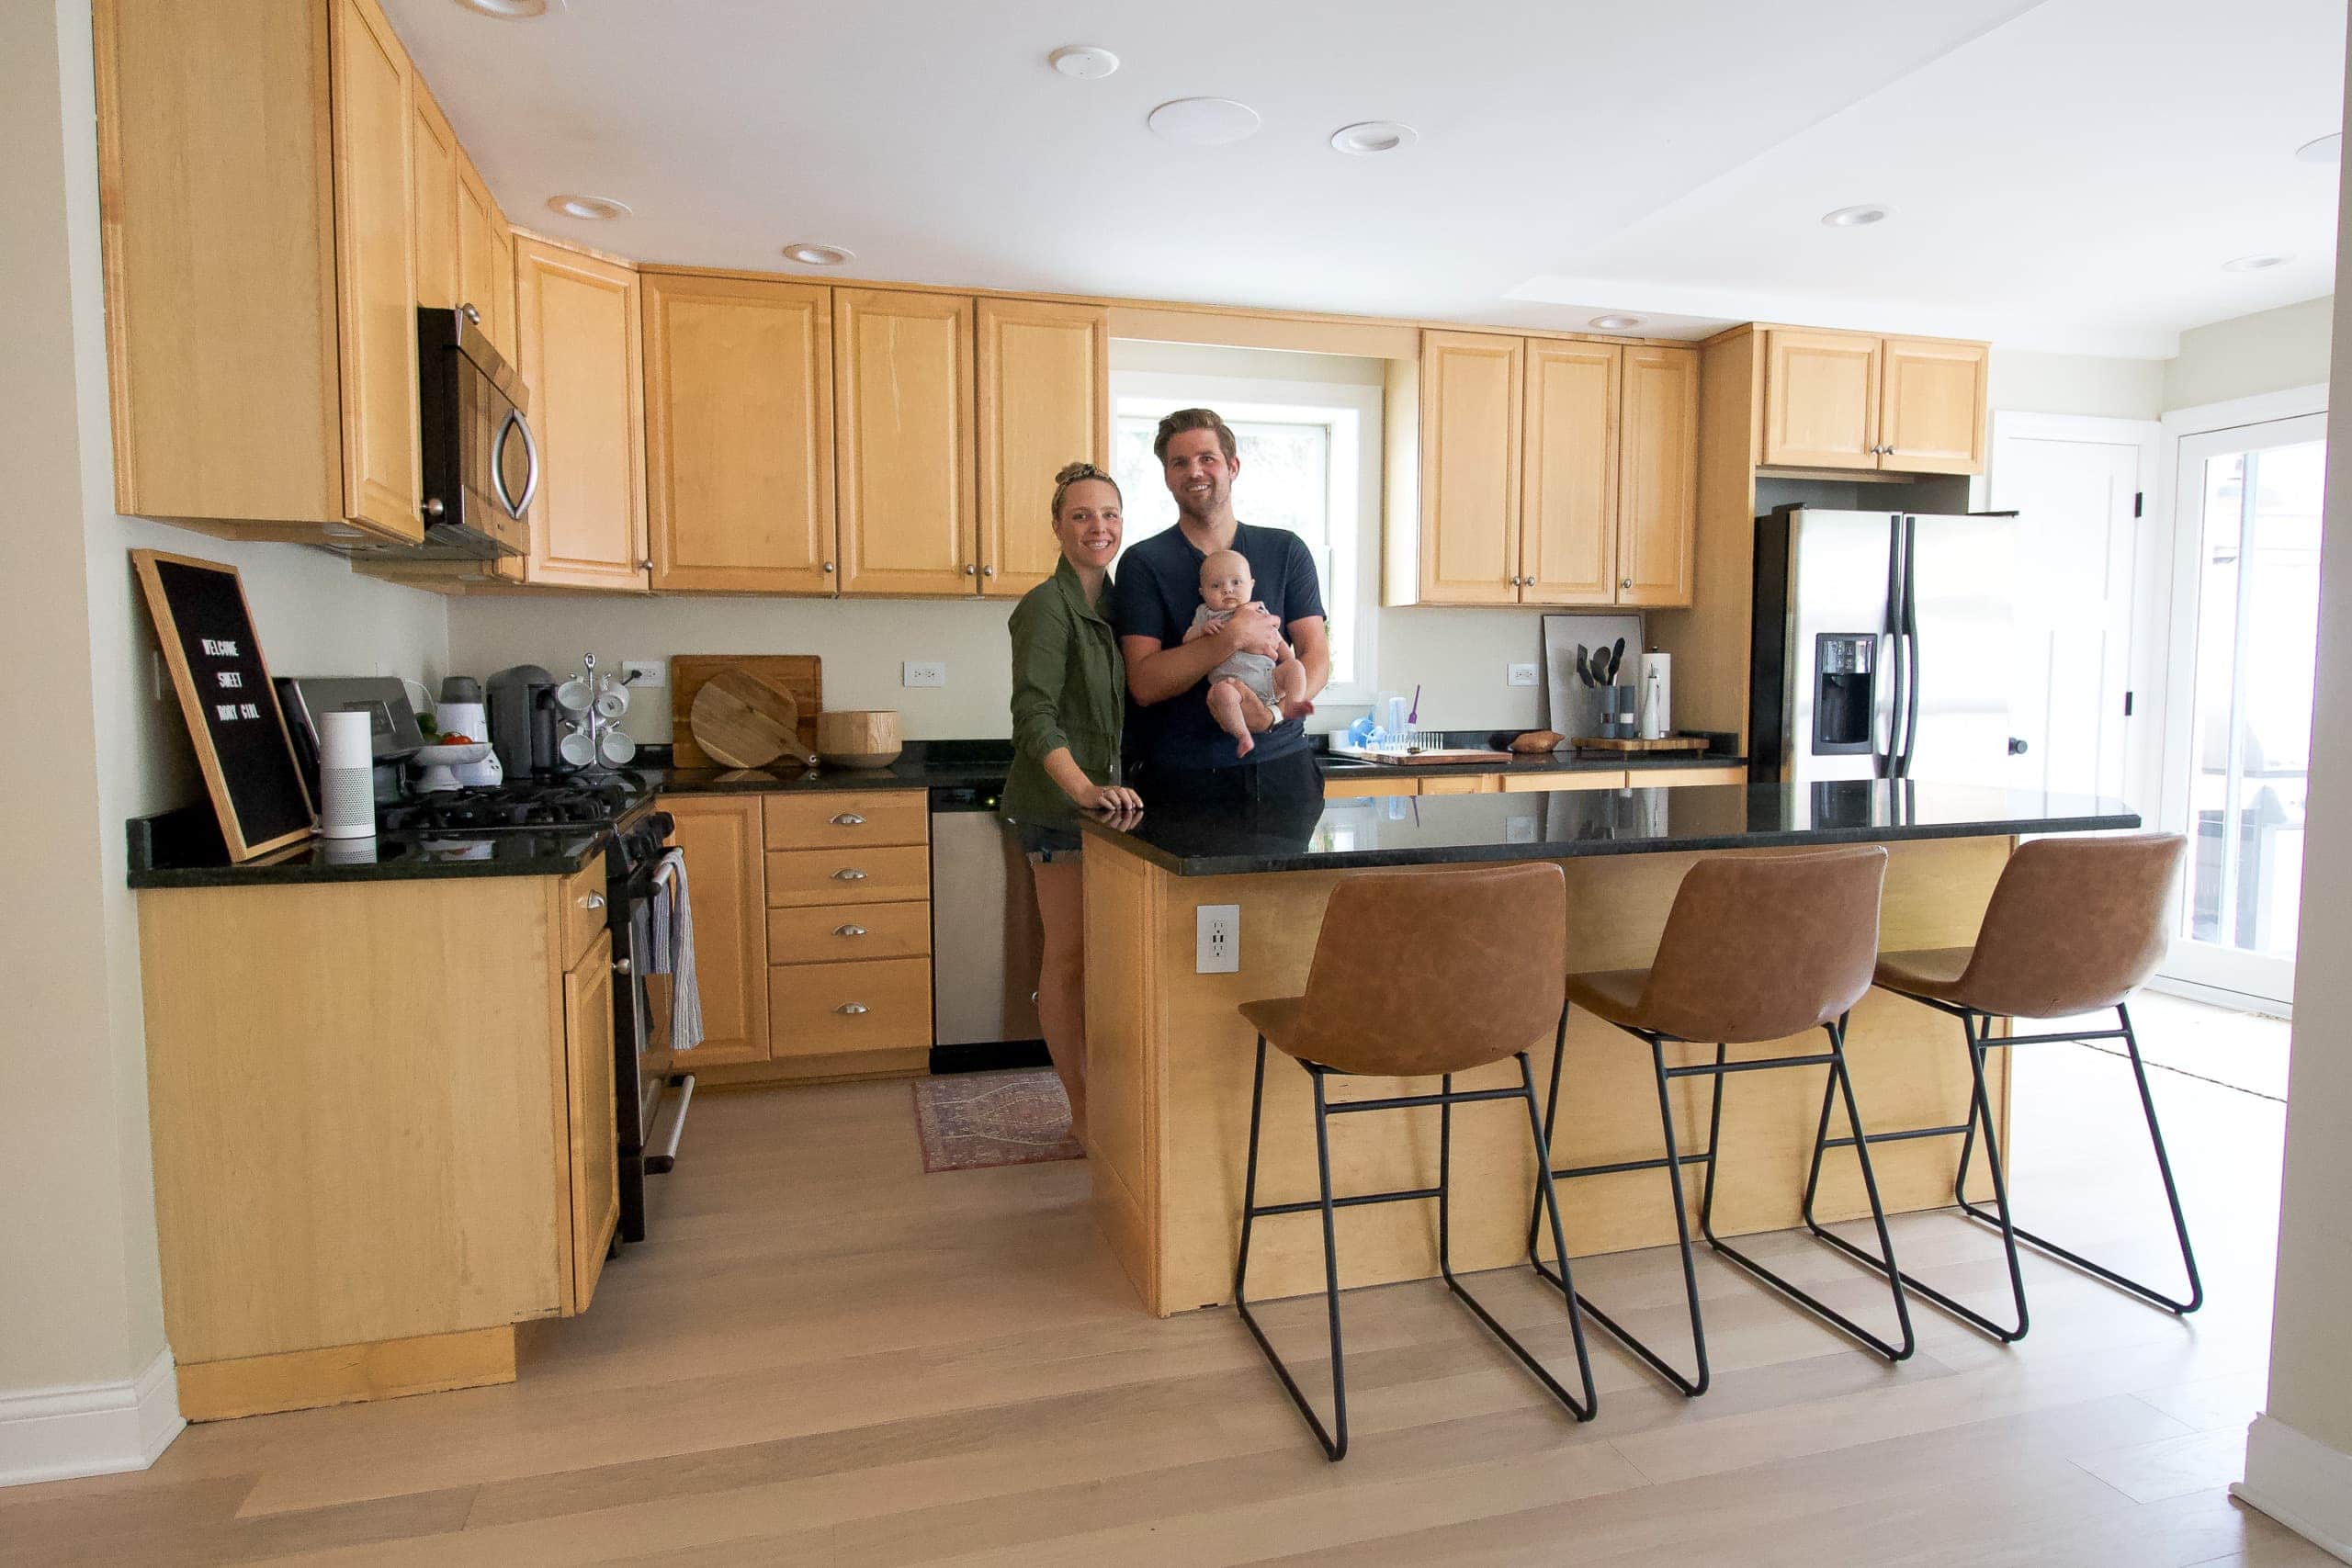
But this kitchen renovation is happening whether I’m ready or not and since this is the first post in the series, I wanted to share my editorial gameplan with all of you! Every Tuesday and Thursday for the foreseeable future the blog posts will be all about the kitchen! My contractor says demo is set to begin either the second or third week of September, so leading up to that time I’ll be sharing the design plan, the new layout, the pieces I’ve chosen for the space, and the other million things we’ve been doing to prepare to “break ground” in the new space.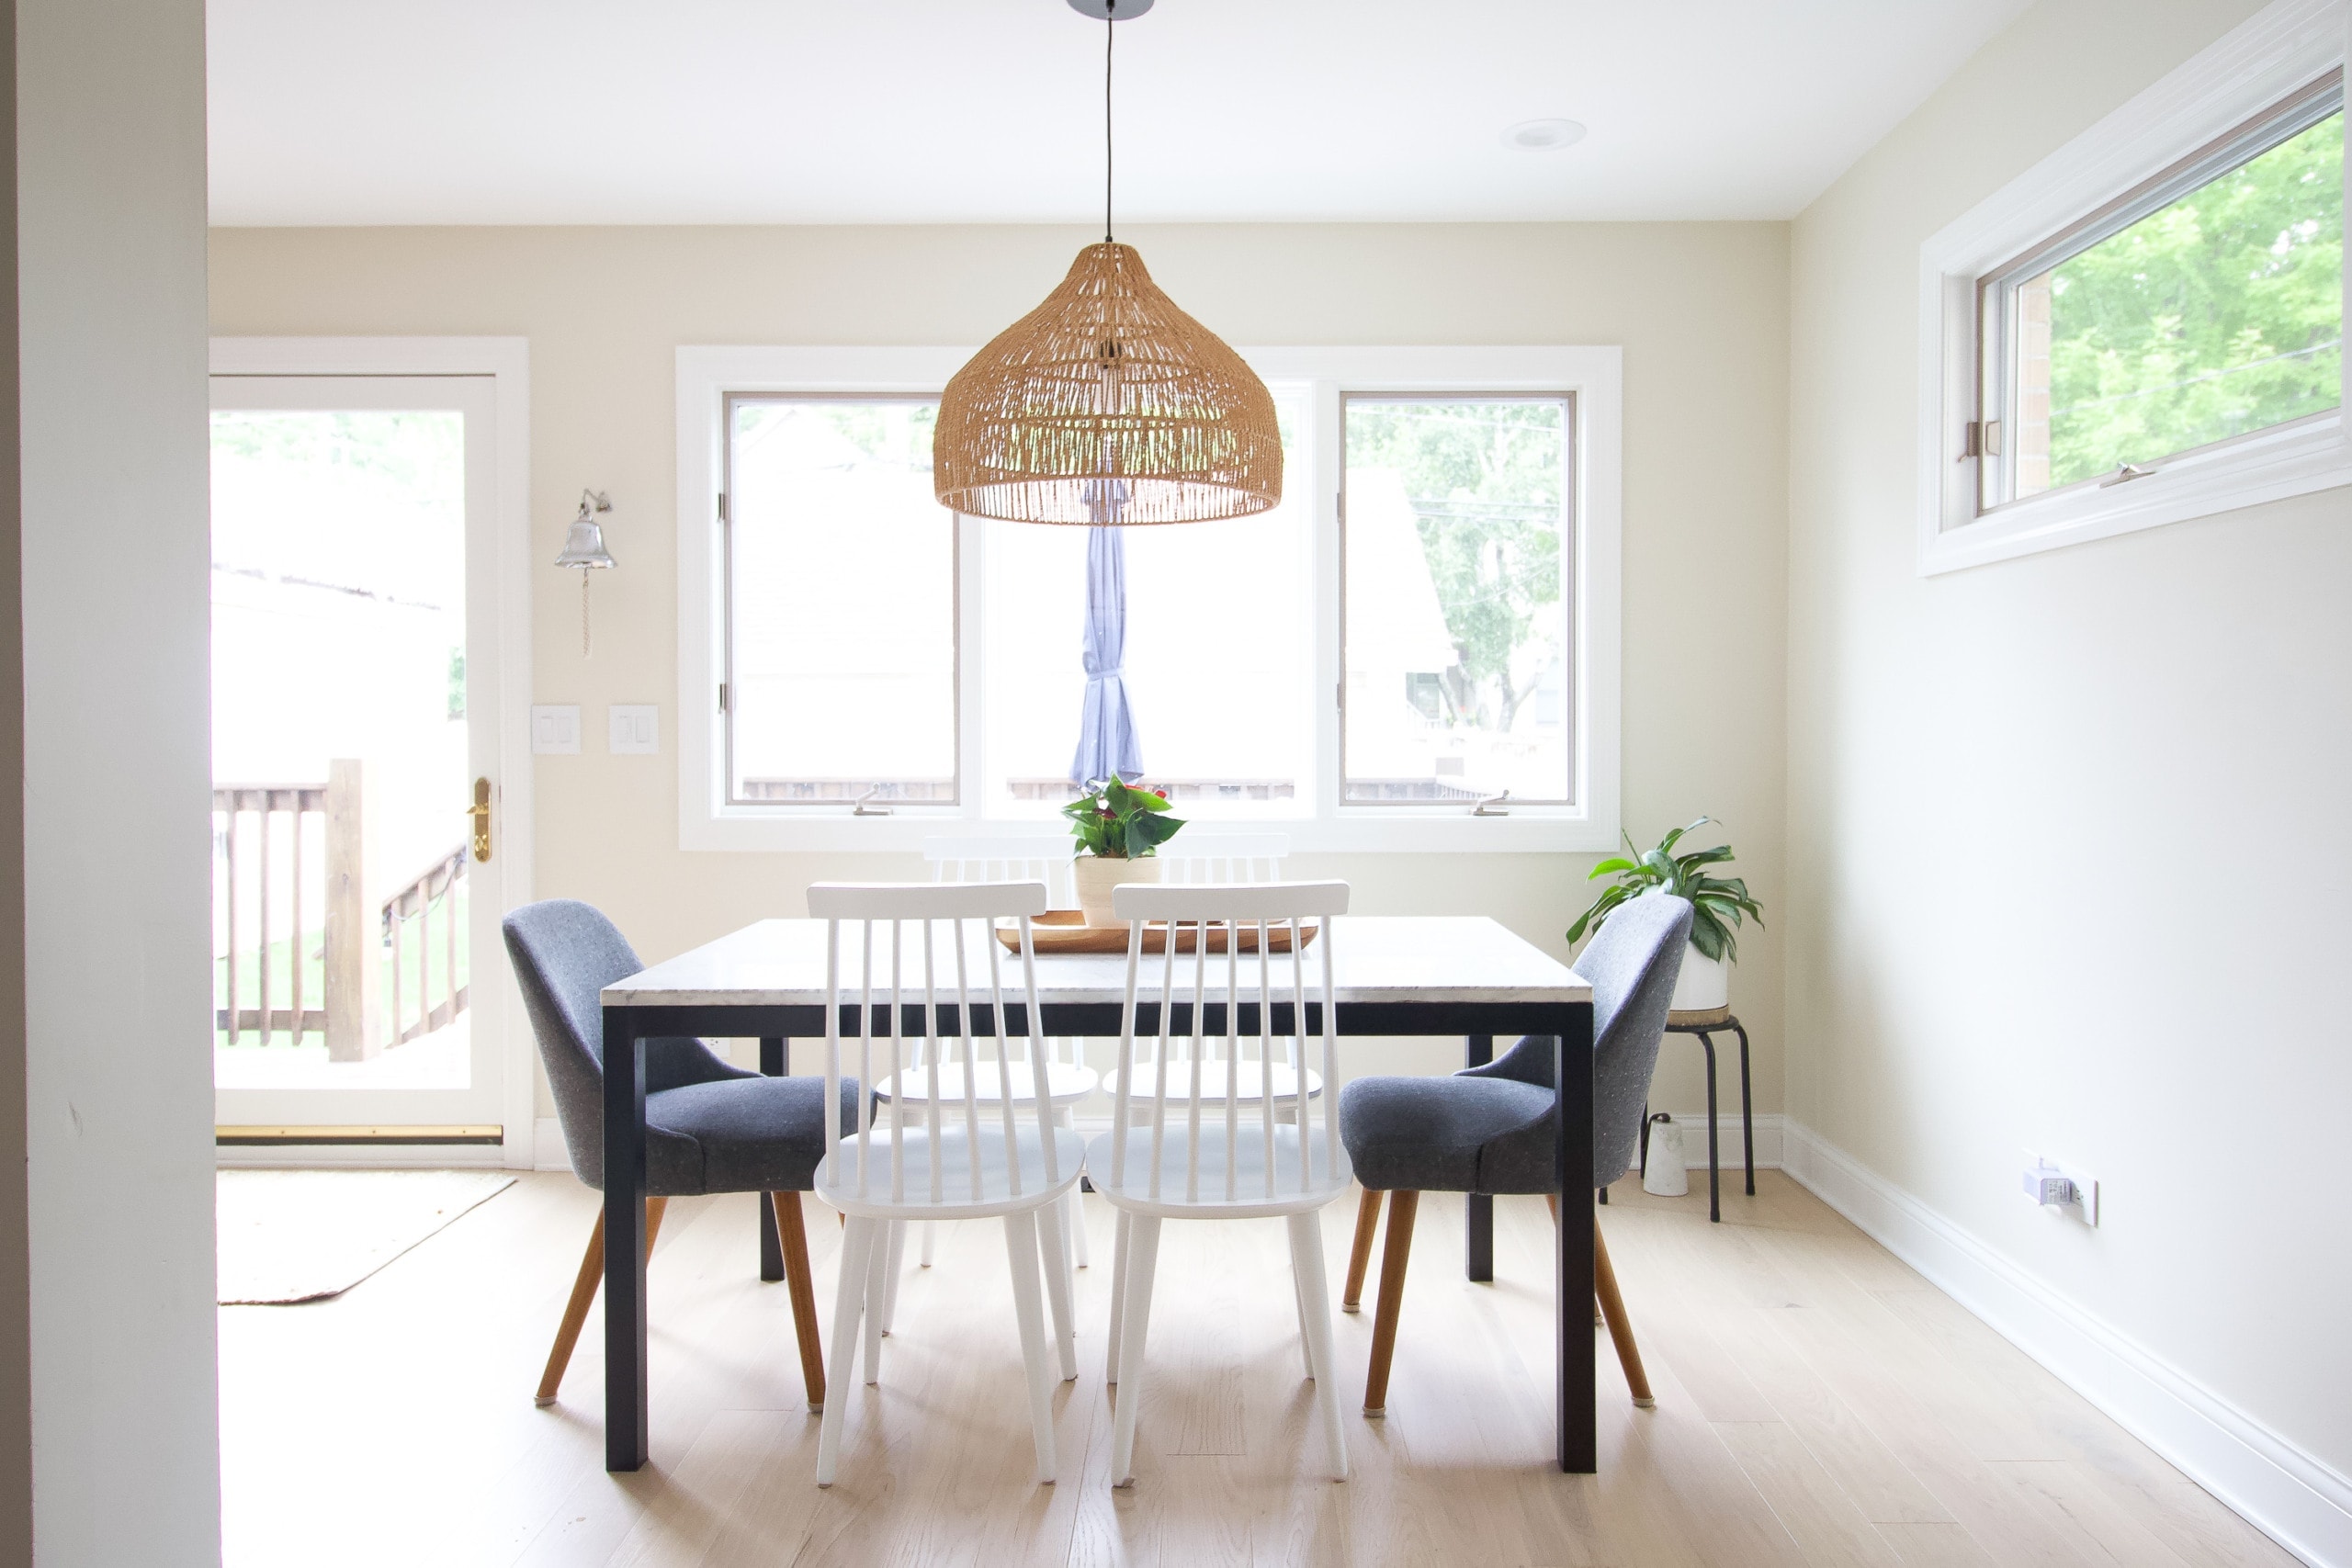
Then, once demo begins, I’ll share progress along the way and real-time updates over on Instagram stories. My goal is to reveal the entire space before Thanksgiving. Fingers crossed we can stick with that timeline, but as evidenced by this post from last summer, you never know what the heck you’ll find when you open up the walls of your home.
Today, let’s take a comprehensive look at all of the before photos of the space. I haven’t shared much of our kitchen on the blog because it isn’t really my taste, so this may be the first time most of you have seen every nook and cranny of this room. I also want to share some of the kitchen annoyances that I’m incredibly excited to see disappear with this renovation.
The Kitchen Before Renovation
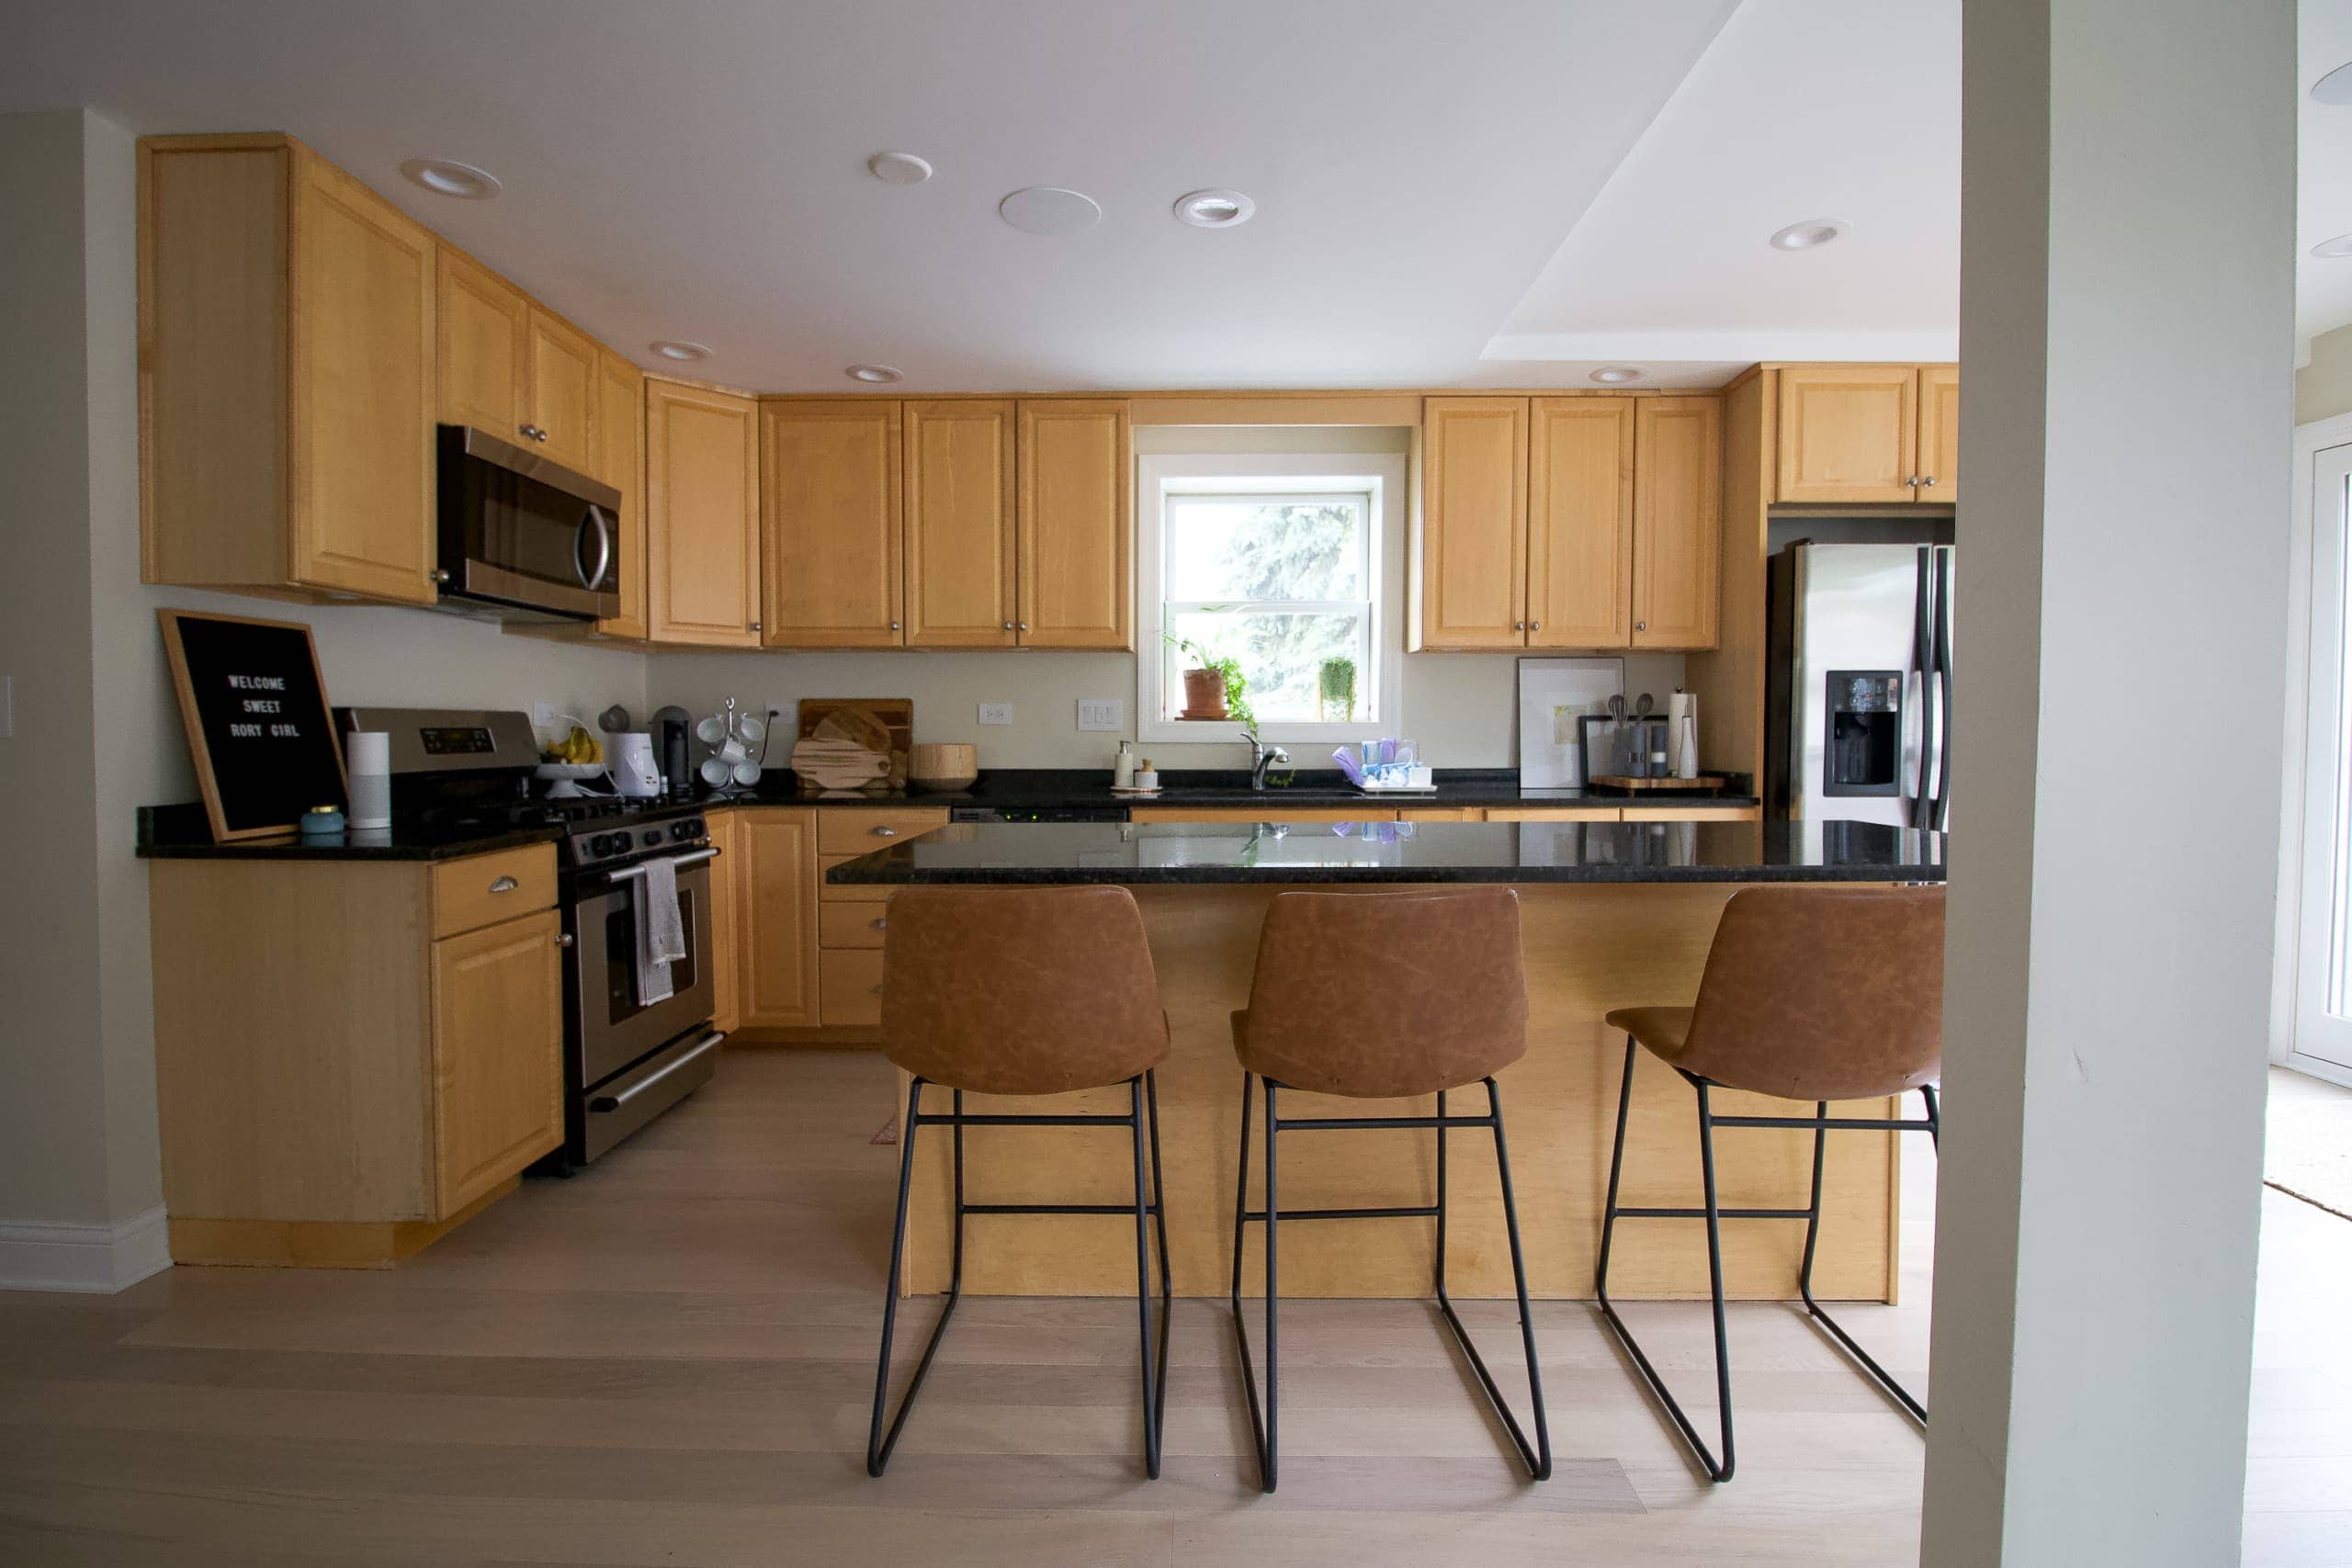
 Okay, so first things first. I know some of you may be wondering why we don’t just do a less expensive refresh of this space and paint the cabinets, swap out the countertops, and add a backsplash. Of course, we considered that when we first moved in. But upon closer inspection, our cabinets are in ROUGH shape. They’re over 25 years old and the quality is less than stellar. A coat of paint would make them look better from afar, but they wouldn’t function better for us.
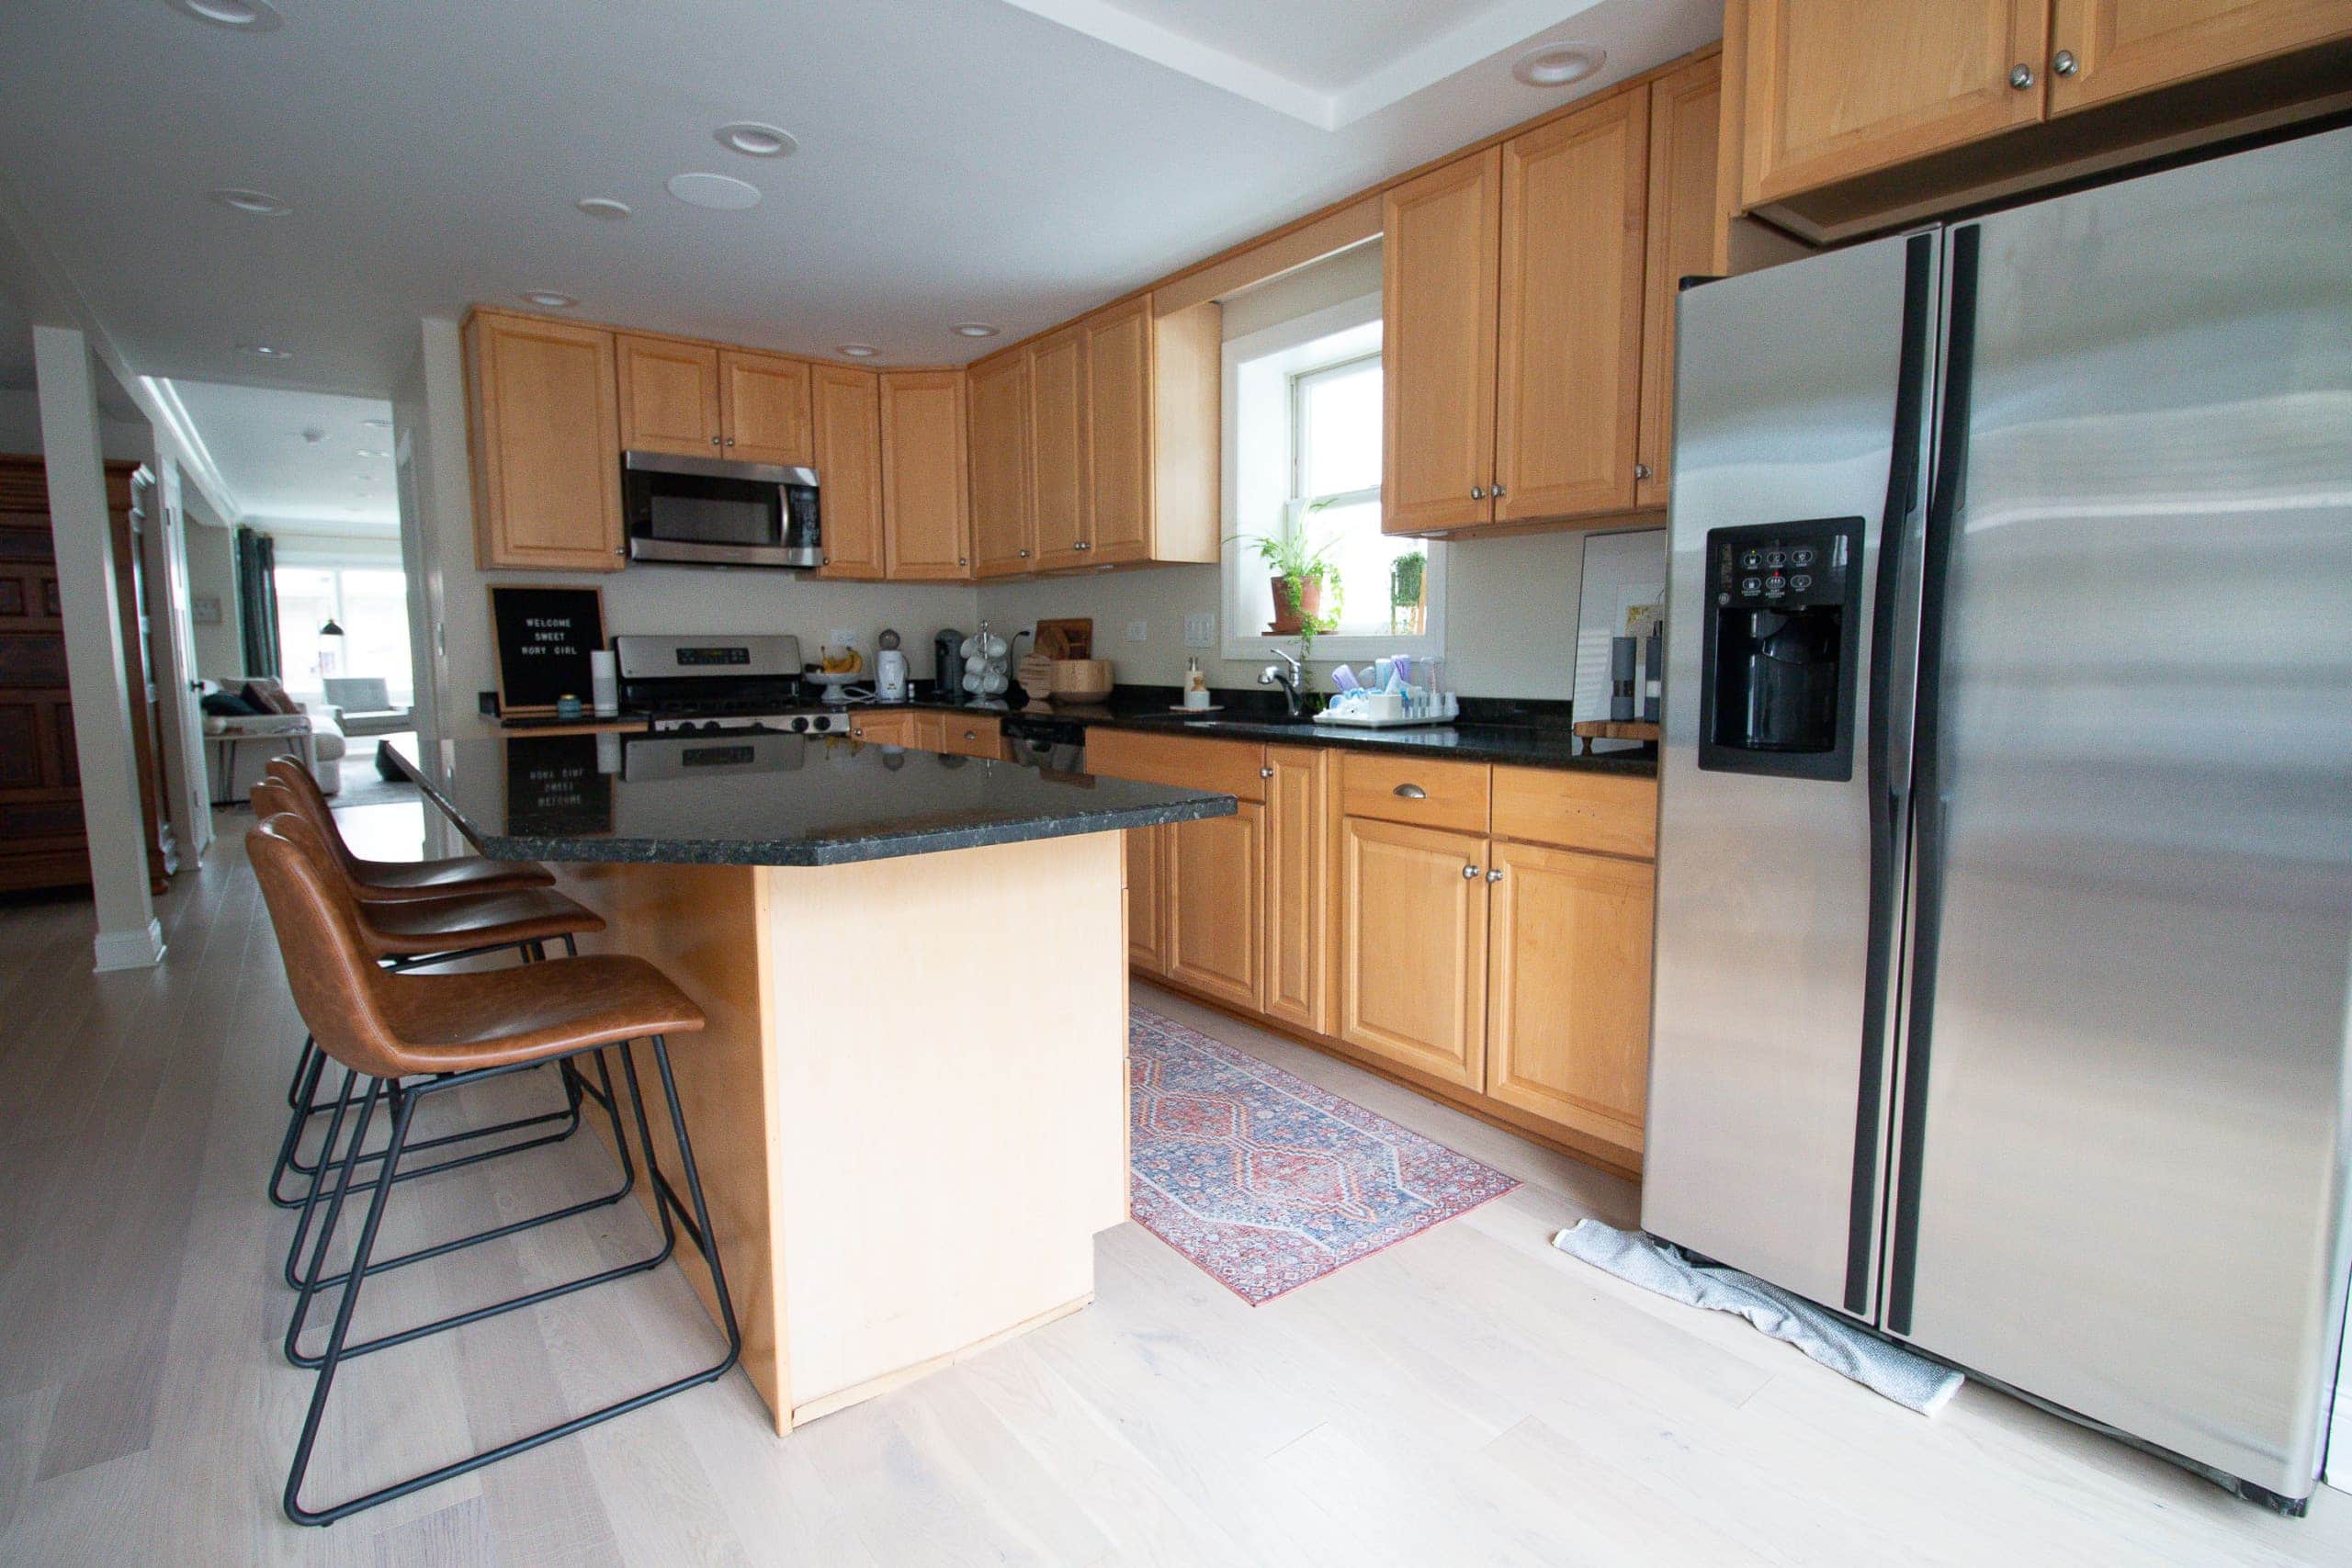
We’ve also put so much money into the other aspects of our home and this kitchen has been holding us back. If we want to get top dollar when we sell, we need to transform the kitchen and bring it up to the level of other kitchens in the area. It’s worth it to us to design the kitchen of our dreams, enjoy it for a few years, and then get our money back when we sell someday (or at least that’s the plan for now!).
Okay, so let’s dive into a few of the kitchen annoyances that I’m eager to get rid of with this big project!
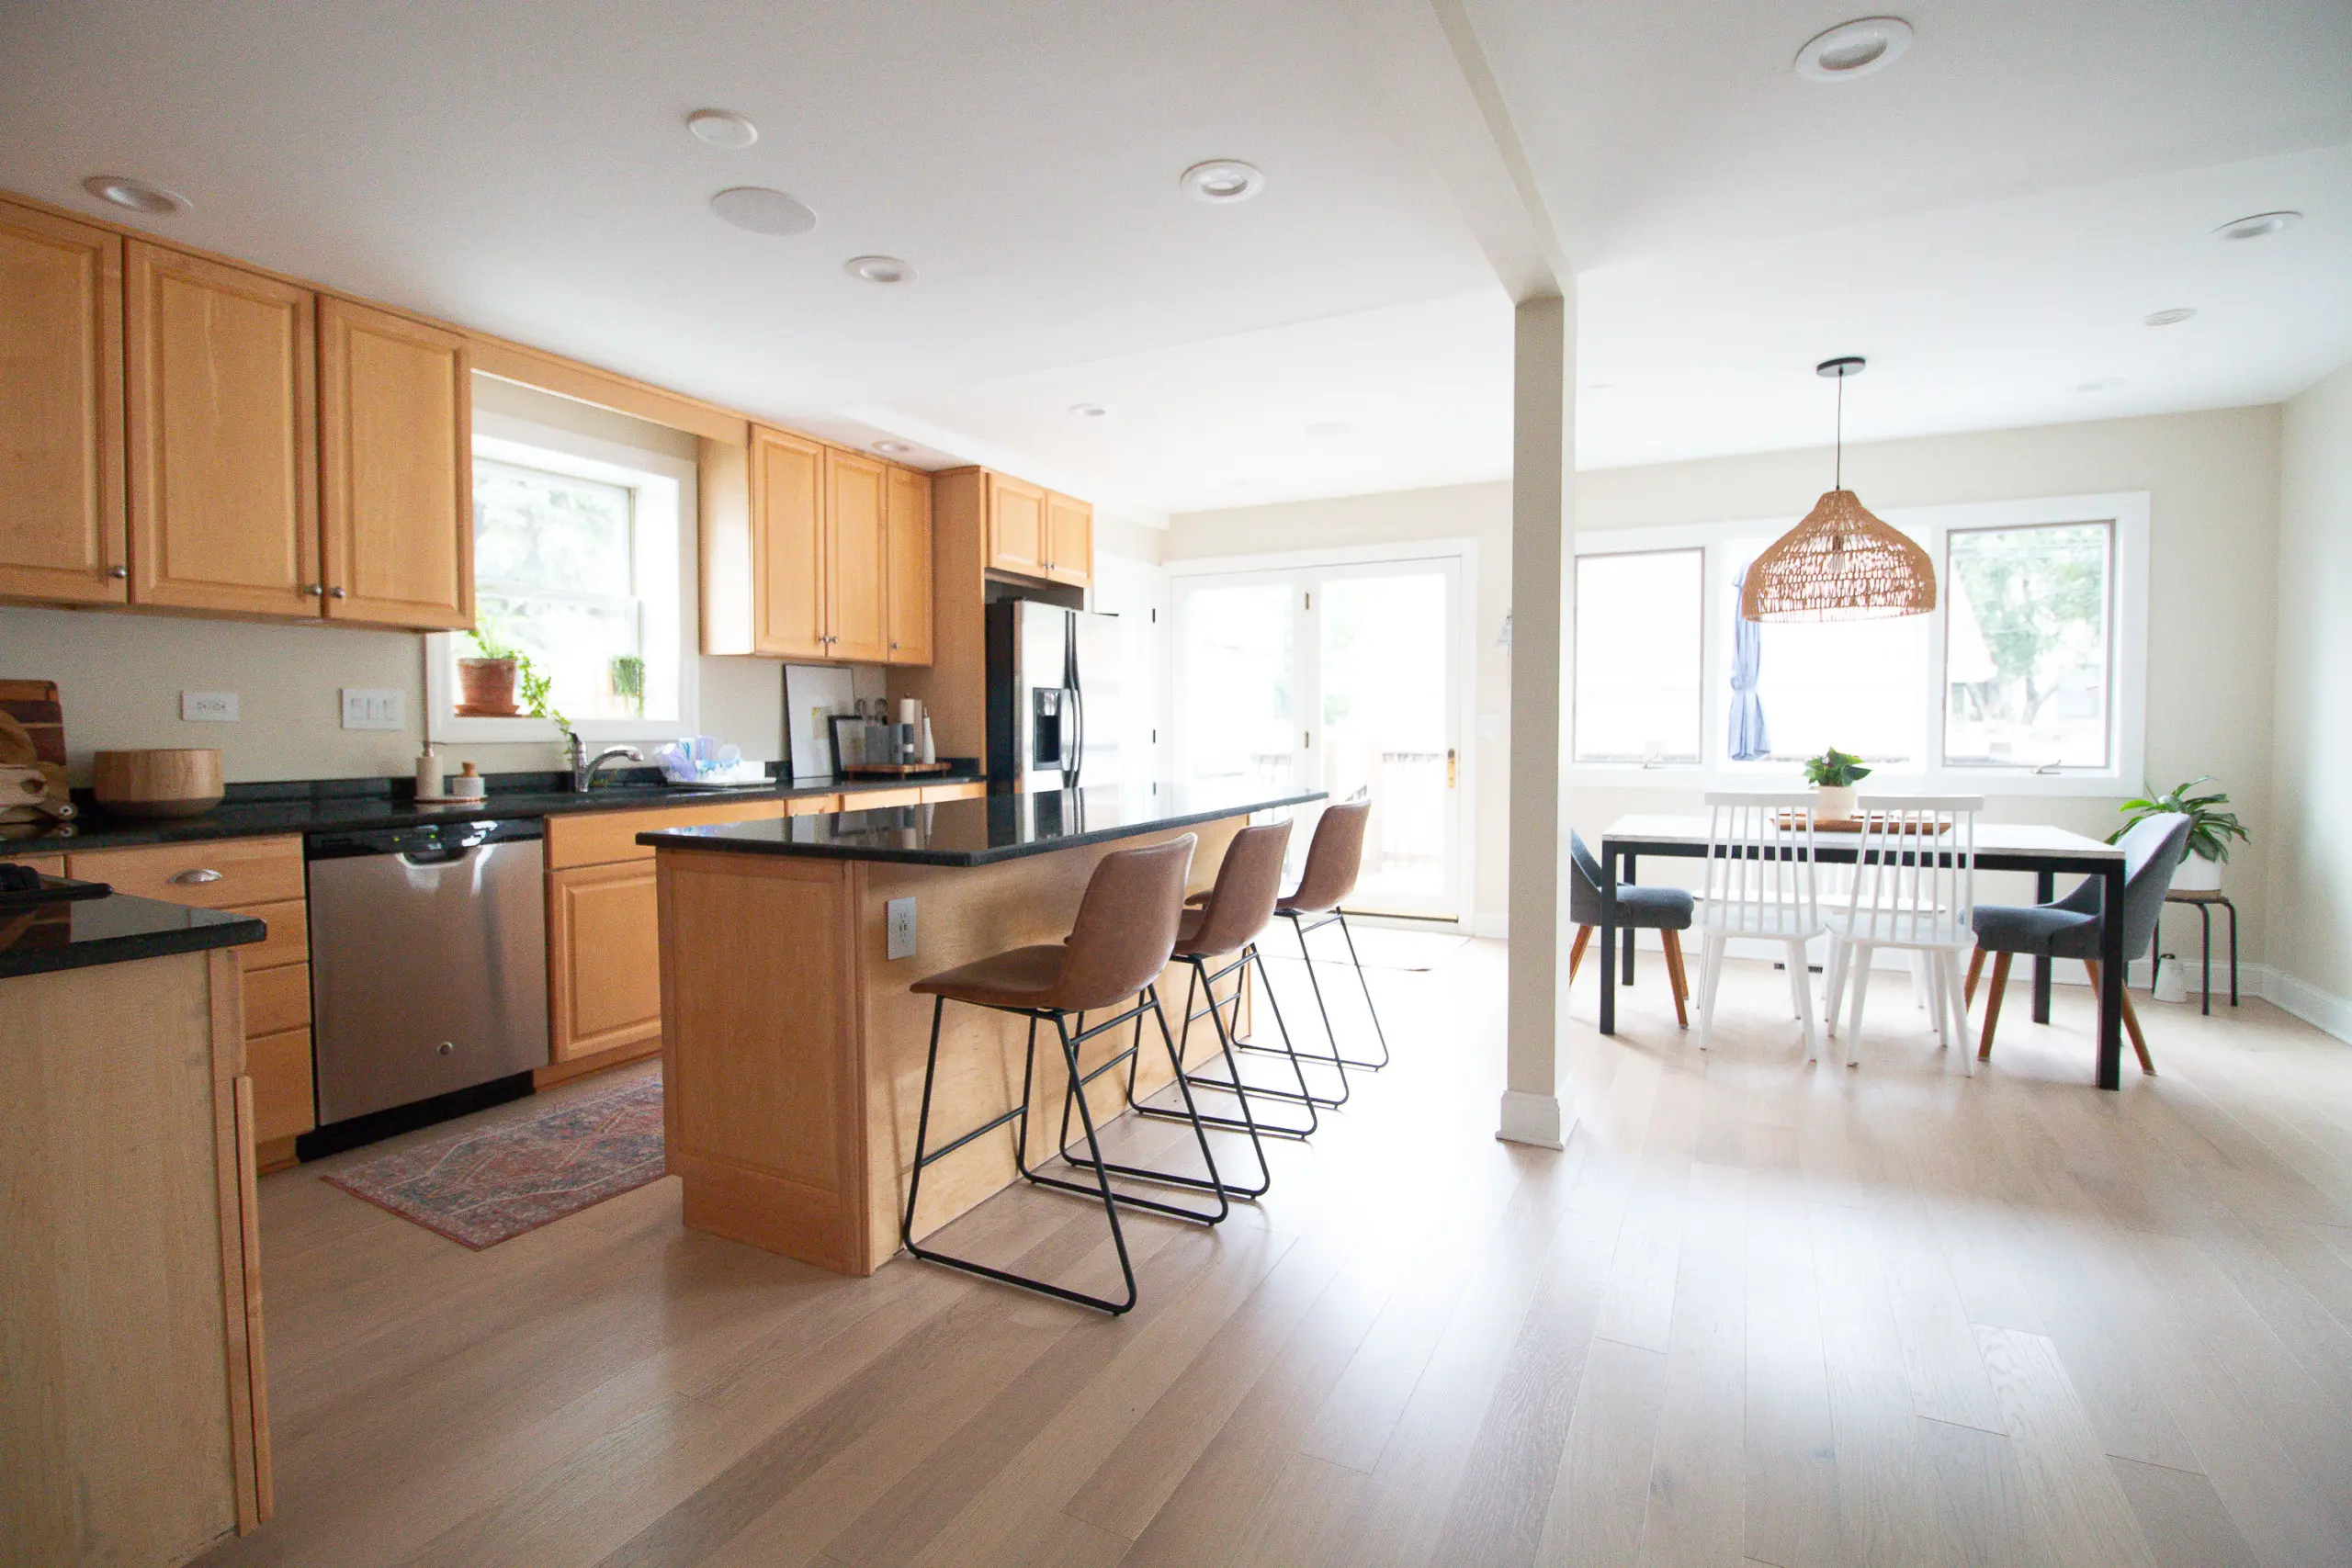
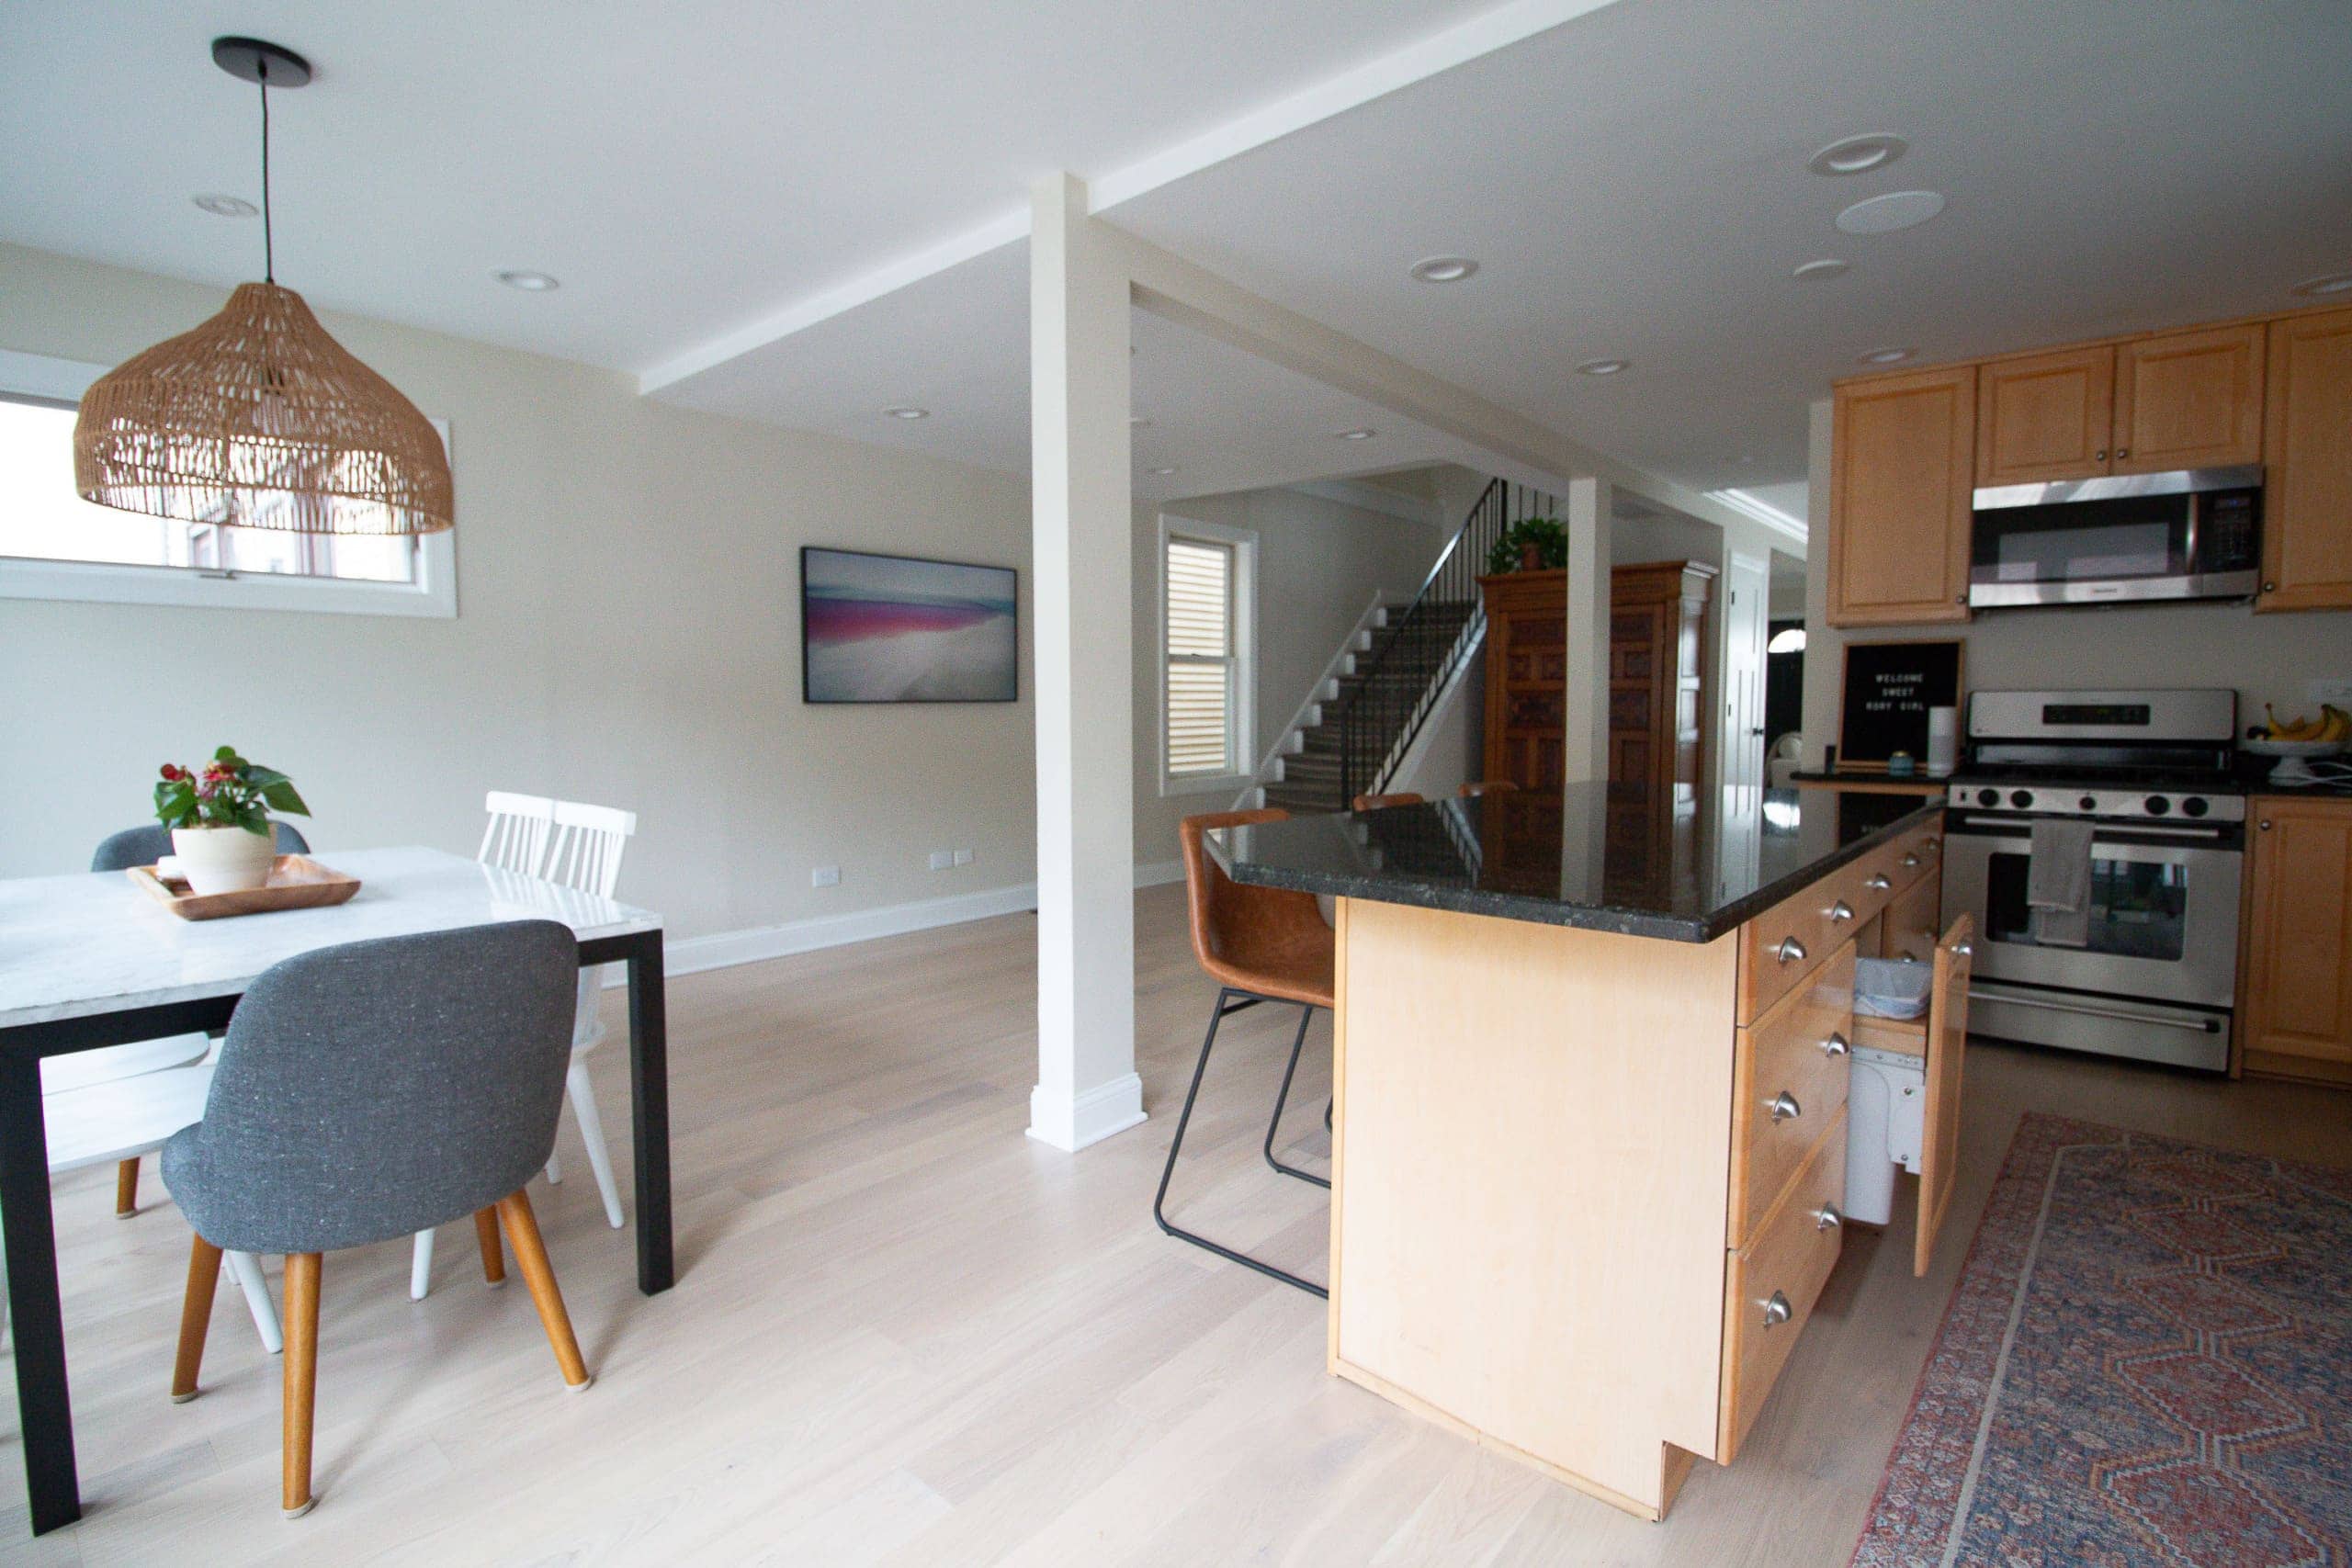
Wide Open Spaces

The biggest change we’ll be making is to take better advantage of the large space in this room. We have the kitchen on one side of the room and the other side is empty (except for our Frame TV). I want it to feel like one big space and utilize every square inch in here for storage and entertainment! The new design makes it feel like one big kitchen instead of being so compartmentalized.
The “Ghost” Garbage

We have a pull-out trash and recycling cabinet in our island and we call it our “ghost” garbage because it won’t stay shut. Seriously. You close it and it just starts slowly opening. I’ve installed magnets, I’ve checked the alignment of the rollers. Nothing has worked in the past year to keep it closed! I am very excited for a new garbage cabinet in our new kitchen.
Leaky Fridge

See that little towel under our freezer door? Well, we always have a towel on the ground right there because our fridge constantly leaks. I’ve had the fridge fixed at least three times and we’ve thawed the freezer and freezer door at least a half a dozen times. Did any of that fix the problem? Nope, still leaks. Ha! We finally accepted it and keep the towel there to soak up the inevitable puddle that pools on the ground. We’ll have to replace a few of the floorboards during the kitchen renovation because they’ve bubbled up from the constant moisture.
Breaking Appliances
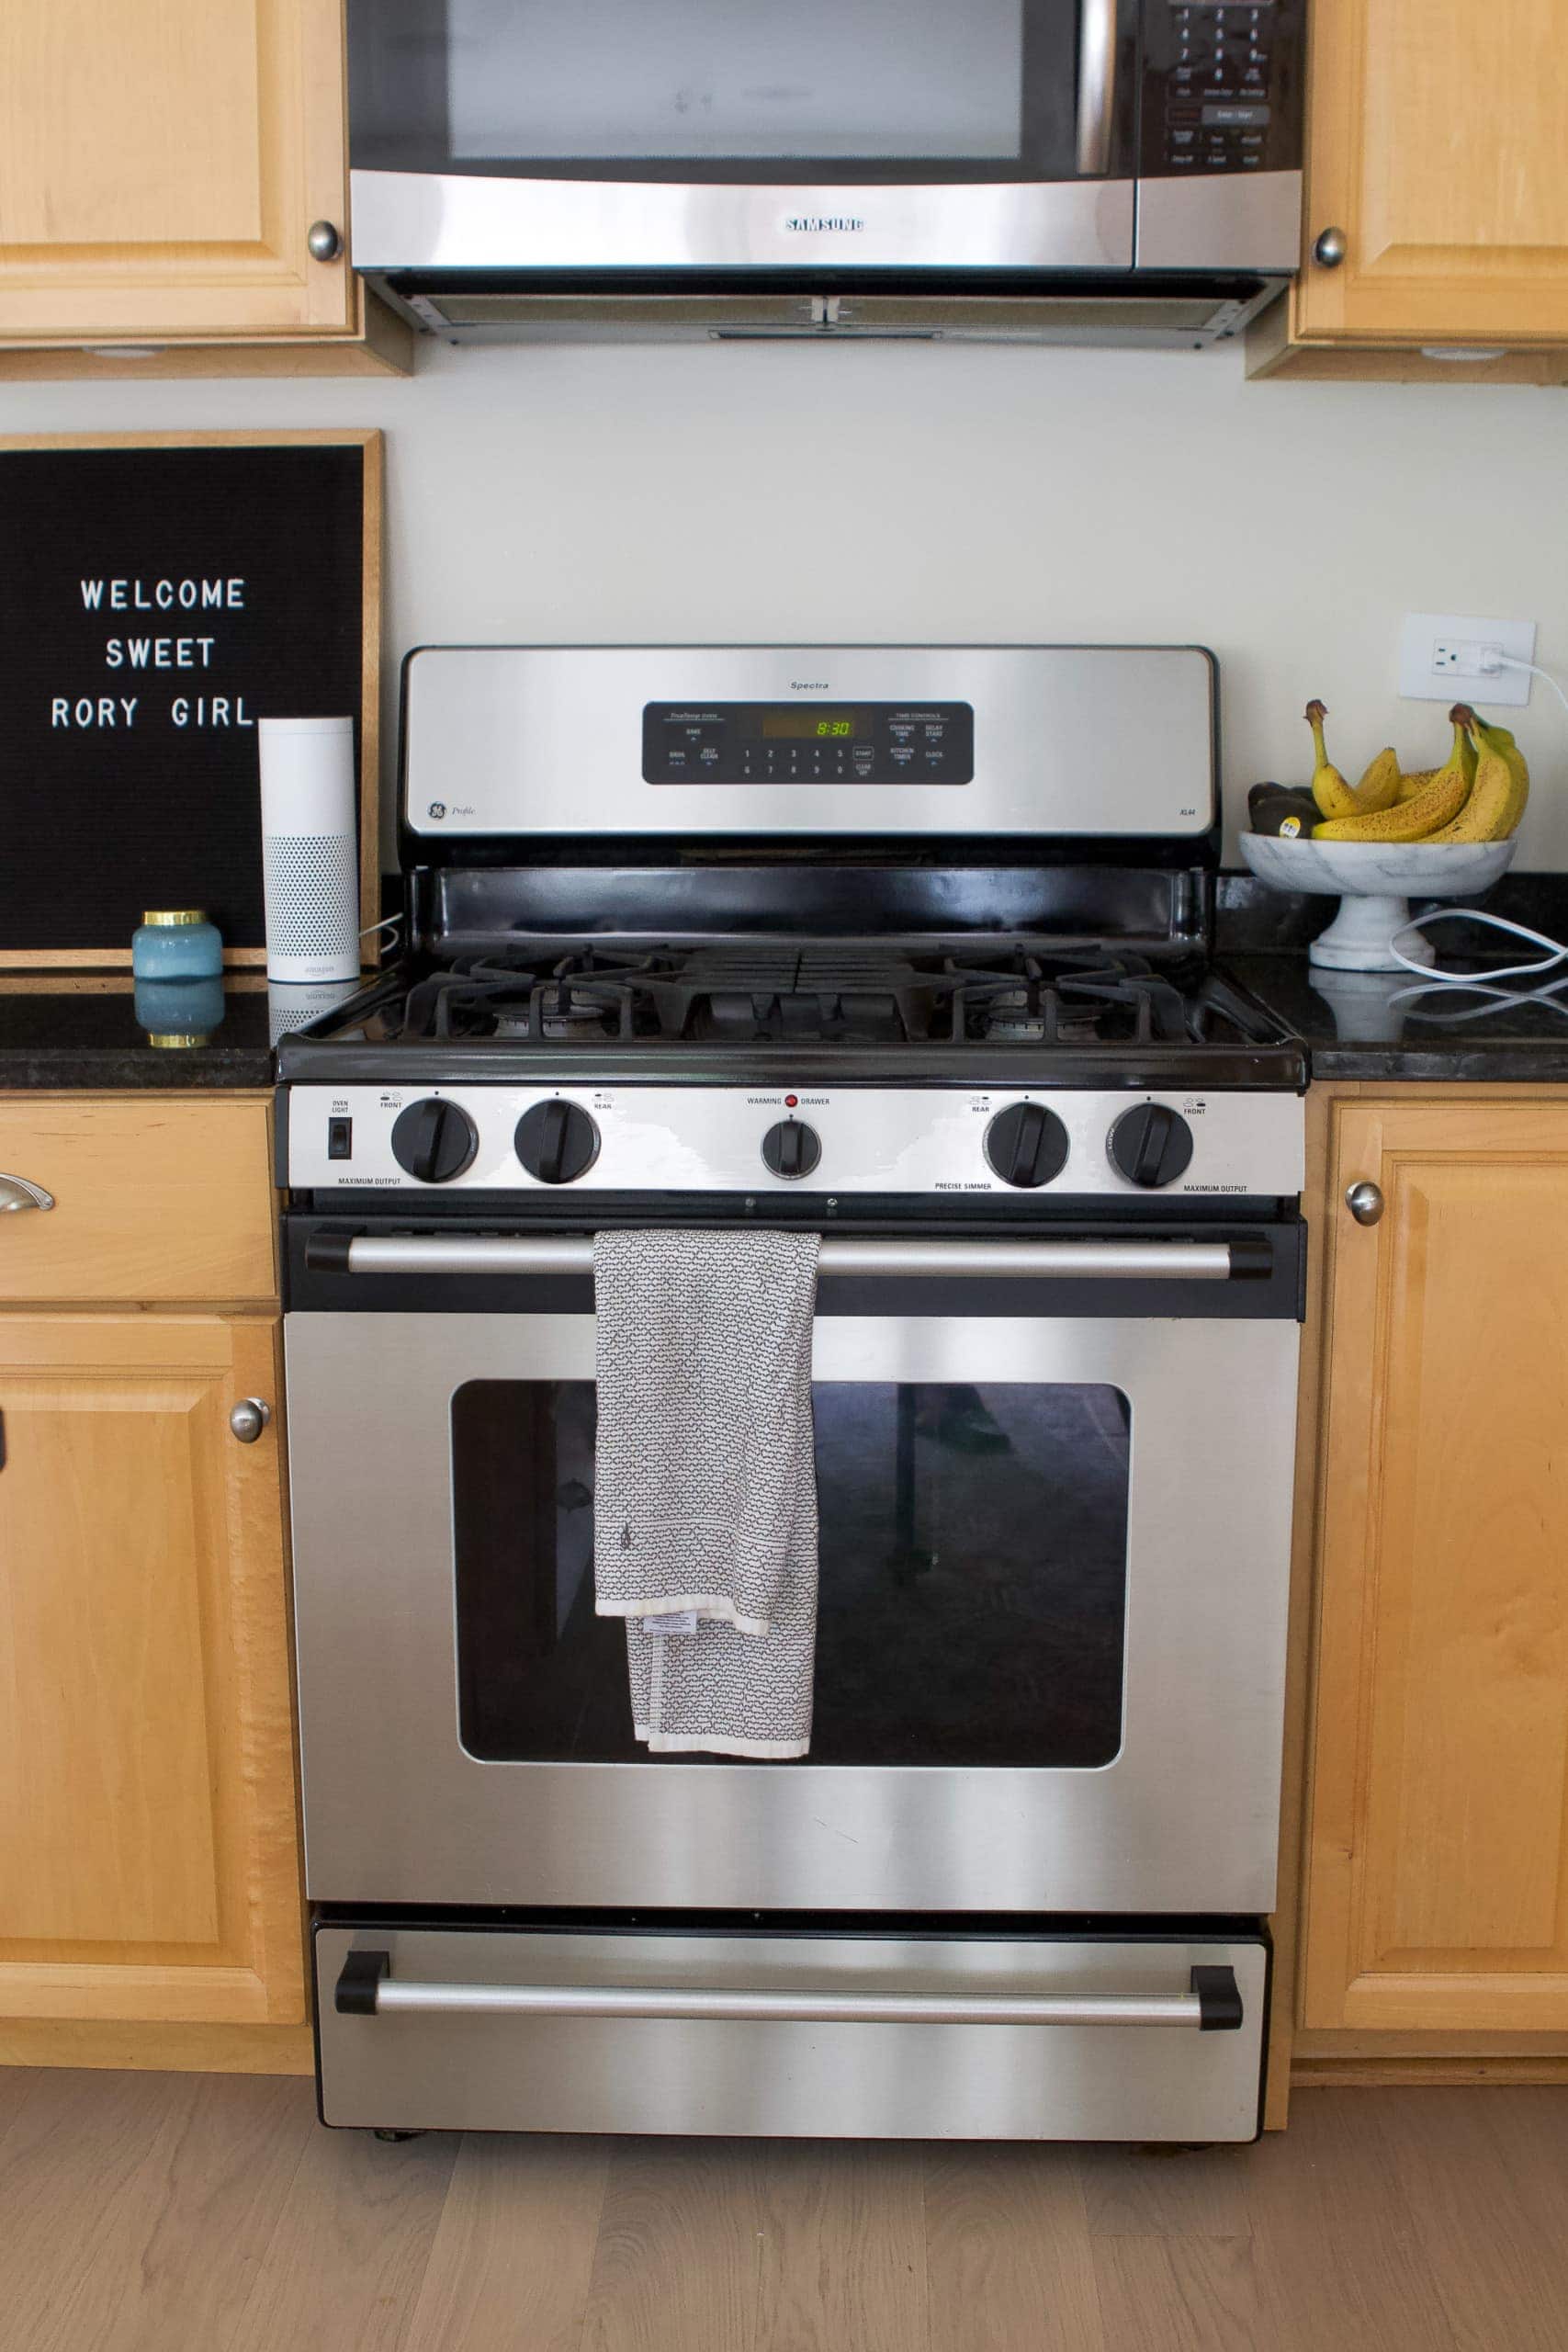
Speaking of bad appliances, all of our appliances are 25-30 years old. Whoa baby! Yep, it’s time for an upgrade. Remember last year when our oven broke the week before we hosted Thanksgiving?! Thankfully, we got it fixed in time but it was a tad scary for a minute there. We’ll be getting rid of all of our appliances and getting new ones and I am so grateful!
Countertop Clutter
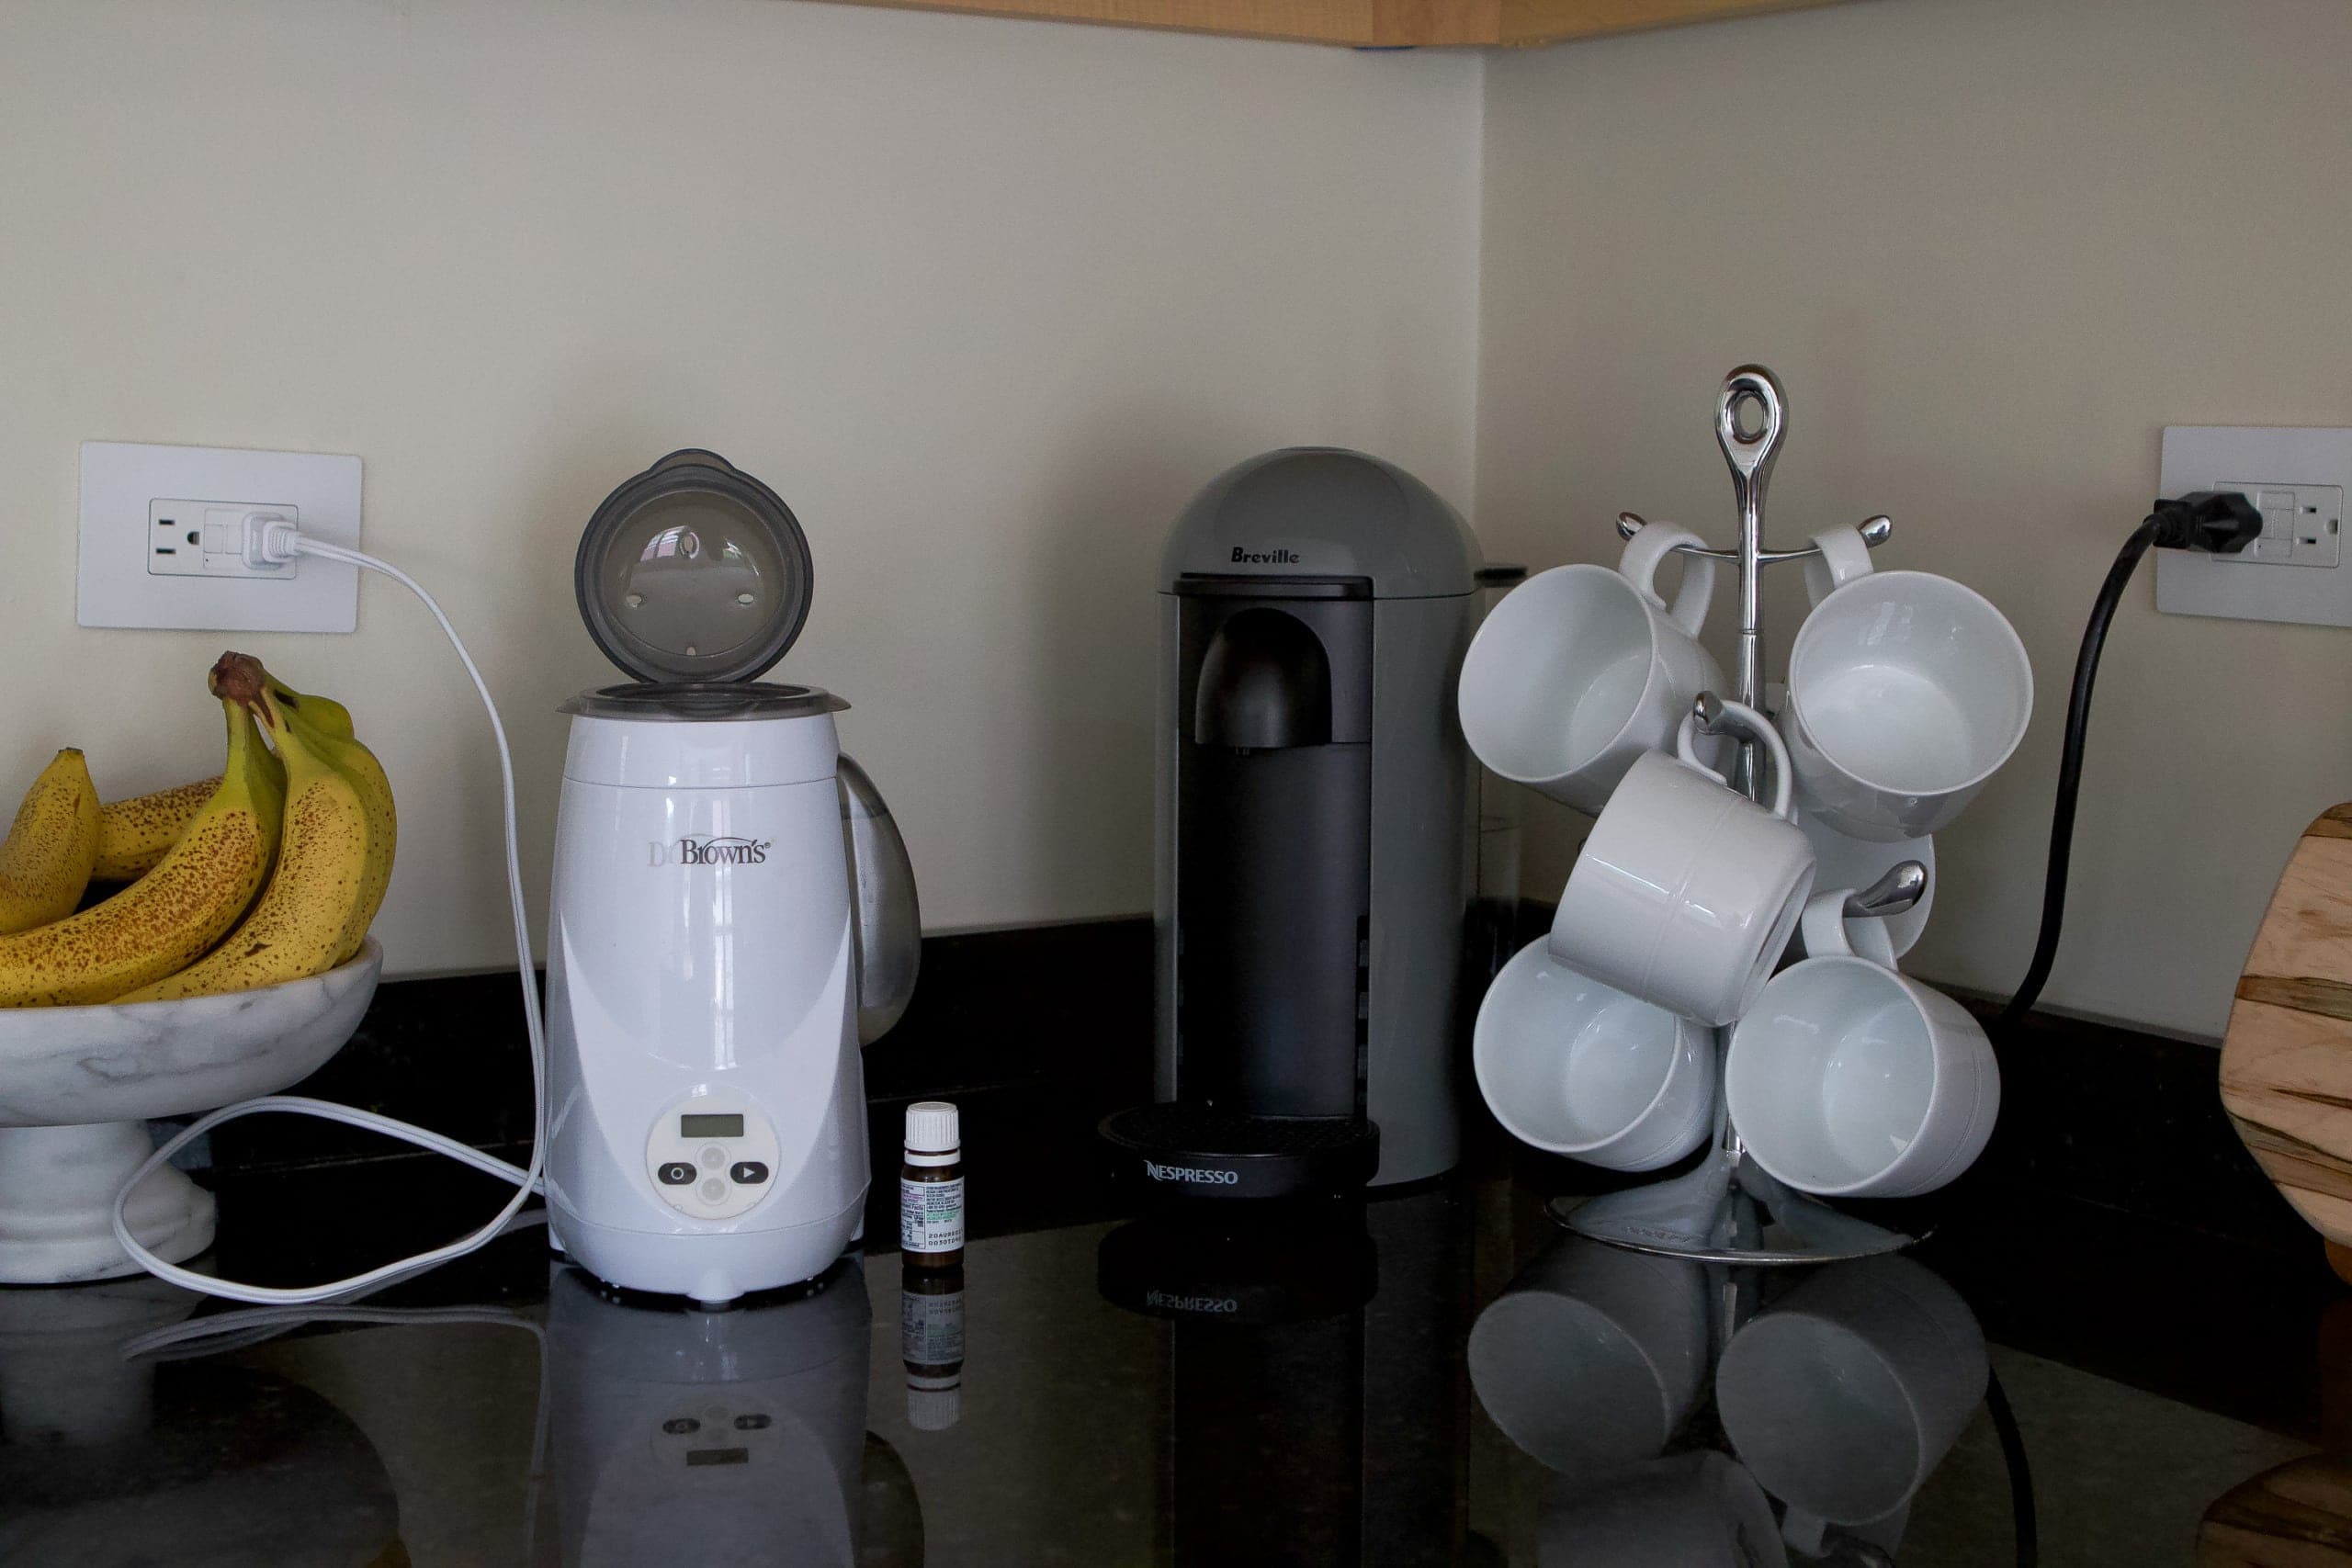
Now that we have baby stuff up the wazoo, I feel like there is clutter everywhere.  From the bottle warmer, to the drying rack, there is just too much on our countertops! In our new kitchen, we’re going to have an appliance garage to house our coffee machine, toaster, bottle warmer, etc. That way, everything will be out of sight! This mama is thrilled.
The Basement Walkout

See these cabinets and drawers (especially the ones without hardware)? Well, those drawers are actually fake fronts and the cabinets are actually super shallow. Underneath this area is the walkout of our basement. It has stairs going up to the outside of our house. (So if you are walking up the stairs, your head is actually almost hitting this cabinet!) Our kitchen was added on and they decided to extend the house back in the back. While I appreciate the extra space, they didn’t do a great job with these cabinets to create a solution for this space. 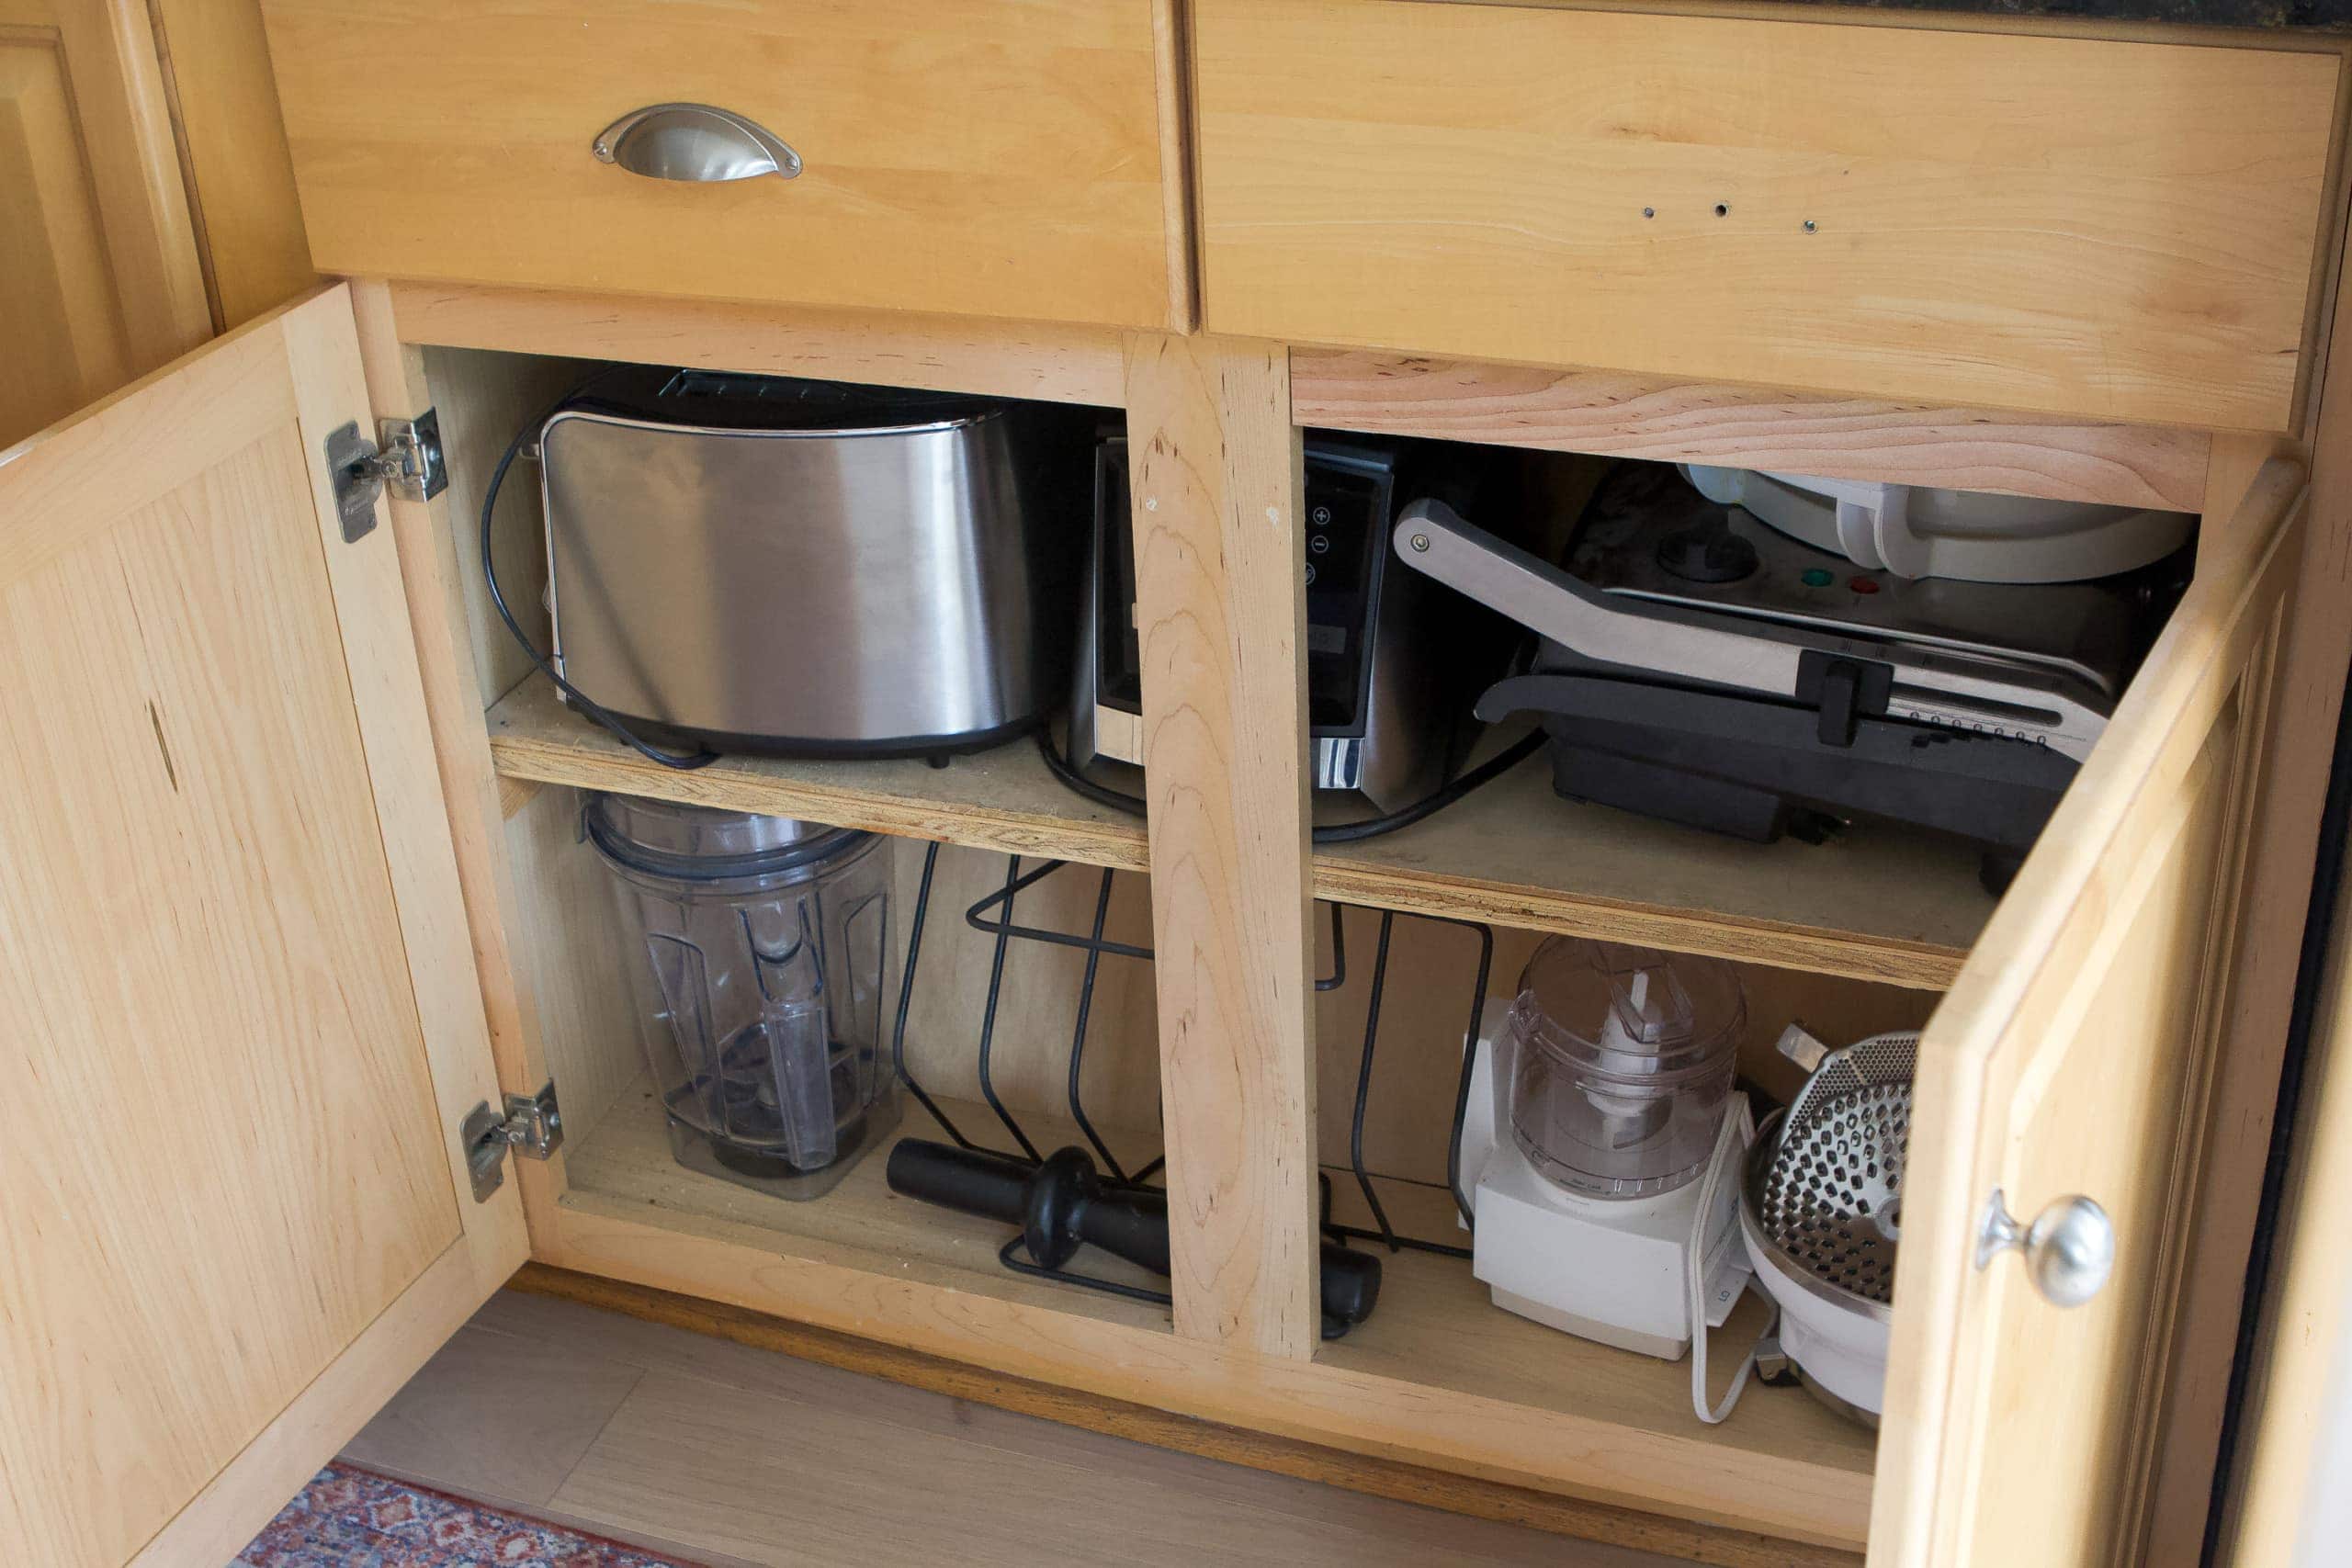
If you look closely, you’ll see plywood angled on the back of these cabinets to make the headroom on the stairs below. It’s crazy! We didn’t even realize the cabinets were made this way until we had our home inspection and our minds were officially blown. We will still have this issue in our new kitchen, but we’ll be making the cabinets work a tad better. Plus, I promise we’ll have a handle on any drawers we install!
Uneven Ceiling

For some reason, our ceiling has two different heights. I’m not totally sure why, but we’ll be making the ceiling heights even in the new design. 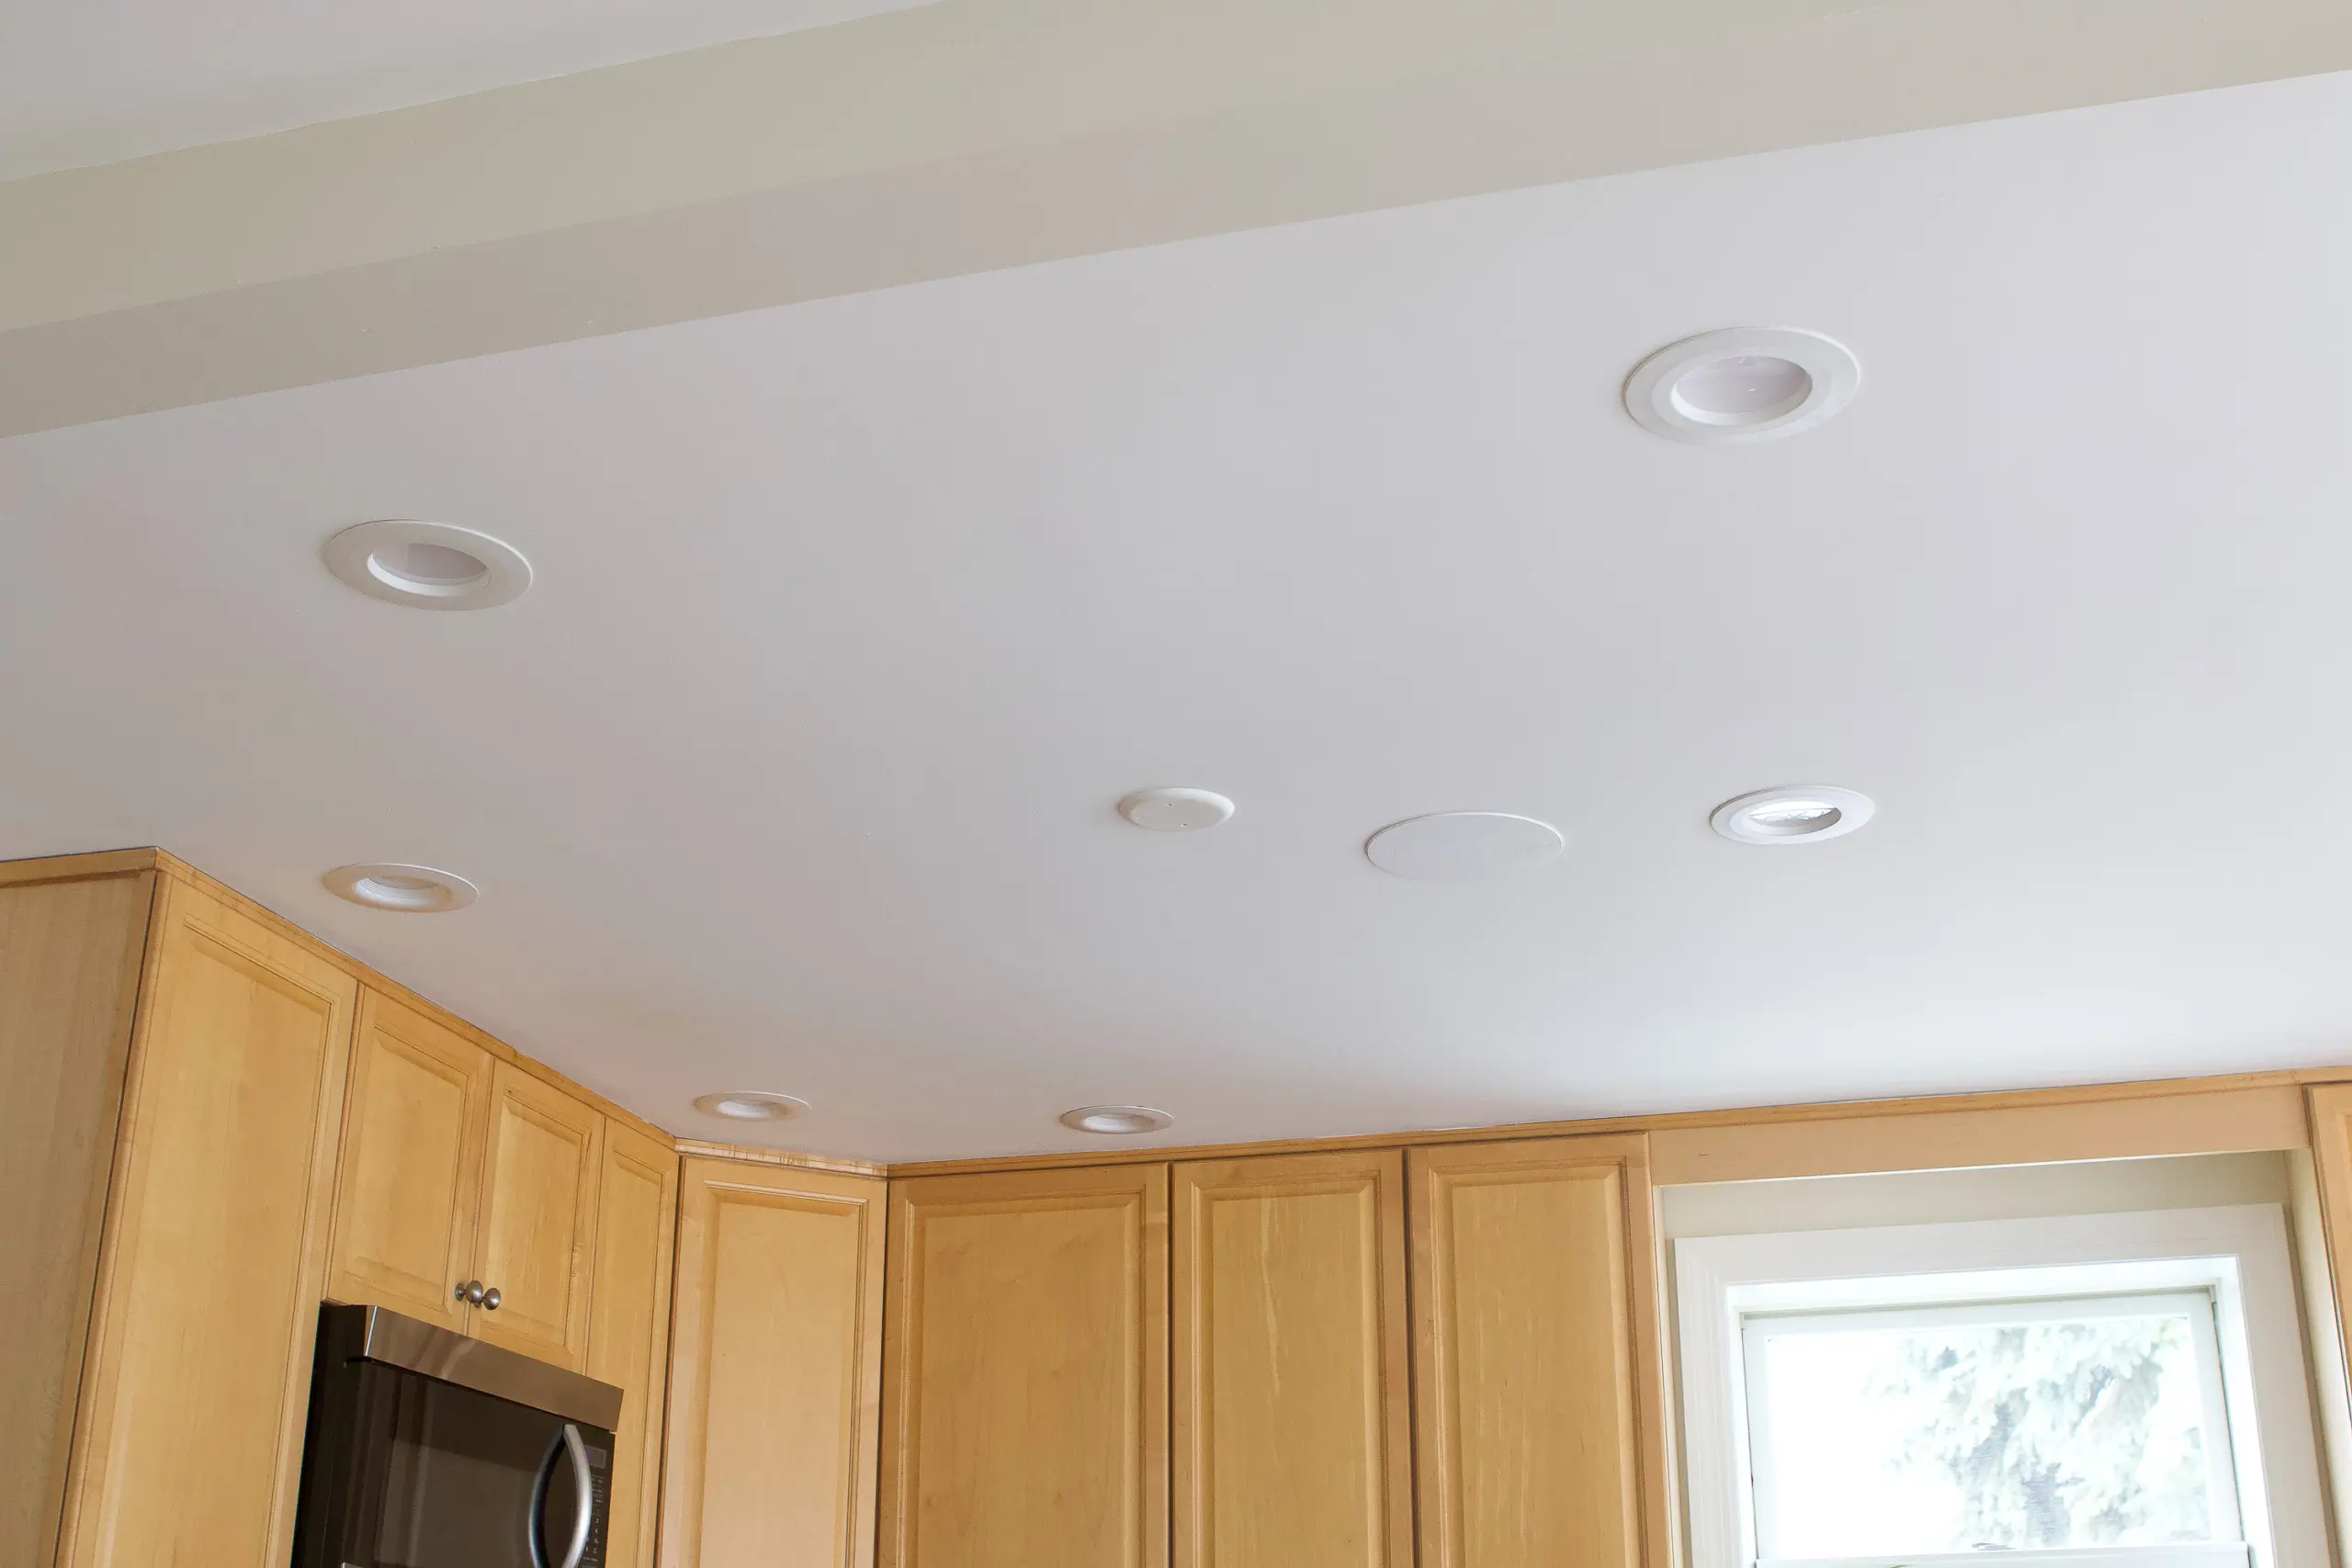 Plus, we have so many random recessed cans, covered boxes, and speakers up there! It looks like a pockmarked ceiling and I just want the placement of everything to be more intentional and pleasing to the eye. We’re drawing up a new electrical plan that is more thorough and thoughtful when it comes to the placement of lighting.
Those are just a few of the issues with our current kitchen that I’m excited to fix with our renovation. 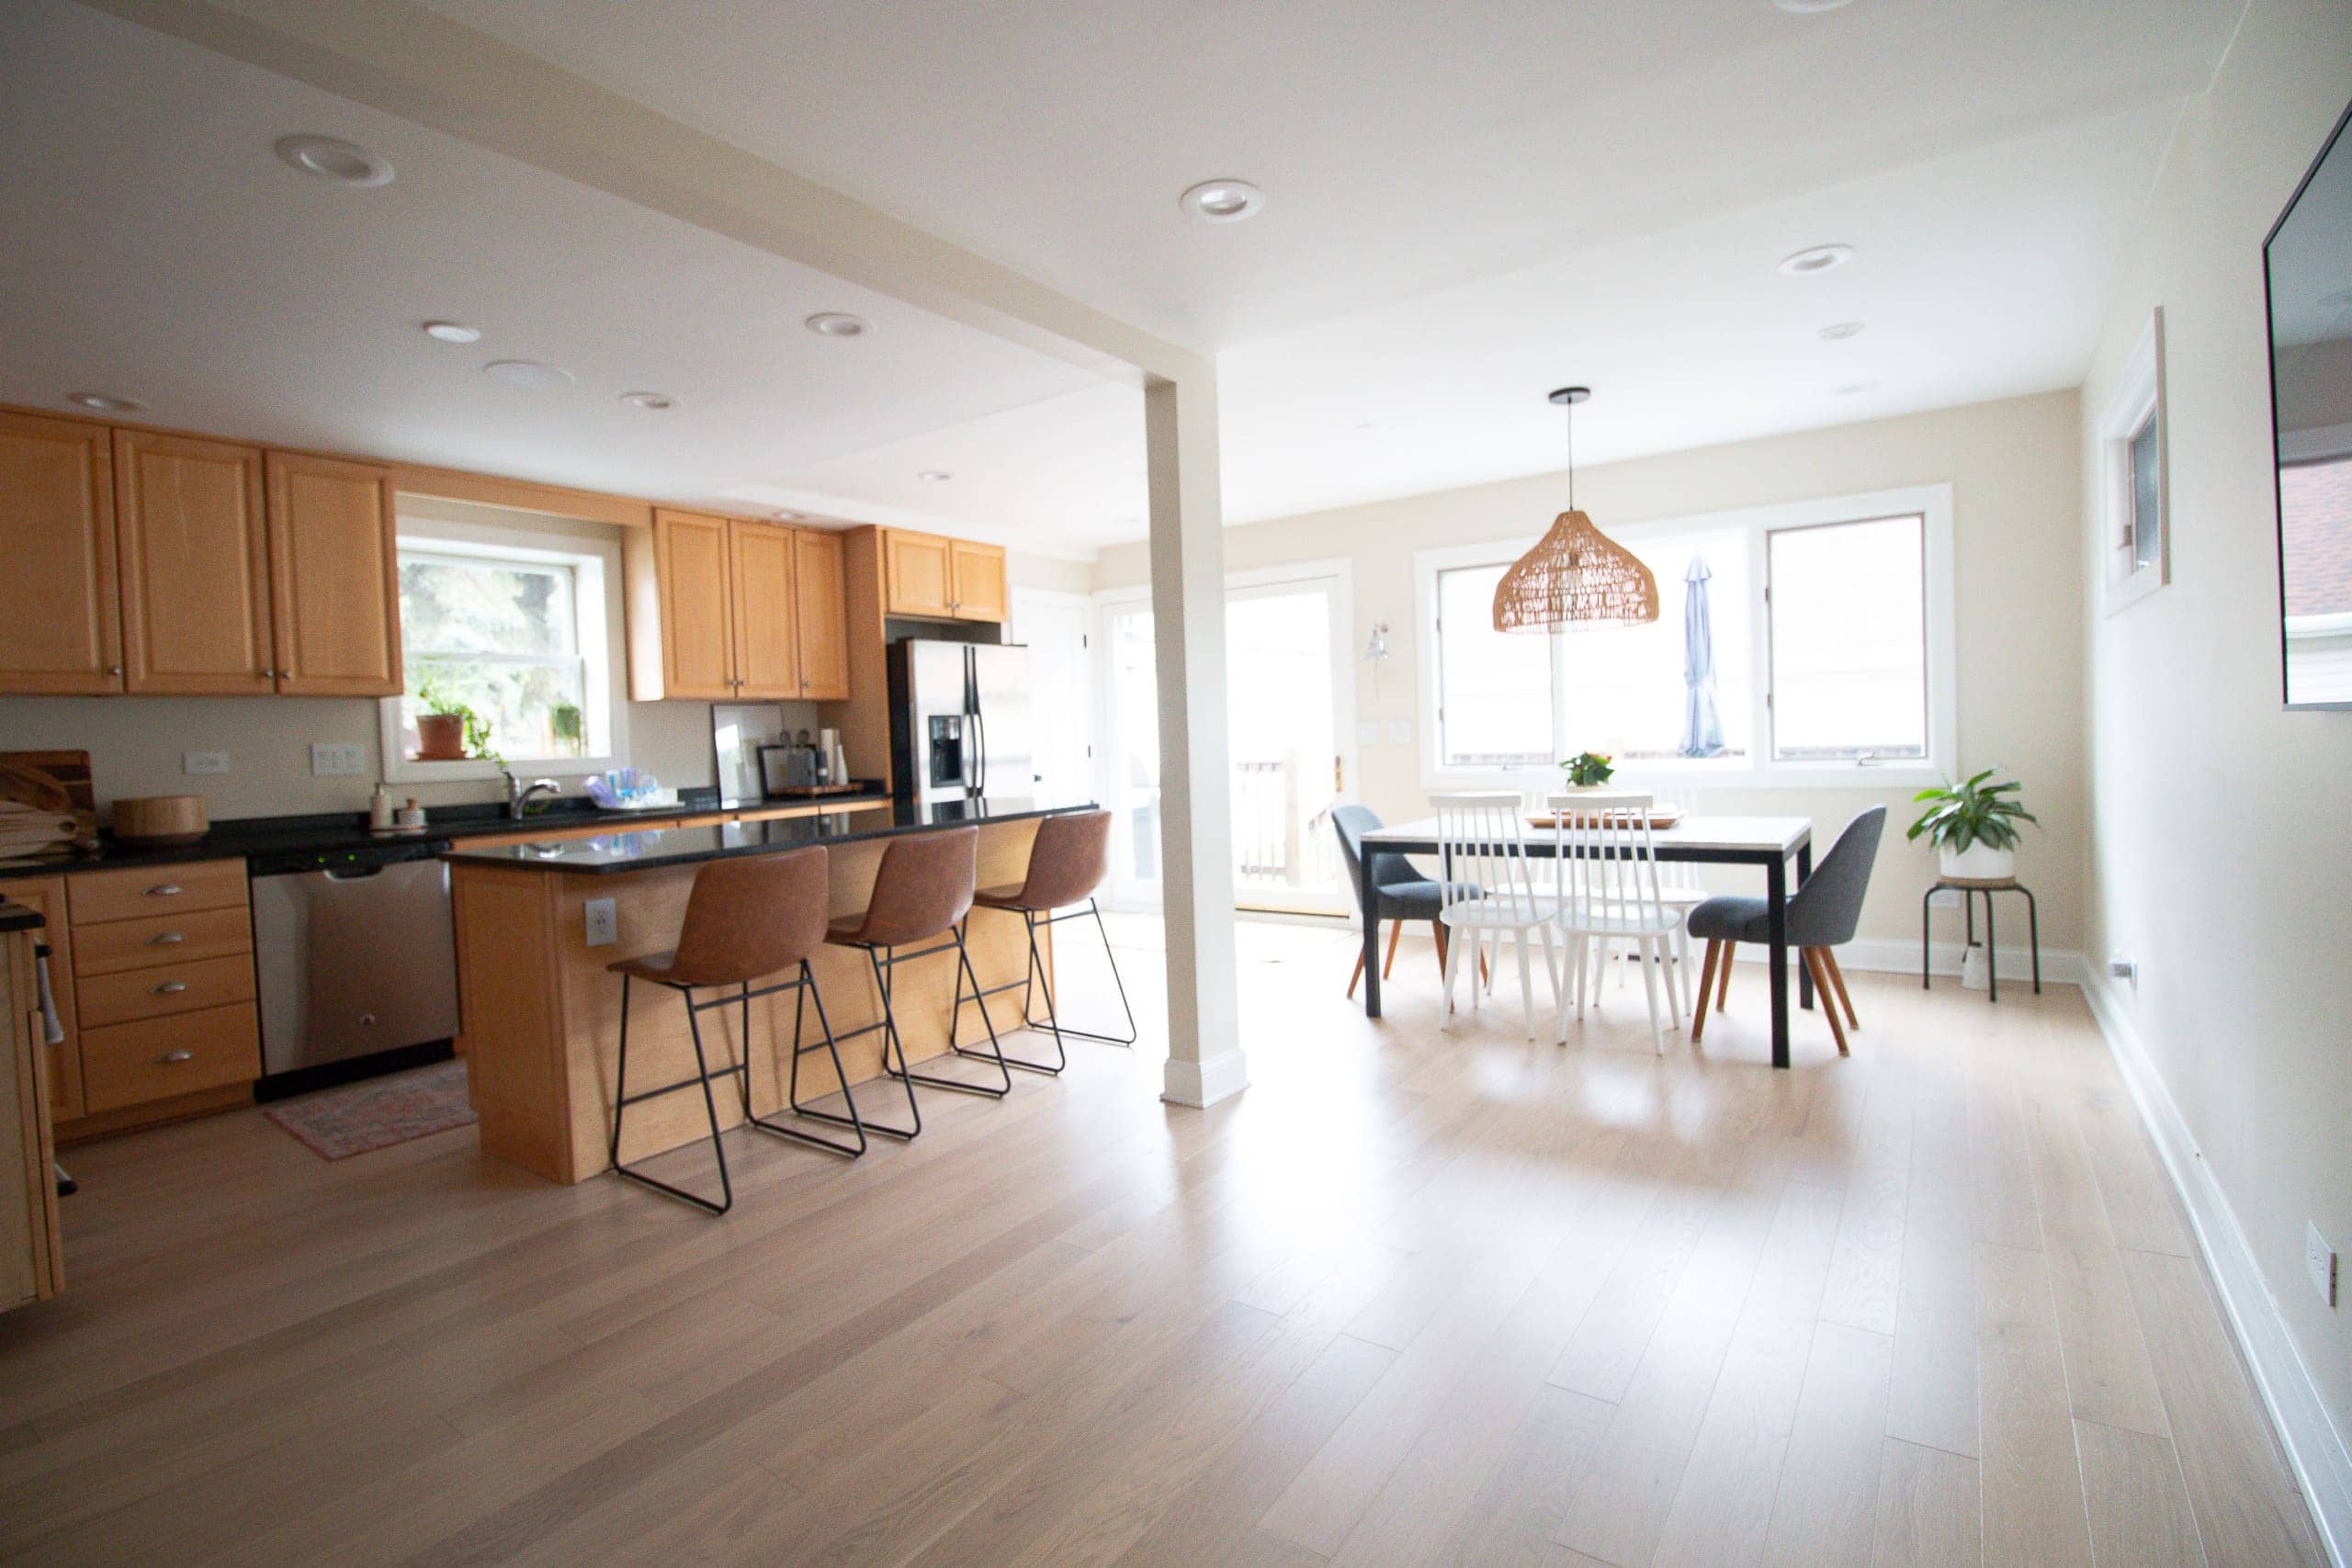
As you can see, this is a BIG space and I was a tad overwhelmed with the best way to efficiently maximize our space in here. On Thursday, I’ll share why I hired a designer to help with the layout of the room and then next Tuesday, get ready to see the new kitchen layout. It’s good. So freakin’ good. 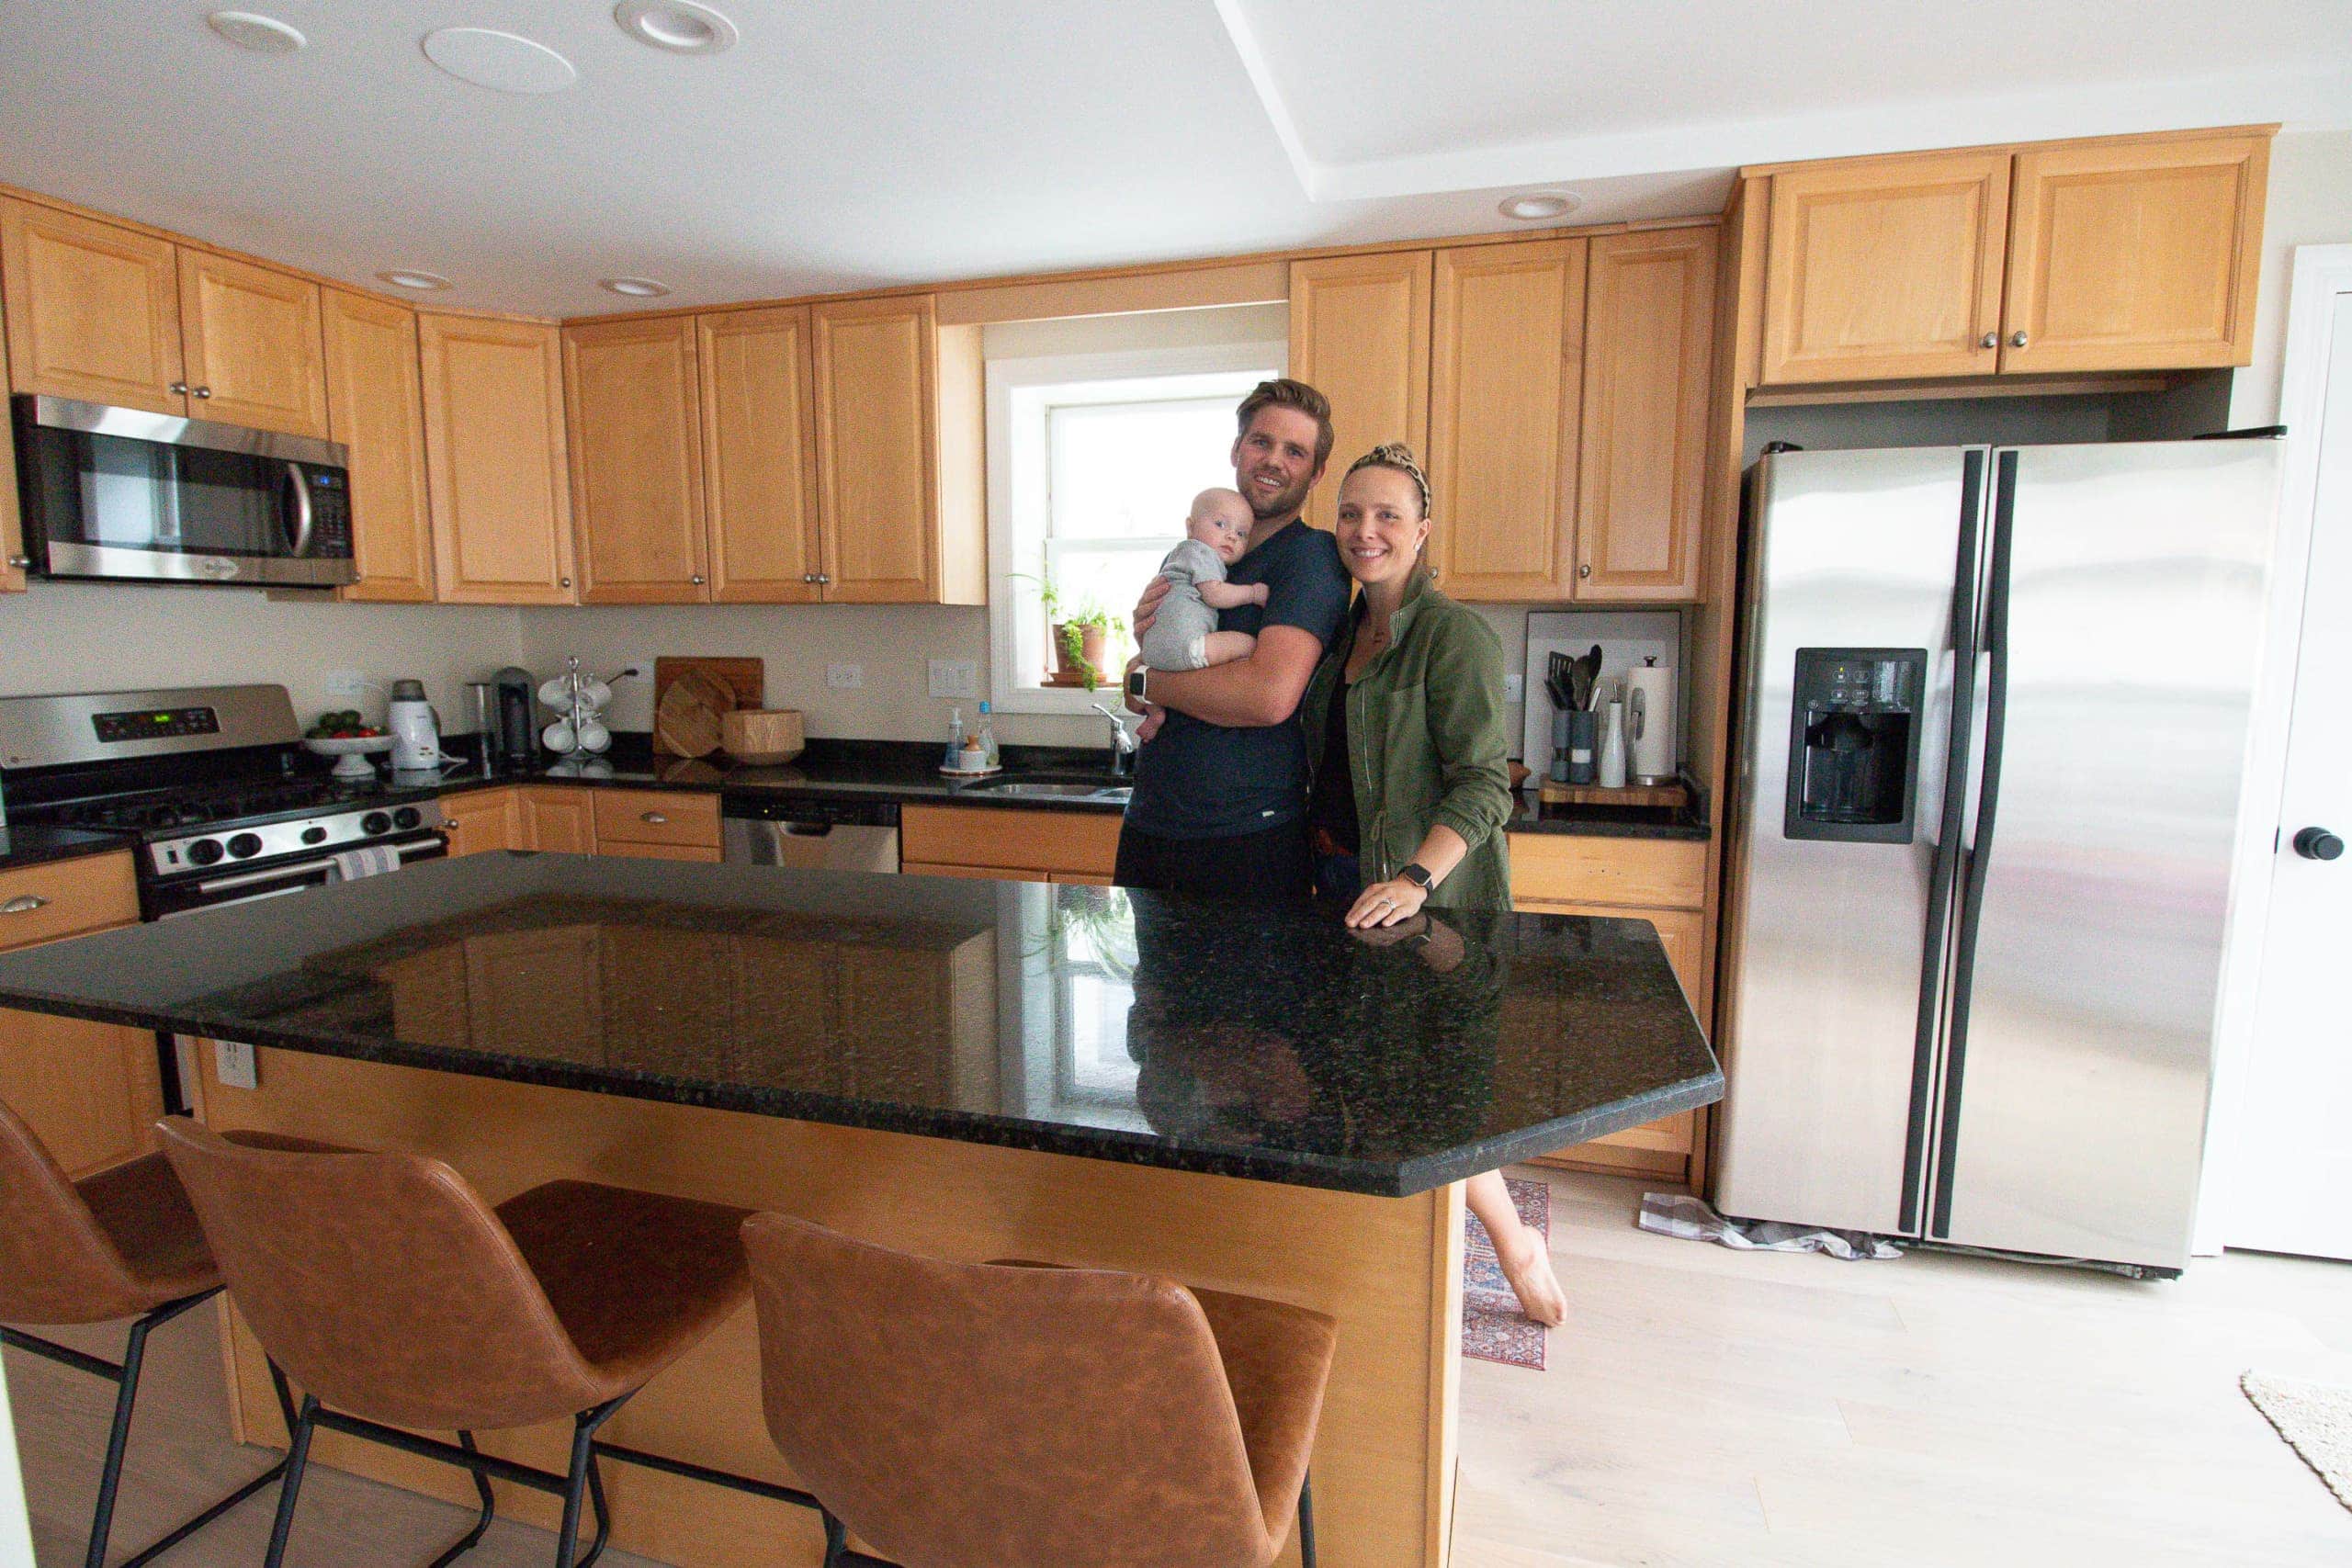
I’ll be excited to take a new family photo in the finished space. Let’s hope Rory isn’t a year old by then. Ha!
Casey
Catch Up On Our Kitchen Renovation
- Kitchen Before Photos
- Hiring a Designer
- Our New Kitchen Layout
- Design Plan & Mood Board
- Single vs Double Bowl Sink
- Ordering Our Kitchen Cabinets
- Tasks To Do Before a Kitchen Renovation
- Our Old Kitchen Is Out
- Creating Our Electrical Plan
- Our Kitchen Cabinets Are In!
- Kitchen Hardware Guide
- Dining Nook Design Plan
- Choosing Quartz Countertops
- Painting the Kitchen
- Our Dining Room Nook
- Finding a Kitchen Runner
- Our New Lighting
- Our Wood Butcher Block
- The Kitchen Renovation Timeline
- The Big Kitchen Reveal
- What I Learned from Our Kitchen Renovation
- Kitchen Before & After Video
- Our Kitchen Appliances
- Renovation Budget & Cost


