Our New Kitchen Lighting
I feel like I’m constantly writing about lighting here on the blog. In fact, I have a blog post next week all about choosing the perfect light bulb! I think I continue to write about it because lighting is such an important element in a home and many people tend to overlook it. Our old kitchen only had overhead lighting that was placed in all the wrong spots. For our new kitchen, I knew I wanted to create a layered kitchen lighting plan with intention.
And I’m happy to say that that’s exactly what we accomplished in our new kitchen space! I shared our entire electrical plan in this blog post, but seeing it all finished and installed brings a whole new level of excitement for me.
I’m also just now realizing that this might be the first time you’ve seen the quartz backsplash and hood here on the blog! Doesn’t it look dreamy?! We are obsessed!!
Our New Kitchen Lighting

Okay, so let’s discuss the multiple light sources in this space…
- Recessed cans
- Island pendants
- Dining table chandelier
- In-cabinet lighting (bar area)
- Under-cabinet lighting (kitchen area)
To achieve the most flattering look, you want to layer lots of different light sources. If possible, you’ll also want to put them all on dimmer switches so you can control the brightness yourself.
Recessed Cans

If you saw this post about our electrical plan, you’ll remember that the entire ceiling was reconstructed, which gave us a chance to figure out new placements for all of our canned lights. Our old kitchen had far too many canned lights and we wanted to be intentional with the placement in our new kitchen. We placed cans in spots that made sense and had a purpose – by the back door, near the oven, in front of the bar cabinet, etc. Overall, I’m very pleased with the new placement.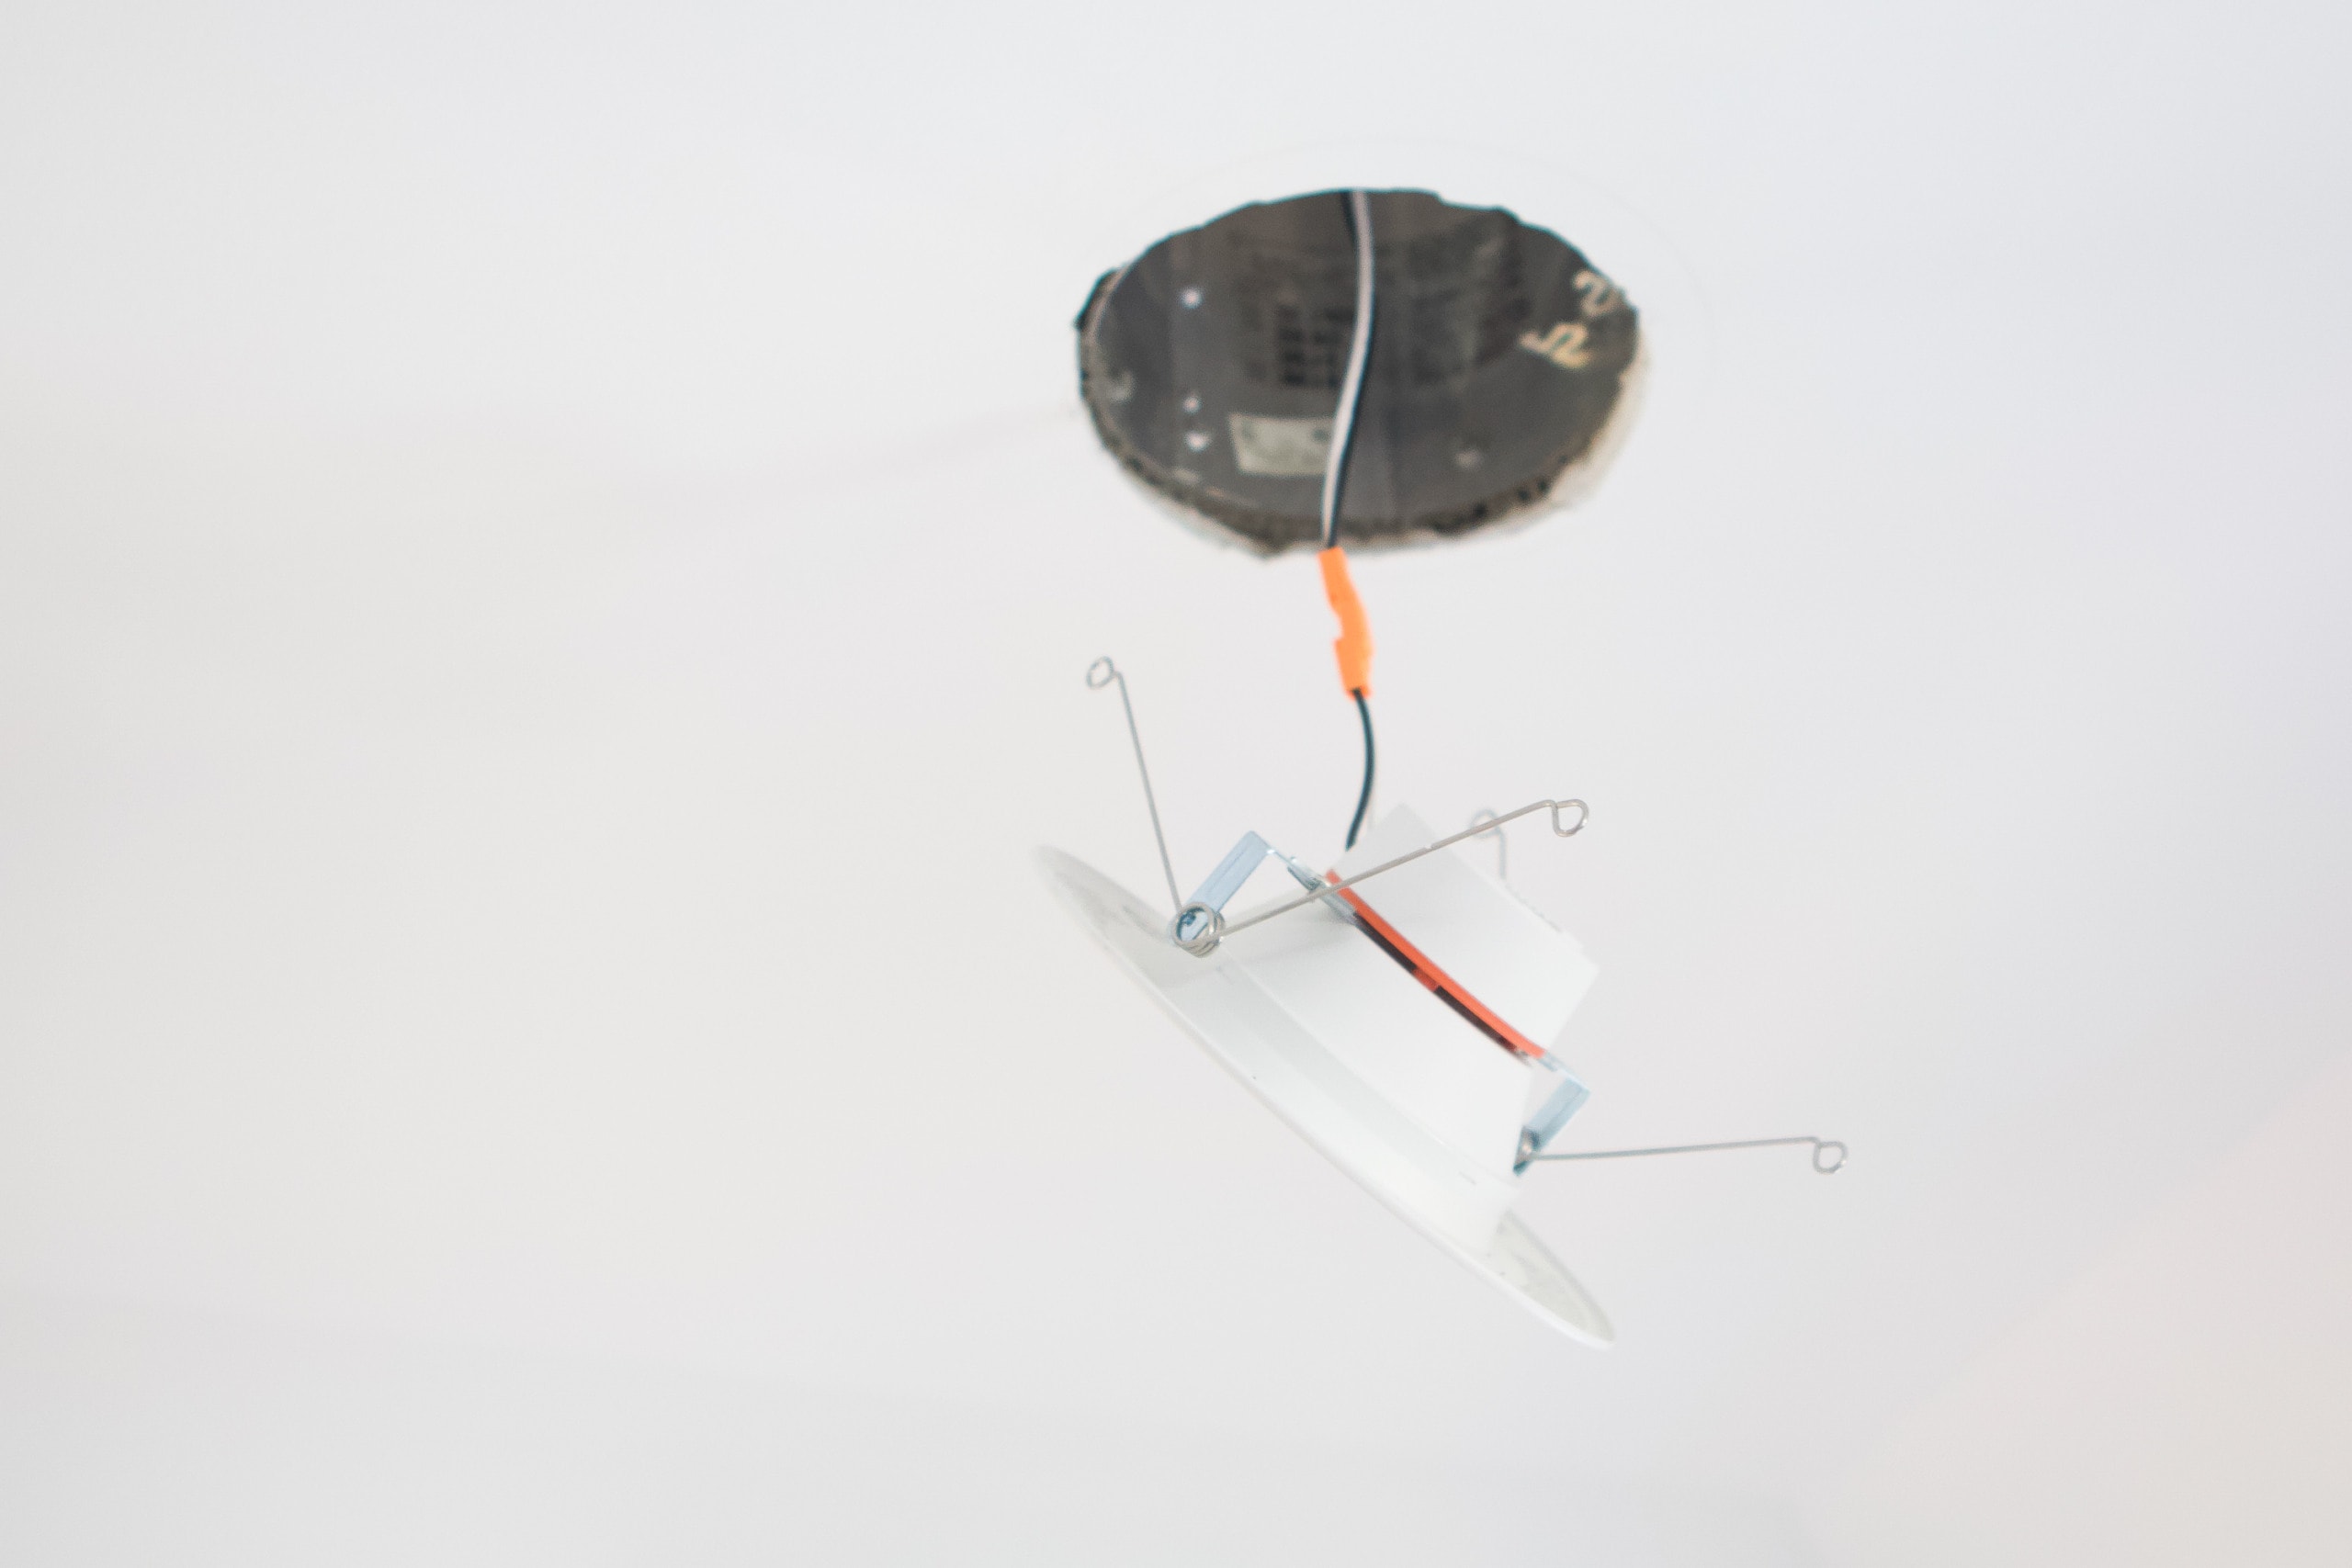
When it comes to the actual canned lights, we have these LED cans throughout our entire house. That means we don’t have any overhead lightbulbs to change…ever. They last 20-years, on average, and my favorite part is that you can change the color temperature right on the back of the cans! I have mine on the “soft white” setting and I’ll go into more depth about color temperatures in next week’s light bulb post. These canned lights are also great because you can retrofit your current canned lights. So, I definitely recommend looking into these to make your house more energy-efficient.
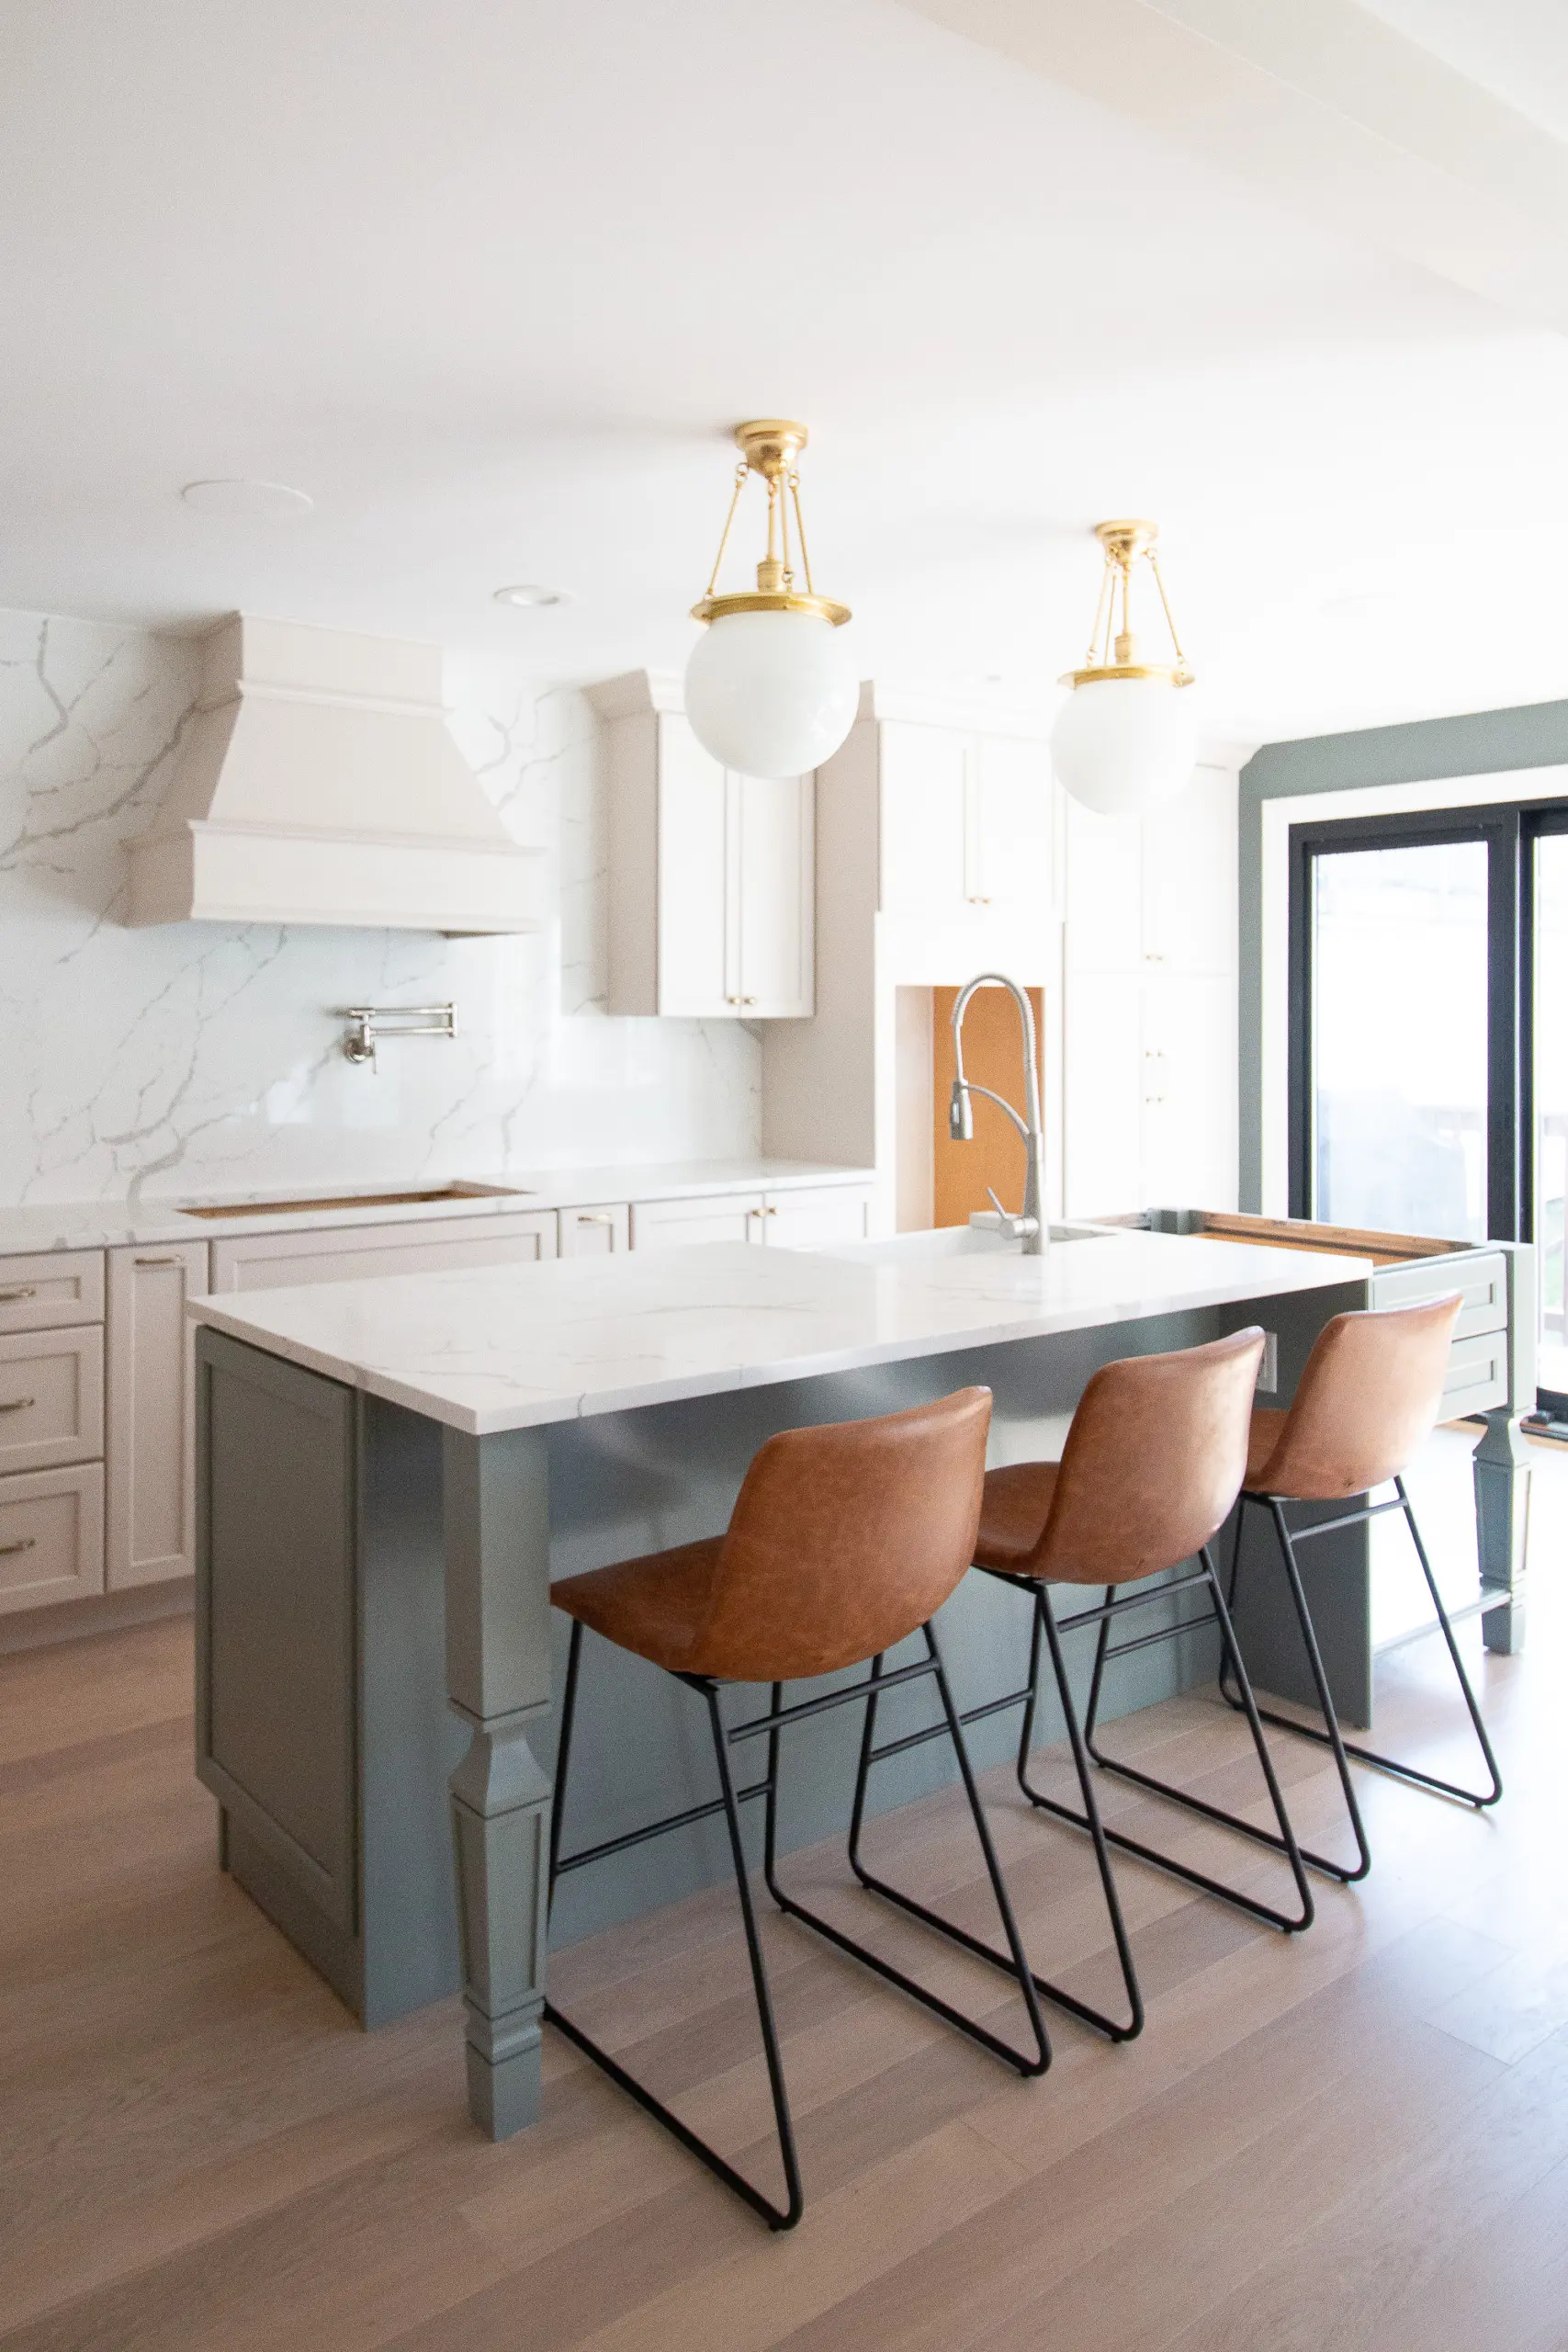
Pendants & Chandelier
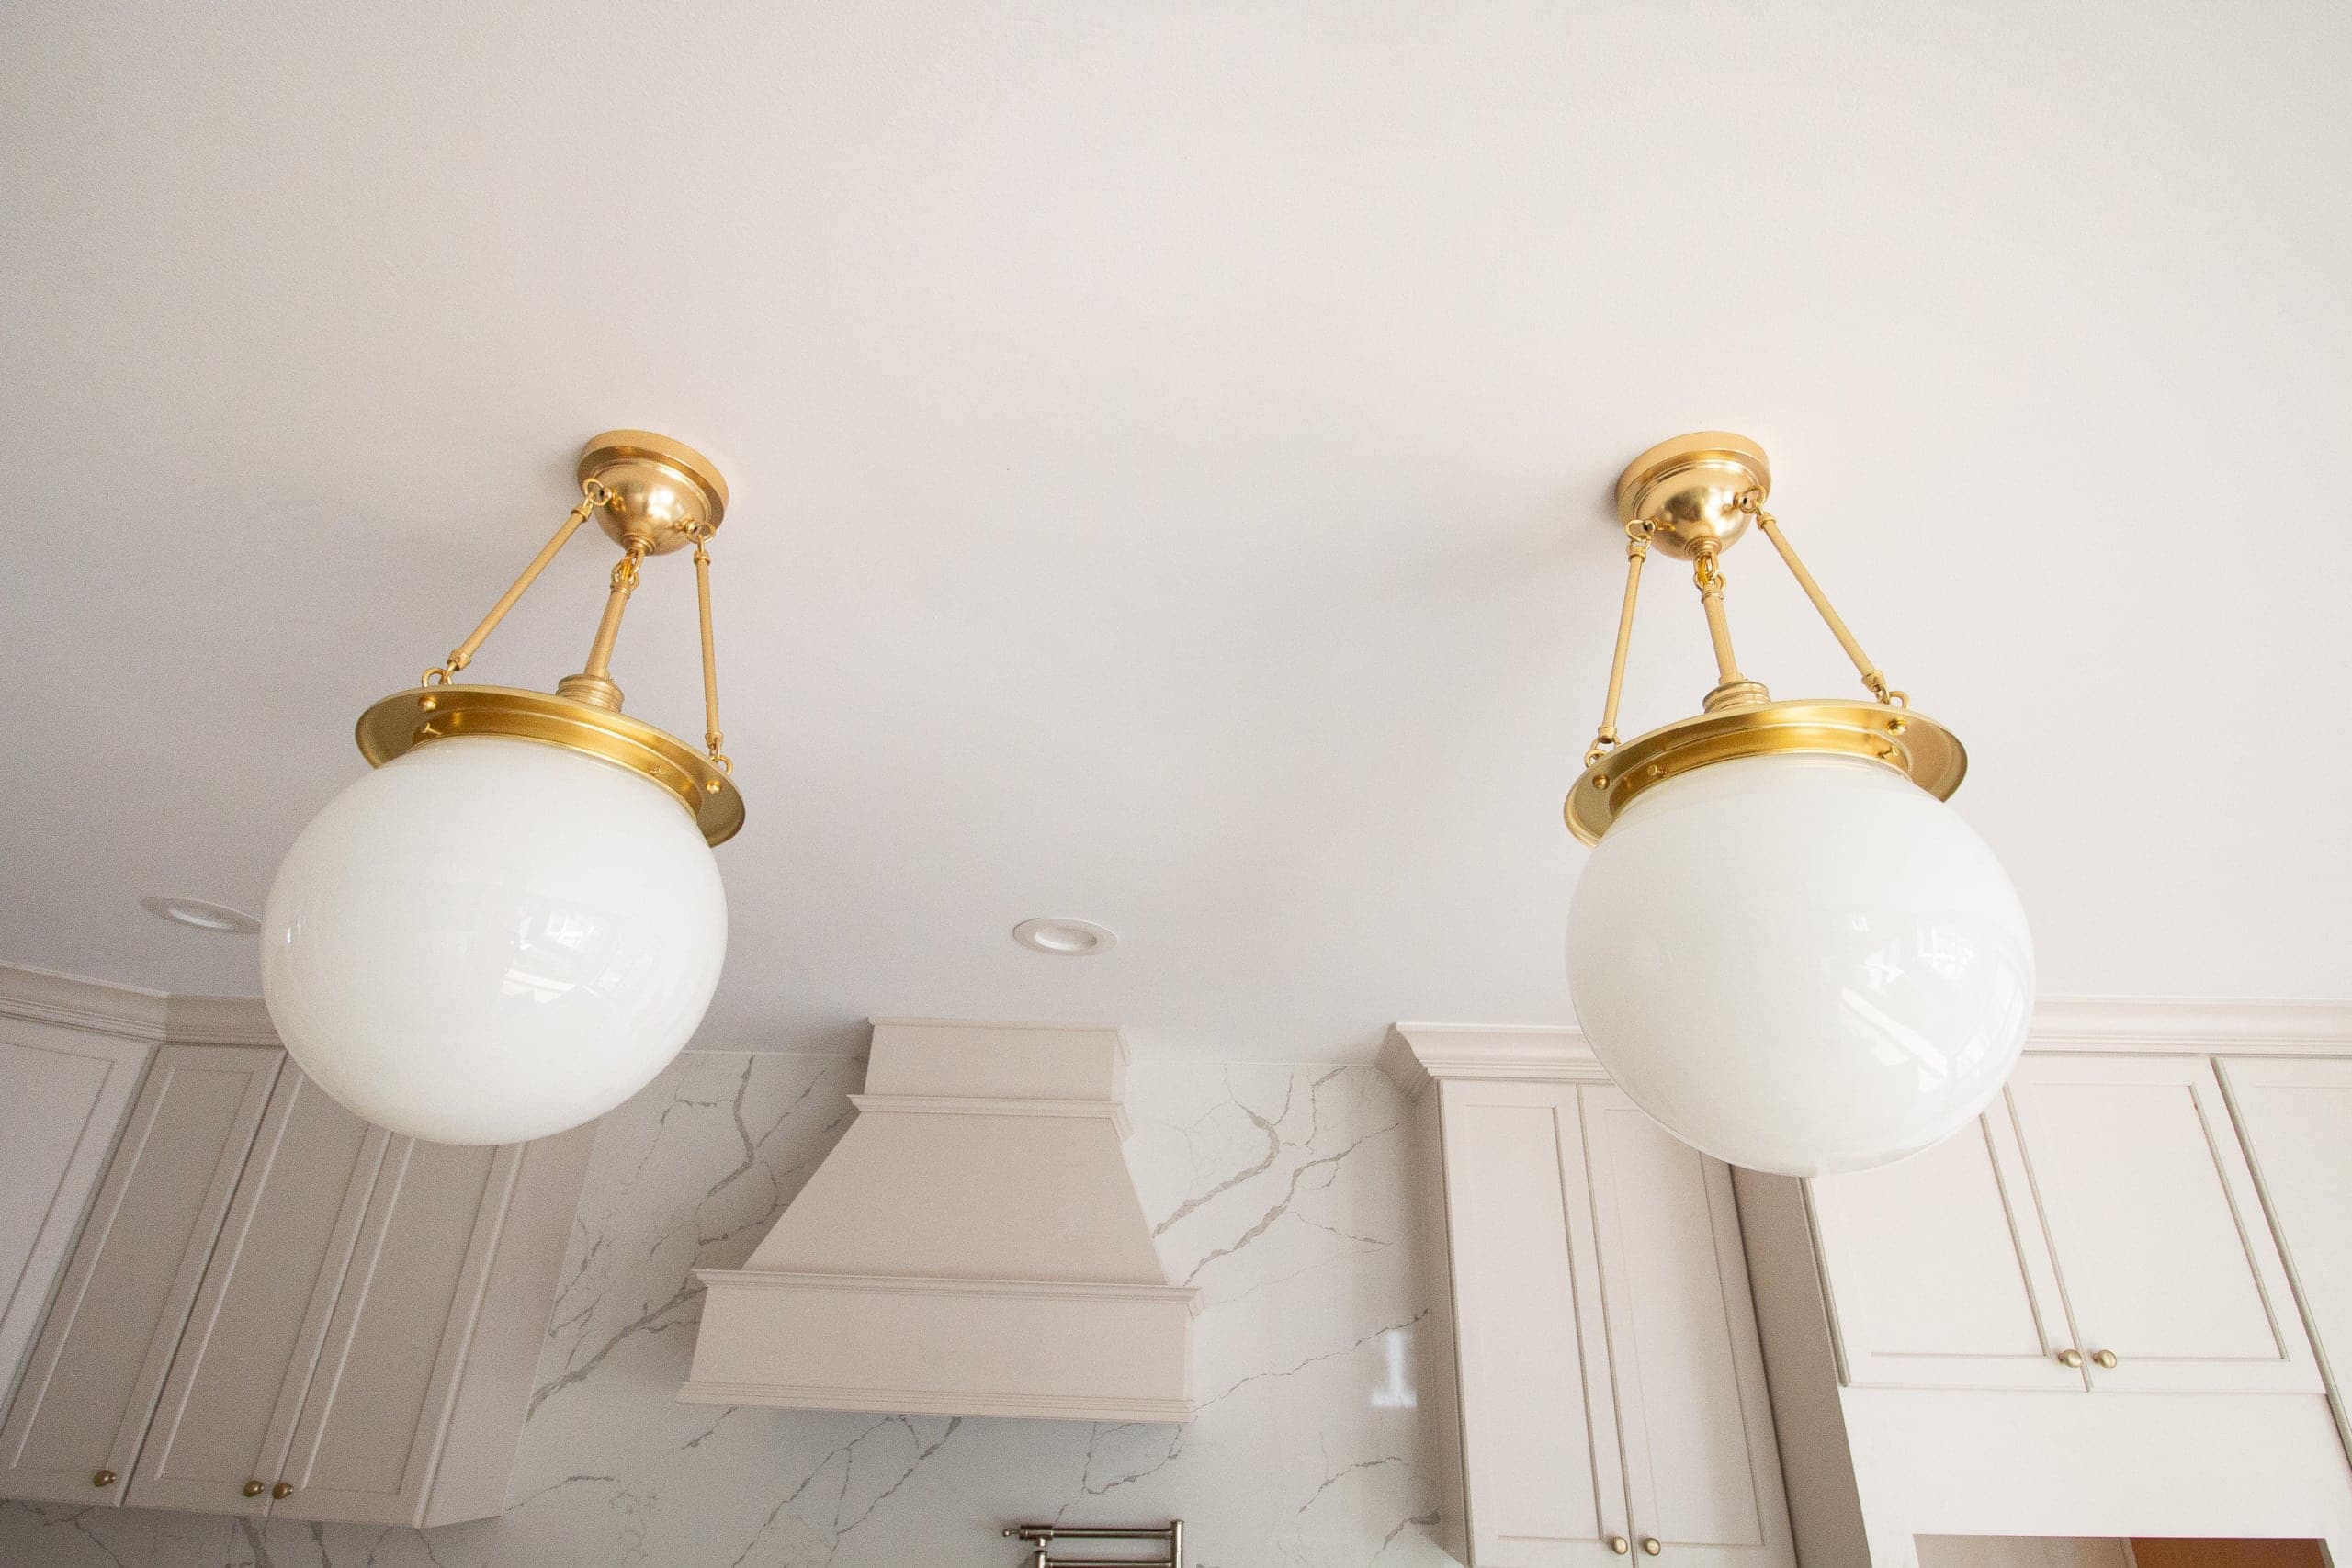
Holy dreamy, right?! These were the last items my contractor added to our kitchen and I was blown away by what a difference they made. Light fixtures are the jewelry in a space and these really took things up a notch!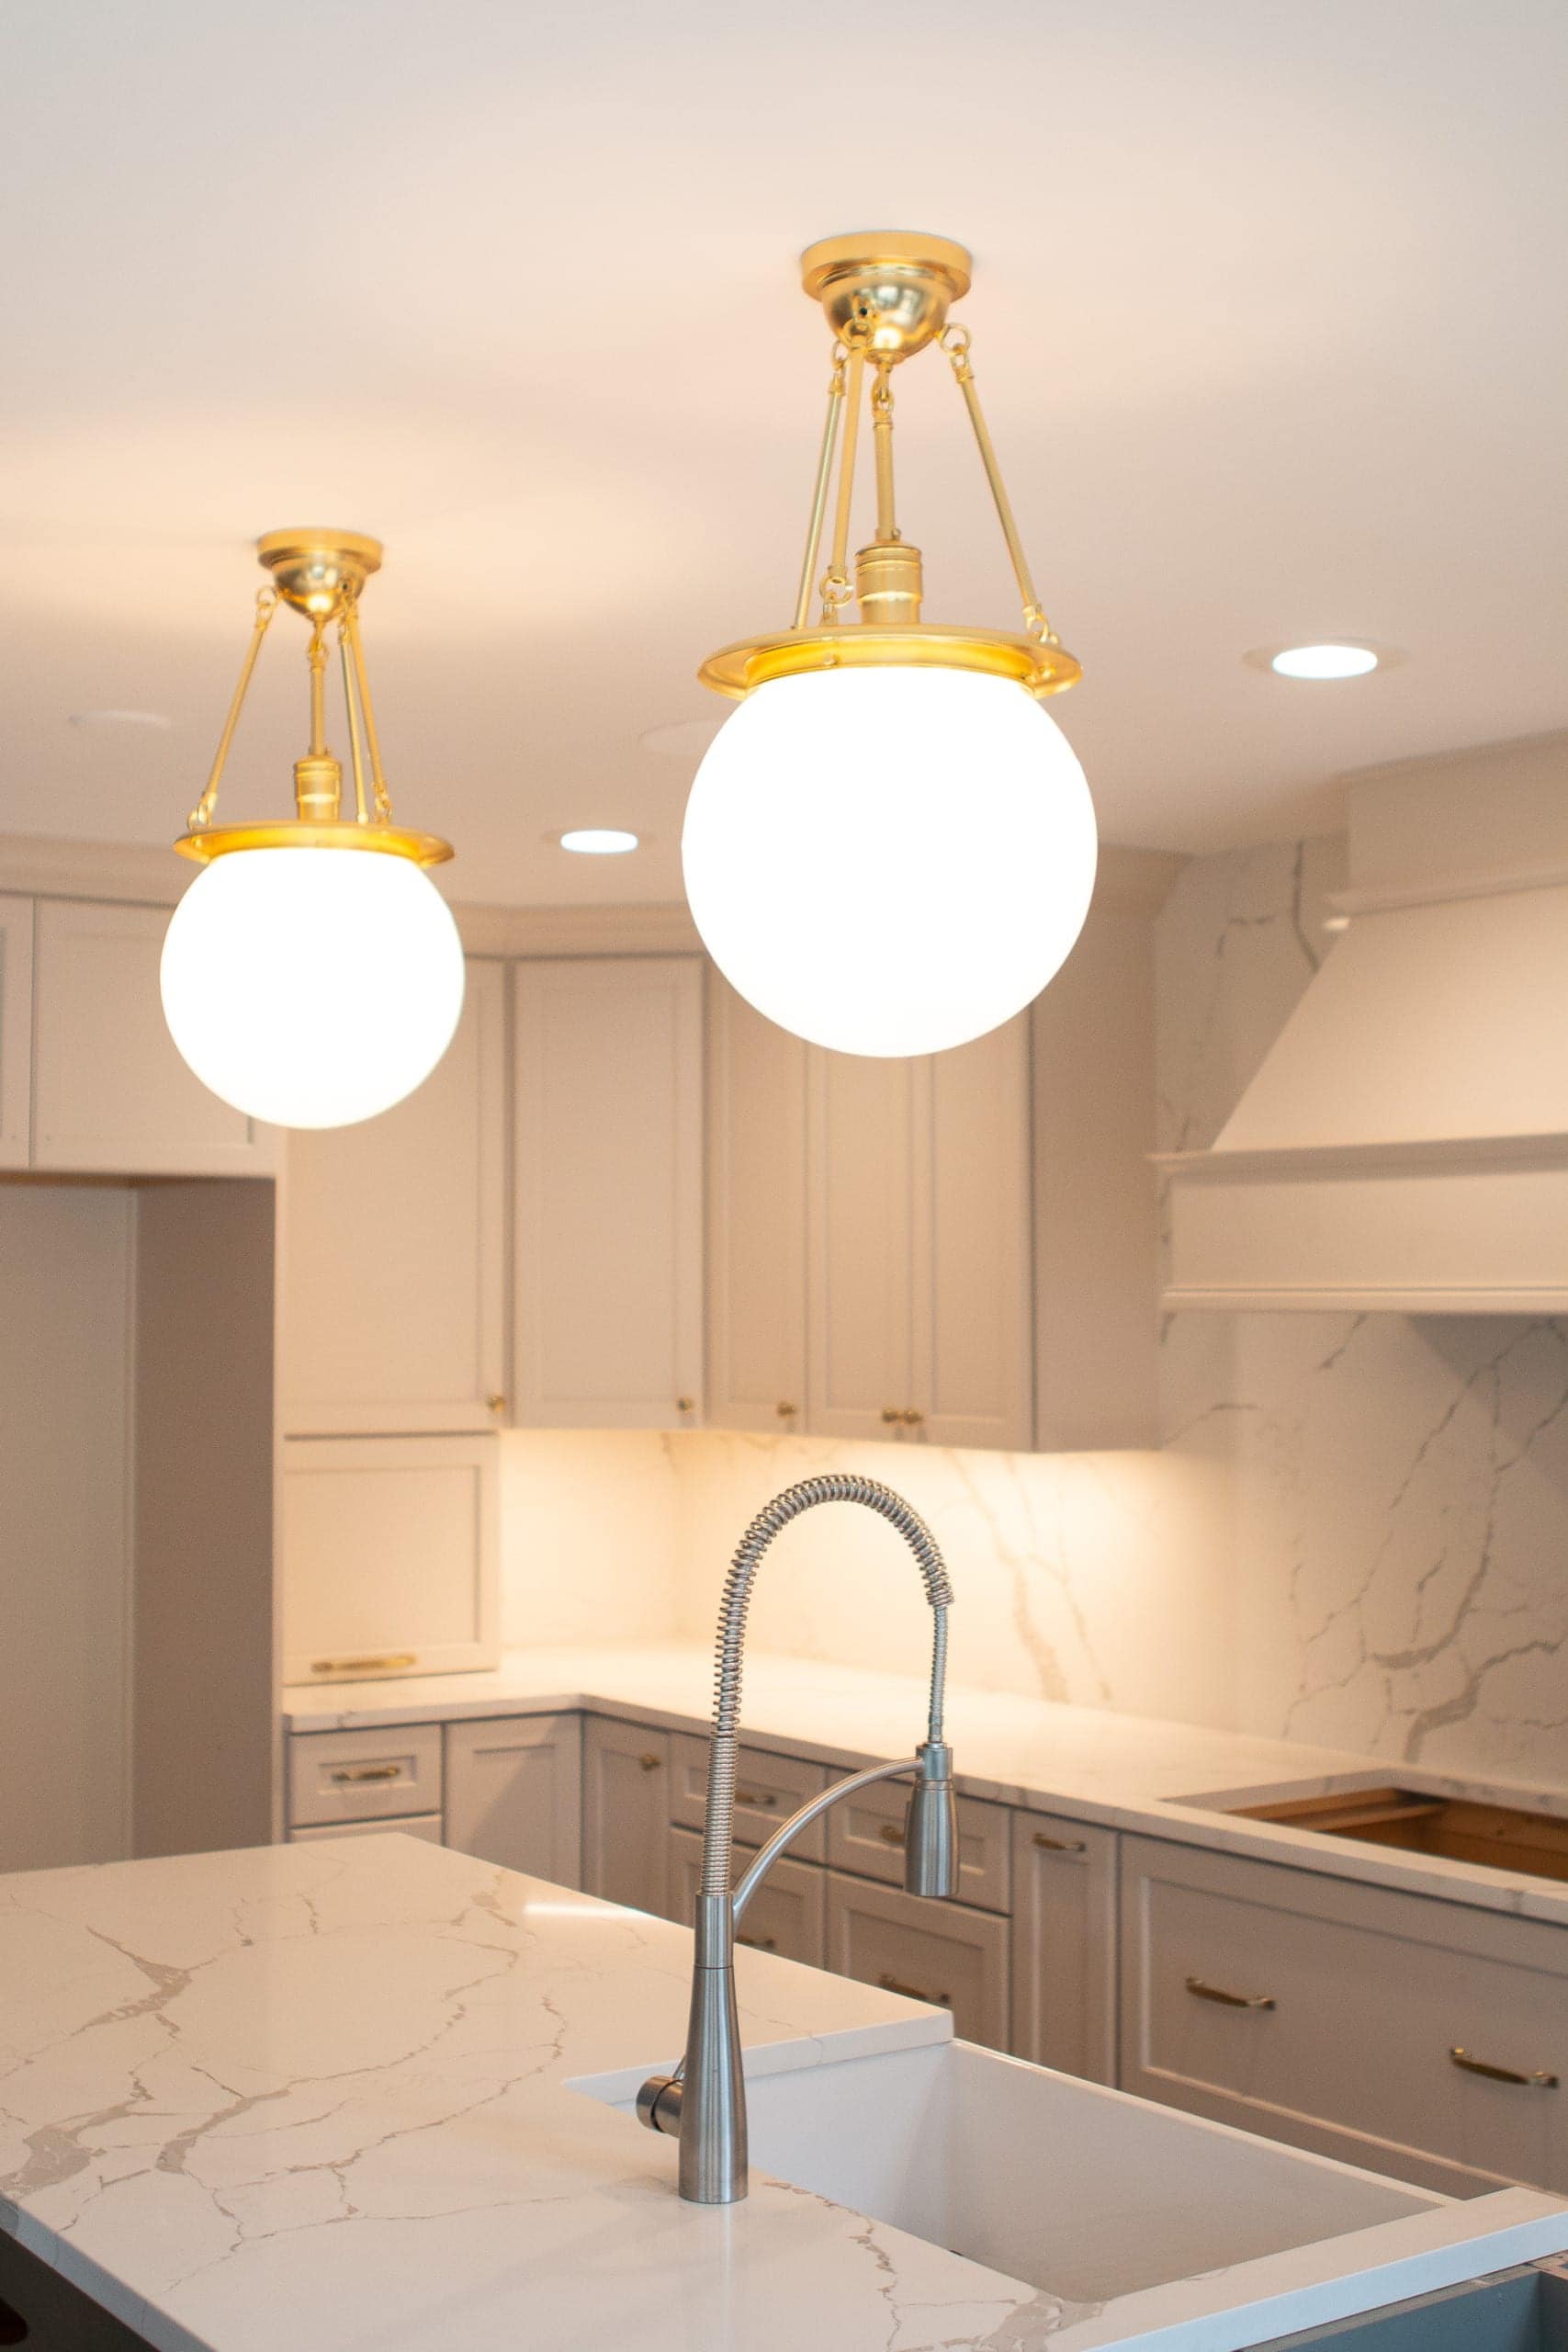
We did make a mistake when planning out the pendants. Finn centered the two fixtures on the island, without taking into account the butcher block area. He then gave those drawings to the crew. When I saw the electrical boxes in place, I immediately knew they were wrong. They were way too close together. I felt terrible, but we had the crew move them. Luckily, this was before they had patched and painted the ceiling, so it wasn’t too difficult for them to change the placement. Let our mistake be a reminder to double-check everything and review the work your crew does every night with a keen eye.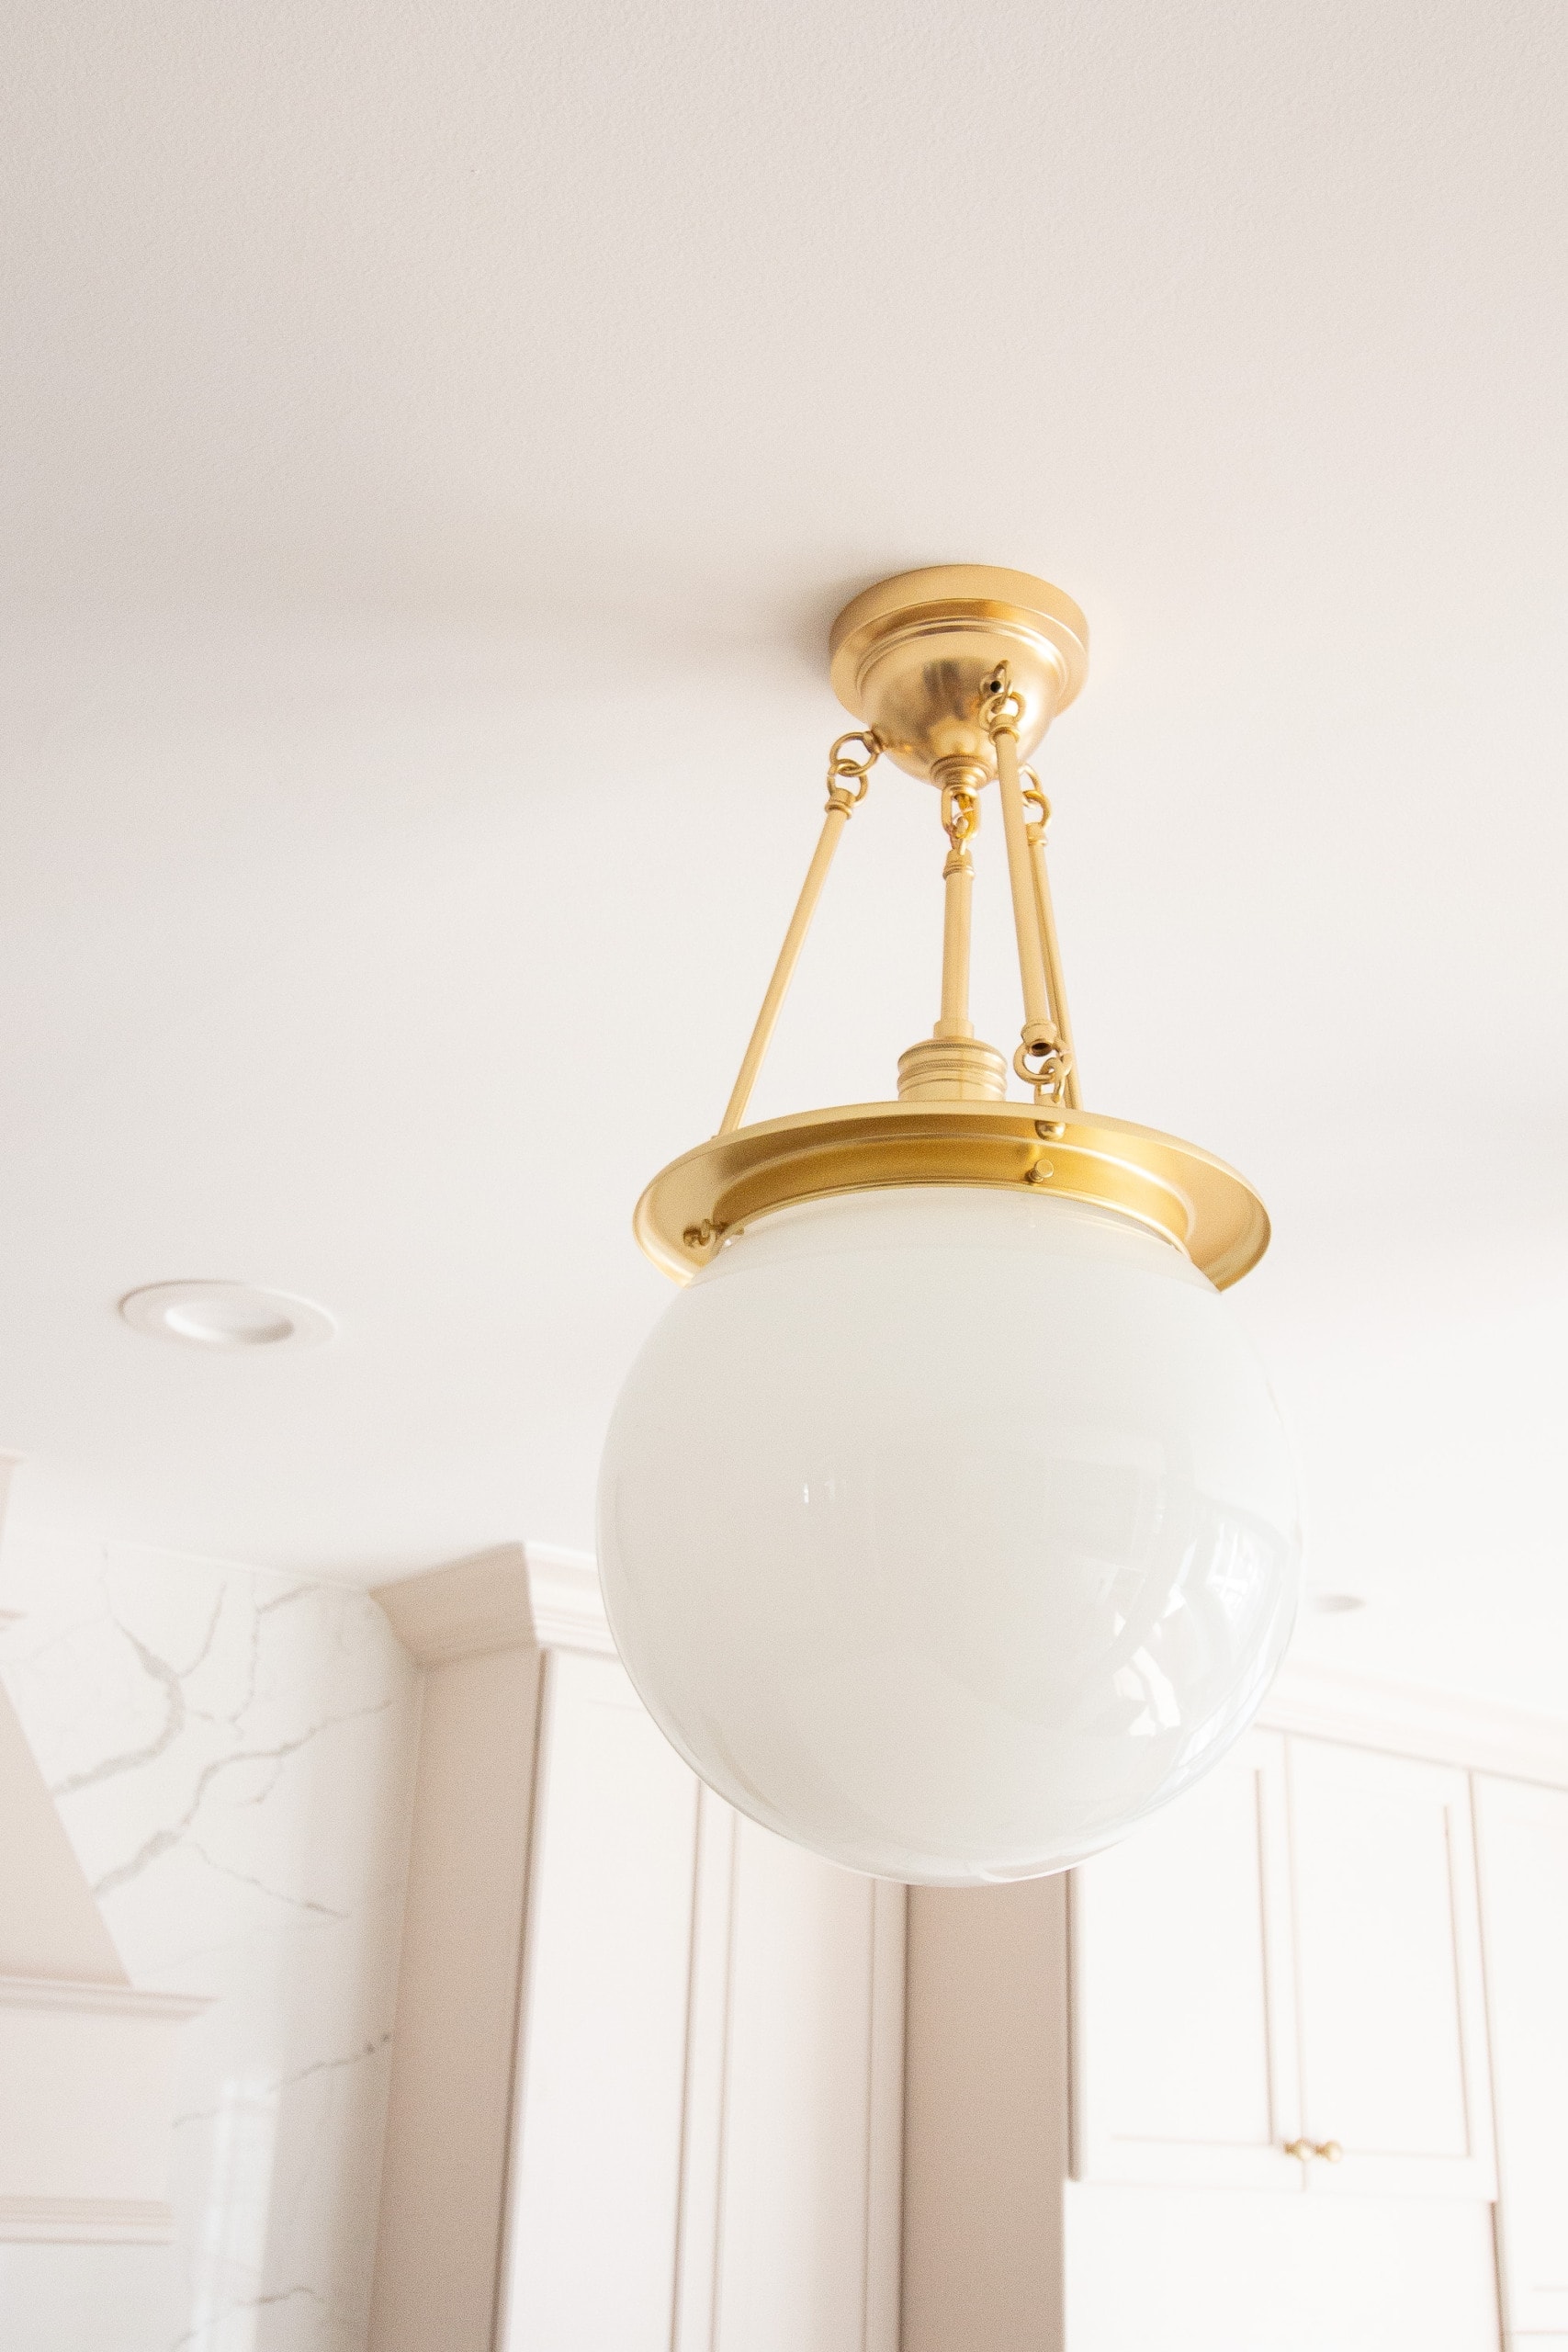
For the pendants, you have to custom order them from Rejuvenation so I was terrified that I would order incorrectly. I ended up going with the aged brass finish, the 12″ opal globe shade, and a 24″ length. I was worried they might be too big and bulky and I was especially worried about the length. (I didn’t want Finn to bump his head when doing dishes at the sink and I didn’t want them to obstruct the view of the room.) But I think they work well in this large room and I probably could have even gone a few inches longer! 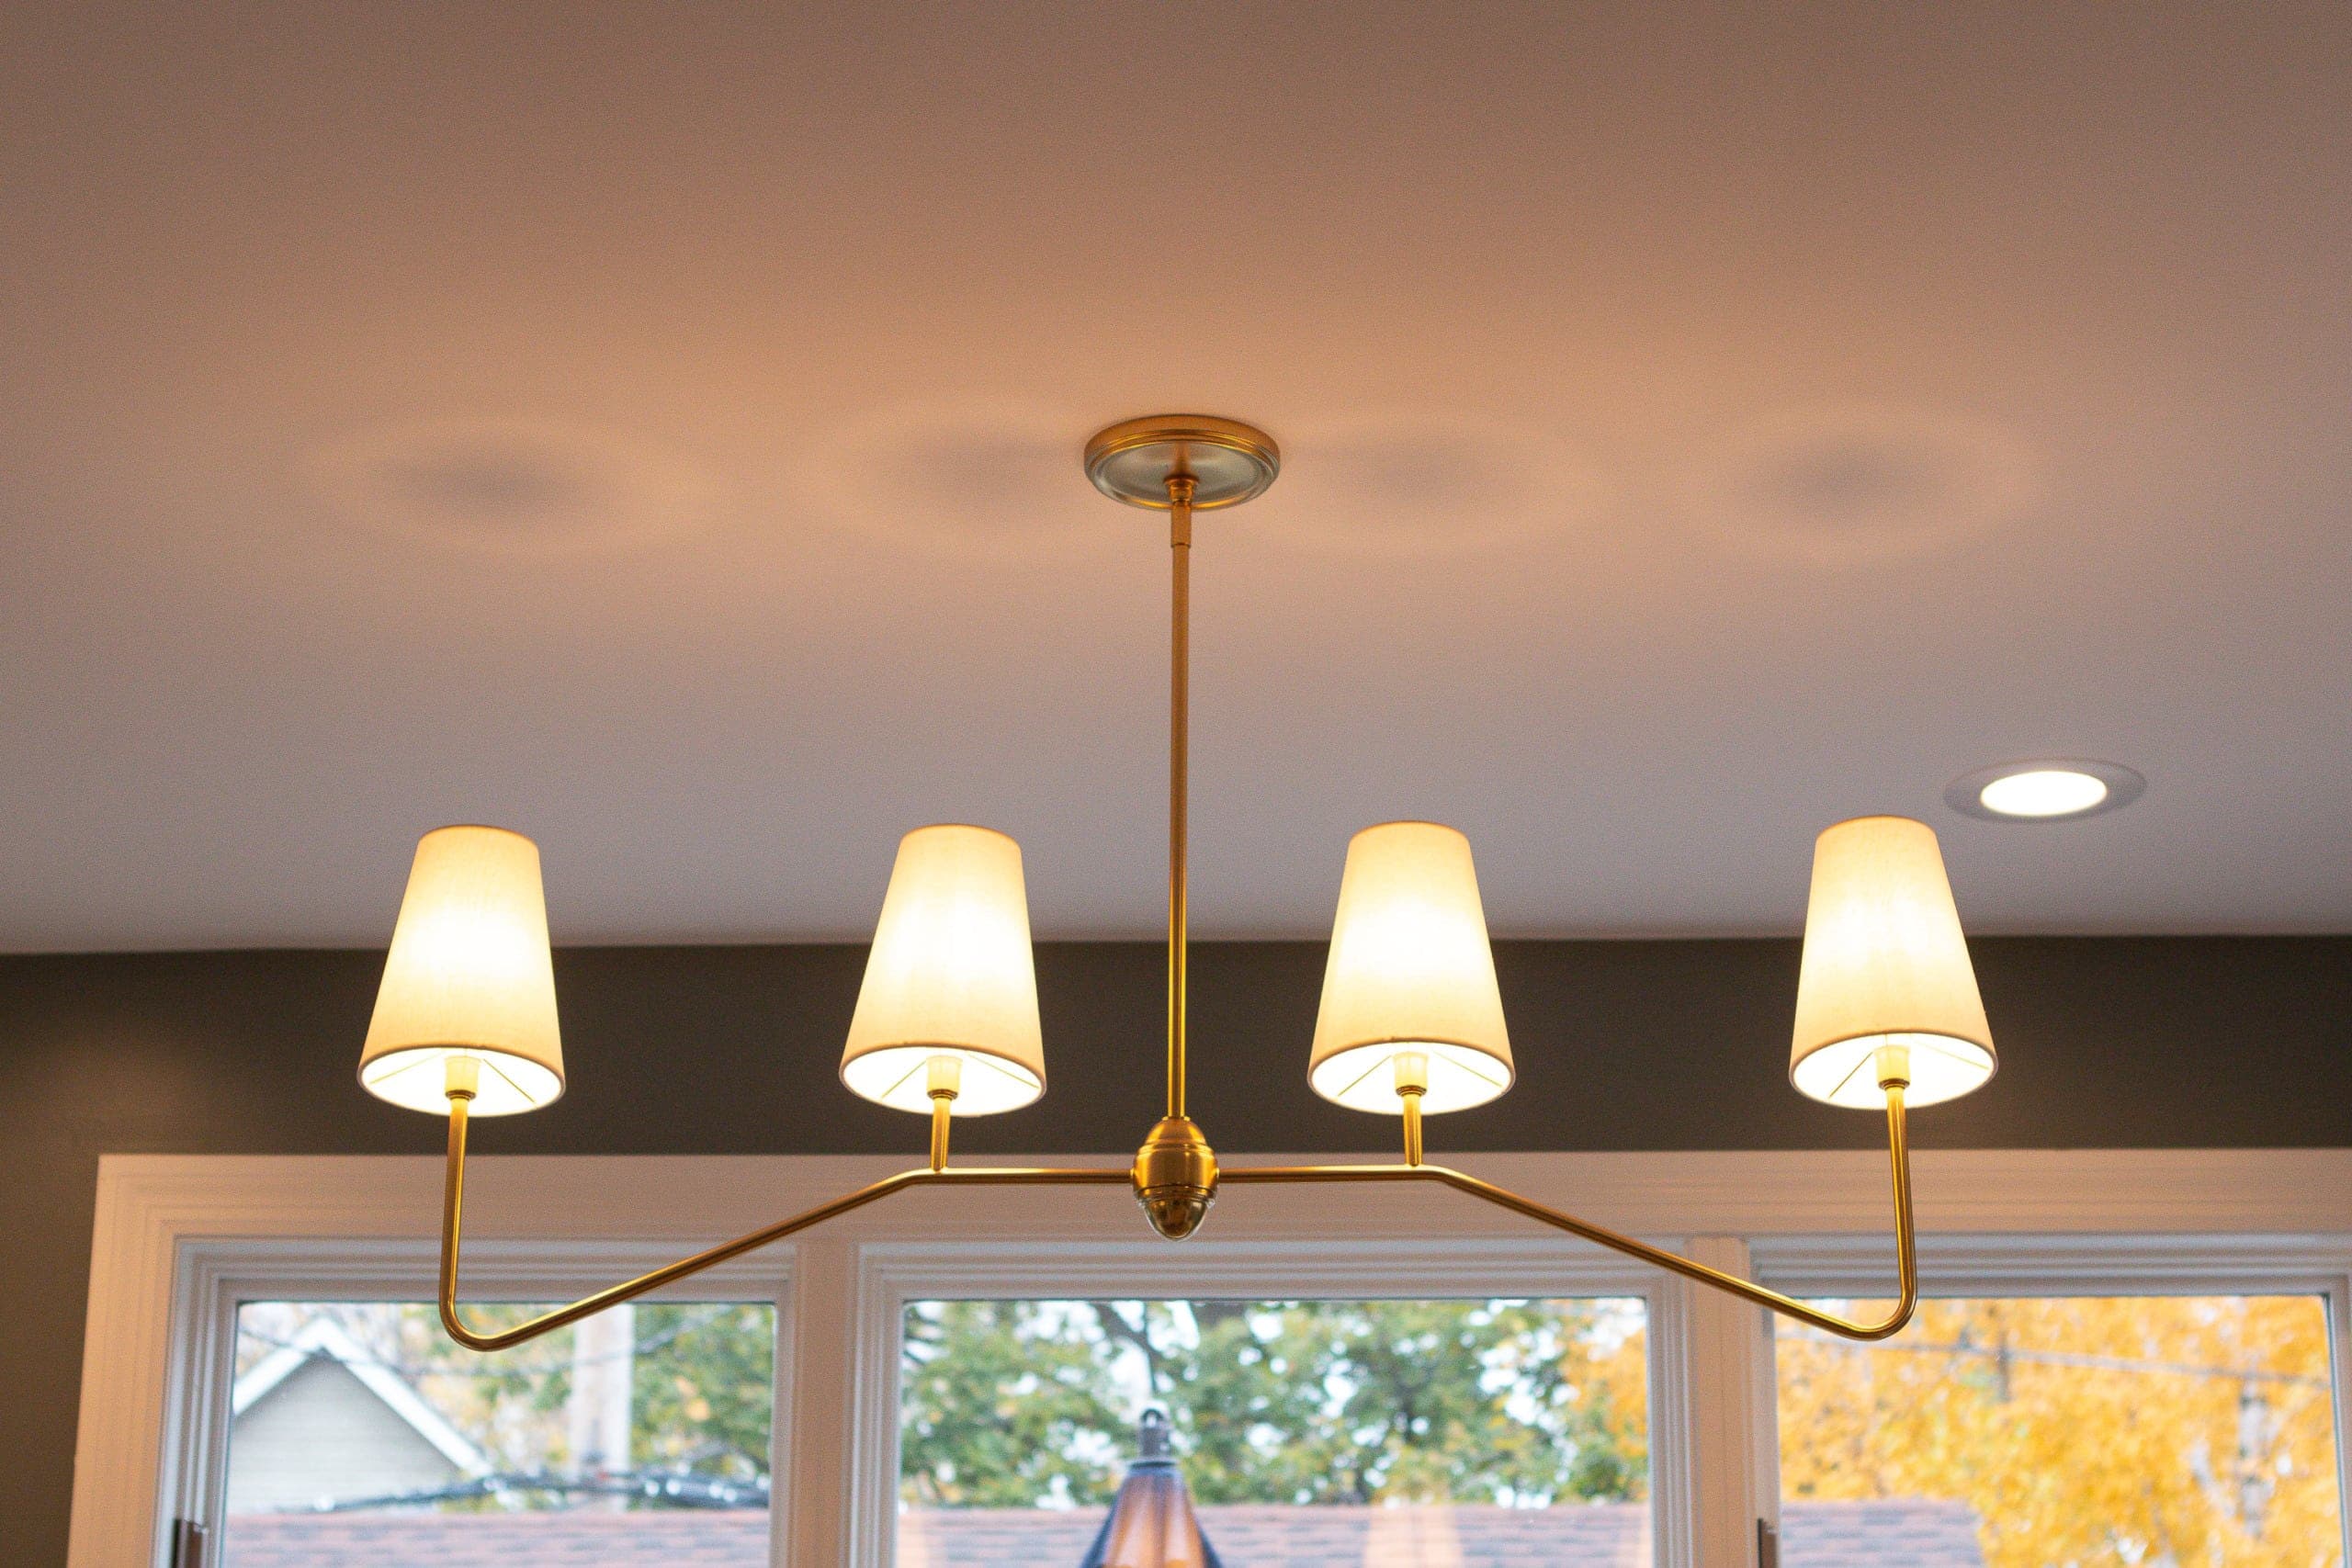
As for the chandelier, I went with this one, also in aged brass, with white linen shades. Again, I had to customize the length when I ordered and I went with the shortest option of 26 1/2″ so we would have enough clearance underneath for conversations while sitting at the dining room table.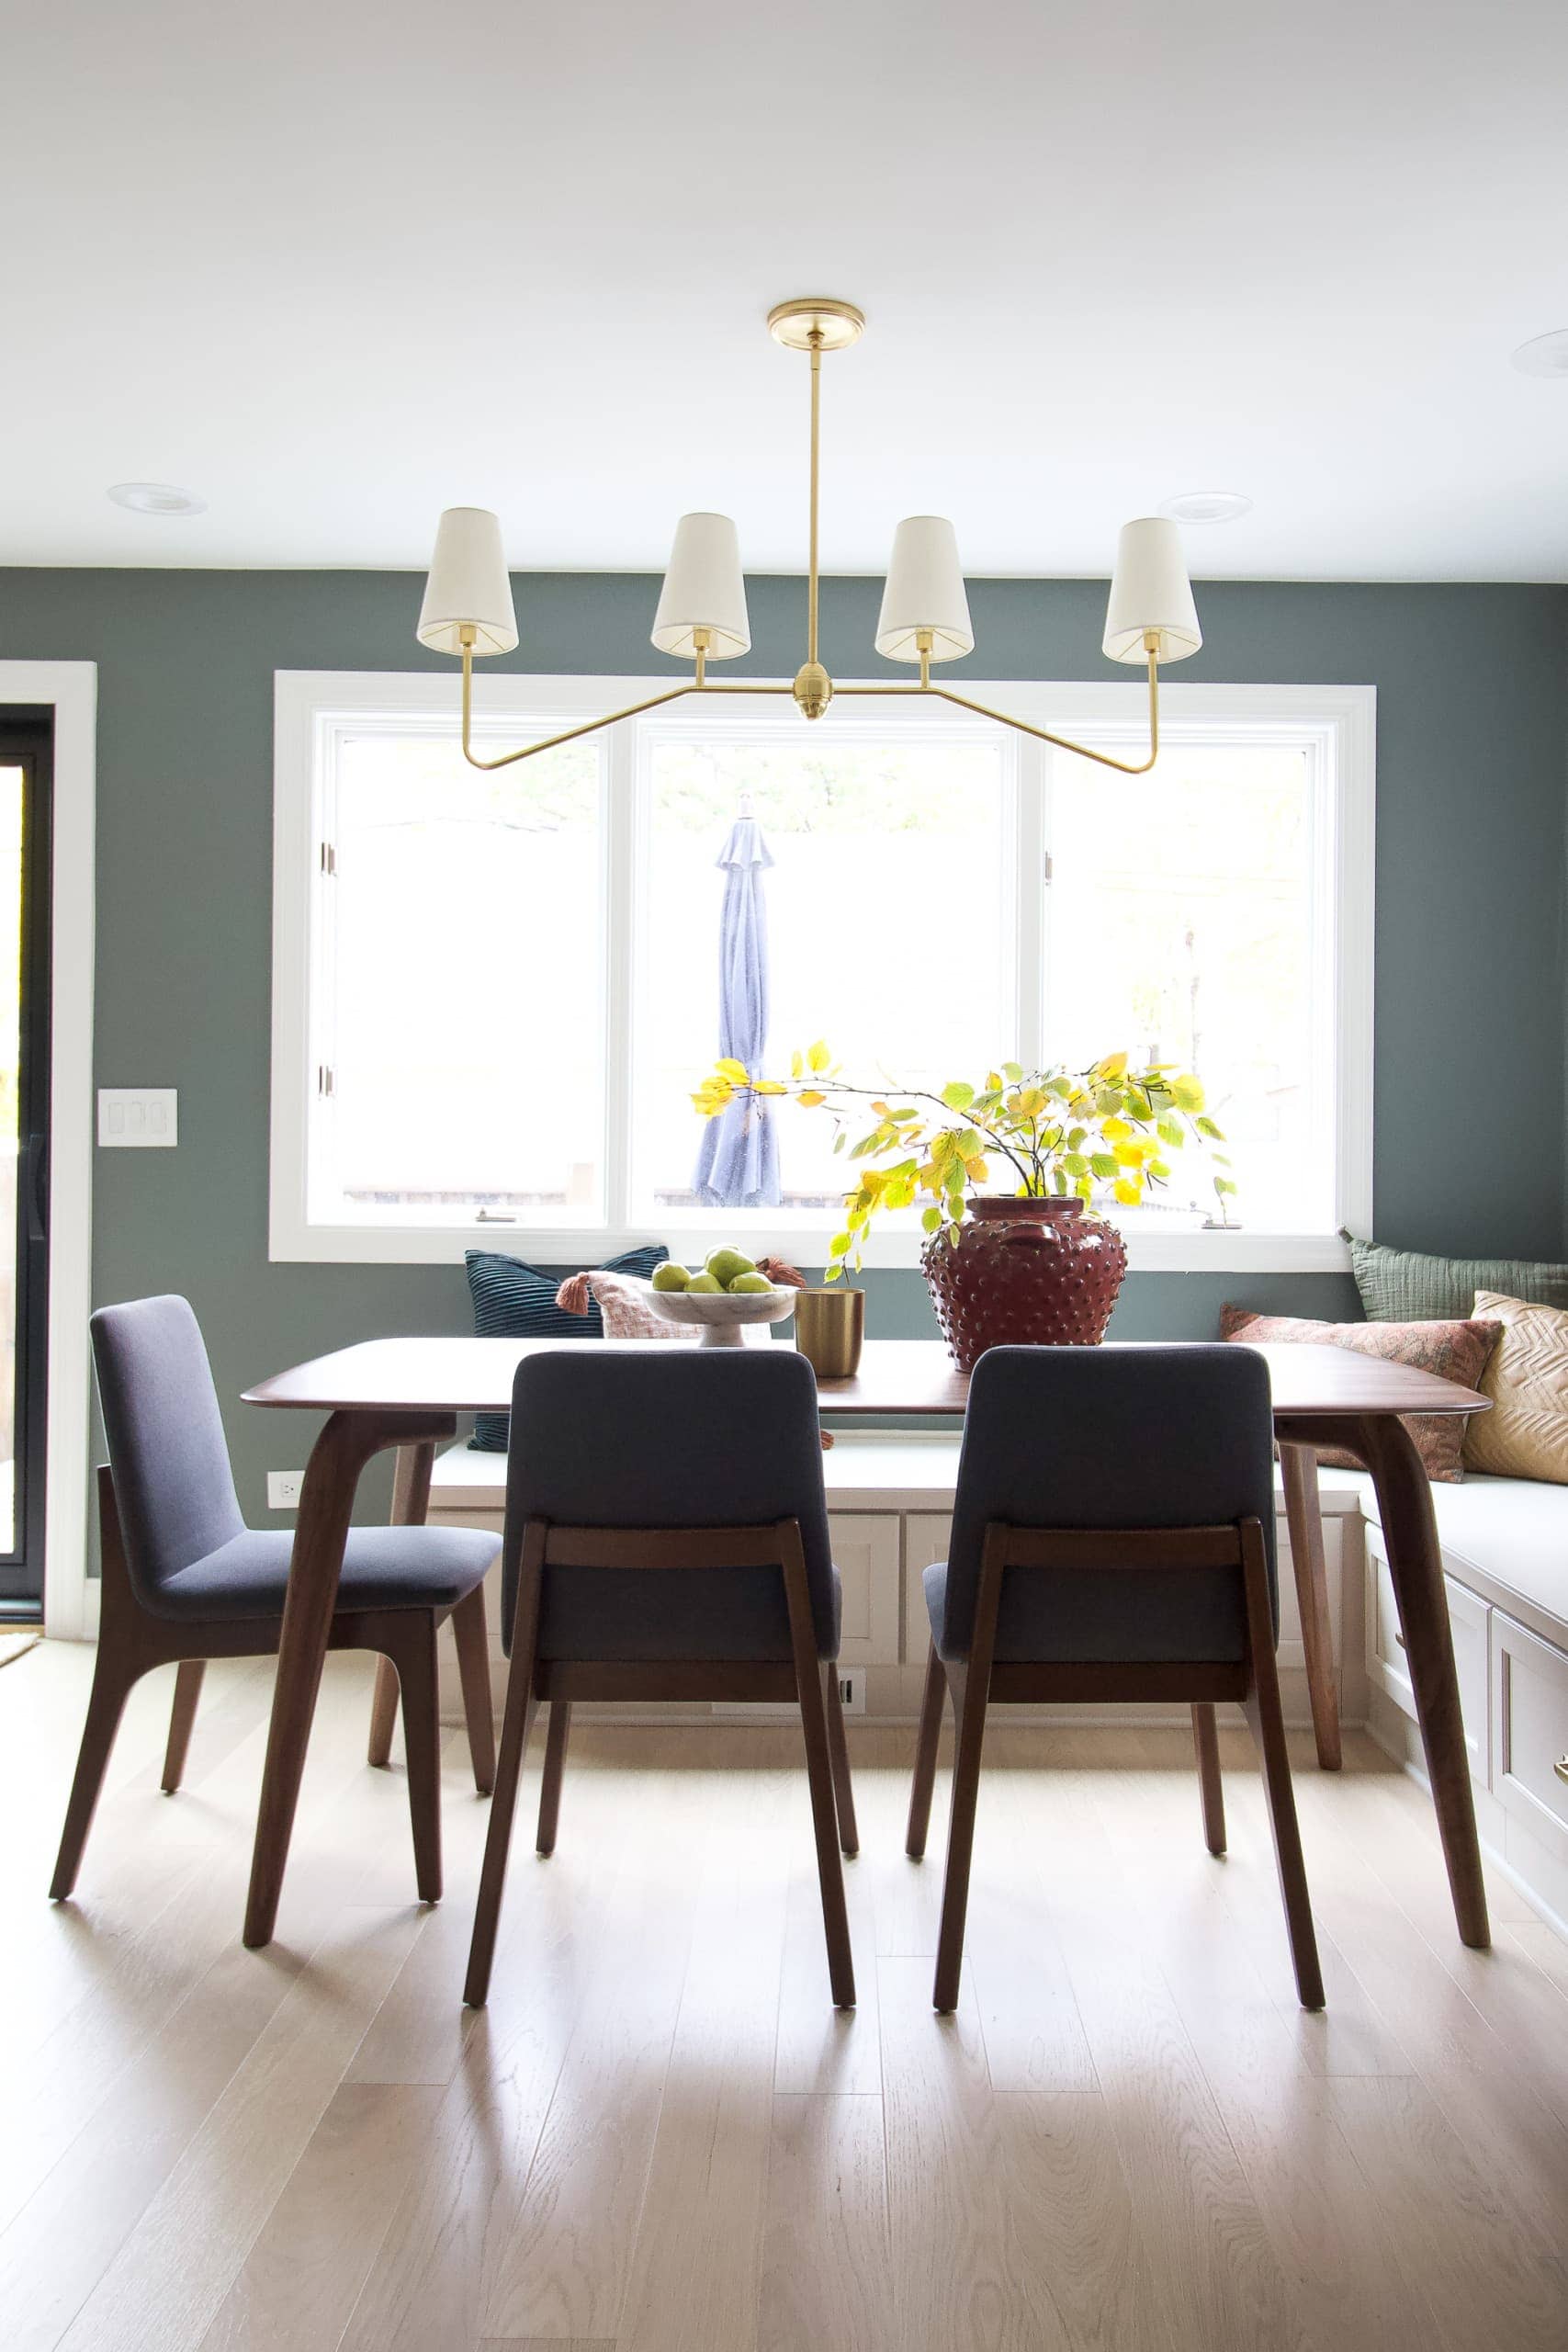
We put all of the light fixtures on dimmer switches and at night we turn them on so they softly illuminate the kitchen.
In-Cabinet Lighting
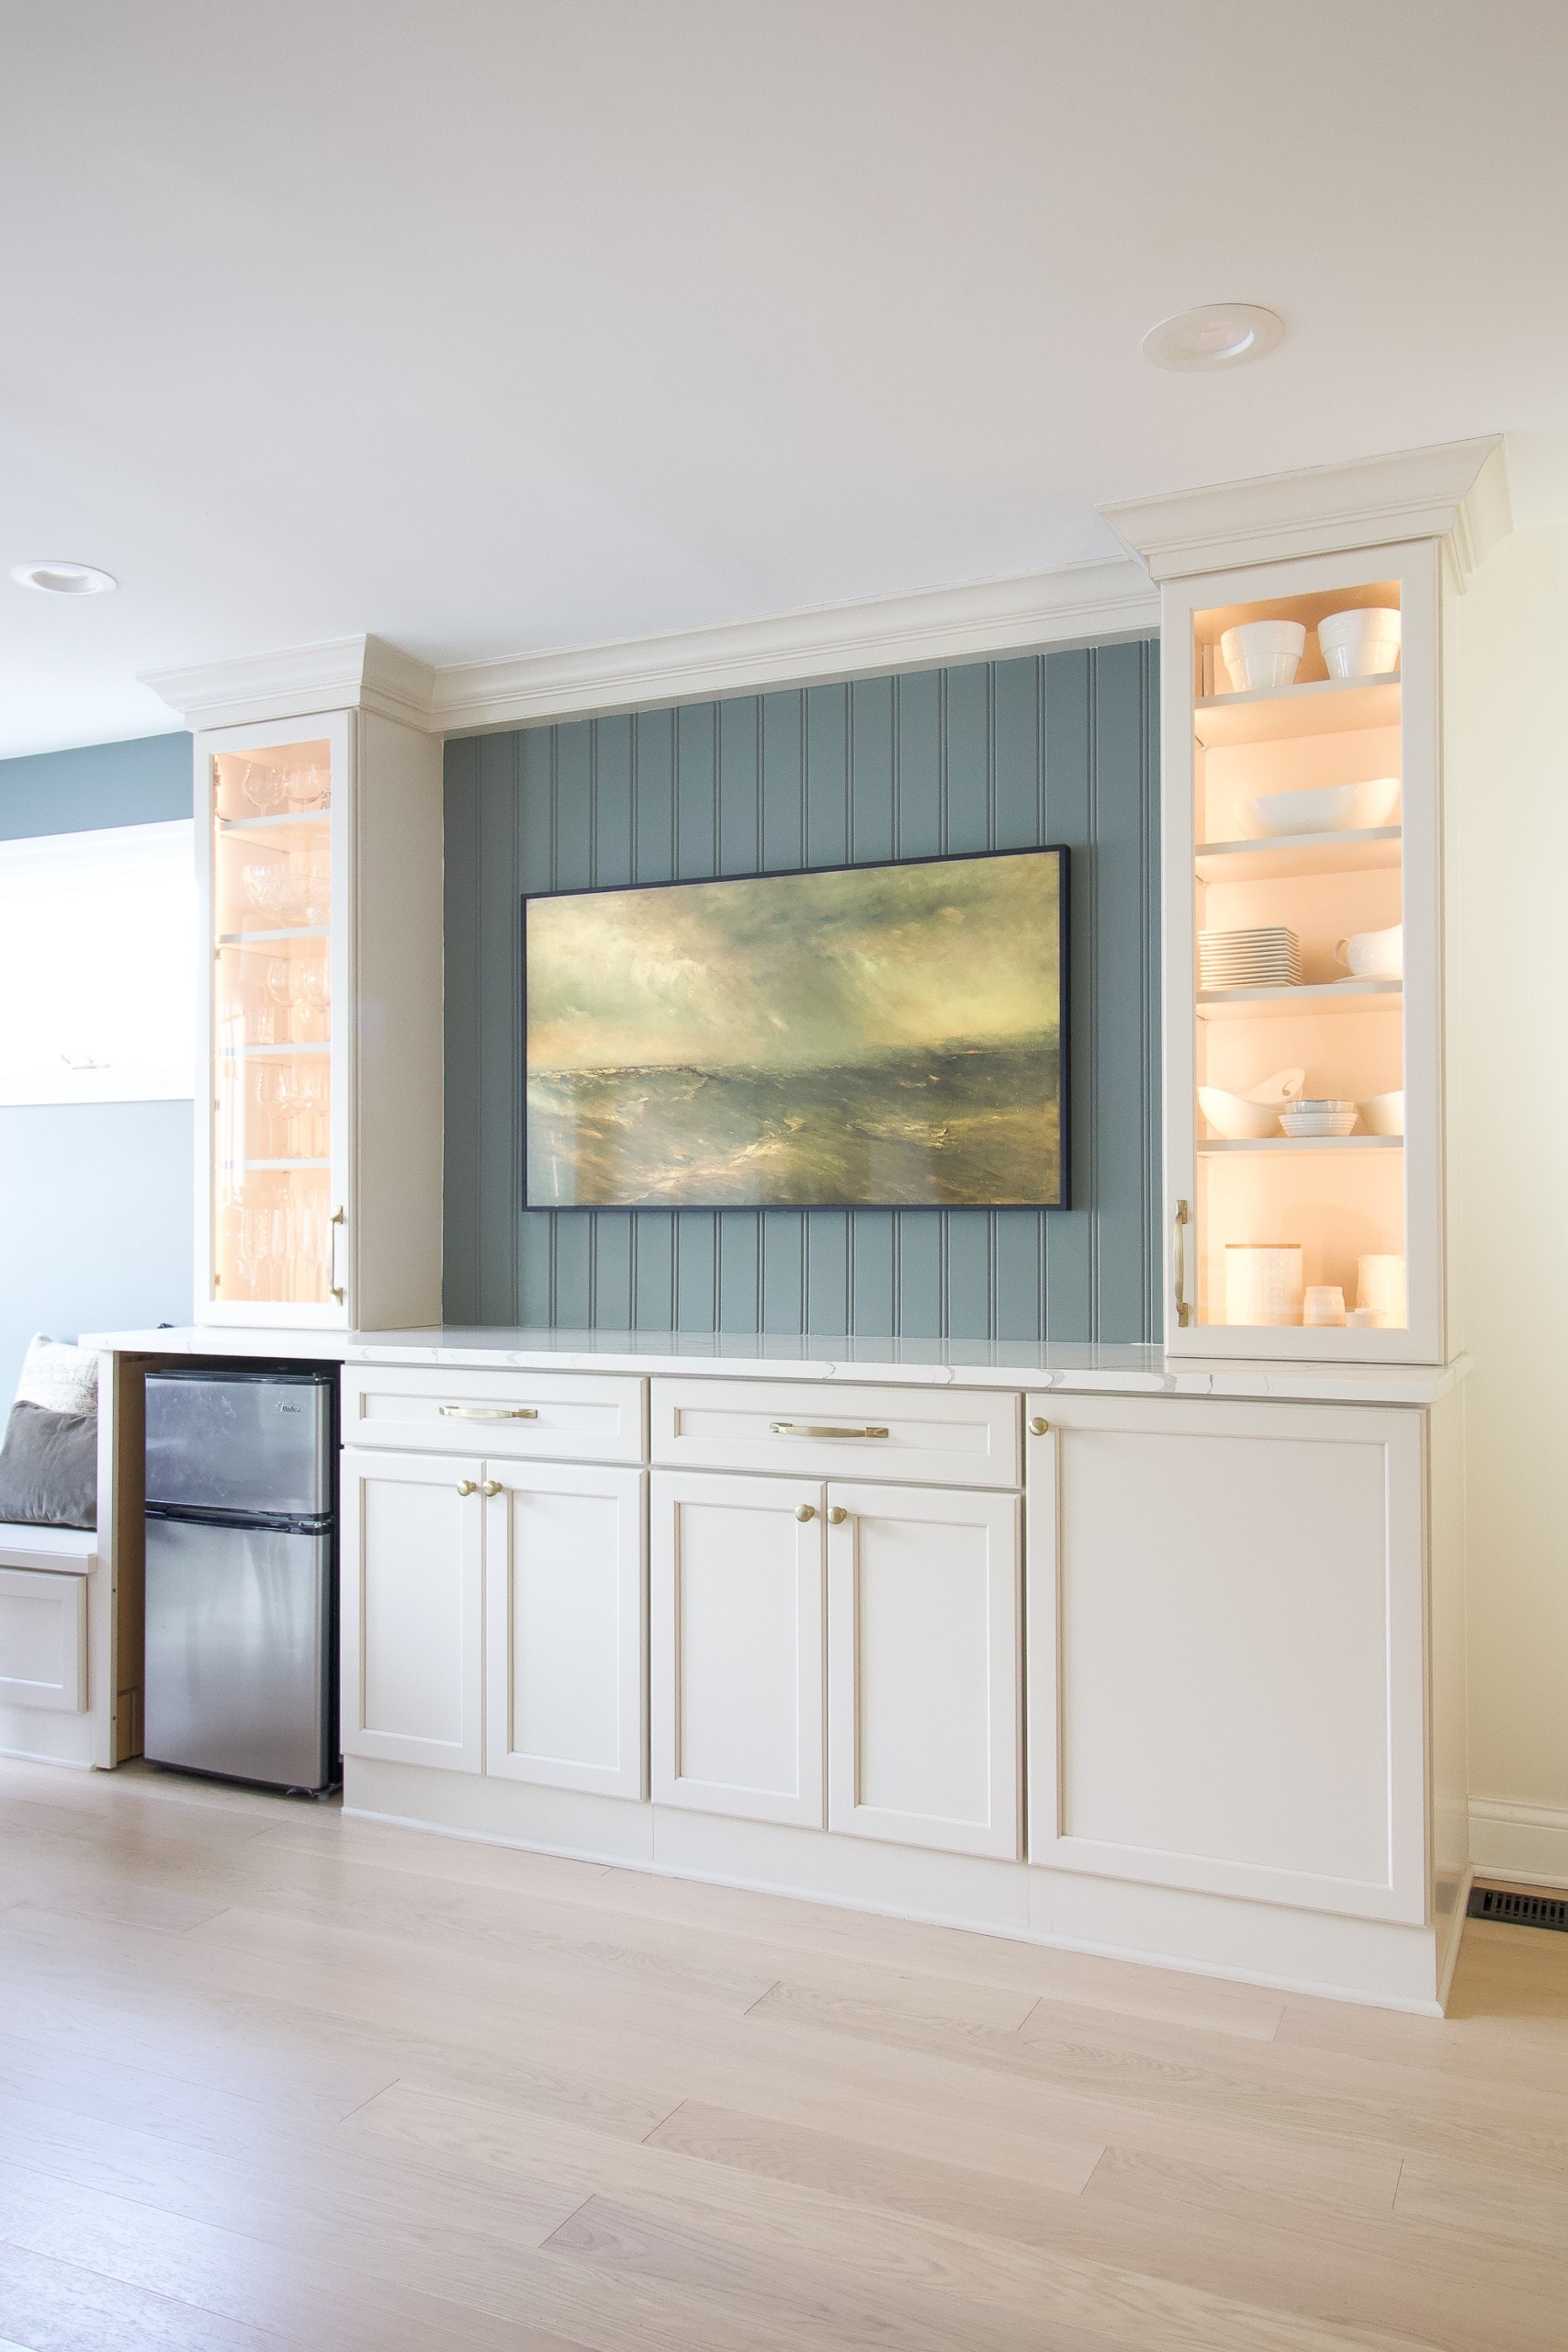
On the dry bar side of the room, we added this tape light to the front inside of each glass cabinet. (P.S. our wine fridge isn’t here yet, so the fridge you see is our mini-fridge that we bought for our temporary kitchen in the basement!)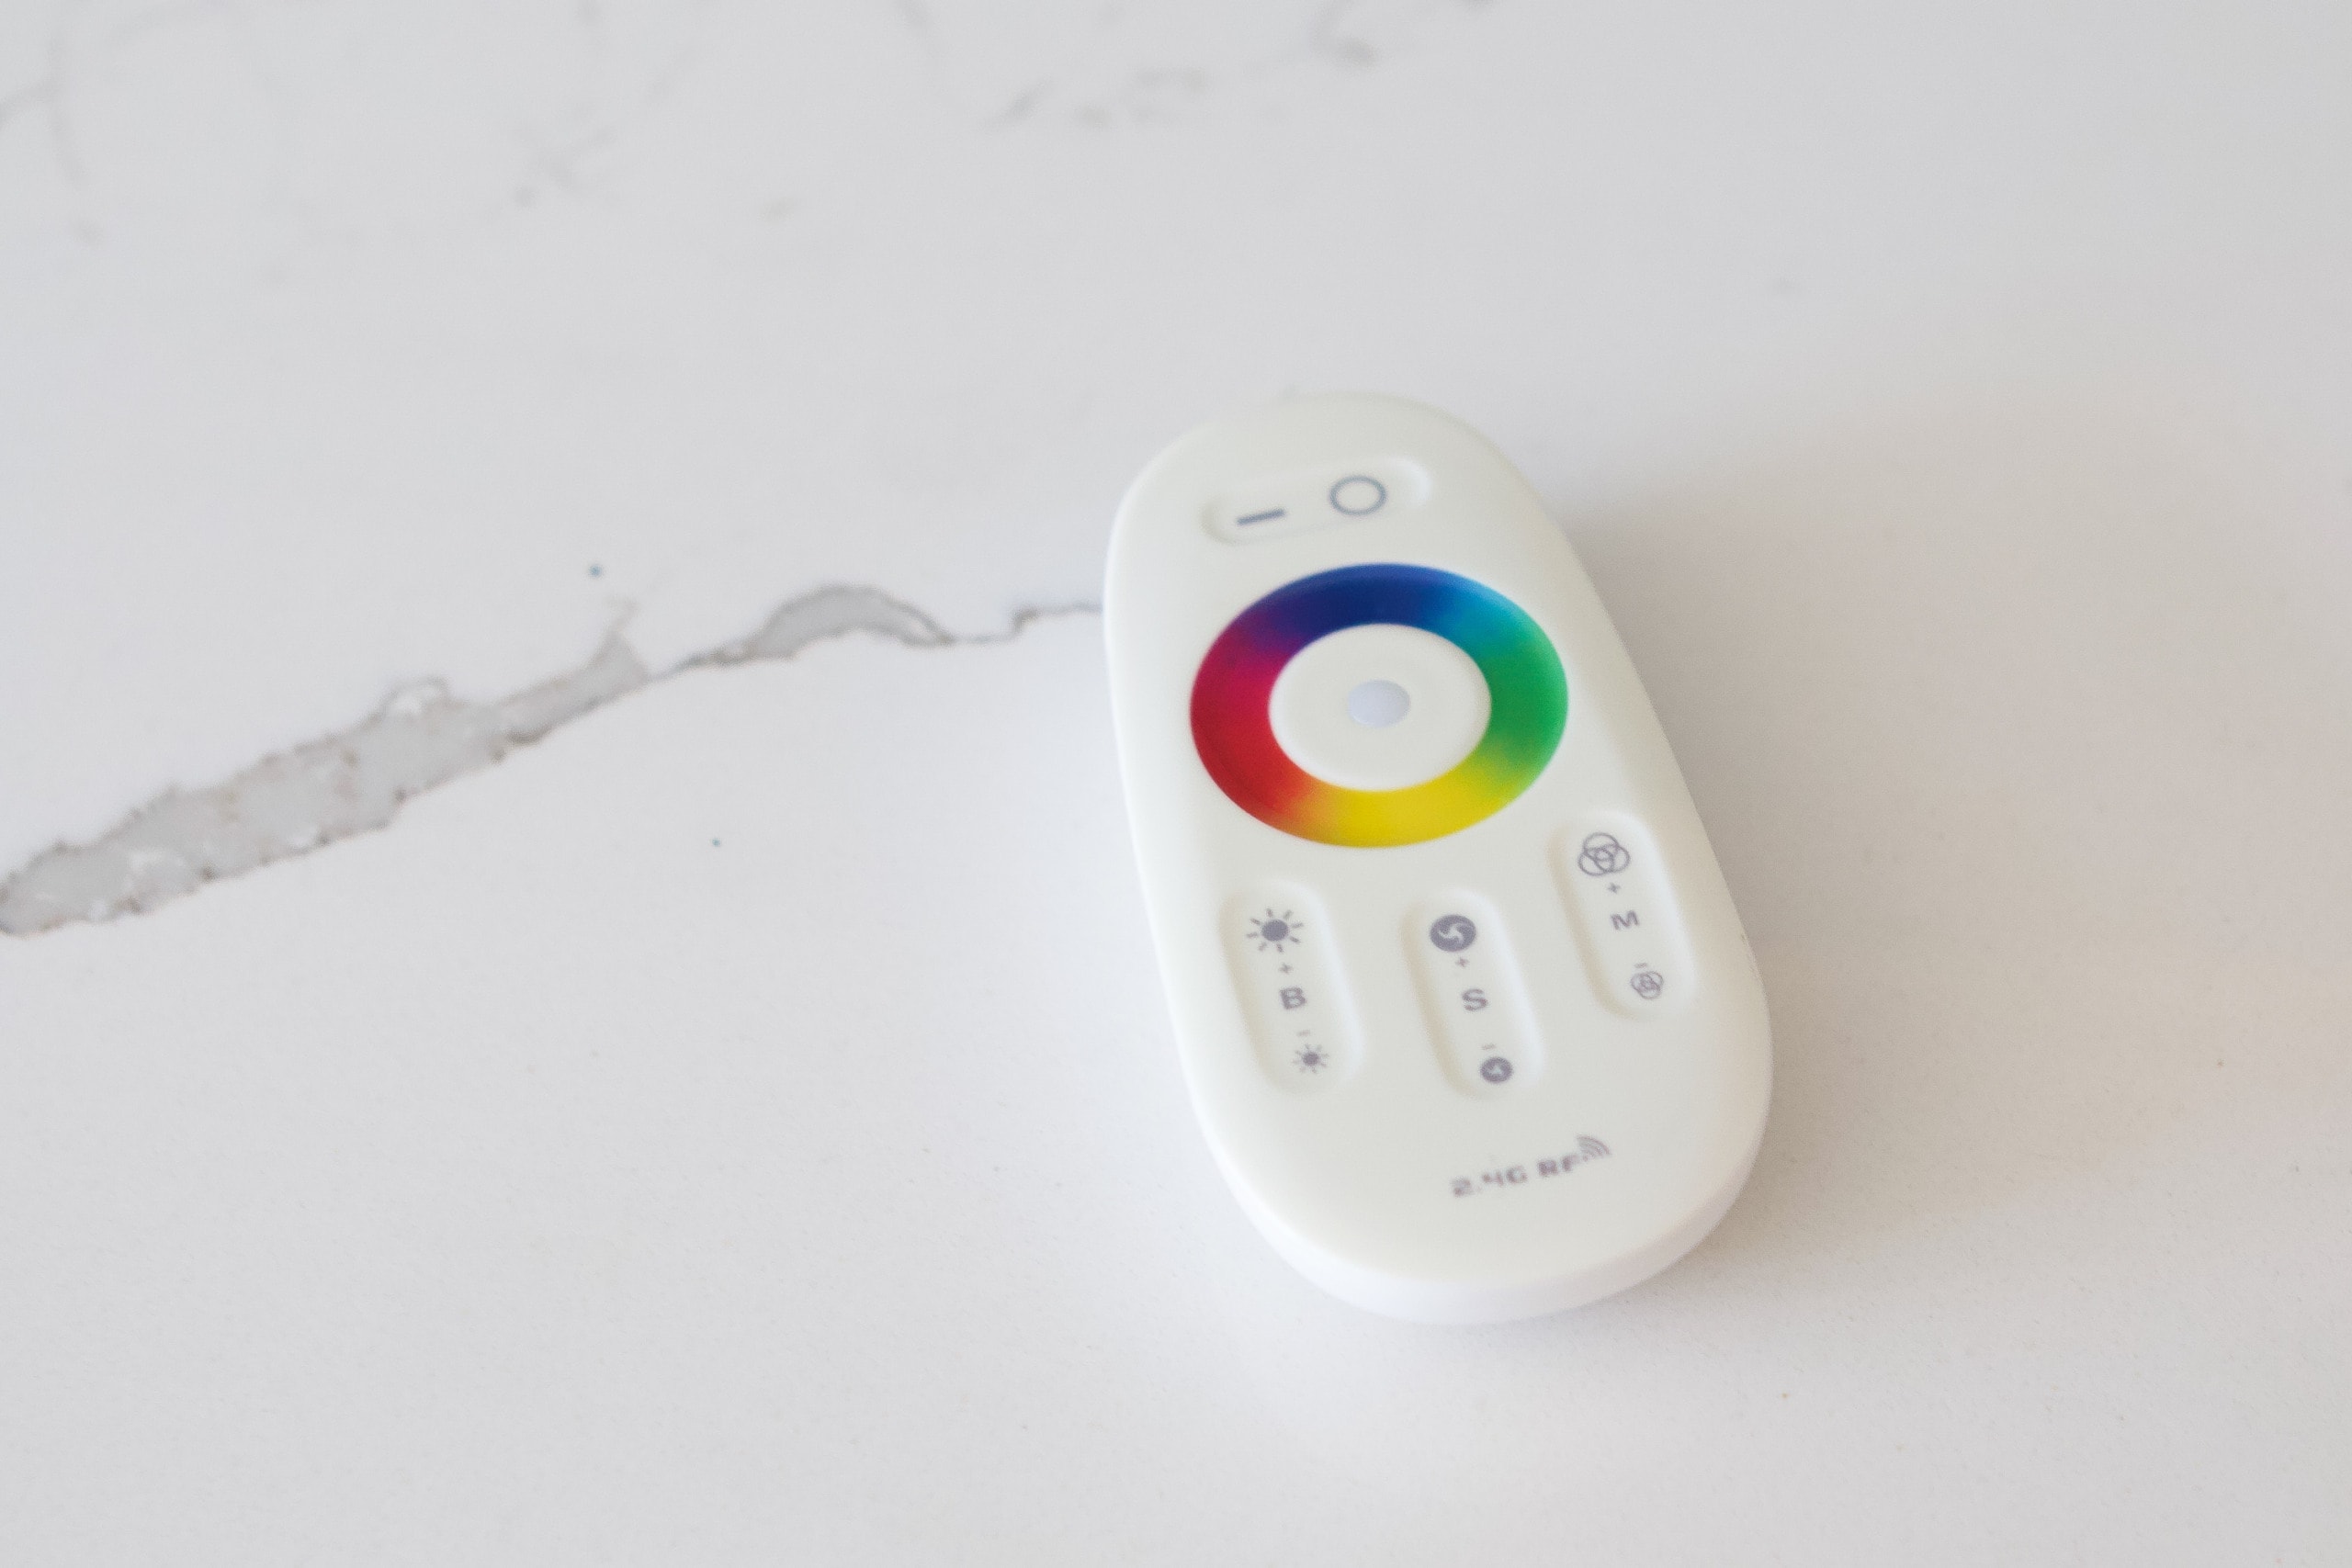 These lights come with a remote control to turn them on and off, change the color, change the brightness, and you can even set them to transition between colors – for a disco effect!
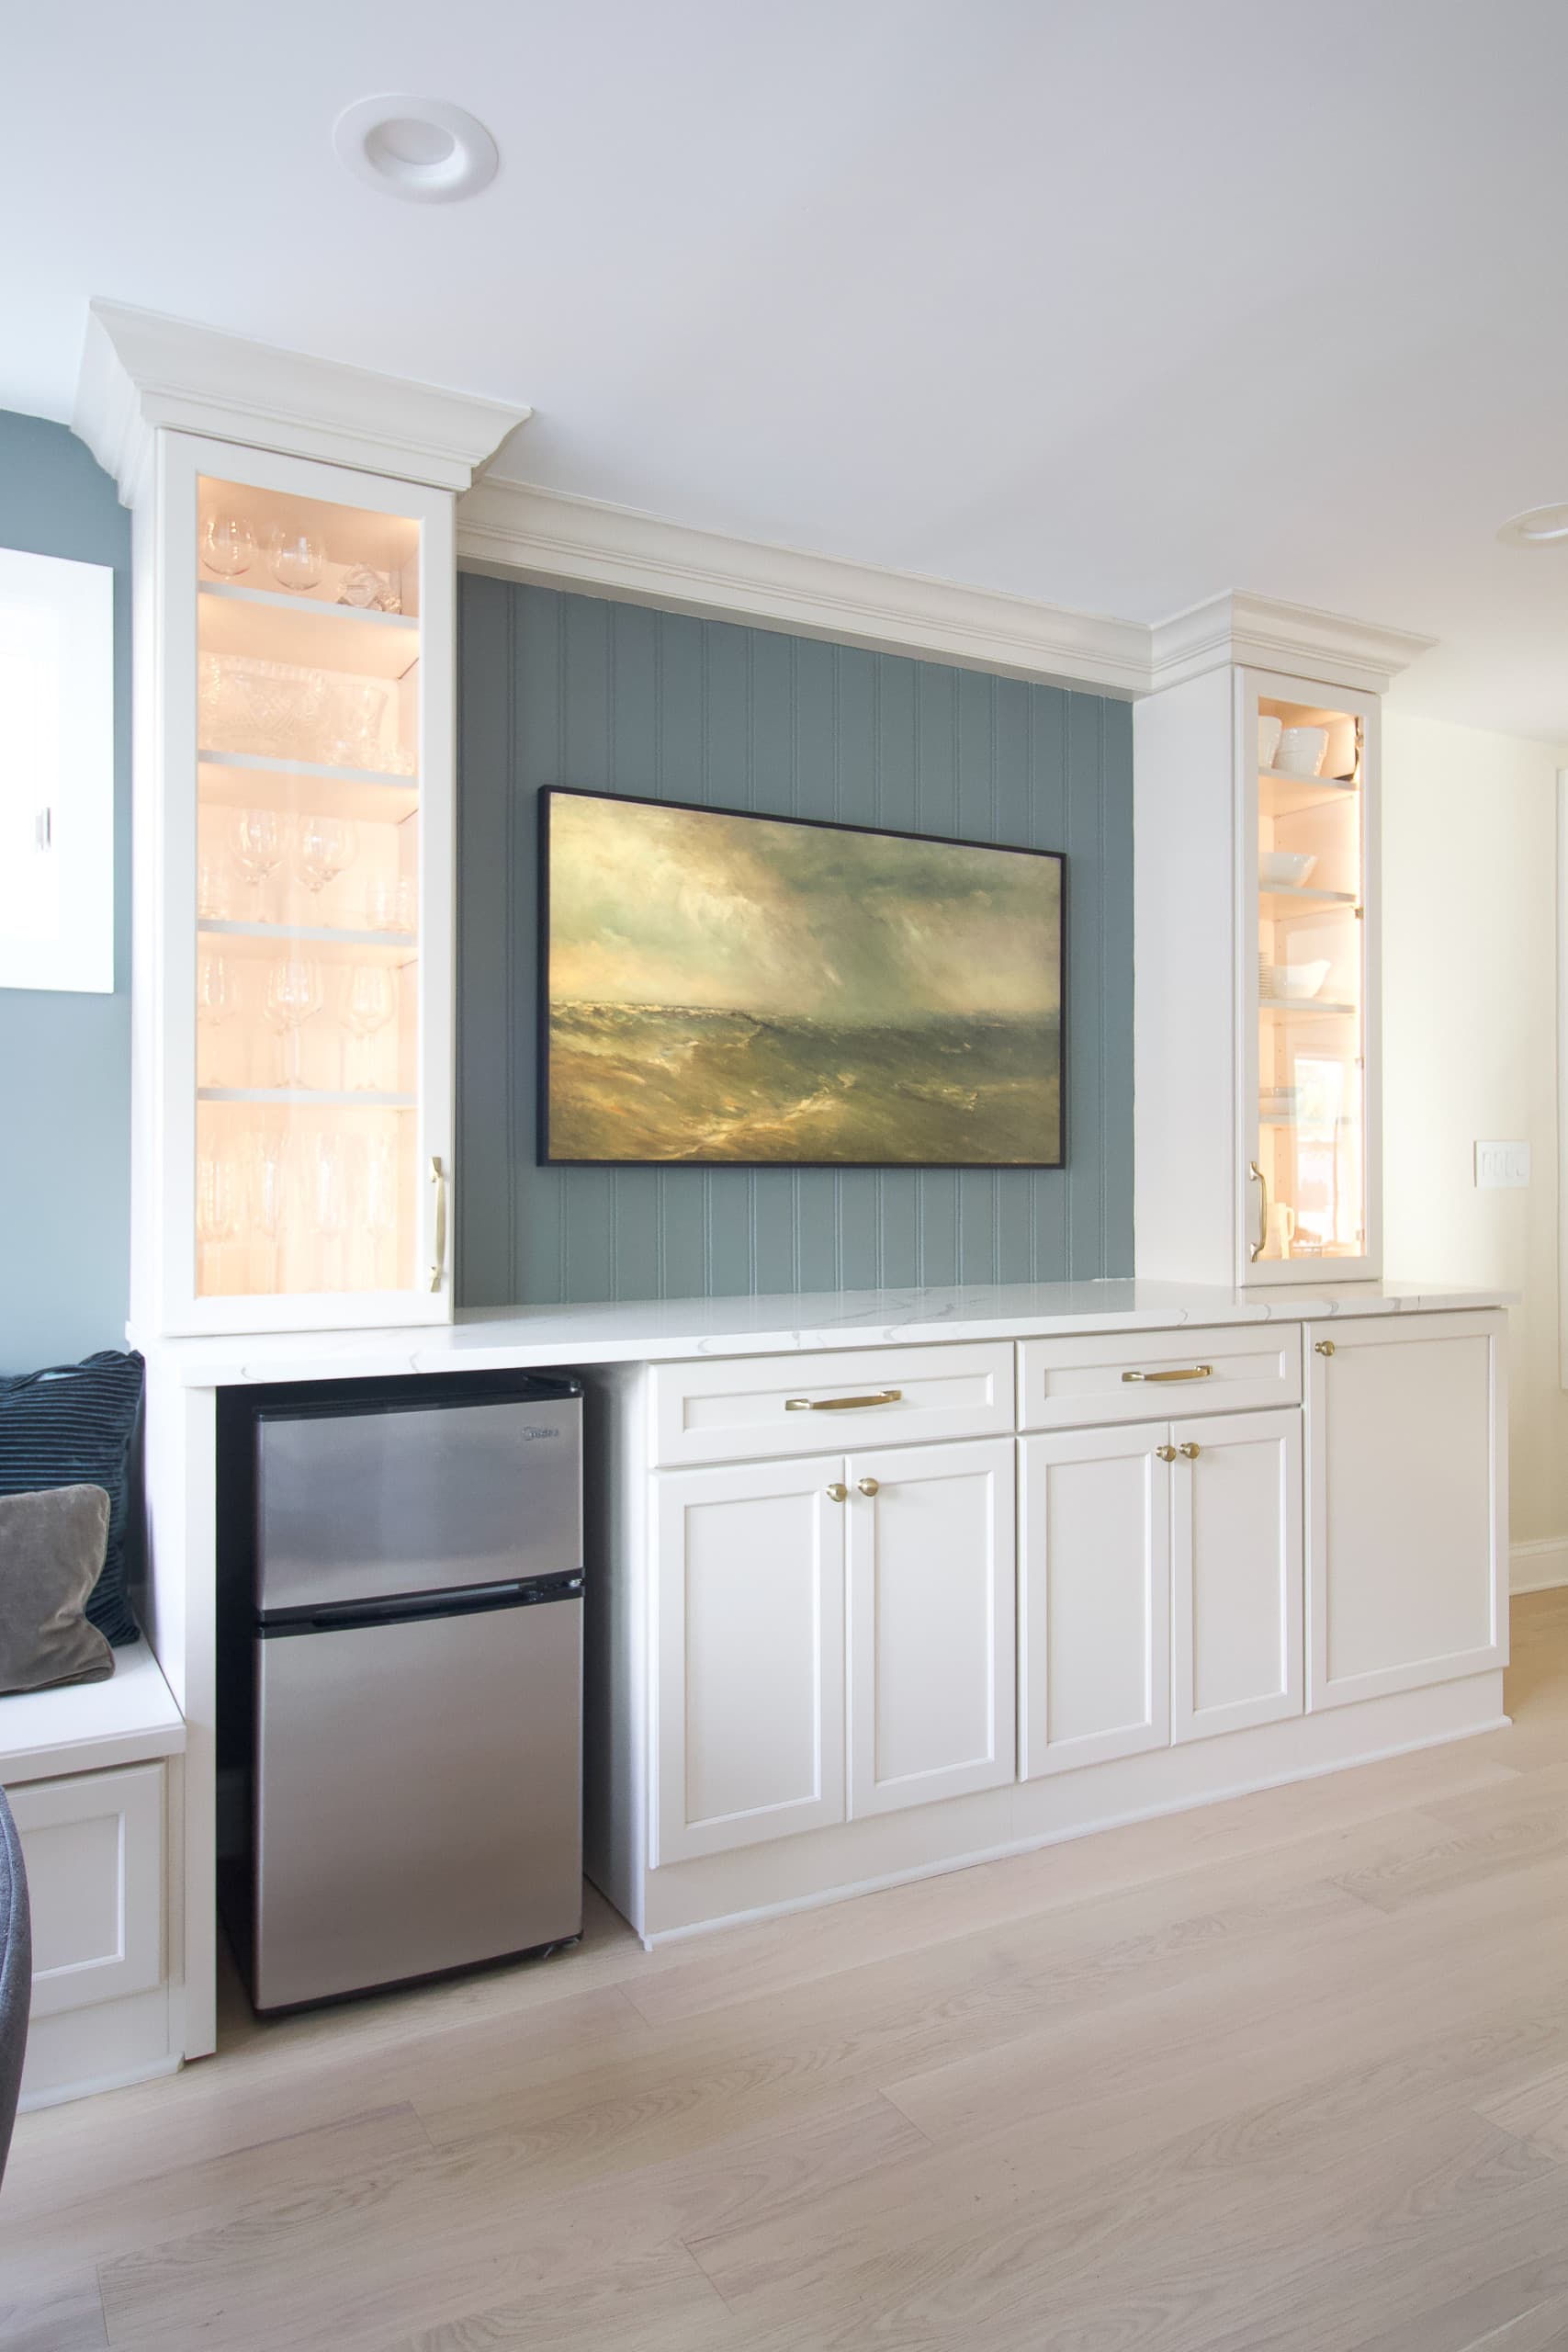
On the left cabinet (above the eventual real wine fridge), we have all of our wine glasses and fancy glassware. 
They look so sparkly all lit up like that with the pretty lights illuminating the front. 
While I keep our everyday wine glasses down low for easy access, up top I have a few special pieces. The Waterford bowls and other items are family heirlooms, once belonging to my great-grandmother. 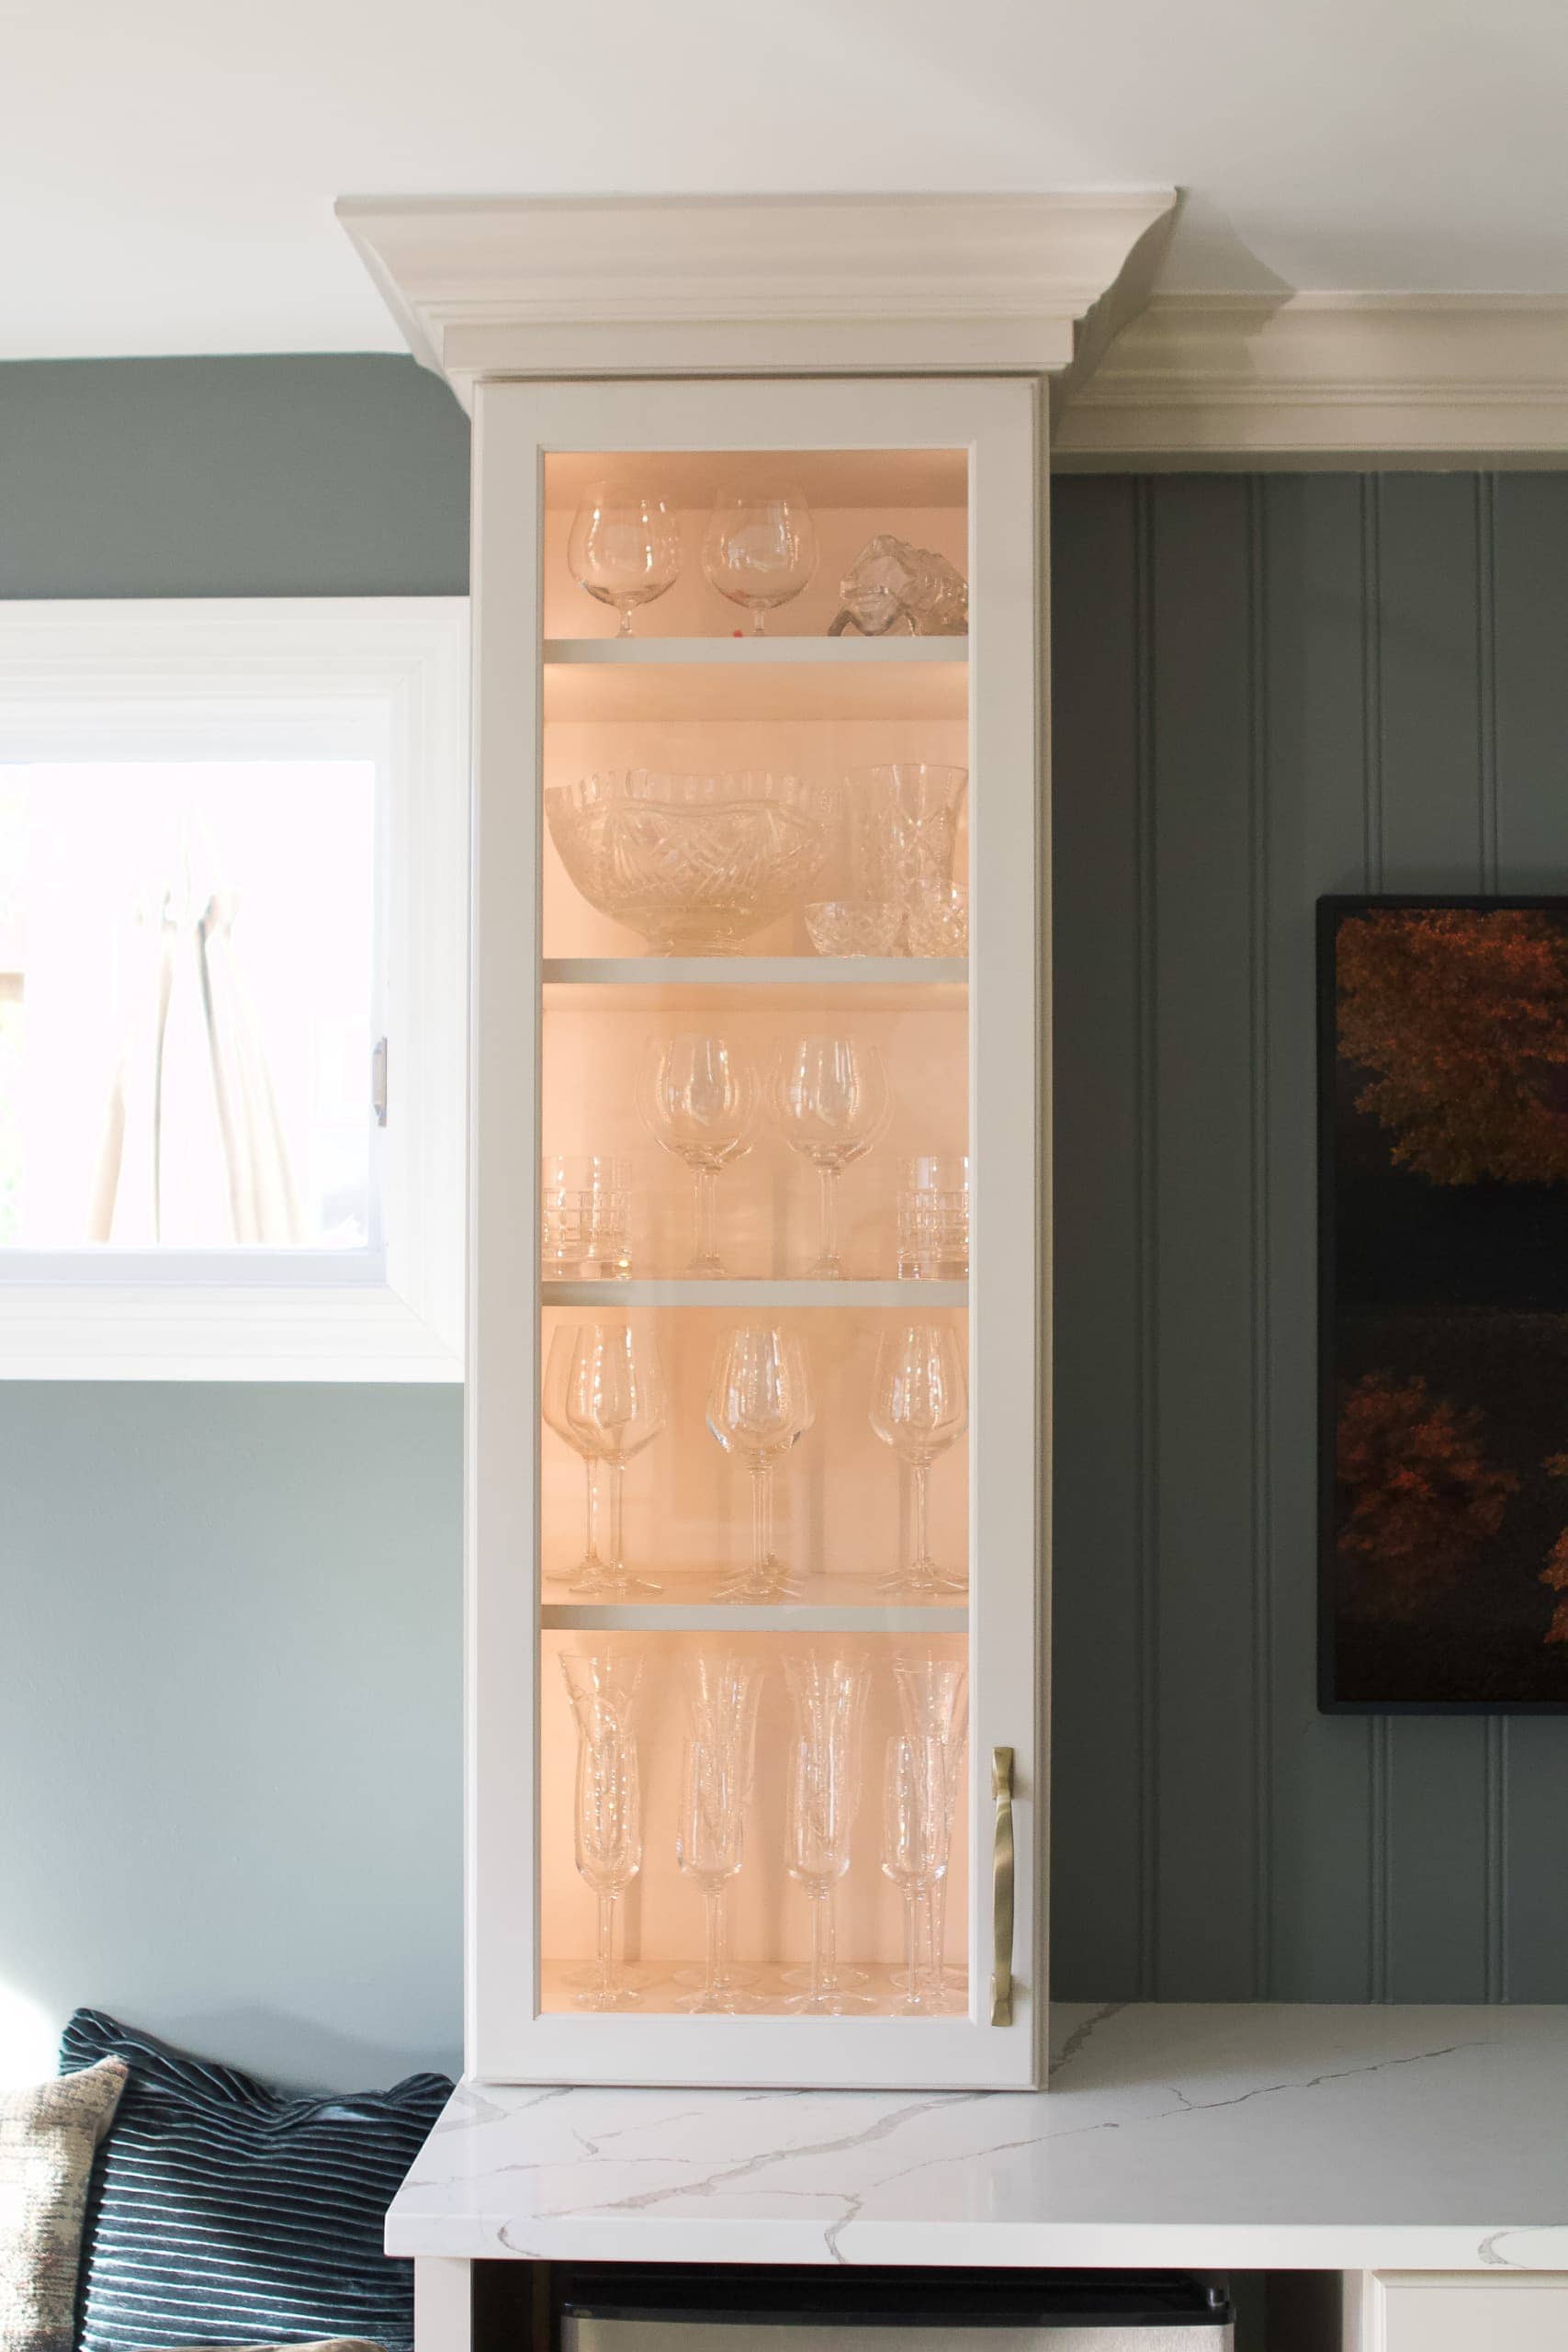
I adore seeing all of these pretty pieces lit up in these cabinets. 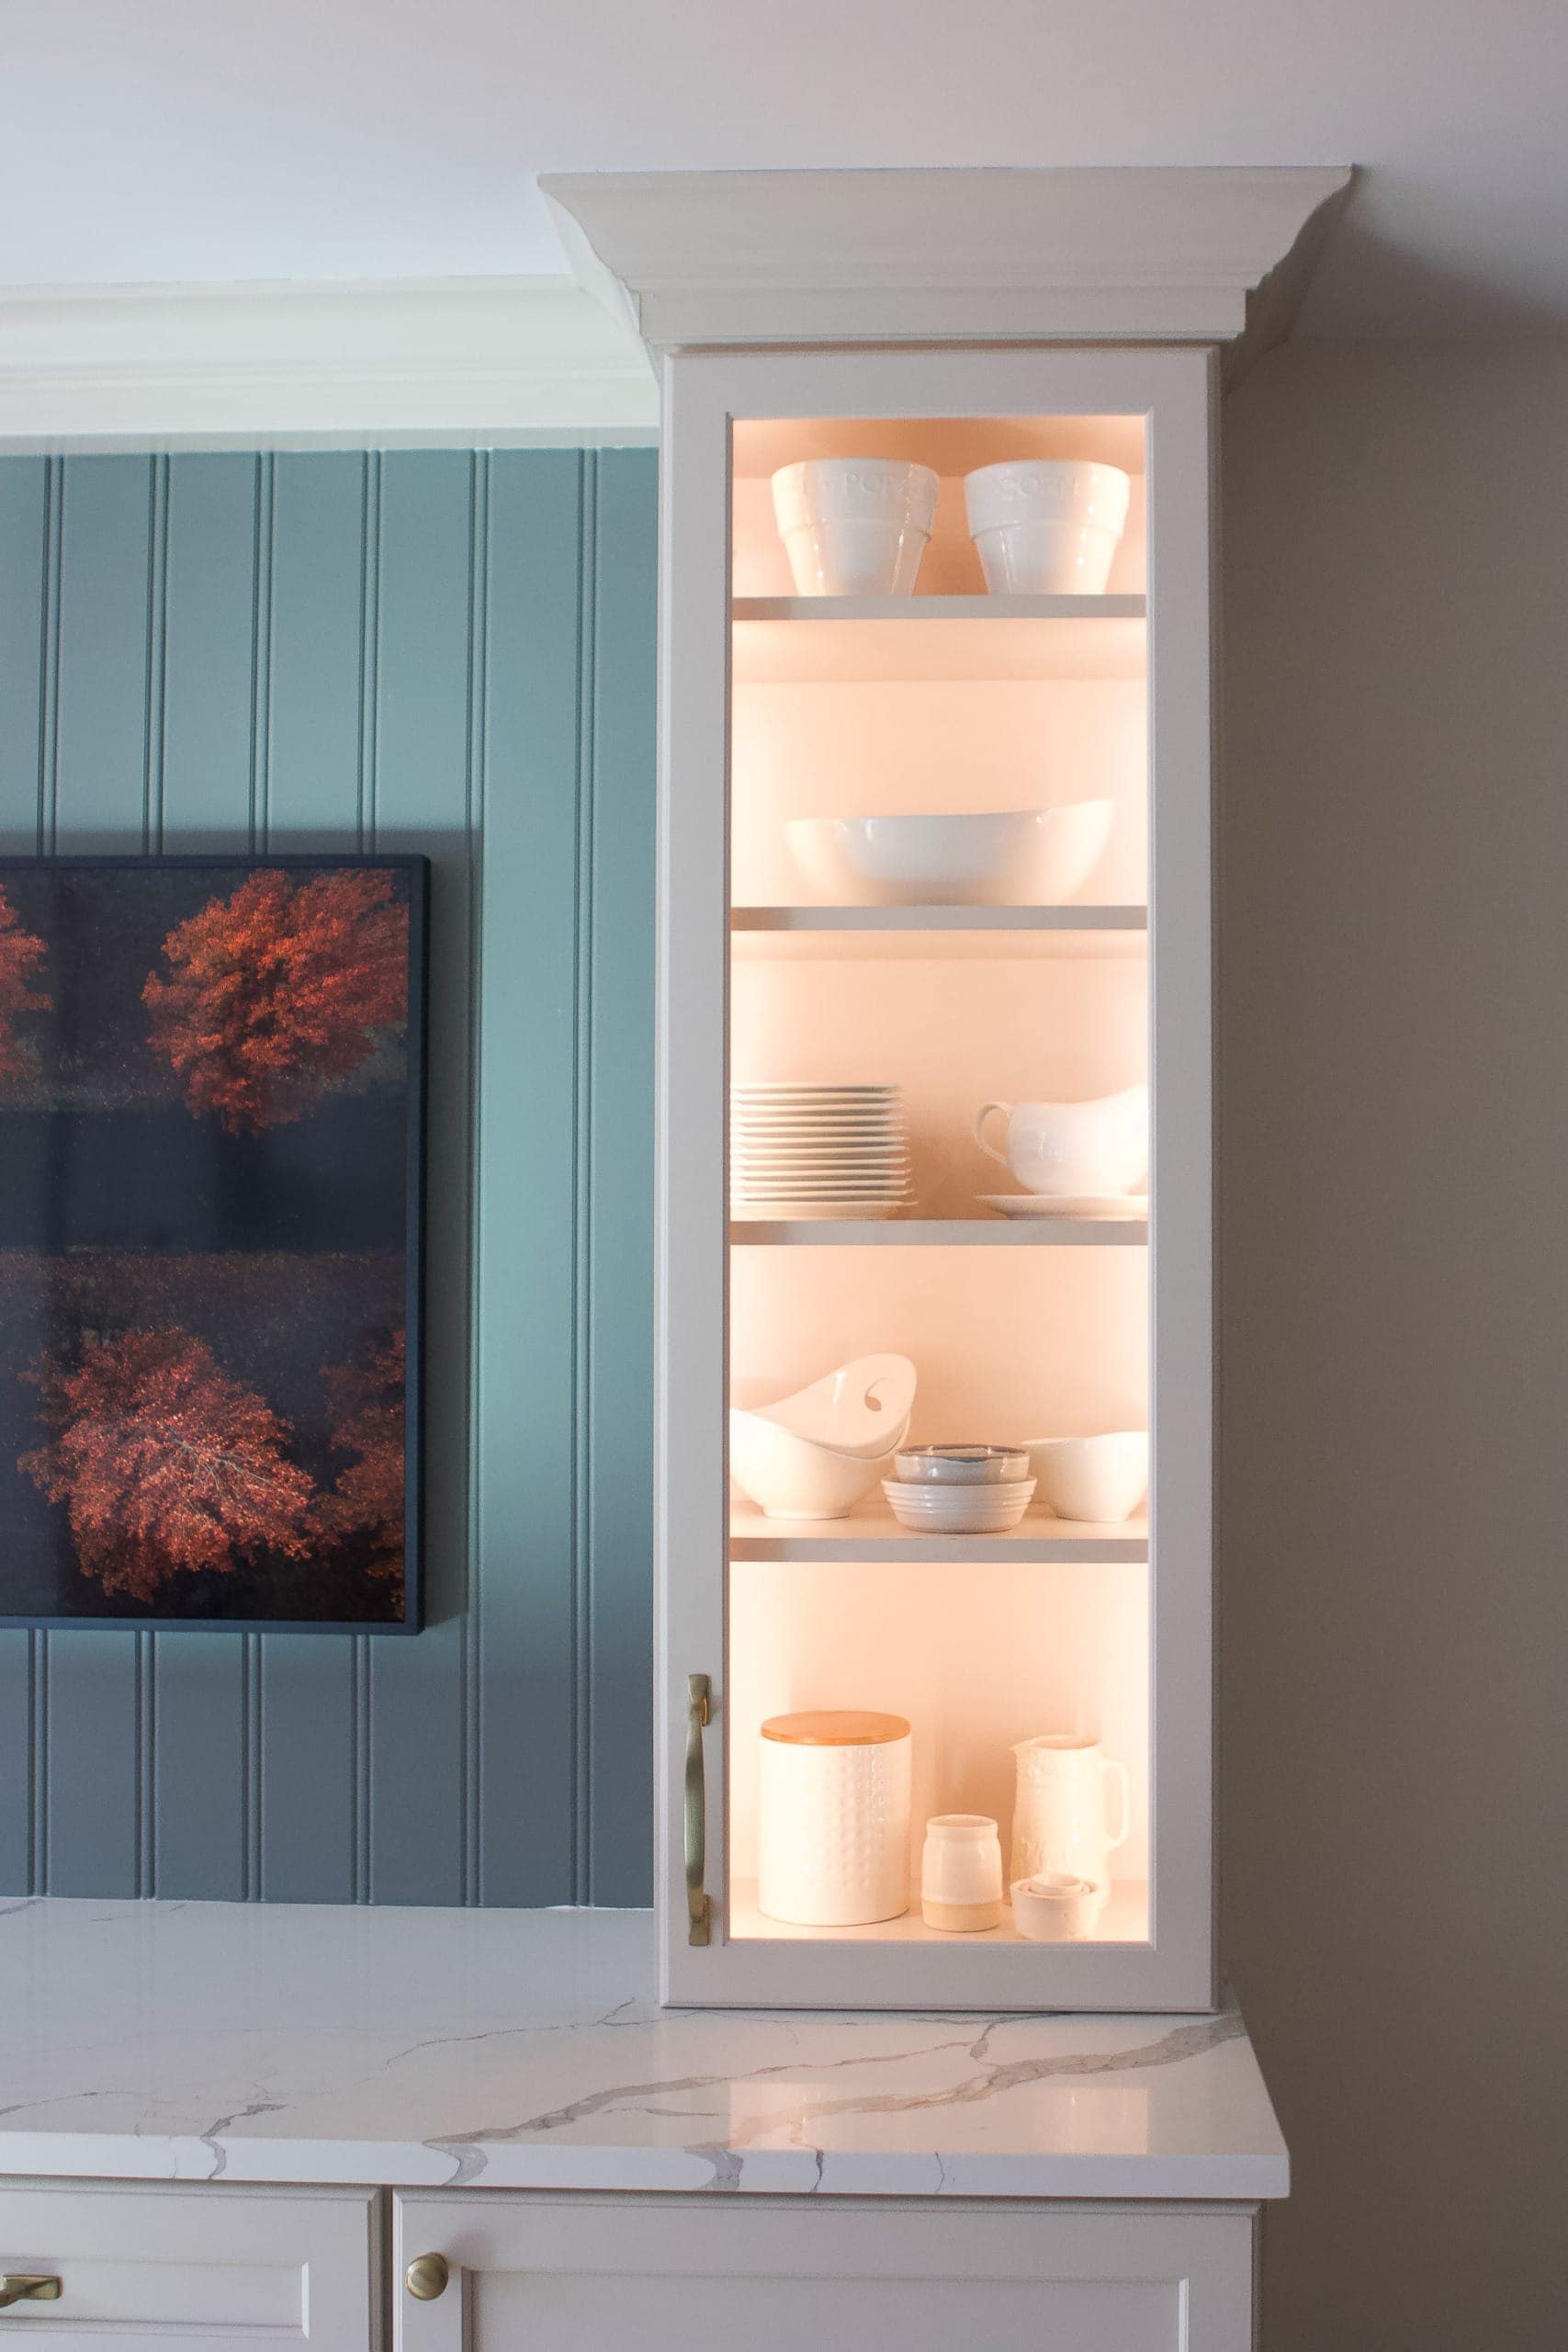
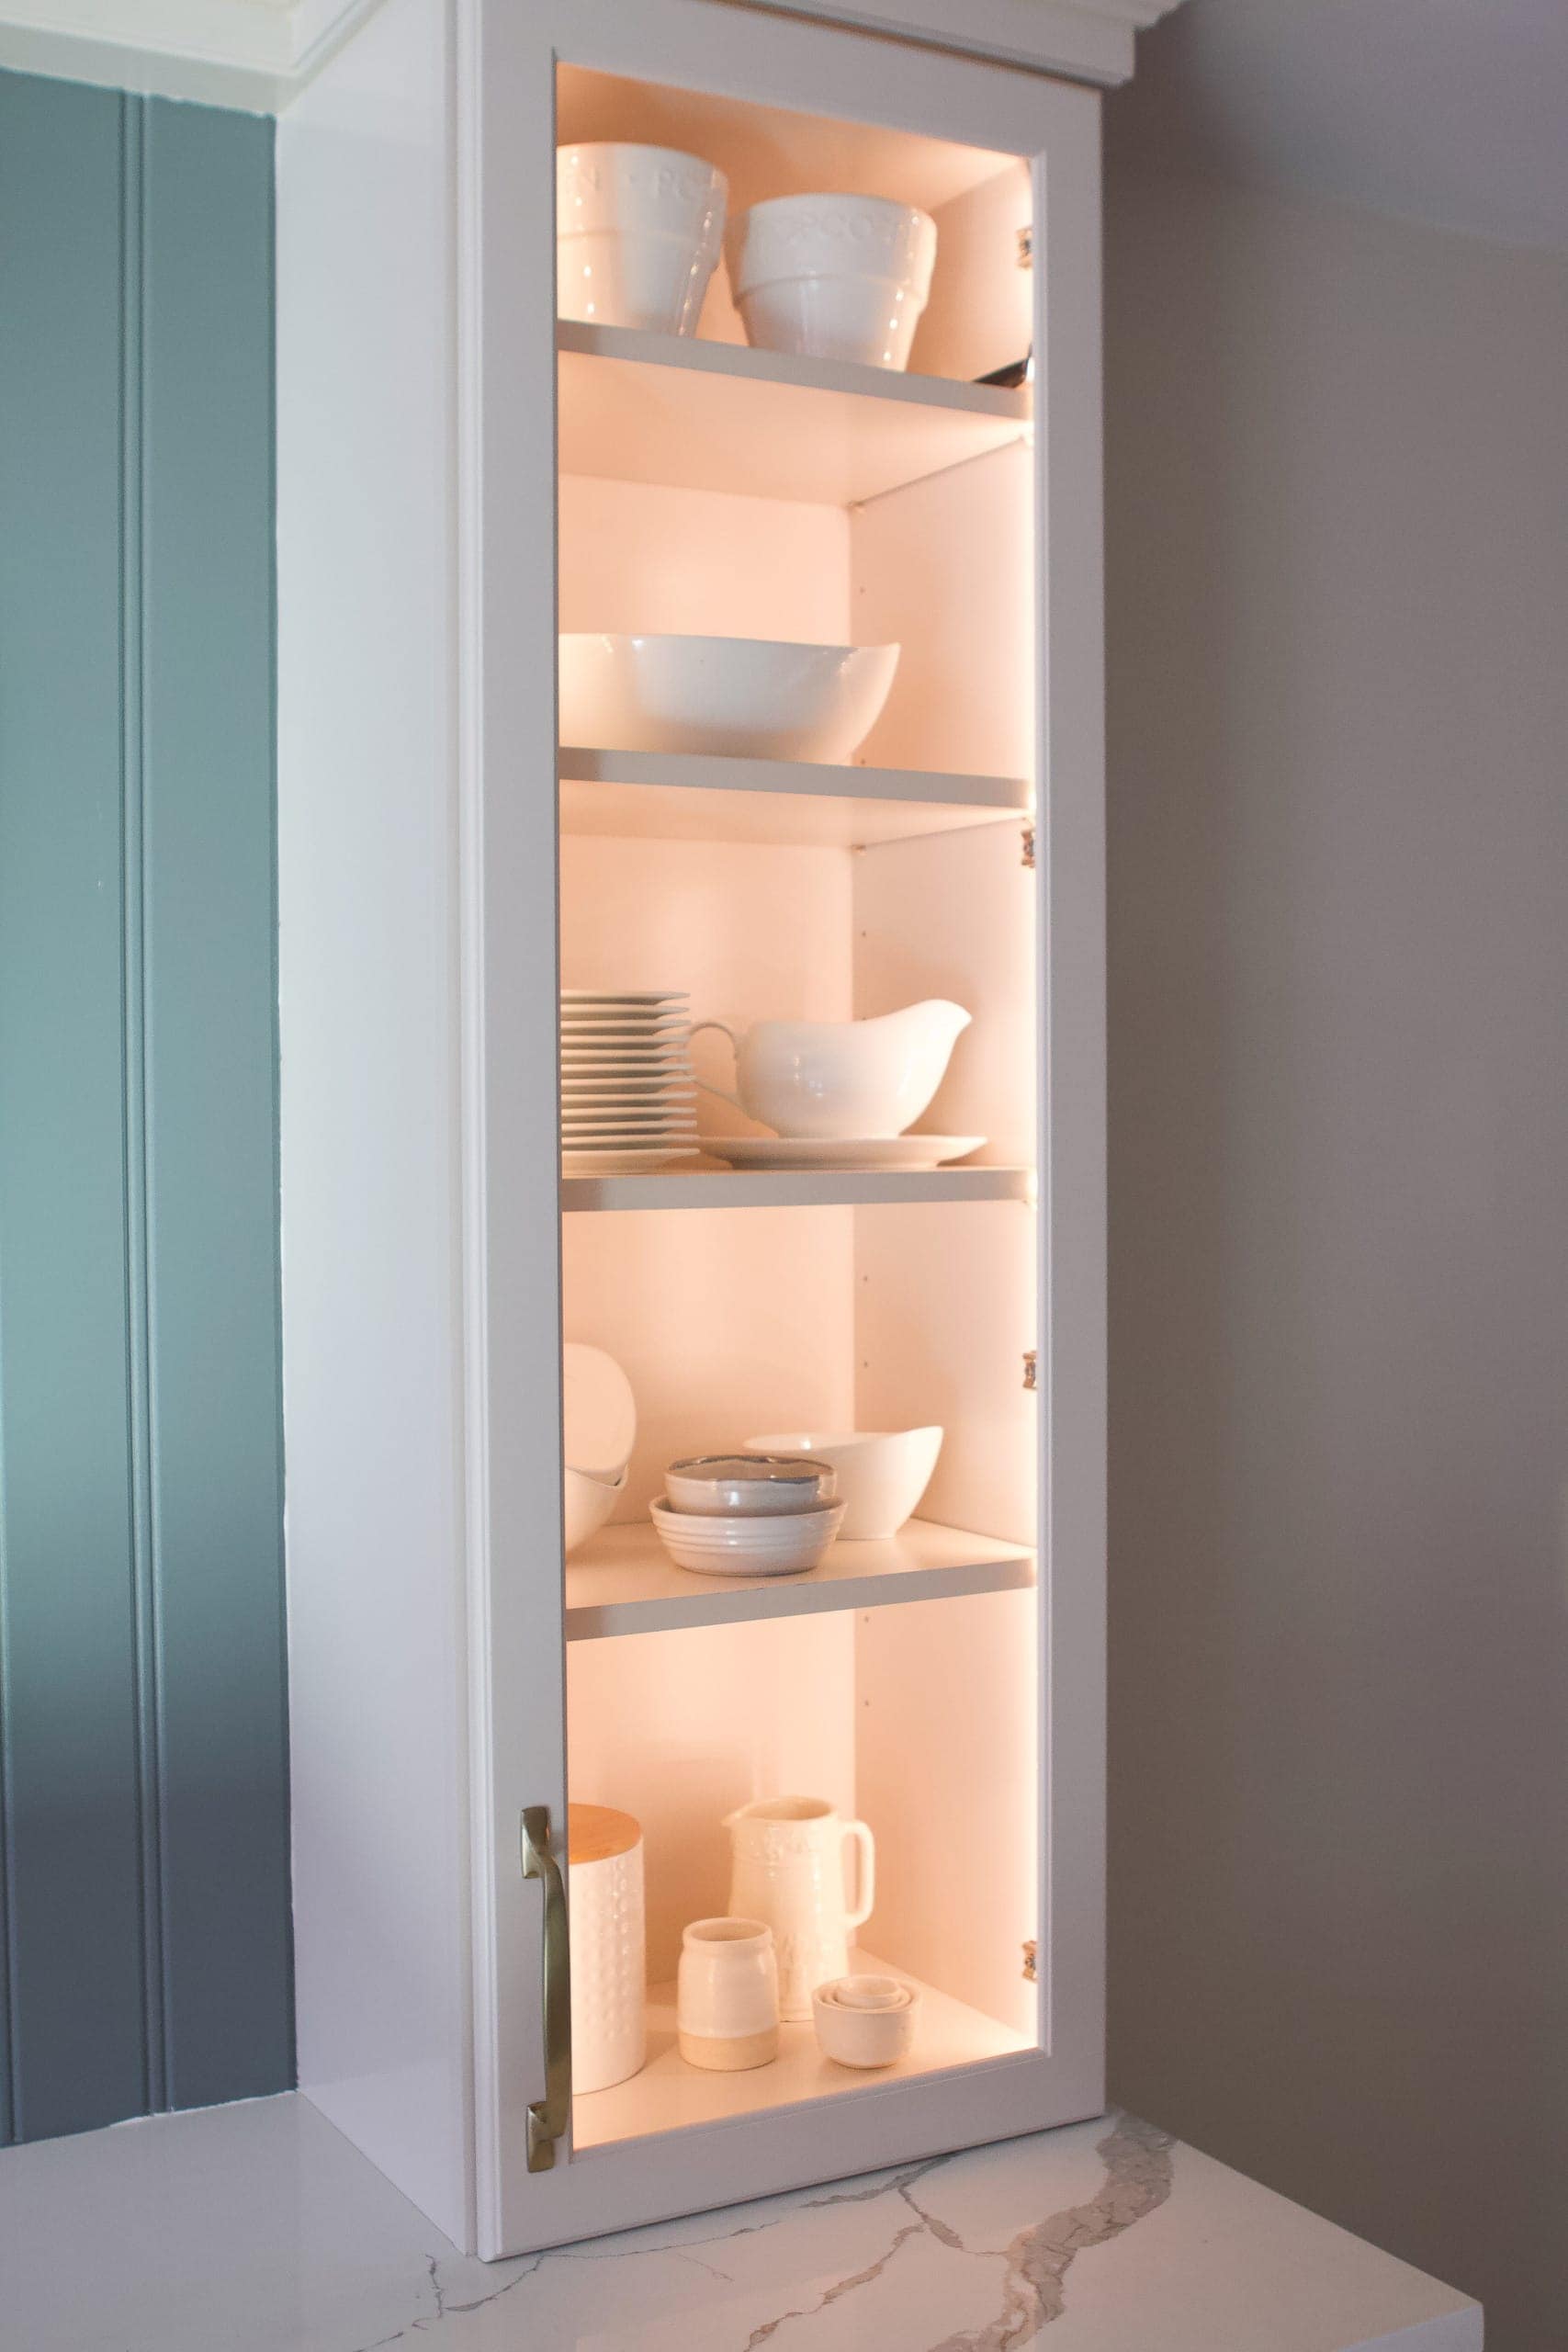
On the right side, I have lots of white serving pieces, vases, and other small bowls.  I use a lot of these when entertaining, so again, it will be great to have easy access to these pretty pieces.

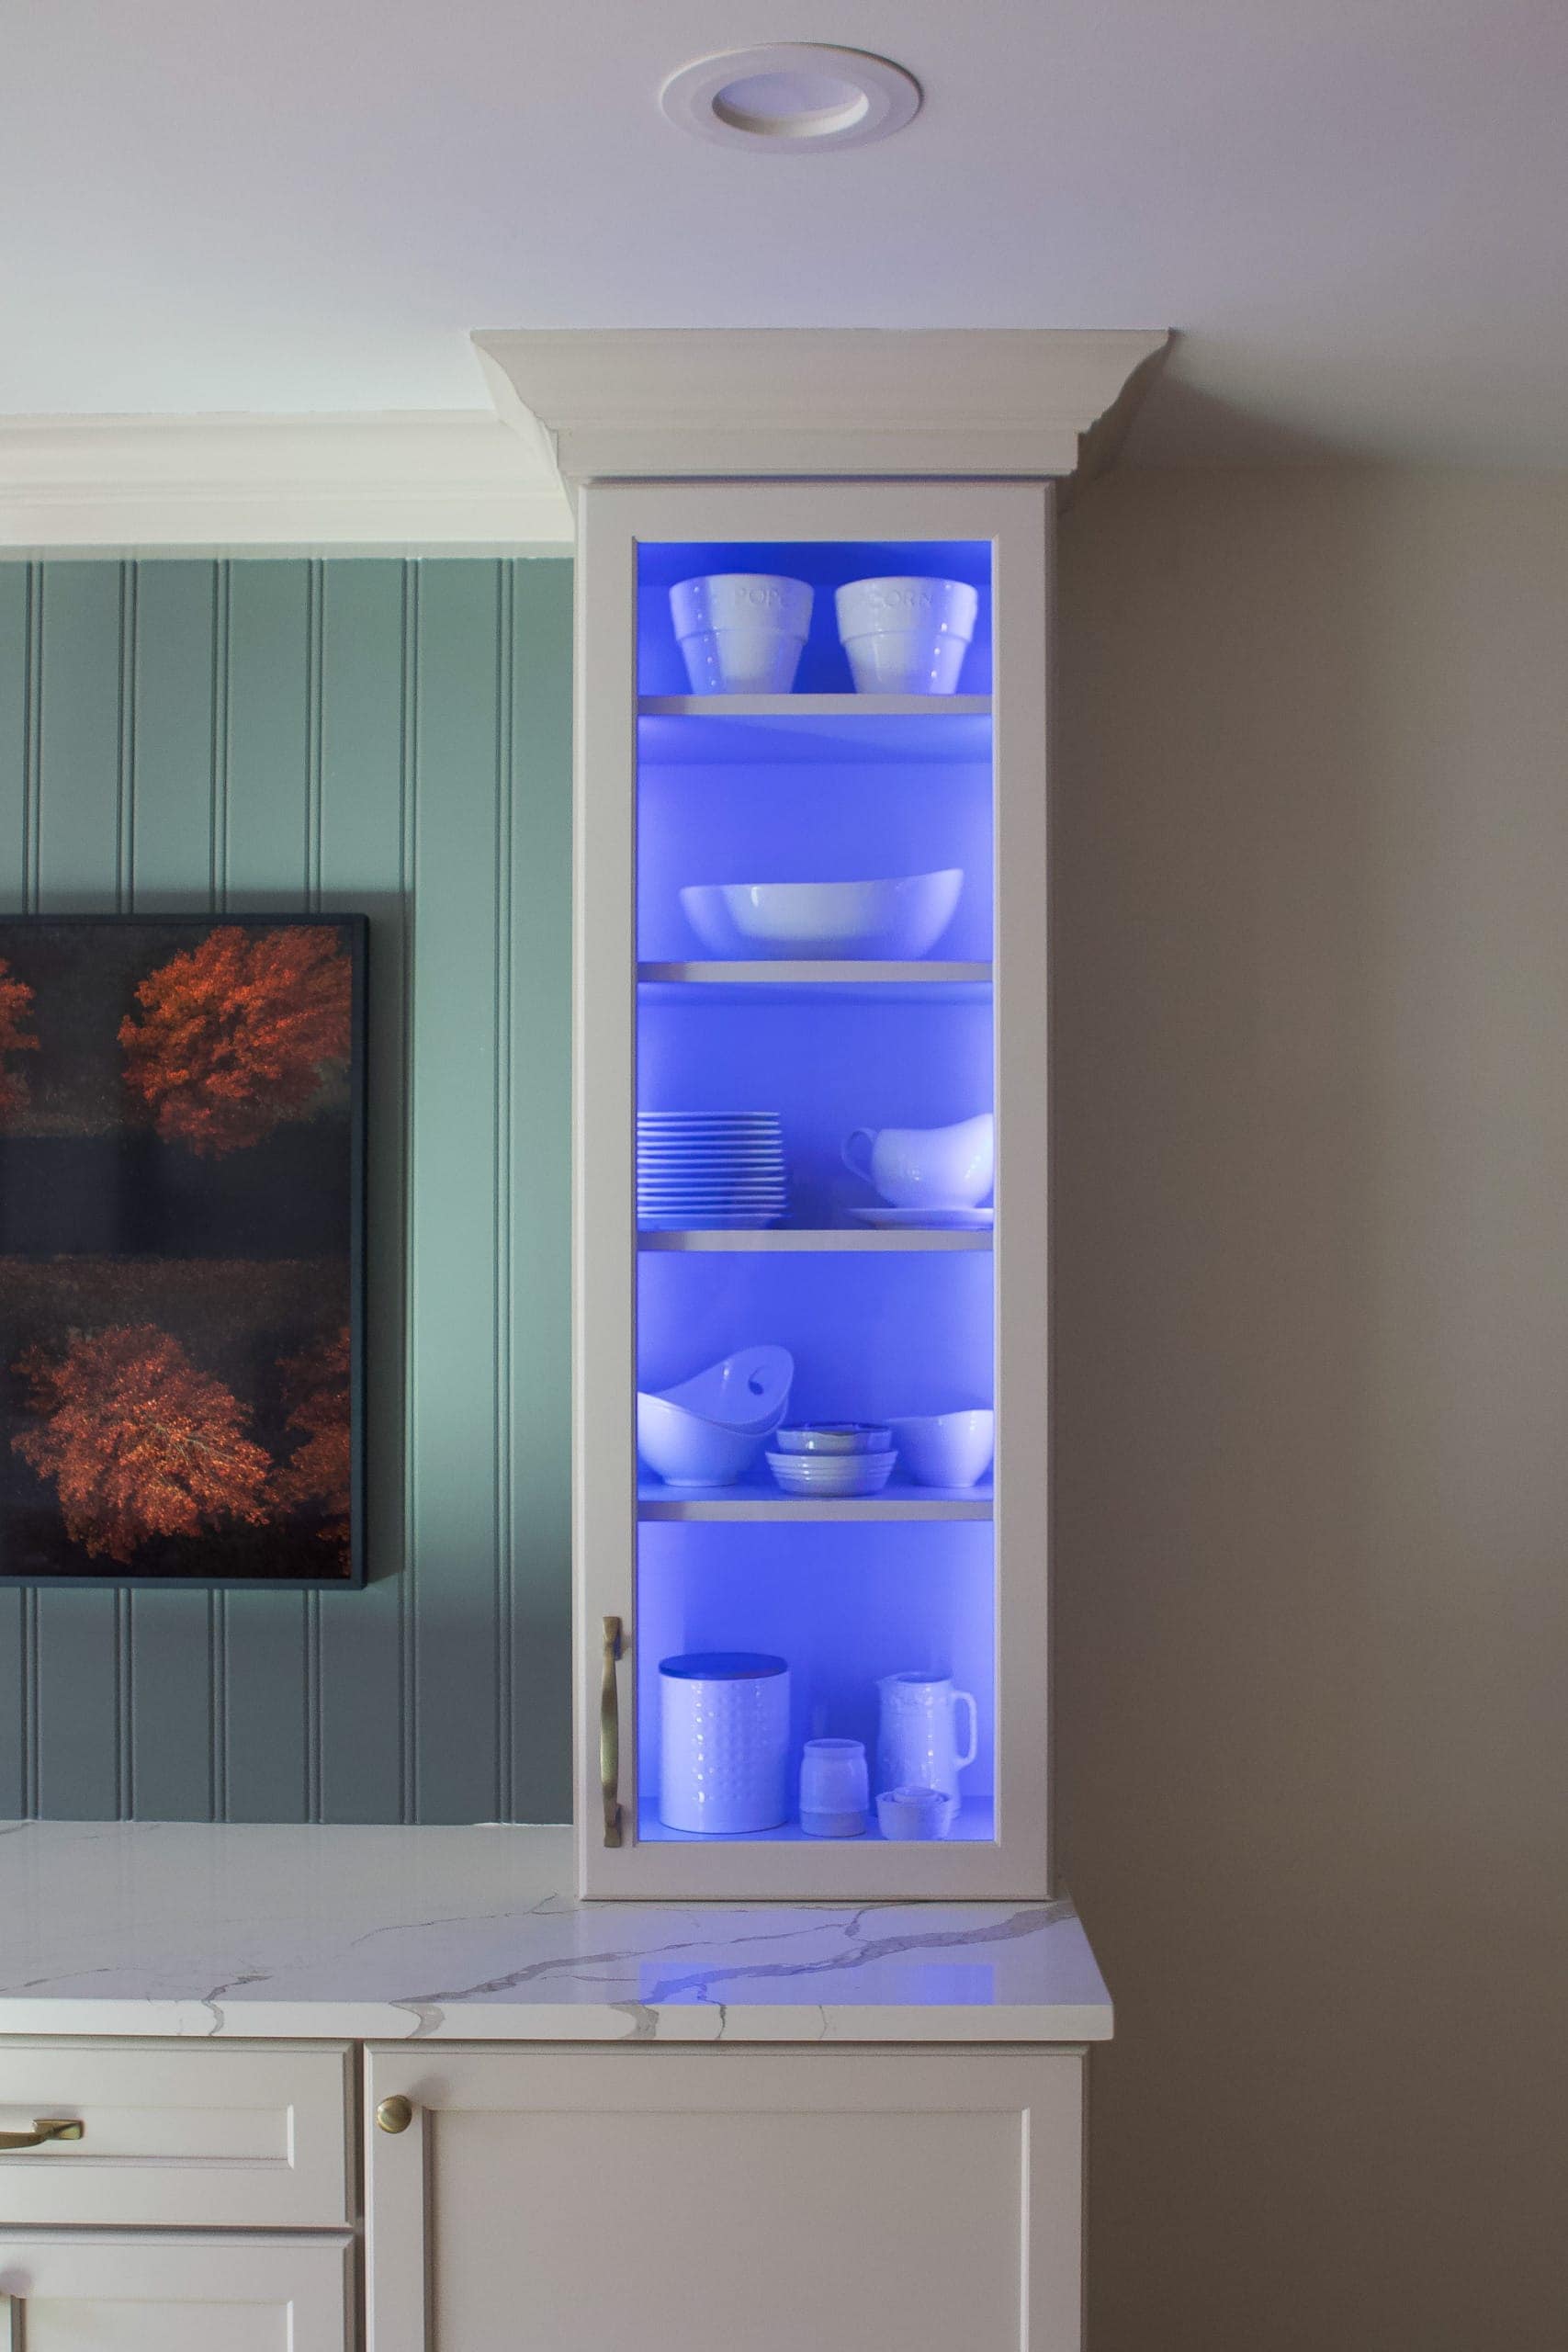
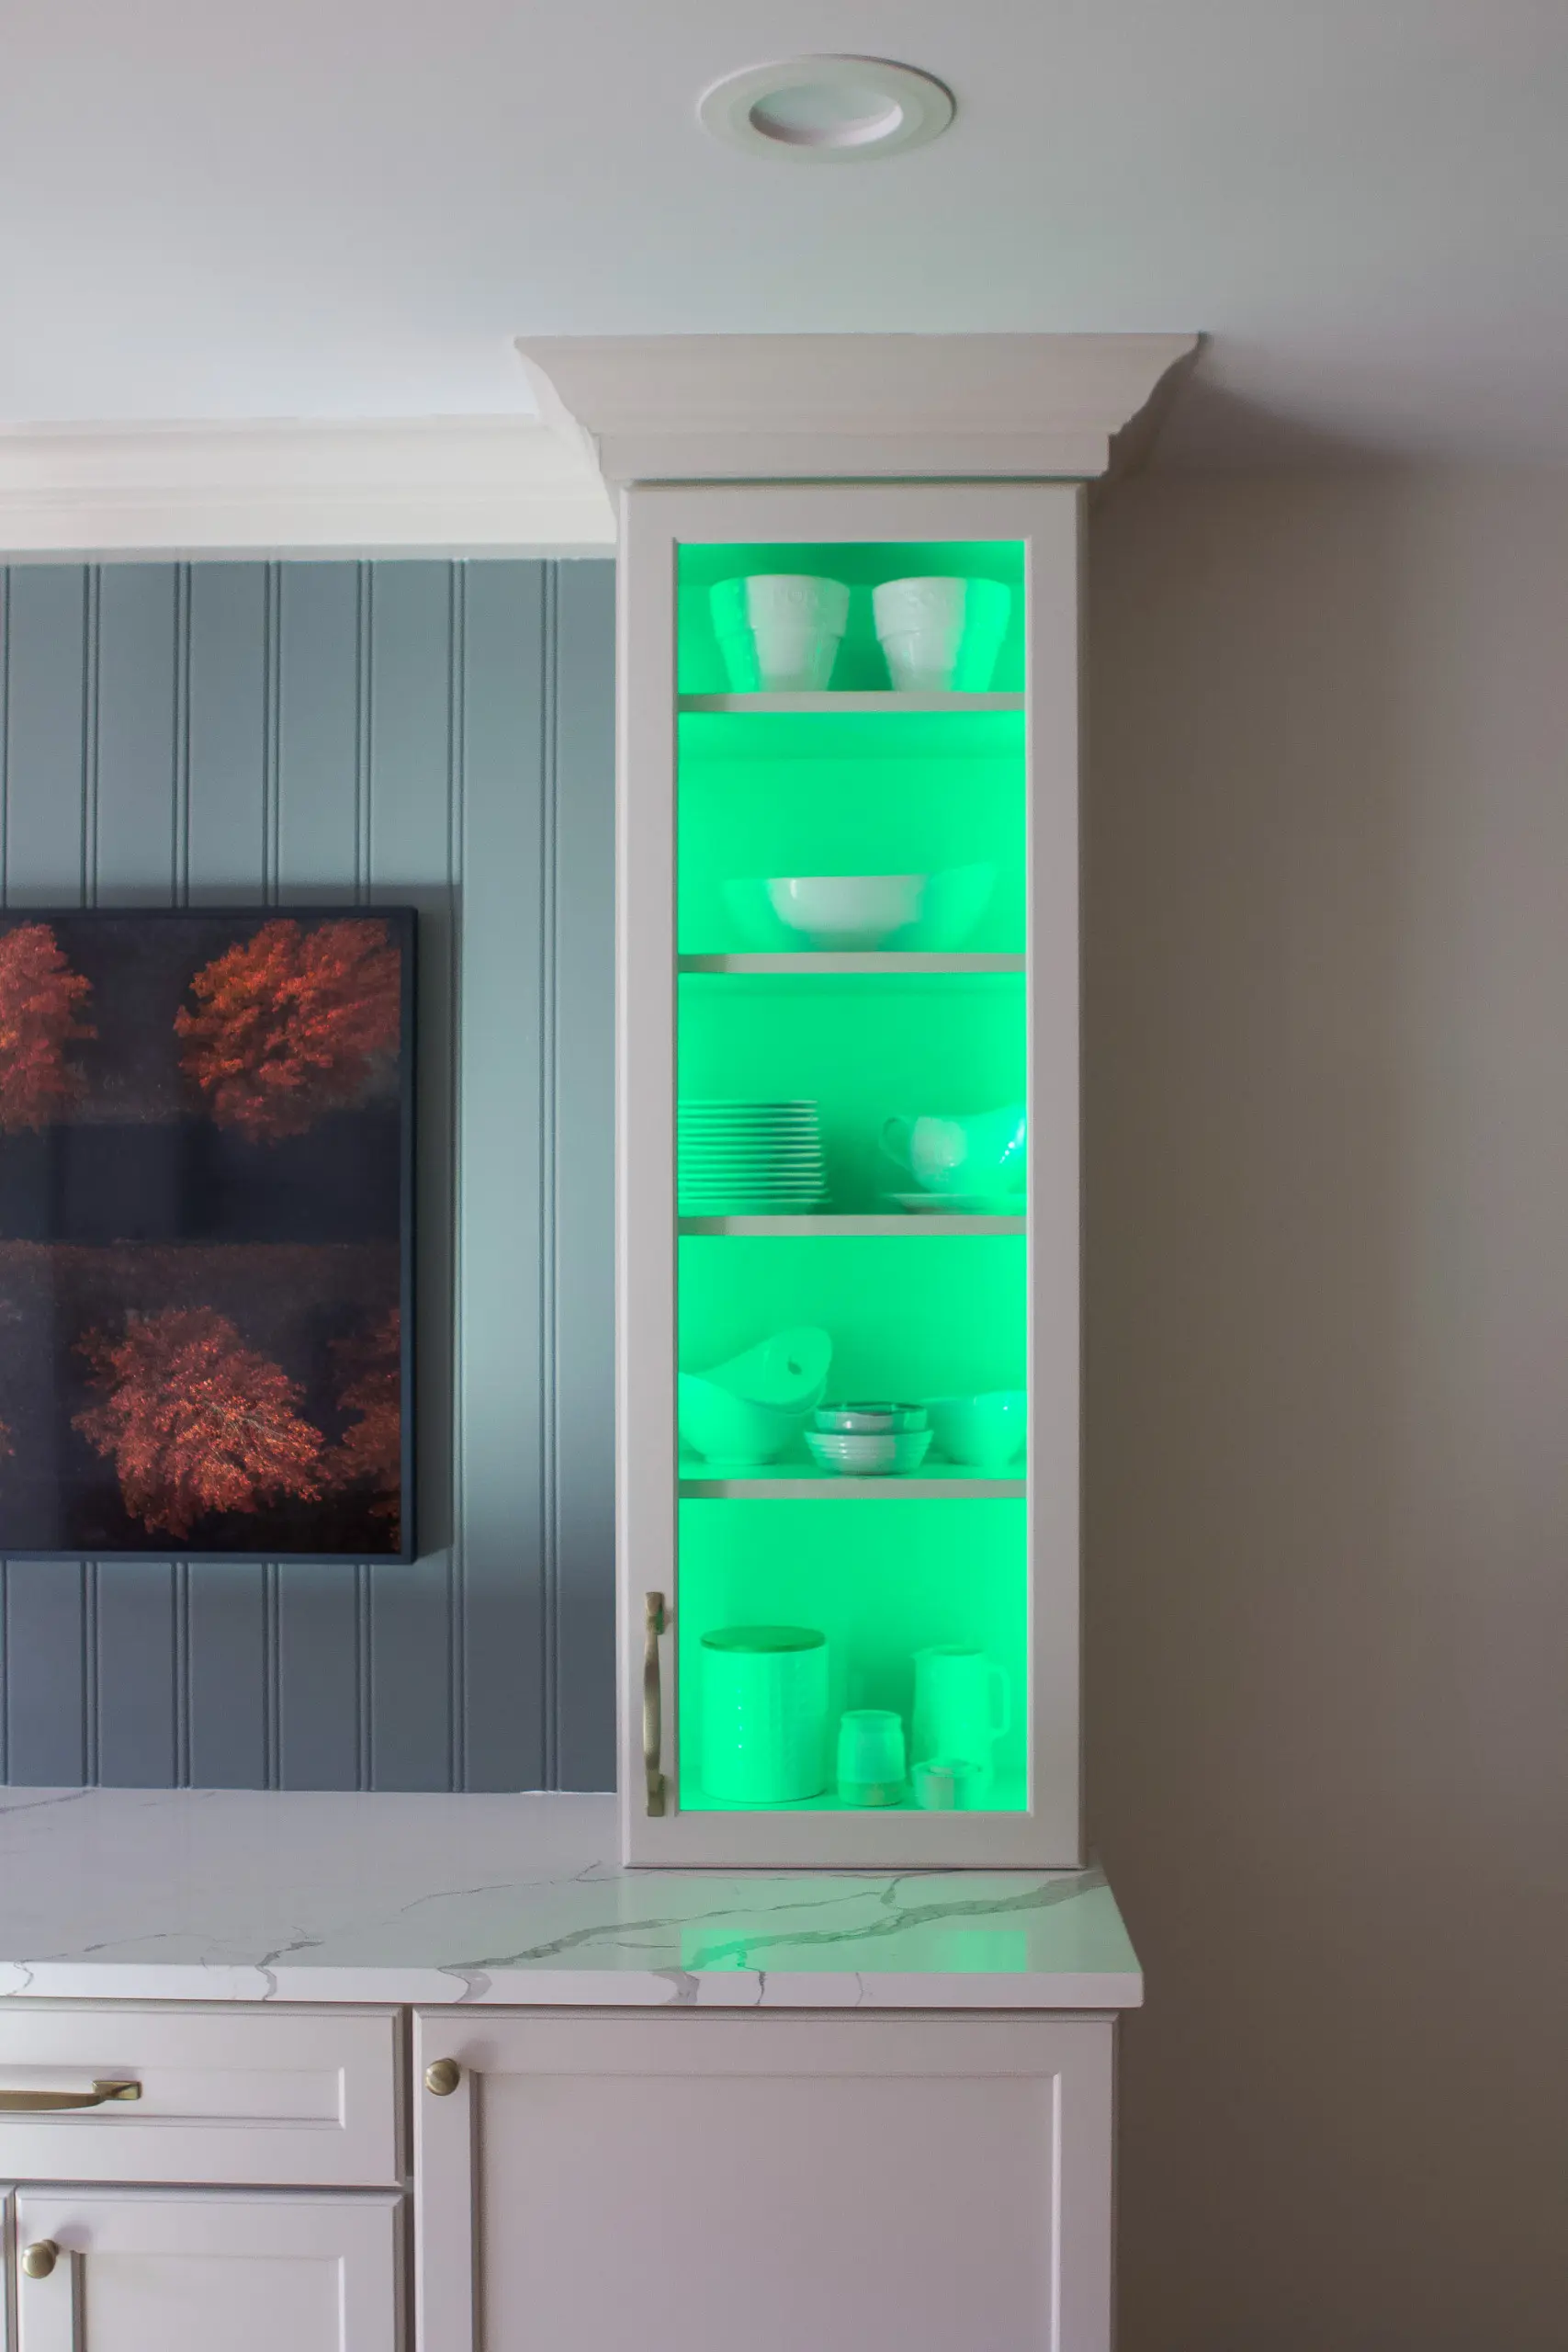
For the most part, we keep the color set to white and then adjust the brightness. But I had to show you how cool the colors are!! On Halloween, I turned them to orange and I’m sure I’ll change them for Christmas too. I have a feeling Rory is going to really like this when she is a bit older.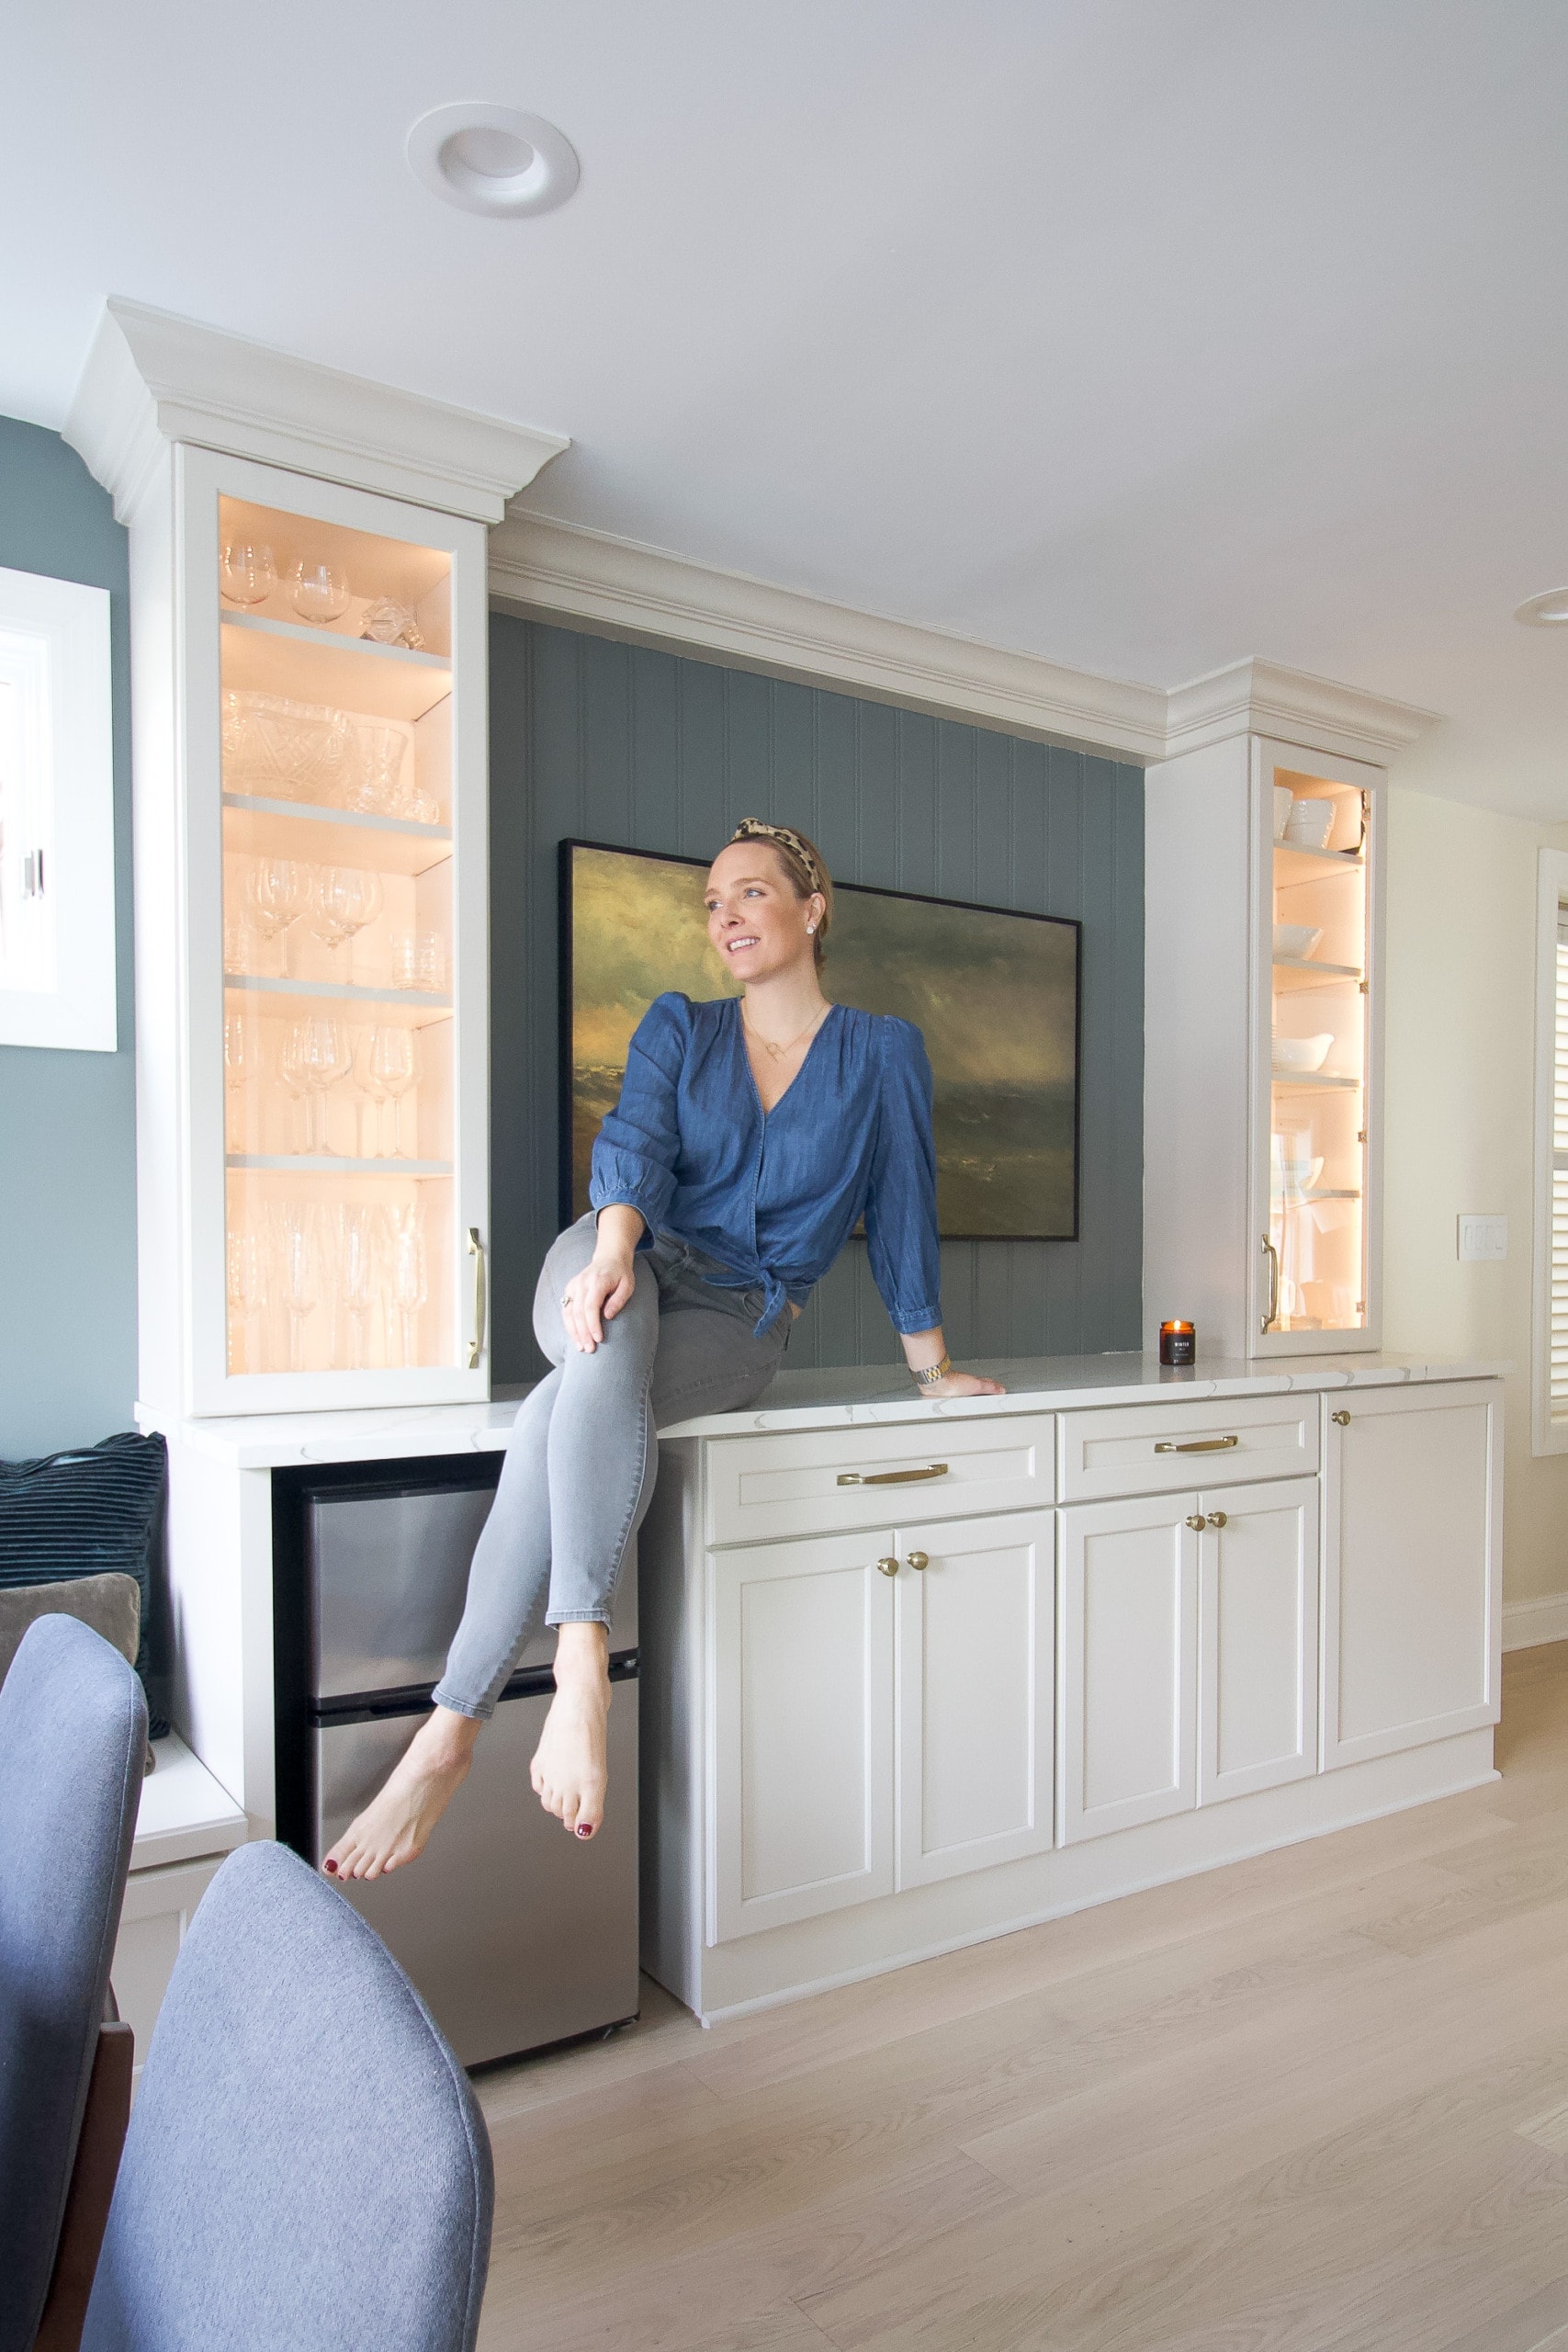
Adding these in-cabinet lights takes our kitchen to the next level. It just feels so custom, beautiful, and fun!
Under Cabinet Lighting
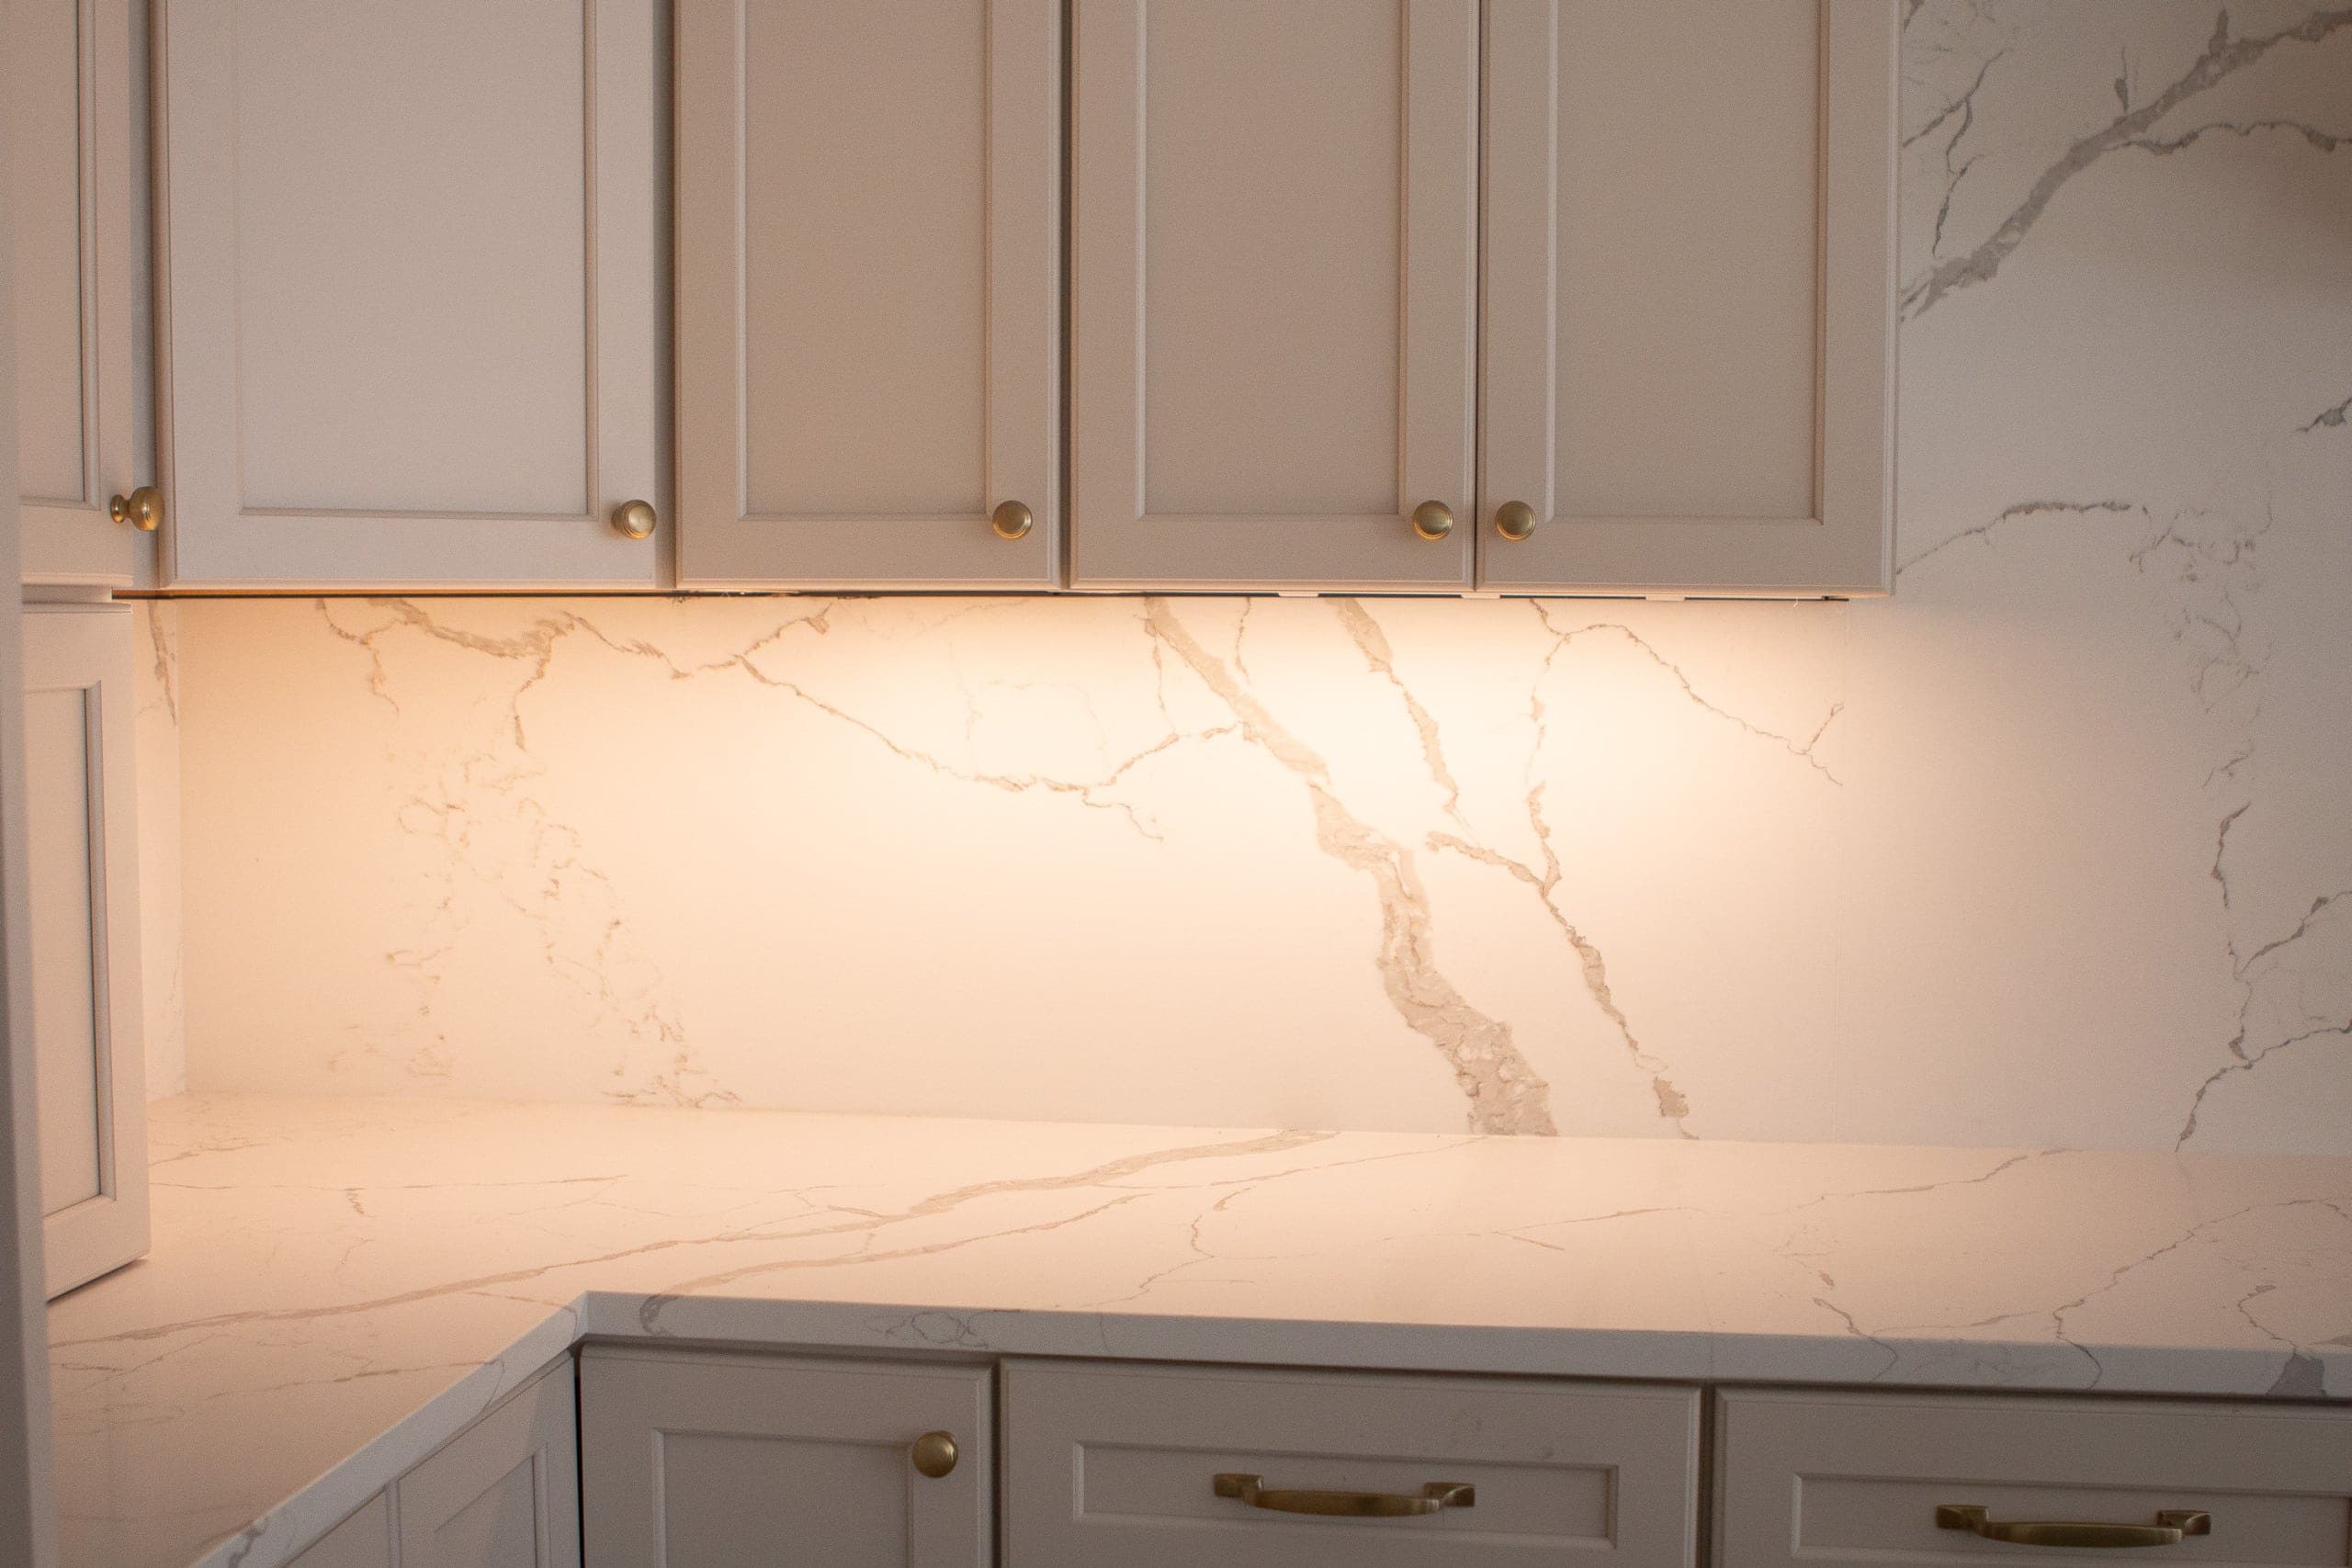
As for the under-cabinet lighting, we added various sizes of these lights, based on the size of the cabinet, and I love that they’re LED, dimmable, and emit a nice warm white light. We had the wire put behind the wall and it goes all the way to the wall switch near the other kitchen switches.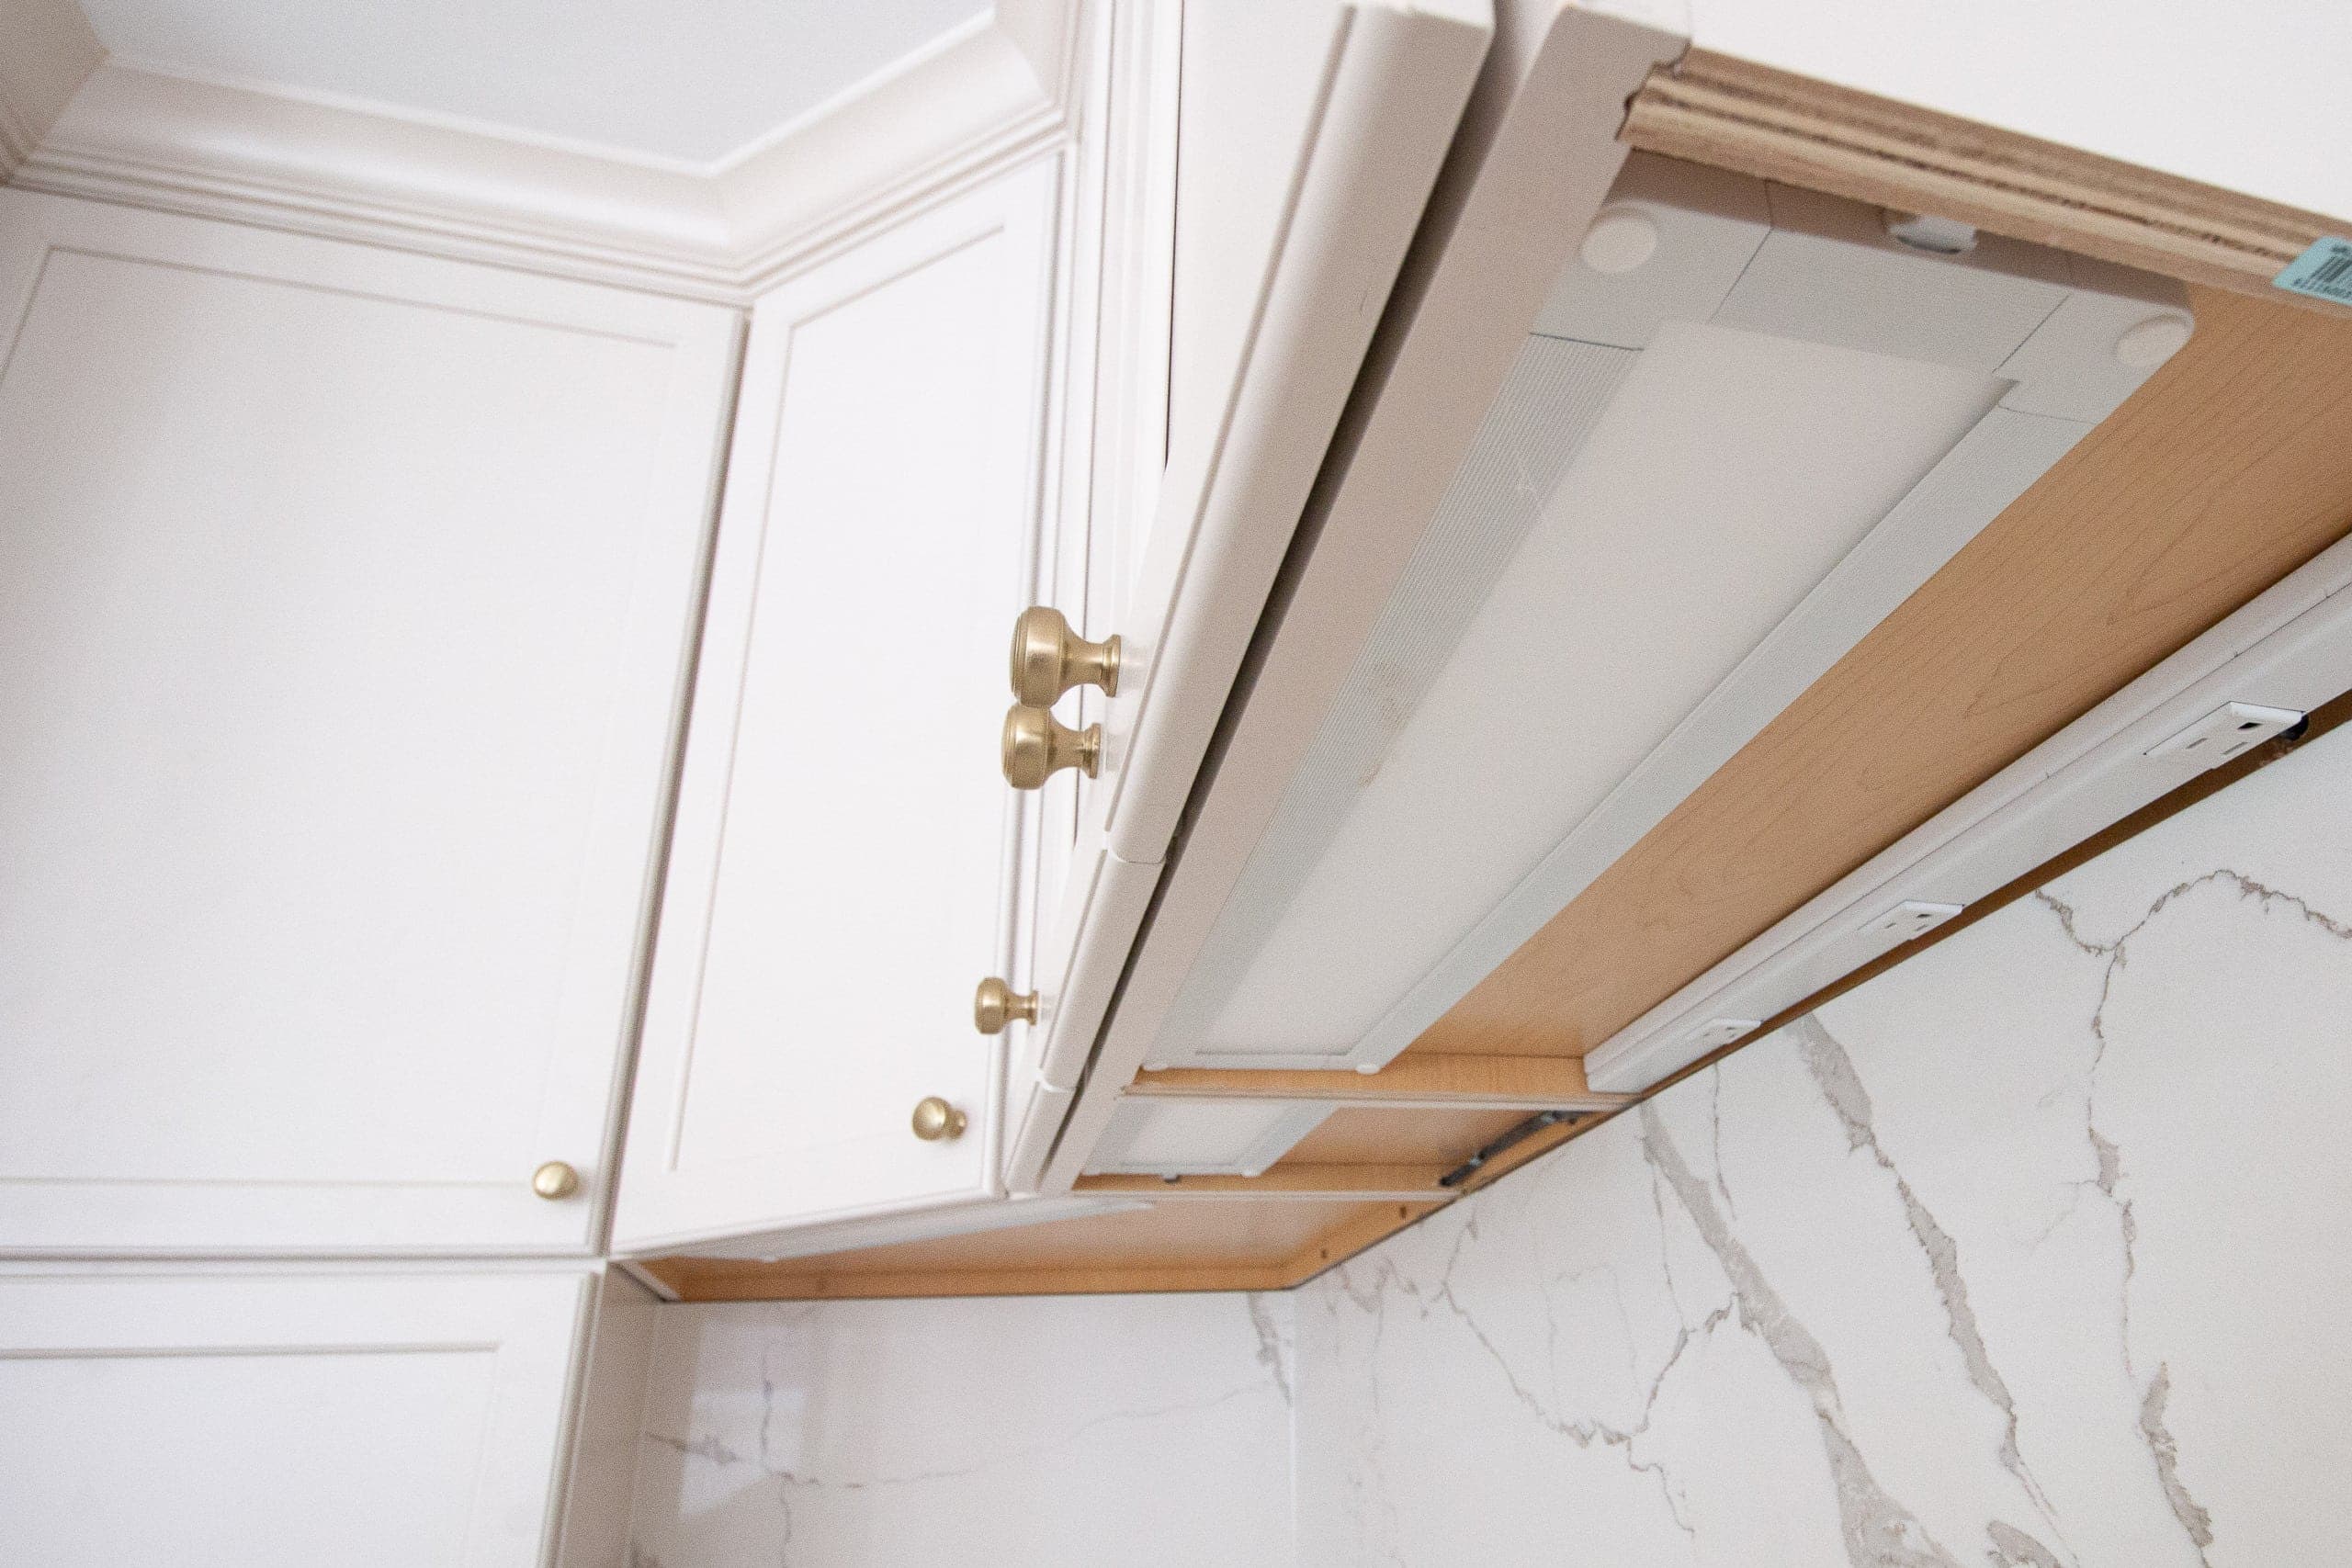
Here’s a view underneath the kitchen cabinet. In the past, I’ve always had under cabinet lights that are just small lights that shine down and illuminate a small section of the countertop. These are much better because they evenly disperse the light all across our quartz counters. 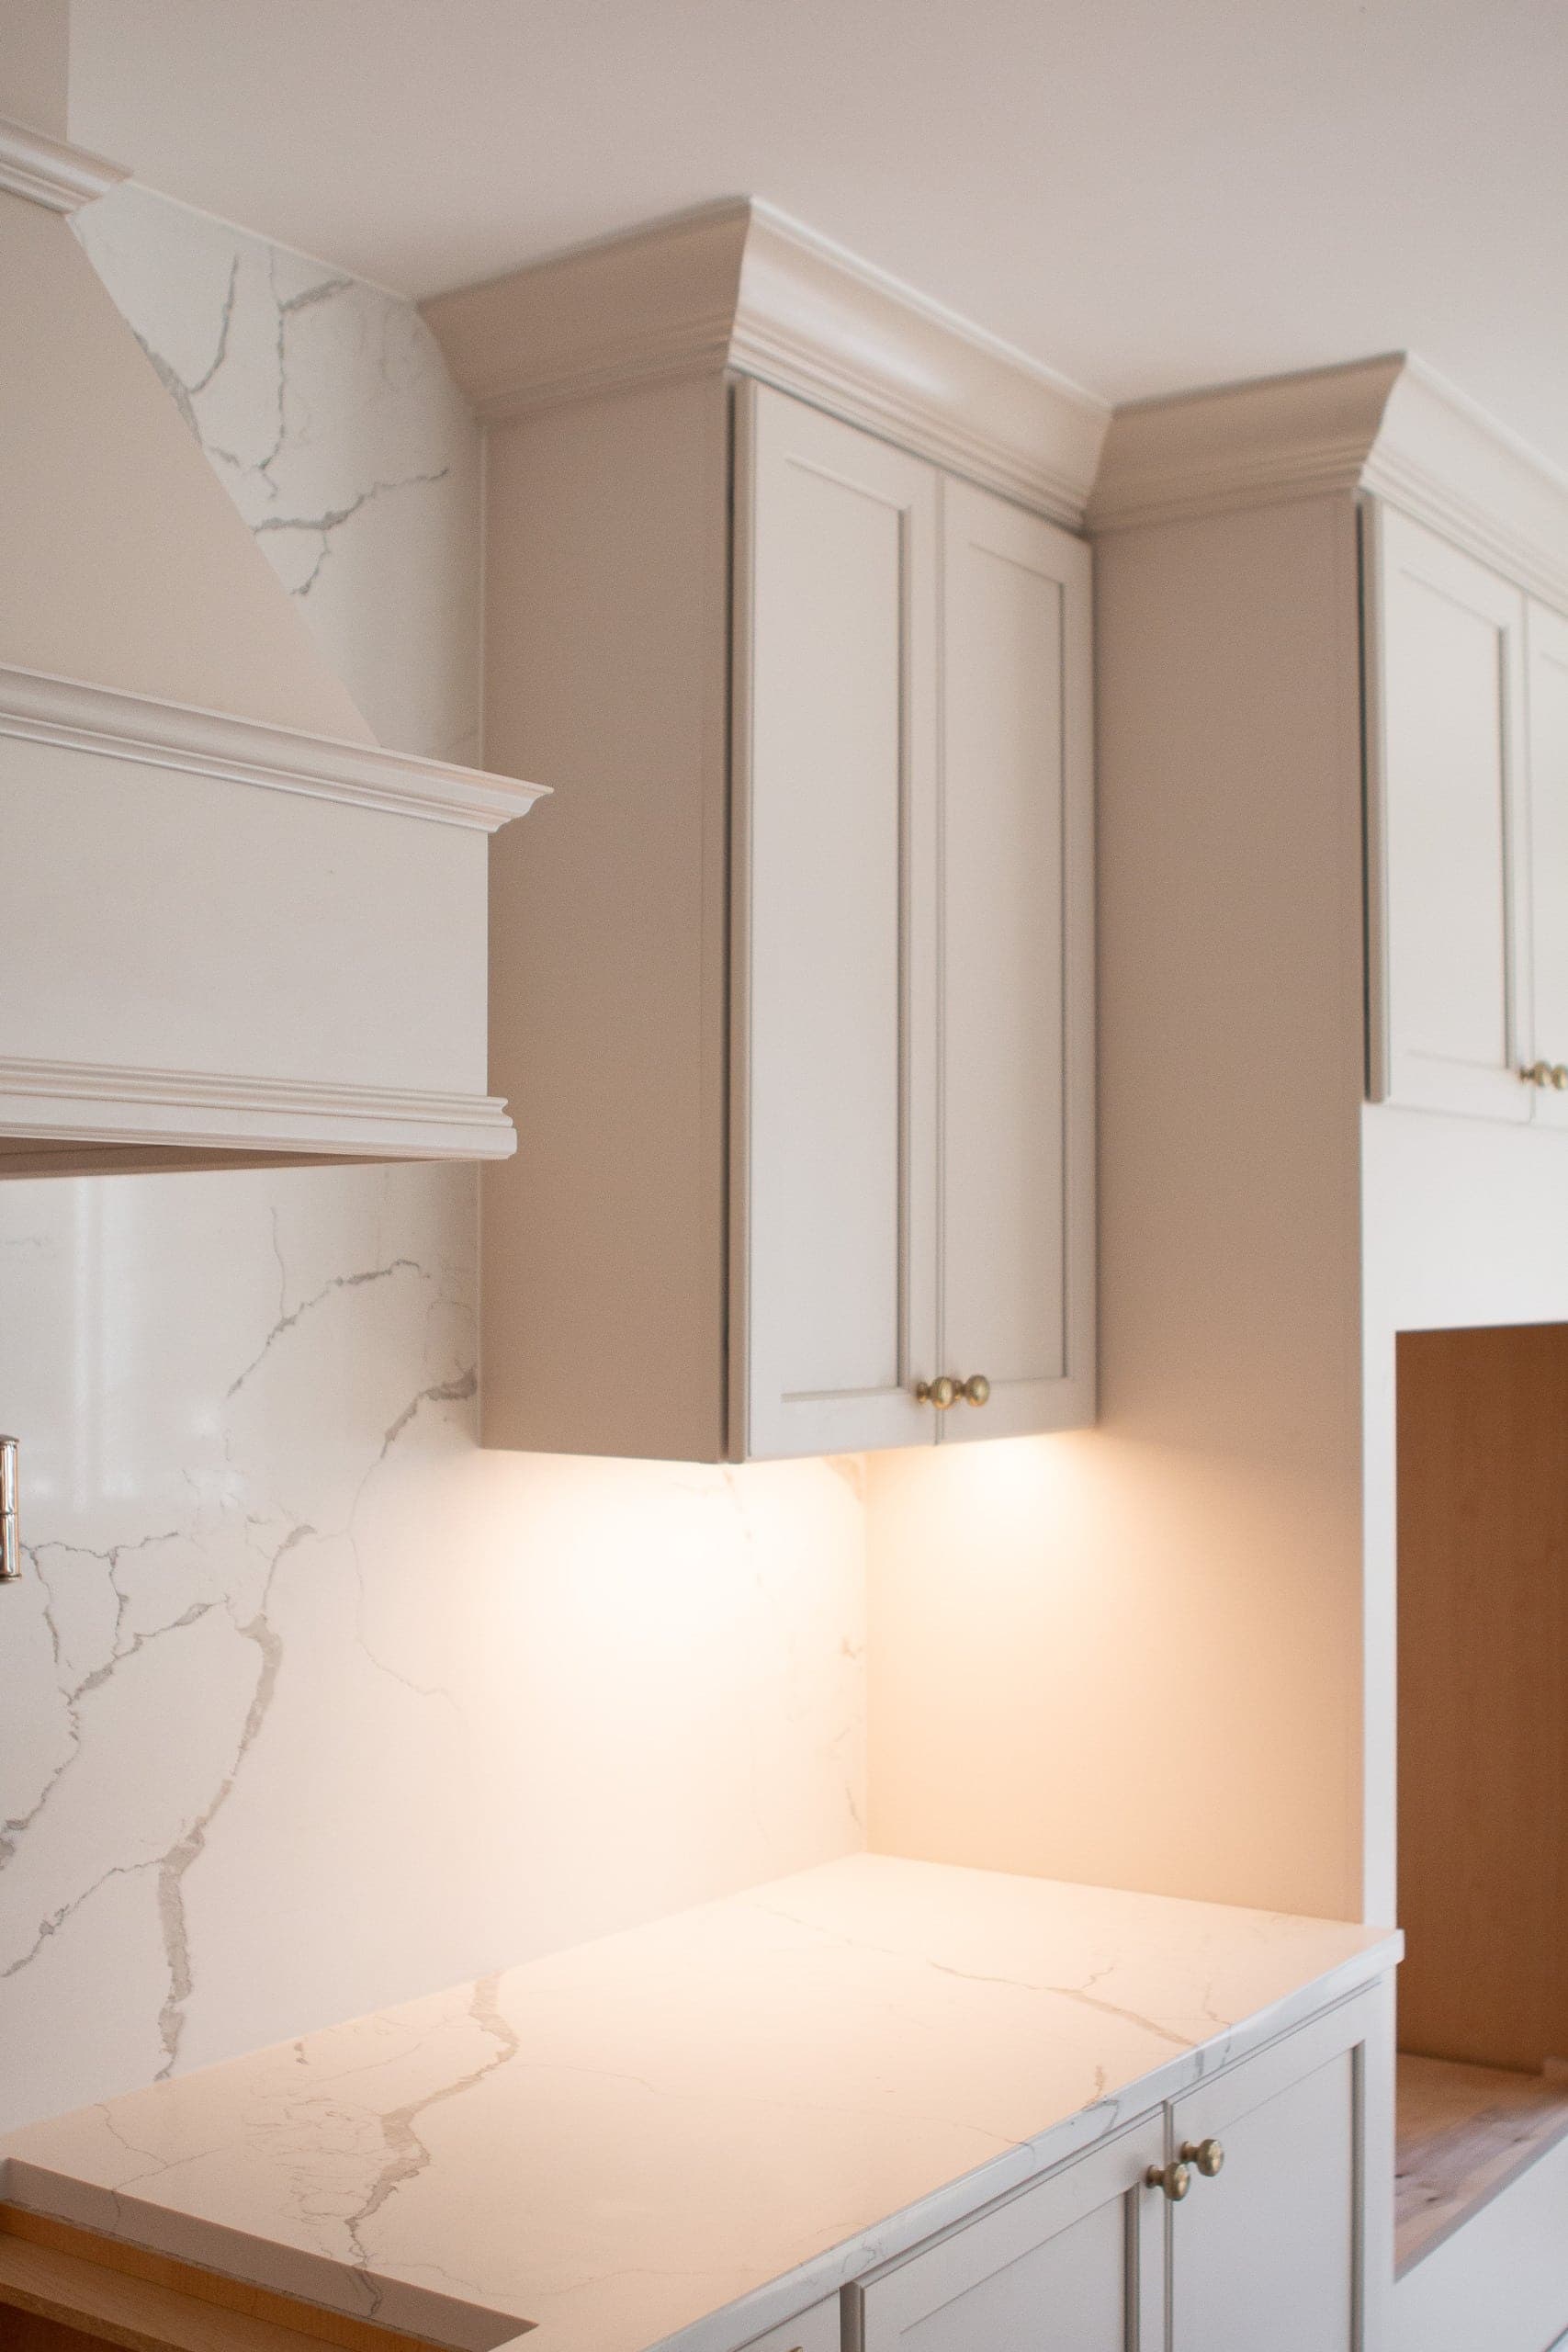
We’ve been turning these on at night and they make the entire room glow. I’m so happy we opted for these and I would recommend them to anyone redoing their kitchen. They elevate the entire space!
What’s Next?
I know you guys are eager to see the completed space, but the truth is…we’re not there yet! We’re still waiting on our final appliances, shelves, etc. (COVID has slowed things down a bit.) Next week, I’ll share our butcher block in the island – it arrived and it’s gorgeous – along with a big update on where things stand and what exactly the hold-up is. Thanks for the encouragement every step of the way during this process. It has been a blast!
Casey
Catch Up On Our Kitchen Renovation
- Kitchen Before Photos
- Hiring a Designer
- Our New Kitchen Layout
- Design Plan & Mood Board
- Single vs Double Bowl Sink
- Ordering Our Kitchen Cabinets
- Tasks To Do Before a Kitchen Renovation
- Our Old Kitchen Is Out
- Creating Our Electrical Plan
- Our Kitchen Cabinets Are In!
- Kitchen Hardware Guide
- Dining Nook Design Plan
- Choosing Quartz Countertops
- Painting the Kitchen
- Our Dining Room Nook
- Finding a Kitchen Runner
- Our New Lighting
- Our Wood Butcher Block
- The Kitchen Renovation Timeline
- The Big Kitchen Reveal
- What I Learned from Our Kitchen Renovation
- Kitchen Before & After Video
- Our Kitchen Appliances
- Renovation Budget & Cost