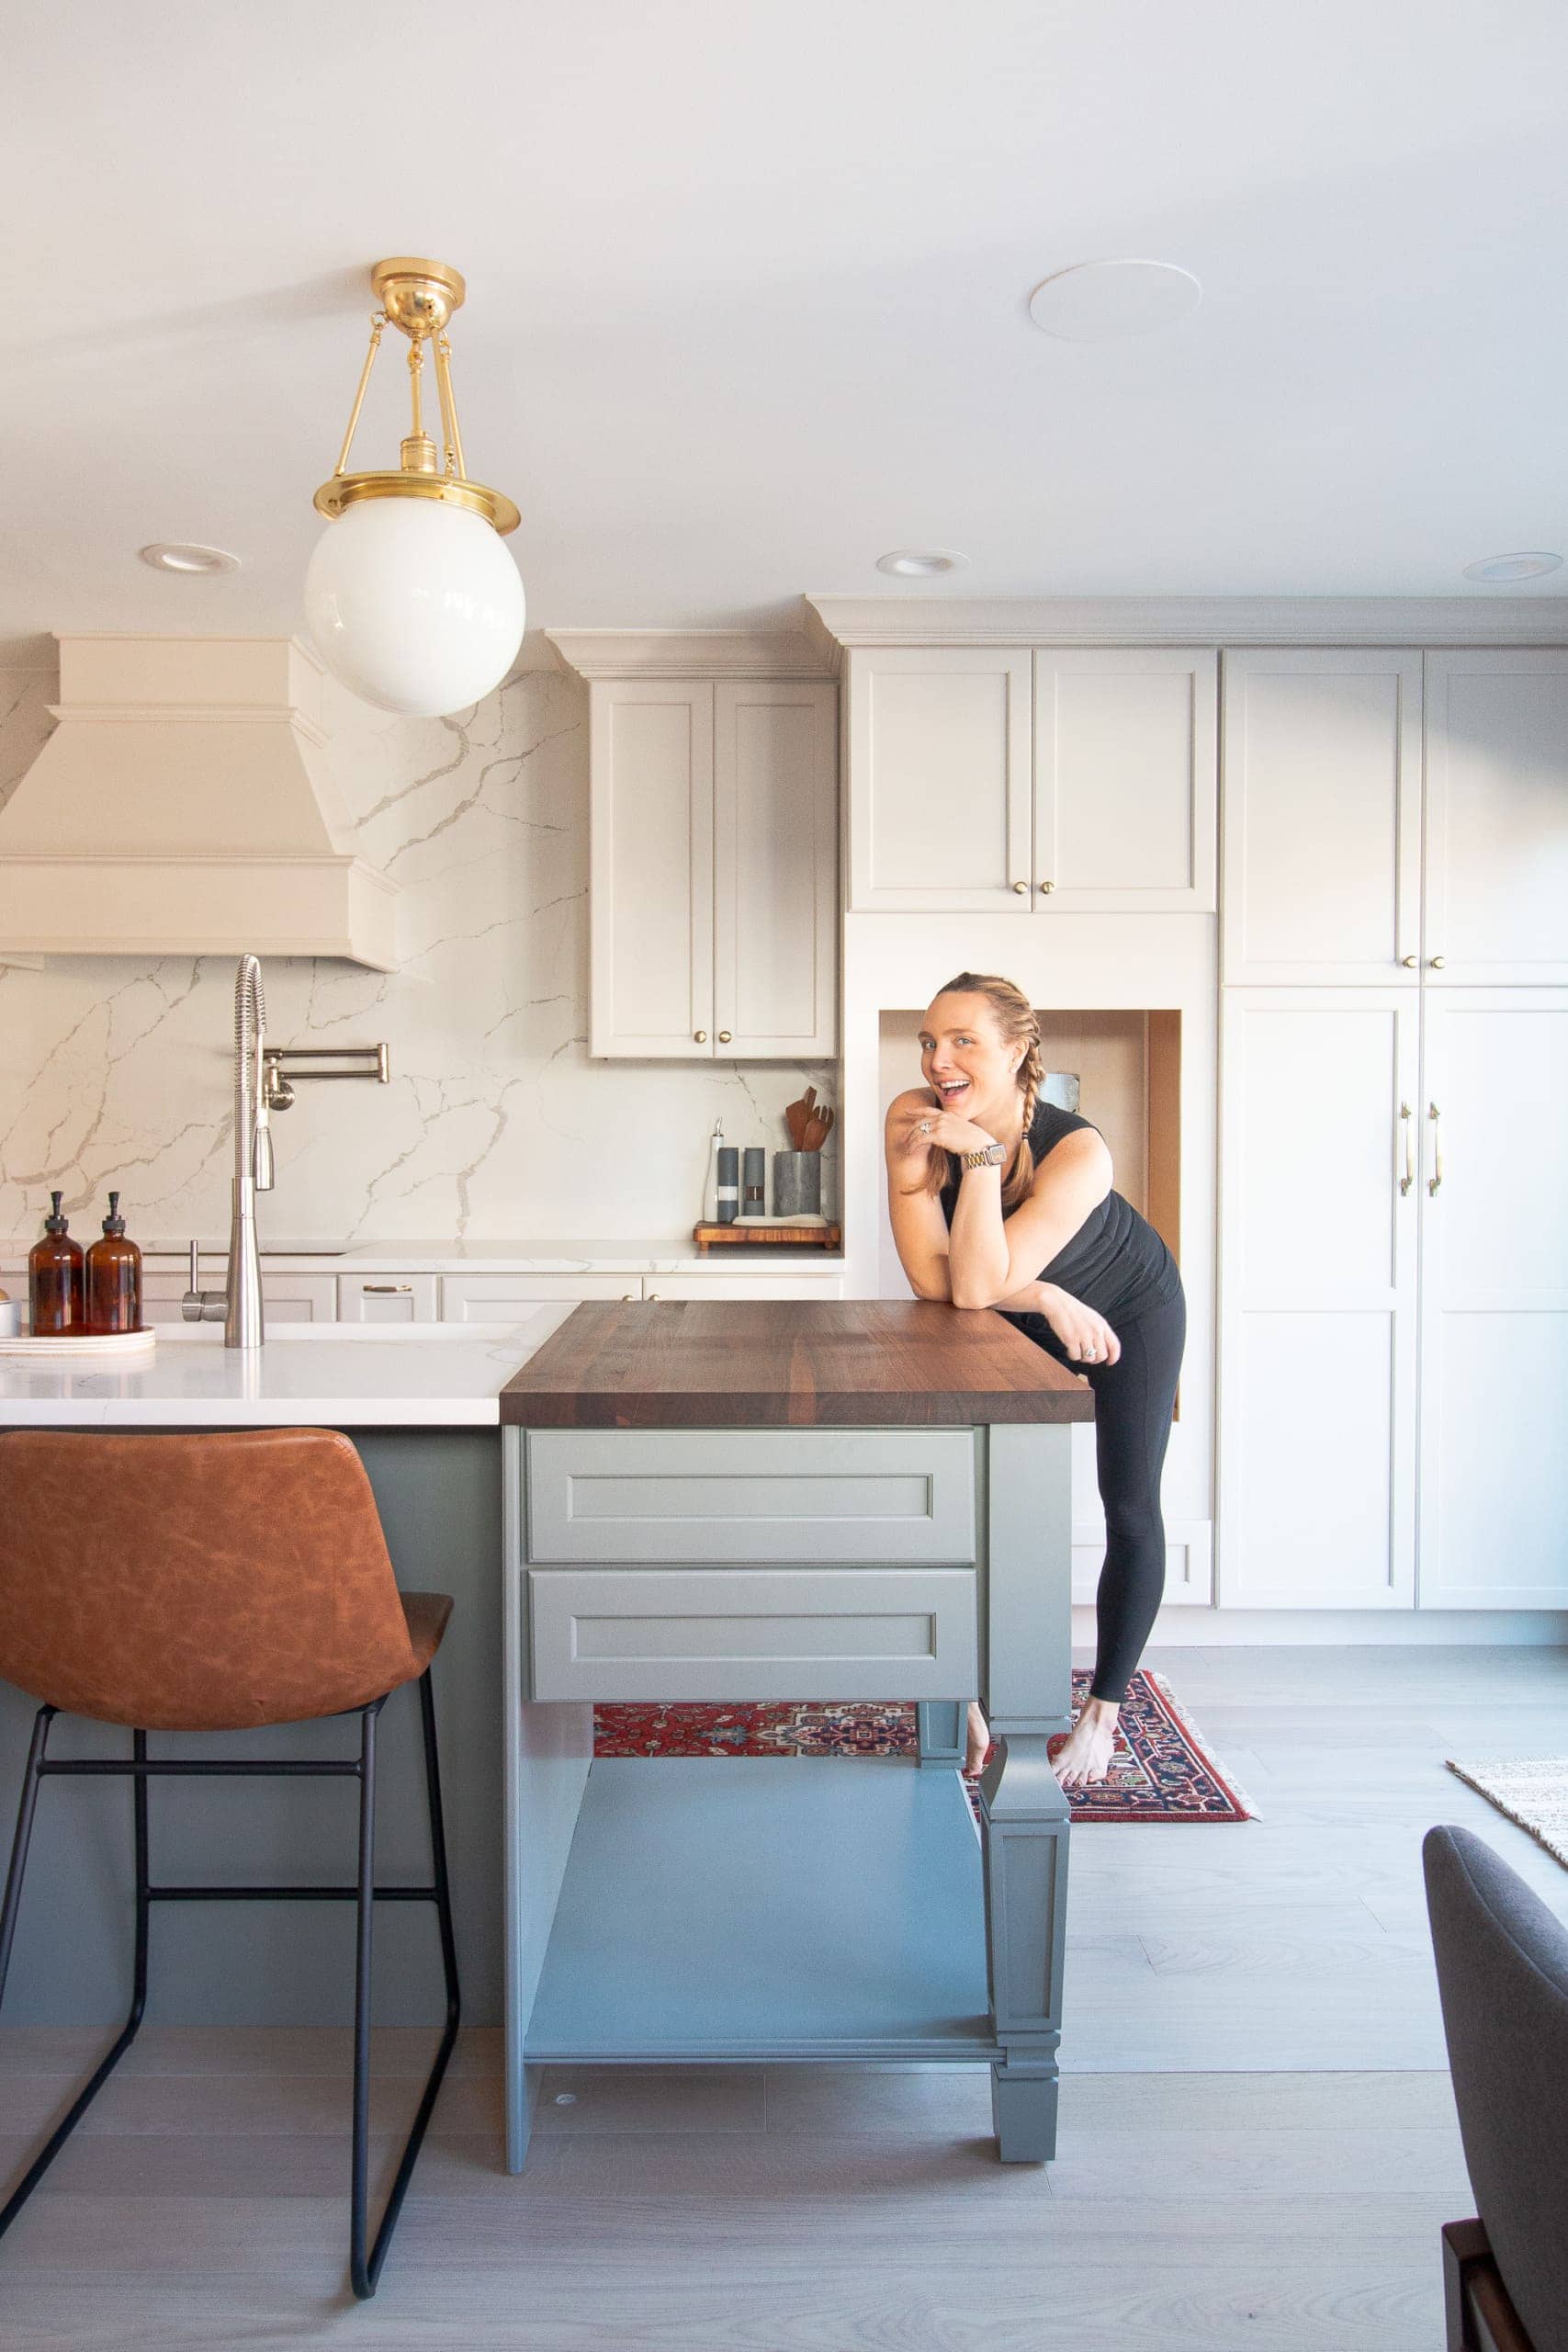
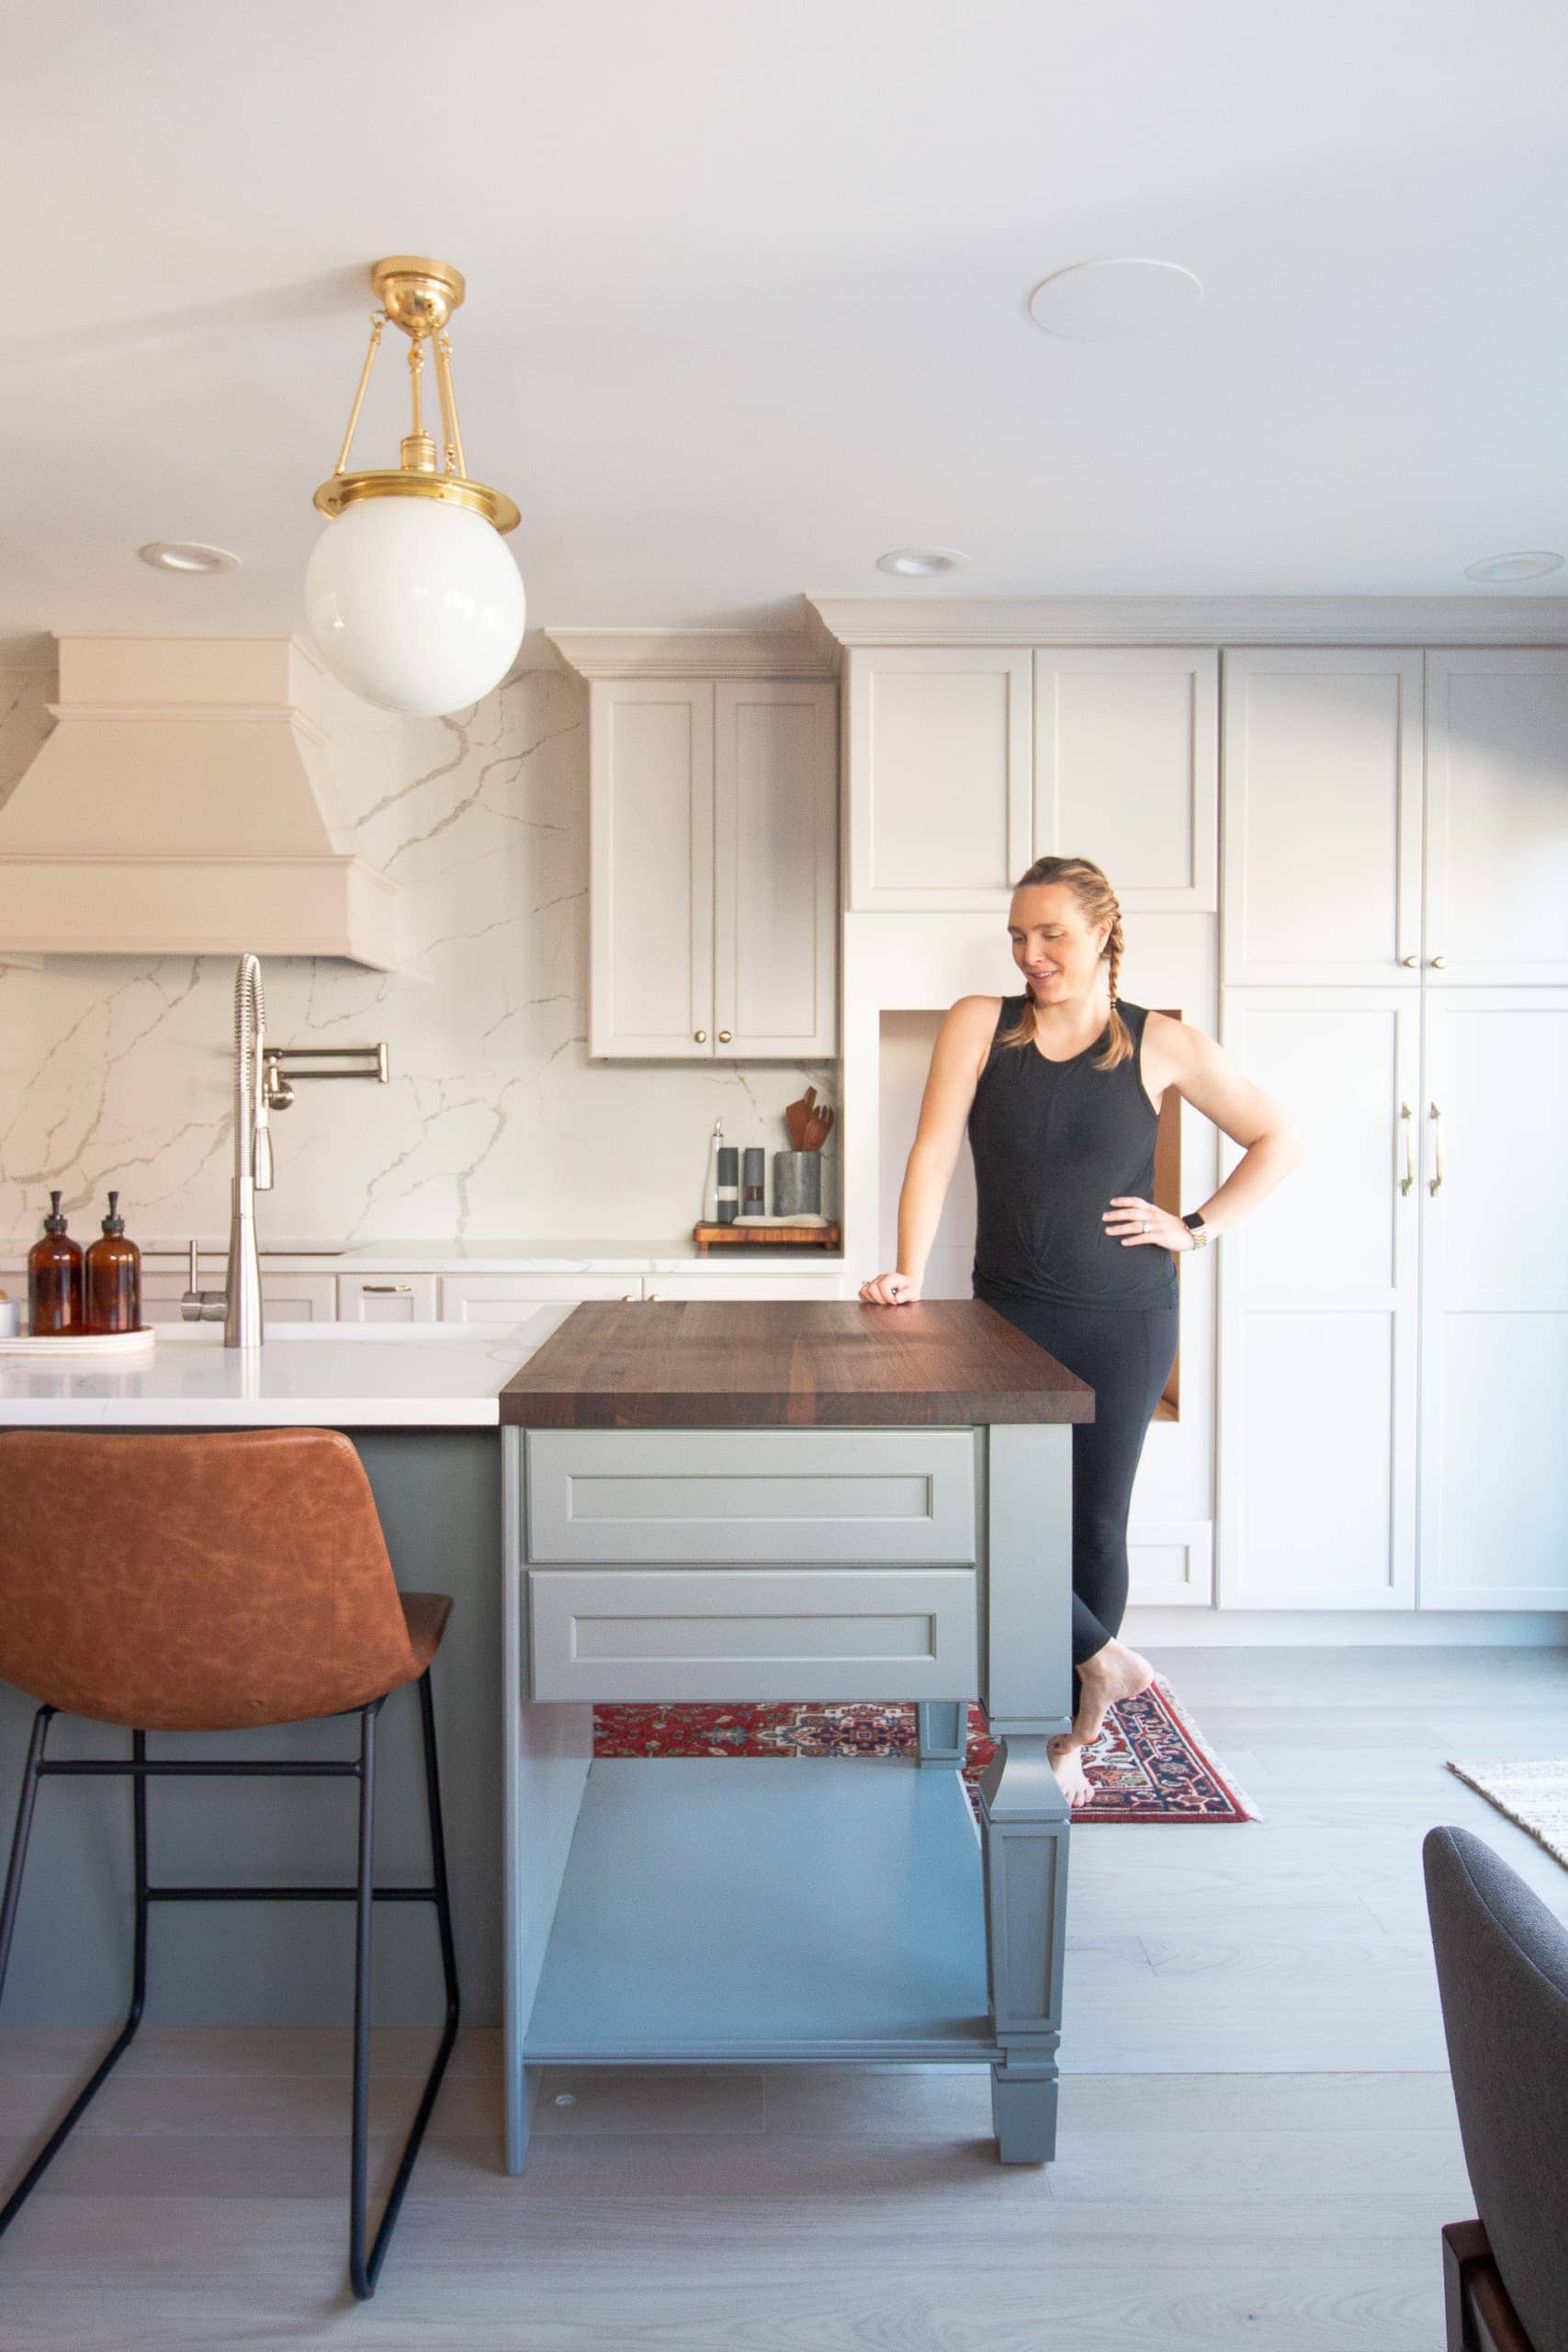
Another piece of the kitchen puzzle has been added…the butcher block in our kitchen island! It was originally supposed to arrive next week, so we were pleasantly surprised when a big heavy box arrived at our doorstep during the first week of November. I was over the moon!
I know having a butcher block in a kitchen island isn’t the norm, so I wanted to break down all of the details about ours – where we bought it, how we attached it, how we’ll care for it, and more. But first, why did we add a butcher block to our kitchen?
For practical reasons, we really love the idea of having a surface built-in for food prep and cutting. Finn loves to cook and chopping veggies all day on a Sunday, while he’s watching football, is his idea of a good time, certainly not mine!
My mom’s entire kitchen island in her old home was a super thick butcher block and she absolutely loved it. We would use it for chopping and serving all the time and she had zero issues keeping it looking good for years! Seeing how great it worked for her convinced us to add one to our own kitchen design.
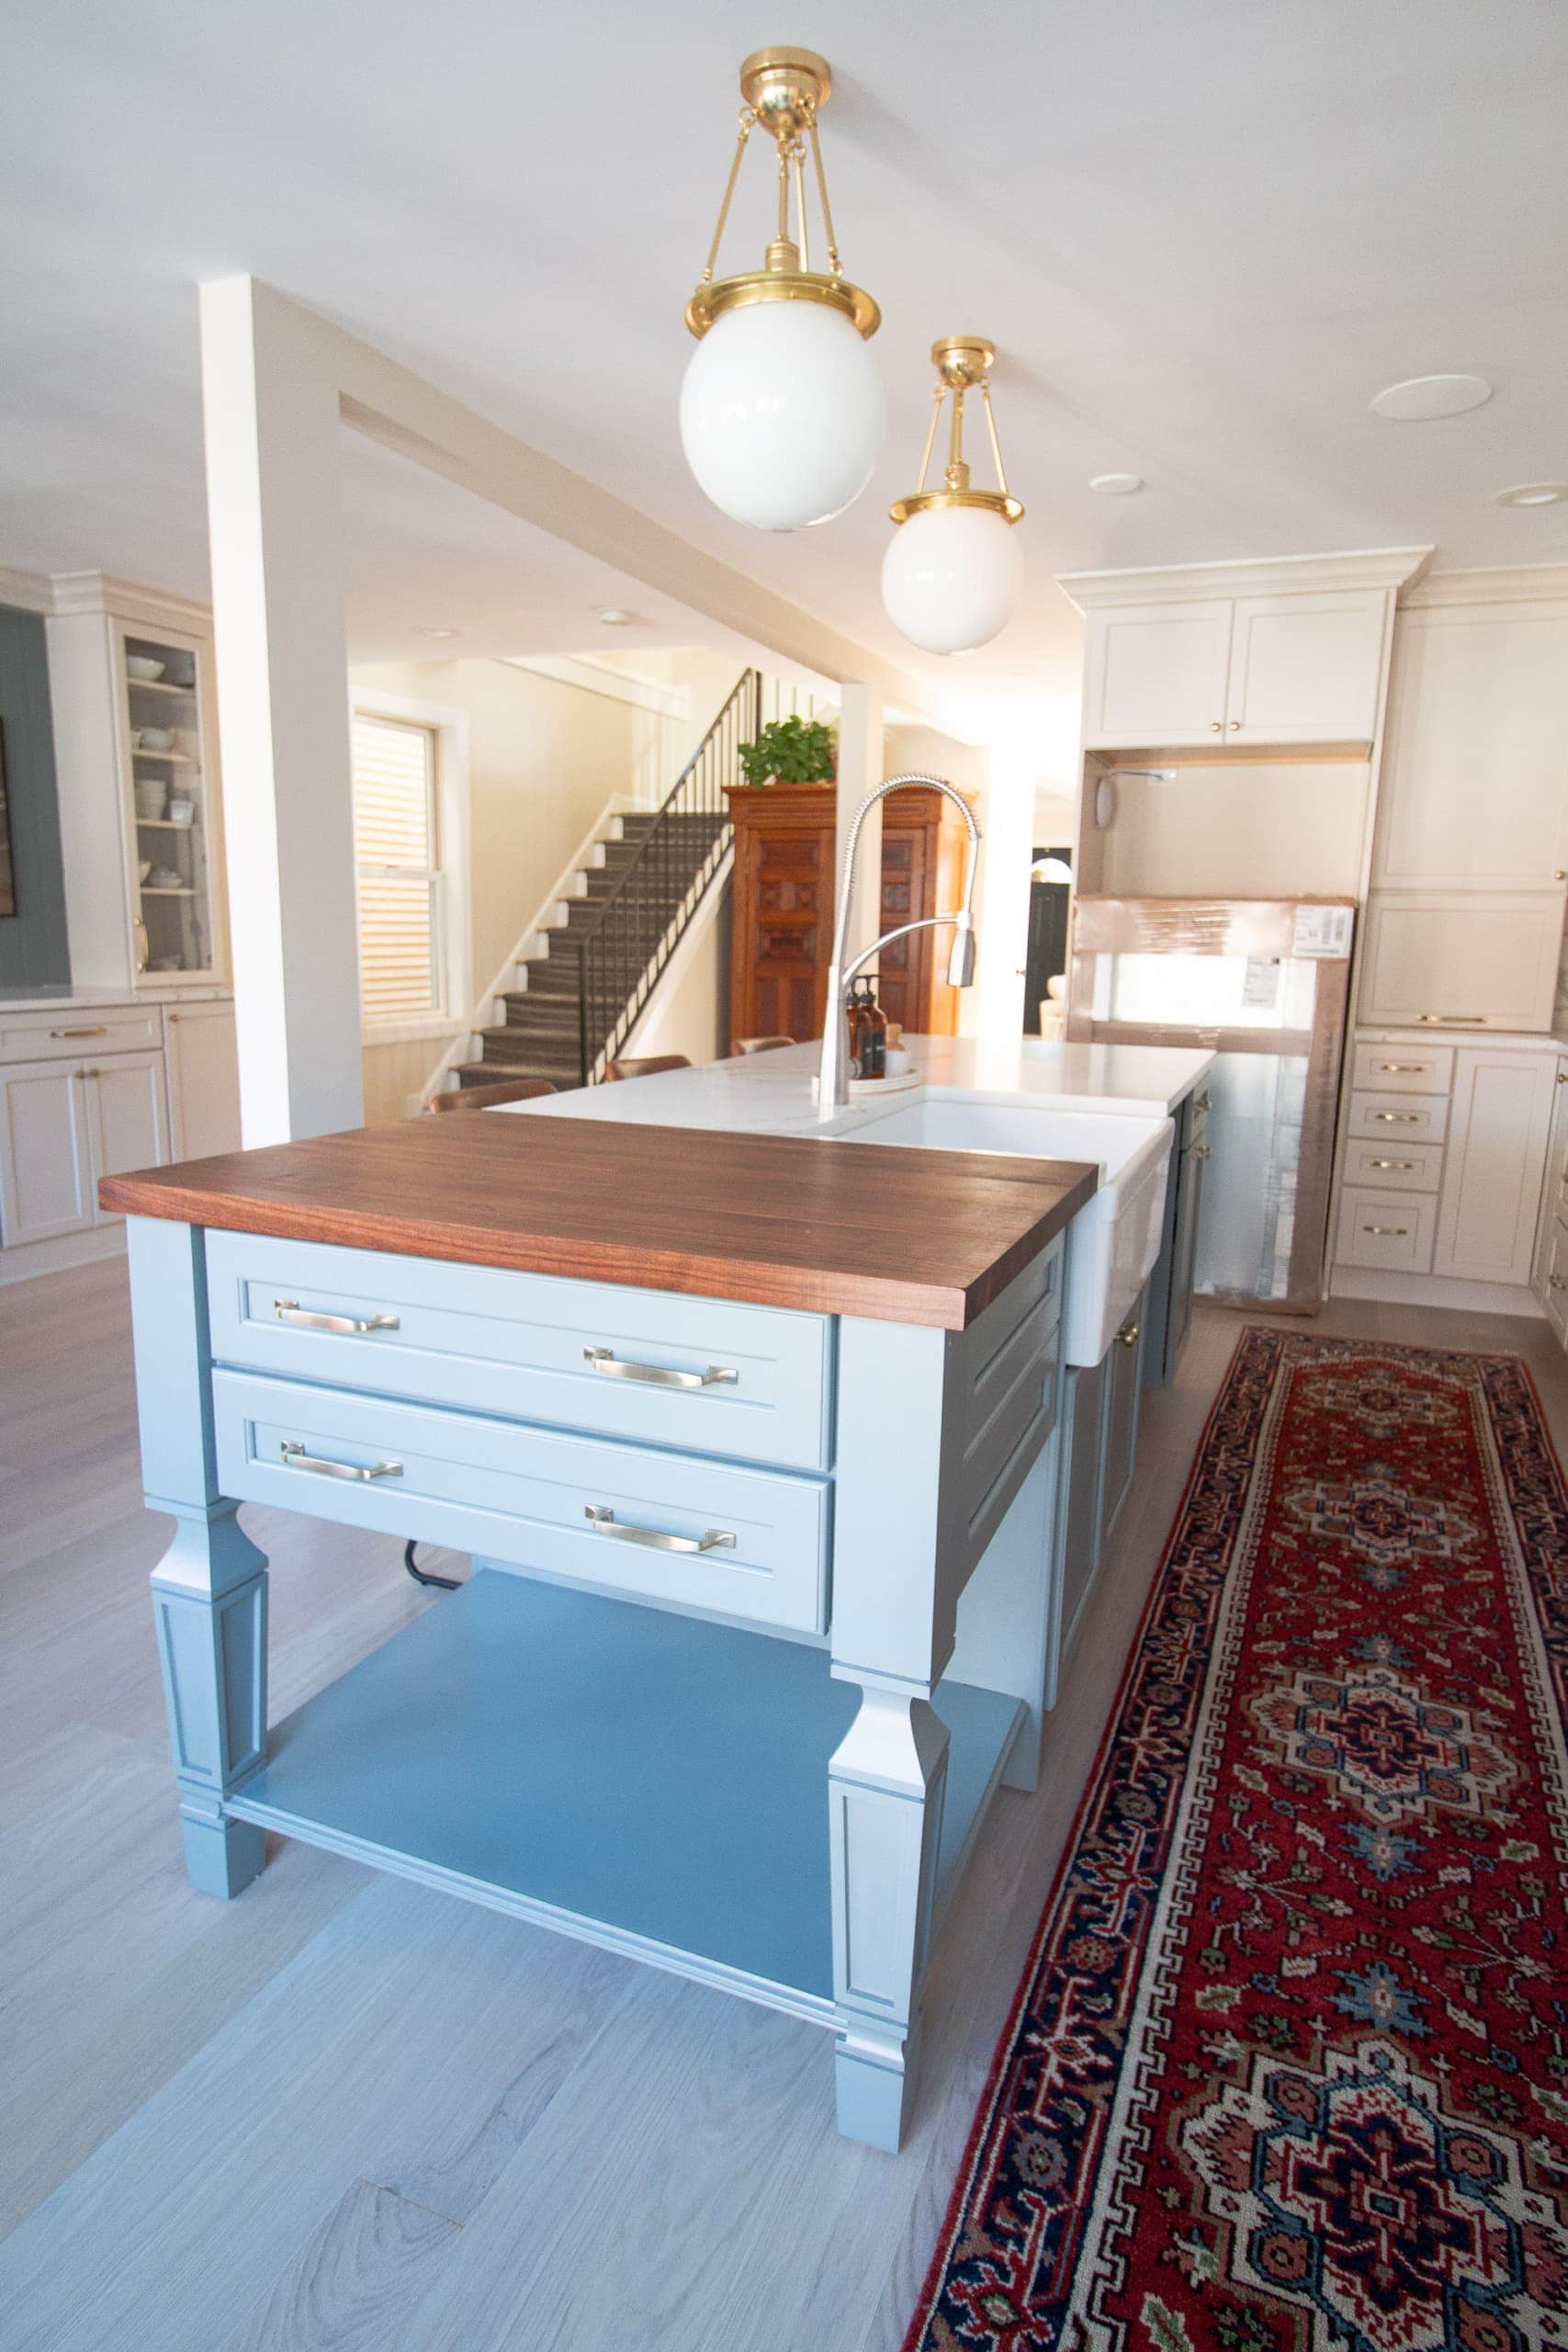
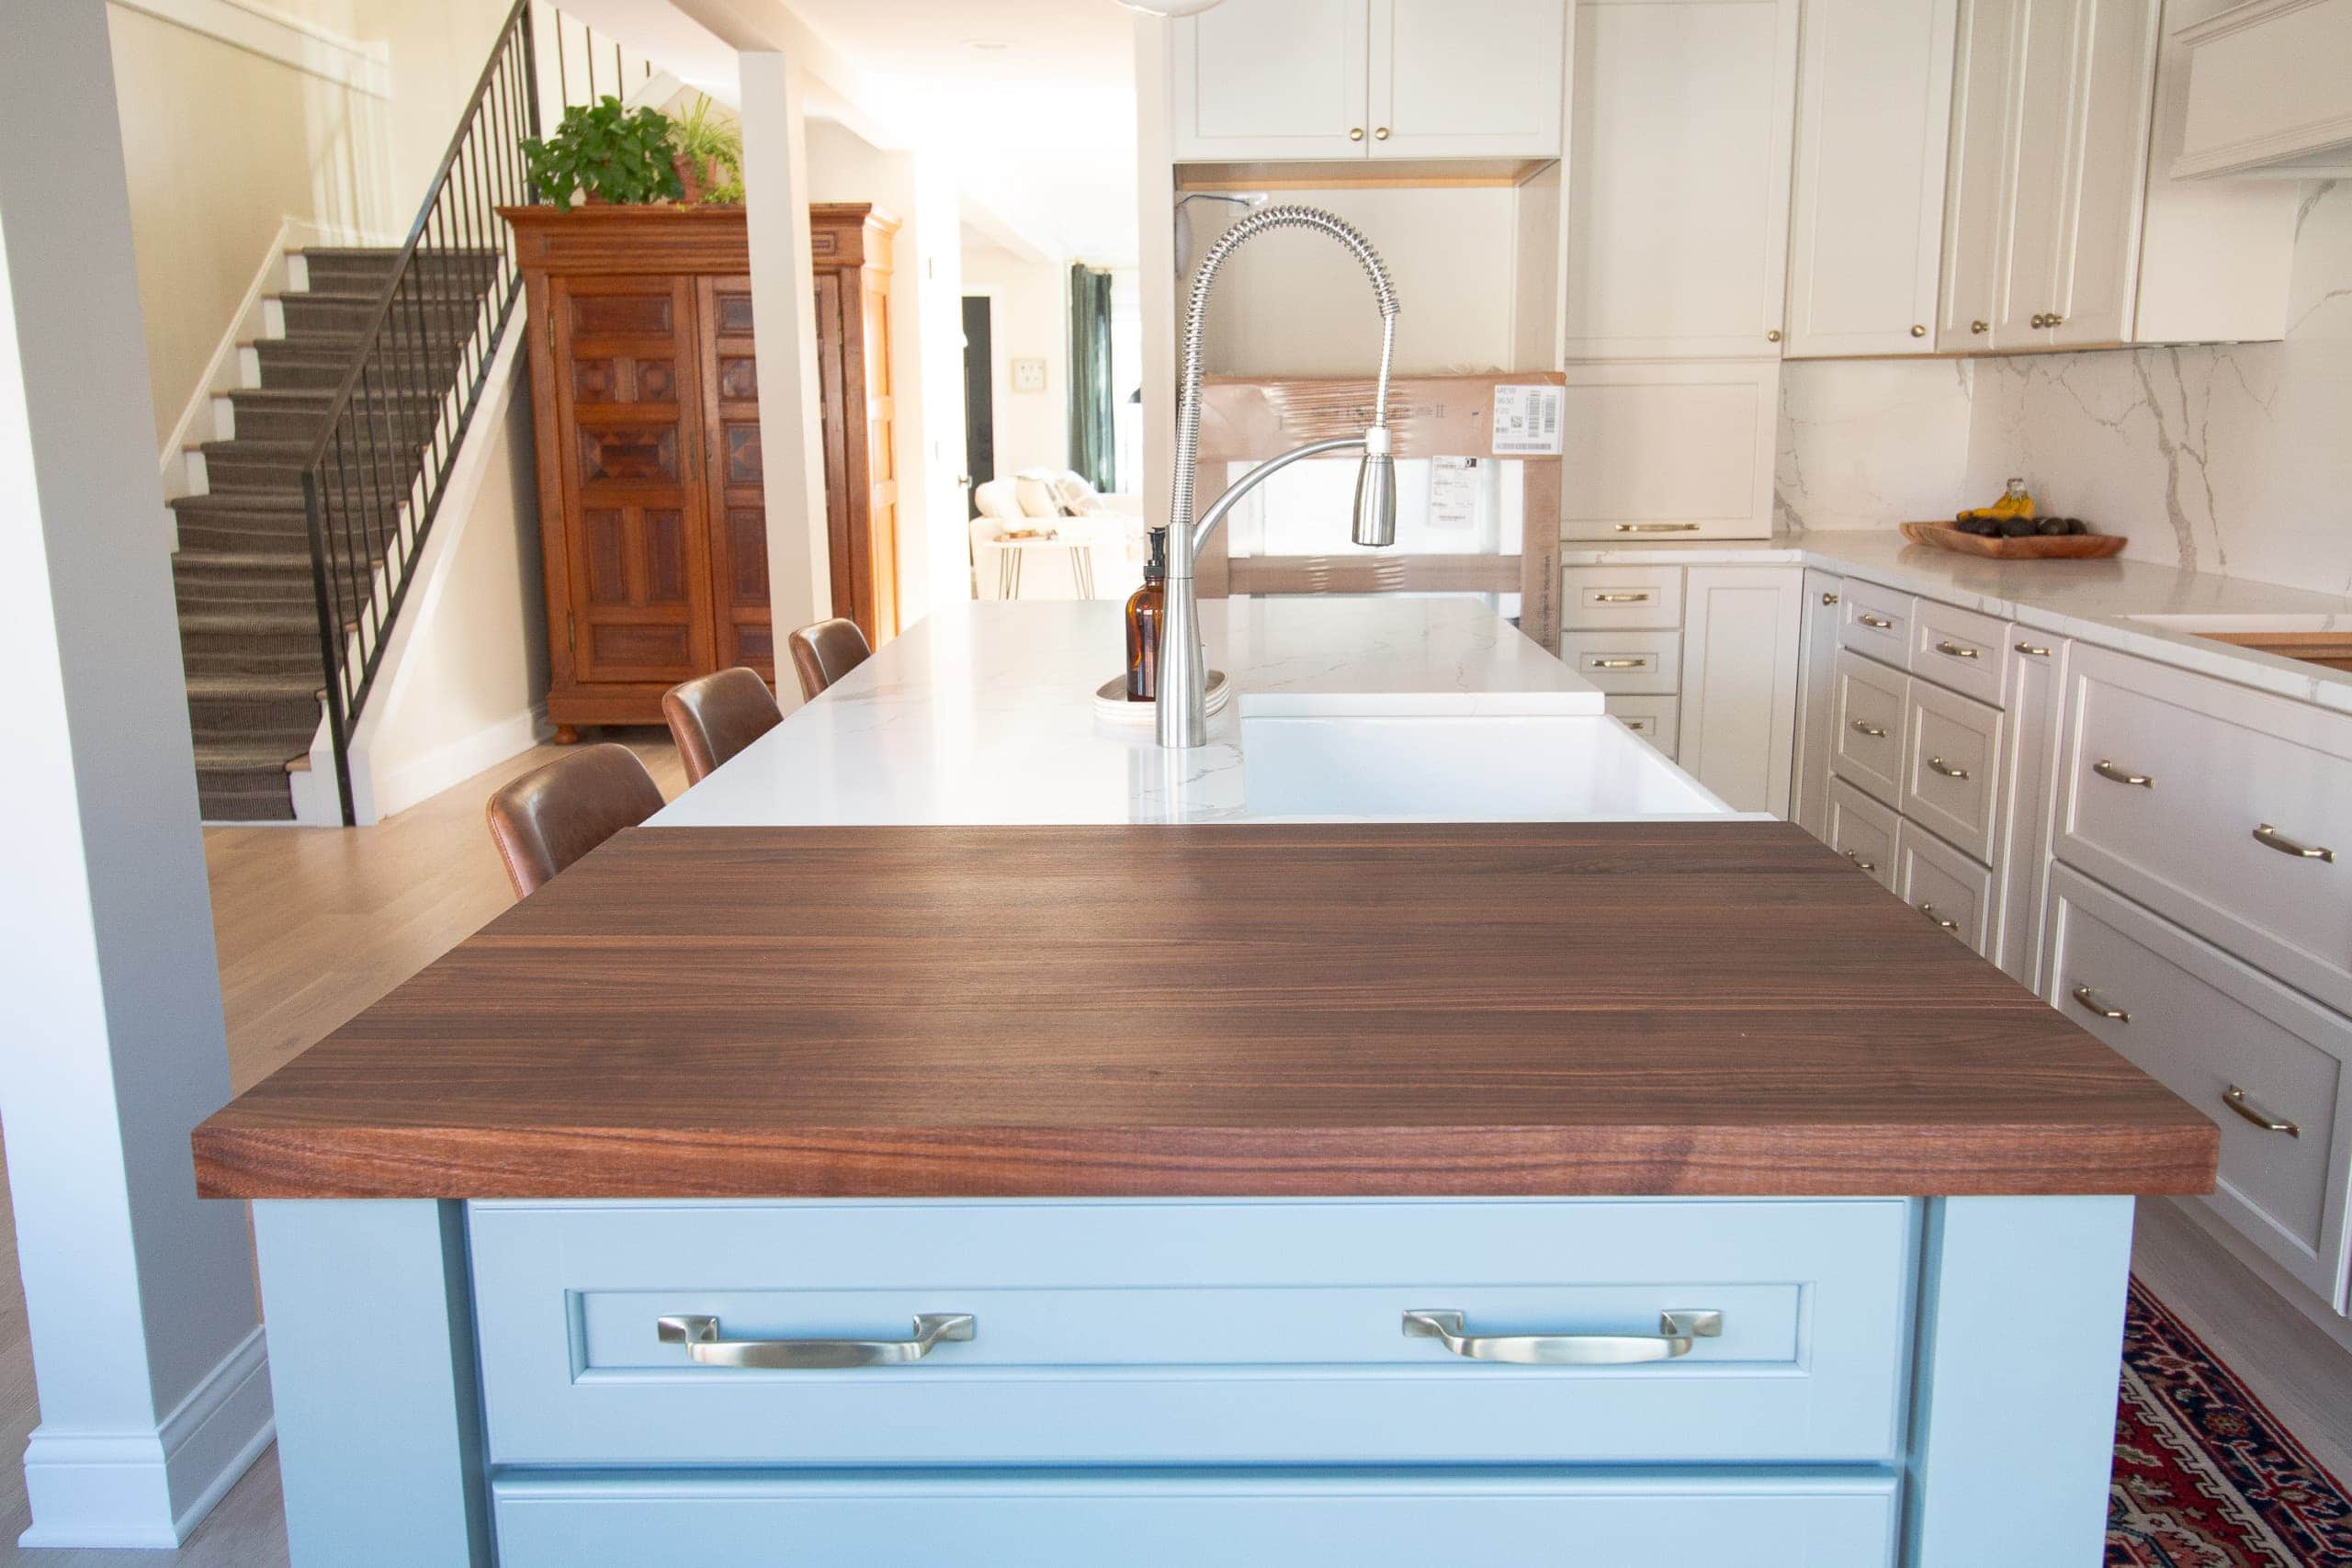
For aesthetic reasons, I really wanted to add some more wood and warmth to our kitchen. Because the cabinets are cream and the backsplash is white quartz, I knew we needed more depth in this space.
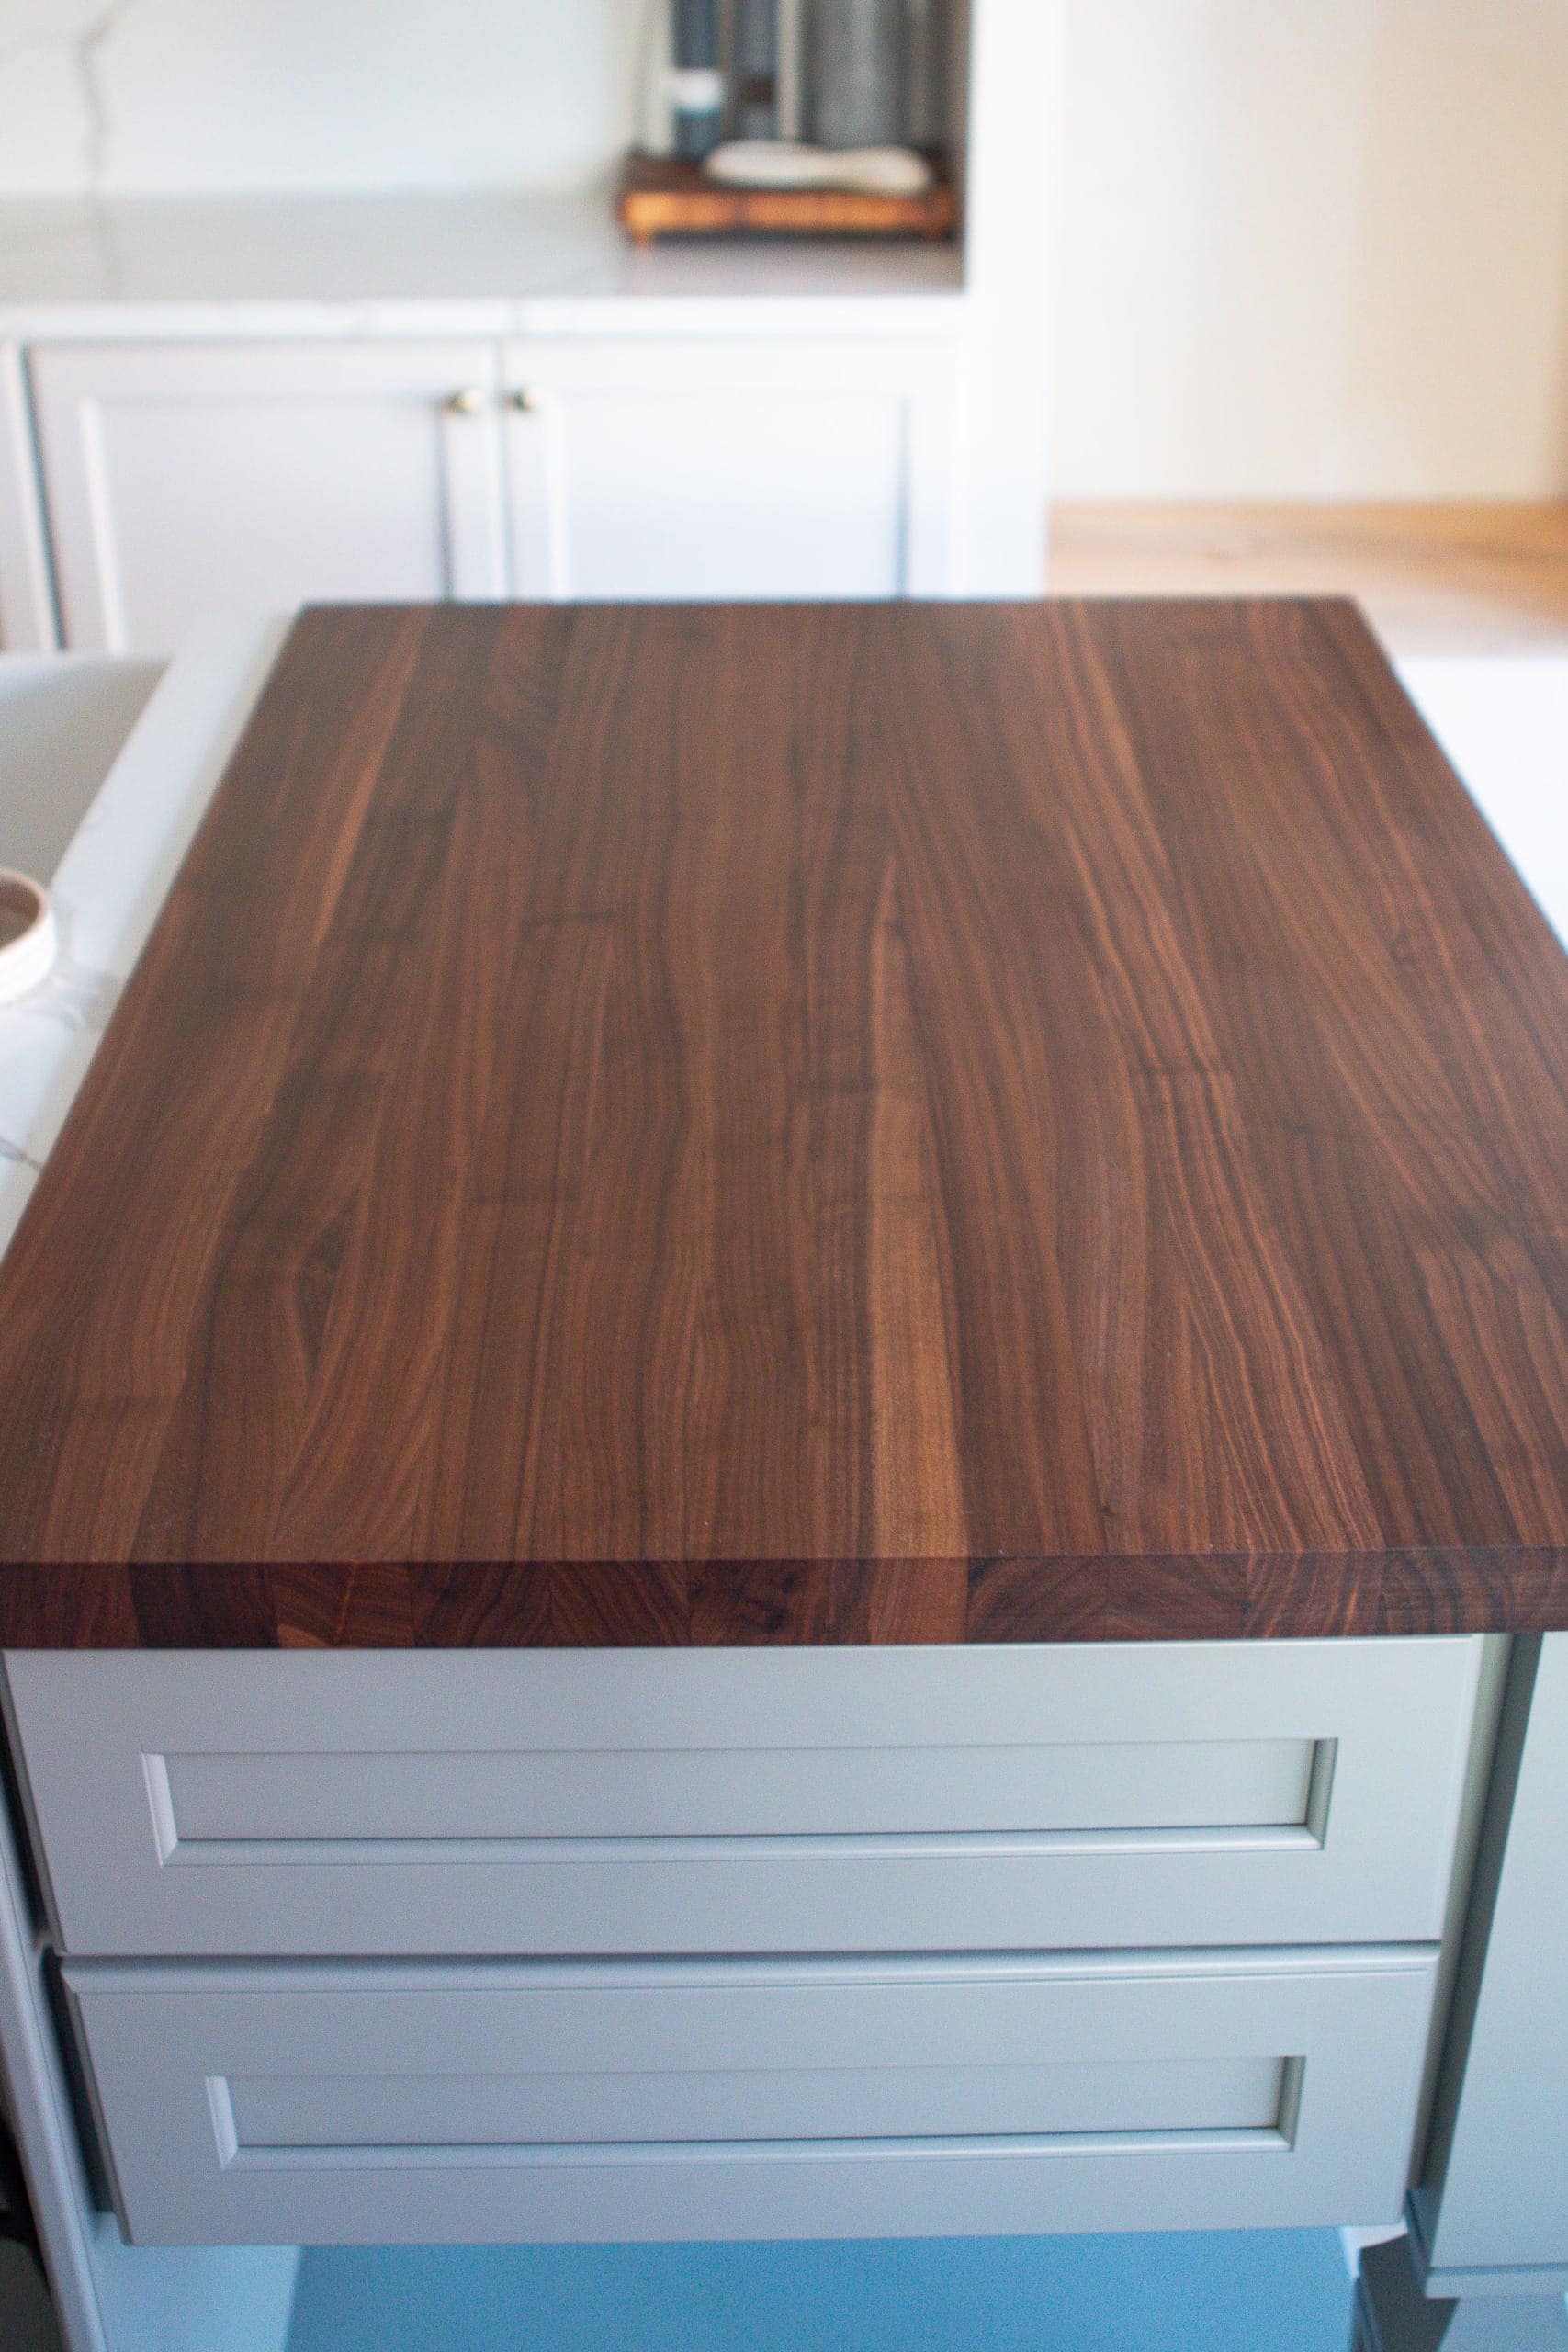
I thought the butcher block would bring some warmth to the island while incorporating the tones of the kitchen table, our party hutch, and our open shelves (coming soon!). I thought having wood elements spread all across the room would make the design more cohesive. I even ended up choosing the same wood, walnut, for all of the wood in the room – the table, the shelves, and the butcher block.
Ordering the Butcher Block
We ordered our butcher block from Butcher Block Co. because that’s the place my mom used years ago for her kitchen. We didn’t want to place our order until our island was in. By waiting until then, we were able to make a perfect measurement.
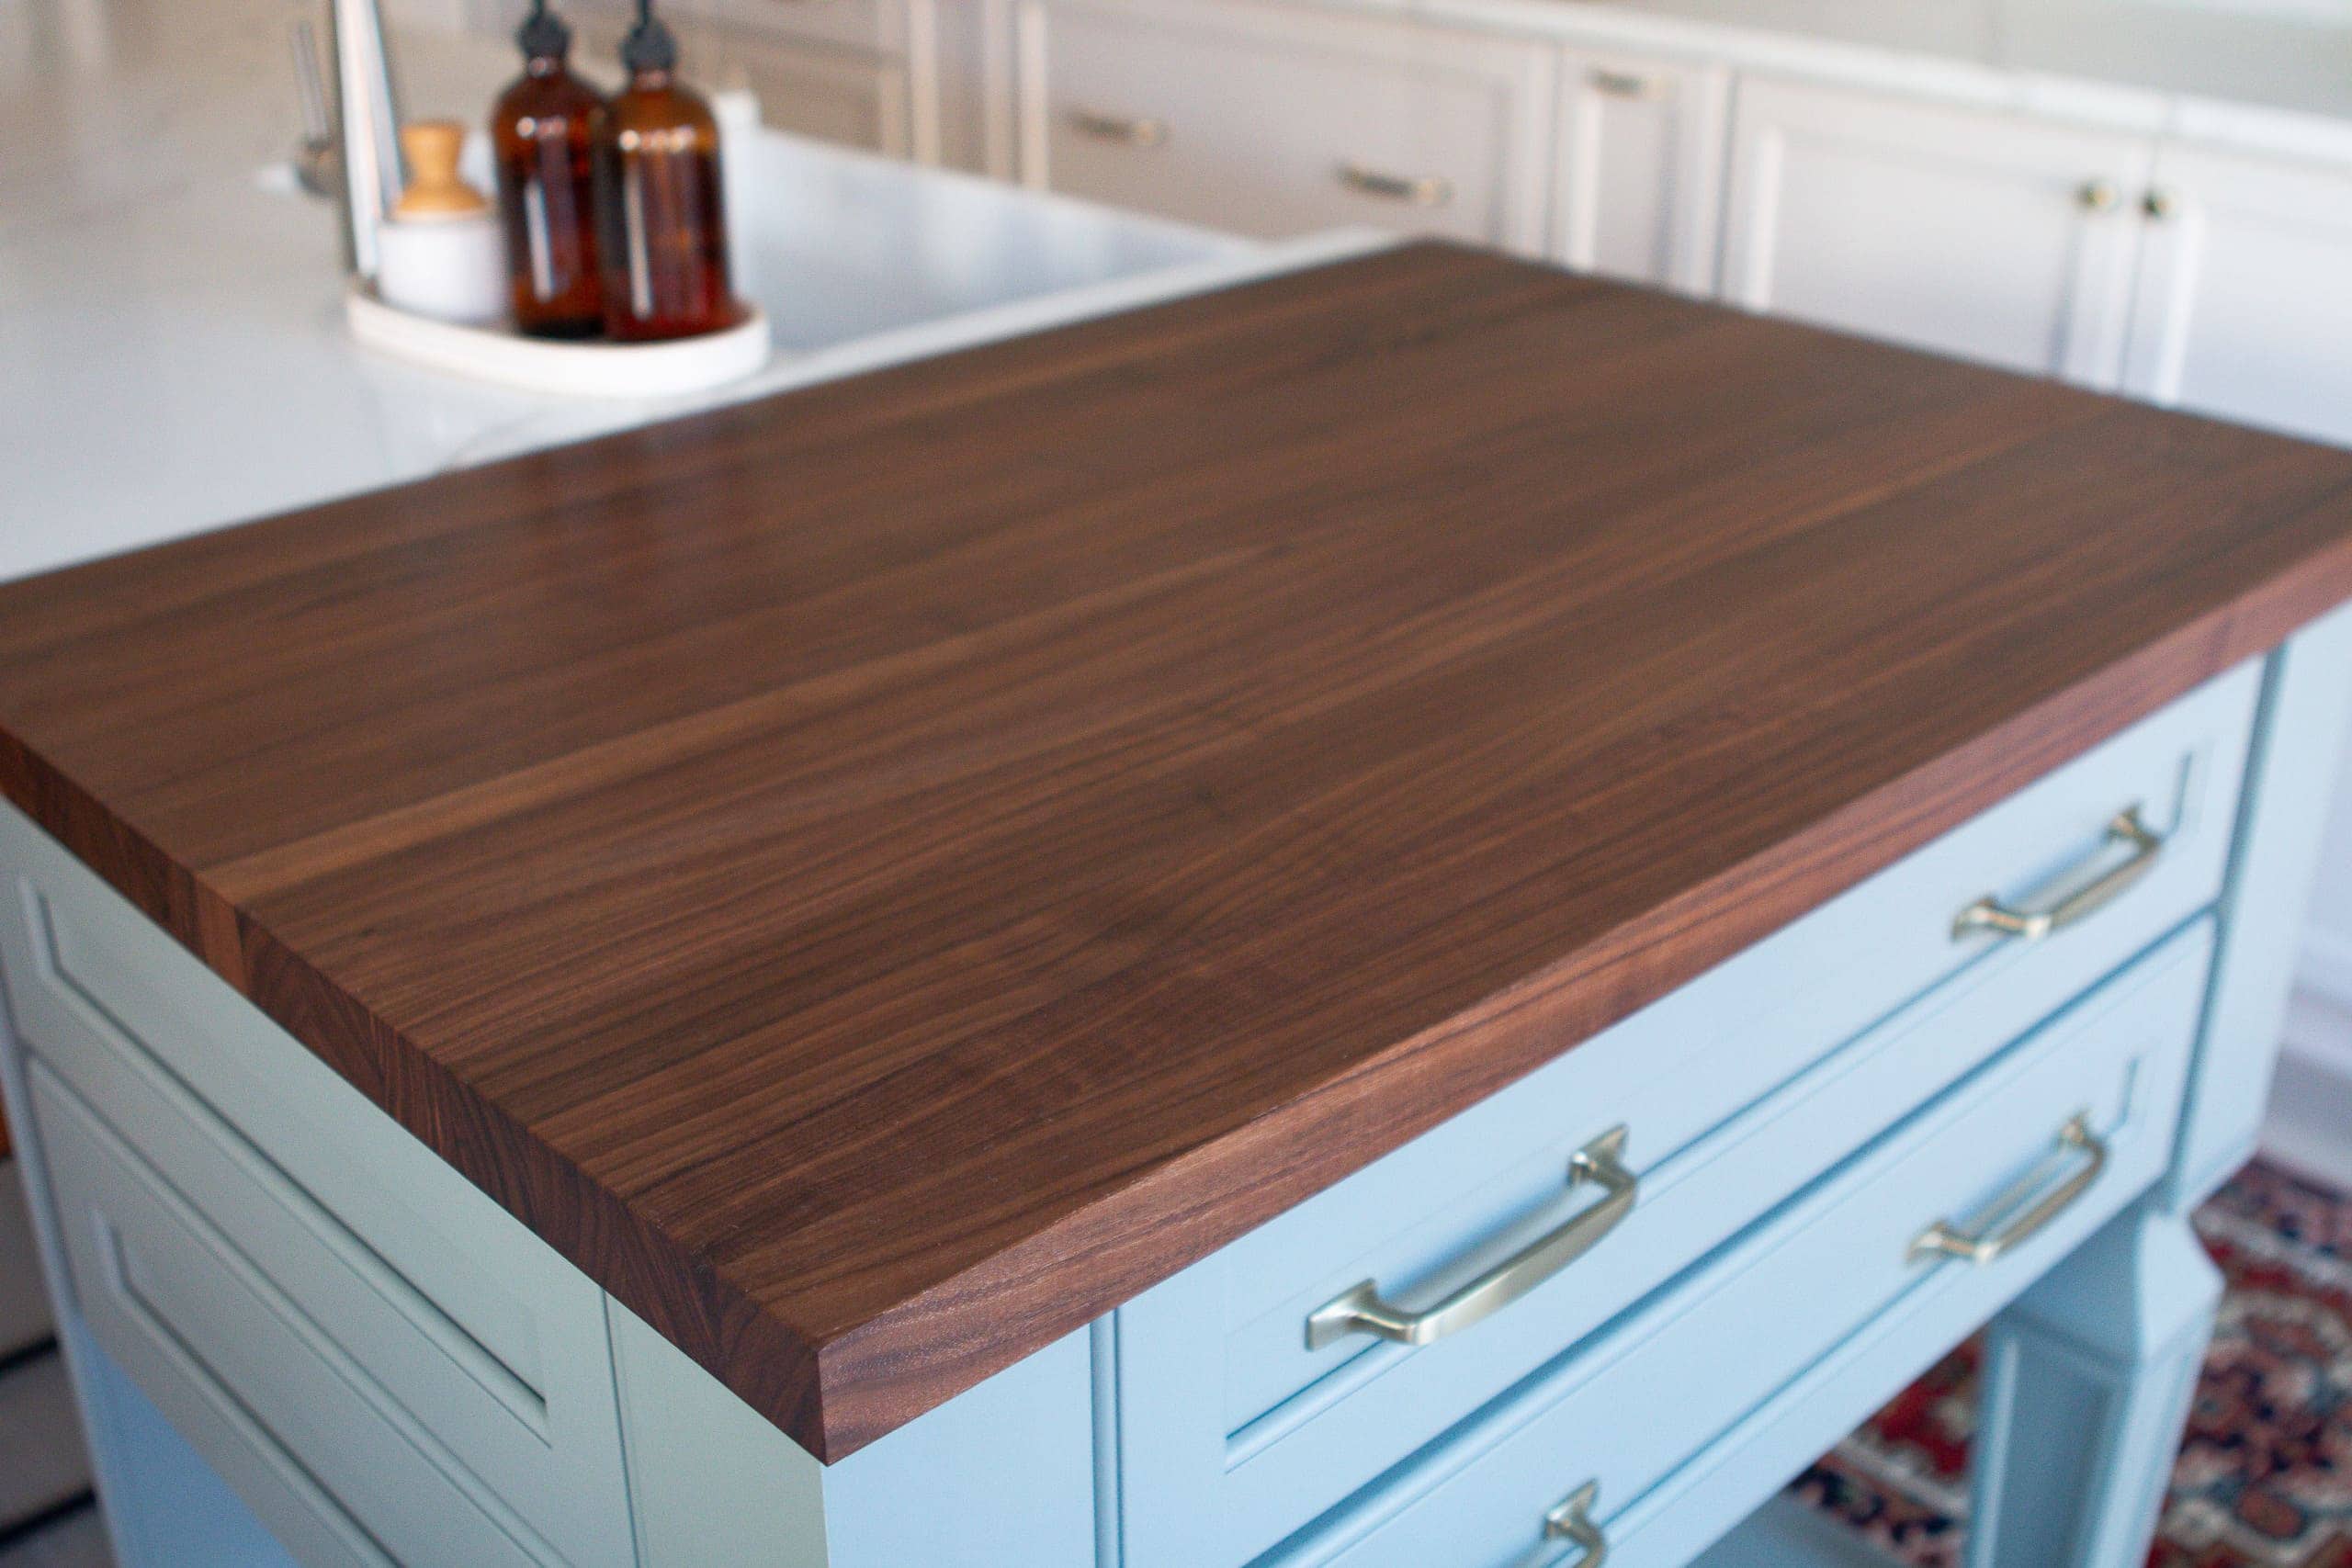
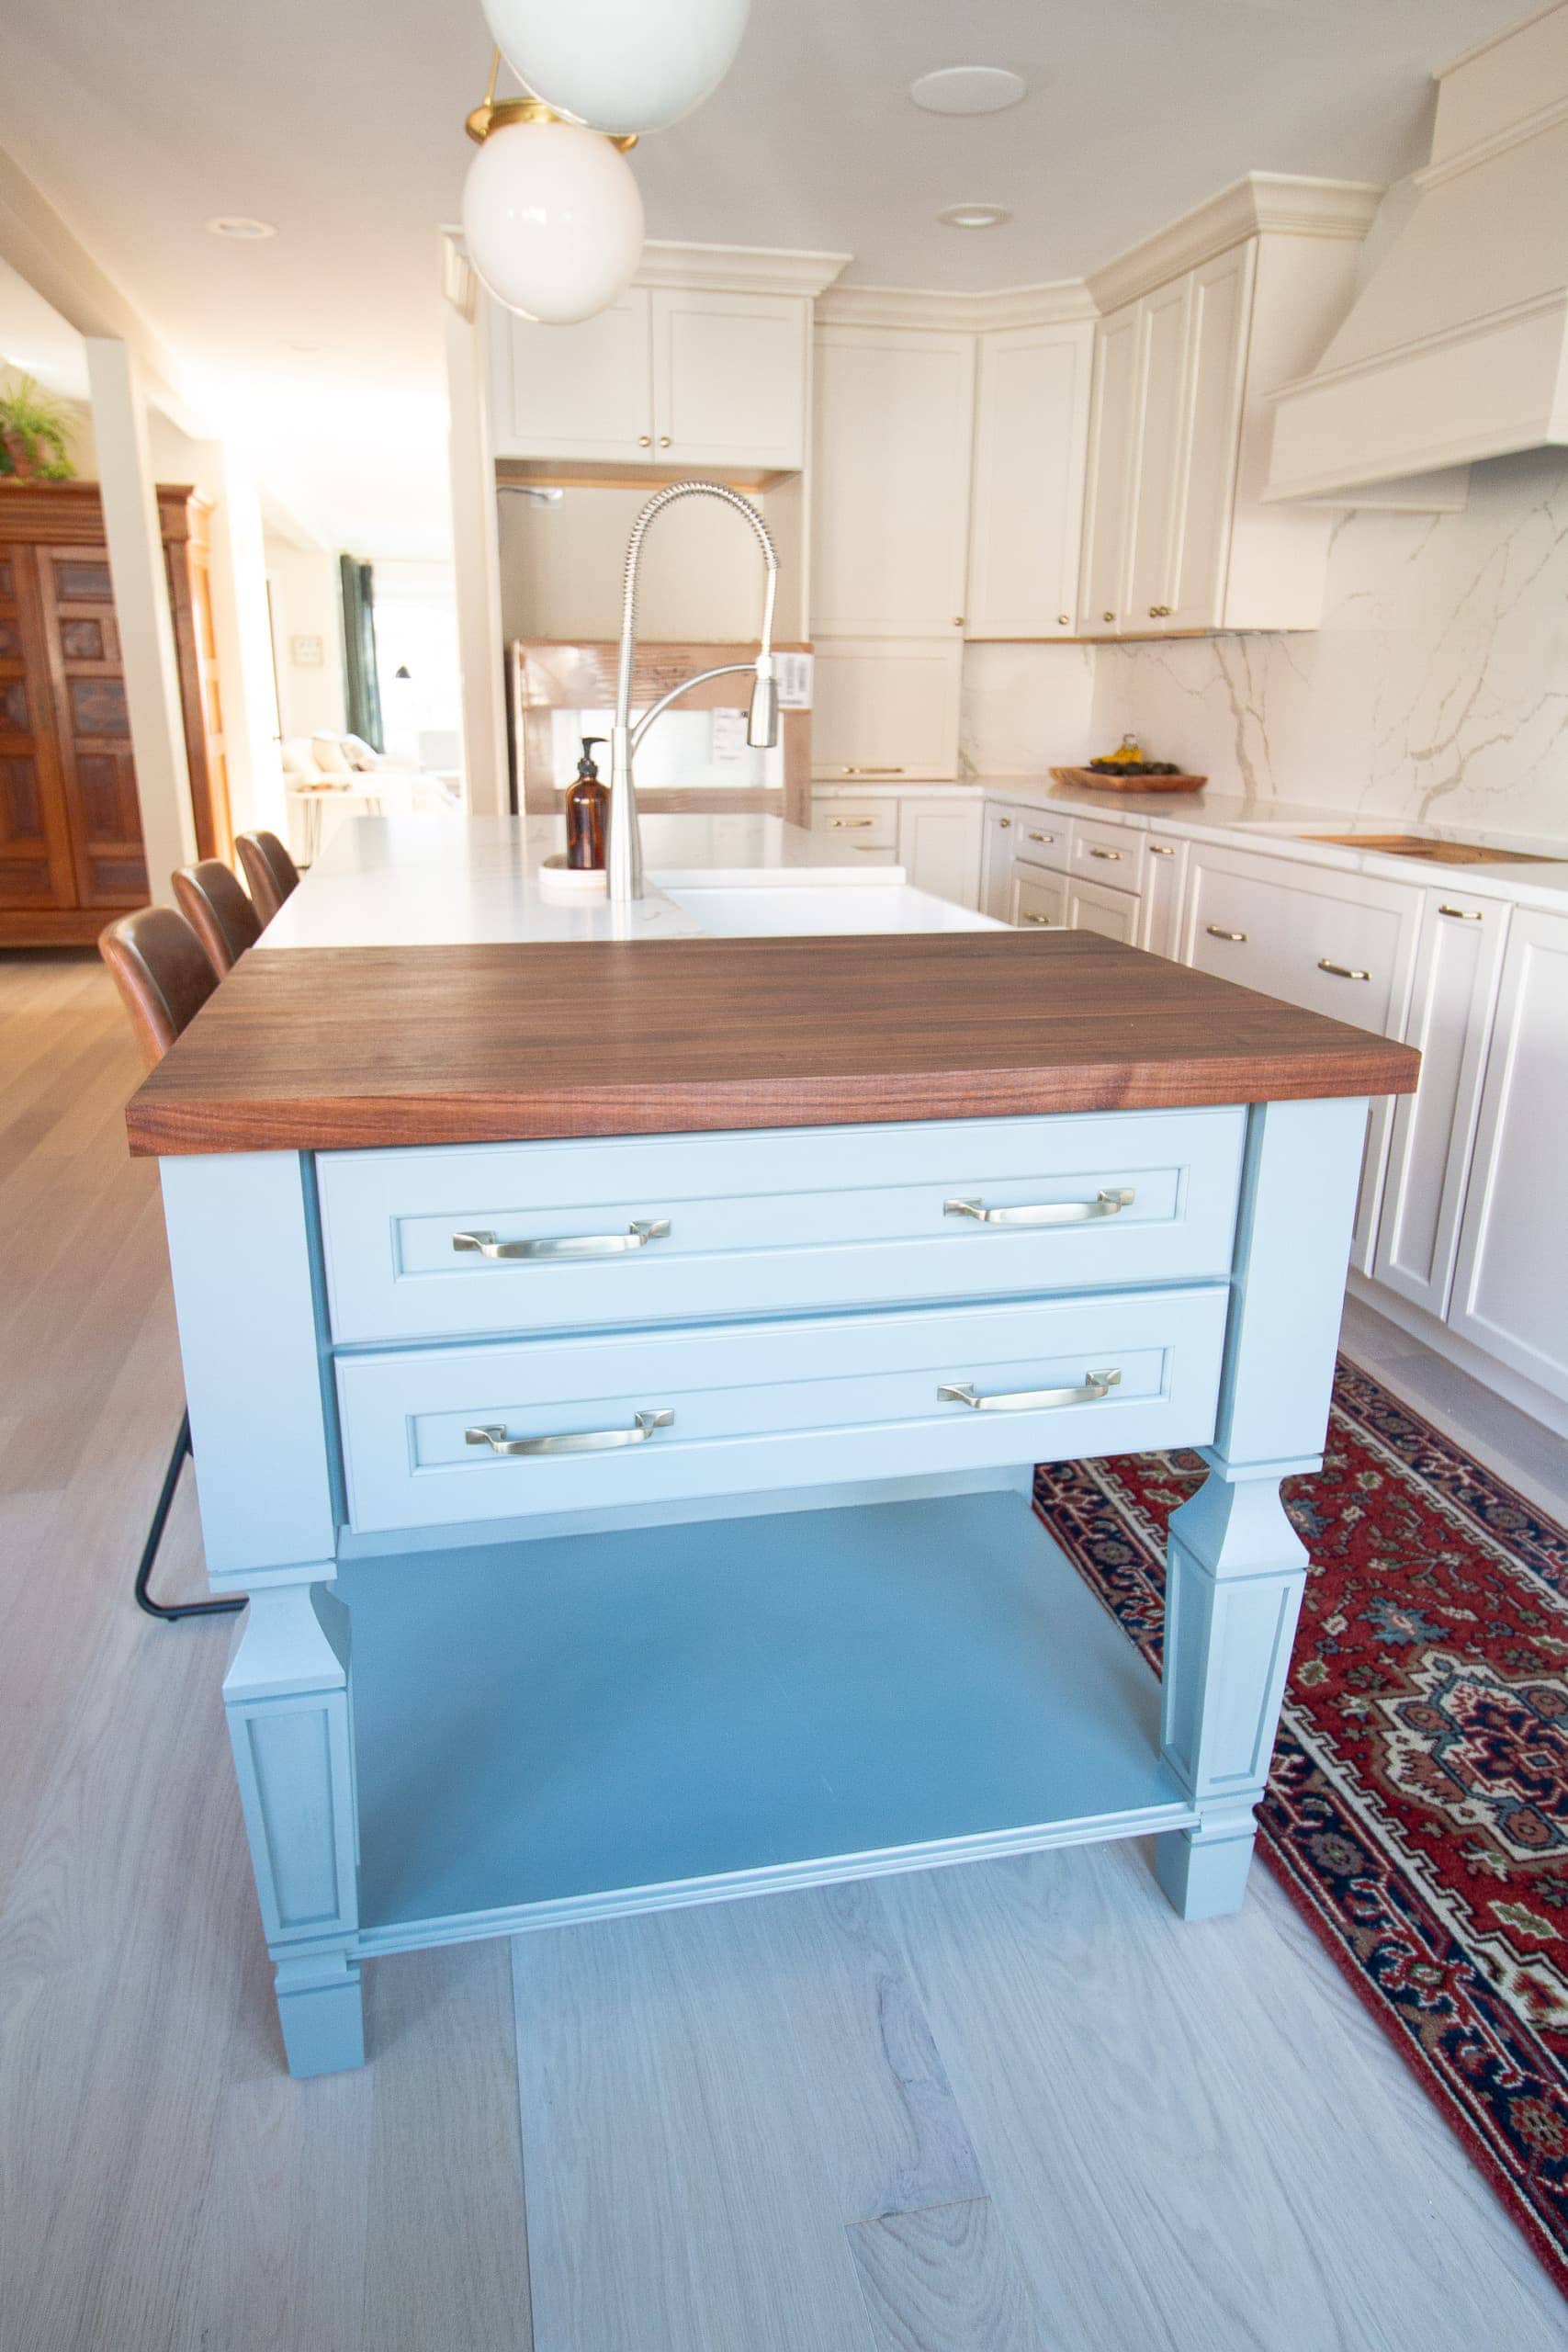
We ended up going with a John Boos butcher block in walnut with an edge grain style and natural oil finish. As for the size, ours is 27″ wide by 39.5″ and 1.5″ thick with a slightly eased edge. We wanted it to be slightly higher than our quartz countertops, so it’s about 1/2 inch higher.
If it was the same level we were worried food might get stuck in the seam. This way we can easily brush any debris off and into the sink.
There was a lot to choose from on the website, but we tried our best to keep it simple and timeless. Plus, we wanted to make sure that the color was similar to our walnut table. (That’s why we went with walnut for this too!) All in all, it ended up costing $720.
Attaching the Butcher Block
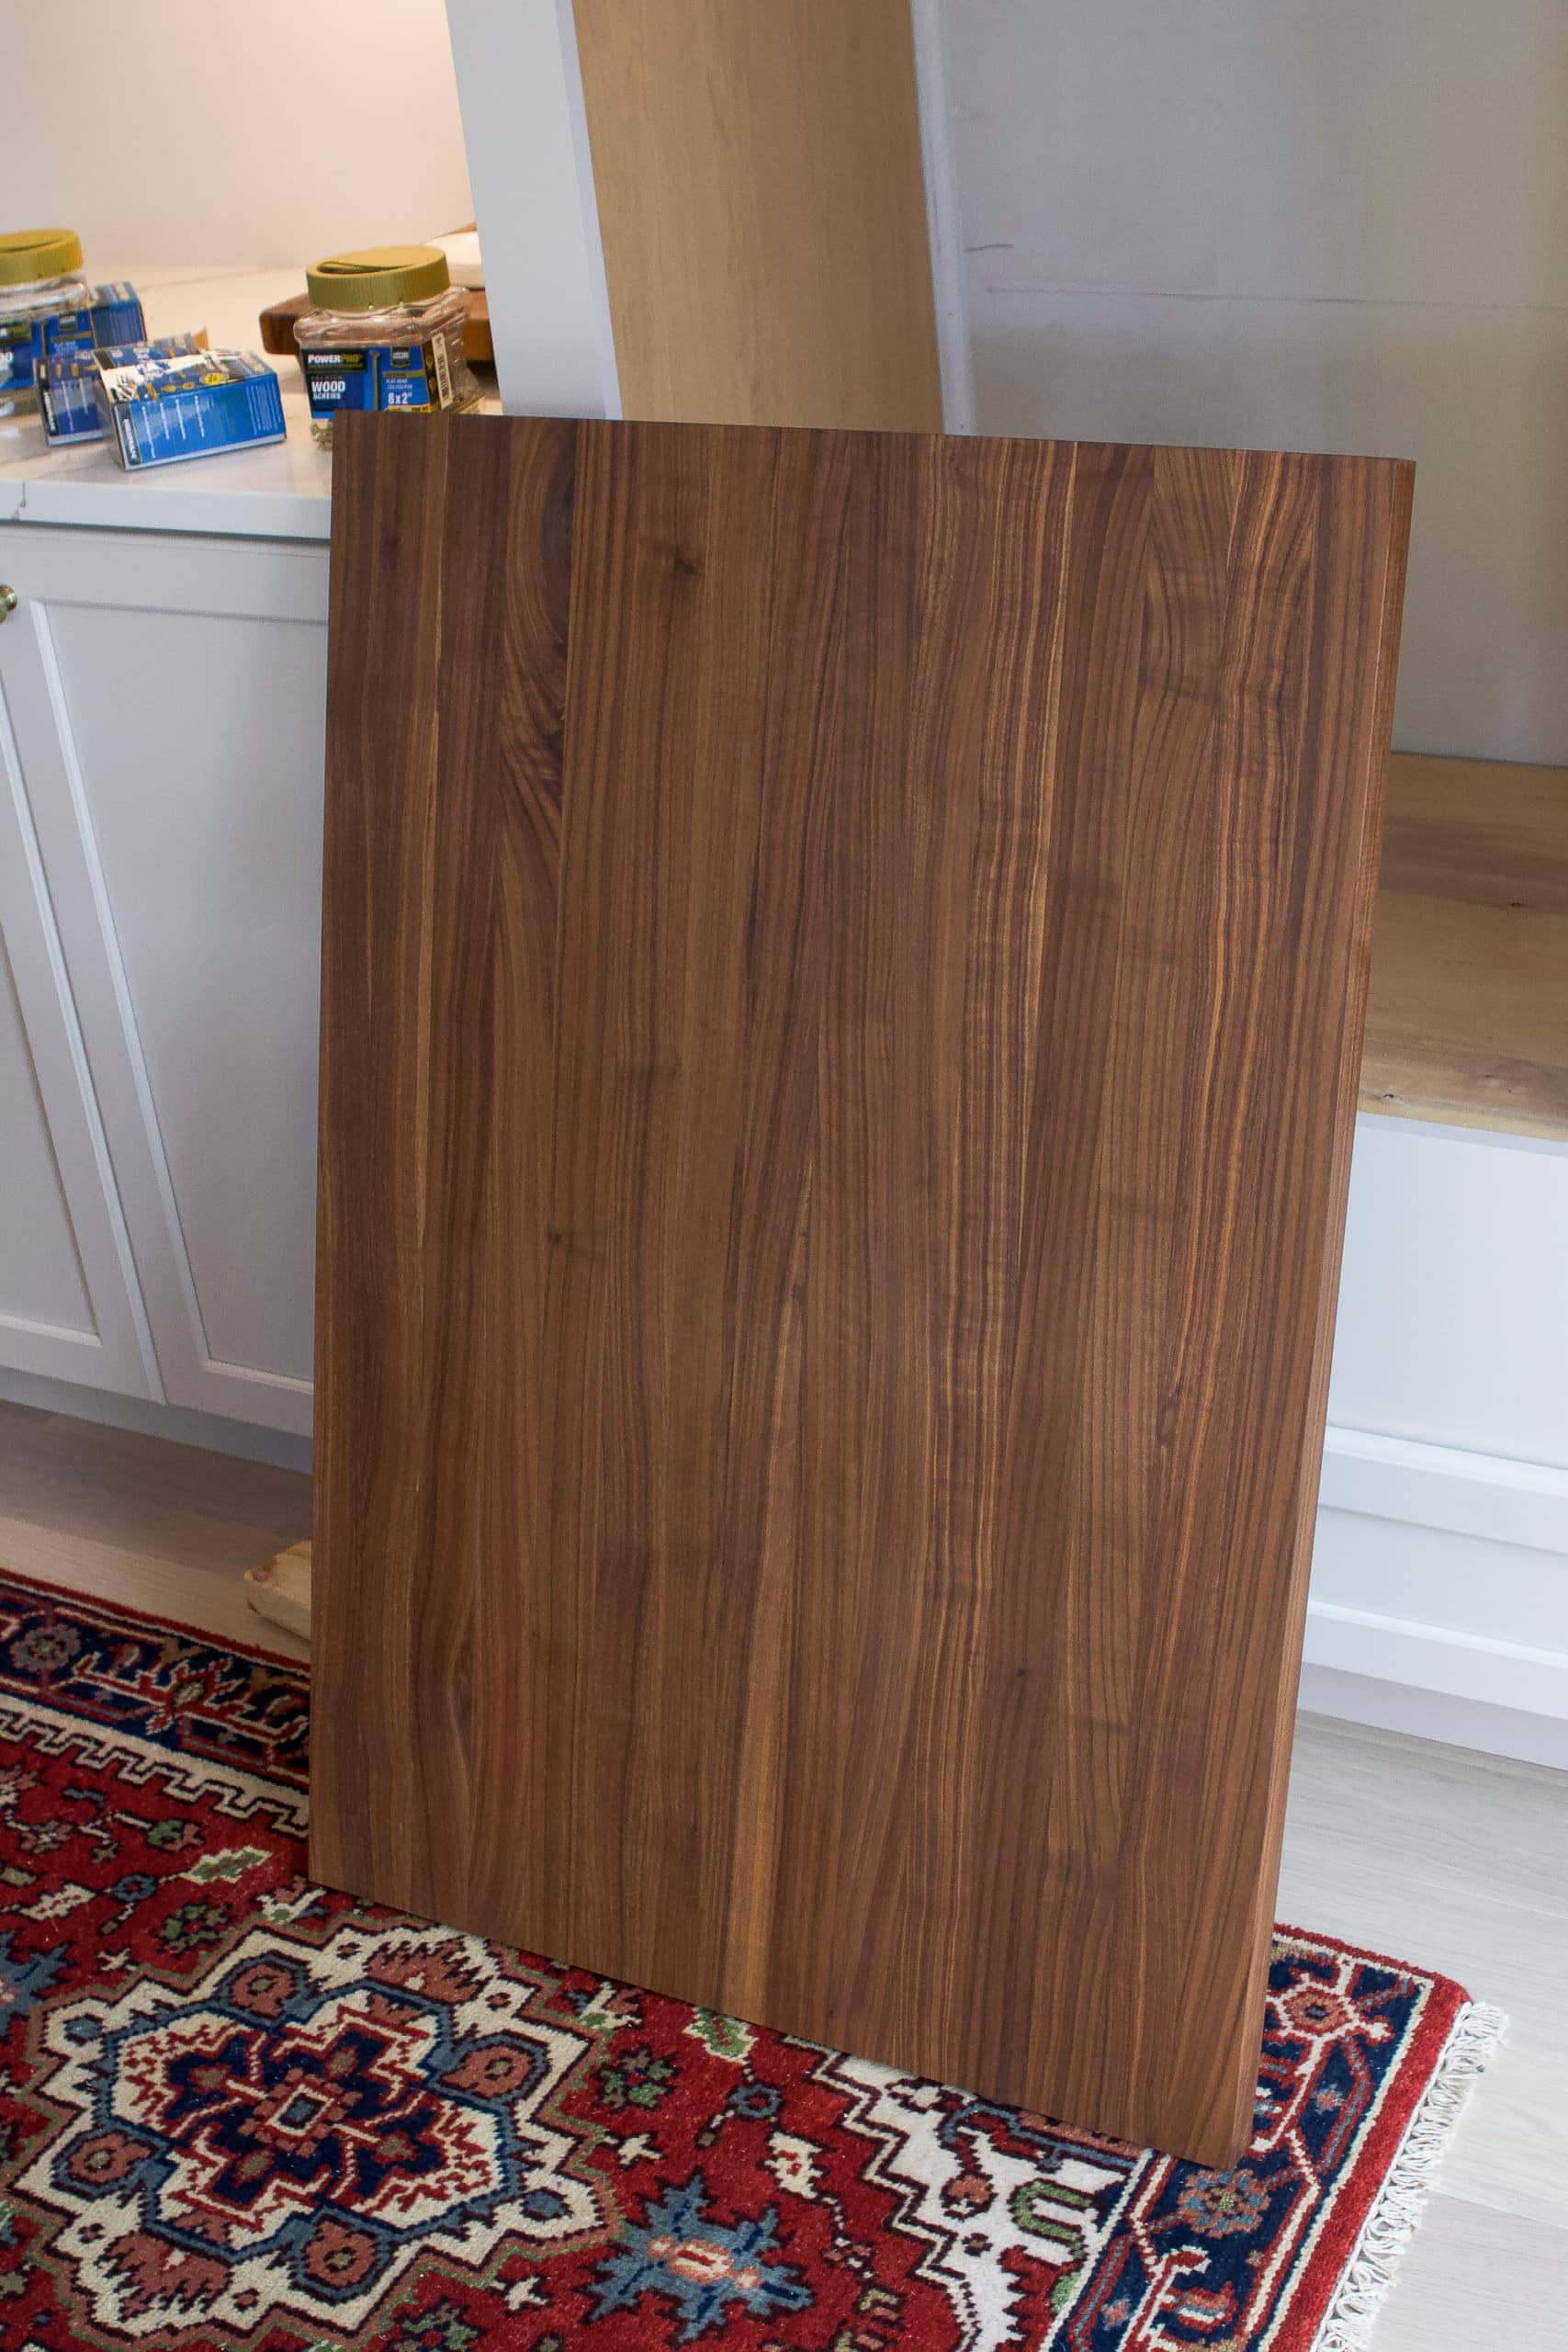
Originally, it was set to ship after six weeks, but as I mentioned, we were pleasantly surprised when it arrived after only four weeks! You’re supposed to let the wood acclimate for 72 hours in the area where it will be installed, so we opened it up and left it in the kitchen for a few days. It was torture having to wait and not being able to install it immediately, but we didn’t want to mess it up!
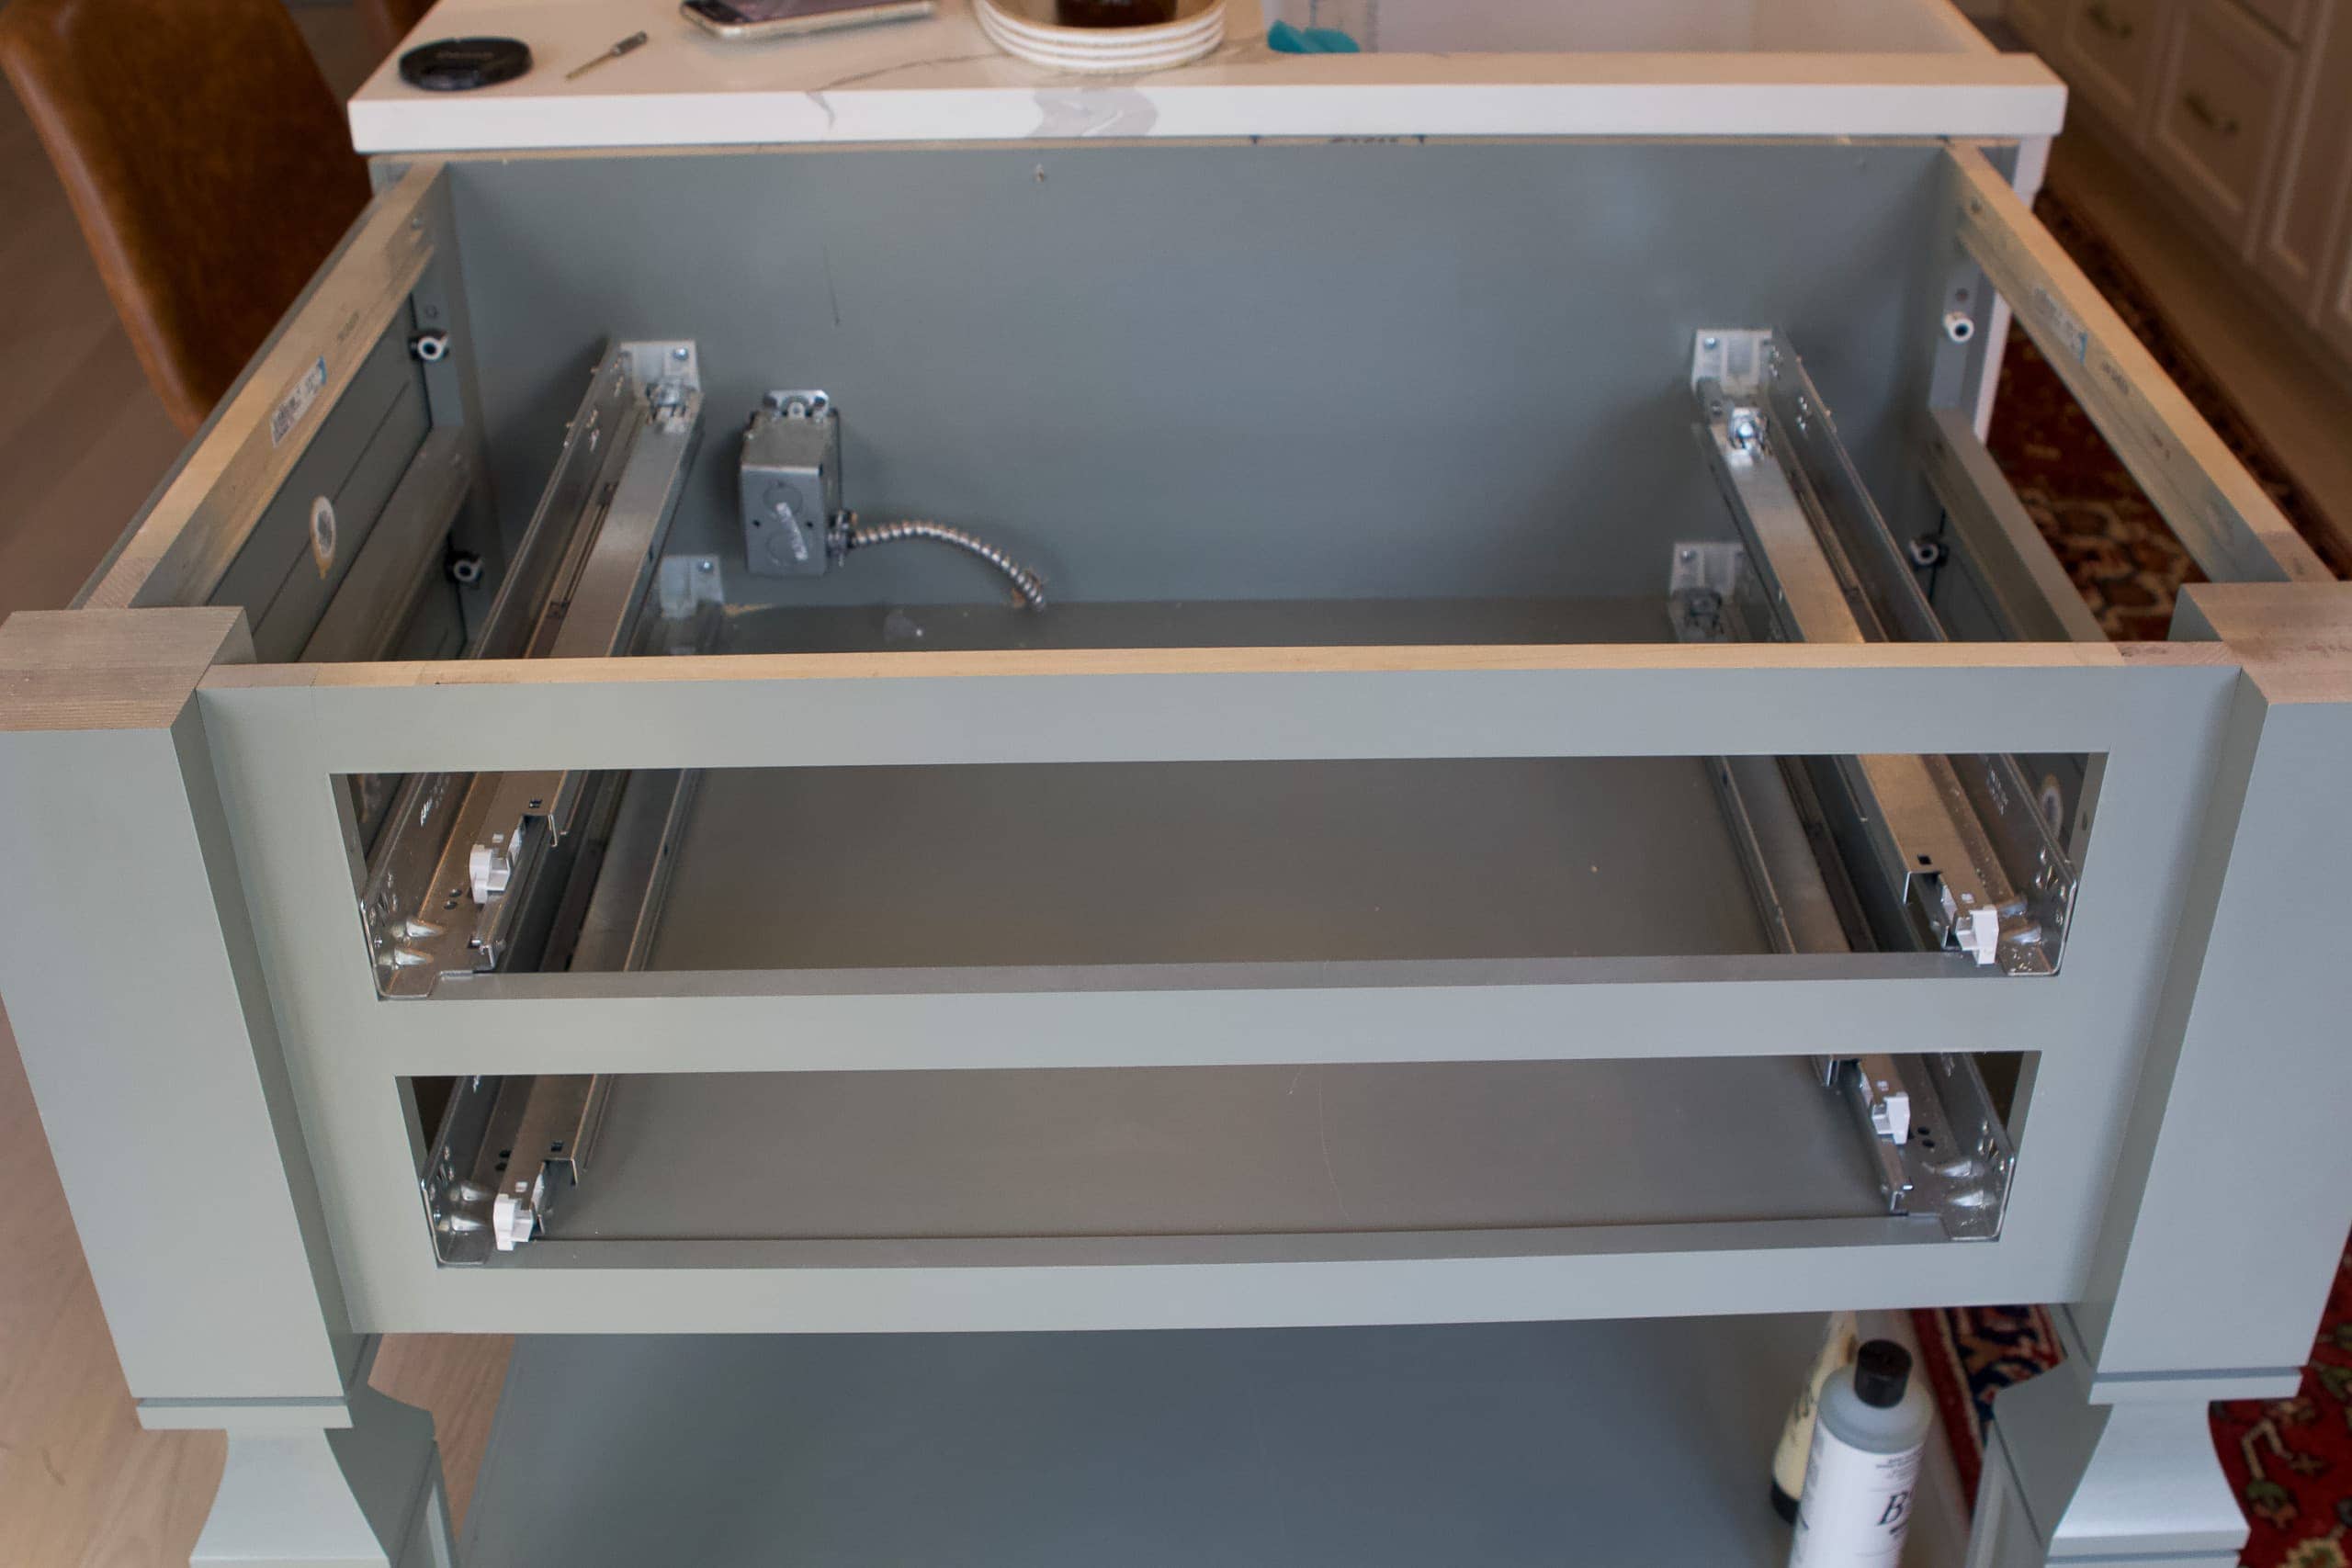
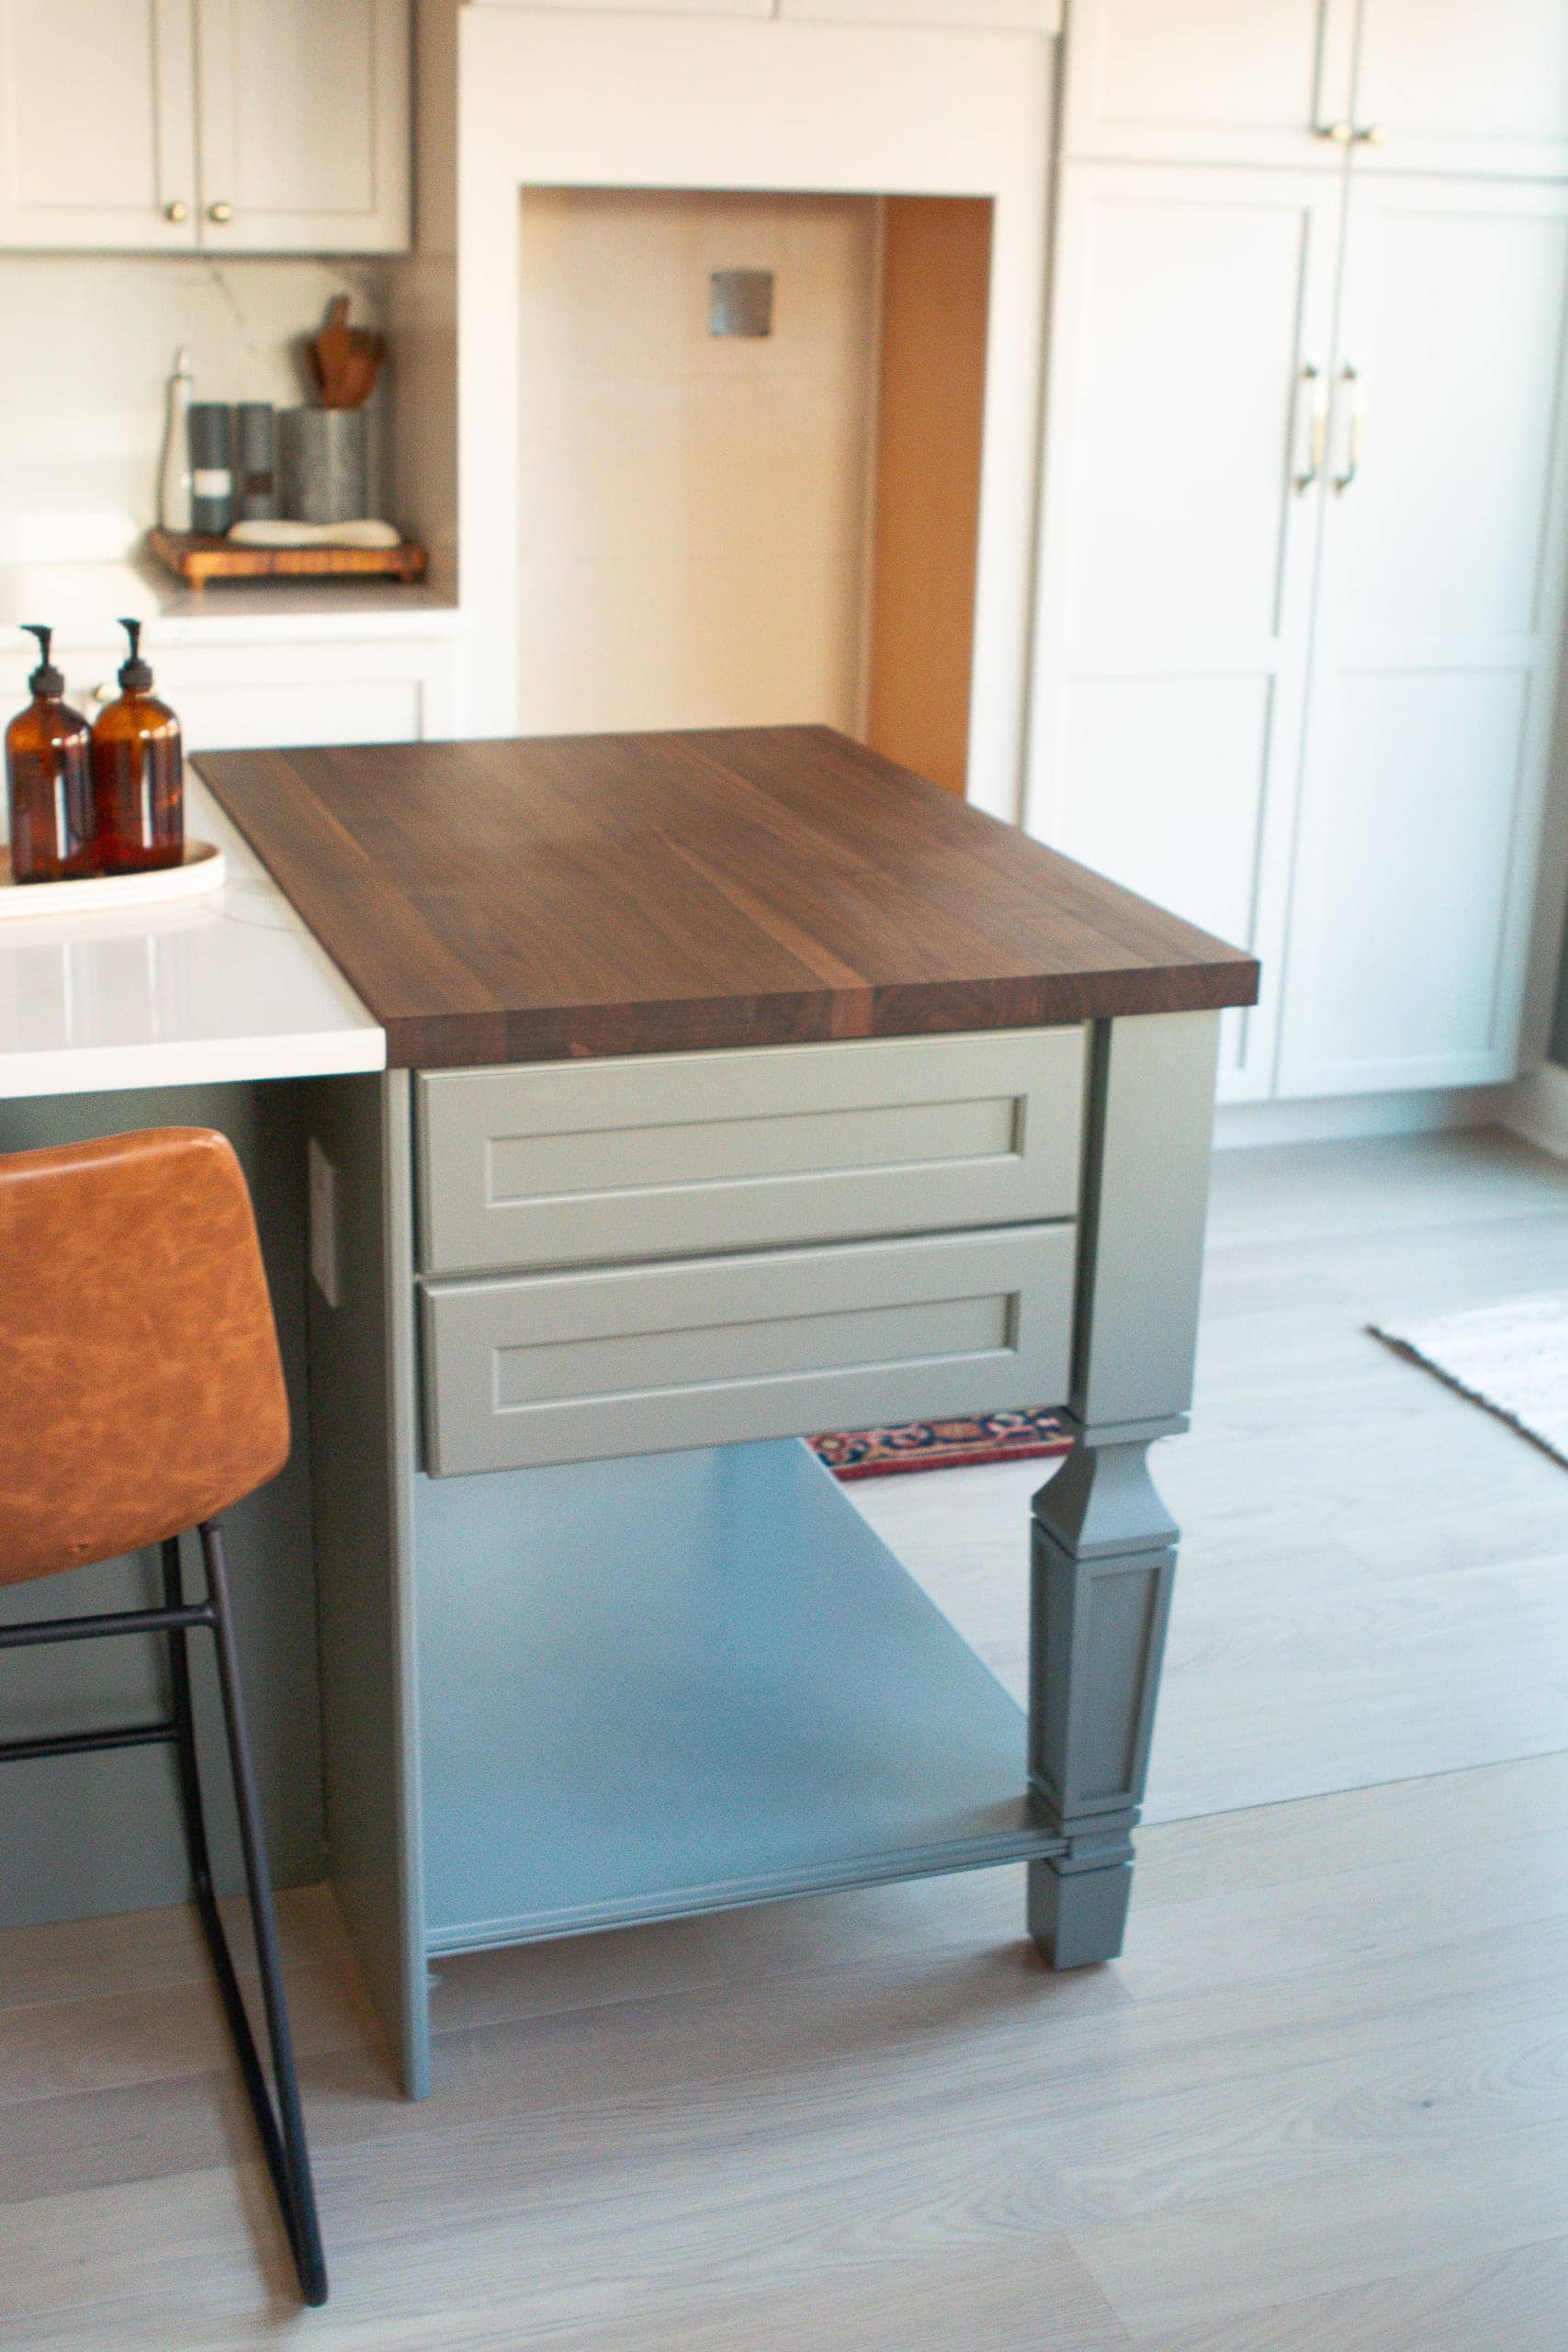
Unlike other countertops, they specifically tell you not to attach it with glue or caulk. Instead, we opted to use wood screws to keep it in place. However, since our end cabinet isn’t a typical end cabinet (we went with the fancy one with legs!), there weren’t traditional spots to drill from the bottom up into the countertop. Instead, we had to get creative.
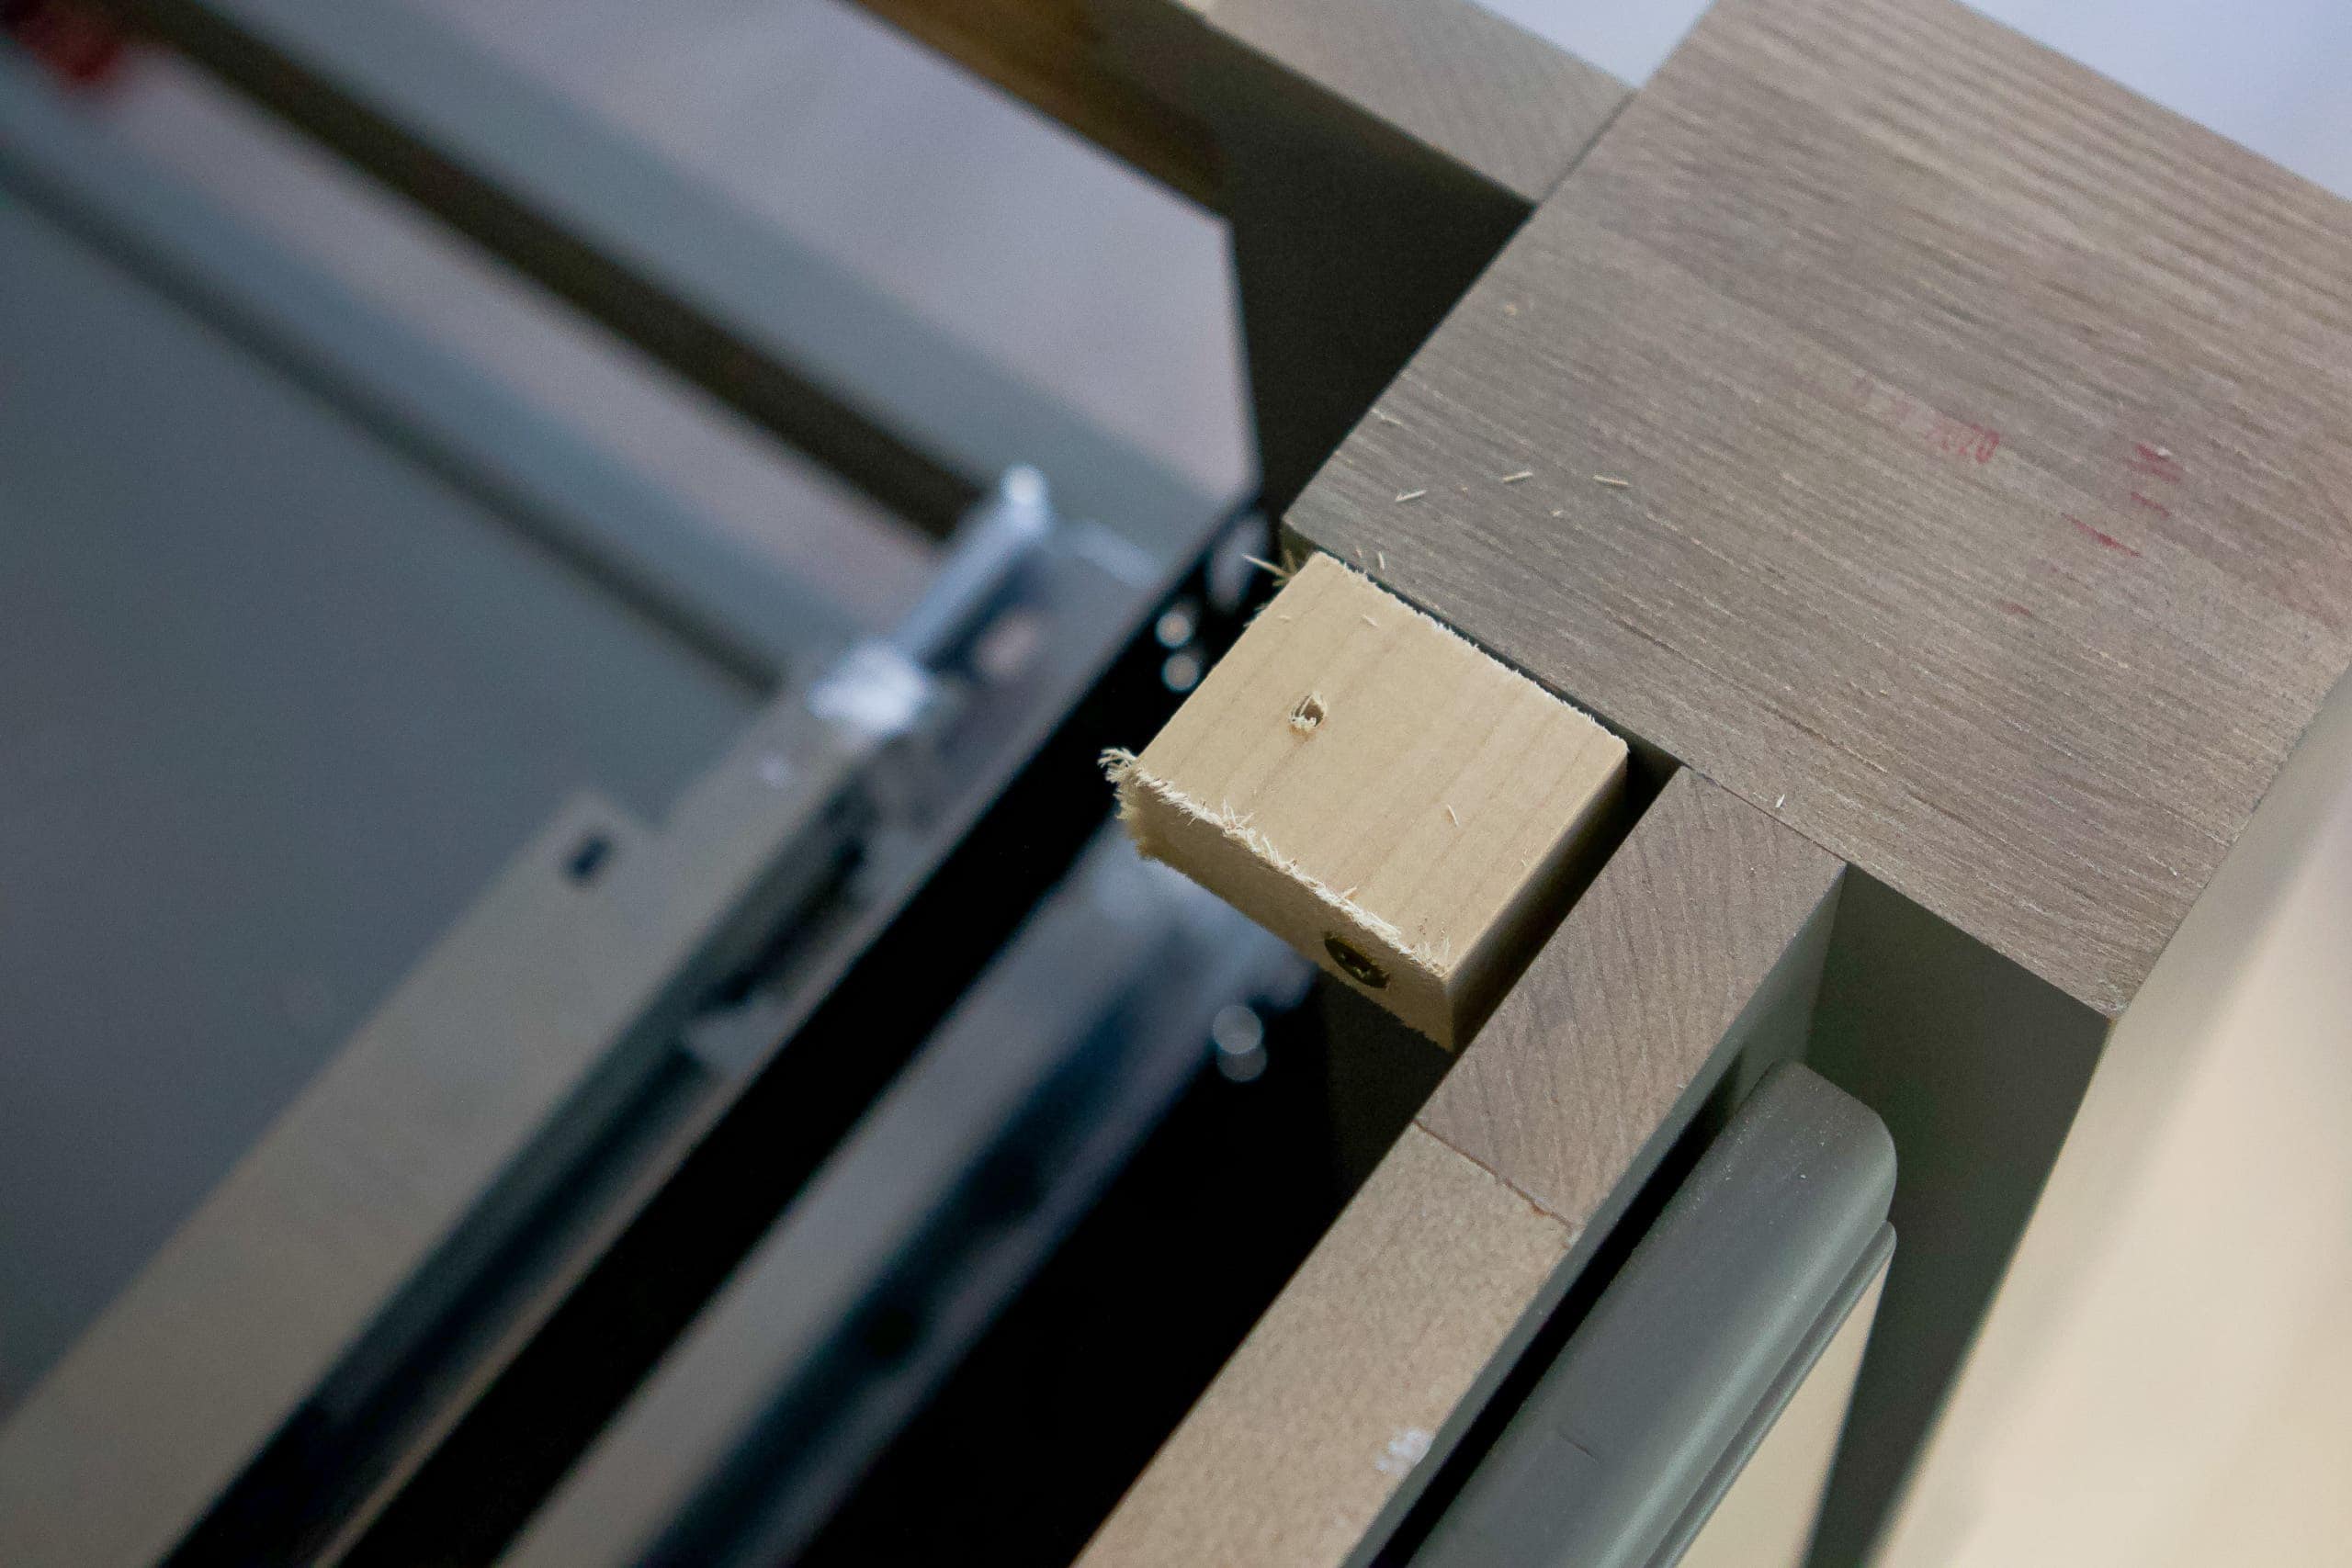
We ended up attaching two blocks of scrap wood to the cabinet legs using wood screws. That way we were able to drill up into those wood blocks and into the countertop to hold it into place.
Honestly, I wasn’t totally sure if our plan would work, but it did! I used 1 3/4 inch wood screws to hold it all in place. We only used two screws on the front. Those screws, along with the weight of the wood, mean it isn’t going anywhere!
Caring for the Wood
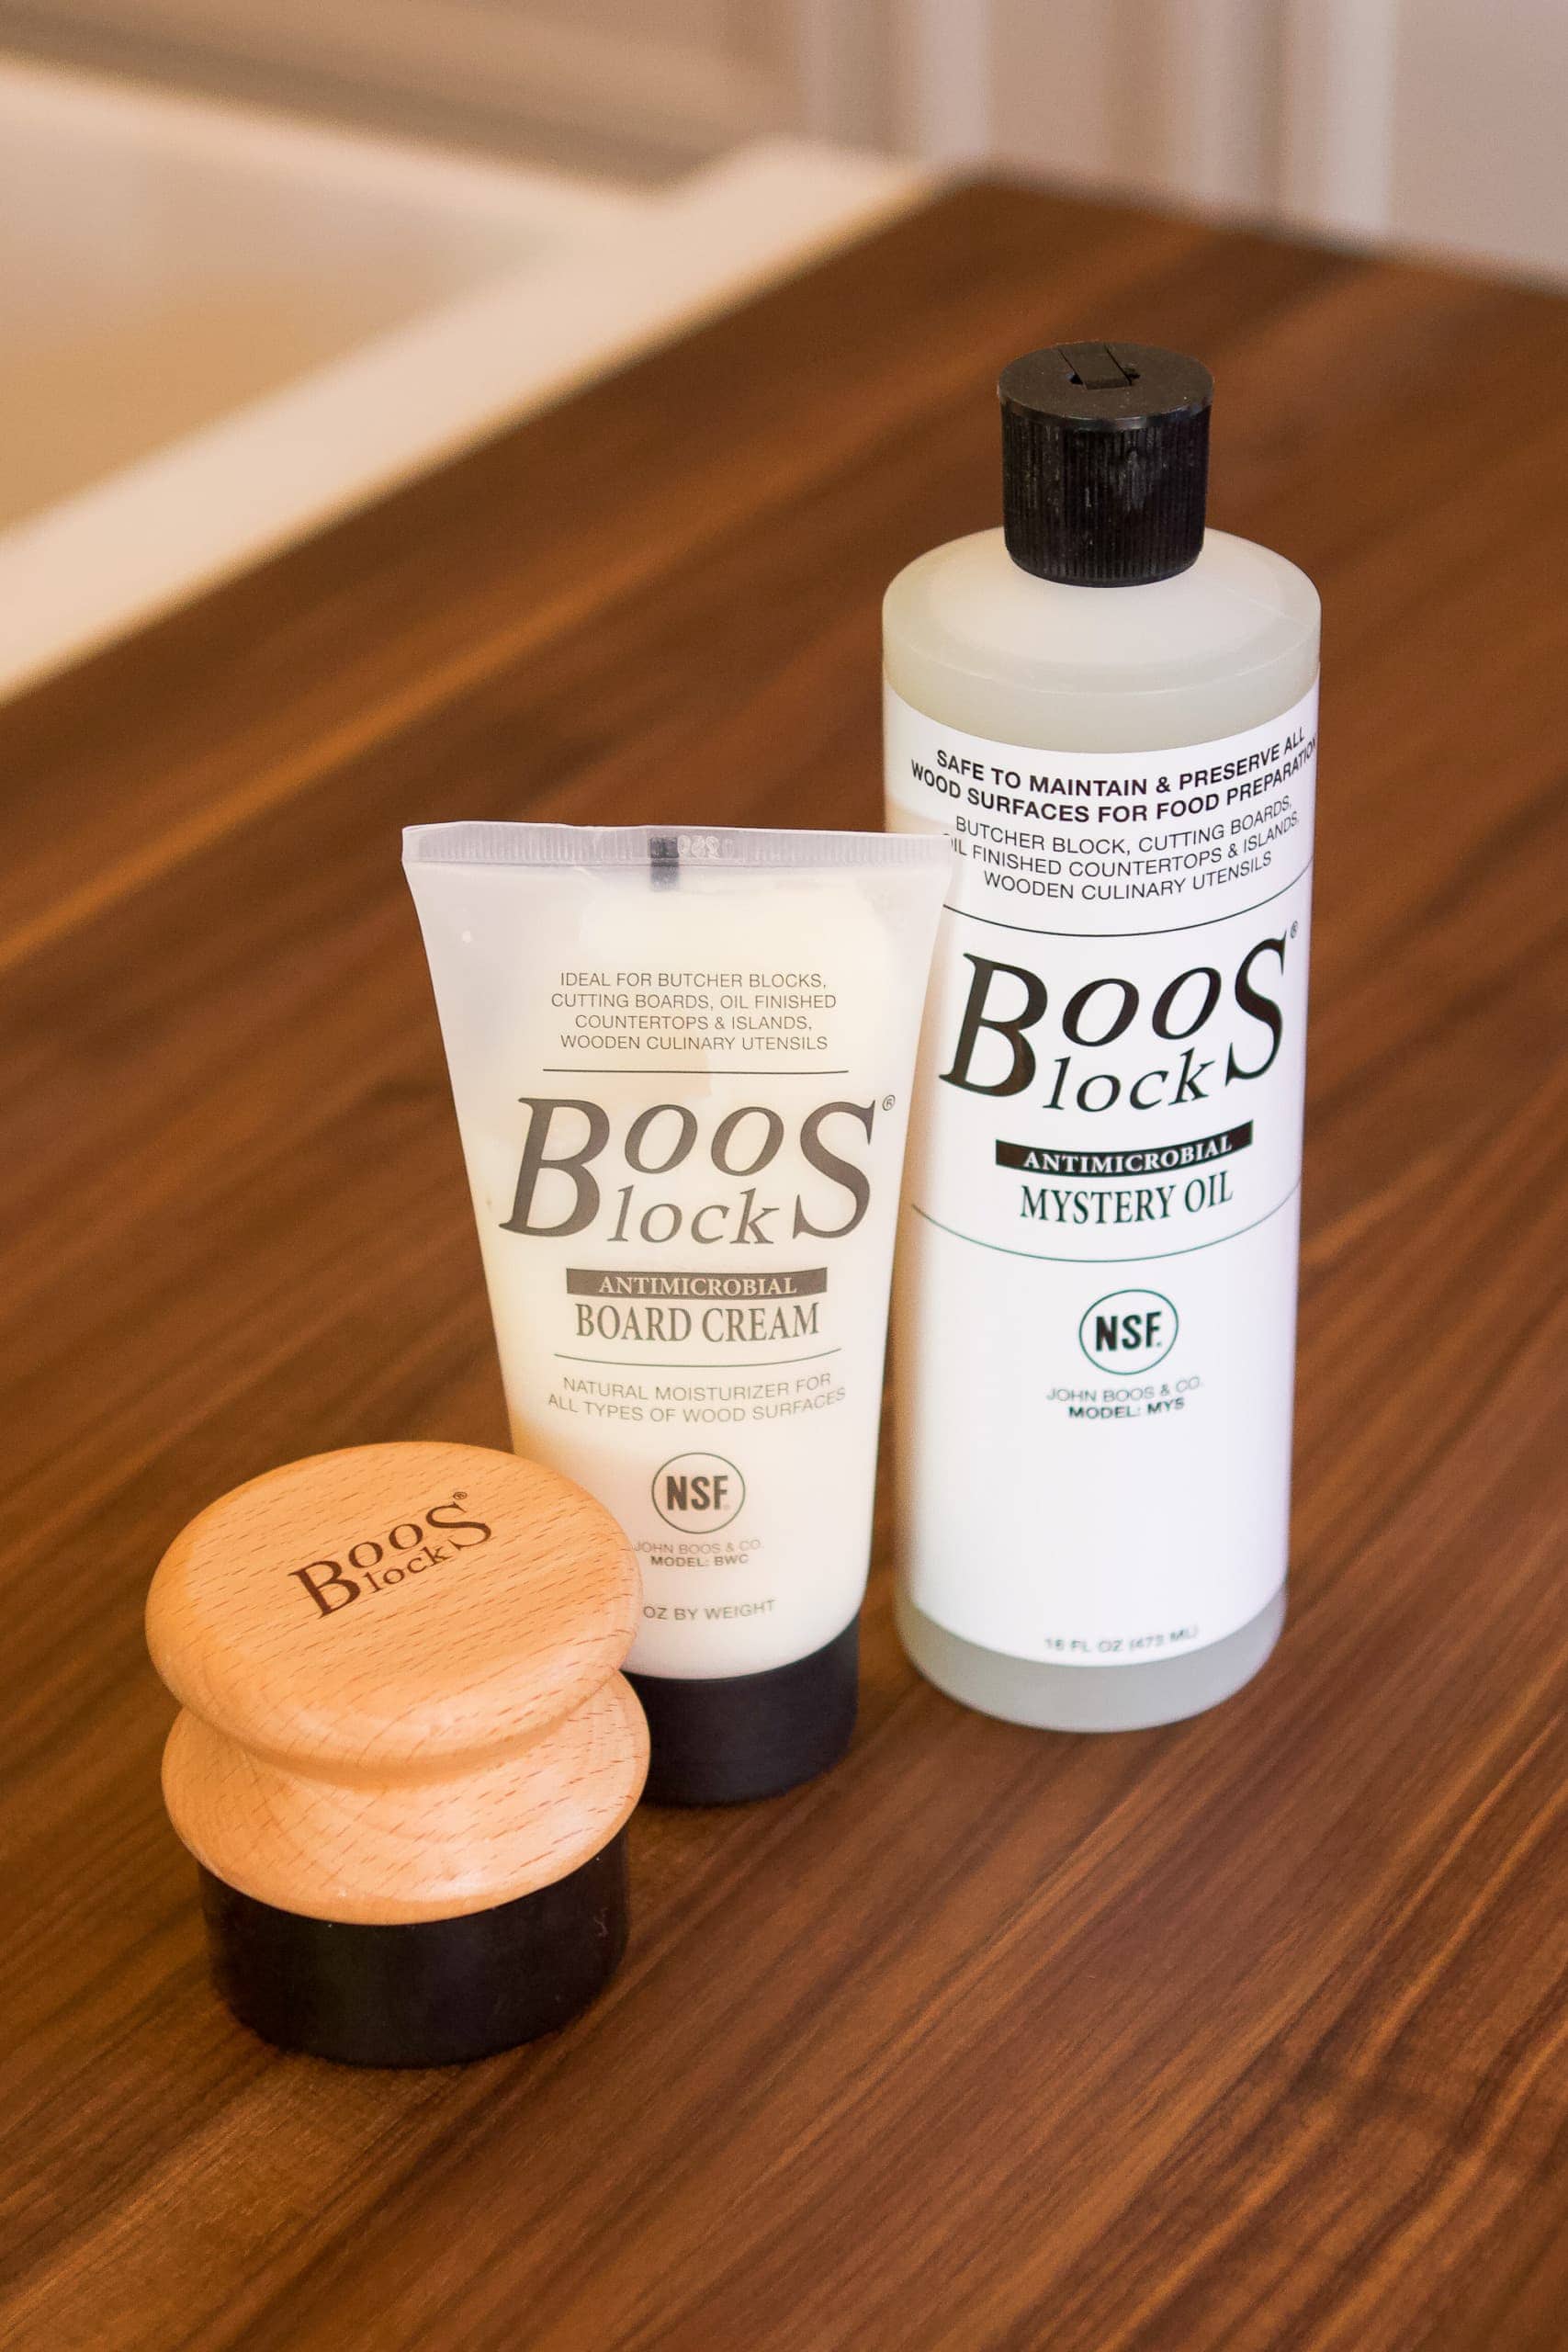
I so desperately wanted to start using our butcher block right away, but again we needed more patience! We knew we needed to oil it up before our first use. We ended up getting this kit to prep the wood before using it. Here’s the order of what we did…
Drench the wood in oil and spread it using the applicator, working it into the wood.
Let the oil sit overnight and wipe with a cloth in the morning.
Repeat with the board cream.
This is a process that they recommend you do monthly to keep the wood hydrated and looking good. And this is also something you should also do to your regular wood cutting boards!
In terms of everyday cleaning, they recommend cleaning it with hot and soapy water after use and drying with a towel. In the past, I’ve always done a deep clean of our cutting boards with salt and lemons. Just take the salt and sprinkle it on the wood and then take a lemon half and use circular motions to rub it onto the surface. We’ll plan to do the lemon and salt method monthly, before the oil and cream.
I also found it interesting that wood cutting boards are proven more sanitary than plastic ones.
Some folks wrongly believe that plastic cutting boards are safer than wooden boards. This study has more info, but essentially, high-quality wood butcher blocks and cutting boards are more resistant to knife damage and it’s those little grooves where bacteria can lurk. Also, the oil and cream help ensure that moisture doesn’t seep into the surface.
We will be cutting right onto our new butcher block, so yes, it will get nicks over time. But it’s called a butcher block for a reason. (Butchers would use cleavers to chop meat on theirs!)
The oil and cream will help with nicks, but we can always do a light sanding in a few years to make it look like new. Although my mom had hers for many years and never had to do that, so we’ll see how it goes.
I adore the warmth our new butcher block brings to our kitchen. It is so incredibly beautiful and I know Finn will enjoy using it for years to come!
What’s Next?
So, even though our kitchen may look nearly done, I’m still a few weeks away from revealing the space. So many have reached out inquiring about the “big reveal” and I figured I needed to write an entire blog post to address what’s really going on here. Be on the lookout for that post on Thursday!