Making Special Vintage Art for Rory’s Room
One of my best suggestions to create a unique home, that tells your story, is to incorporate a bit of family history here and there. I think we’ve done a great job of that in our home. I have paintings and plates from my great-grandmother displayed, glassware from Finn’s side of the family in our bar area, a painting from my grandfather in my office, and much more. These special handmade pieces, that come with a story, history, and life are 1,000 times better than any generic piece I would ever find at HomeGoods or Target.
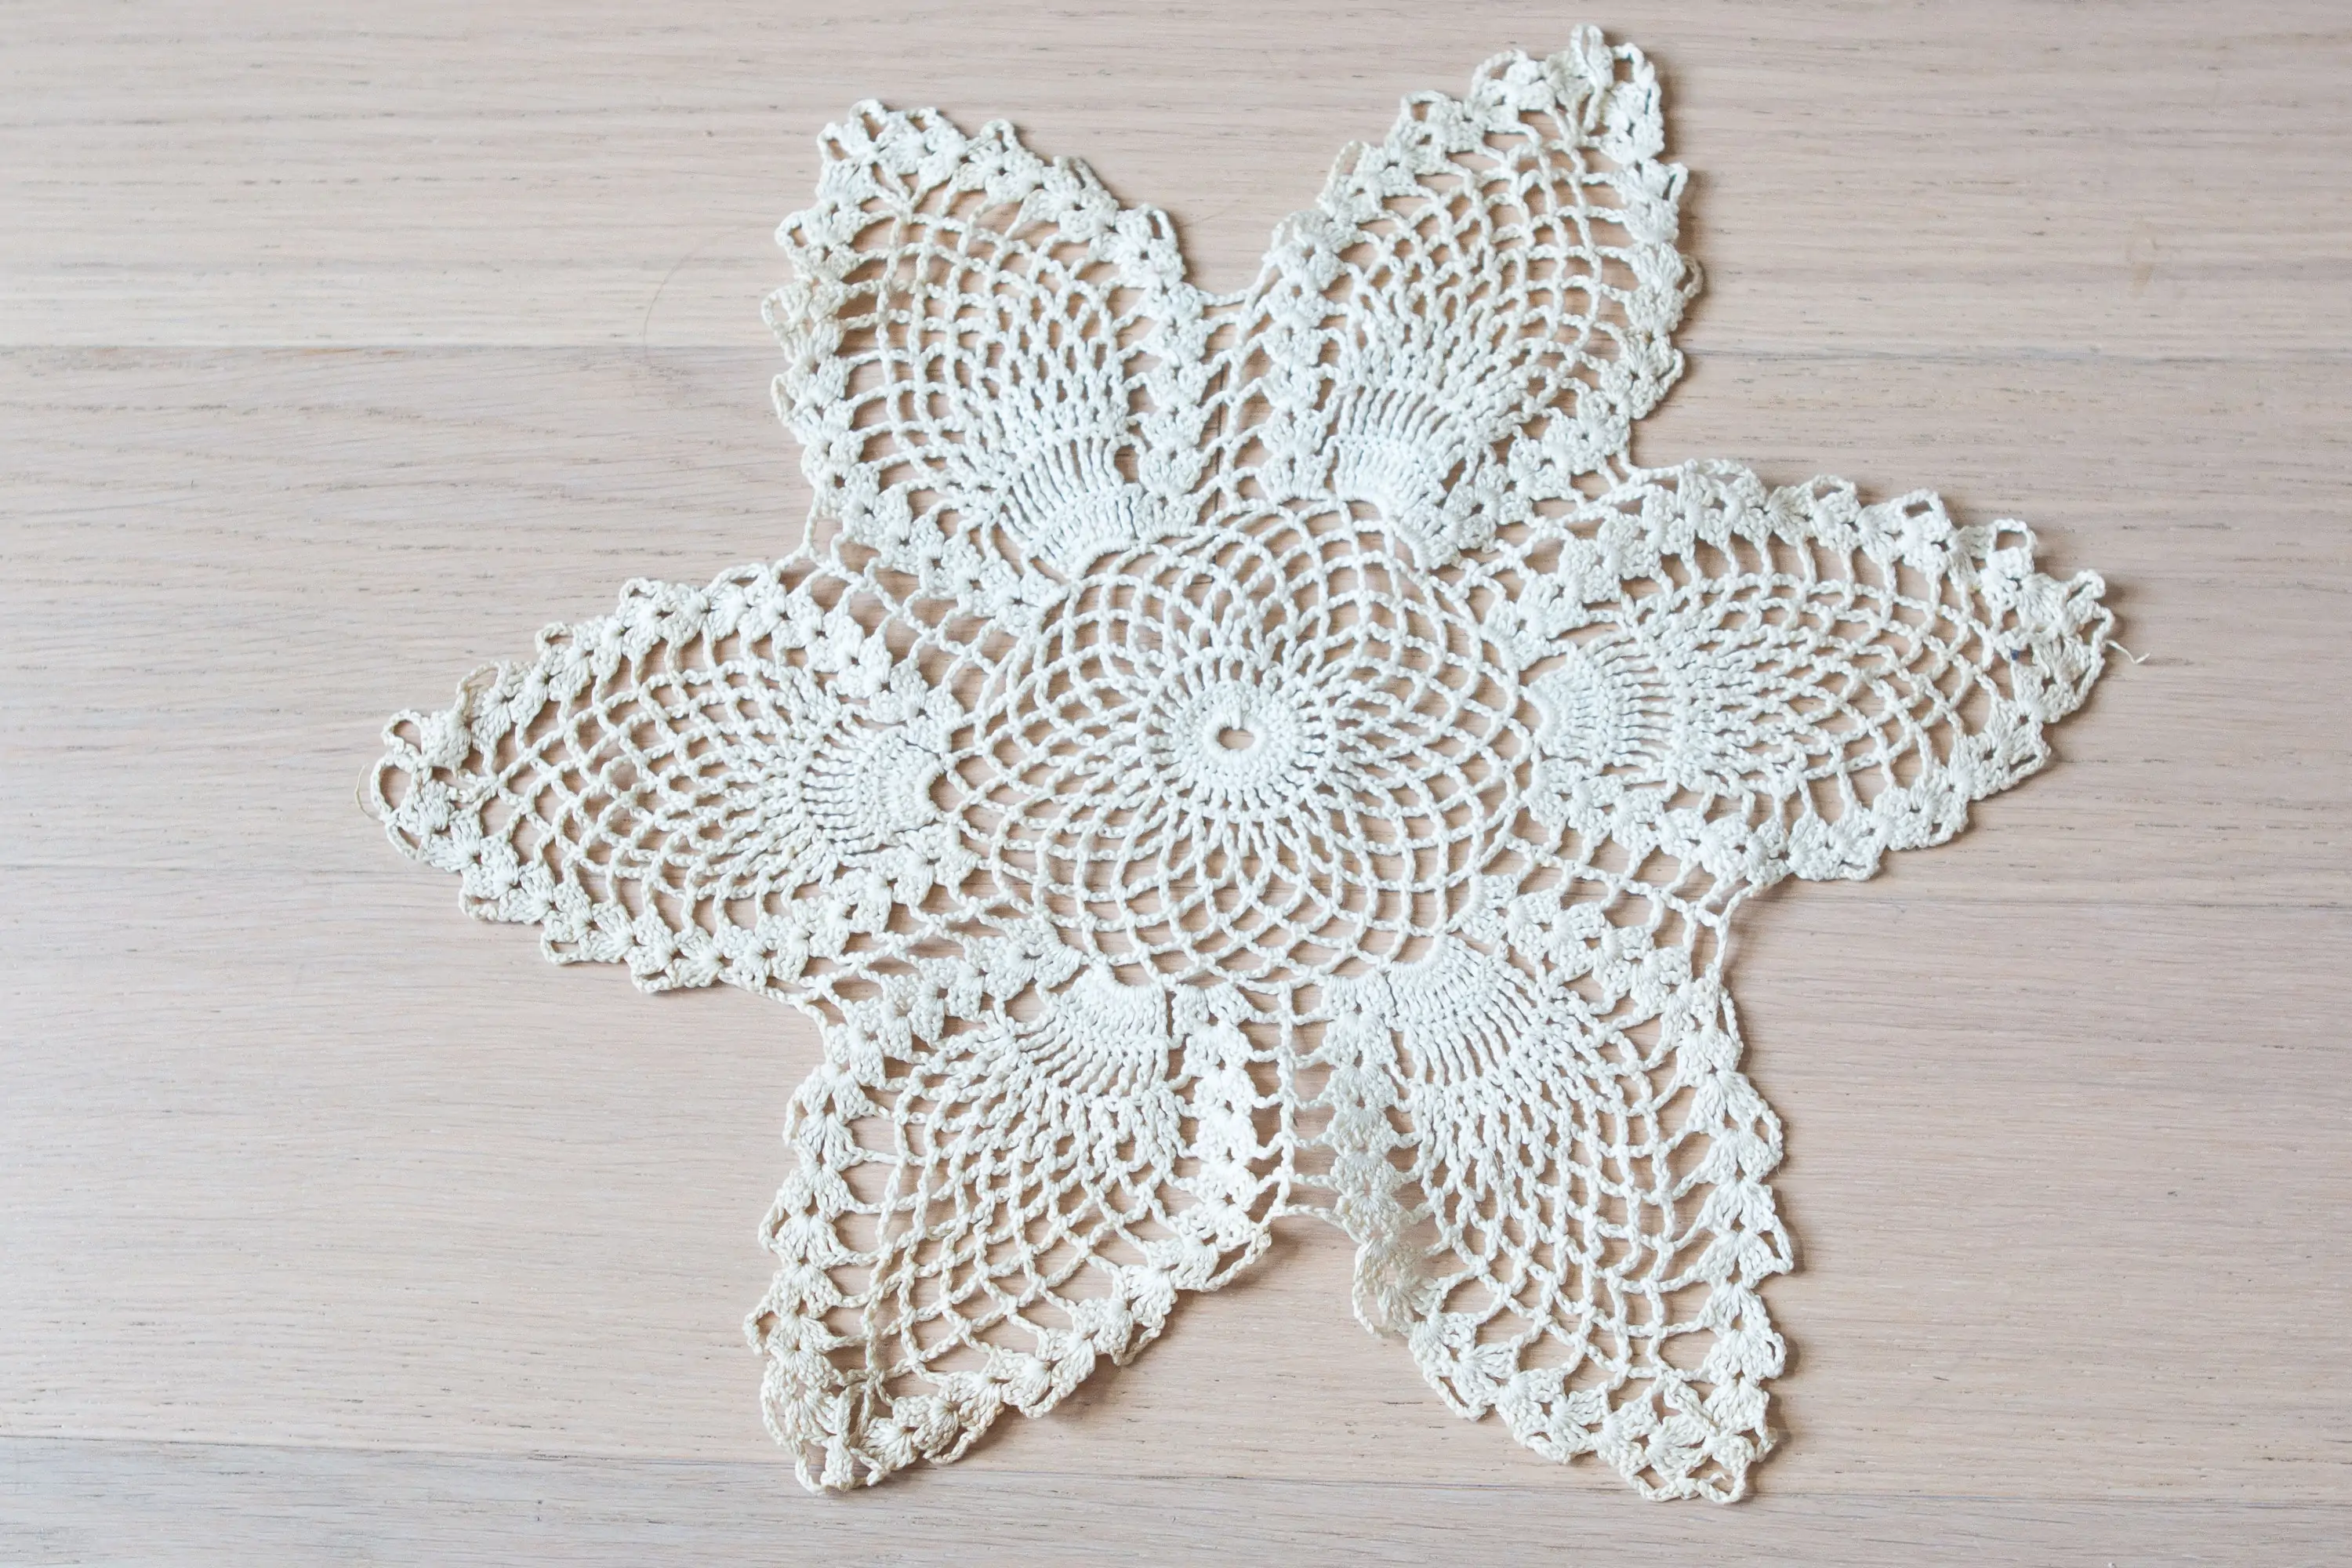
My mother-in-law came to visit in the spring and left me with a few handmade items from her grandmother, Stella. Stella crocheted everything, including pillowcases, doilies, and washcloths, and my mother-in-law held onto them over the years. She left a few with me and said maybe I’d have an idea of what to do with them. I was especially drawn to the doily, above, because it reminded me of a snowflake. Finn and I have always had a special place in our hearts for the snowflake symbol after I miscarried our son in 2018.
How to Clean a Crocheted Doily
I vowed that I would do something special with it, but first I had to figure out how to clean a crocheted doily! It wasn’t in bad shape at all. It just had a few tiny stains here and there, and overall, I felt it could be a tad brighter. I’m obviously not a crochet expert, so I turned to my followers for advice. (Love when that happens!) I received so many great suggestions to clean a crocheted doily and ended up following this advice from a reader named Kathy…
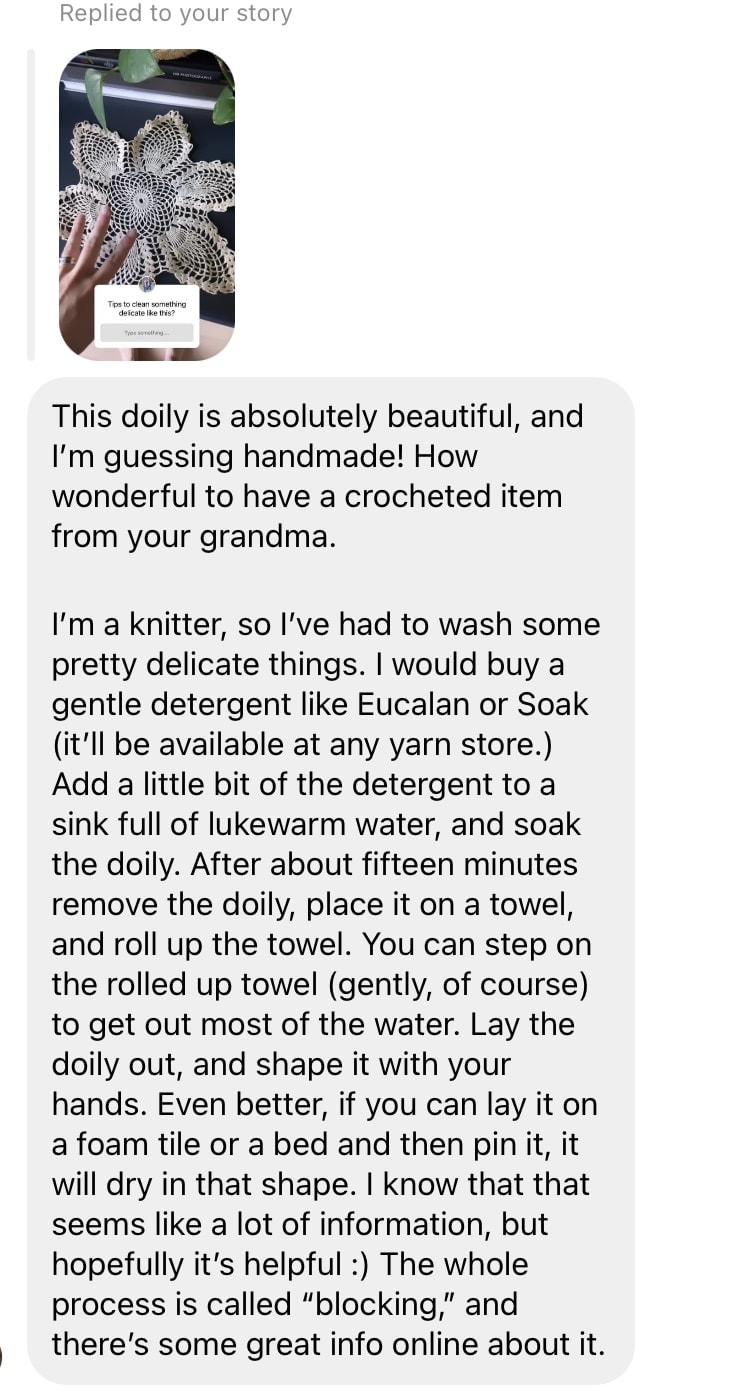
Clearly, Kathy knows much more about how to clean a crocheted doily than I do, so I vowed to follow her directions exactly!
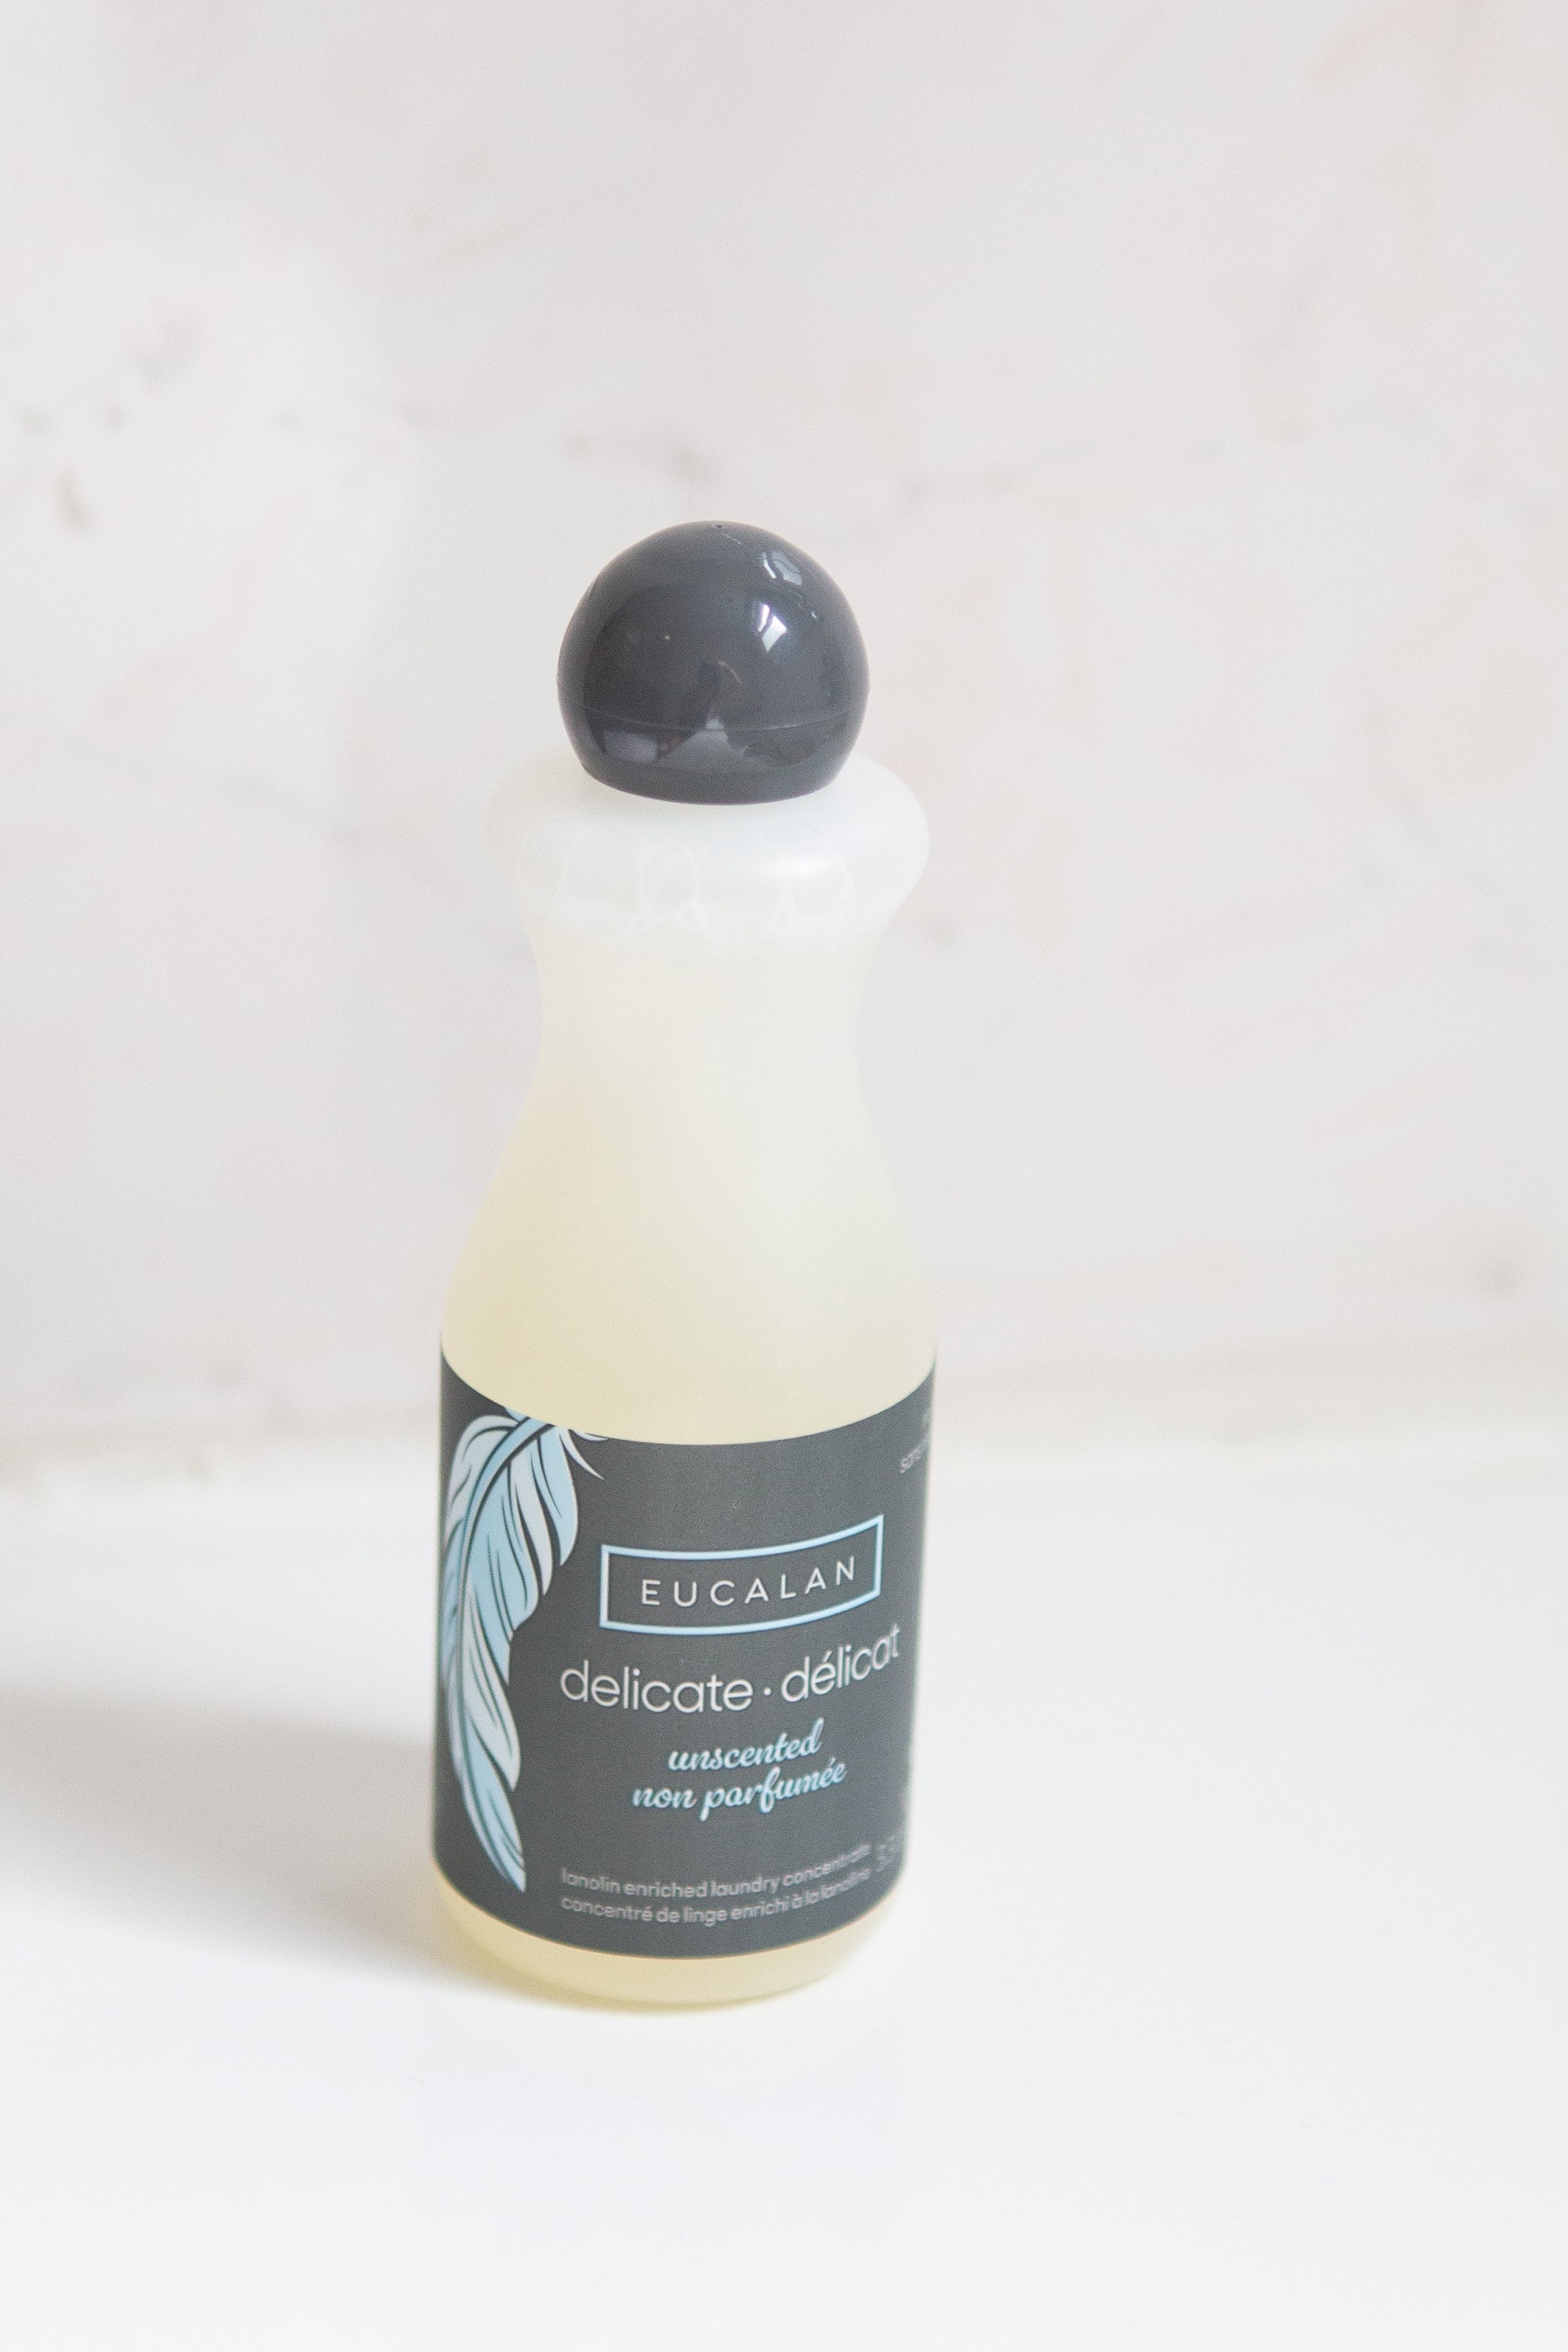
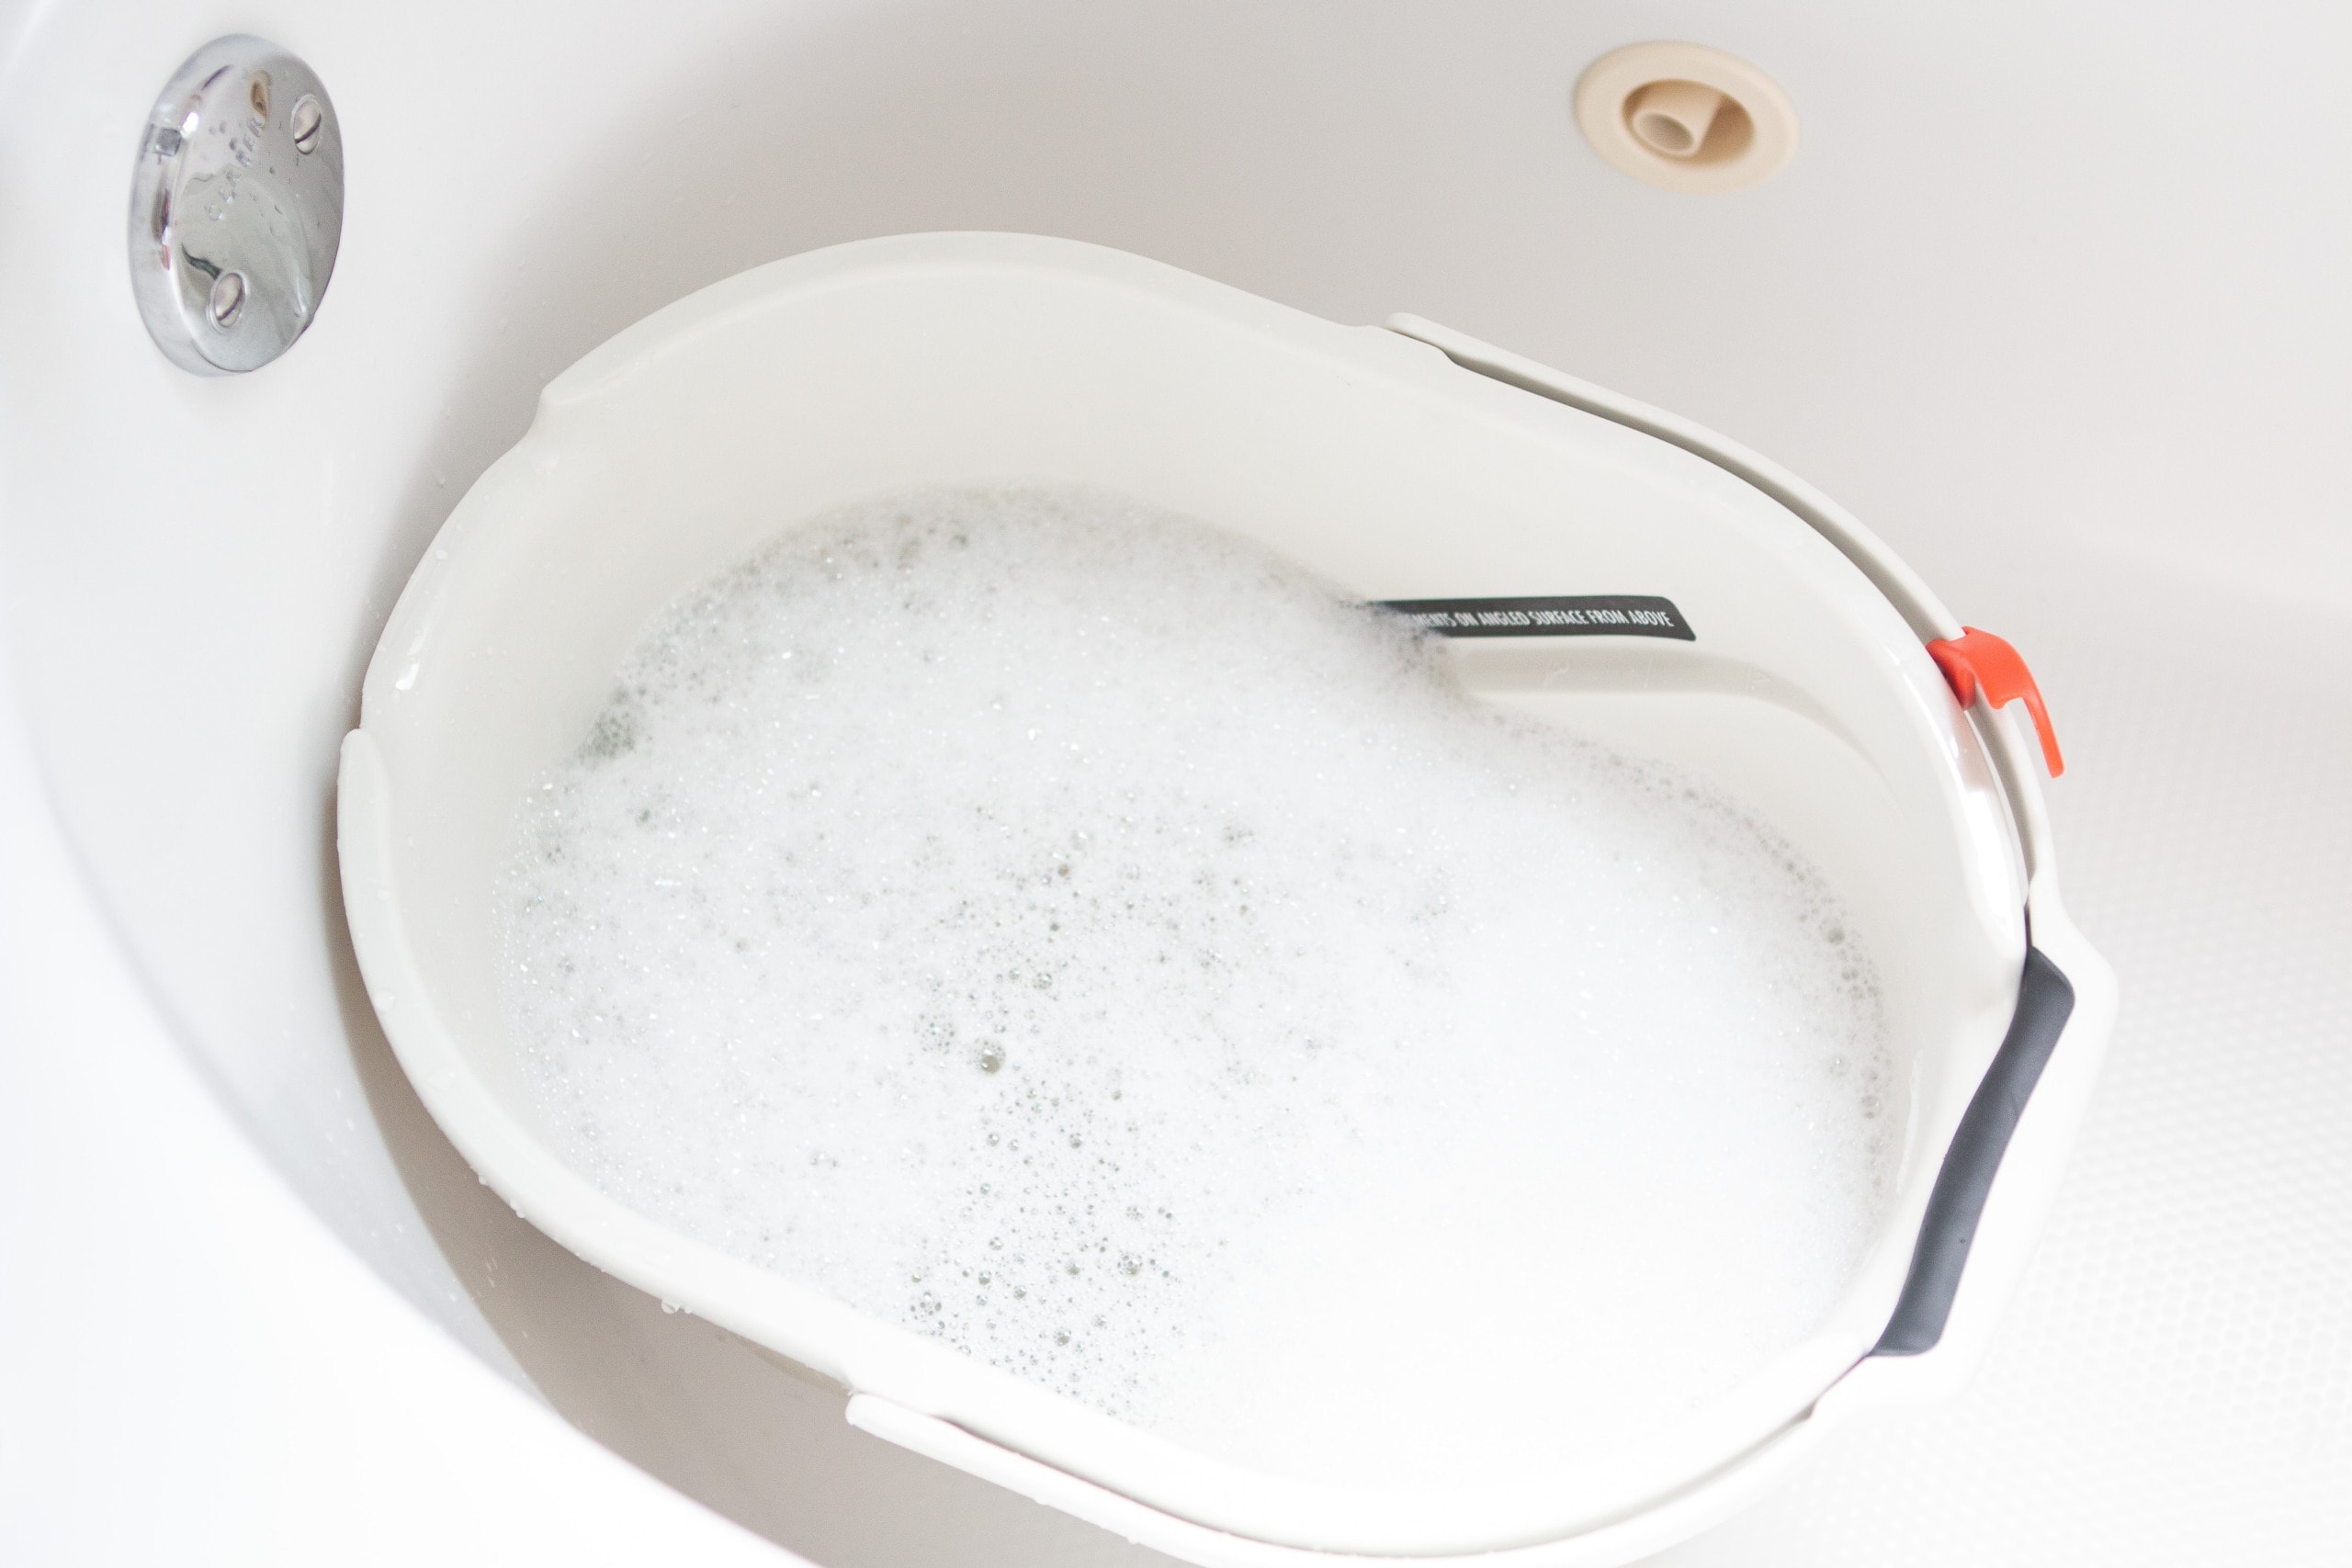
I bought the Eucalan detergent she recommended and got right to work. Then, I soaked it in warm water for about 15 minutes.
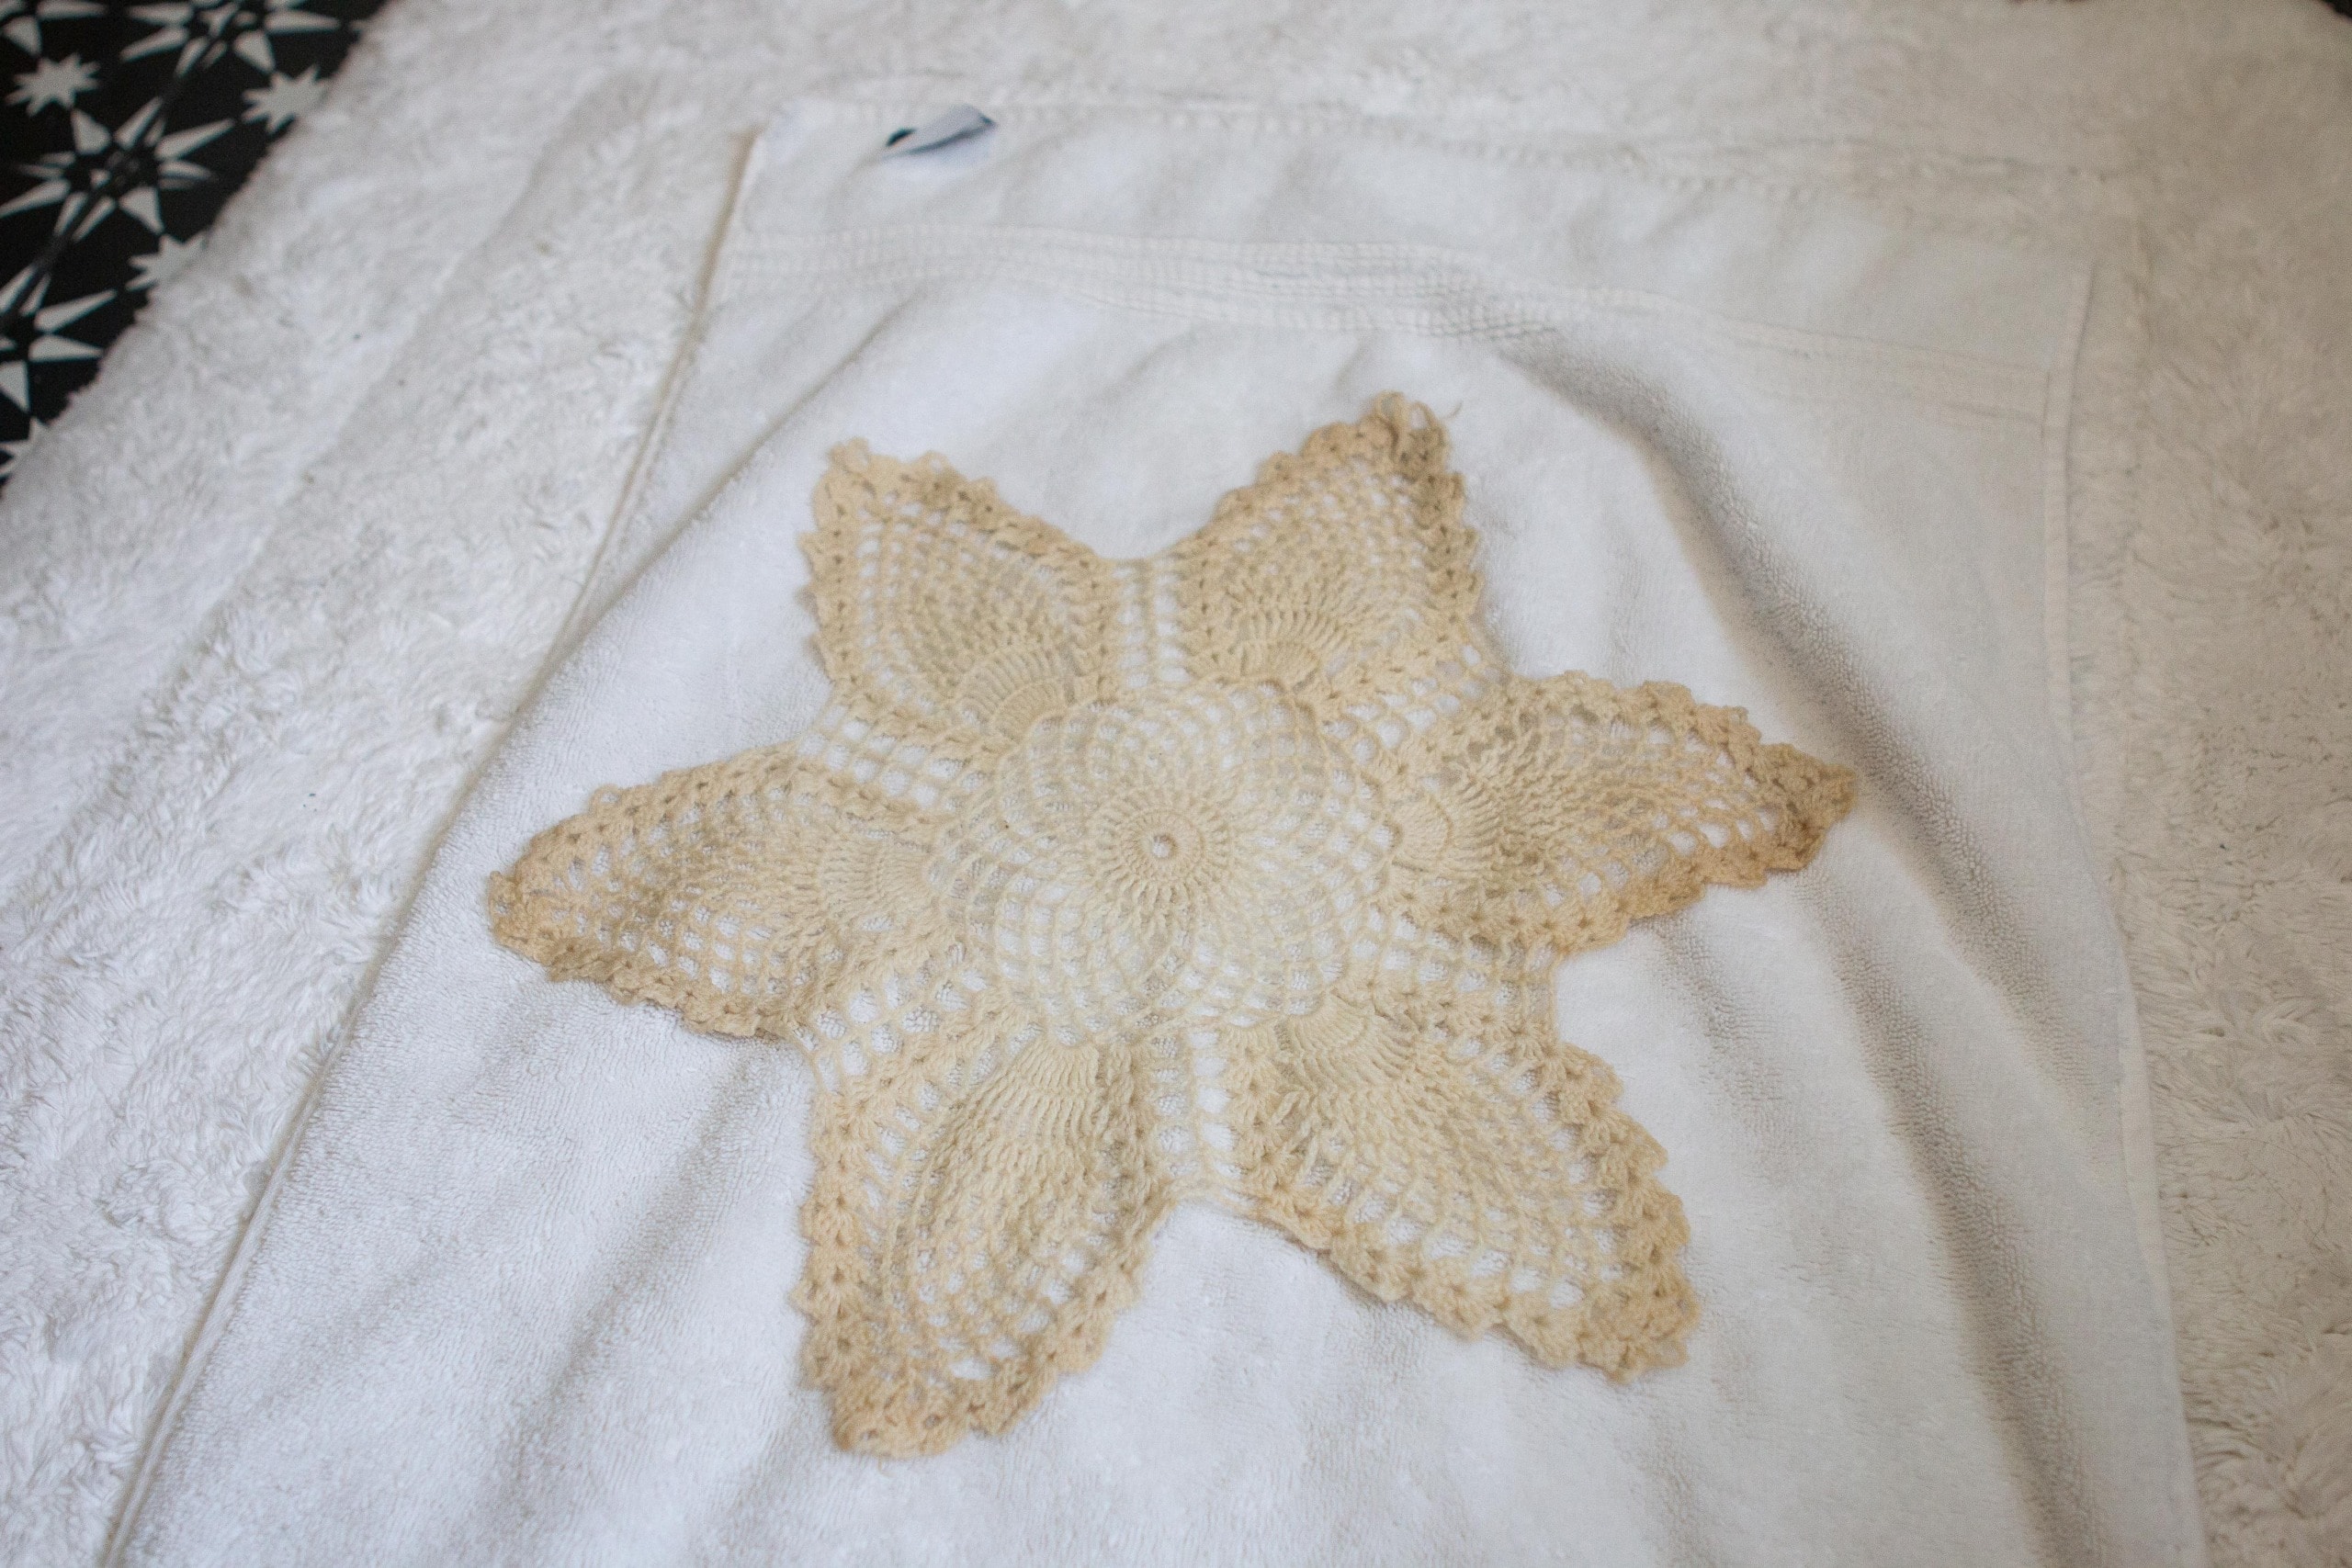
After it soaked it, I laid it out on a towel in our bathroom and then followed Kathy’s instructions for “blocking.”
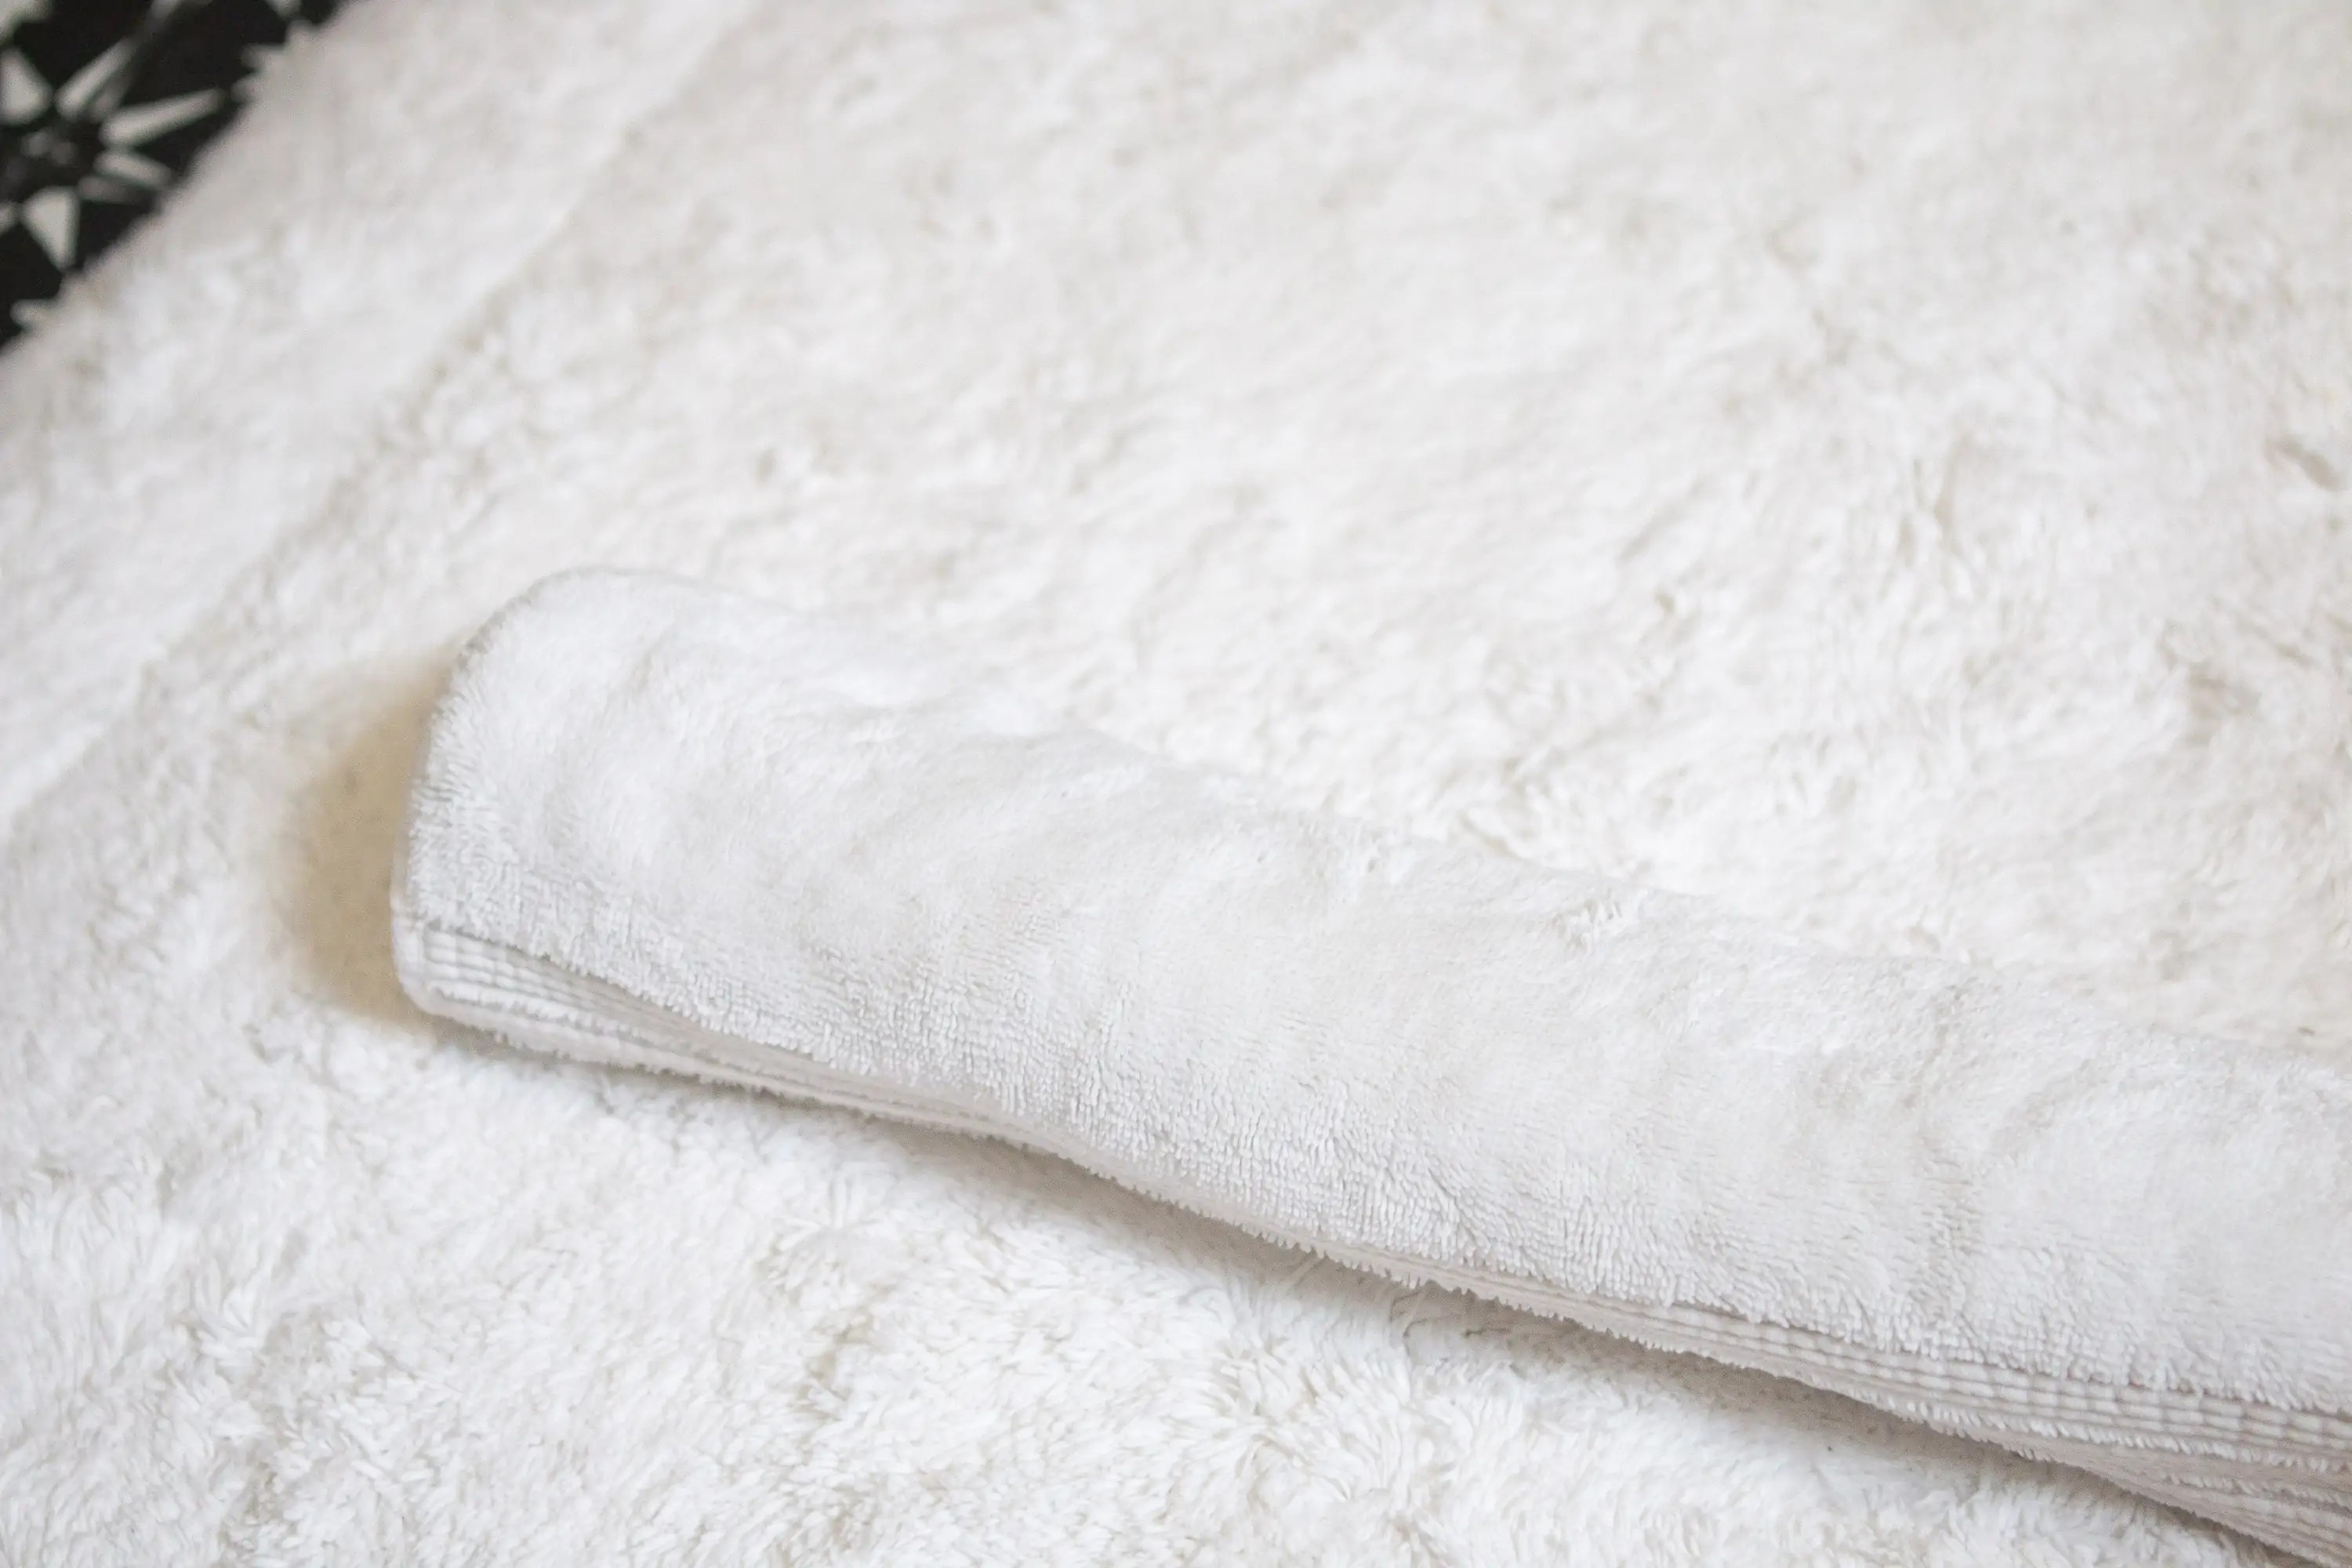
I rolled the towel up tight and then gently pressed on it to get any of the excess water out. With it damp, I laid it out to dry flat so it would keep its shape.
Finding a Frame
While my doily dried for about a day, I had to find the perfect frame to display it. The doily is about 15″x15″, and I thought a square frame would work best with the shape. It was pretty tough to find a 16″x16″ frame…I shopped around town (Michaels, HomeGoods, Target) and ended up finding this frame from Amazon.

The mat is removable, which was a must for this project. I figured that the doily is about the same thickness as the mat, so I wouldn’t have too much trouble squeezing it into the frame. I originally looked at shadow boxes, but I found that a normal frame, with the mat remove, would work just fine!
My Idea to Display a Vintage Doily

The doily was beautiful after my cleaning session! It still had that vintage look I was going for (I didn’t want to bleach it bright white or anything), but it came out a bit spruced up and stain-free. Thanks for the tips, Kathy!
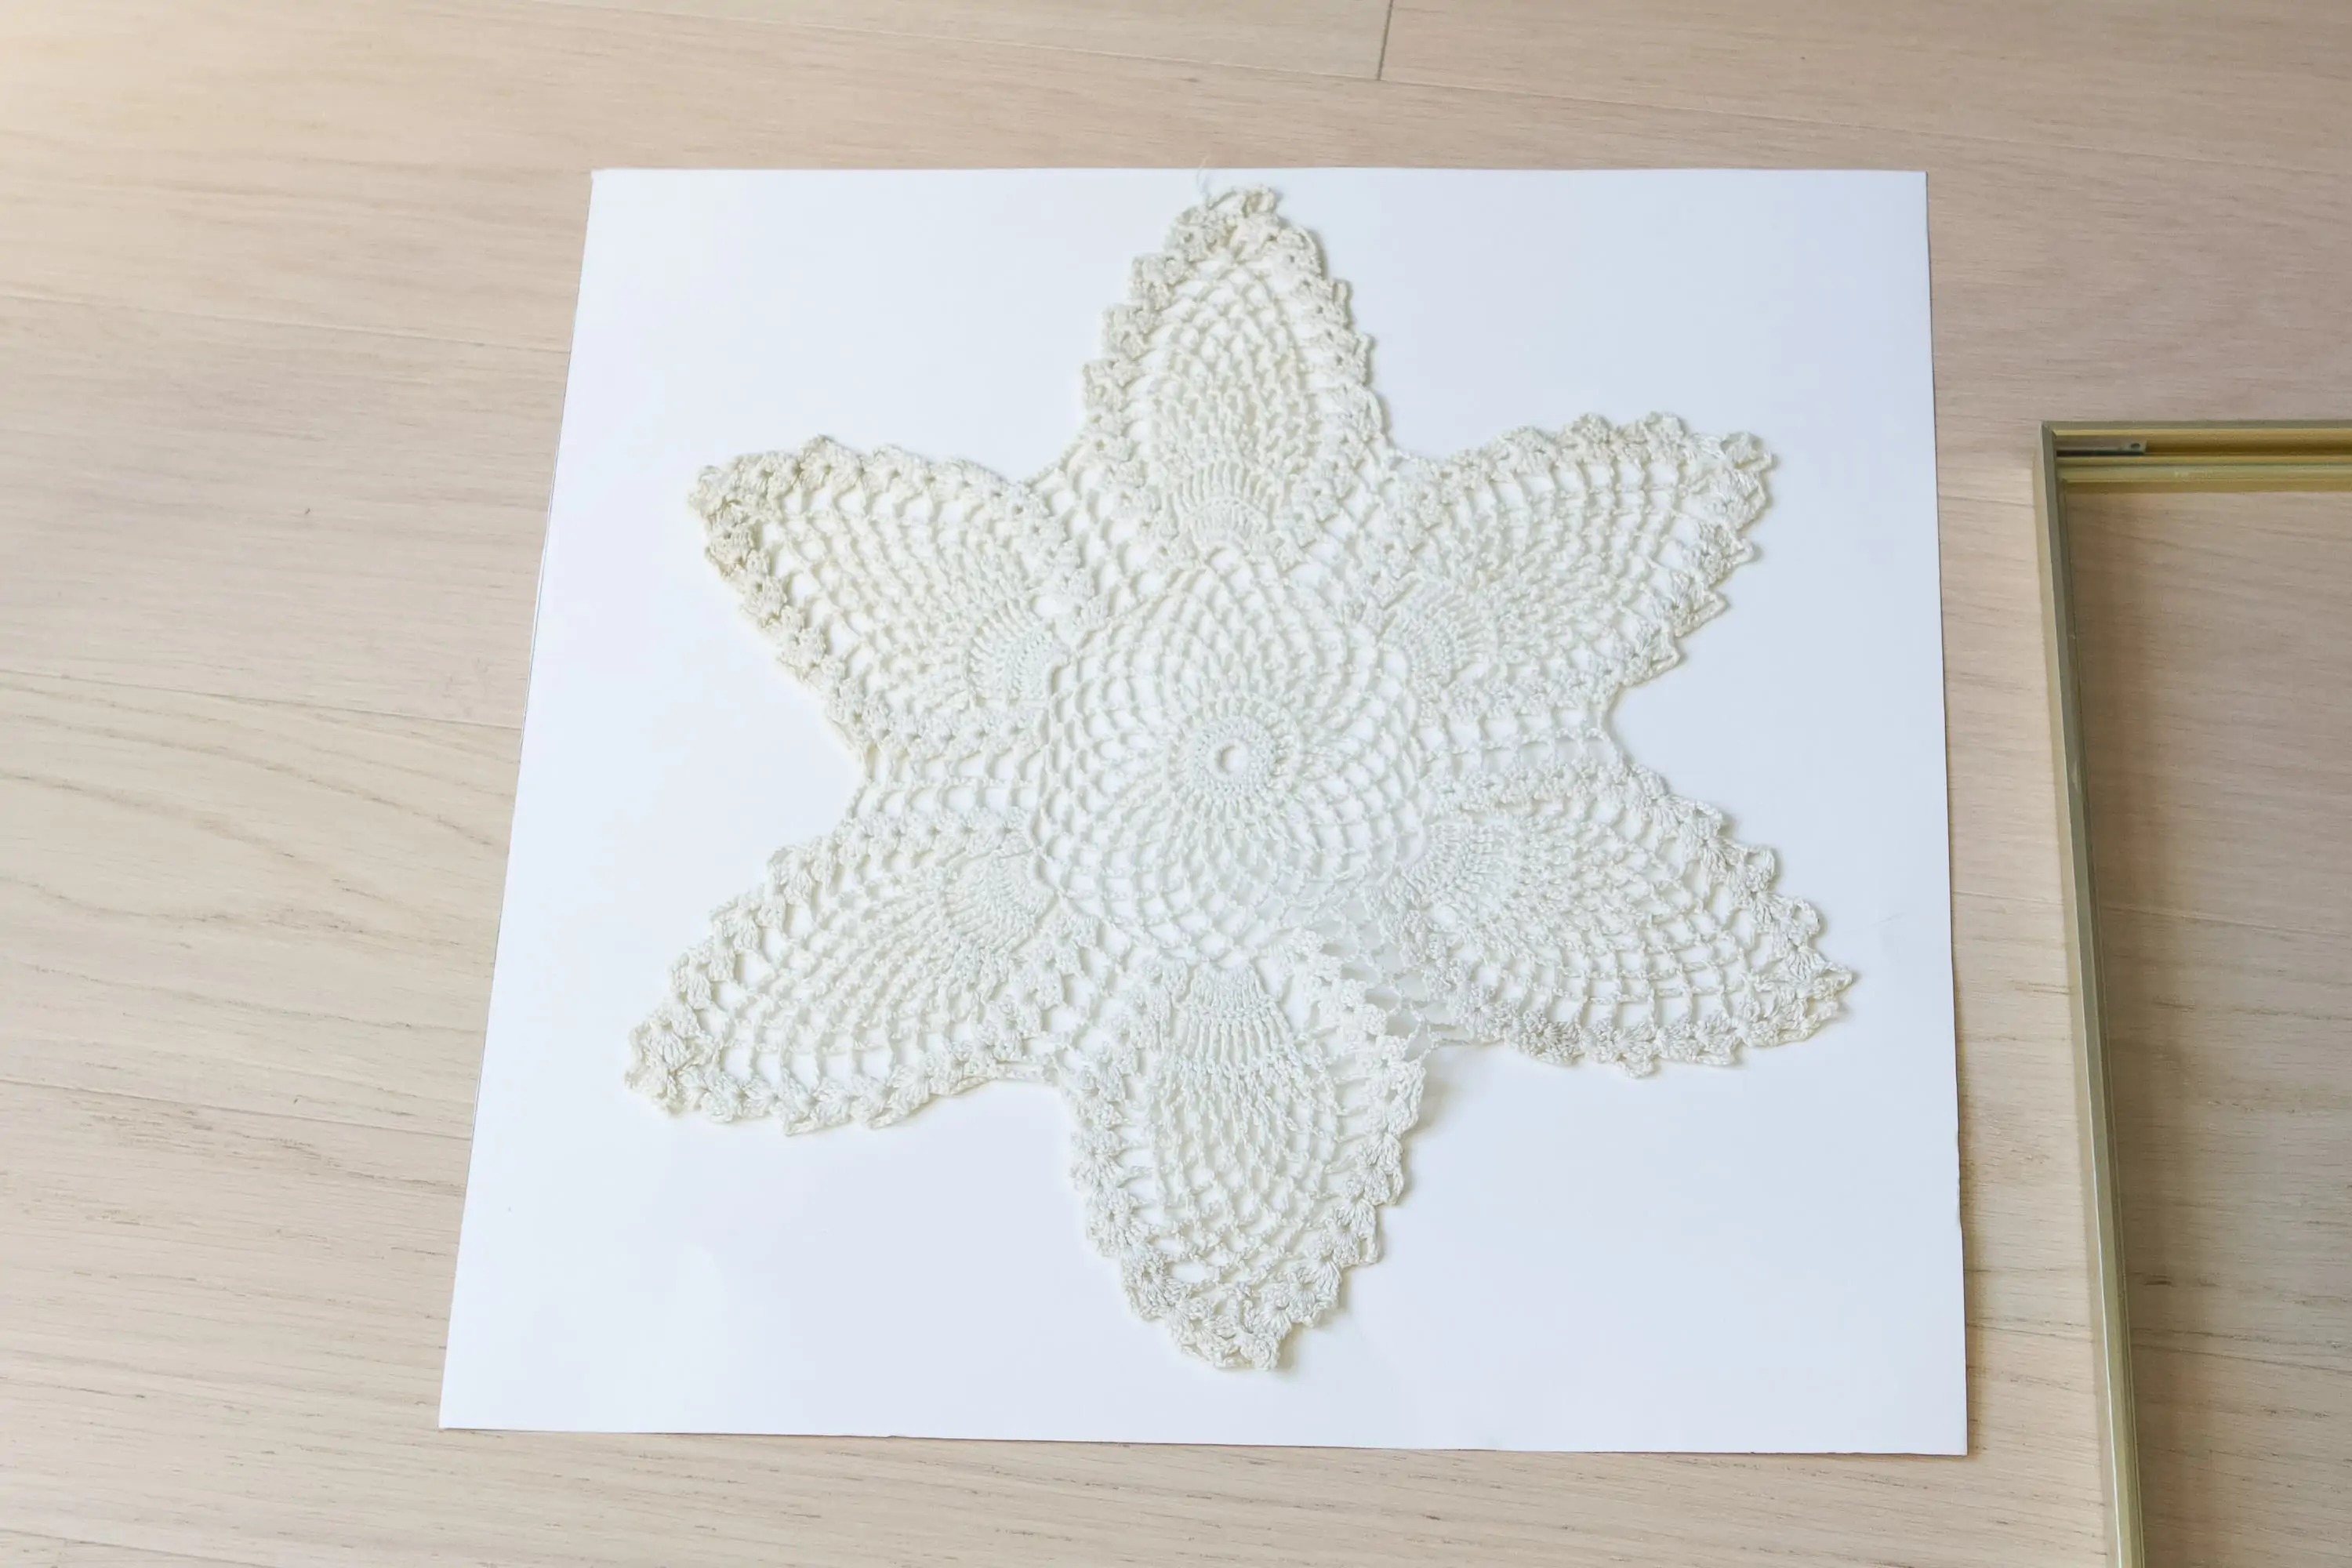
I bought some poster board for the background of the doily and immediately knew that I would need to paint it. An off-white doily on a white background…not the best look.
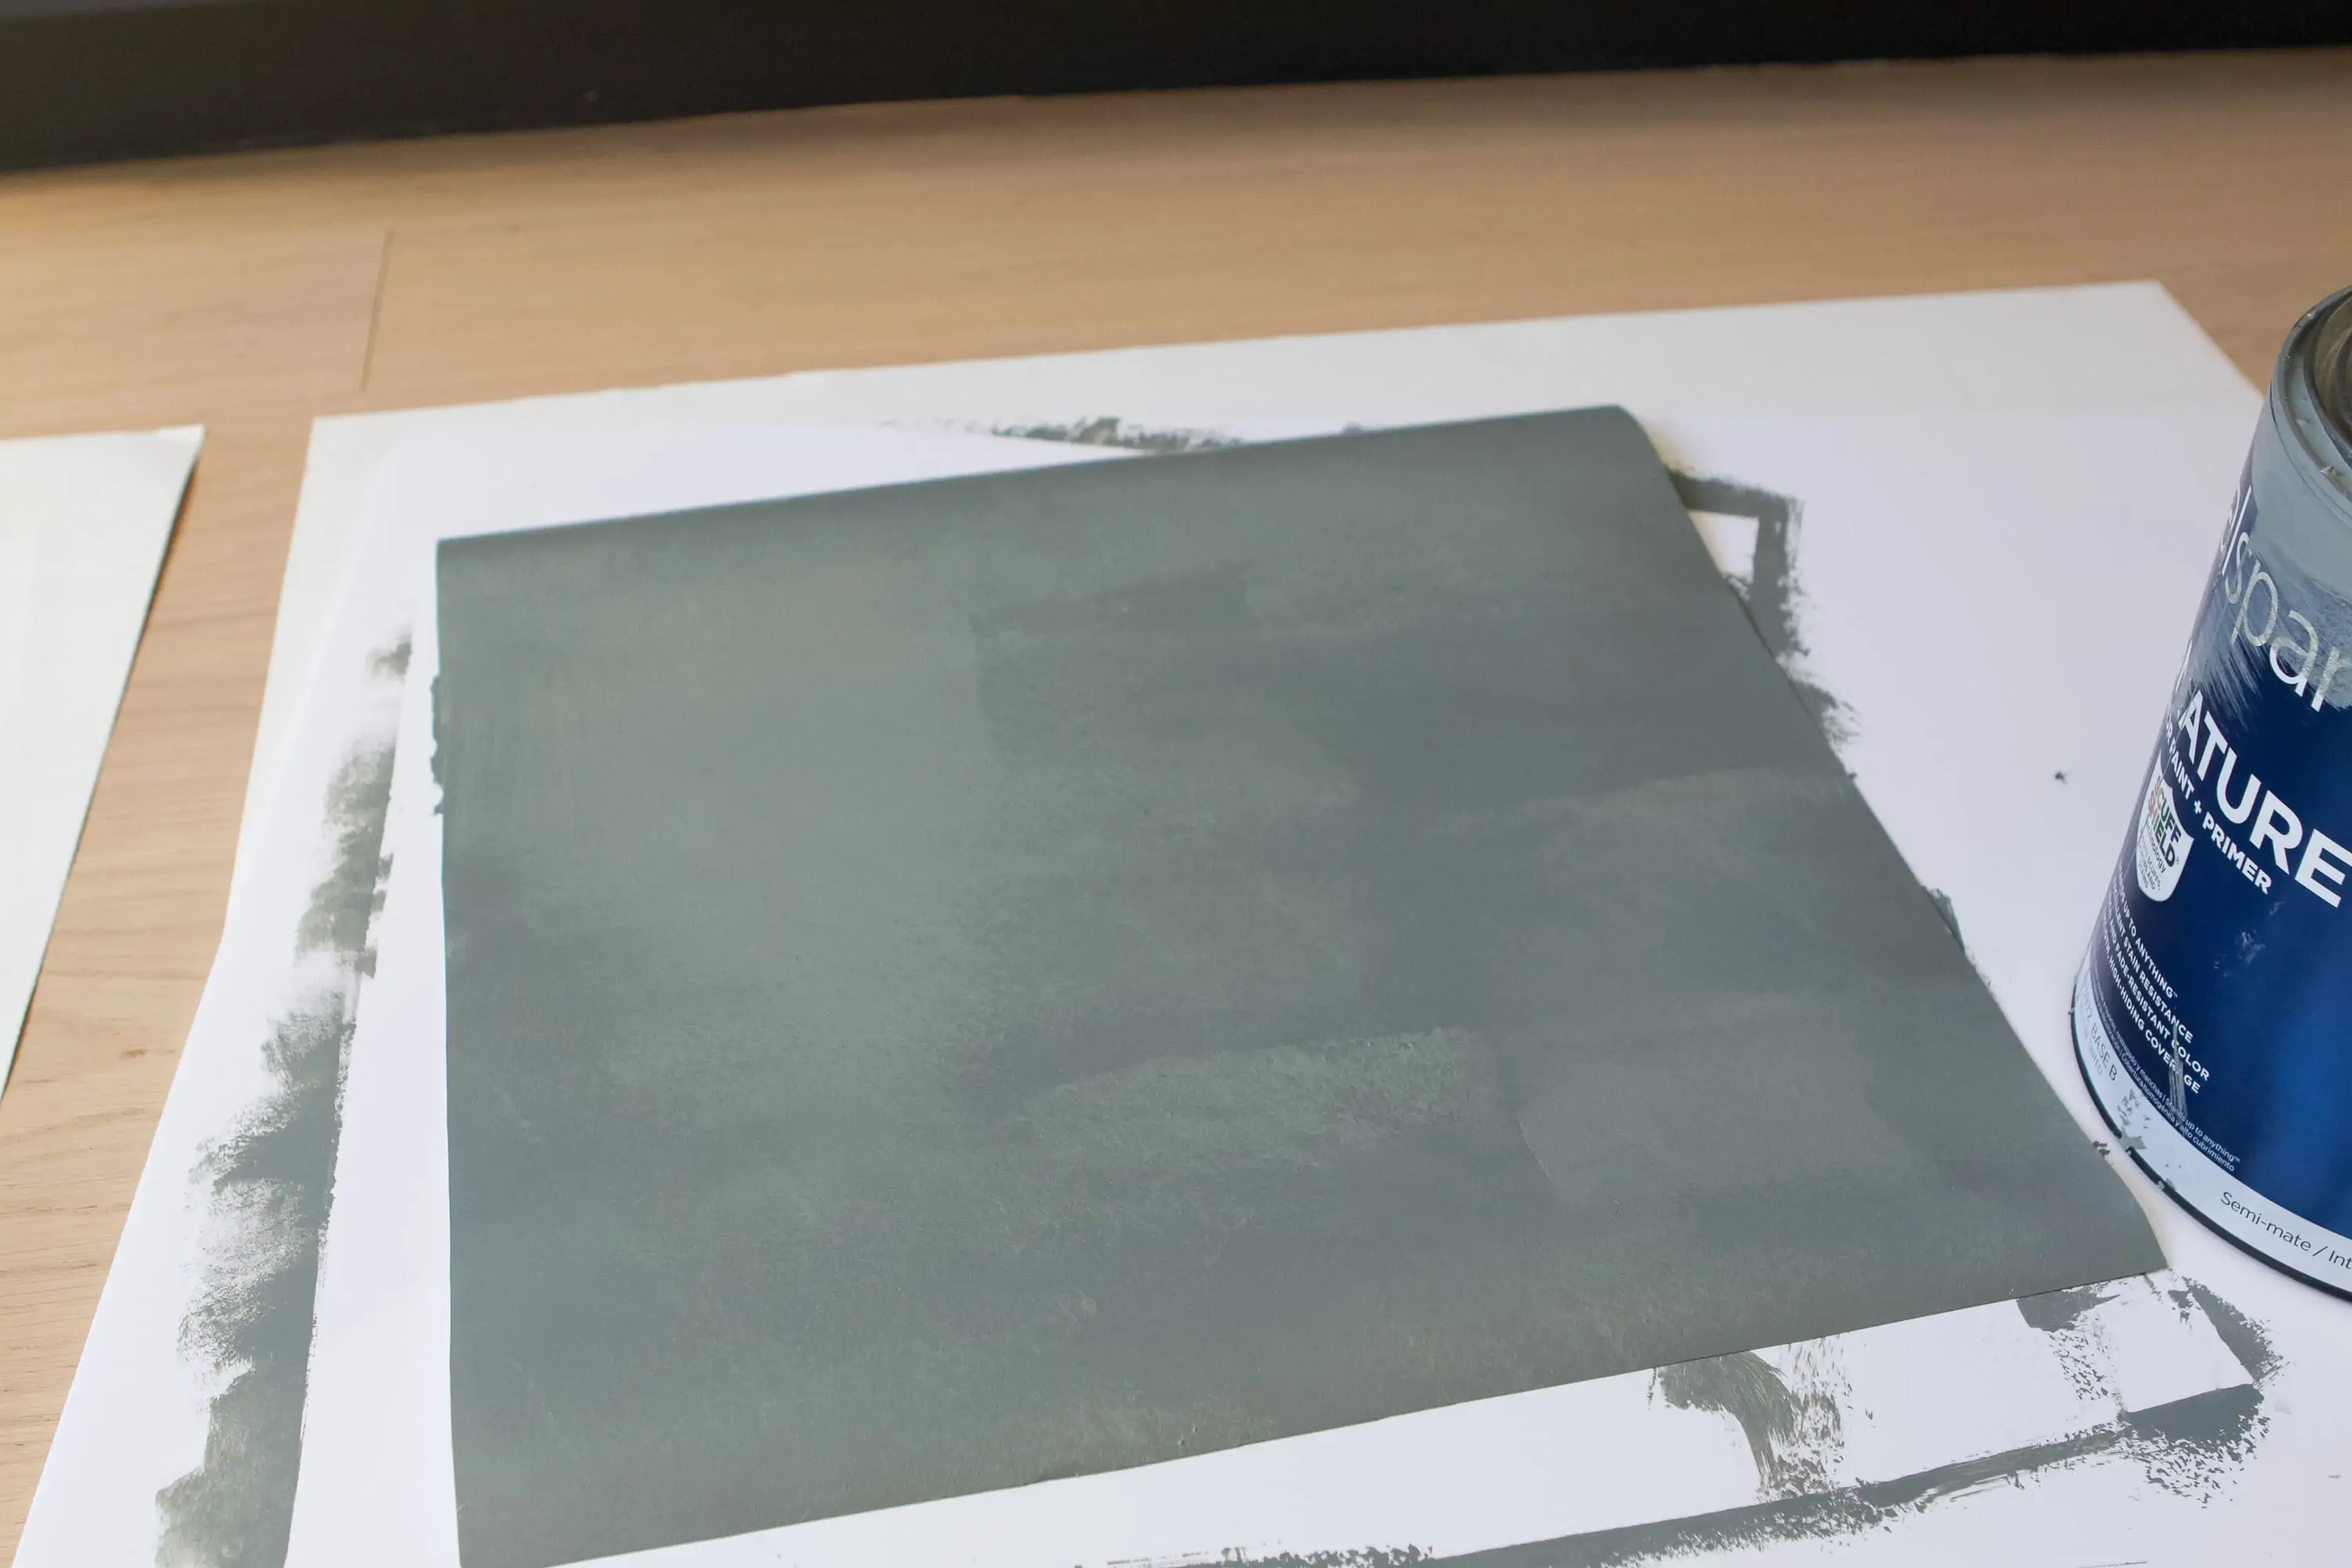
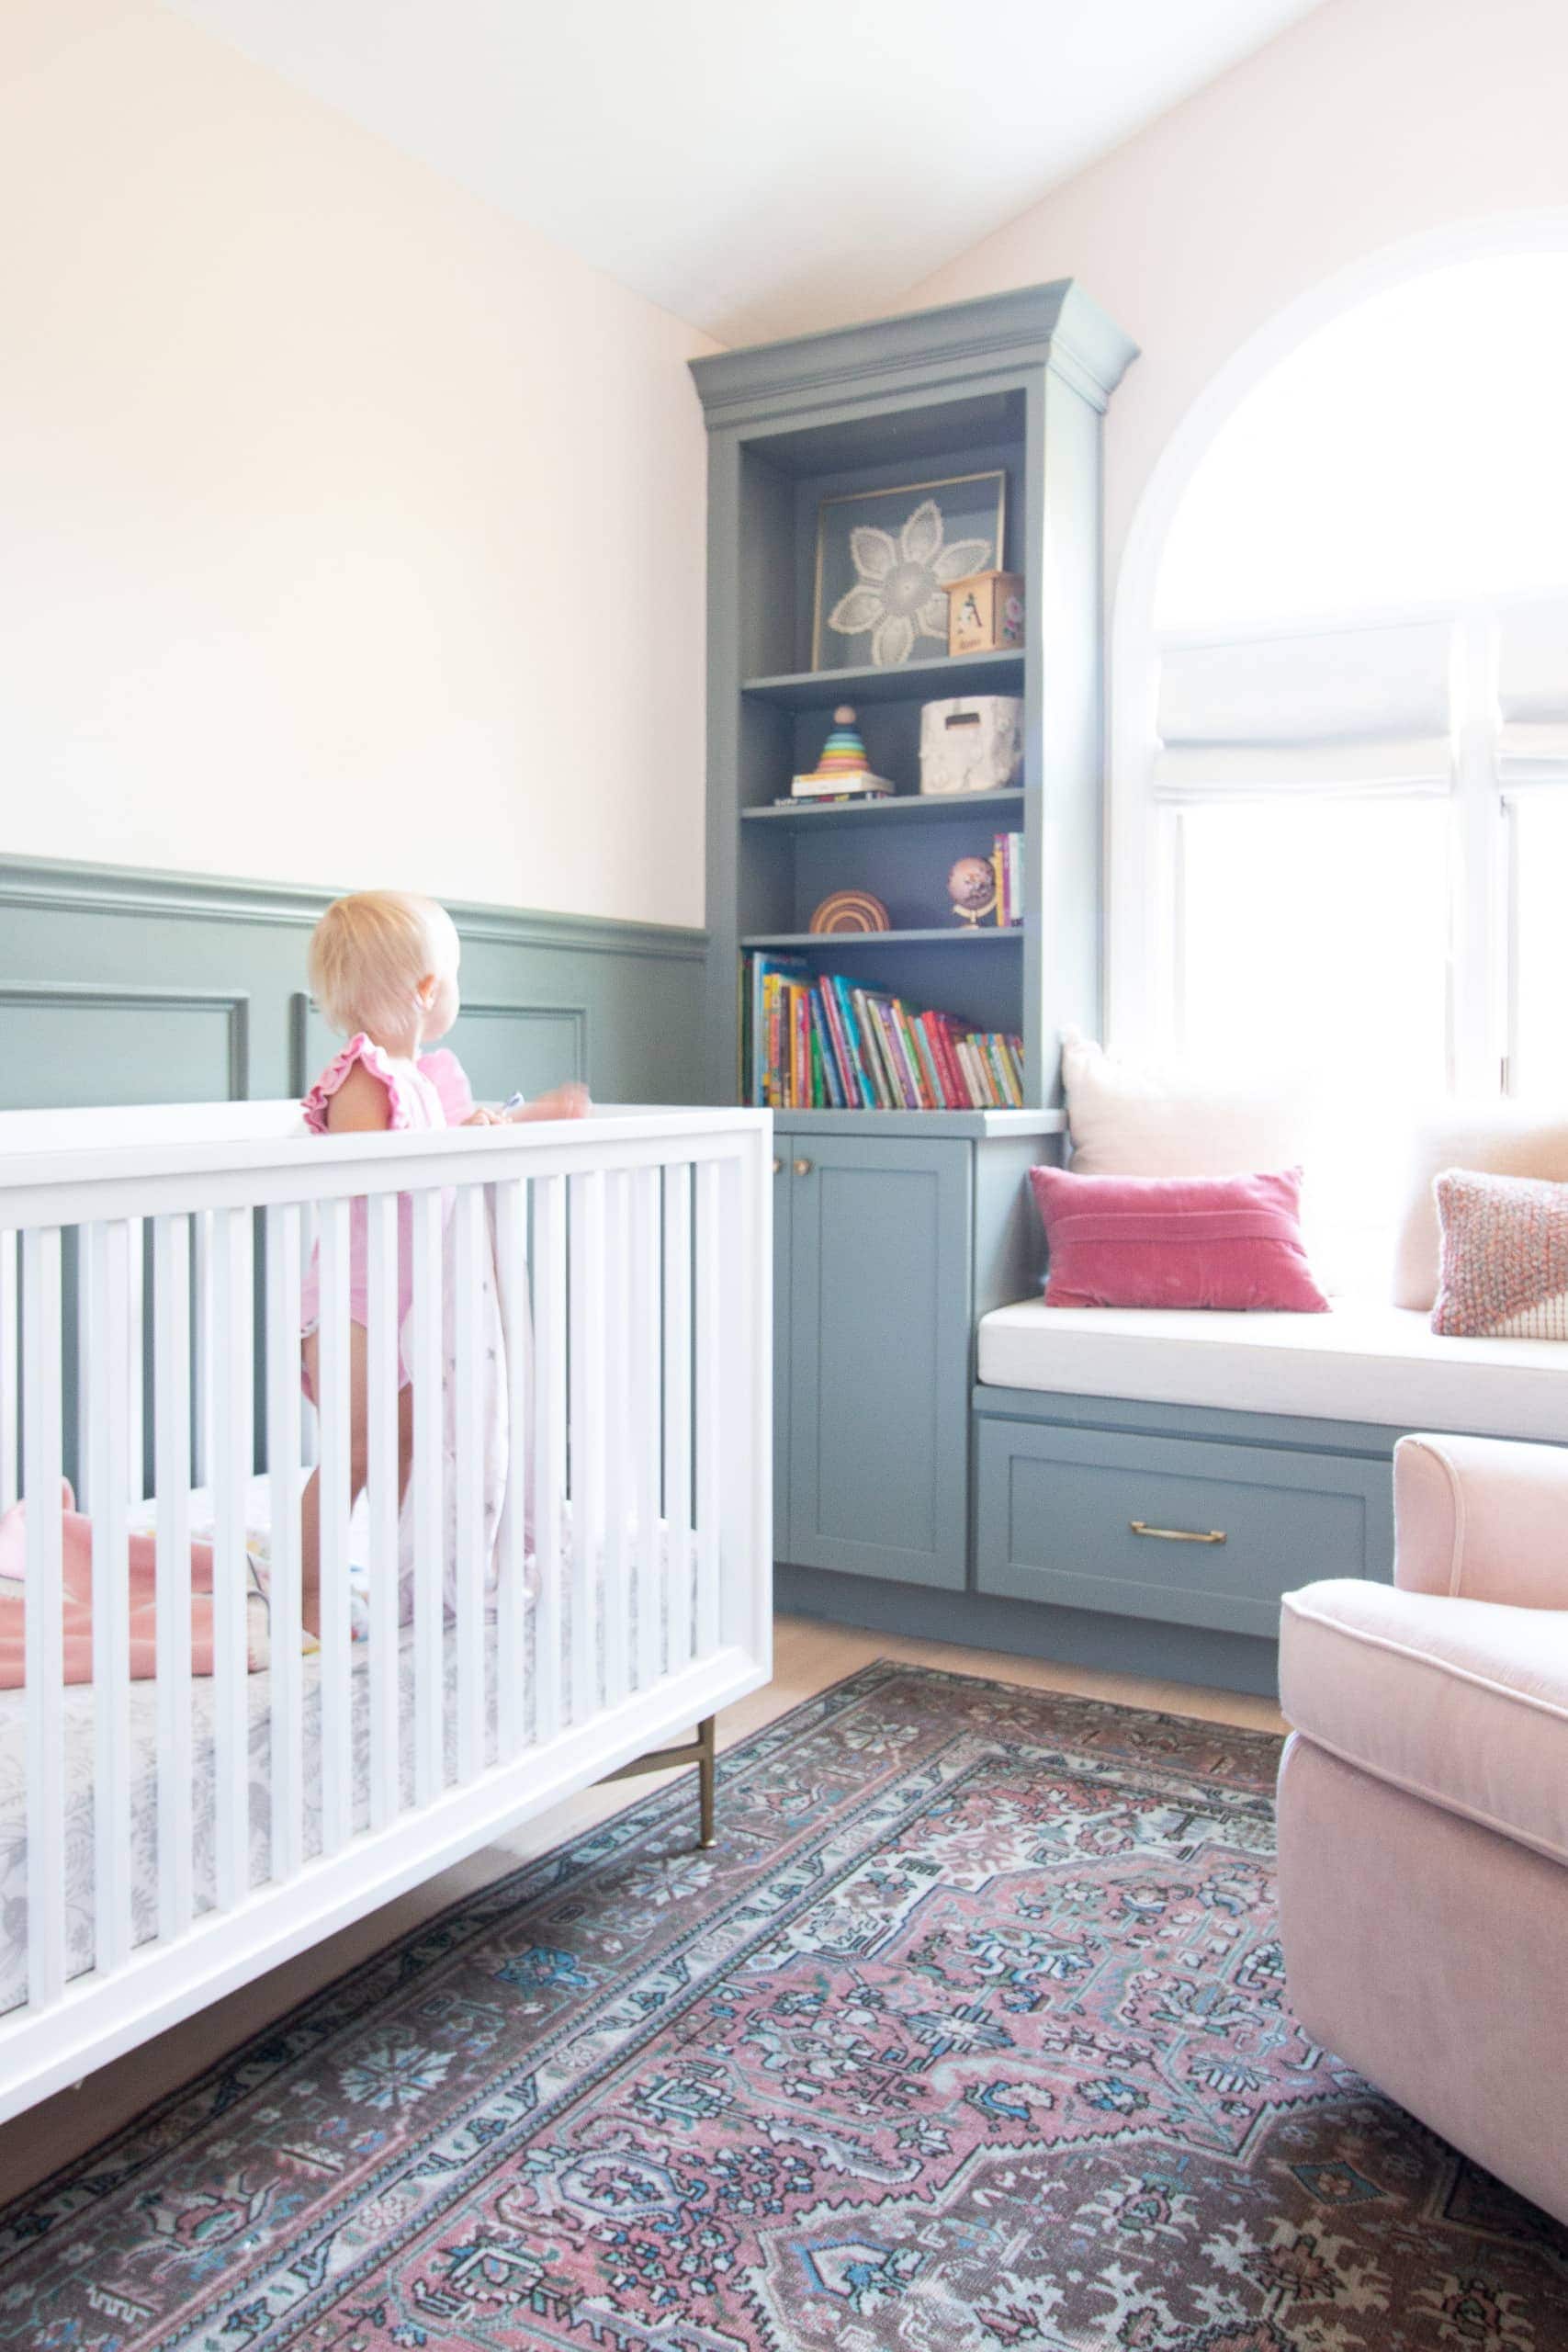
Since this was going in Rory’s room, I decided to whip out the extra paint I have on her walls for the posterboard! This color is actually custom (I color matched it to her built-ins…they’re the KraftMaid color “Bonsai”), but if you want to recreate this shade you can use this color formula…
Valspar, Interior Satin 101-4Y19.5, 107-2714.5, 113-174.5, 203-10
It’s such a gorgeous shade of green and I always get compliments on it. I wish it had a real name because that would be much easier to share!
Attaching the Doily
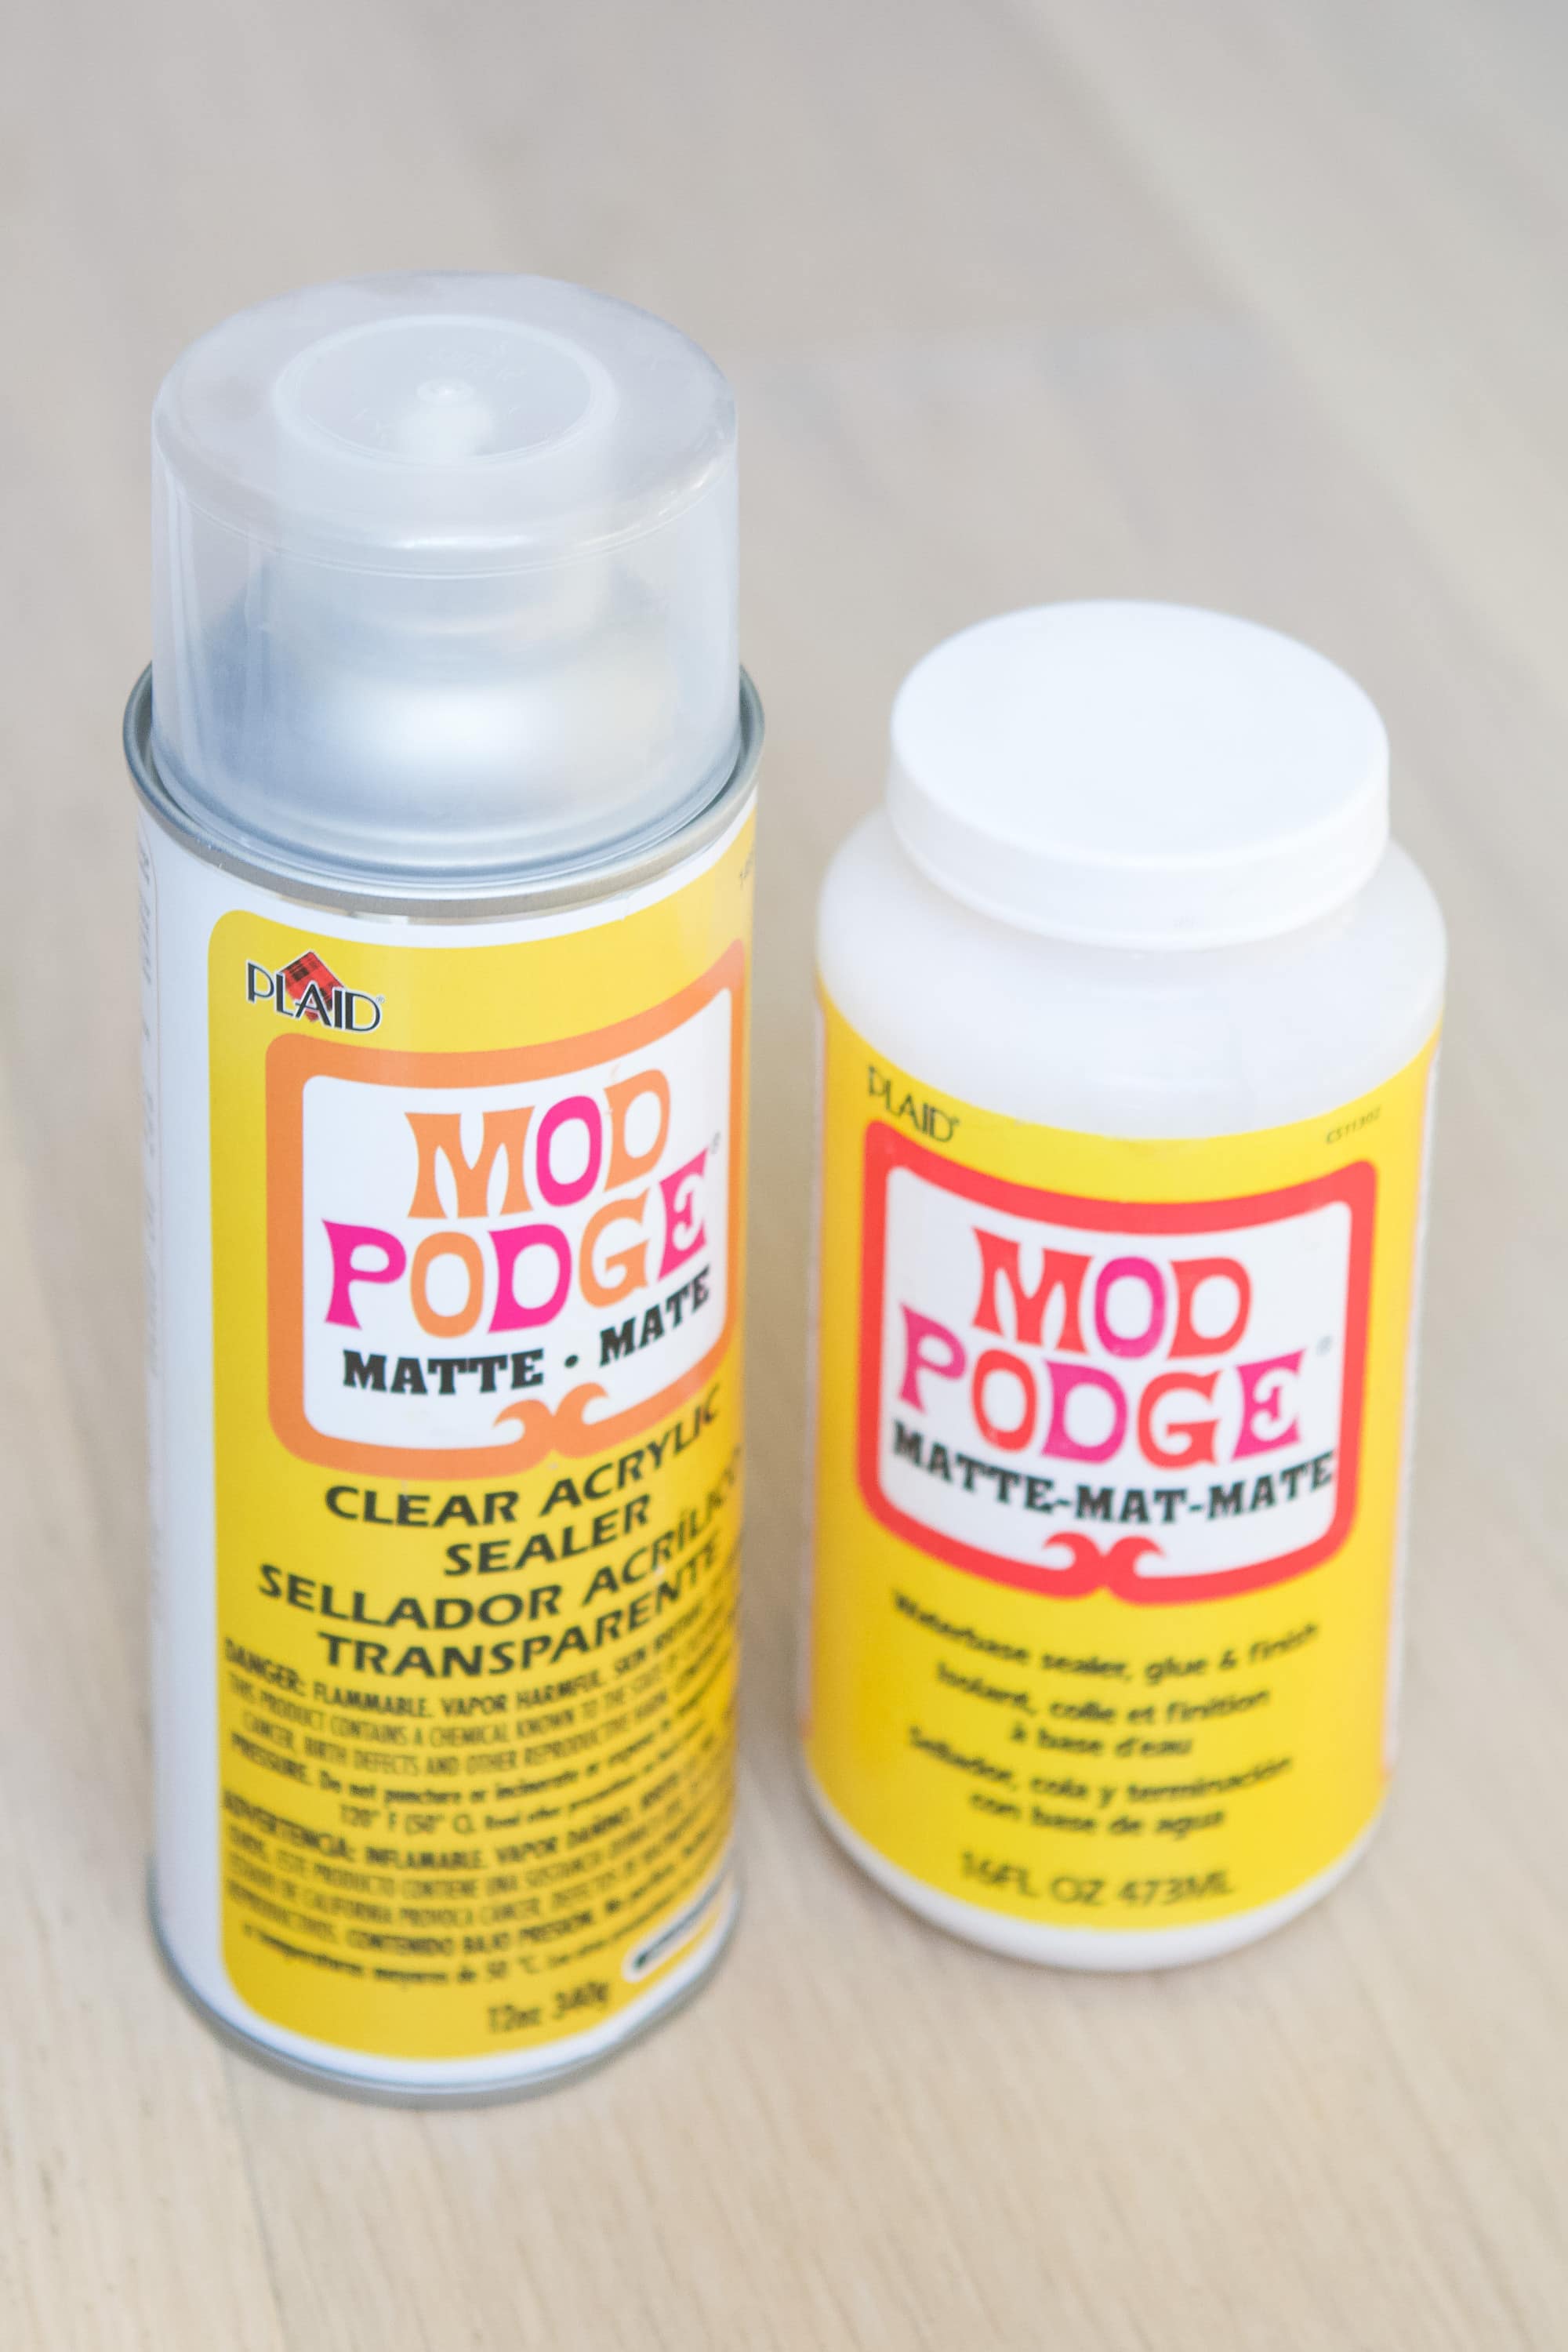
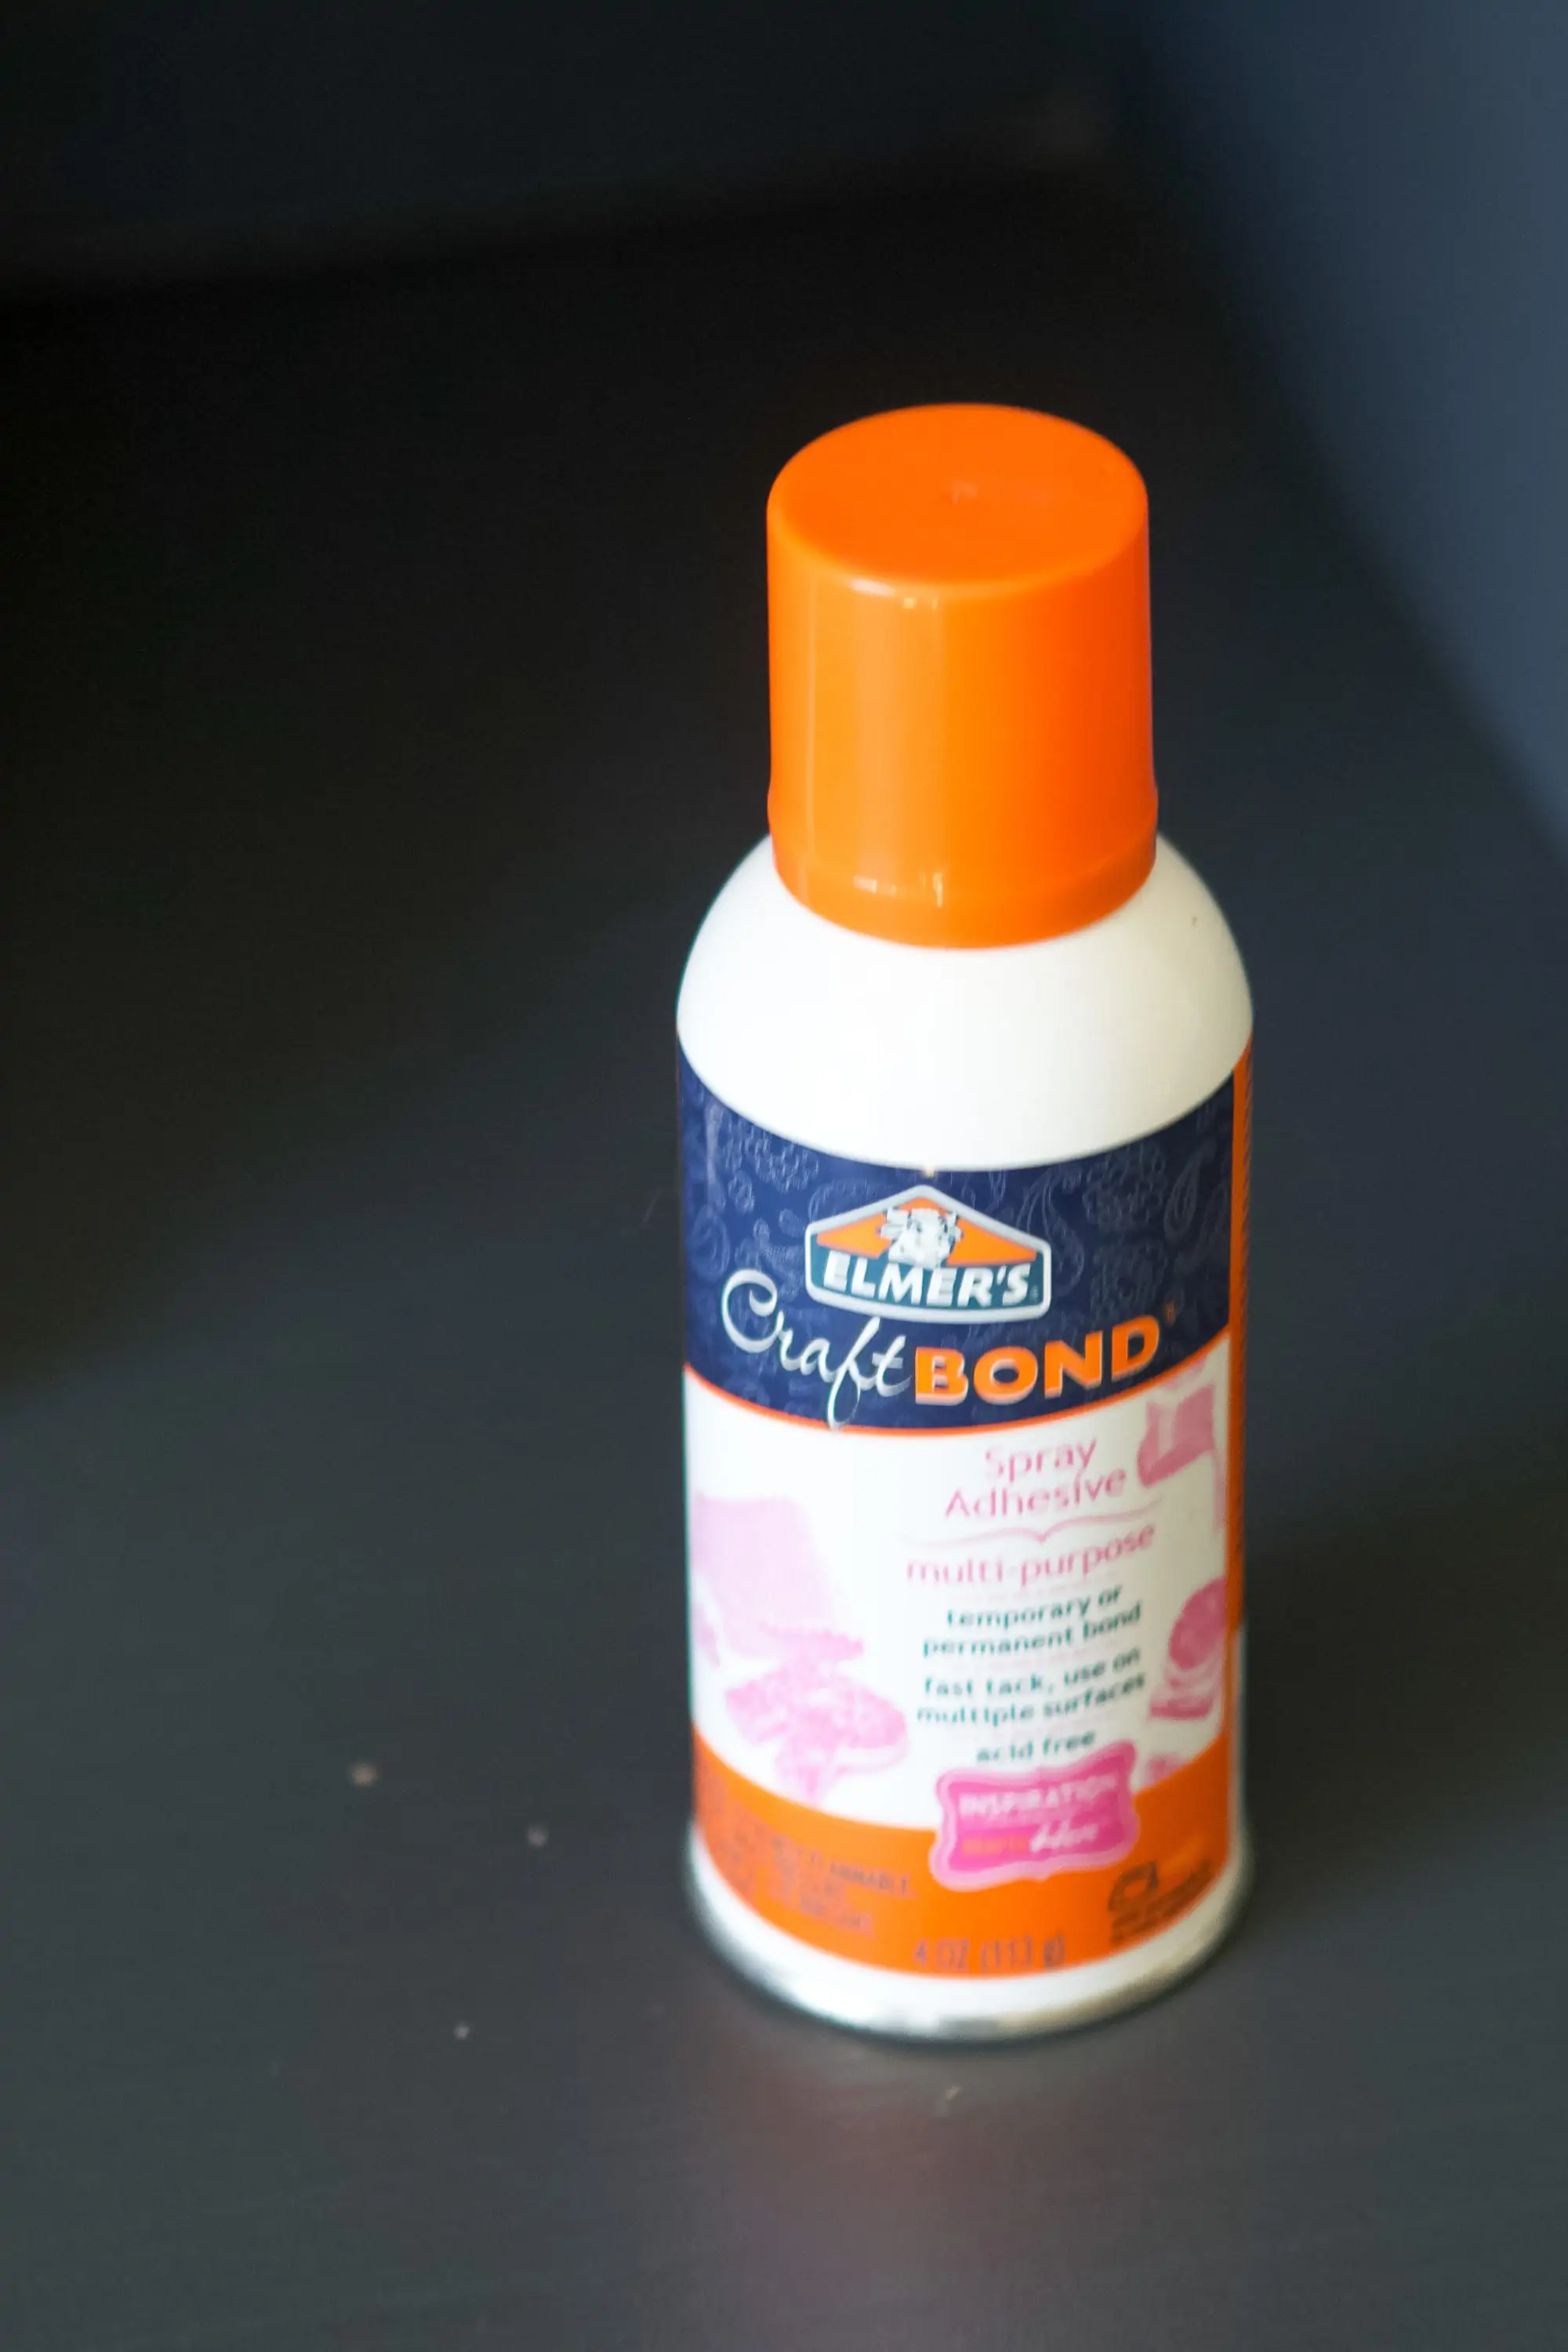
I looked through my craft supply stash to figure out the best way to actually attach the doily to the poster board. I didn’t want to use pins or anything too severe, like hot glue, that might get messy. I first started with the mod podge spray, thinking it would make the back of the doily tacky enough to lightly adhere to the poster. Then it would be nice and secure once I added it to the frame. That was a flop. It just wasn’t sticky enough! I then tried out this Elmer’s spray craft bond and it did the trick! One light coat and then it easily stuck to the poster board!
Rory’s Special Snowflake Art

Here it is, all framed on Rory’s built-ins. I love the look of the sleek brass frame with the pretty curves of the doily. It’s such a nice mix! Plus, it really pops off of the green.
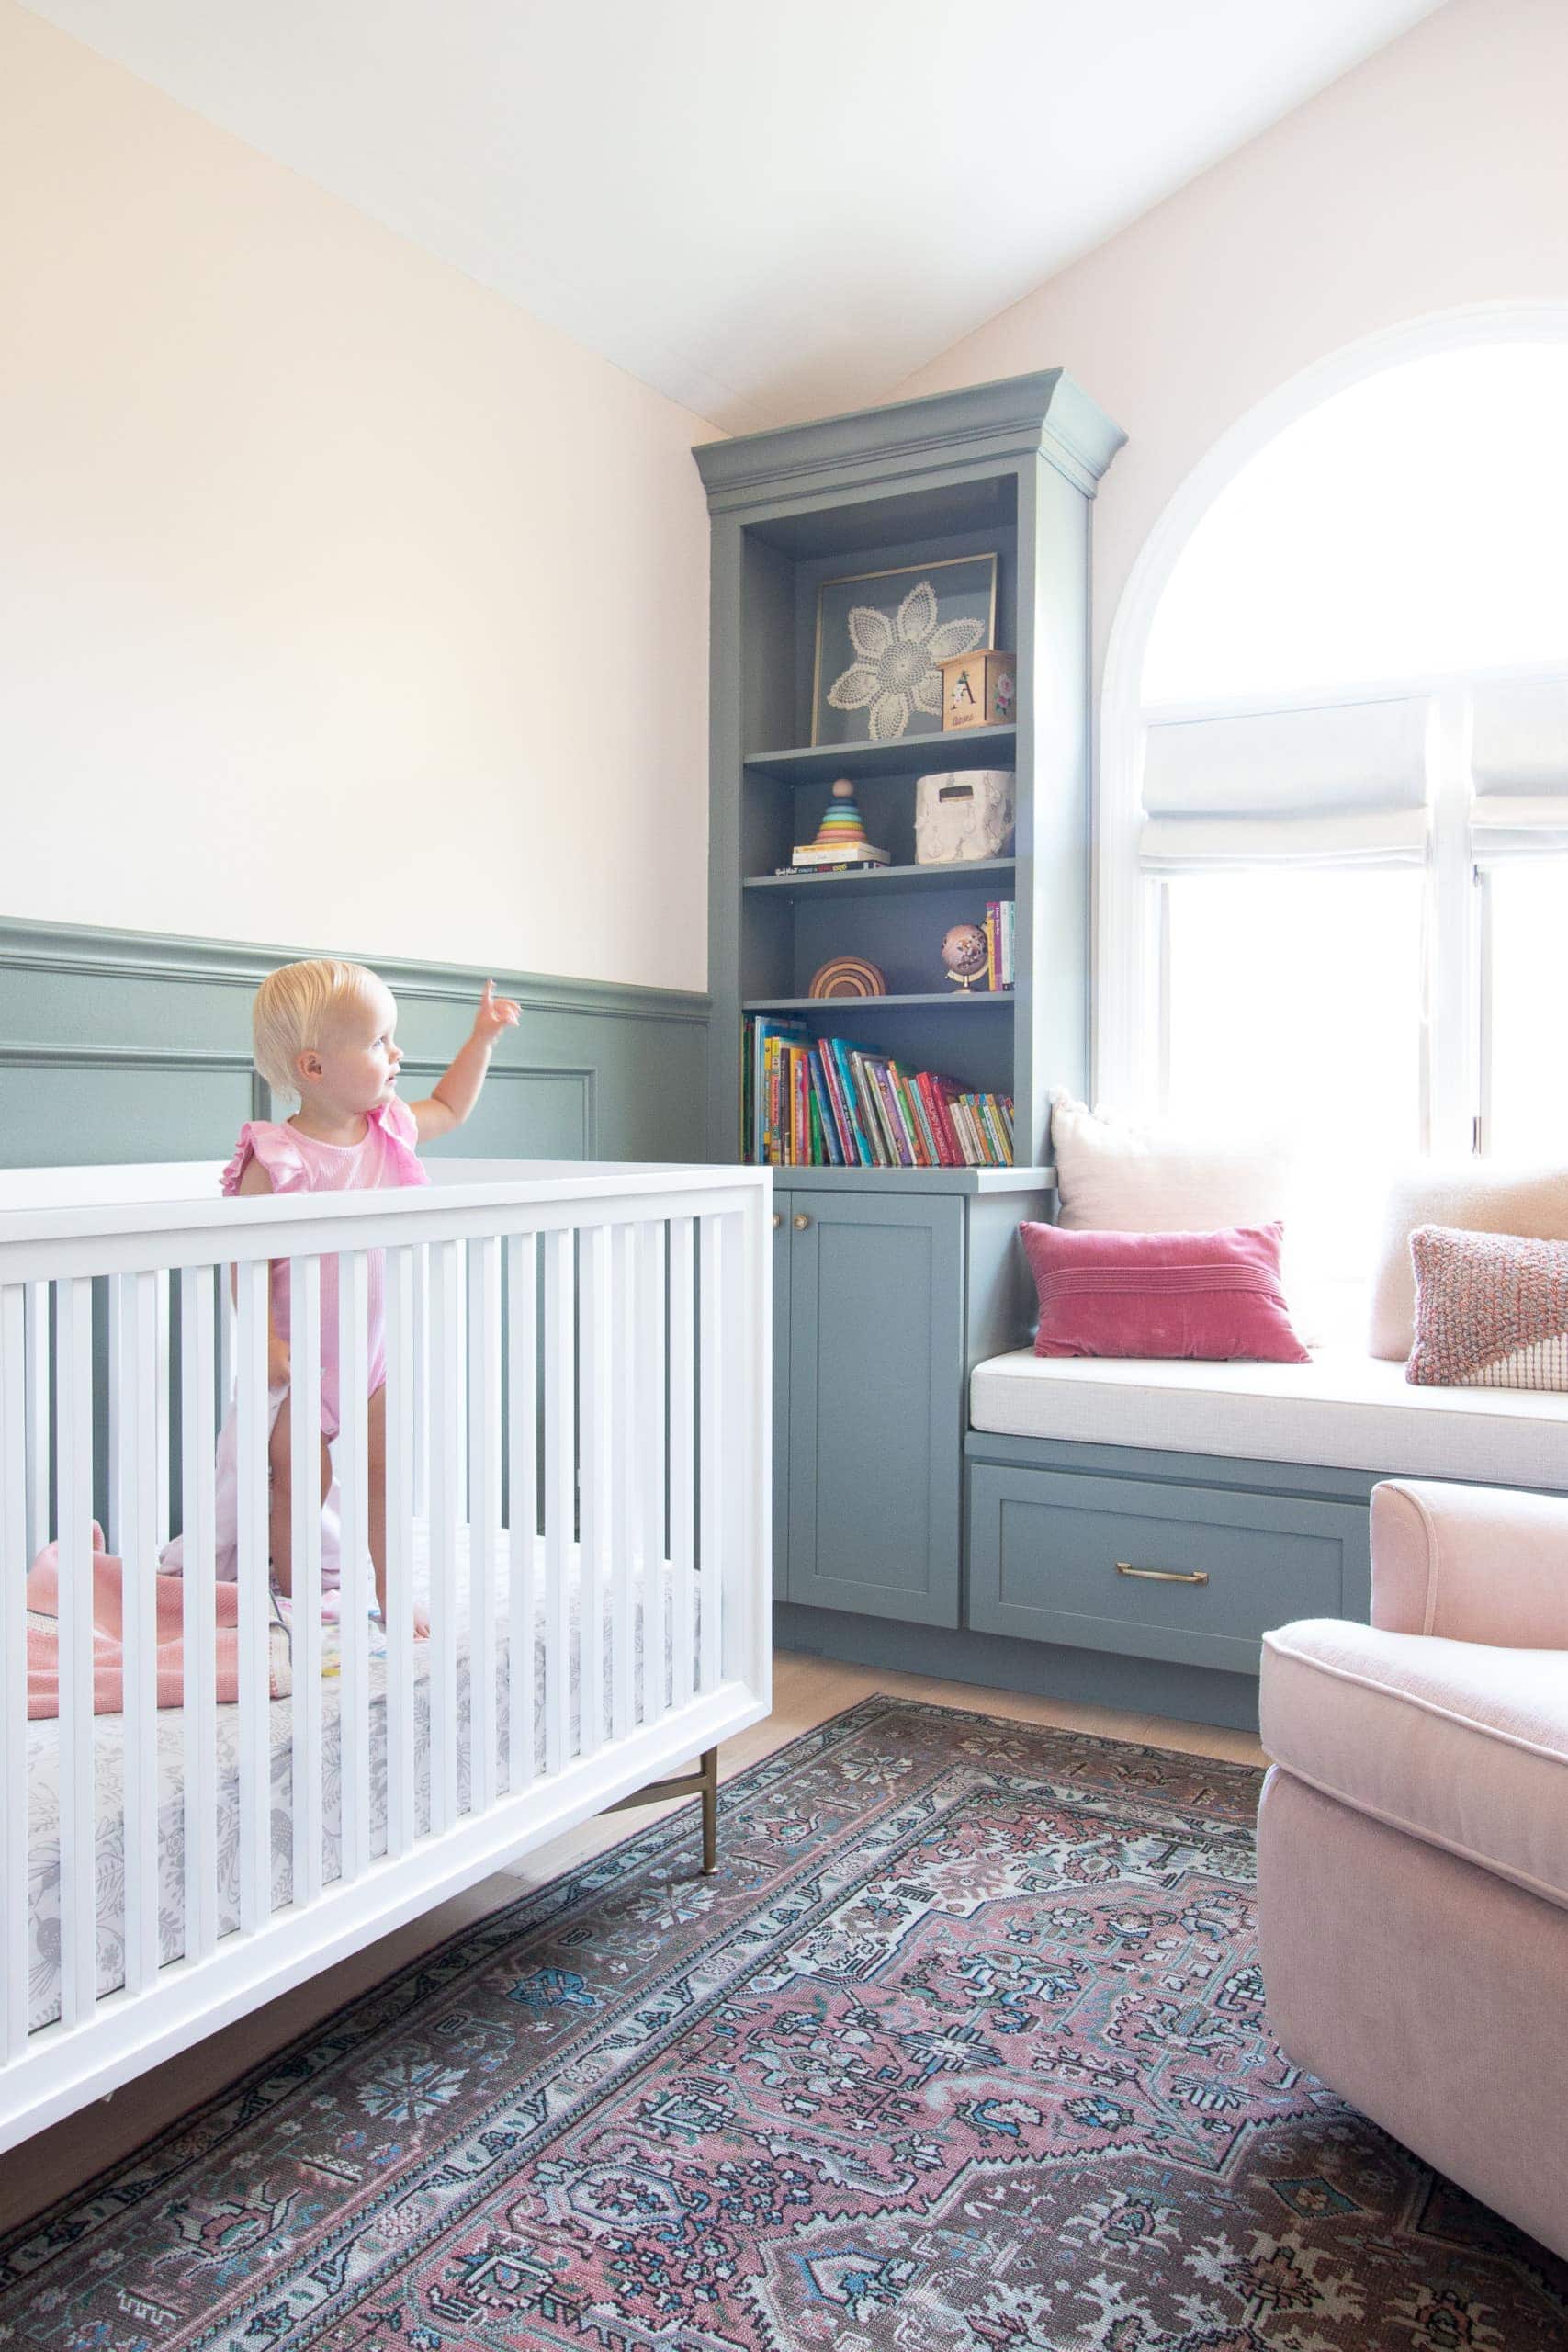
Rory noticed the new addition immediately! Now, she points at it every time we walk in the room or whenever she wakes up and says, “Mama!” because she knows I made it for her. It makes my heart burst.
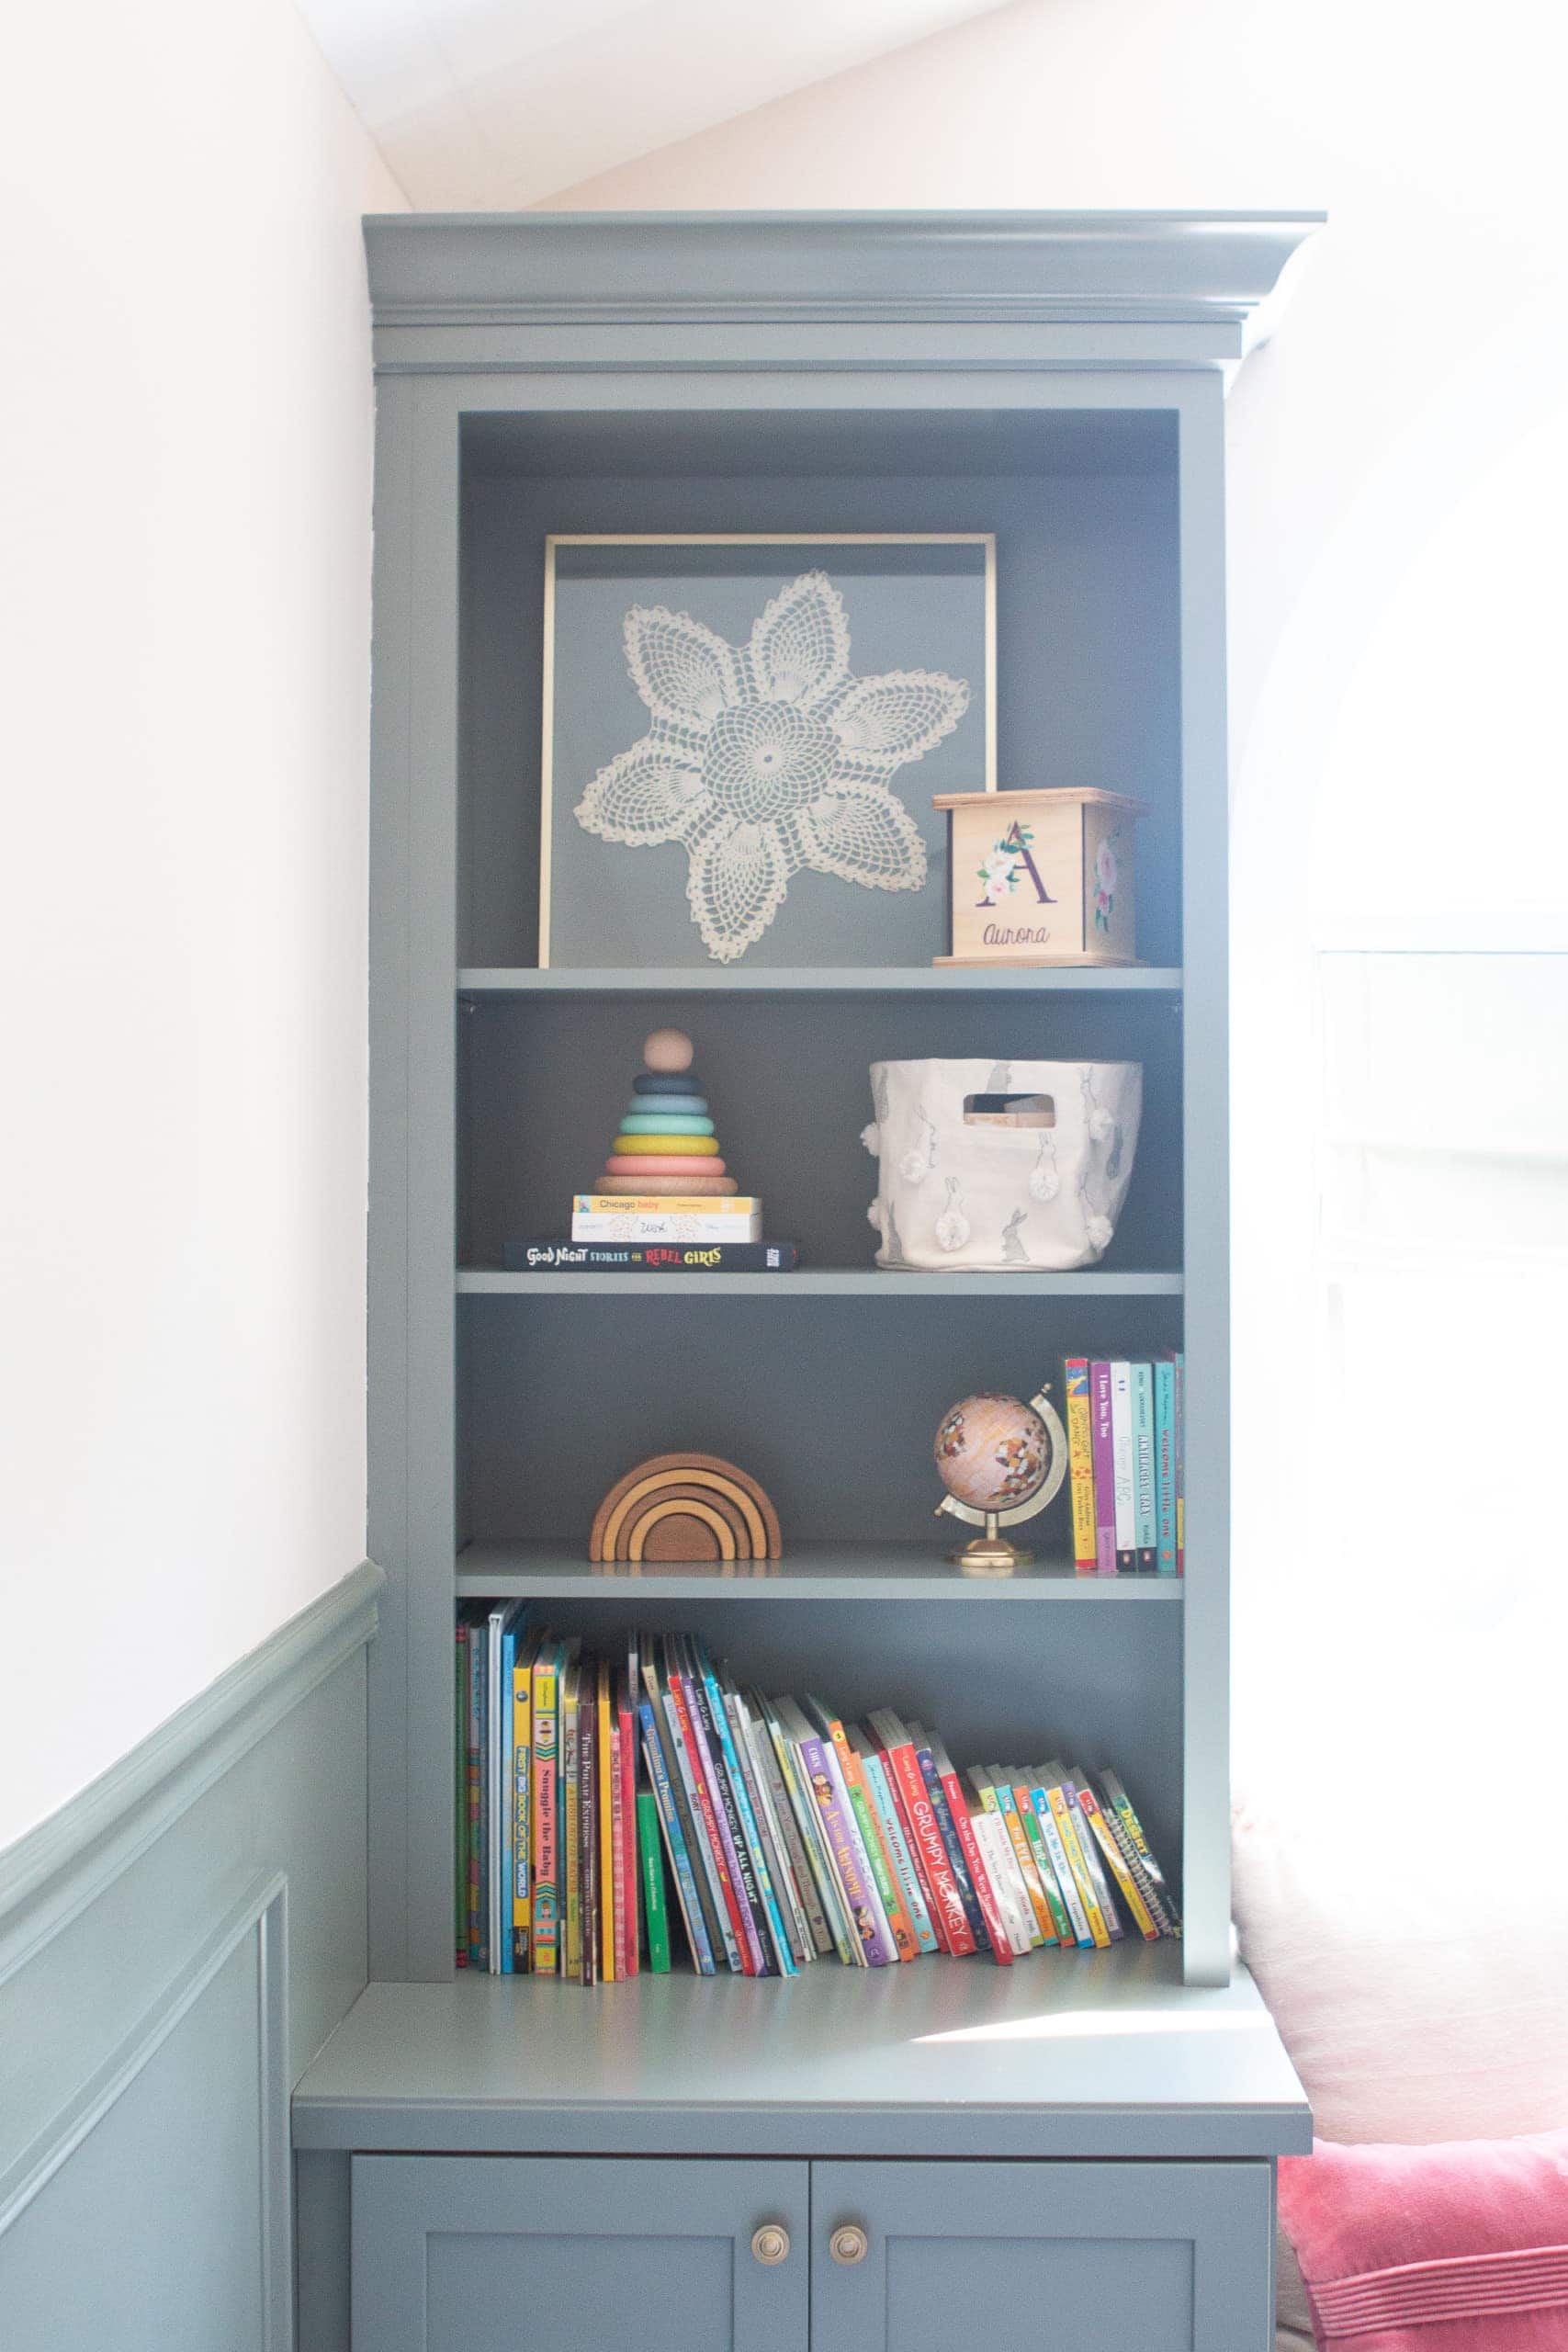
The shelves are adjustable (more about the built-ins here), and I had to lower the top shelf to make room for this large frame. (16×16 is bigger than you think!) I love layering art on shelves and I think this is such a nice addition to her room.
Family Pieces in Rory’s Room

The crocheted doily is just one of many family items in her room.
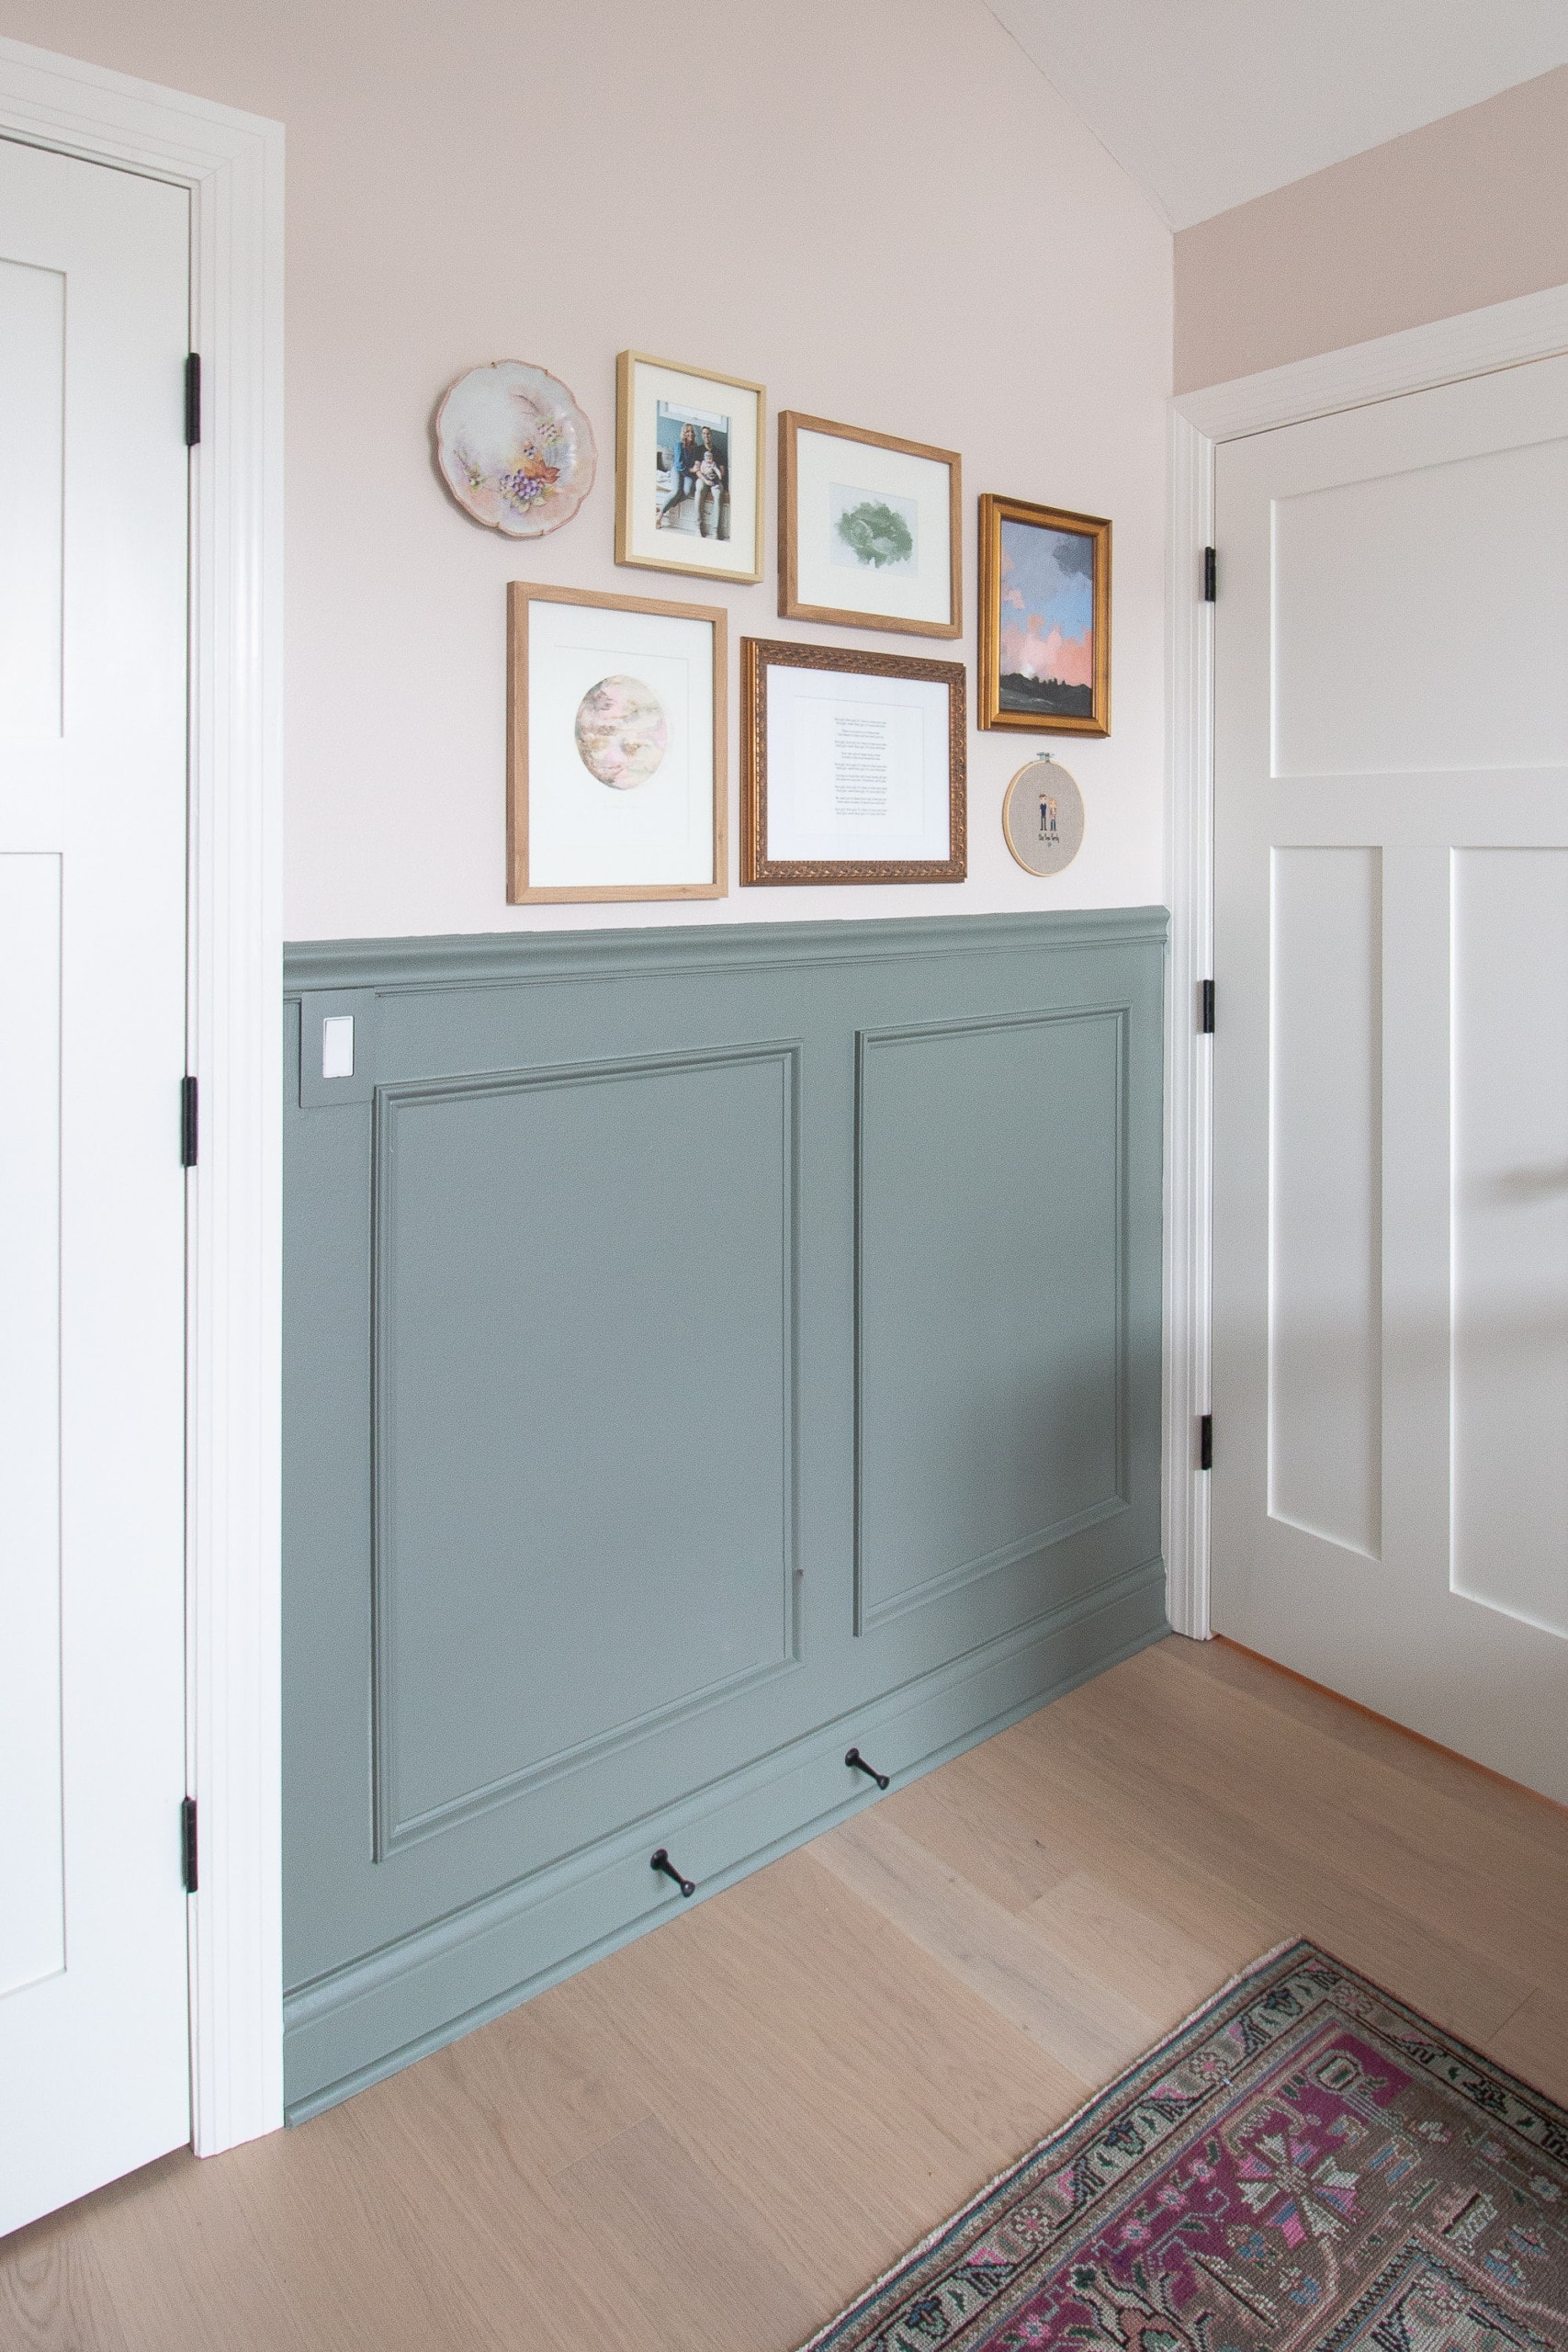
I have a plate handpainted by my great-grandmother on her gallery wall.
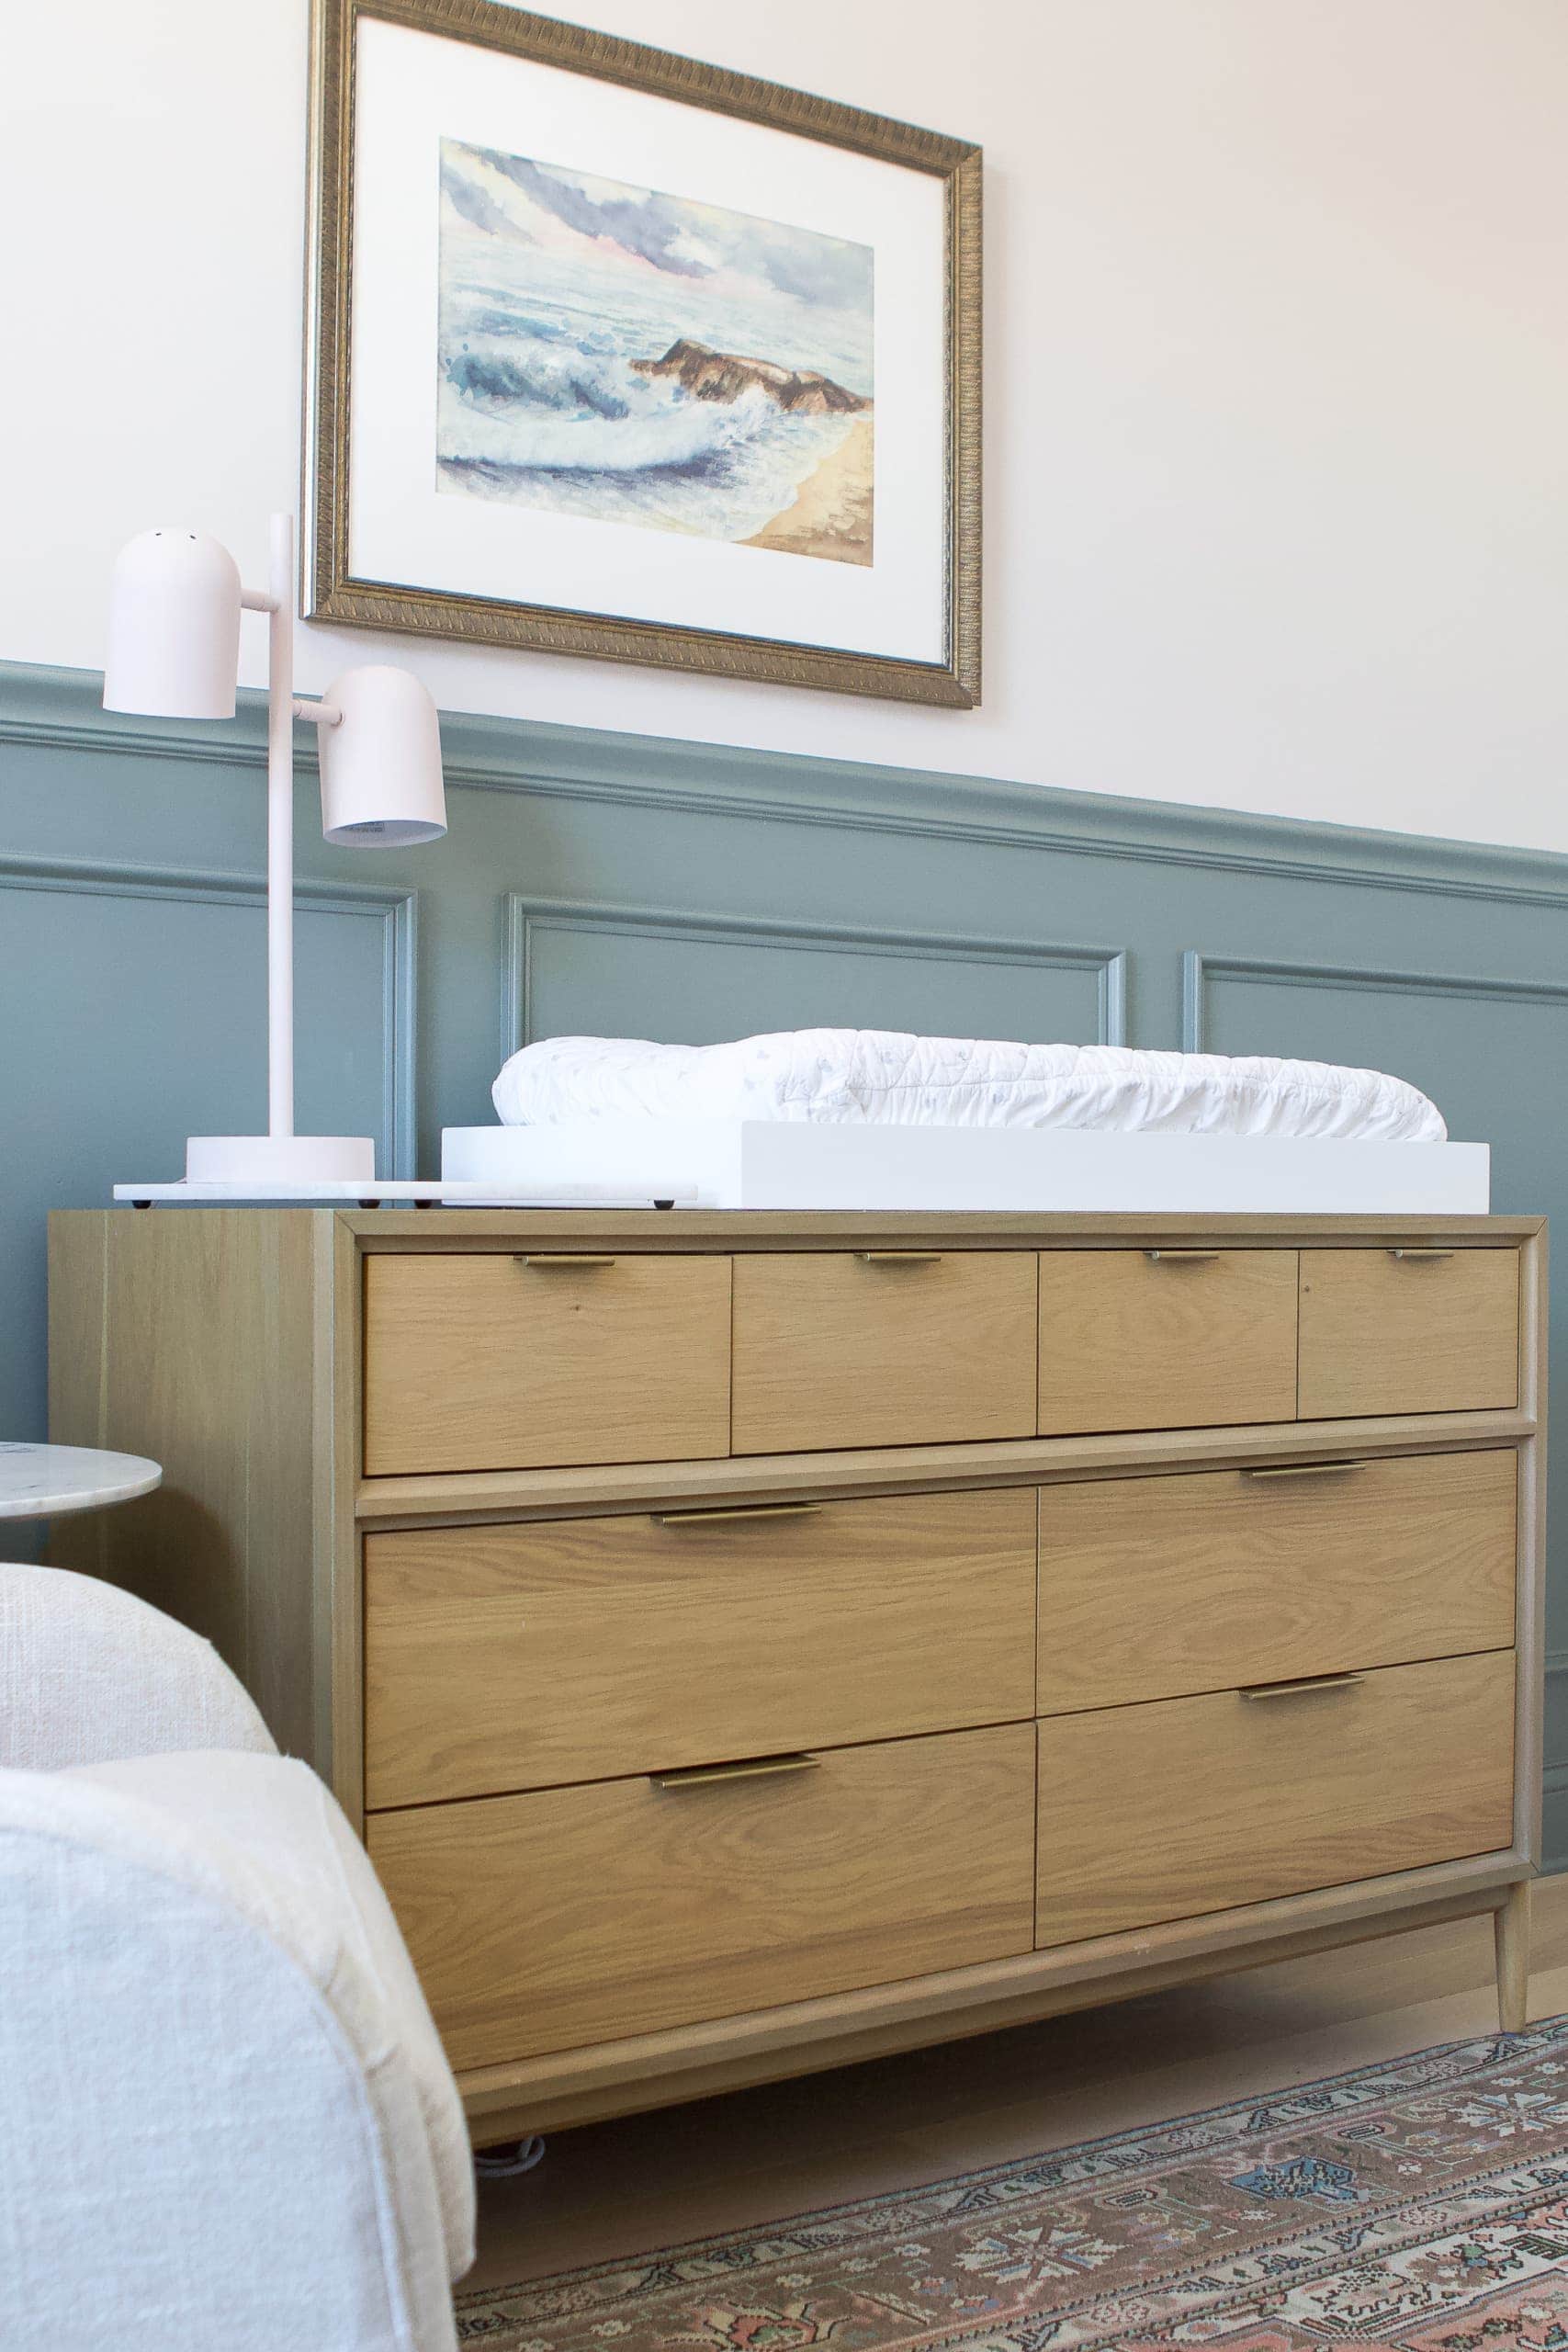
As well as this watercolor she painted over the changing table.
Wall Color, Valspar “Warm Fog” // Chair Rail // Vintage Rug (from this shop) // Crib // Mattress // Wood Dresser // // Changing Pad Topper // Changing Pad // Changing Pad Cover // Table Lamp // Gallery Wall Details // Custom Aurora Piggy Bank // Wood Rainbow Toy // Stacking Rings // Velvet Glider
I love chatting with Rory about all of these special pieces in her room and telling her about the great women before her who created them. I want to make sure she knows all about these talented family members of hers as she grows up.
Casey