How to Add Chair Rail and Picture Frame Molding
Disclaimer: This post is sponsored by Lowe’s Home Improvement.
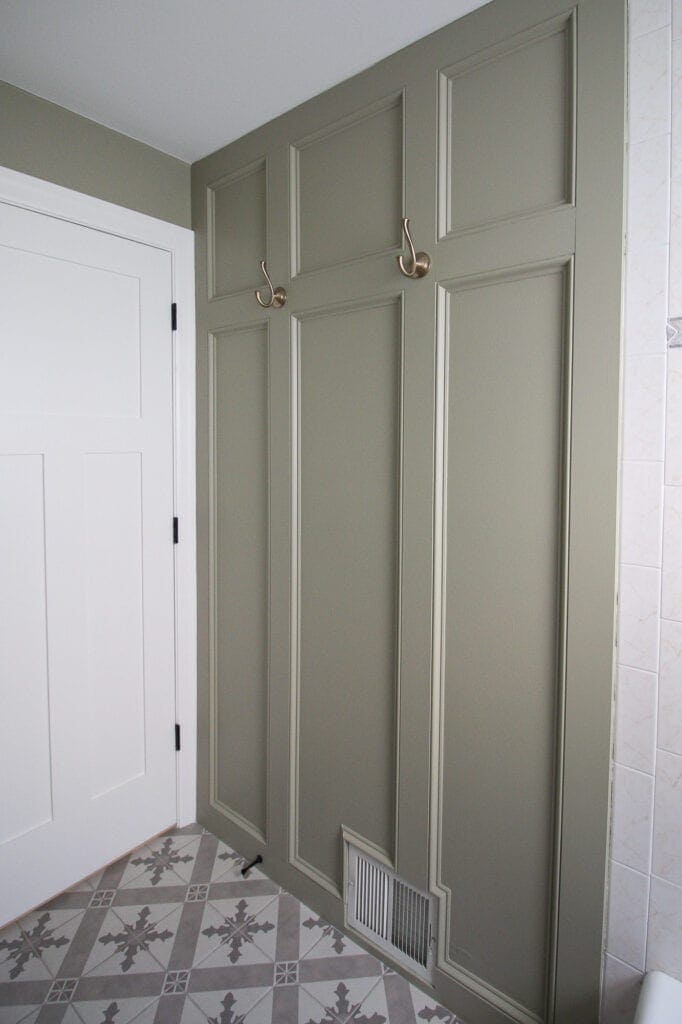
Last week, I revealed the sage green built-ins in our nursery. Wow! I’m in love with this custom piece because it really makes the entire room! But once those were installed, the rest of the room was feeling a tad boring. I’m a big fan of adding decorative wood molding to walls to make any room feel more custom and high-end. And that’s exactly what I planned for our nursery. 
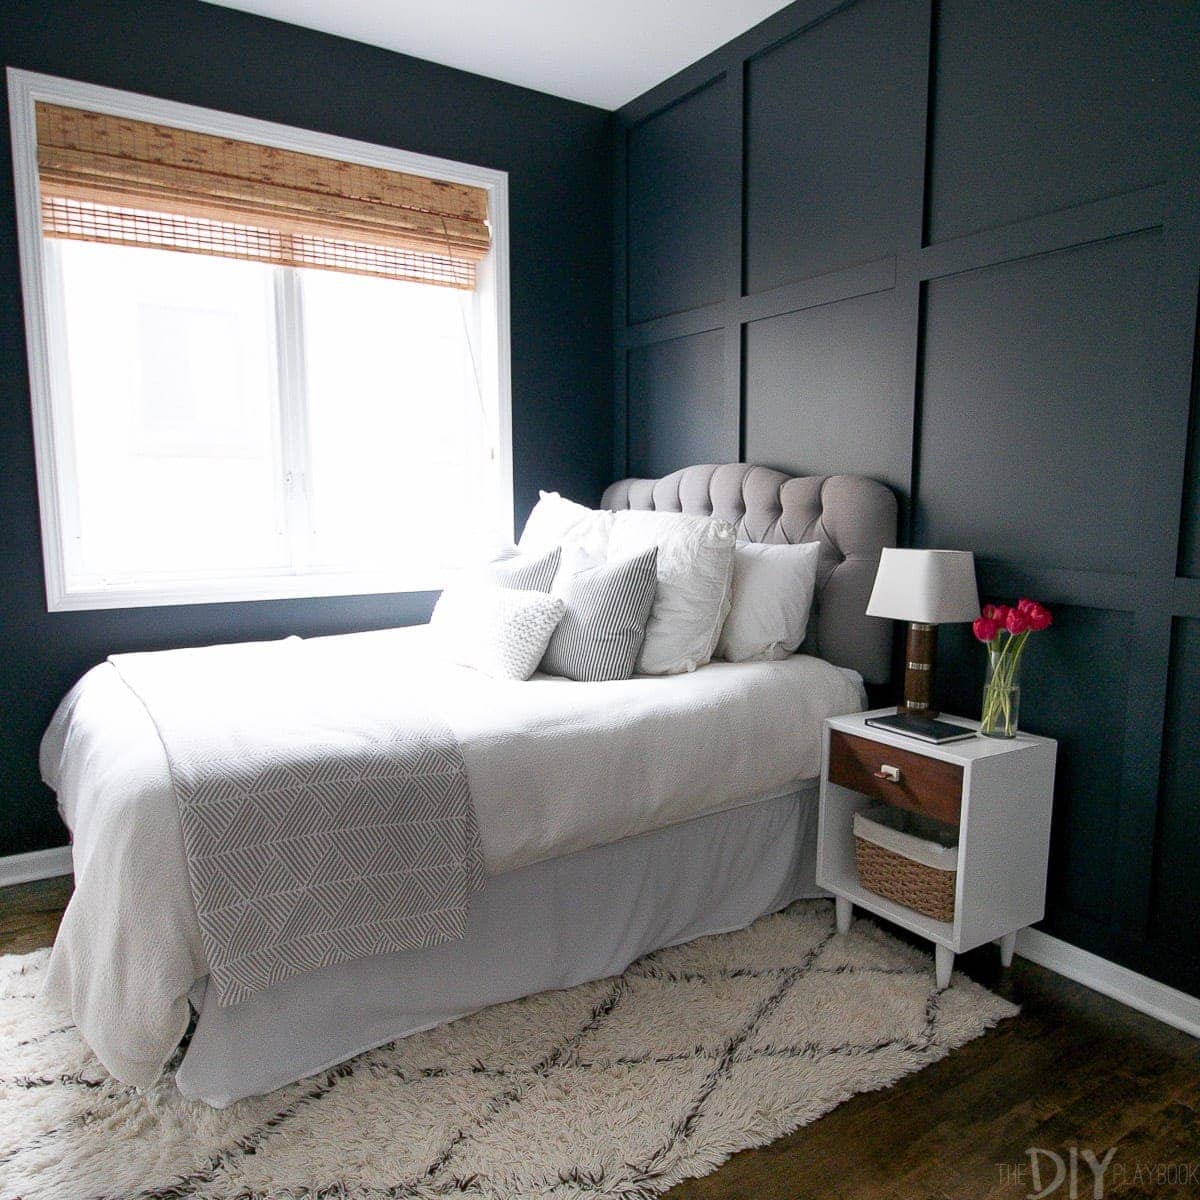
I added board and batten to the hallway in our condo, a modern wood wall treatment to our guest room, and most recently, we installed decorative molding in our guest bathroom. Every woodworking project was fairly quick and oh-so-satisfying. DIY projects like these are always fun and the payoff is worth the hard work.
Why Chair Rail?
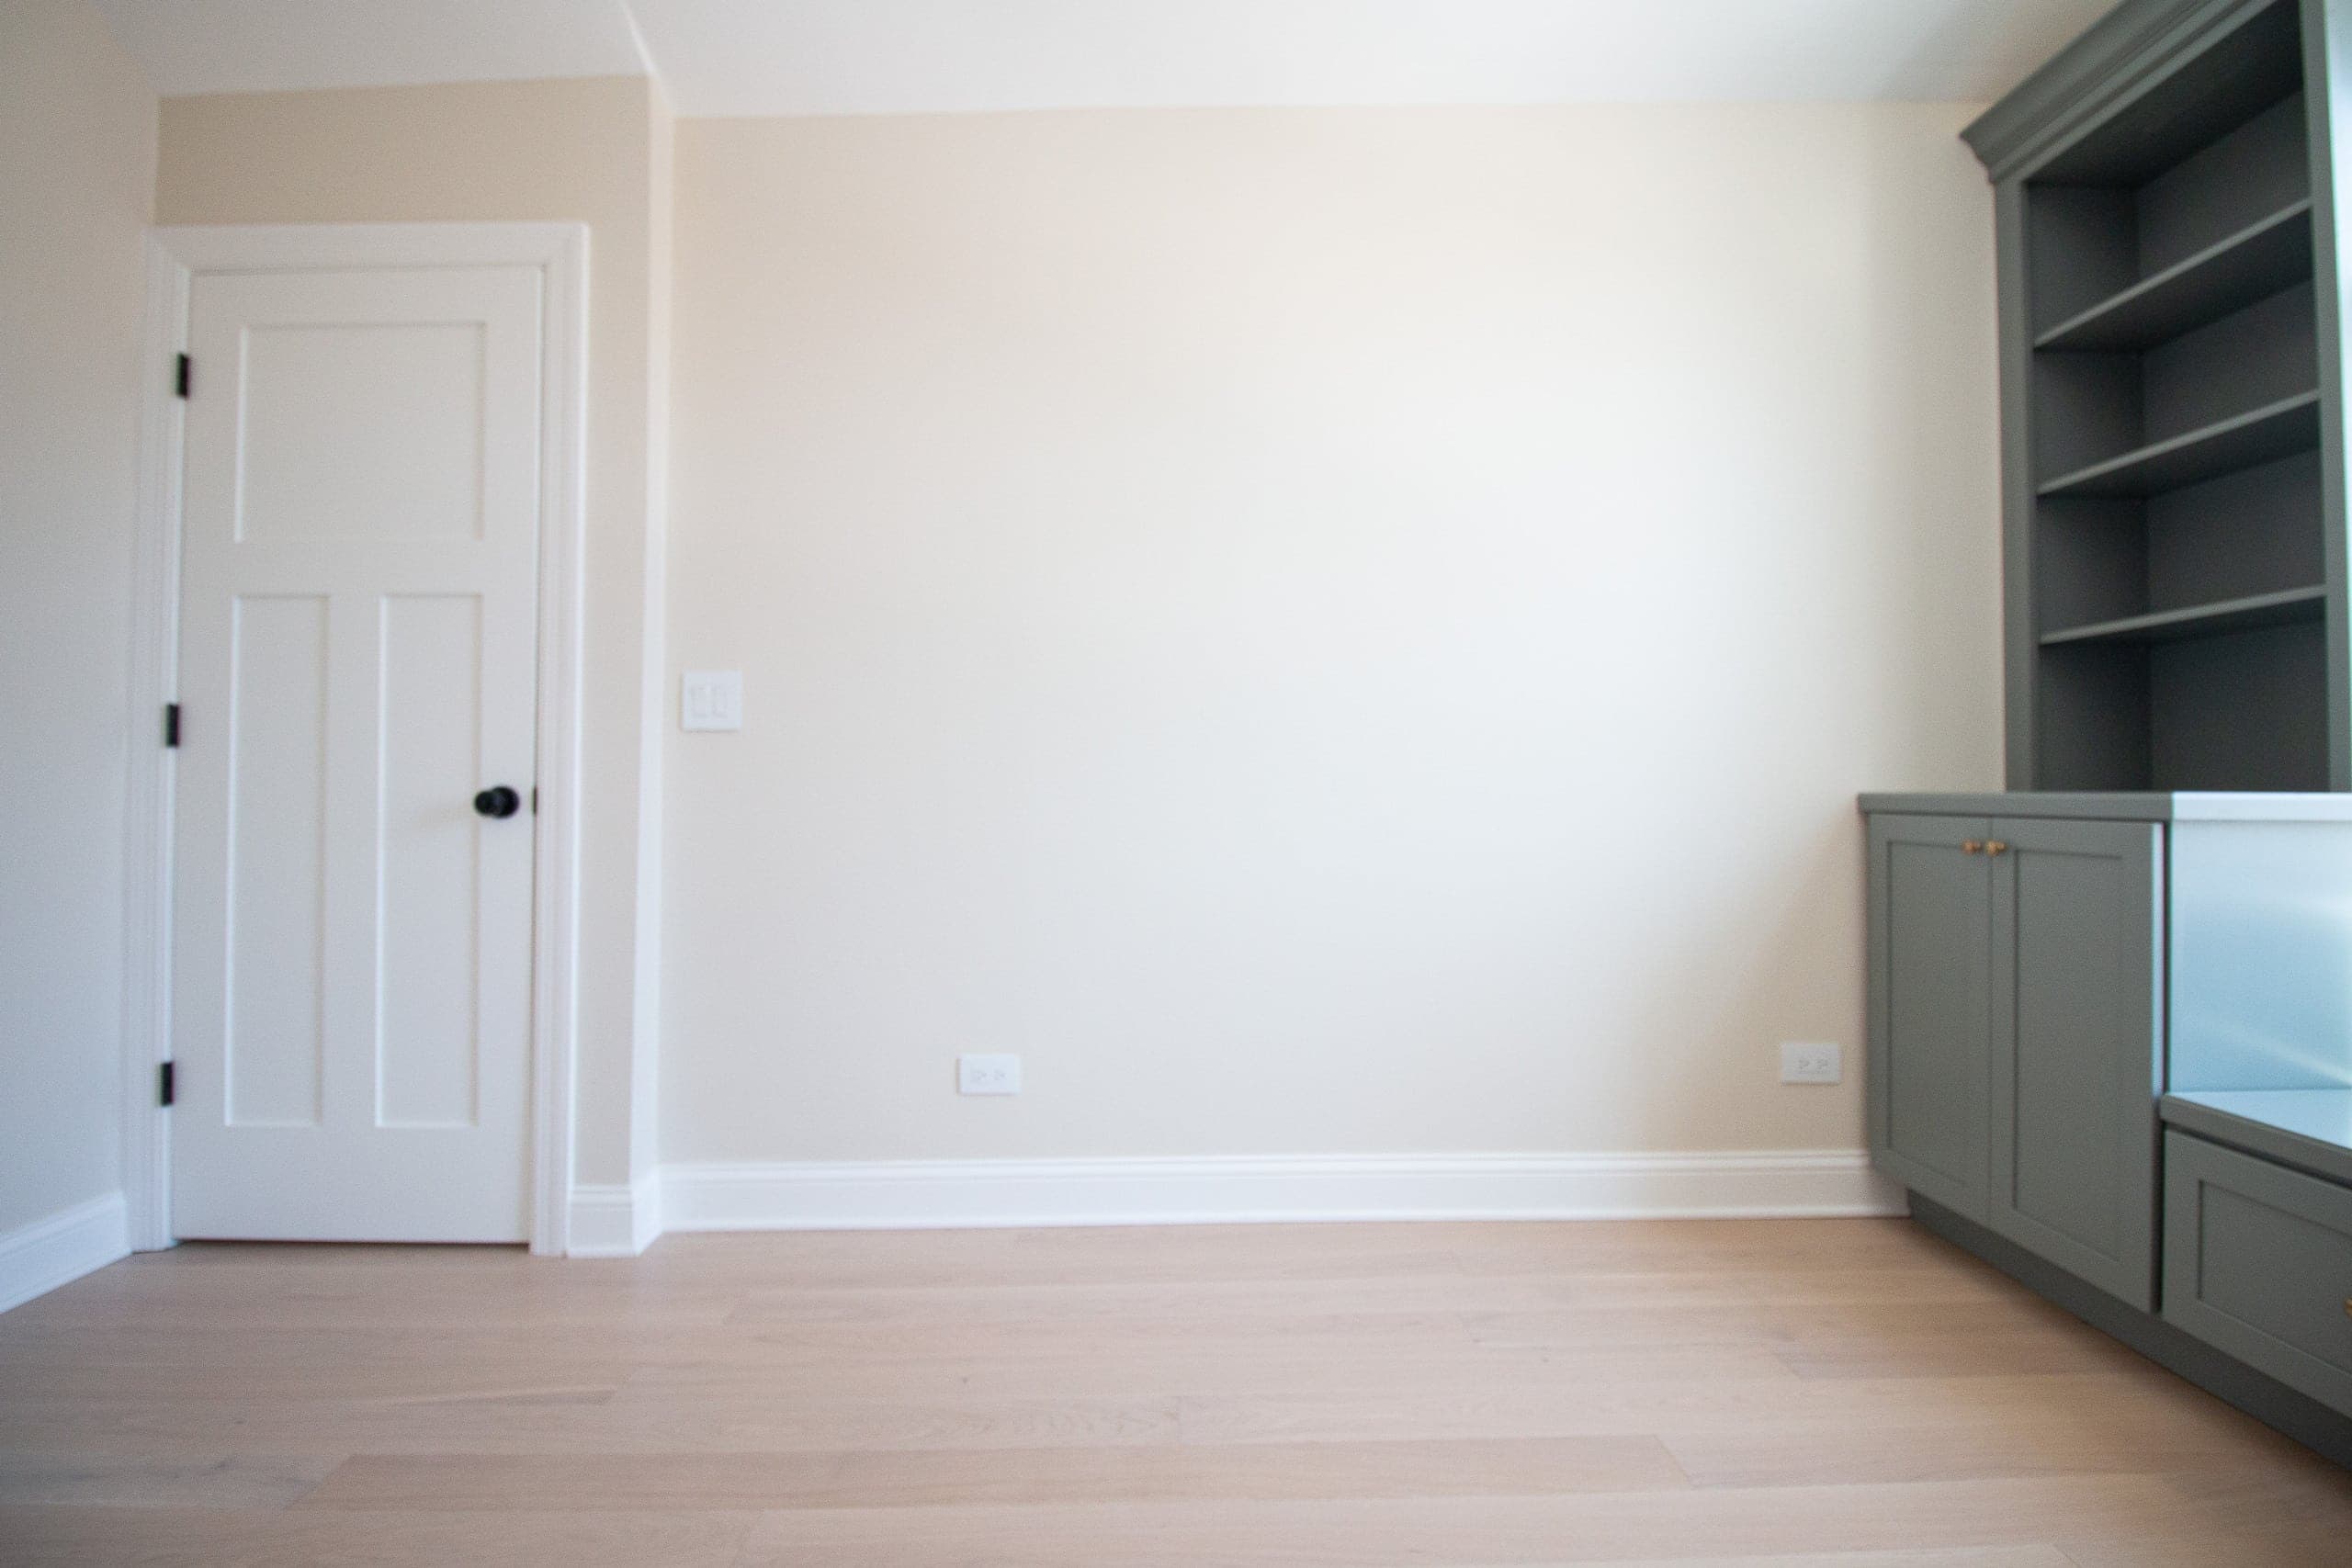
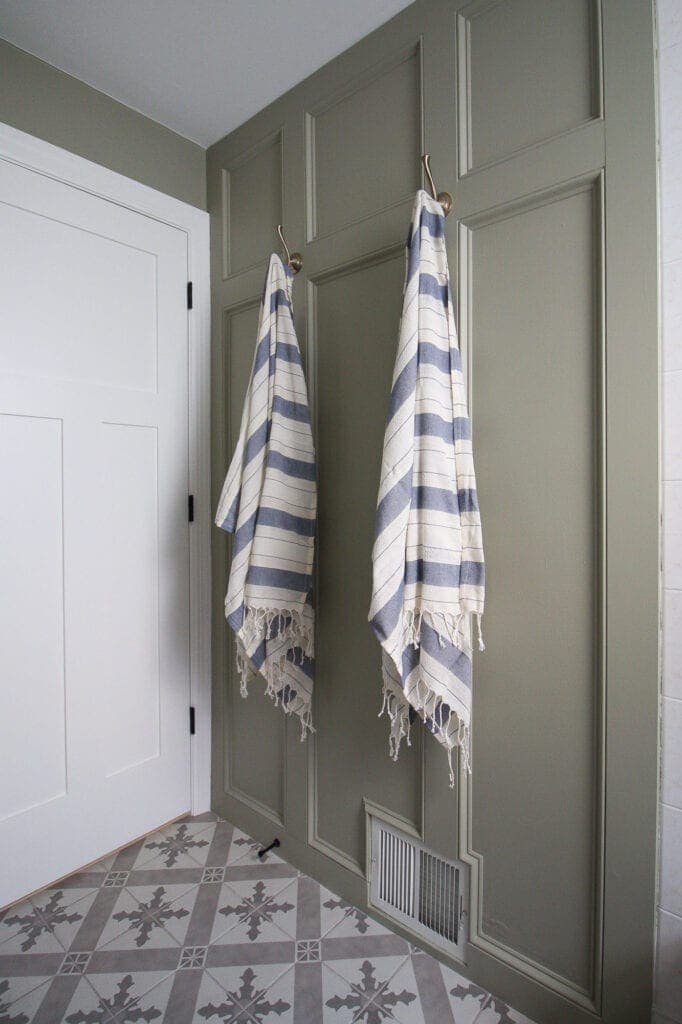
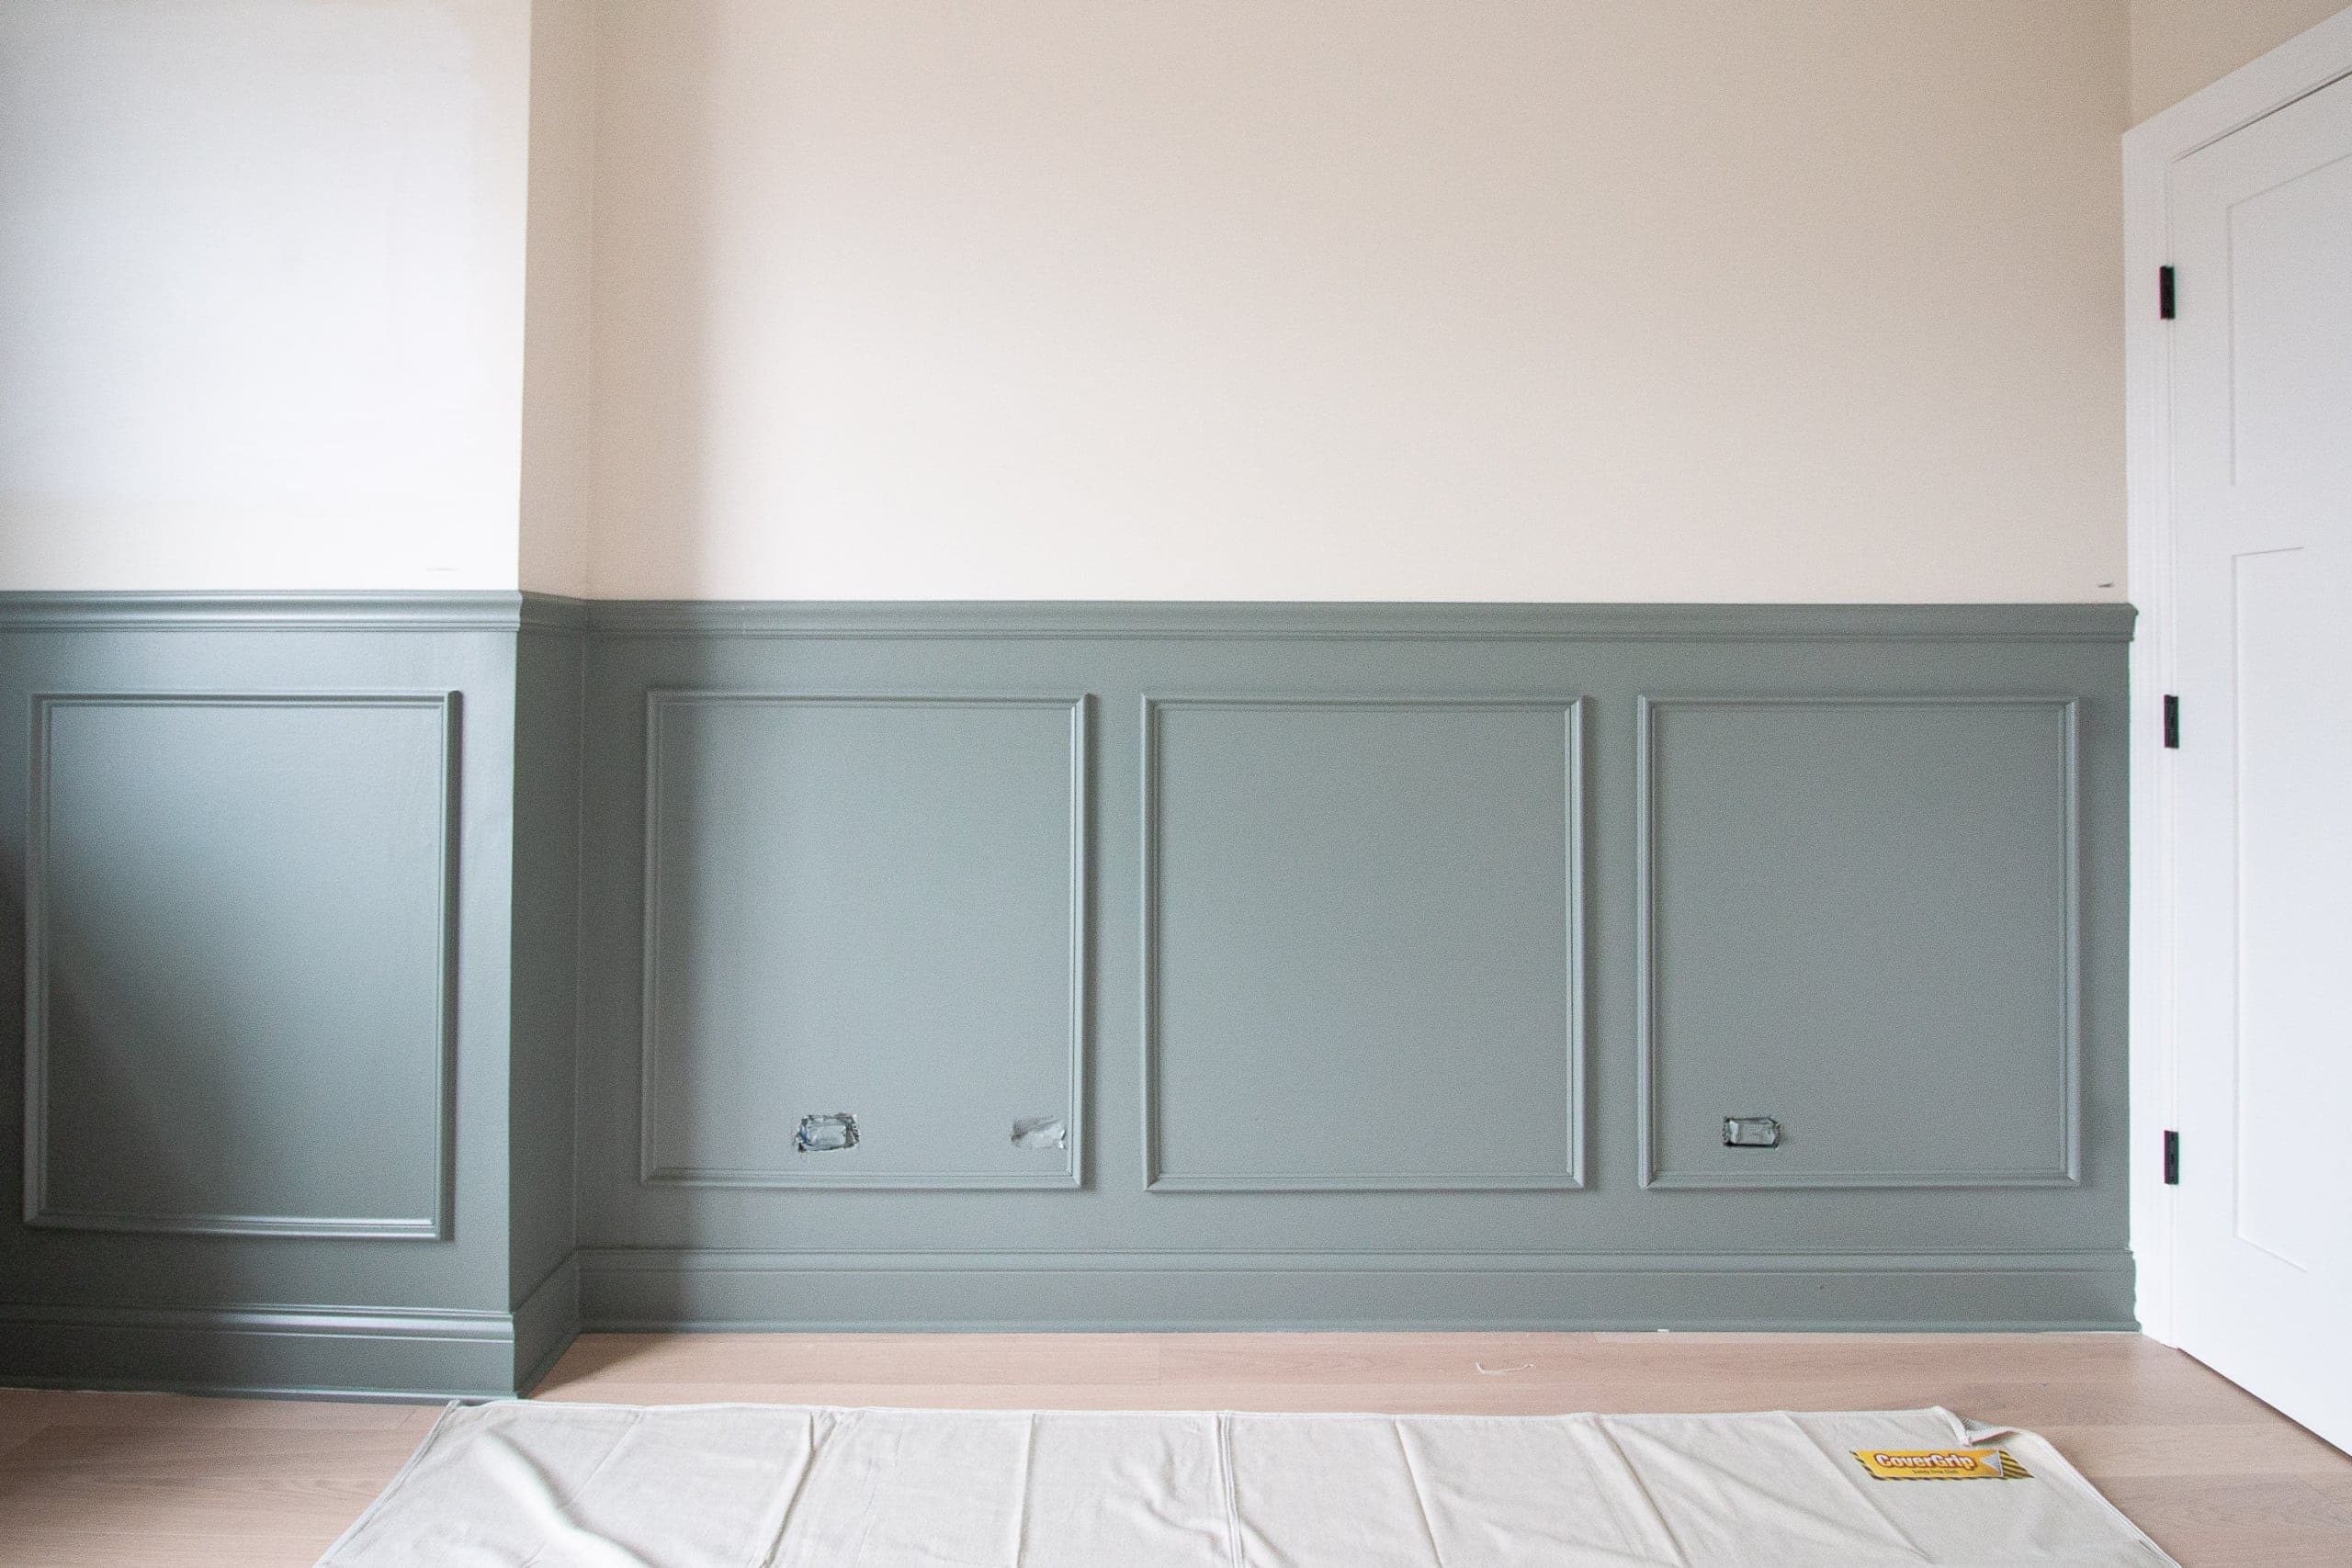
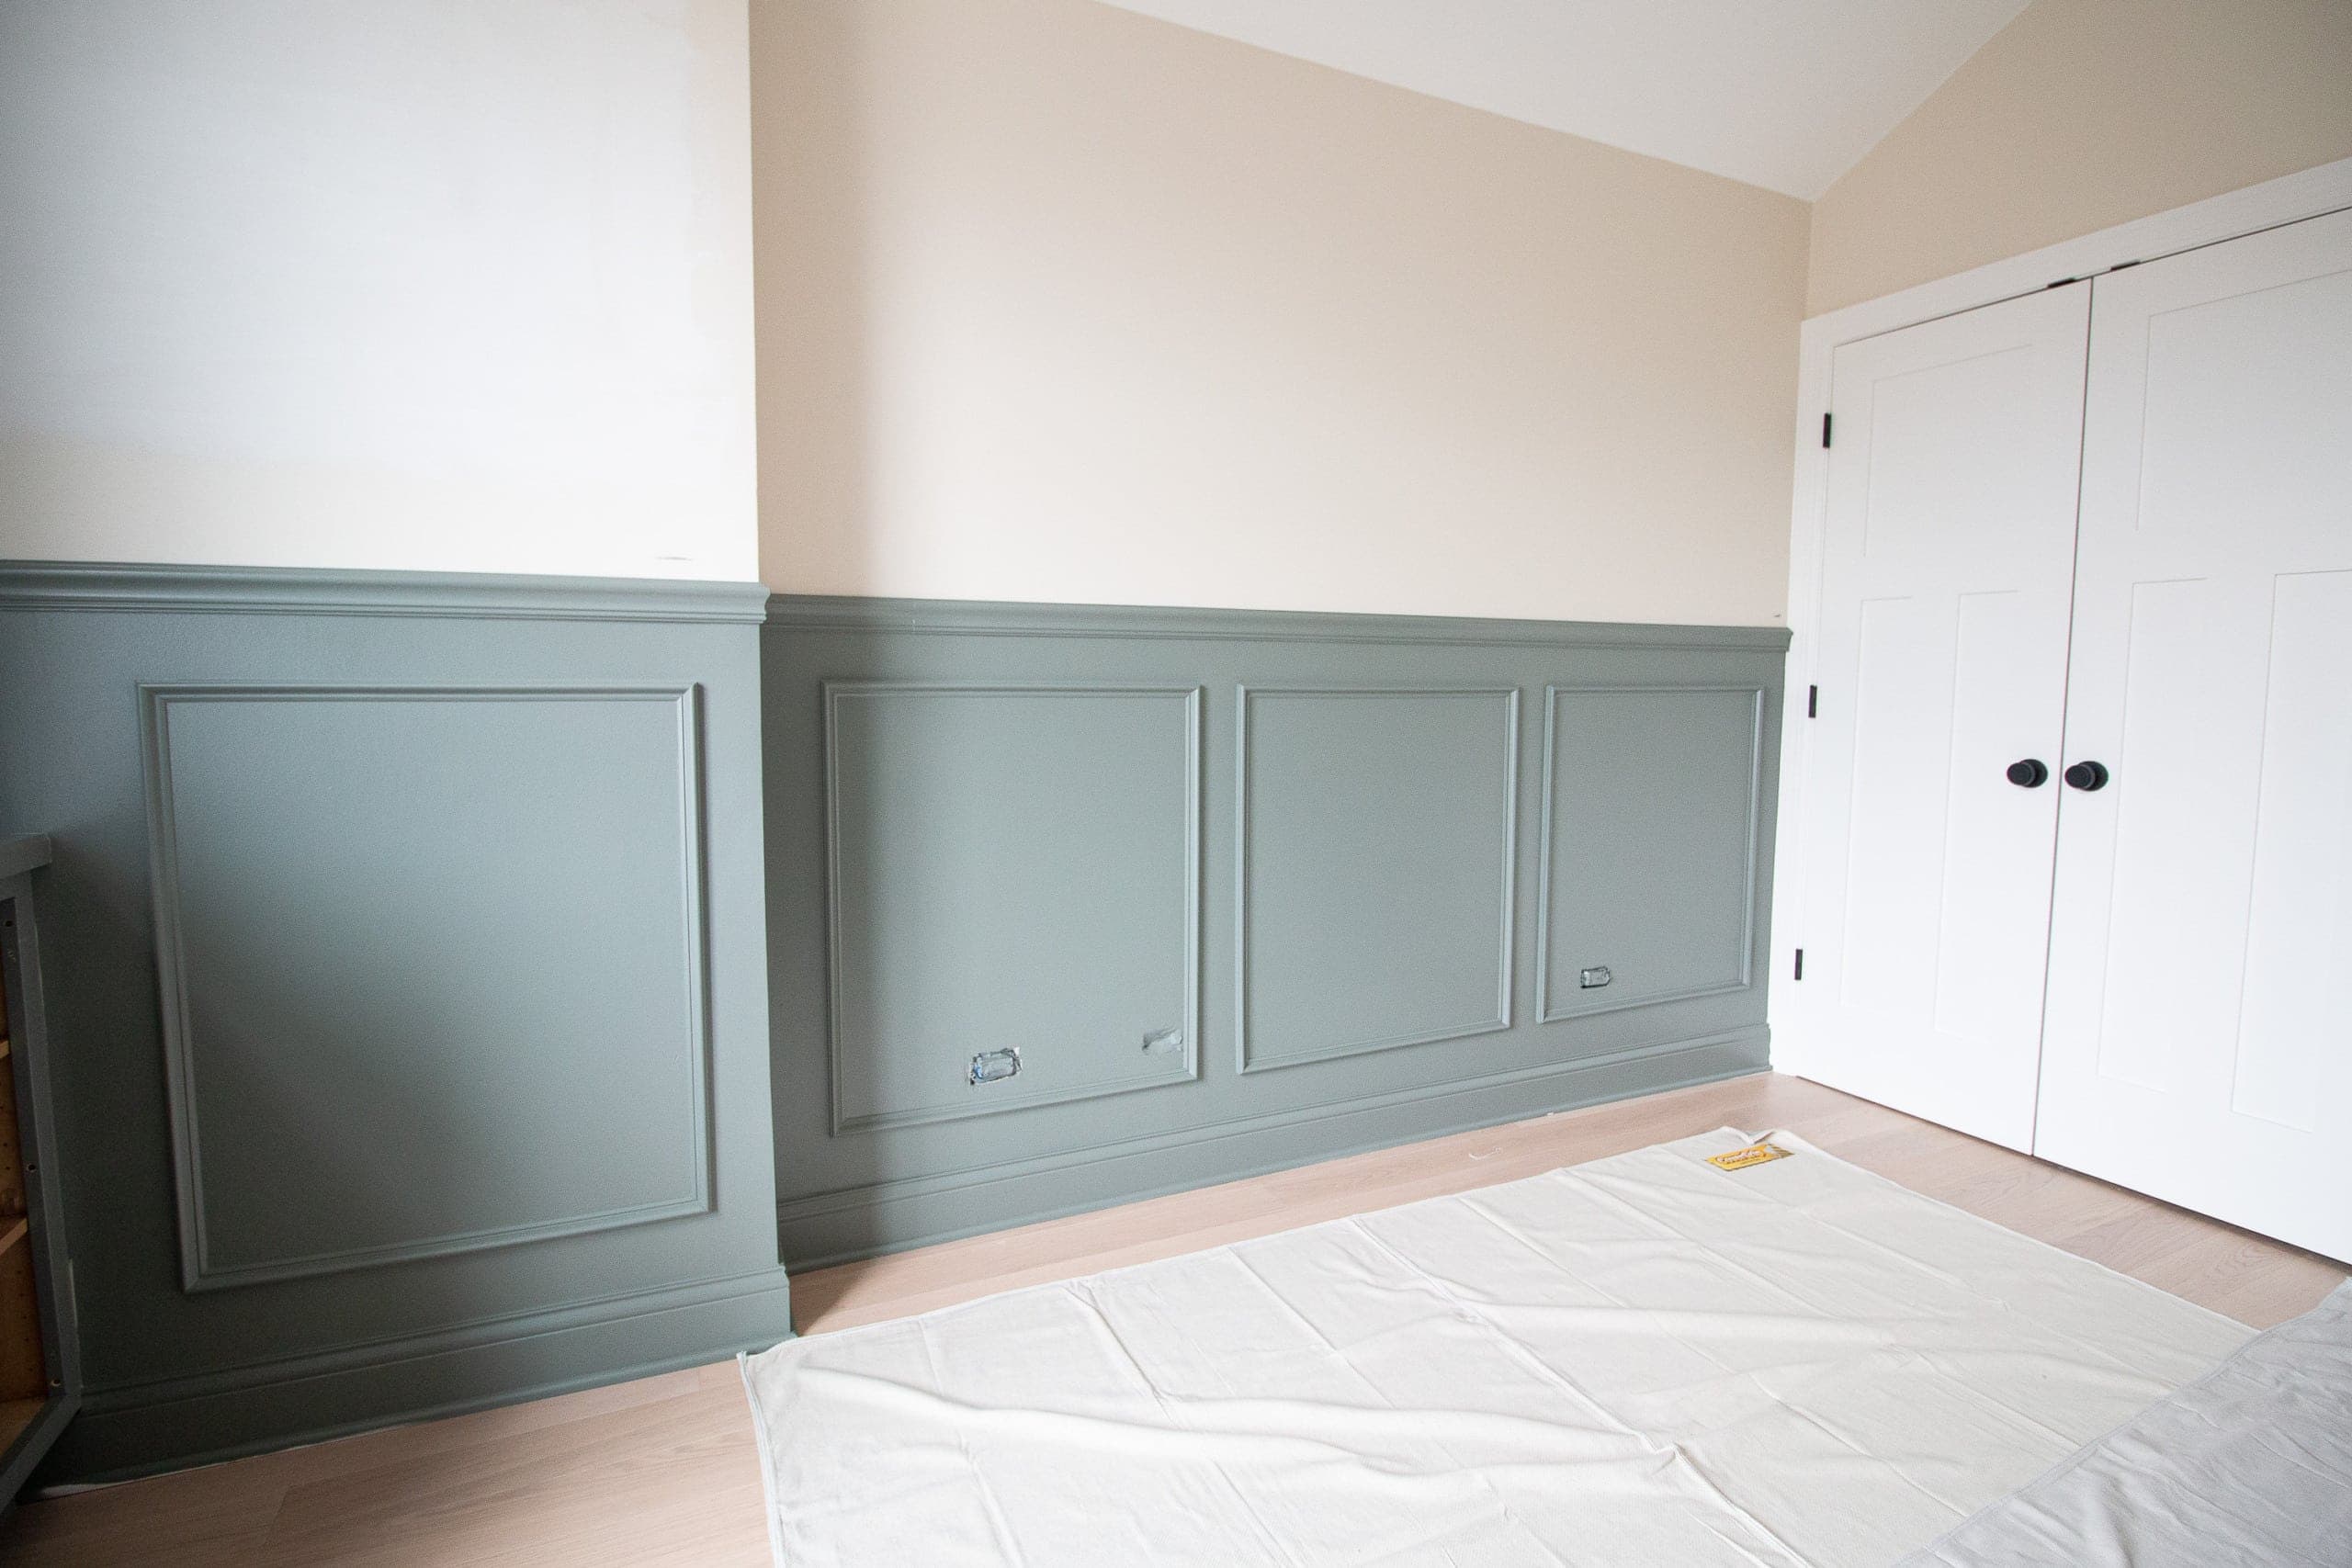
For our nursery, I decided to add a chair rail and picture frame molding to the bottom portion of the wall. I looked into all kinds of decorative wood wall treatments before deciding on this combo. I want this room to feel a bit more traditional and chair rail definitely gives off those vibes.
Chair rail is usually installed horizontally on the bottom 1/3 of the wall and you’ll often see it in dining rooms. Our ceiling height is 96″ so if we followed the “rules” we would have installed our chair rail at 32″ off the ground. We decided to go a bit higher (45″ off the ground) because that’s just the look we preferred for this room. Chair rail is also usually all painted to match the baseboards (so typically white), but as you’ll see, we were rulebreakers yet again! I guess I just want to emphasize that there is no right or wrong way to add decorative molding to your home. If you like the look, go for it!
How to Add Chair Rail – Video
This is a lengthy tutorial with lots of little tips along the way, so I decided to make a video outlining the step-by-step process. Finn and I had a blast making the video (he has three dance breaks in this one!) and I think it will be helpful if you’re adding chair rail to your own home.
You can view the video below or over on our Youtube channel right here.
- :04 Dance Break #1. I can’t tame this guy…
- 1:00 Dance Break #2.
- 1:17 We always shop at Lowe’s on Friday nights. That way, we can start on our projects bright & early on Saturdays.
- 1:50 My new brad nailer in action.
- 2:29 Finn likes to say he helped at this part because he held one end of the chair rail. Ha!
- 2:31 Our new dry erase board in action!
- 4:34 Dance Break #3
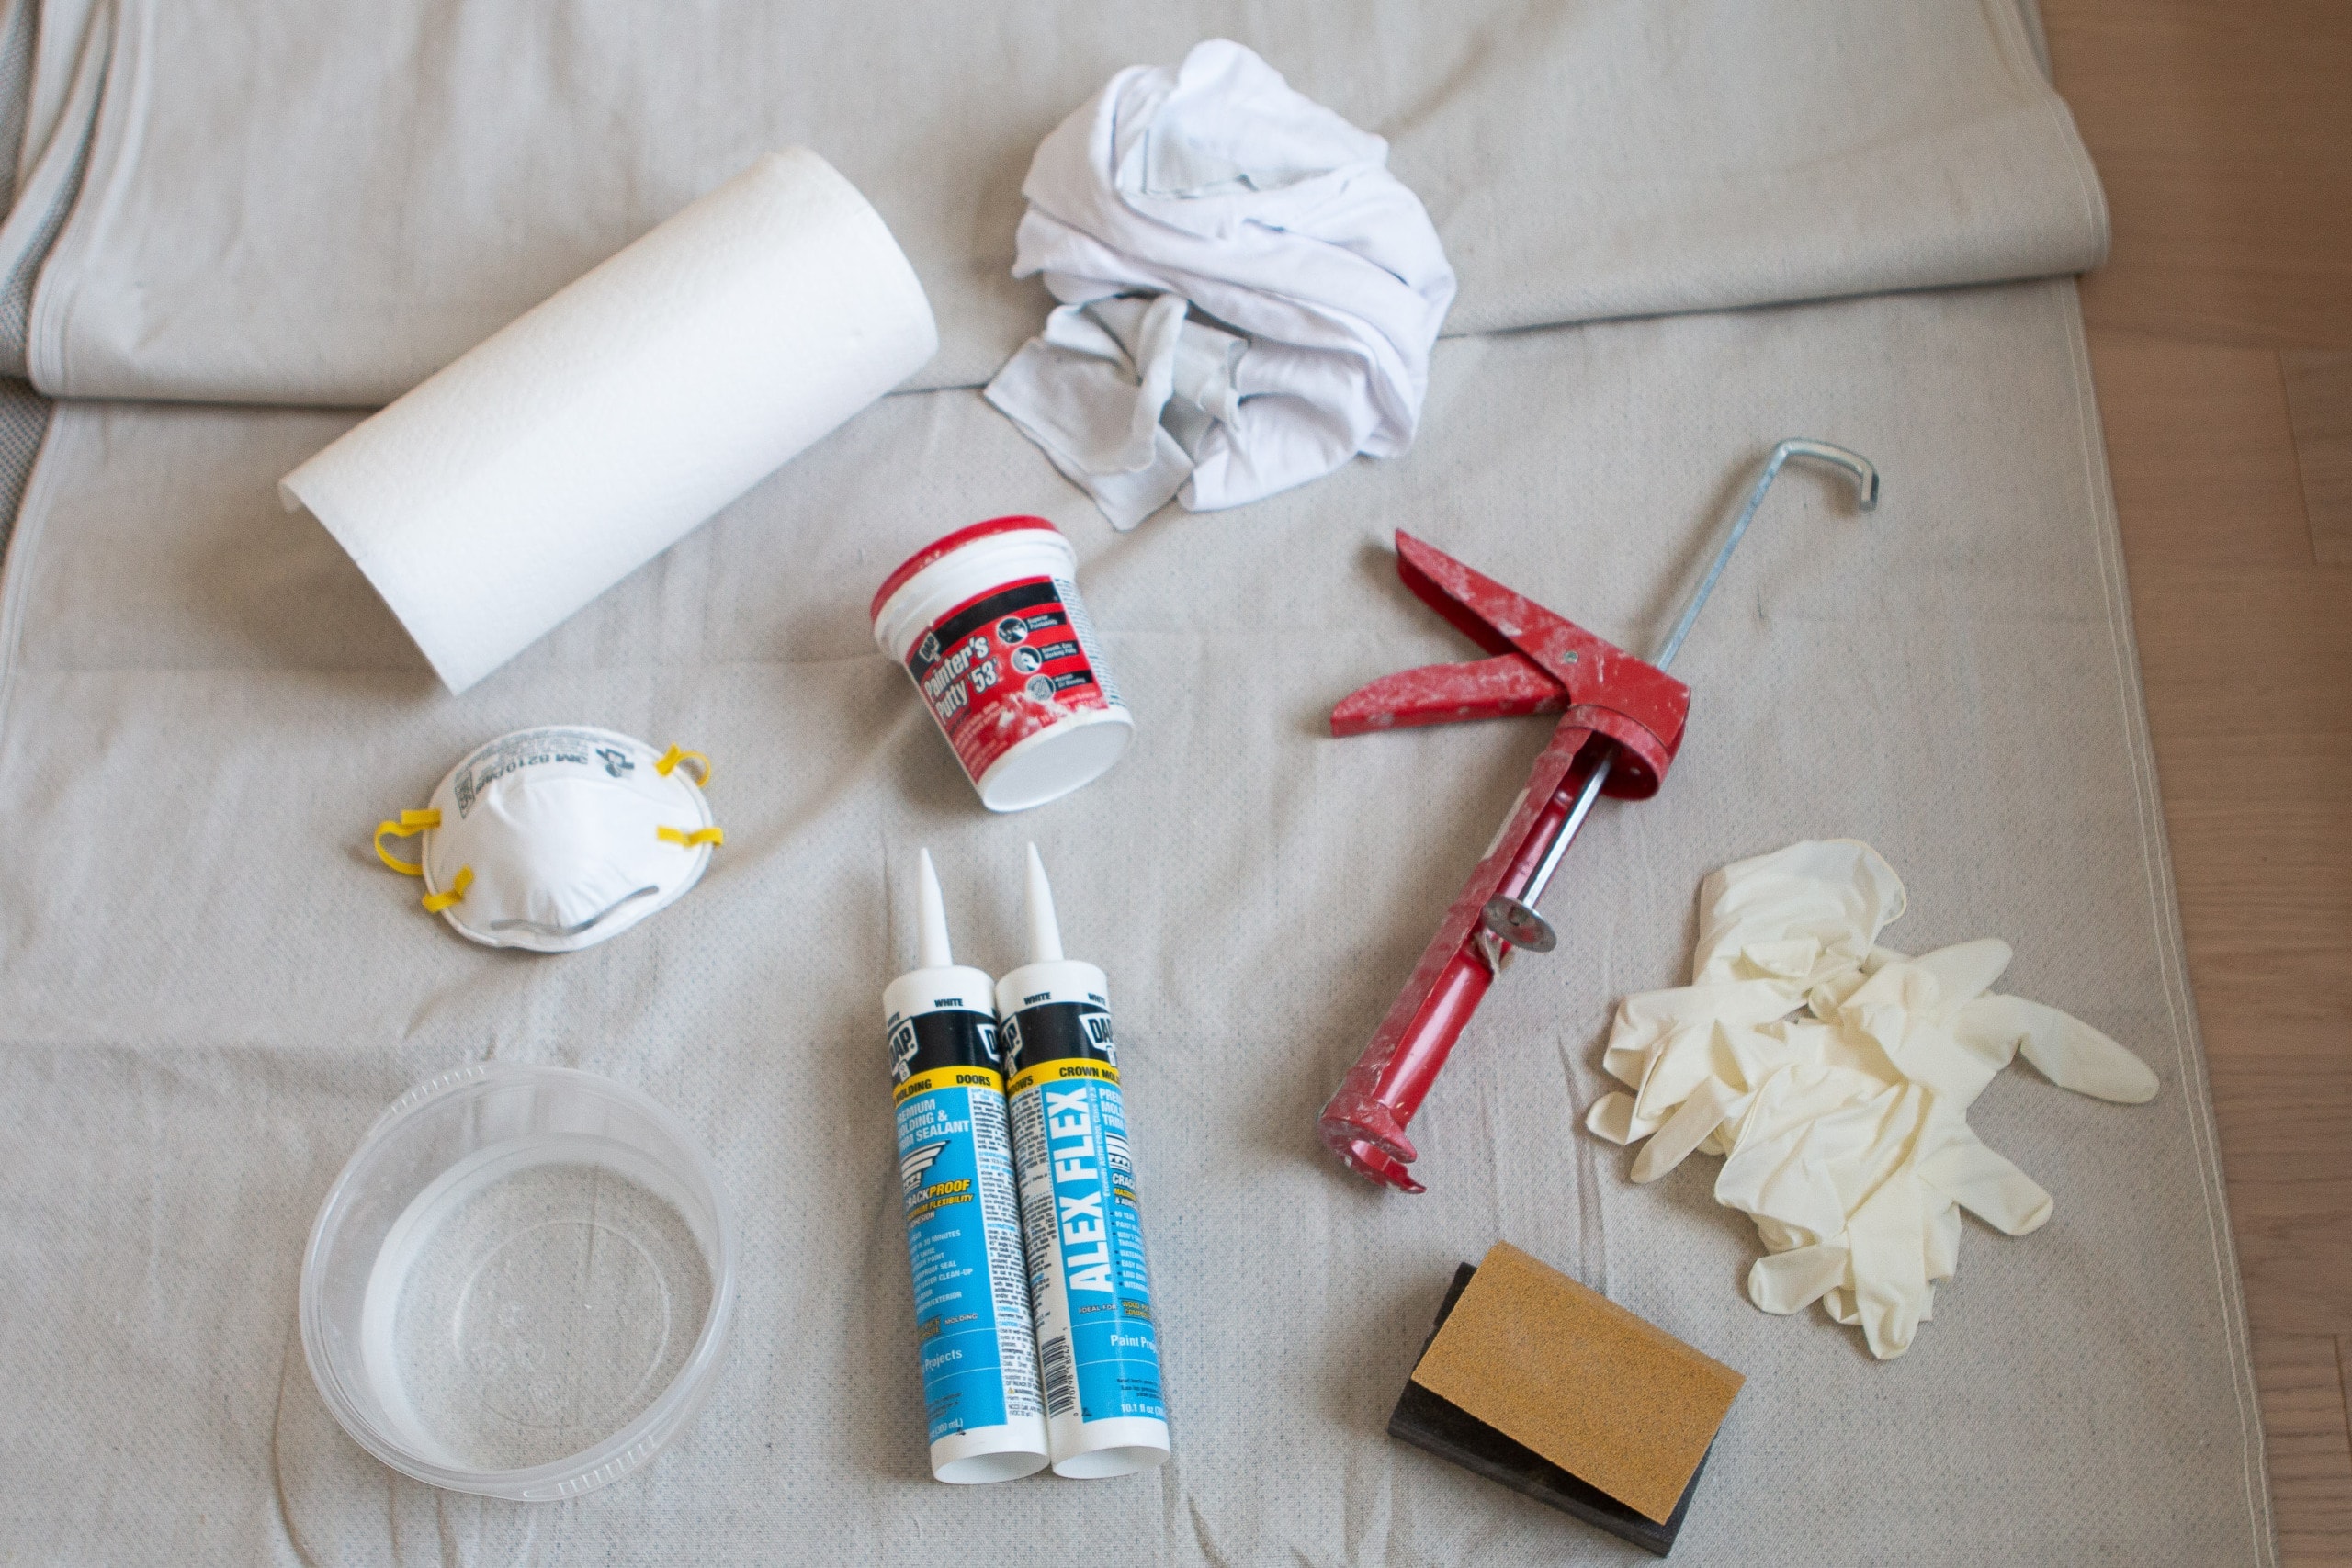
Chair Rail & Picture Frame Molding – Supplies
Here are all of the supplies that we used for this project and featured in the above video.
- Chair Rail
- PVC Base Cap Molding
- Liquid Nails
- Caulk Gun
- Cordless Brad Nailer & 1 1/2 inch nails
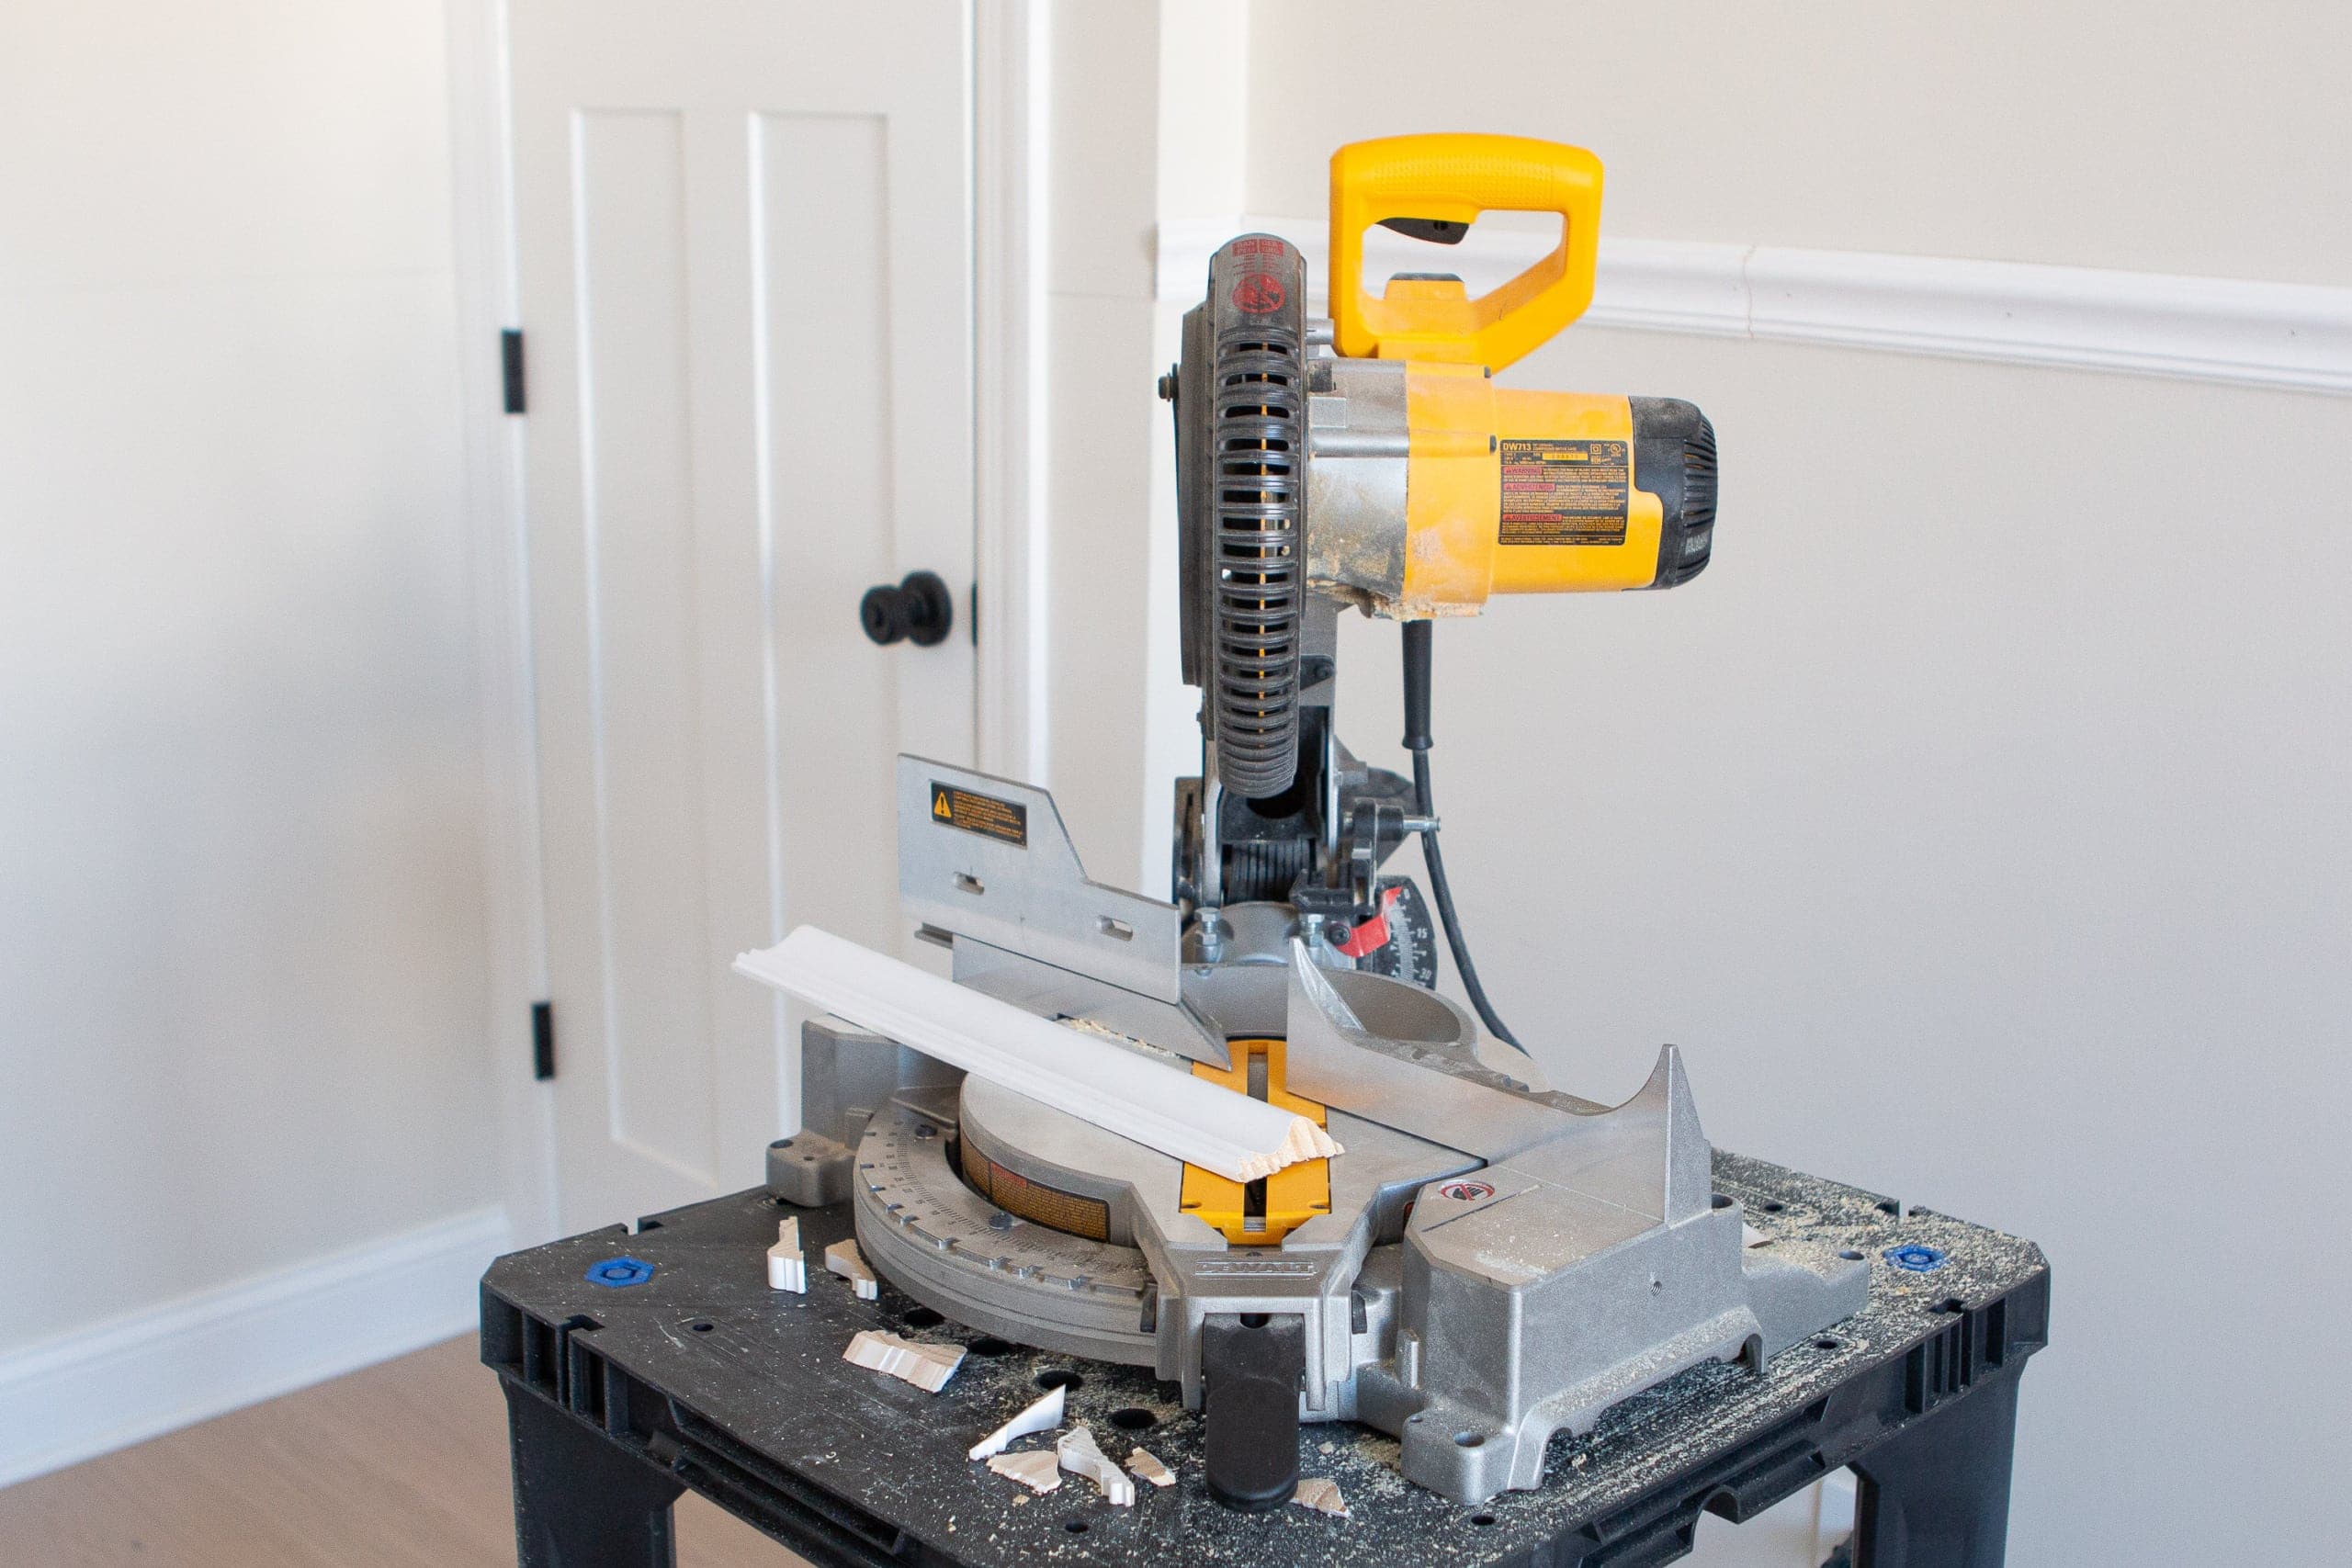
- Miter Saw
- Saw Stand (similar)
- Oscillating Saw
- Tape Measure
- Level
- Safety Gear
- Caulk
- Painter’s Putty
- Primer
- Painter’s Tape & Plastic
- Respirator
- Paint Sprayer
- Paint Suit
- Paint
Tips to Add Chair Rail

As I mentioned a moment ago, we decided to go 45″ off the ground for our chair rail. Because floors are rarely level, I suggest finding the middle point of your wall and marking 45″ up from the floor there. 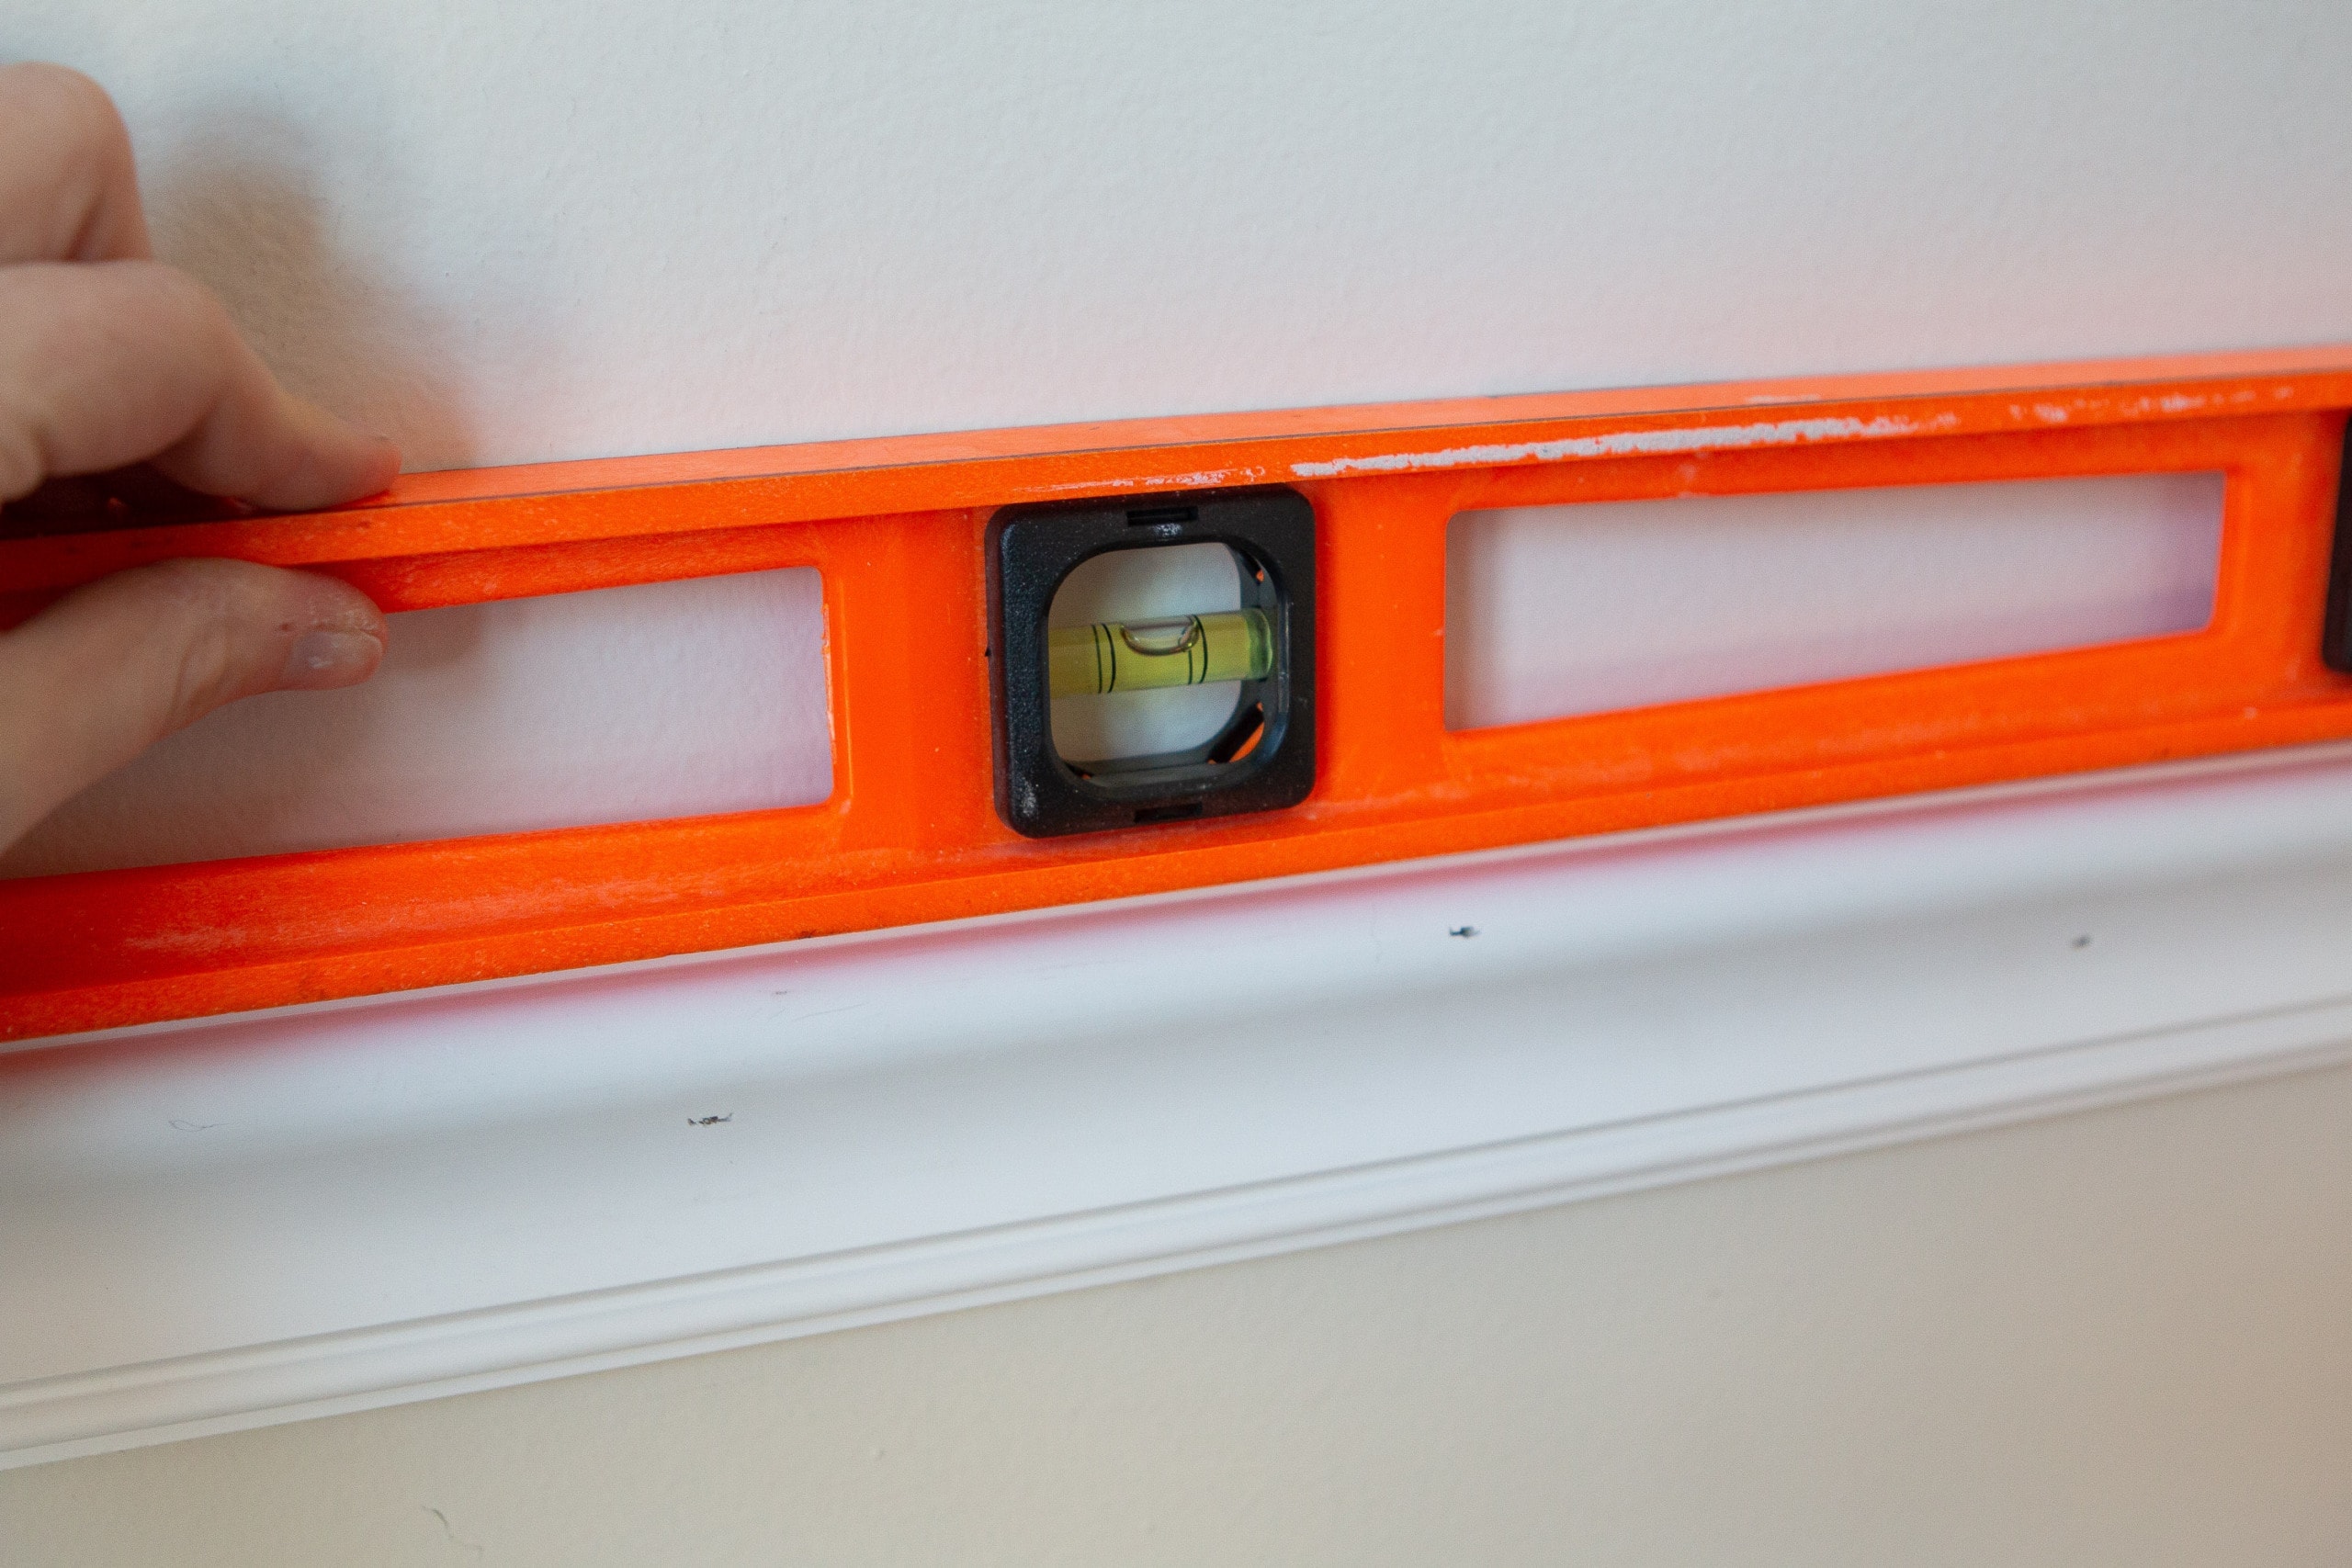 Then, make a horizontal level line all the way across the wall, following that line. Do this instead of marking 45″ up in multiple spots on the wall and connecting the dots. That would result in non-level lines.
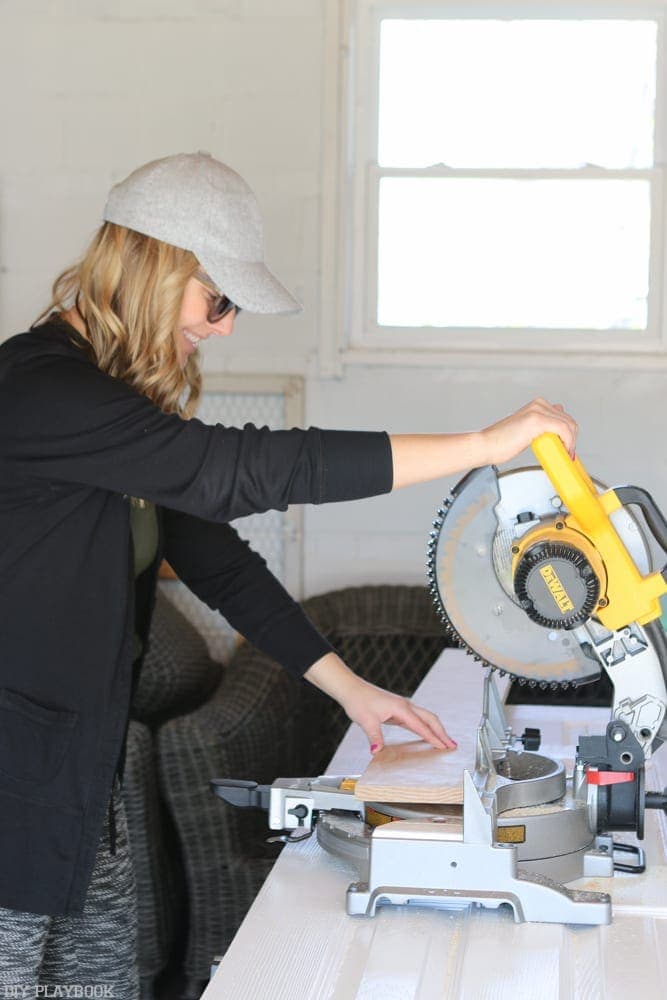
A miter saw is the workhorse of this project and if you’re looking to expand your DIY skills I highly recommend this one. We got this miter saw a few years ago and have used it for so many projects. It’s easy to use and it isn’t as scary as other saws out there!
In fact, I’m really excited to someday tell my daughter about cutting all of the wood for her room when I was eight months pregnant. Oh, and be sure to pick up this saw stand too. We got it recently and now we wonder how we ever used the saw without it!
If you’re new to using a miter saw, check out the DIY basics and my miter saw beginner’s guide right here. 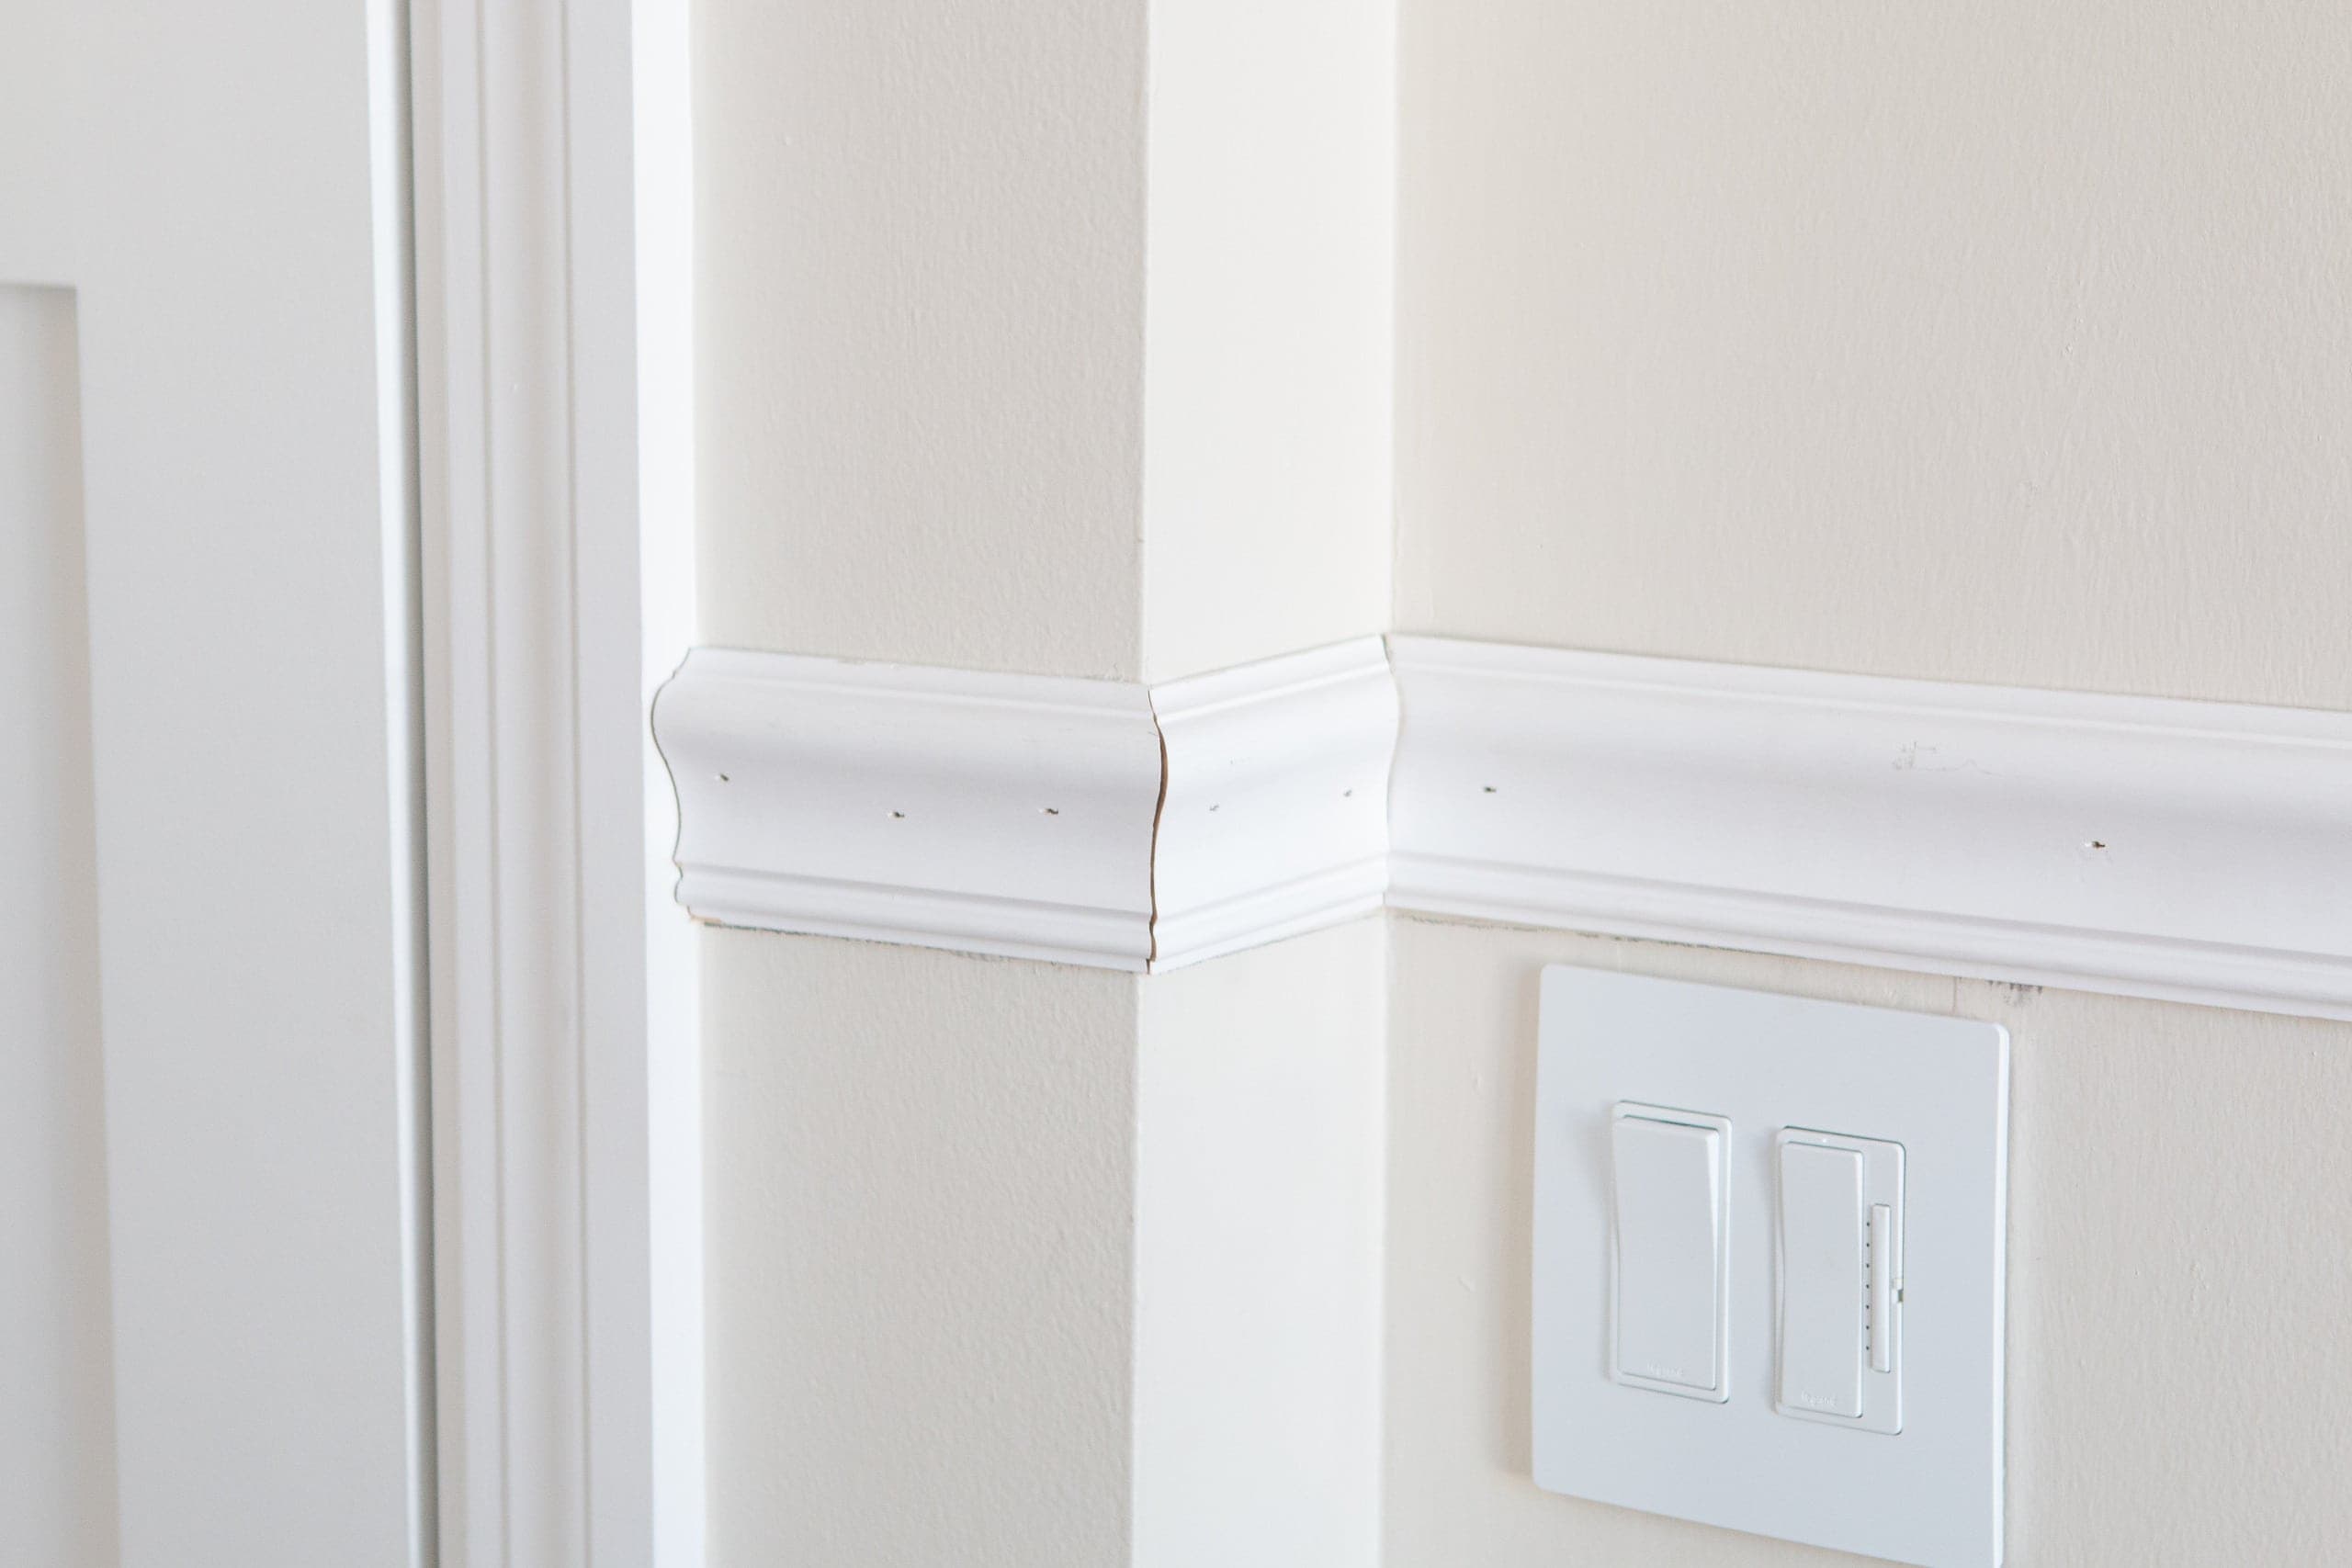
When you get to a corner, you’ll want to cut the ends at a 45-degree angle. That way the two pieces of wood can fit together nicely. 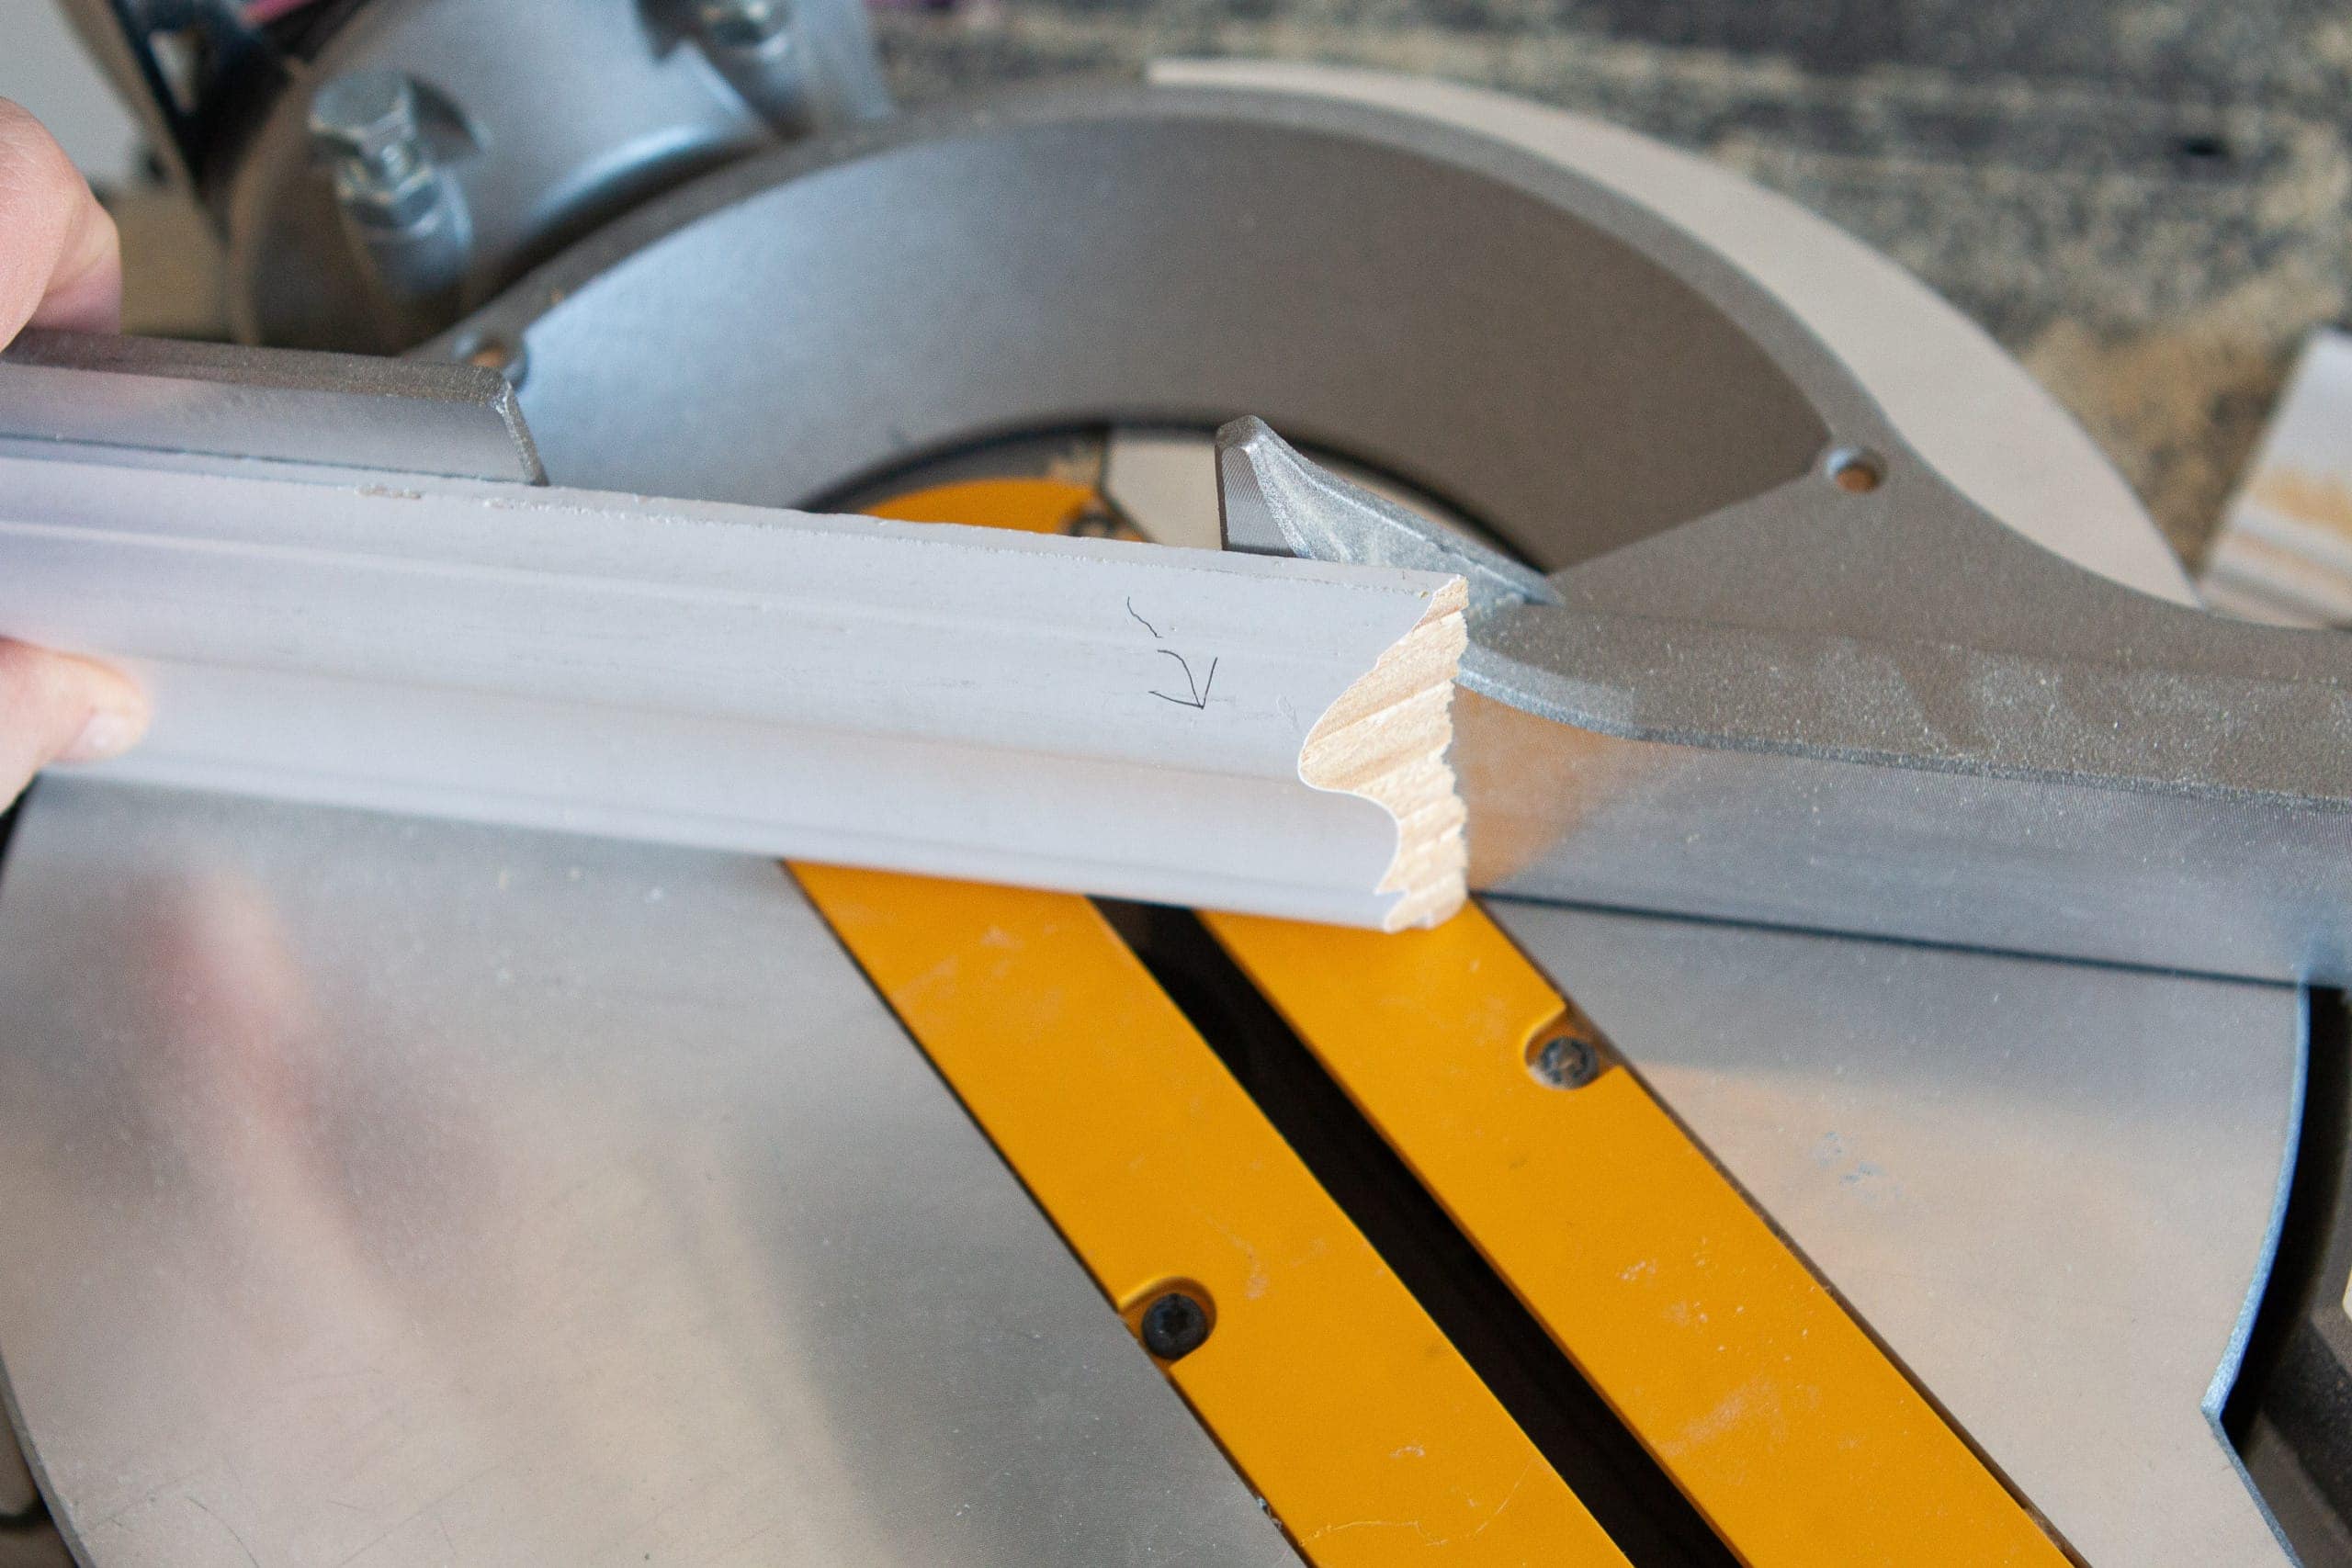 I always like to take the piece of trim over to the wall and draw an arrow on it with the direction of my cut. That way I can change the miter saw to the correct position. It can be a bit of a brain teaser, so just go slow.
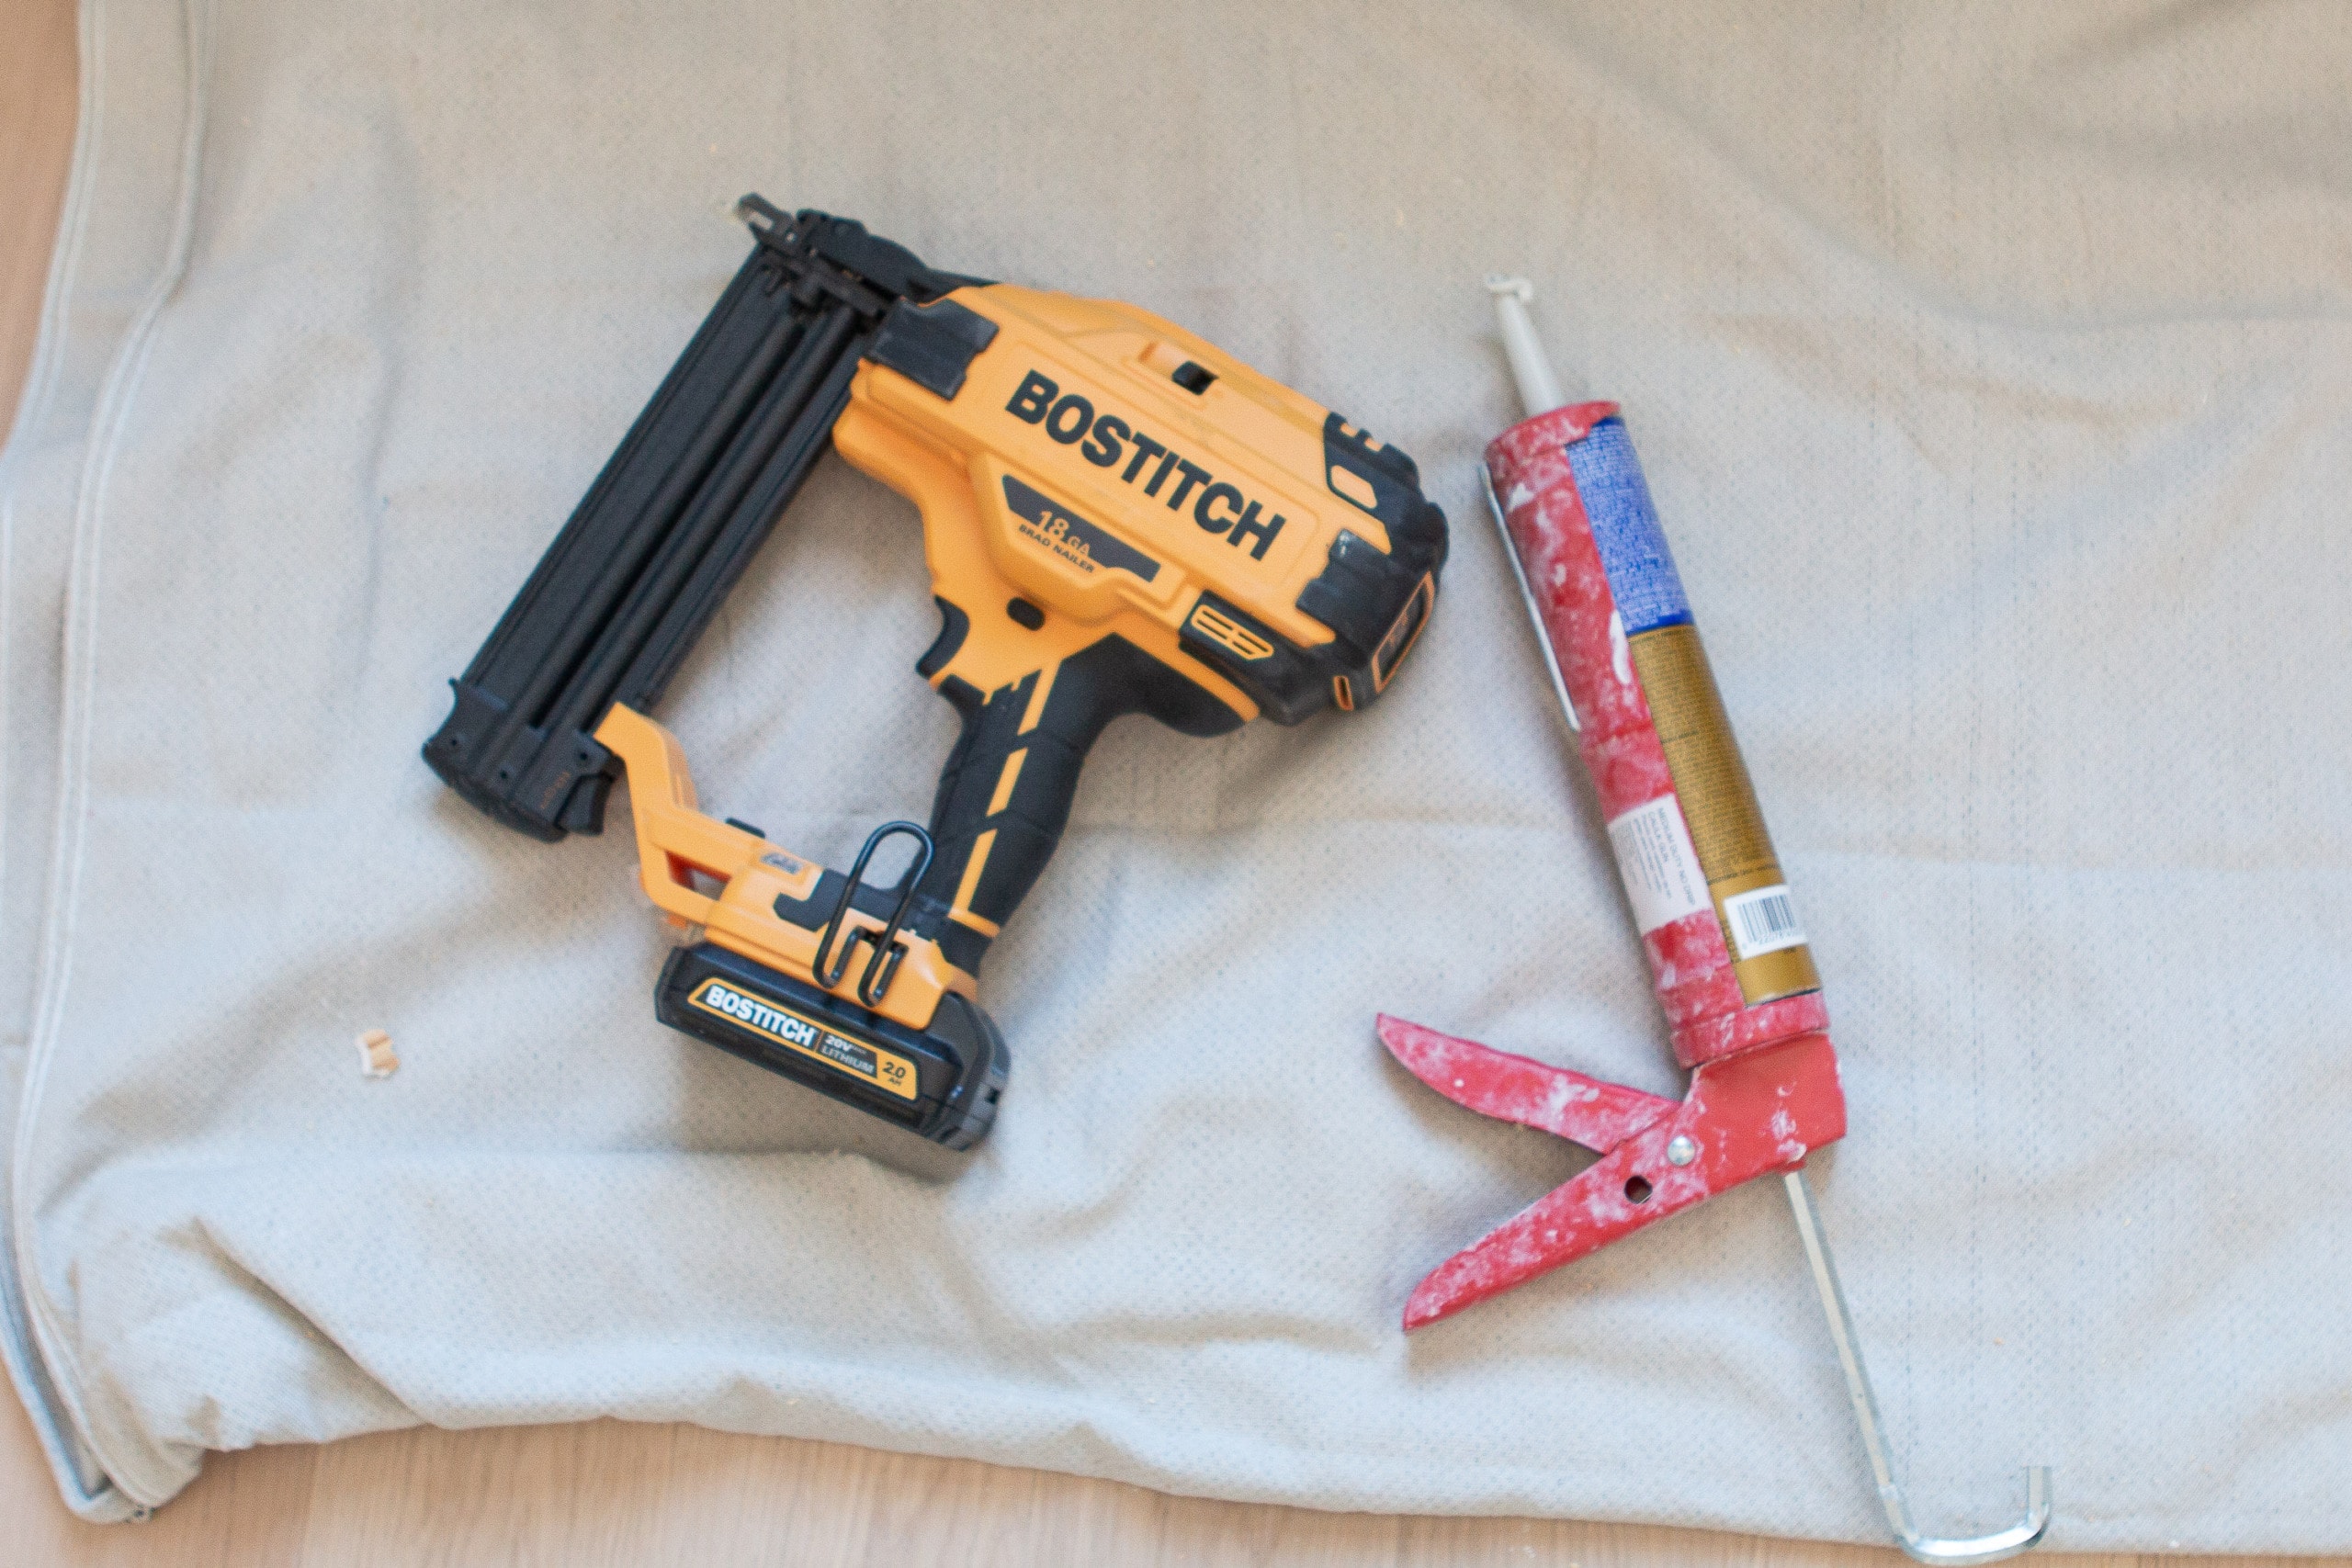
I used both liquid nails and a brad nailer to attach the chair rail. The brad nailer is a new tool and it’s phenomenal! I used to use my large air compressor and nail gun for a project like this, but it’s bulky and you have to plug it in. This brad nailer is battery operated and super light. It made this project go a lot faster for me. 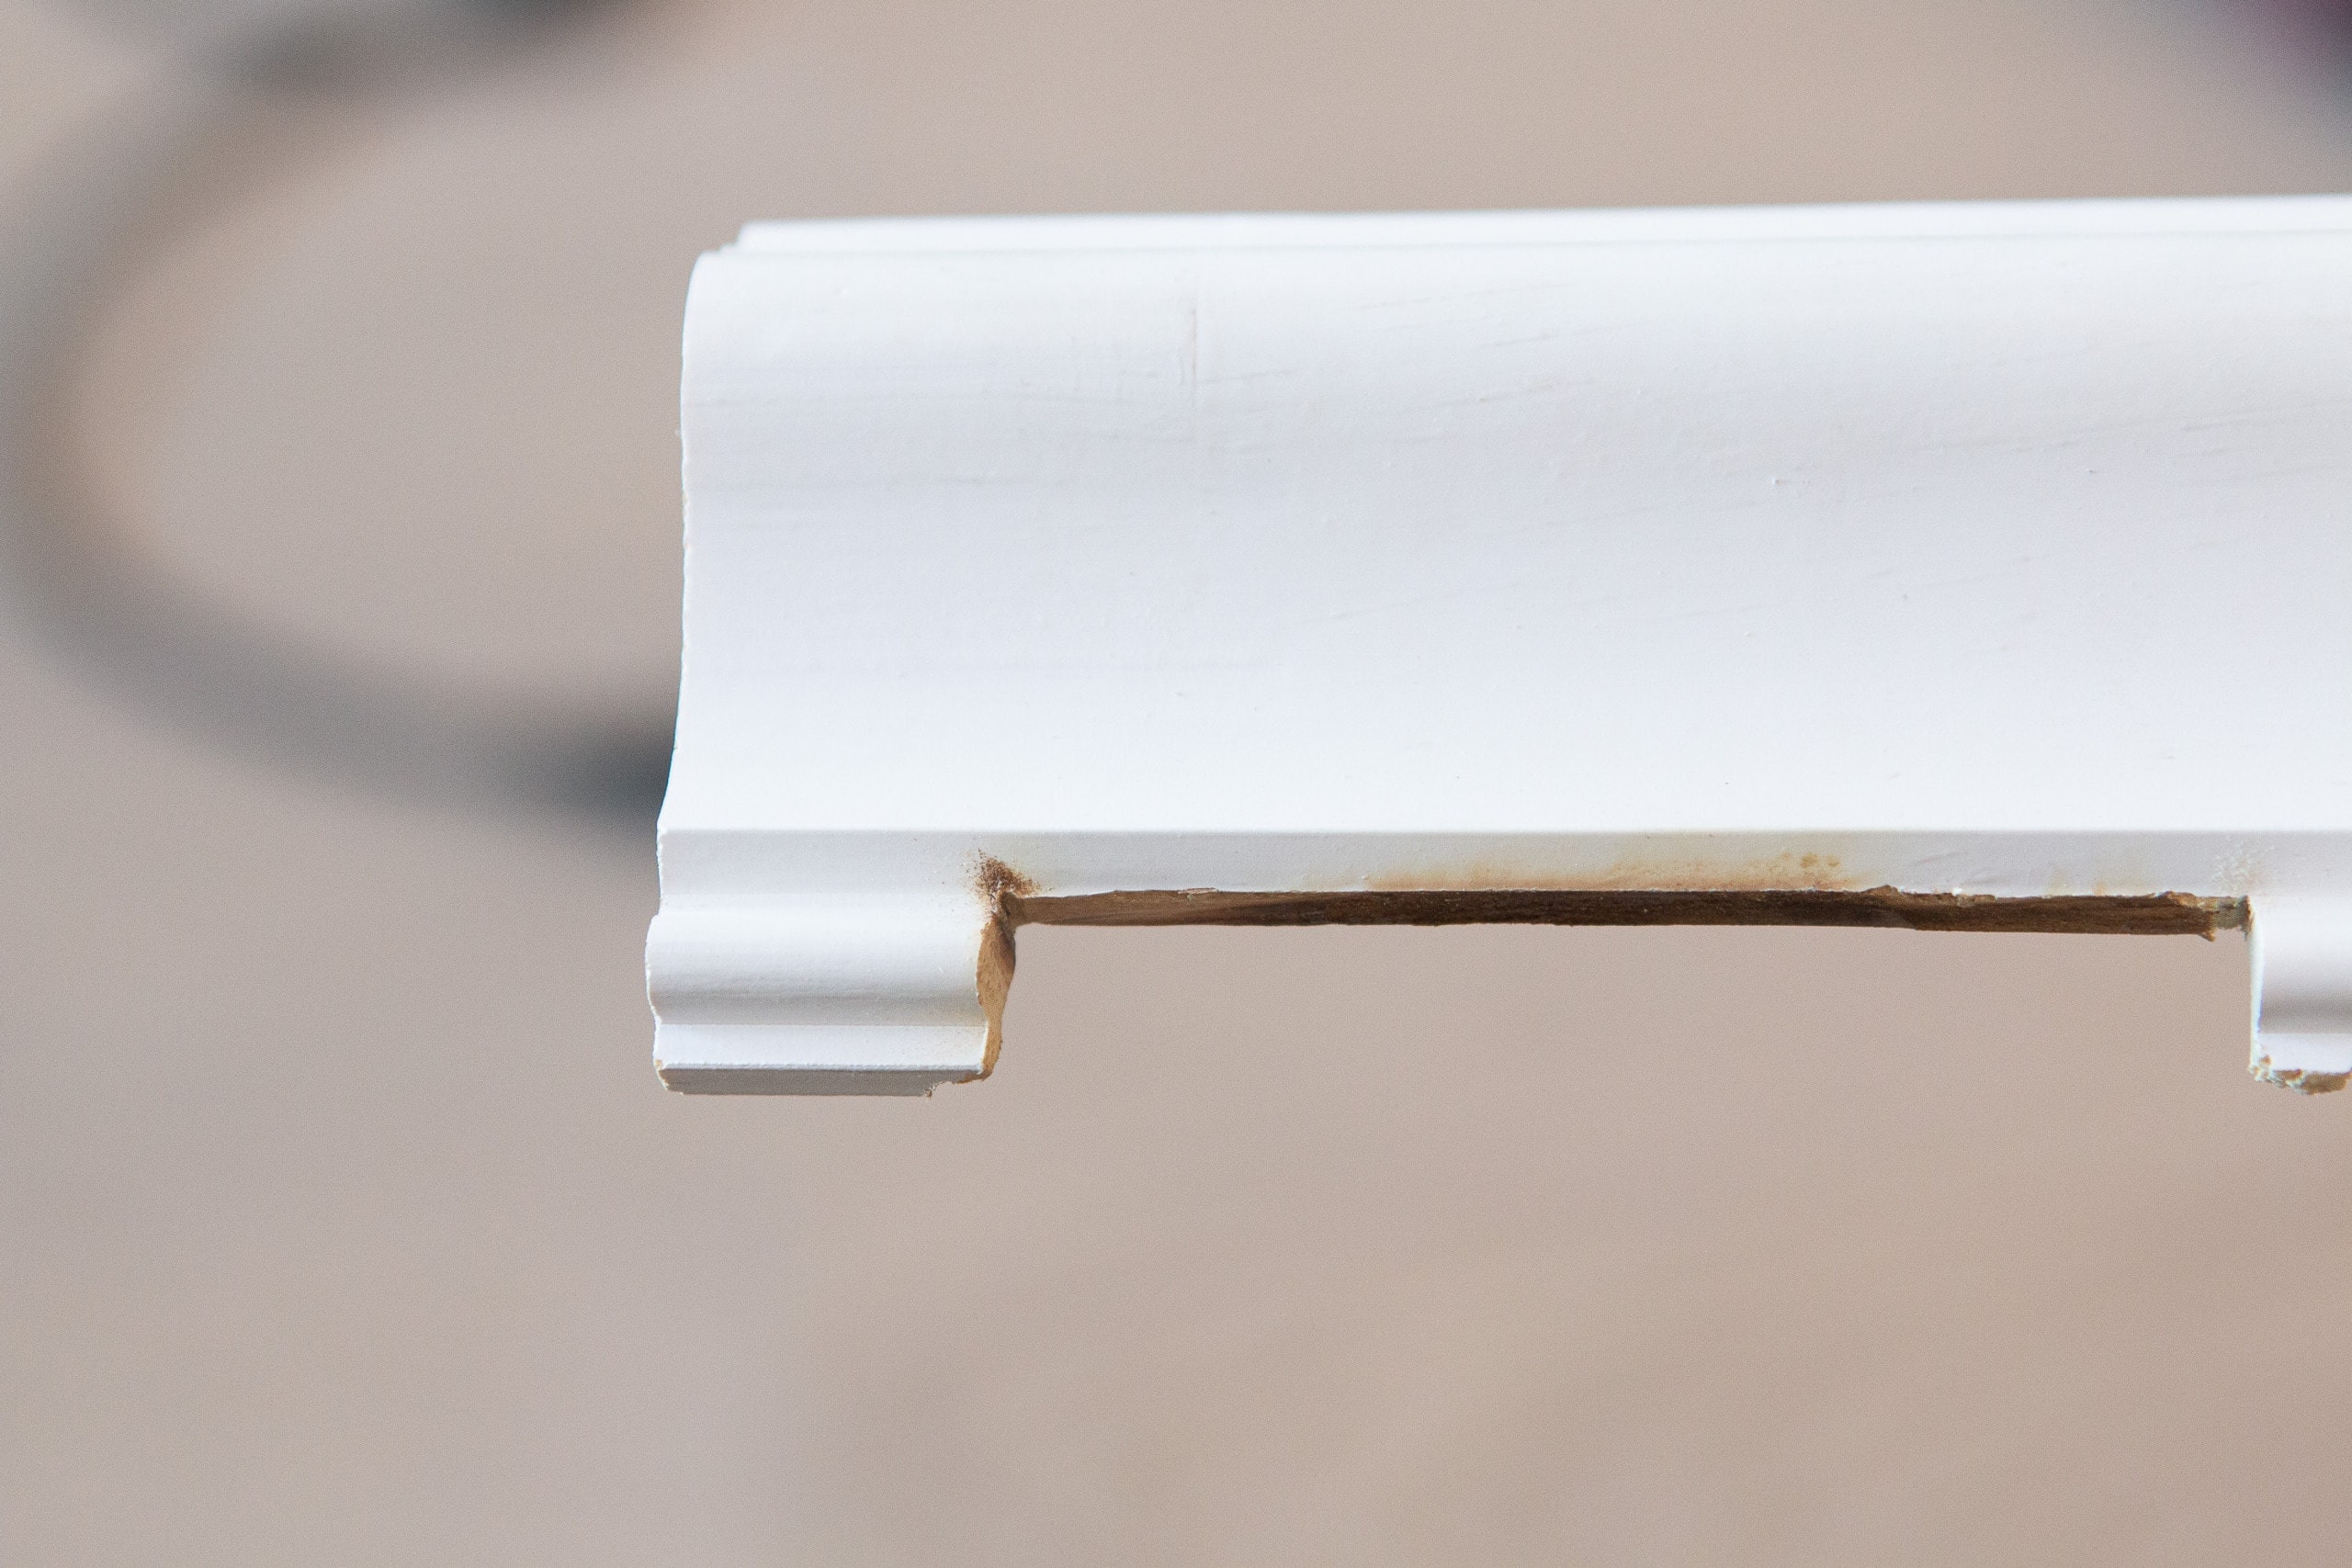
We did run into a few outlets during this project and had to cut out a small portion of the wood.
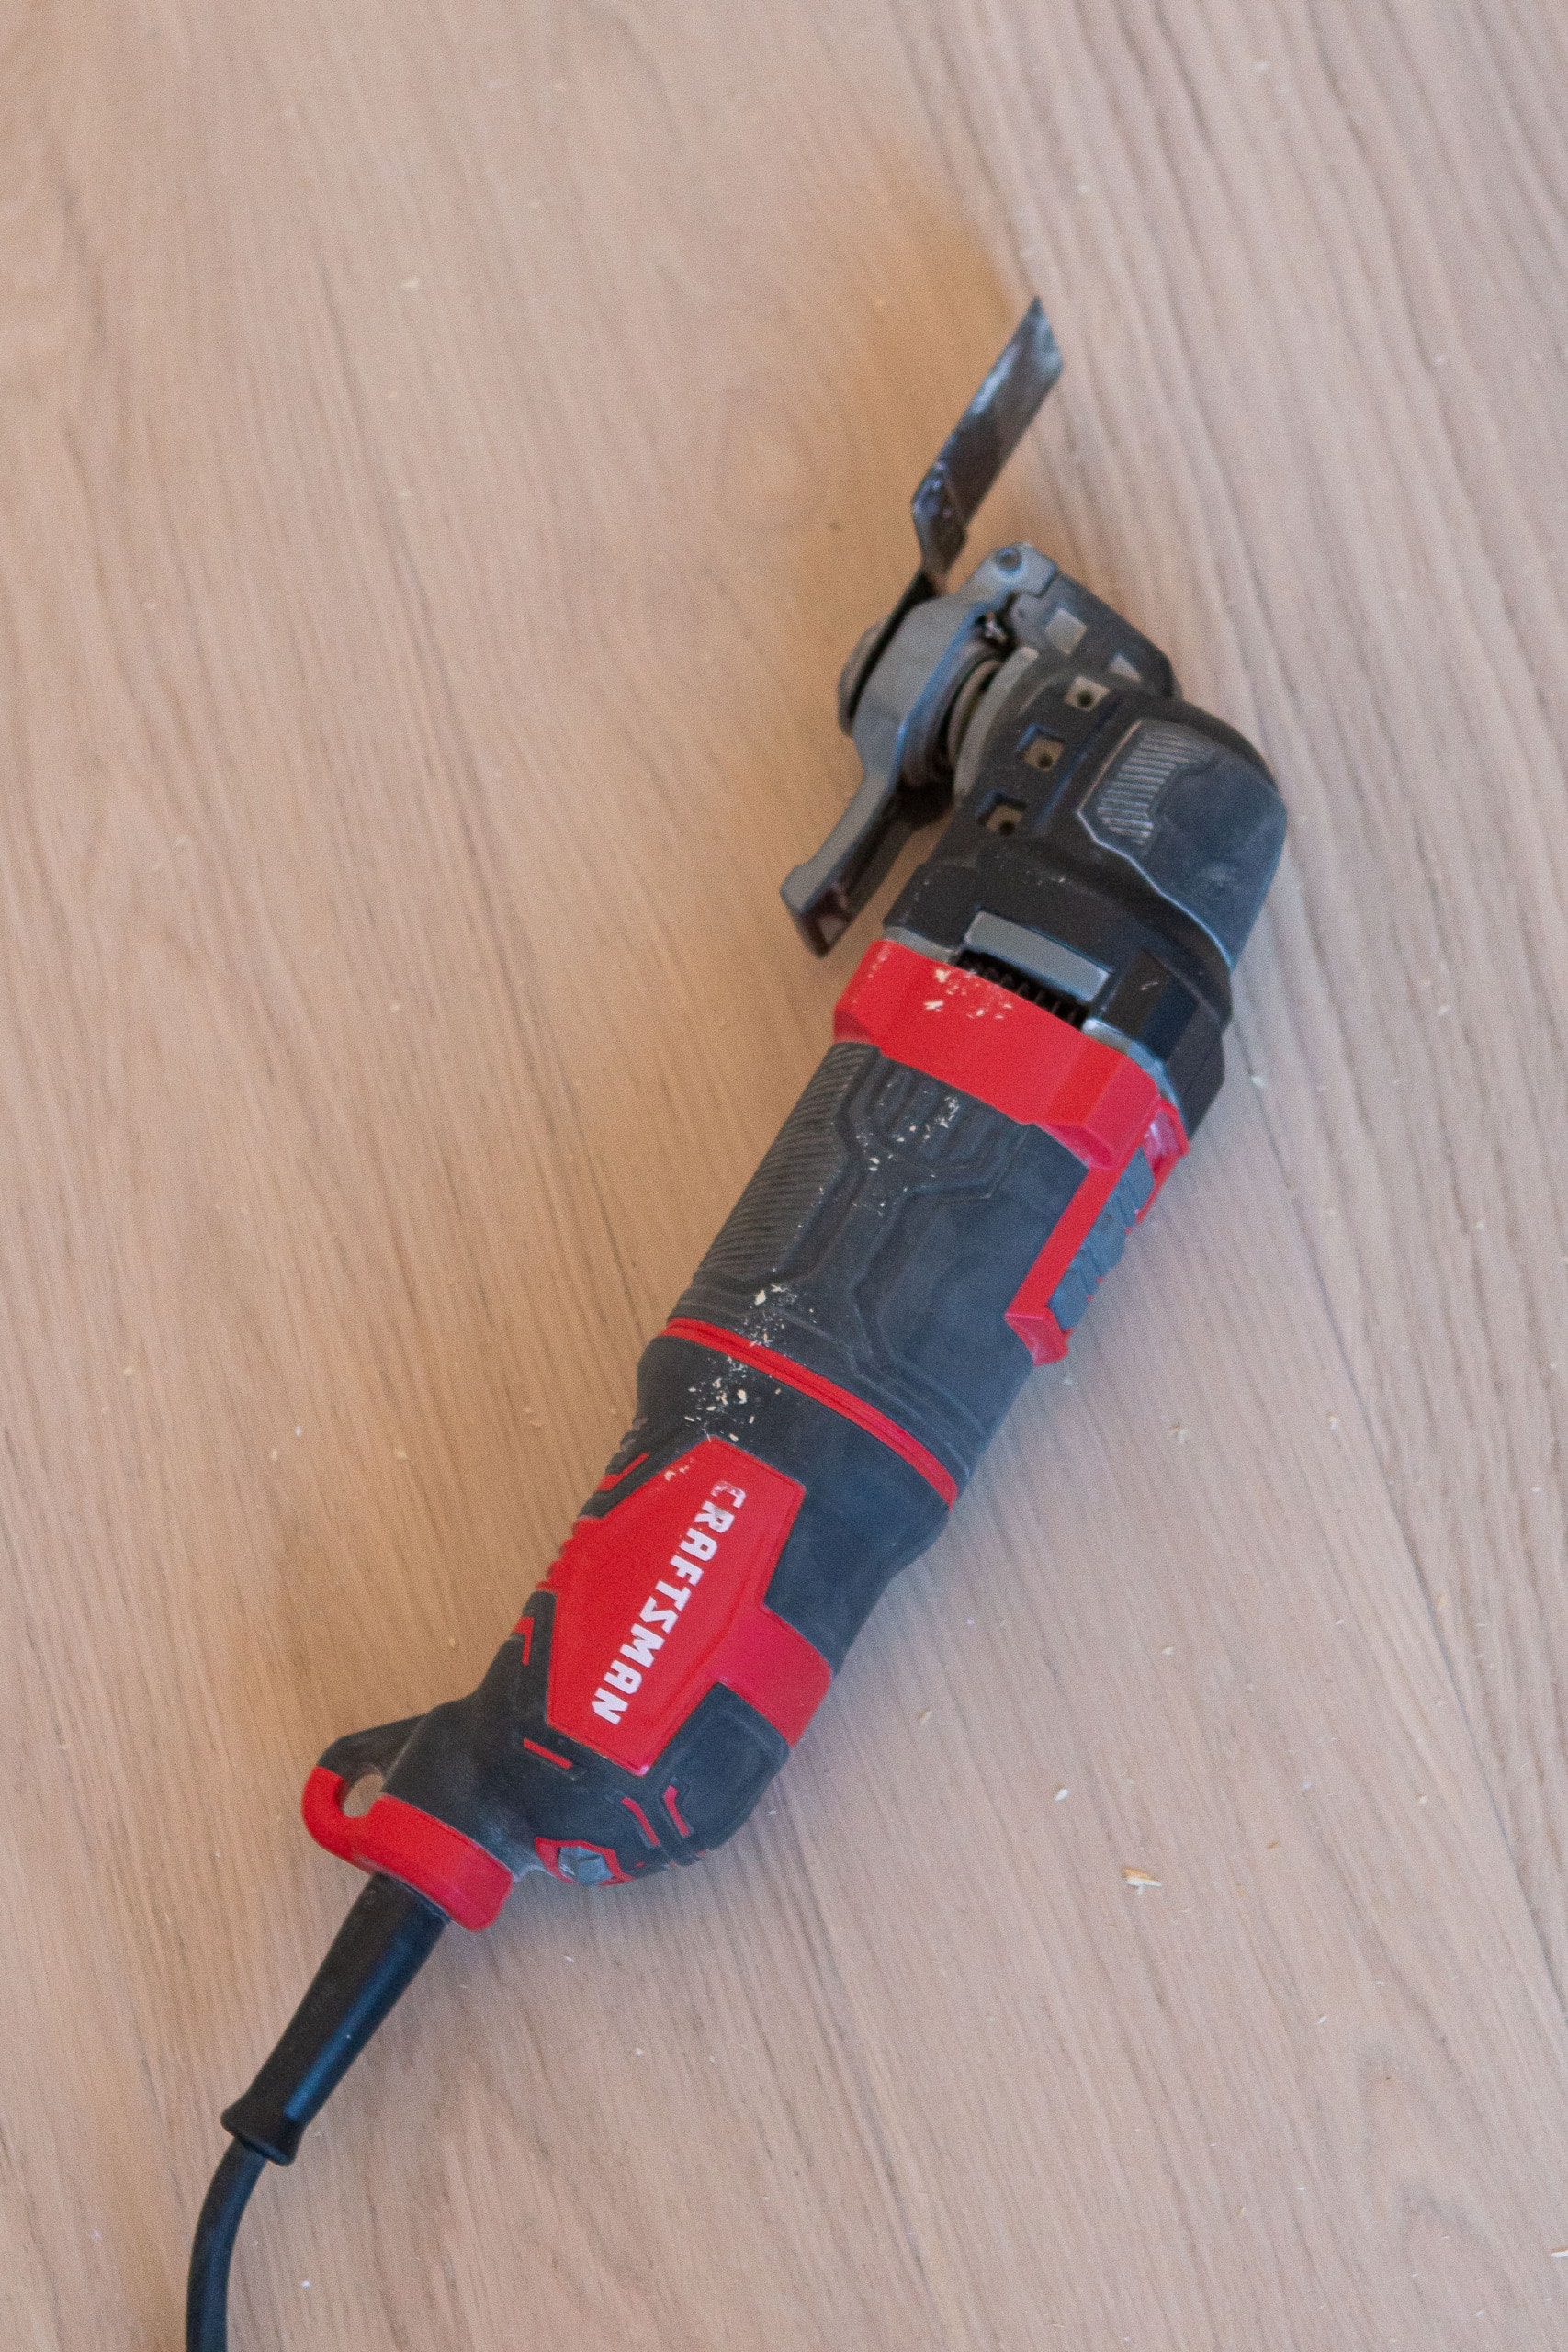
The oscillating saw was key for this! We just marked on the chair rail where to cut and cut the slivers right out.
I worked on the chair rail solo (Finn was working on other projects around the house that day and it really is a one-person job) and got it installed in about two hours.
Tips to Add Picture Frame Molding
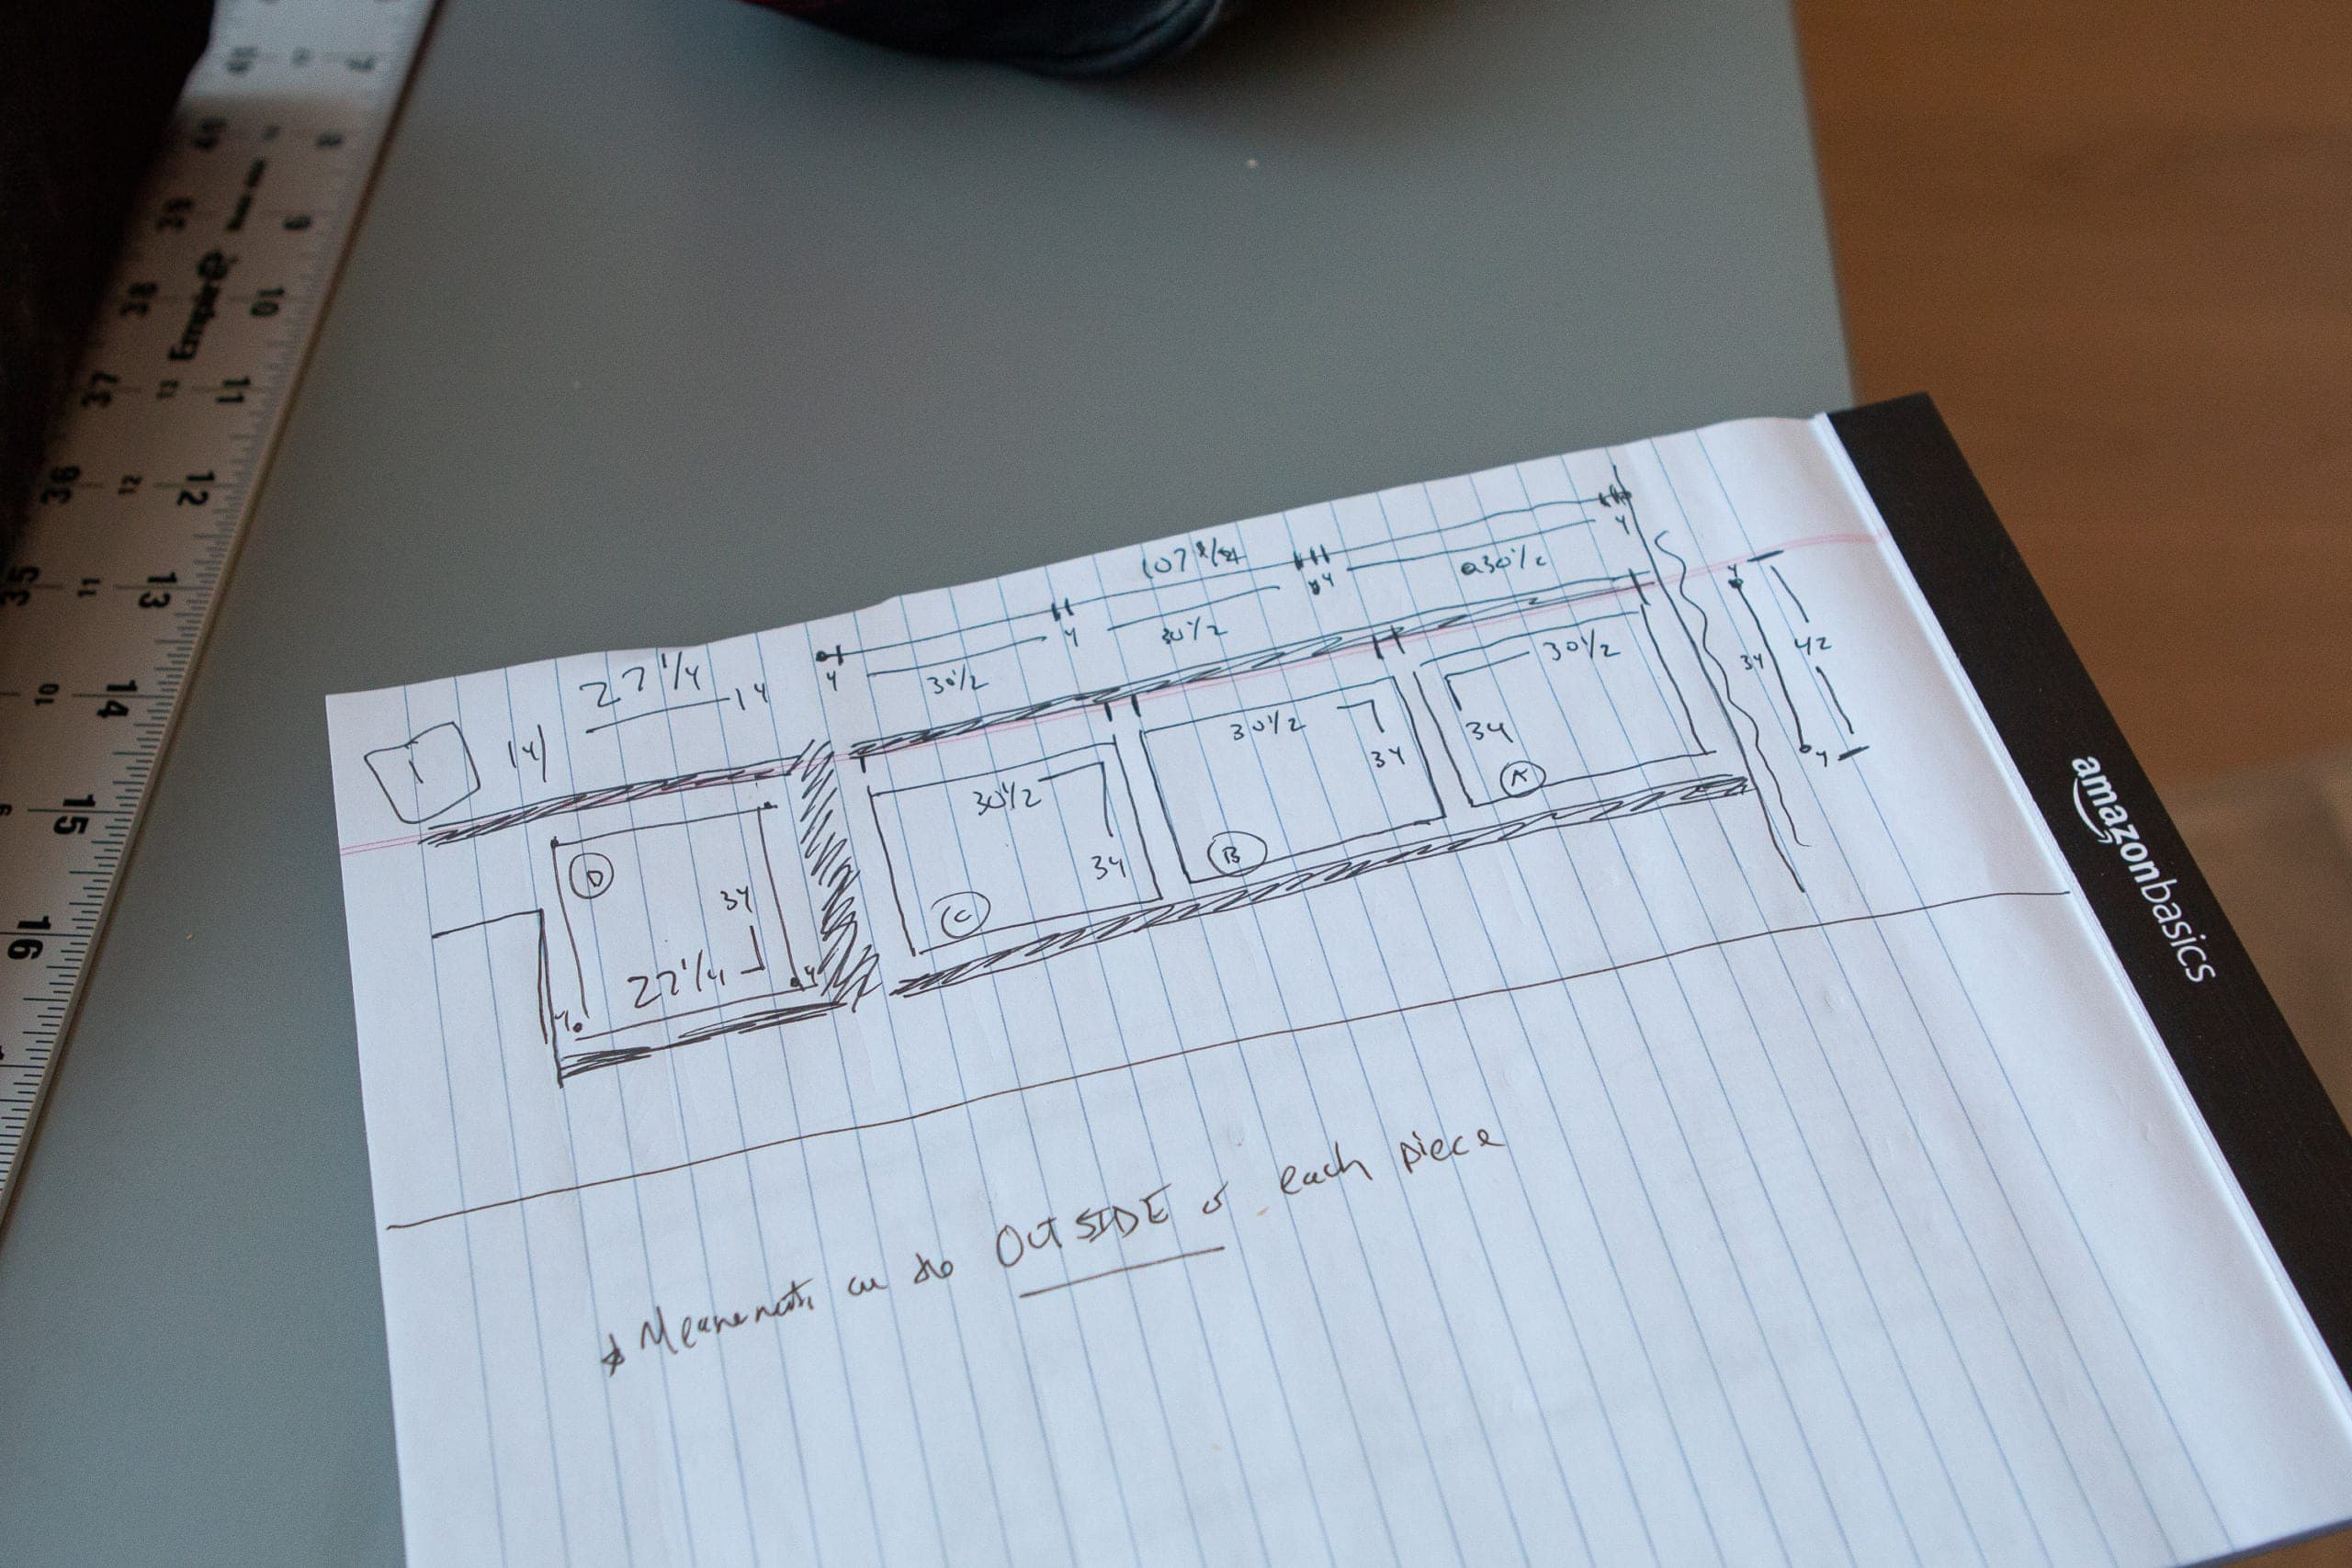
With the chair rail up, it was time to focus on the bottom portion of the wall…the picture frame molding. This is where I really needed Finn’s help – well, at least his mighty math brain. 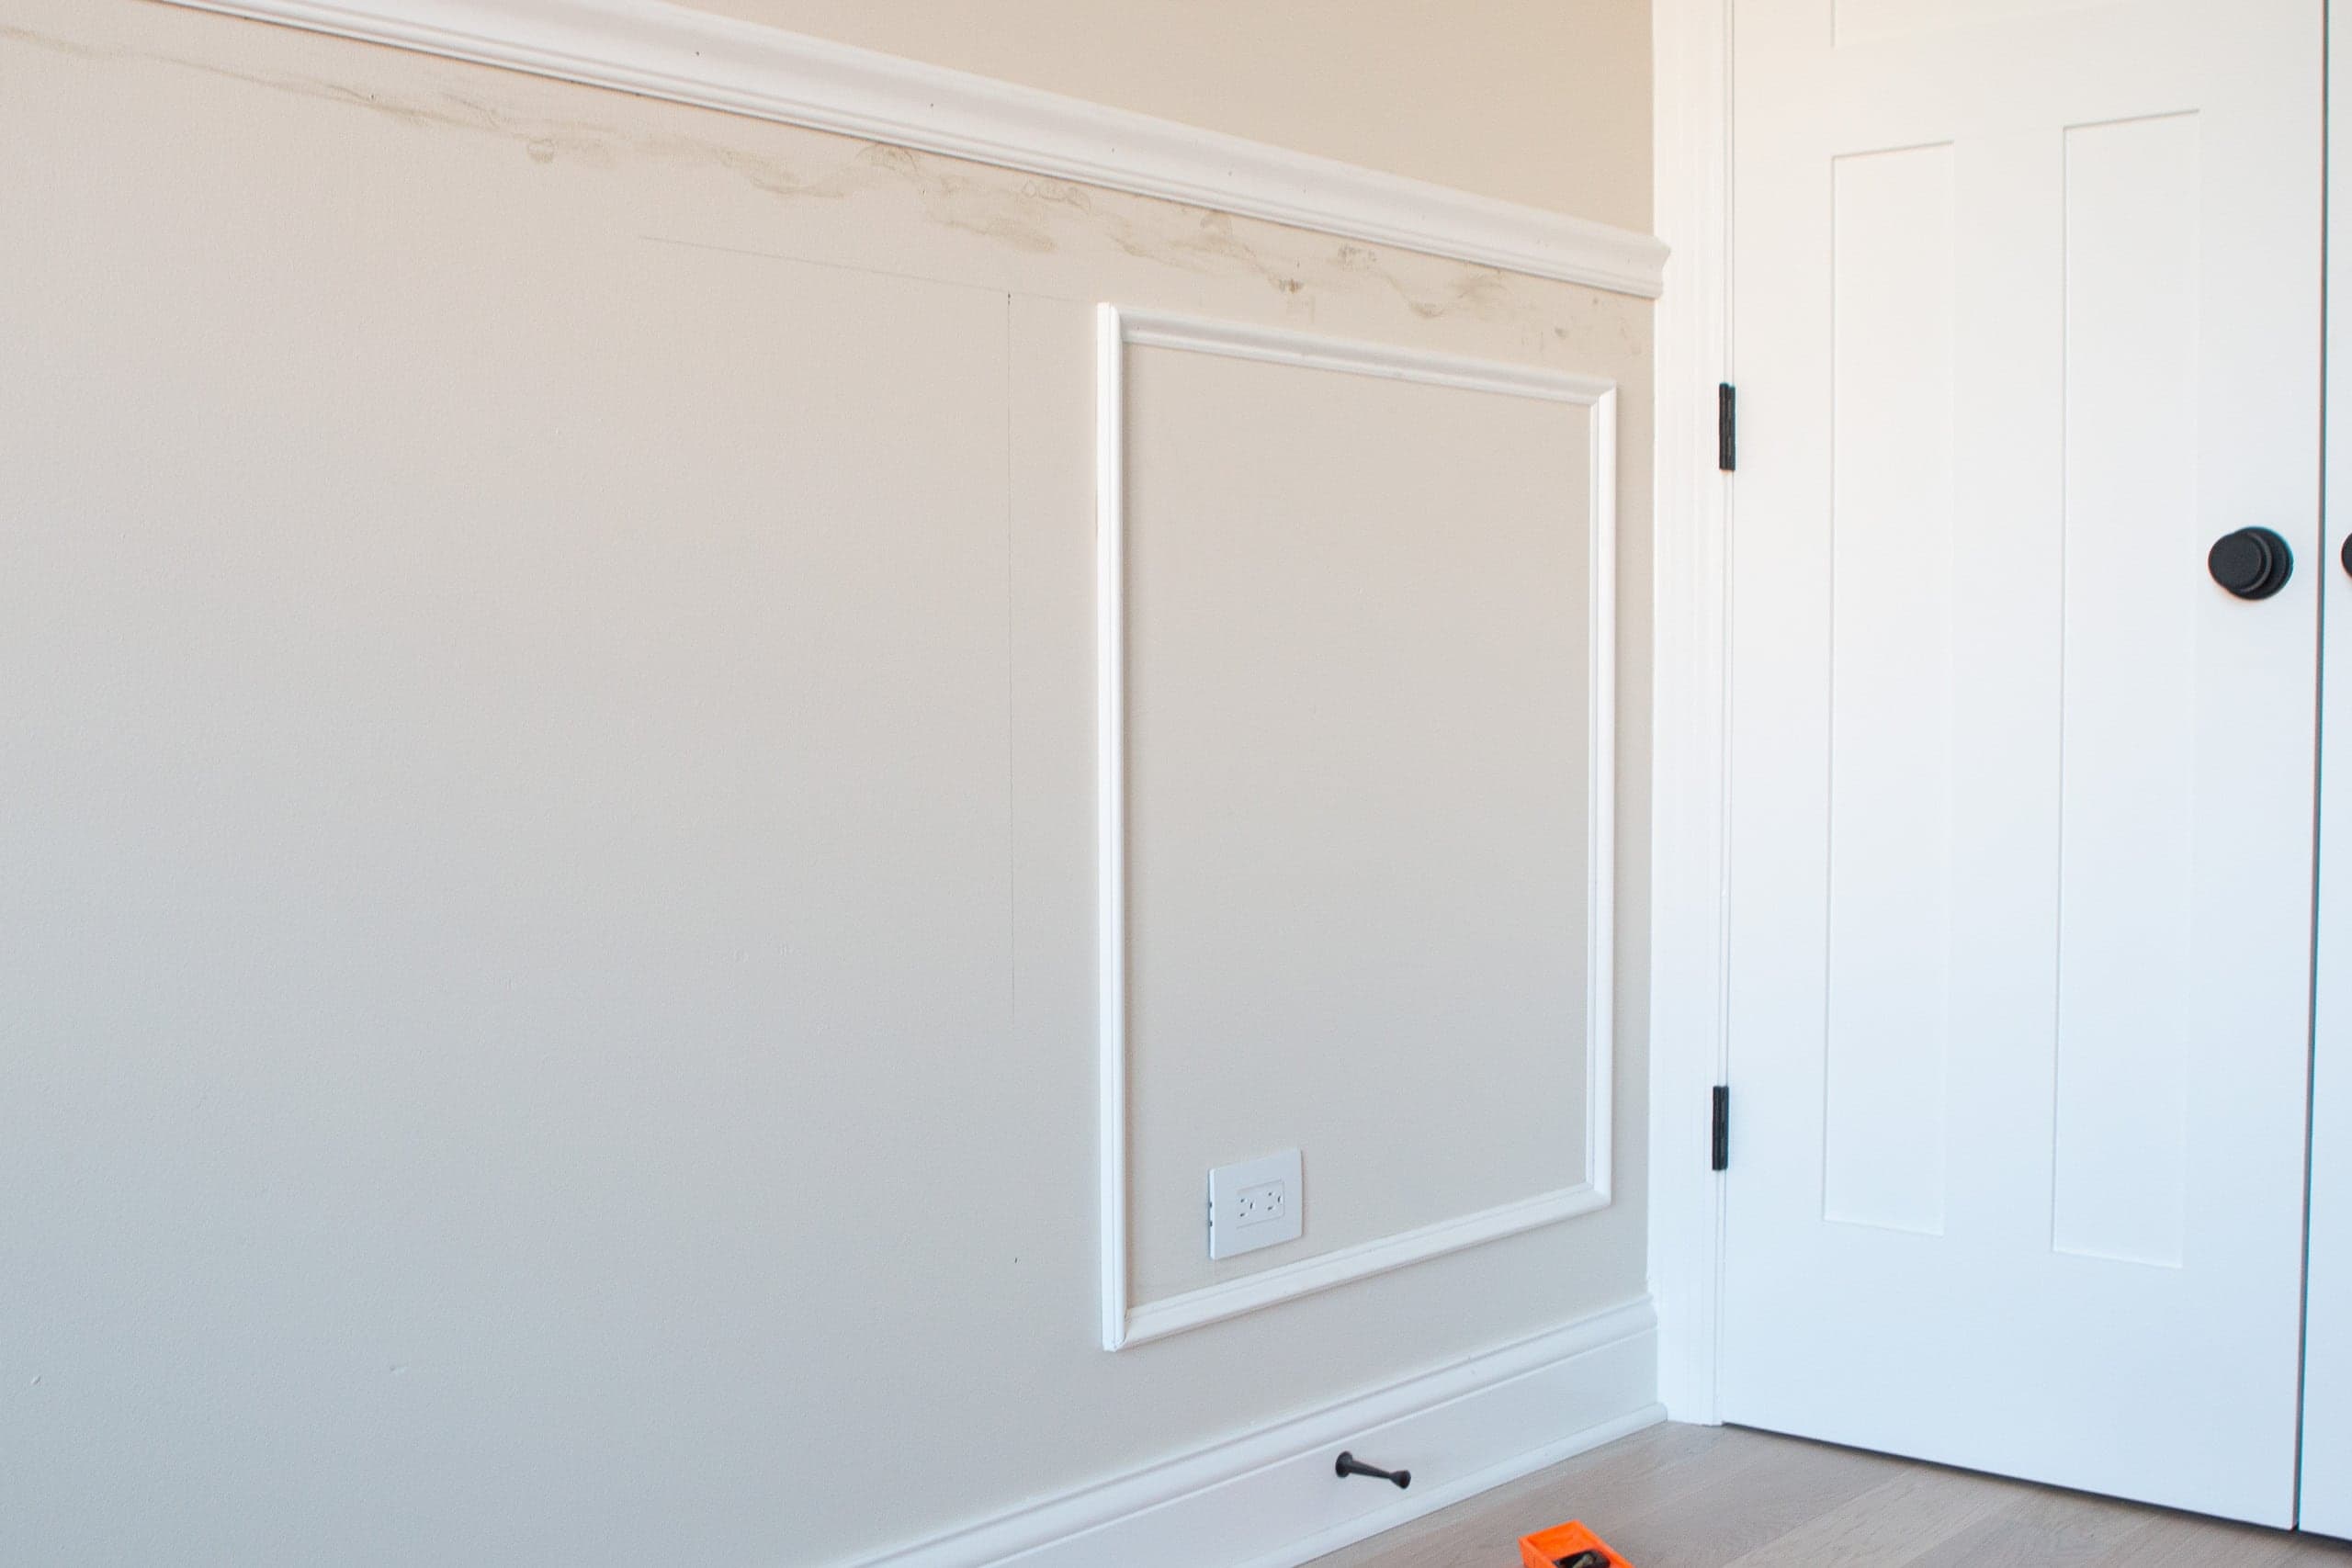
Okay, let’s dive into this. Again, there is no right or wrong way to size your boxes. I ended up using painter’s tape to figure out the look I wanted and we figured out the math after that. We ended up installing all of our picture frame molding four inches below the chair rail, four inches above the baseboard, and placing each box four inches apart. Then, I figured out how many boxes I wanted on each section of the wall and Finn did the math from there. 
In the end, our boxes varied between 26 and 31 inches wide (they all have the same height). You’ll want to determine the size based on each individual wall instead of having every box around the room be the same size. This will ensure that each box is proportionate to that area and looks nice. 
I used PVC base cap molding for the picture frames. And can you see why it’s called picture frame molding?! The four pieces create a little picture frame. You’ll cut each corner at a 45-degree angle so they all fit together nicely. 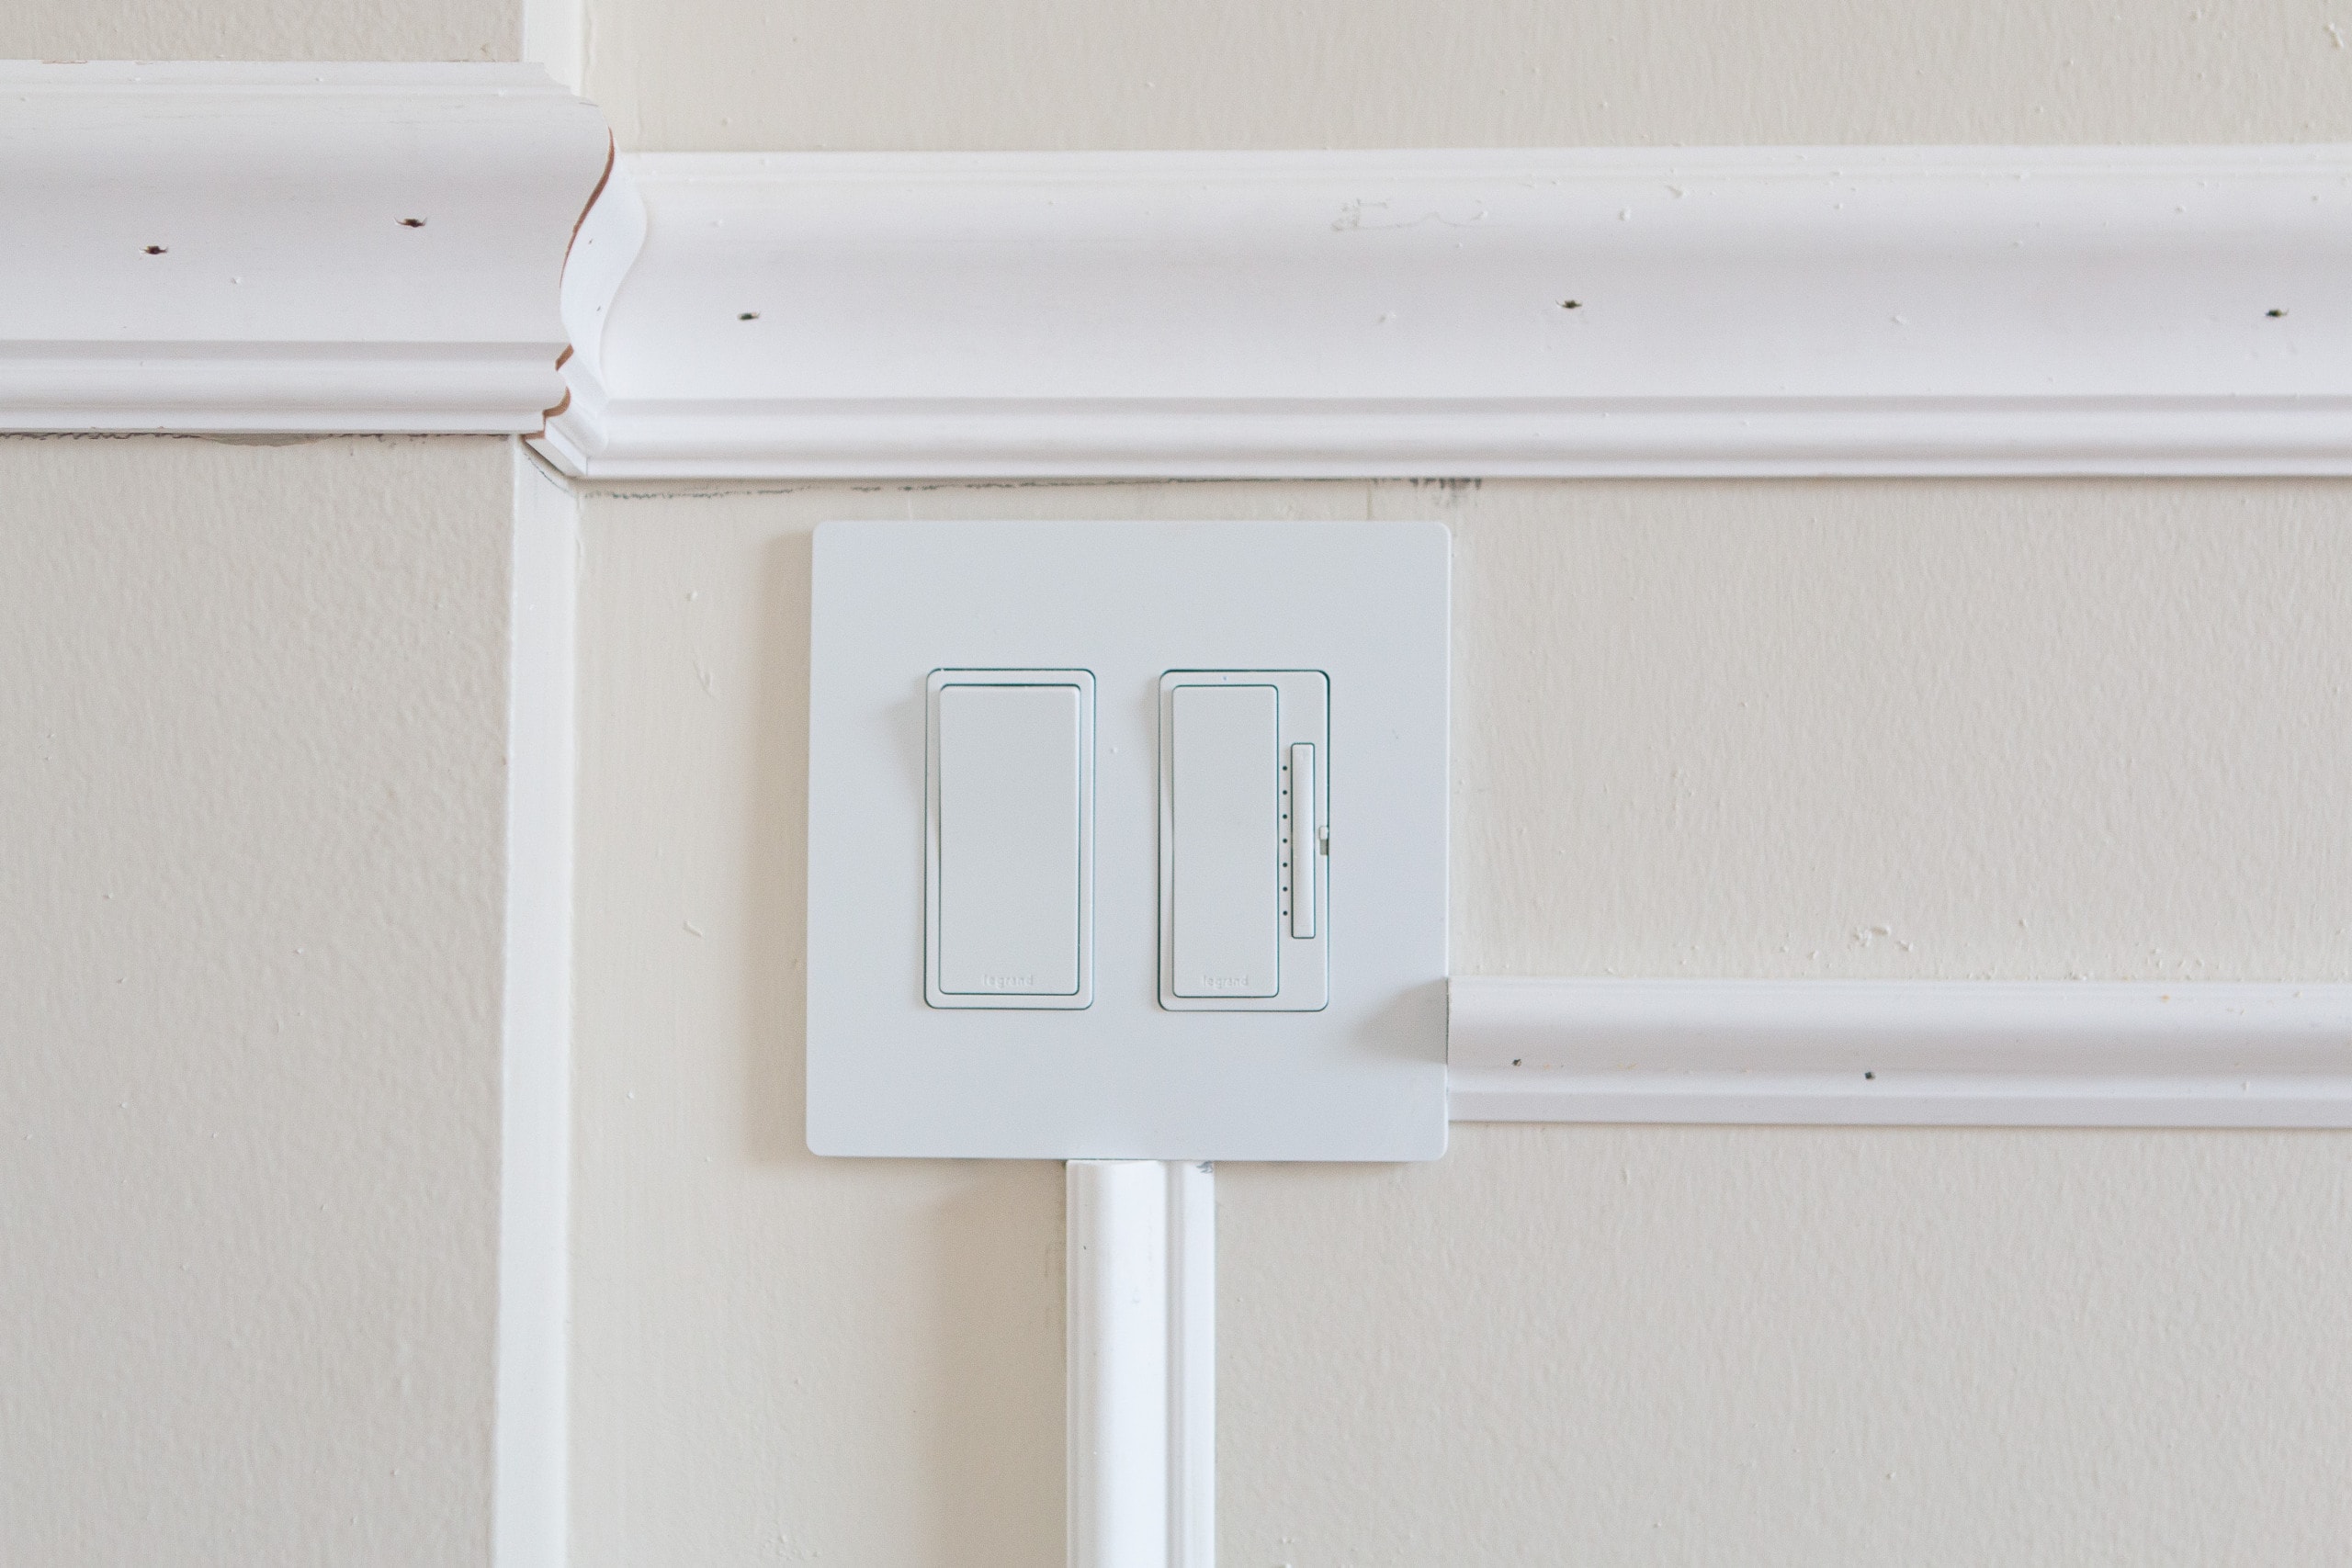
I ran into a few outlets and just cut those ends horizontally. If you can avoid outlets, do it! But sometimes it’s inevitable. 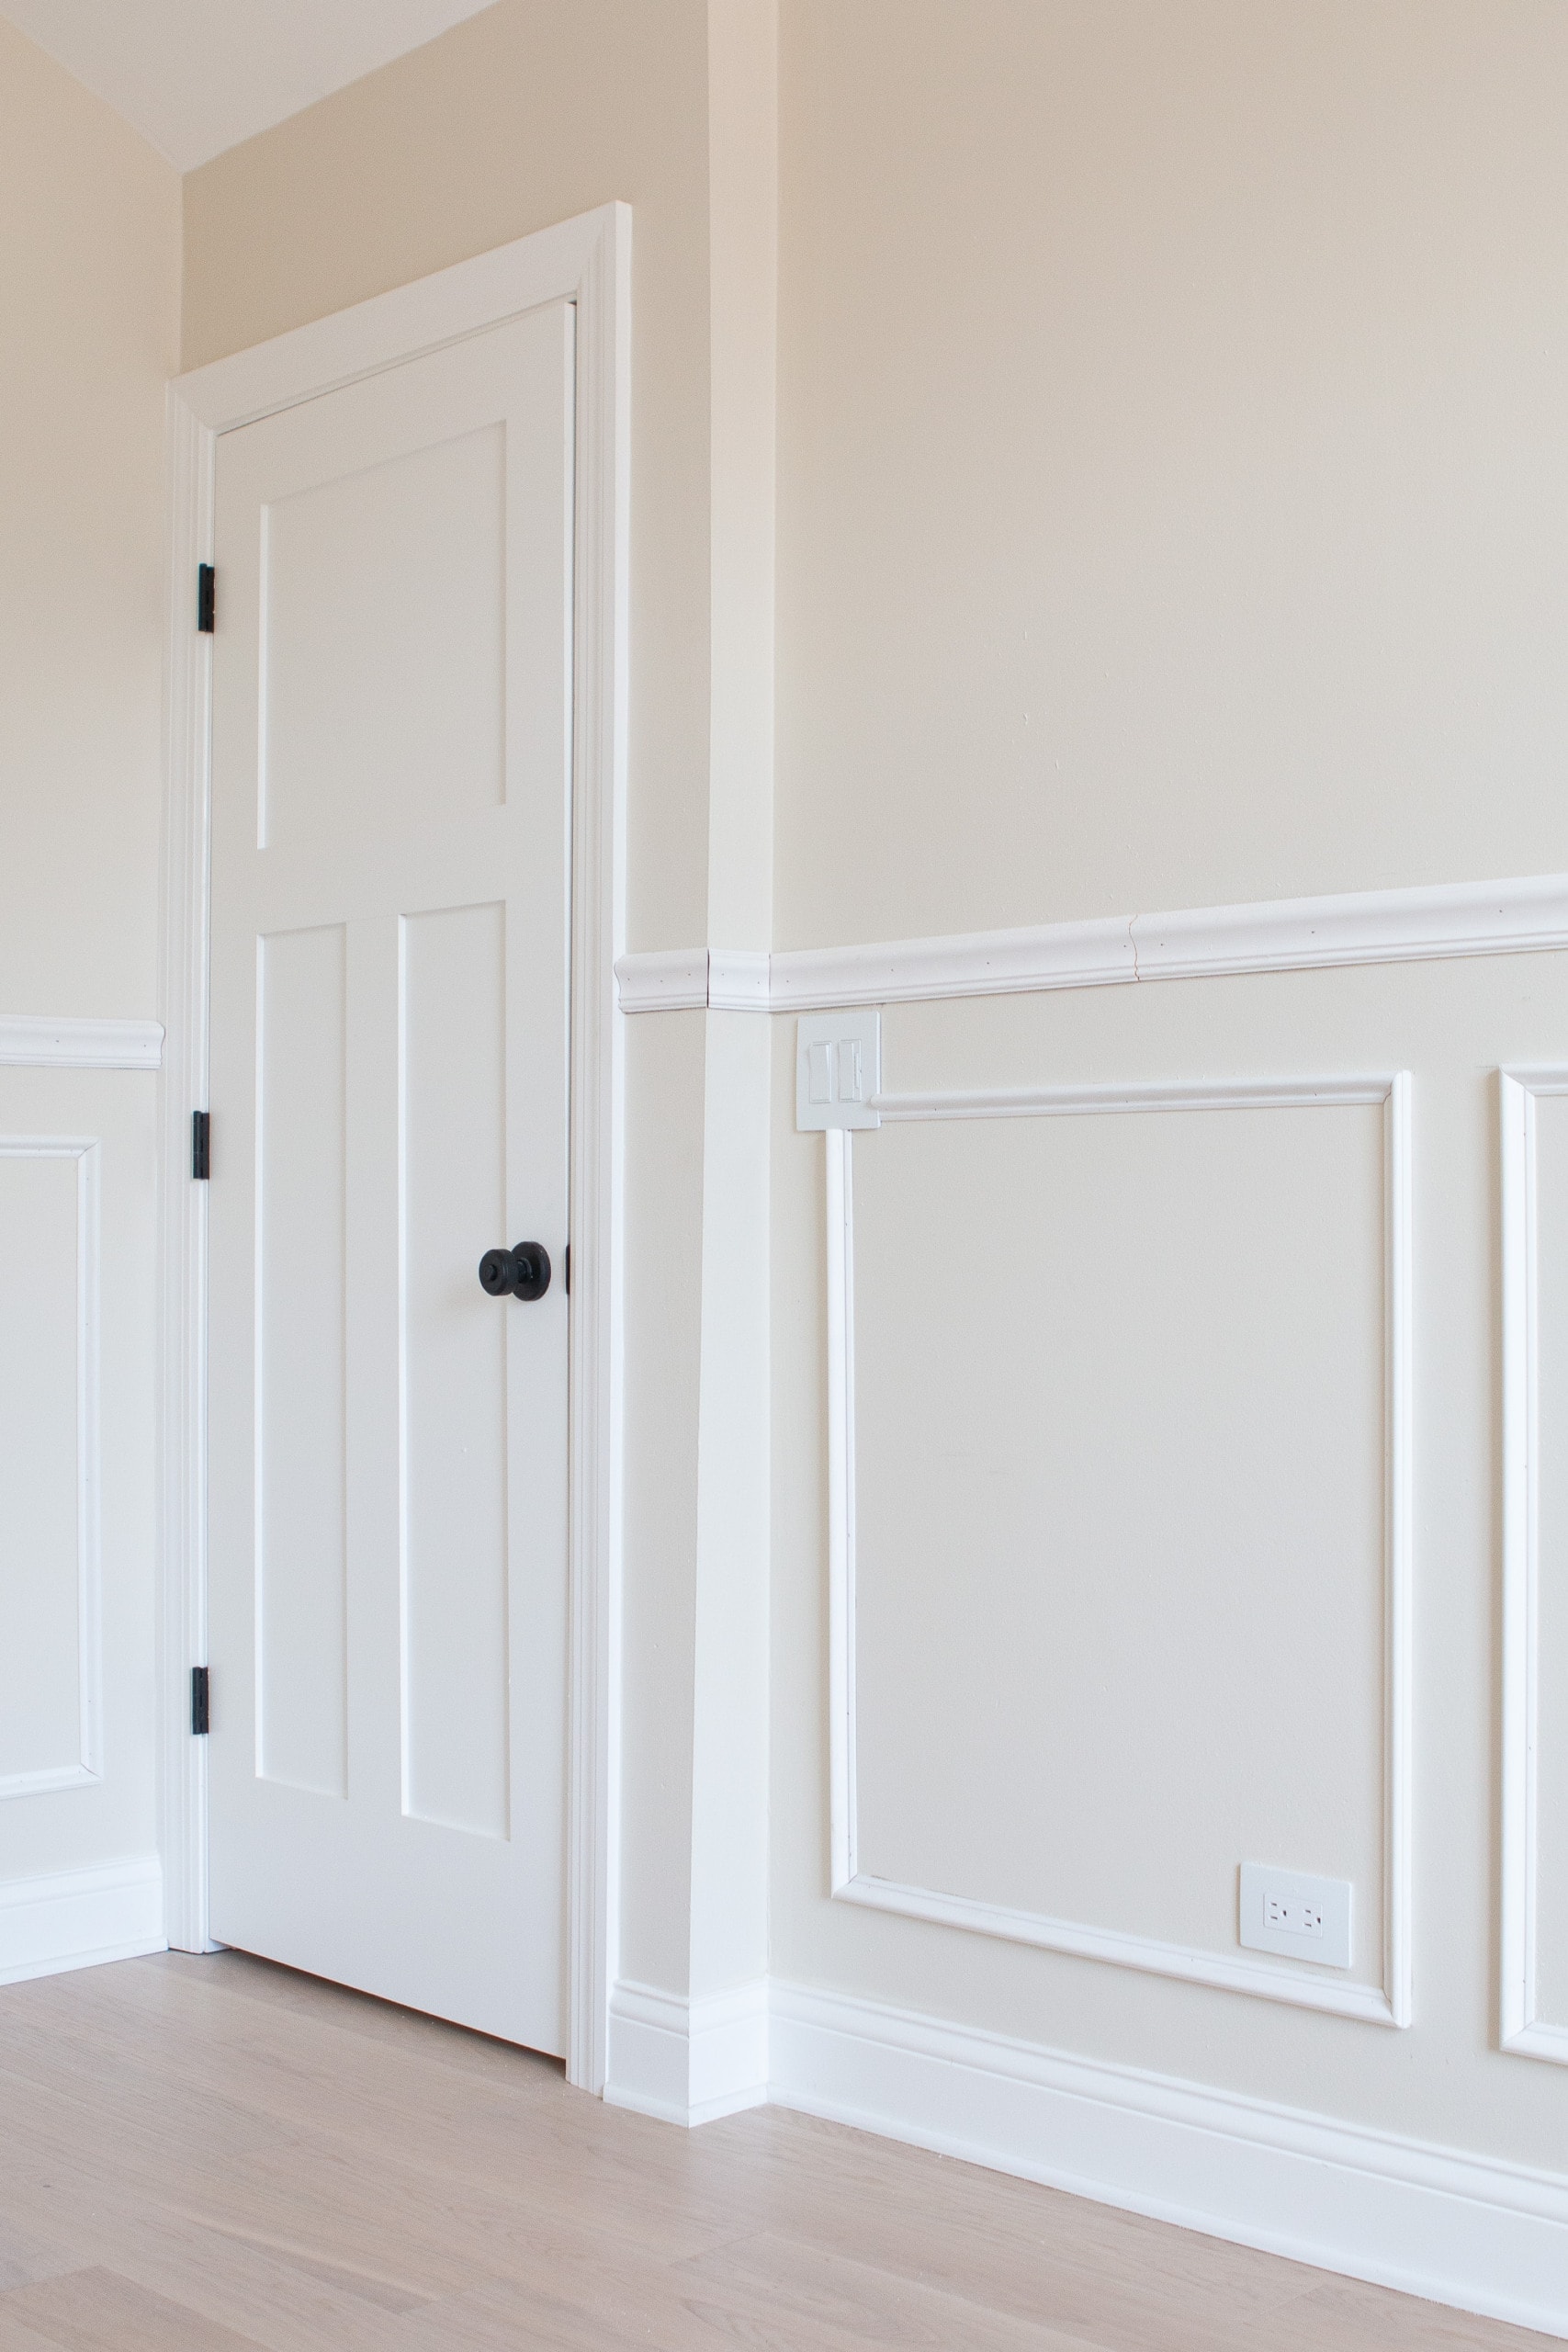
It took me a lot longer to add the picture frame molding because each box had four cuts and I had nine boxes to create. 
I’d say it took me about four more hours to get all of the picture frame molding up. I attached it the same way I did the chair rail, with my brad nailer and liquid nails. Just make sure you have your level handy so you keep each box straight on your wall.
Prepping, Priming, & Painting
The next day, I got to work prepping the walls for paint. I’m usually a fan of filling nail holes and caulking (it’s tedious but satisfying), but all of the prep work I did for our DIY built-ins makes me want to never caulk again. Ha!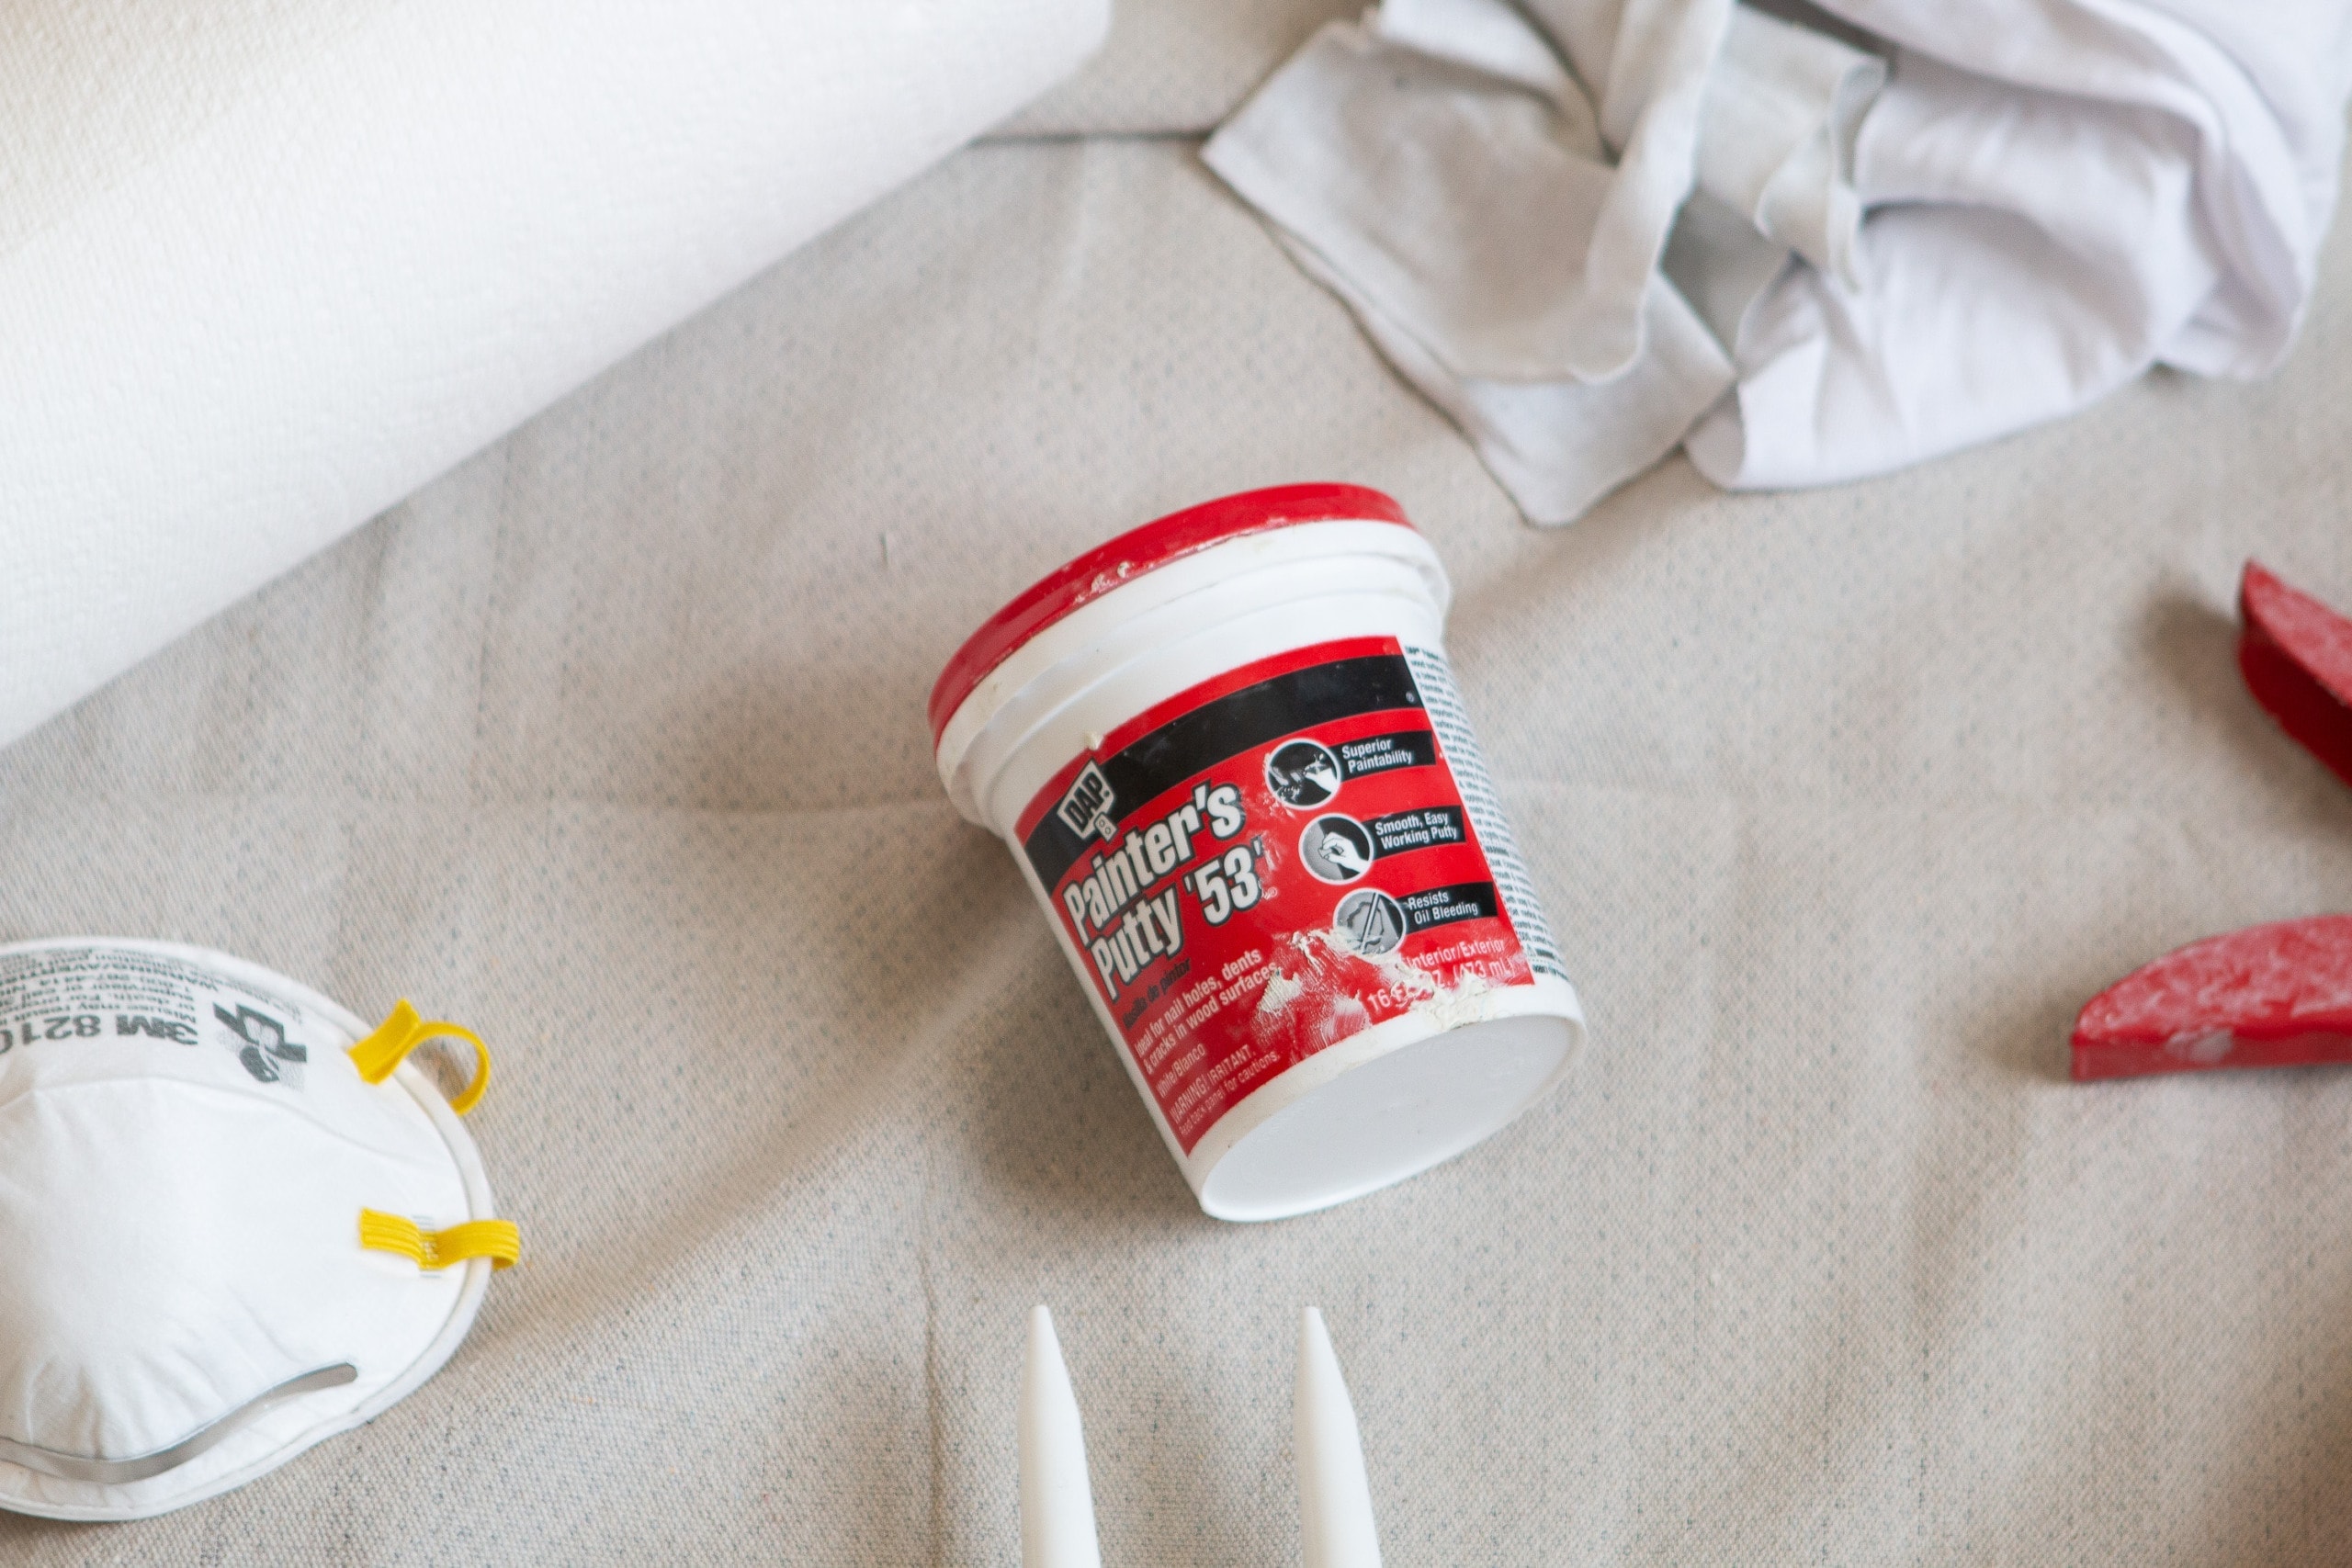
I used painter’s putty to fill all of the nail holes from my brad nailer. I then used my favorite caulk in the color white to hide all of the seams. Caulking gives your project a professional look and hides any imperfections or gaps on your trim. It’s an absolute must, so don’t skip this step.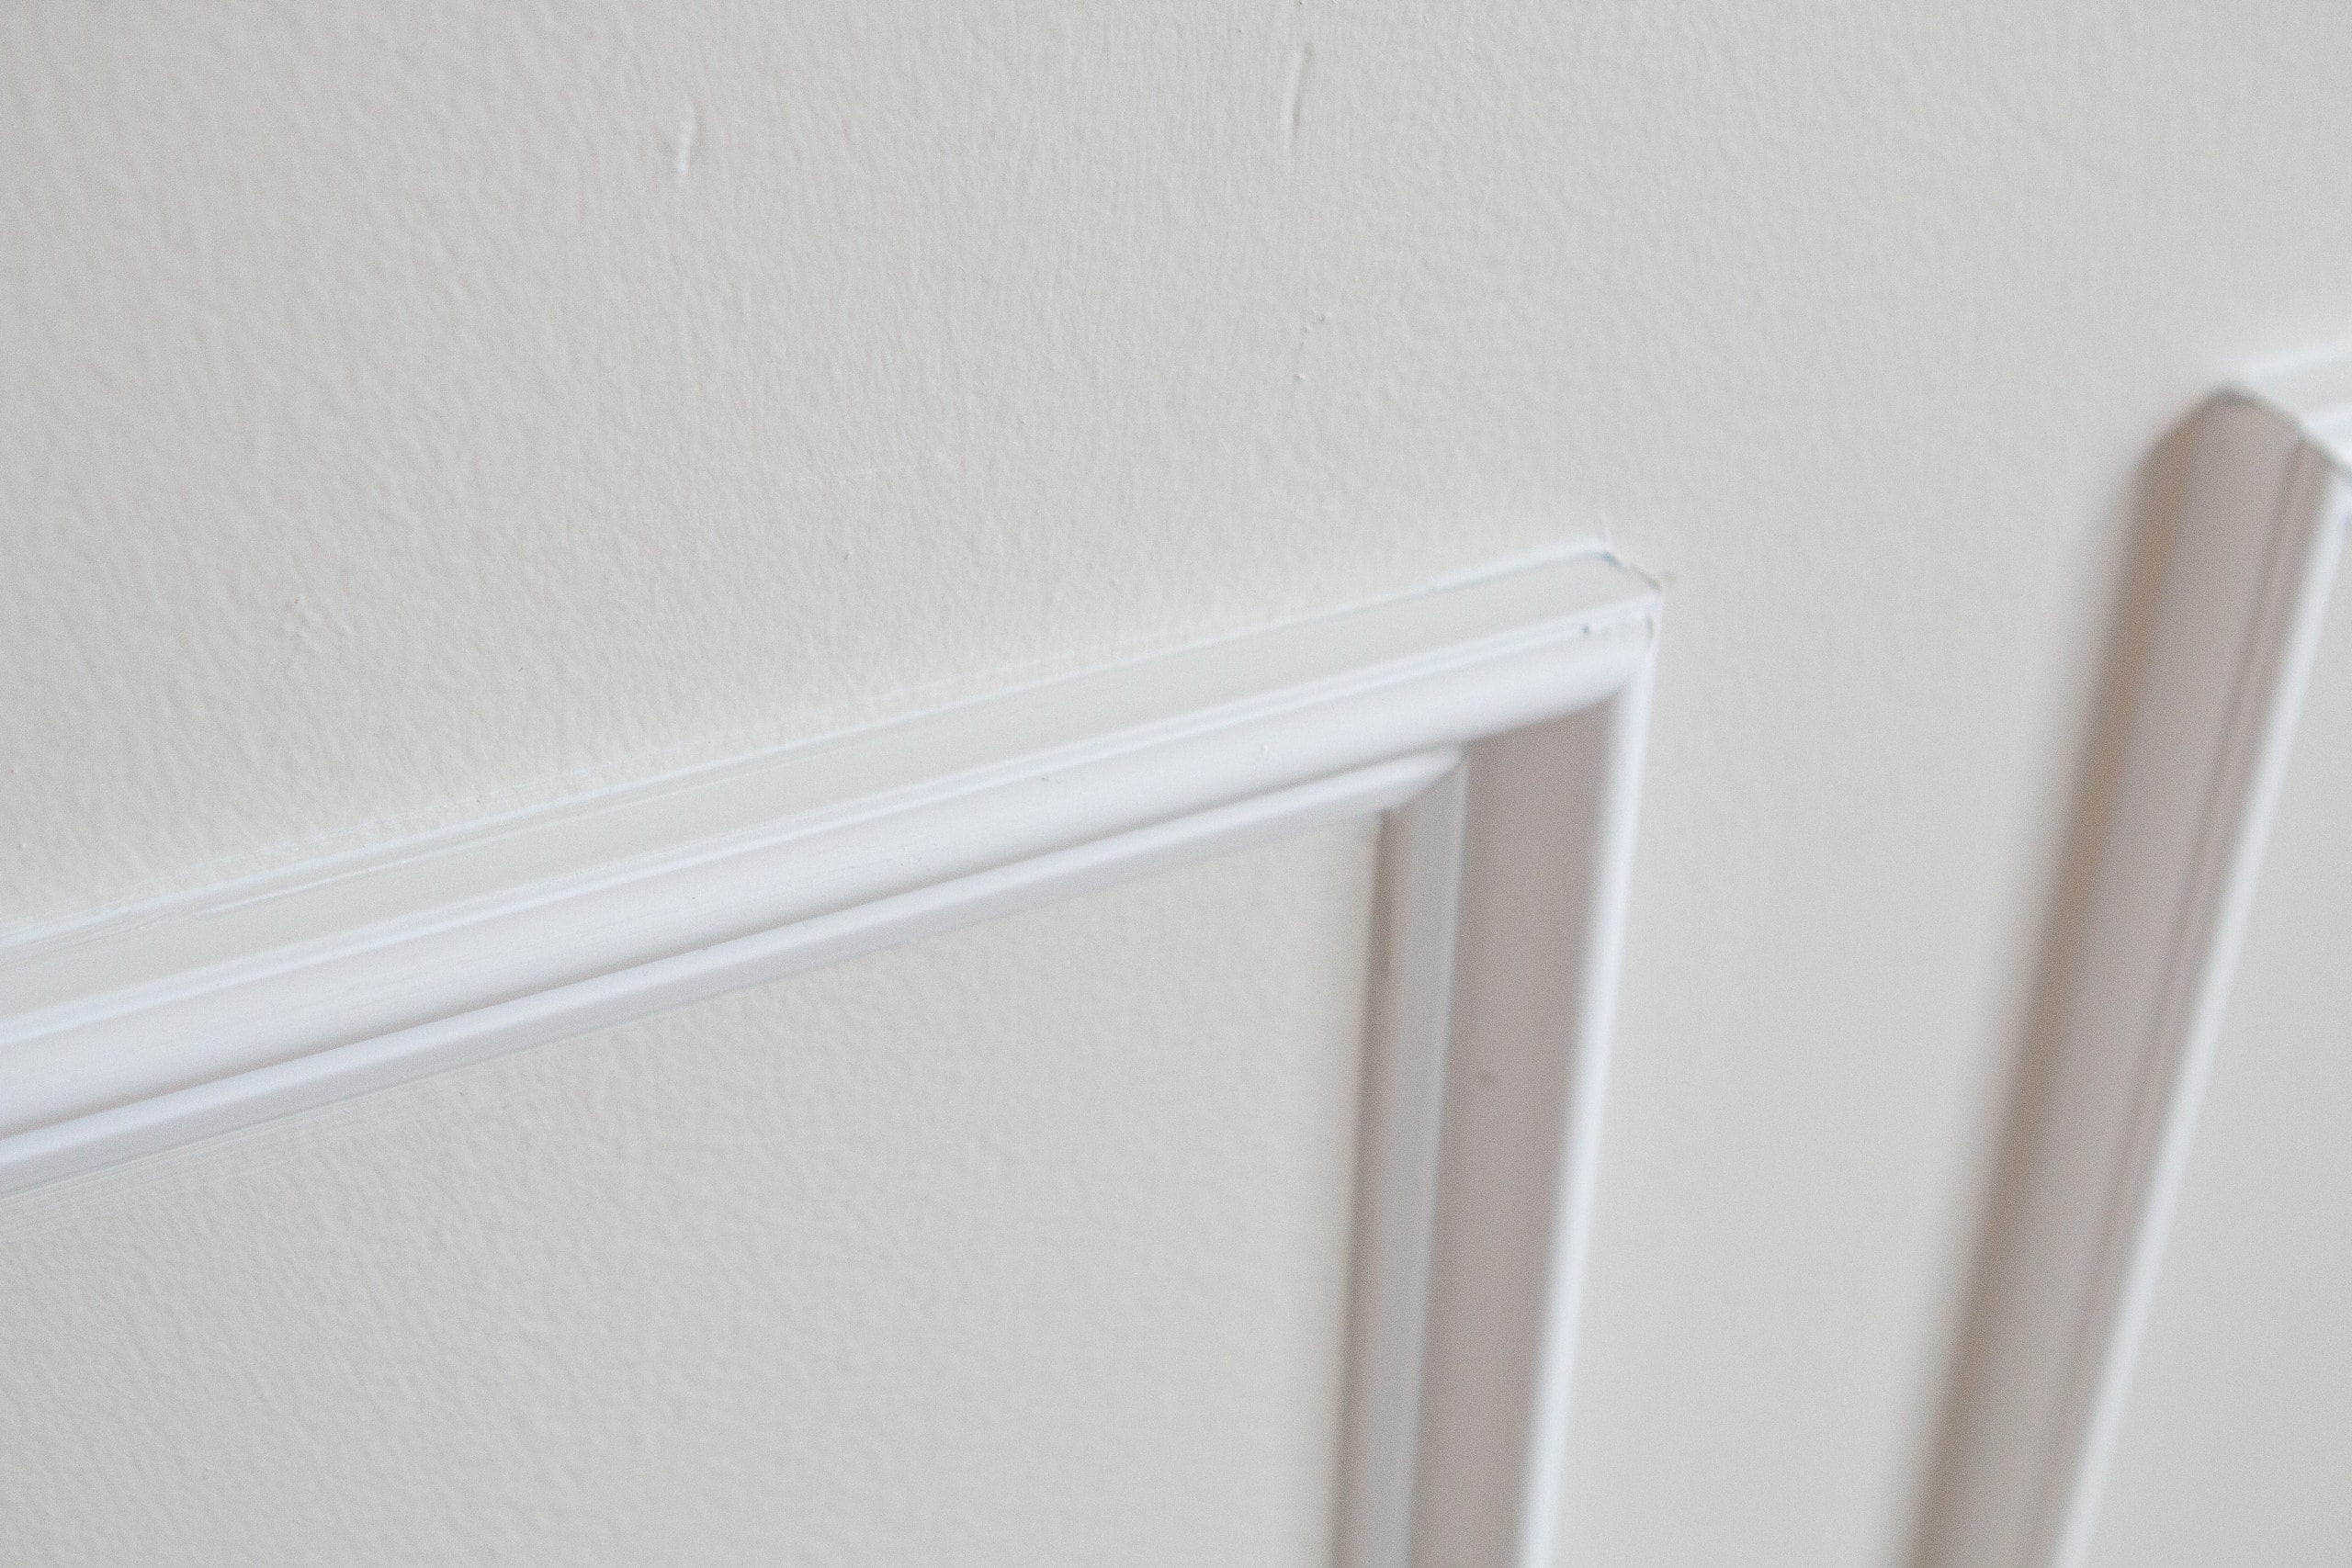
My best caulking tips…go slow, wear gloves, wipe your caulk line with a wet finger, and wipe excess with a damp rag! It isn’t difficult, just a tad time-consuming. When that was all dry, we were ready to paint.
Using the Paint Sprayer
Now you can 100% use a brush and roller for a project like this. However, ever since using it on our built-ins, Finn is in love with our new paint sprayer. I swear, that man wants to paint all the things in our house! He decided to paint the room with the sprayer instead of by hand.
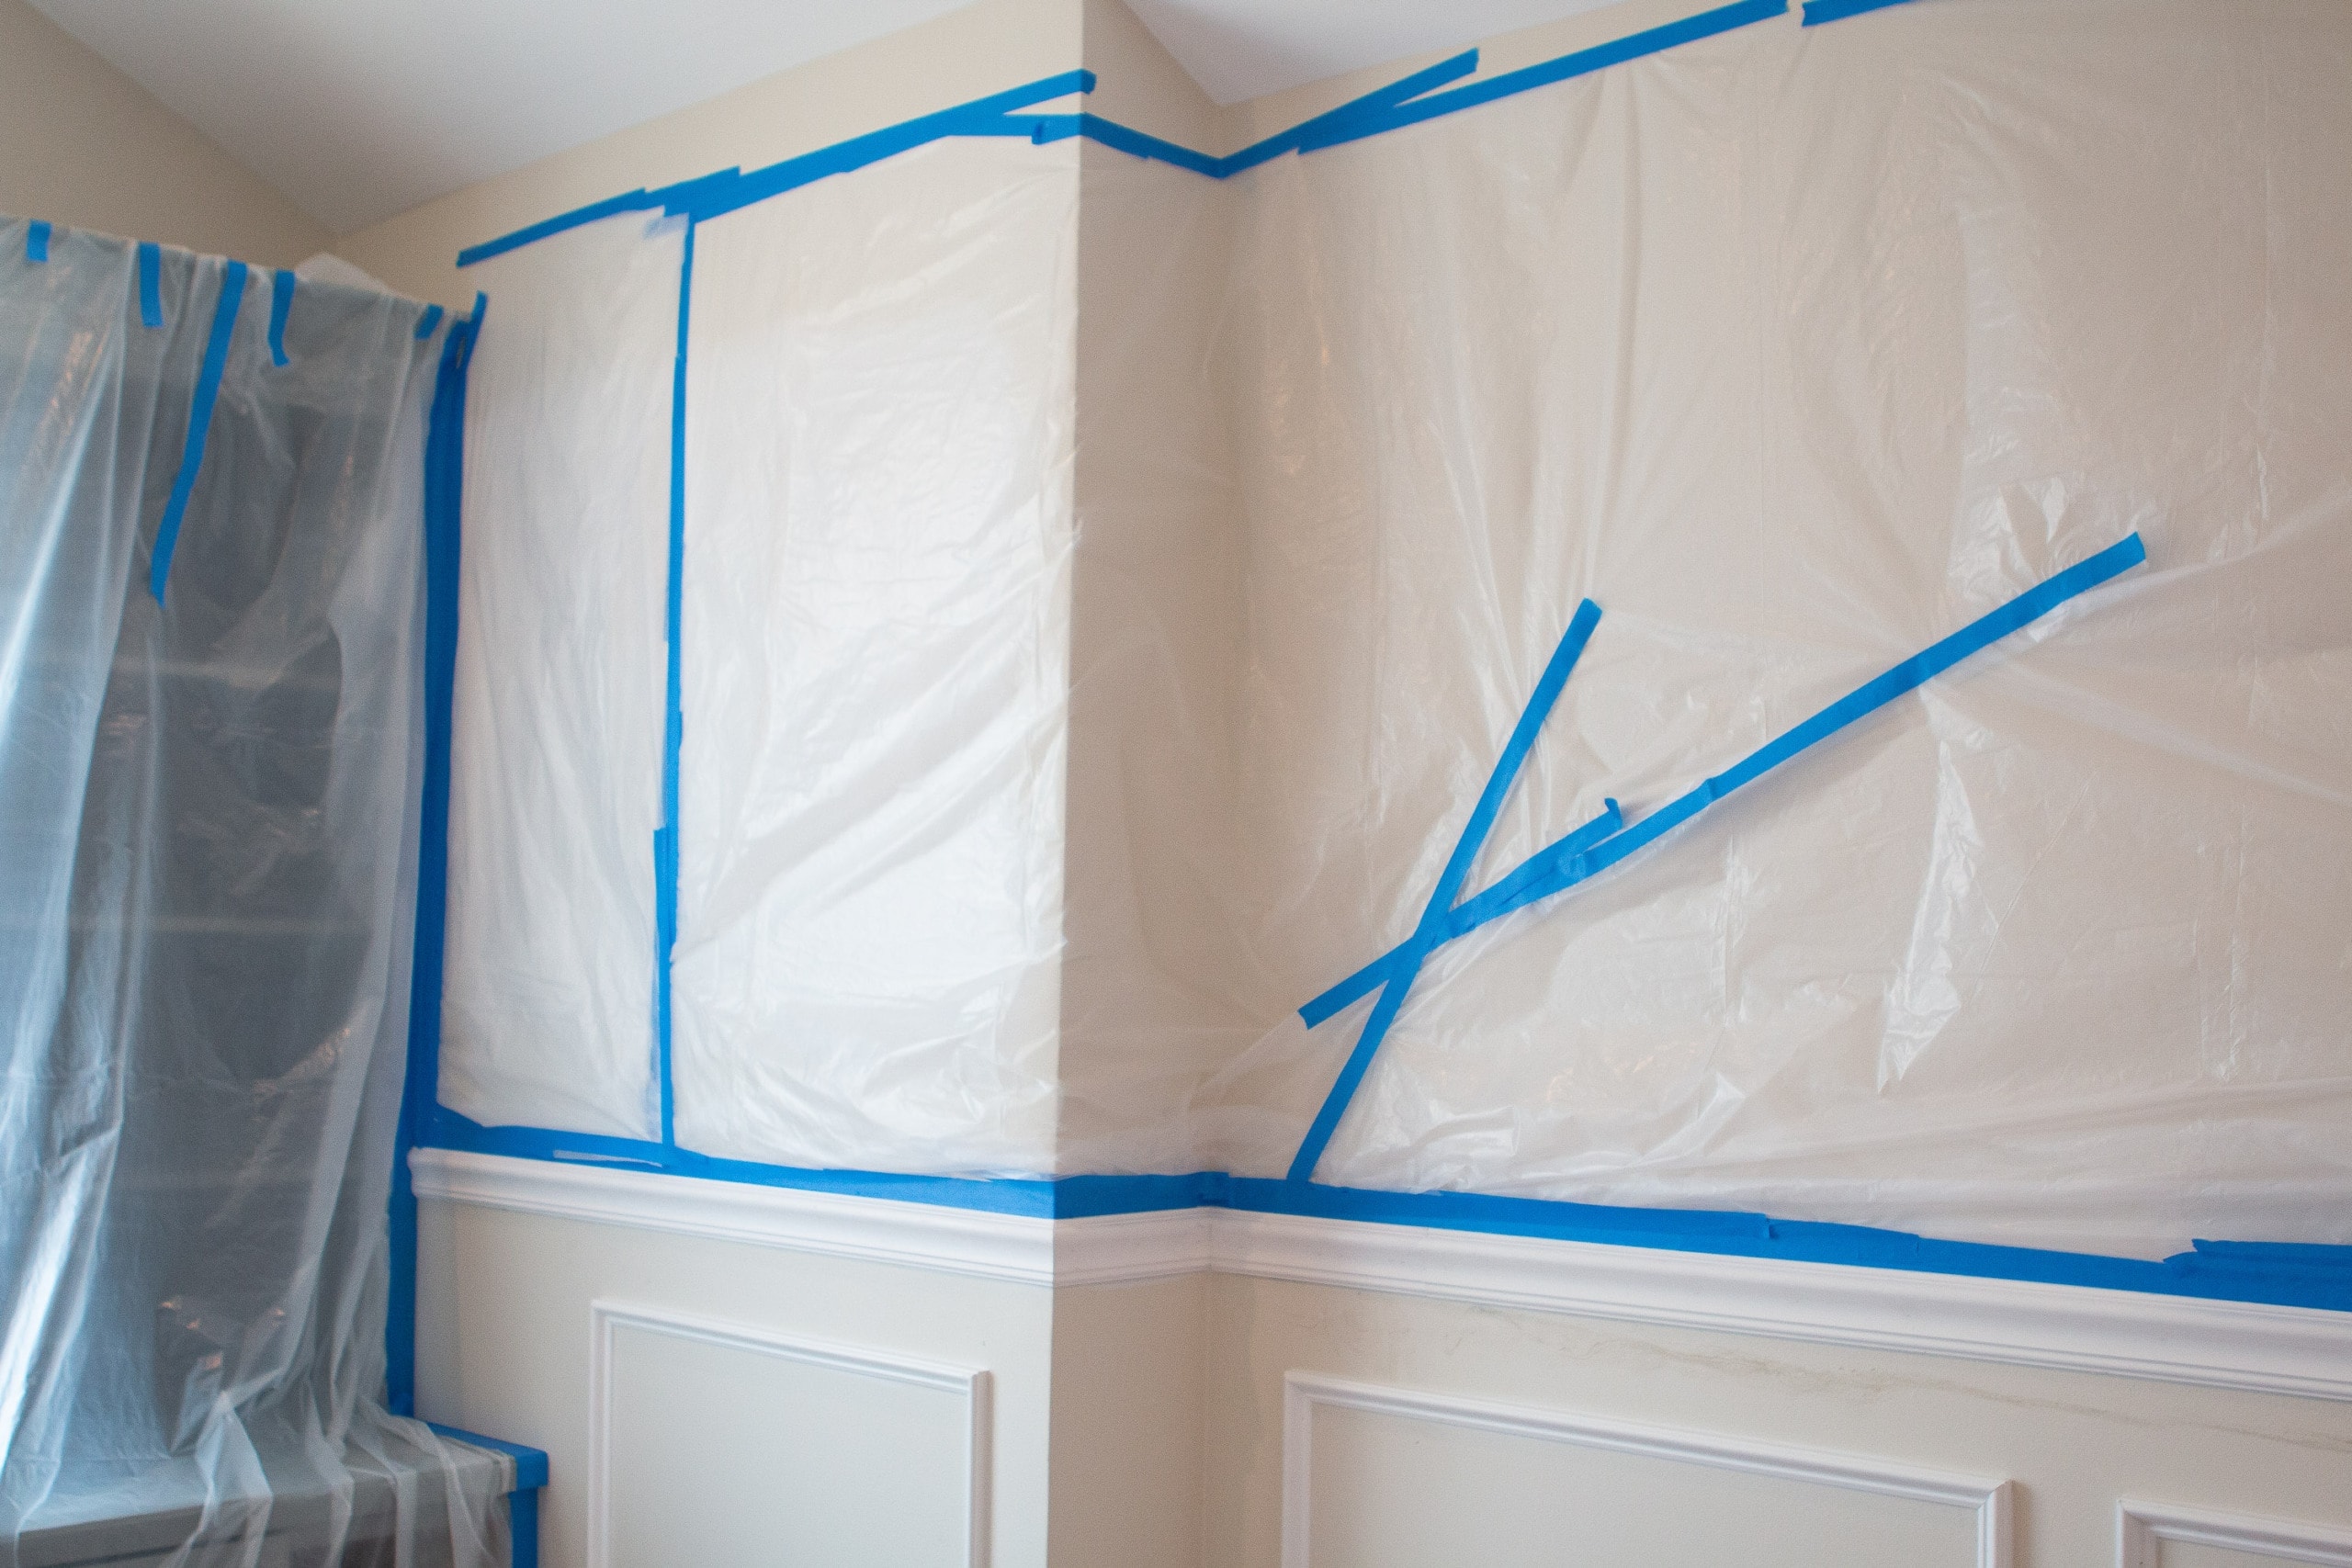
This means lots of plastic, painter’s tapes, and tarps. He protected every surface in the room that we didn’t want painted (doors, built-ins, floors, the top portion of the wall, etc.). I’d say it took him about two hours to prep the entire room, but he ended up saving a lot of time because the actual painting part was so fast (about five minutes for each coat)!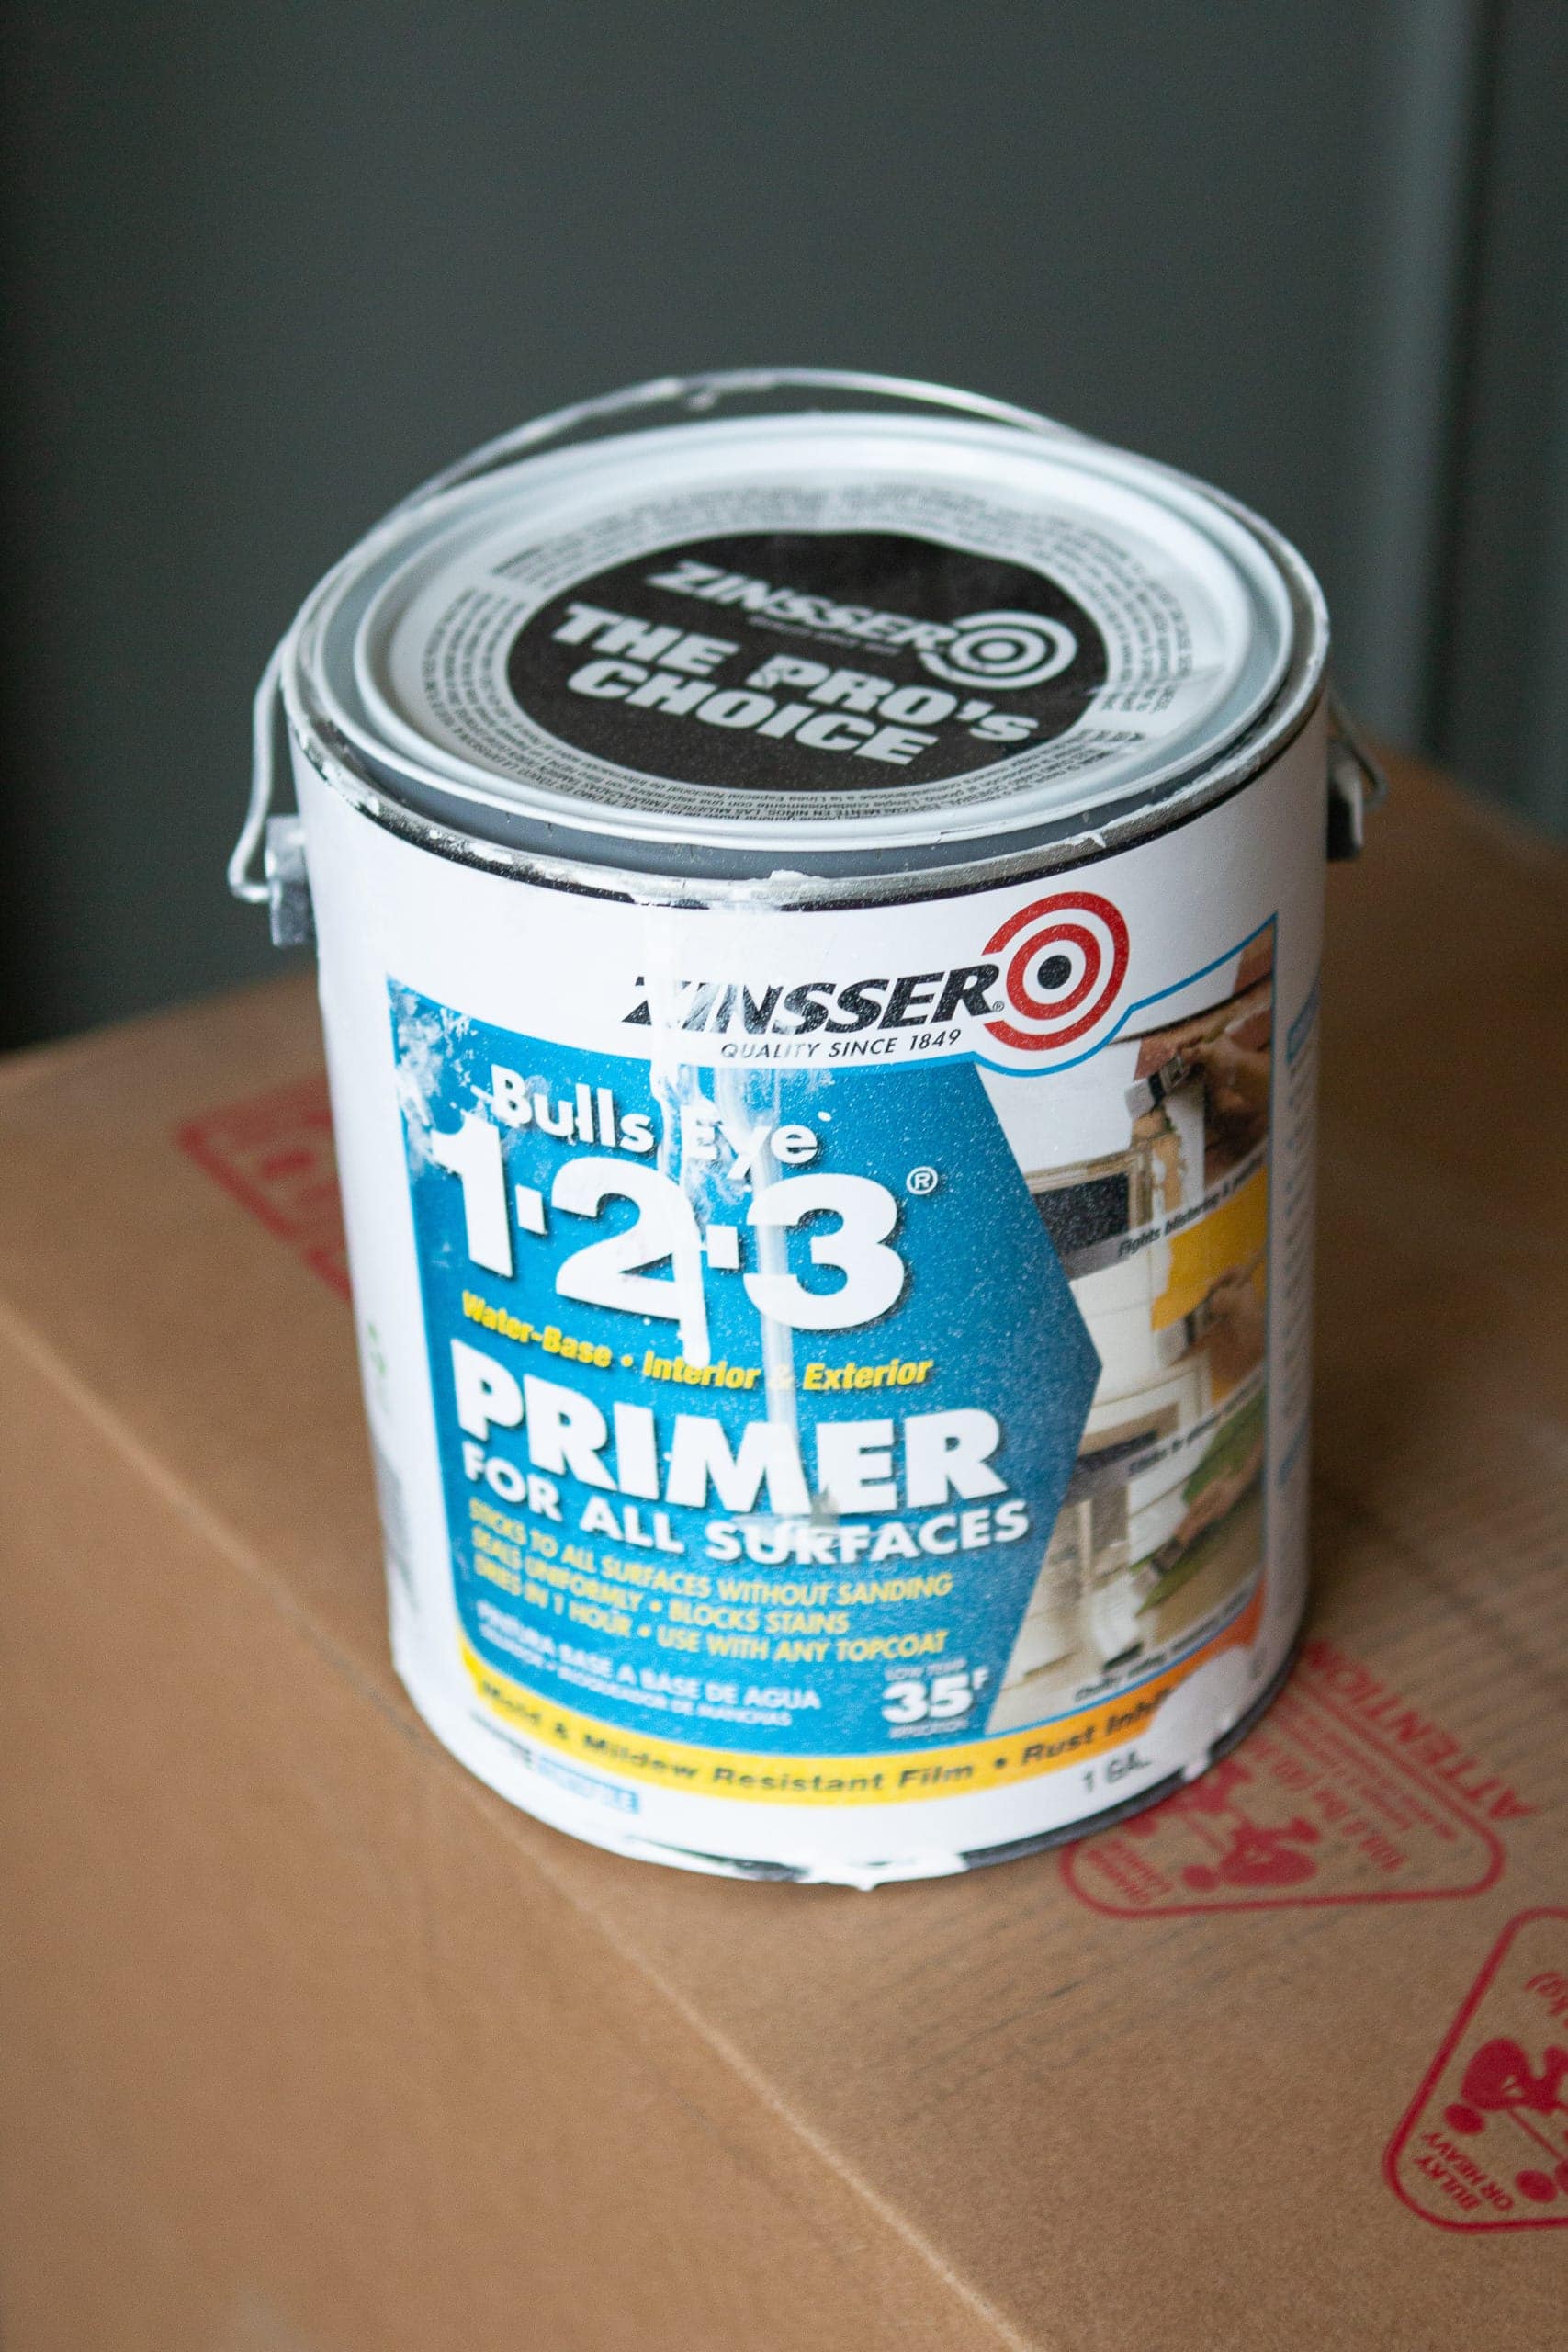
Finn sprayed one light coat of this primer. I use this primer for just about every project and it’s my favorite.  We waited until the primer was dry to the touch and then got the sprayer ready with paint.
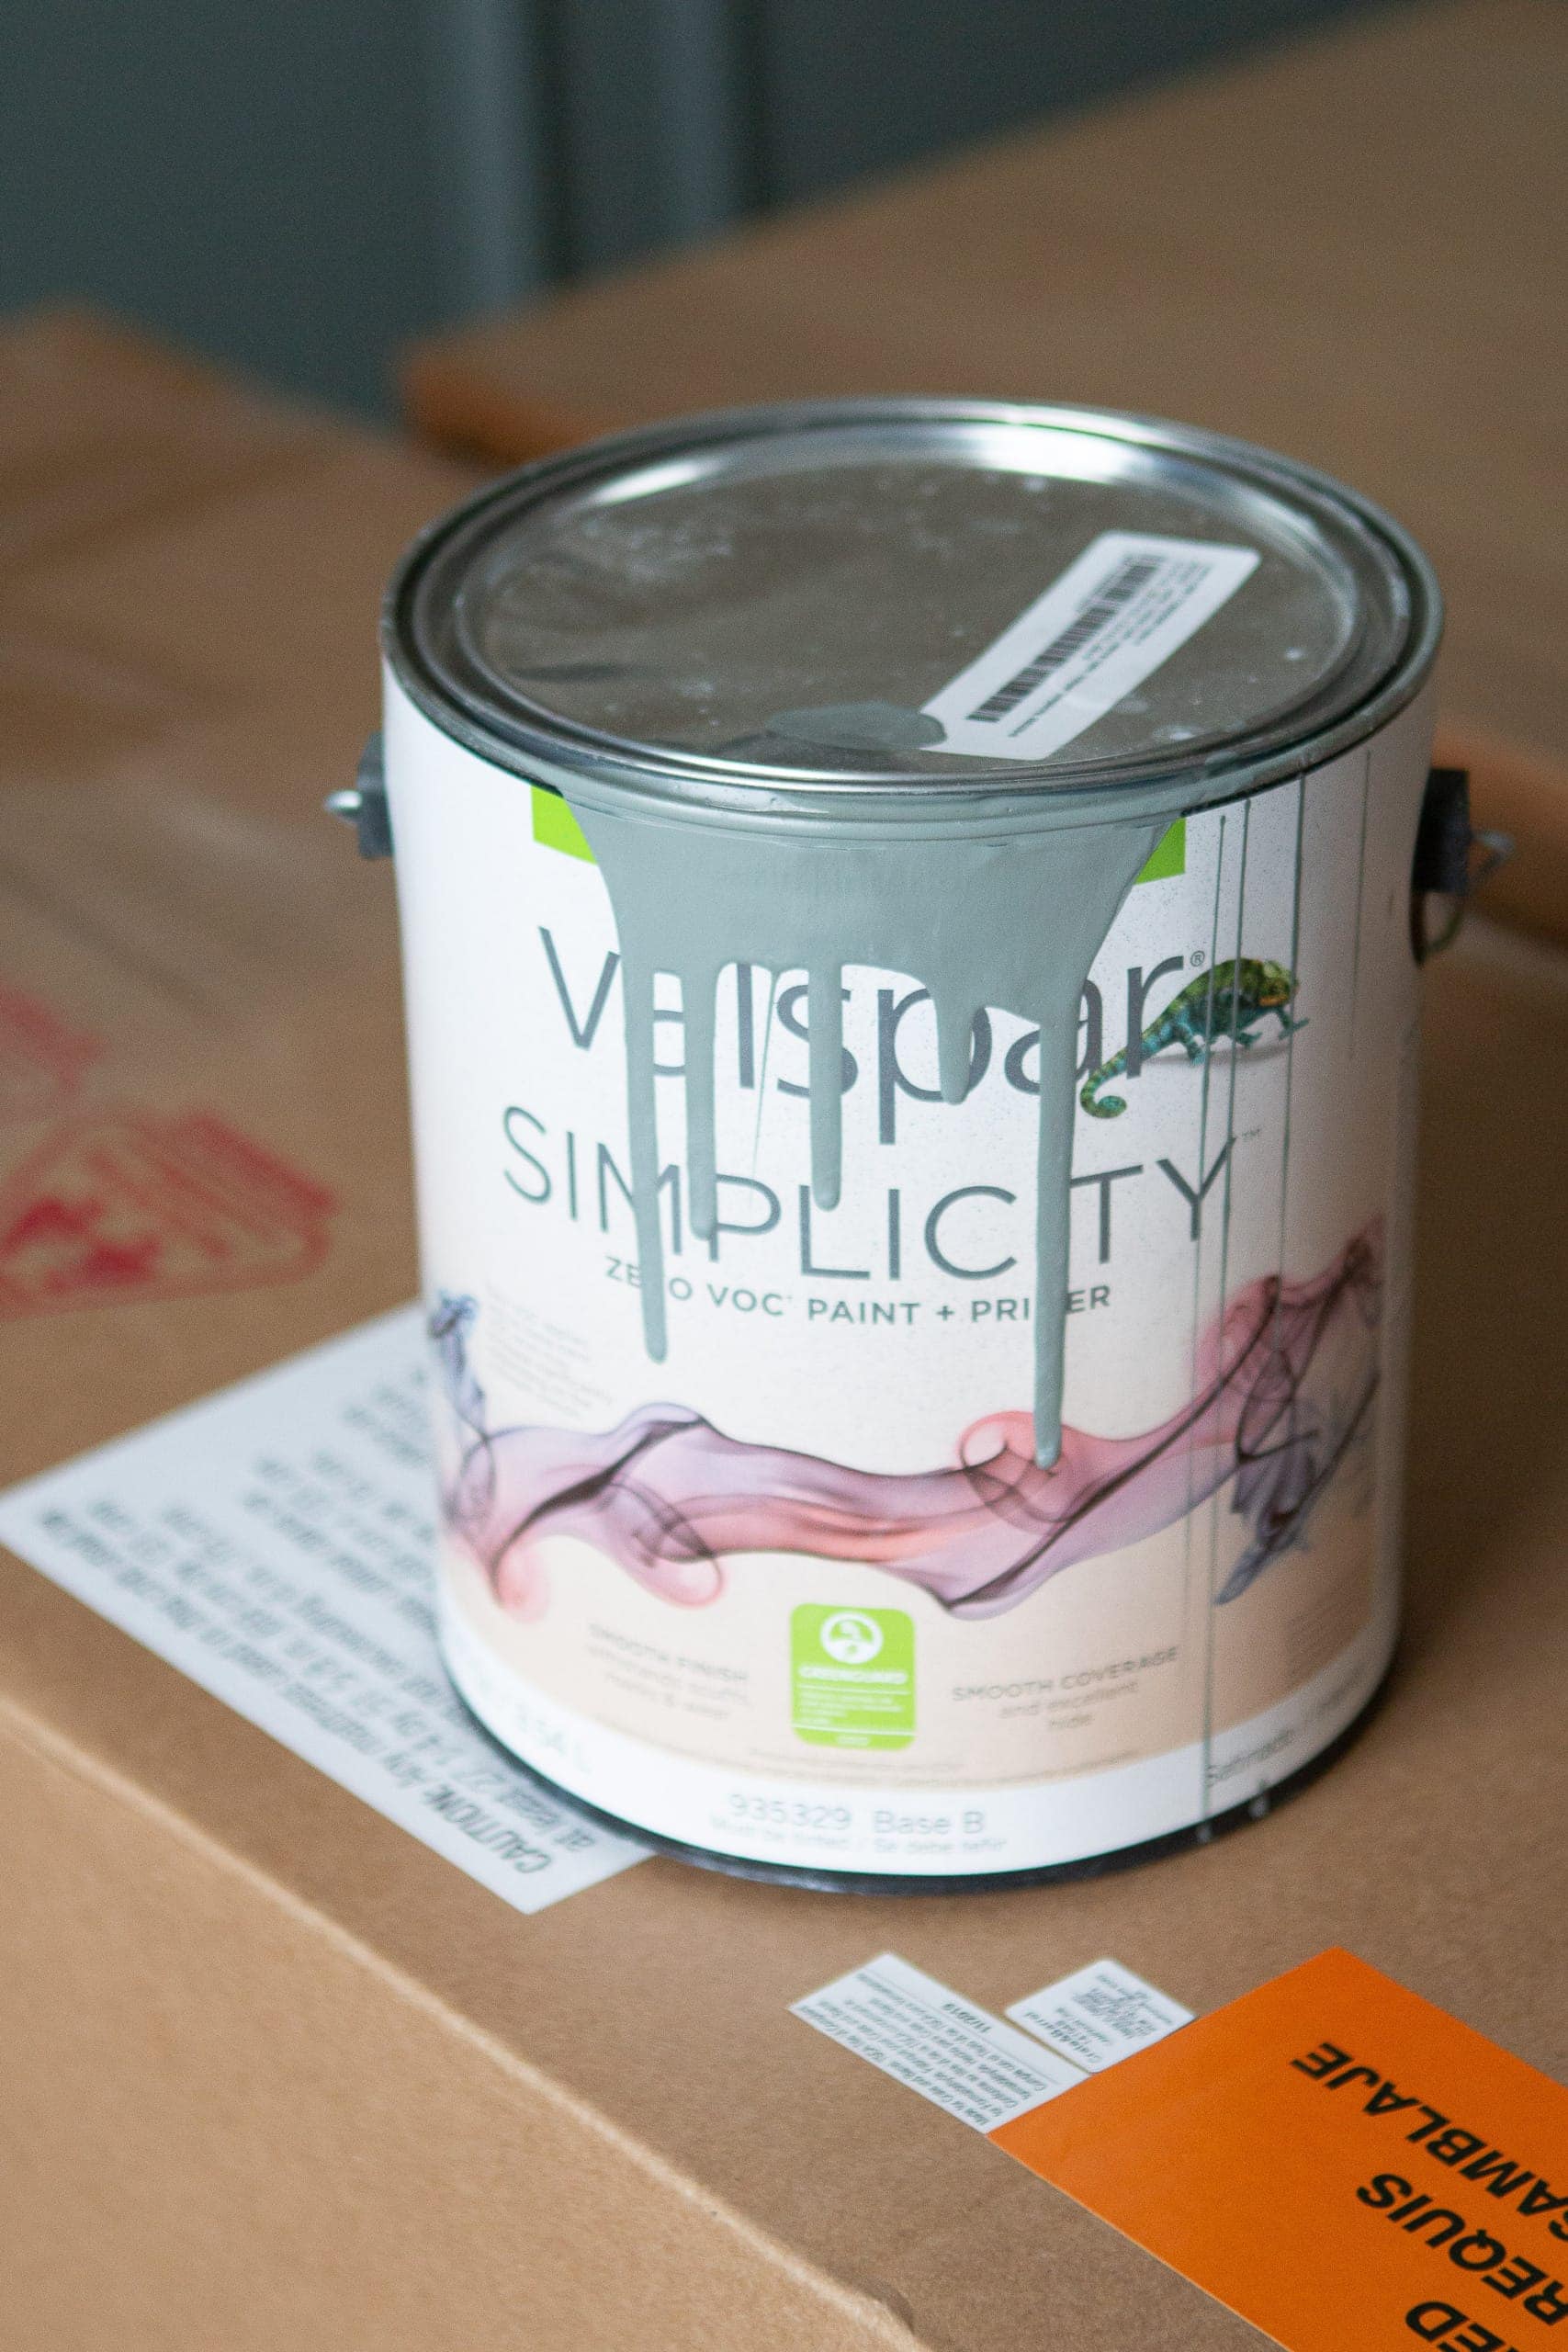
Because this is a nursery, I went with this Valspar Simplicity paint because it has zero VOC (volatile organic compound). I ended up taking some extra trim from the built-ins to Lowe’s to color match the paint for the walls. So sadly, my paint color doesn’t have a name…instead we matched it to the Kraftmaid cabinet color “Bonsai.” 
However, if you love the sage green color you can show the Lowe’s employee the photo above (with the paint formula on the can) and they’ll be able to mix it up for you! I hope that helps. 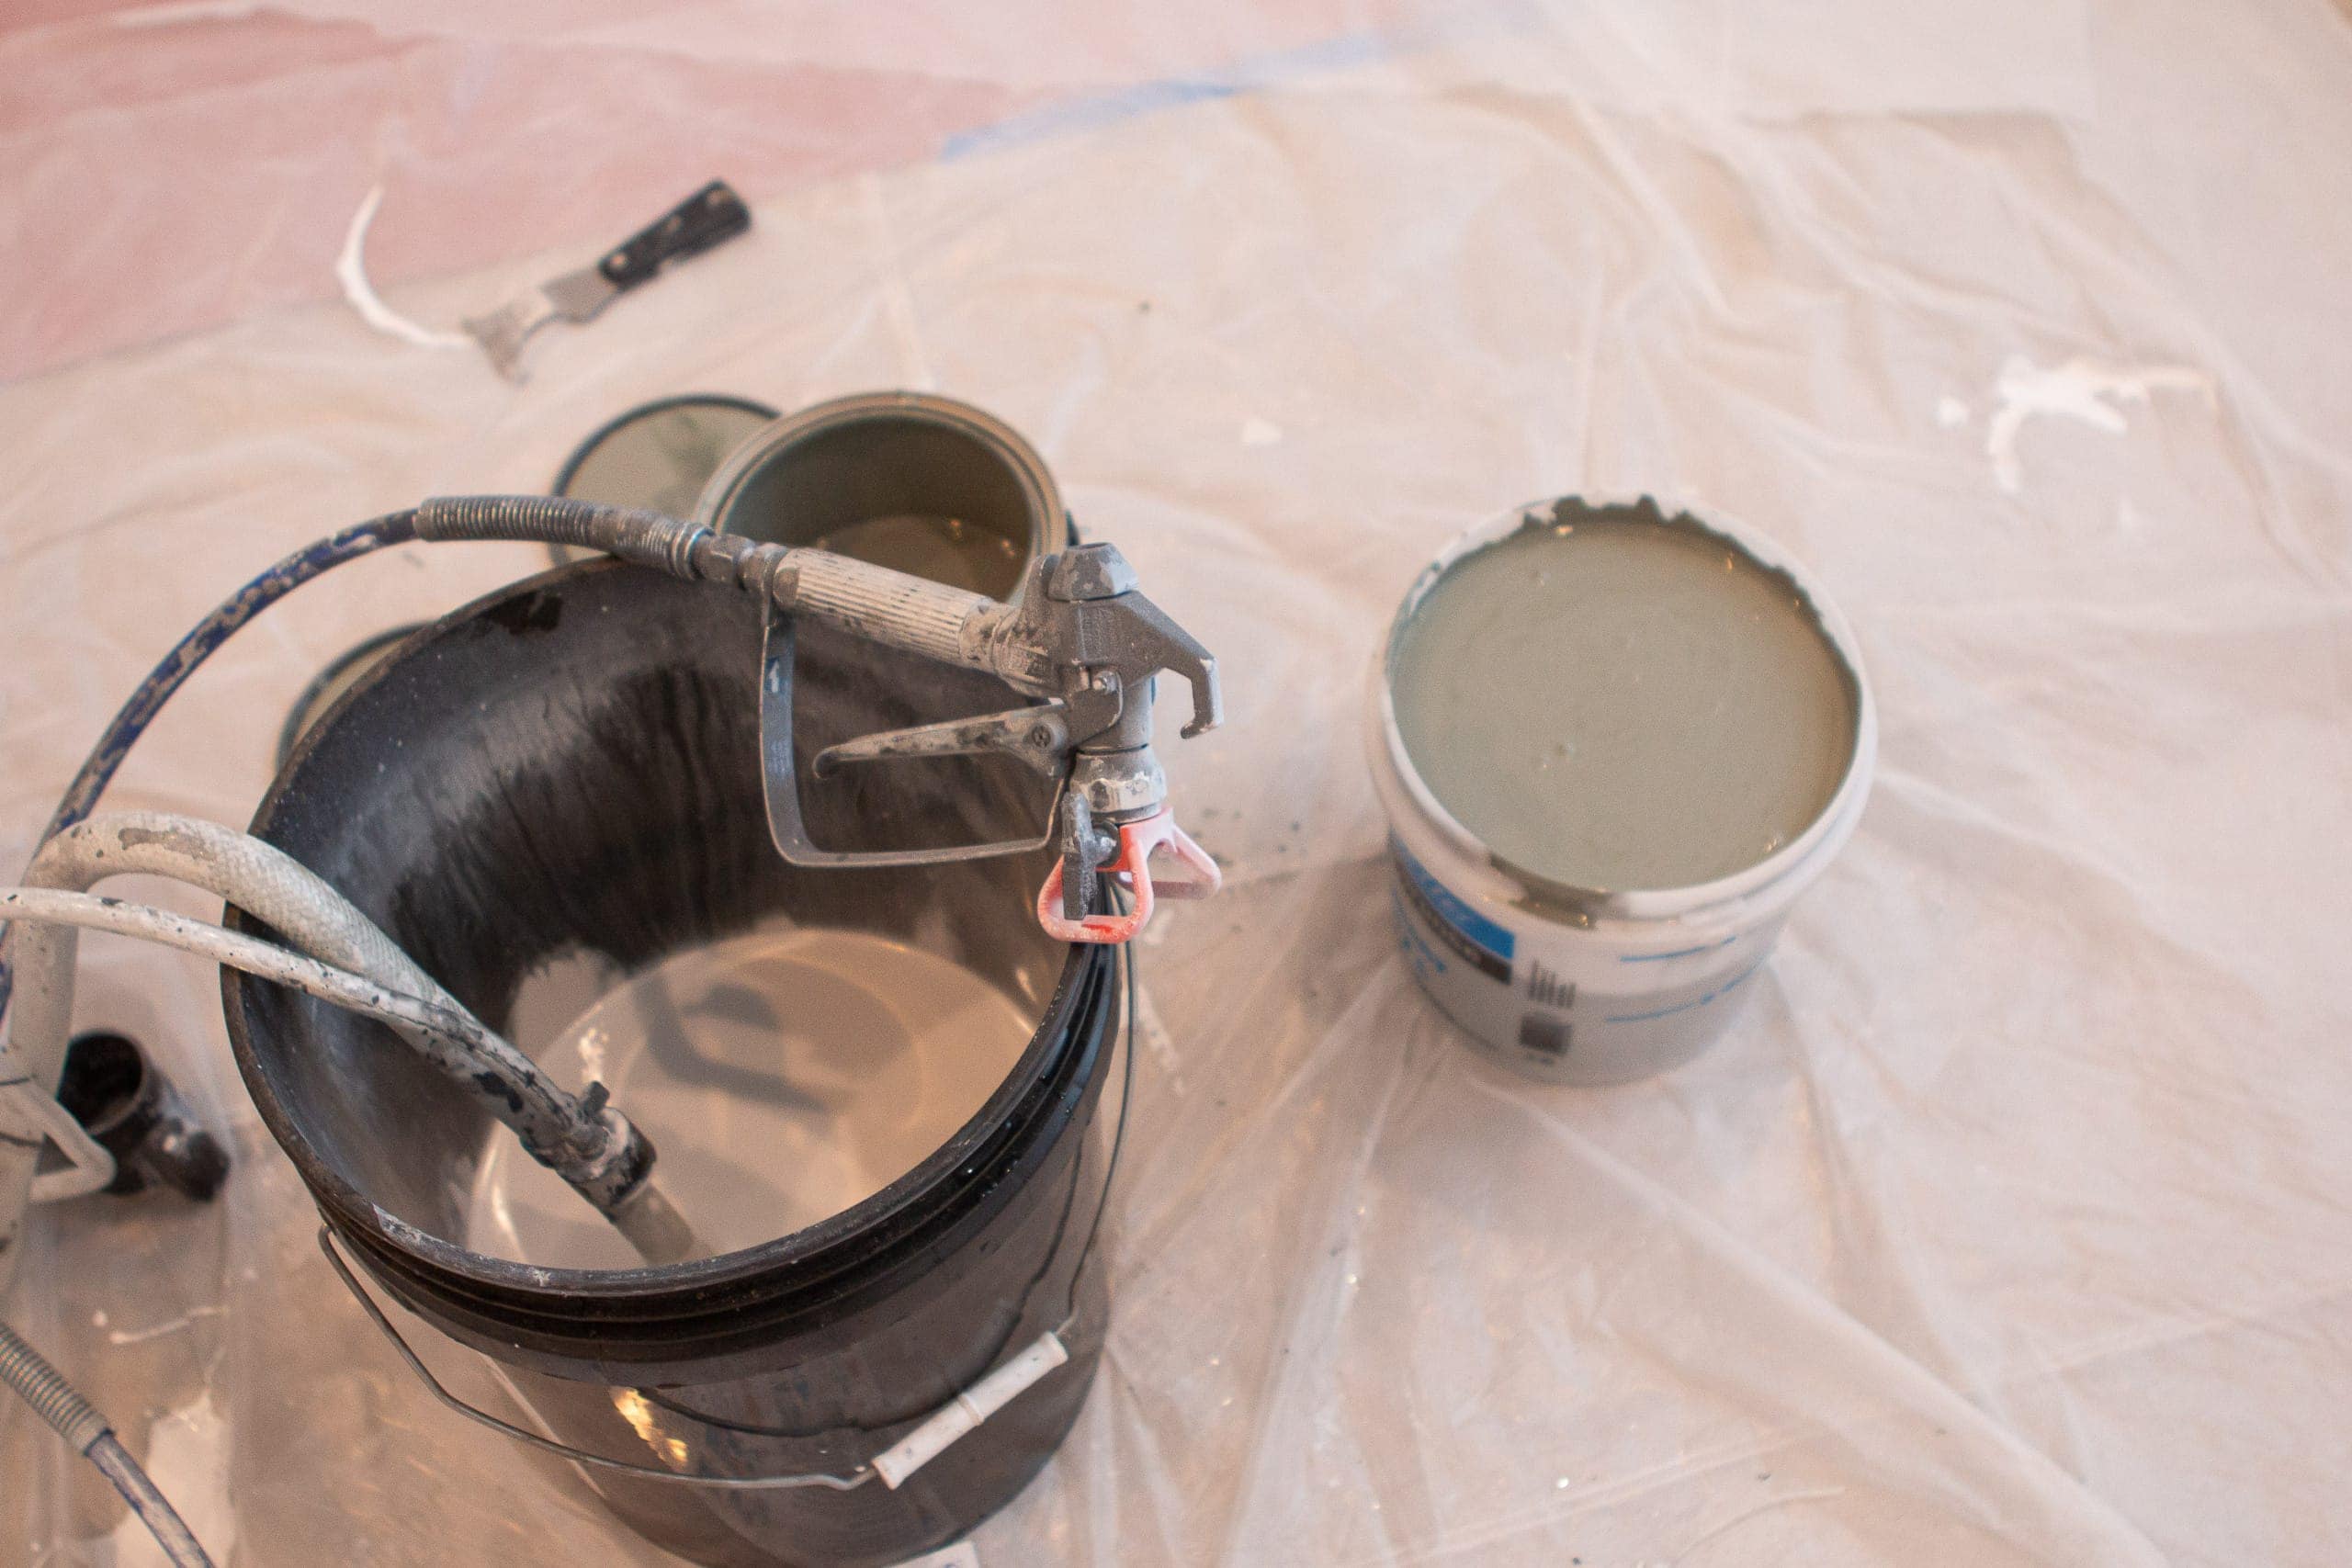
Finn sprayed two light coats of our sage green paint keeping the sprayer around 10-12 inches away from the wall. He let the wall dry completely in between coats. 
Here’s what it looks like all wet. I recommend removing the tape about thirty minutes after your final coat so your paint doesn’t peel with the tape.
Our New Green Chair Rail

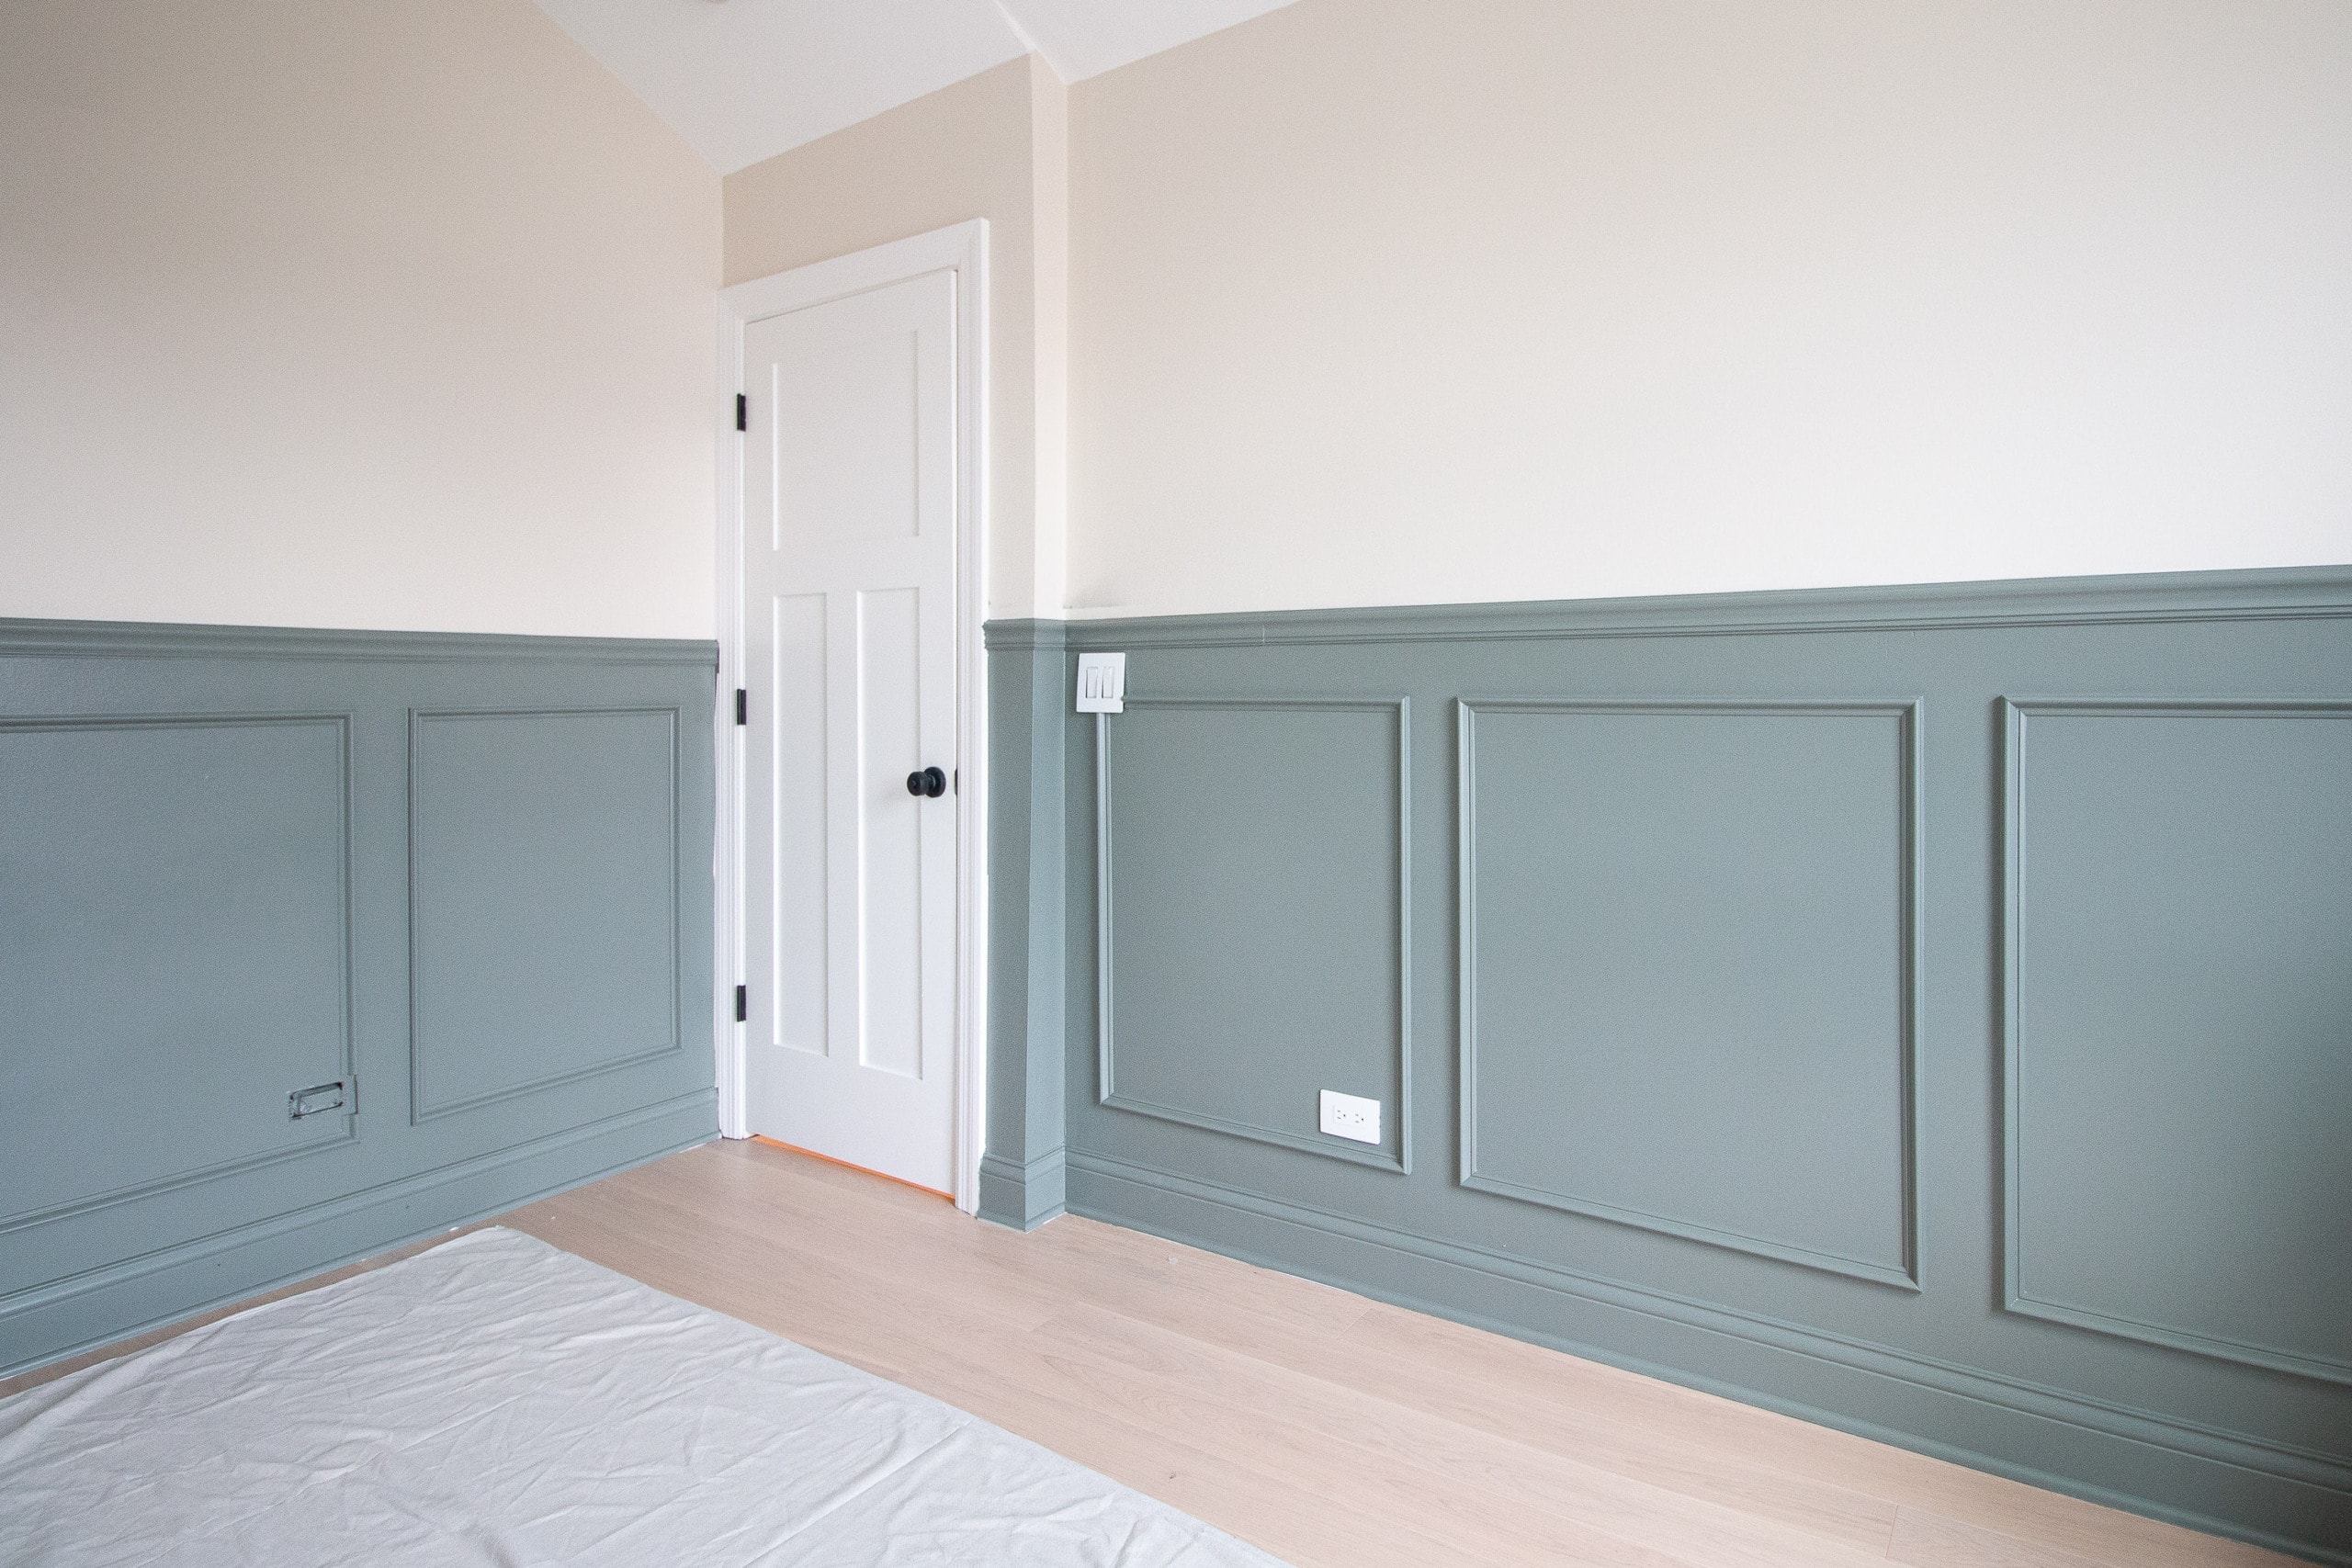
 I’m not gonna lie, I took these “after” photos in about five minutes before I had time to do touch-ups or add all of the outlets back on. Our nursery furniture was arriving that morning and I wanted to get some pics before the furniture was in the middle of the room!
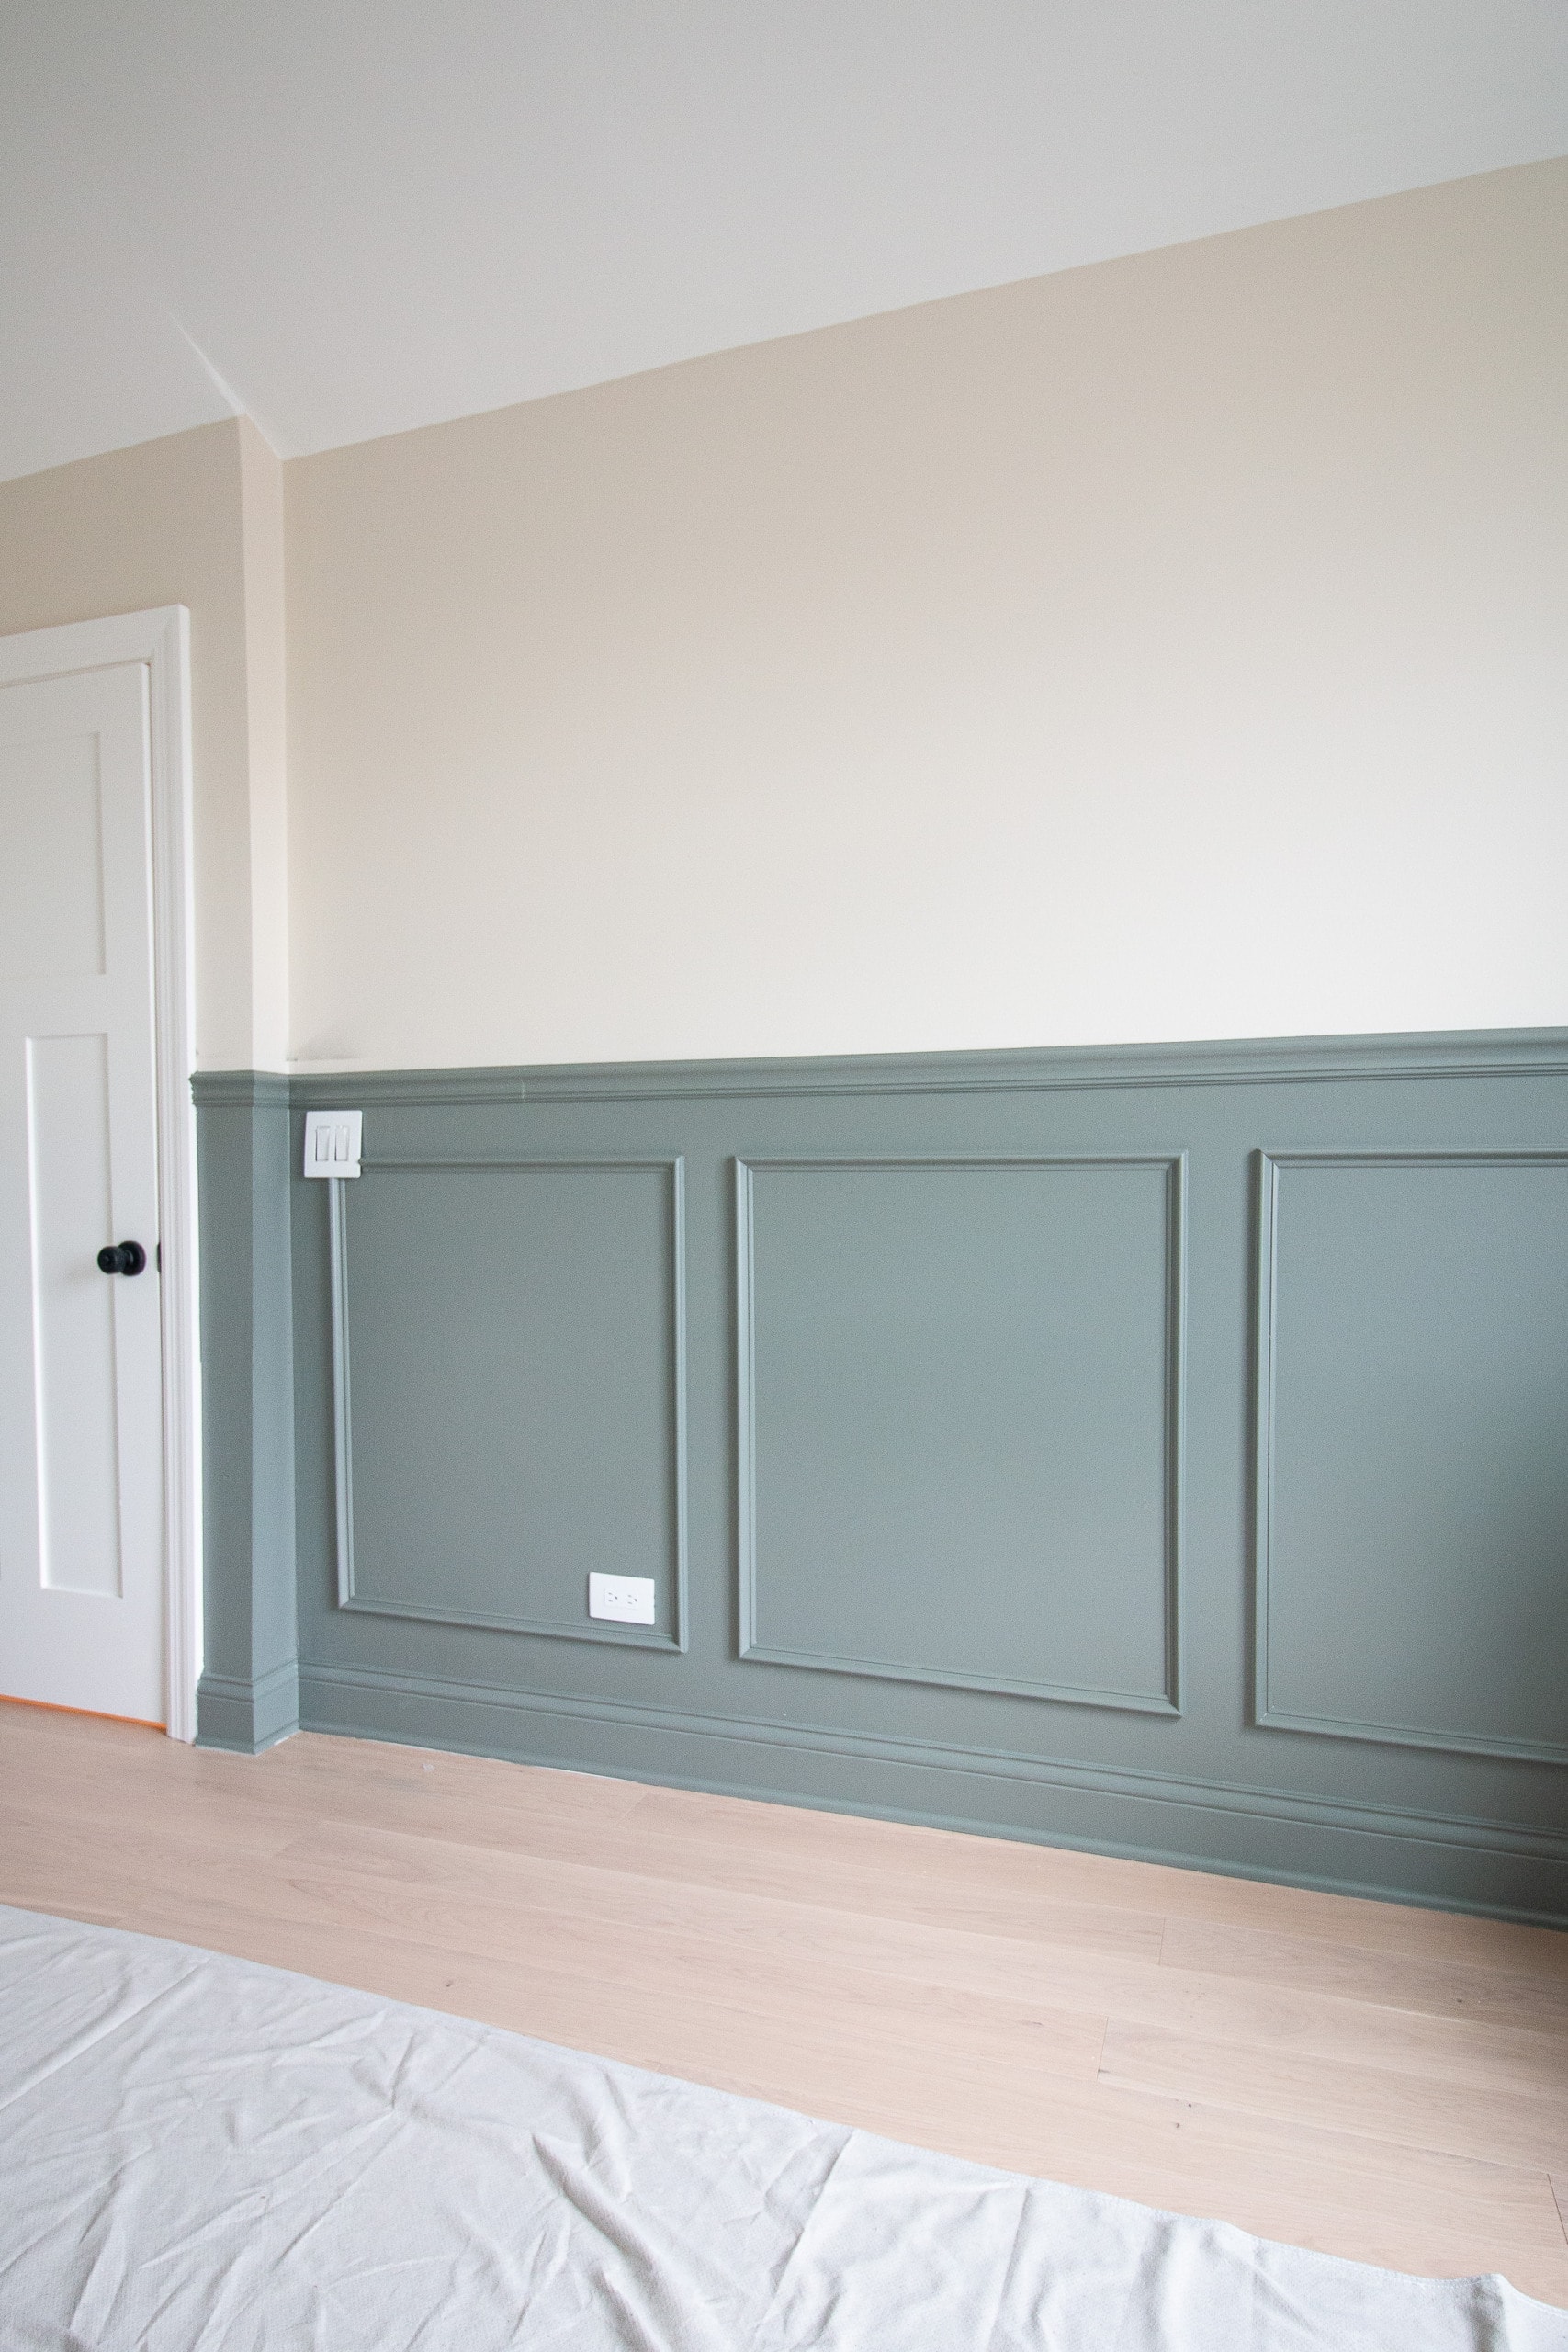
When planning the painting portion of this project, I was unsure if I should keep the baseboards white. I’m soooo happy I decided to paint it all green. I think it makes it look really high-end. Overall, I’m so pleased with how this project turned out. And I highly recommend adding DIY chair rail to your home. It’s a good first woodworking project that anyone can tackle.
What’s Next?

Now that the bottom portion of the wall is painted, I need to paint the top! I’m aiming for a really light blush pink color (but not too pink!). I’ll have the scoop on that project on the blog Monday.
Casey
Nursery Posts
- Wallpapered Closet
- Nursery DIY Plan
- Sage Green Built-In Reveal
- Nursery Furniture & Design Plan
- Adding DIY Chair Rail
- Painting the Nursery Blush
- Nursery Closet & Organized Drawers
- Window Treatment Plan
- Nursery Reveal
- Nursery Before and After + Sources
- Rory’s Nursery – Changes We’ve Made
- Making Special Vintage Art for Rory’s Room
- Creating Rory’s Nursery Gallery Wall