Figuring Out Window Treatments for an Arched Window
When we bought this house, I always envisioned our extra room as a nursery. It’s a large space with a great closet and it gets so much natural light. The perfect spot for our baby girl. 
However, when it came time to really make a design plan for the space and figure out the logistics, I realized I had one big issue…the arched window. How would I add window treatments to this tricky shape? I certainly couldn’t just go online and buy something generic, instead, it was going to have to be a custom window treatment (i.e. pricey!).
Why Cover the Arched Window?

I presented this issue on Instagram stories months ago and heard from so many moms out there. Many said that it was a must to get the room as dark as possible to help with our baby’s sleep. Others said it didn’t matter much at all. Here’s what I’m going to say right from the start…every child is different. One baby may need to sleep in a super dark room, whereas another mom’s baby can sleep in any sunlit space. Every child is different and every situation is different. There is no right or wrong way here.
For me, I sleep with a very dark room (you can read about our blackout shades in our master bedroom right here). I’m taking the Moms on Call sleep training course for our daughter and she recommends a dark room. Therefore, I wanted to make sure we could get the nursery as dark as possible.
Searching for an Arched Window Treatment

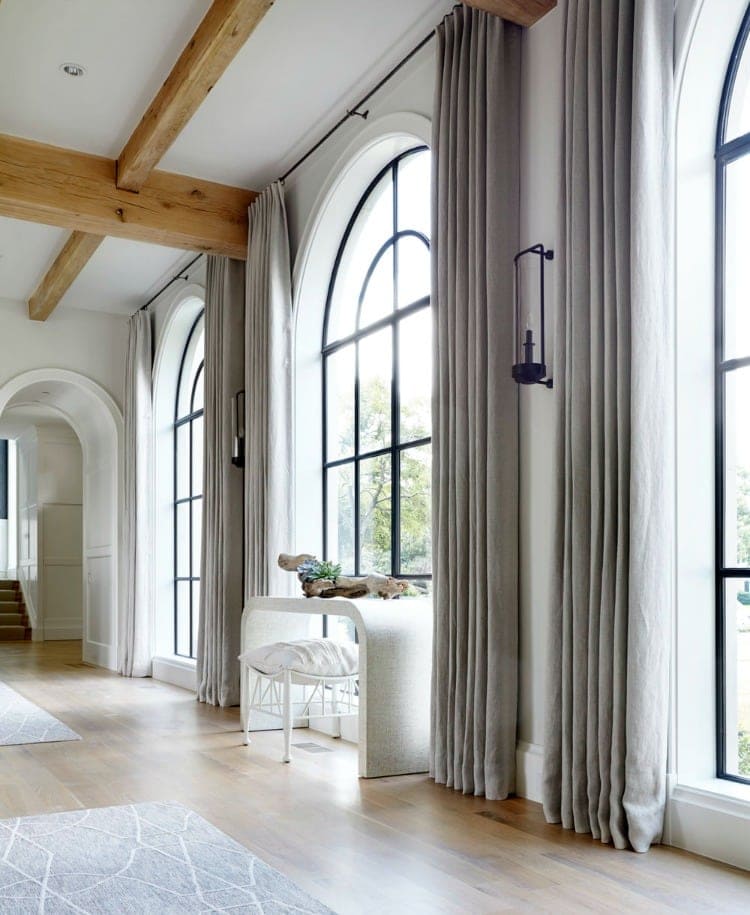
I ended up having 5 different companies come out to give me quotes and ideas on how to cover the arched window. My goal was something that could go up and down on the arch…I didn’t want it to be covered 24/7 because that arched window lets in so much gorgeous natural light. I also wanted some sort of blackout shades on the bottom two windows that we could pull up and down at night. Oh, and I should mention that I reaaaaallly wanted to avoid an accordion shade on the top arched window. That’s actually what was there when we bought the house and I tossed it immediately. That style is very dated and I wanted to avoid it in her brand new nursery.
One Large Roman Shade
My first idea was to do one large custom roman shade. The blackout roman shade would be attached to the arch and go up and down over all of the windows.

Photo via Rachel Parcell
I figured I could recreate this inspiration photo and I showed it to all of the installers who came over to check out my predicament. Sadly, they all said it was not possible to do an inside mount because of the depth of my window sill. They also discouraged me from doing an outside mount roman shade because it would be bulky and there would be lots of light seepage on the side. I inquired about doing 3 separate roman shades, with one on the arch that could go up and down. However, every professional said it wouldn’t be able to fully open and would cover most of the window anyways.
Not what I wanted to hear, but onto the next idea…
Plantation Shutters
My next idea was to do plantation shutters. While I’m not sure they go with the style of our house, I figured it was definitely worth looking into. I had one company that specializes in plantation shutters come take a look at my windows and he recommended custom shutters that open on each half. Kinda like this picture…
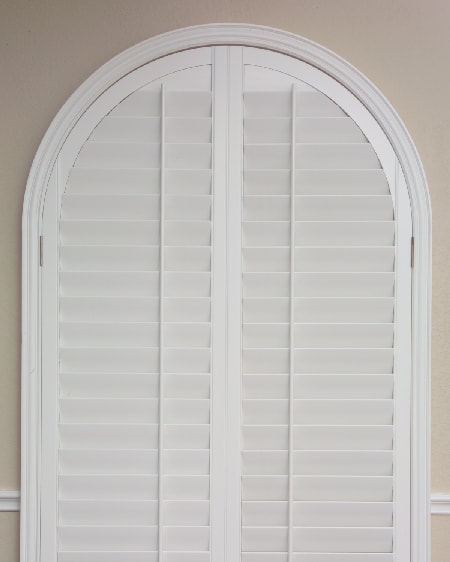
Photo via Superior Blinds and More
I could then open them up completely, partially let light into the room by changing the slats, or close them all to get it as dark as possible. I really liked this idea, but it came with a few cons. First, there would be quite a bit of light seepage on the sides due to the depth of my arched window and the bottom windows. Second, the cost!! This was going to run me $1,750 and they highly suggested doing another one in the office for another $1,750.
It didn’t even occur to me to do it in the office too, but it makes sense. Adding a permanent fixture to one window and not the other, when these arched windows are so prominent on the front of our house could look a tad awkward. But $3500?! Ouch.
Honeycomb Shades
Okay, onto the next window treatment idea…honeycomb shades. As I admitted earlier, these are not my favorite kind of window treatment because they scream “1990’s”. However, I was willing to try anything!
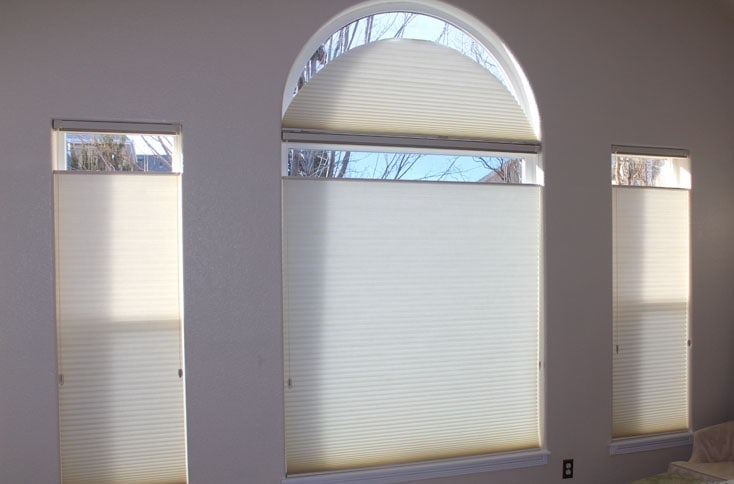
Photo via Flat Iron Window Fashions
I had someone come out to specifically measure for honeycomb shades and he was confident we could do a moveable arch and one shade below…all of which would be blackout. Perfect! He took measurements and told me he would call me with the exact plan for the arch.
He called me back and said that with my particular arch size and depth, it wasn’t possible to do an arch that would move up and down. I could only do an accordion shade that would stay. Noooo!
Custom Drapery
I then started looking into drapery options. If we didn’t have our built-ins, I would have just done a long curtains and a rod over the arch from the very start.
Design via Tracy Hardenburg
However, our built-ins get in the way of this being a viable option. But, I still thought maybe I could do a rod over the arch and I would have curtains that skimmed the top of the window seat. That was my gameplan until the built-ins were installed.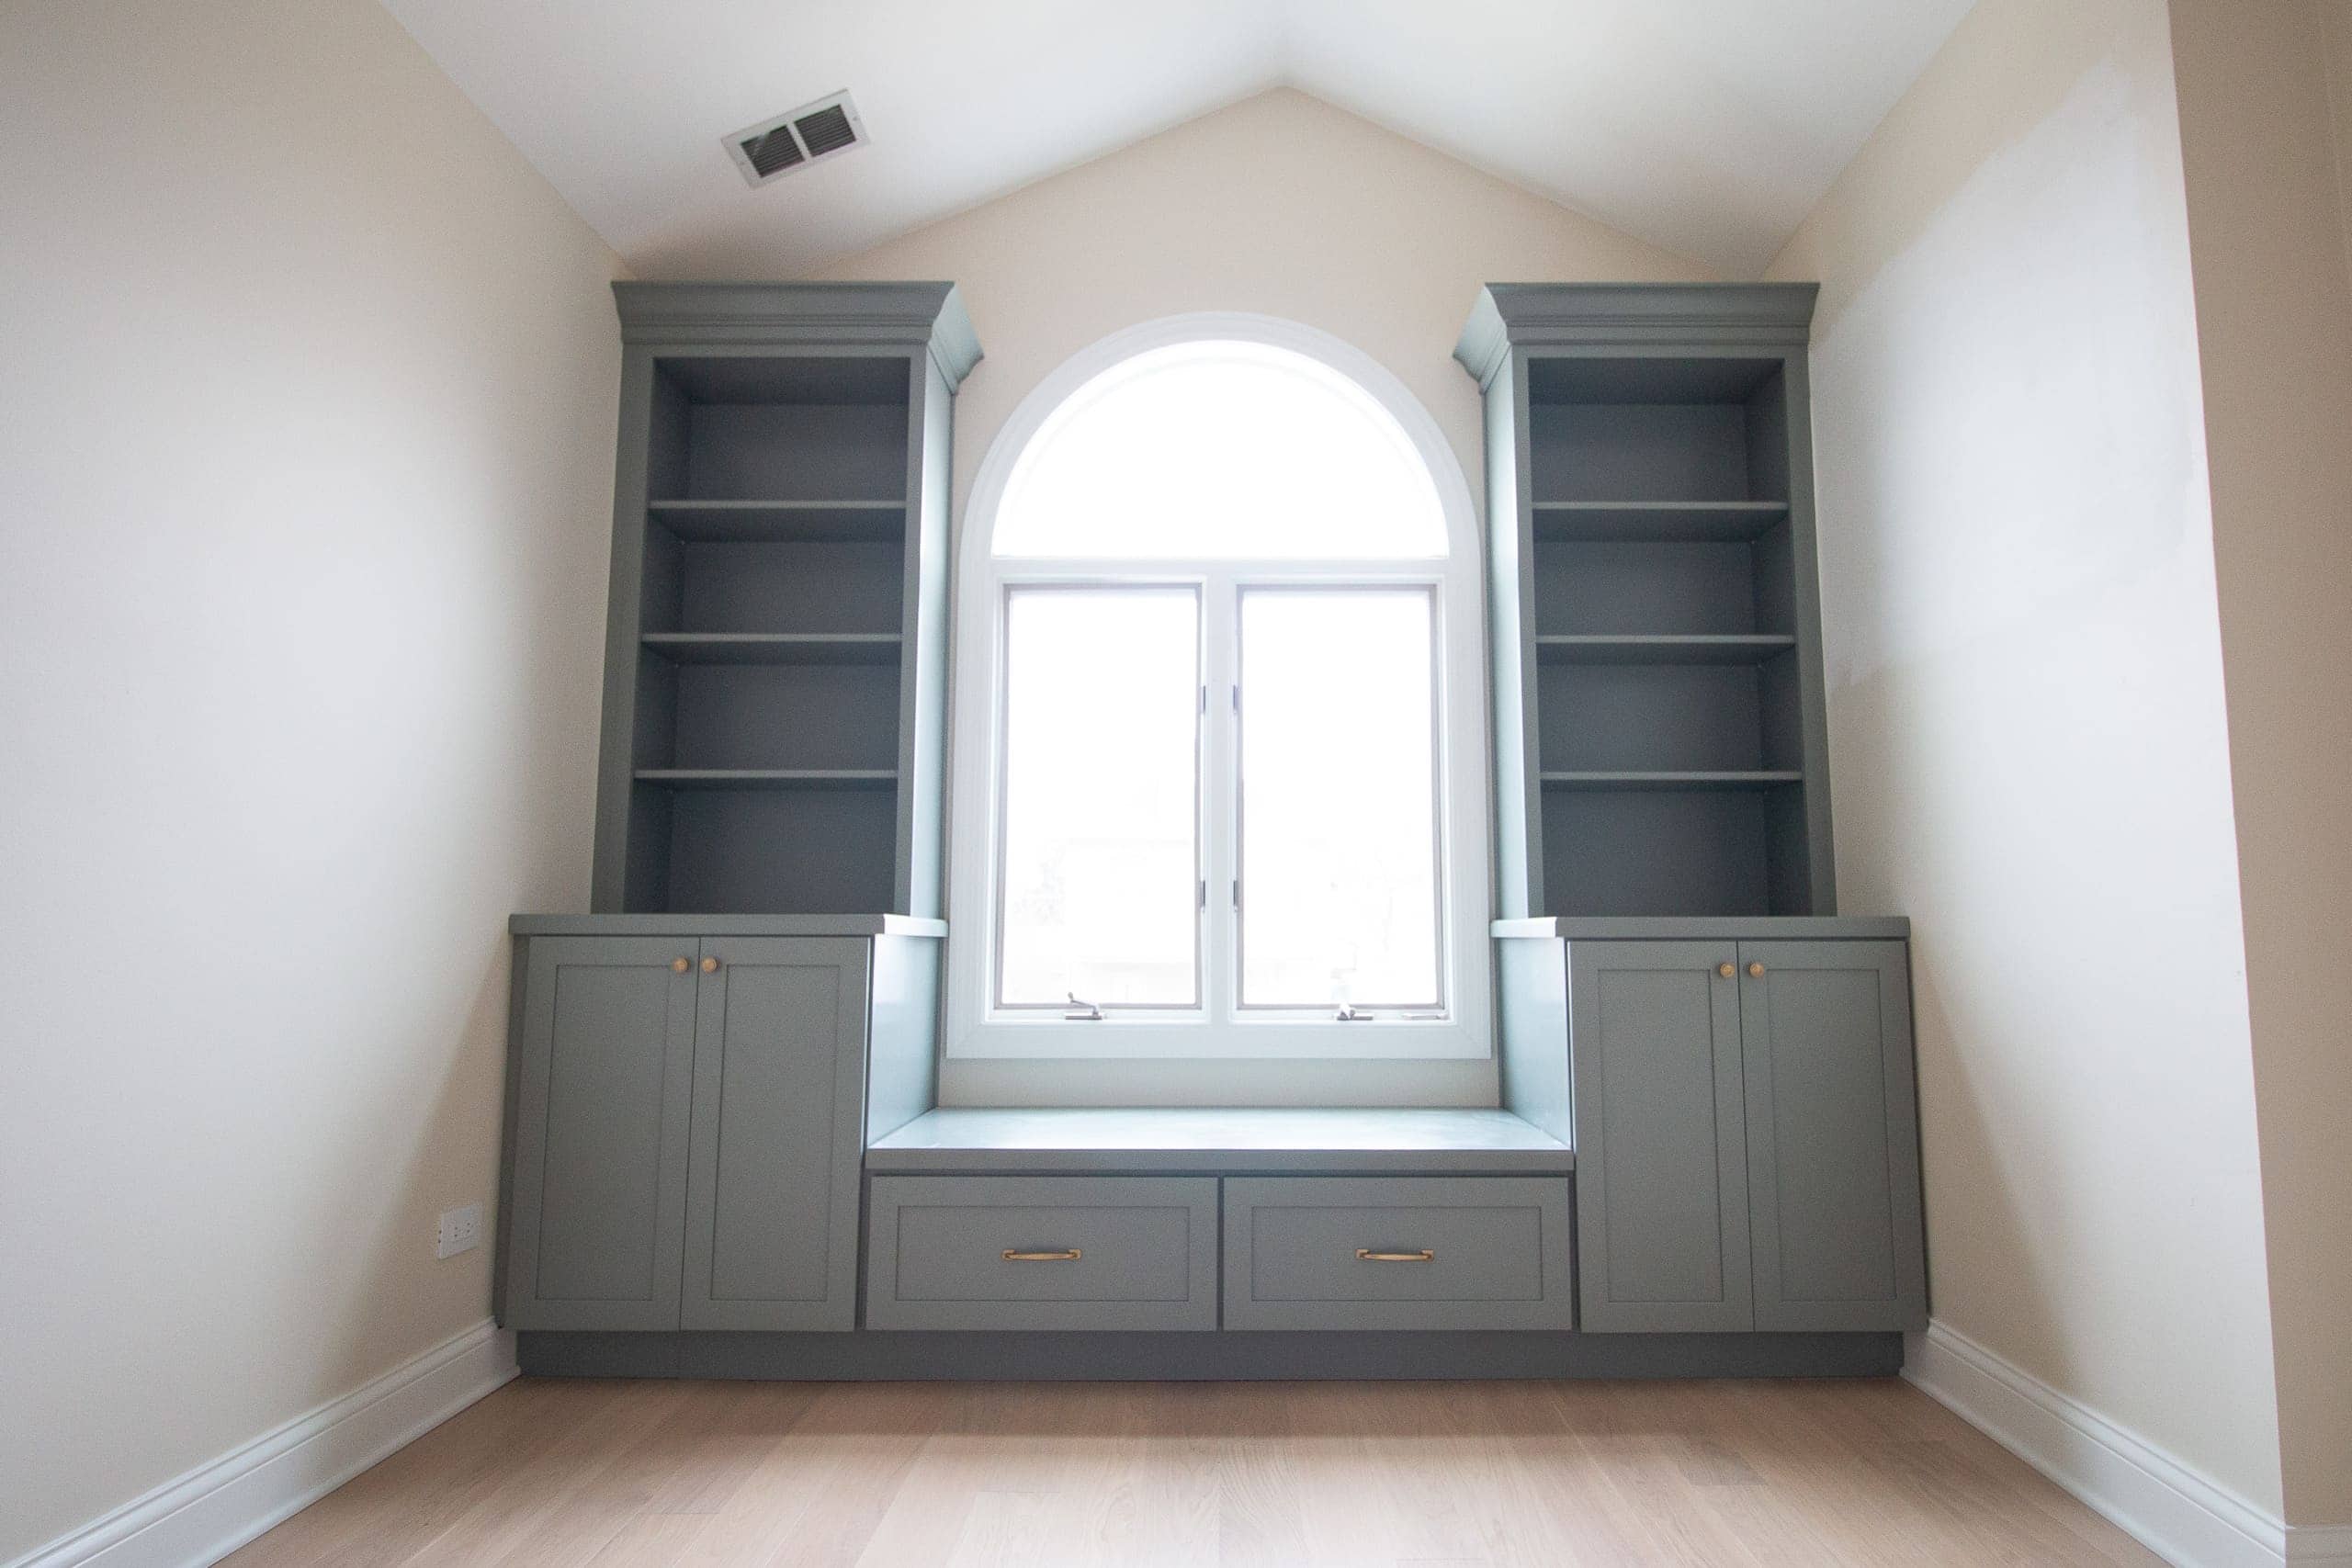
As you can see, there would be no way to add curtains above the window without running into the built-ins on the side. This idea was out.
My Final Solution
I had Jen from Urban Workroom come out because I thought she might have a workaround for the drapery idea and maybe we could somehow make it work. Sadly, she said no…but she had another idea. We do blackout roman shades on the bottom windows. Easy peasy. Then, for the top, we make an insert in the same fabric that could be placed in the window at night and removed during the daytime. They would make it super durable and thick (kind of like a cushion) and even sew a little tab on it so I could easily pull it in and out.
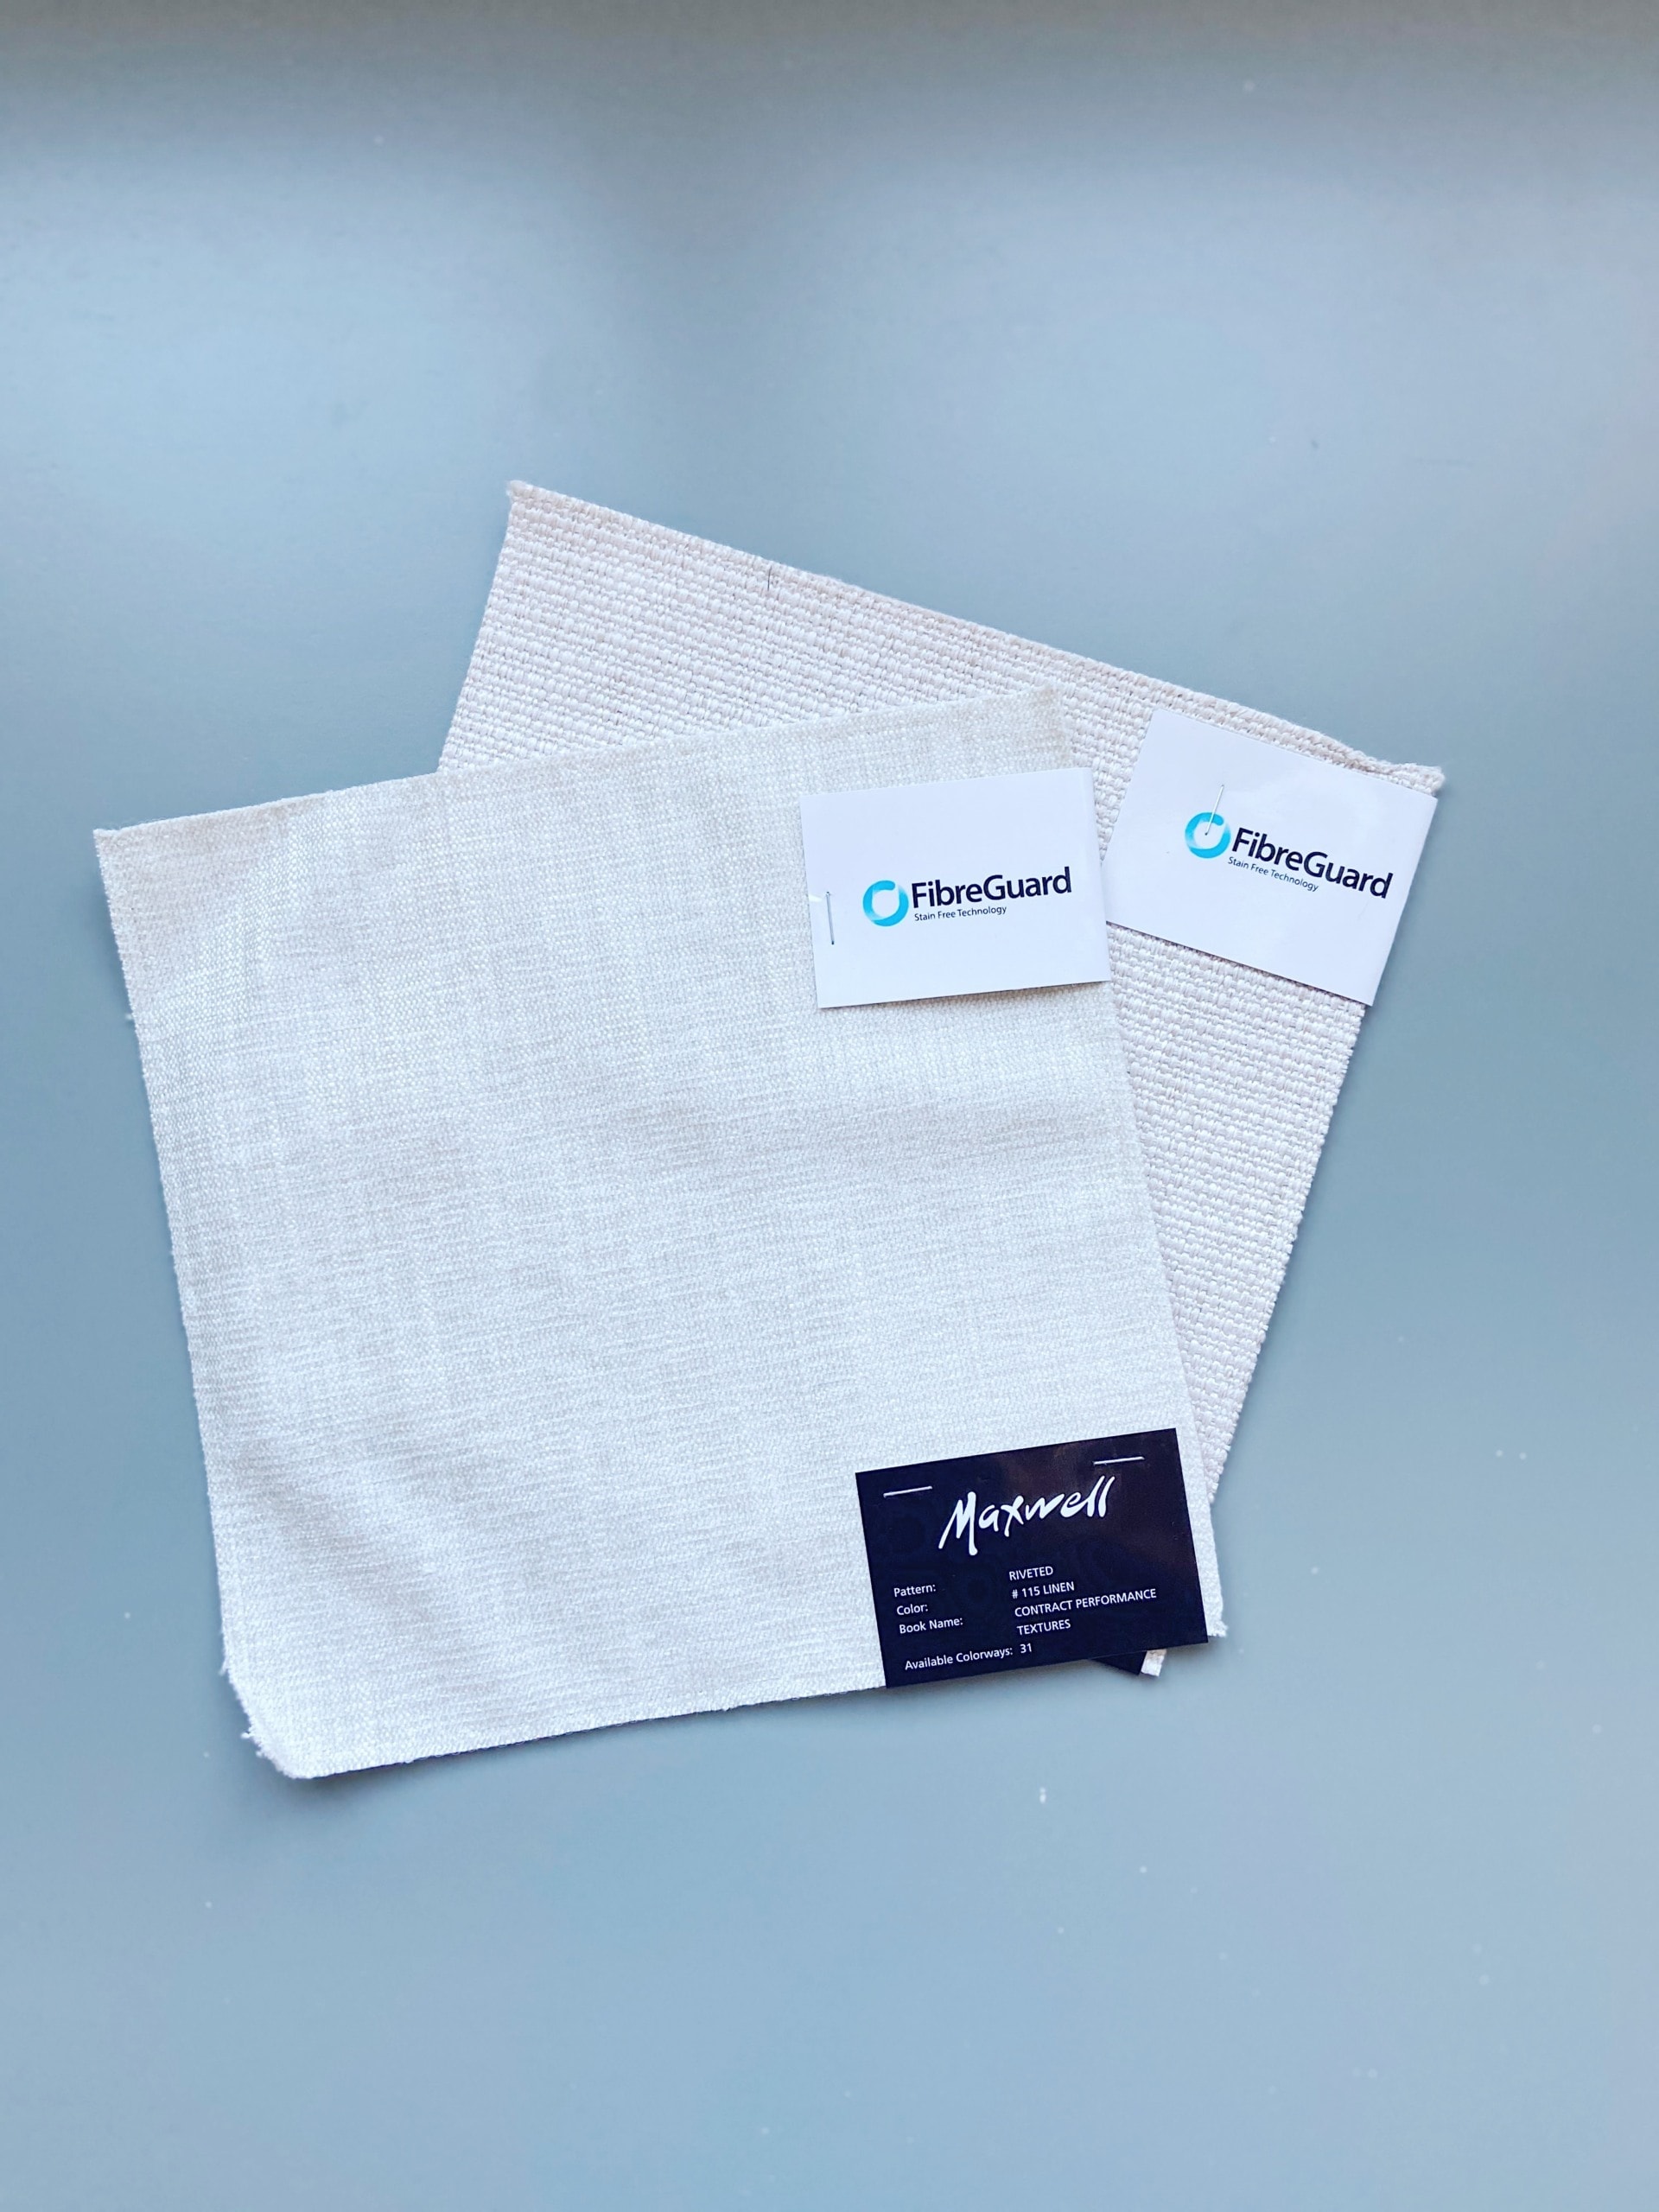
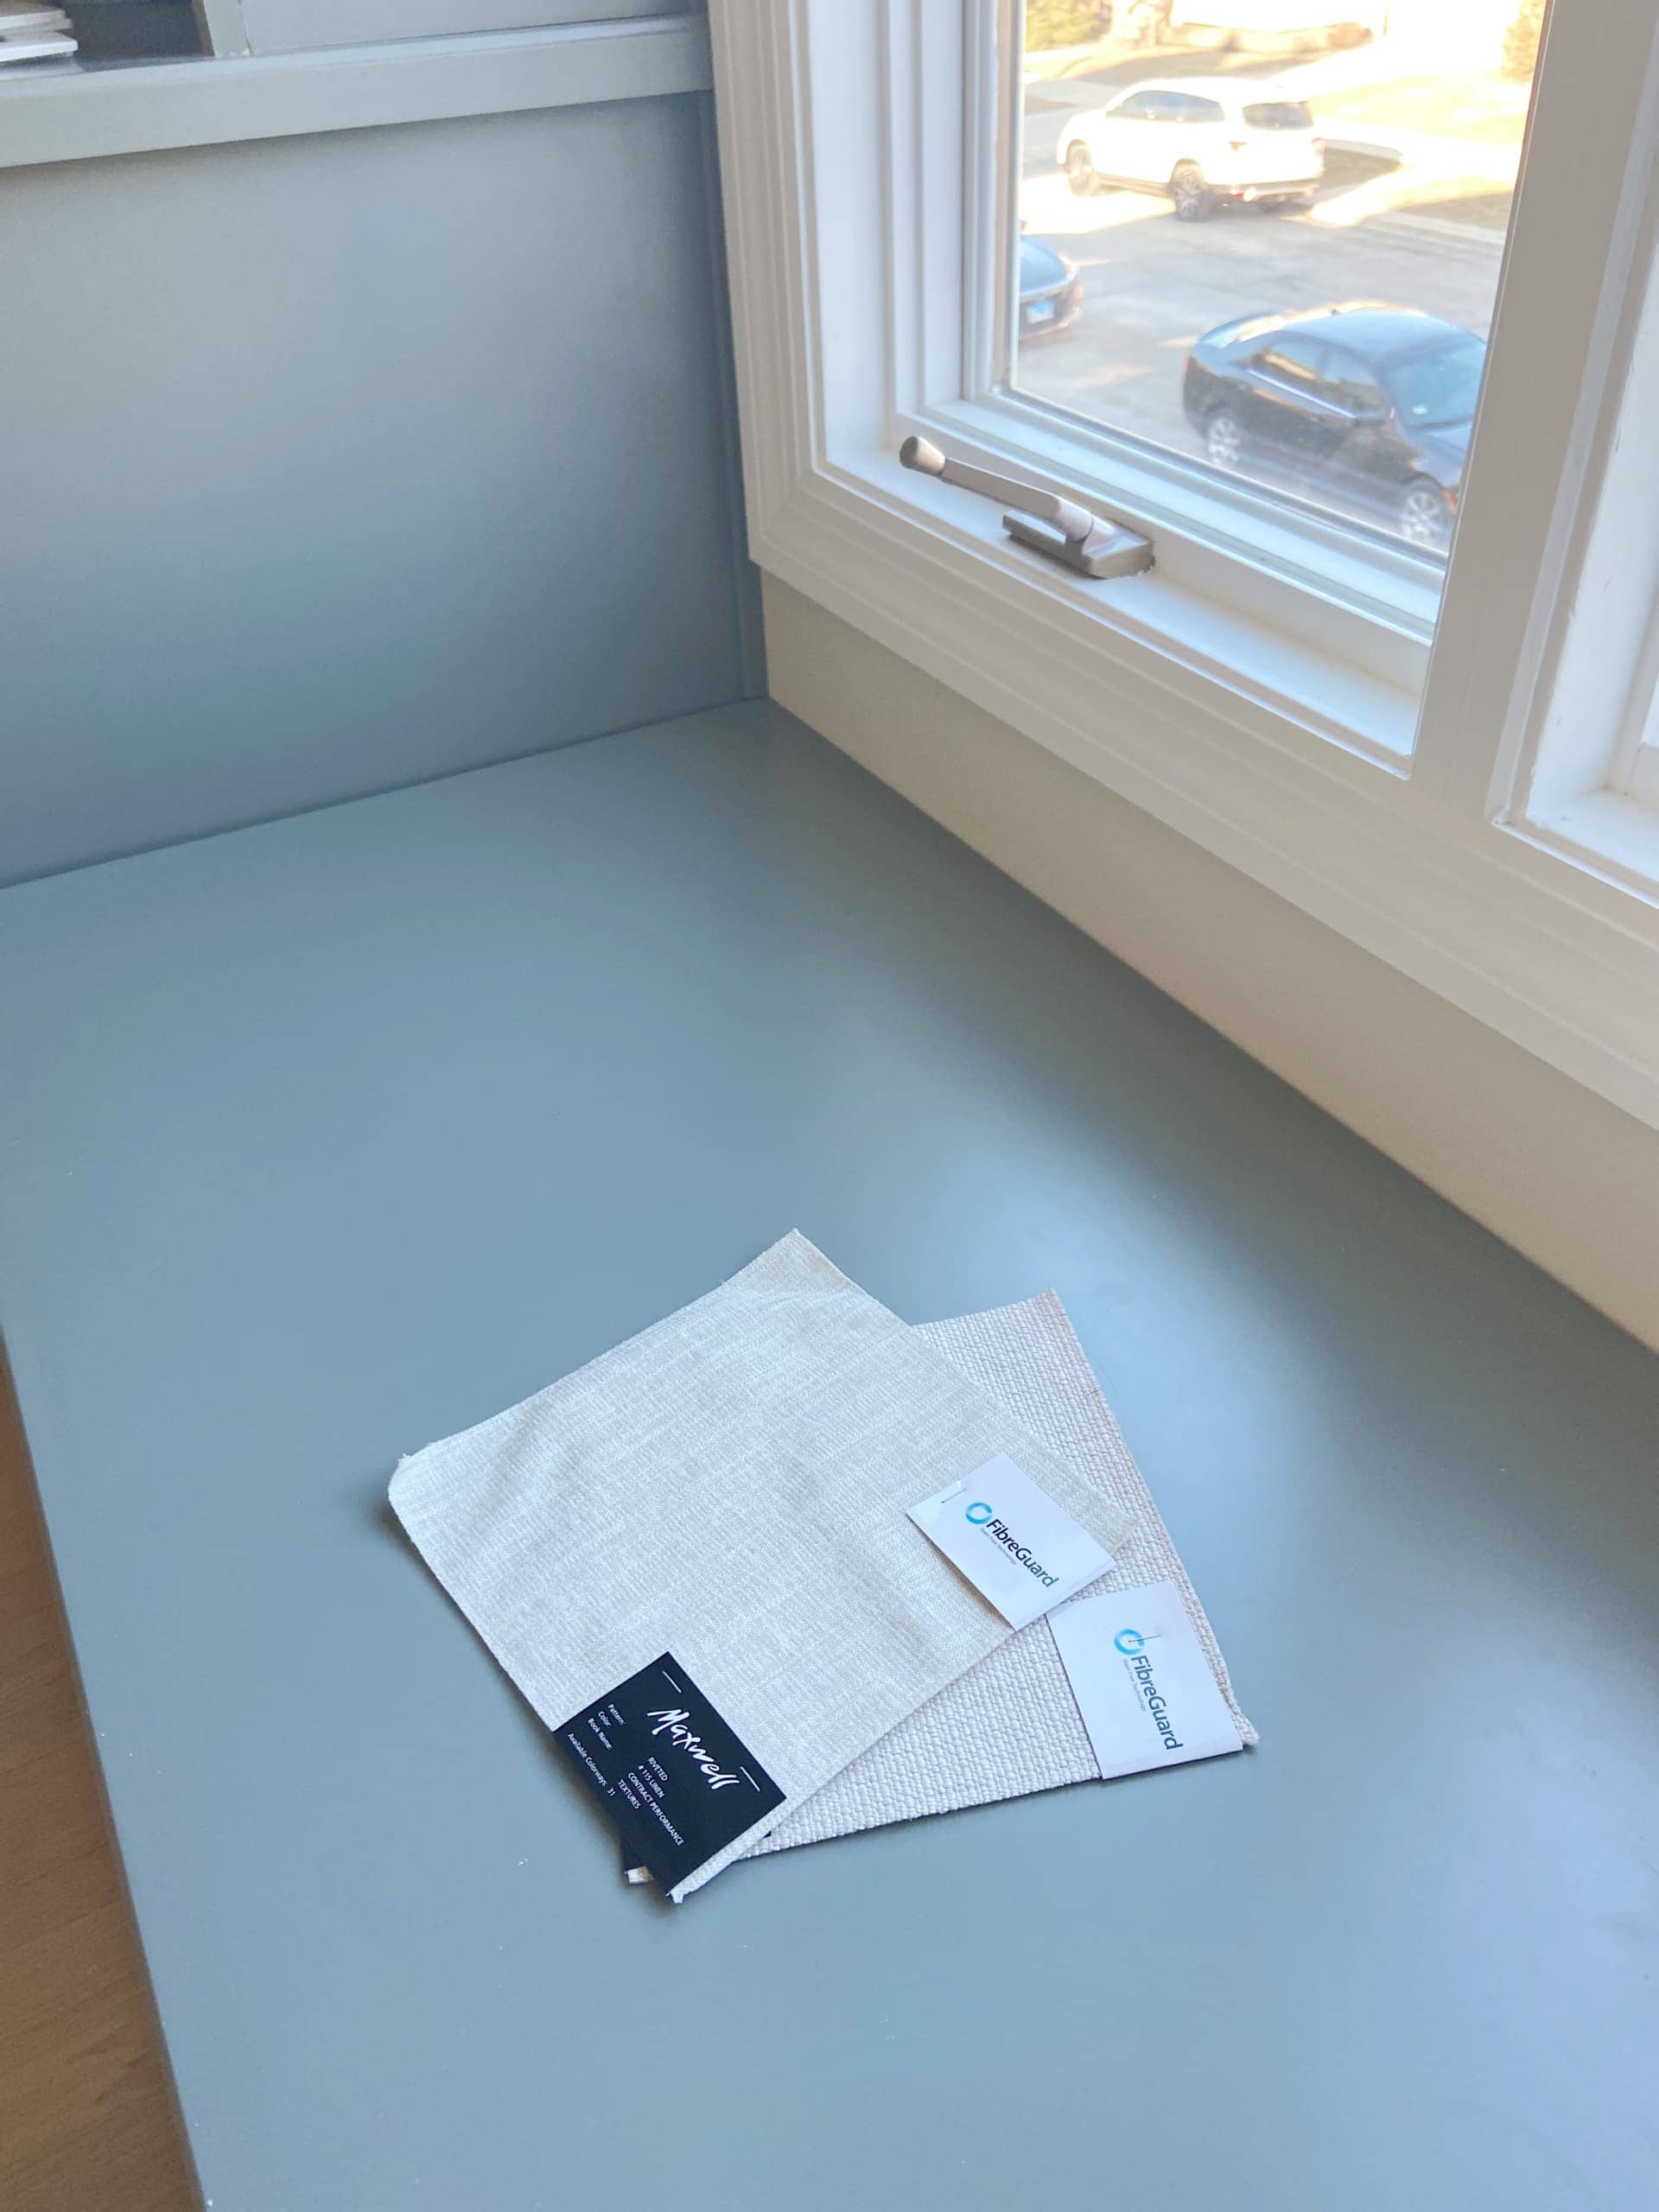
Yes! This was the solution I was looking for the entire time! I am someone who makes the bed and tidies up rooms every single day, so removing a cushion from the arched window would just be a part of my daily routine in the nursery. I understand that’s not for everyone, but for me…it was the best solution! Jen took tons of measurements and we reviewed some samples. I decided to go with a cream color since I don’t want the window treatments to compete with the built-ins. Jen also took measurements for a window seat cushion for the bench in the same color but in a nubbier fabric that is super durable & stain proof.
Window Treatments??
Unfortunately, the coronavirus interrupted this project quite a bit. We figured we would easily get this project done before the baby arrives, but that slowed things down. Plus, we weren’t super comfortable having installers come into our home when we are self-isolating before the baby comes. So sadly, I don’t have a big reveal for you today! However, I promise once those shades arrive I’ll have a blog post all about them! And since the baby is sleeping in our bedroom for the first few months, she’ll have a nice cozy dark space for the near future.
Sorry to leave you hanging, but at least you know which option I went with for that crazy arched window!
Casey
Nursery Posts
- Wallpapered Closet
- Nursery DIY Plan
- Sage Green Built-In Reveal
- Nursery Furniture & Design Plan
- Adding DIY Chair Rail
- Painting the Nursery Blush
- Nursery Closet & Organized Drawers
- Window Treatment Plan
- Nursery Reveal
- Nursery Before and After + Sources
- Rory’s Nursery – Changes We’ve Made
- Making Special Vintage Art for Rory’s Room
- Creating Rory’s Nursery Gallery Wall