How To Wallpaper (Simple Install Guide For Beginners)
I’ve been wanting to learn how to wallpaper for quite some time now, but I’ve always been way too intimidated by this DIY project.
Last year, my mom and I had an awesome time using peel and stick wallpaper in her closet and I learned a lot along the way. But using “real wallpaper” – you know, the kind that needs actual paste – just seemed way too scary. What if I screwed it up and wasted an expensive roll?

Peel & Stick Wallpaper in My Mom’s Guest Closet
I’m happy to announce that I overcame my fear! And guess what? I would argue that installing traditional wallpaper was easier than installing peel and stick removable wallpaper. Yep, you heard it here first, folks! This DIY project was painless, easy, and pretty fun. I finished the project and instantly said out loud, “I want to wallpaper all the things!”
If you, too, are intimidated and not sure how to wallpaper any space in your home, I’m here to help! I’m sharing a detailed step-by-step tutorial, along with lots of tips to get the perfect finish.
The Closet – Before
But, before we get to that, let’s chat about the wallpaper I chose for baby girl’s nursery…
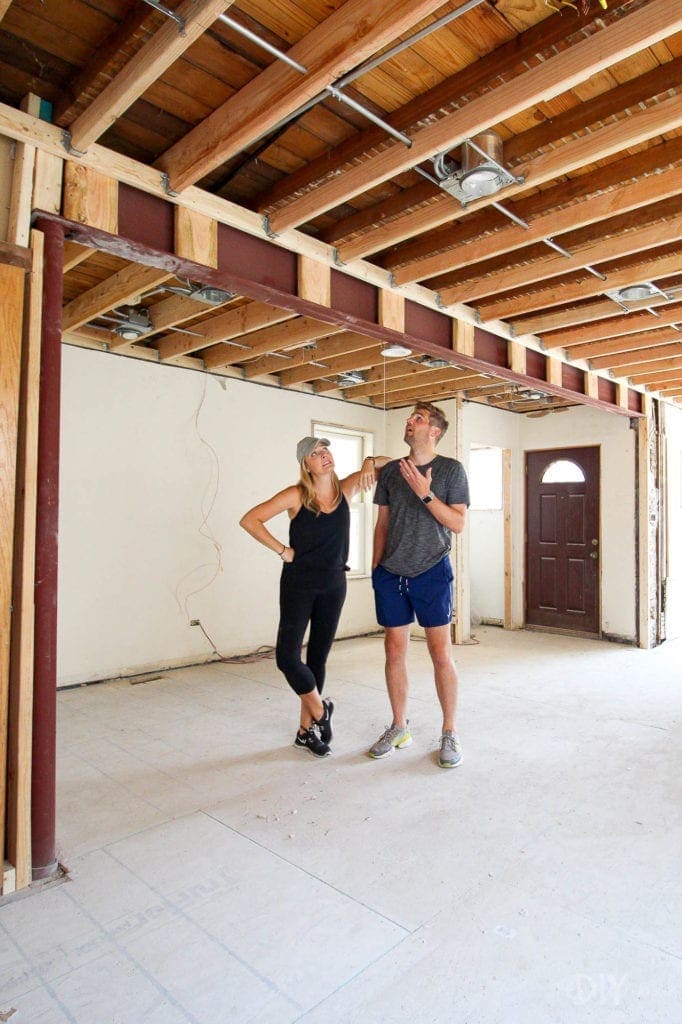
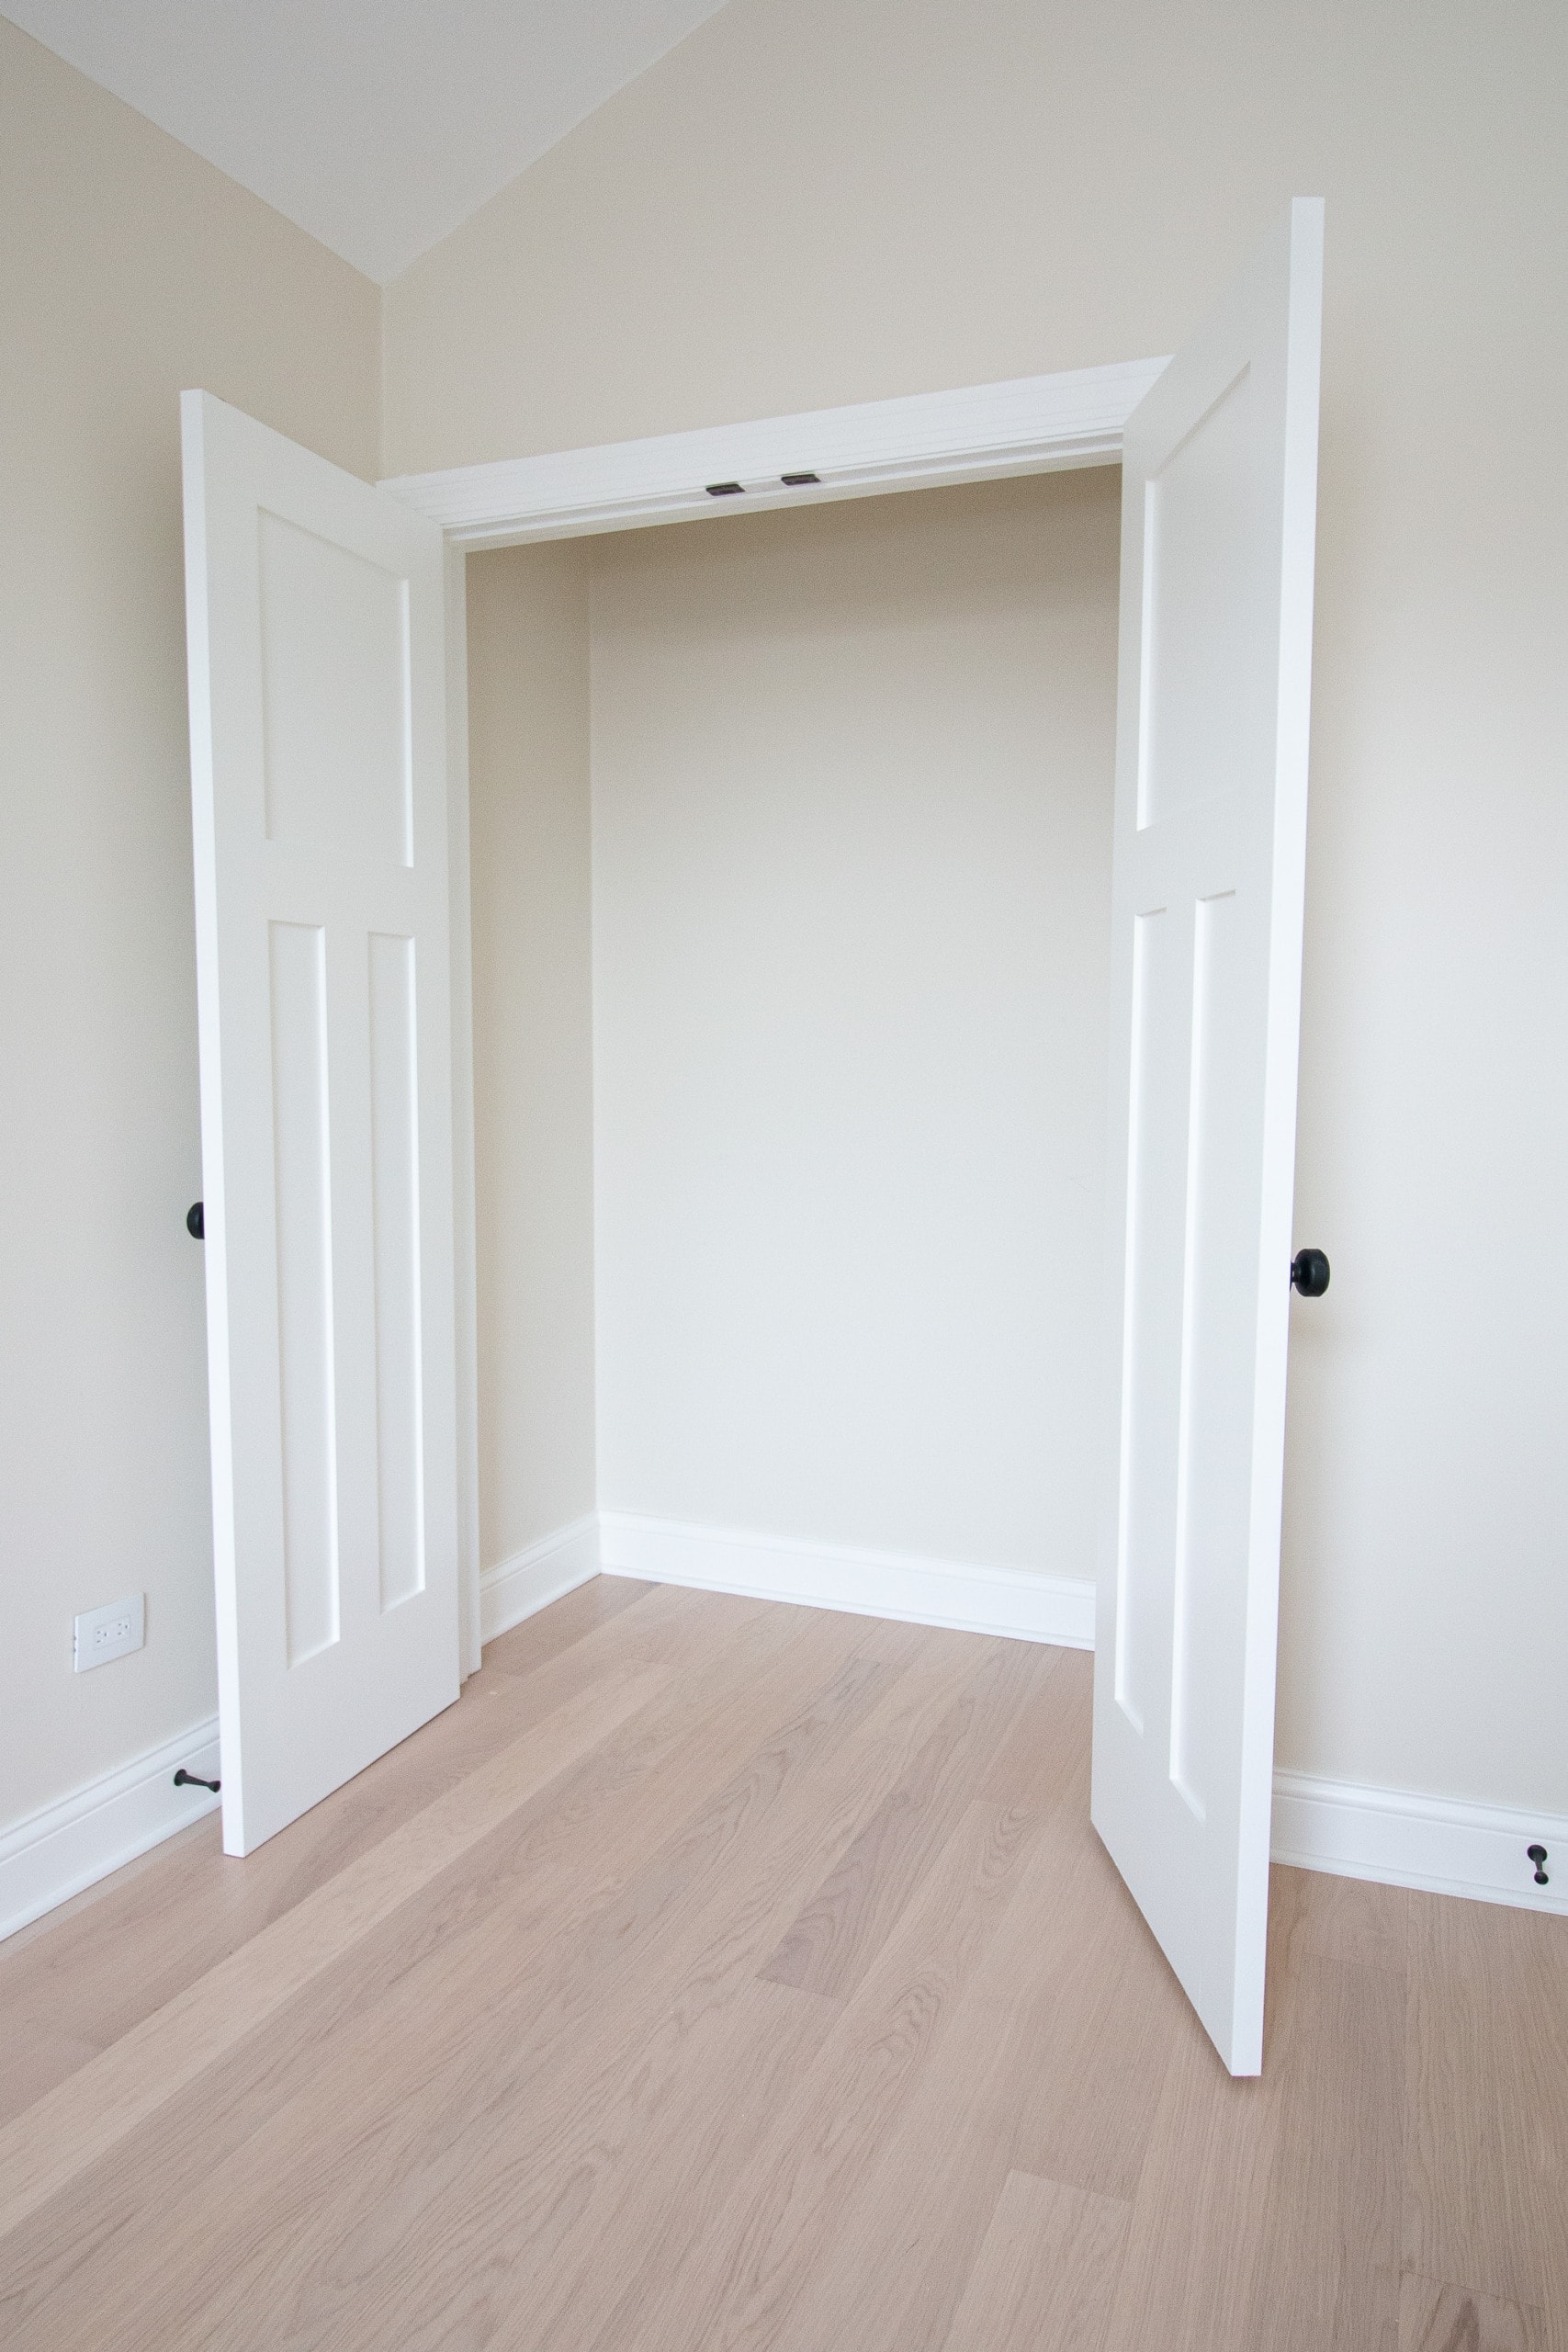
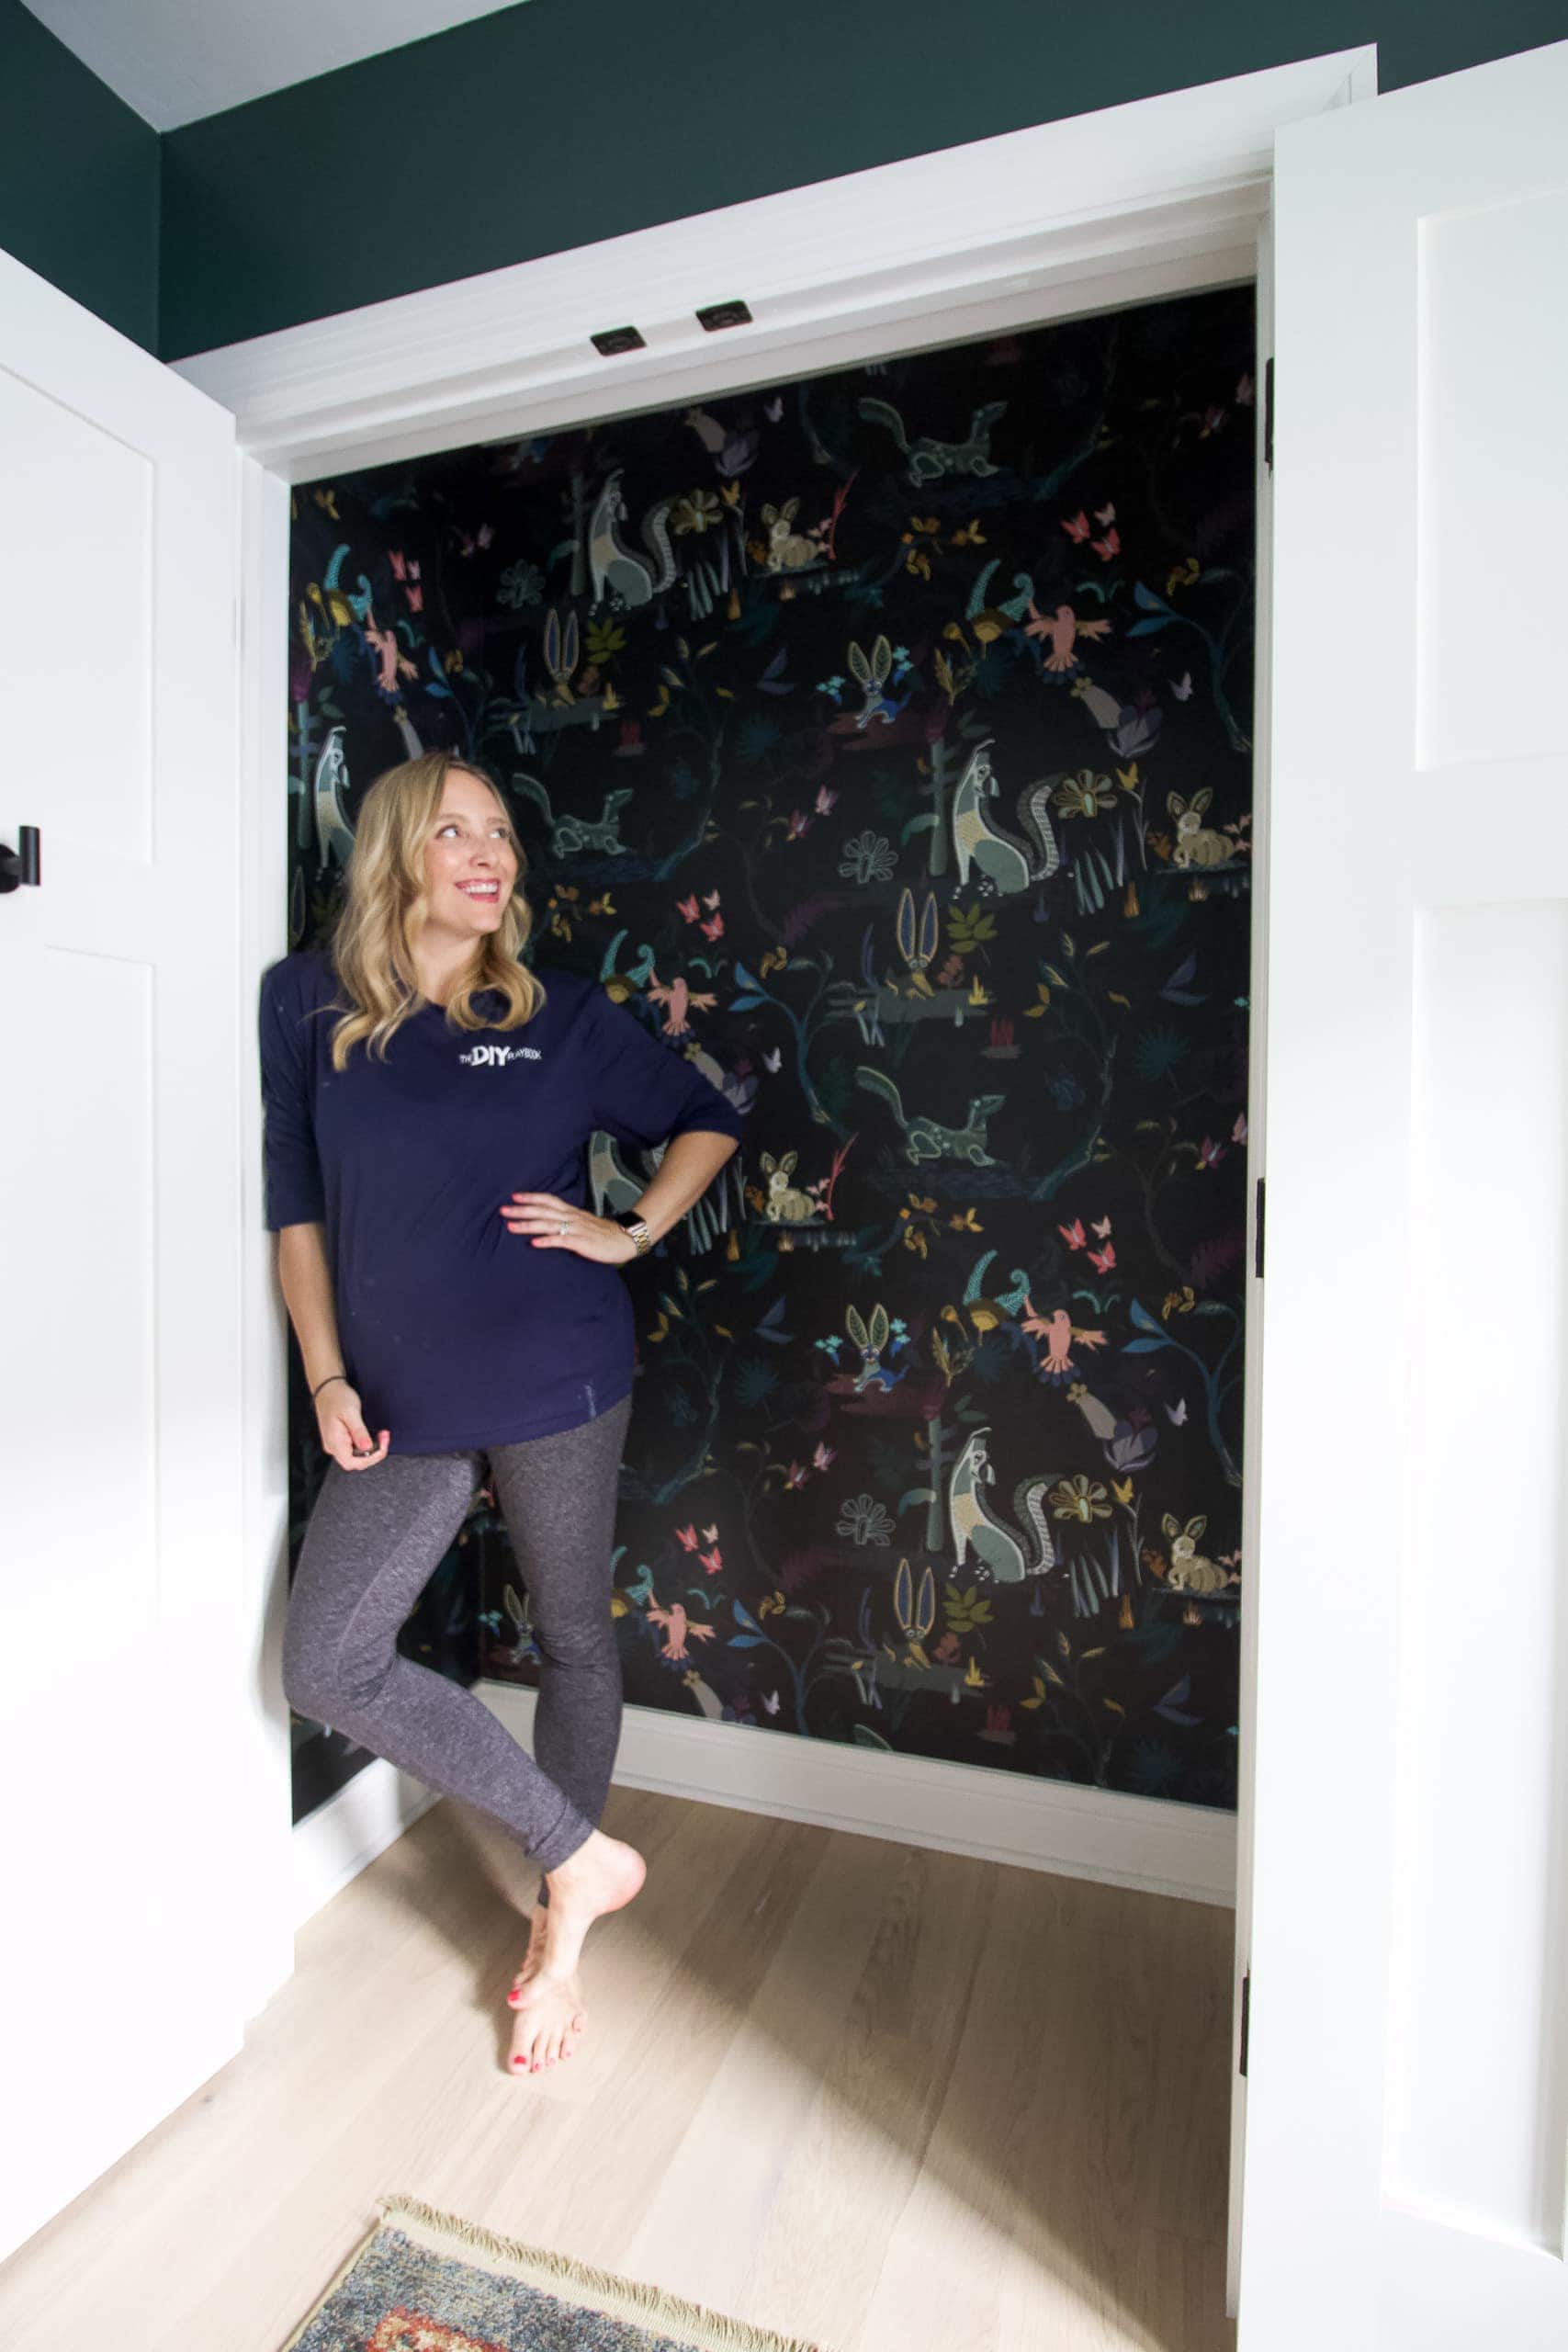
Here’s the closet in the nursery. We need to install a closet system in here, but before we do that, I thought it would be fun to add a bit of pattern to the space. I mean, why not?!
I knew that opening these doors and seeing a pretty pop of color would make me happy every time I went into this closet. Plus, a closet is a great space to learn how to wallpaper because any imperfections won’t be front and center in a room.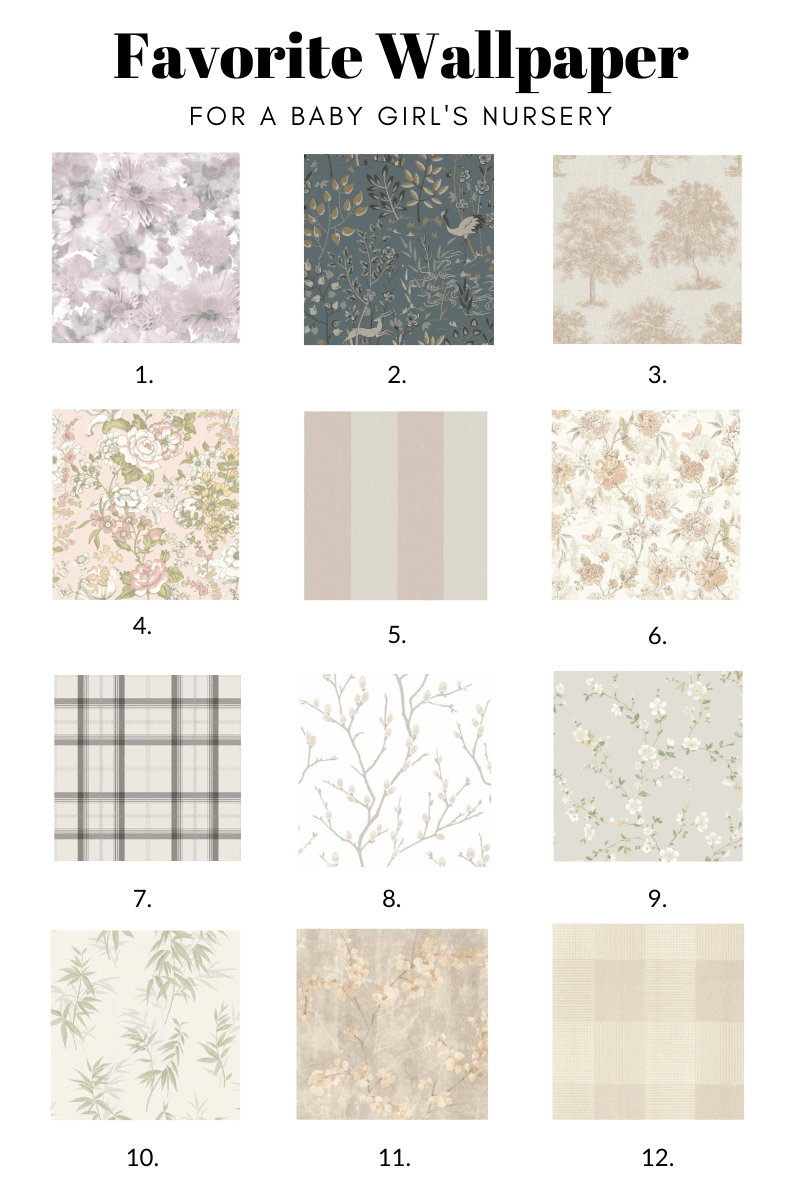
1 // 2 // 3 // 4 // 5 // 6 // 7 // 8 // 9 // 10 // 11 // 12 (others no longer sold)
Deciding on which type of wallpaper to choose for the nursery closet was the toughest part of this project. There were just so many cute ones to choose from.
My color palette for the nursery is blush and sage, so I knew I wanted the paper to coordinate with the rest of the space. I initially thought I might go with the floral print (#6), but in the end, I chose this rose gold wallpaper (#3).
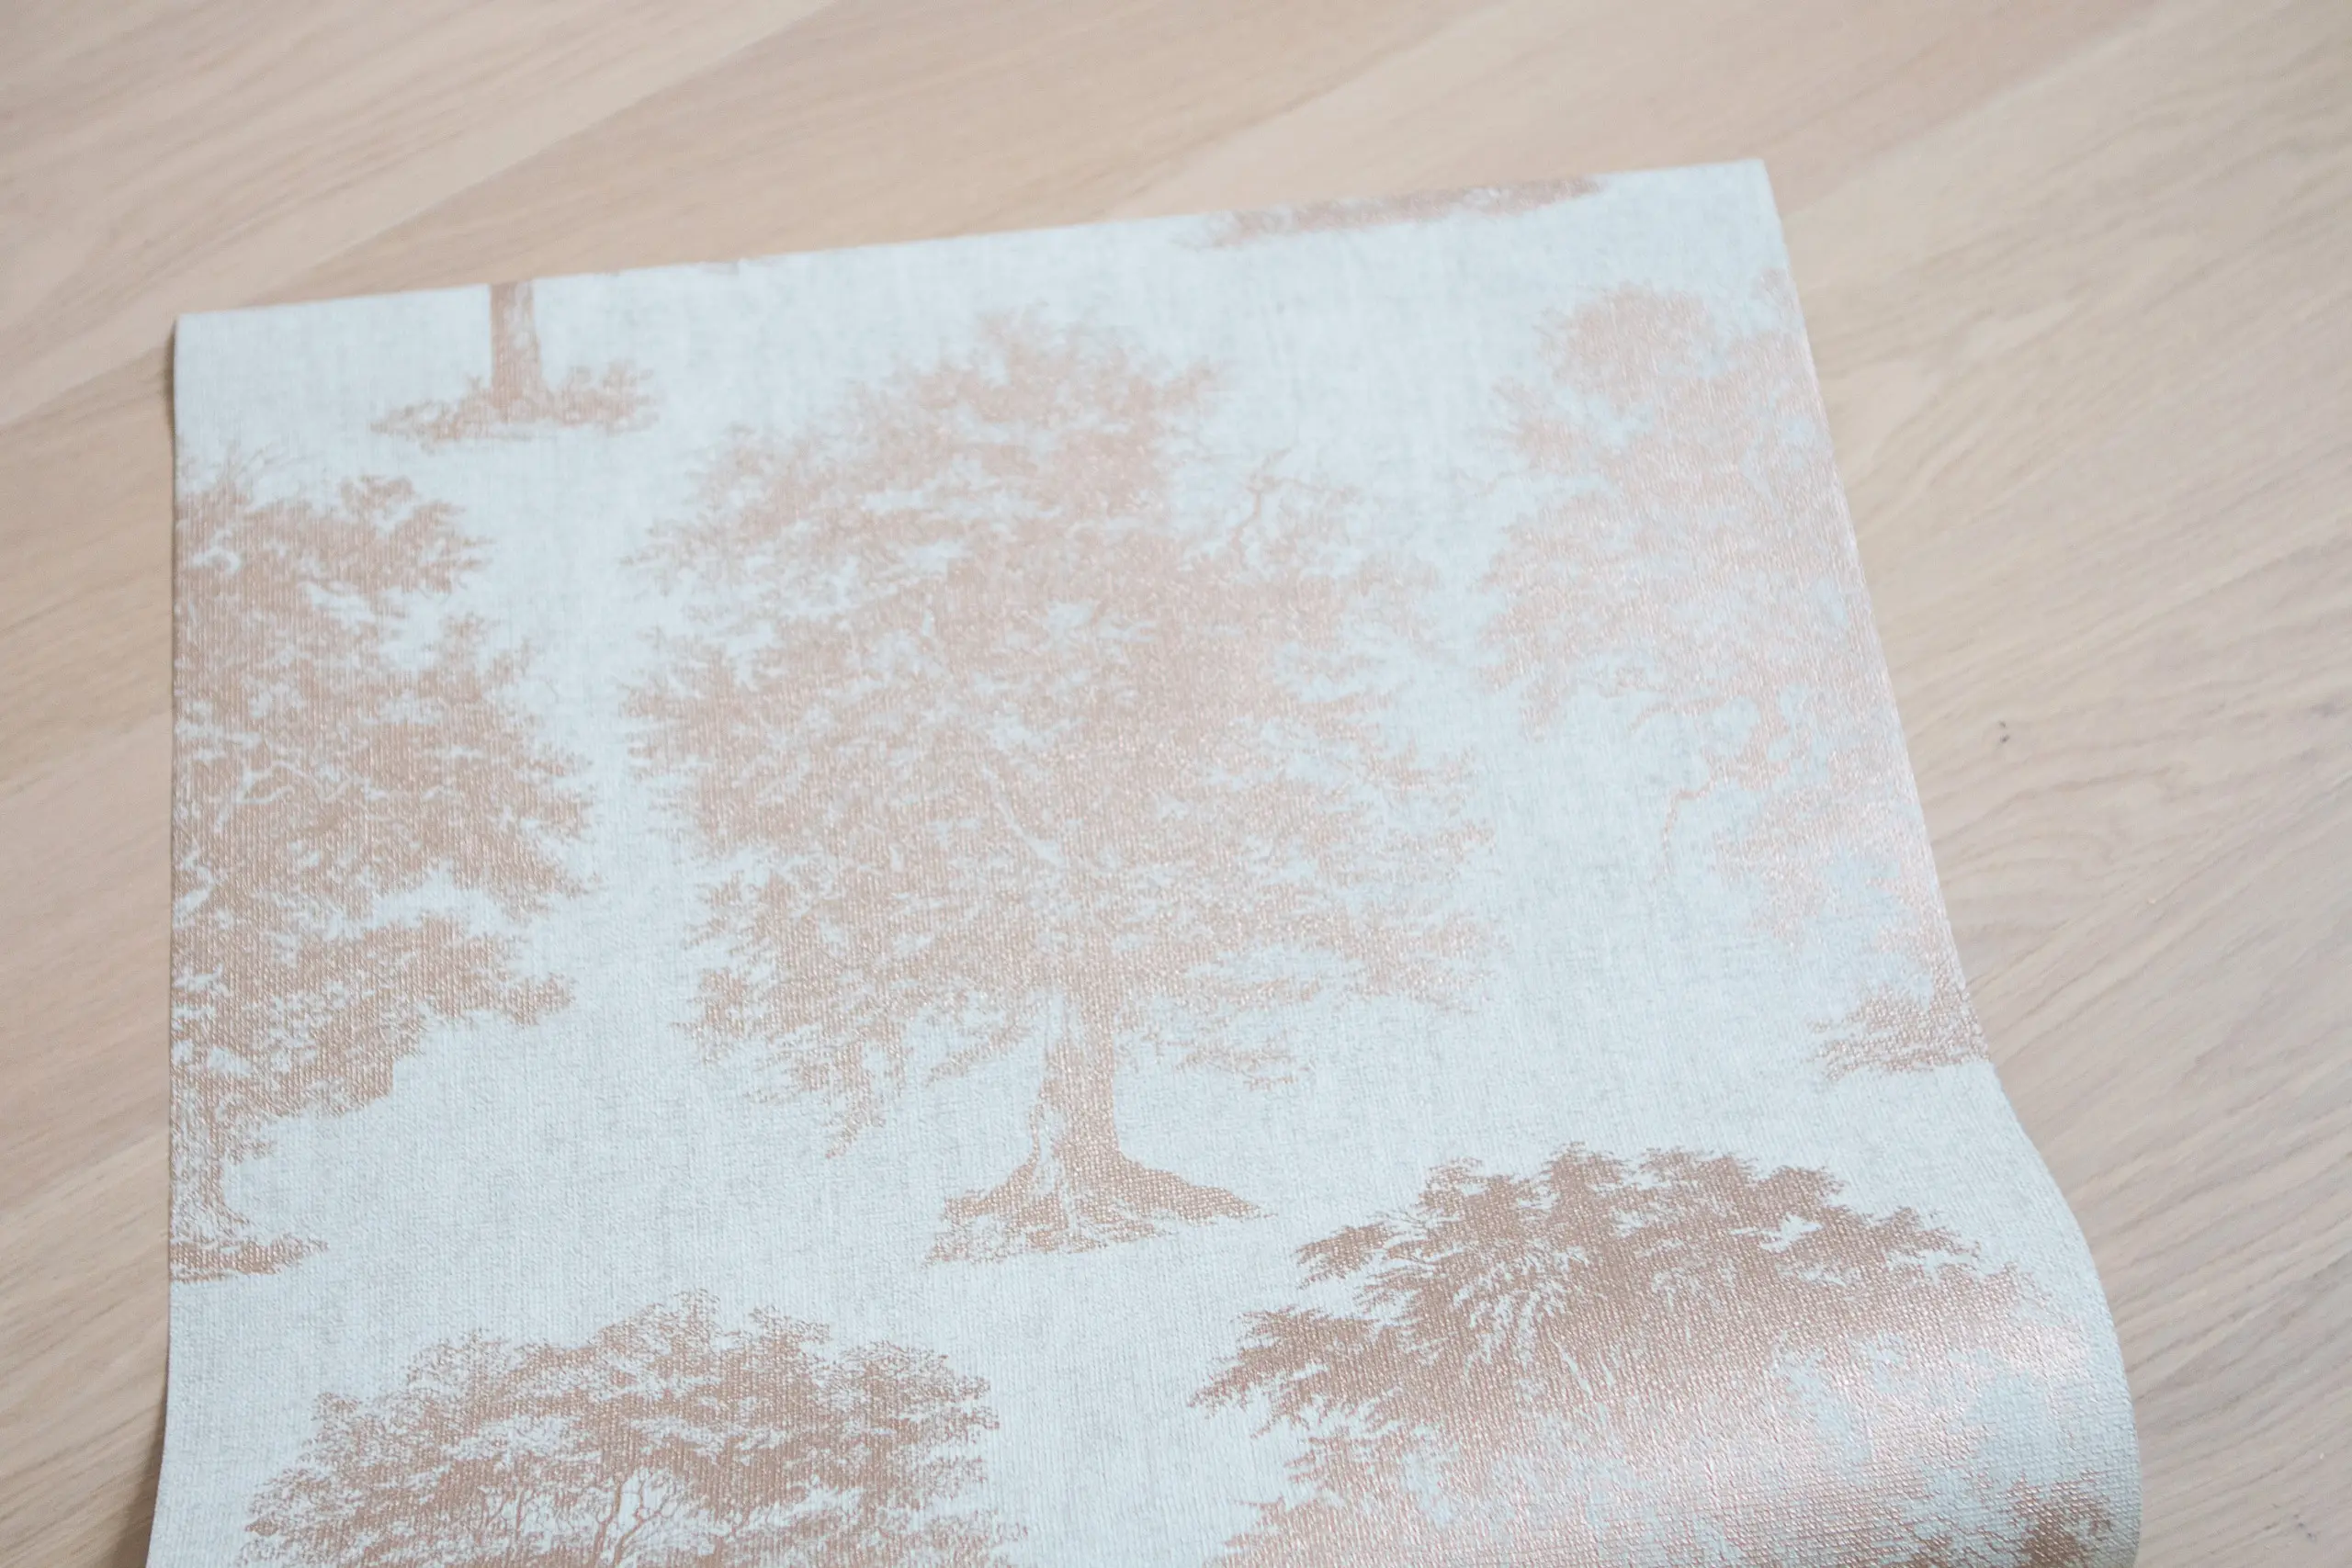
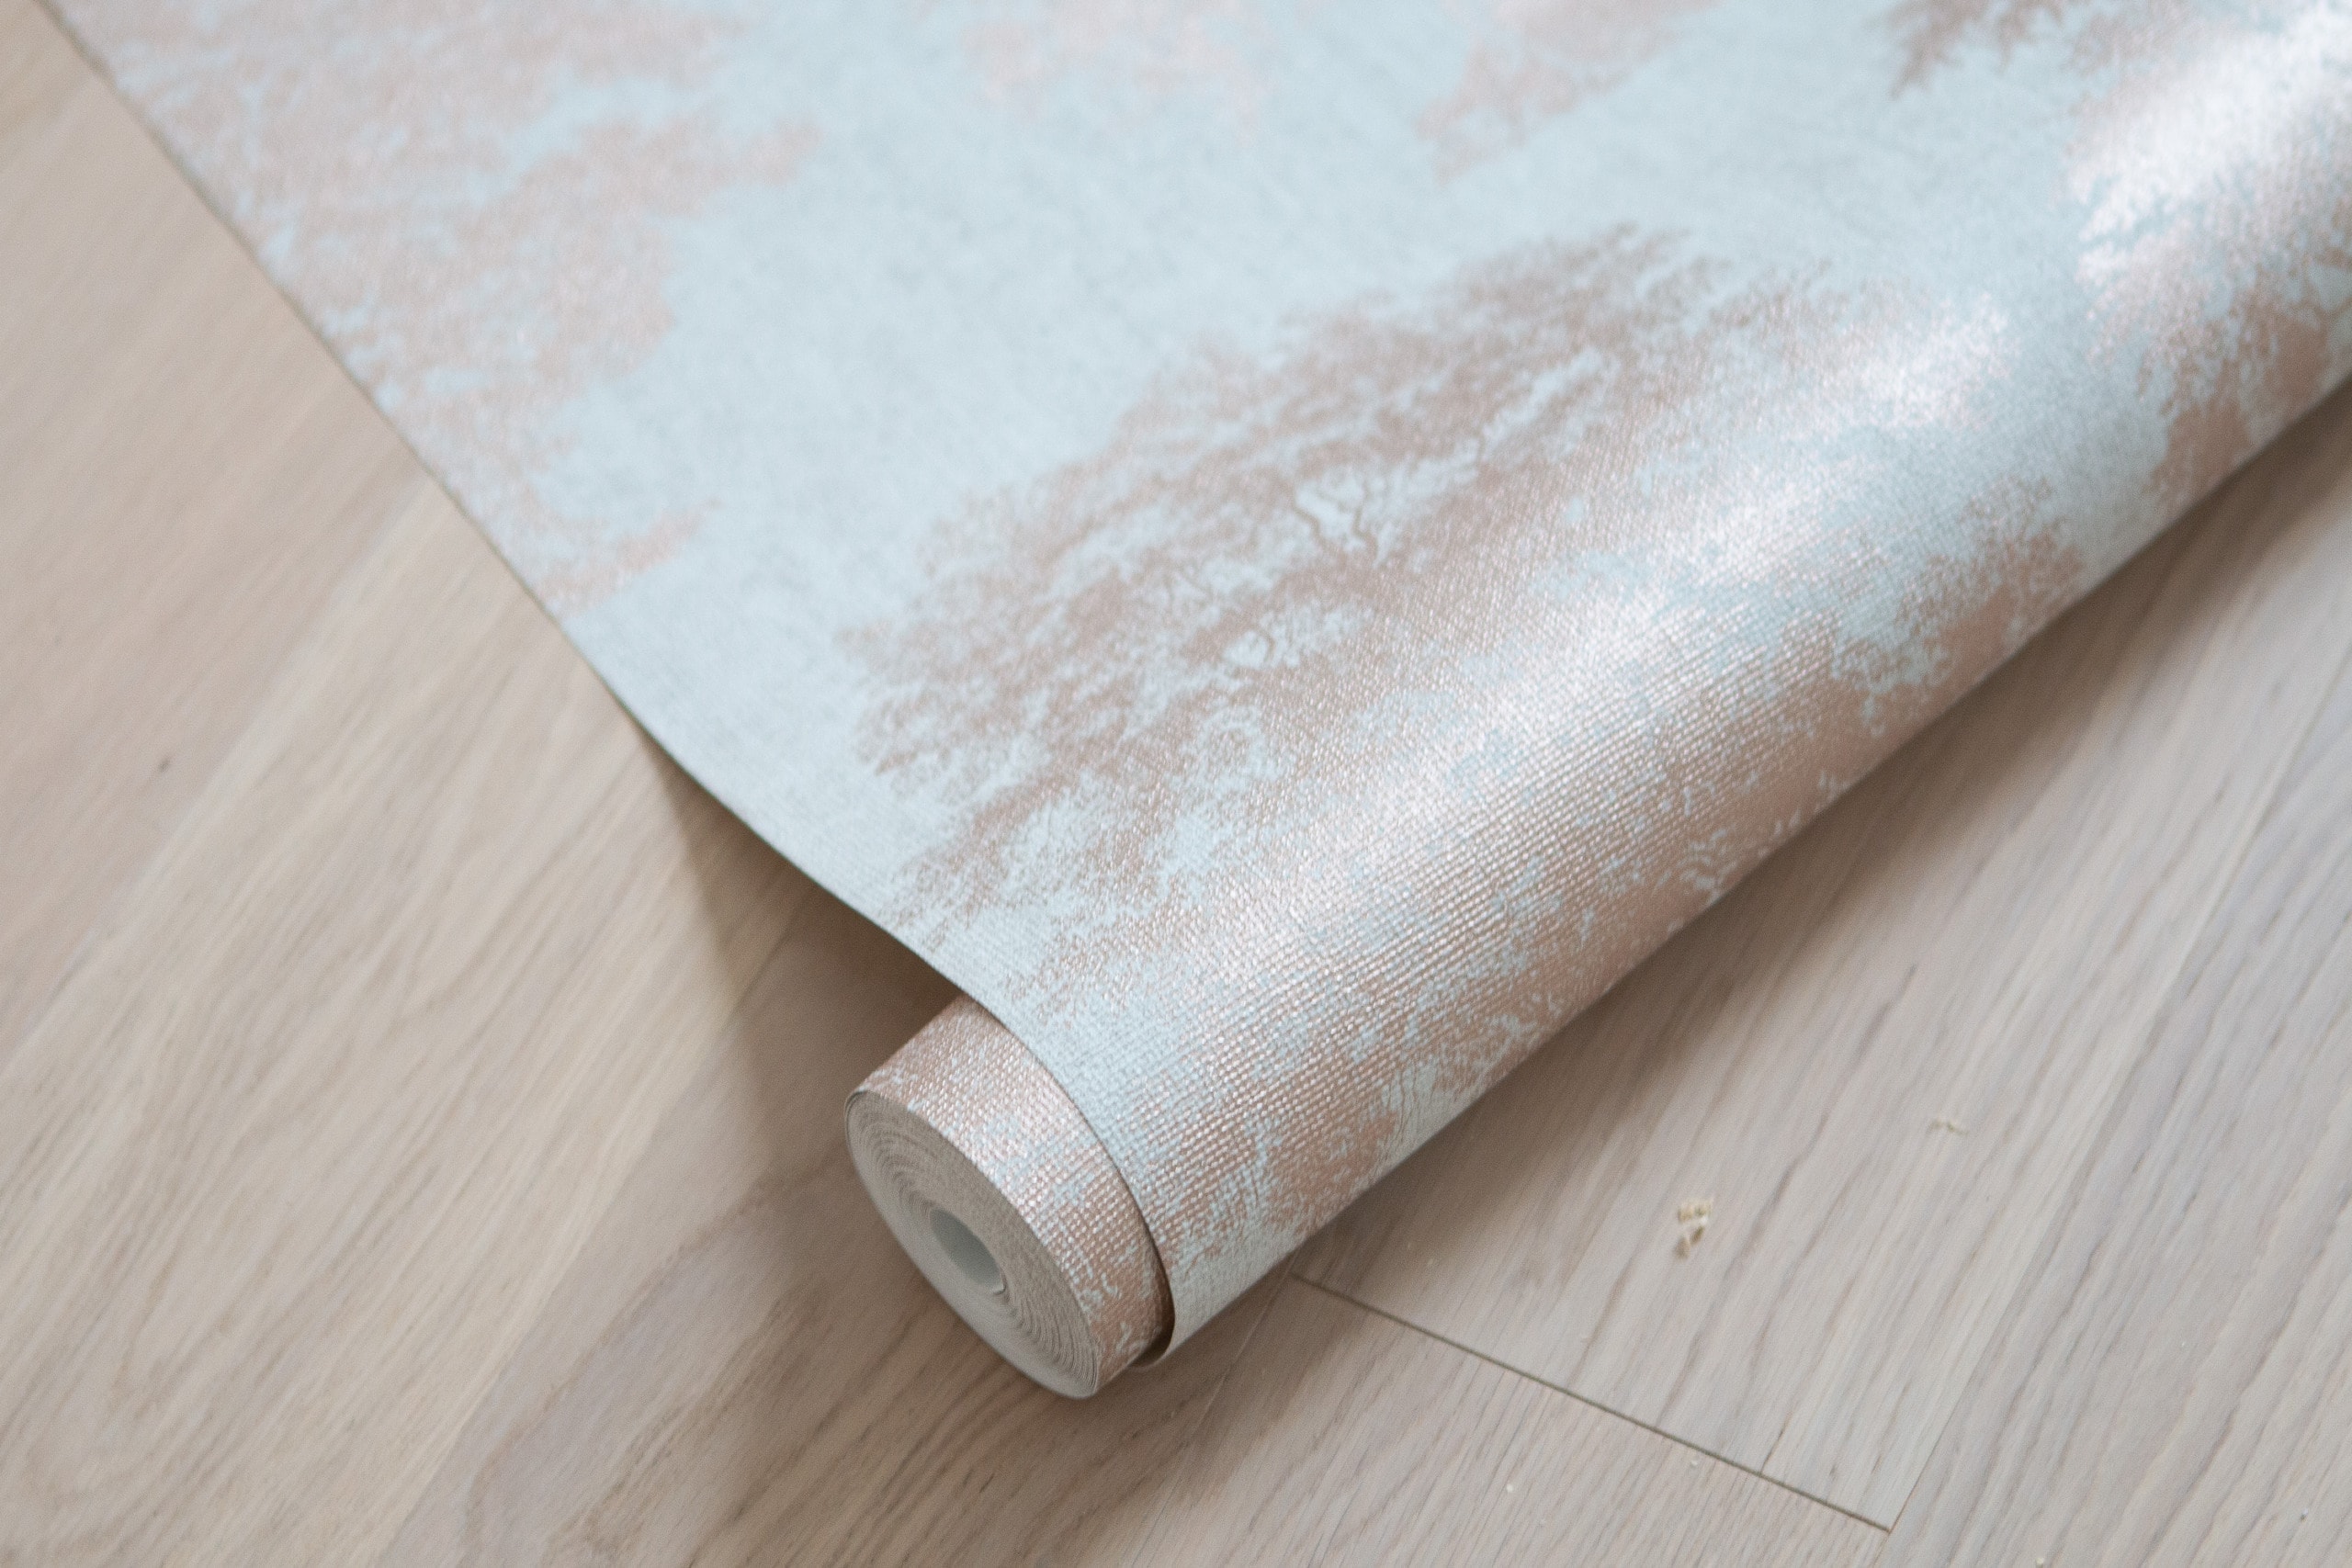 This rose gold wallpaper has trees on it and it’s very organic and beautiful. It also has a gorgeous thick texture to it (it’s vinyl), so I figured that would make it extra durable. Plus, it’s unpasted wallpaper which is one of the easiest to install.
Because it’s metallic rose gold, it has a nice sheen and picks up different colors depending on the light. I love it and I think it’s sophisticated (exactly what I want for this space that will evolve with our little girl).
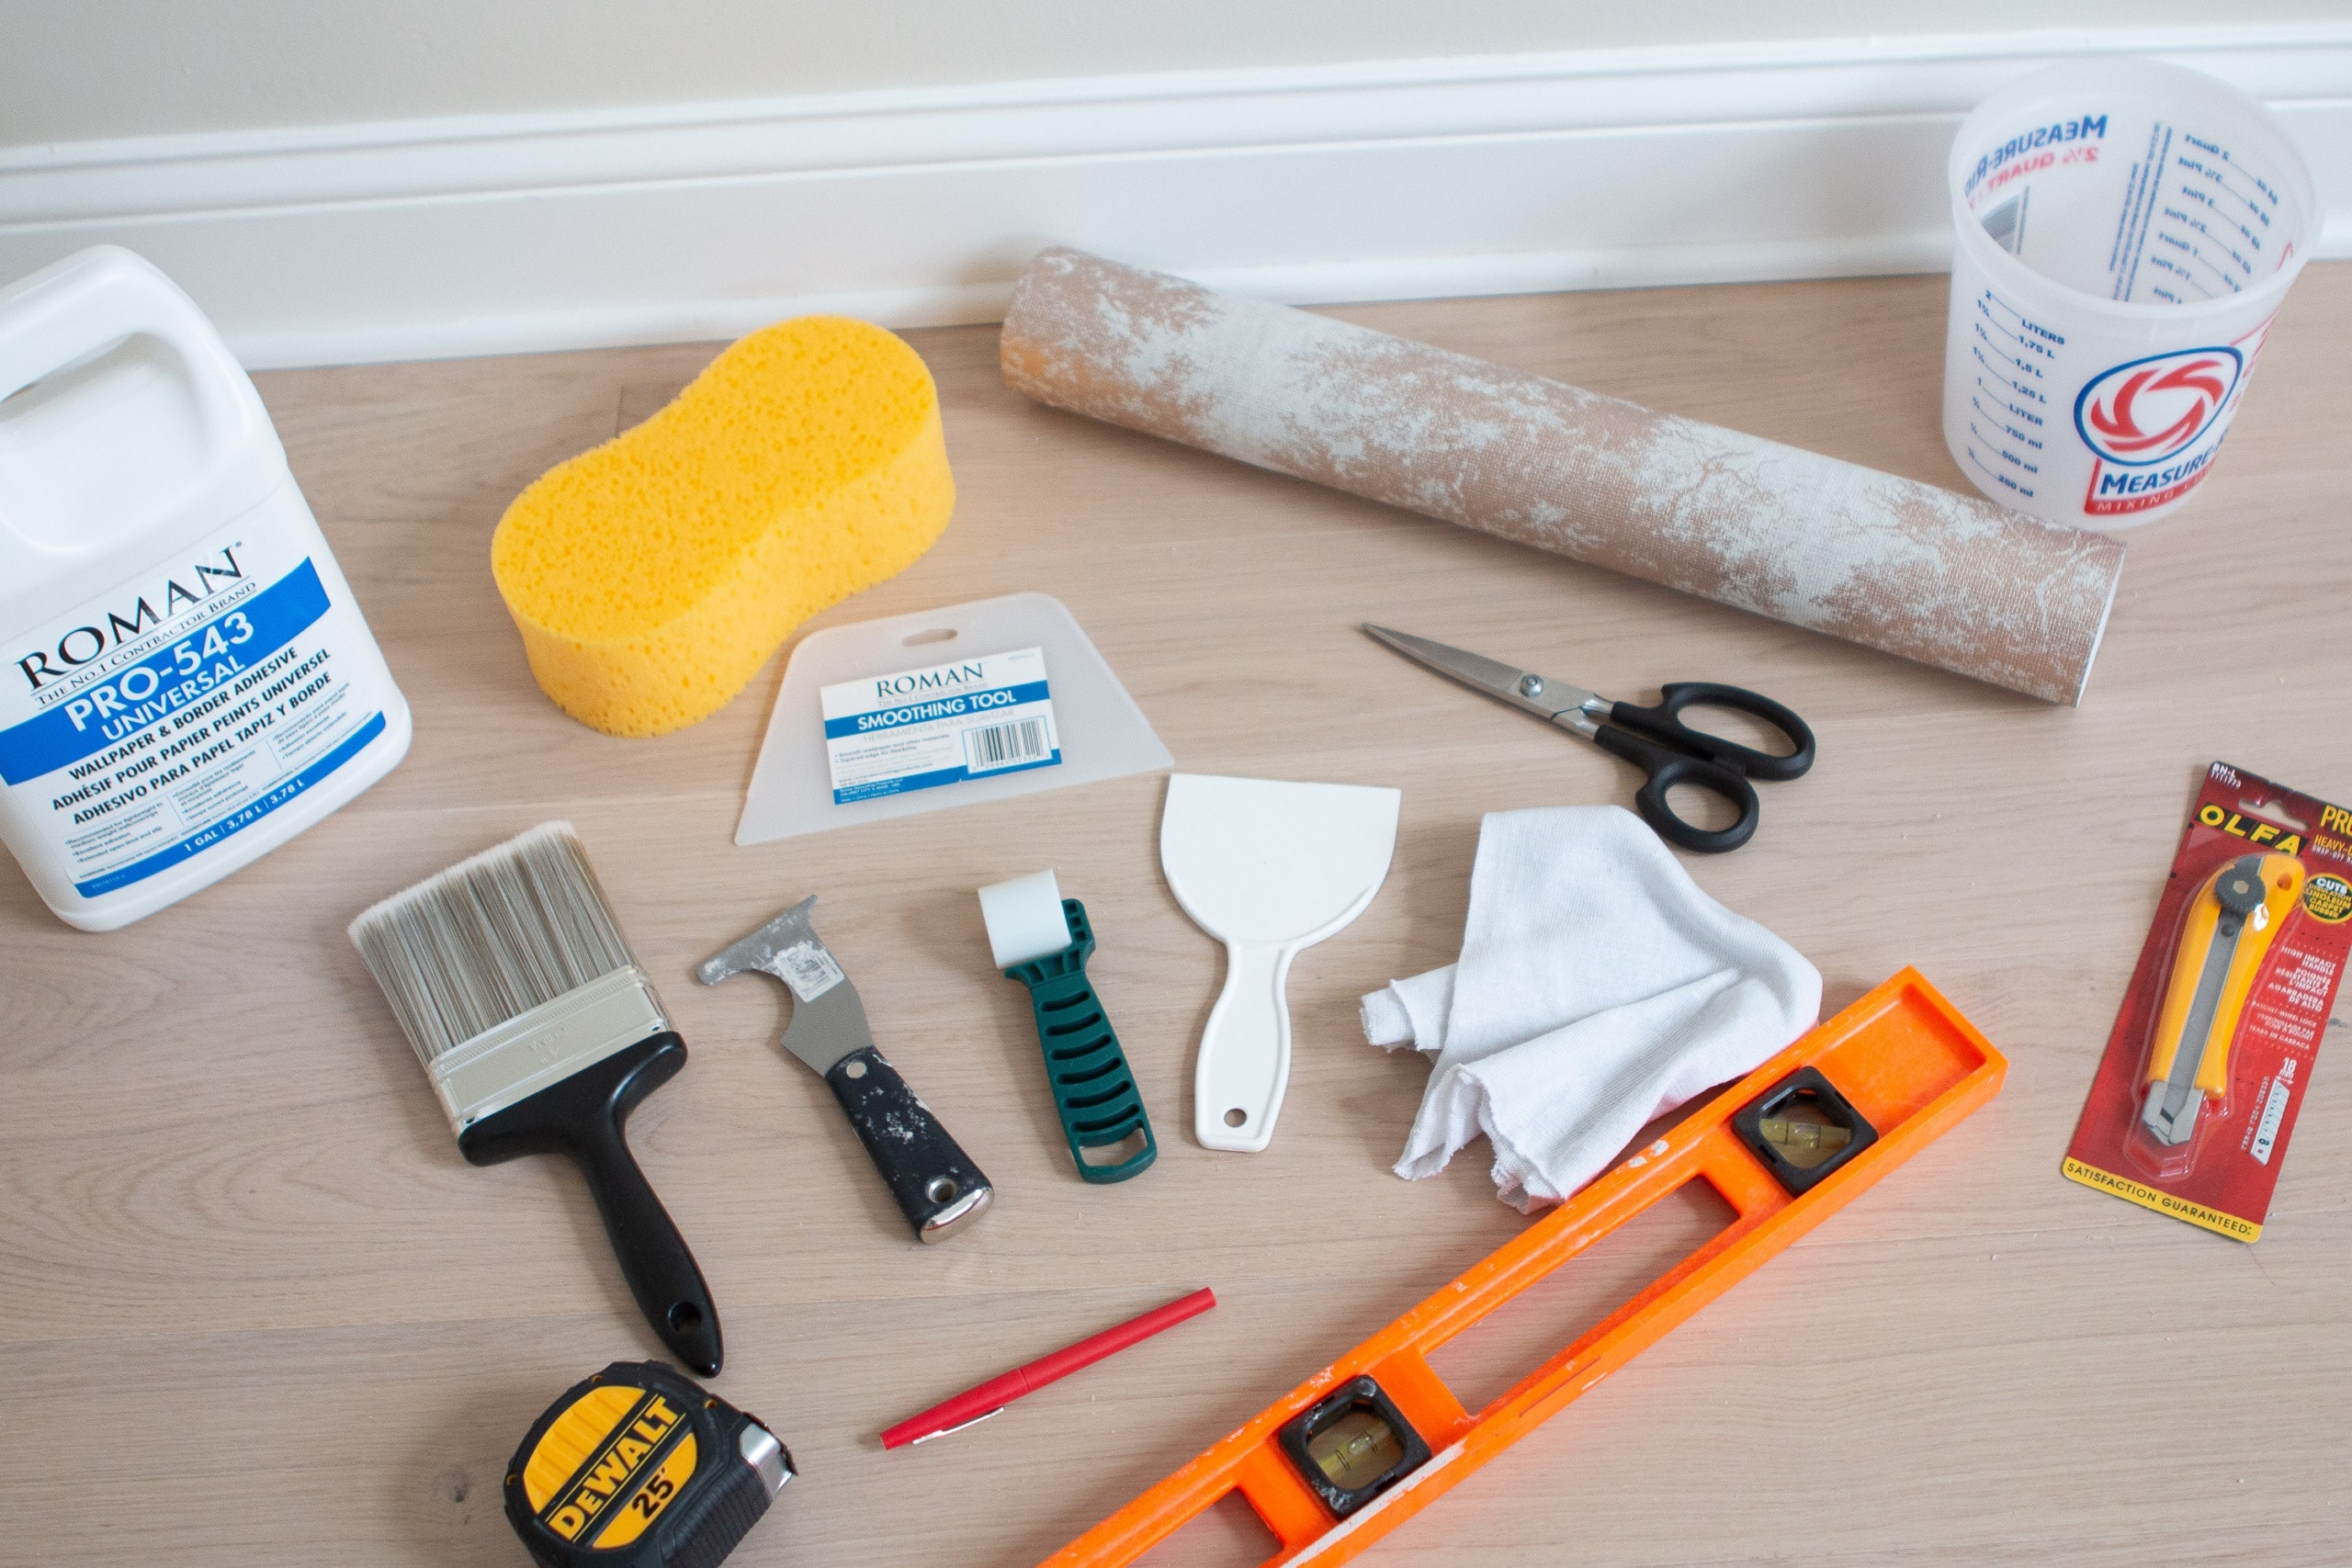
How to Wallpaper – The Supplies
- Wallpaper
- Wallpaper Adhesive
- Tray & Roller
- Paint Brush
- Tape Measure & Pencil
- Spirit Level
- Metal Smoothing Tool
- Wallpaper Brush
- Snap-Off Utility Knife
- Sponge & Bucket
- Seam Roller
- Primer
- Scissors
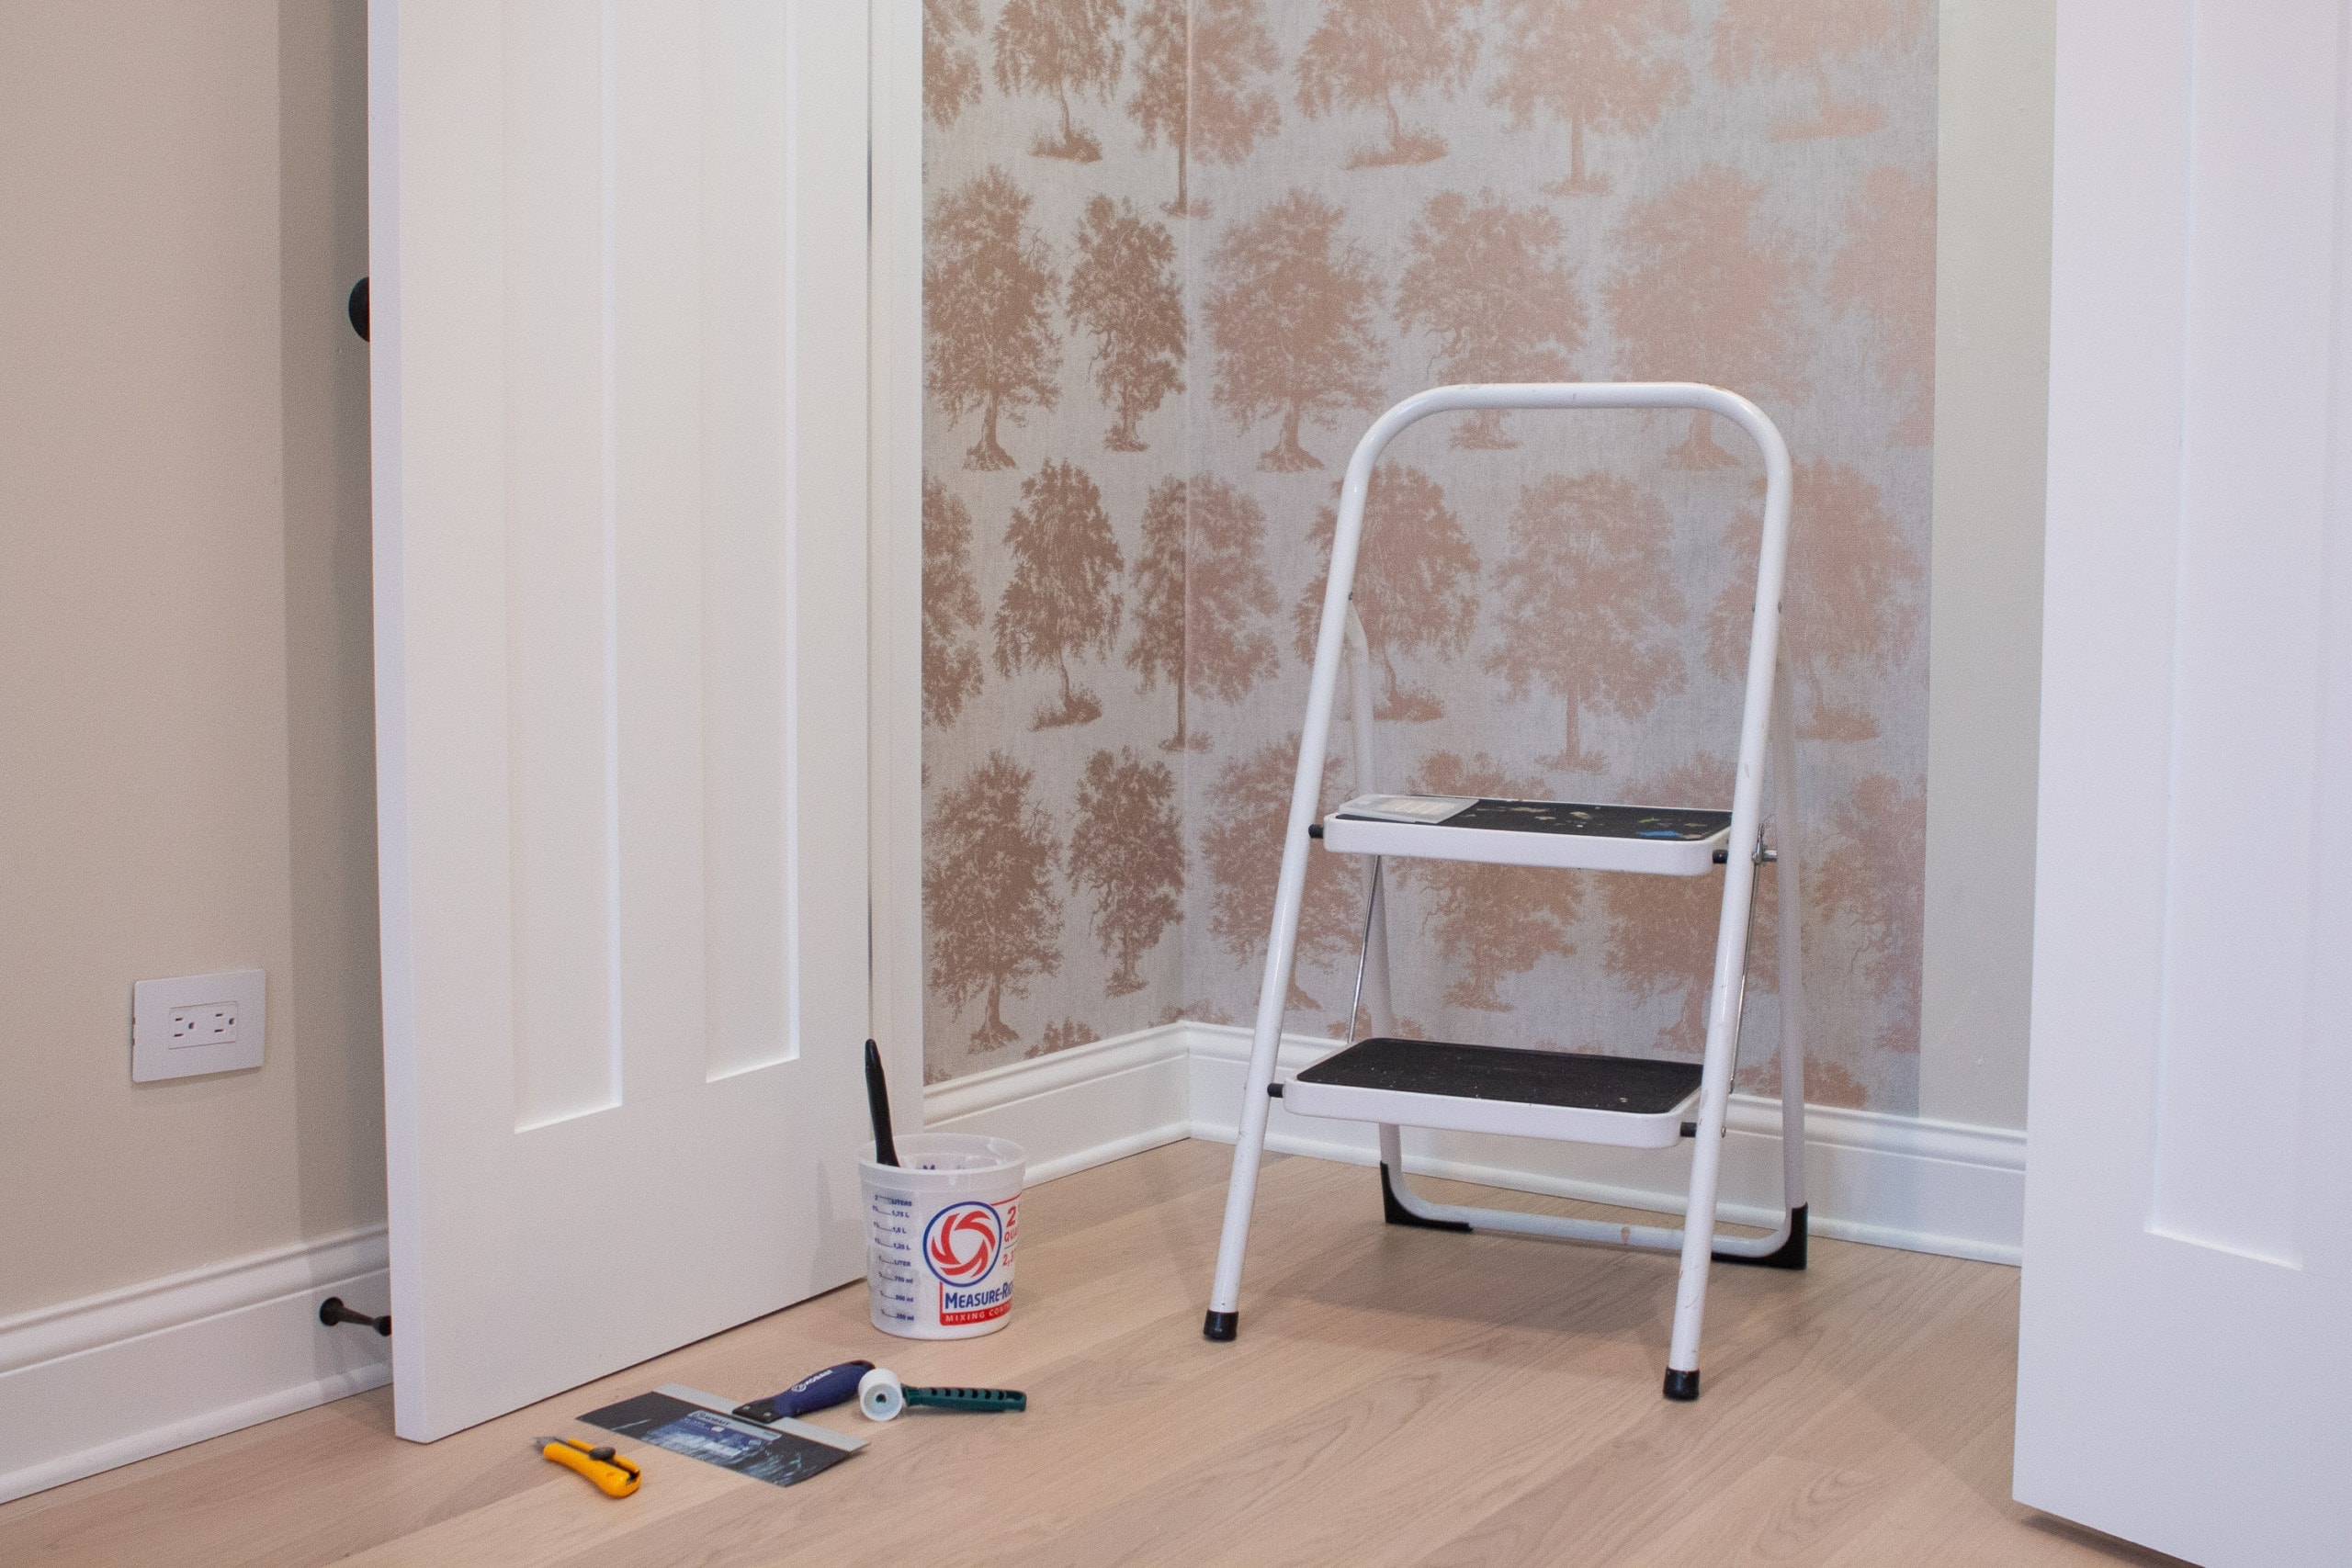 Besides the basic tools (like the level and tape measure), I had to buy most of these supplies. I ended up buying the wallpaper online at Lowe’s and found the rest of these wallpaper tools in the store as I prepped for the big DIY day!
How to Wallpaper: Step-by-Step Guide
My friend, Kristin, is a wallpapering pro! She has wallpapered a few times in her own house and learned a lot along the way. In fact, you’ve seen her gorgeous condo right here on the blog. You can view her entire home tour right here, along with the fun wallpaper she chose for her closet and guest bathroom.
Because I was nervous about screwing up, I convinced Kristin to come over one afternoon to help me with the wallpaper installation. She had amazing tips to share and I learned so much working alongside her. I’ll be sure to share all of her tricks in these simple steps below…

Buy Enough Wallpaper
First, you need to buy the wallpaper and buy enough of it. I ended up getting two rolls for this closet (that measured about 53″ across and 95″ high) and had a lot left over. Keep in mind, that there will be waste from having to match up the patterns. So you’ll need more than you think.
Lowe’s has a wallpaper calculator you can use to help figure out how much wallpaper to buy!
Prep Your First Strip
To begin, we needed to figure out where to hang our first panel of wallpaper. After taking some measurements of both the wall and the paper itself, Kristin suggested that we start in the middle of the back wall. That way, the two pieces on each side of the middle piece could wrap around the corners and onto the side walls.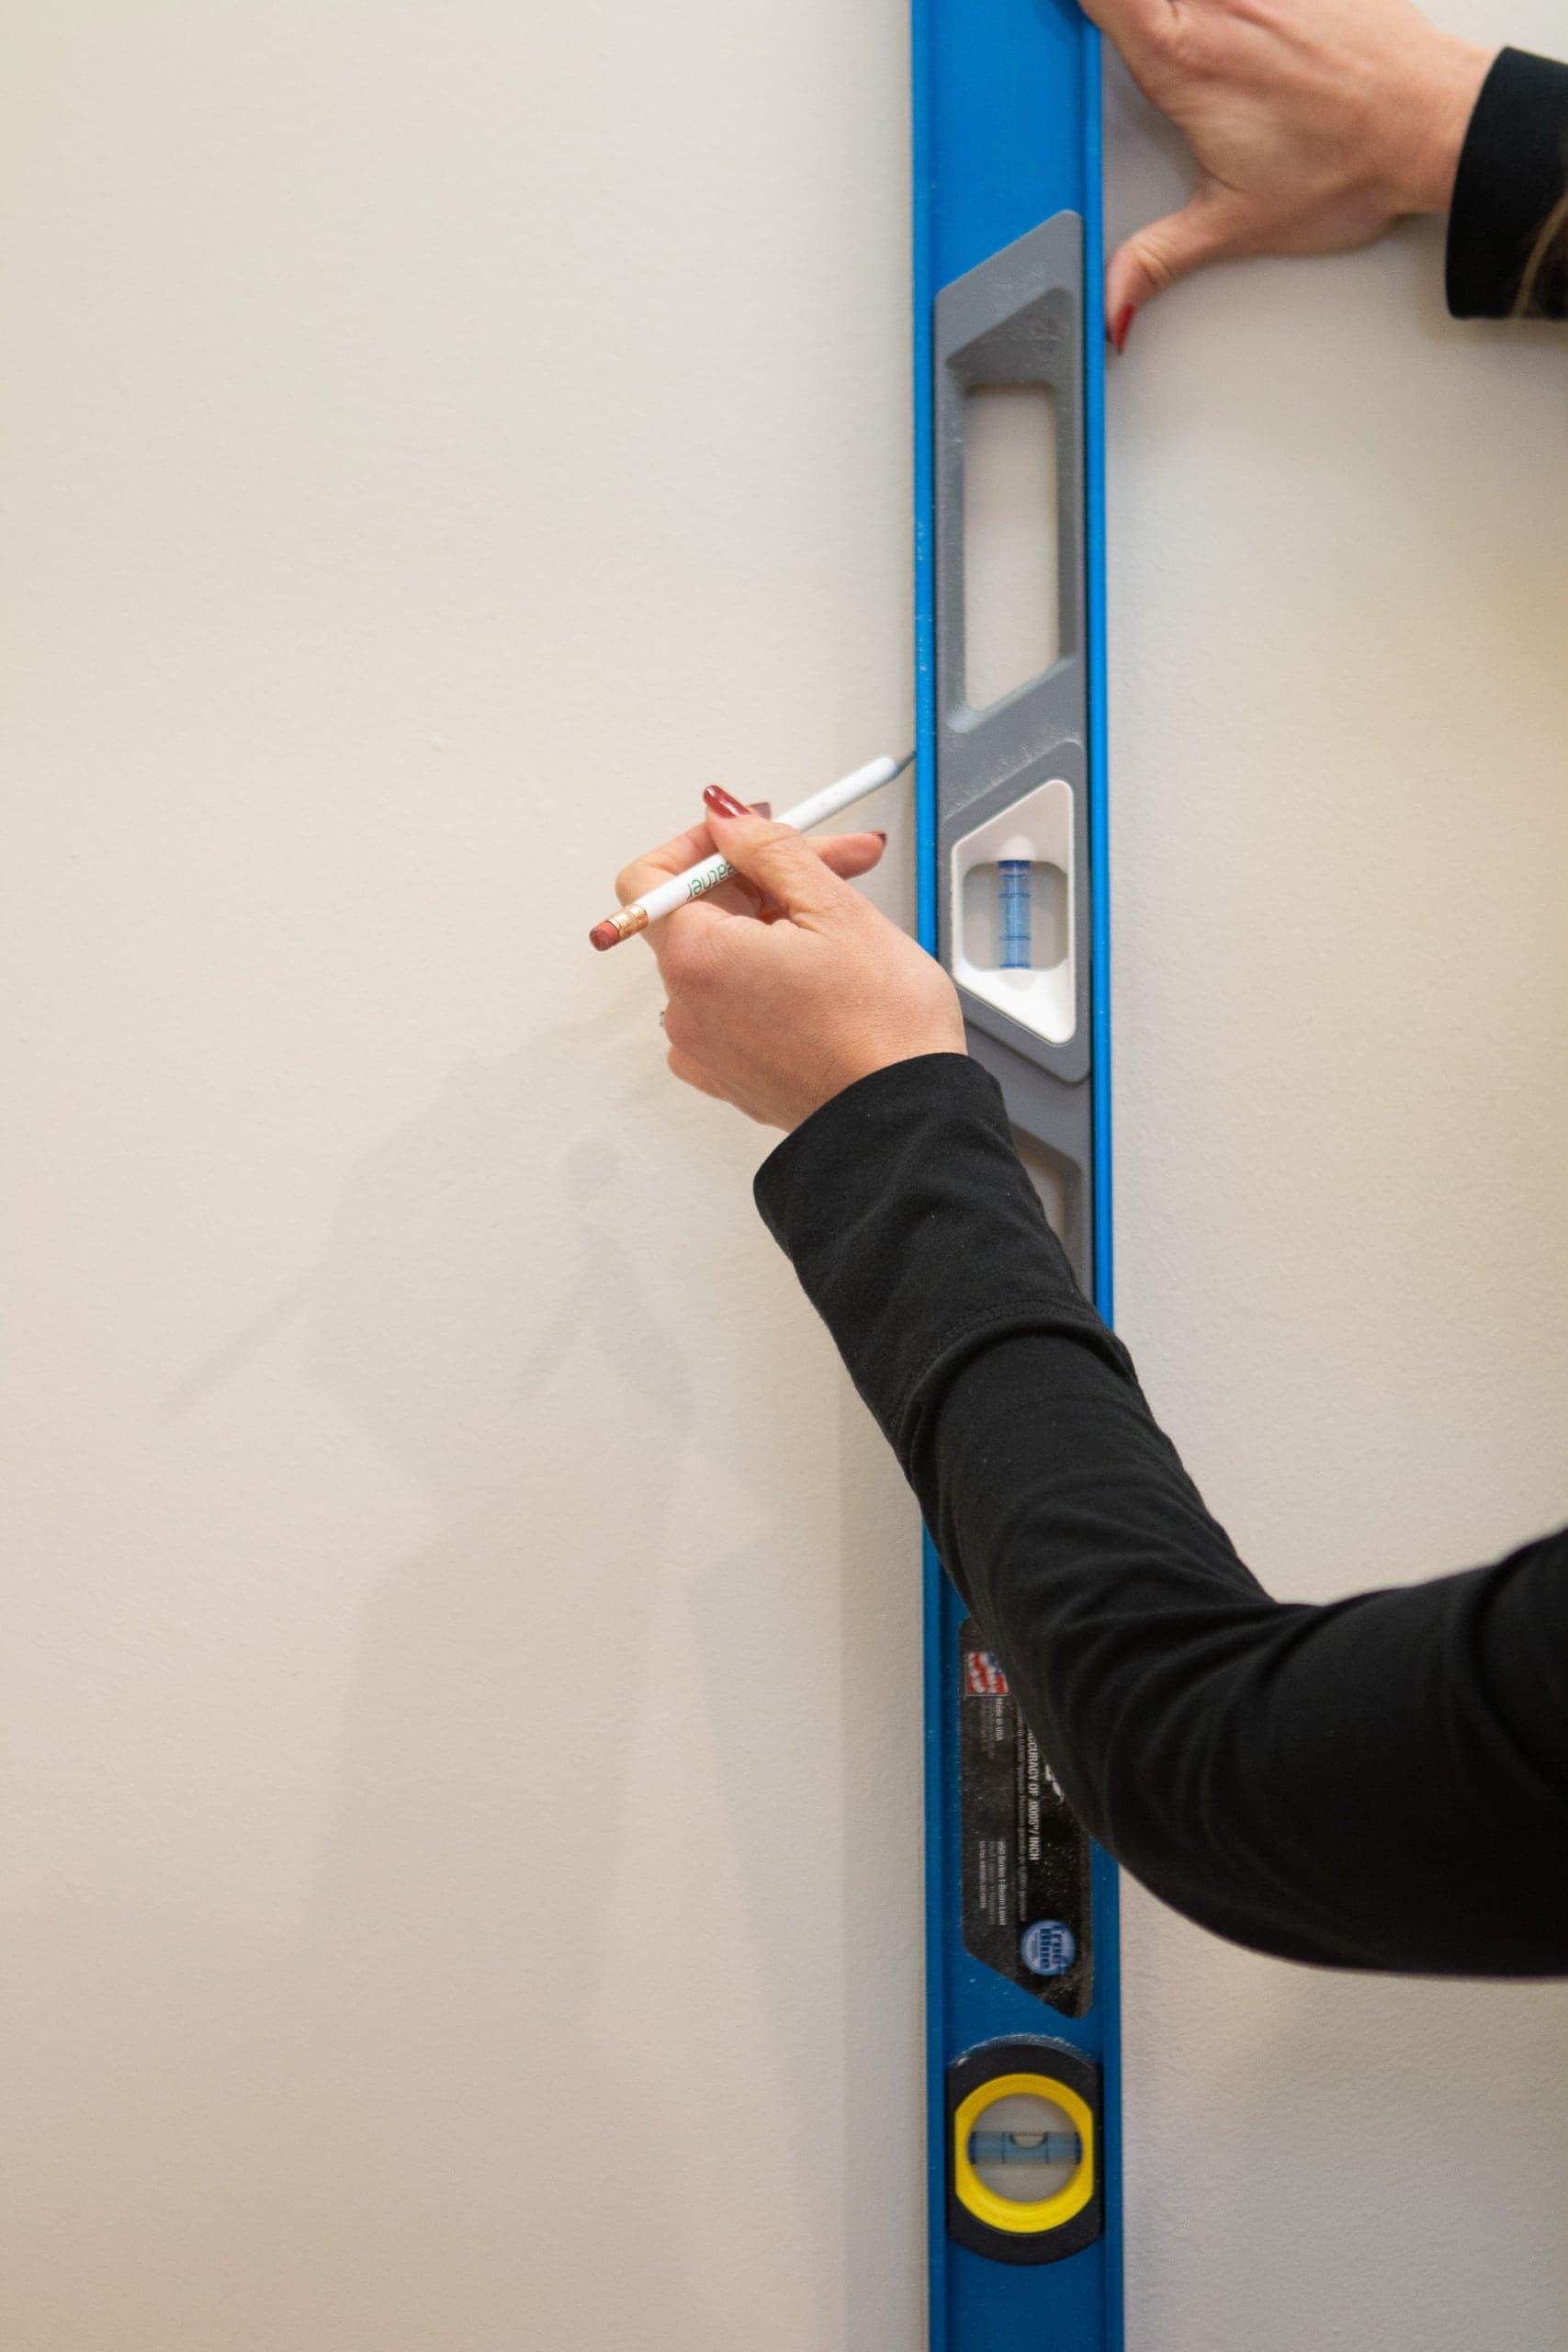
We found the center of the wall and marked a straight plumb line 10.5 inches to the left of it (since our wallpaper width is 21 inches).
It’s important to take the time to make sure the line is super straight because this will be the guide for the rest of the wallpaper in the room. Get this line straight and the project will go much smoother…trust me!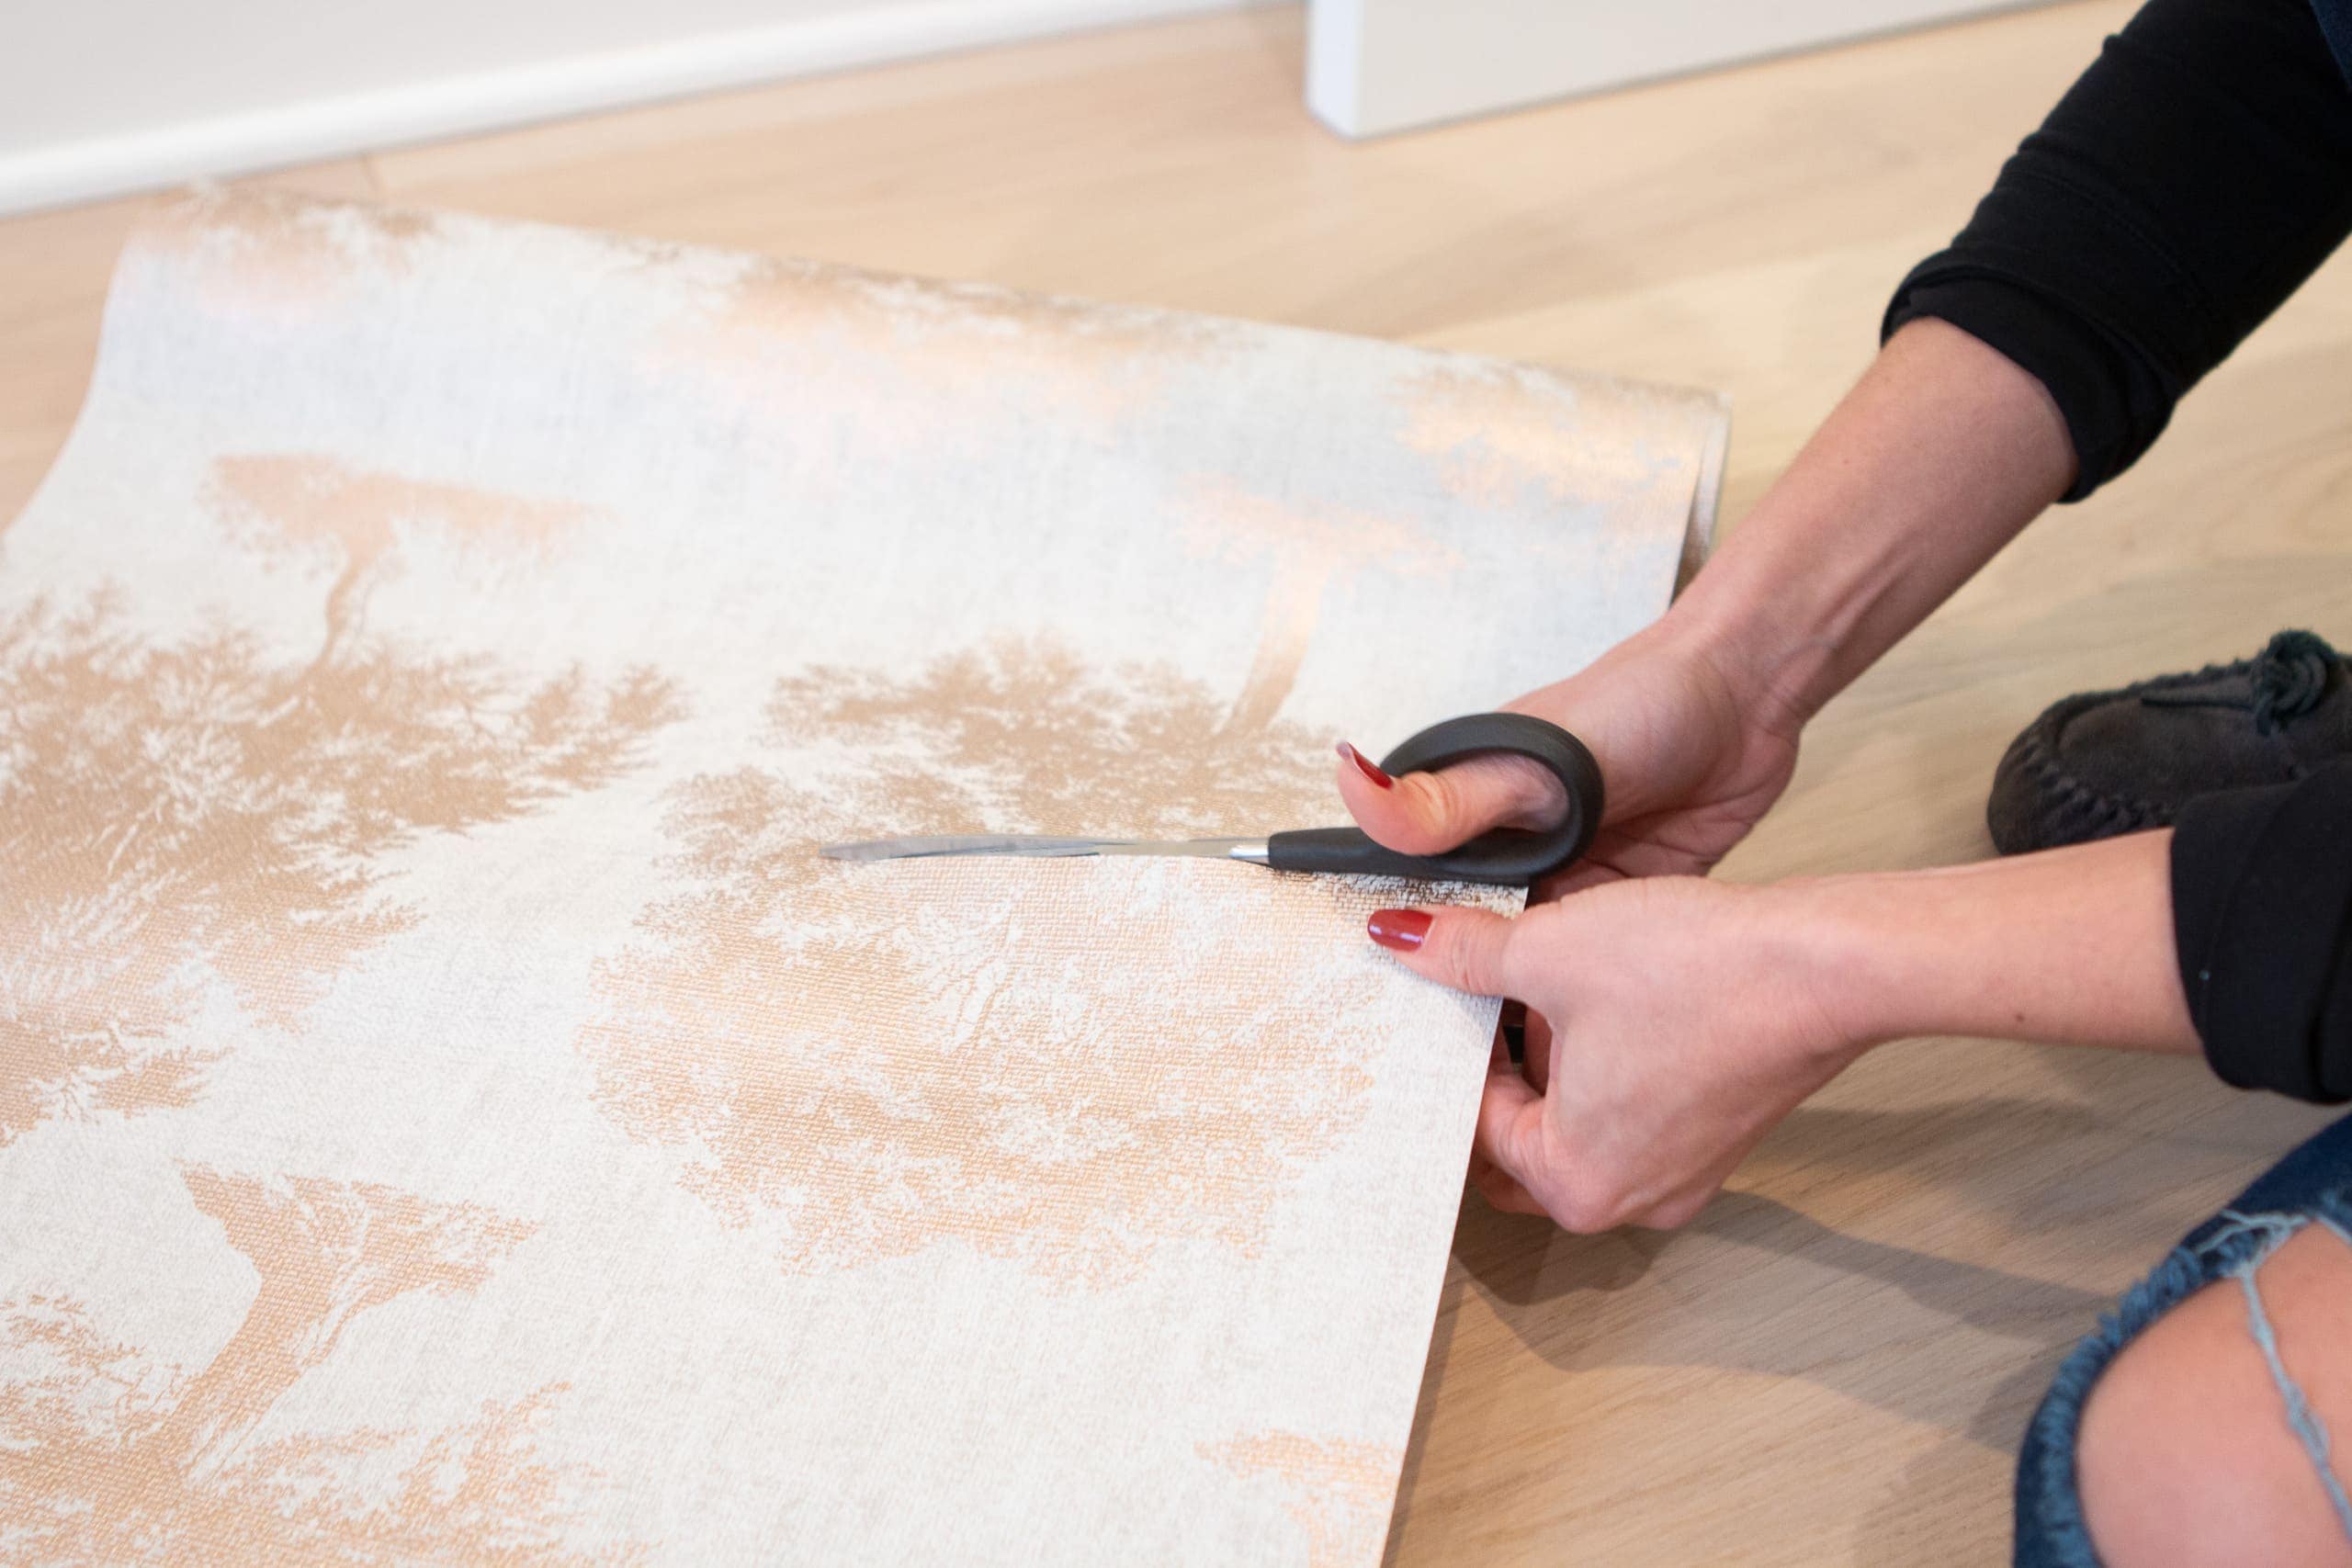
Leaving a few inches at the top and the bottom, we went ahead and cut our first piece of wallpaper. 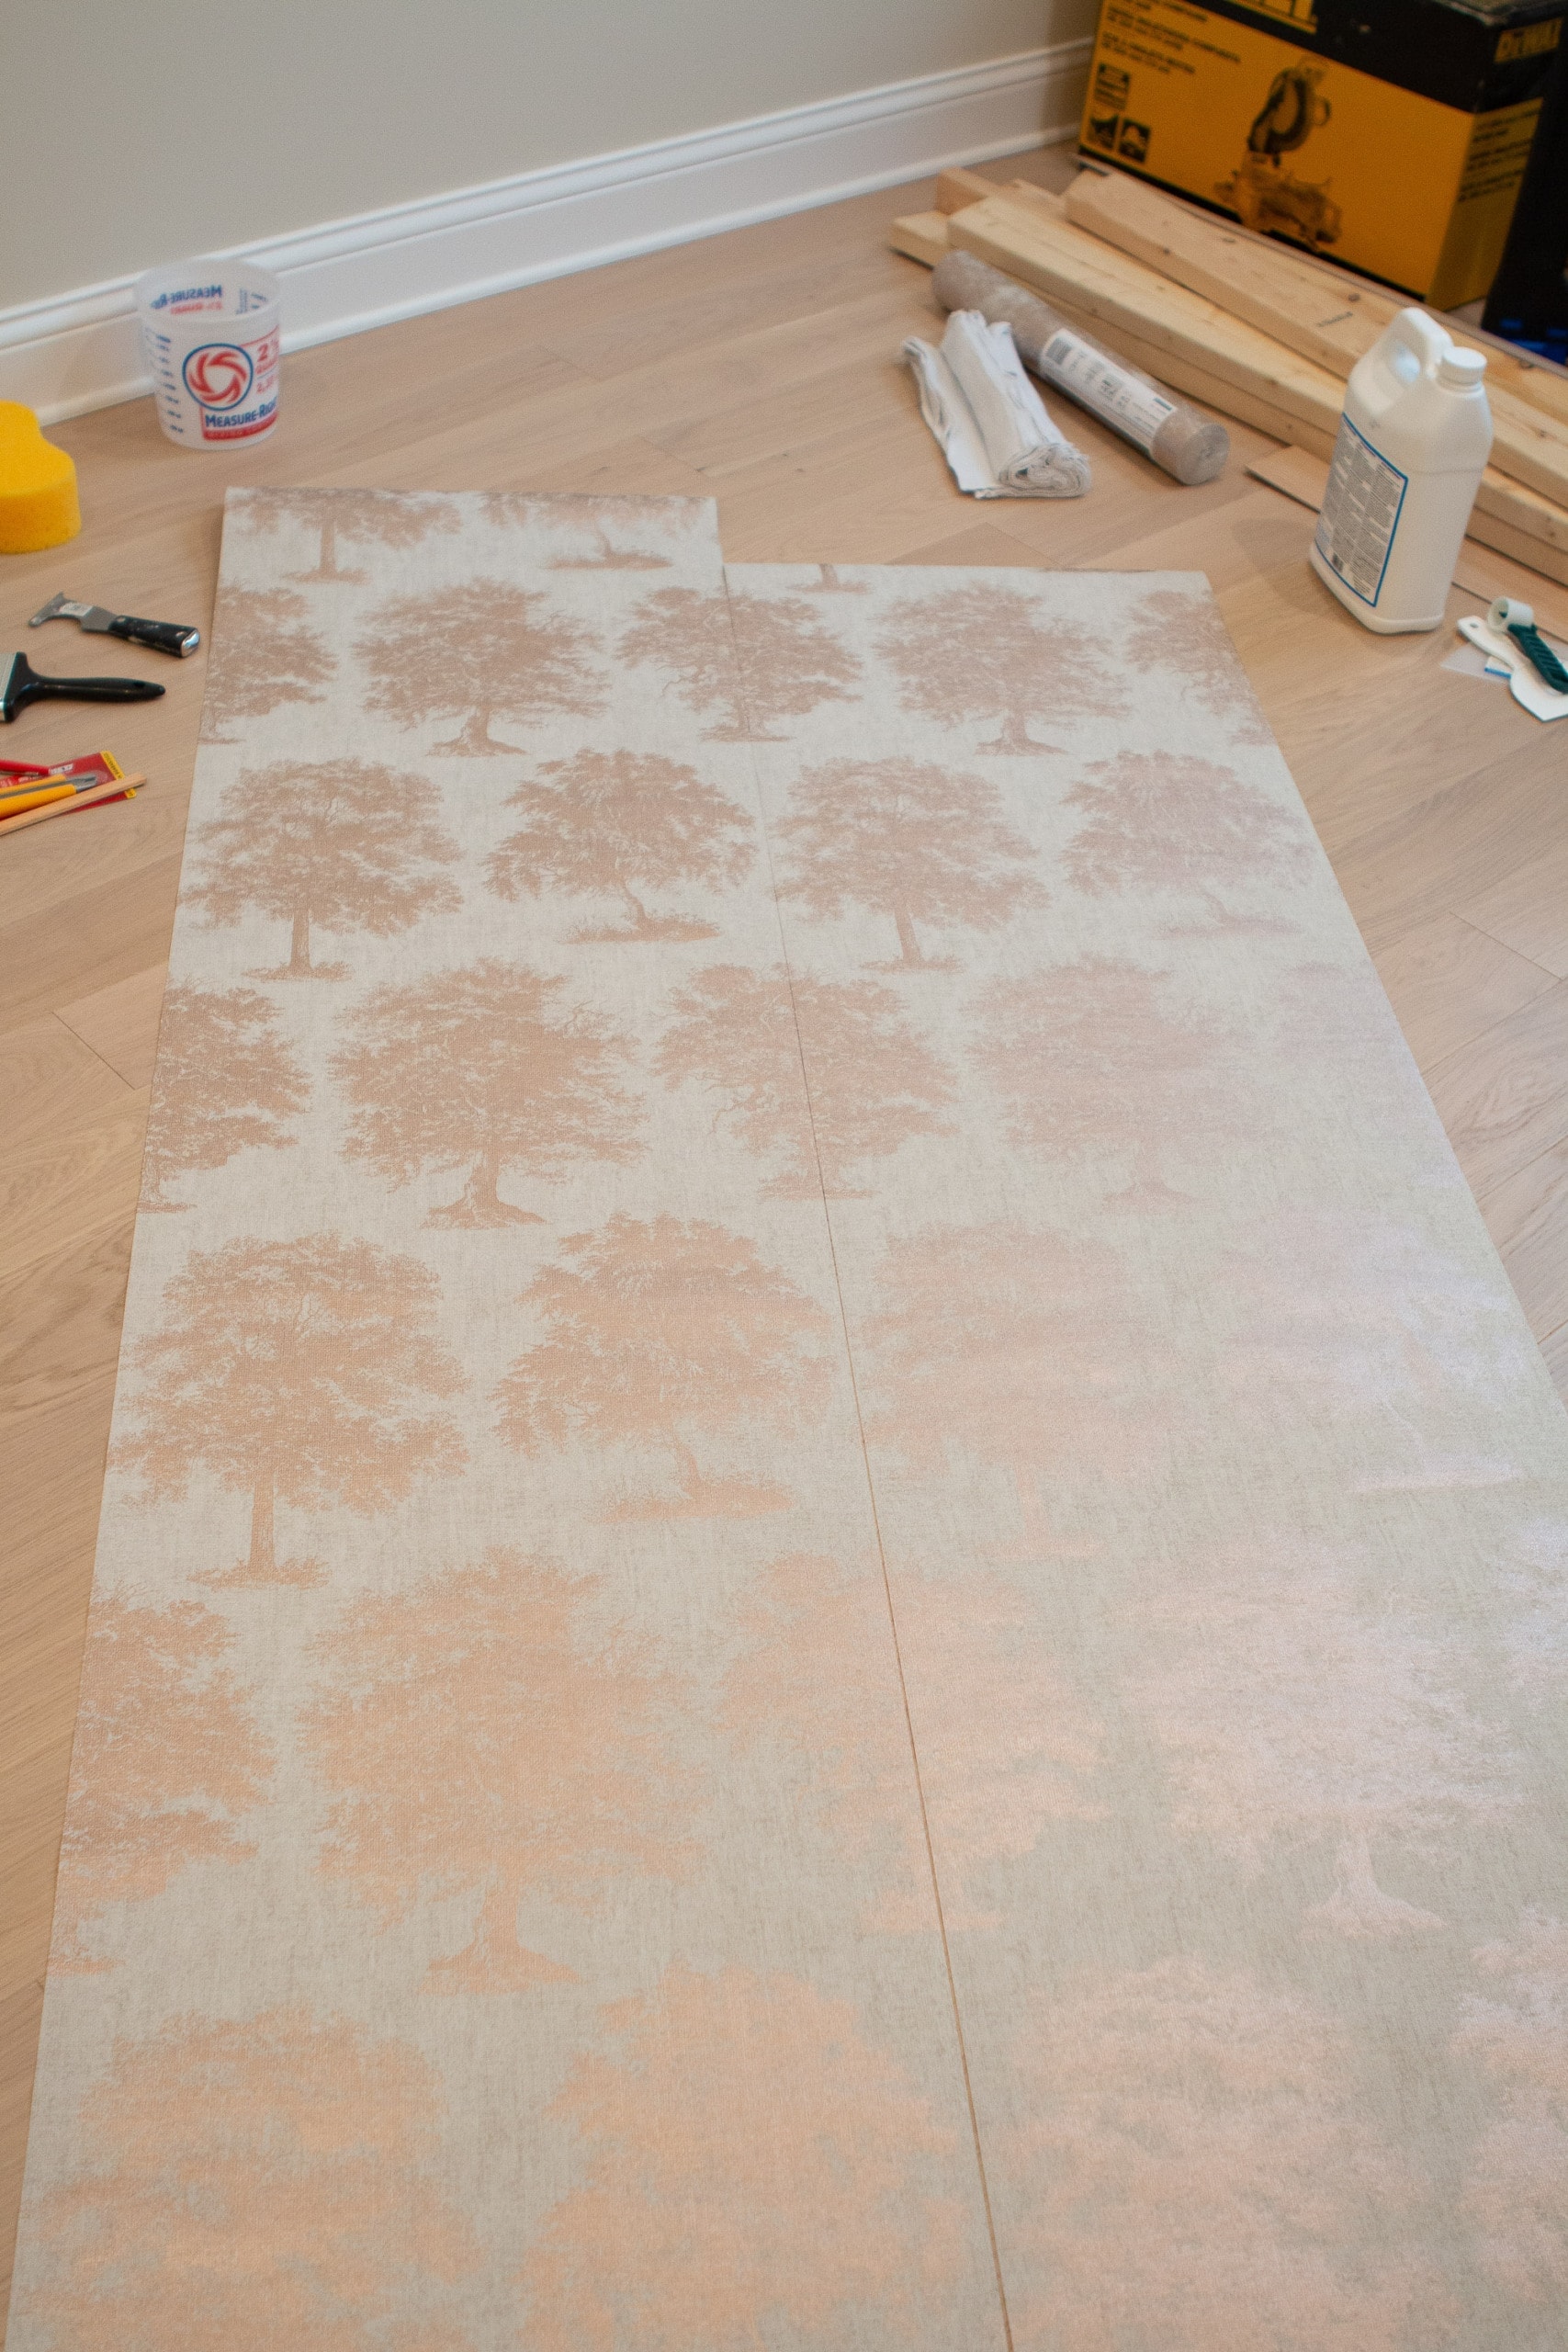
Now here’s a tip I never would have thought of! Before you put your first length of paper up on the wall, go ahead and cut your second. It’s much easier to line up the pattern on the ground than it is in the cramped closet. That way, once we had the first strip up, we could move on to applying the second one. Genius!
Apply Wallpaper Paste…Lots of It!

Since this was my first time using “real” wallpaper, I had never used wallpaper paste before. I purchased a big jug of it and poured some into a small bucket that we could work with. 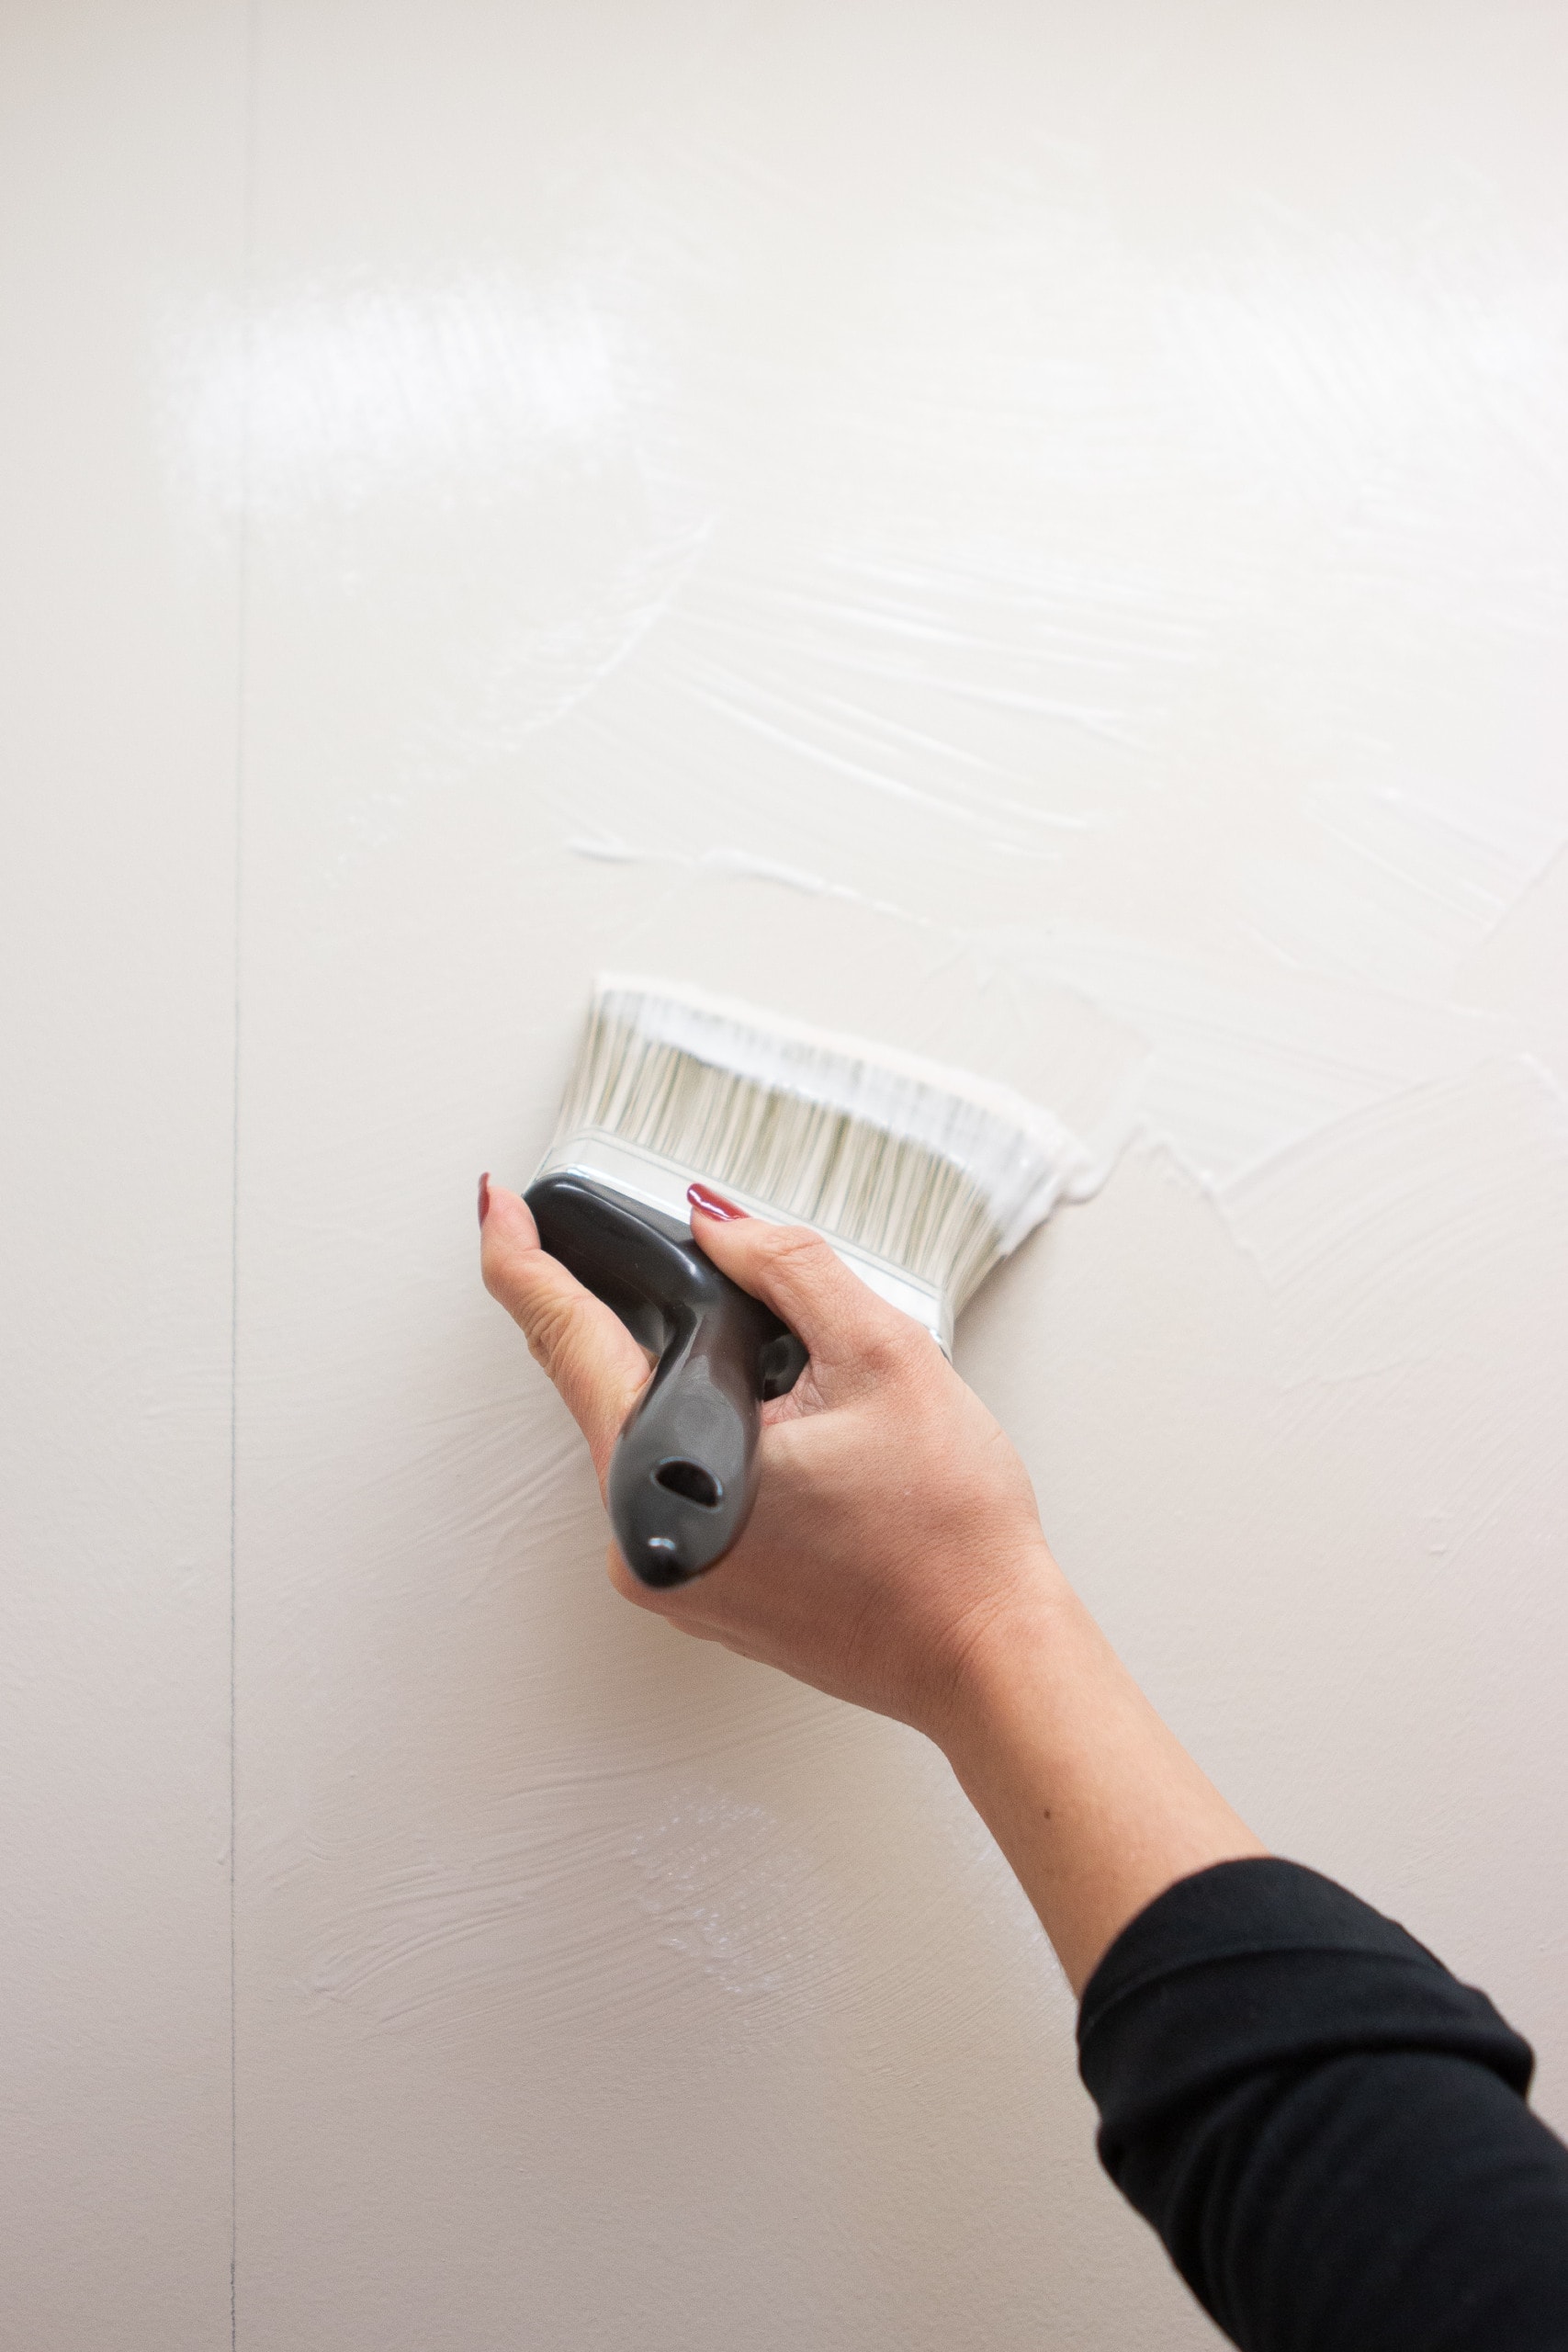 Using a cheap paintbrush, I slathered it on the wall. Kristin urged me to lay it on thick because this would make it a lot easier for us to slide the wallpaper strip around to position it into place. We pasted the wall only behind where the first strip of wallpaper would go (and maybe about an inch to the sides), making sure no area was dry and we had an even coat of paste.
We used a paintbrush for this, but you could also use a paint roller to speed things along.
Note: Some wallpapers require you to “book” the paper before you apply it to the wall. I had to use this booking method when adding wallpaper inside picture frame molding in my office.
Apply Your First Strip
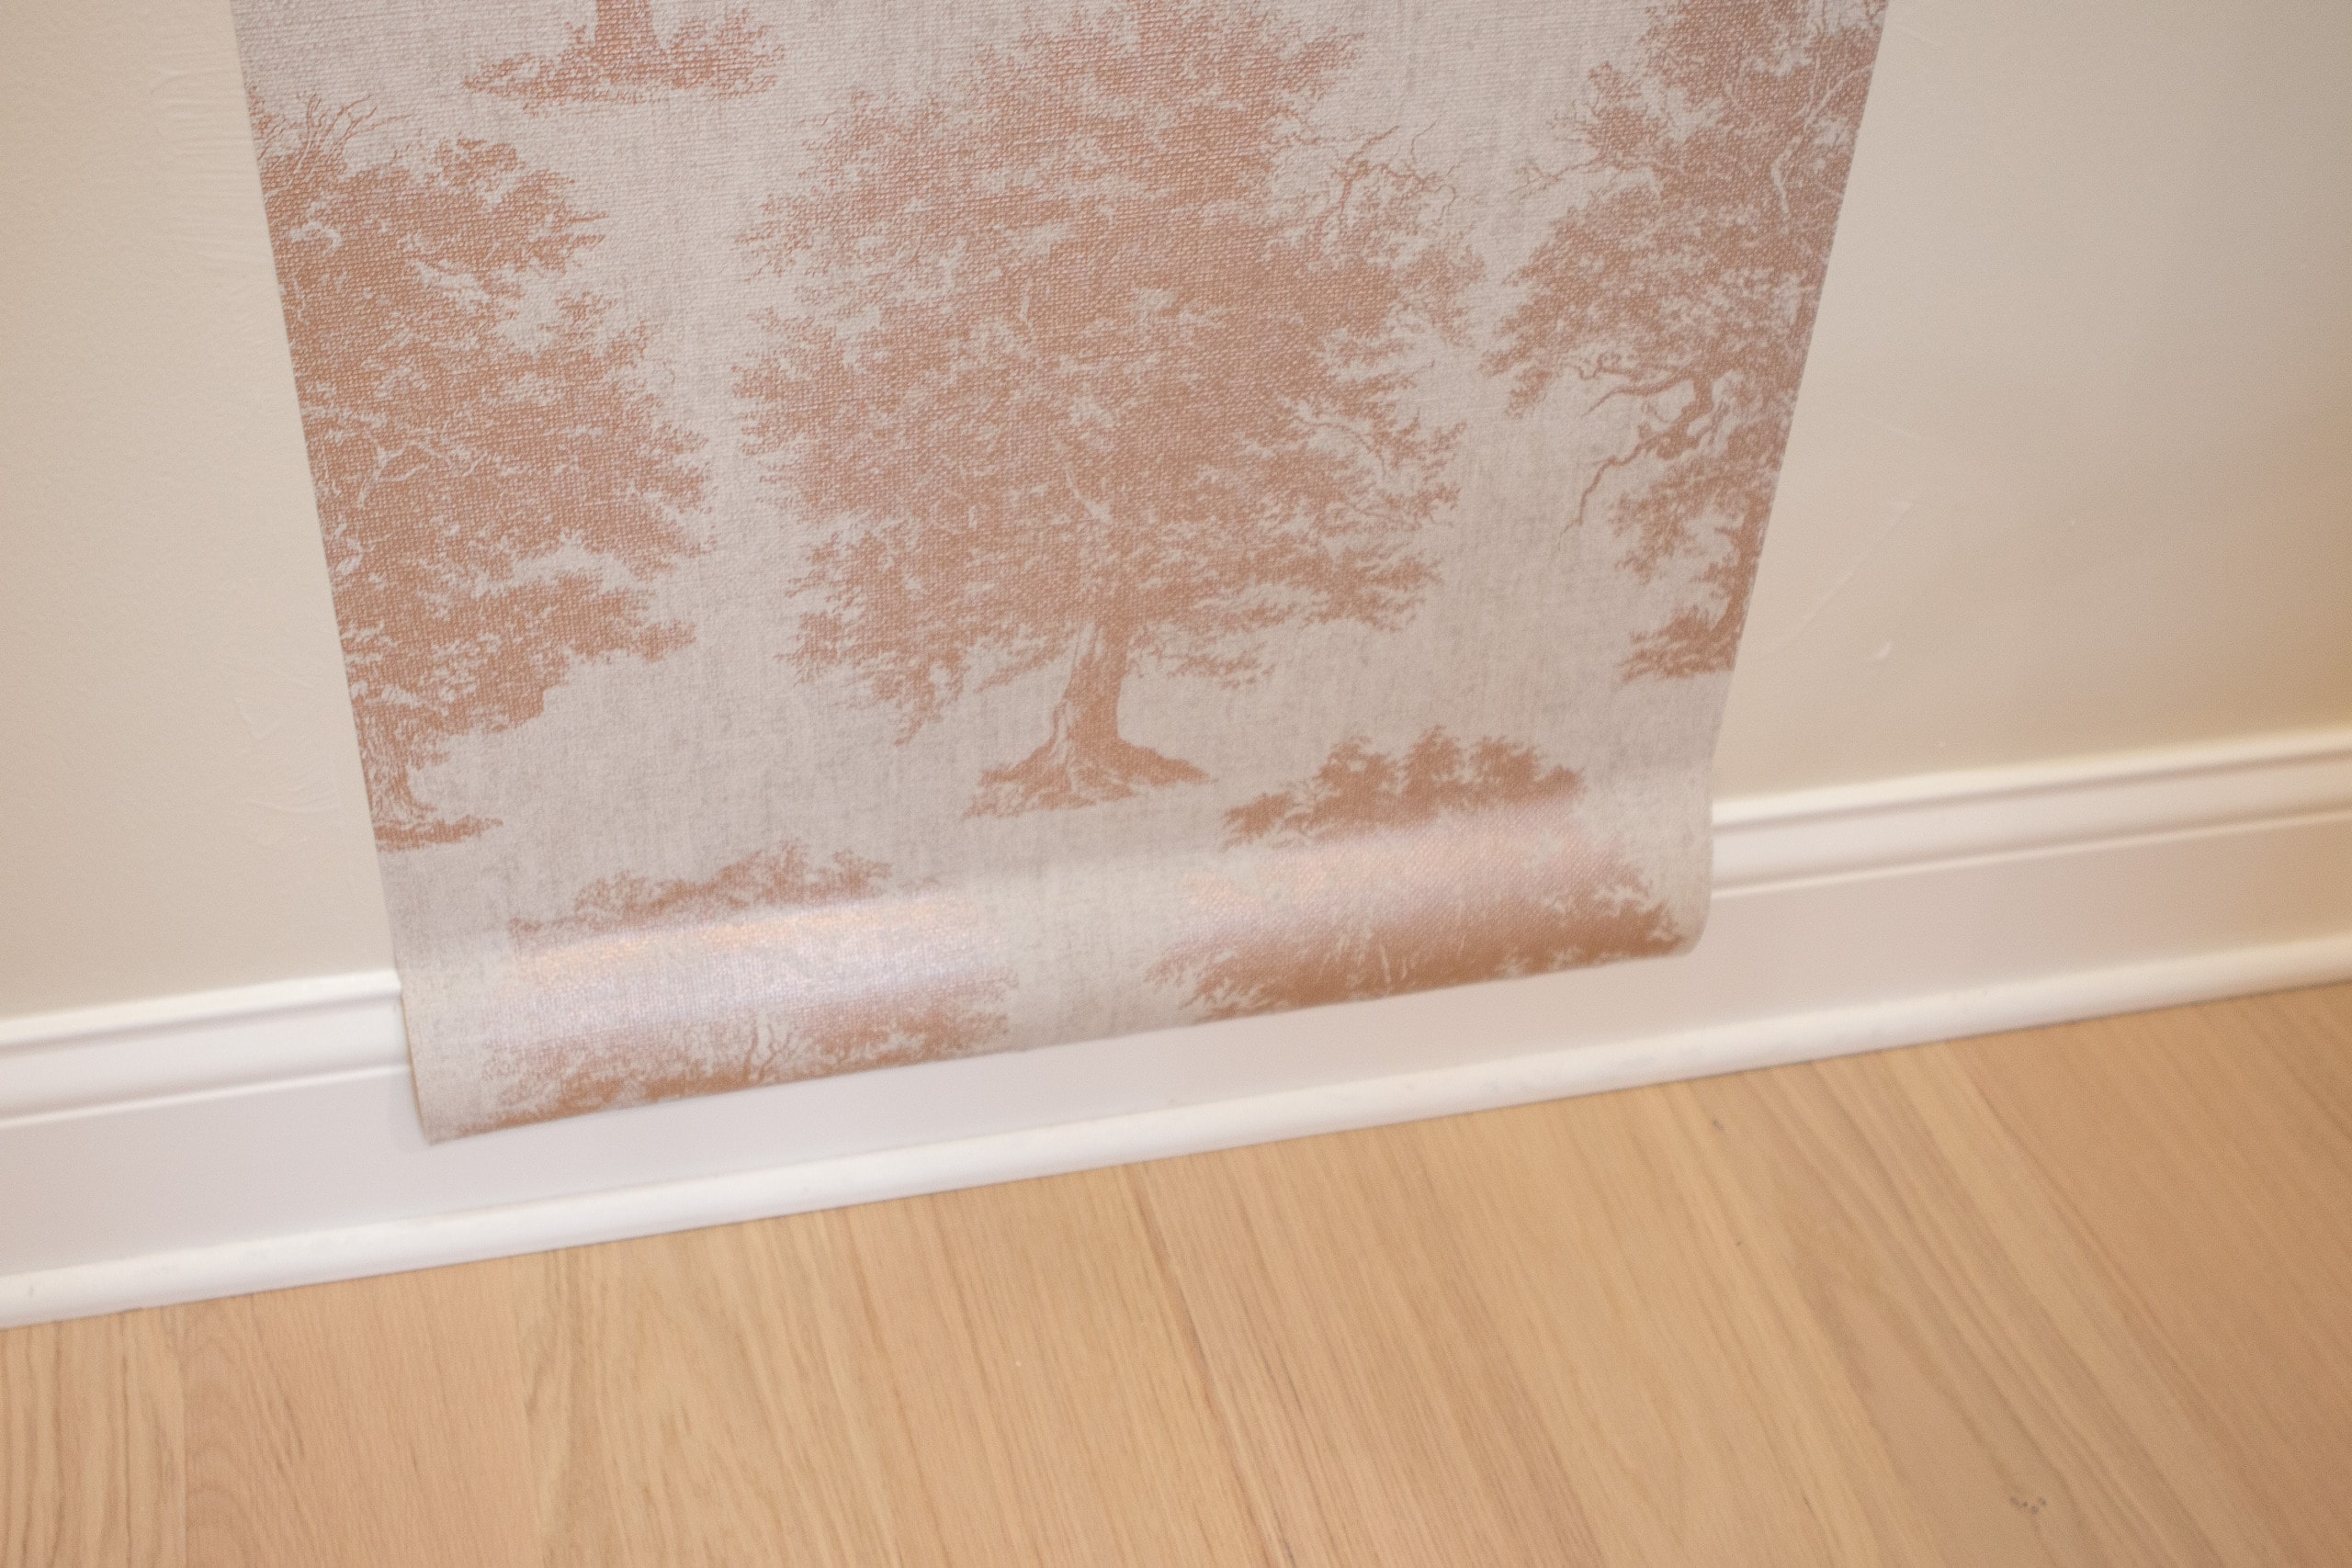
We carefully took the first strip and applied it to the wall, making sure it was perfectly lined up with our straight vertical line from the ceiling to the floor.
I was worried it would be hard to move around once it was on the wall, but you can easily move it and even peel it back up if you don’t have it in the right spot. As I mentioned earlier. make sure you have a few inches of excess on the bottom and top of the wall (you’ll trim that next).
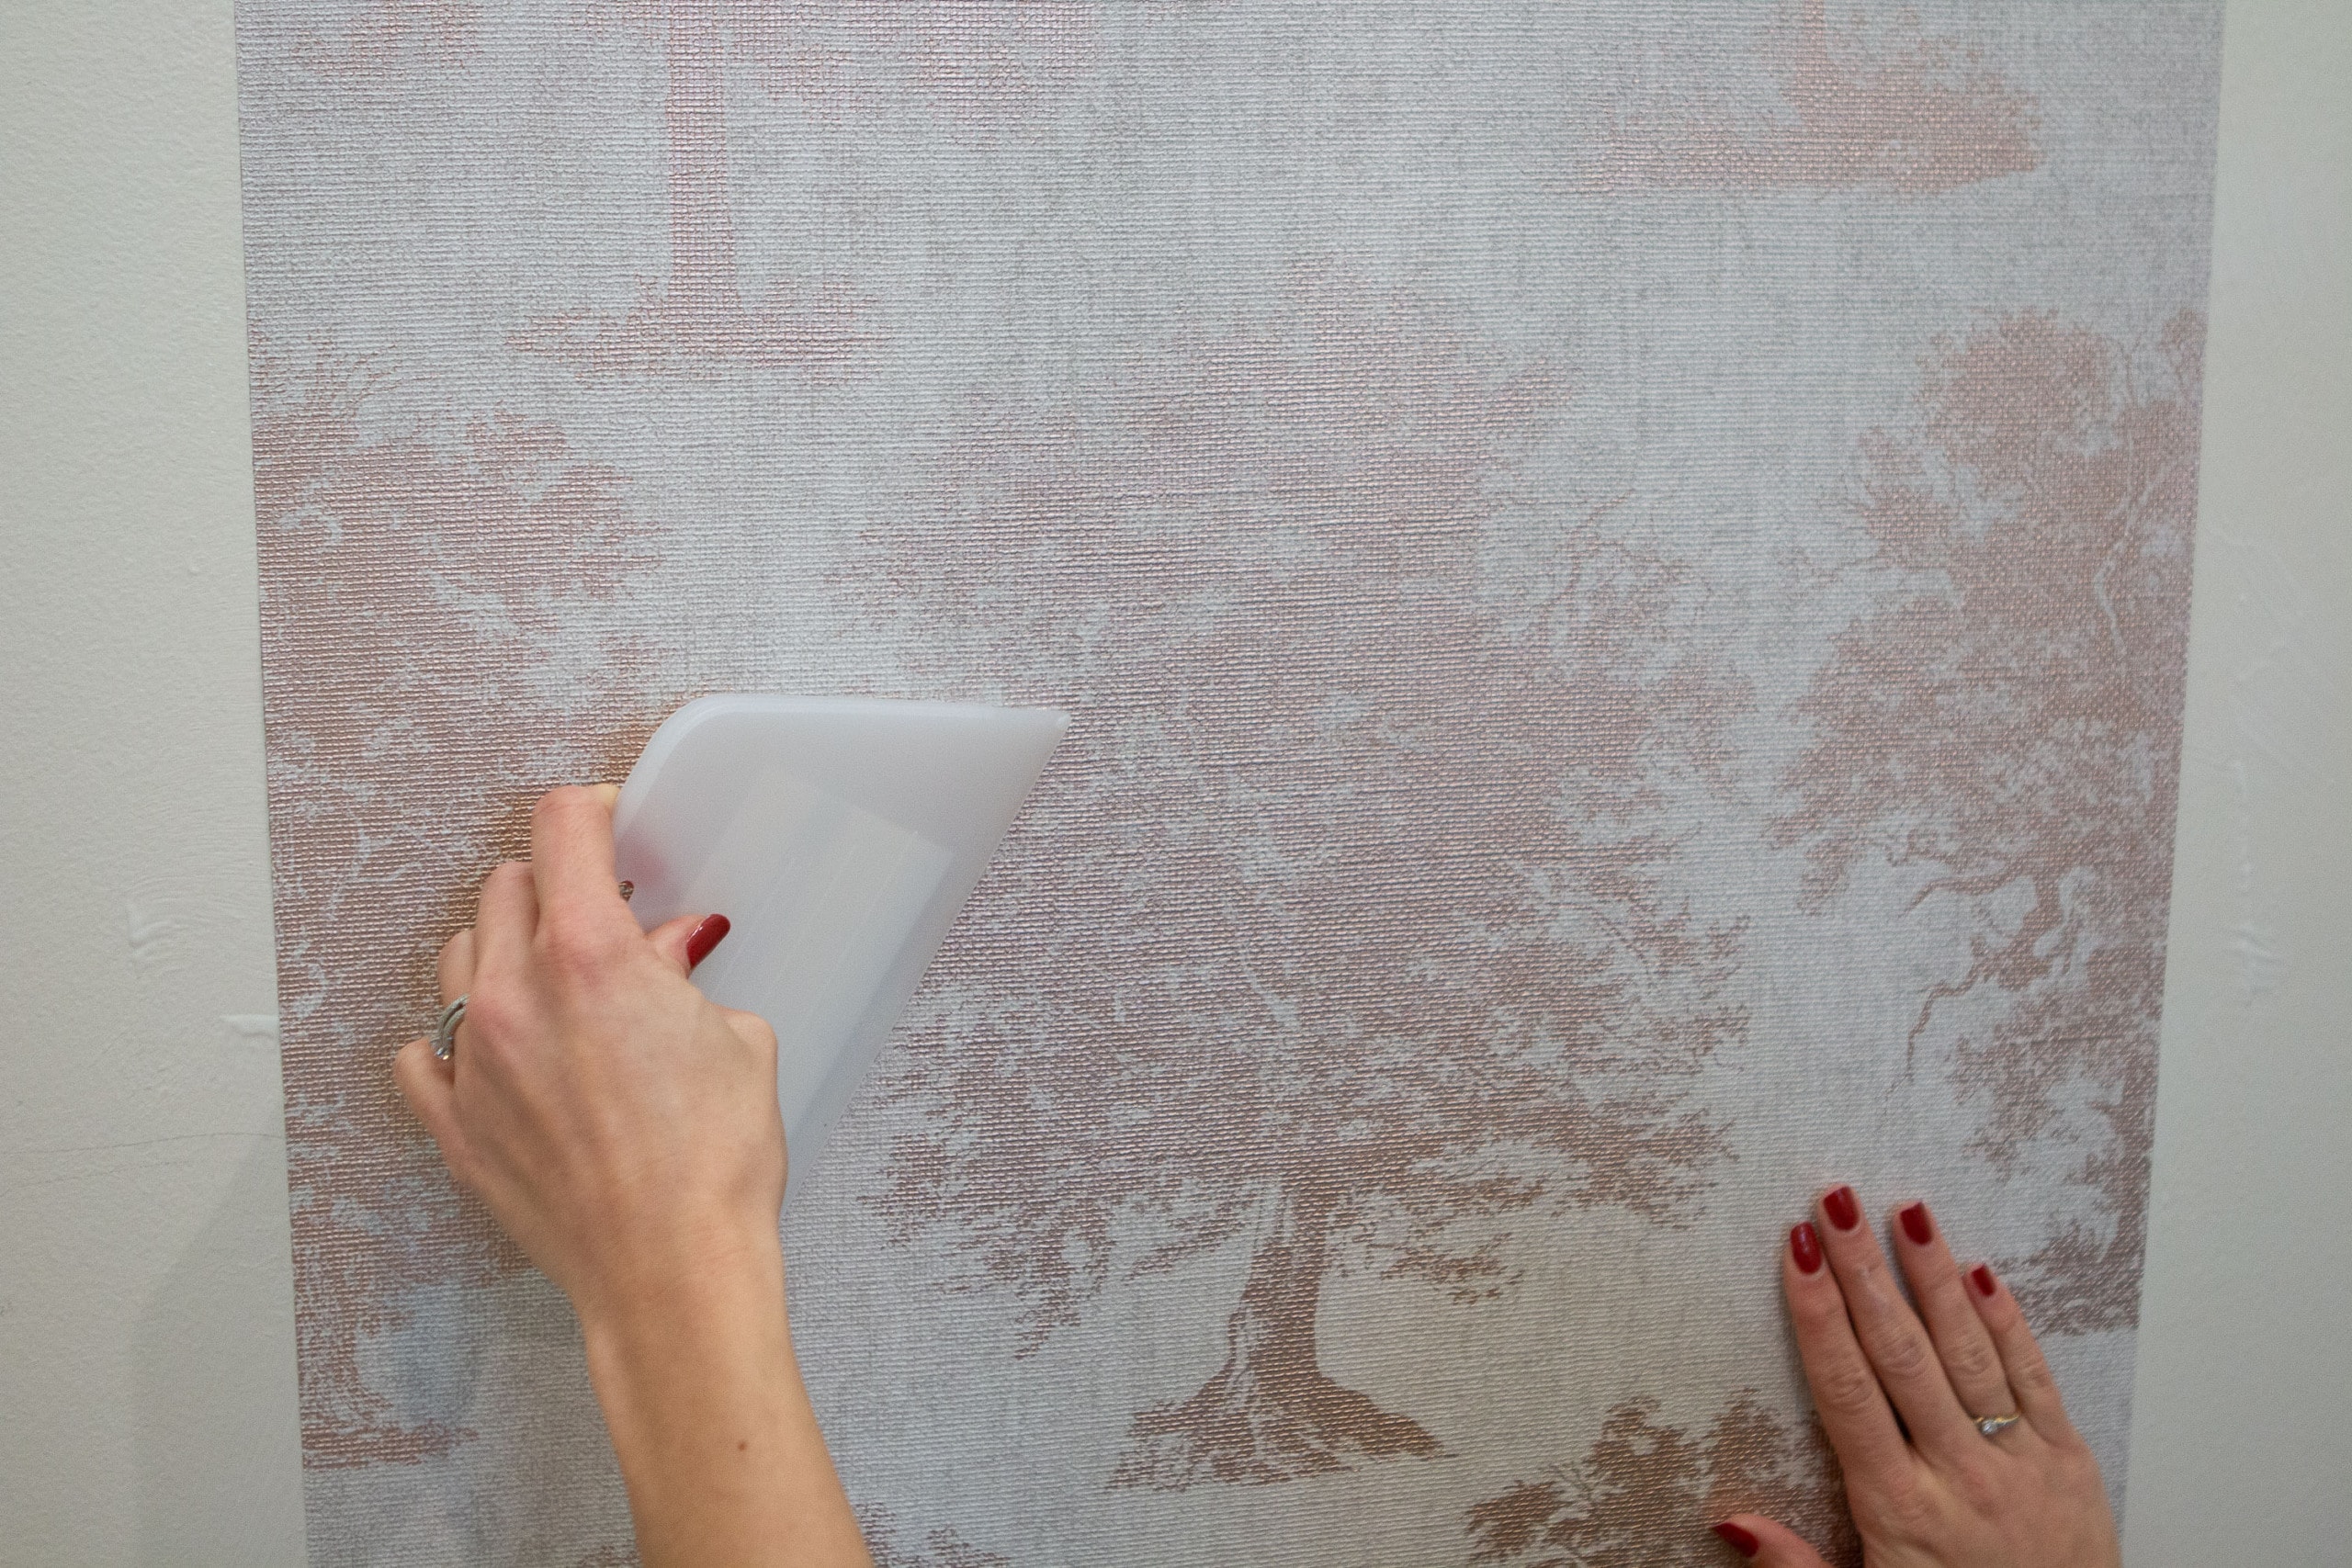
Once we knew the wallpaper was perfectly straight, we used the plastic smoothing tool to get rid of any air bubbles and secure it to the wall. This tool is a must-have for this project and helped get the back of the paper smoothed into place.
Trim the Excess

With your first strip securely adhered to the wall, you can cut off the excess at the top and the bottom. This is where the metal smoothing tool will come into play.
The metal one works much better than the plastic for this step, so make sure you have both on hand for this project. Push the metal tool into the crease and run your utility knife across the metal to cut the excess wallpaper. Don’t lift the razor up! Instead, move your smoothing tool along the base to catch up to the knife. If you lift it up, it will be hard to cut in exactly the same spot. Do the same at the ceiling. 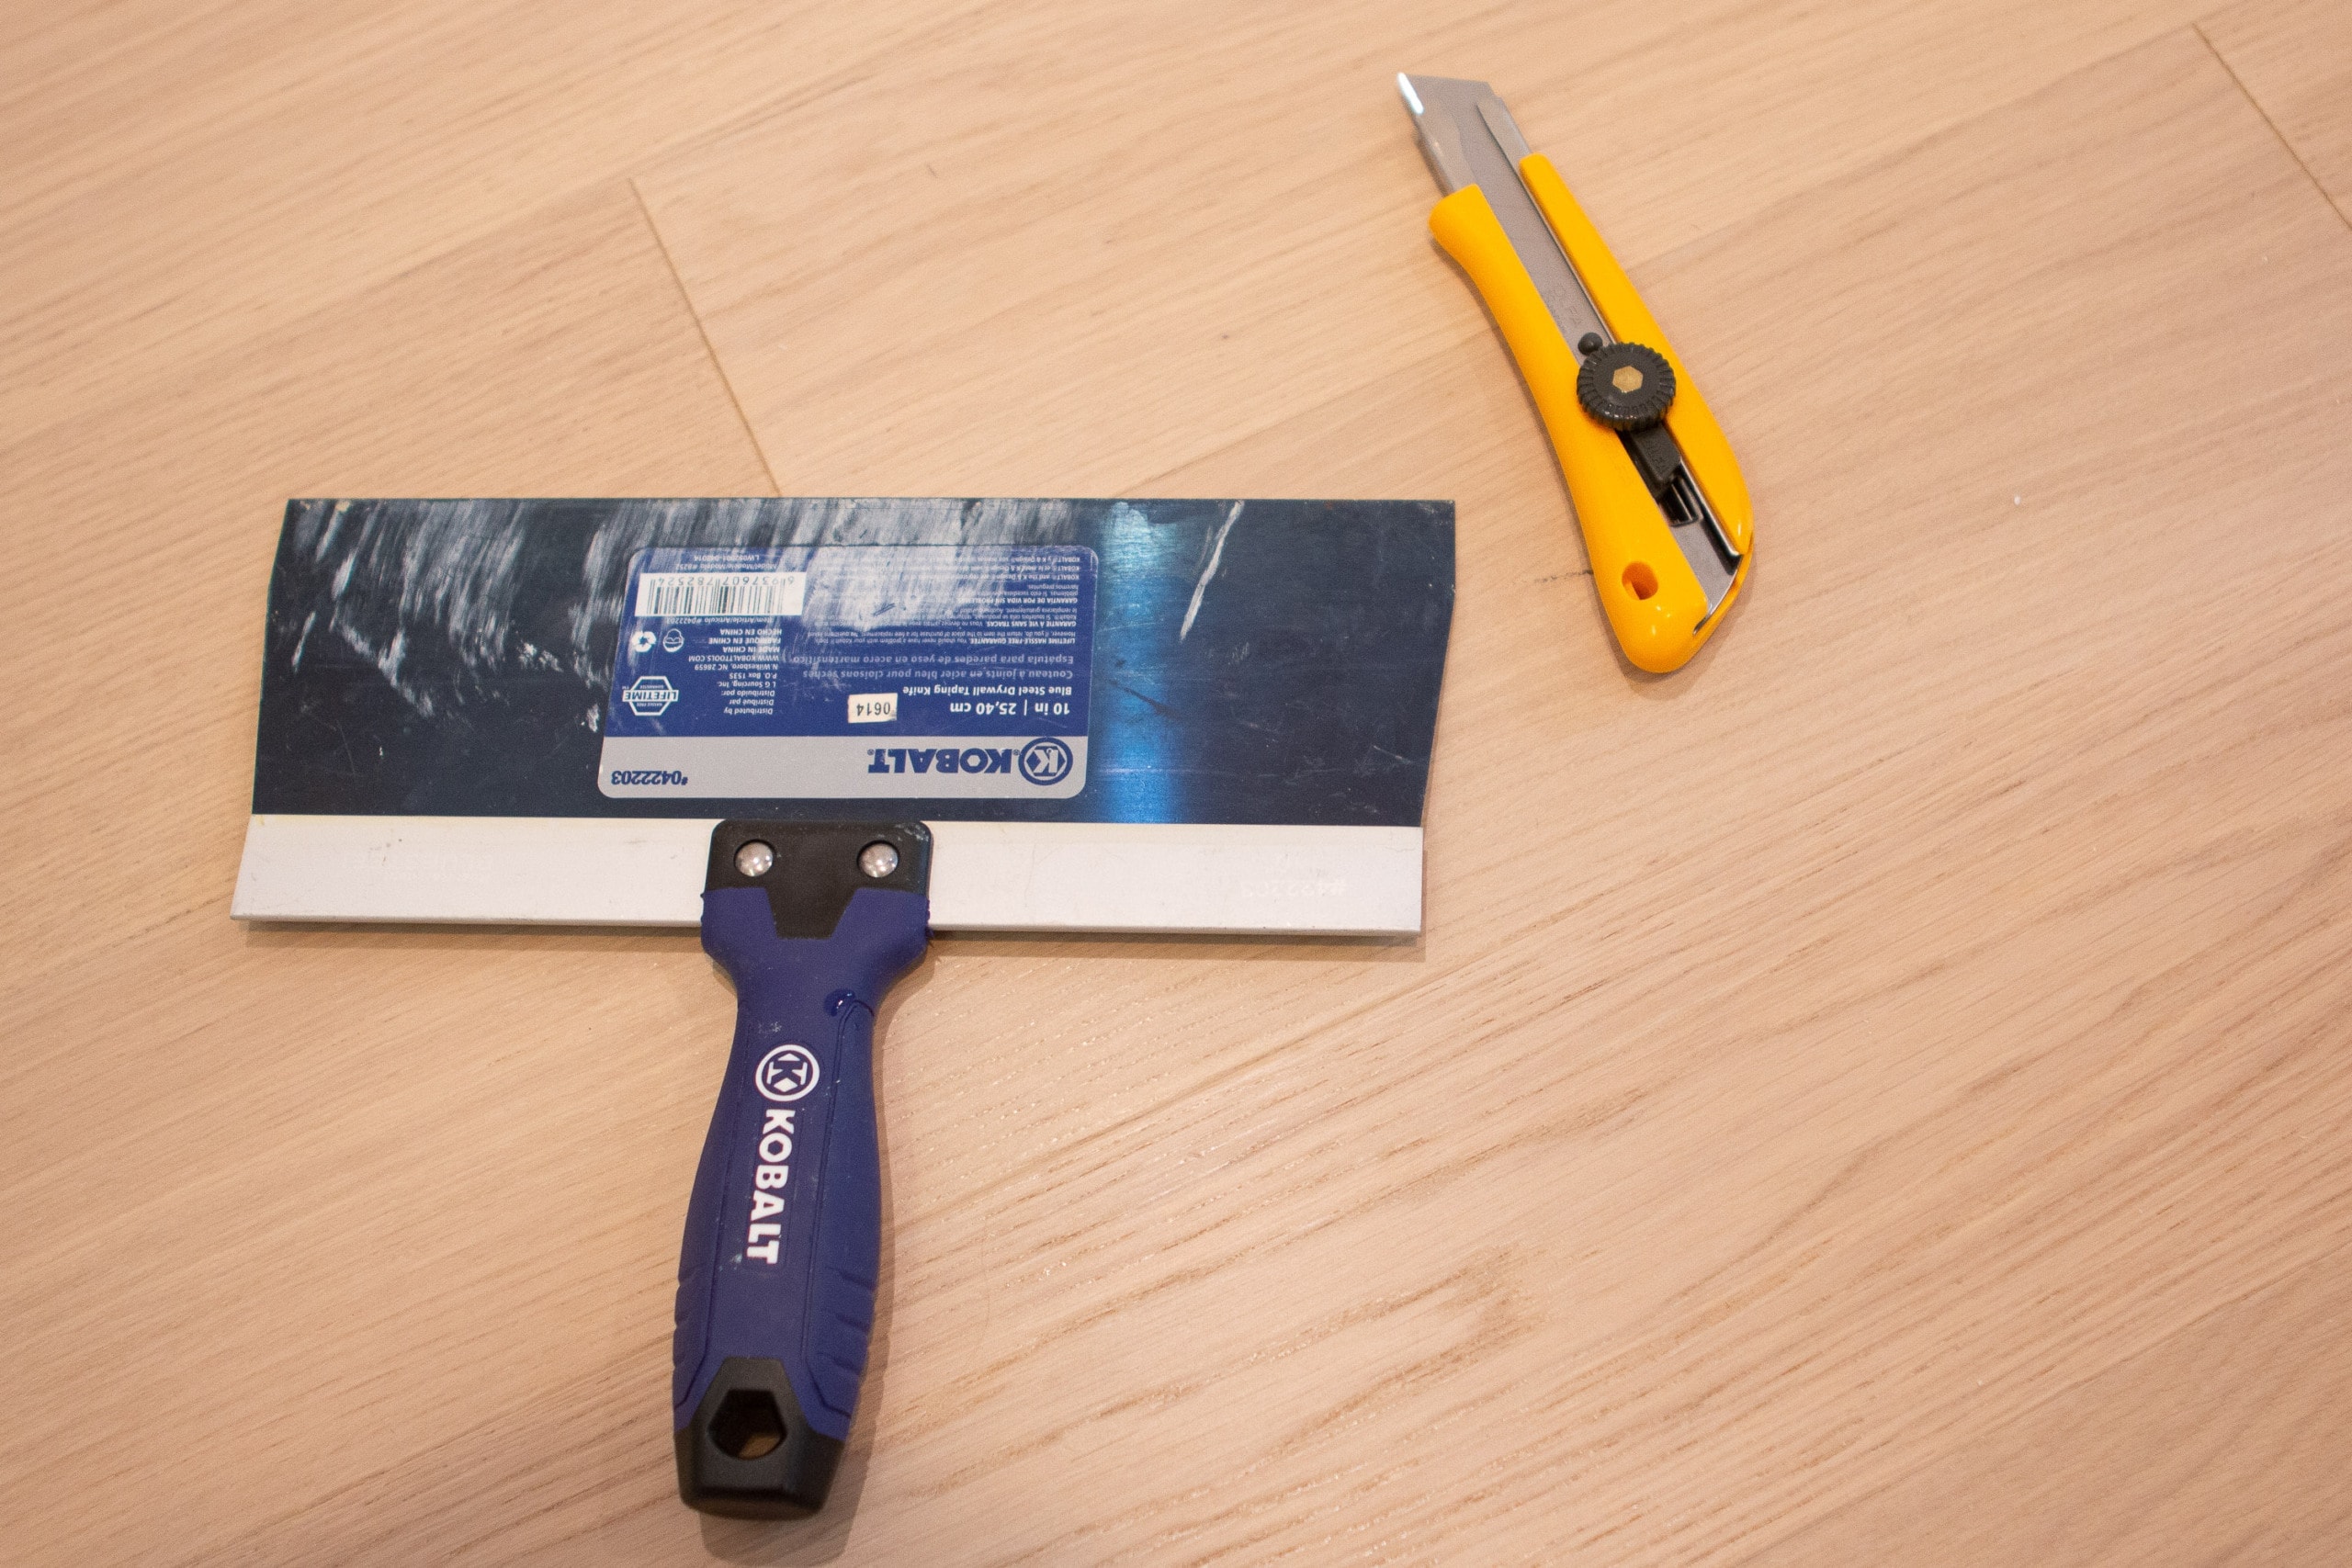
While I have a normal utility knife, Kristin told me to buy a snap-off utility knife for this project. You want the blade to be sharp for every cut. With this tool, you can easily snap off the knife blade and have a new sharp one ready to go. We changed the blade 2-3 times throughout this entire project.
Wallpapering An Inside Corner

With our first strip up, we were quickly onto a “tricky” piece…a corner one. When I wallpapered my mom’s closet we actually started on a corner with our first strip. This made it really difficult to match up the second piece in the corner on the side wall.
Kristin said it’s usually best to wrap the paper into the corner, that way the corner is fully covered. Ummm yes. So smart!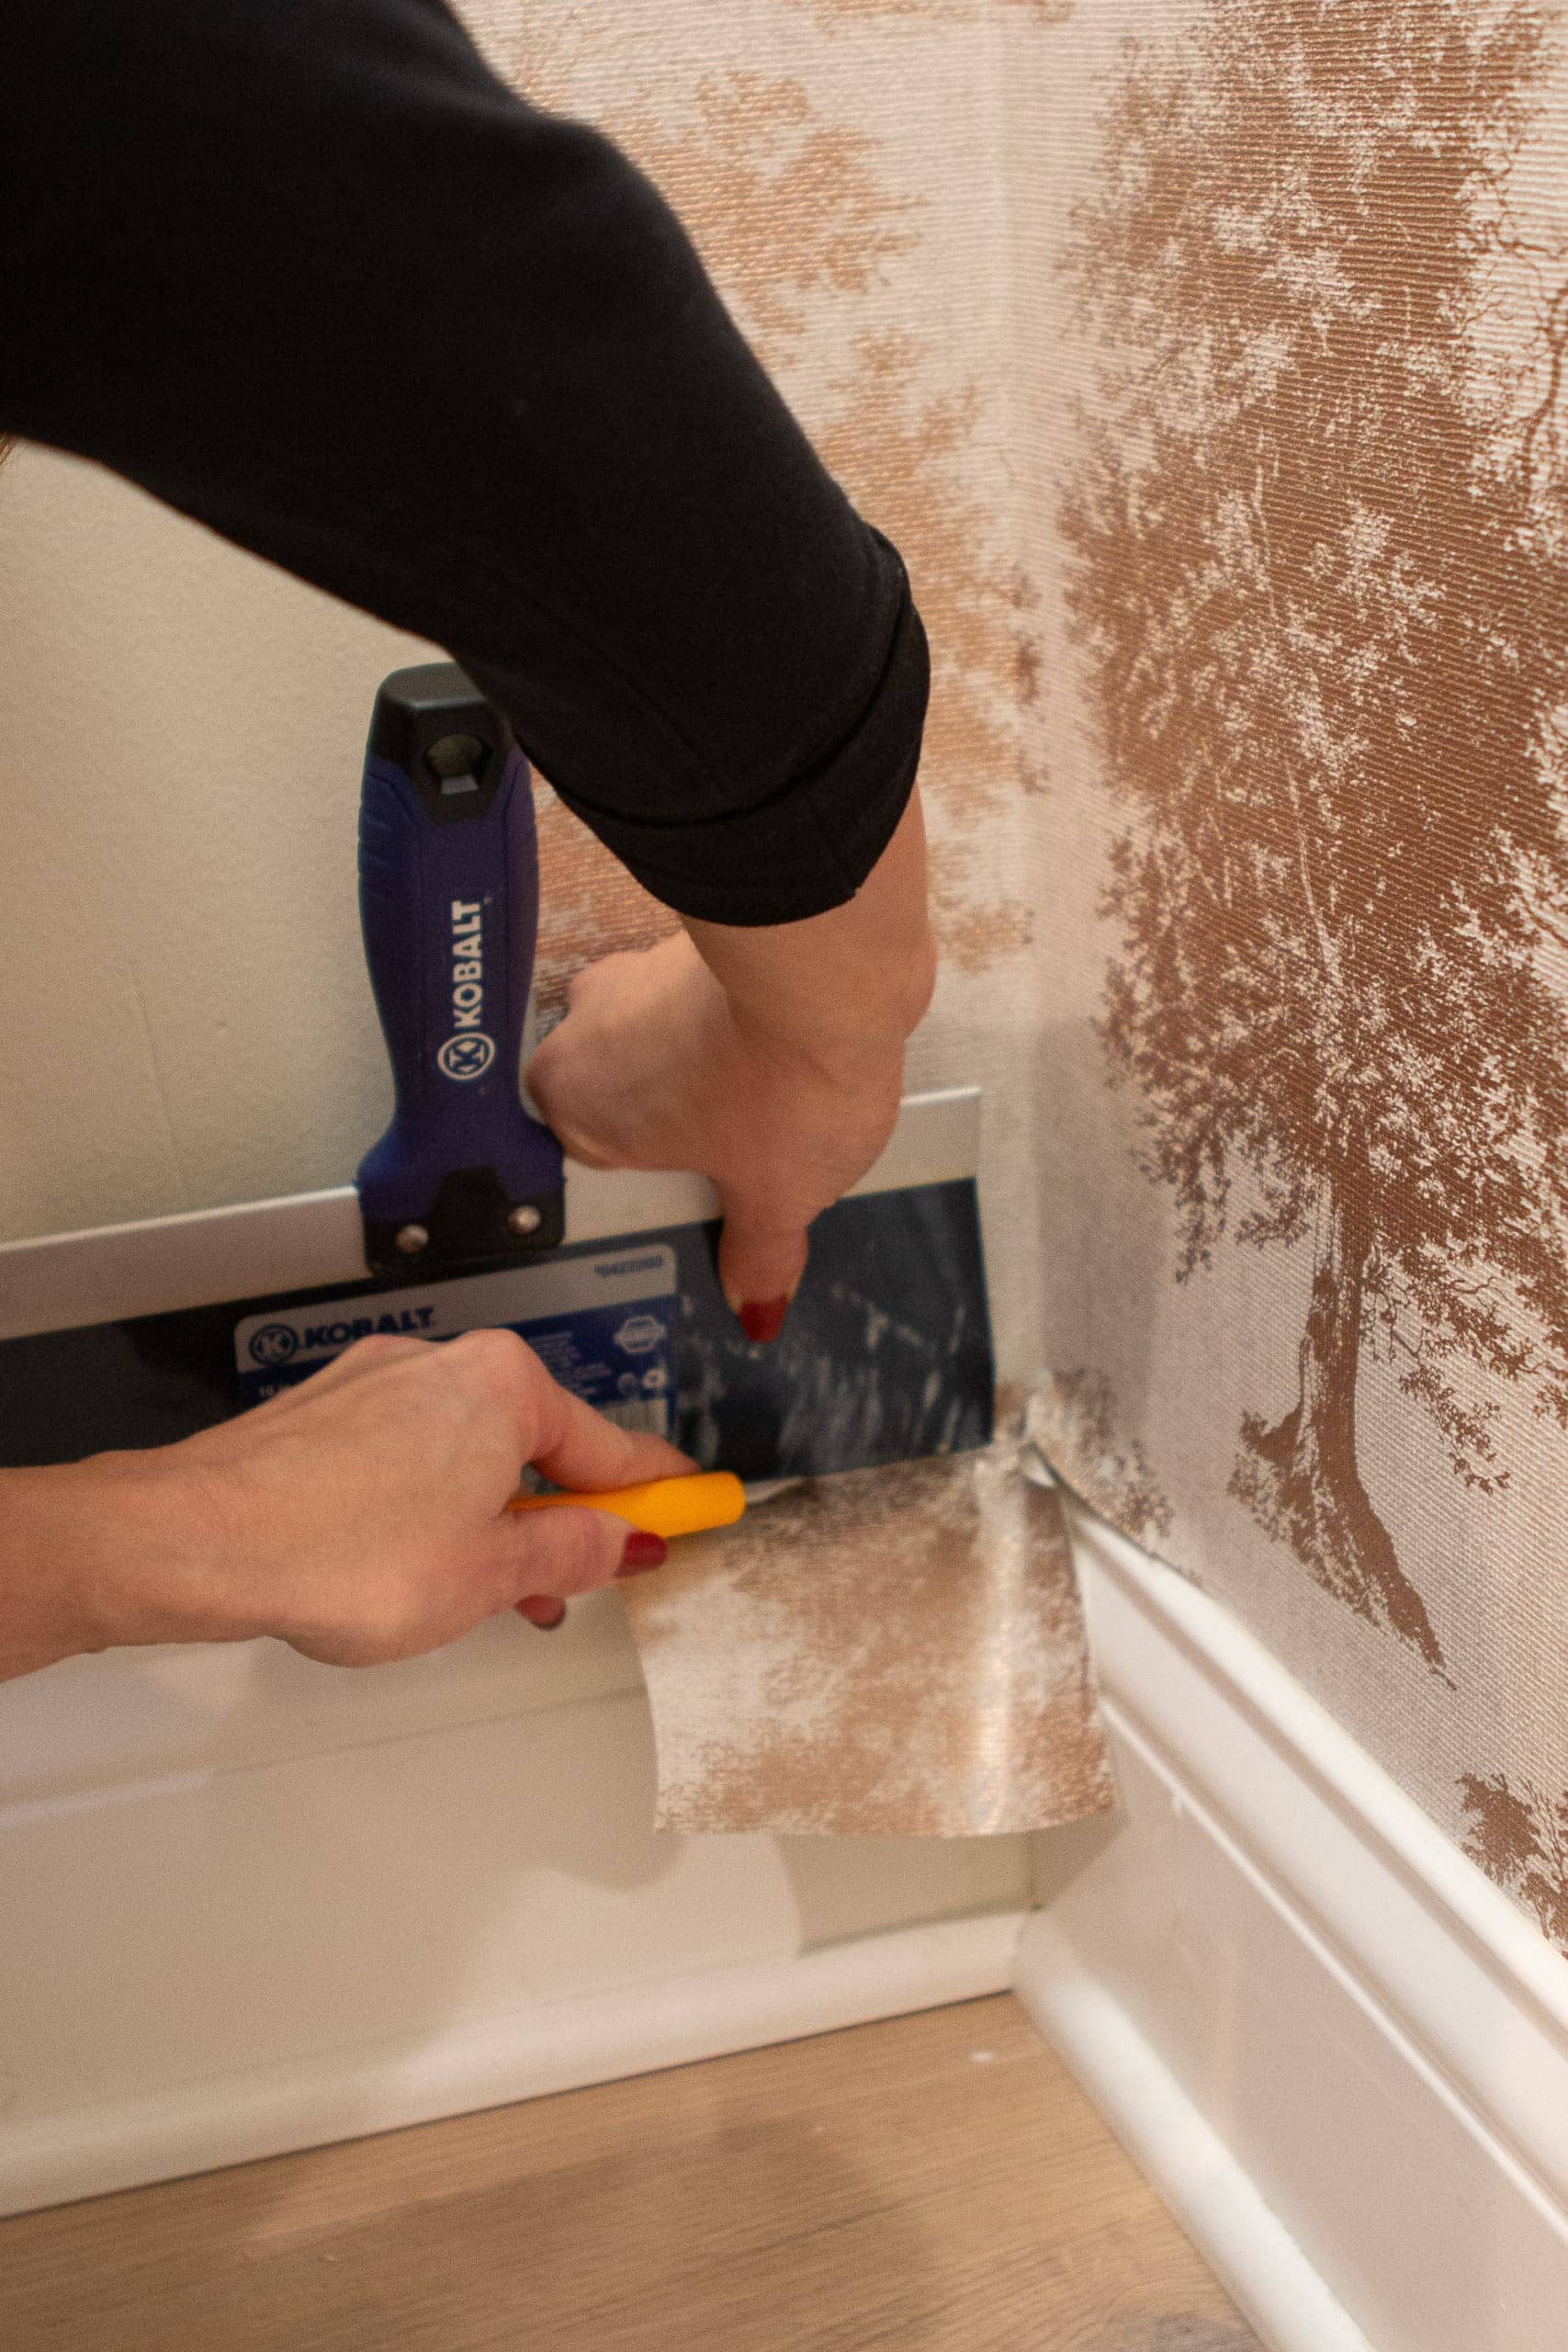
We applied the paste and got our next strip on straight, smoothing it into the corner and onto the side wall. The excess paper on the top and bottom makes this part a little tricky. You’ll probably have to cut a bit of the excess on each side to fully get the paper tucked into the corner.
Use the same technique as before with the metal smoother and utility knife to cut it and make sure you use the plastic smoother to really tuck the paper into the corner.
Use a Seam Roller
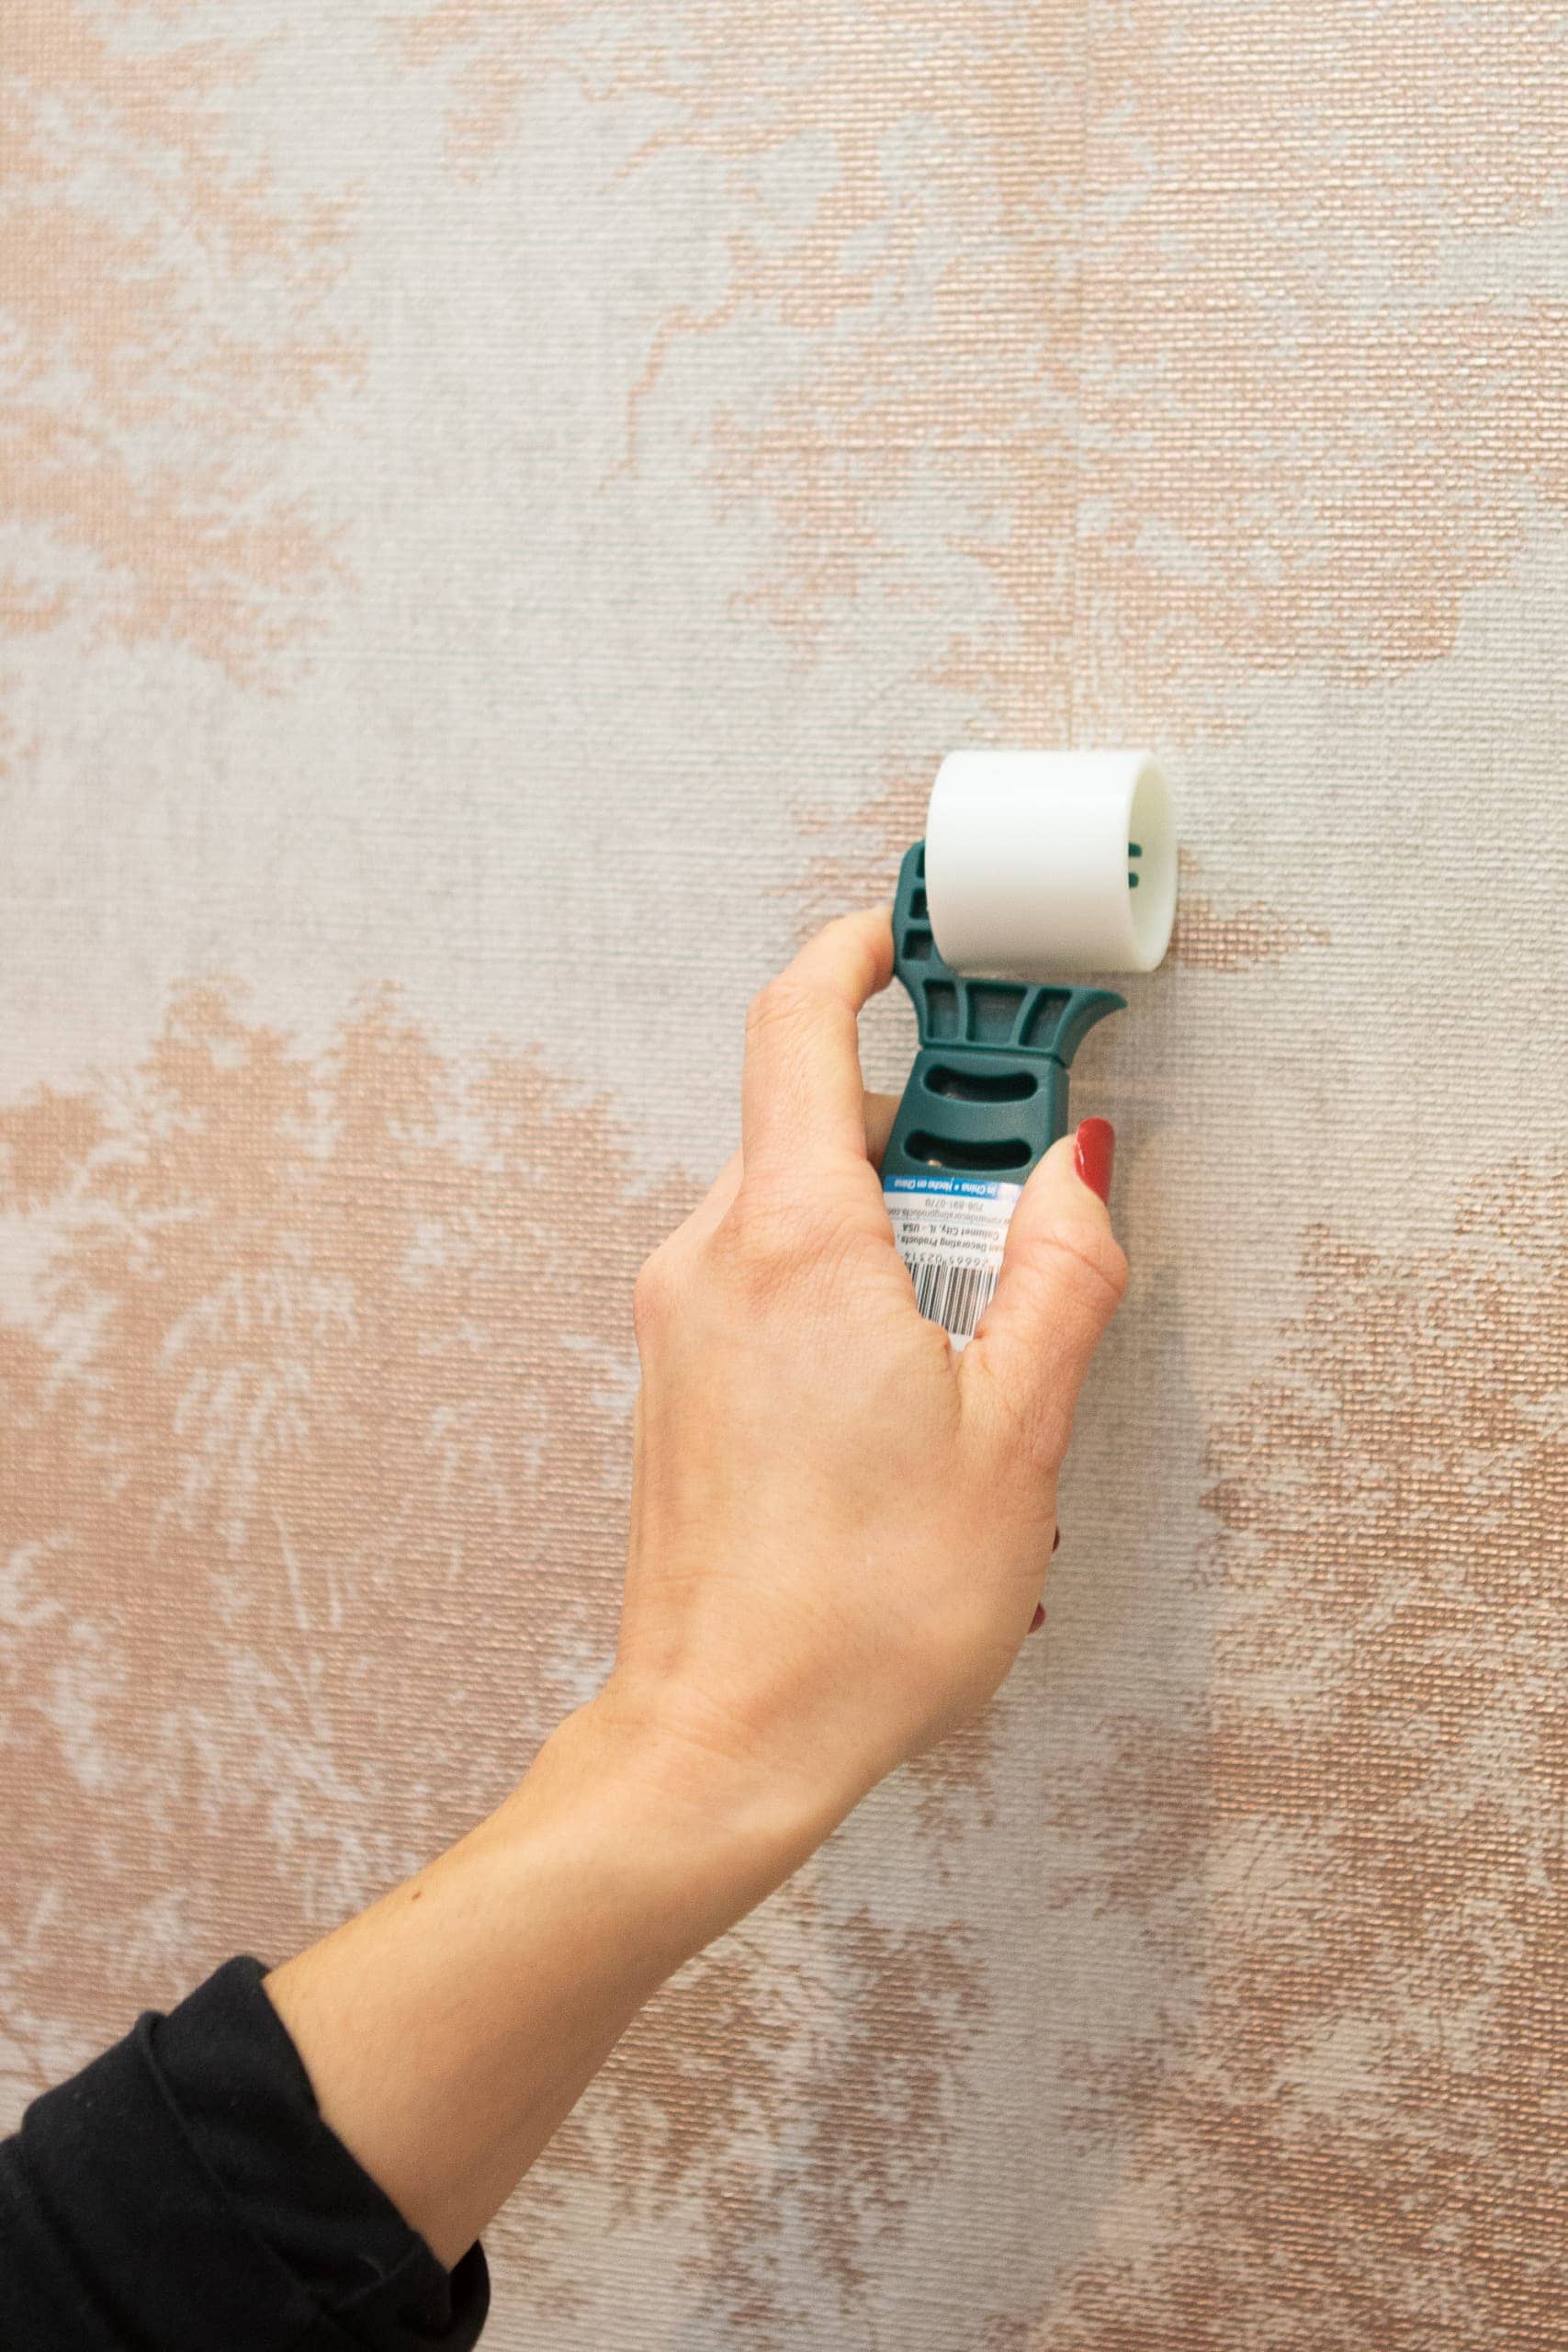
To really push the two papers together, break out that seam roller and go up and down where the two papers meet. This pushes the two papers together and helps create a seamless look. It’s also the easiest way to get a smooth finish on the edges.
Continue Applying Strips

On our left side wall, we only had to add one more piece of wallpaper to finish it off. So we added that like we did the first two, with lots of paste and trimming the excess.
However, if you were continuing around a corner and installing many more pieces you would want to do things a bit differently. It’s unlikely that the edge of the paper after the corner installation is perfectly straight up and down. You wouldn’t want to install a new piece of paper on crooked and then have the remainder of your pieces on that wall be all wonky and hard to install. 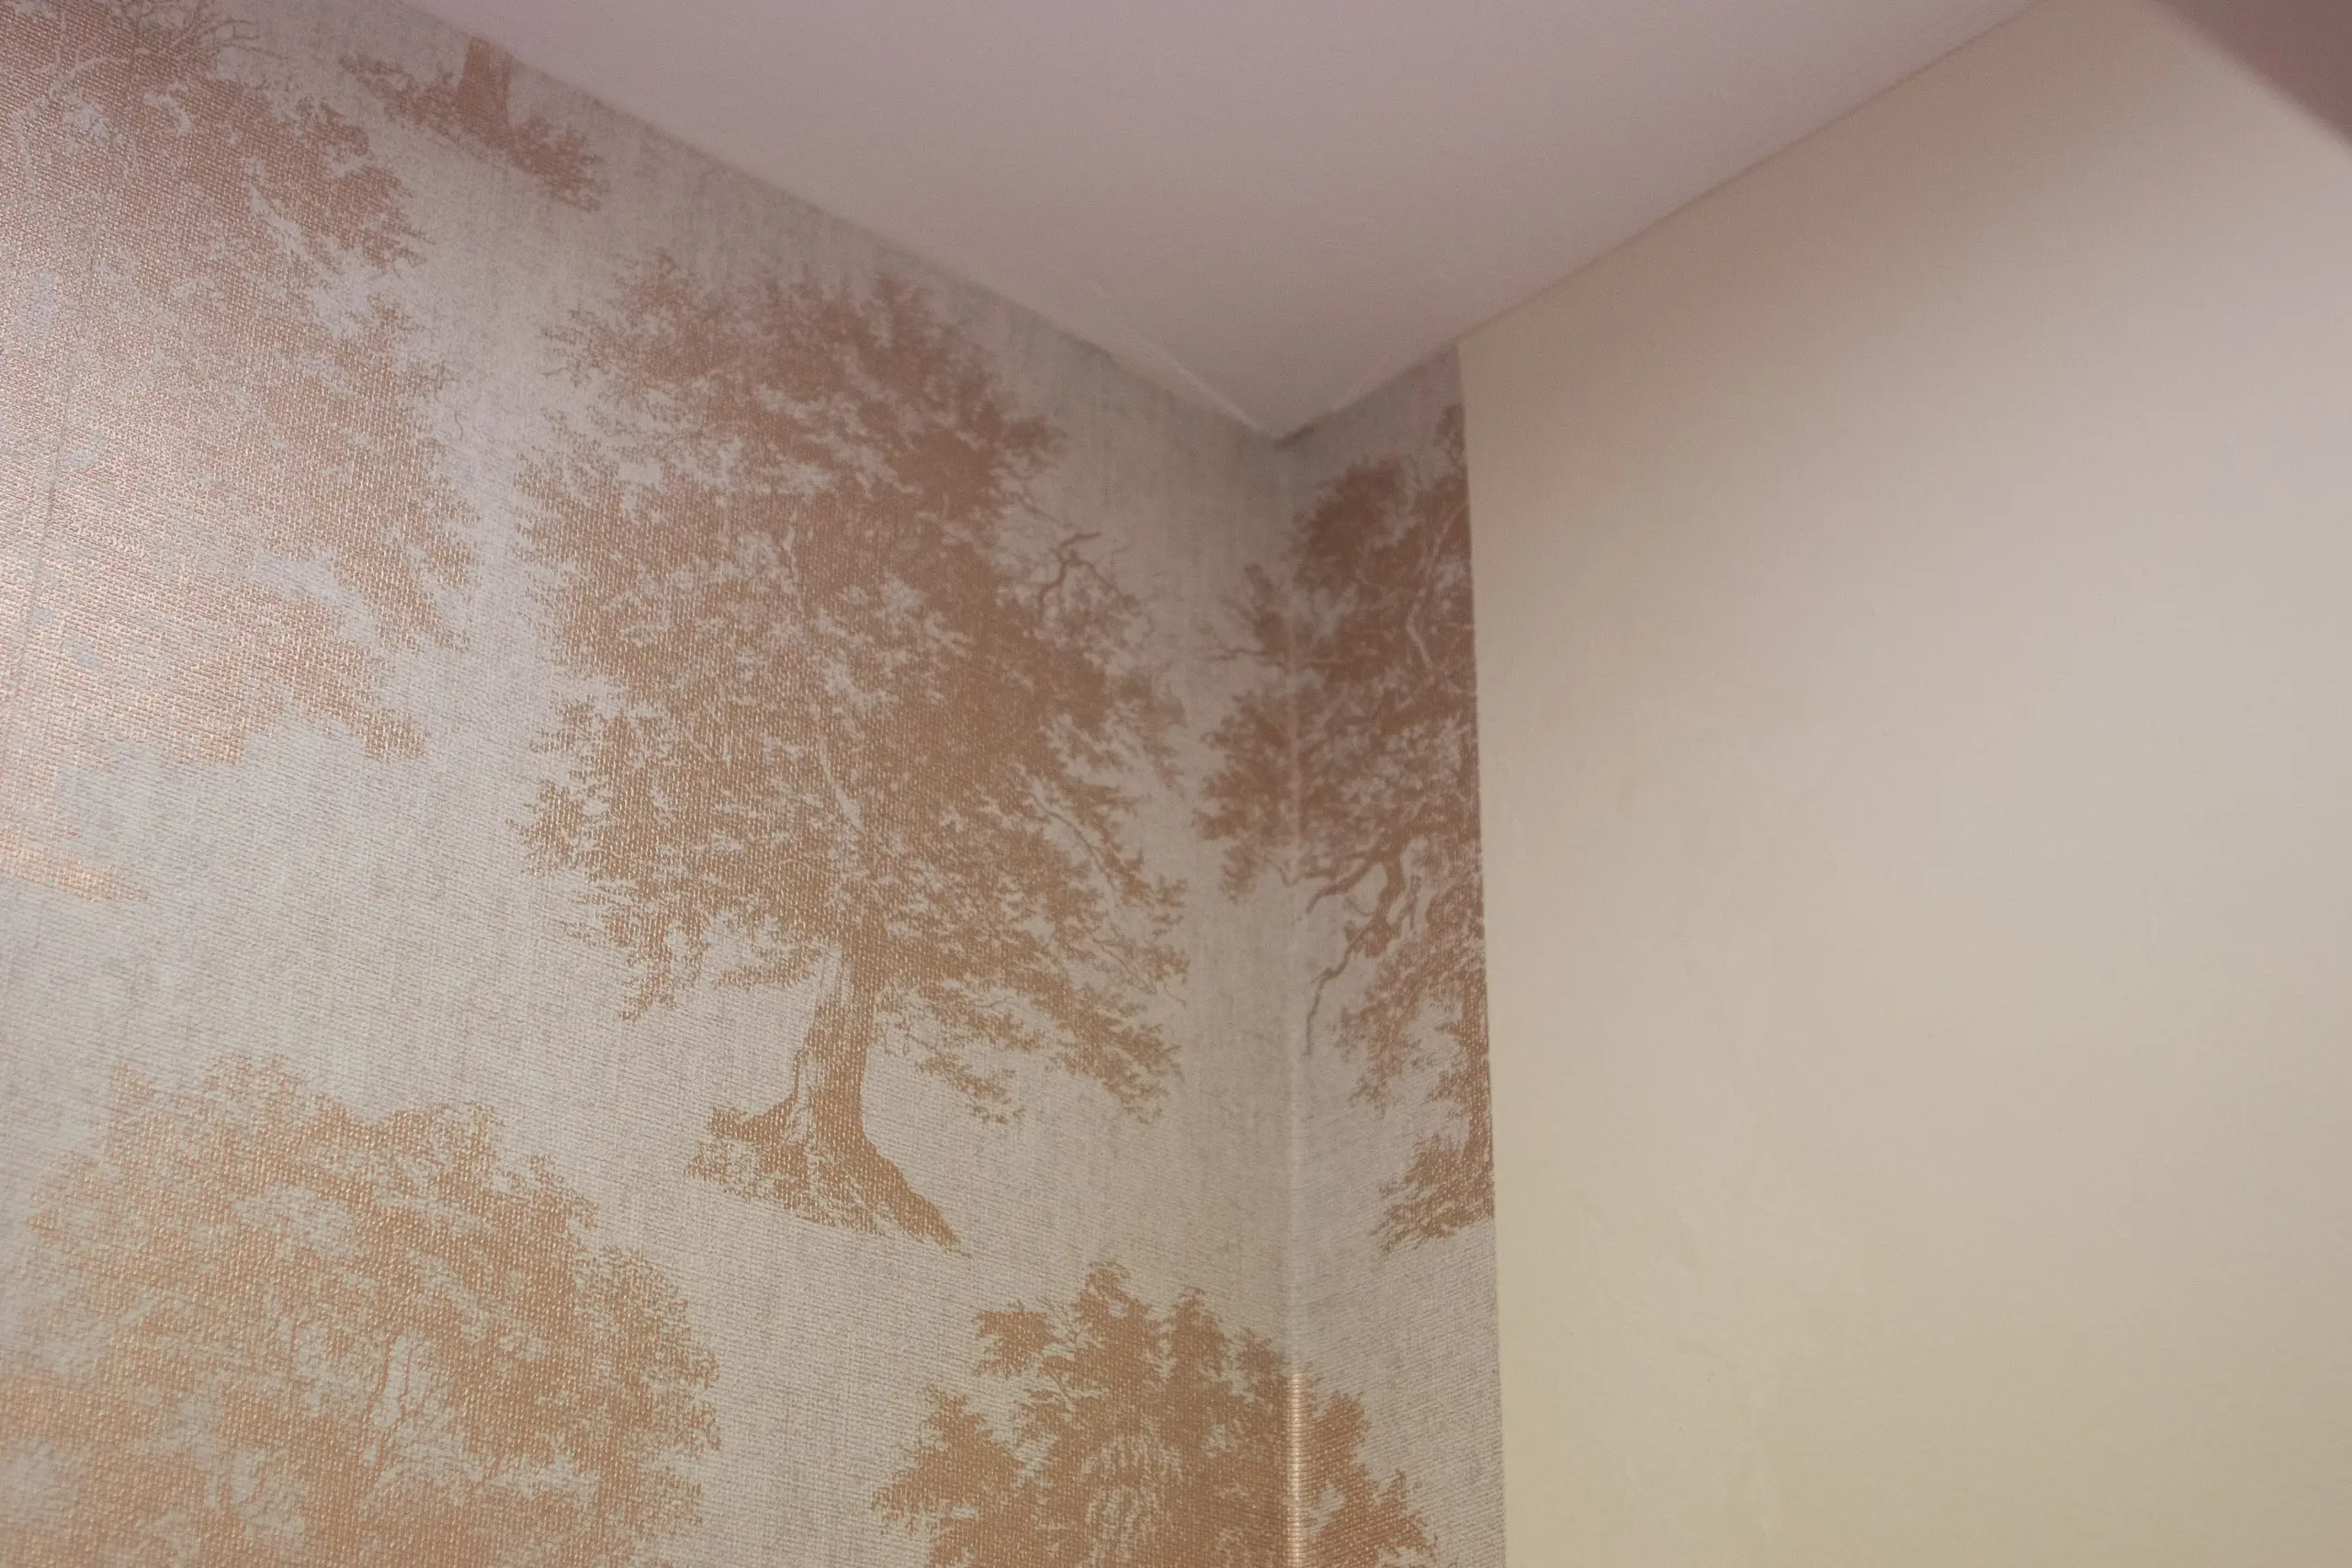 So draw a straight line on the paper about 1-2 inches out from the corner and trim off any excess. Then take a new strip of paper and line it up with that line so the paper continues to go straight on that wall. We didn’t have to do this, but you might run into this situation at your house.
Sponge Off Excess Paste

When all of our paper was up, we took a bucket of water and a damp sponge and ran it all over the wallpaper. Some paste may ooze out when you’re smoothing things down and you don’t want it to dry on your beautiful paper.
Don’t get the paper too wet, but make sure you’re able to wipe away any excess paste. We then used a clean cloth to dry it all up!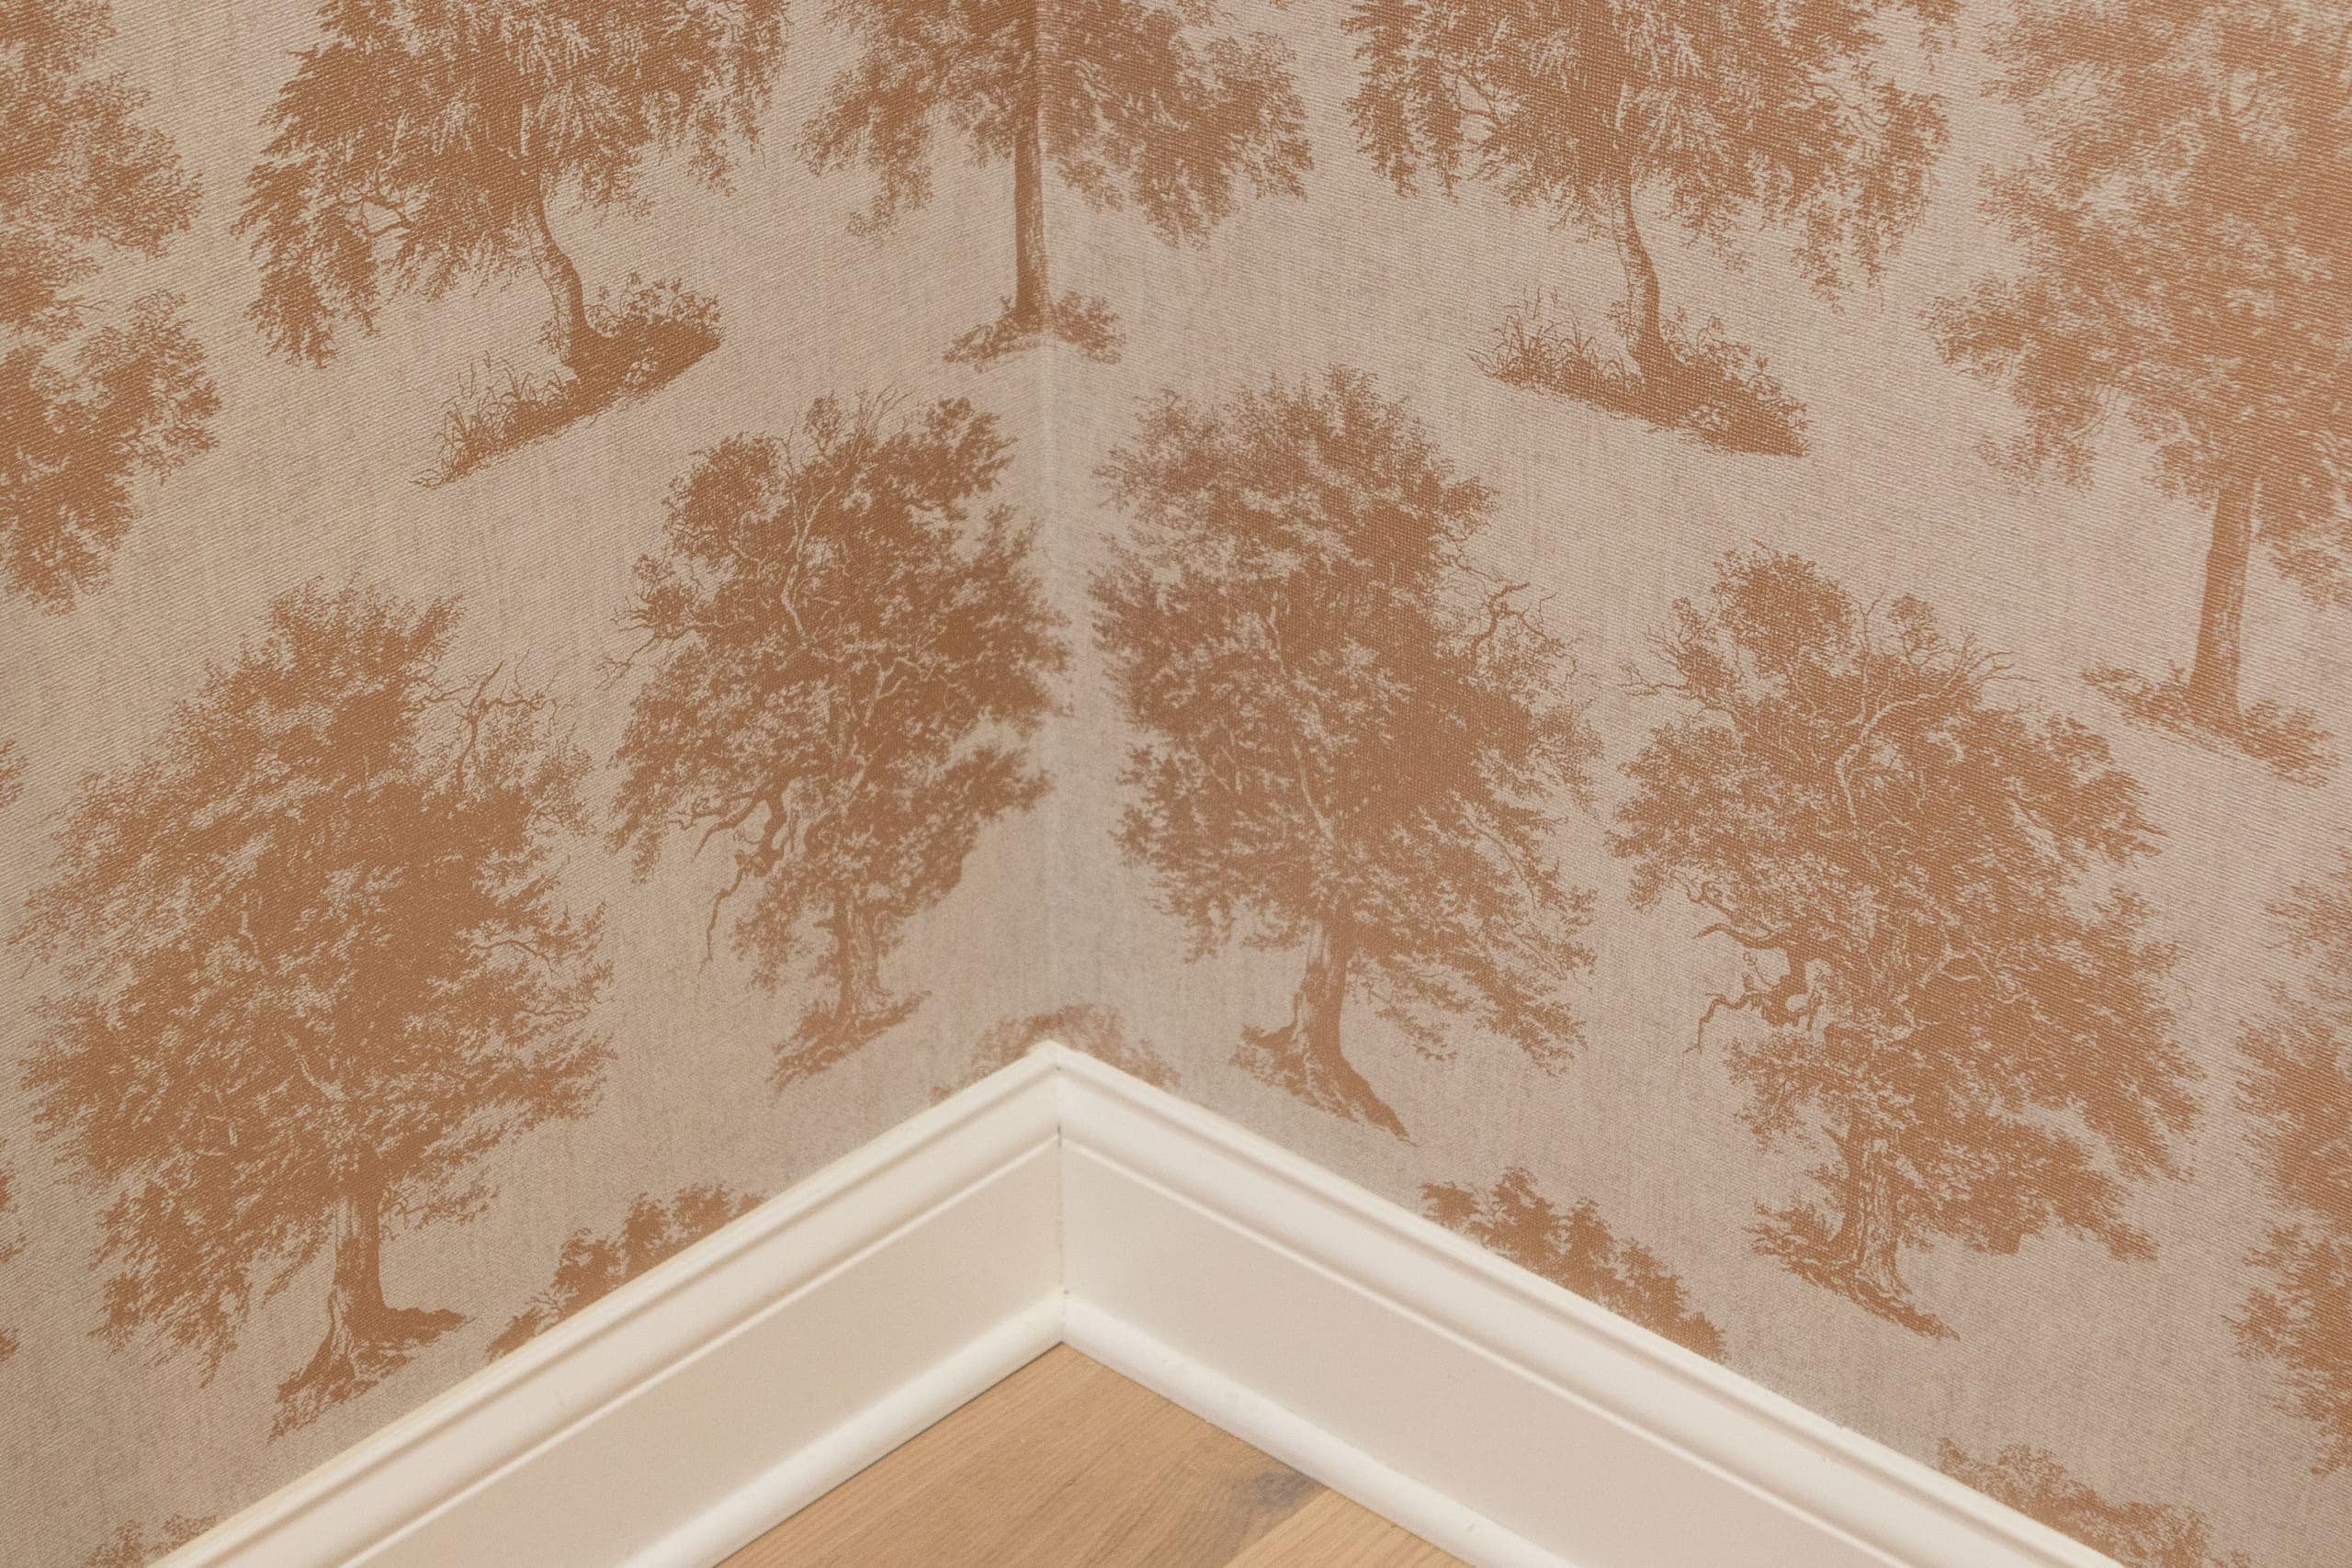
That’s it! All in all, this small closet took us about two hours, total. That included lots of chatting and taking pictures, so it may go even faster for you.
I was blown away by how easy this project turned out to be. Something that I was super intimidated by turned out to not be so bad.
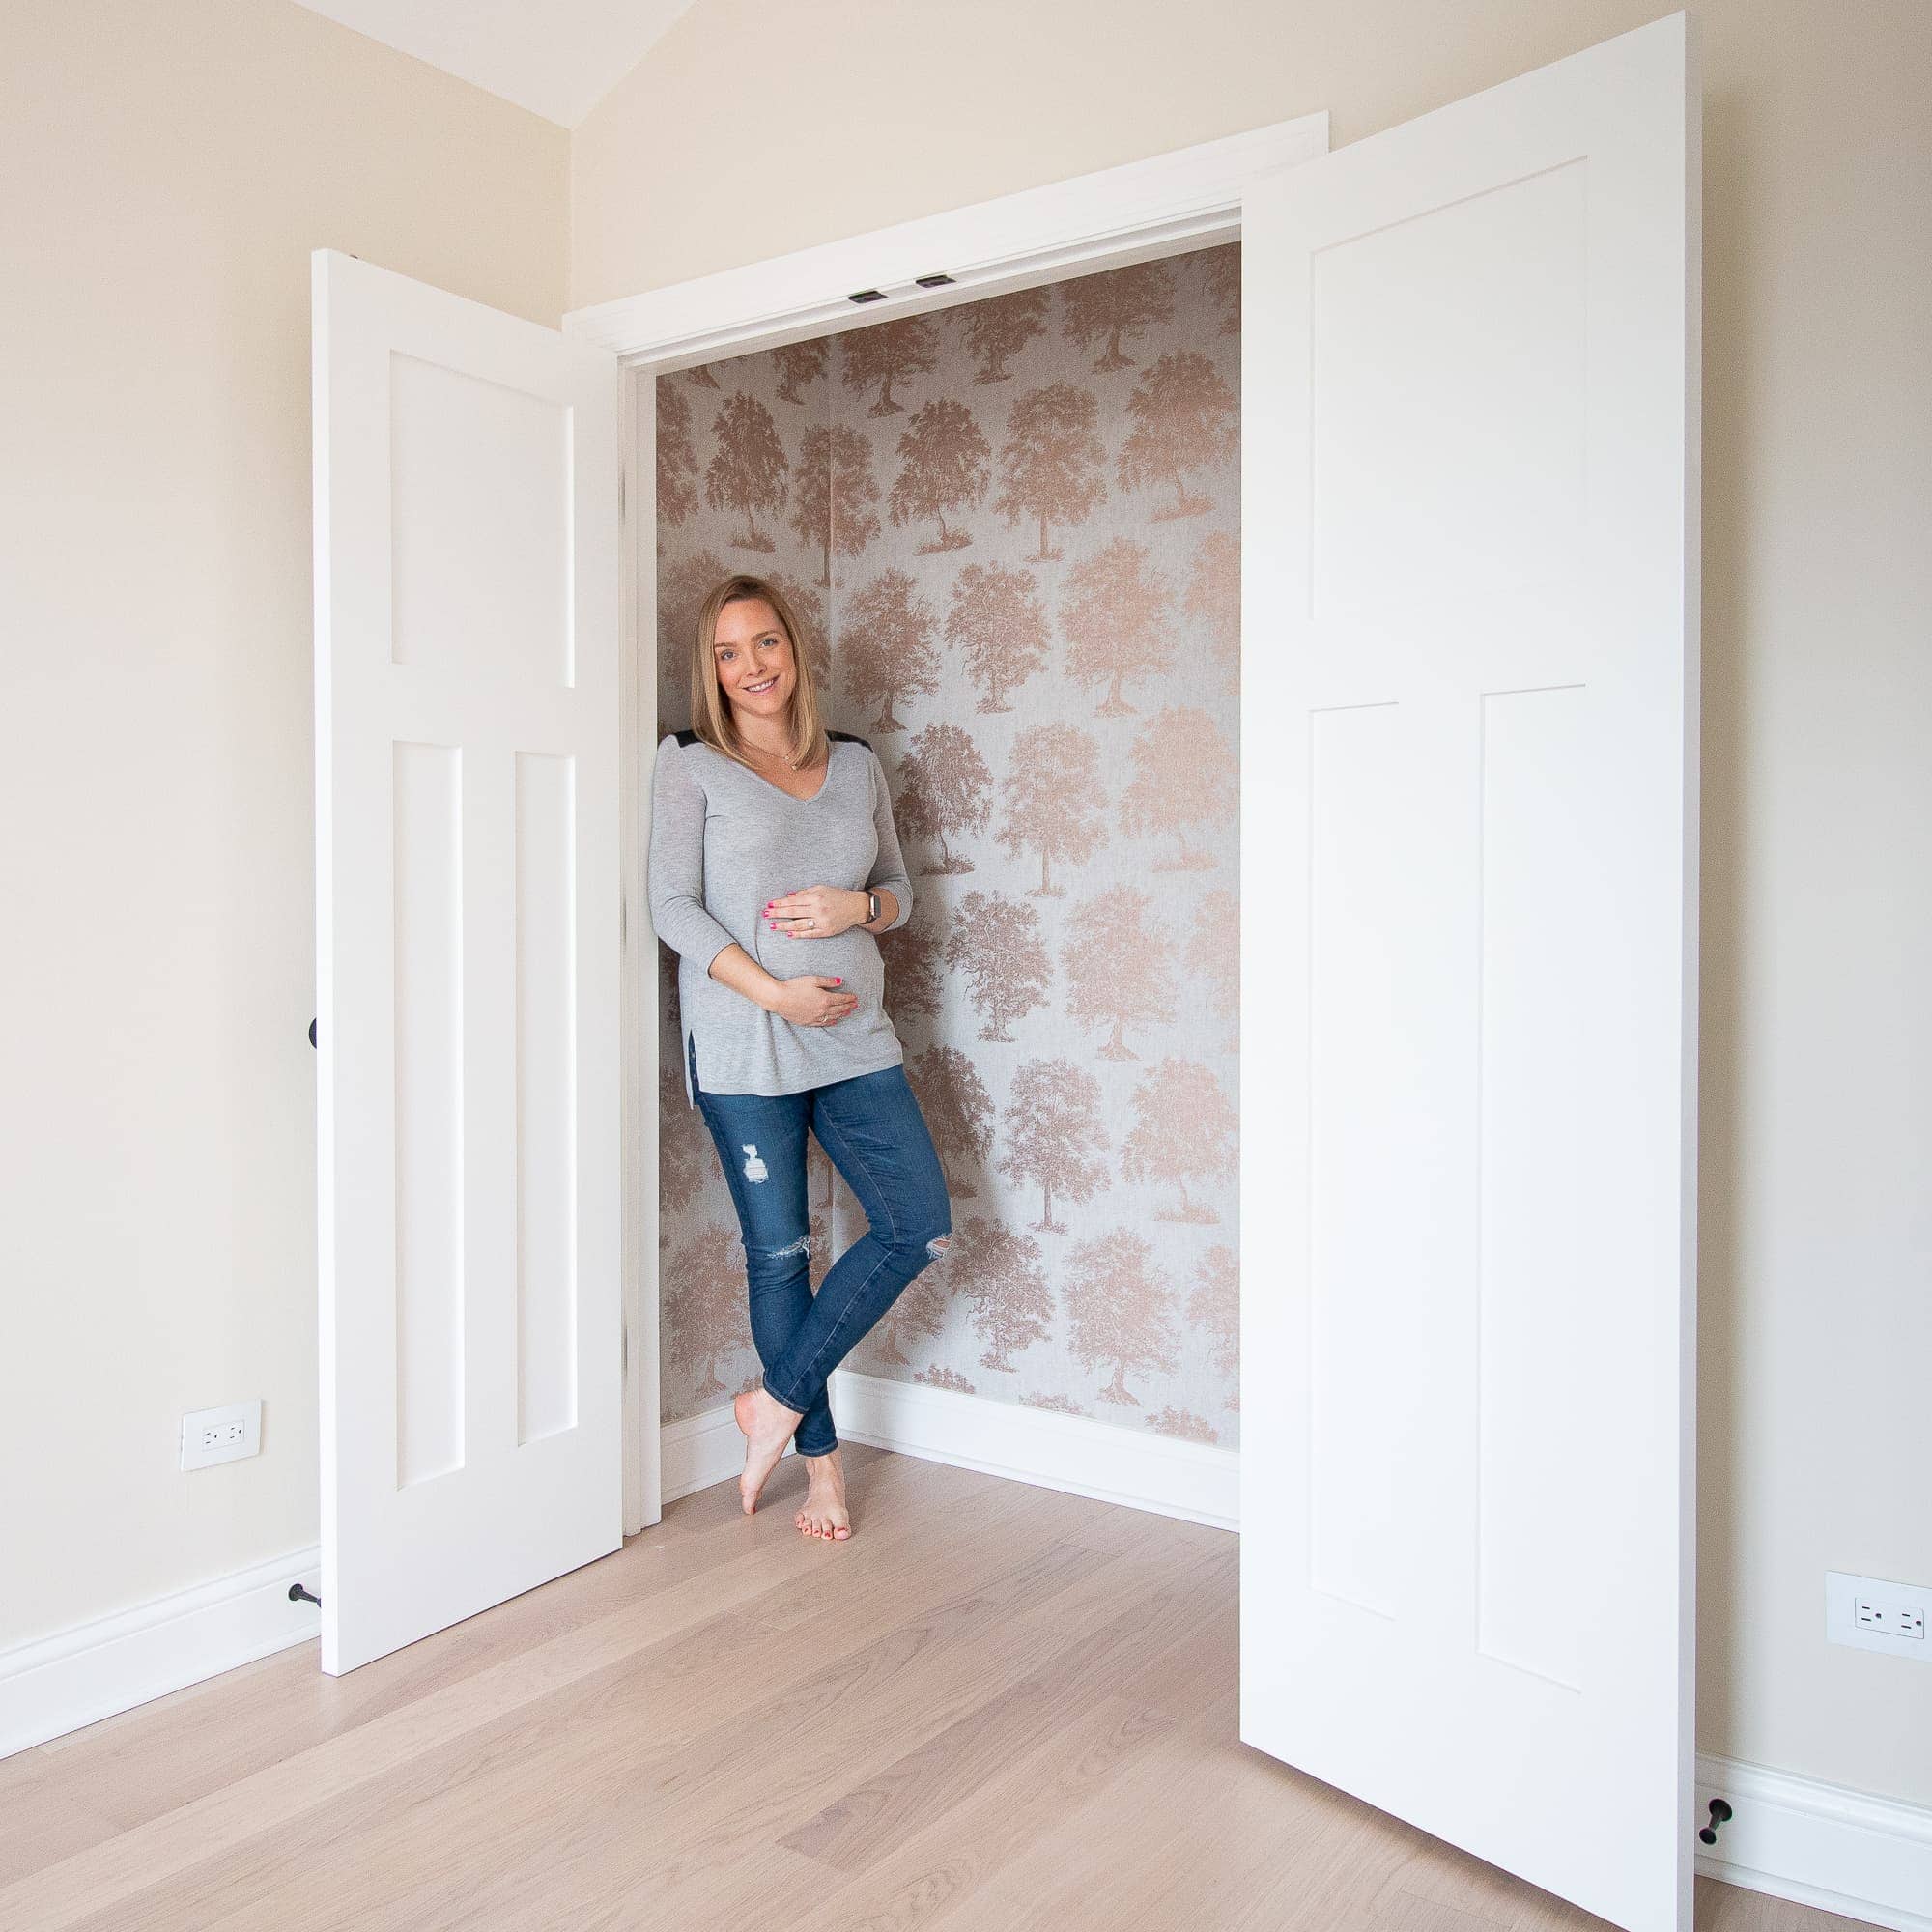
Closet – Before & After


The wallpaper is so incredibly dreamy and it’s the best way to kick off this room design. I love the subtle pop of blush it adds to the closet, plus the sheen and reflection from the rose gold surface is gorgeous in the light.
I’m so happy I took some time to add this special touch to our baby girl’s nursery. Plus, I have lots of extra wallpaper leftover and I’m thinking I may line the drawers in her dresser with it too! I’ll keep you updated on how that goes…
What’s Next?
Clearly, this closet is still empty. So, now we need to install a closet system so we can get her clothes, shoes, and baby items all packed away and organized.
You can find the finished room and tutorials below.
The Nursery From Start to Finish
- Wallpapered Closet
- Nursery DIY Plan
- Sage Green Built-In Reveal
- Nursery Furniture & Design Plan
- Adding DIY Chair Rail
- Painting the Nursery Blush
- Nursery Closet & Organized Drawers
- Window Treatment Plan
- Nursery Before and After + Sources
- Nursery Reveal
- Rory’s Nursery – Changes We’ve Made
- Making Special Vintage Art for Rory’s Room
- Creating Rory’s Nursery Gallery Wall
More Wallpaper Ideas


Since this nursery project, I’ve added wallpaper to many other rooms in our home.
- Peel & stick wallpaper in my mom’s guest closet: Peel and stick wallpaper was much harder to use than real wallpaper, in my opinion. I’d opt for regular wallpaper every single time!
- Rory’s nursery closet
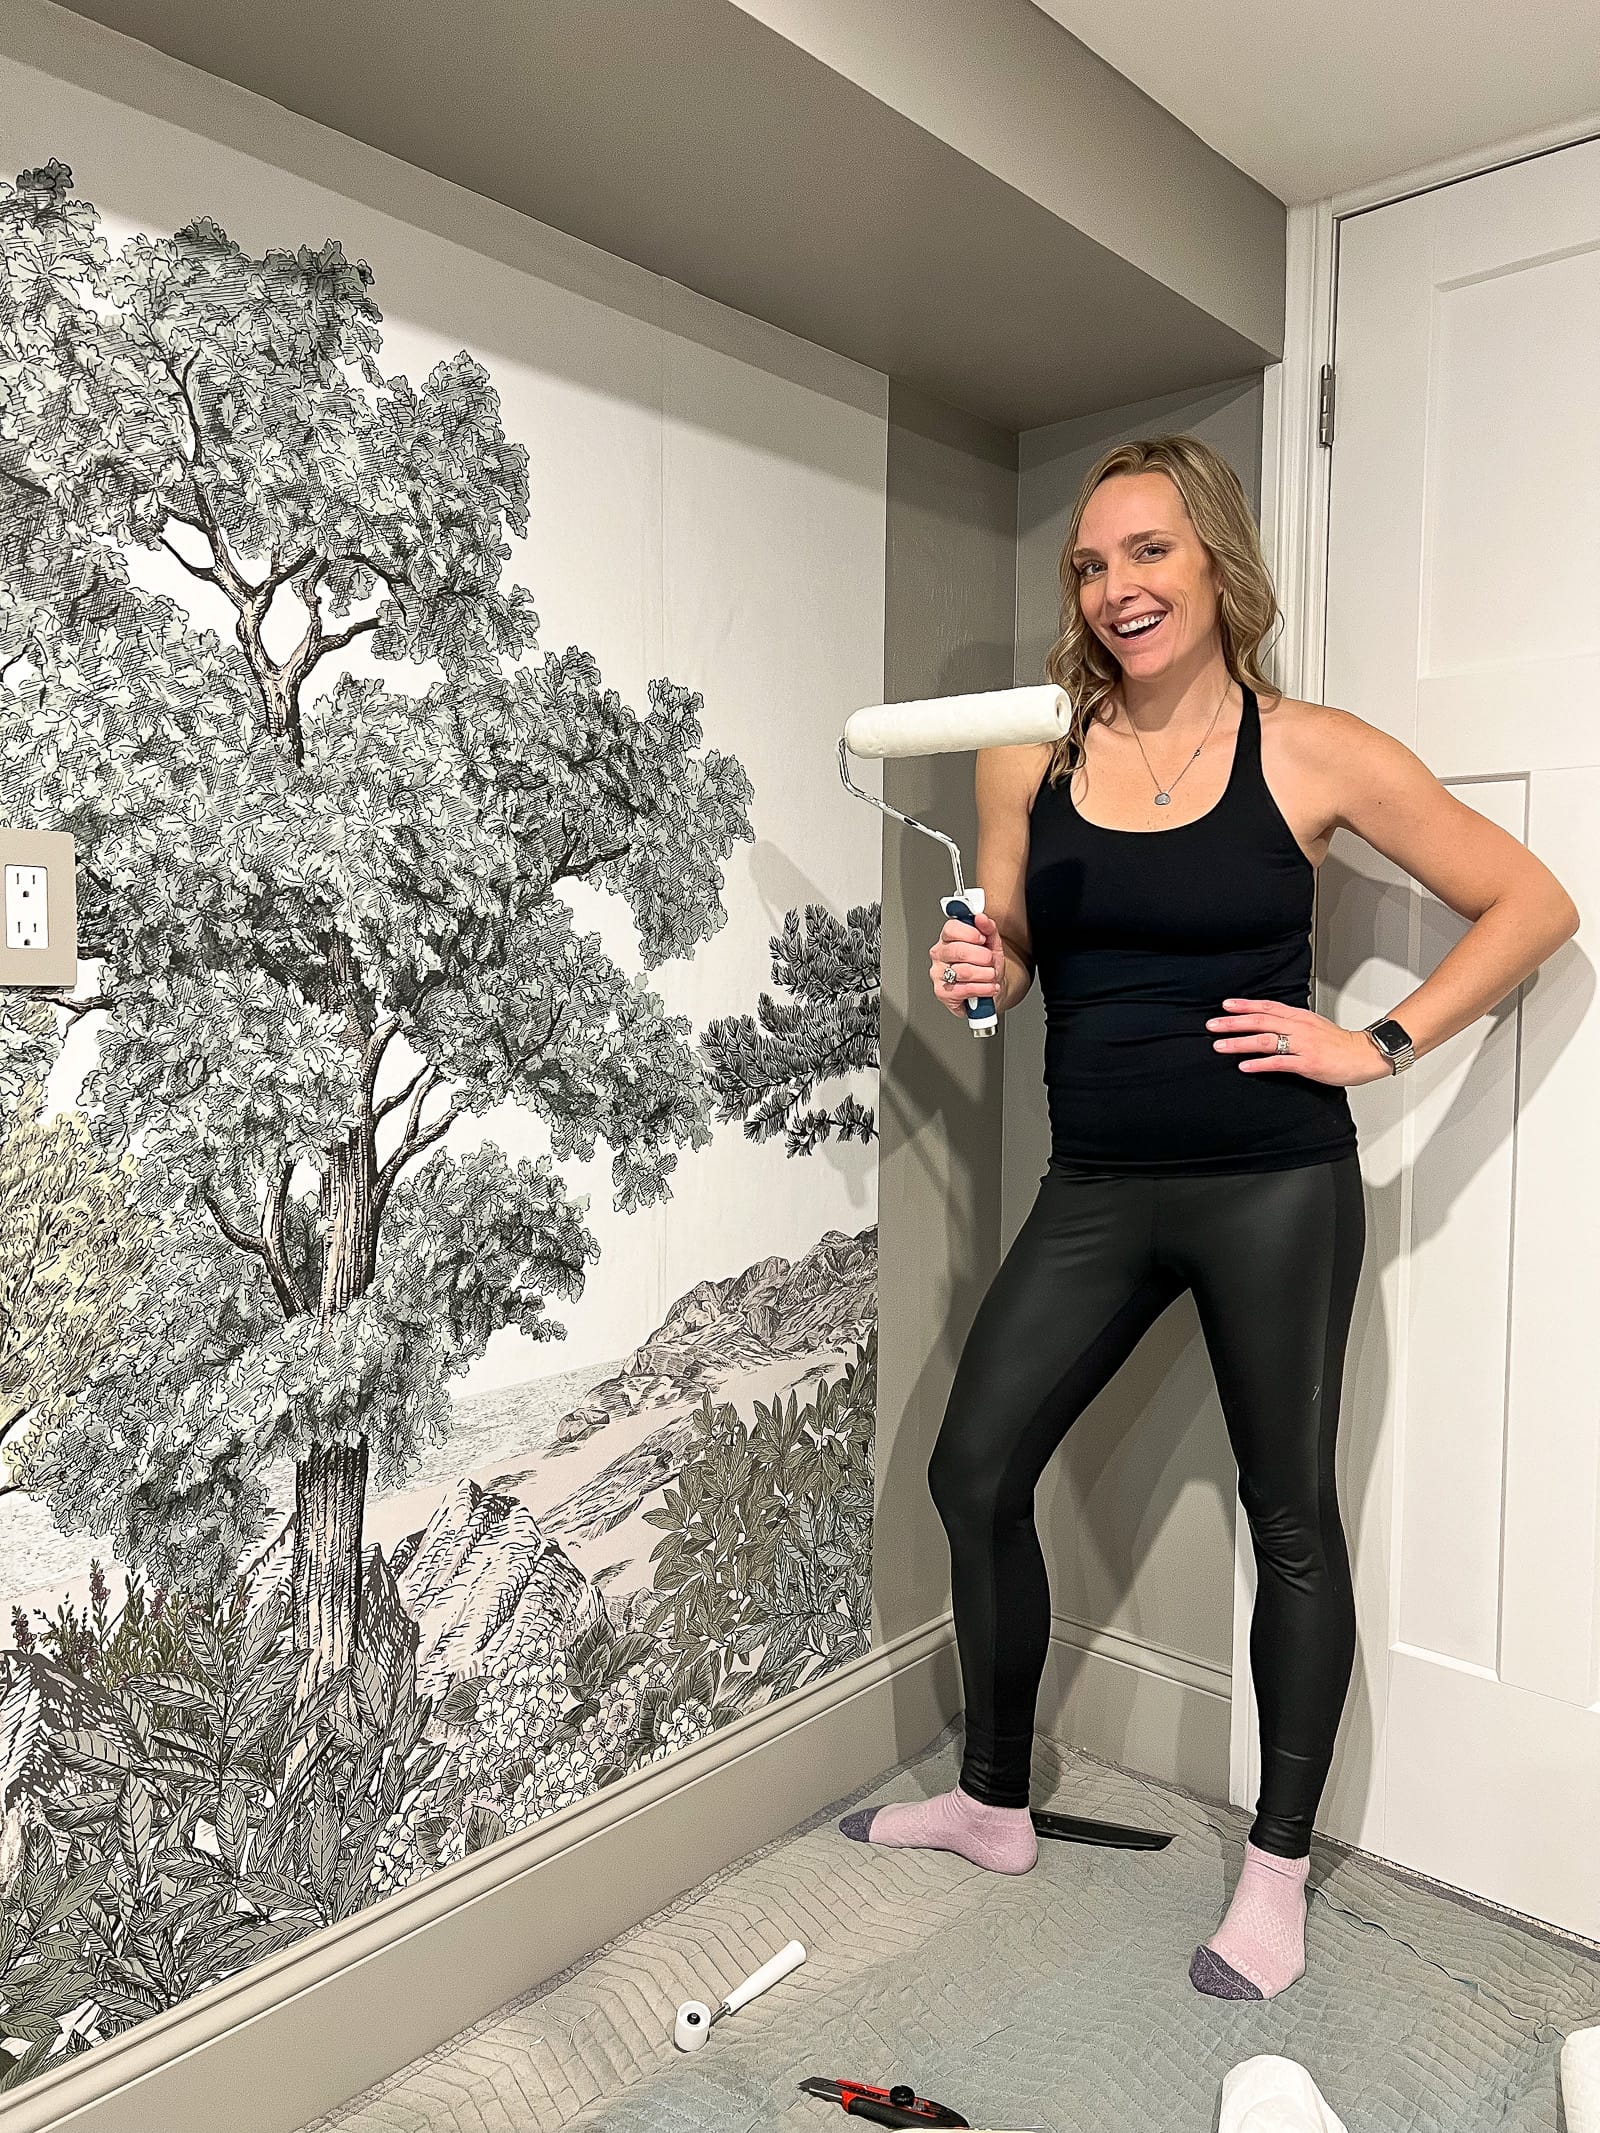
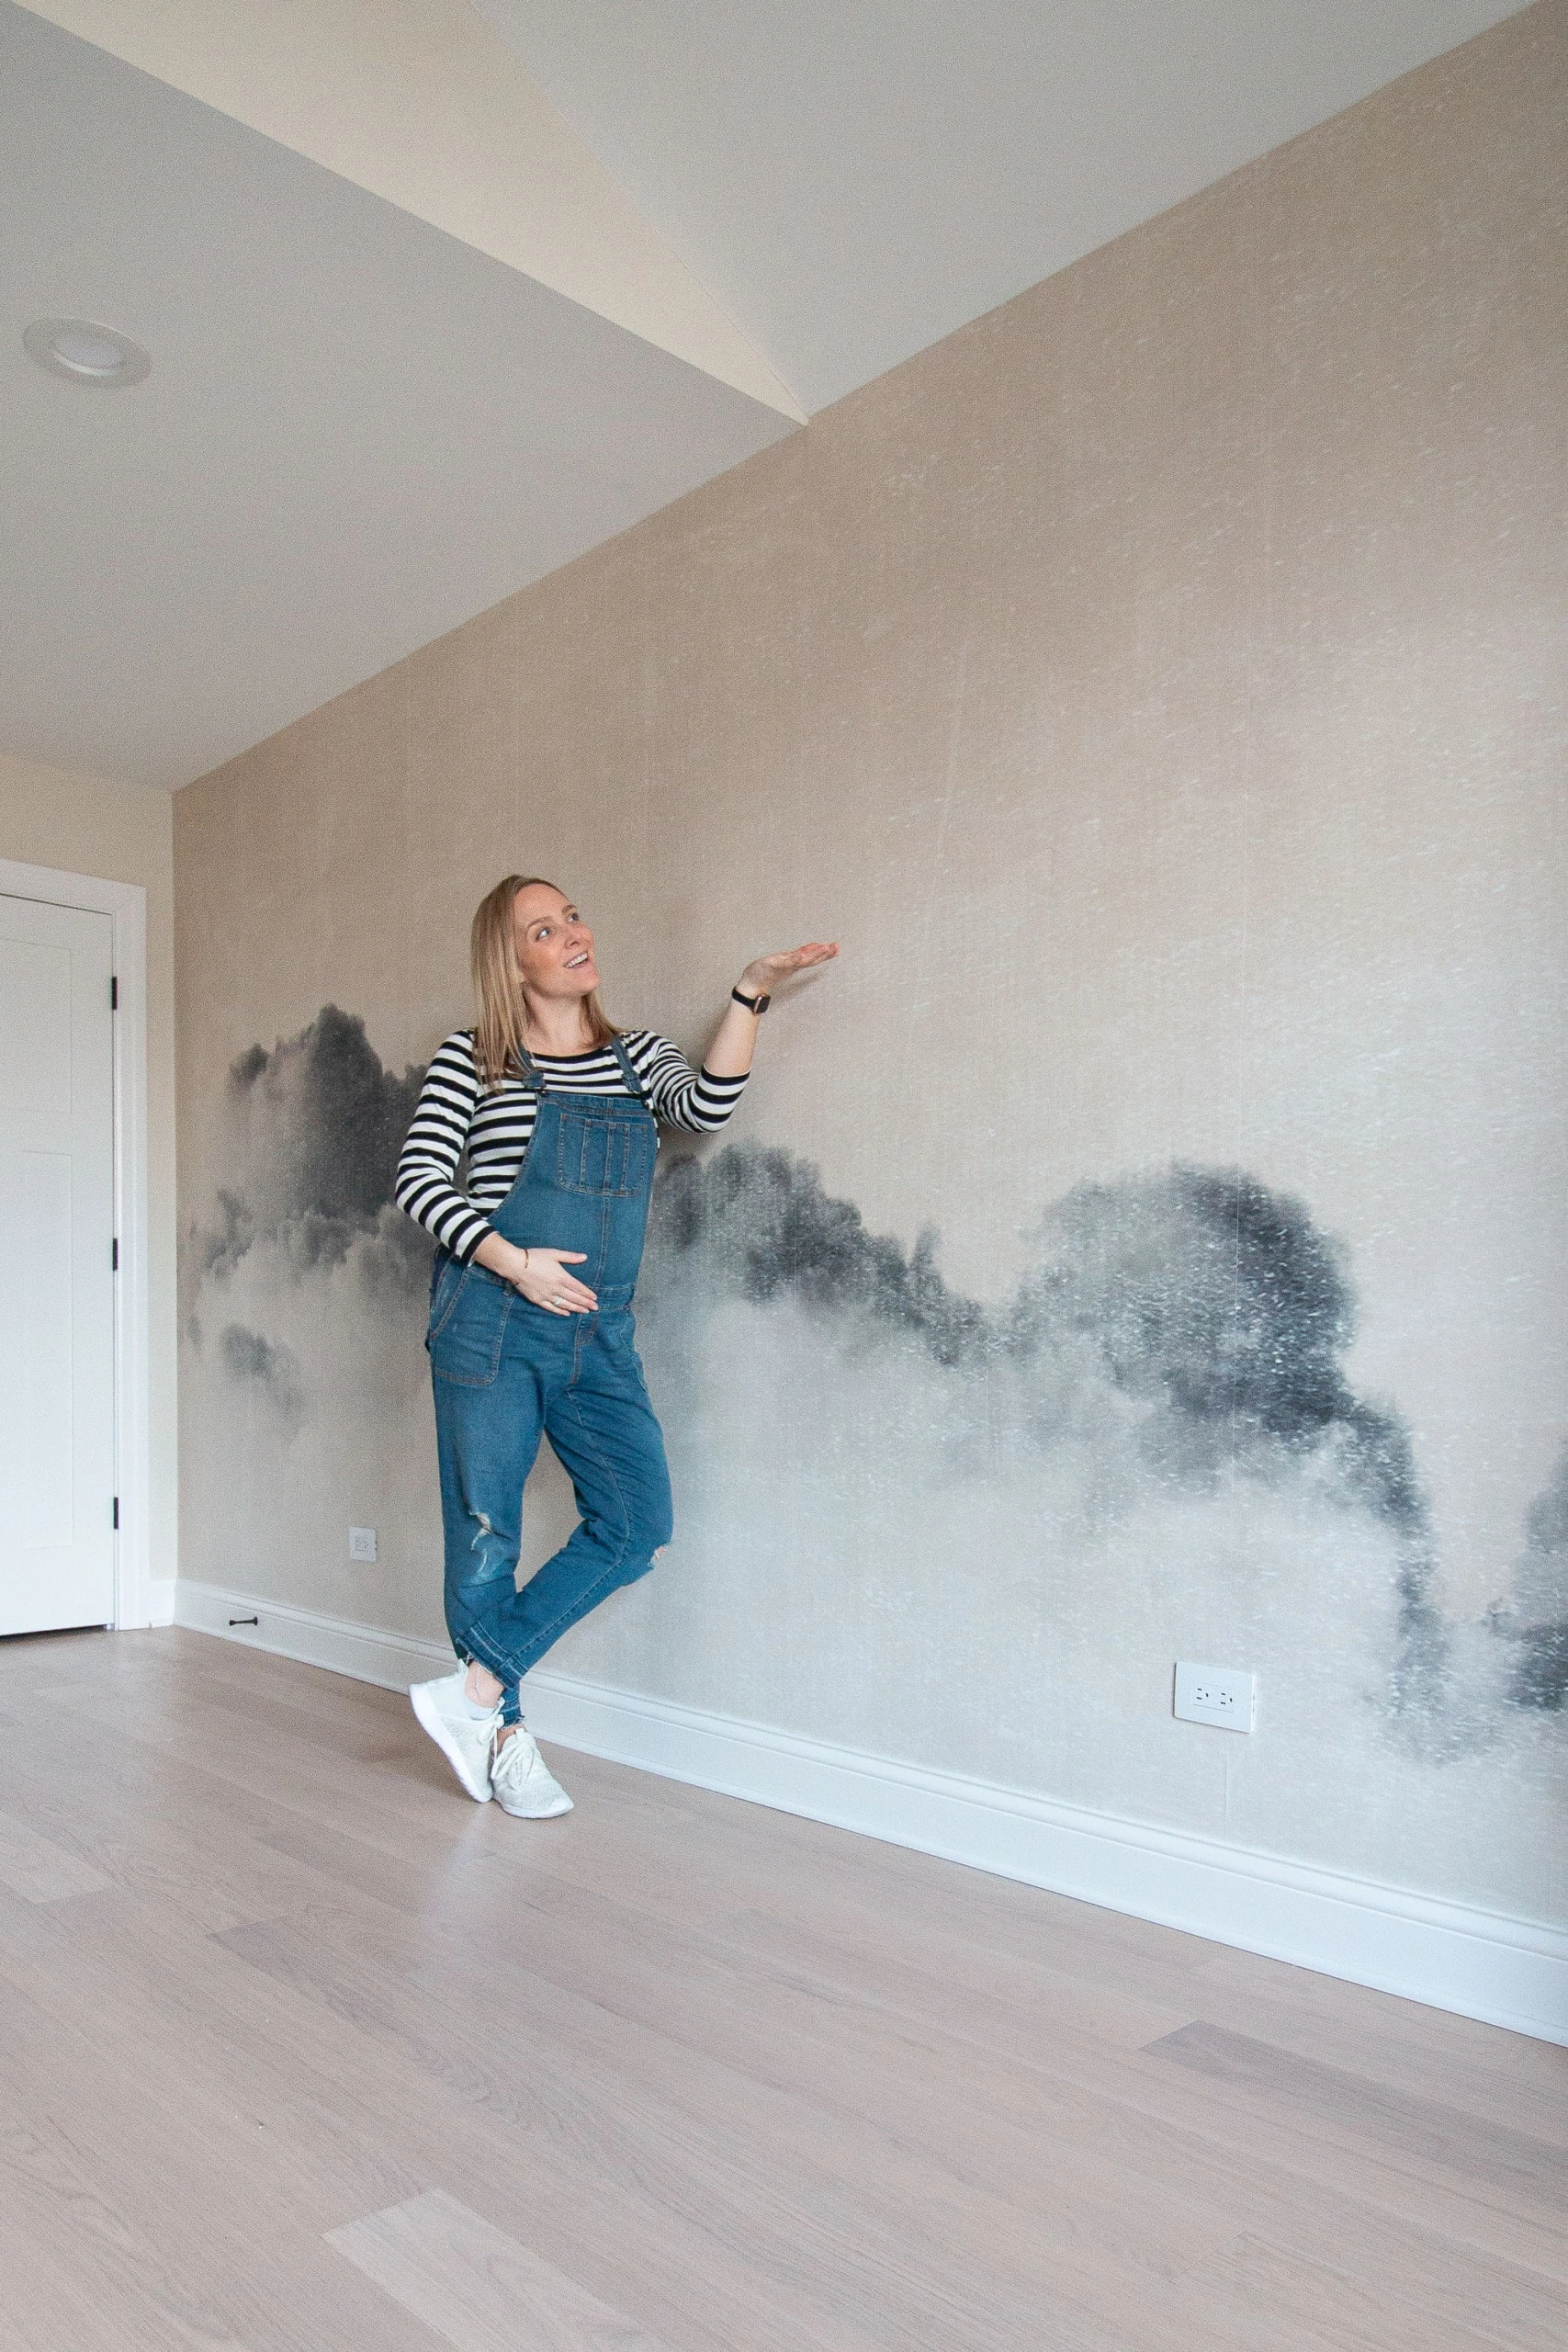
- Mural in my home office
- Ellis’ nursery closet
- Wallpaper on our bedroom ceiling: This was definitely an advanced project, but wow, it was worth the effort!
- Panoramic wallpaper in the basement
- How to remove wallpaper the easy way!