How to Remove Wallpaper Easily (Without Damaging Your Walls)
Removing wallpaper might sound like a daunting task, but with the right approach, it’s actually a very doable DIY. Here’s exactly how I removed a wall mural in my own home—what worked, what didn’t, and how to do it without damaging your walls.
I love wallpaper, like, truly love it. I’ve installed it in multiple rooms in our home and always recommend it as a way to completely transform a space. But removing wallpaper? This was a first for me.

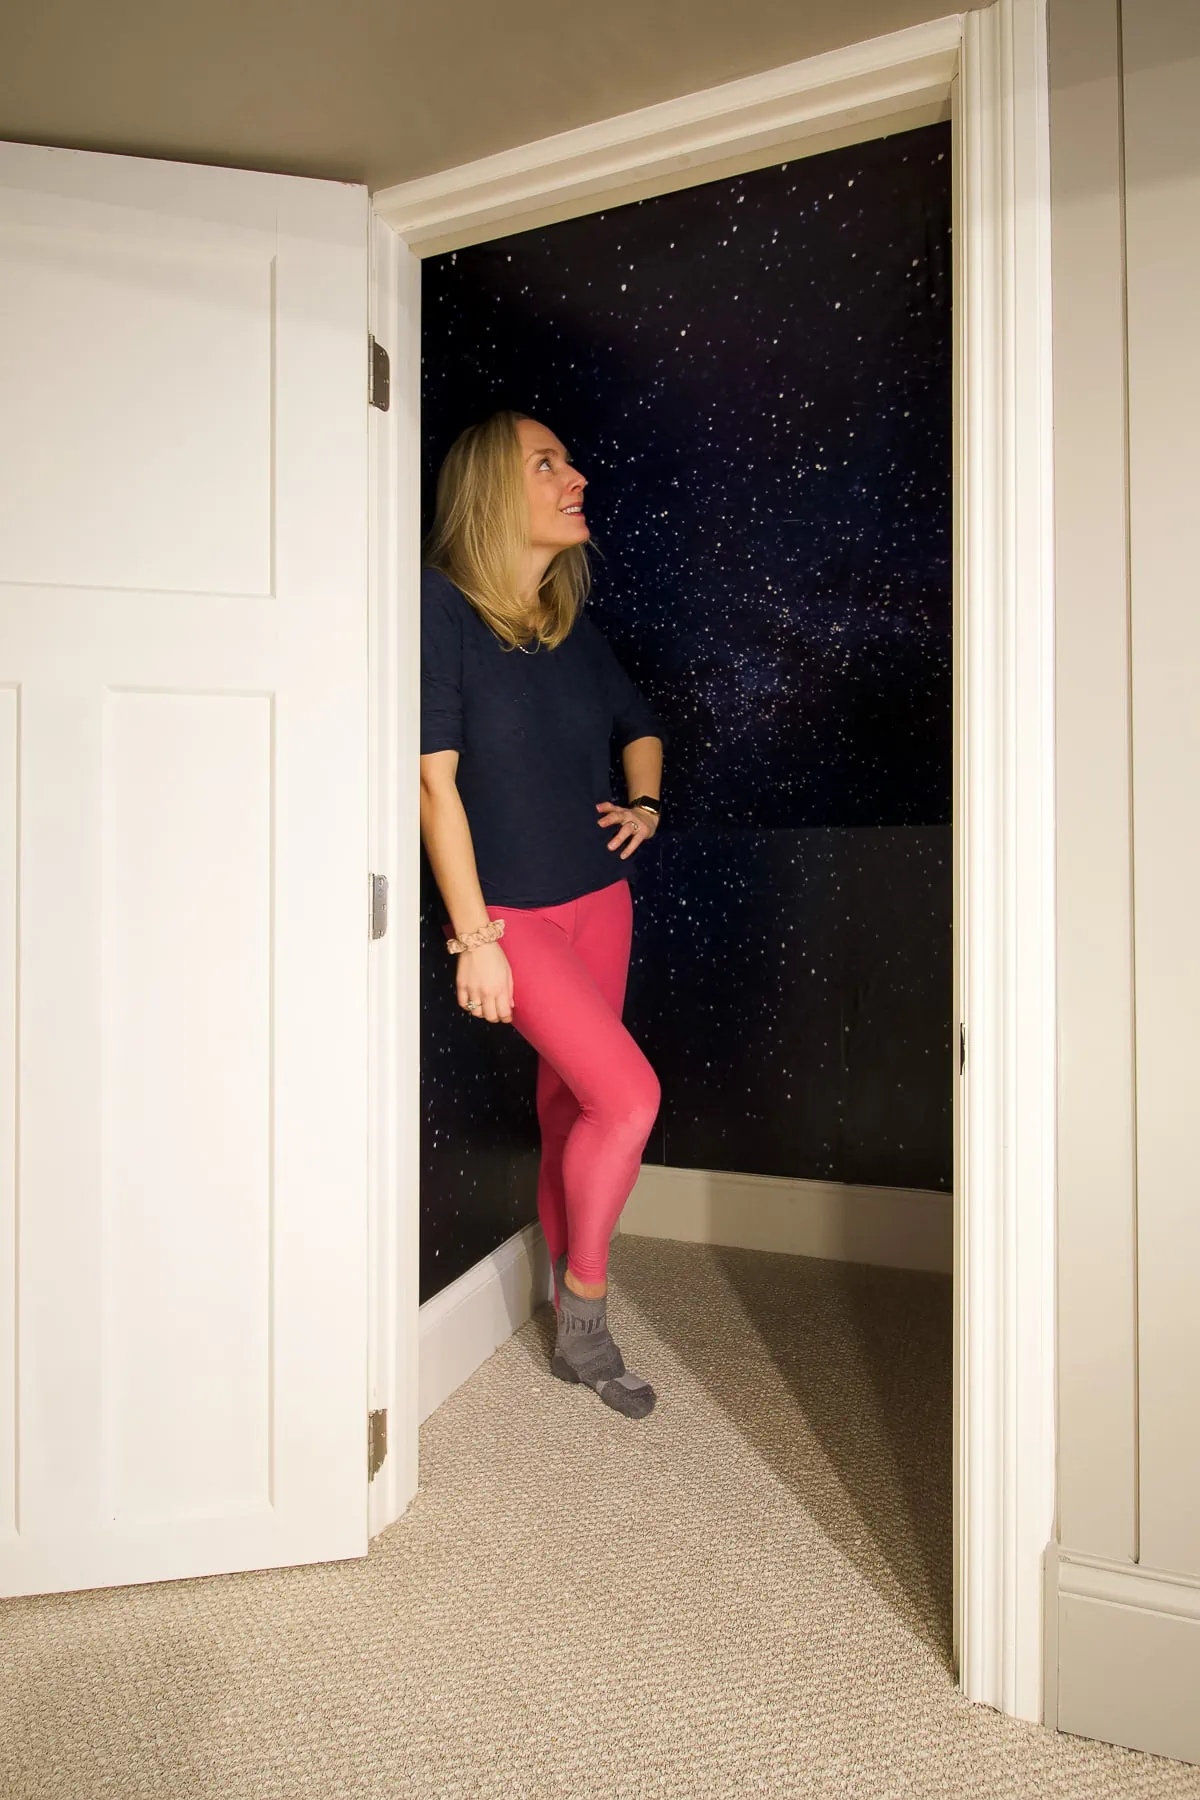
If you saw my recent office redesign plan, you know this wall mural had to go. I originally loved it, but over time I started to see what a few of you pointed out—it kind of looked like mold. And once you see that, you really can’t unsee it!
So, I decided it was time for a fresh start.

I’ll be honest, I was a little nervous going into this DIY wallpaper removal project. I had no idea if removing wallpaper would take an hour or an entire day, or if I’d end up damaging the drywall underneath. But after asking for tips on Instagram and diving in myself, I realized something surprising – you don’t need a ton of fancy tools or complicated methods to get great results.

It just takes patience, water, and a willingness to get a little messy.
Project At A Glance:
| Difficulty: ⭐️ ⭐️ of 5 | Time: 1/2 Day |
| Supplies needed: Warm water & dish soap Towel & rags Contractor bags Vinegar Scrub Daddy sponge Joint compound | Tools needed: Spray bottle Stepstool Plastic putty knife |
How To Remove Wallpaper Easily: Step-by-Step
1. Start by peeling from the top

I grabbed a step stool, started at the top of the wall, and began pulling the mural down by hand. Some parts, especially along the edges, came off pretty cleanly right away, which gave me a false sense of confidence.
The middle sections were a different story. That’s where the paper backing wanted to stay stuck to the wall, so I quickly realized this was not going to be one of those satisfying “peel it off in one giant sheet and call it a day” situations.
2. Spray the wall as you go

Before I started this project, I asked for wallpaper removal tips on Instagram, and the advice I got over and over again was to keep a spray bottle nearby. I filled one with warm water and a little bit of Dawn dish soap, and that ended up being the most important part of the whole process. You need a lot of water for this job. As I peeled, I sprayed the stubborn areas to soften the wallpaper glue and loosen the backing that was left behind.
At first, I tried to peel, spray, and scrape all at once, but that felt slow and kind of inefficient. What worked much better was pulling down as much as I could first, then going back and really soaking the pieces that were still stuck. This ended up being the easiest way to loosen the wallpaper adhesive.
3. Let the leftover backing get really damp
This was the biggest lesson for me – don’t be stingy with the water. Once I started fully saturating the leftover paper backing, the whole removal process got easier. The moisture helps reactivate the glue layer, so even though the wall starts to feel sticky and tacky, that is actually a good sign. It means things are loosening up.
If I had to do it again, I would have a big damp sponge on hand in addition to the spray bottle. The spray bottle worked, but I found myself constantly refilling it, and I think a sponge would have helped me wet the wall faster and more evenly.
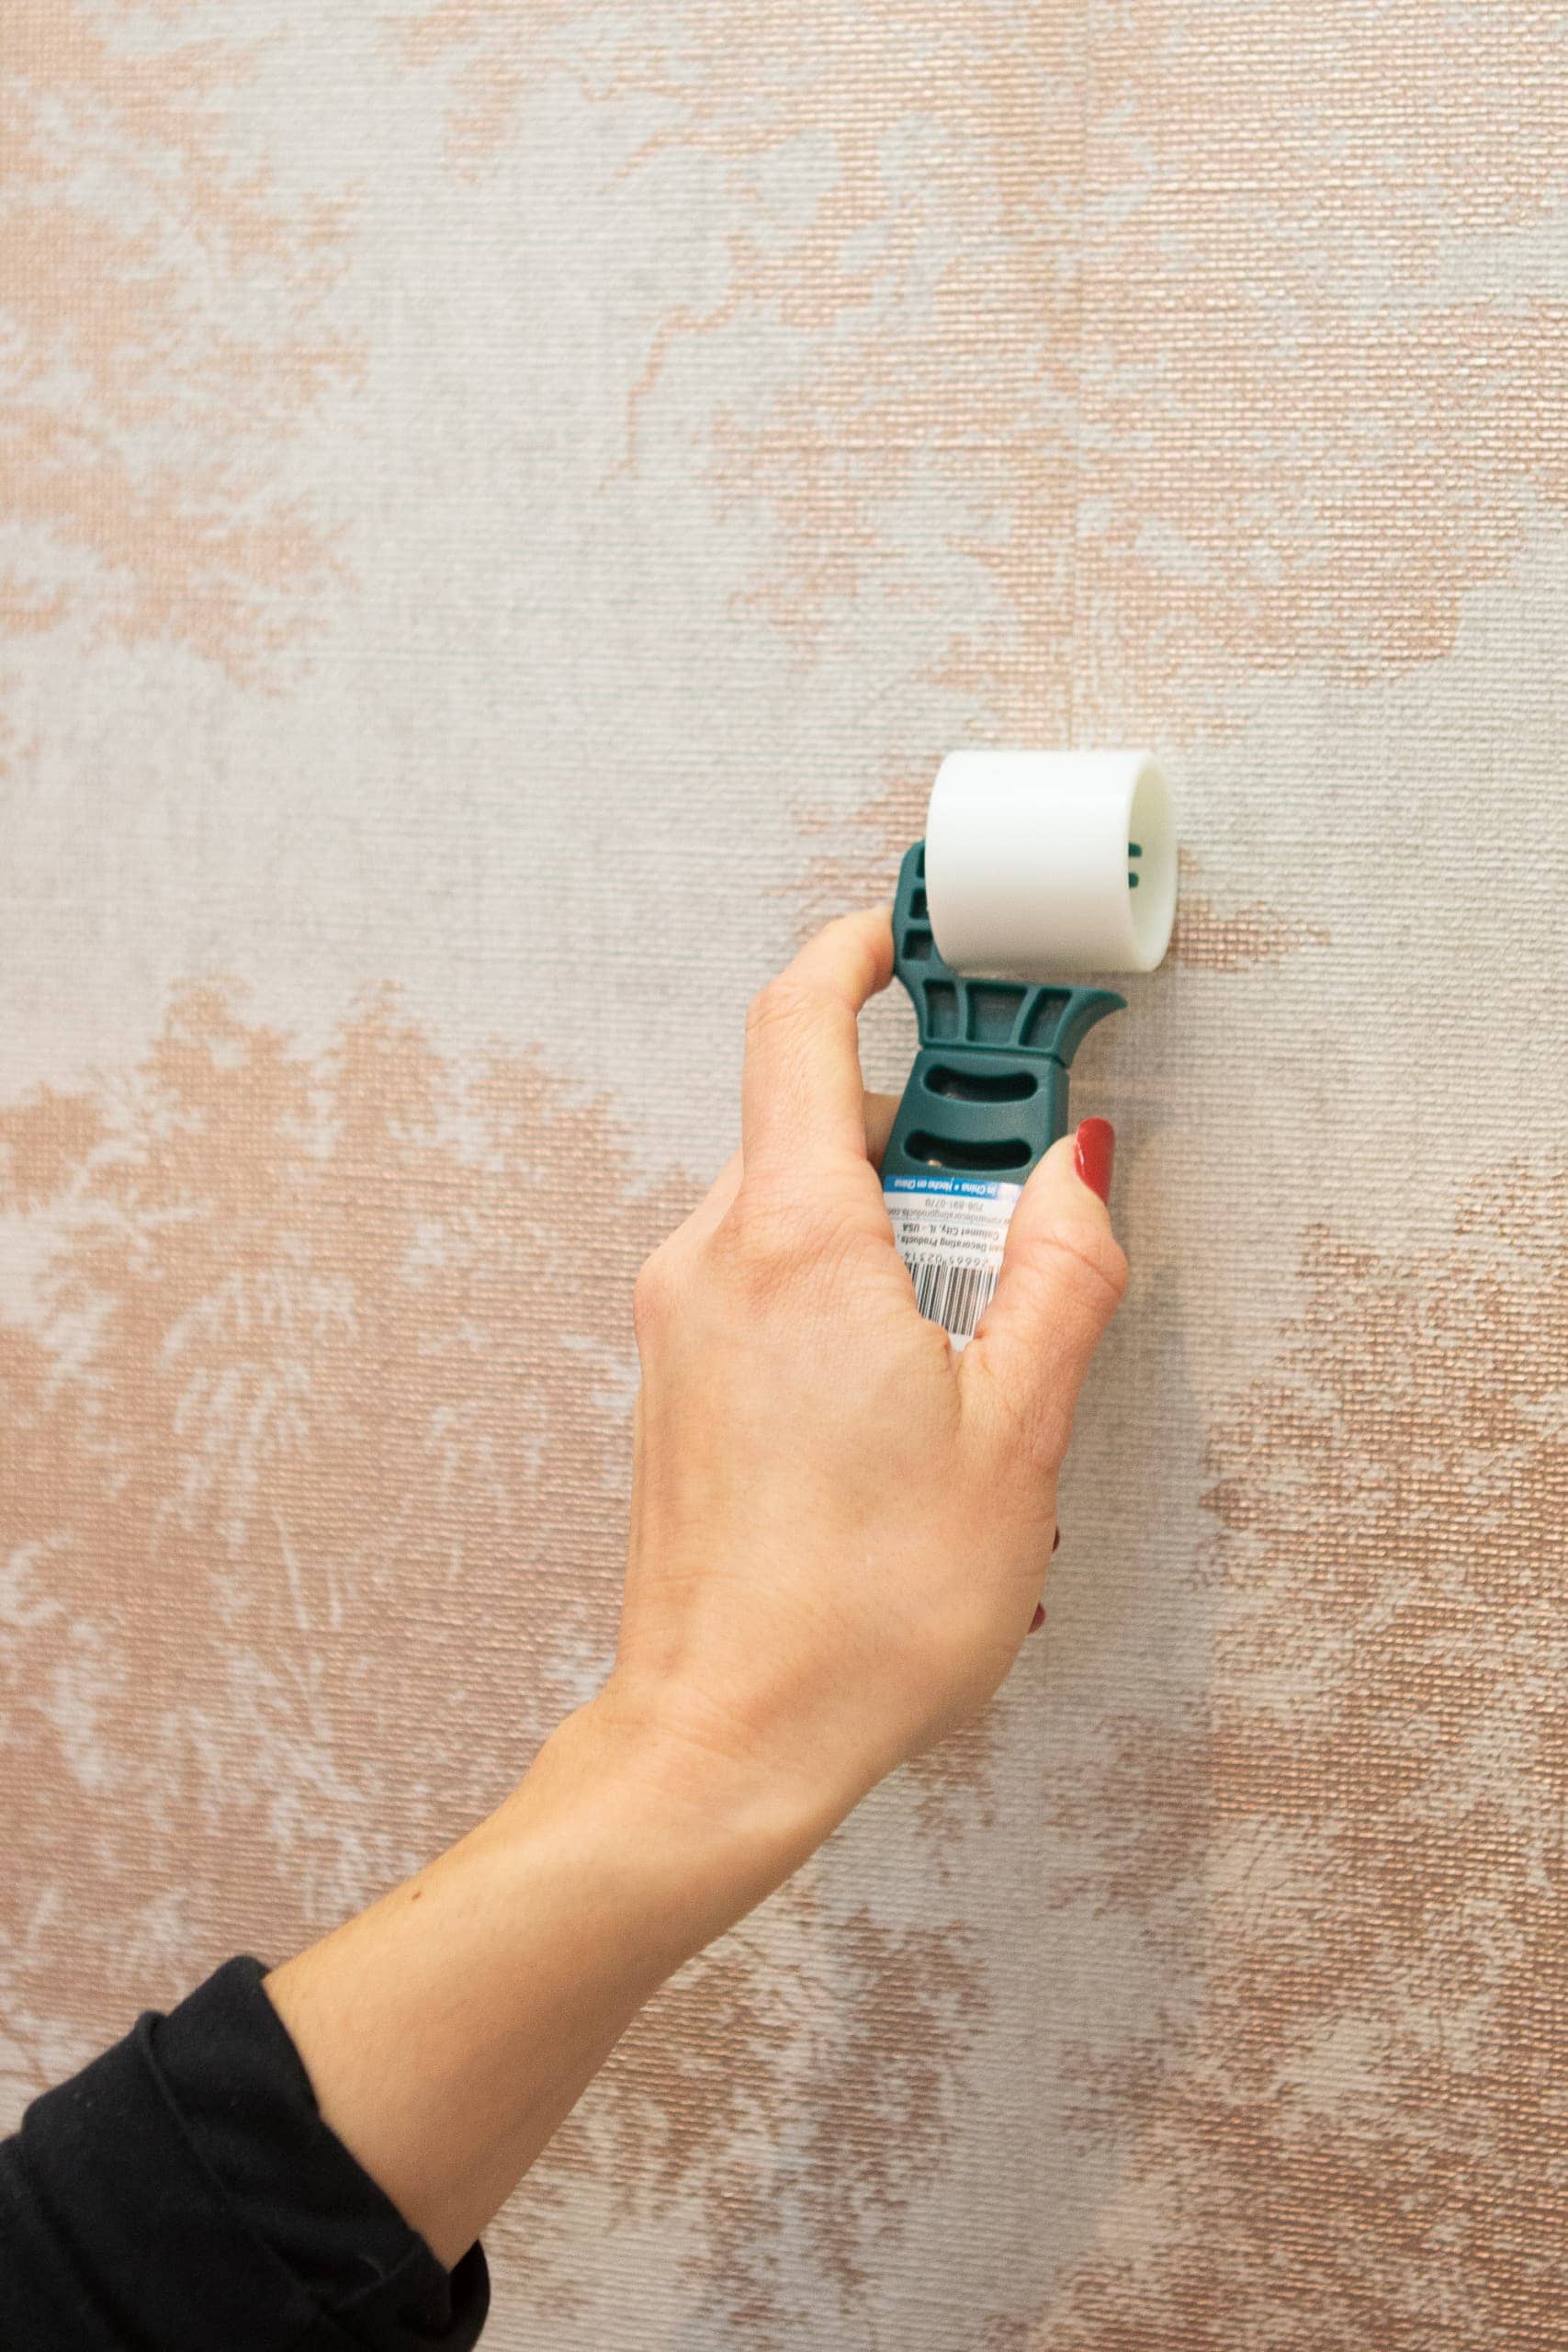
4. Use a plastic putty knife to scrape stubborn spots

Once the backing was nice and damp, I used a plastic putty knife to scrape off the pieces that were still hanging on. I definitely recommend using a plastic scraper, instead of anything too sharp, because you want enough pressure to lift the wallpaper residue without gouging your drywall. There were some stubborn spots where I had to go back a few times, spraying and scraping until they finally released.
This is the part where patience really matters. It’s not hard, exactly, but it is repetitive.
5. Work in small sections and keep moving

Instead of trying to tackle the entire wall at once, I worked in small sections from top to bottom. I probably had around 10 to 12 strips to remove, and each one took me roughly 20 minutes. Having that mindset helped a lot because wallpaper removal can feel overwhelming if you look at the whole wall and think about how much is left.
I also kept a big contractor bag nearby so I could toss the wallpaper strips as I went. That made cleanup easier and kept the space from turning into a total disaster zone.
6. Expect to get messy
This is not a neat little DIY project. Between the spray bottle, the damp wallpaper, the sticky glue, and the towels, I was soaked by the end of it. My fingers were sore from peeling and pulling, and I was going back and forth to refill my bottle constantly. But weirdly, it was also very satisfying. Once you get into the rhythm of it, there’s something kind of addictive about pulling off each section and seeing the wall underneath.
7. Don’t stop once the wallpaper is off

I definitely thought that once I got the mural down, I’d be done. I was not. Even after the paper was removed, the wall still felt really sticky from the leftover adhesive residue, and that part needed its own round of cleaning.
I filled another spray bottle with water and white vinegar, sprayed the wall, and scrubbed it with the rough side of a Scrub Daddy to help break down the glue residue. After that, I wiped everything down and then washed the wall again with clean water and a little soap. That extra cleanup step took about another hour, but it made a huge difference.
If your wall still feels tacky, you need to clean it more. Paint or new wallpaper won’t adhere properly if you don’t get all of the glue off the wall.
8. Patch any damage before moving on

I did have a couple of spots where a little bit of drywall came up during the process. Nothing major, but enough that I’ll need to patch those spots before the next phase. If that happens, you’ll want to smooth those areas with drywall compound, let it dry, sand it down, and then prime the wall before you paint or install new wallpaper.

That final prep is what gives you a smooth, clean surface and makes the whole project look finished.
After going through this entire process for the first time, there were a few things that really stood out to me. I recognized some small adjustments that made a big difference and a few things I would absolutely do again or skip next time. If you’re tackling your own wallpaper removal project, these are the tips that will help you get the best results without damaging your walls.
Tips for Removing Wallpaper Without Damaging Walls

If this is your first time removing wallpaper, the biggest goal is getting it off cleanly without damaging your drywall or plaster walls underneath—and a few small adjustments can make a big difference.
- Work in a small section at a time: Trying to tackle an entire wall or room at once can lead to rushing, which is when damage happens. Focus on small sections and take your time.
- Use light pressure when scraping: A plastic putty knife or wallpaper scraper is the best tool here, but let the water do the work. If you find yourself forcing it, the wallpaper isn’t wet enough yet.
- Test your wallpaper type first: Strippable wallpaper and removable wallpaper often come off much easier than traditional wallpaper or vinyl-coated wallpapers, especially in older homes.
- Skip the scoring tool unless necessary: While some wallpaper removal methods recommend a scoring tool, it can create tiny holes and increase the risk of wall damage if you’re not careful.
- Protect your space: Use plastic drop cloths or towels, remove outlet covers and switch plates, and tape off areas if needed to keep things clean.
One thing I also realized while working through this is that there are a lot of different wallpaper removal methods out there. I kept my approach really simple and it worked great for my wall mural. But, depending on your wallpaper type or how stubborn it is, you might want to try something a little different.
Wallpaper Removal Methods (What Actually Works)

There are a lot of different methods out there for removing wallpaper, and it can feel overwhelming trying to figure out the best way to tackle your walls. Here’s a quick breakdown of the most common options and what you actually need.
- Warm water + dish soap: This is the easiest way and what worked best for me. It’s simple, affordable, and effective for most newer wallpaper.
- White vinegar solution: A great homemade solution for breaking down wallpaper adhesive and removing glue residue.
- Wallpaper steamer: A handheld steamer or electric steamer uses hot steam to loosen stubborn wallpaper, especially on old wallpaper or multiple layers of wallpaper.
- Fabric softener solution: Some people swear by mixing fabric softener with hot water to create a wallpaper removal solution.
- Chemical stripper: Available at your local hardware store, but usually not necessary unless you’re dealing with very stubborn wallpaper or older wall types. I would avoid this if you can!
My Honest Take

This project took me about five hours for one wall, and while it was more time-consuming than I expected, it was absolutely doable. You do not need a ton of fancy tools, and you do not need to be an expert. You mostly need patience, plenty of water, and the willingness to stick with it, section by section. Whether you’re working with old wallpaper, newer wallpaper, or even a wall mural like mine, the process is very similar!
And now that it’s done, I’m so glad I went for it. I’m excited for what’s coming next in this room…