How to Add Picture Frame Molding to Your Walls
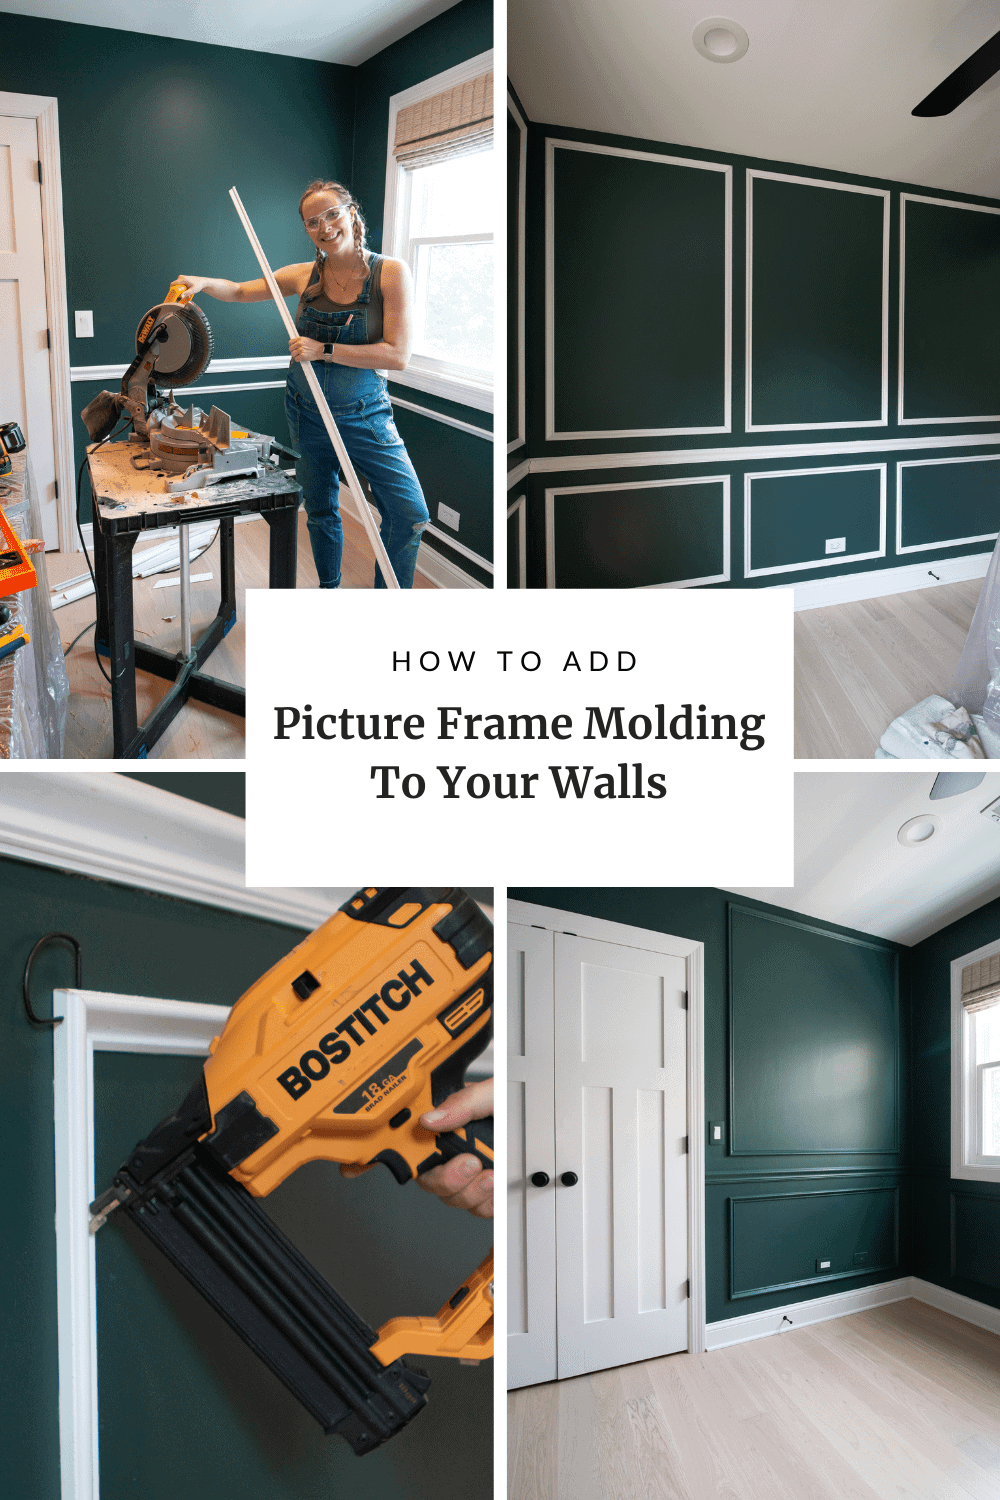
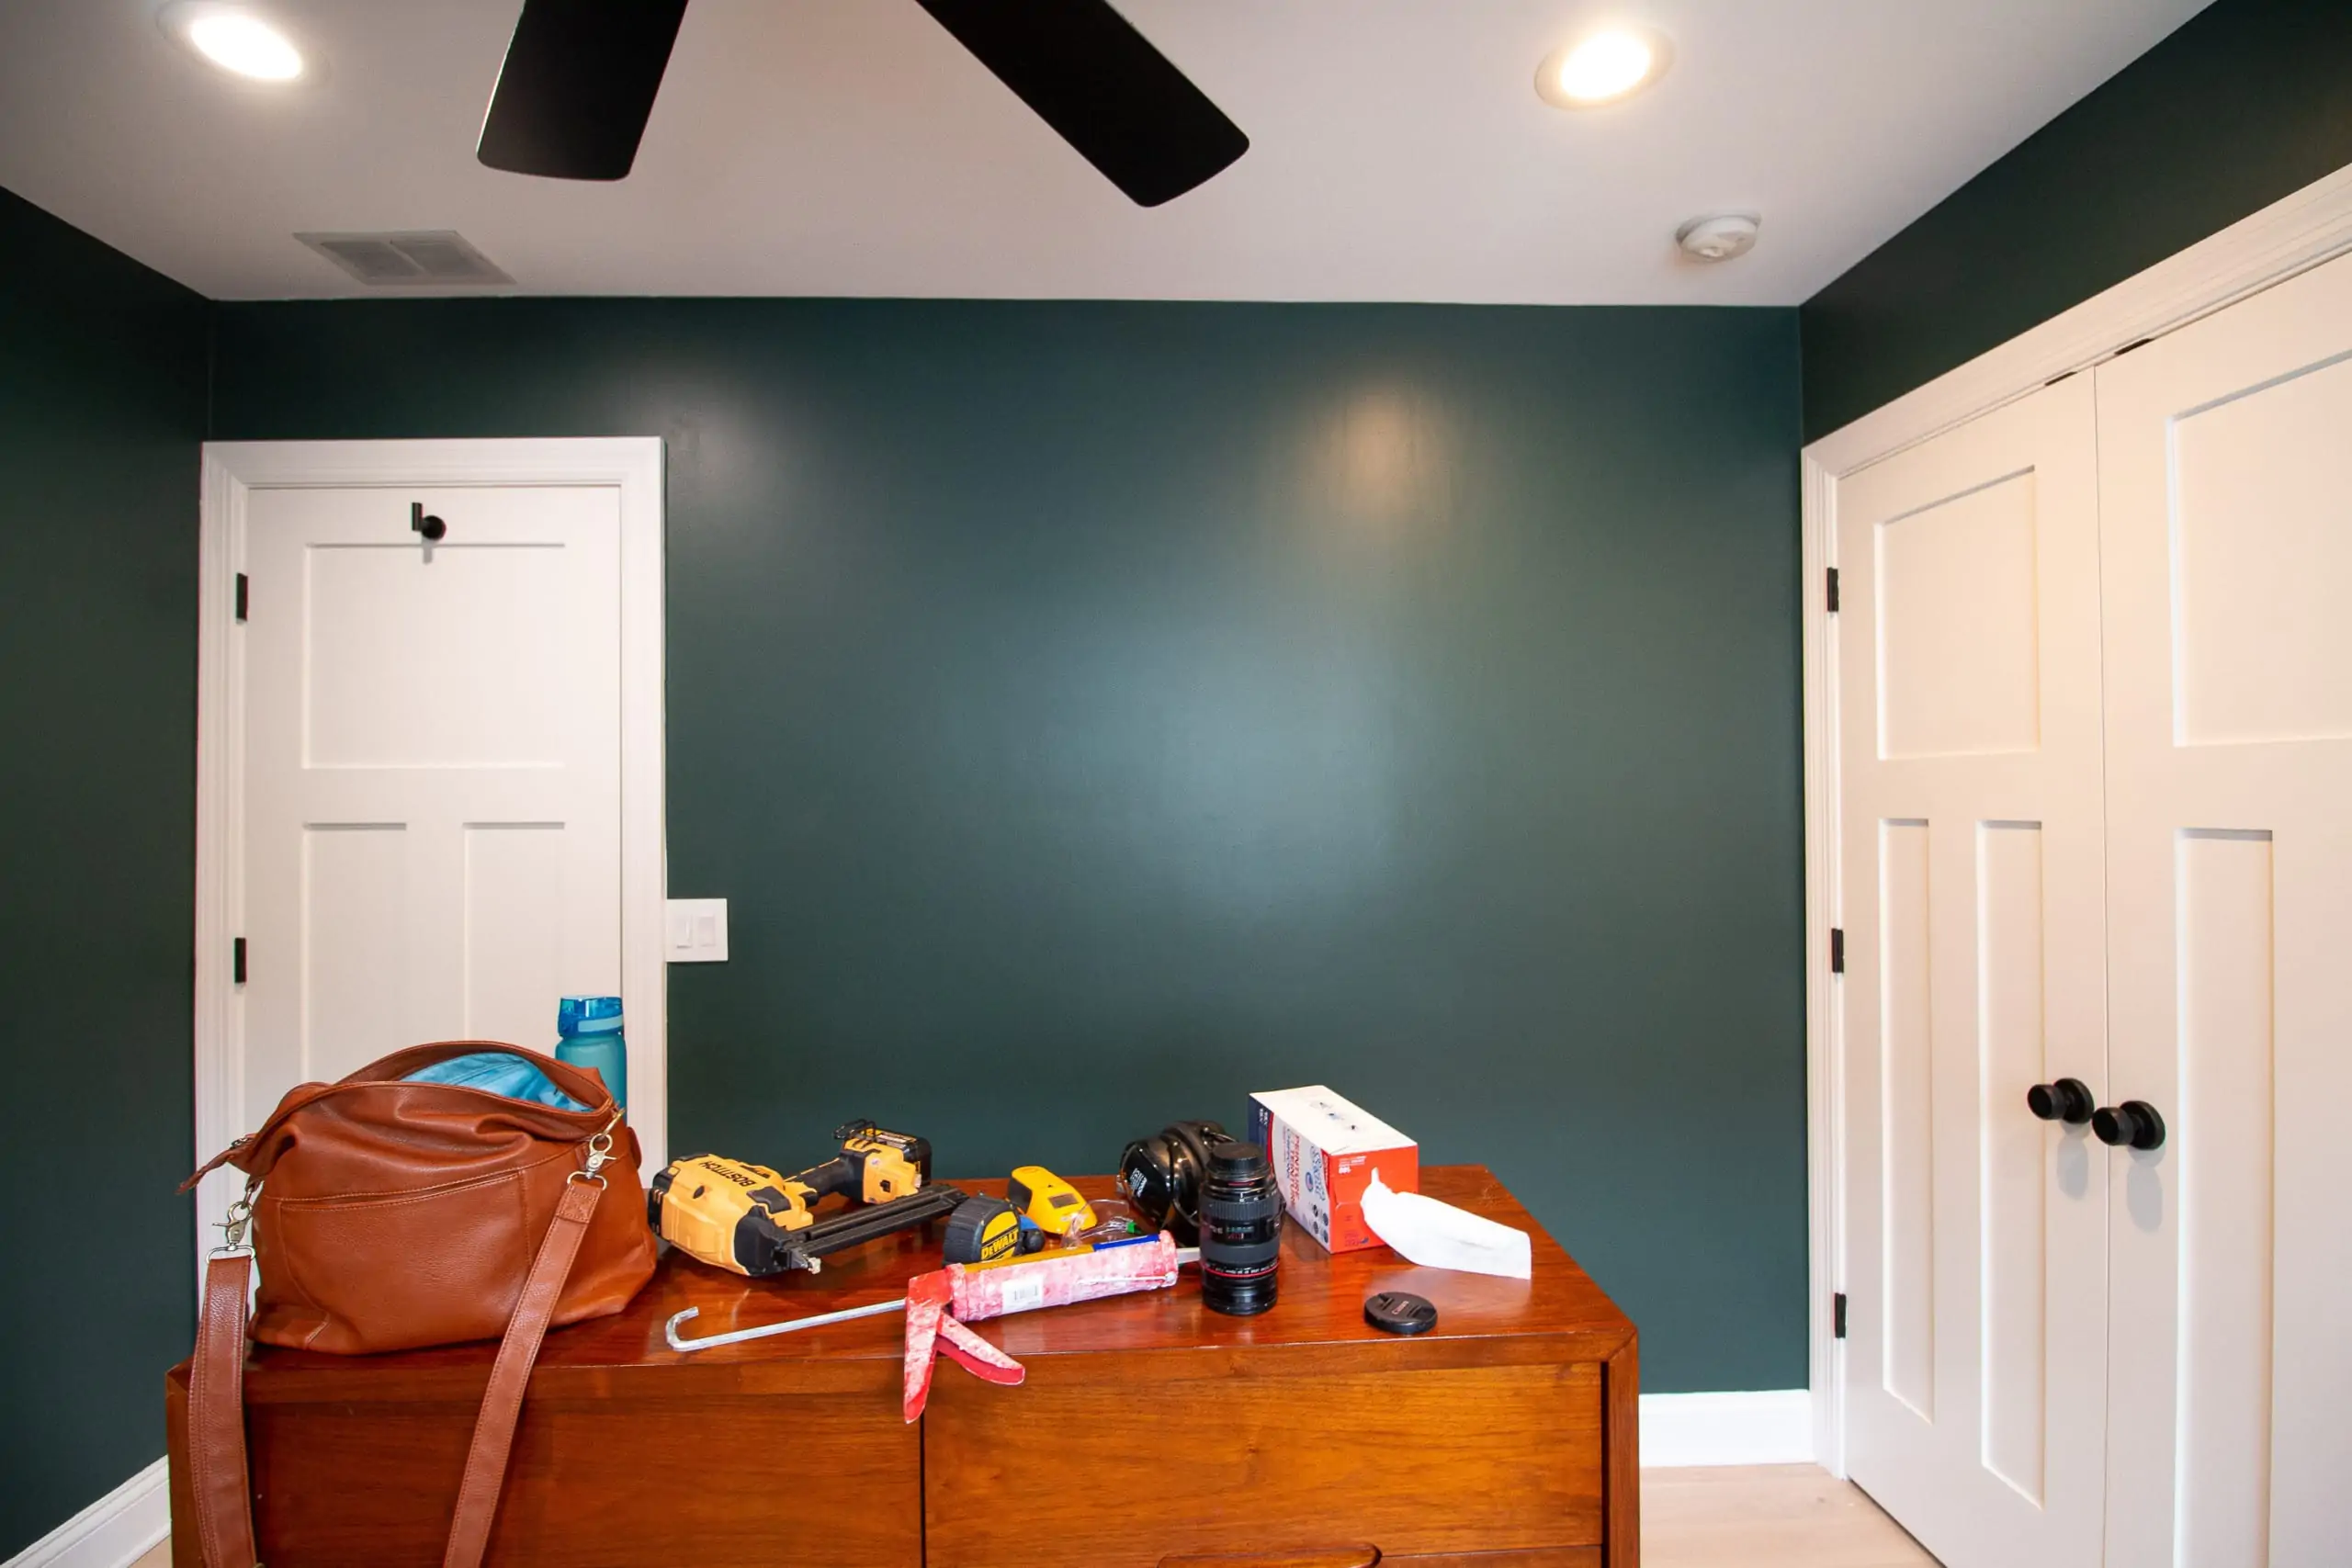
I’m so excited to share the reveal of the big DIY project in the nursery…picture frame molding on the walls. I love a good wood wall treatment because it’s a great way to make a space look more custom and high-end. It’s such a classic look!
Whenever I do one of these projects, Finn always says, “Why are you putting wood on walls again?” Ha! He loves the end result but sometimes he just doesn’t see why we do so much work for something that isn’t functional at all. Men, I tell ya!
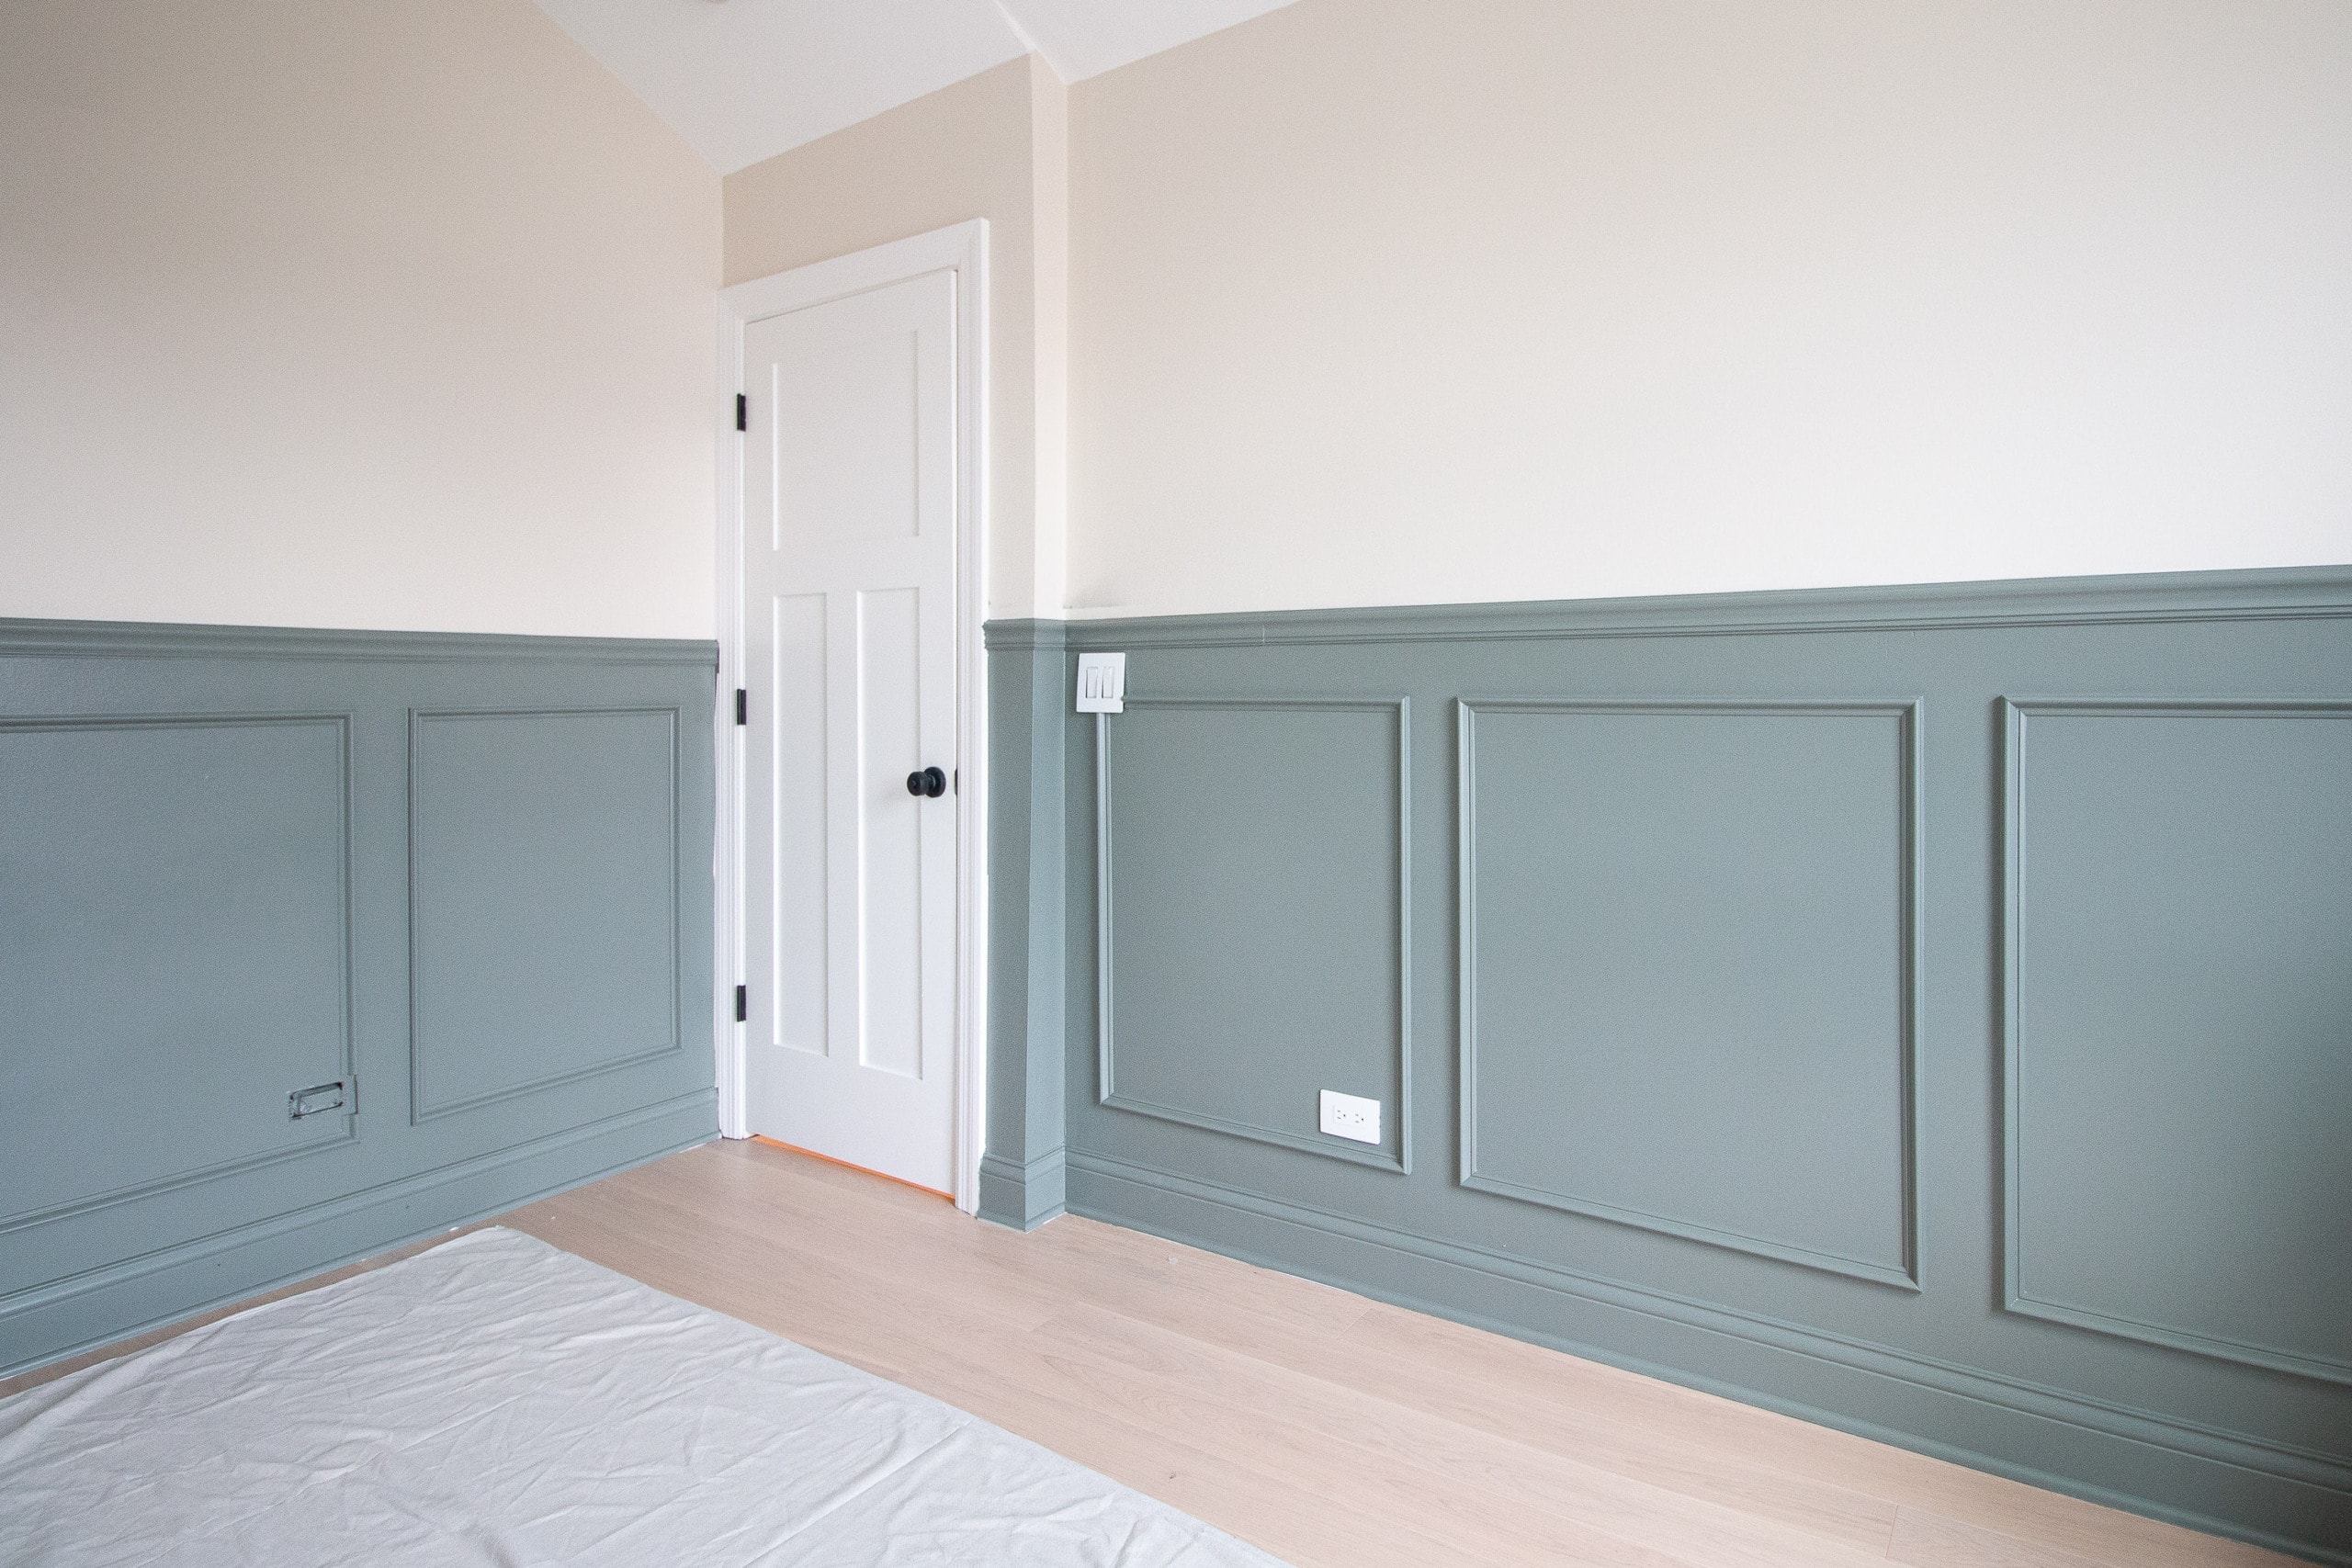
From the start, I knew I wanted to do some fun woodworking in this space. In Rory’s nursery, I ended up installing a traditional chair rail with picture frame molding underneath. It was perfect for her room. I also did the same in my office, adding an accent wall with decorative molding.
In here, I have a very similar plan, except this time, the entire wall has picture frame molding! Not to mention, it’s all painted the same dark moody green.
Picture Frame Molding – Supplies
- Chair Rail
- Base Cap Molding
- Liquid Nails
- Caulk Gun
- Cordless Brad Nailer and 1 1/2 inch brad nails
- Miter Saw
- Saw Stand
- Tape Measure
- Level (you could also use a laser level)
- Stud Finder
- Safety Gear
- Caulk
- Painter’s Putty
- Painter’s Tape
- Paint Brush, Roller, and Tray
- Paint (Benjamin Moore “Tarrytown Green” in eggshell)
- Corner Clamps (these ones could work too!)
- Shop Vac
My Best Tips to Add Picture Frame Molding to Walls
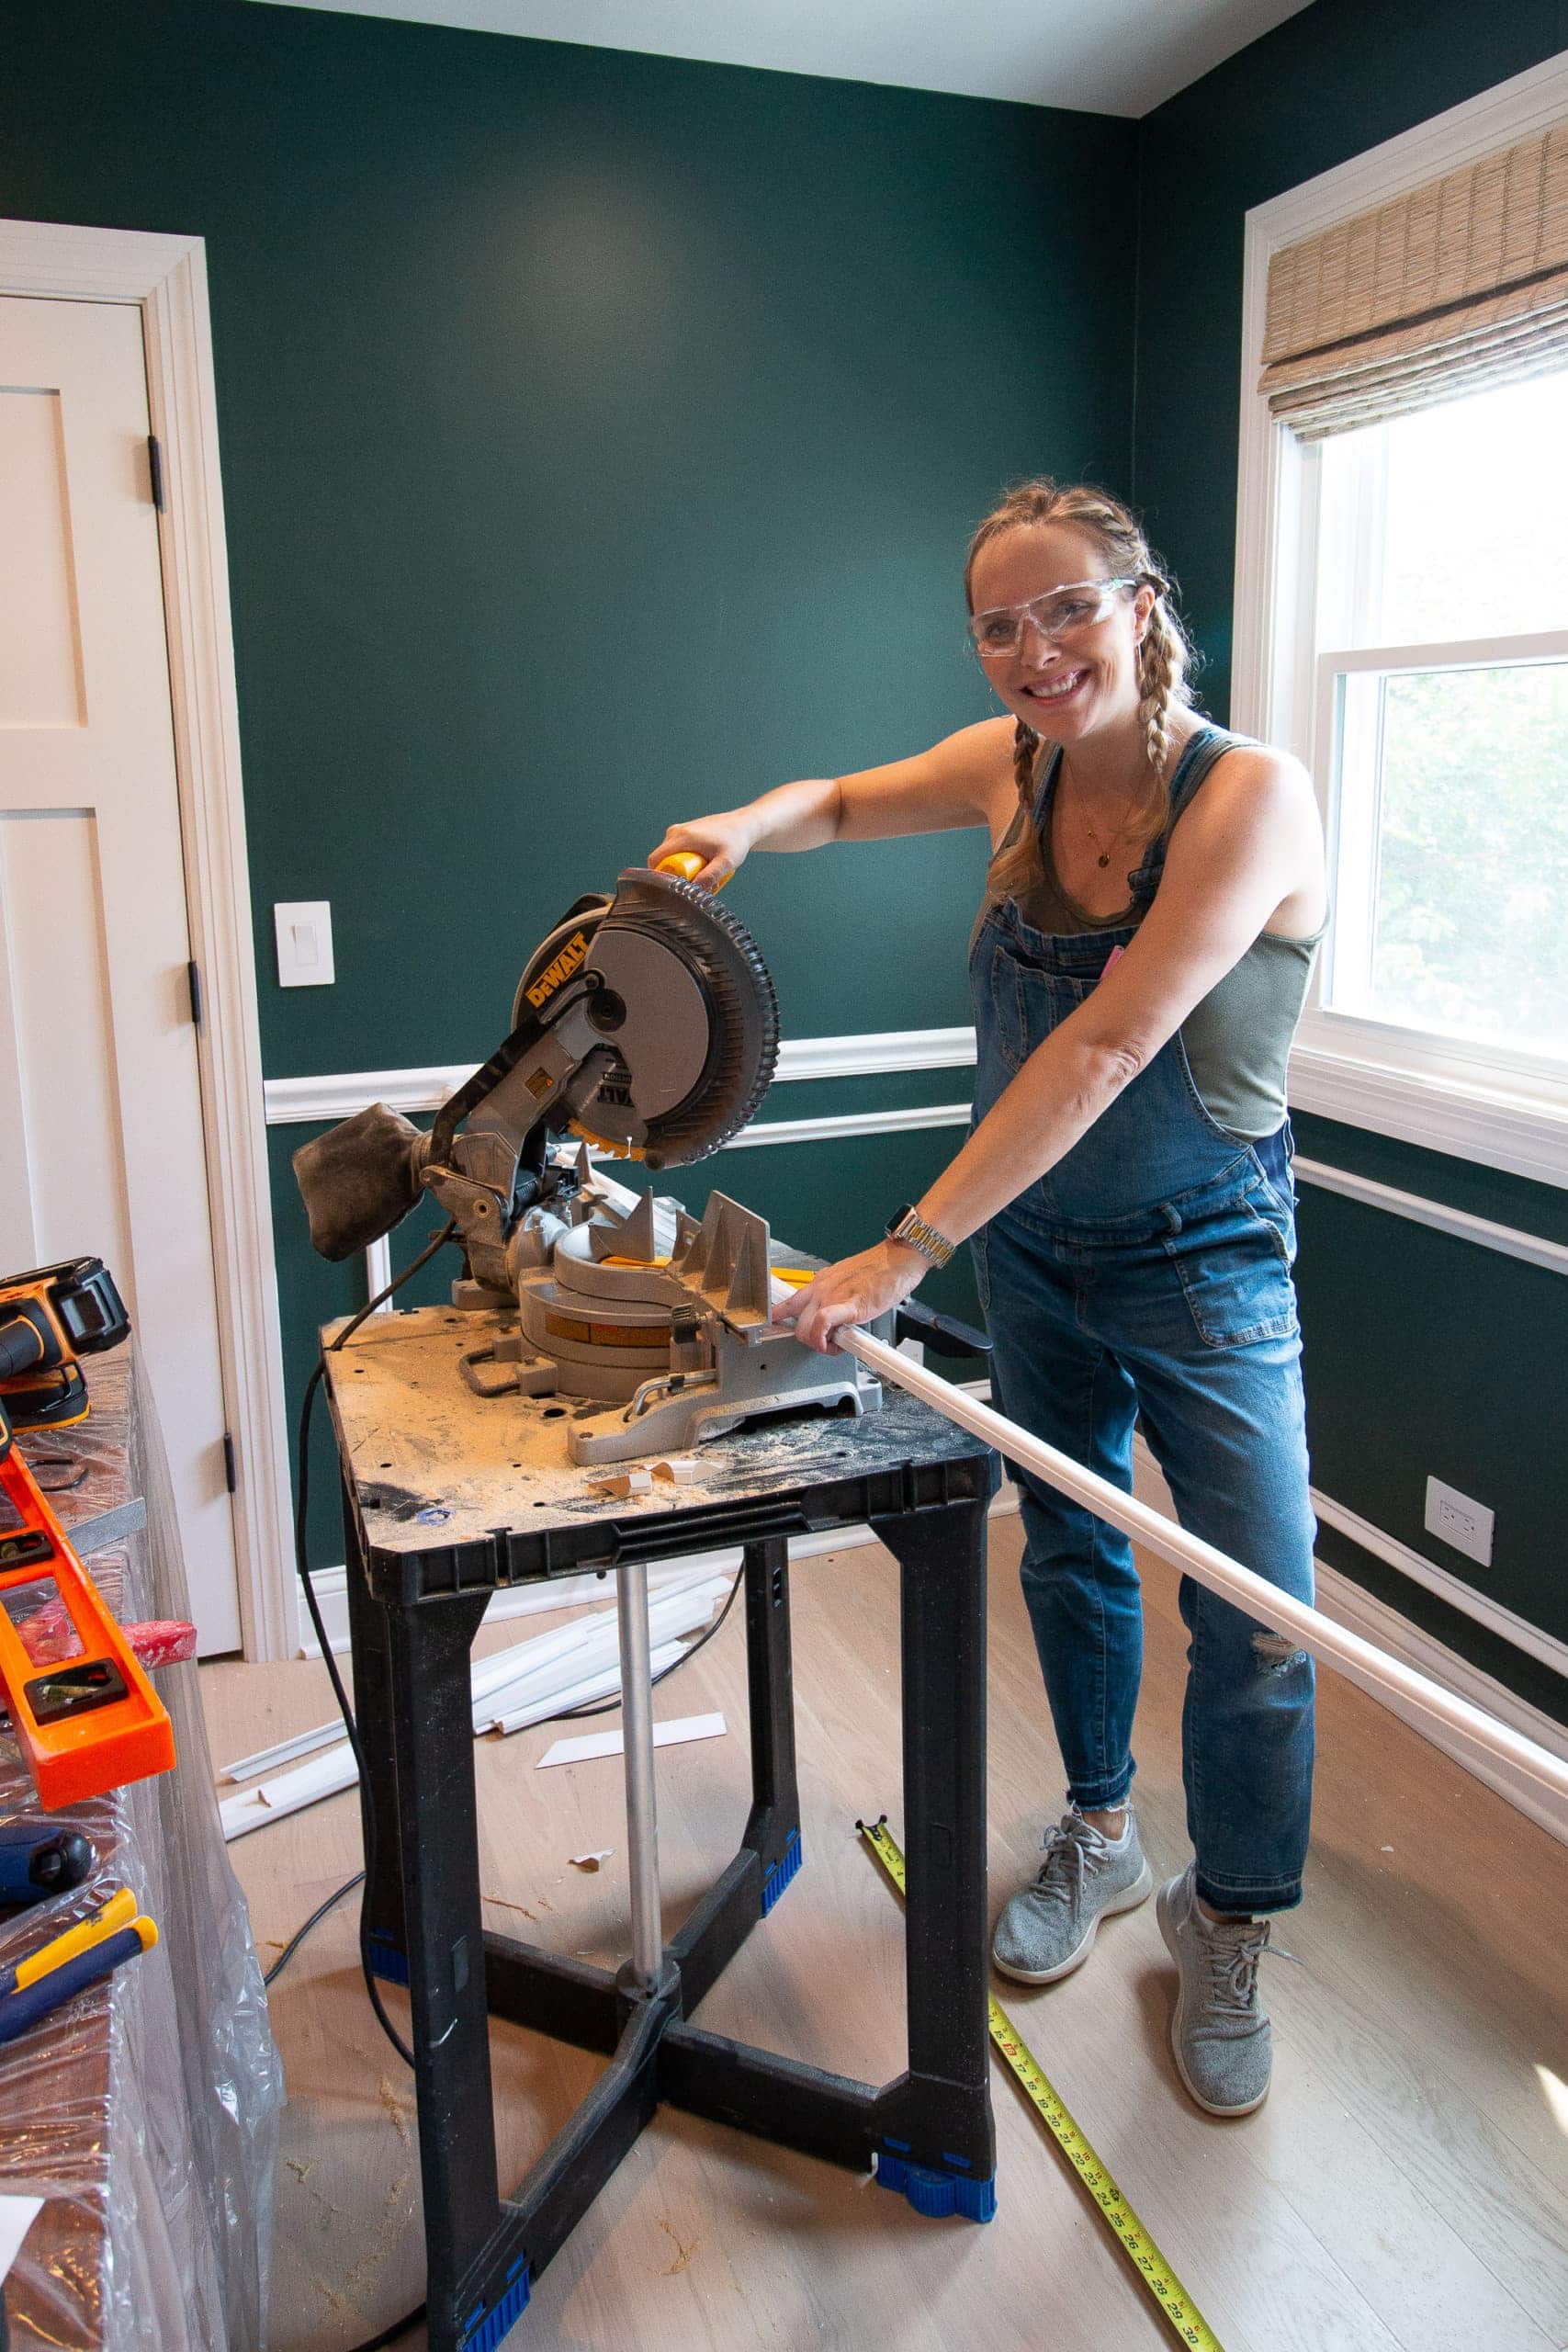
In Rory’s room, I was able to tackle the installation myself, with Finn helping out with the final step – painting the room with our sprayer.
Here, I did the same thing. I set aside a couple of days to tackle the woodworking by myself and then the next week I did the finishing tasks of caulk and paint. It’s a small space and I knew accent walls would look really great in here.
Picture Frame Molding, Step-by-Step Tutorial
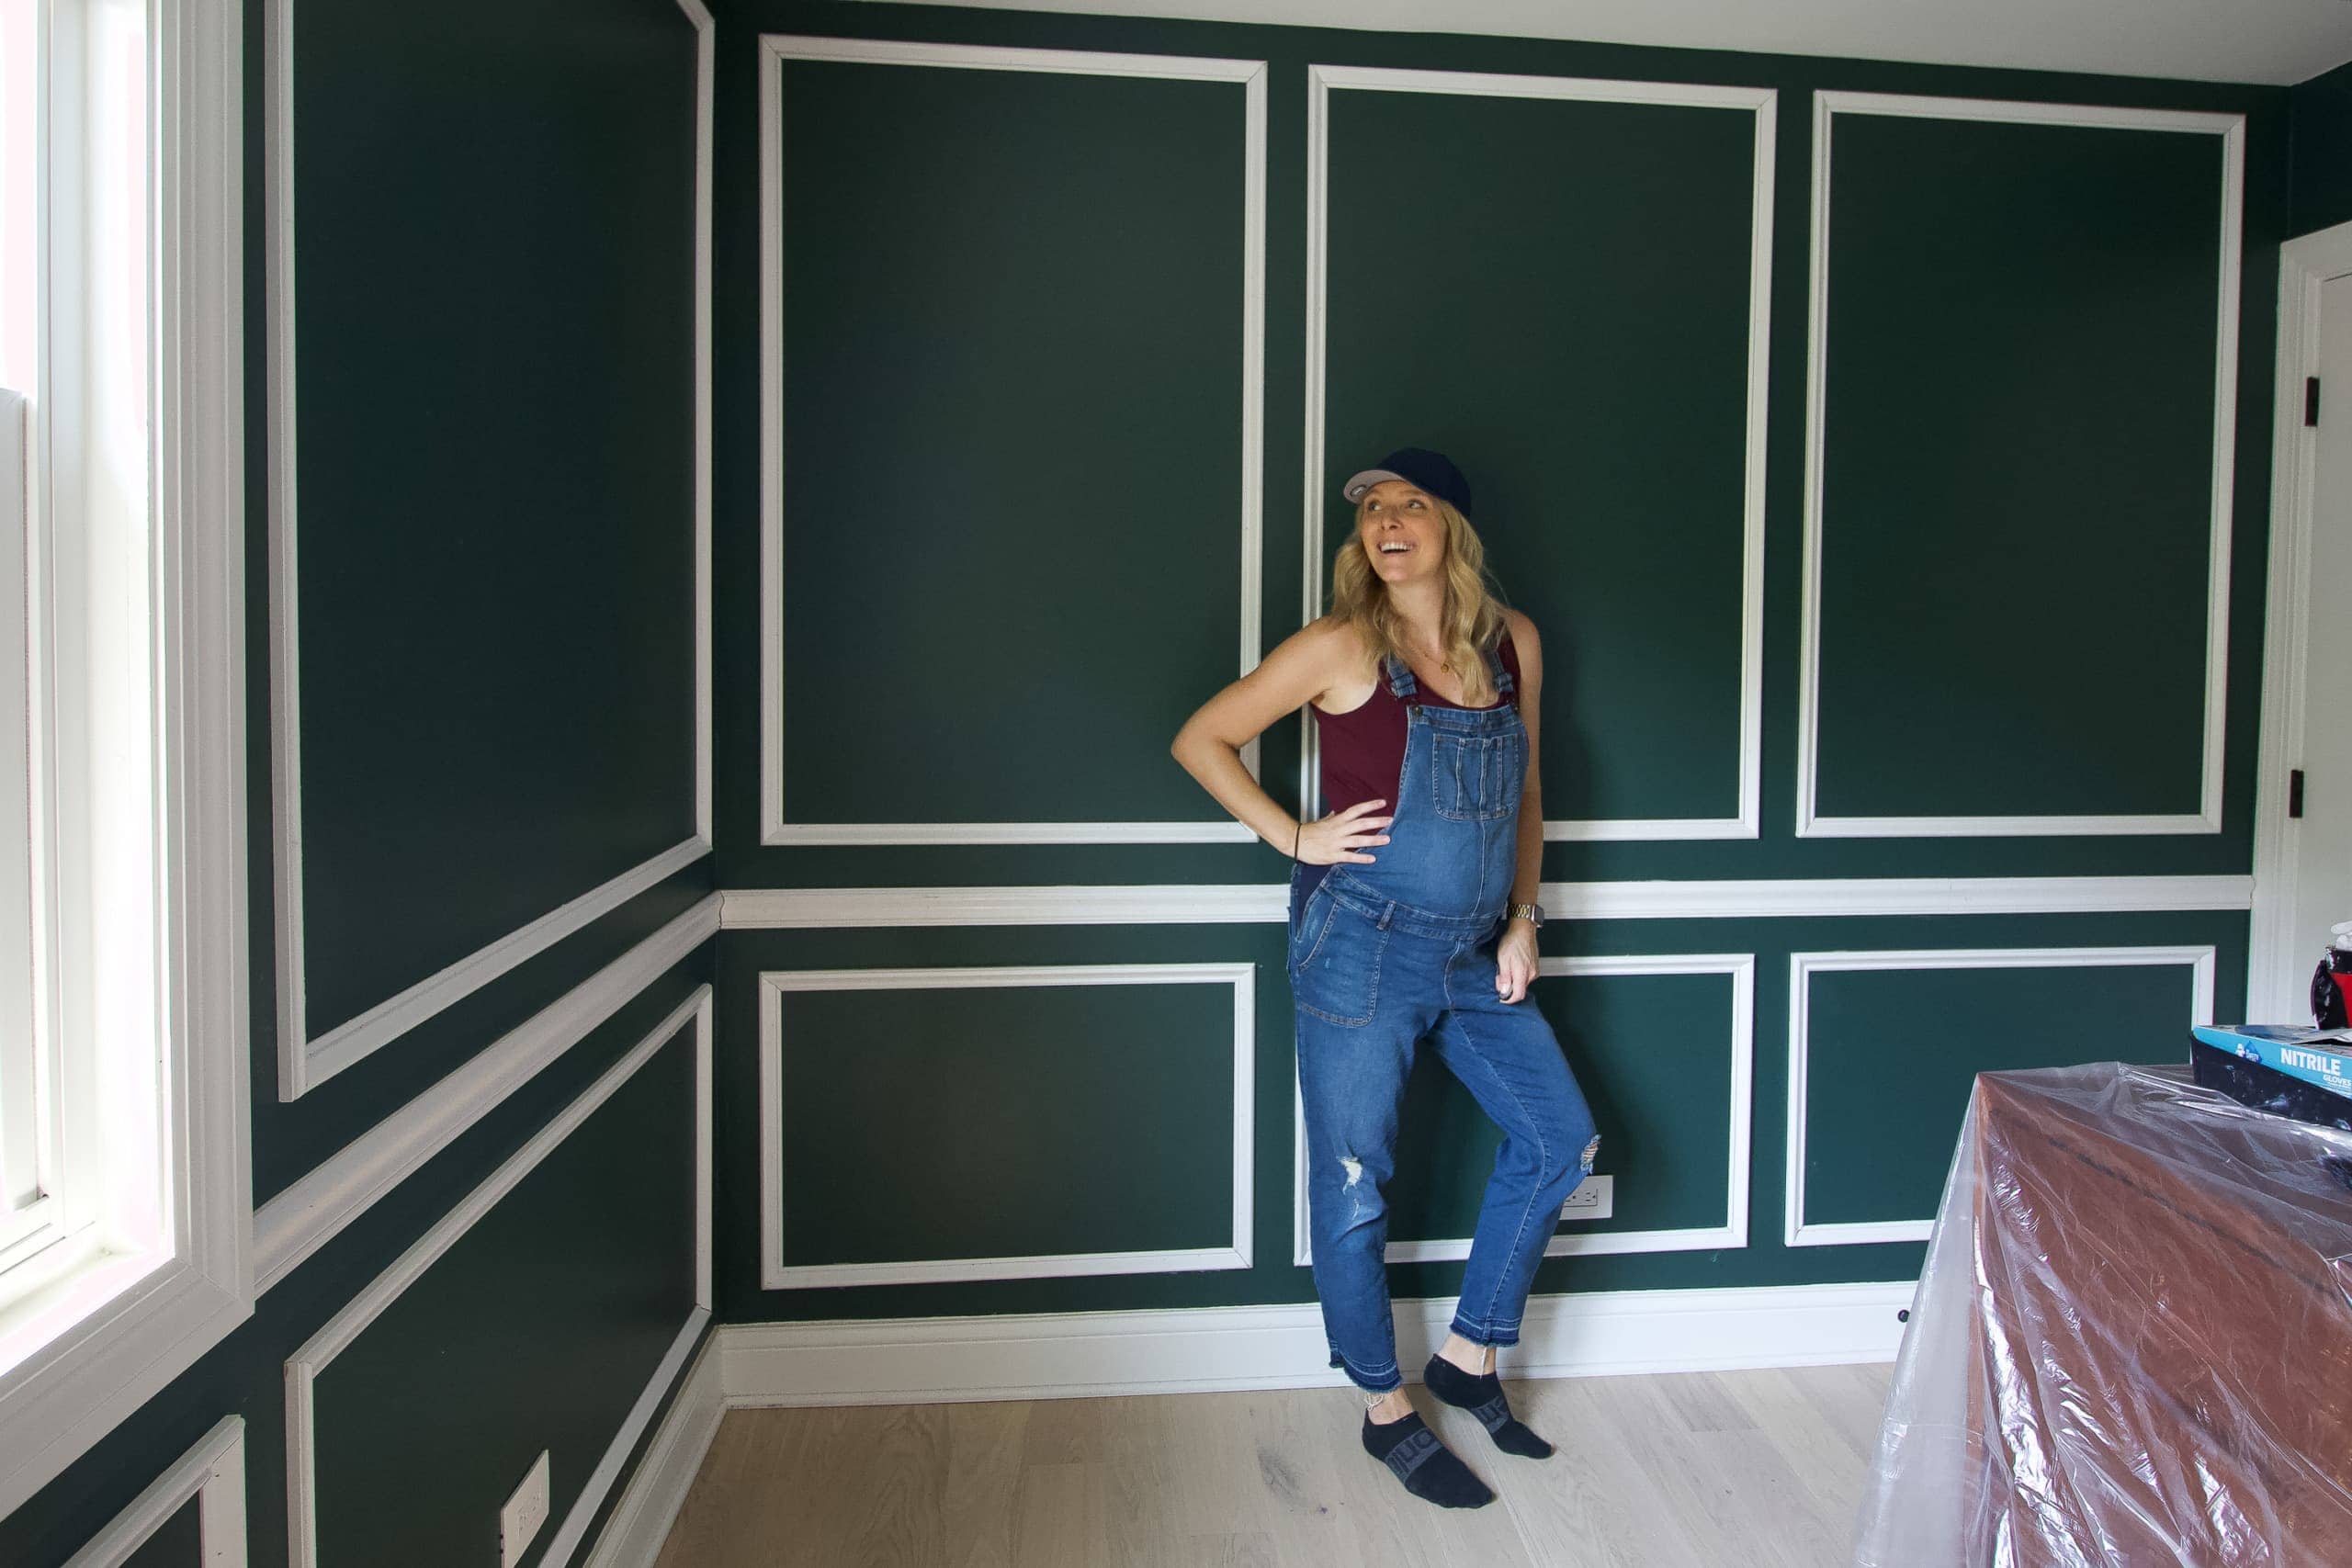
All this to say, this can definitely be a solo DIY project! Just give yourself enough time. I’d say I did a few hours a day over the course of a week to get this space completely done. And don’t forget…I’m 8 months pregnant! So if I can do this, then you can too!
Get Ready for Math…Lots of Math
Okay, this first step is my least favorite because it involves all the math. I spent about an hour in the empty nursery taking measurements of each wall and envisioning how many boxes of molding I wanted in each area. This was tough because each wall is different and there are doors, windows, furniture, and outlets to consider too.
Once I had a sense of the look I wanted, I brought Finn in to figure out the actual math behind my vision. He used Excel to draw up these layouts for me. As you’ll see, each accent wall has box paneling with different sizes.

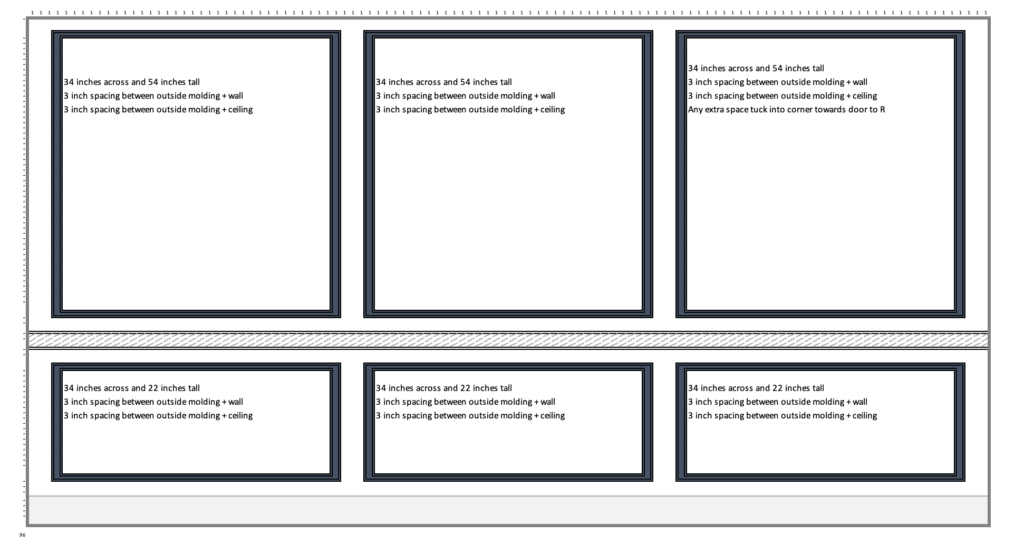
Here’s the blank wall where the crib will go. This wall was easy and I went with three symmetrical boxes all a few inches above the baseboard.
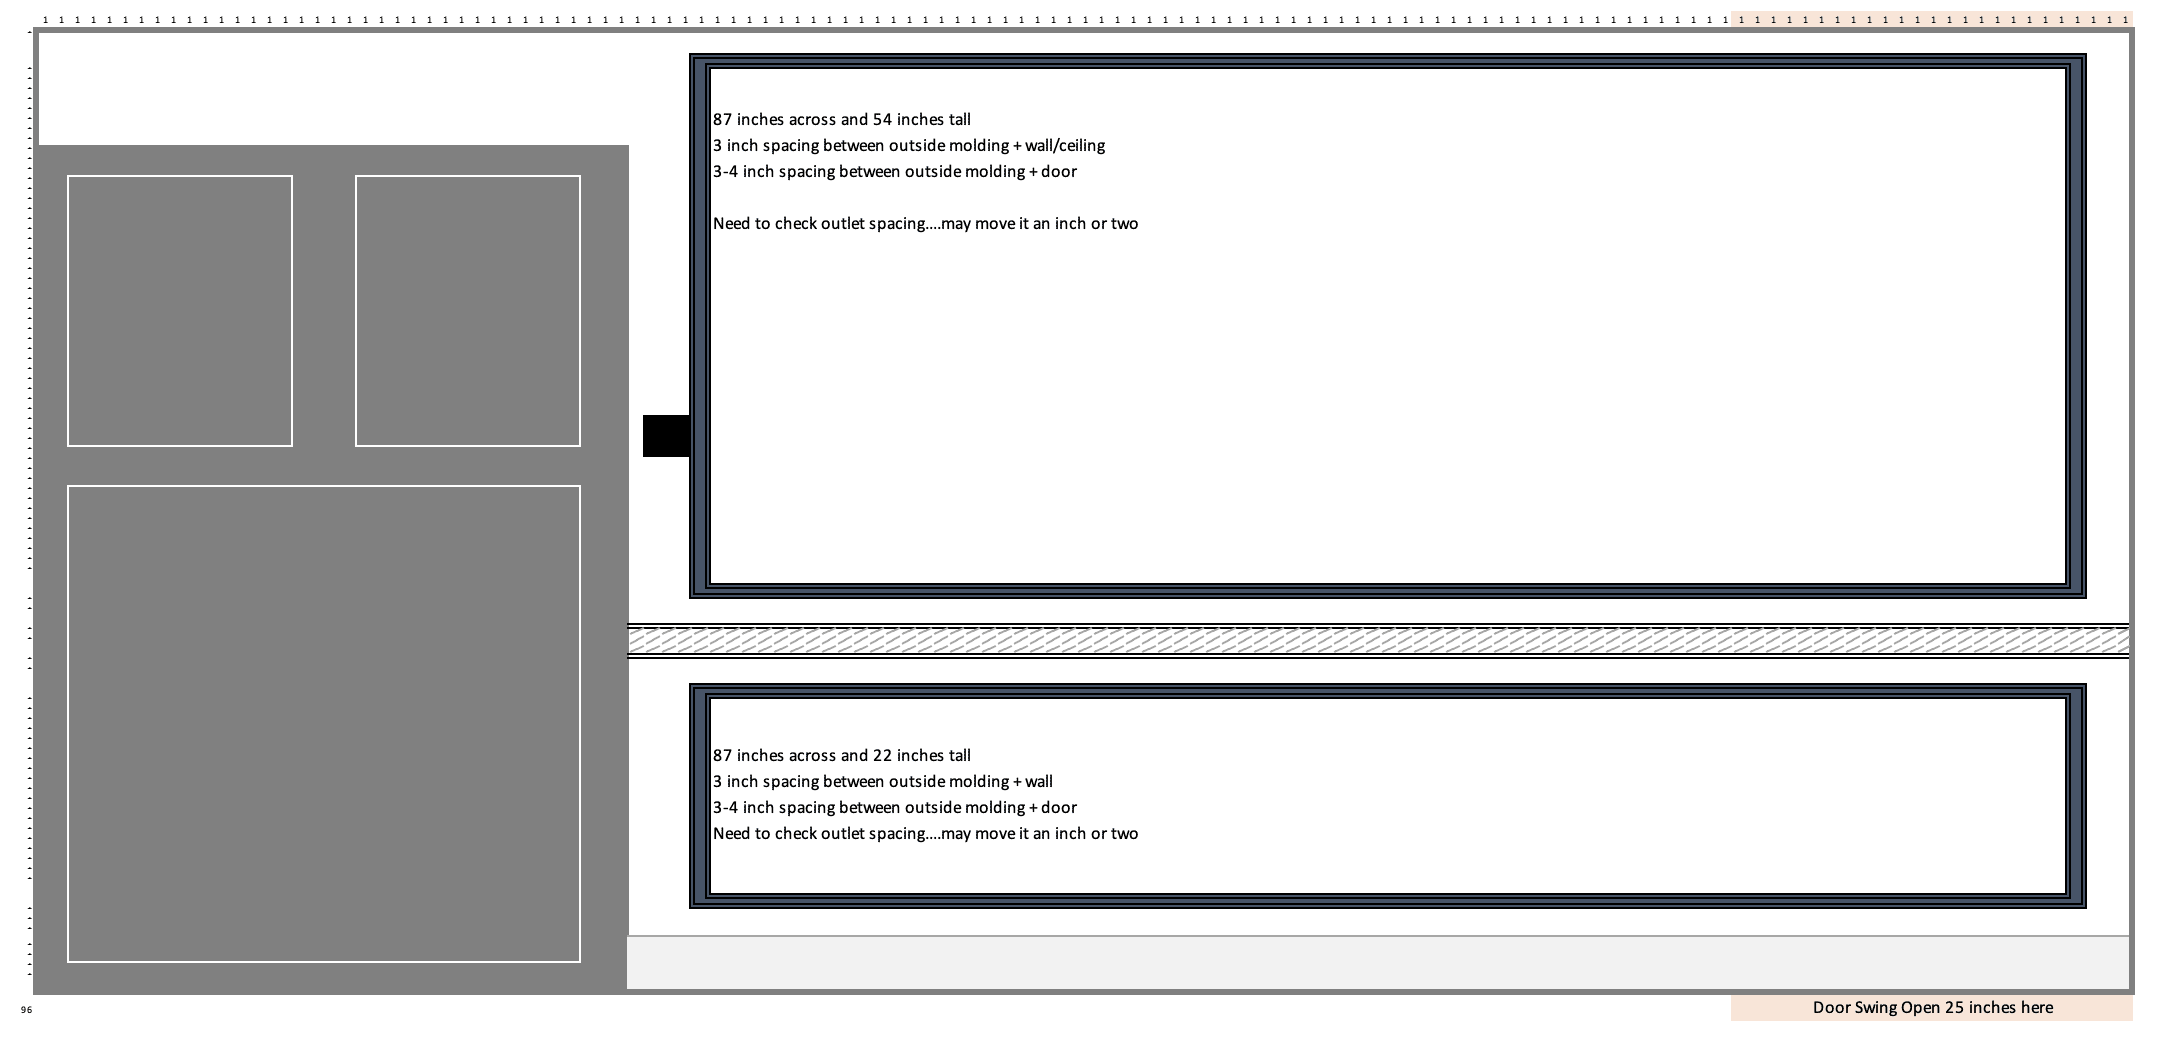
The wall near the entry door was the toughest for me. I want to hang my DIY canvas art over the dresser that will live there, and I didn’t want it to cover any molding. We tried so many various setups on this wall, but in the end, we decided that one large box for the art was the best idea.


Here’s the closet wall. Again, this wall will only have one large box. I may want to add shelves or a gallery wall in that top box, so I wanted to leave my options open to incorporate other design elements.


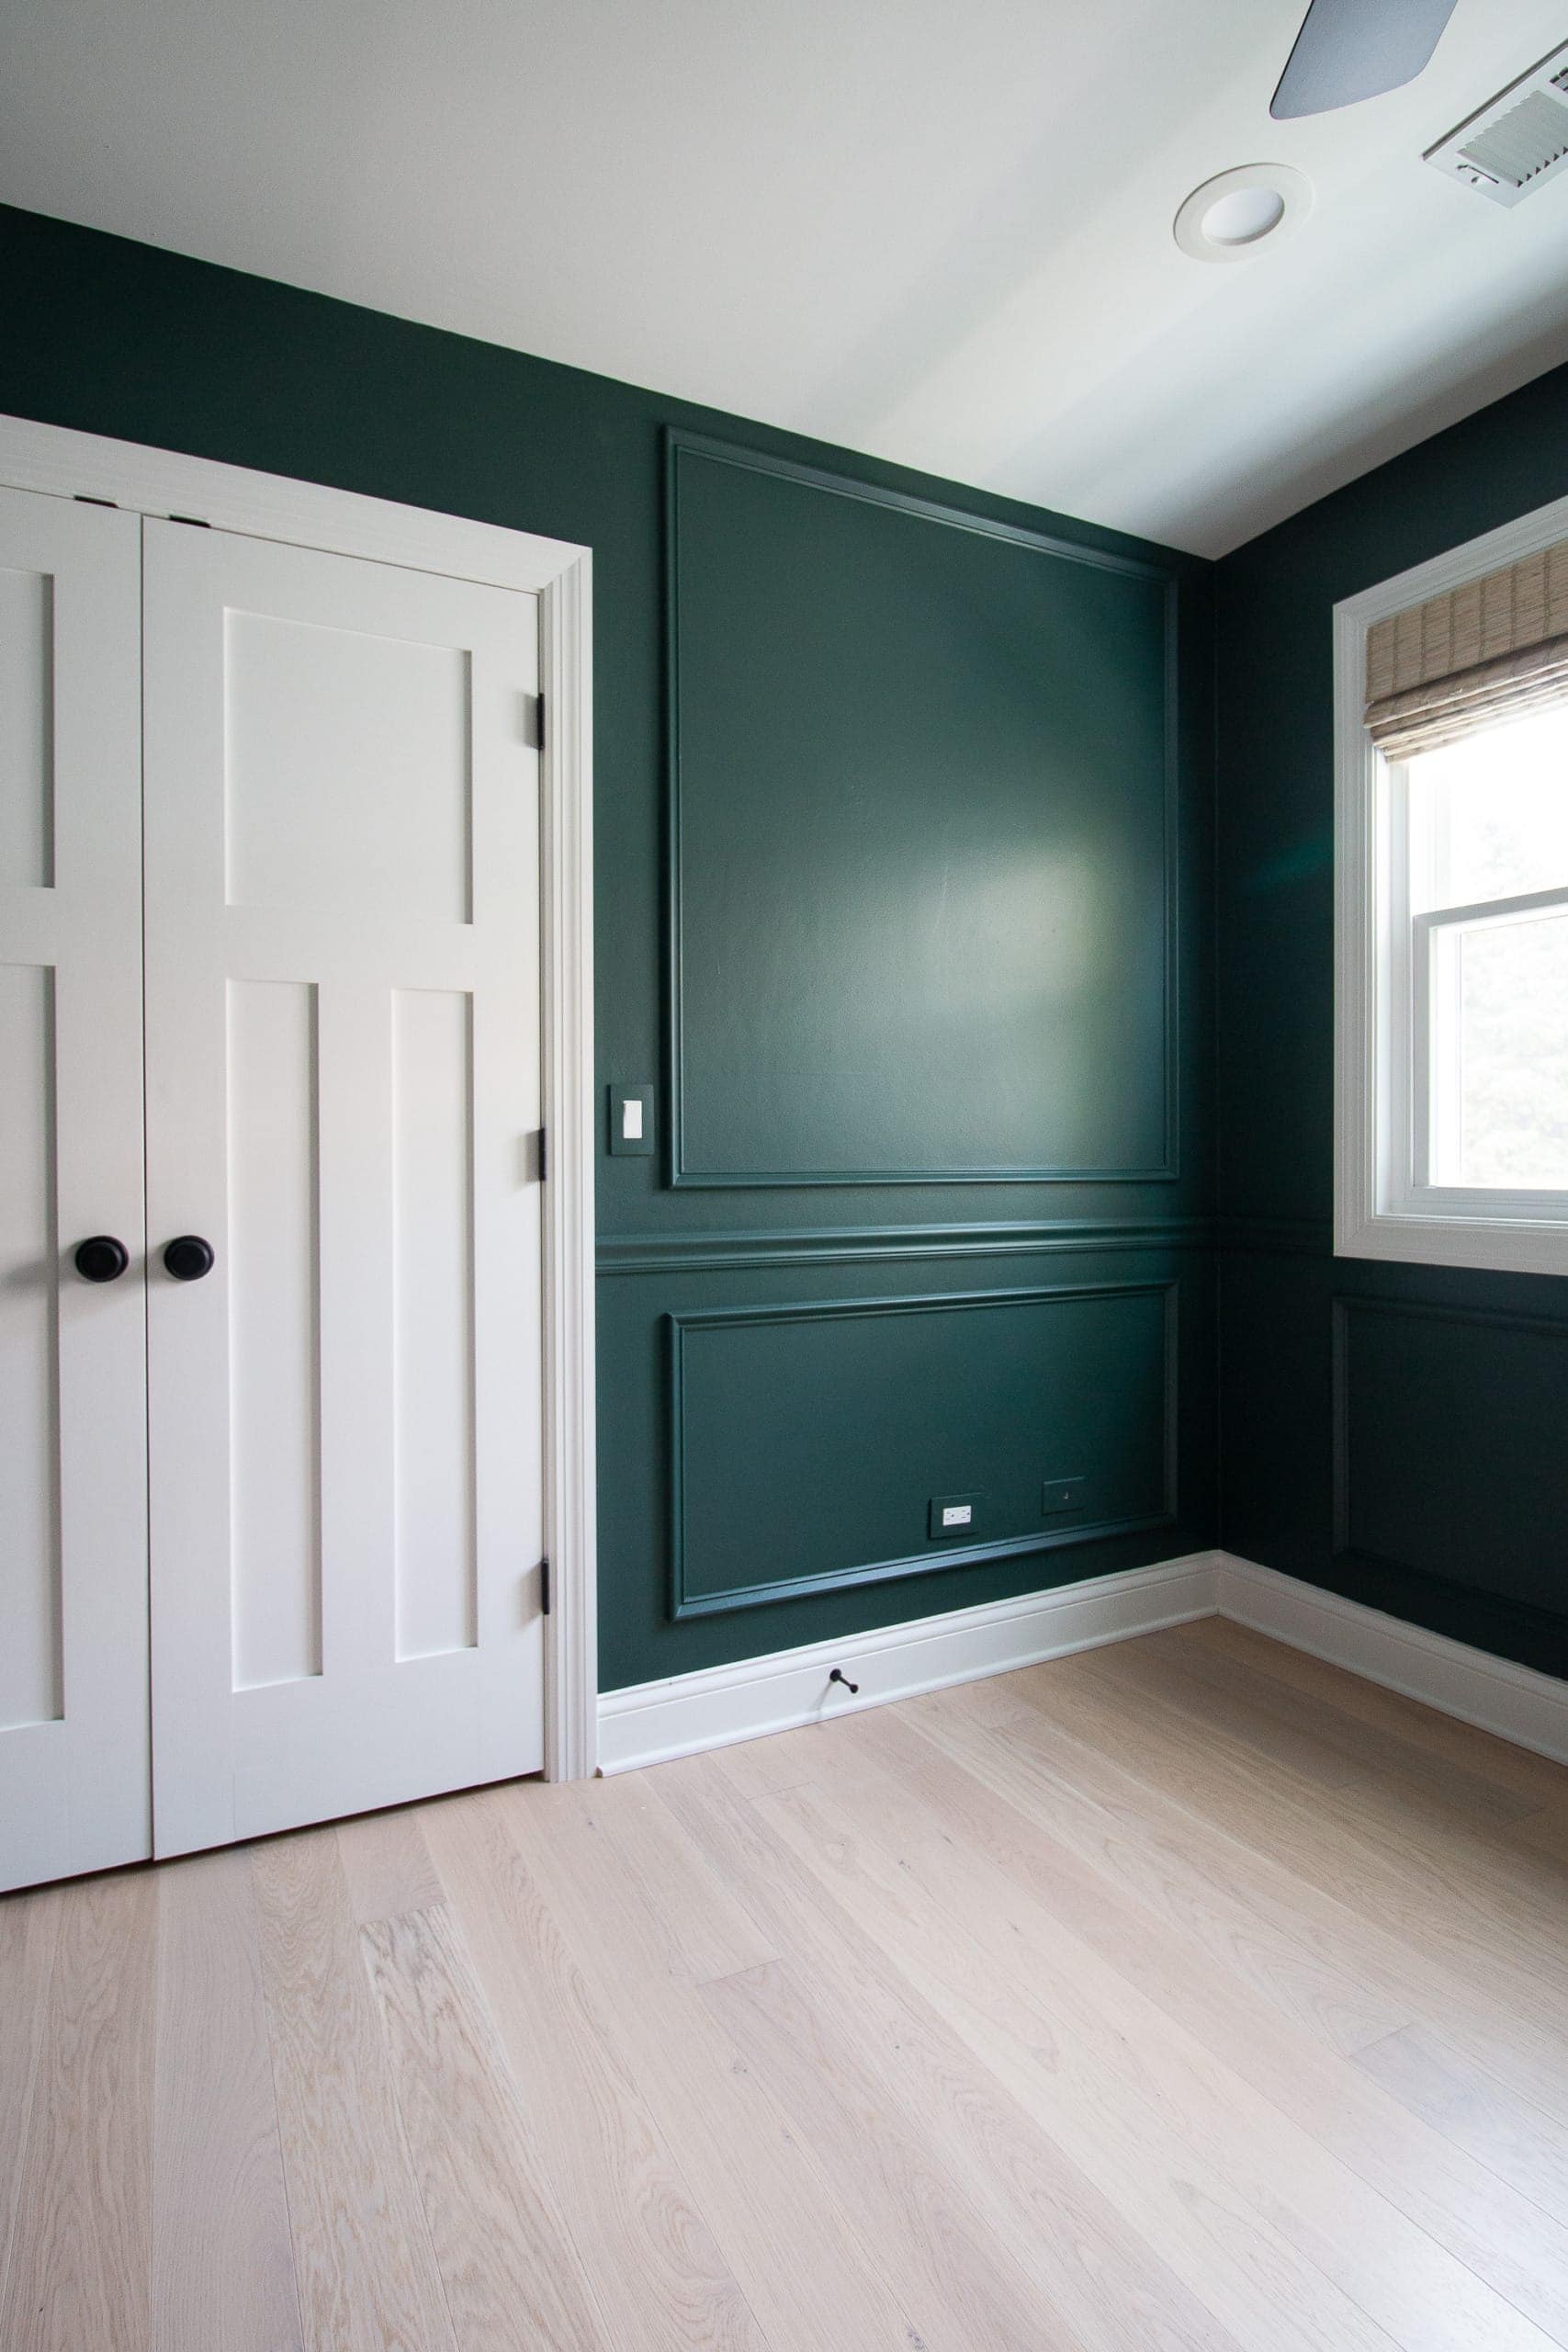
Finally, here’s the window wall. I decided to forego molding on the left side of the window and above, because we’ll have curtains that will interfere.
Doing all of this math ahead of time and creating a game plan definitely took some work, but it was a must before buying any materials. With these plans, we were then able to figure out how much material to buy. This brings me to…
Buy Your Wood
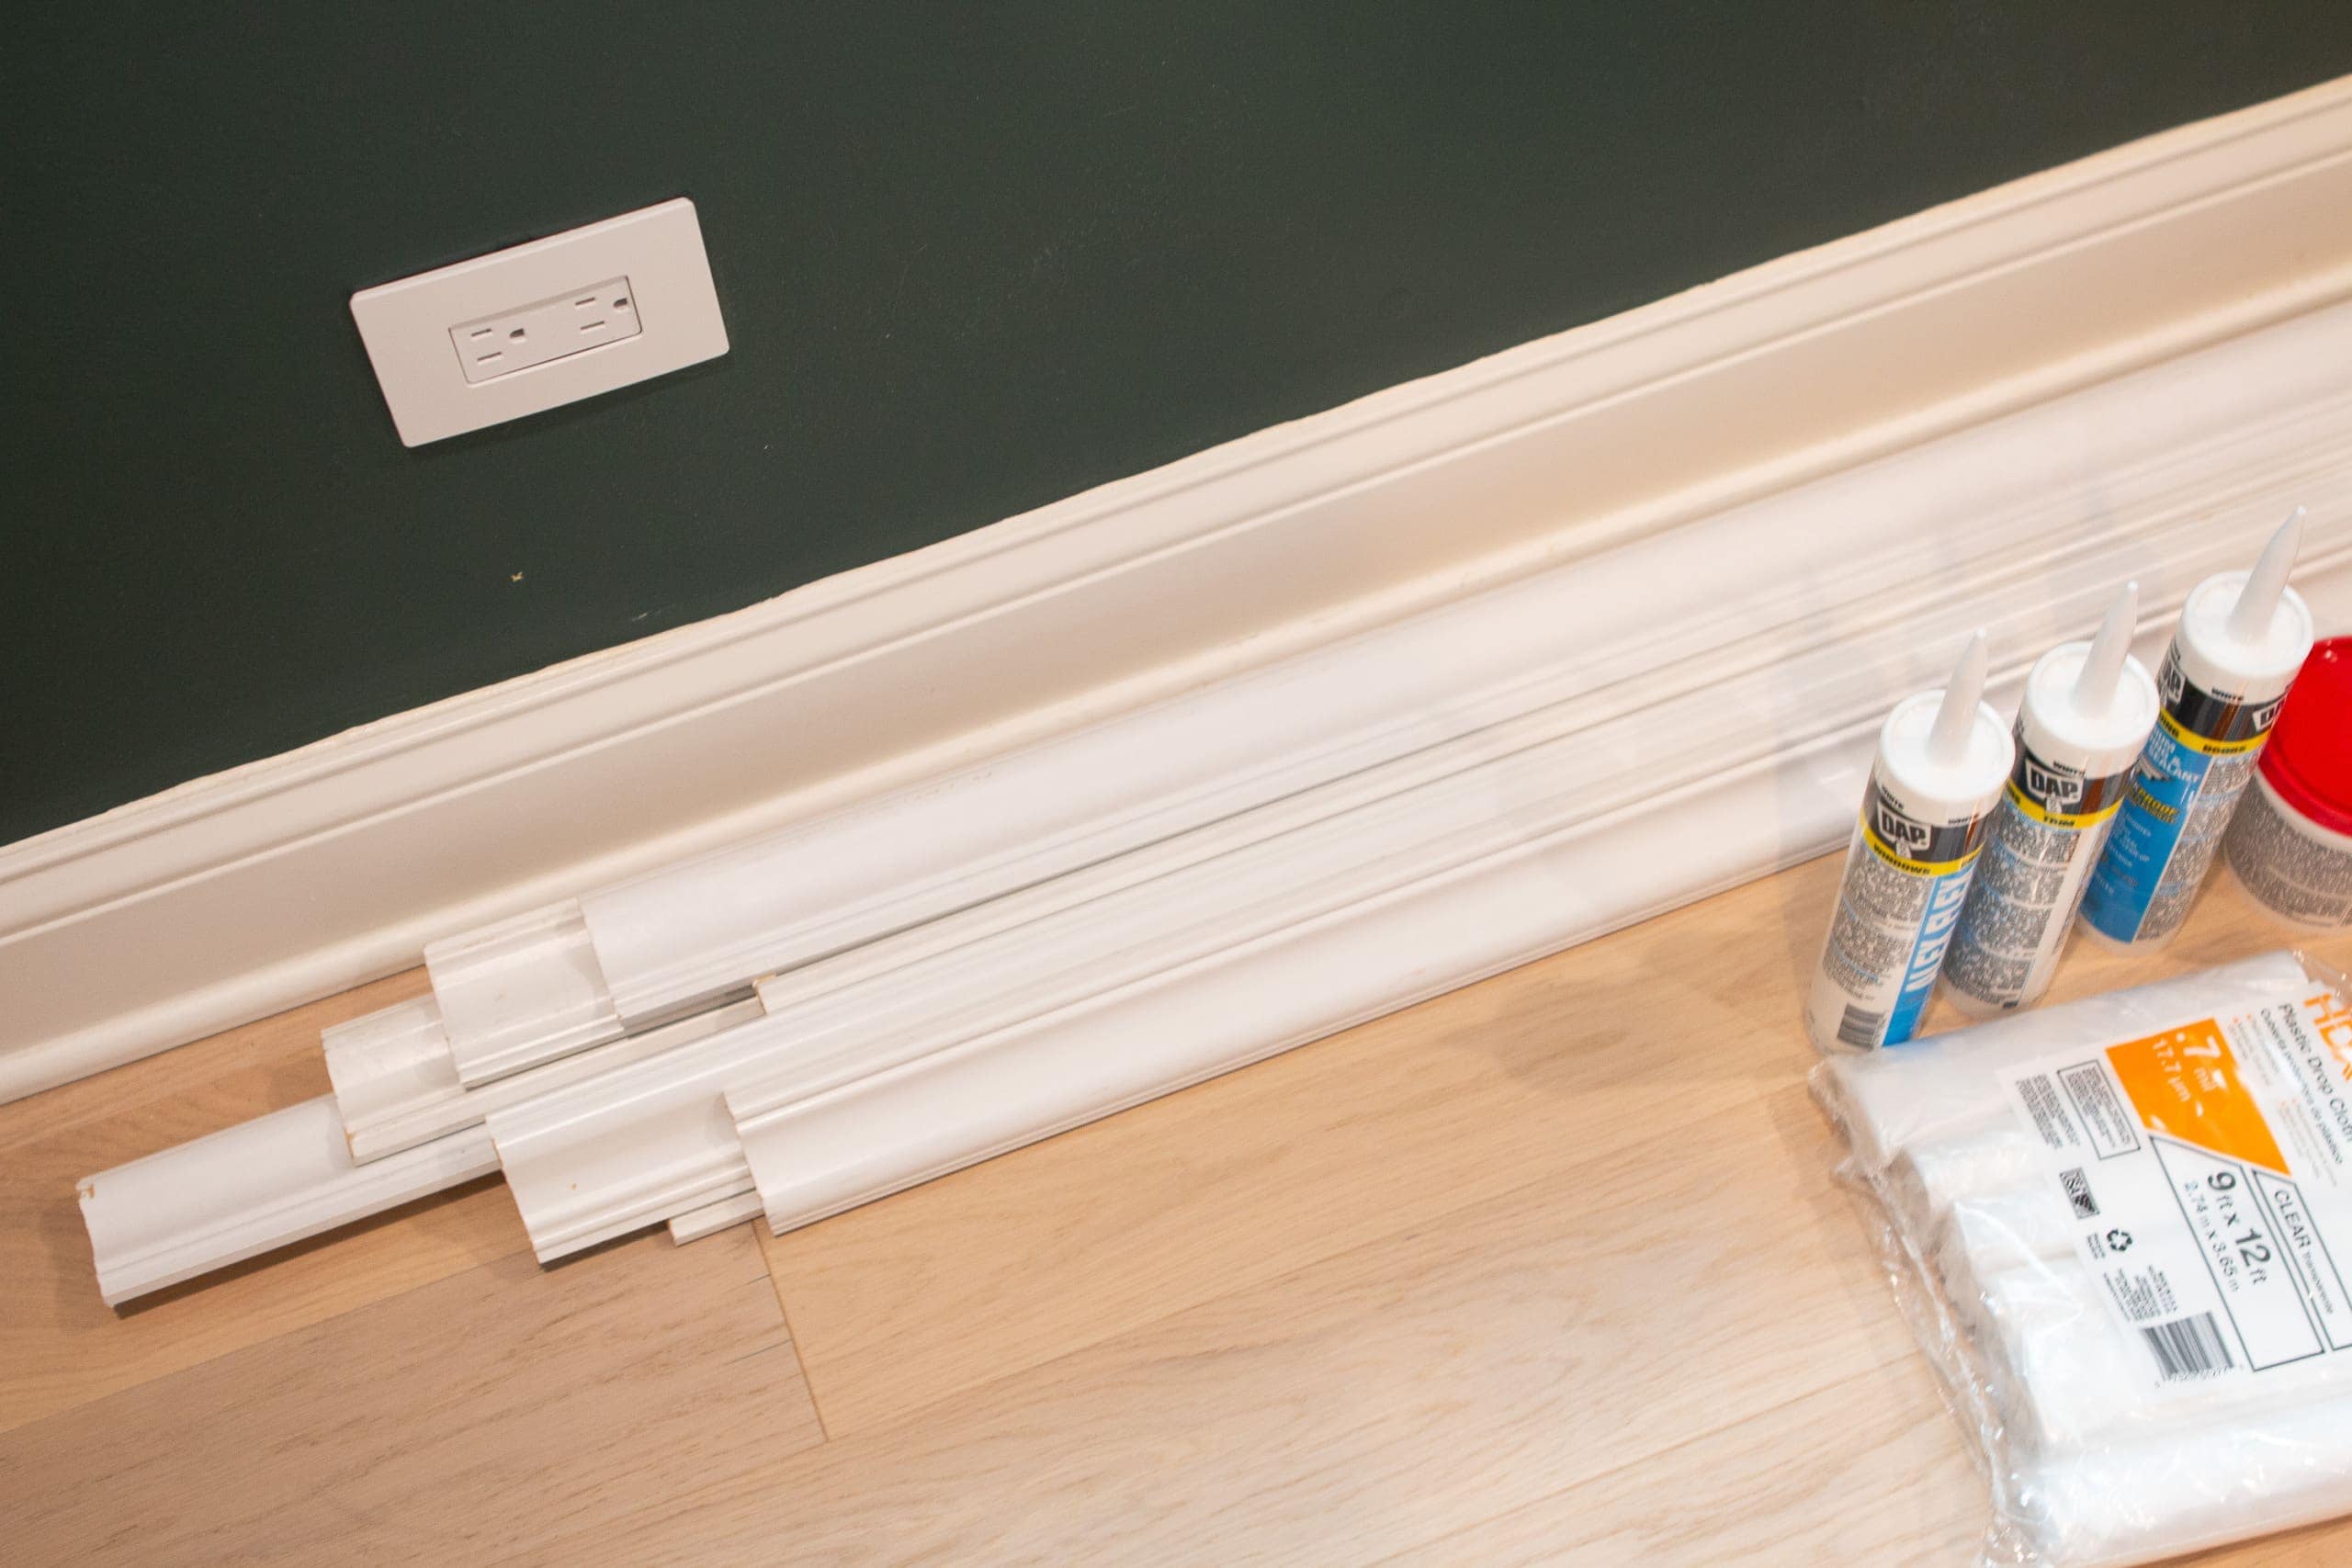
First, you gotta get the goods. And whoa, things are so much more expensive now than they were a year and a half ago, when I did this same project. I sent Finn to the store to get the wood. (It was too hard for us to all go to the store together, with Rory’s car seat taking up valuable real estate in the car.) There are lots of different chair rail and picture frame molding materials to choose from, so Finn called me a few times while he was there to review what we wanted to get.
In the end, he got thirty eight-foot base cap boards and five eight-foot chair rail boards. This was actually too much chair rail and not enough molding so I had to run back to the Home Depot during the project. So, always buy extra!
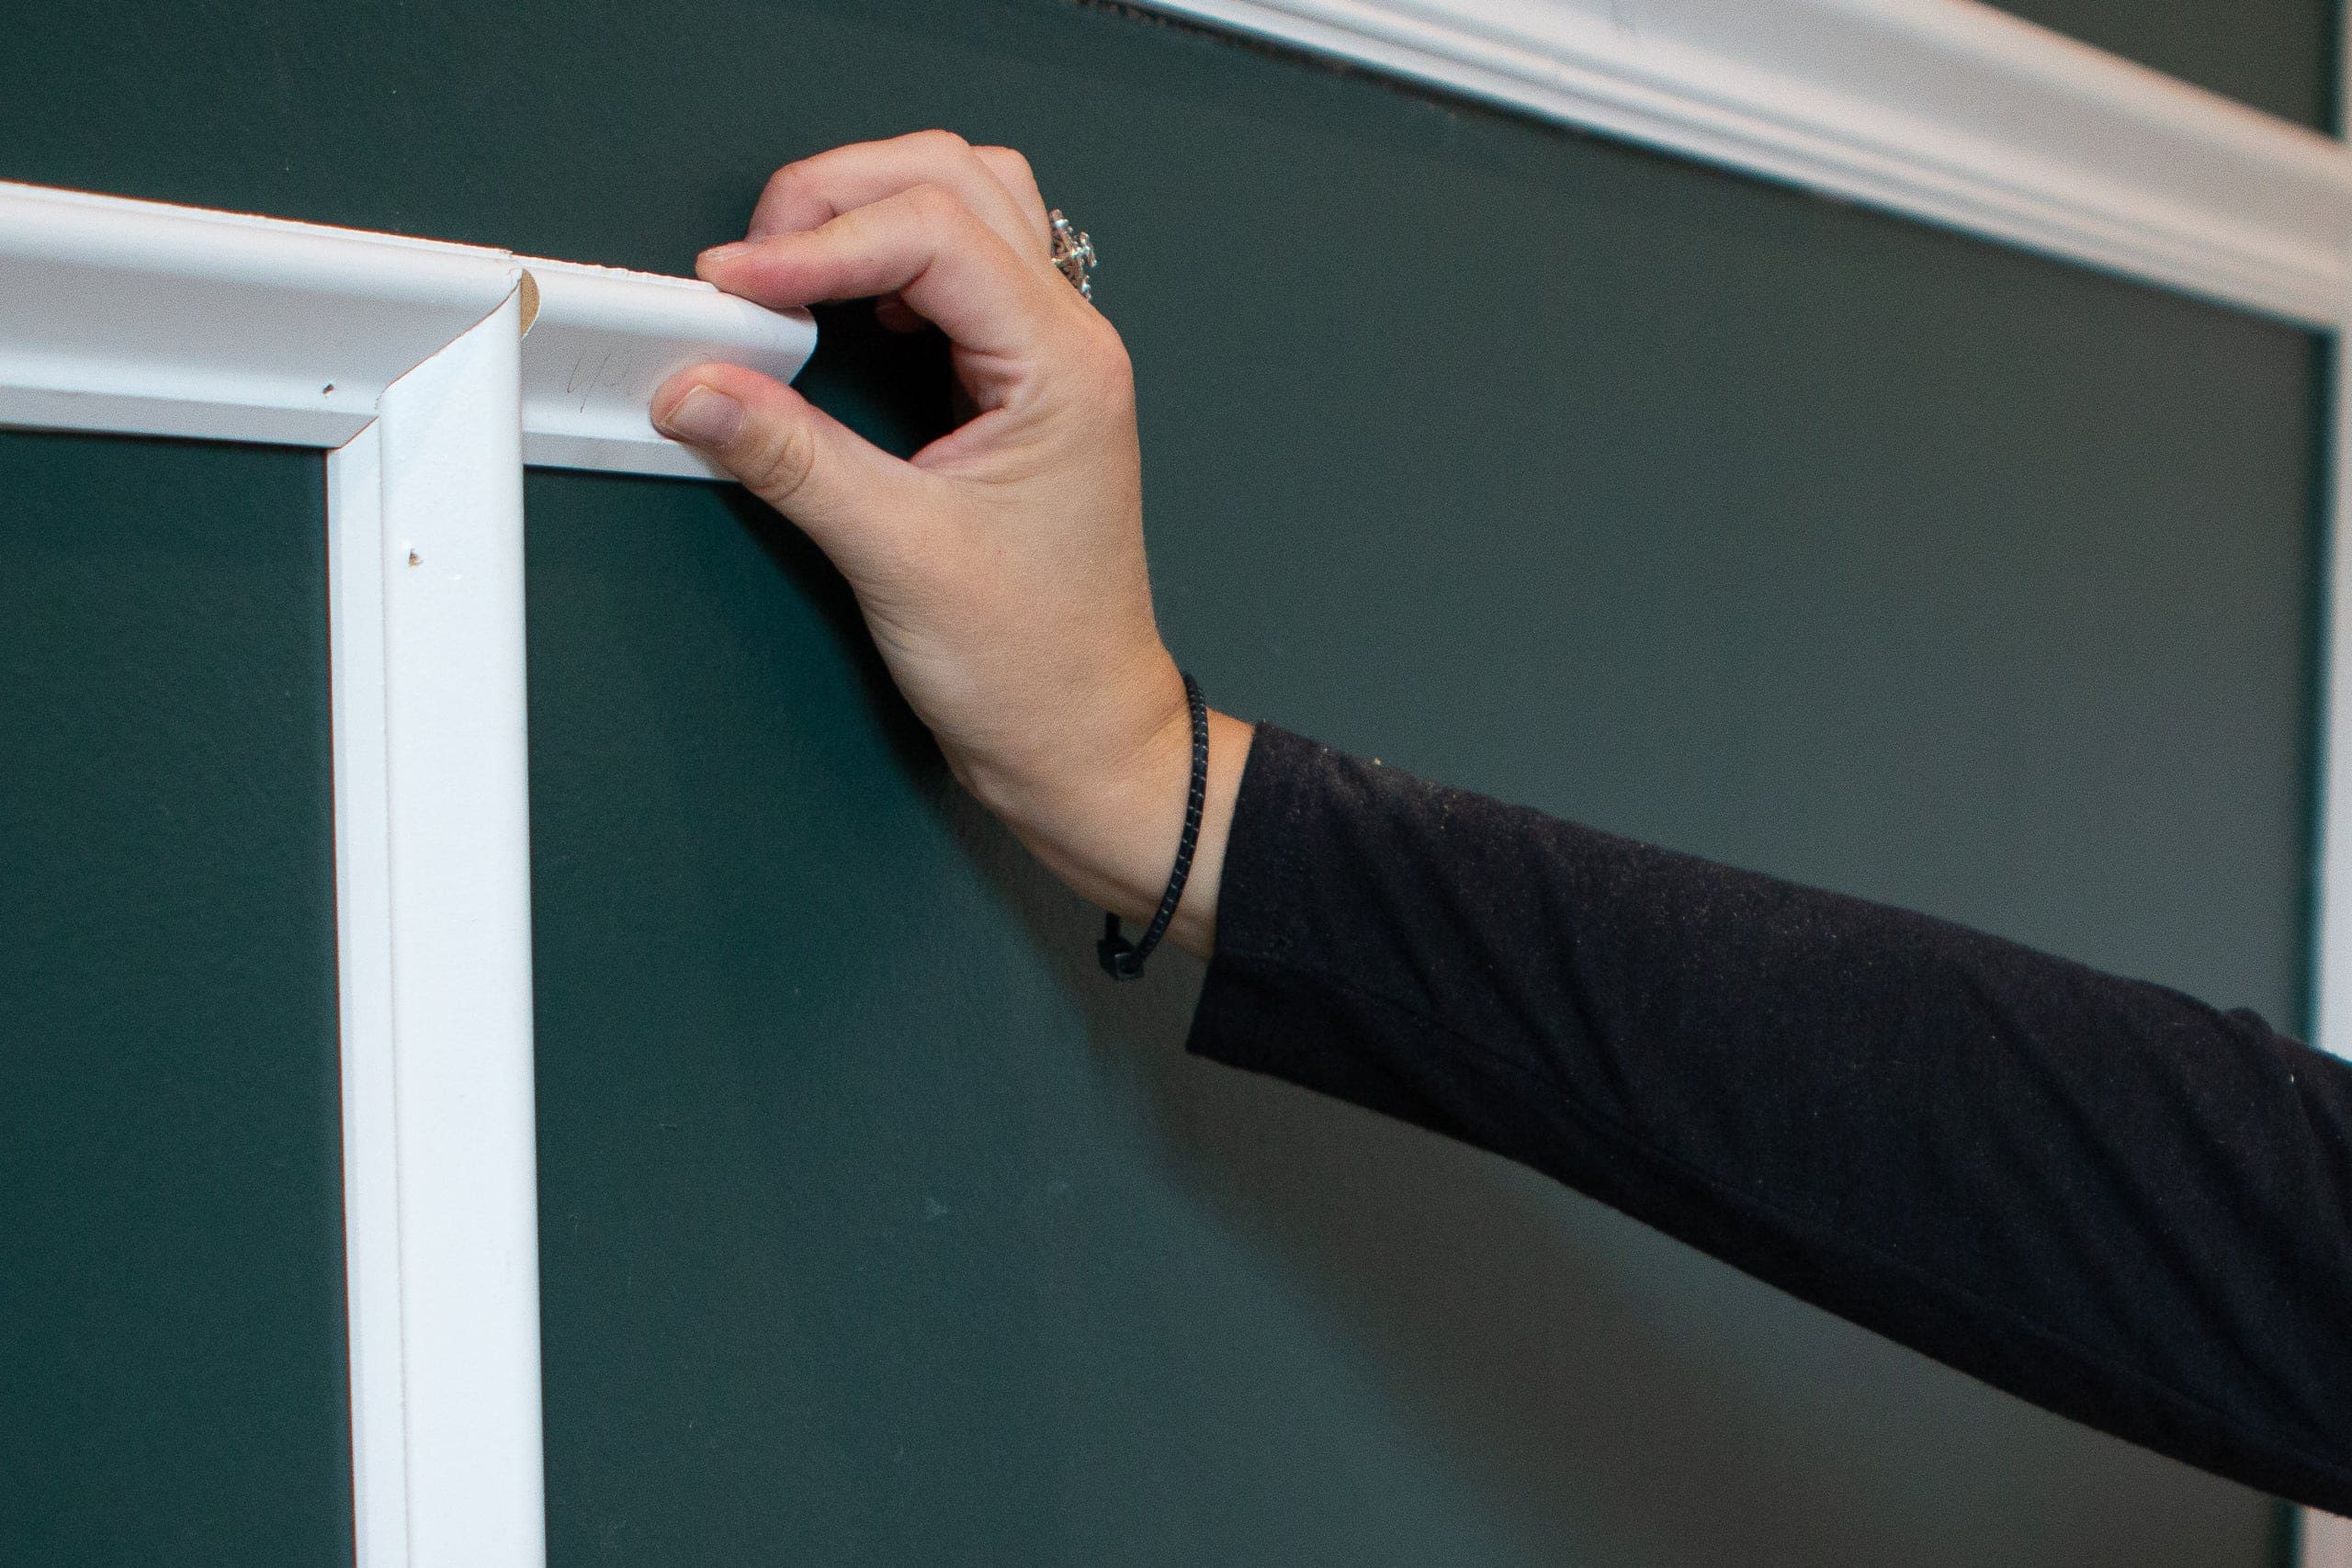
Install the Chair Rail
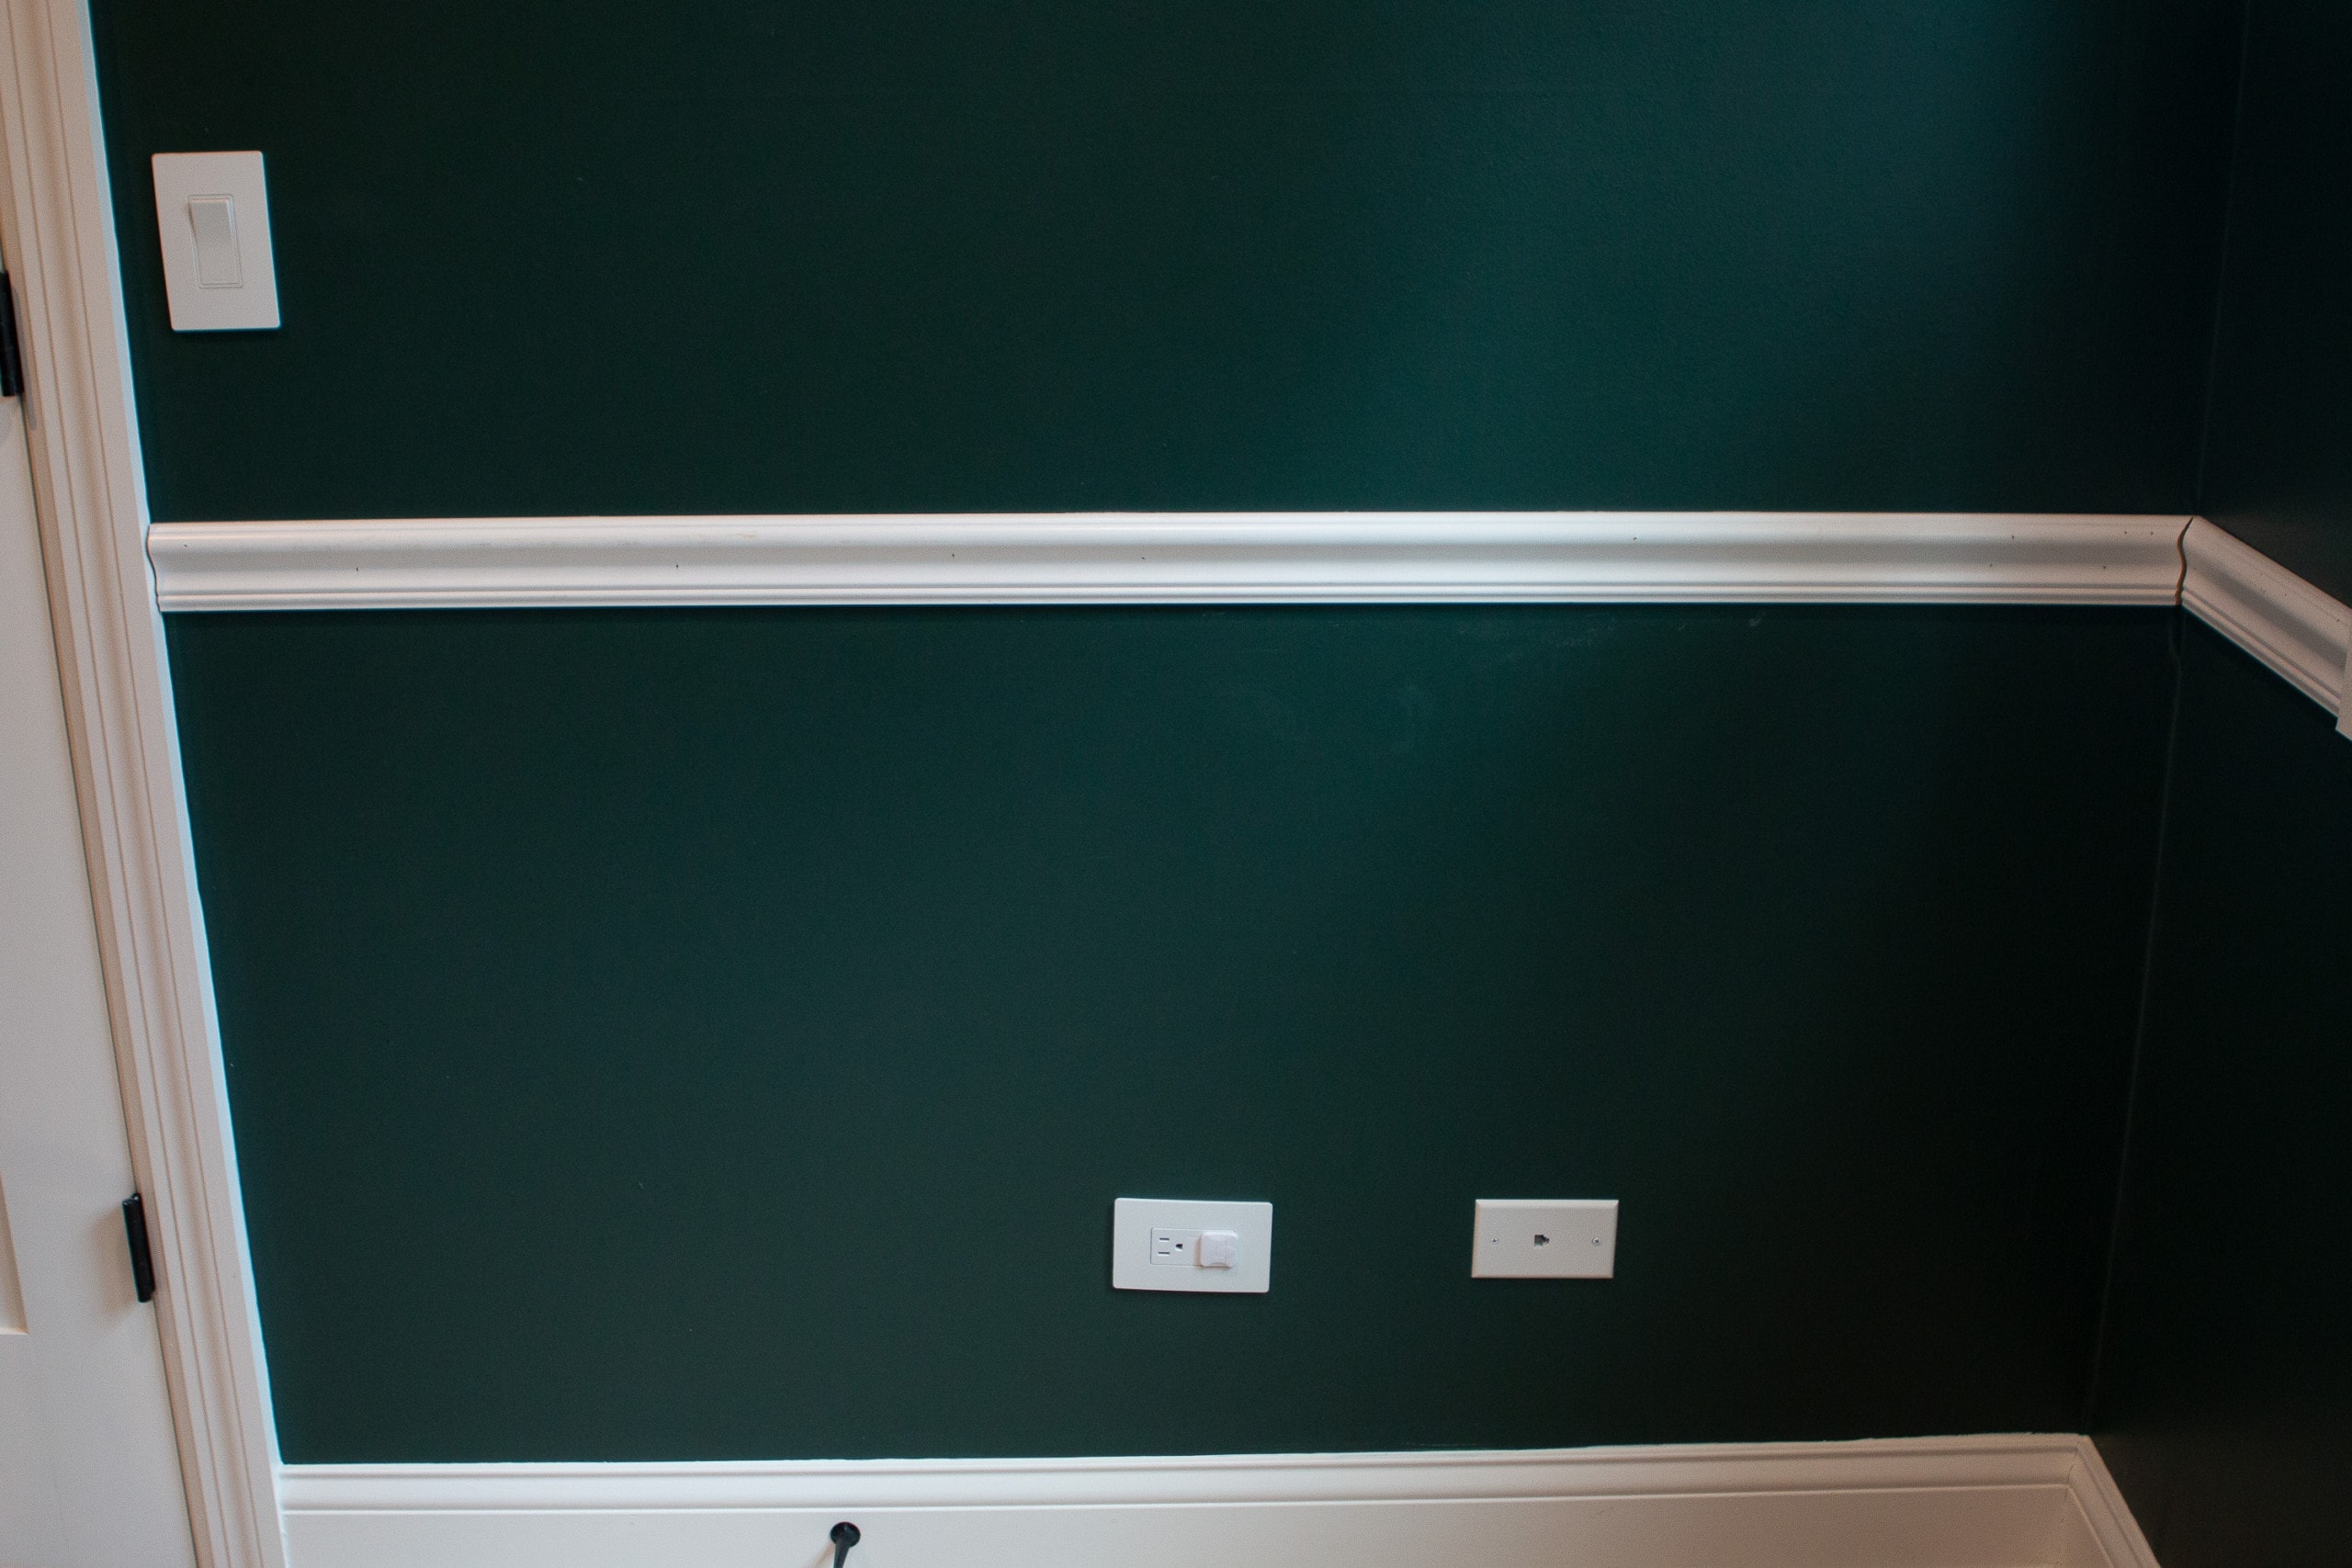
Once I had all of my supplies, I told myself that my Day One goal was just to get the chair rail up on the walls. I ended up placing my chair rail about 34 inches from the ground, so the bottom of the rail would align with the bottom of the window trim.
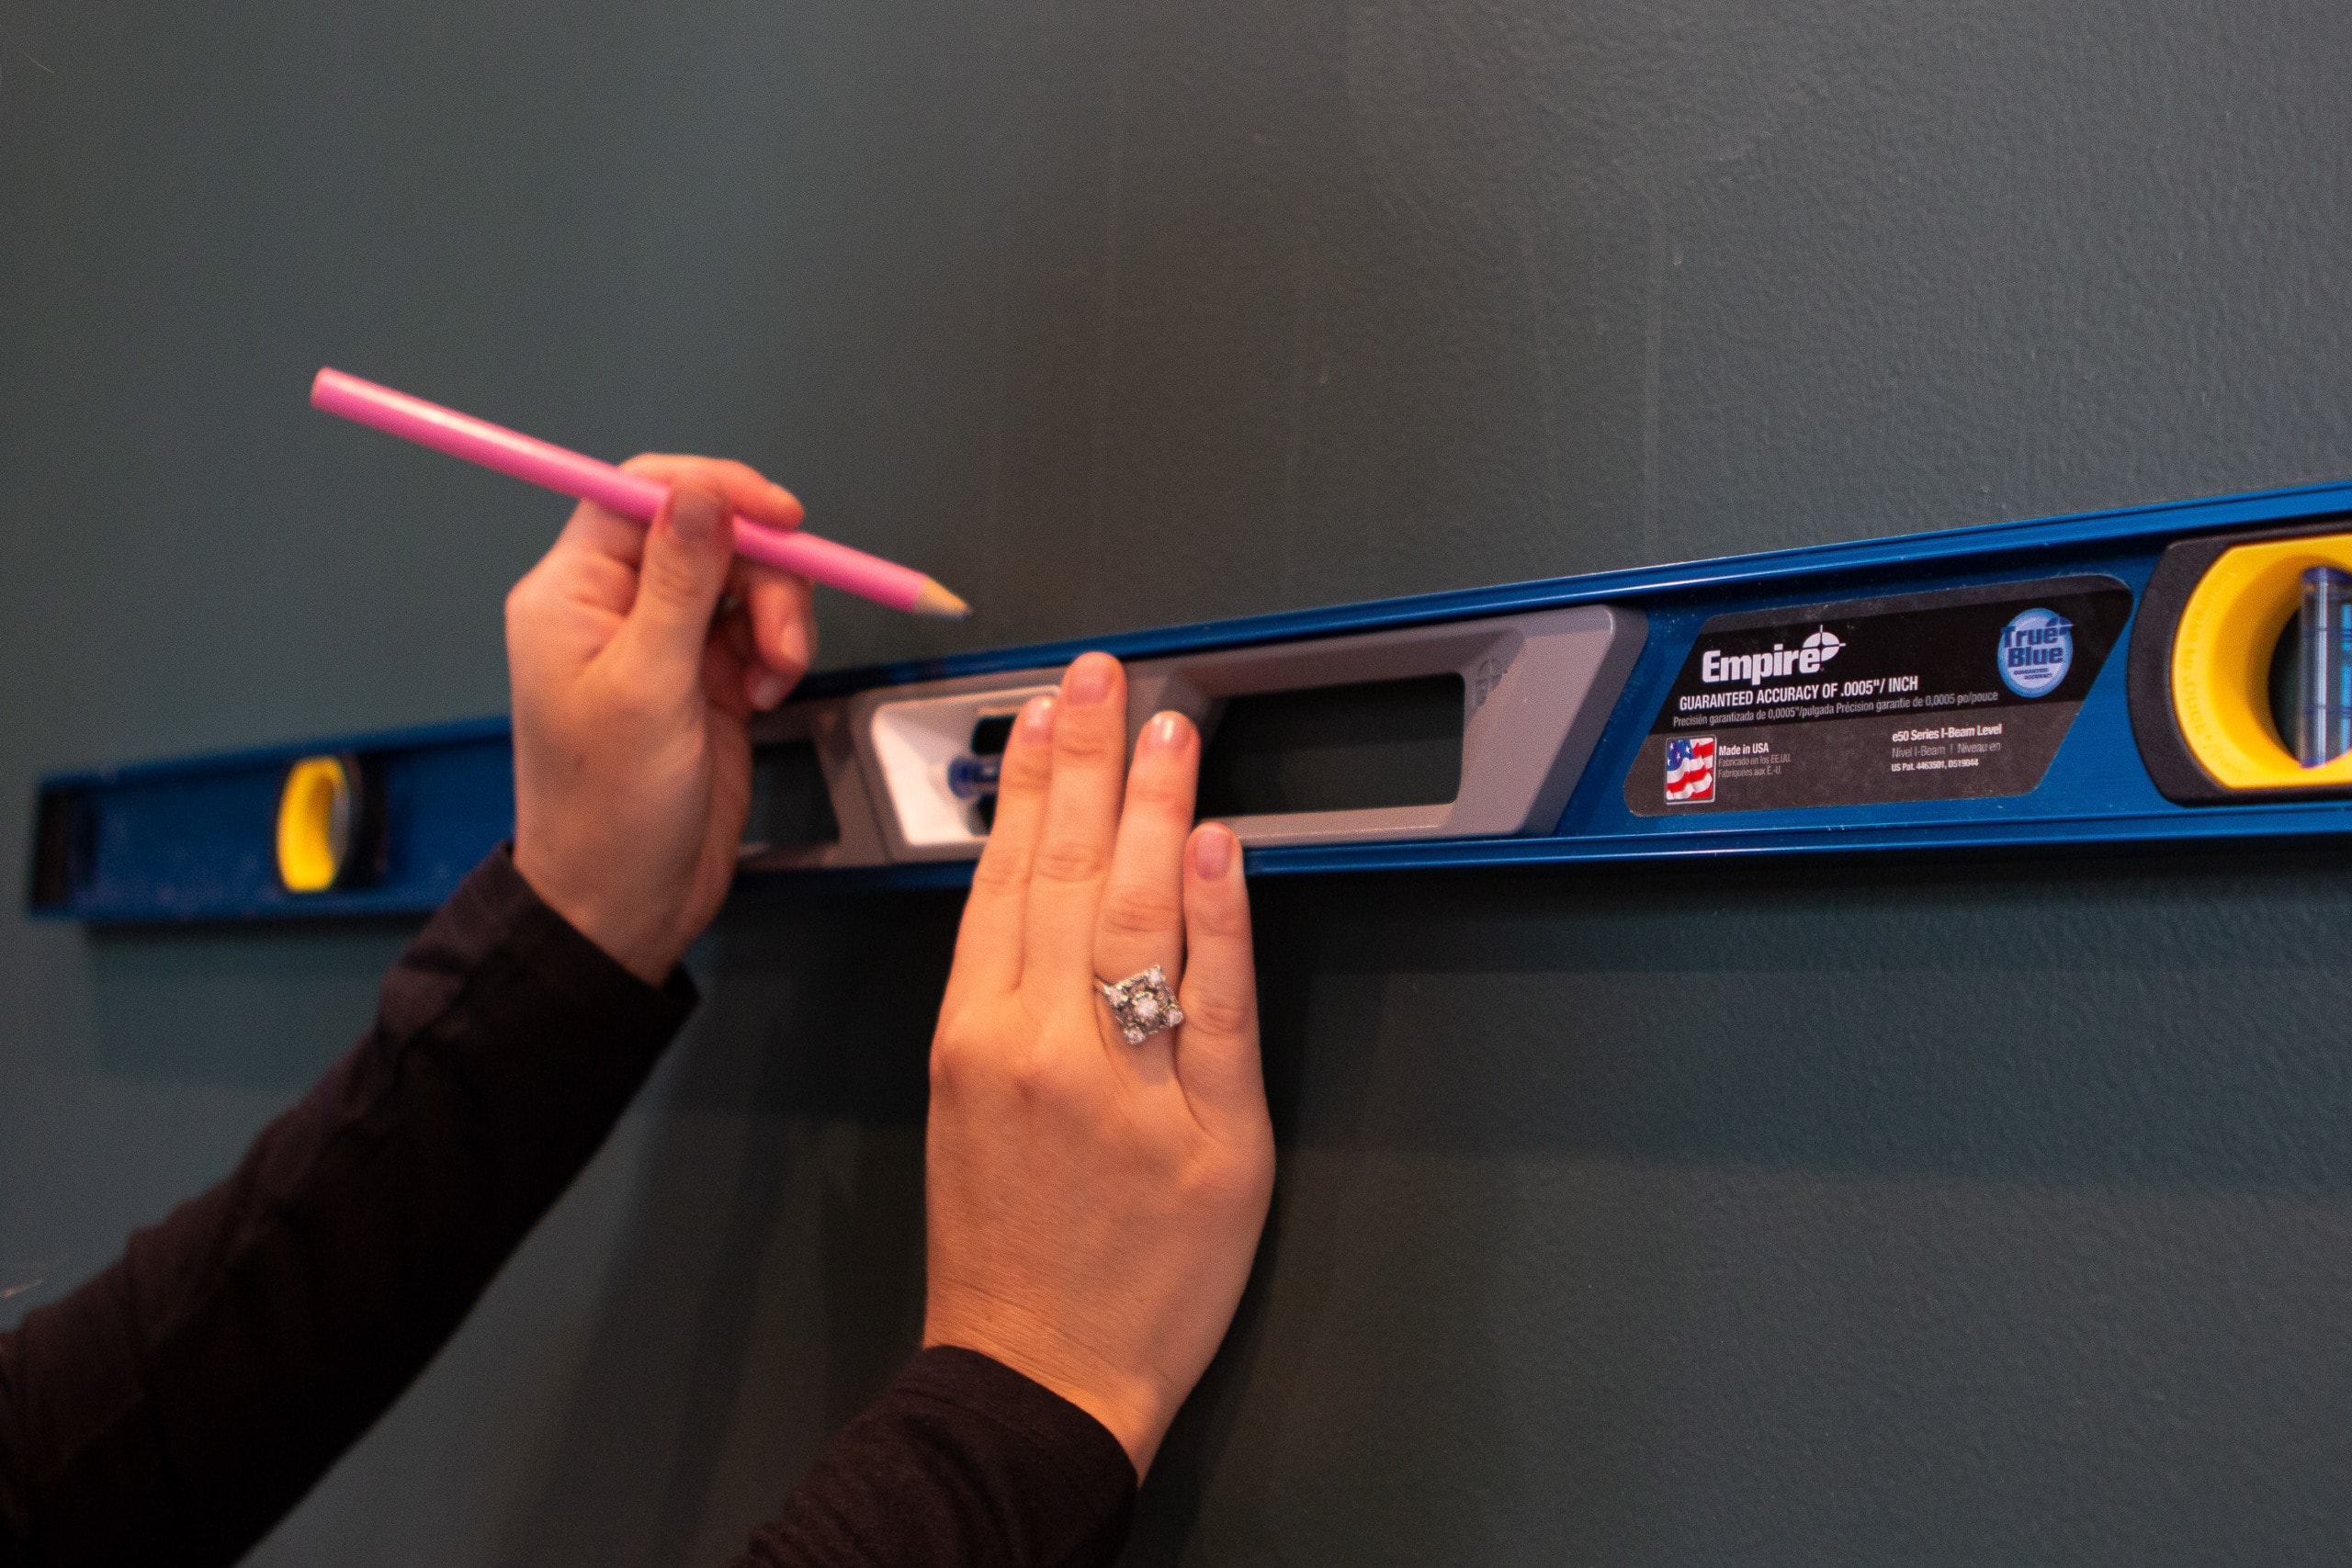
Before I added any wood to the wall, I started with a level line near the window and then continued that same level line across the entire room. You wouldn’t want to just measure 34 inches up from the ground on each wall and mark a level line, because your floors are likely wonky and then your chair rail will be different on each wall.
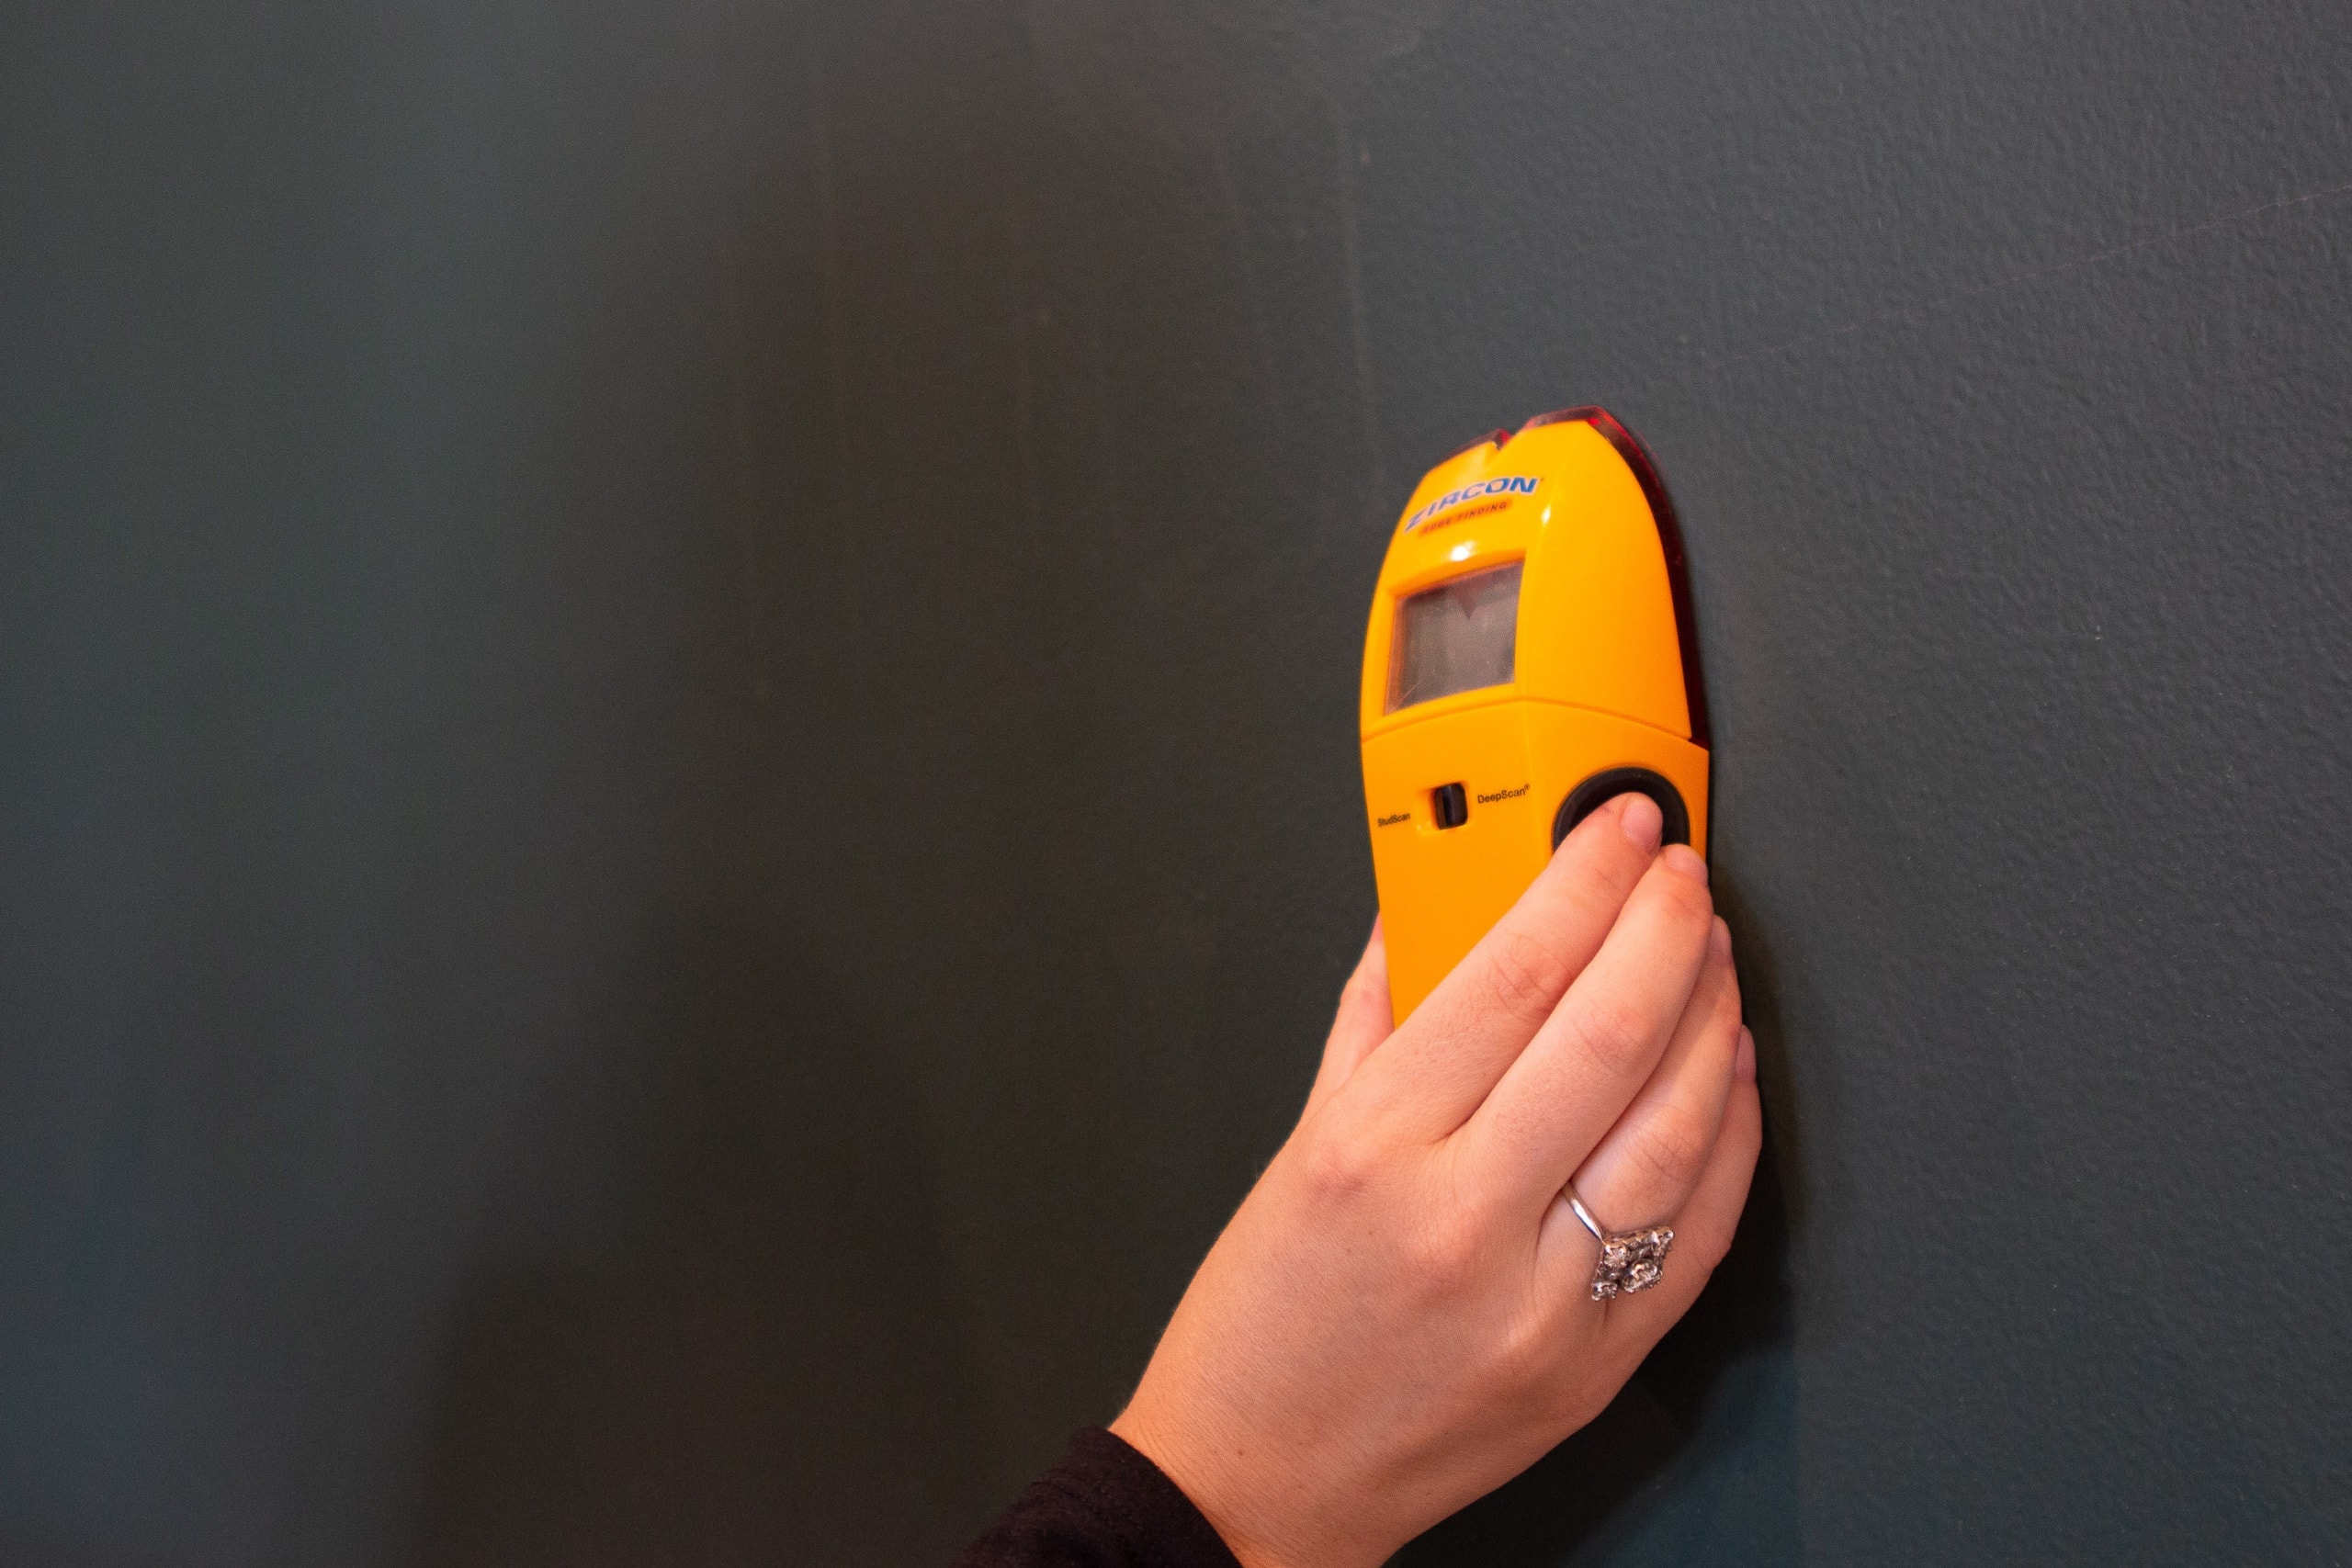
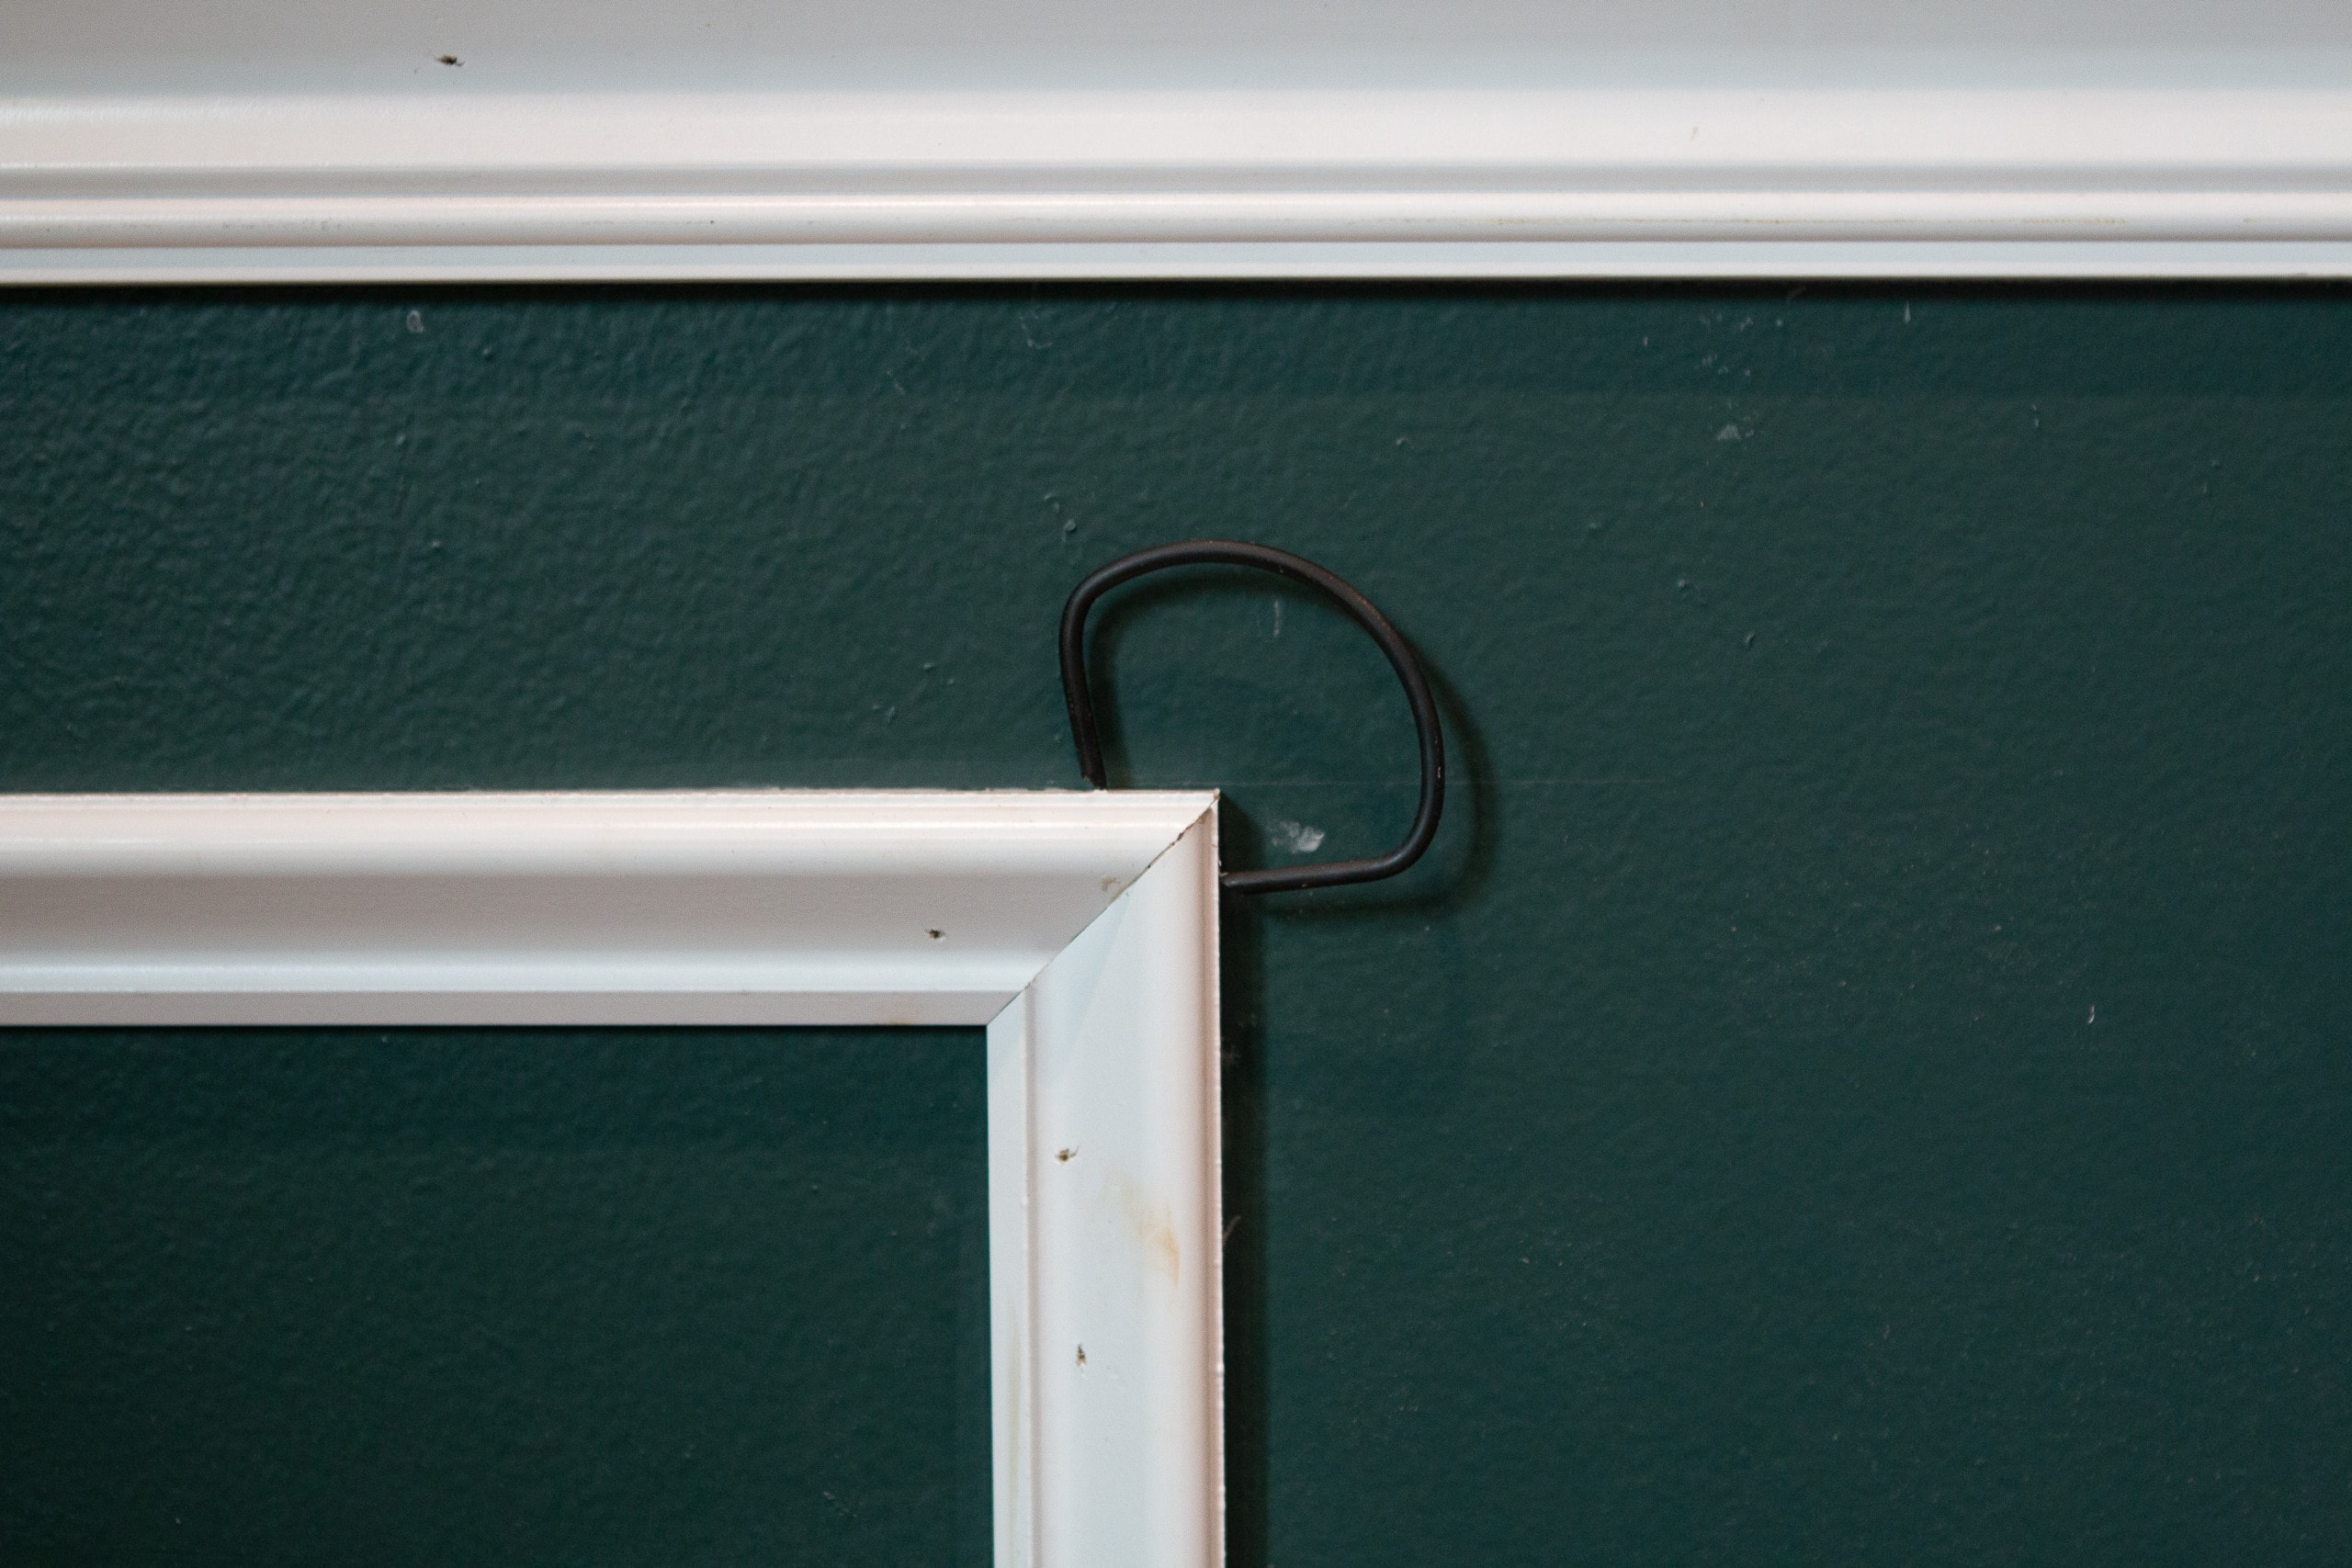
Next, I took my stud finder and marked all of the studs along the chair rail. That way, I could easily nail it right into the studs when I attached it.

I like to use a combo of liquid nails and real nails to attach my molding to drywall. I spread out the liquid nails on the back and then used my brad nailer to secure the chair rail into the studs and at the ends. Just adding these horizontal pieces made the room look better!
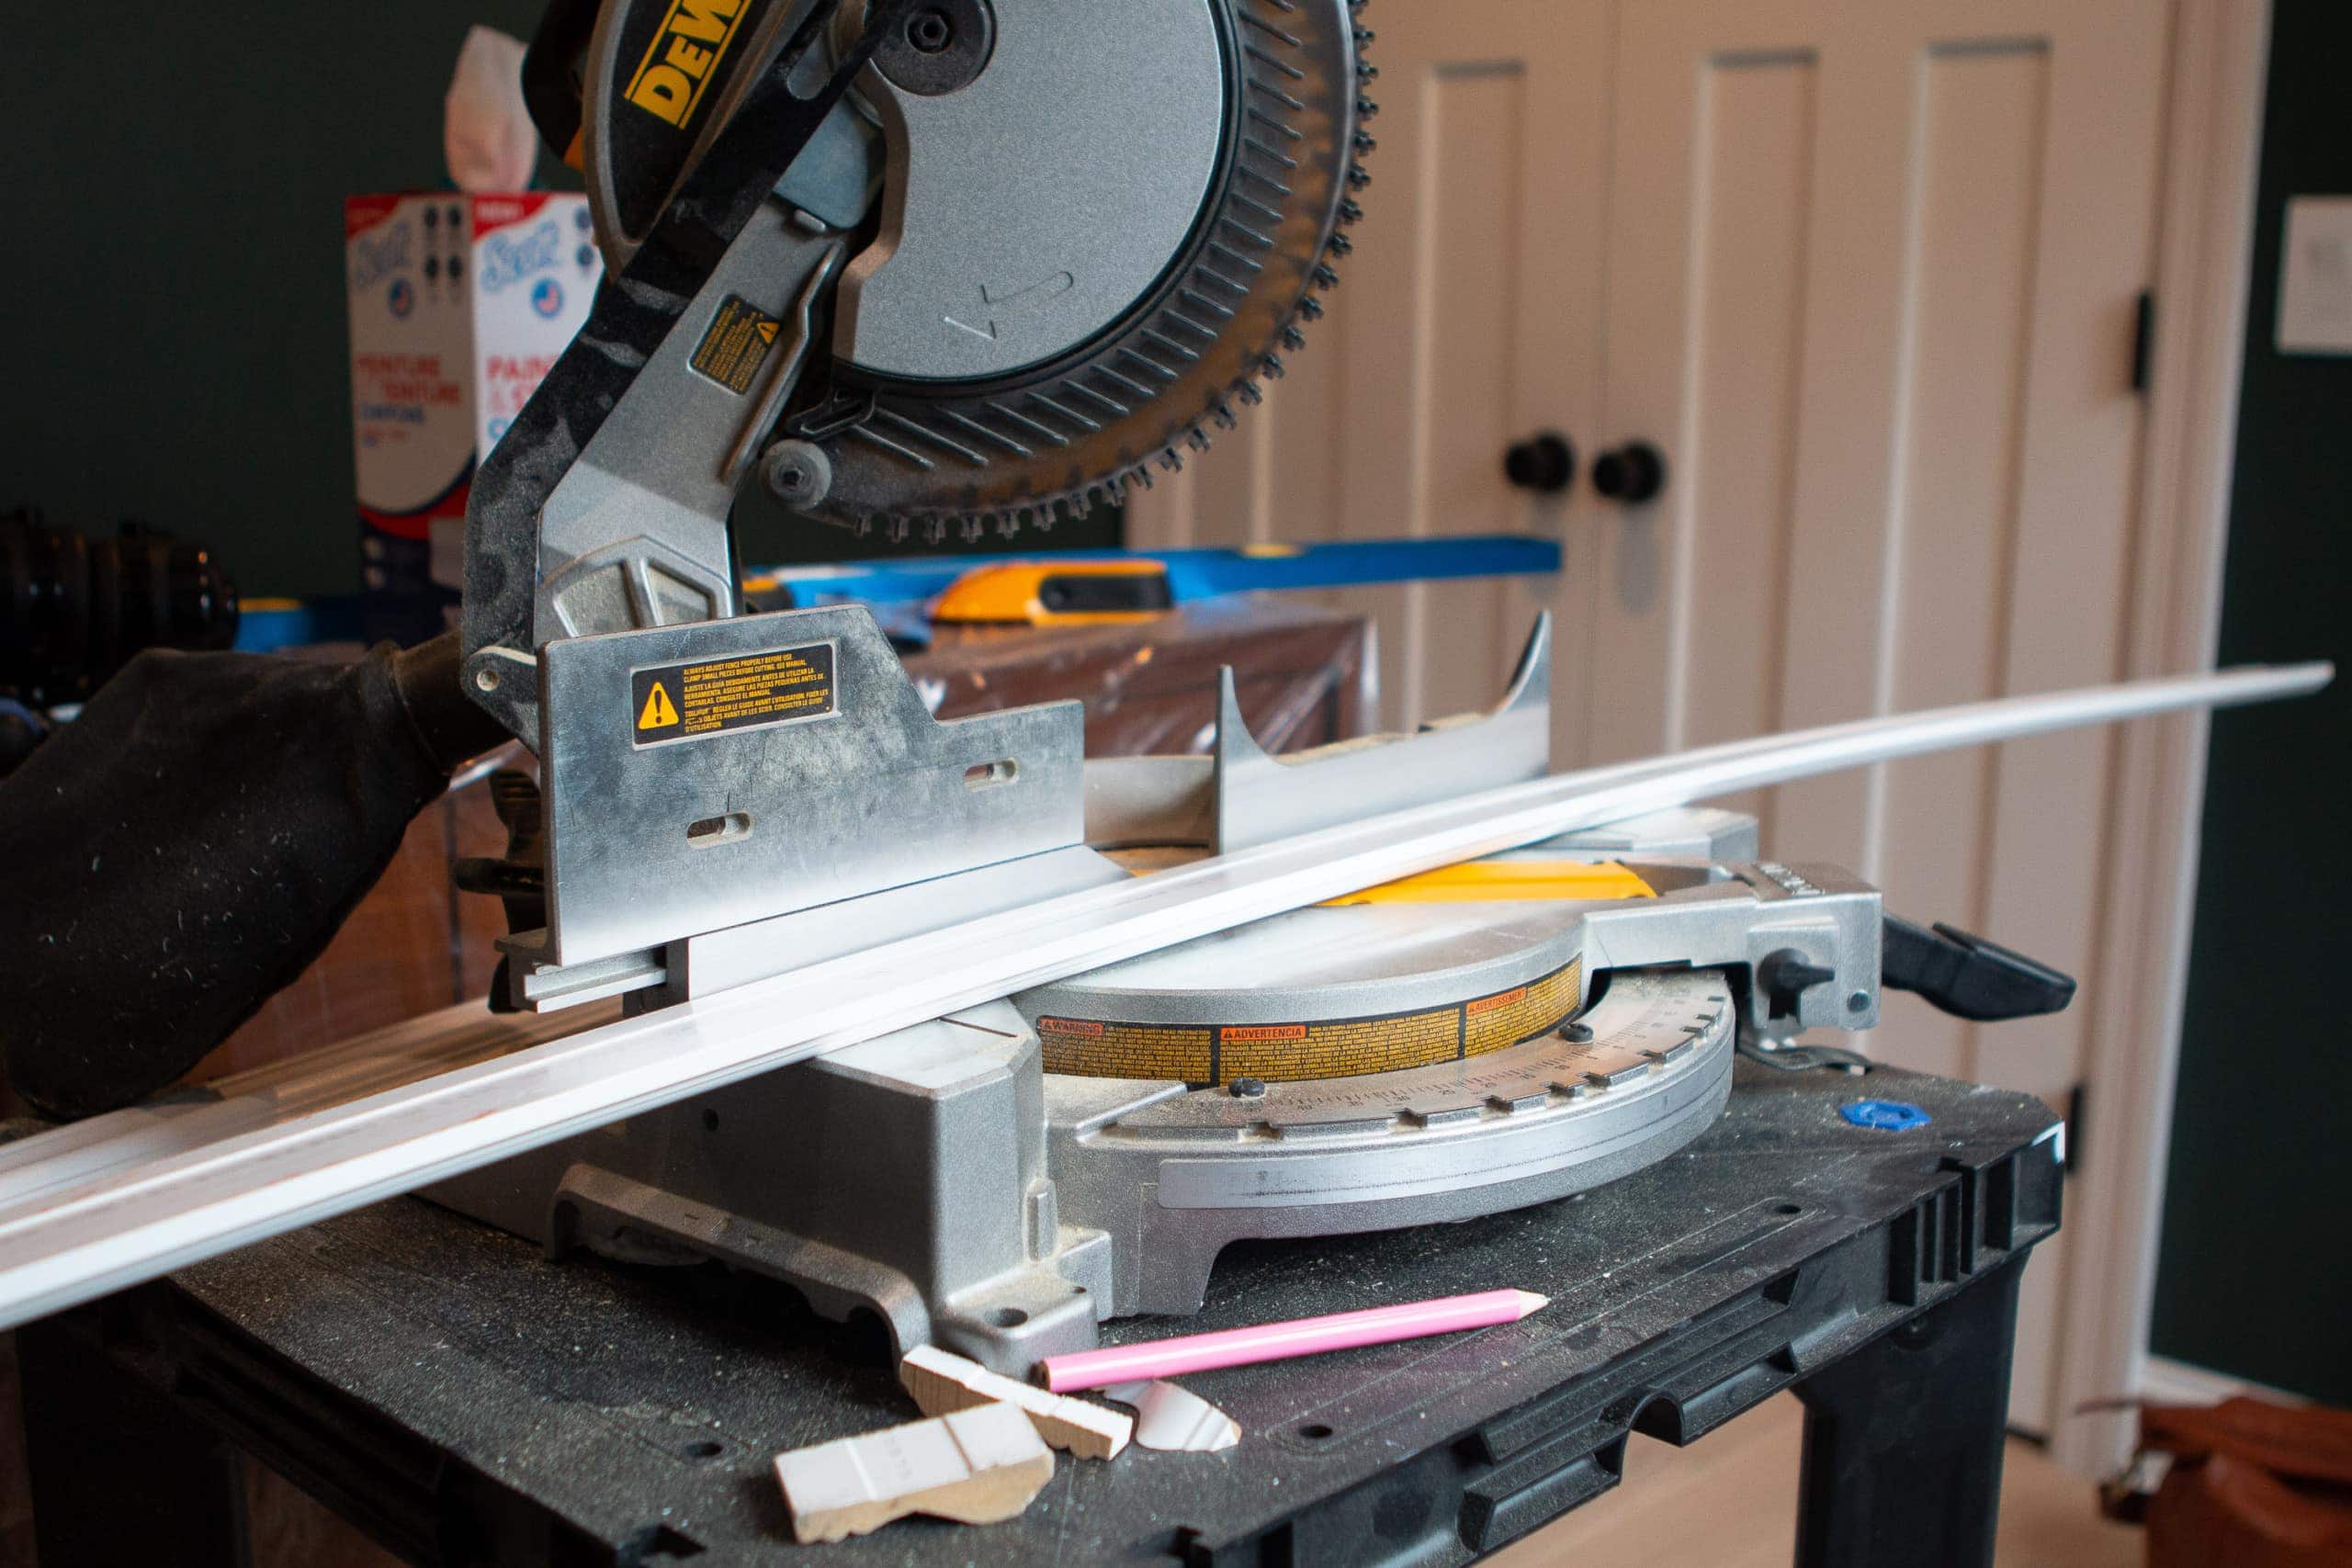
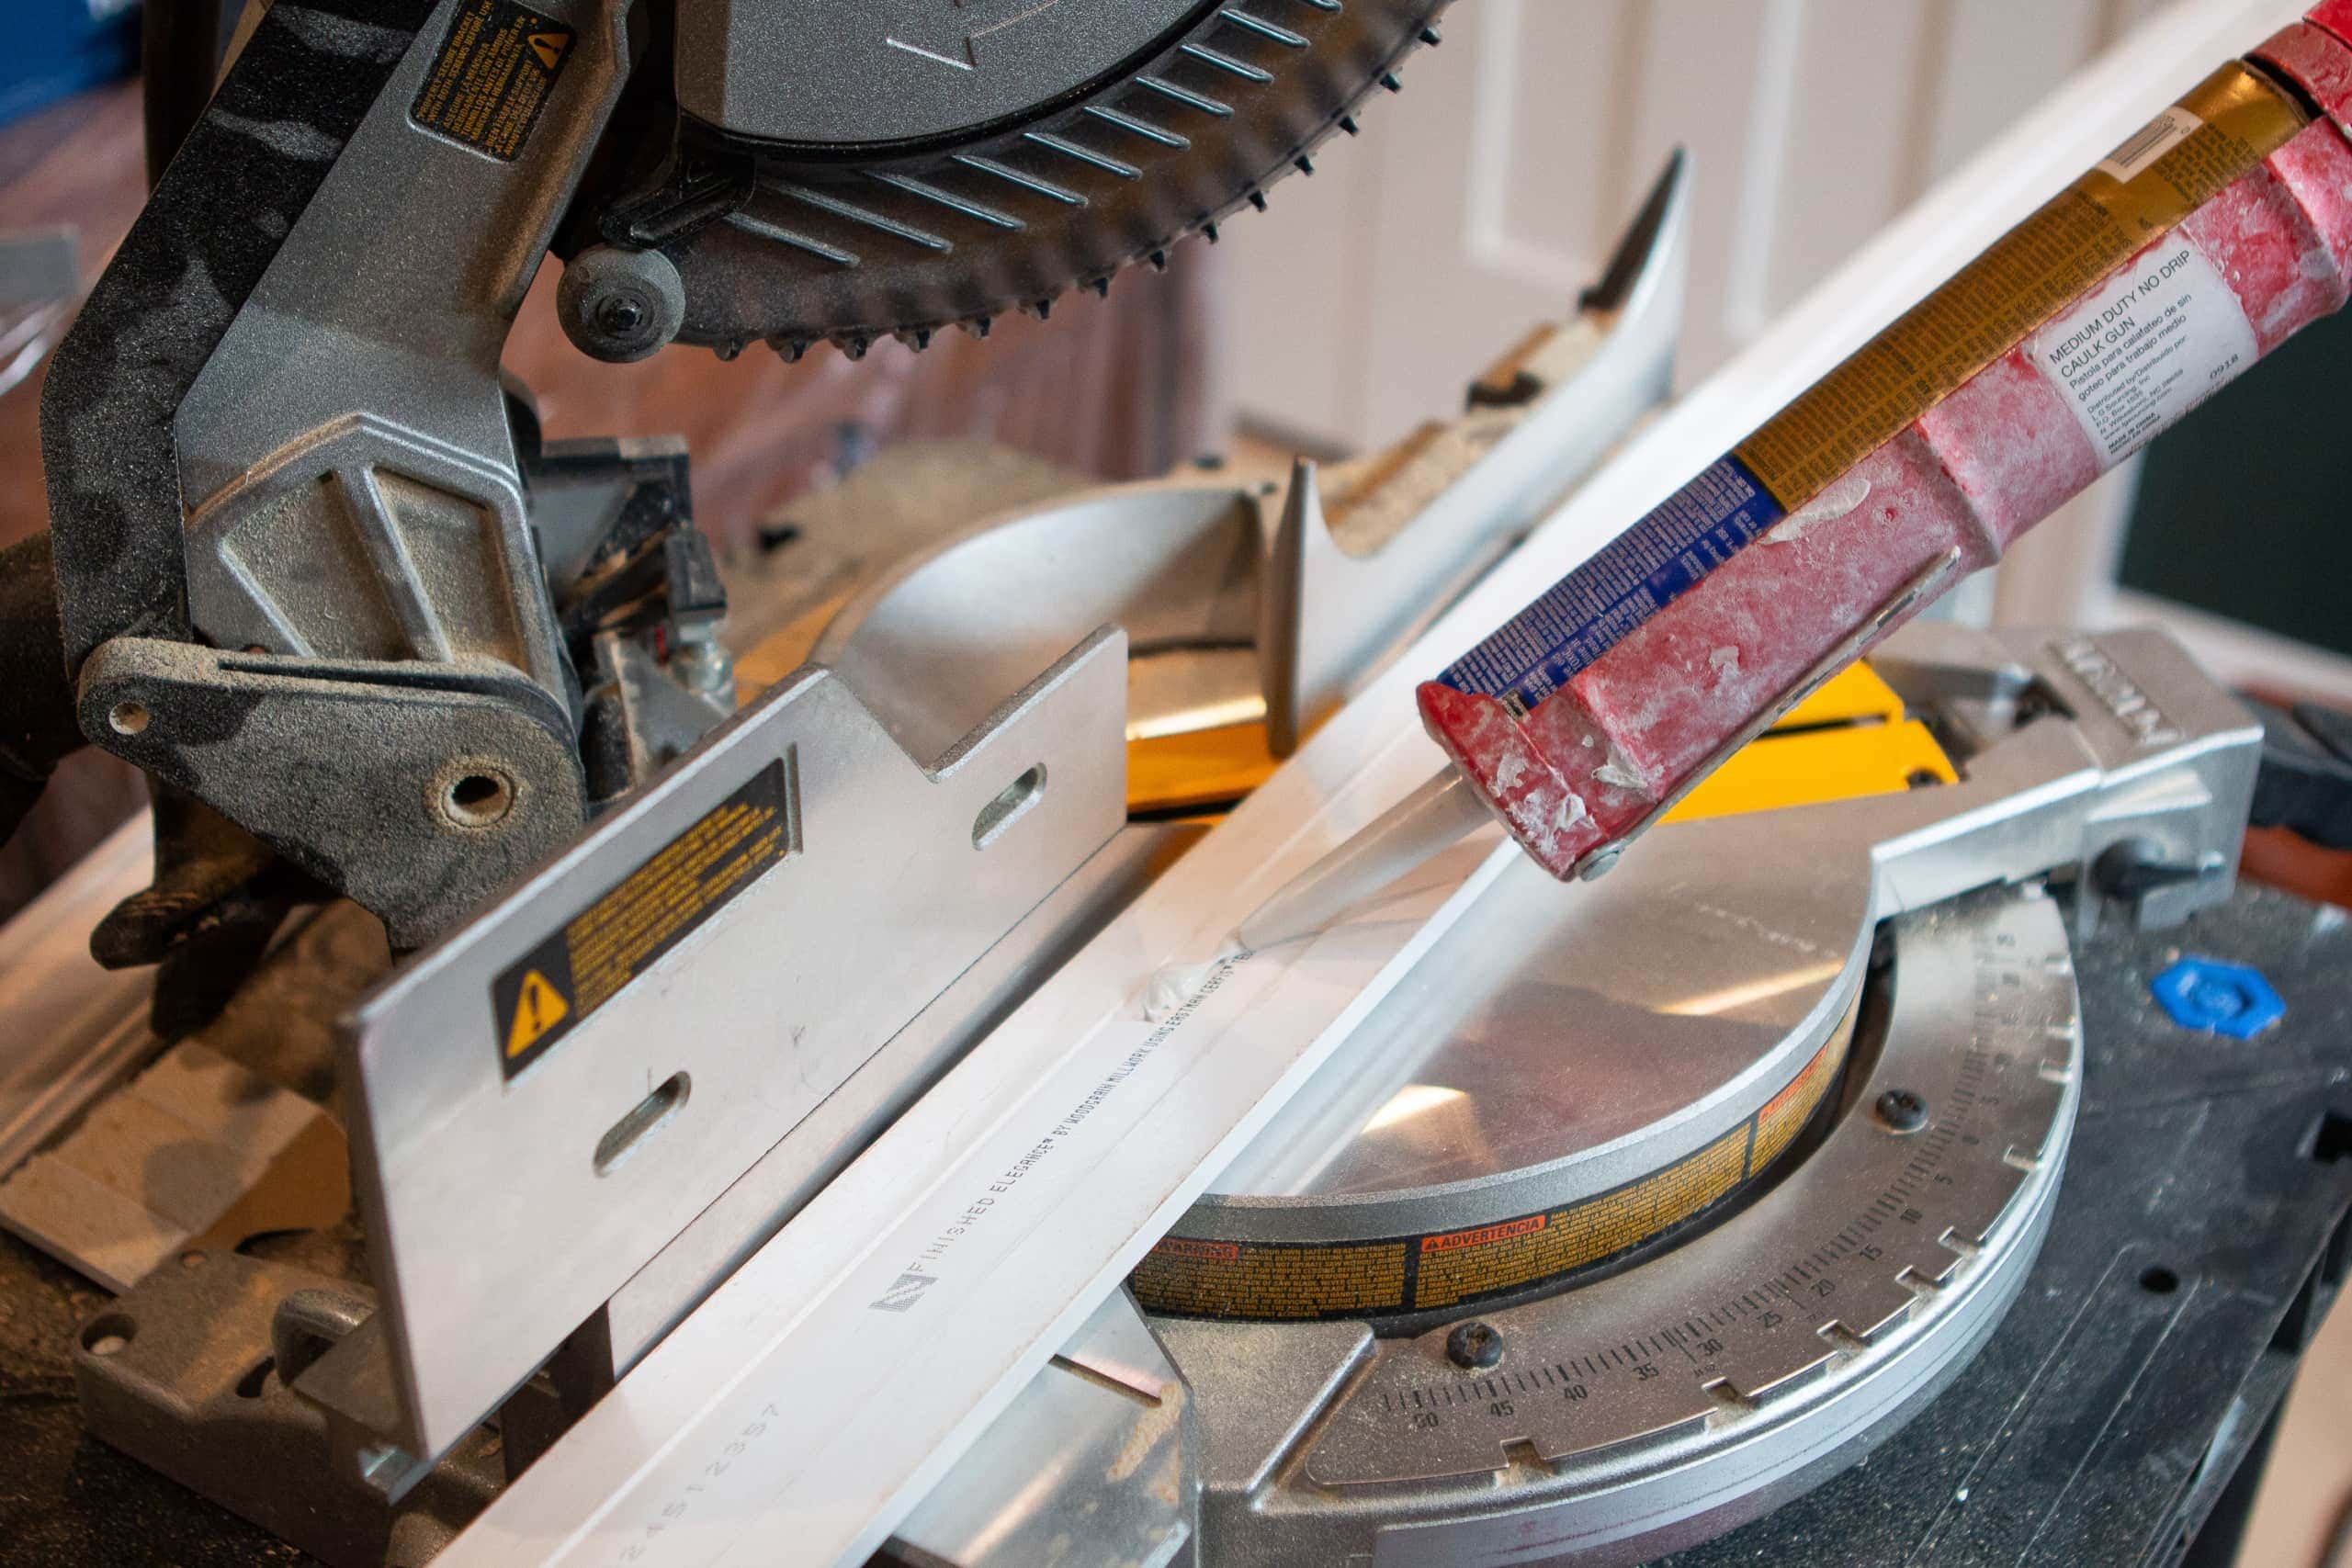
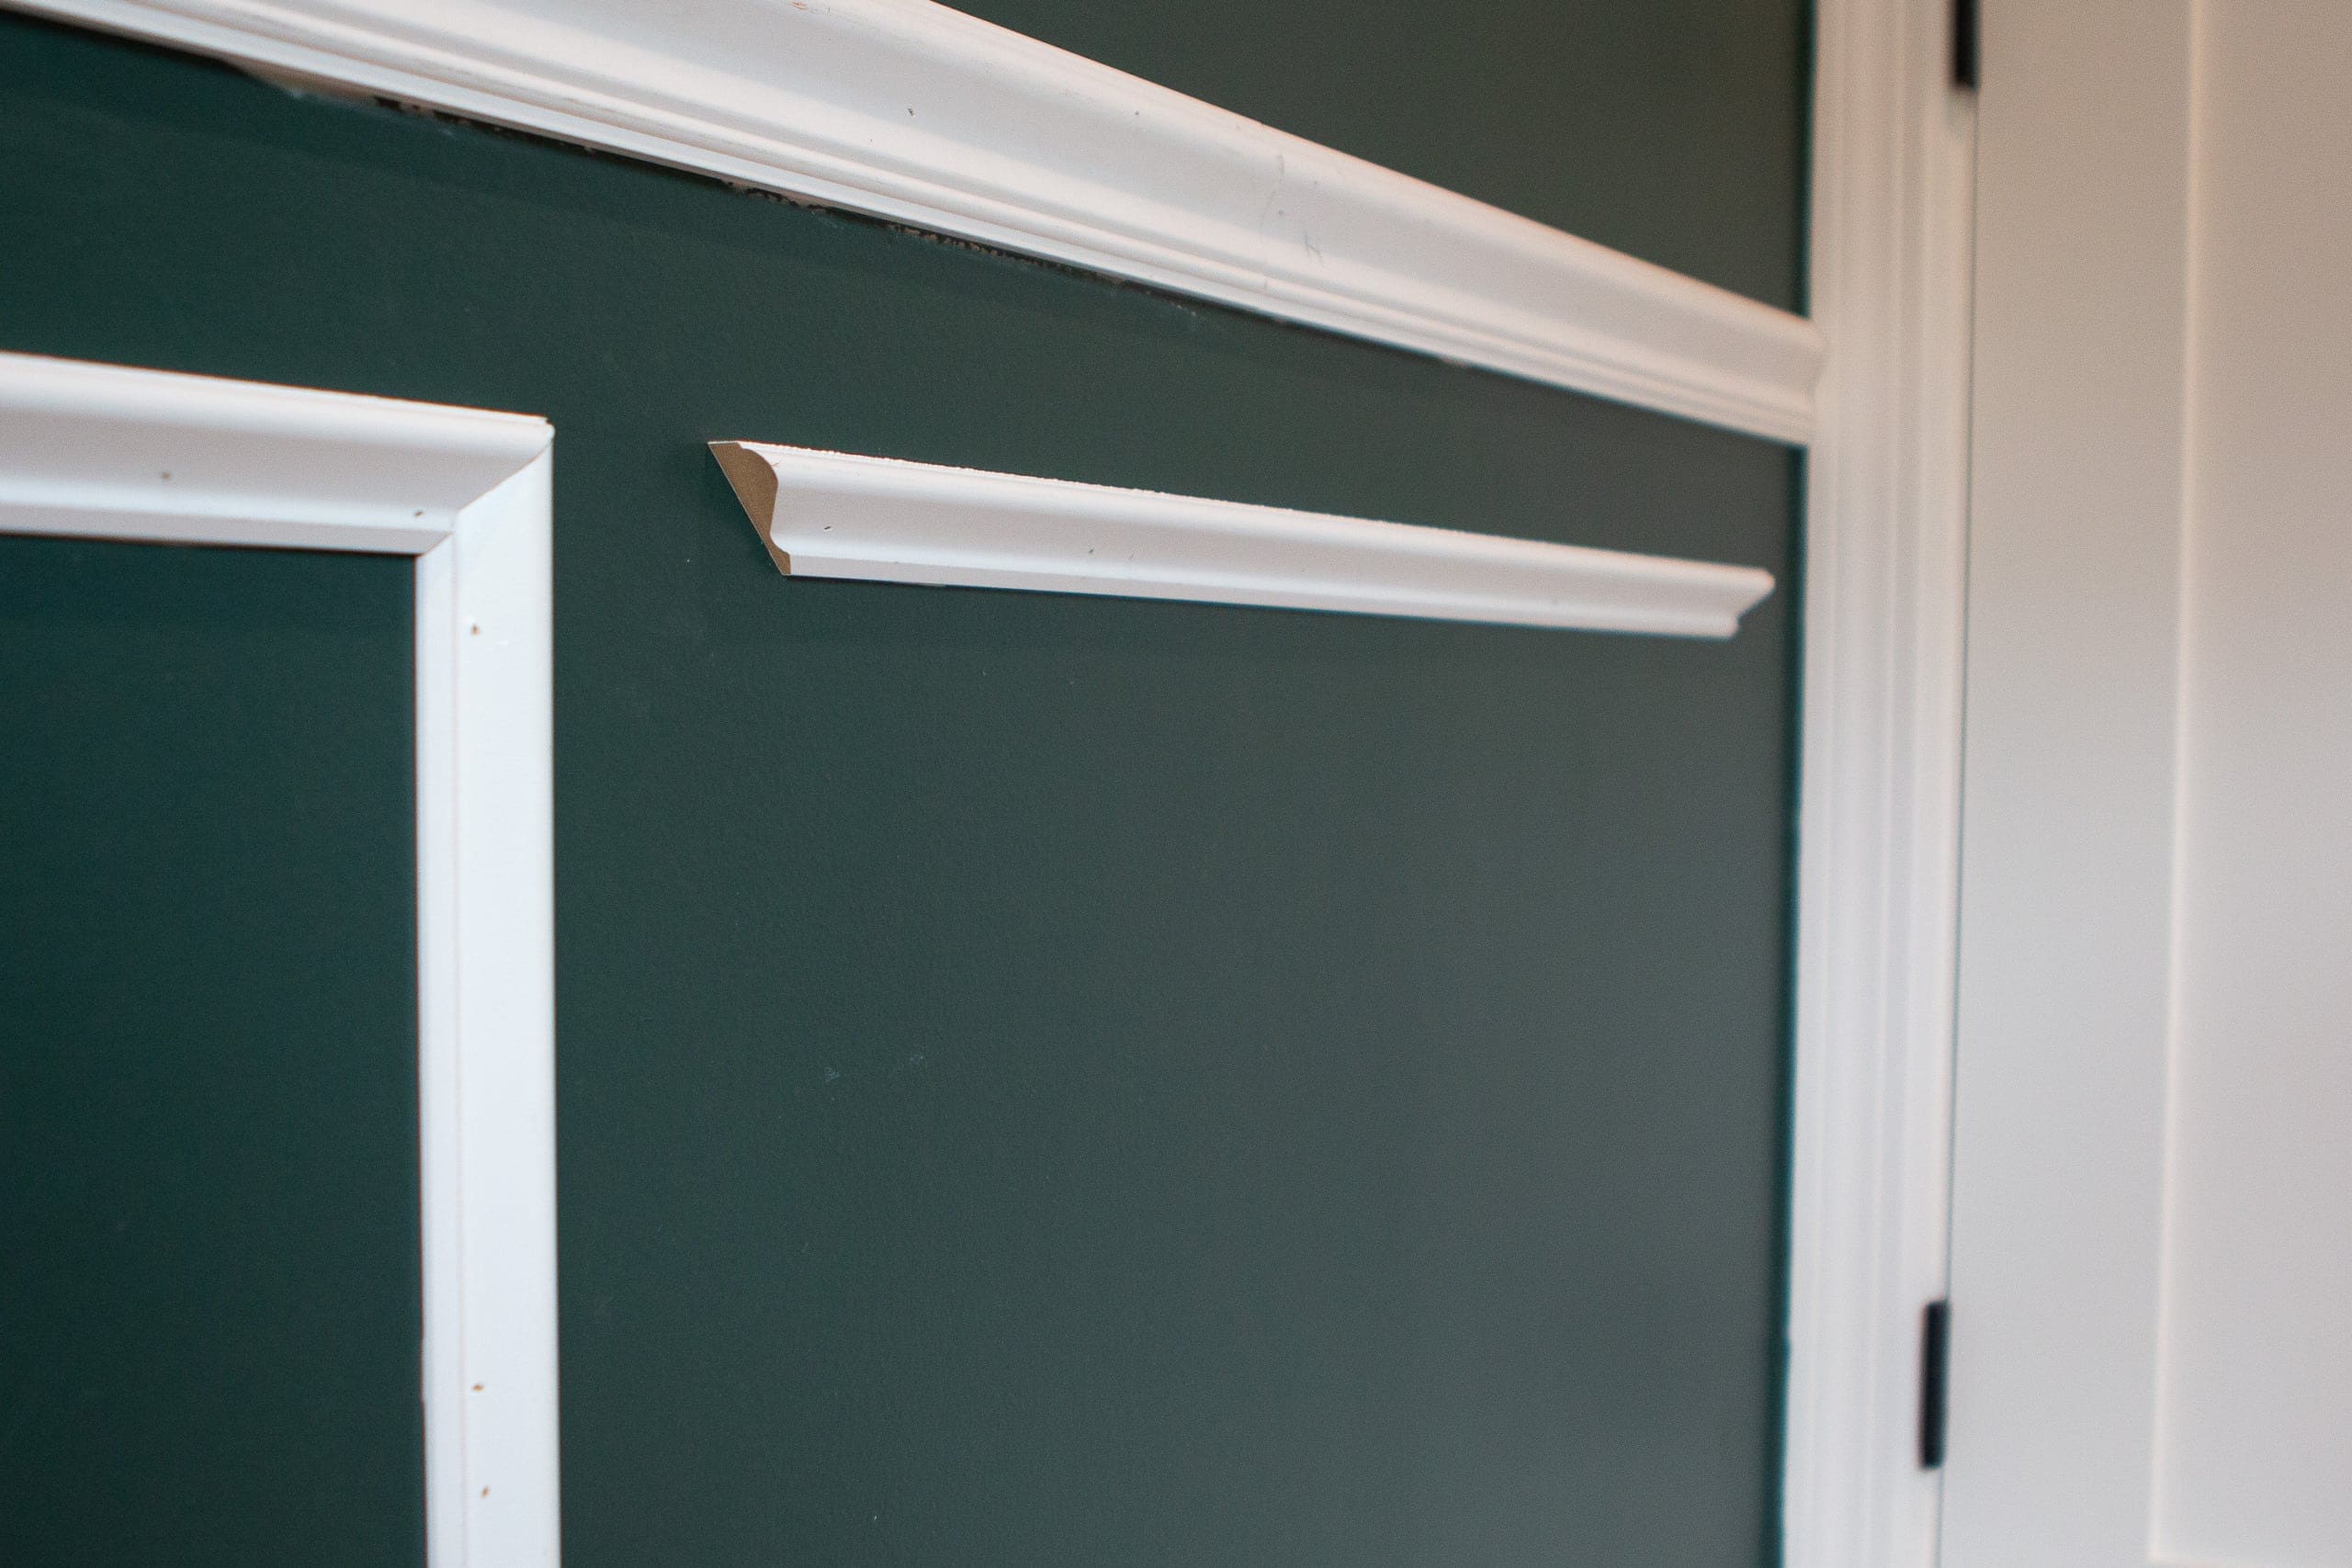
How to Make Corner Cuts
At the corners, you’ll need to make some miter cuts. I went with two 45-degree angles, even though my corners probably aren’t a perfect 90 degrees. (Caulk can fill in any missing gaps at the end!) You’ll want to have the chair rail standing up against the miter saw (like in the image above) when you make your 45-degree angled cut.
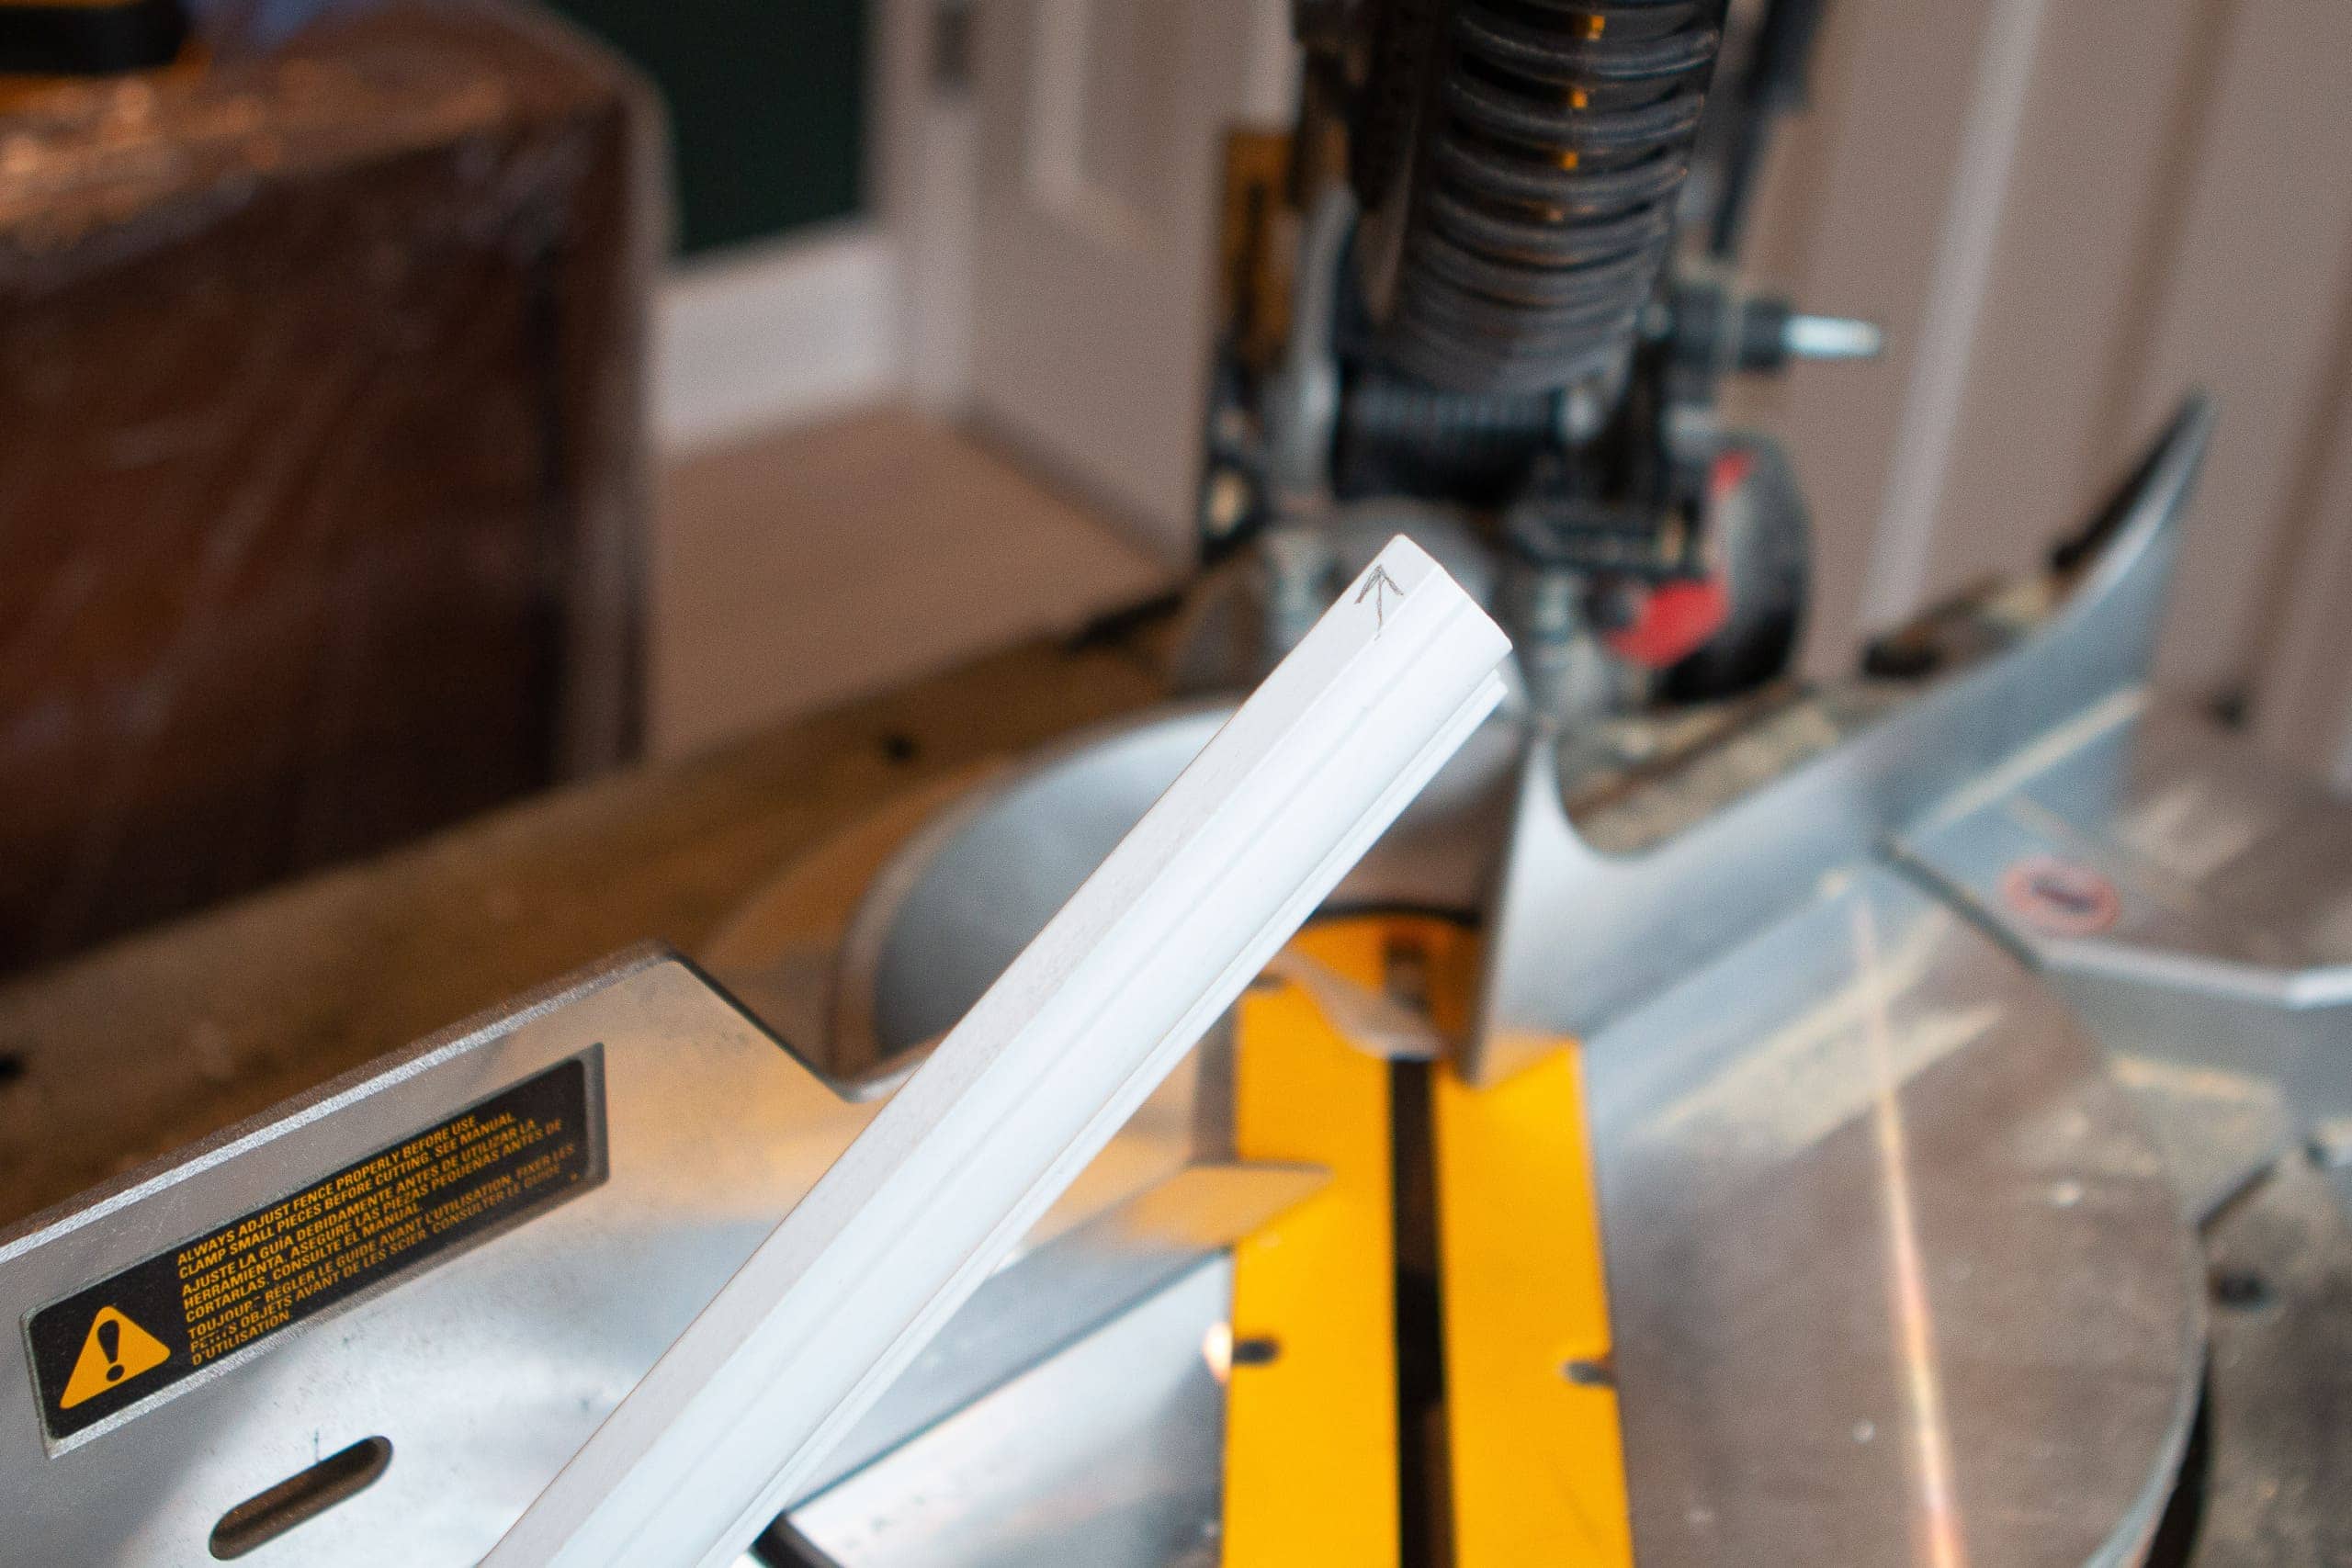
I find that it’s best for me to draw an arrow on the edge, when I have it near the wall, so when I bring it to the saw, I know where it needs to be cut. It’s easy to cut it the wrong way, and you don’t want to waste your wood!
It only took me about an hour and a half to get all of my chair rail up, so I was able to move onto the picture frame molding step a bit faster.
If you are new to using a miter saw, check out my beginner’s guide right here.
My Best Tips to Add Picture Frame Molding
The first thing I’m gonna say is this part gets pretty tedious, and it would go by much faster with a buddy. One of you could make the cuts, while the other adds to the wall. With just me working on this, it was slow-moving. It took me about a day and a half to get the picture frame molding up on the walls.
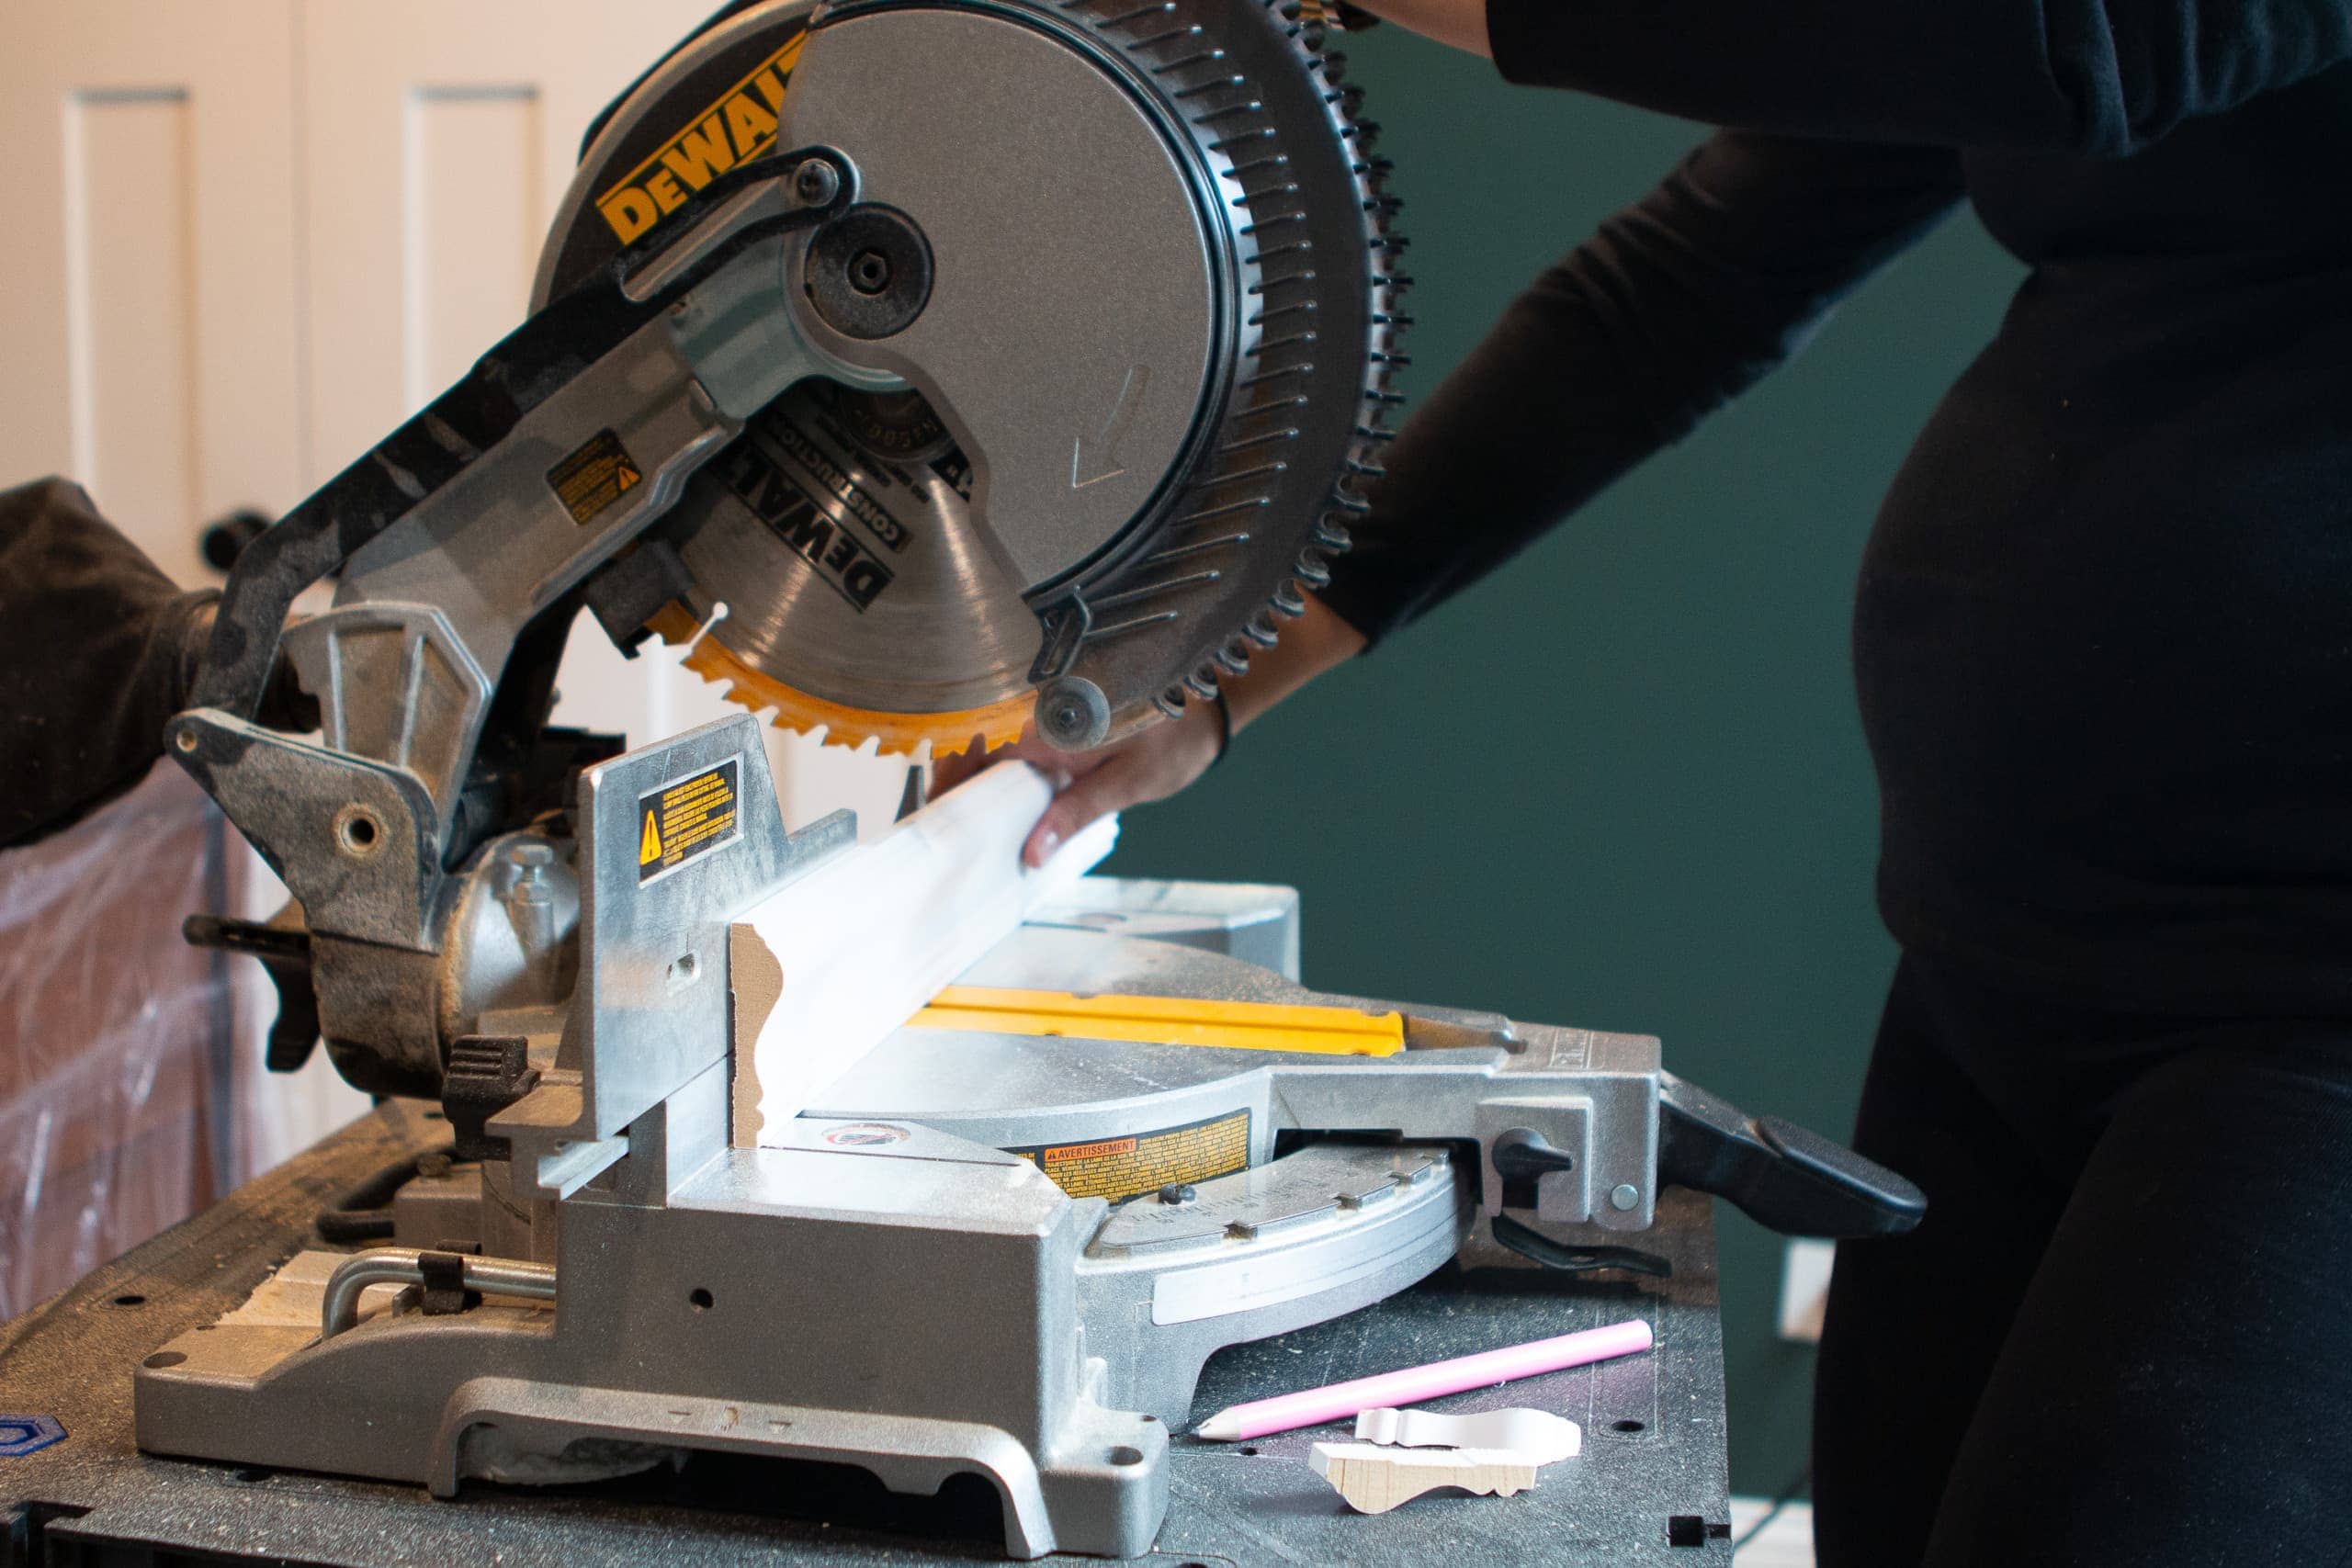
Make your Cuts
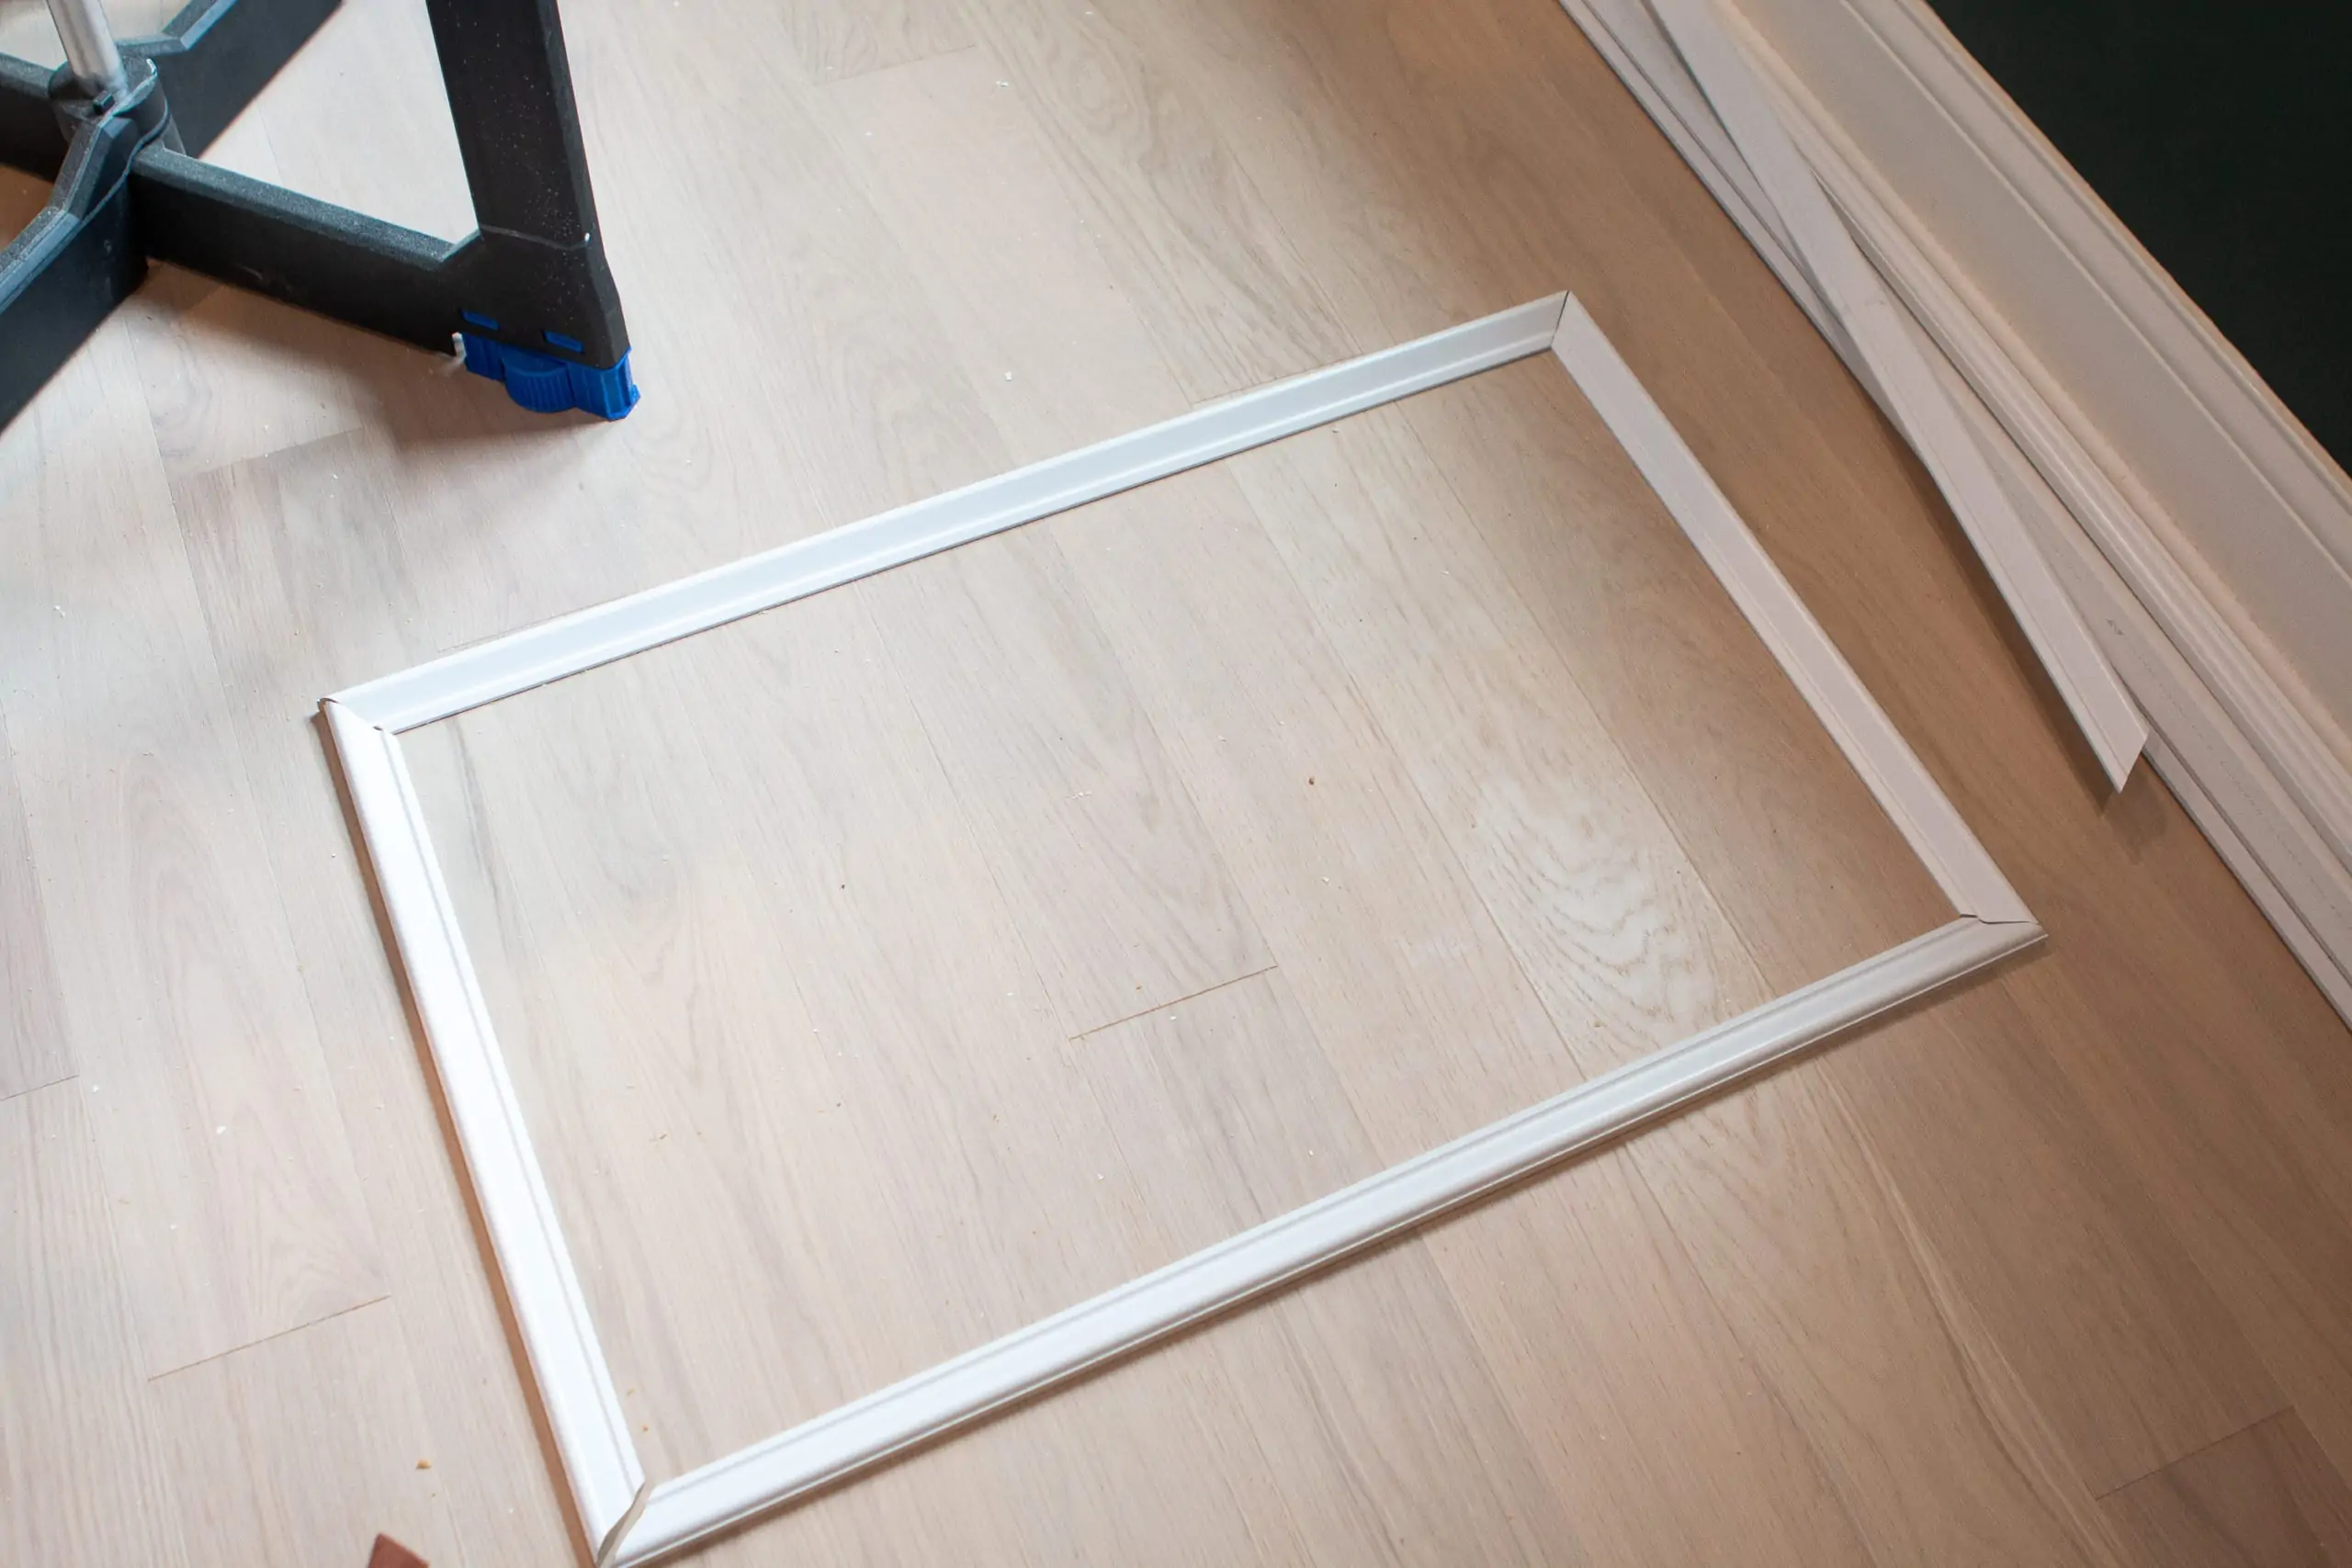
It’s called picture frame molding because it looks like a picture frame! It’s four pieces of base cap molding, cut at a 45-degree angle on the ends, to make a picture frame.
Thanks to Finn, I already had all of my measurements ready to go. (This was so helpful and a must-do ahead of time!) Once I got going, I realized that I could make all of my cuts for a wall before adding them on. This cut list definitely saved some time and I was able to use each cut as a marker for the next. (Less measuring for me, I’ll take it!)
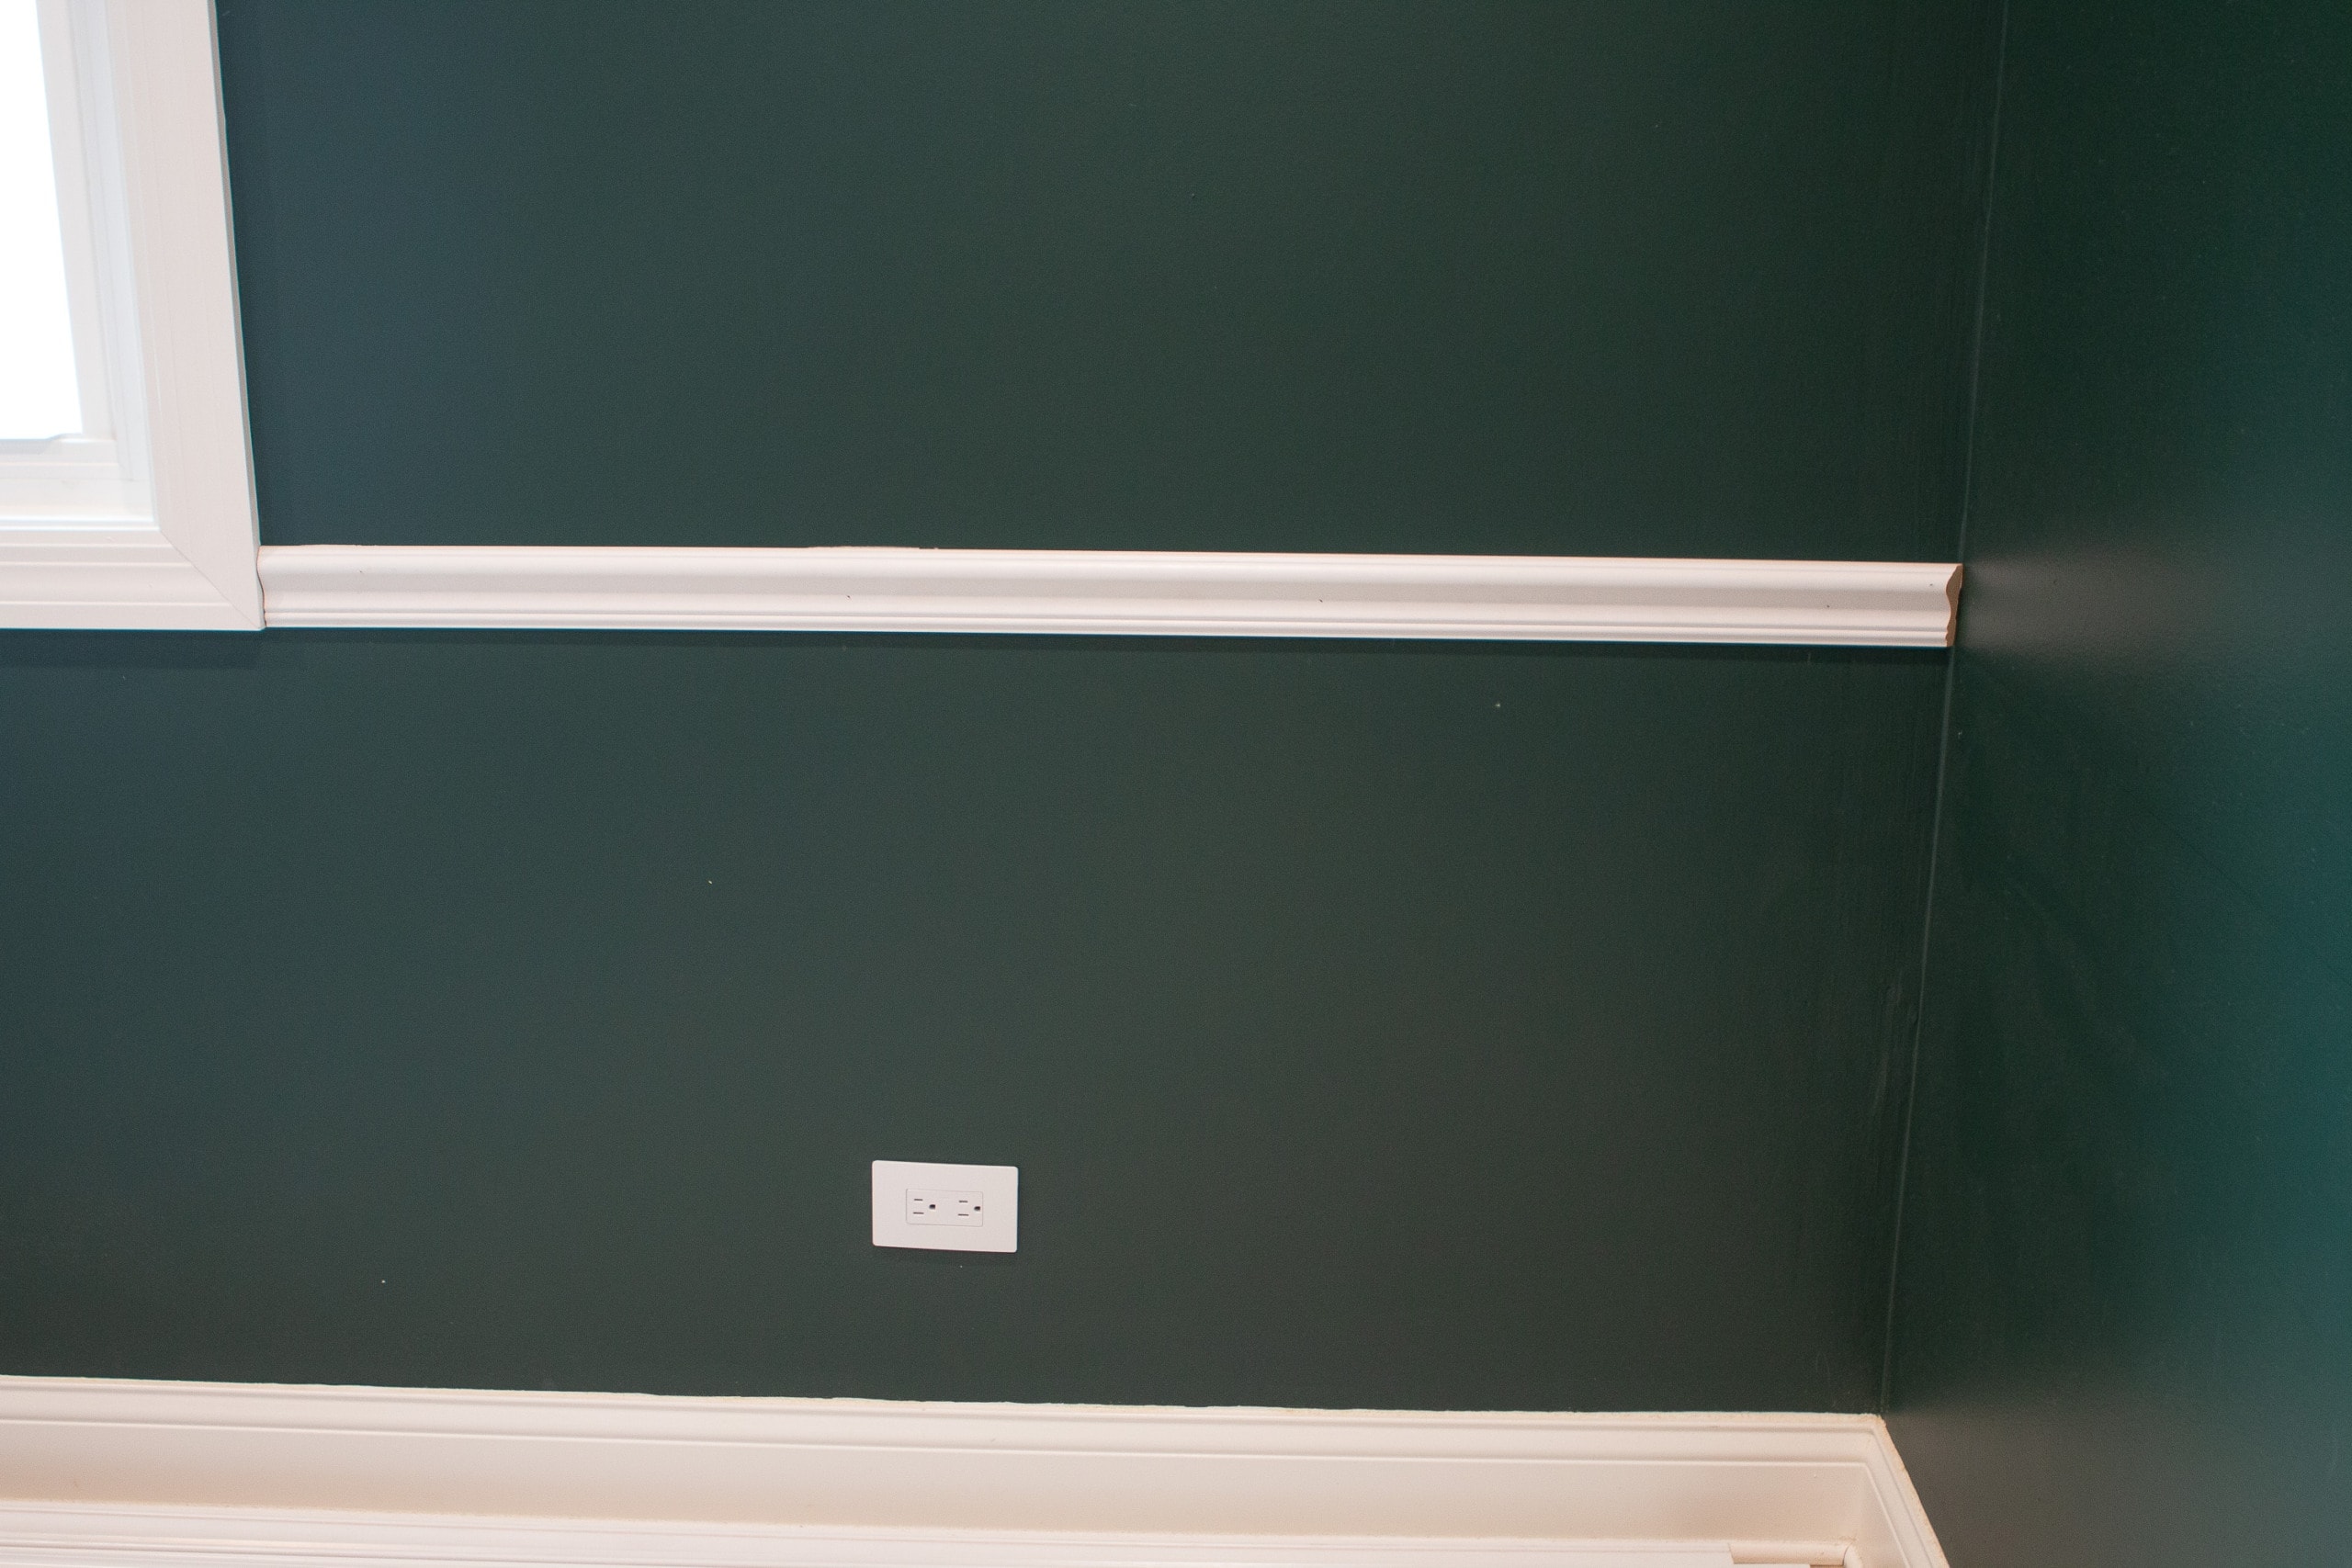
Add Picture Frame Molding to Your Walls
Once all of my cuts were made, I brought all of my supplies to the wall and started attaching. To save time, I ended up making a spacer board for myself.
I spaced everything three inches apart (from the bottom of the chair rail, to each box, and the top of the baseboard), so I cut a piece of scrap wood that size and used it for spacing. Again, less time using the tape measure is always a win!
With the starting point for the top piece of molding marked, I then drew a level line across.
Just like the chair rail, I attached the molding with both liquid nails and the nail gun.

I found that the best technique was to start at the top and then go counter-clockwise. These corner clamps ended up being a great investment for this project. I put a little liquid nails on the corner of the clamp, clamped the corners together, and then I used my level to get the vertical pieces straight.
Nail At An Angle
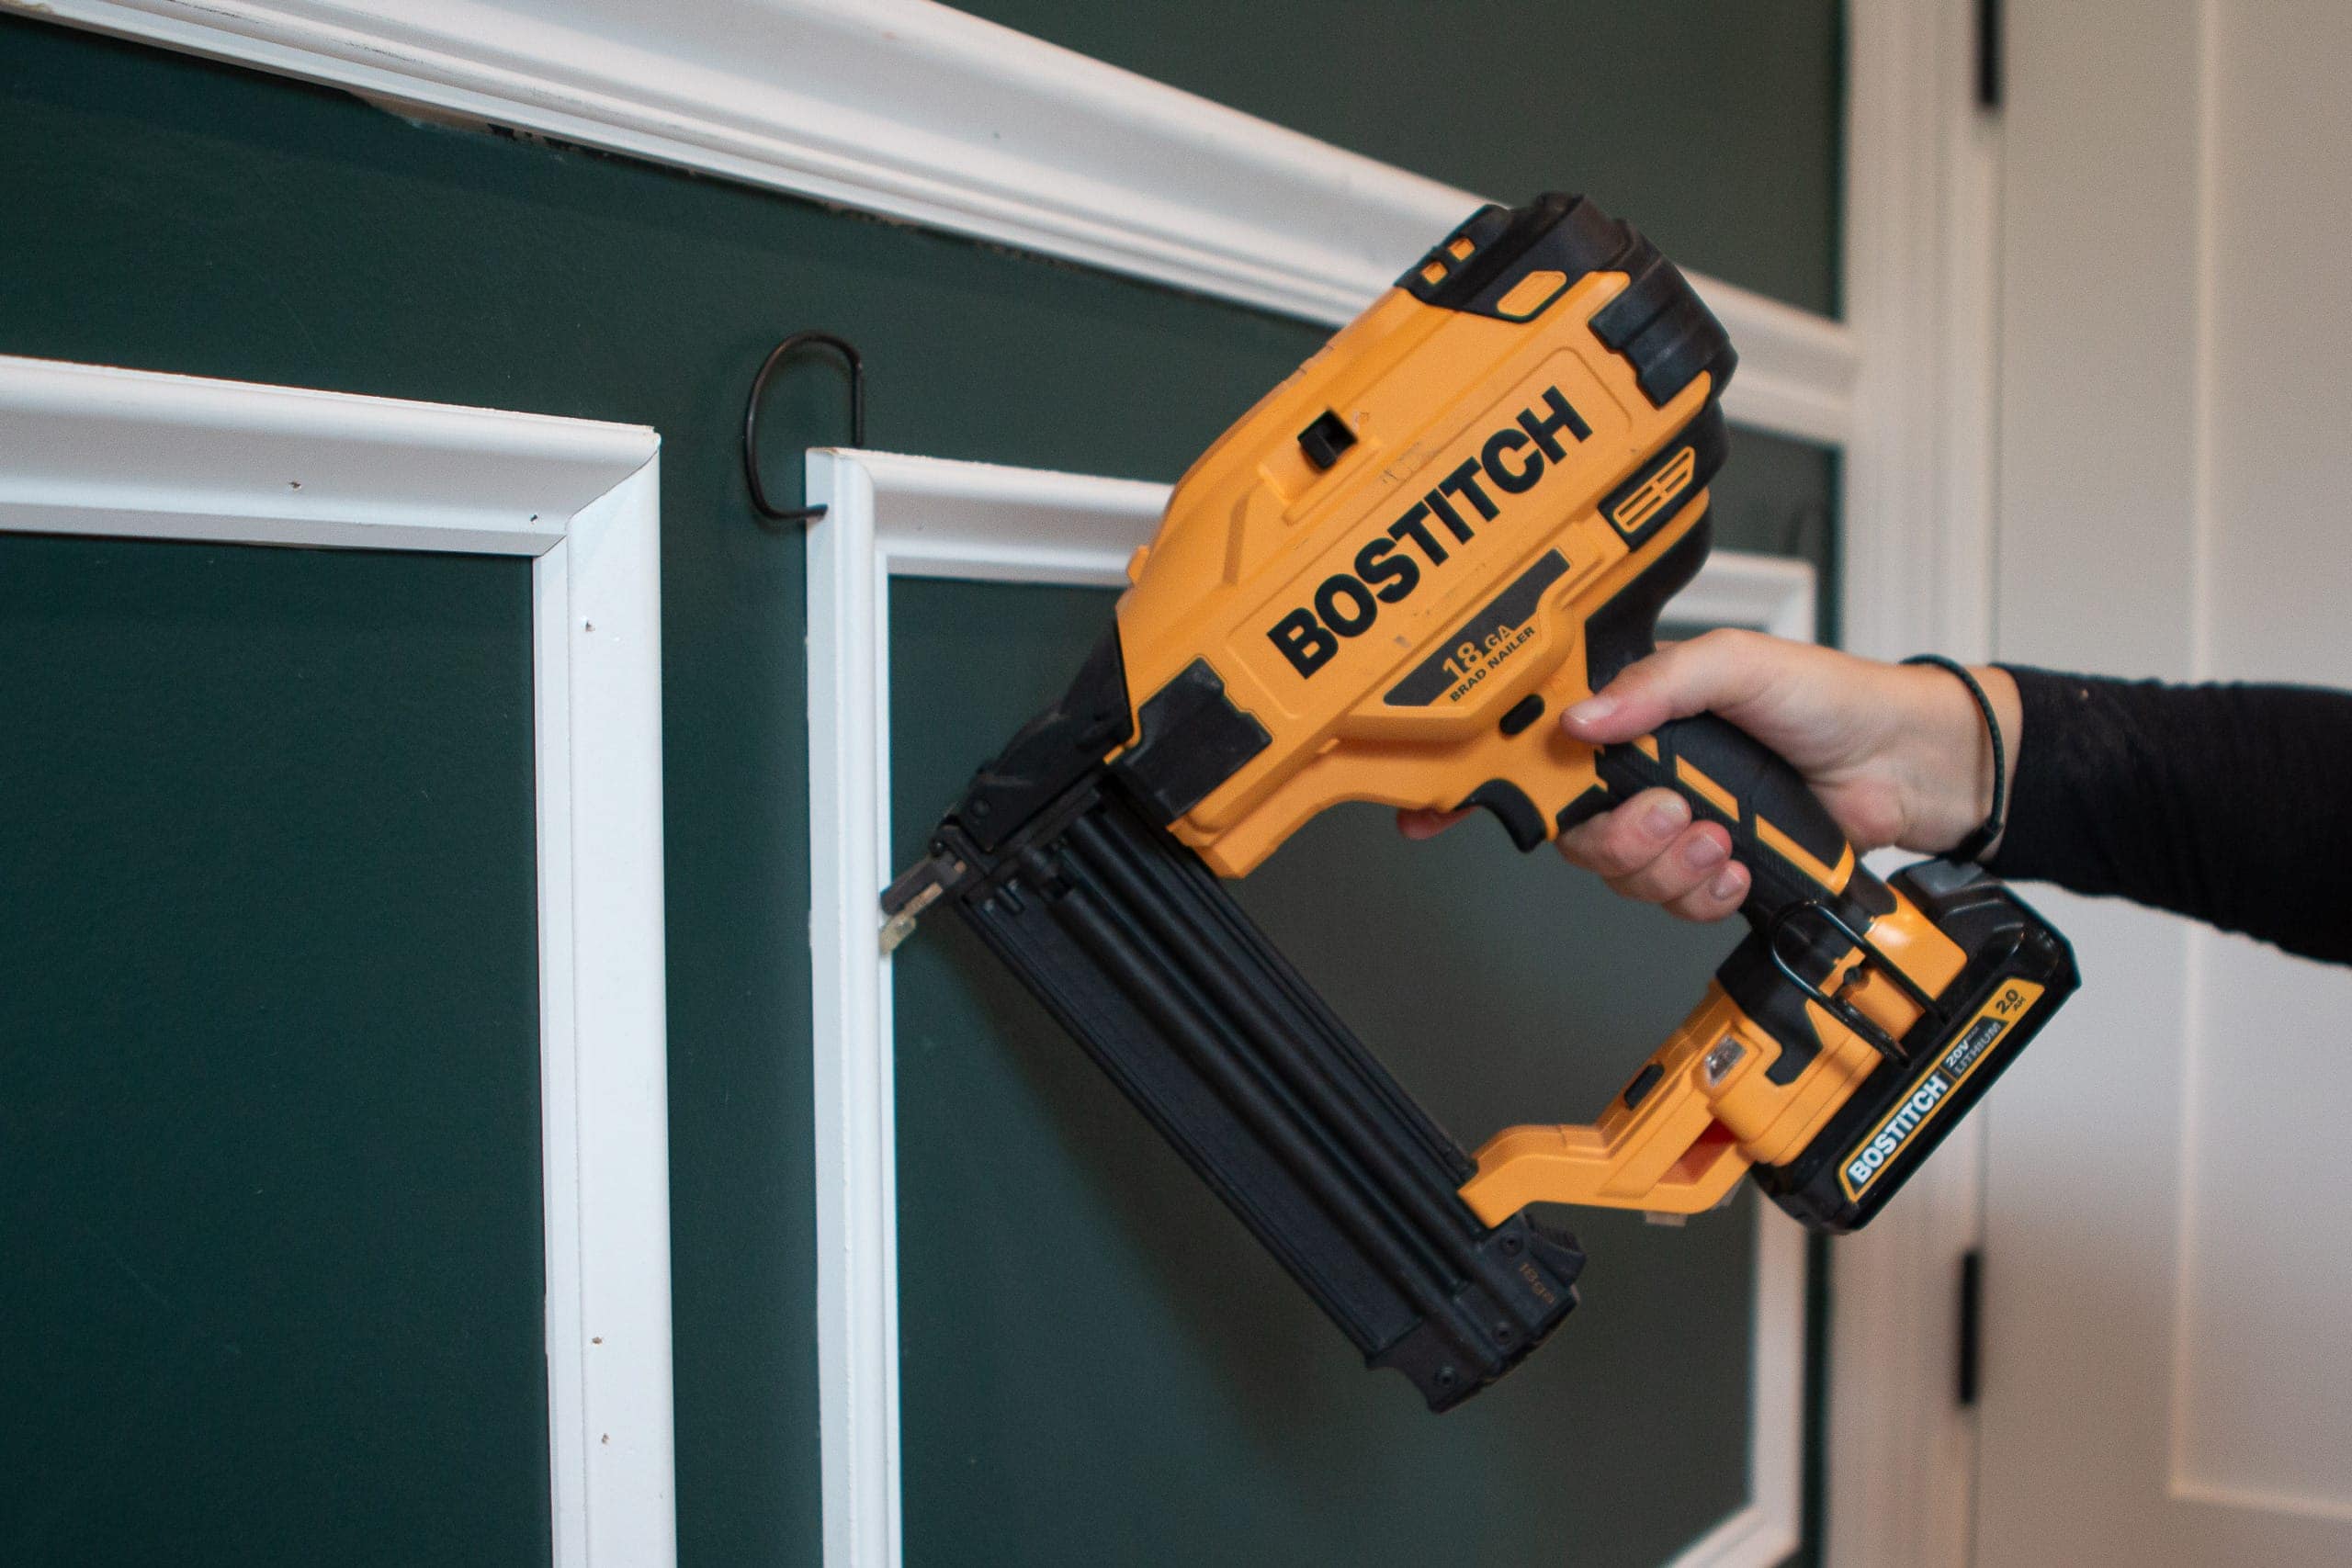
With the molding, you’re not going to hit studs very often, and that’s okay. Instead, nail the molding in at an angle. Angle down for your first nail.

Give Yourself Wiggle Room
As you add the bottom piece and right piece, to finish off the frame, you’ll definitely need some wiggle room. I always got those first two pieces in securely, and then I would loosely attach the next two pieces, so I could make sure the corners looked as good as possible.
The corner clamps really came in handy for this. Once it was all set, I would nail in each piece and wipe away any excess glue before it dried.


I started with all of the bottom frames and then moved to the top. The upper boxes were a bit tougher, since I was up on a step stool, trying to hold all of my supplies, and keep each piece straight…but I prevailed!
The Finishing Touches
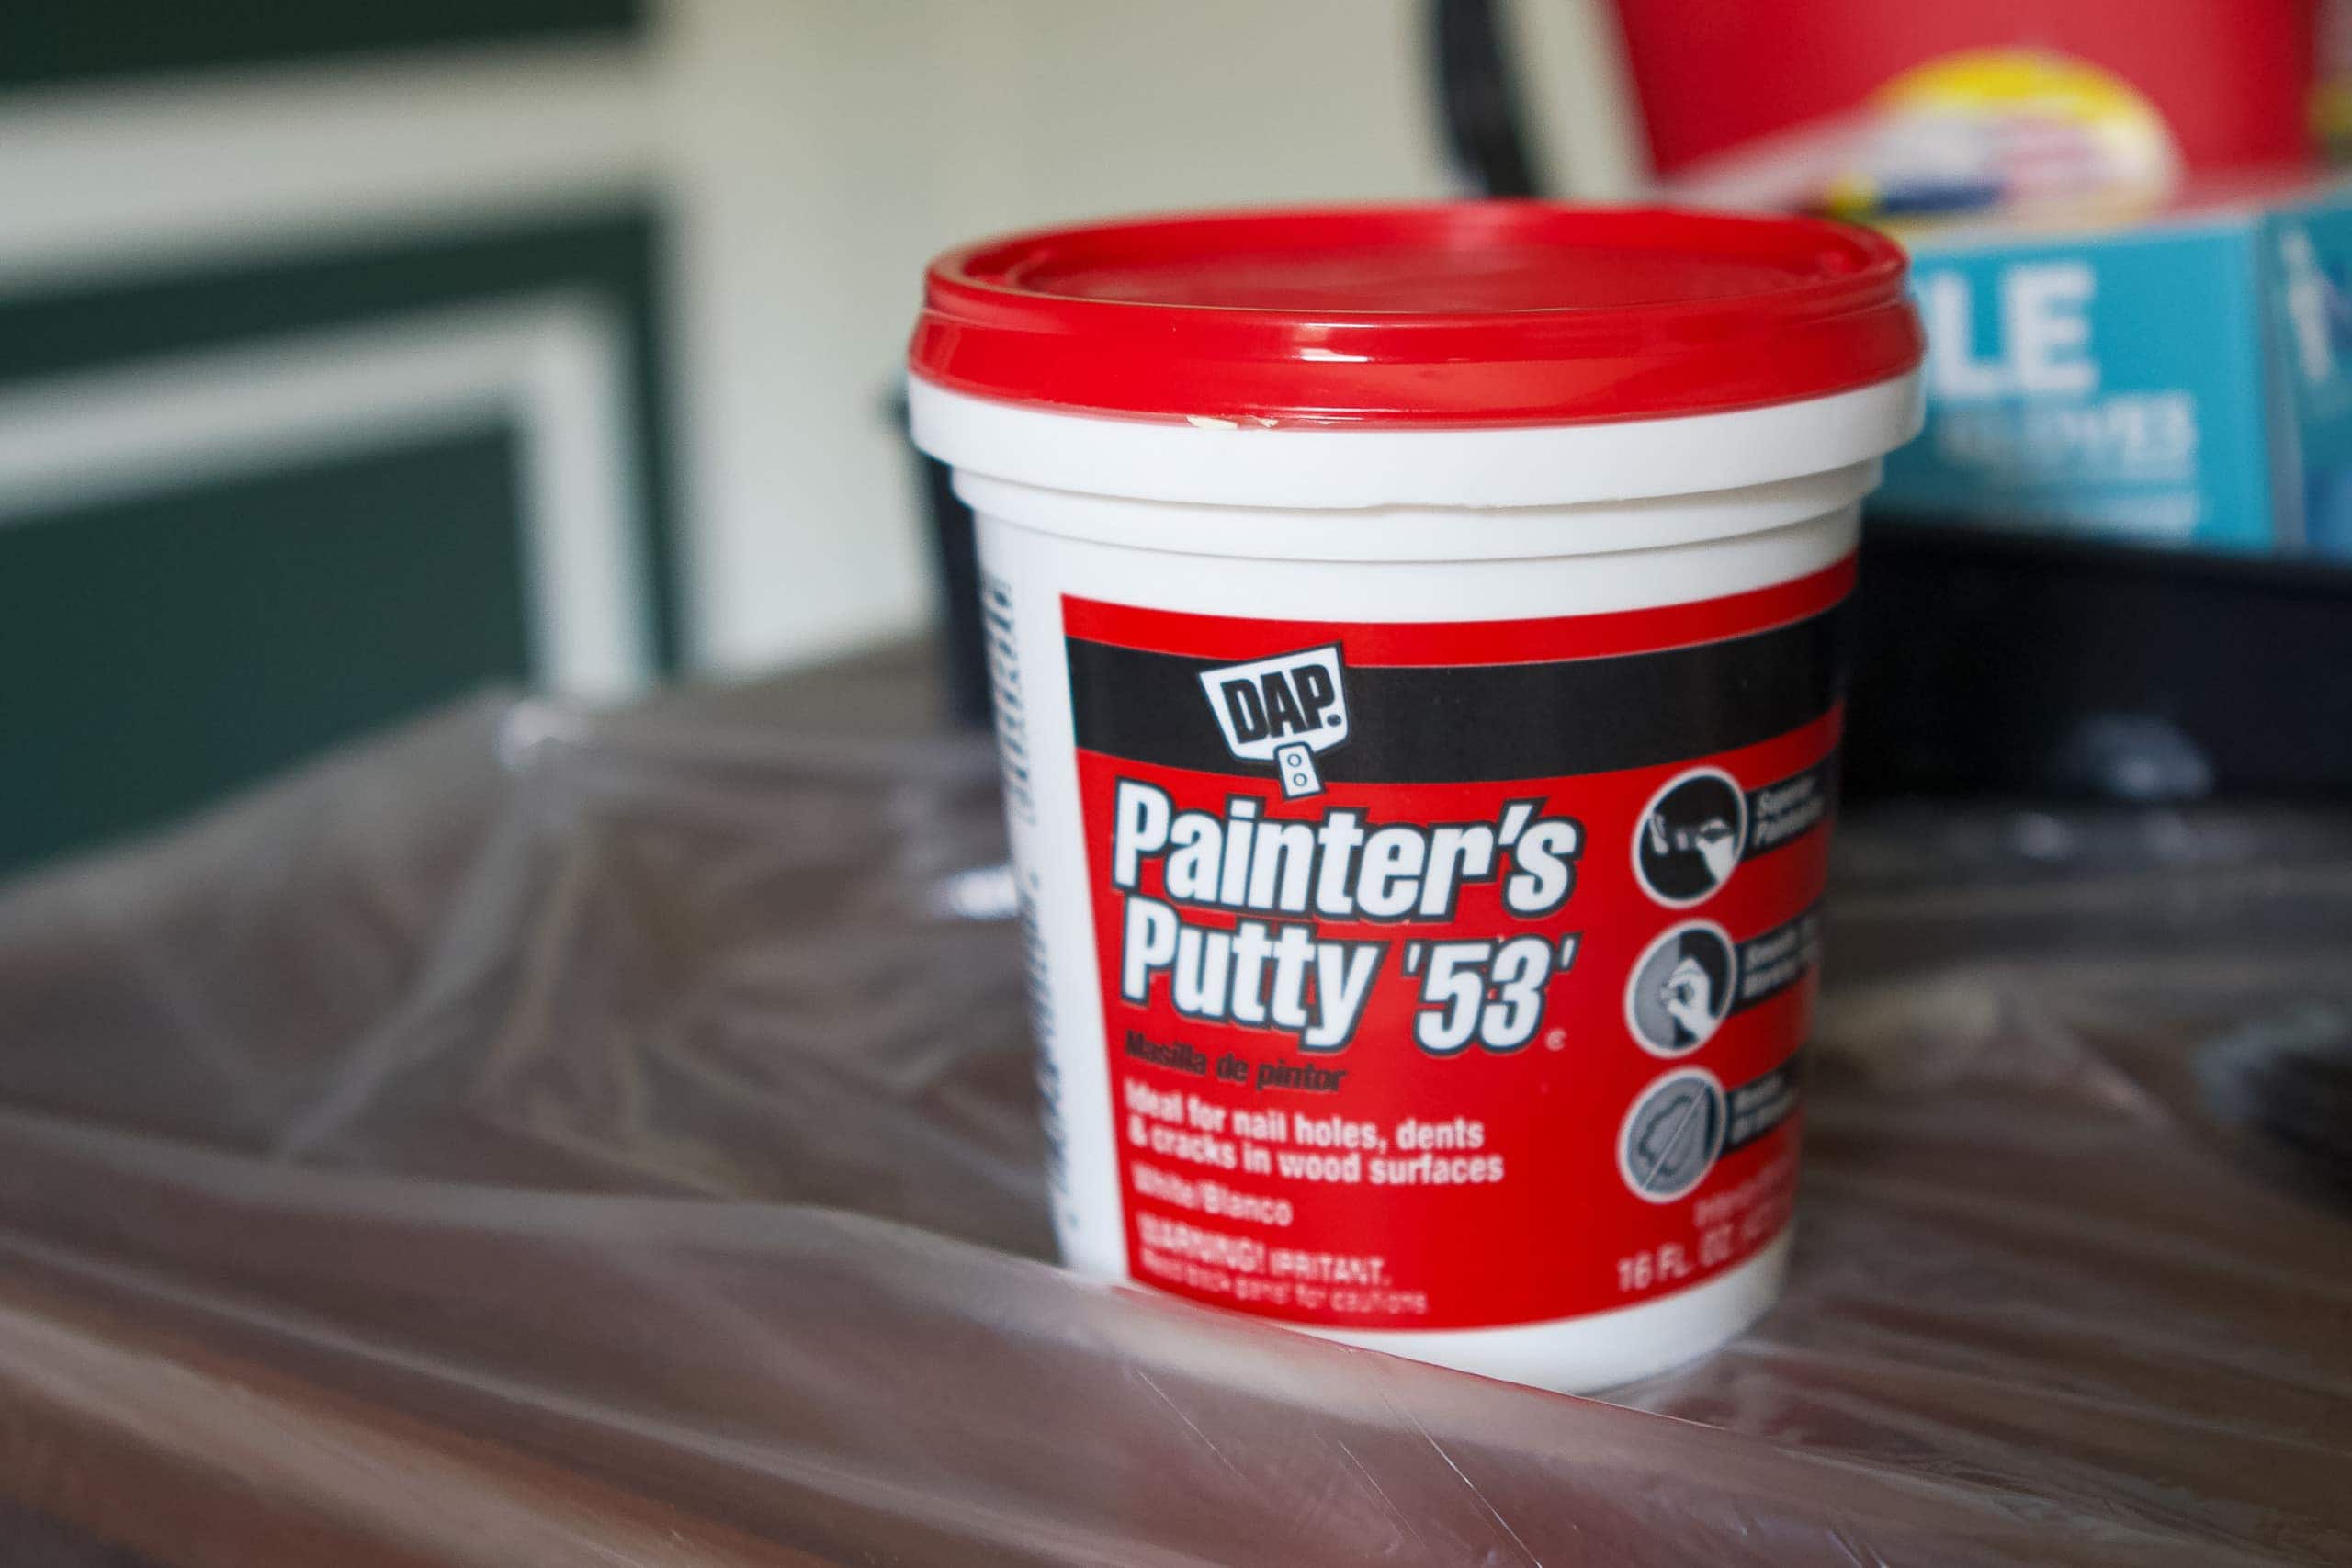
With all of the molding up on the walls, I was getting closer to the finish line. Now it was time to make everything look seamless and like it has been there forever! First, I covered up the nail holes. I like to use painter’s putty for this.

I like to make a little ball of putty and then I rub it back and forth on the hole until it fills in. Feel free to overfill, because once it’s dry you’ll sand it down.
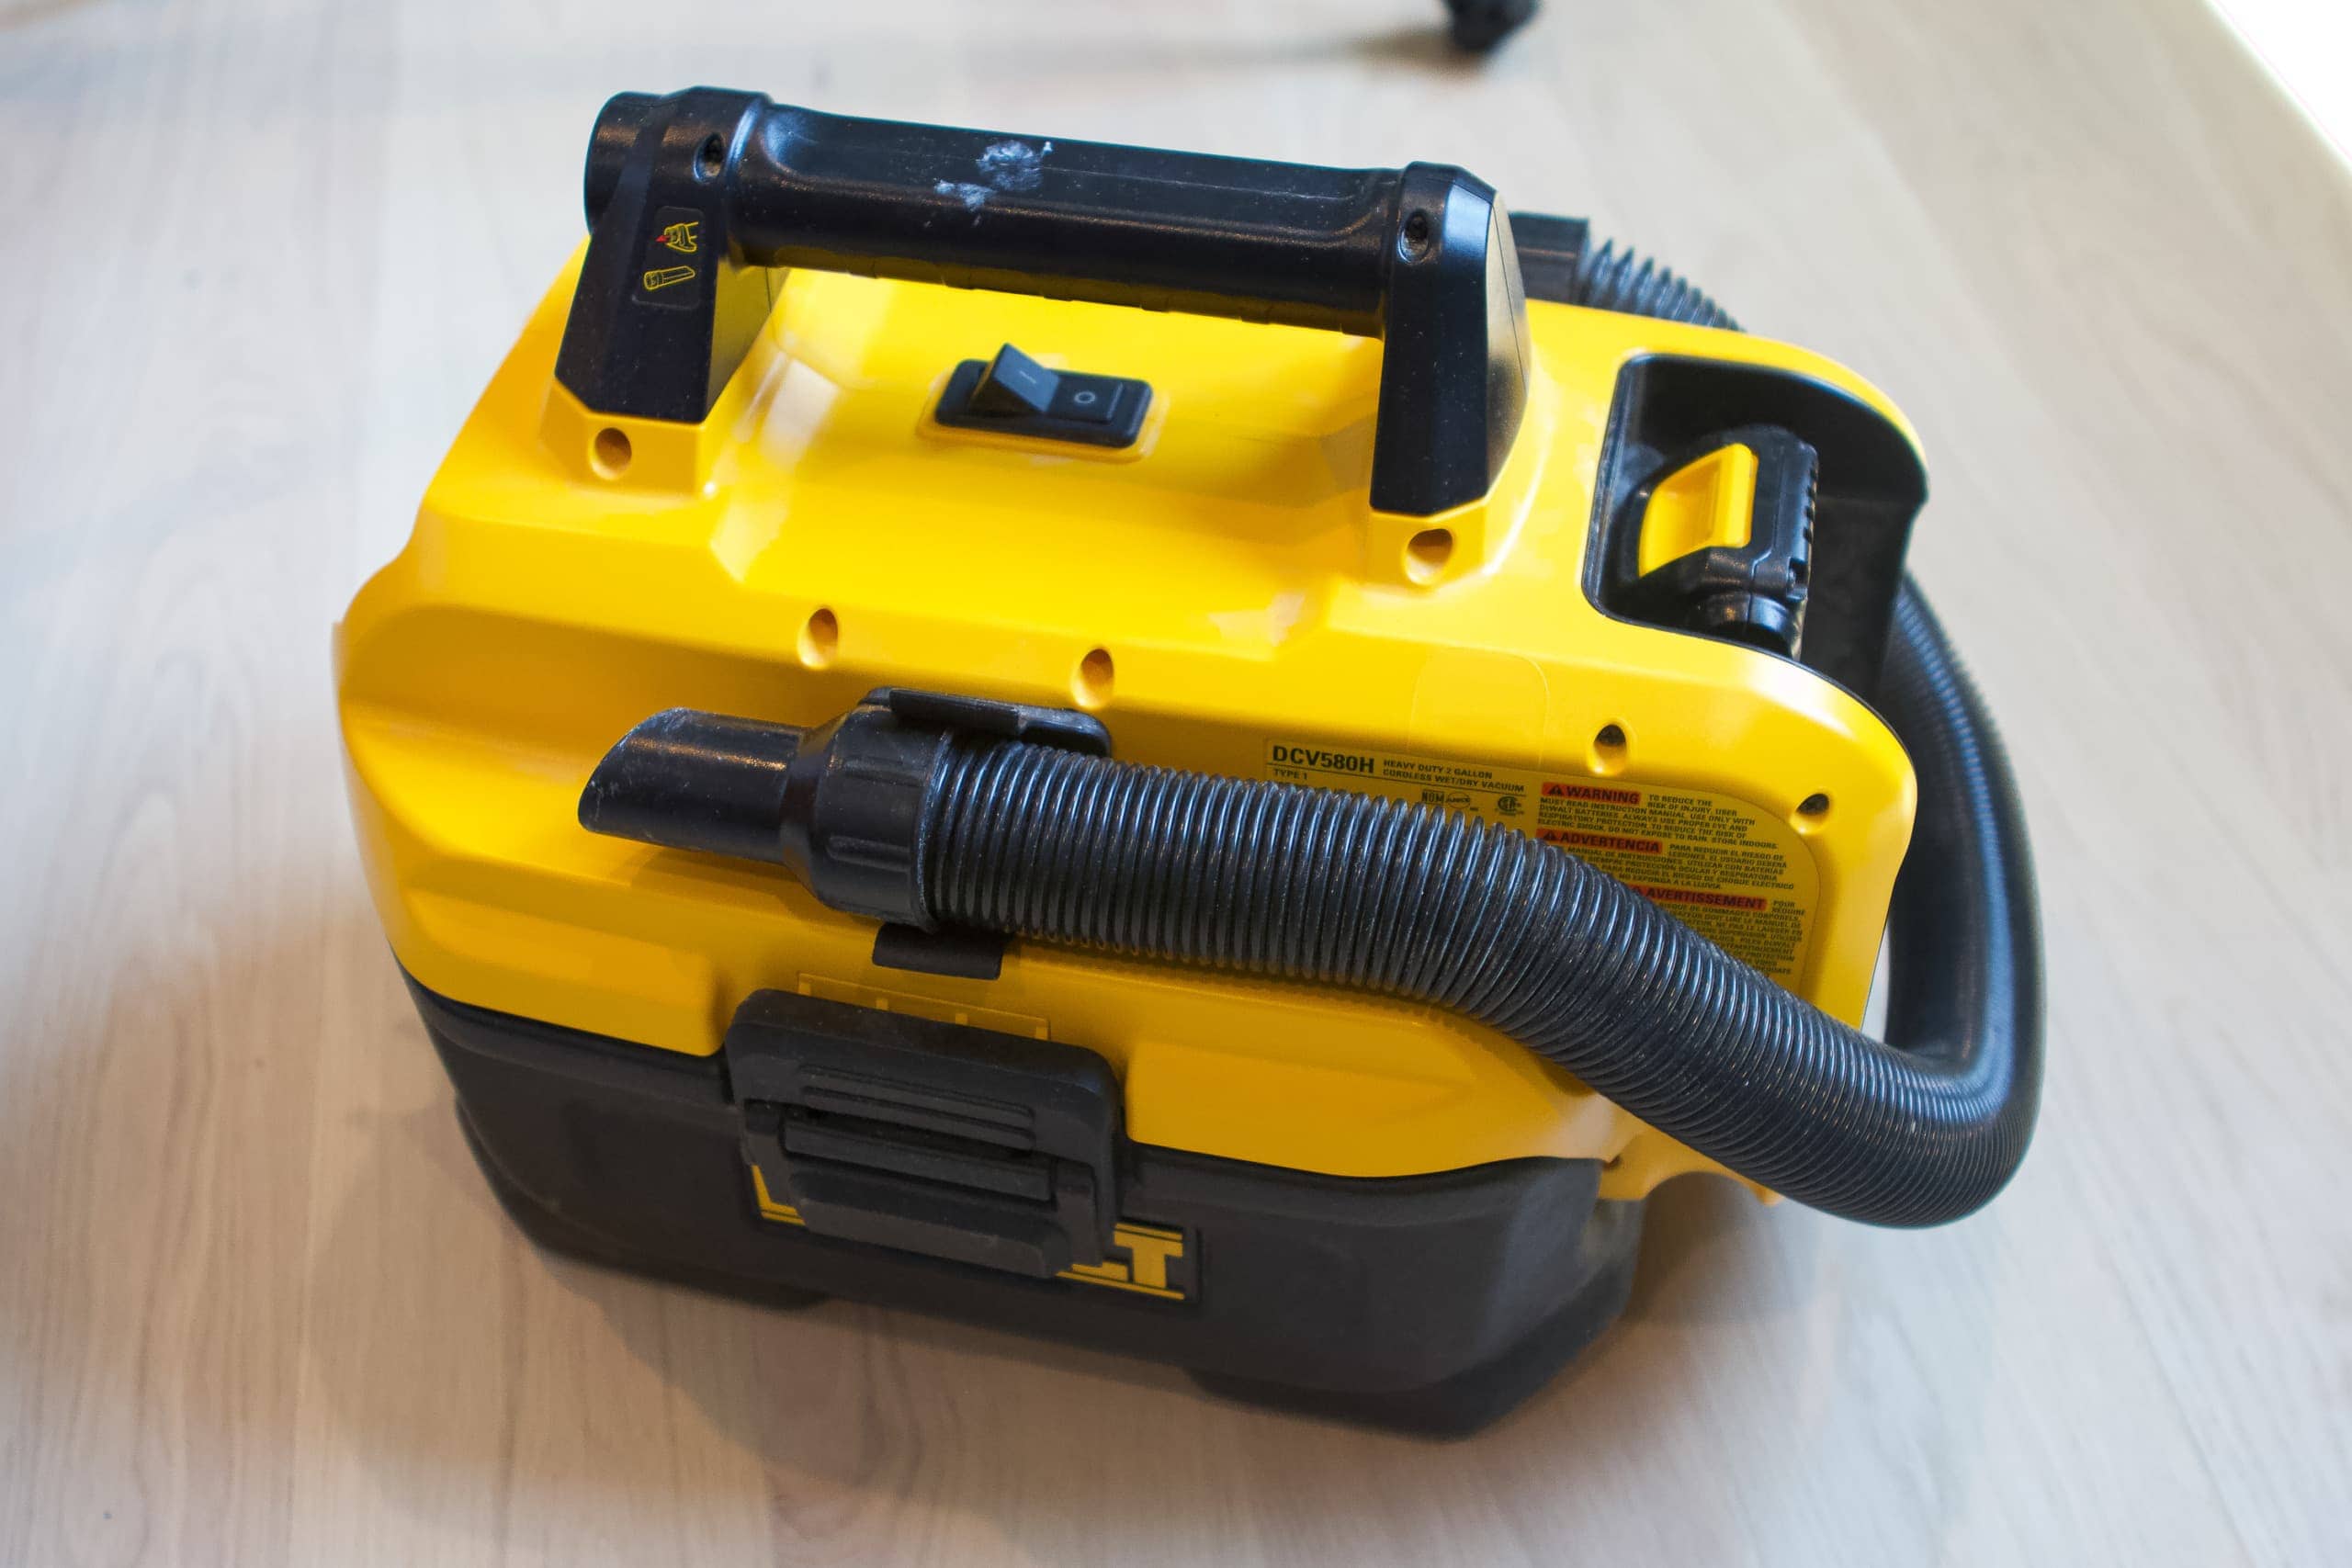
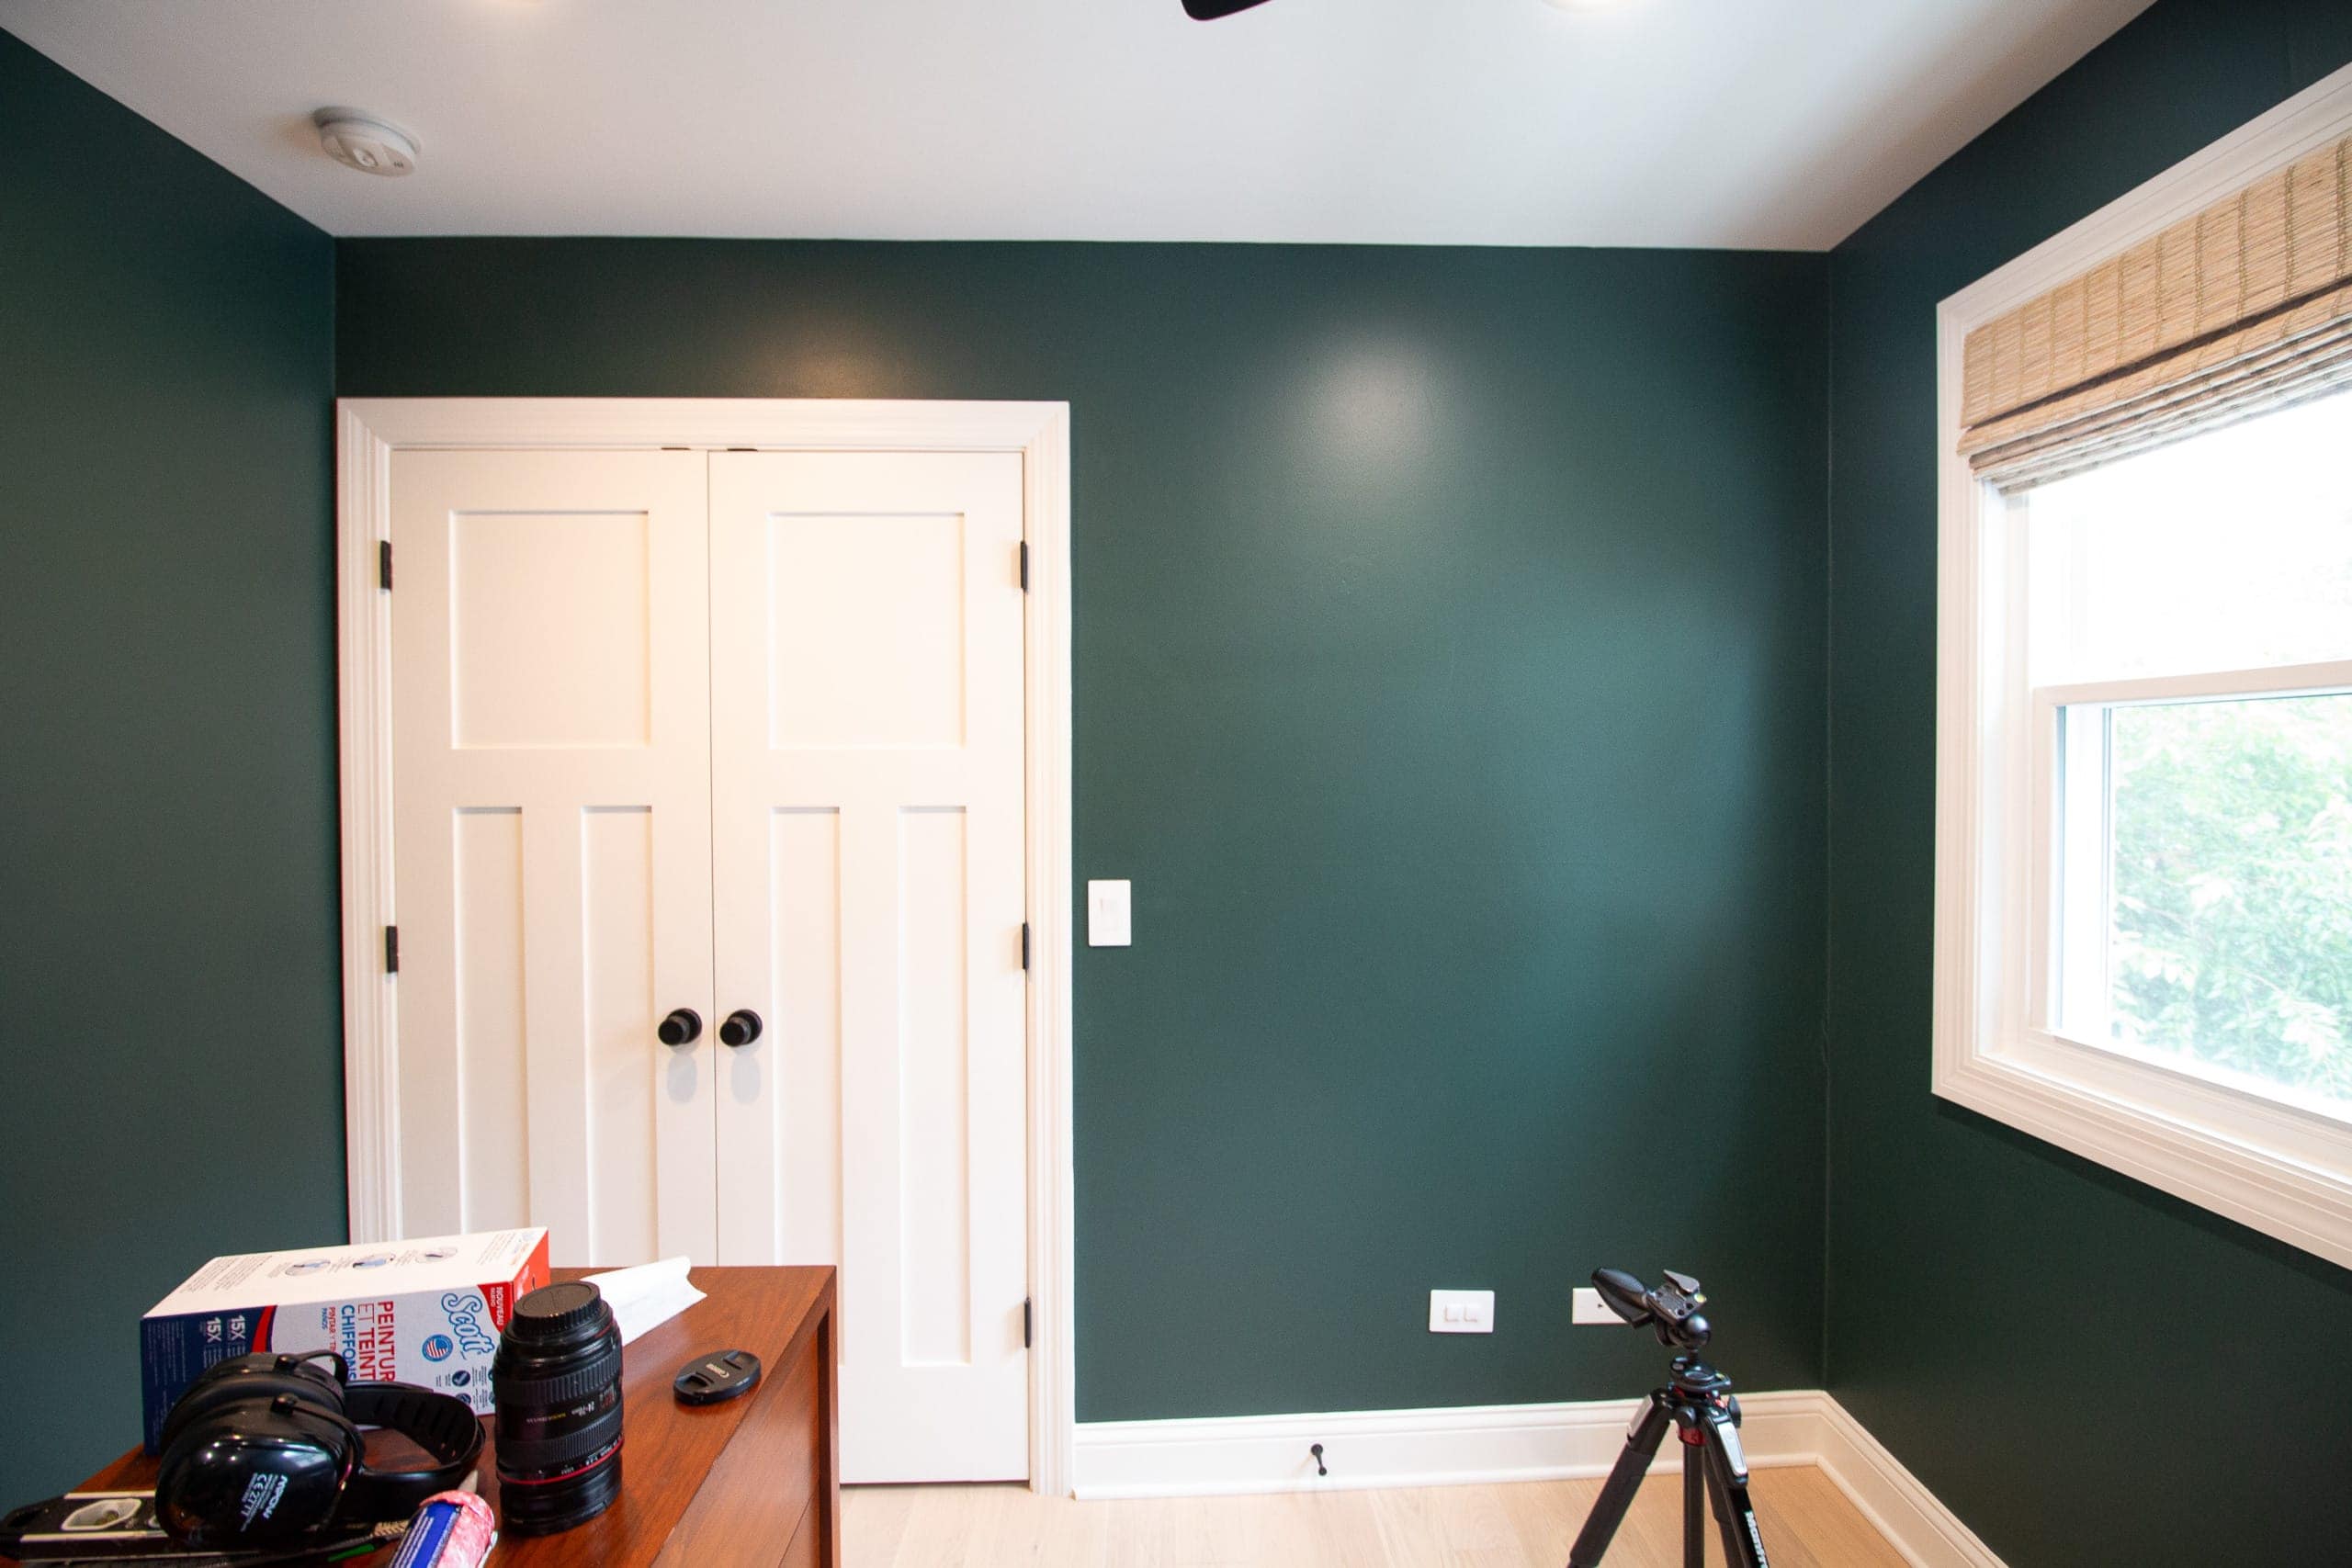
Before caulking, I had to get things clean. I used my favorite shop vac to clean the floor and scattered wood shavings. Then, I wiped everything down in the room, including the walls. Because I cut wood in here, there was dust everywhere! I didn’t want any dust in my caulk, and definitely didn’t want it in my paint job, so clean, dust-free walls were a must.
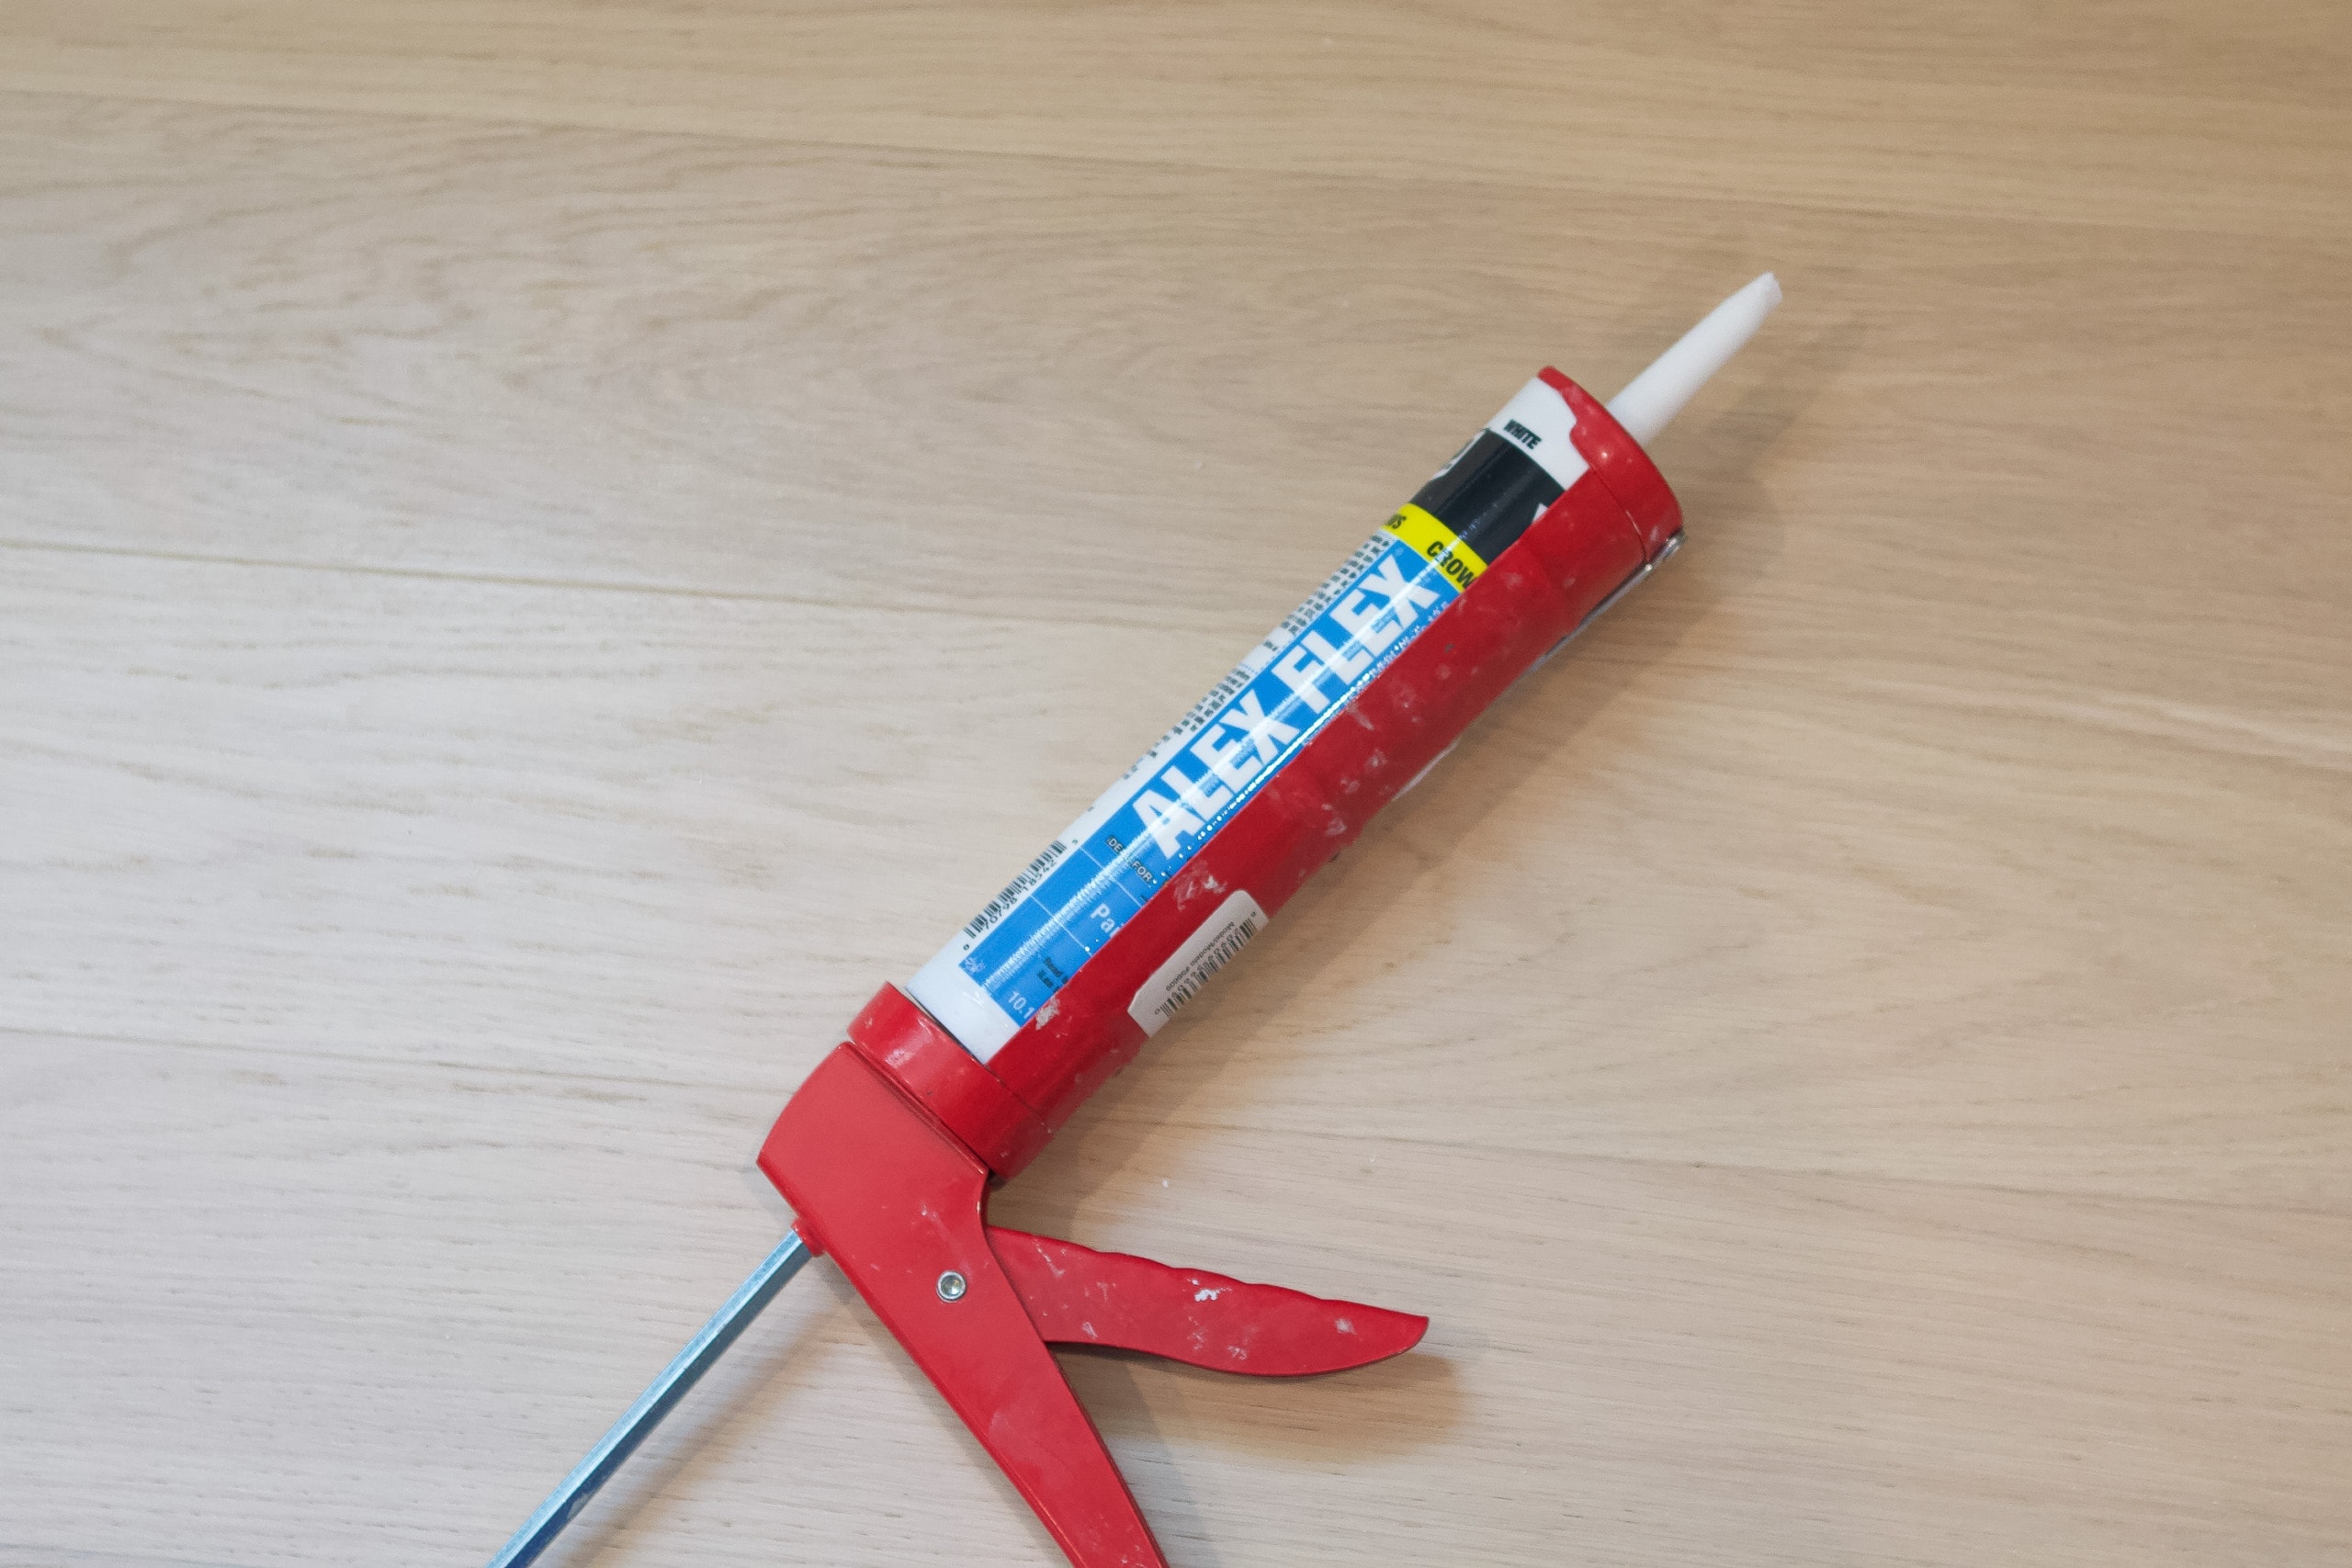
With everything clean, it was time to caulk. Caulk is essential for a seamless look. You want to caulk every single piece of wood to fill any gaps. Here are my best caulking tips…
- Cut the tip at an angle (not too big!)
- Keep a bowl of water handy
- Dip your finger in the water and run it directly after the caulk as you apply it
- Keep paper towels and a wet rag nearby so you can clean up as you go
- It gets messy, but it’s so worth it for a great end result!
You can check out this Caulk 101 post for all of my best tips!
Finally, Time to Paint!
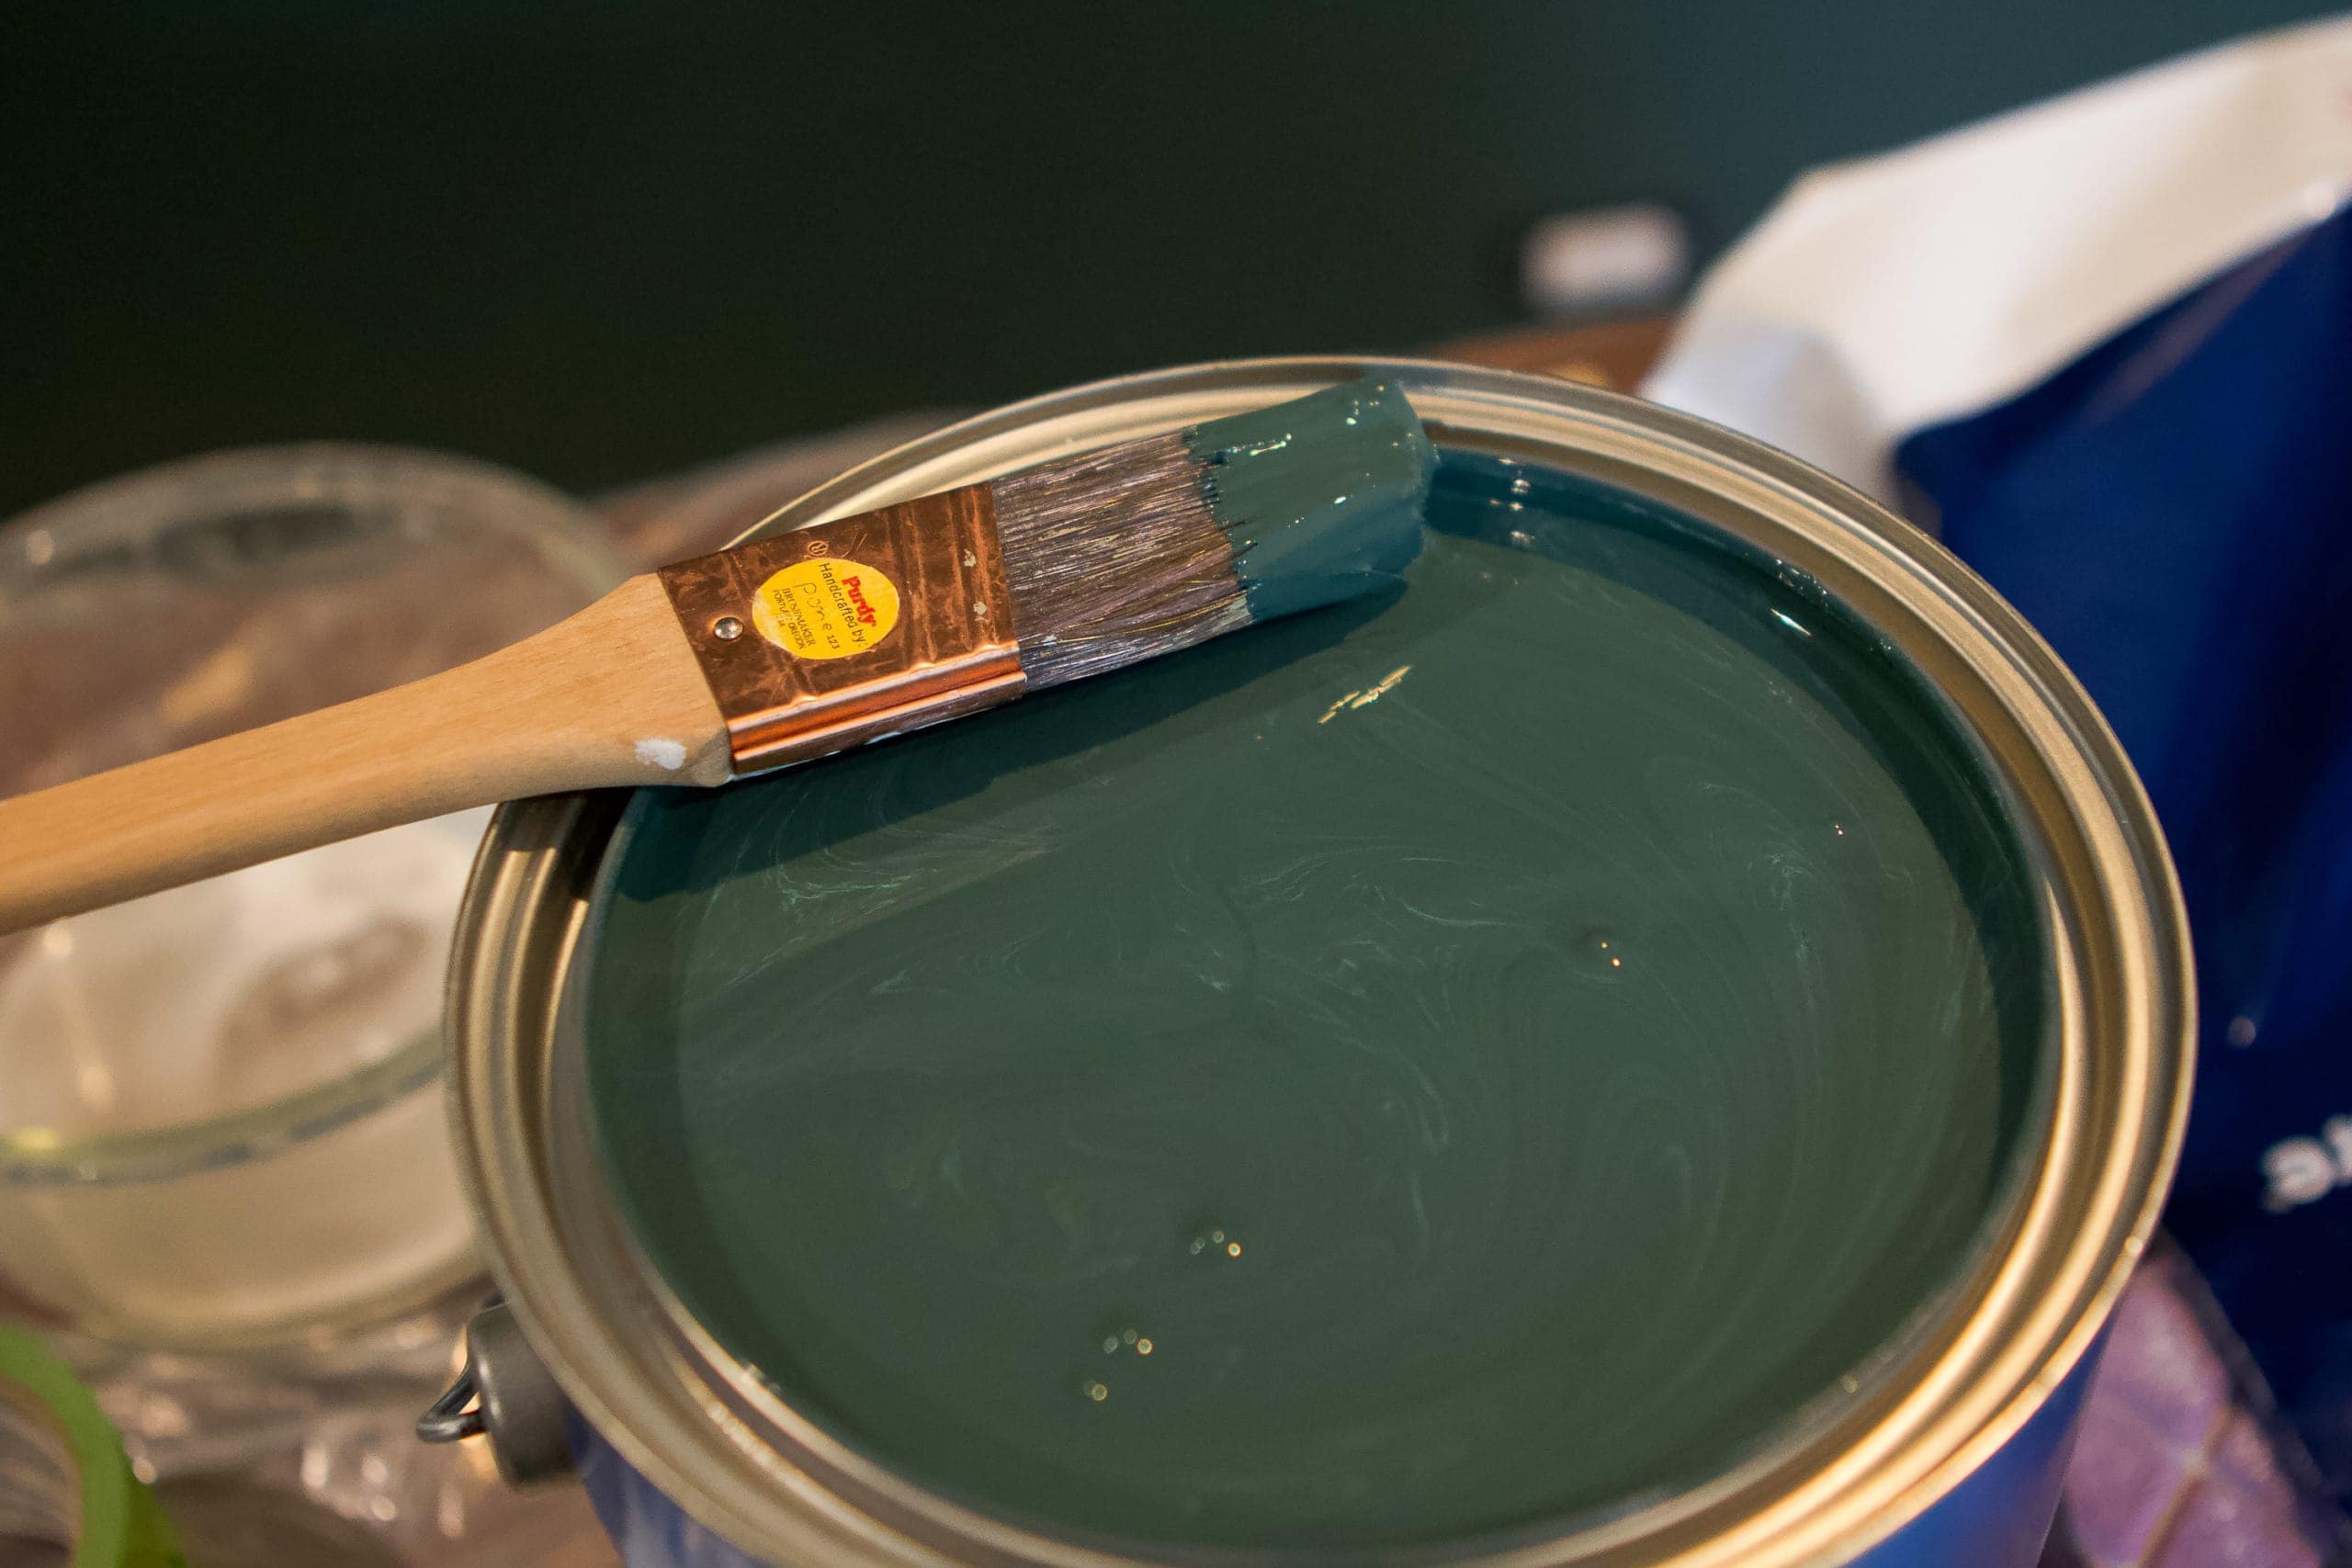
Hooray, finally time to paint! The paint color in this room is the color “Tarrytown Green” (in an eggshell finish), by Benjamin Moore, and I’ve always loved it! I went with the exact same wall color and finish (eggshell) for the molding. I grabbed my paint supplies and got right to work.
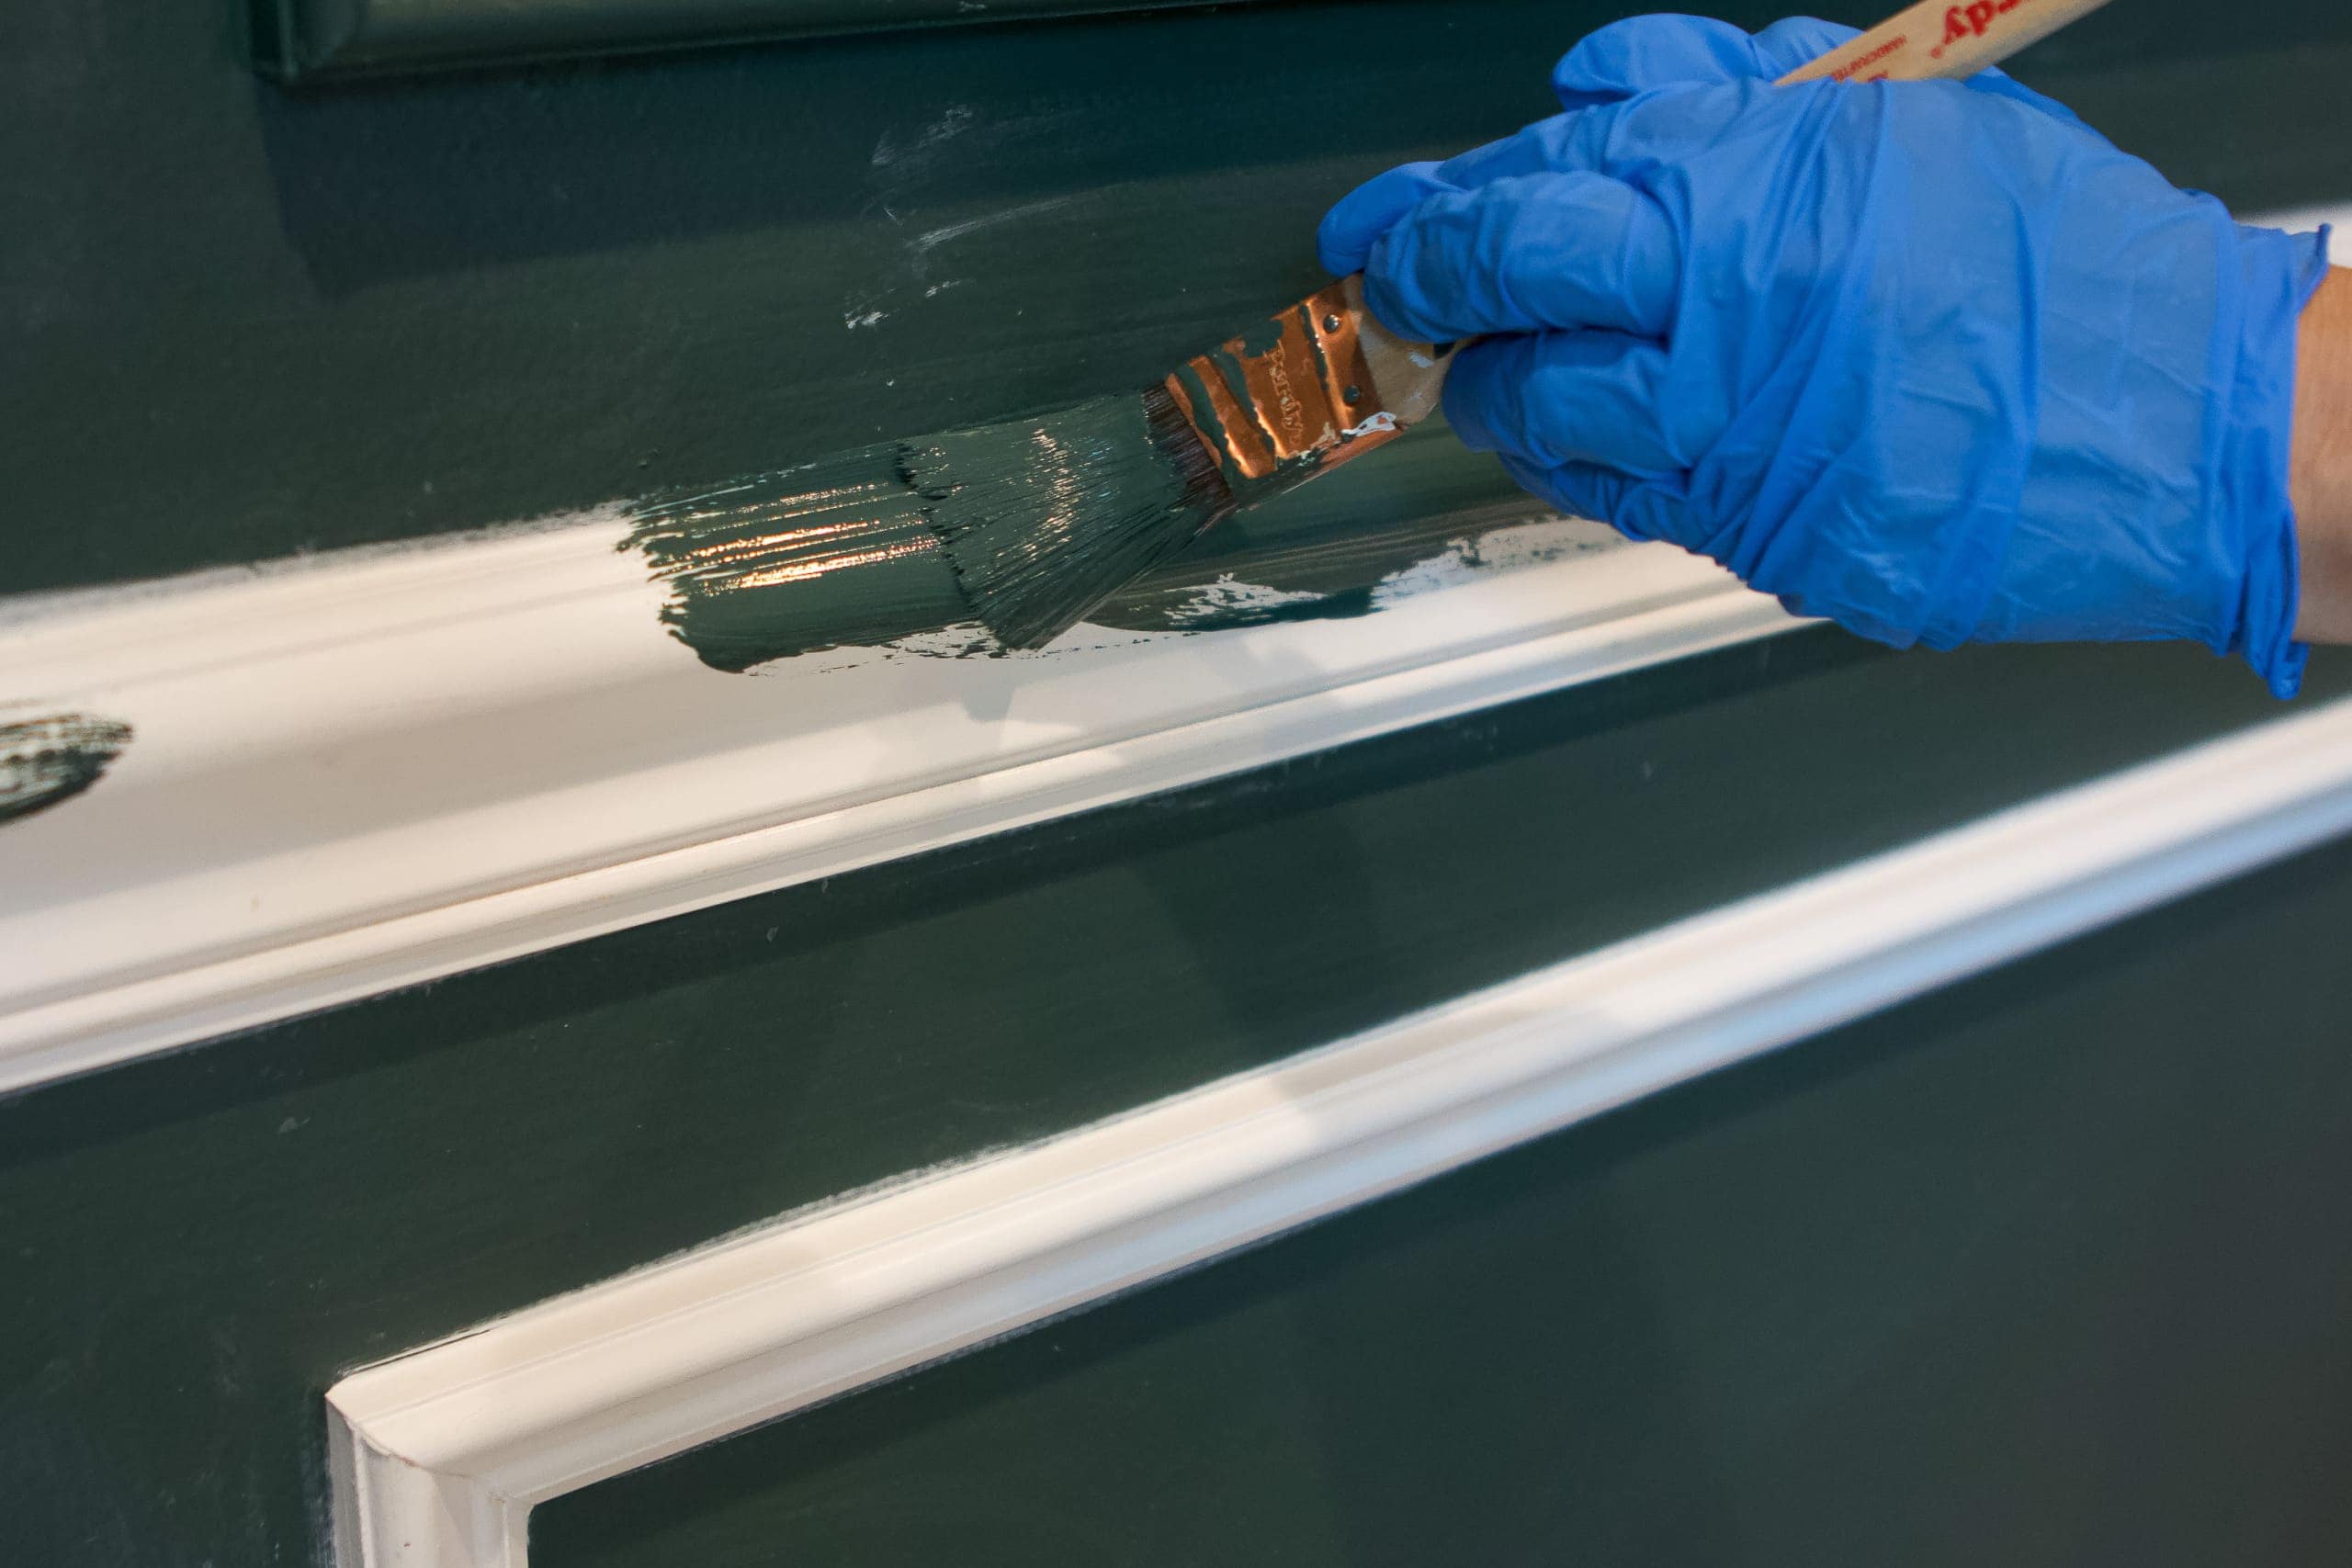
I wasn’t sure if I would have to paint the entire wall for every coat, so I started by just painting the molding. I painted two coats on the molding and then for the third coat, I painted the entire wall. This worked out beautifully.
Since I’m pregnant, I wore a mask and gloves, kept the windows open, and tried to keep the room as well-ventilated as possible. I also talked to my doctor ahead of time and she gave me the green light.
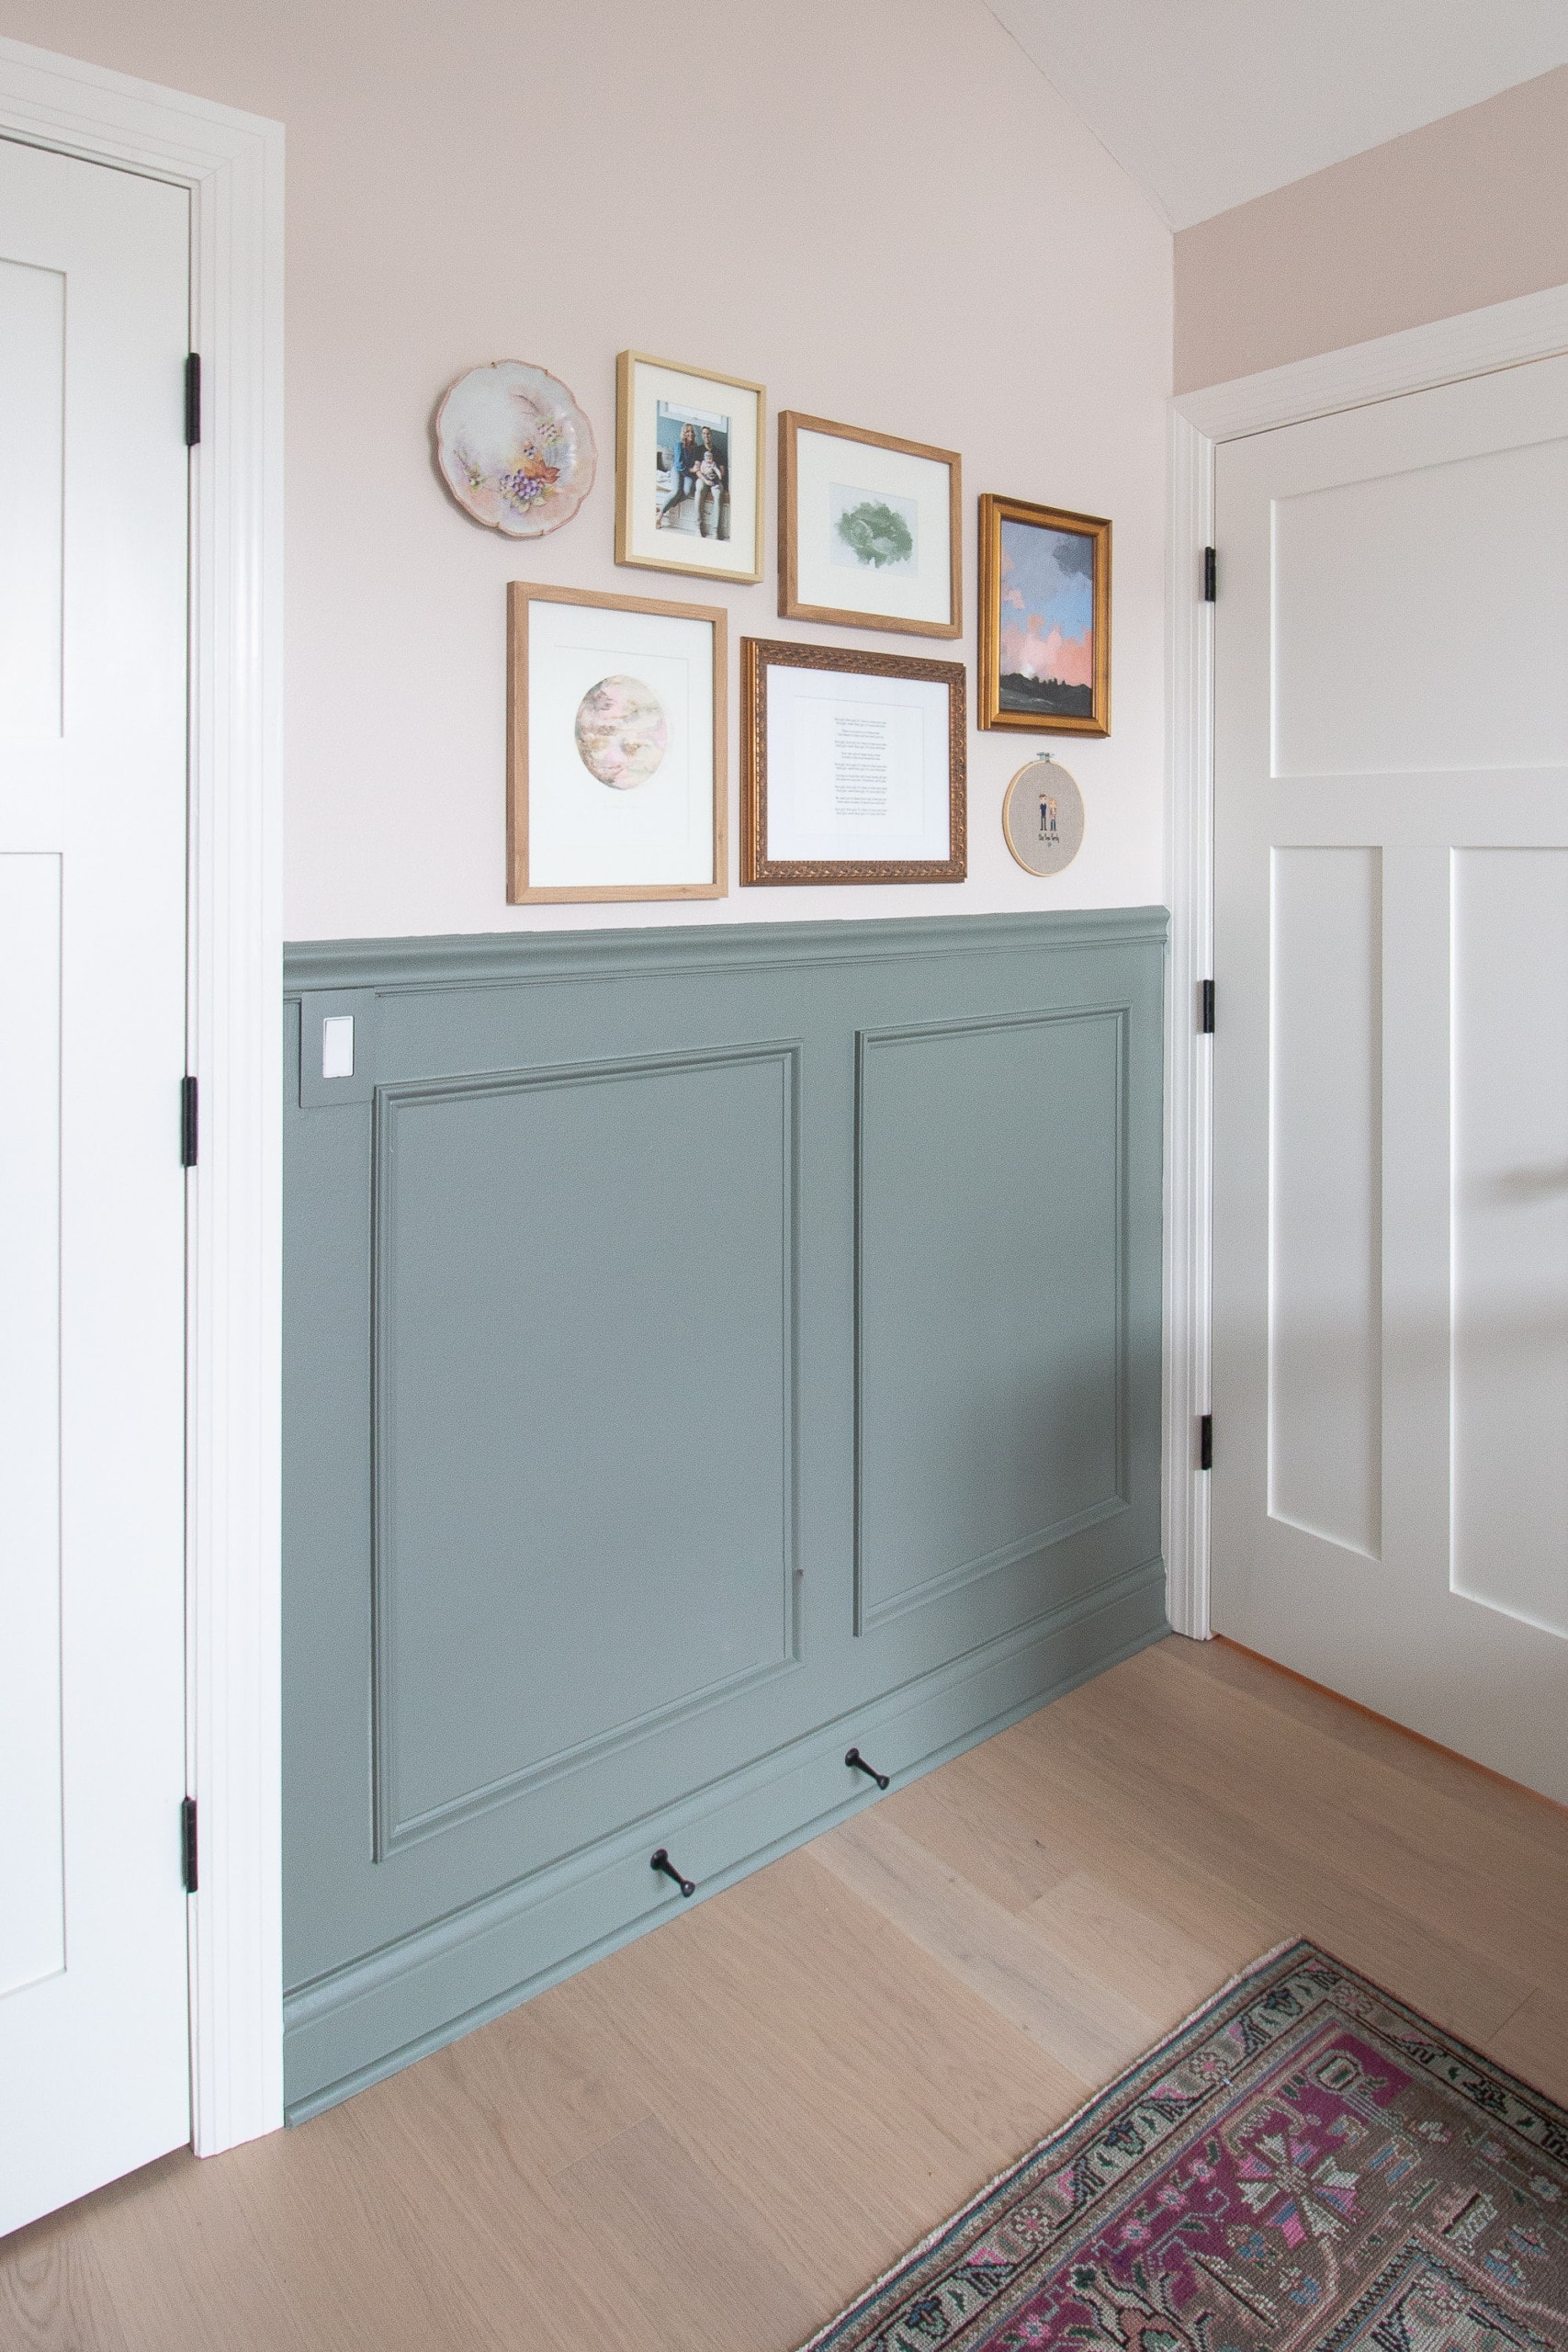
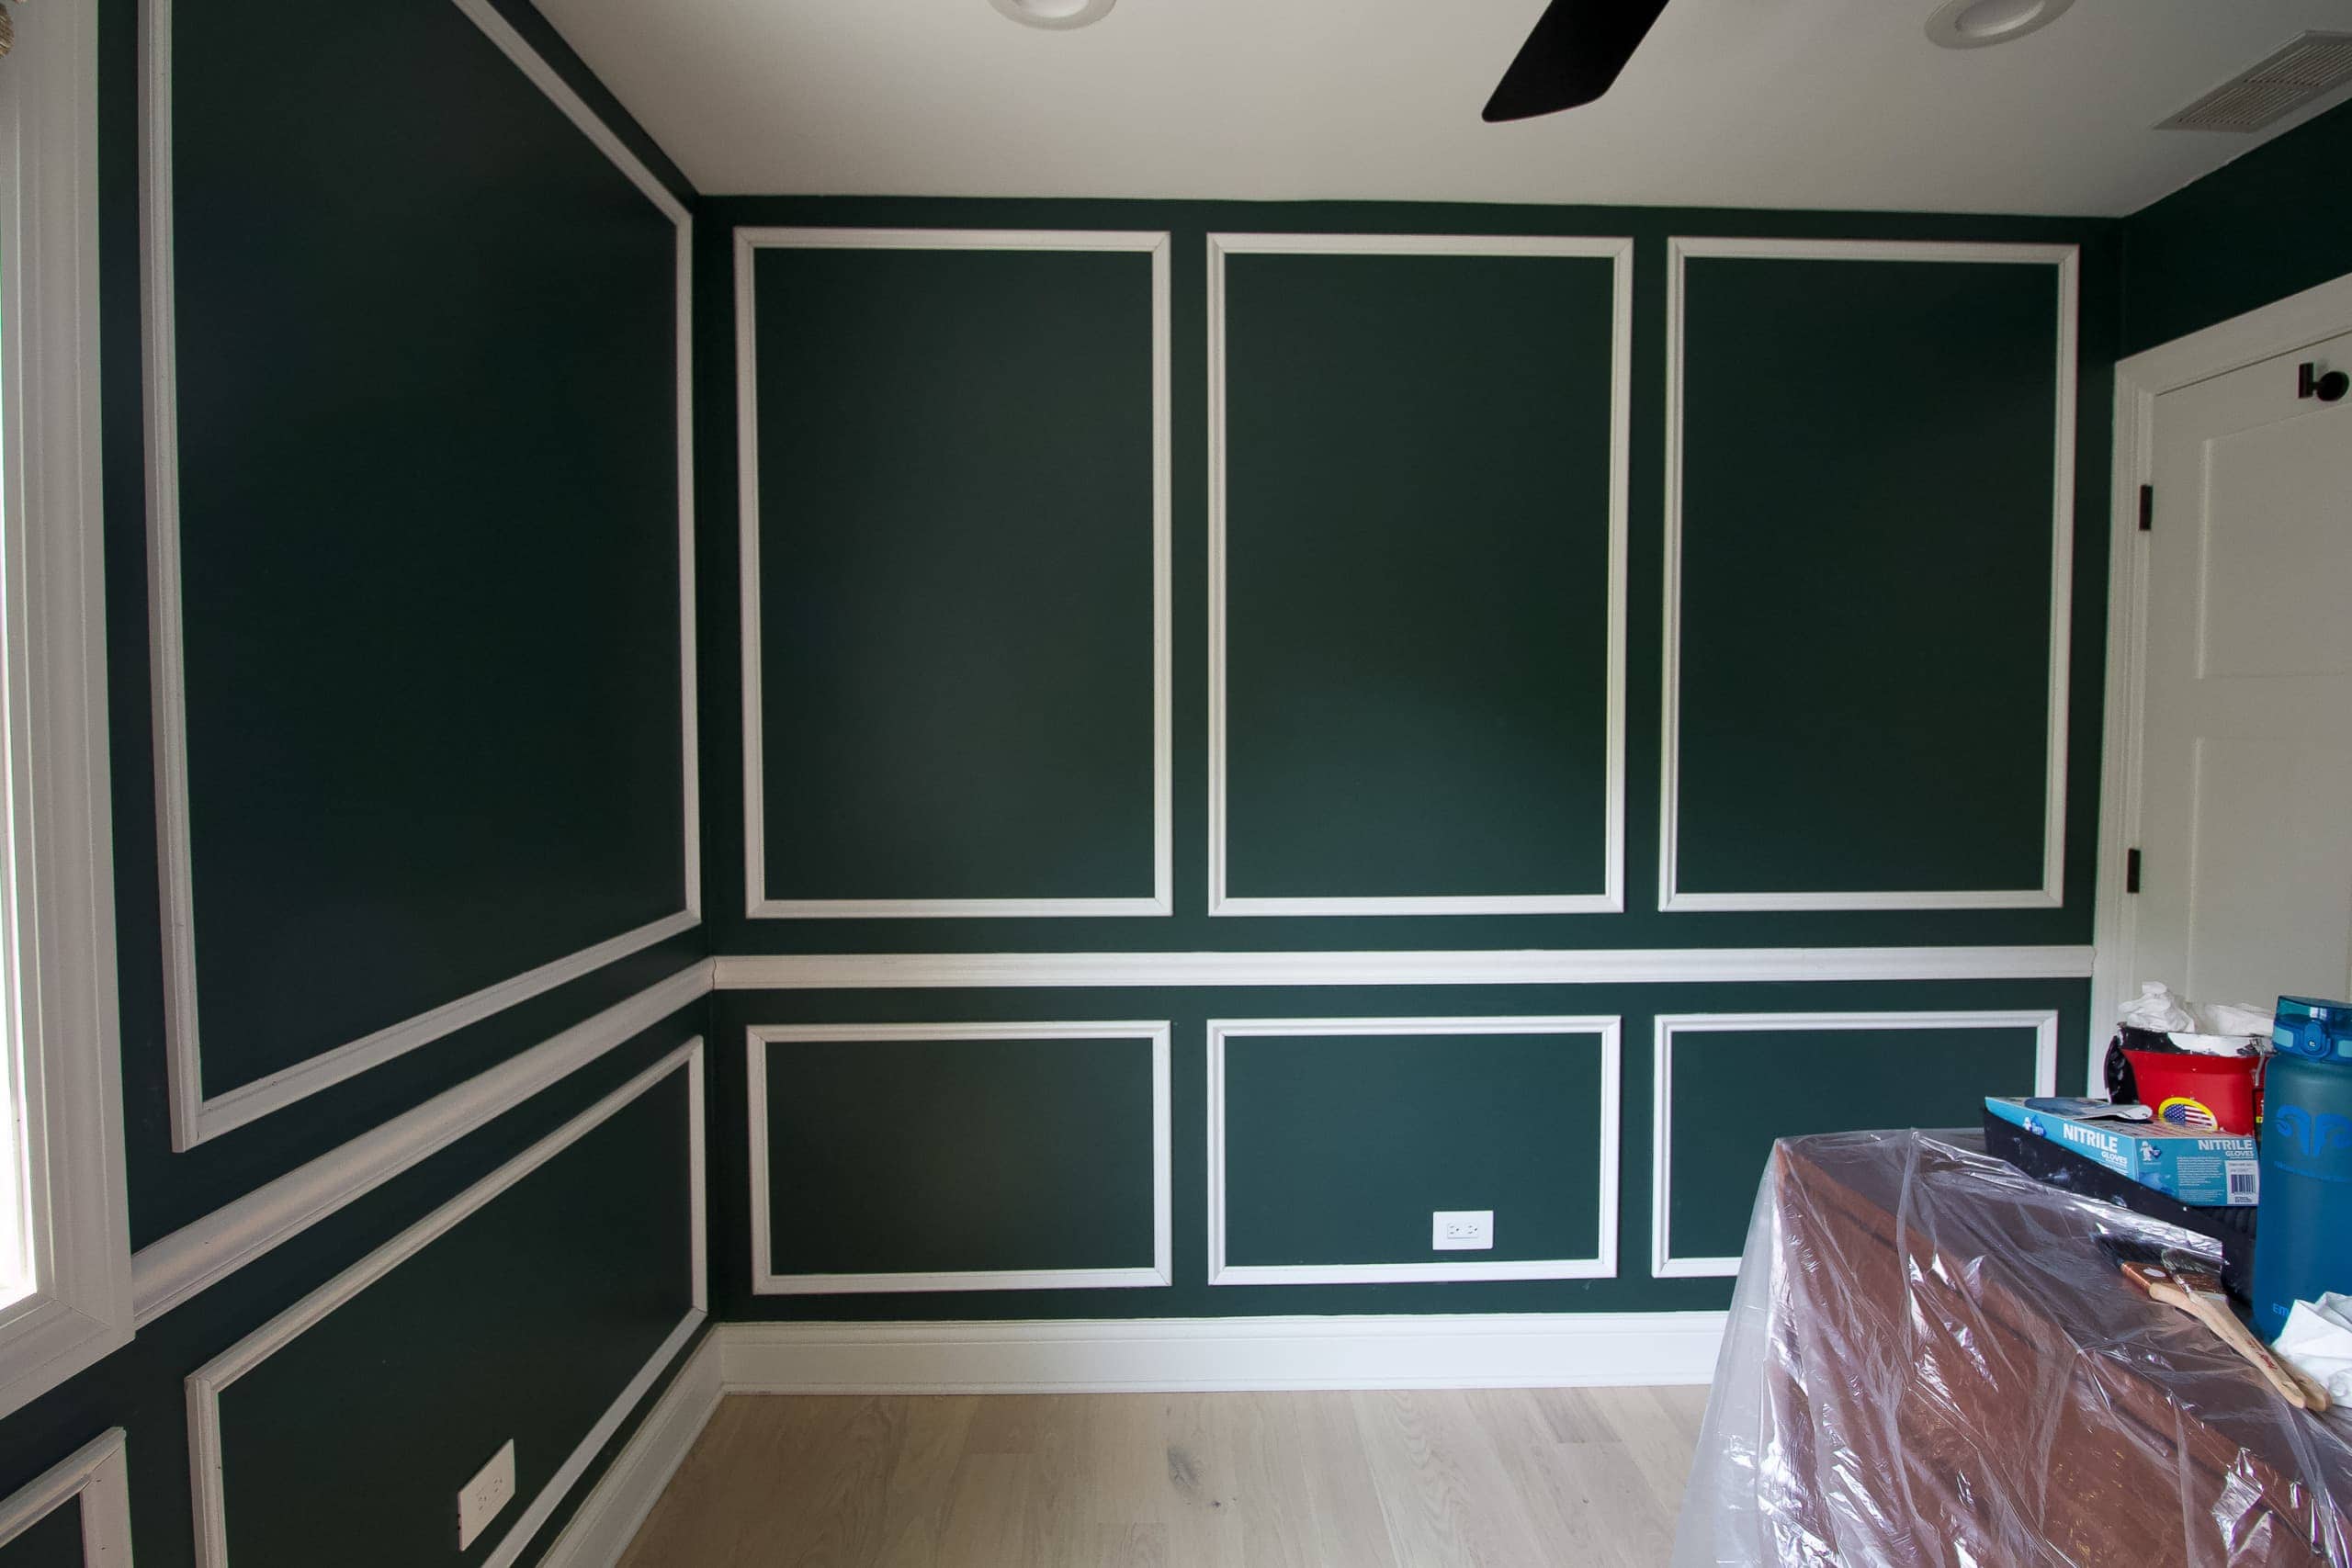
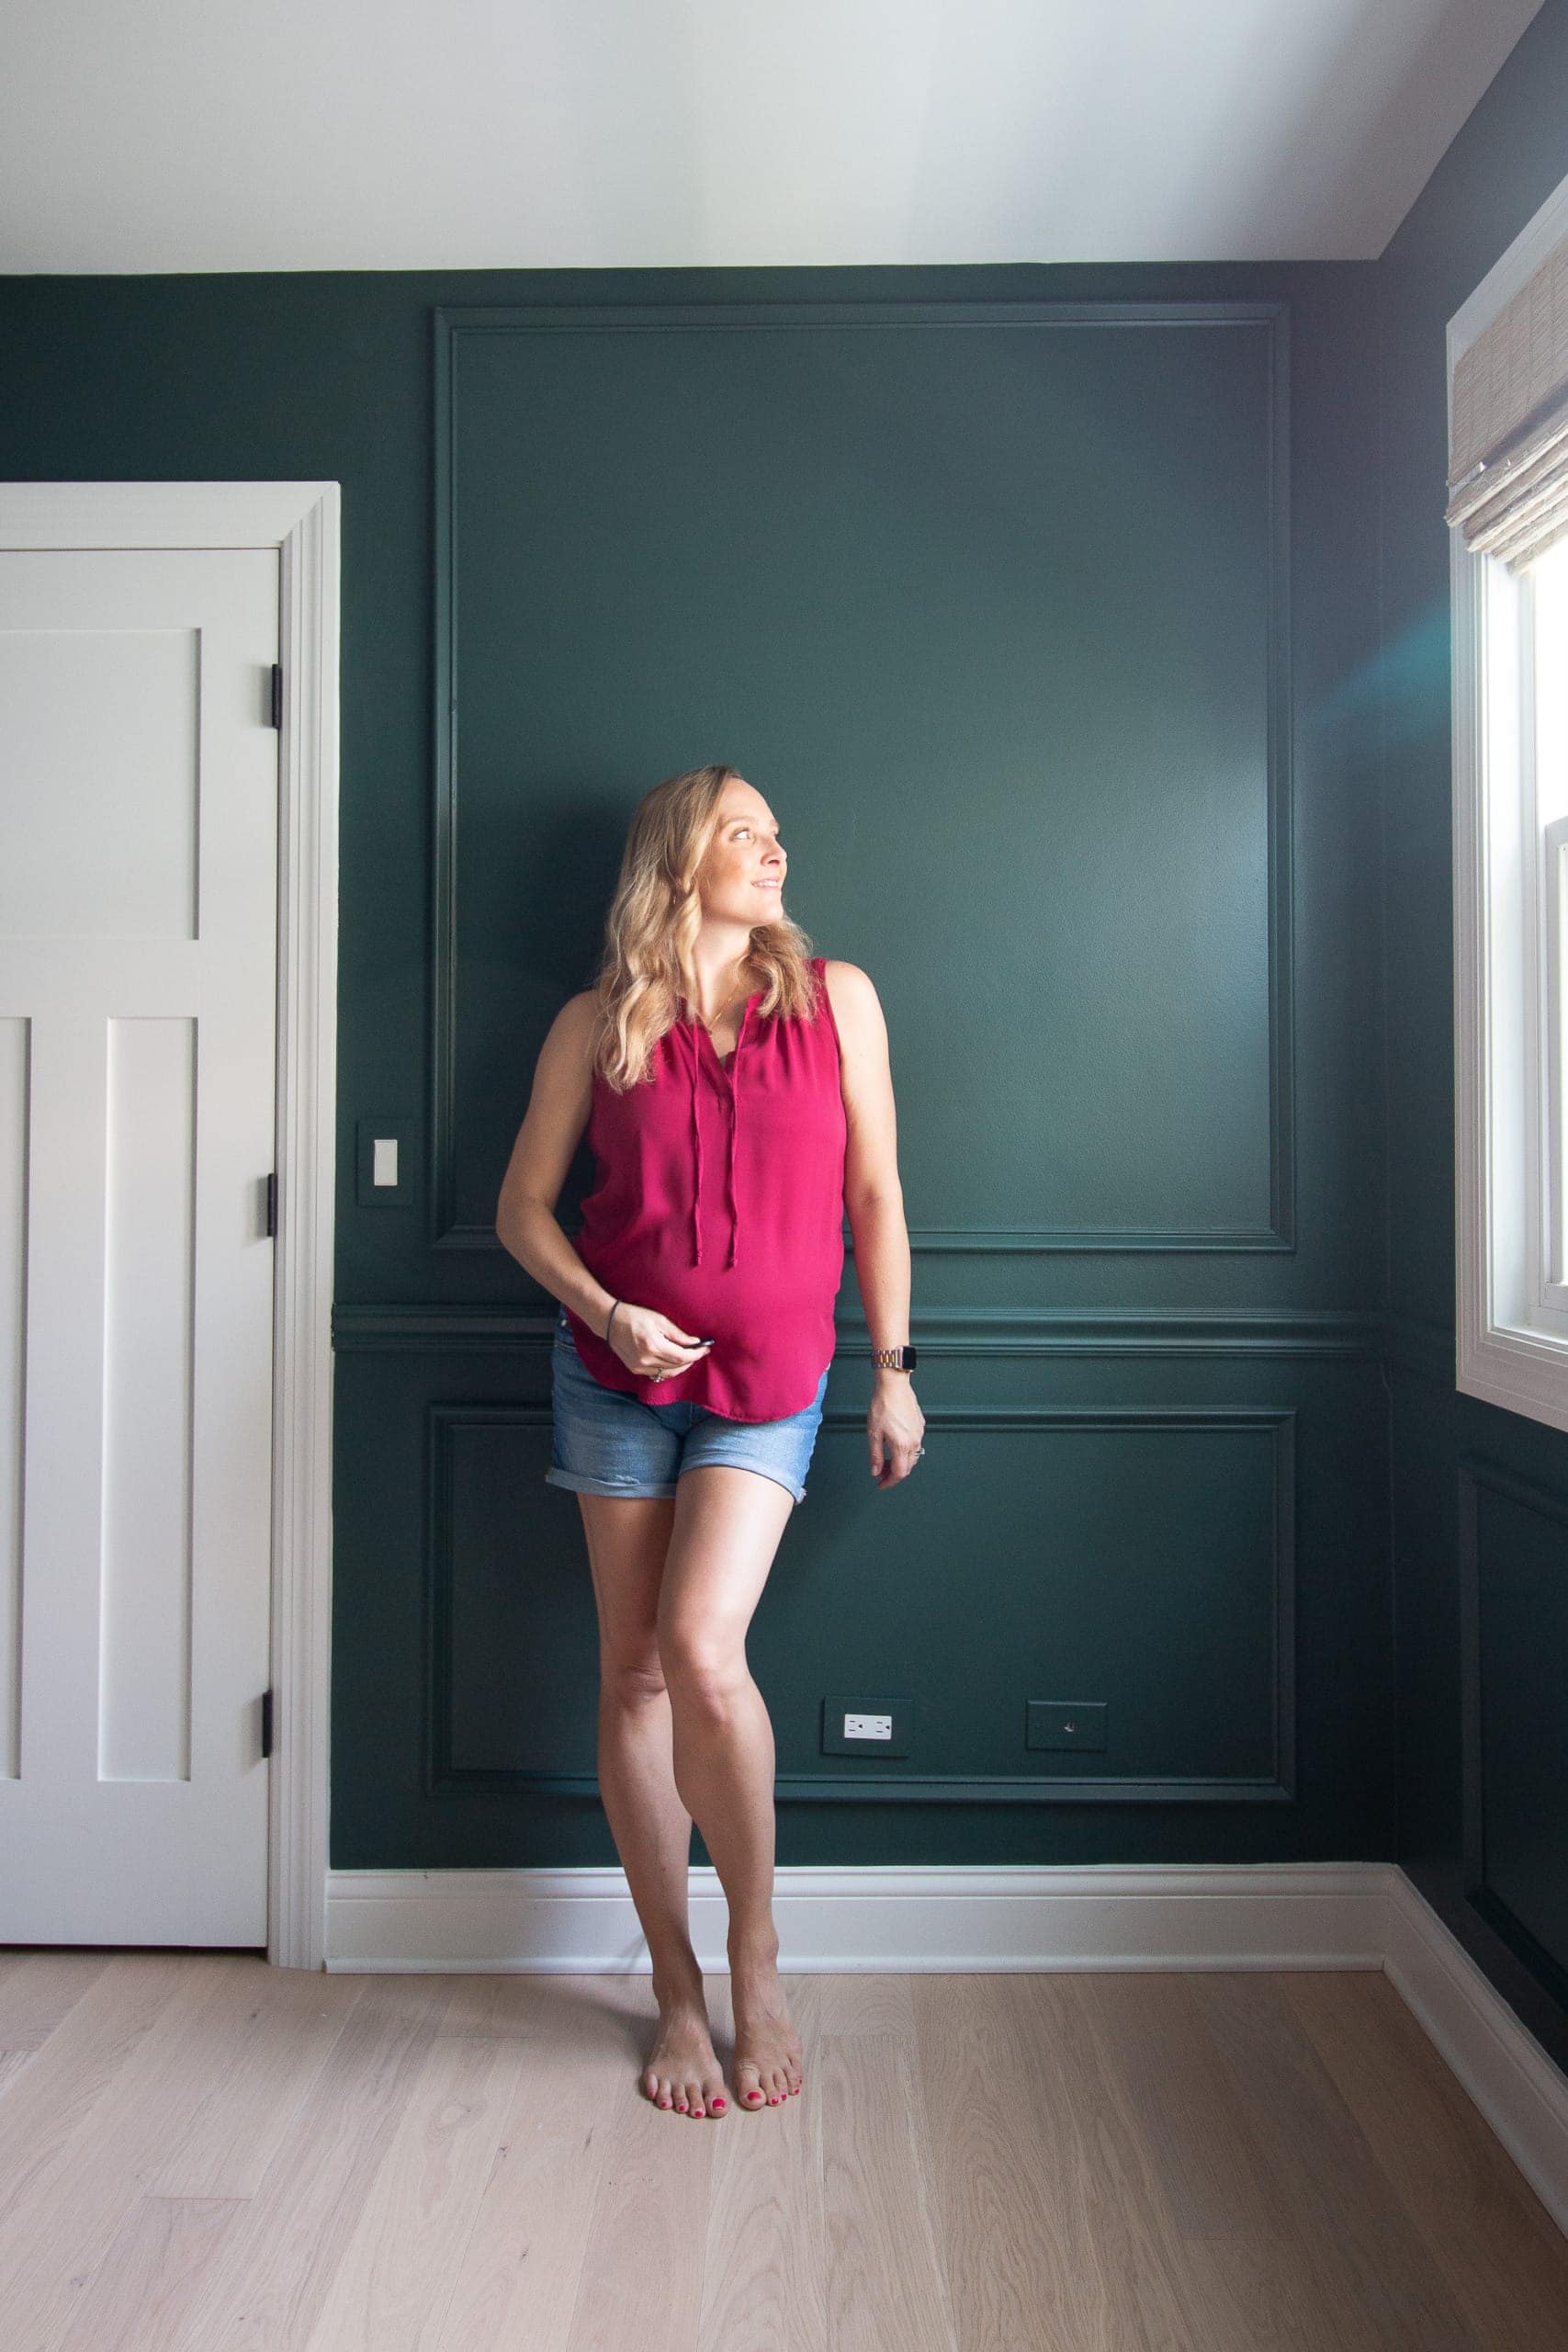
Picture Frame Molding in the Nursery
Here’s a look at the end result…
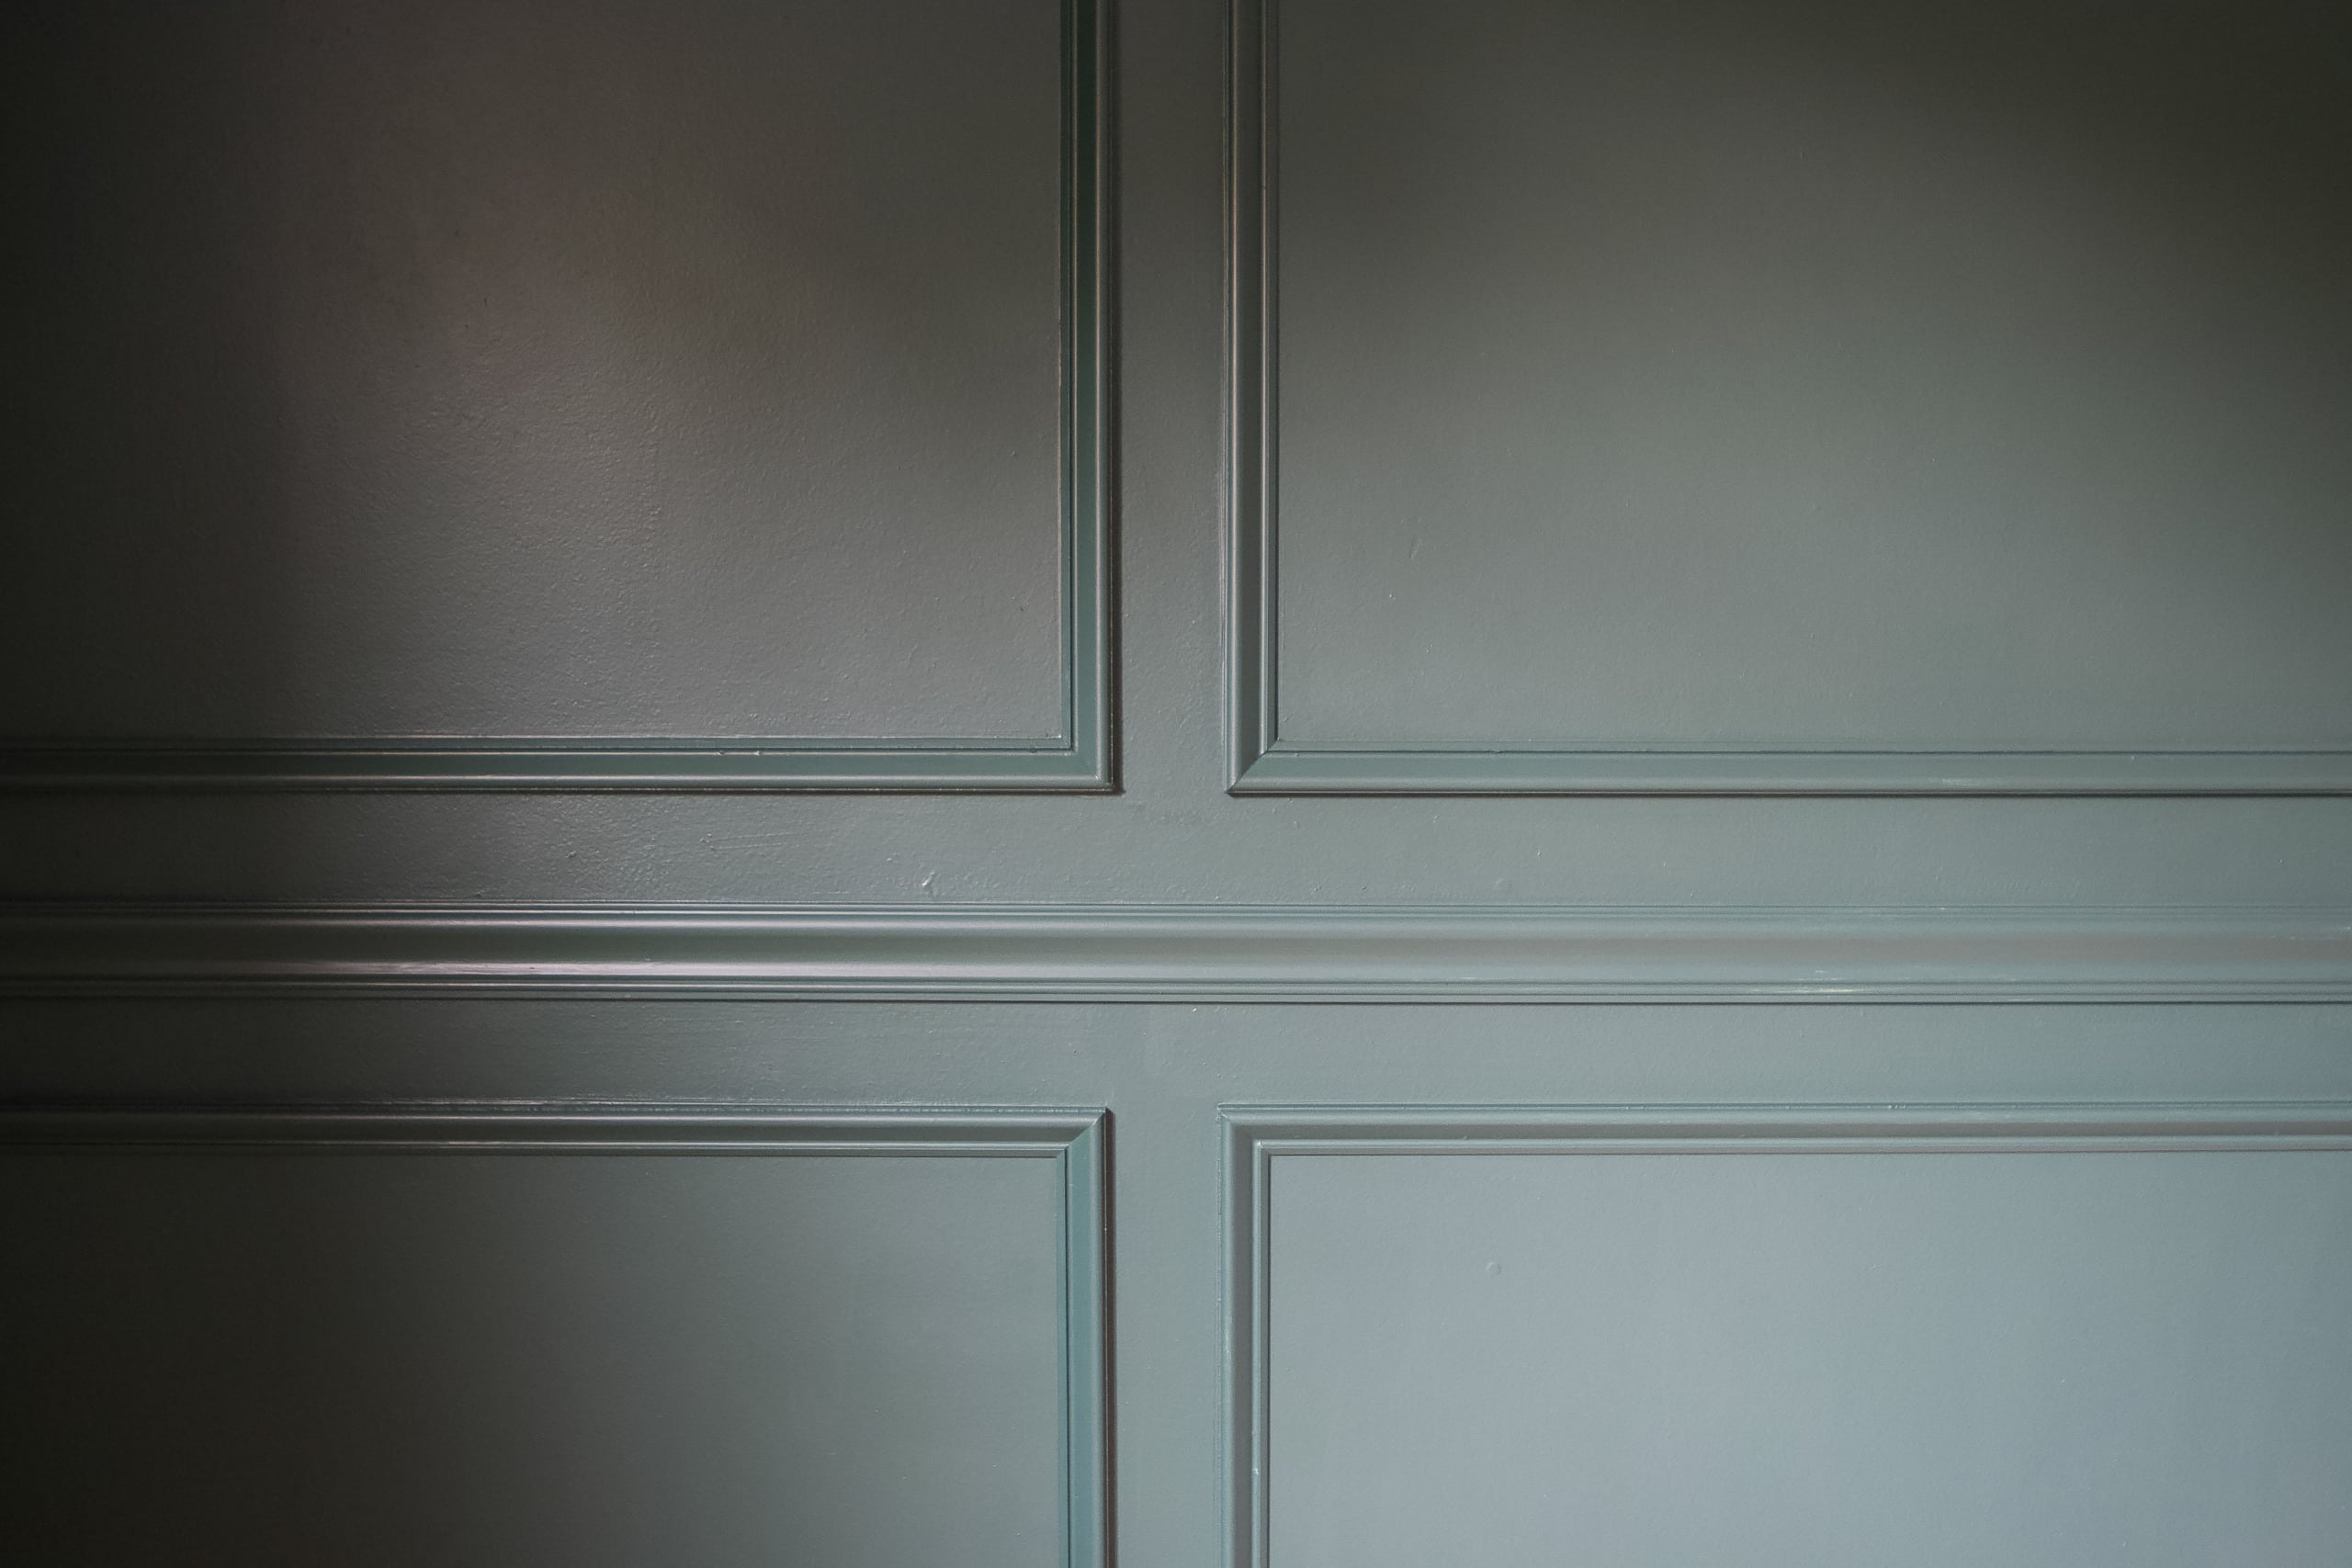
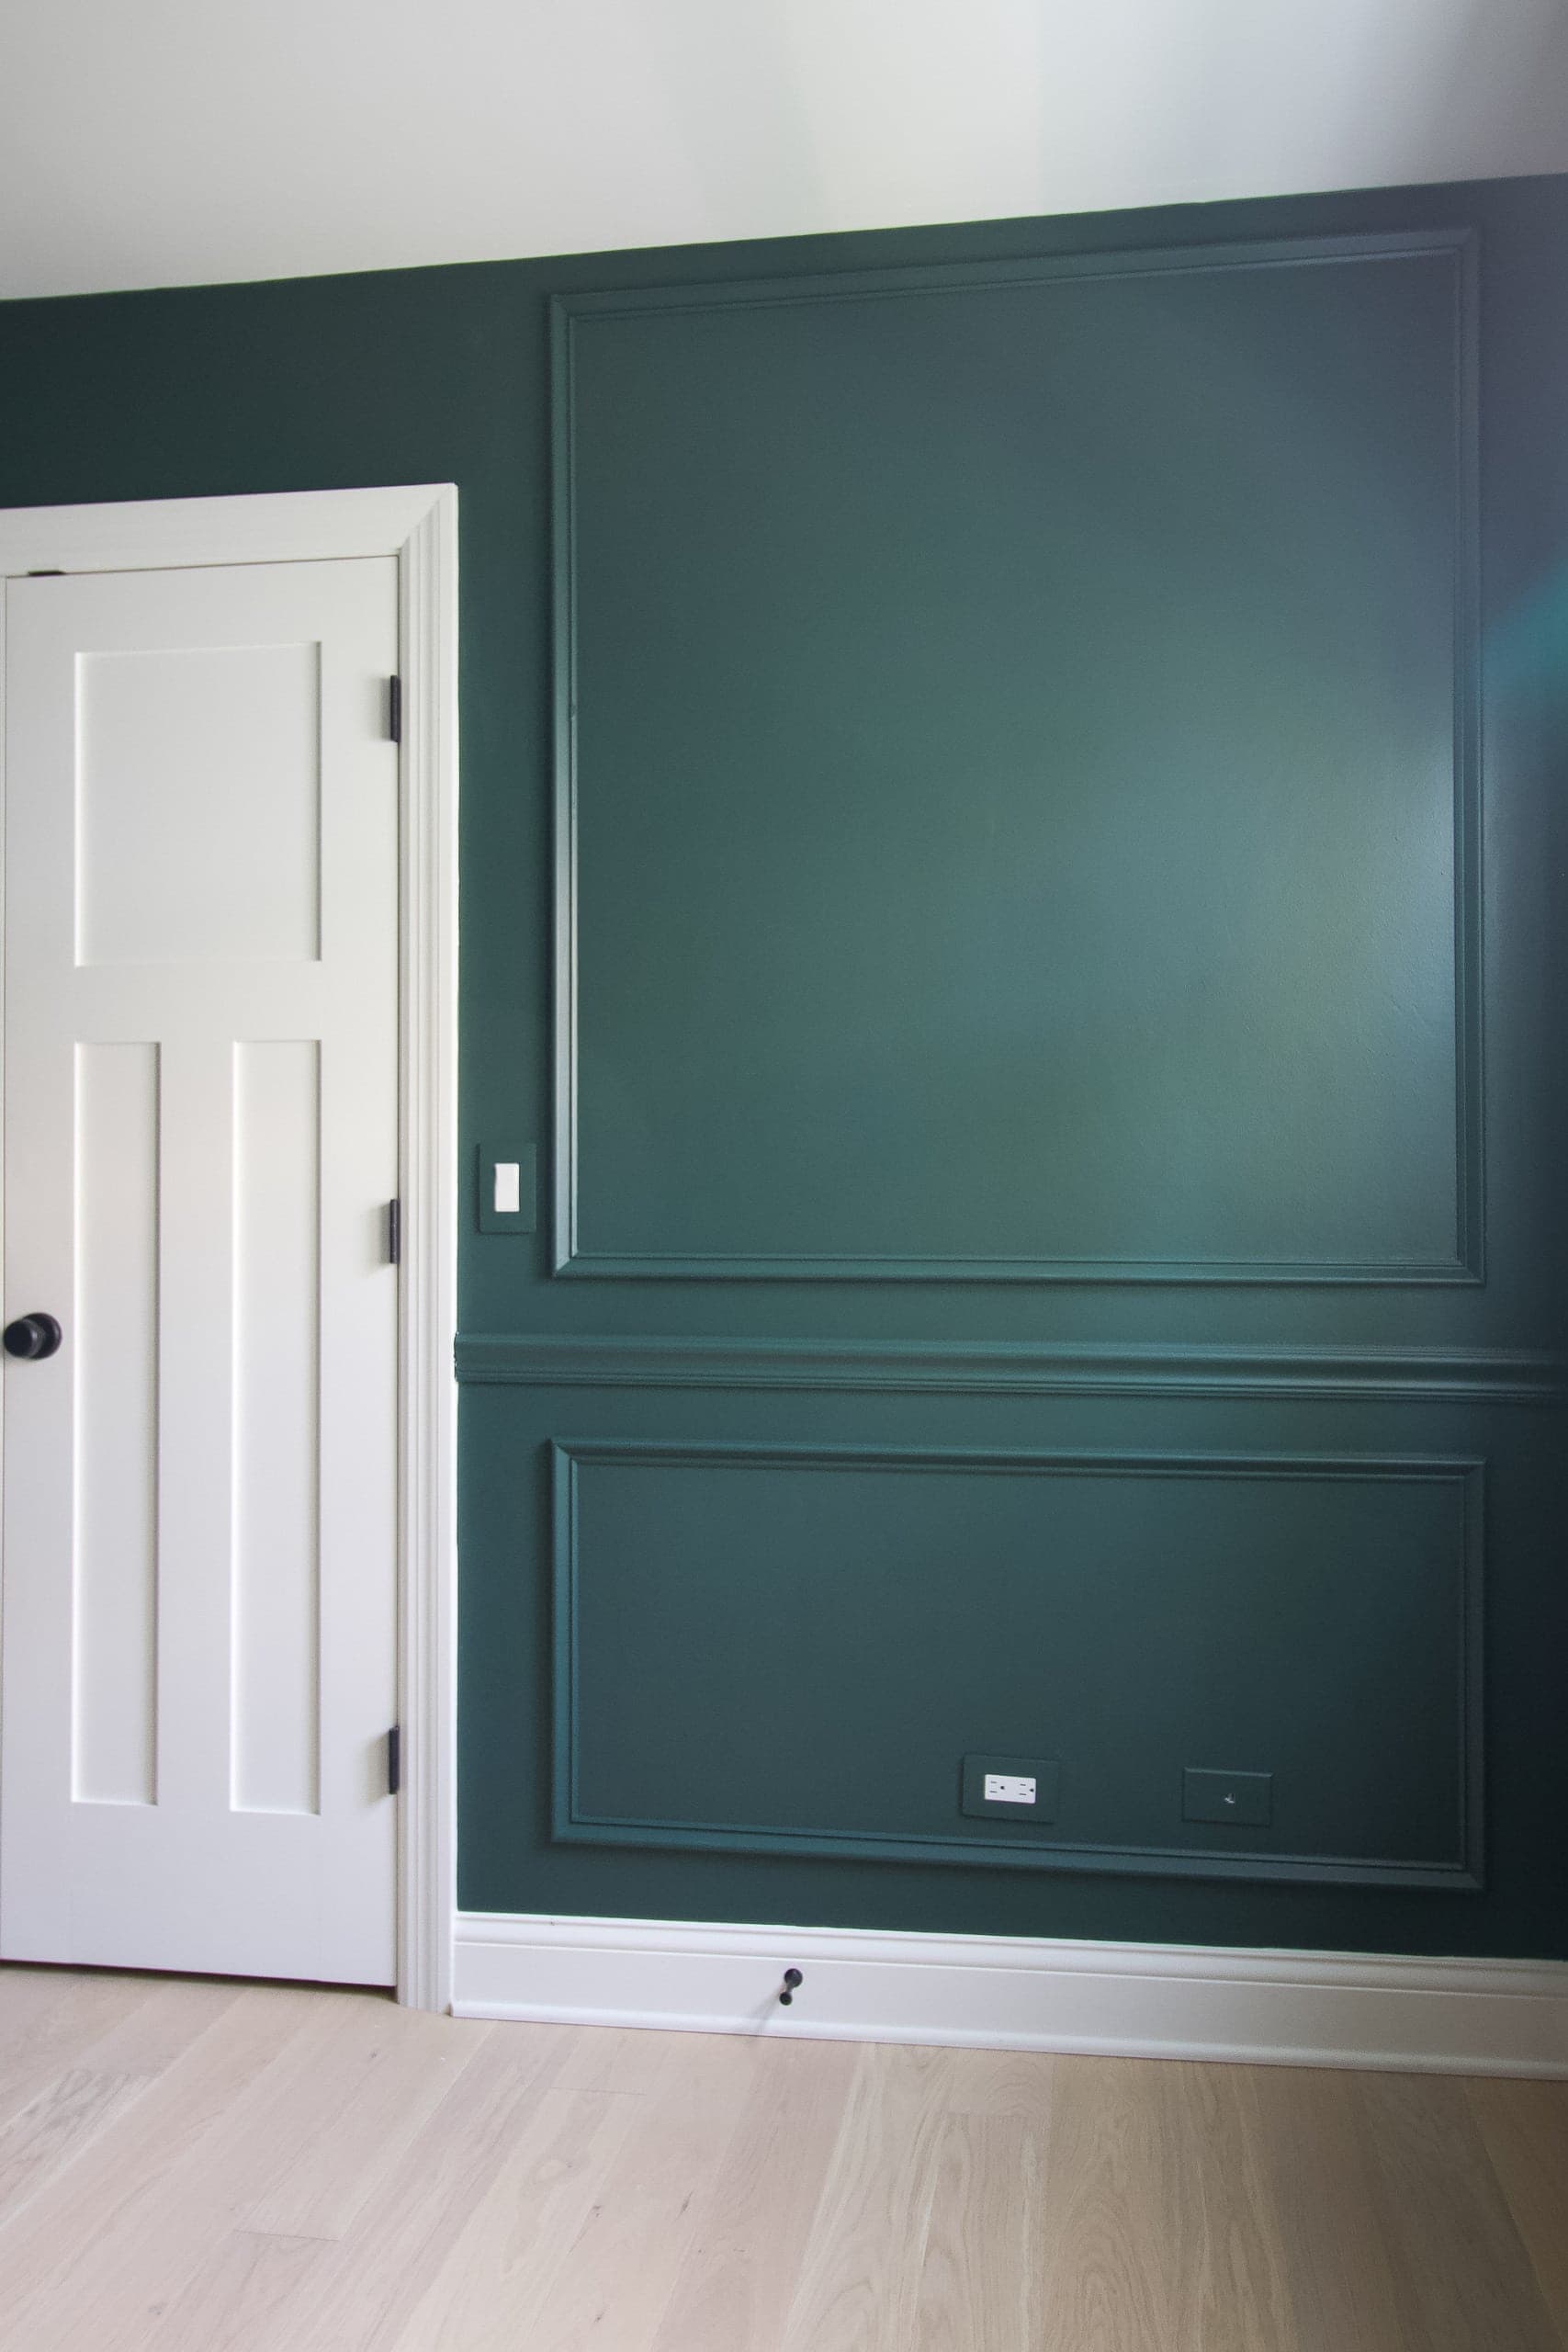

The green color is fantastic and I even ended up painting the outlet covers green too. (You can find my full tutorial for that right here. No chipping!)
Before & After
Here’s a look at the before and after of each wall…
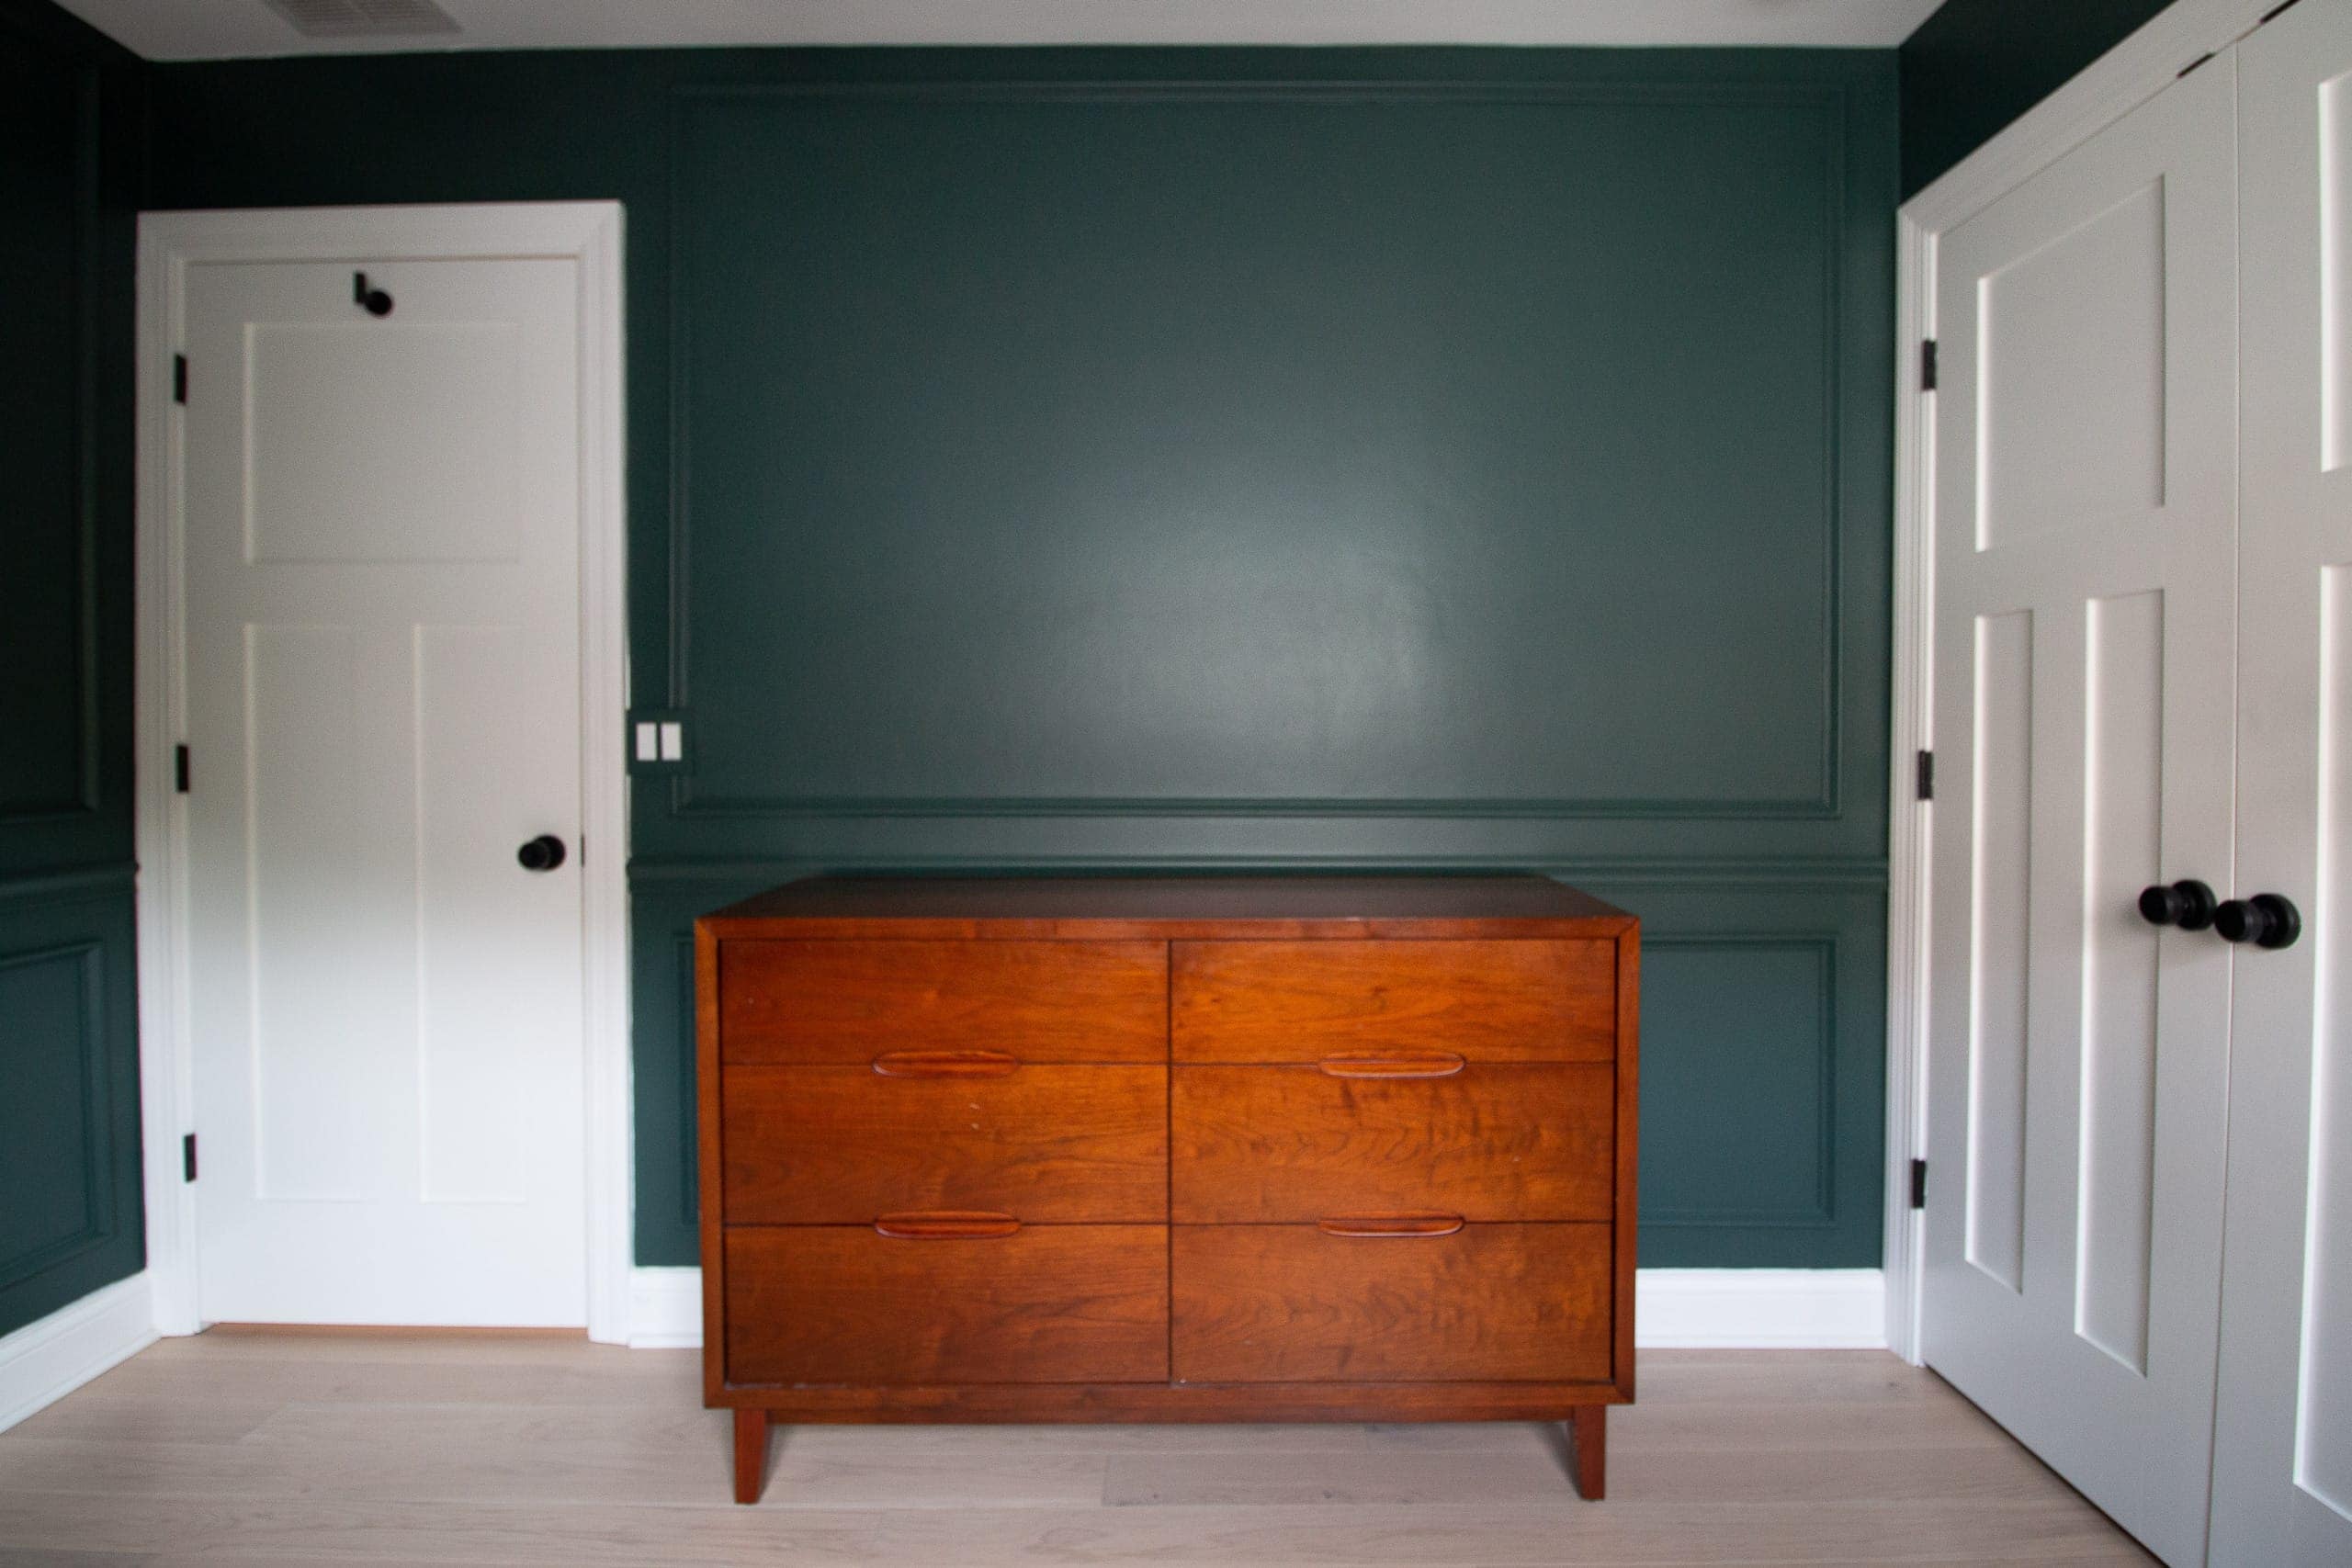

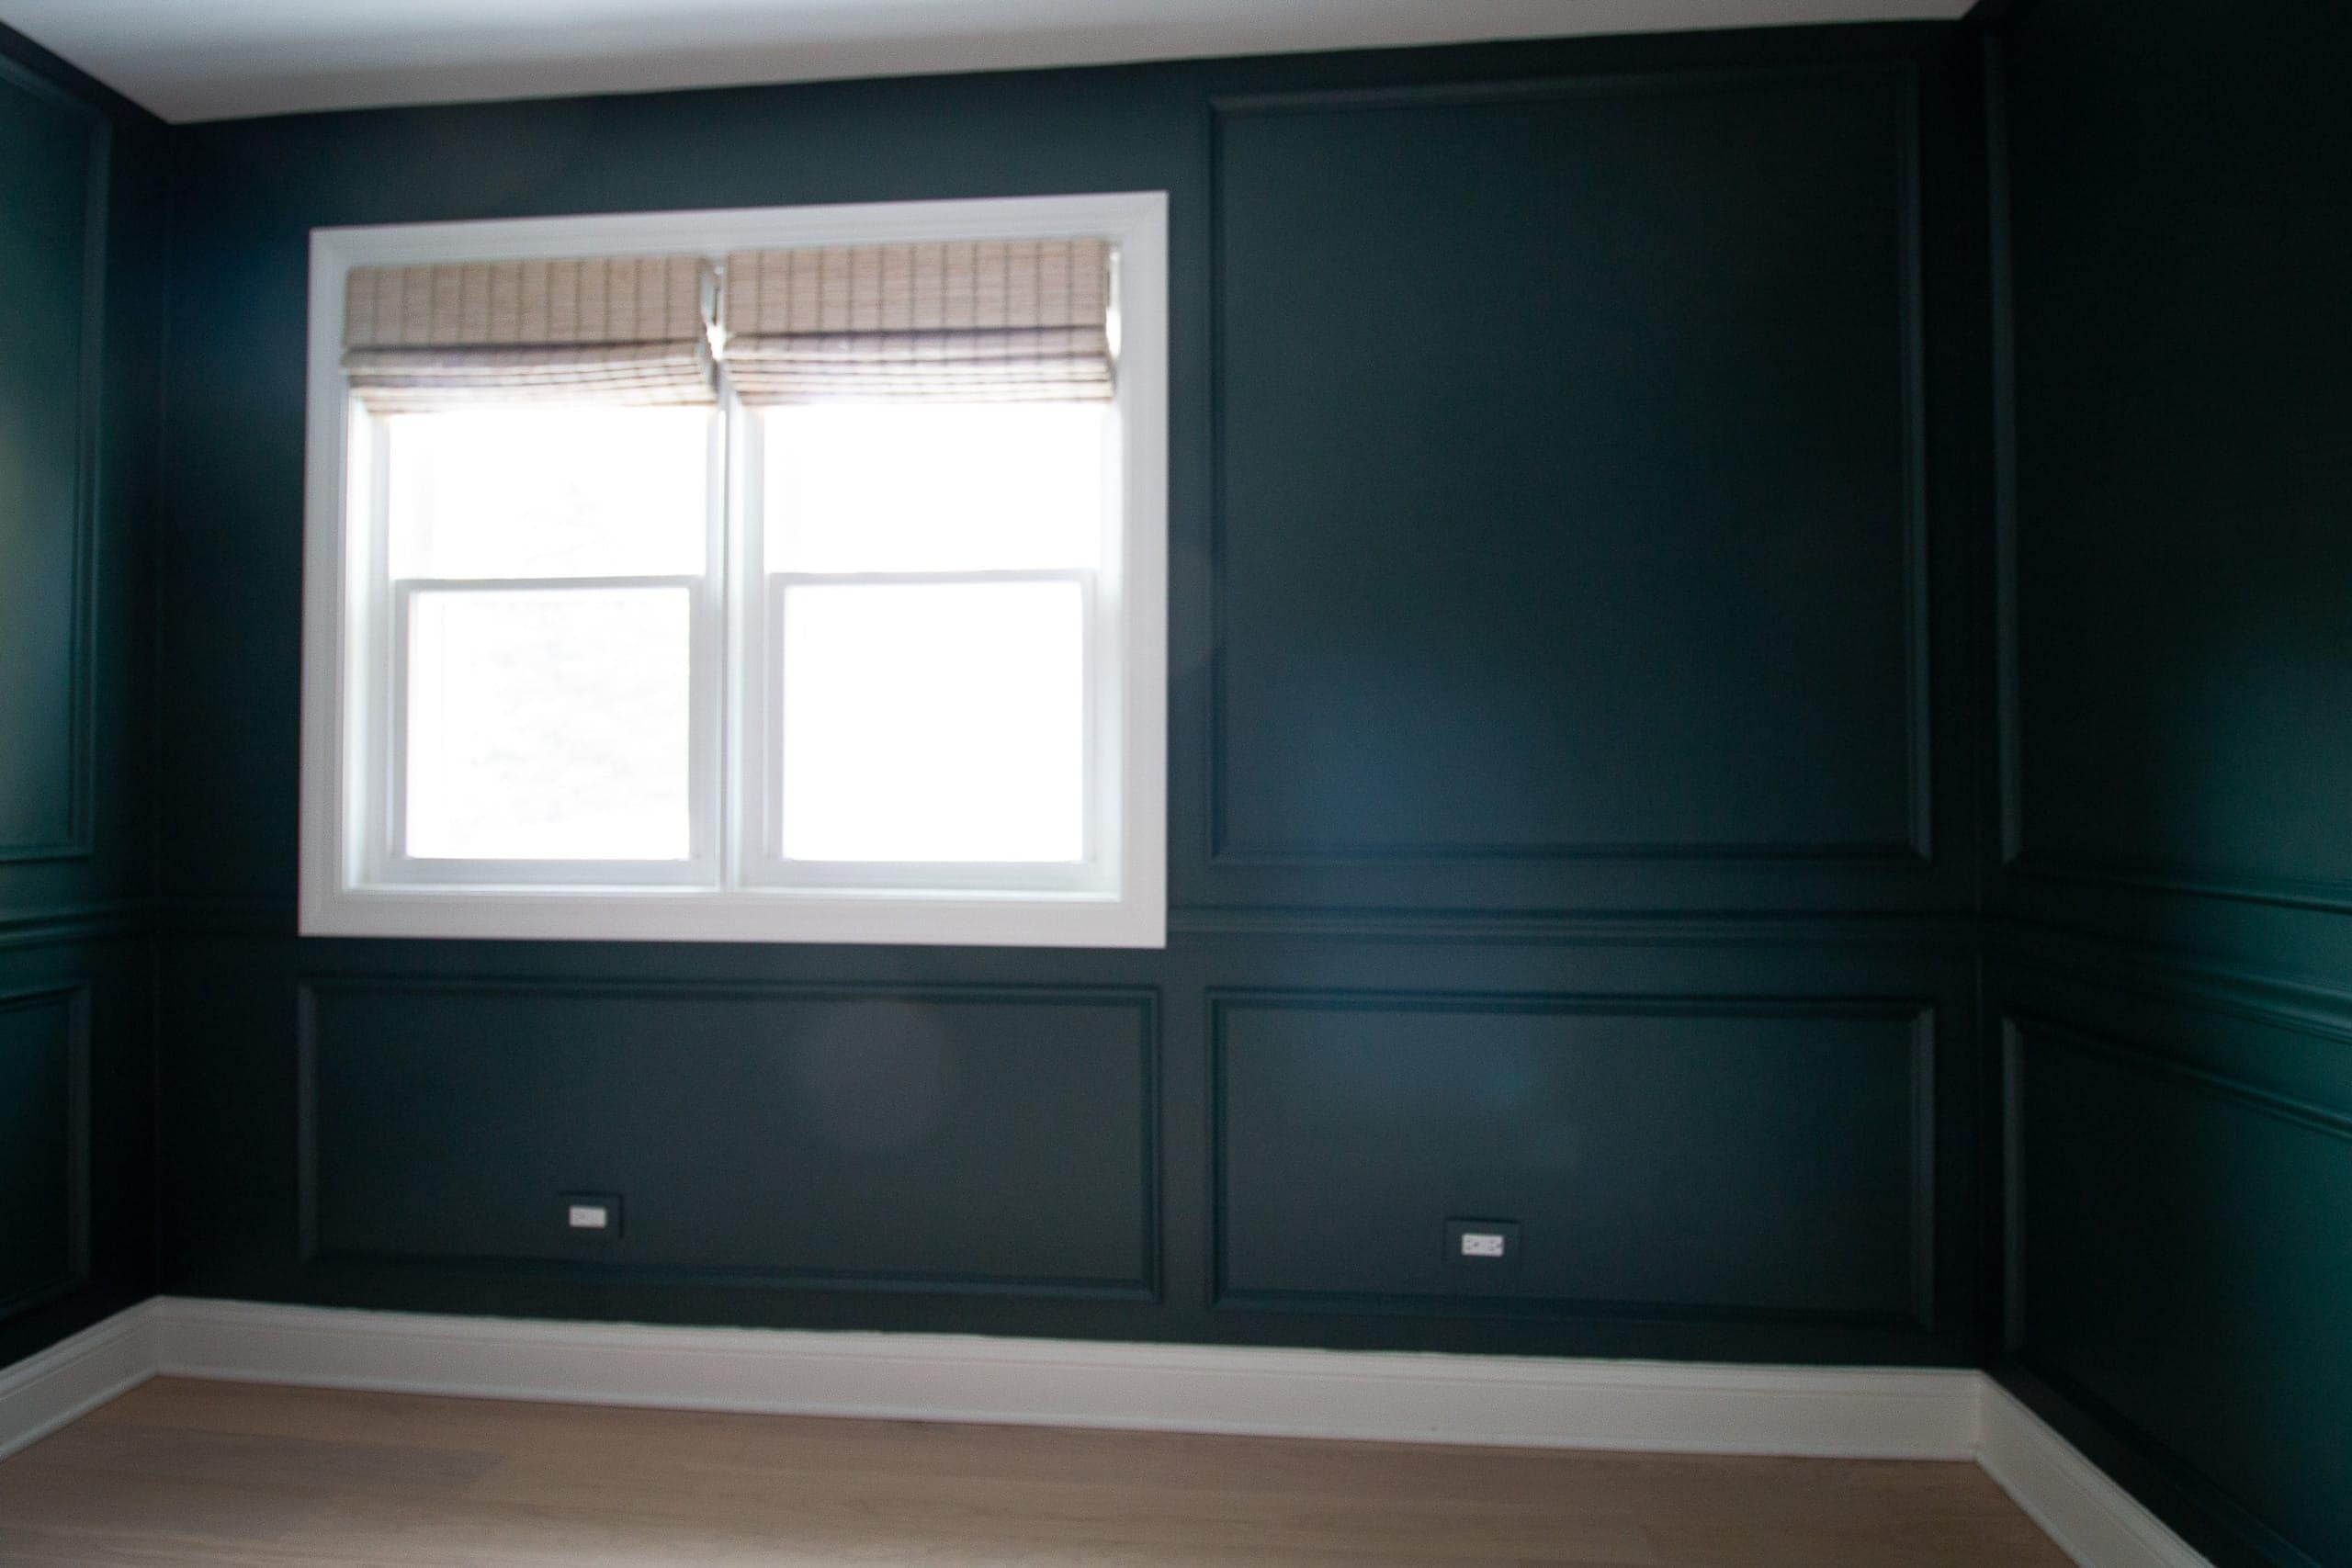
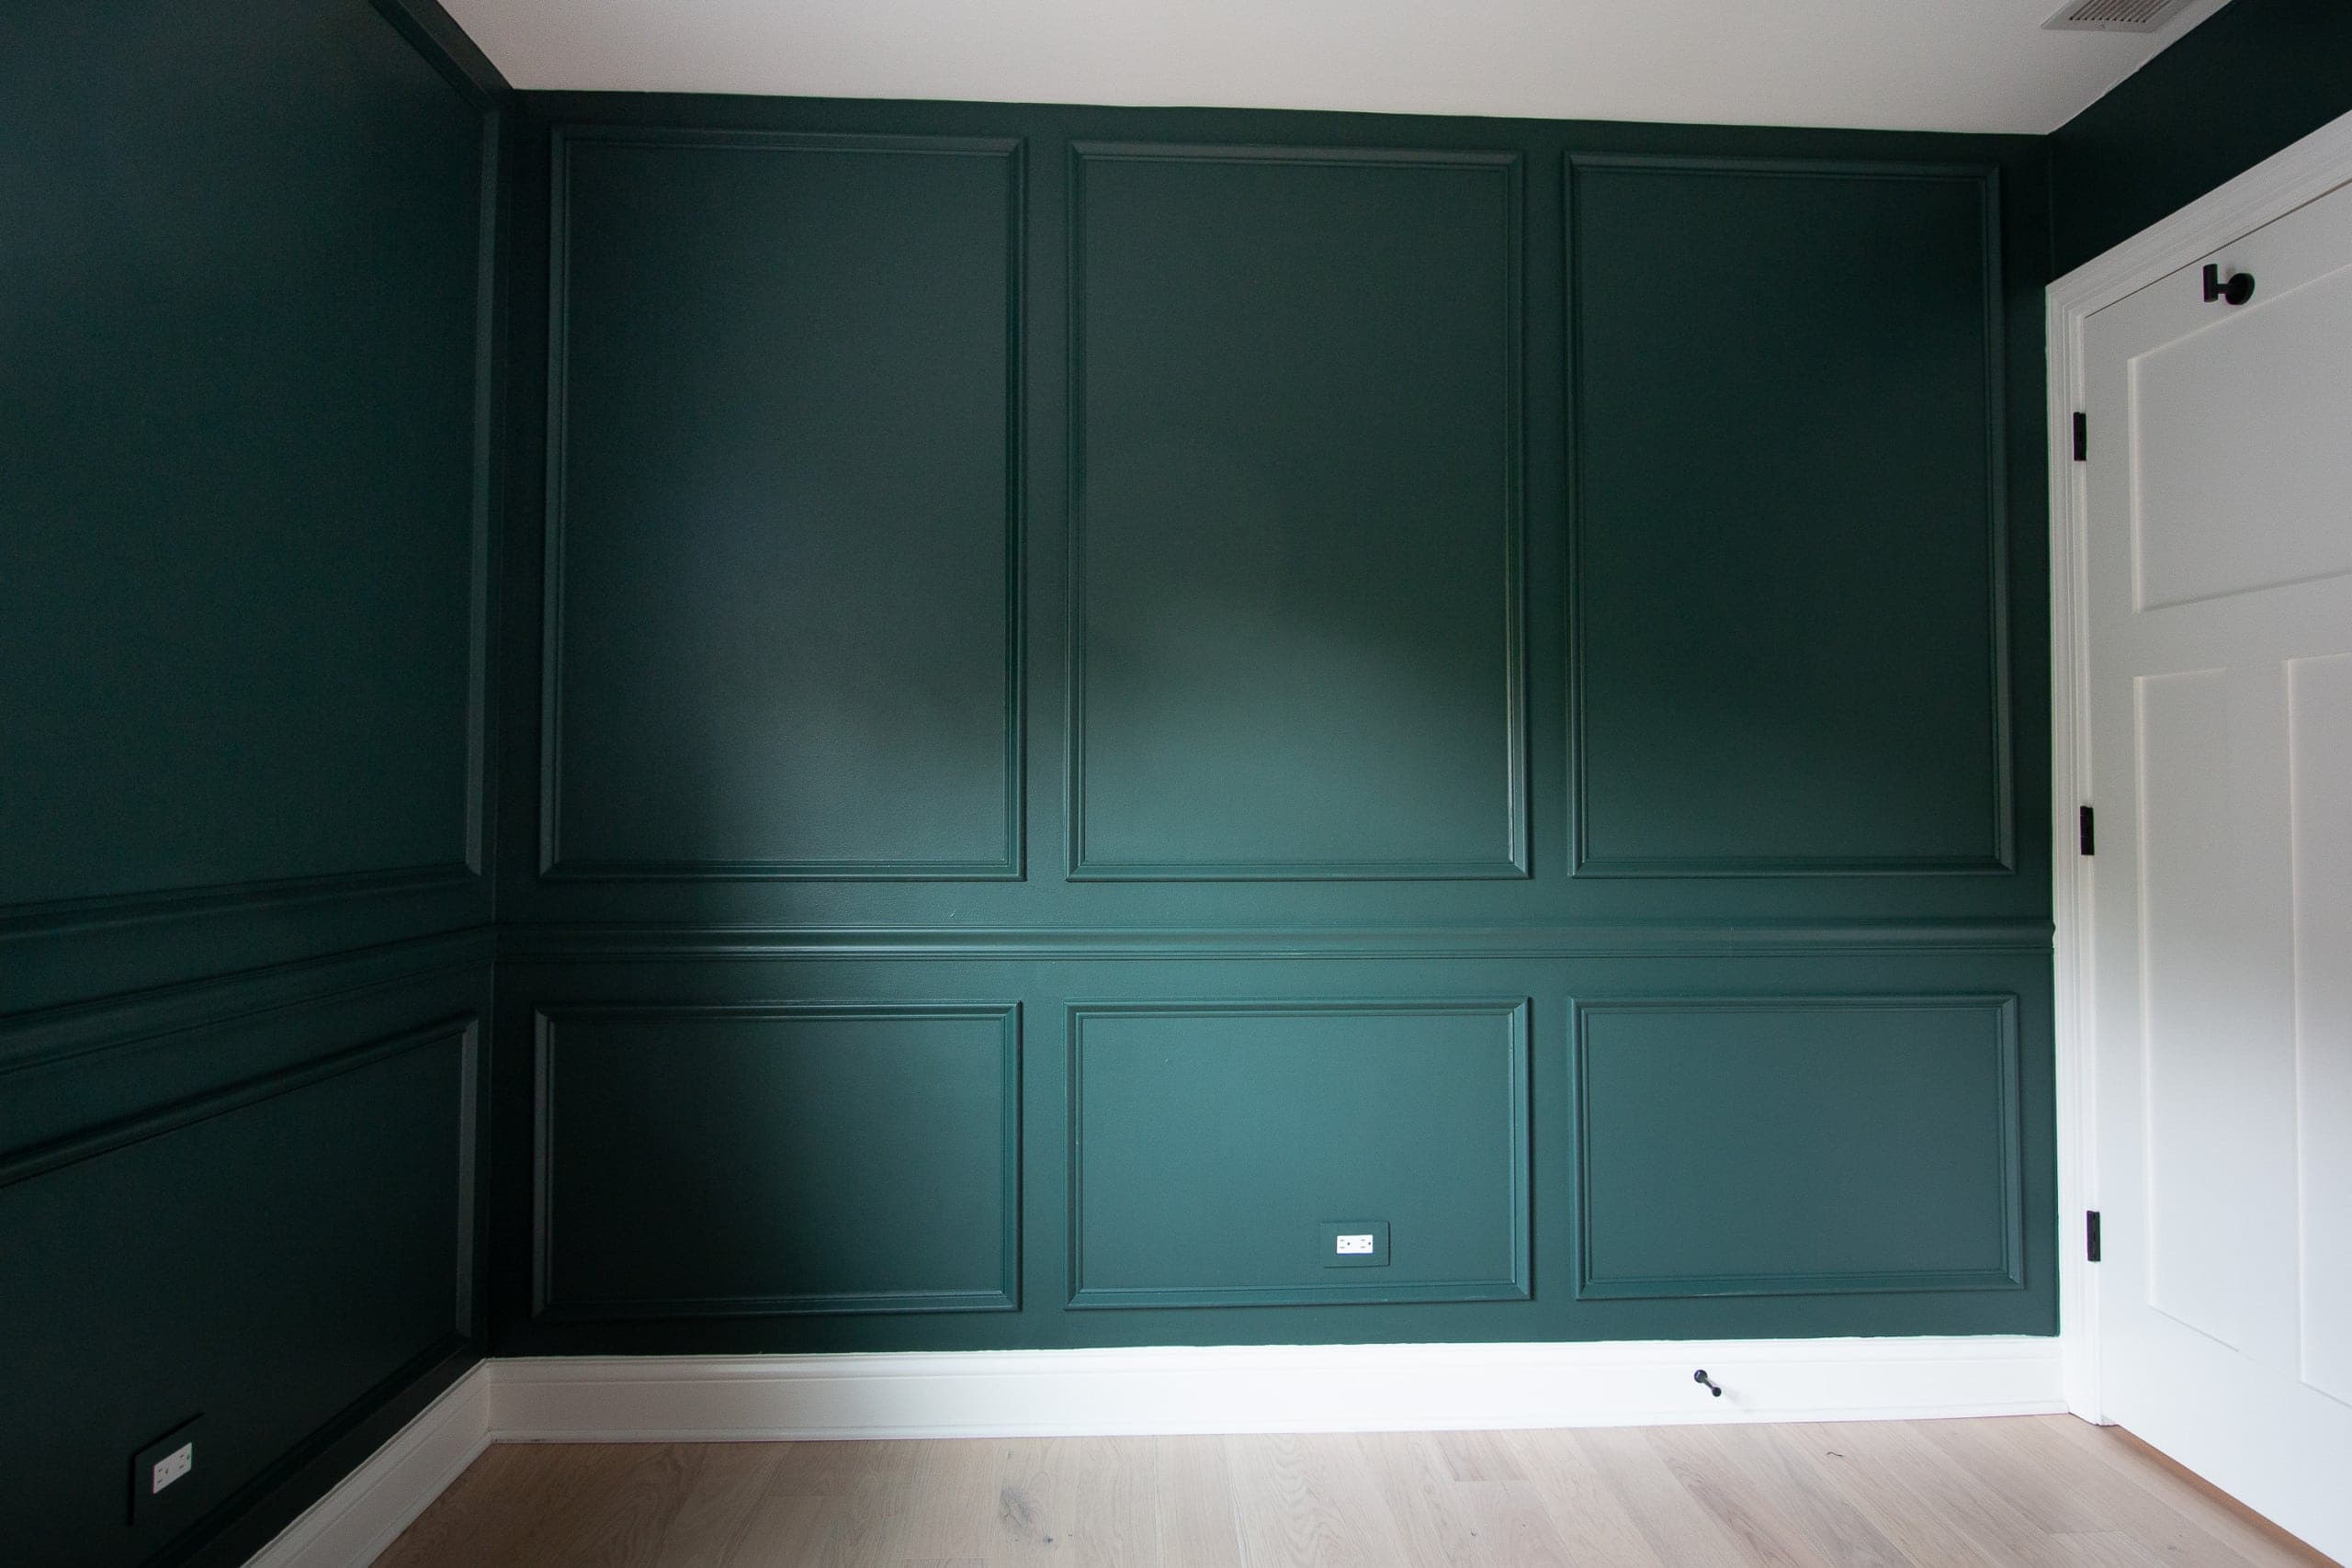
It’s definitely subtle since it’s all painted the same color, but wow it sure is elegant! I think it’s the perfect backdrop for Baby Boy’s nursery. The picture frame moulding just adds so much charm!
What’s Next?
Now that most of the big DIY projects are done, it’s time to start decorating. Next, I’ll show you the curtains I found for the room, along with some tips on how to hang them.
P.S. The room is finished! You can come see it here.
P
Casey