Attaching Our Changing Pad + Diapering Essentials
Hi, friends! Just wanted you to know that this blog post was written before our son made his early debut. You can read more about his arrival right here!
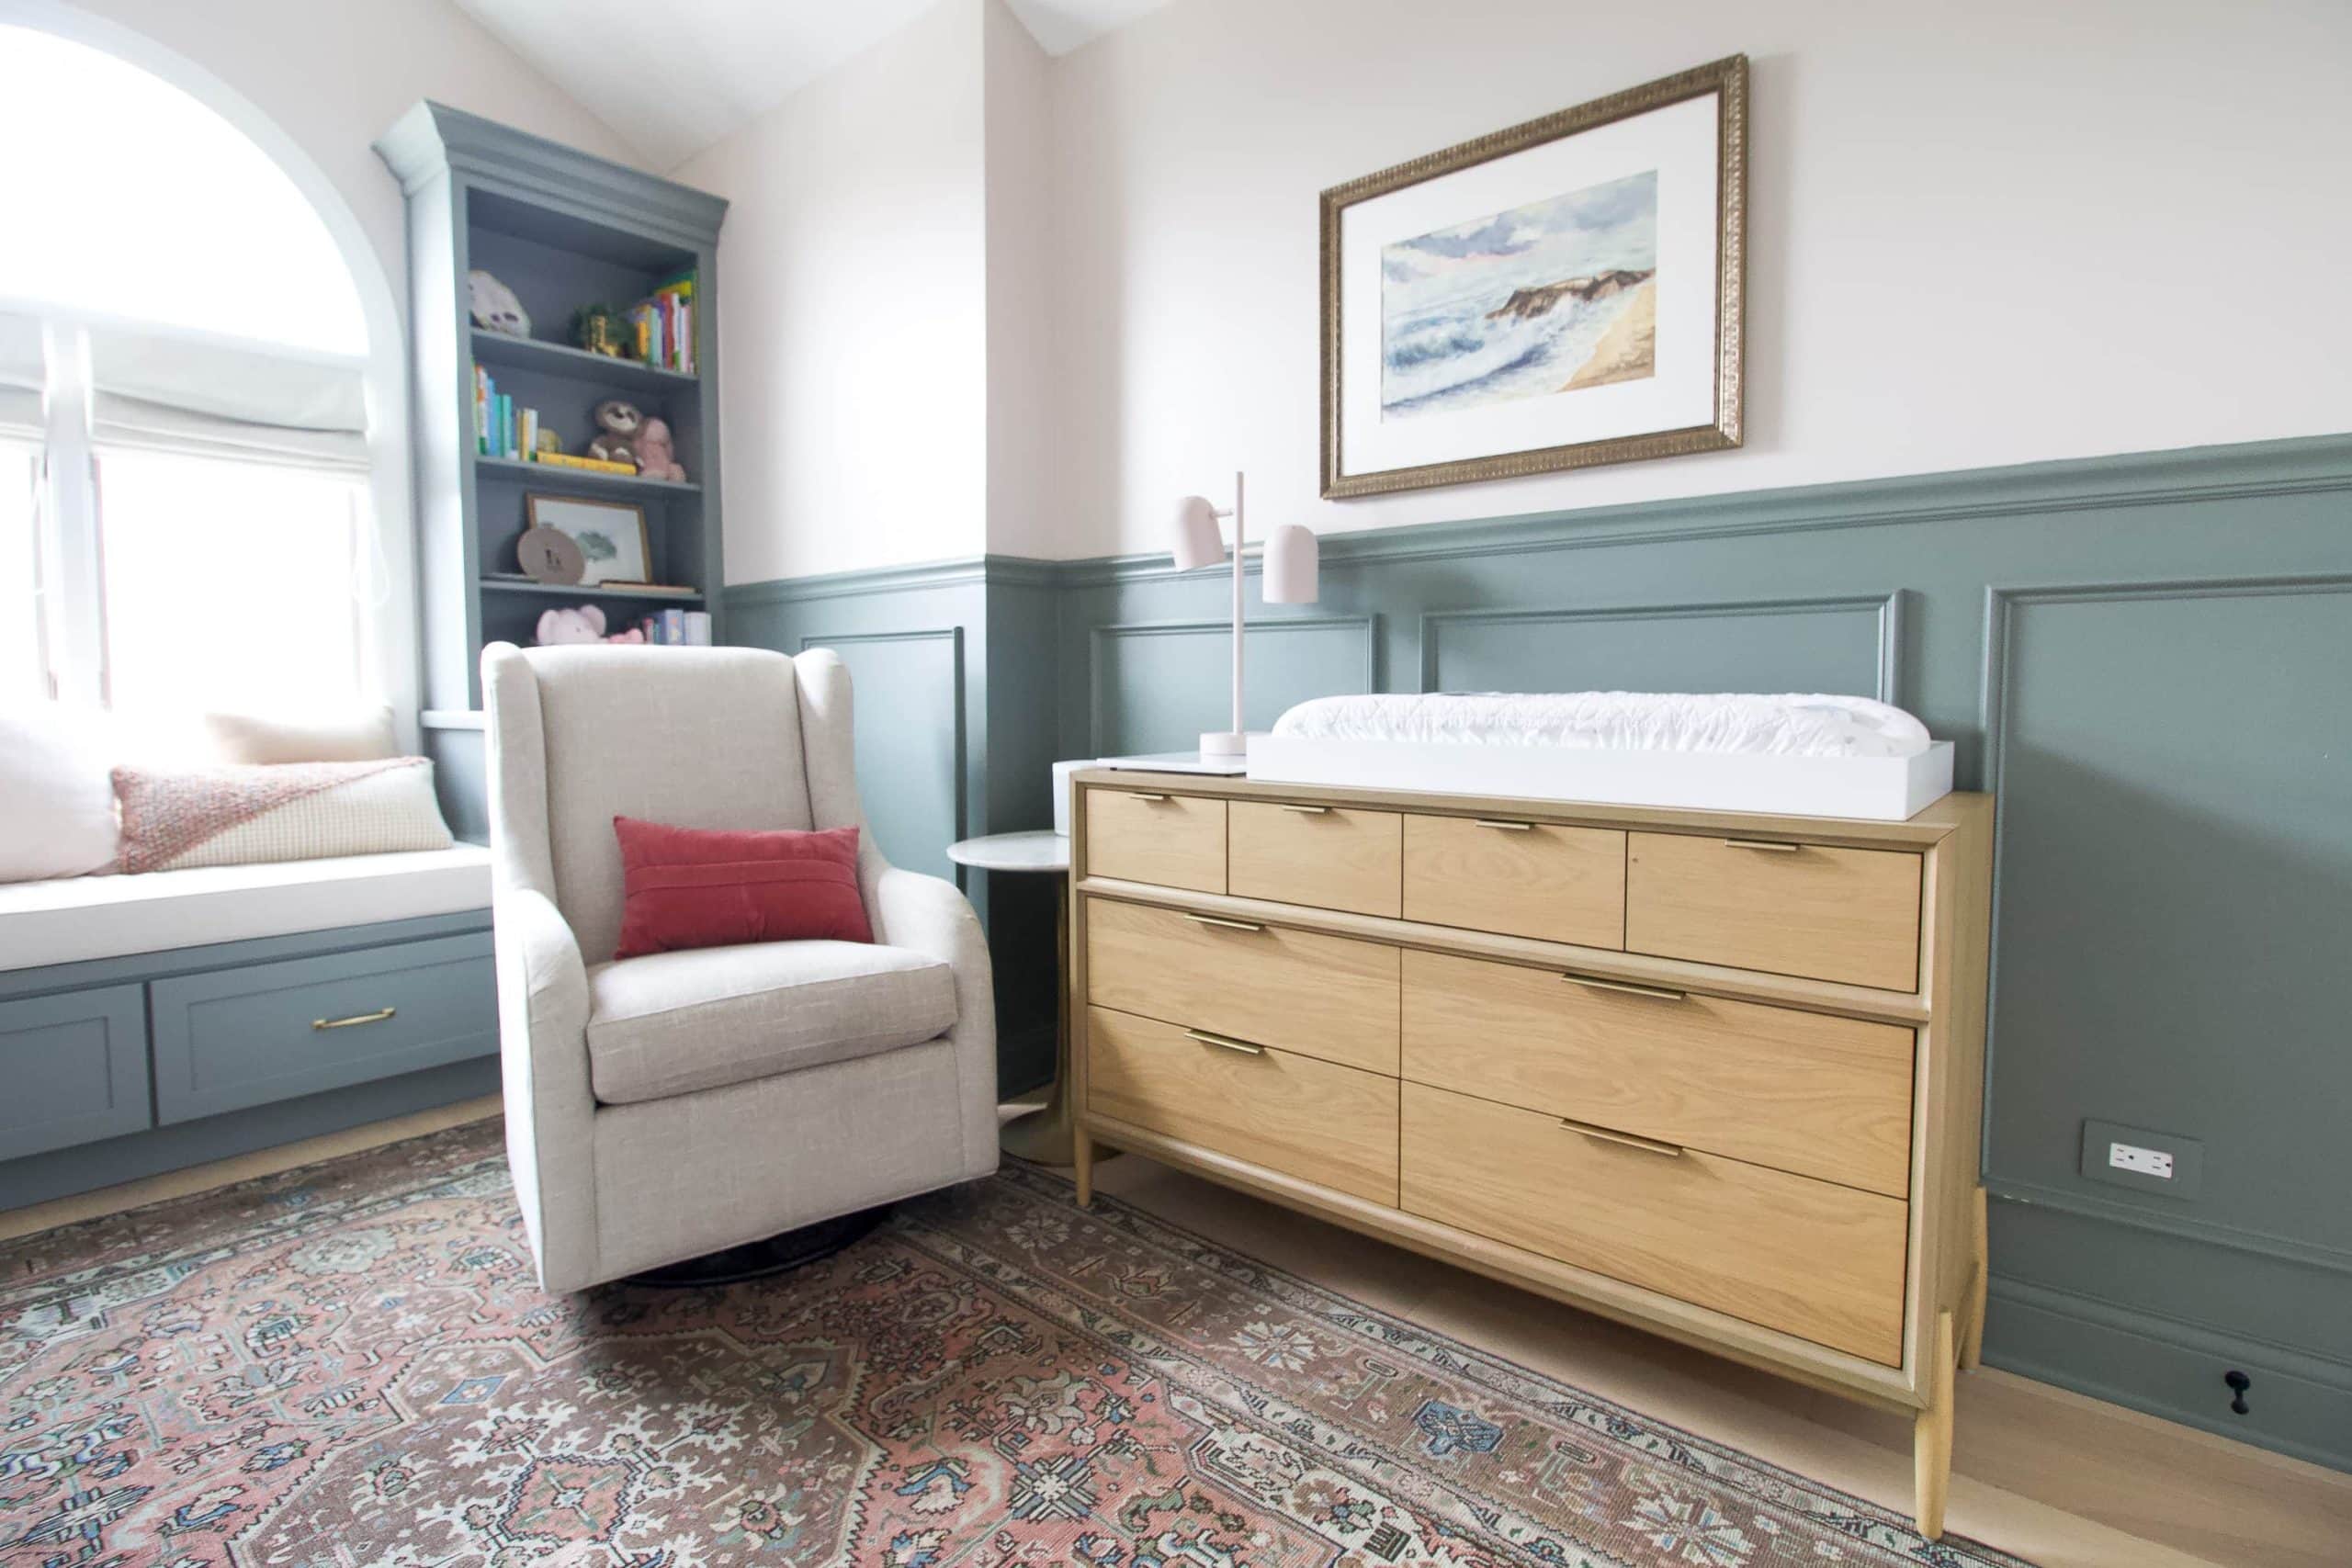
Now that the big stuff in the nursery is finished, it’s time to cross off all of those little to-dos in this space. I’ve had our changing topper and pad set up in here for a while, but I hadn’t yet attached the topper to the dresser. While I thought it was a bit of a boring/simple process to attach it, I actually got a few requests on Instagram asking if I could show how to do it. Ask and you shall receive!
So today I’m going to walk through the simple steps to attach a changing pad to a dresser, and then we’ll dive into our changing table must-haves!
How to Attach a Changing Pad to a Dresser
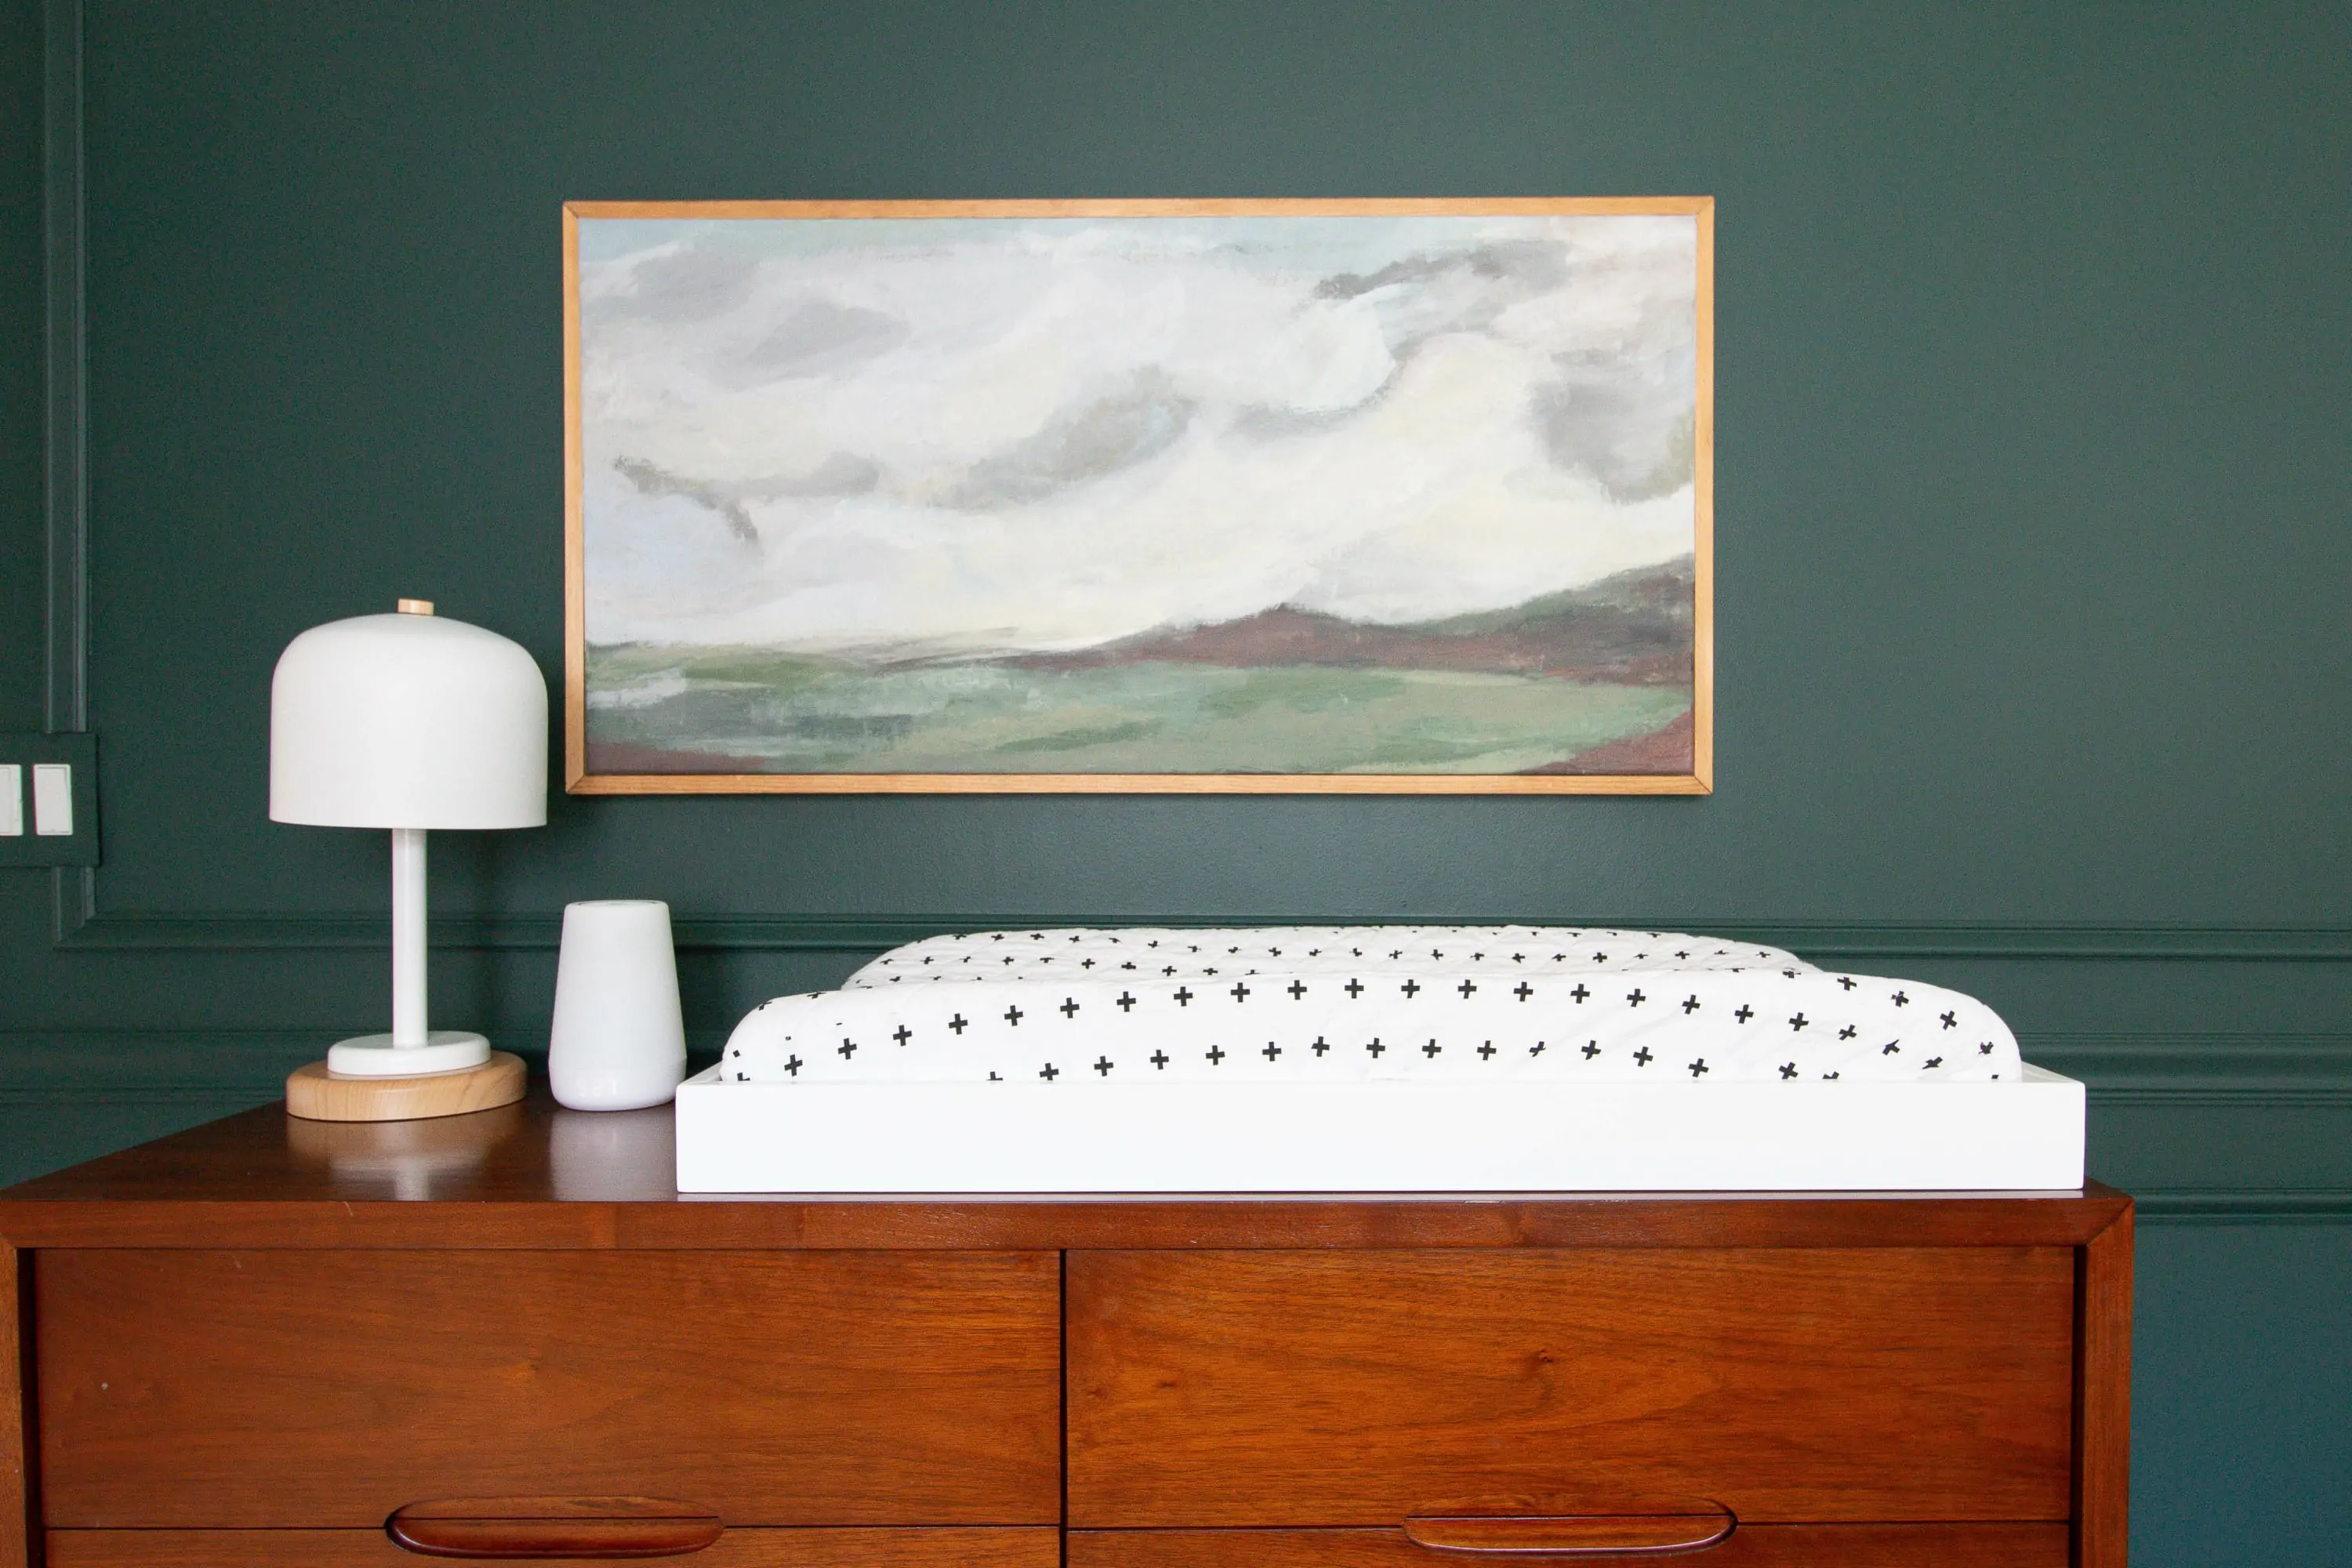
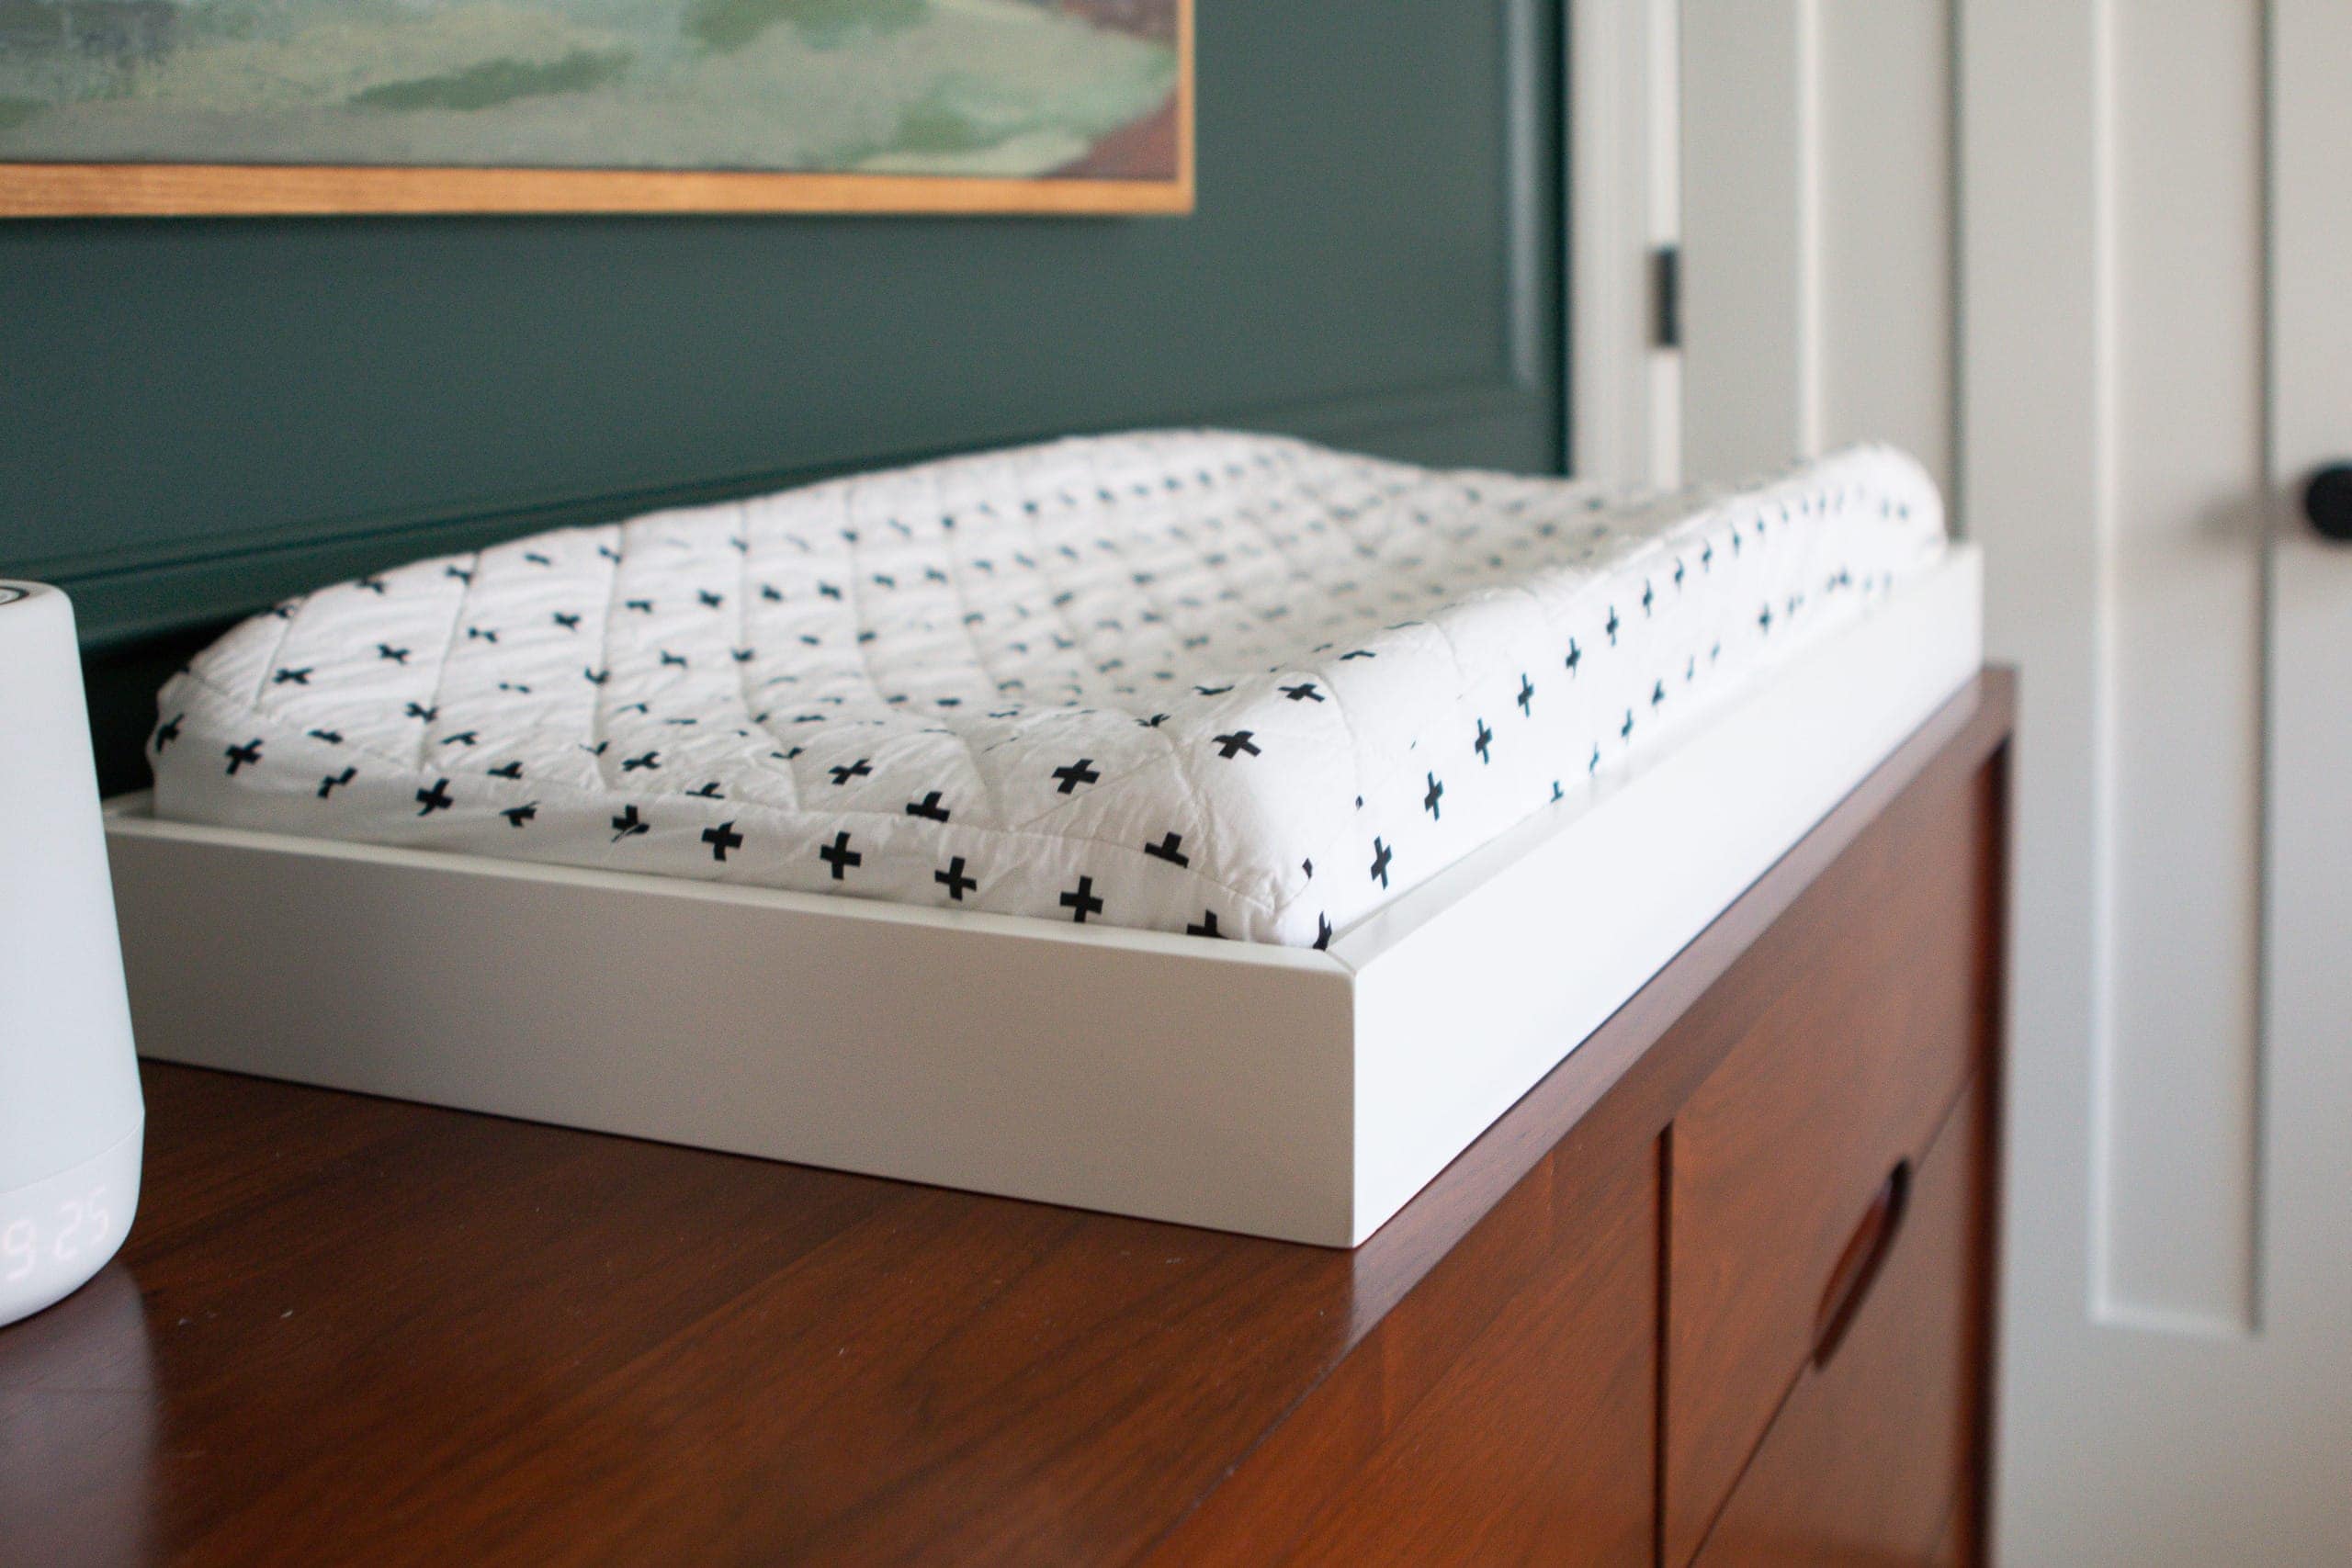
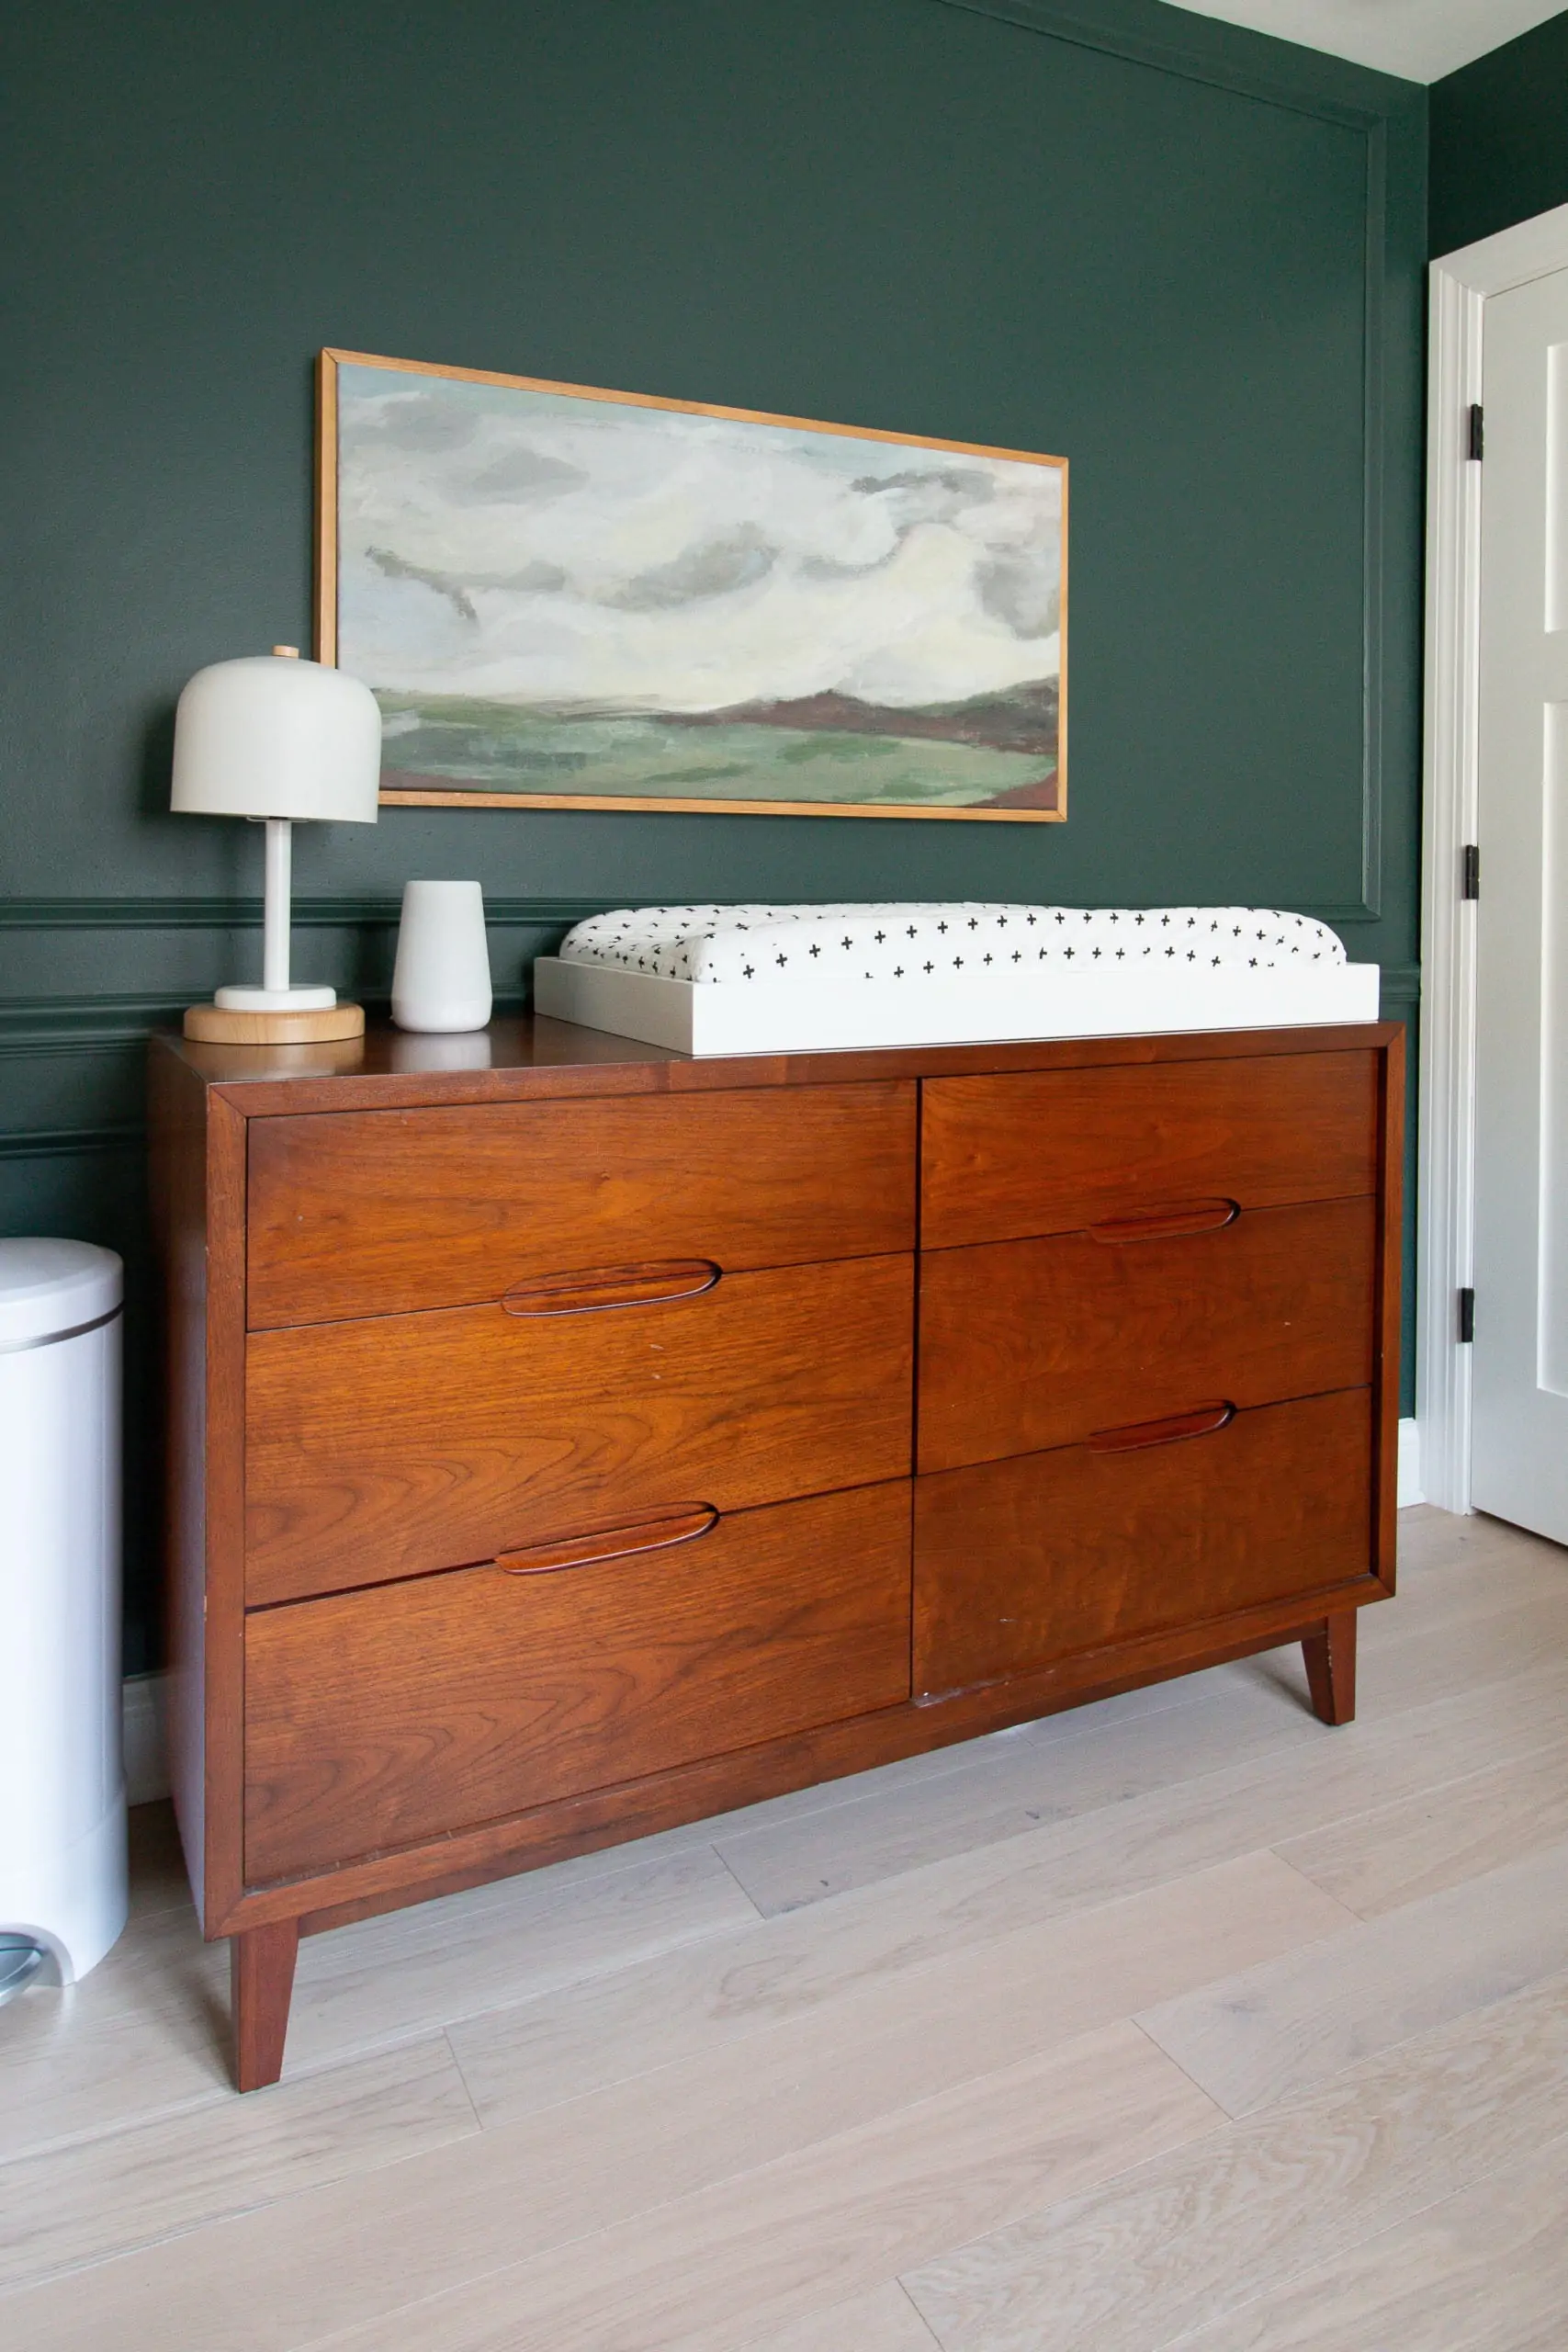
In Rory’s room, we ended up getting this changing topper and changing pad for her space. They’ve worked really well for us over the last year and a half, so we figured we might as well get the exact same pieces for Baby Boy’s room. I know some people just opt for the pad and that totally works. For us, we like having the topper so the pad doesn’t slip around too much. Oh, and we bought two of these changing pad covers too (in gray and black).
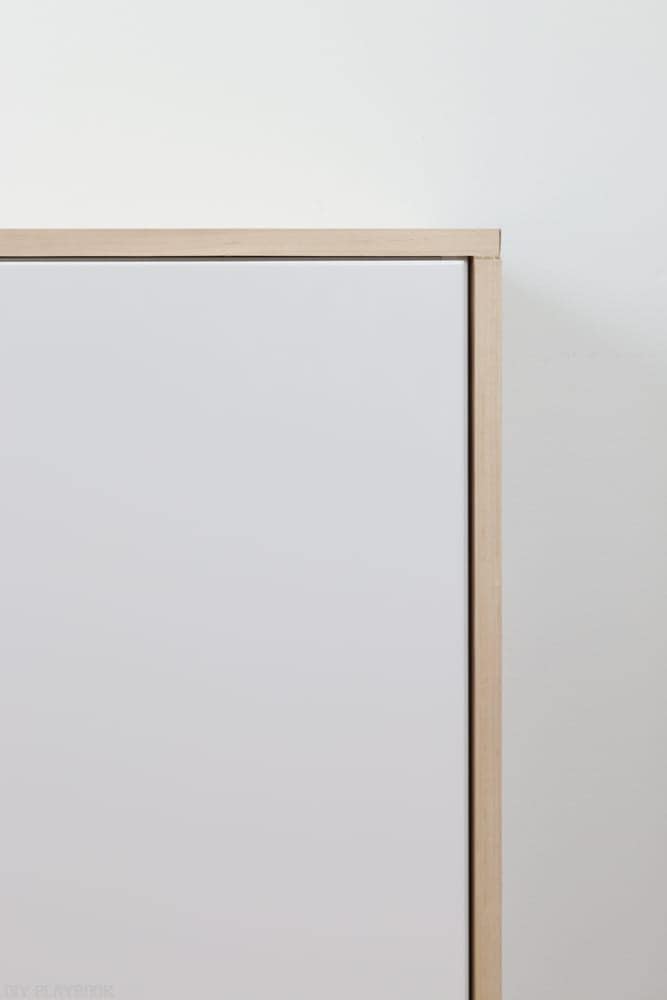
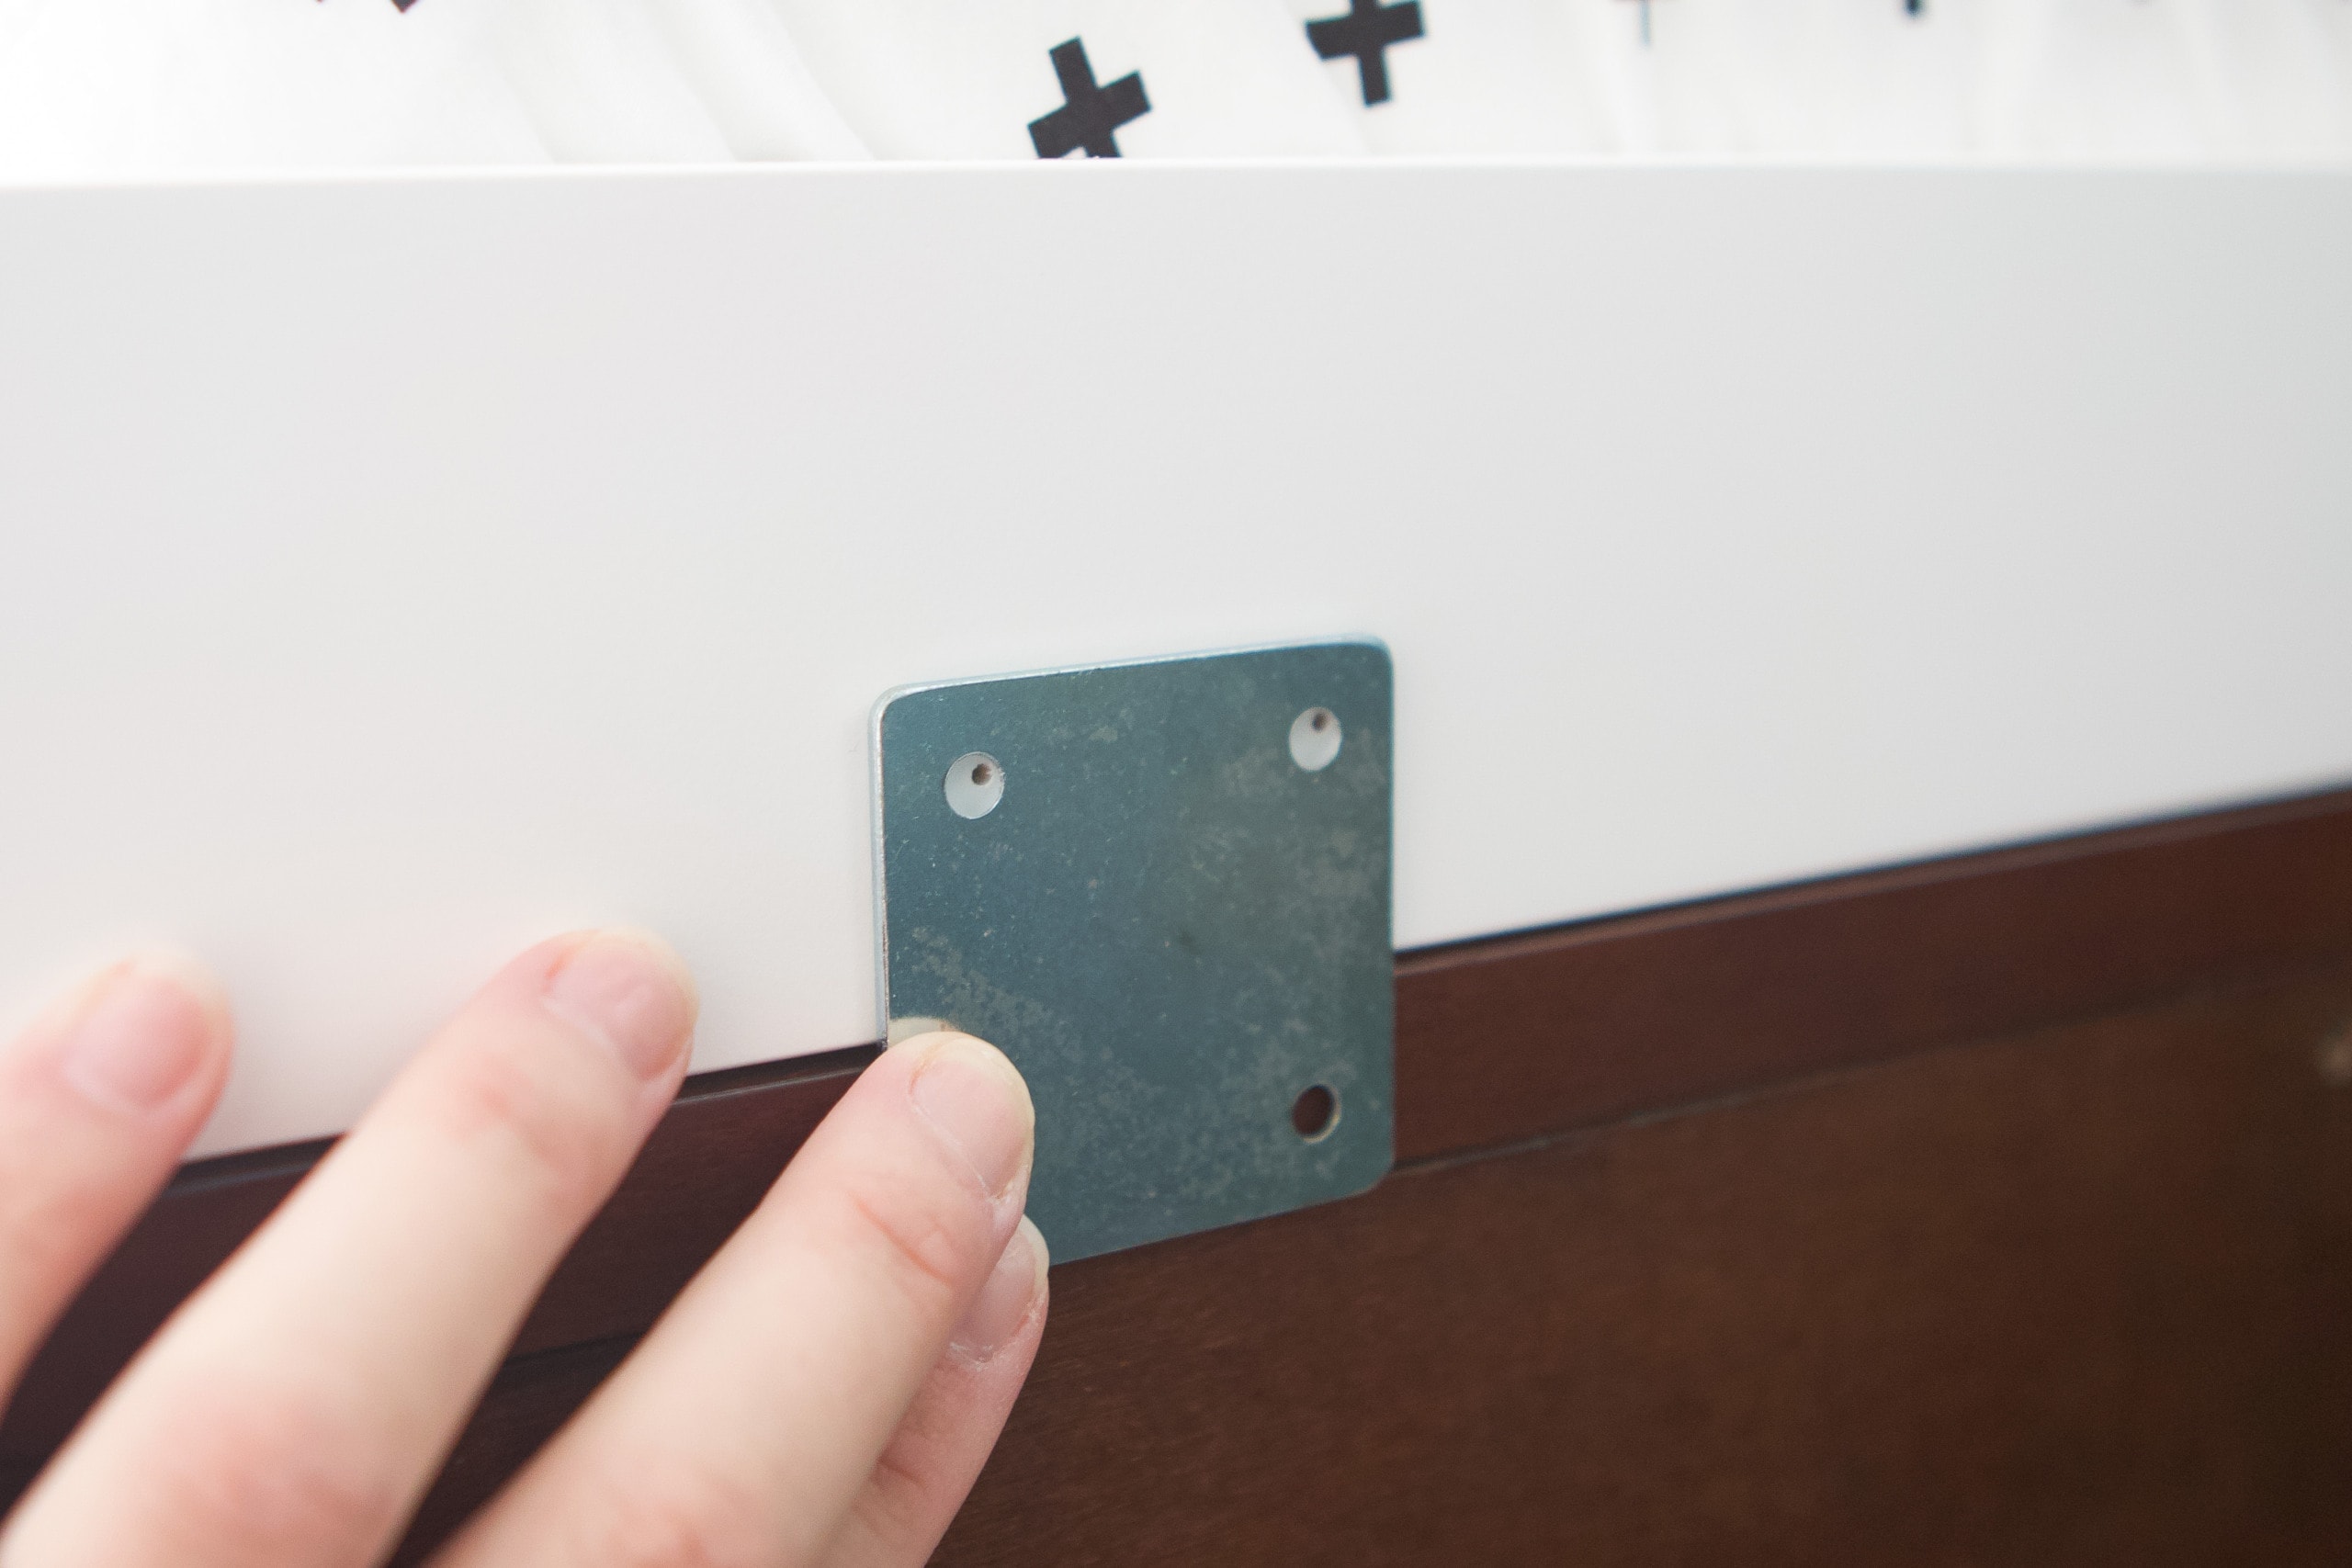
The good thing about this topper is that it actually comes with the hardware you need to attach it to a dresser. I didn’t have to buy anything extra to babyproof this! Plus, the hardware is installed into the back of the dresser so when we want this to be a “normal dresser” again someday, I can easily remove it and you won’t be able to tell!
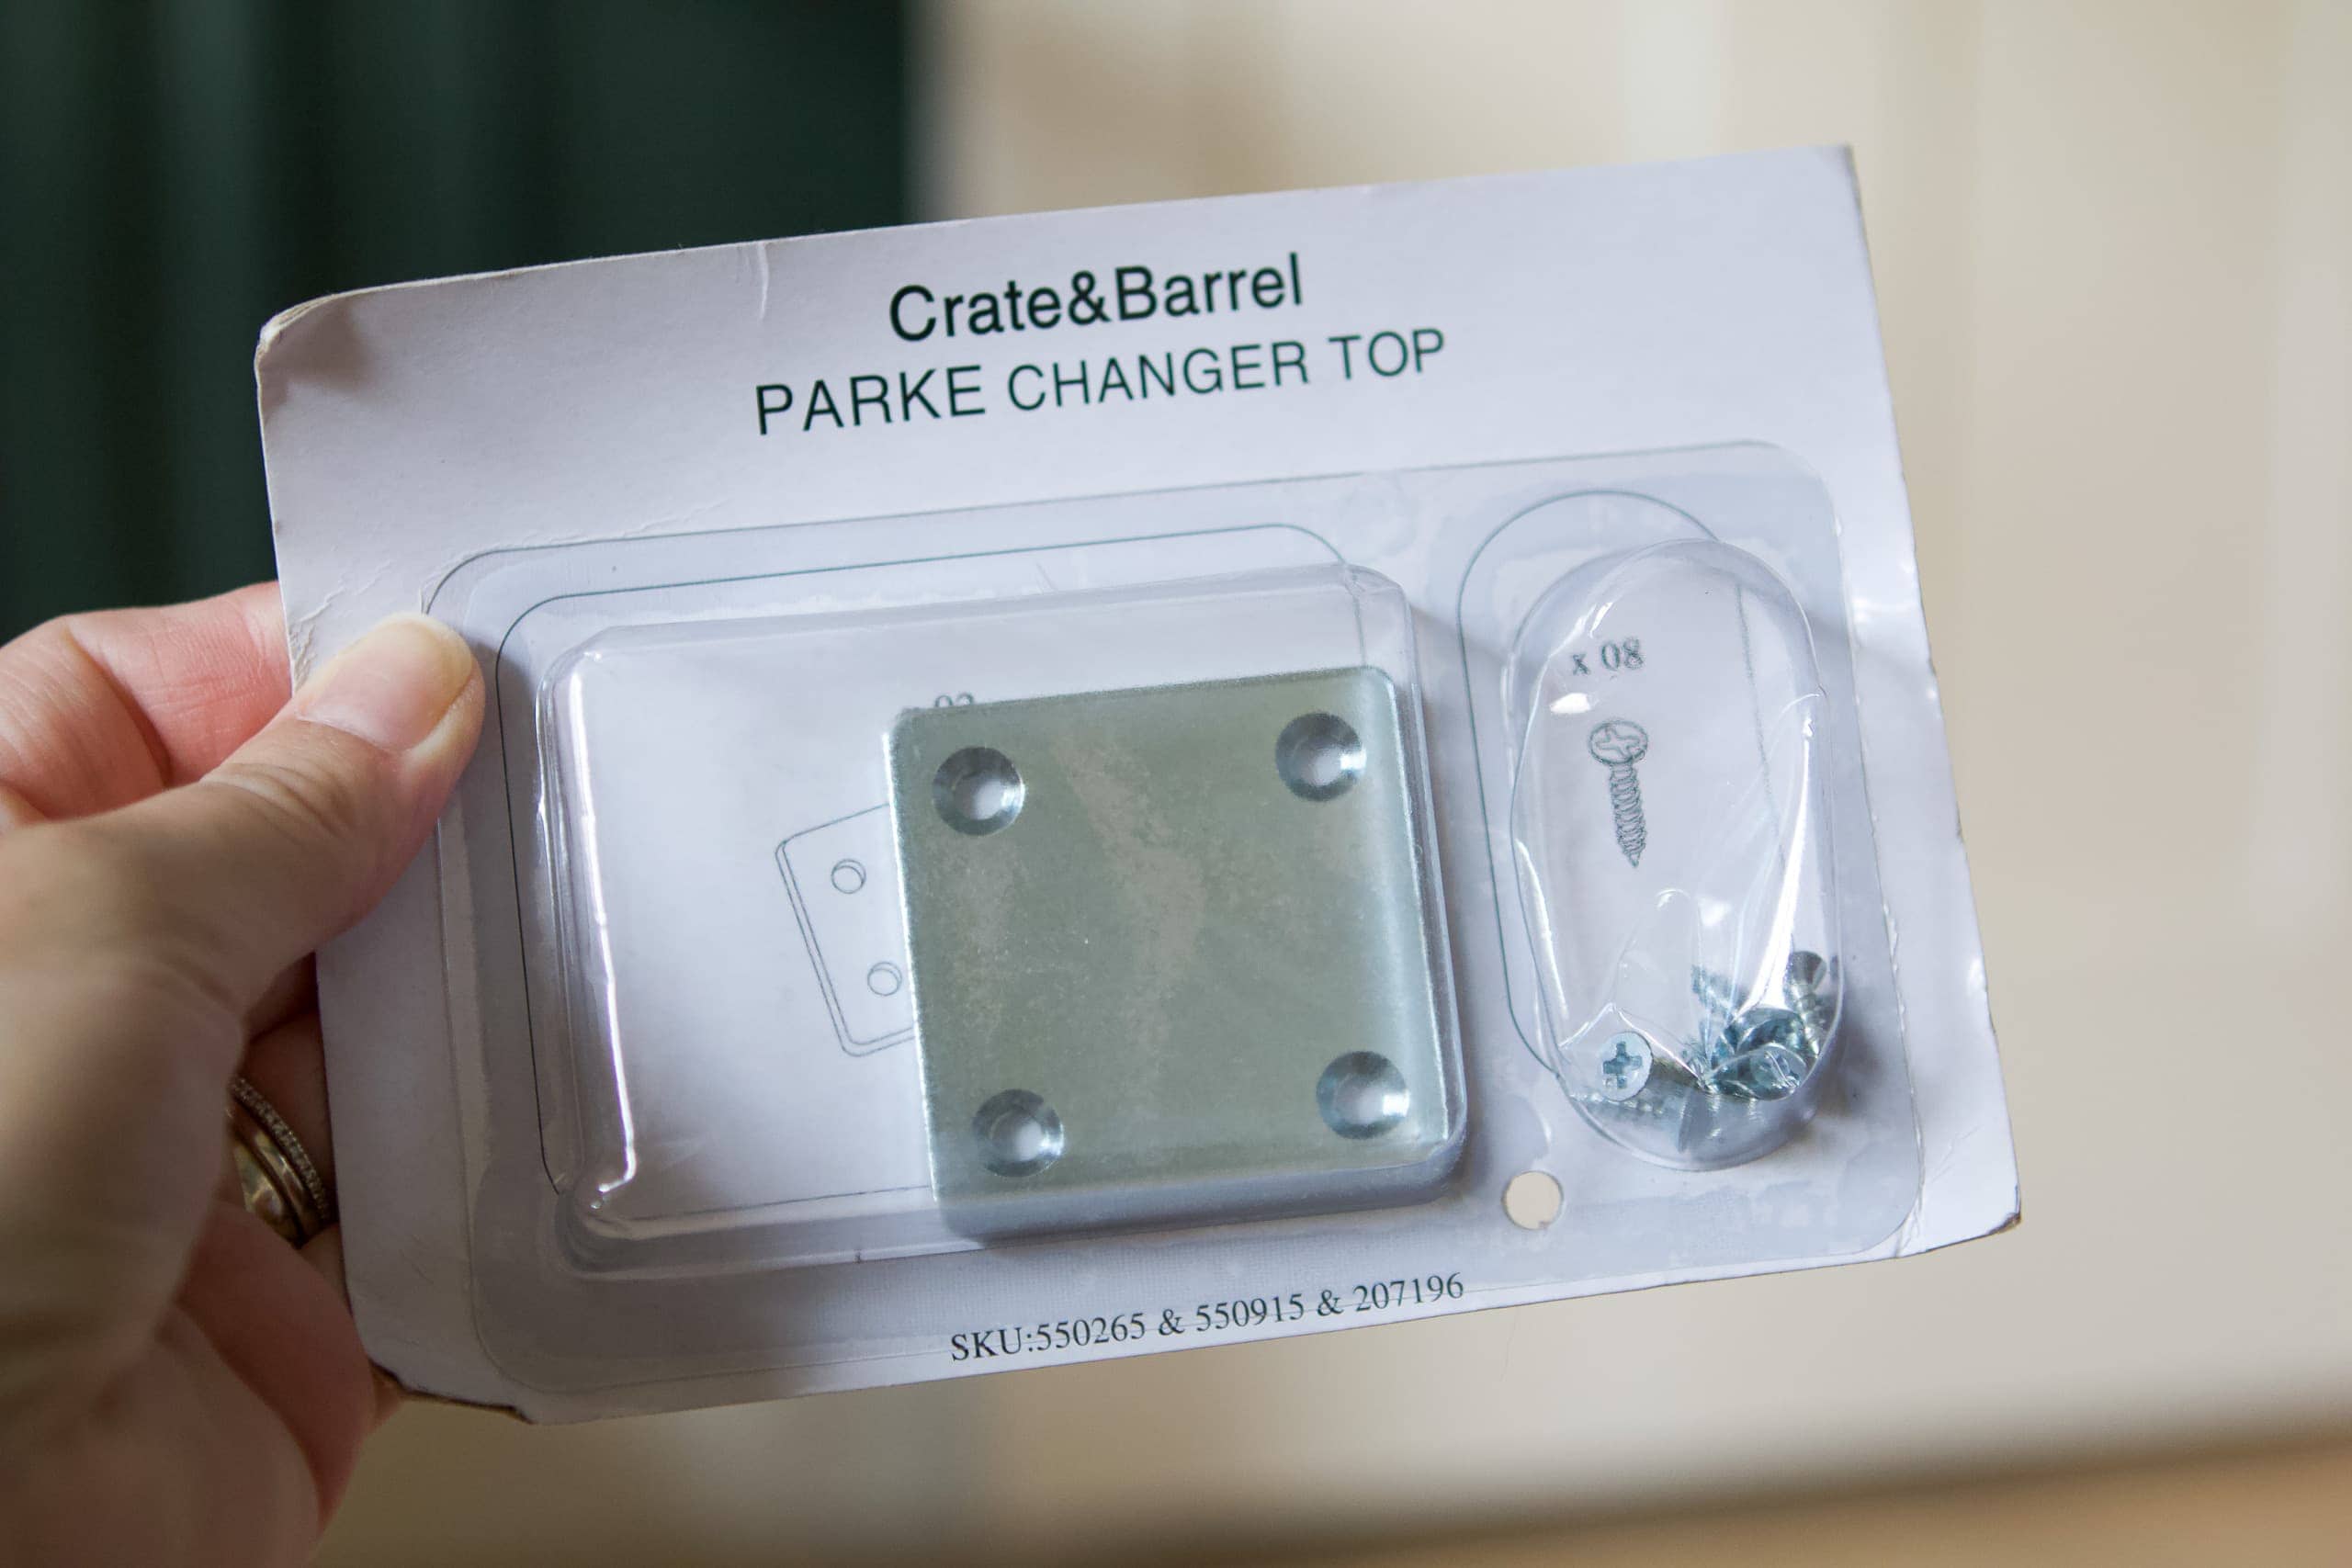
The hardware is really just two metal pieces with four holes each…two holes to attach to the changing topper and two holes to attach to the dresser below.
Typically, I would use a pilot bit first to make a hole, but the changing topper actually has holes already built into the back of the topper! Score! Plus, there was no measuring involved and that always makes me happy!
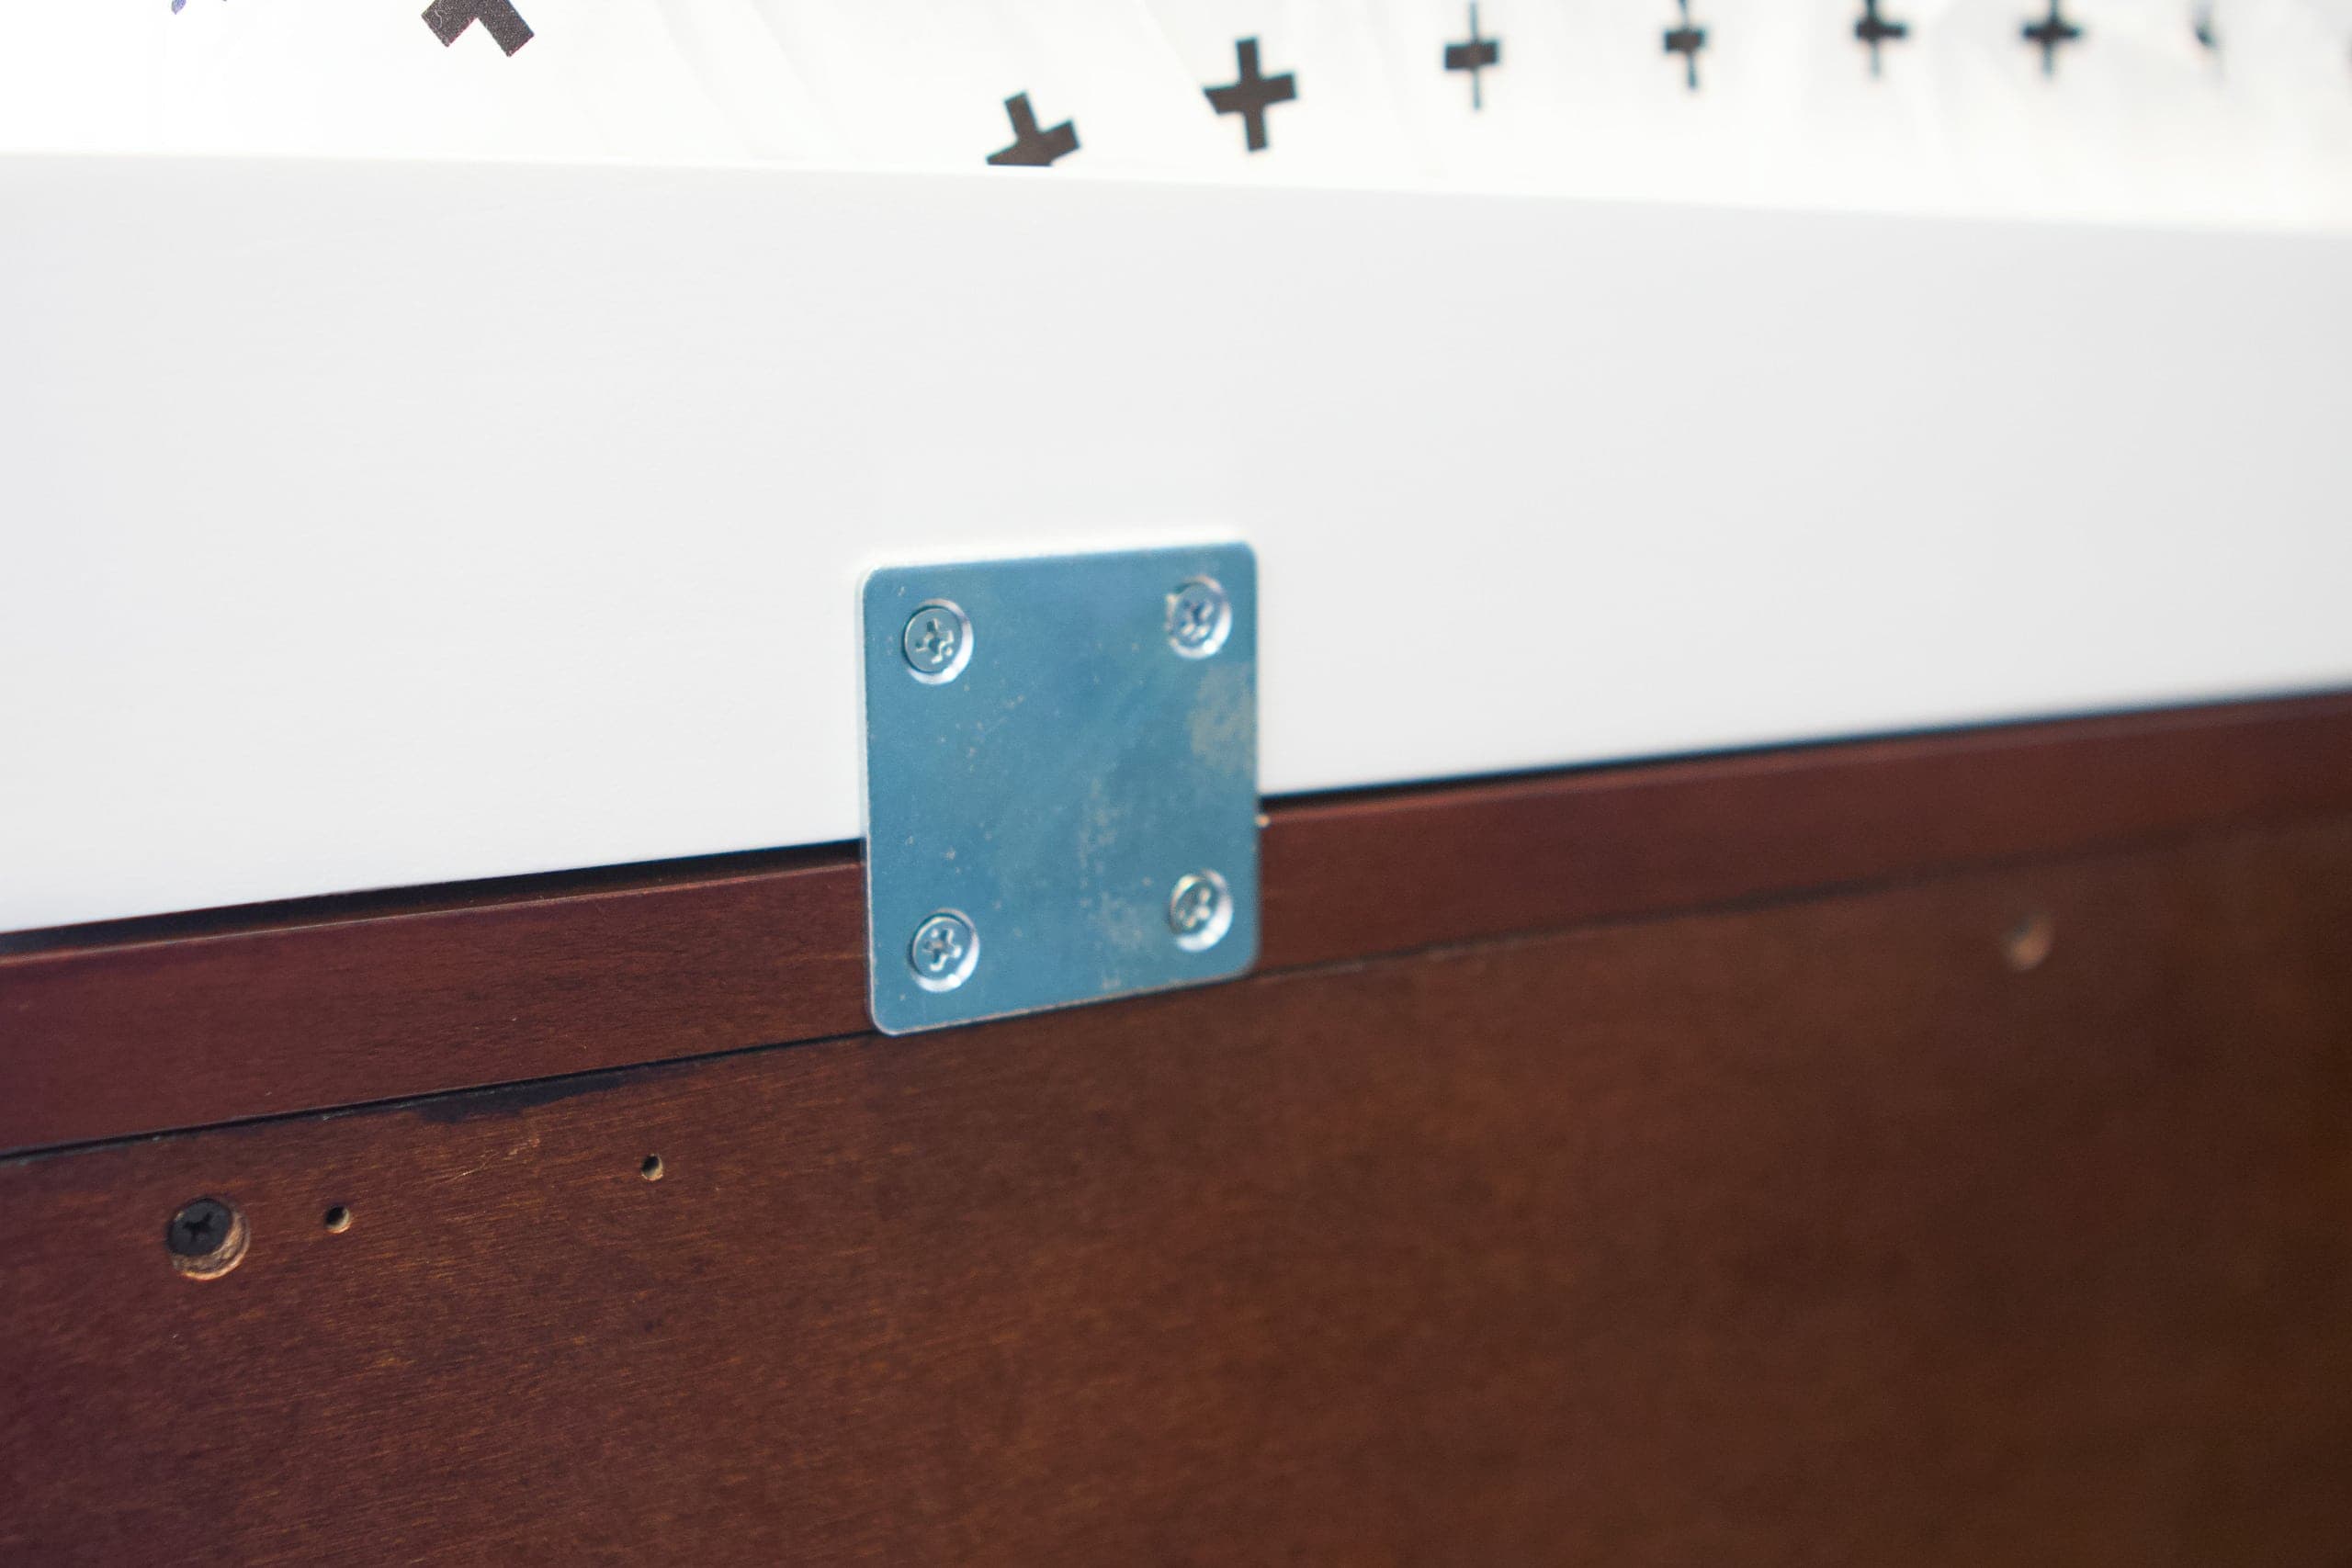
I simply took my drill and drilled the metal piece to the topper, using the small screws provided. Then, I did the same on the bottom portion, to attach it directly to the dresser. Make sure the topper is exactly where you want it on your dresser before you start drilling. We positioned ours mostly to the right so we could have a lamp and other accessories to the left of it.
I did the same thing on the other side and boom…that’s how you attach a changing pad! Pretty easy, right?!
If you don’t have a changing topper like mine, I’ve seen people buy sticky changing pads and place those directly on the dresser. Or some even use velcro underneath, to attach it. Or some pads even come with straps to attach to the back of the dresser, like this one. Personally, I like the topper because it doesn’t damage the top of the dresser at all and it looks nice.

Oh, and while you’re at it, go ahead and secure the dresser to the wall. You might as well babyproof it now while you have your drill out. This blog post walks you through all of the steps.
Our Changing Table Essentials
Back when I was getting Rory’s nursery together, I had no idea what the heck we would need for the changing table. I had probably only changed a handful of diapers in my lifetime. Now, I’m a seasoned pro, so I thought I would share which products we use and love!
Diapers in the Dresser

First, we always have our diapers in the top drawer of the dresser. That way, it’s easy to grab one right then and there. Finn is in charge of our “baby stock” and our overflow of items goes to our linen closet. (You can see it here.) Before I became a mom, I didn’t know that there was such a thing as “night diapers” or “swim diapers”. I’ve definitely learned a lot in the last year and a half! In our diaper drawer for Rory, we have mostly day diapers and then some swim and night diapers in the back row. We’ll eventually do the same in Baby Boy’s room.
Accessories Nearby
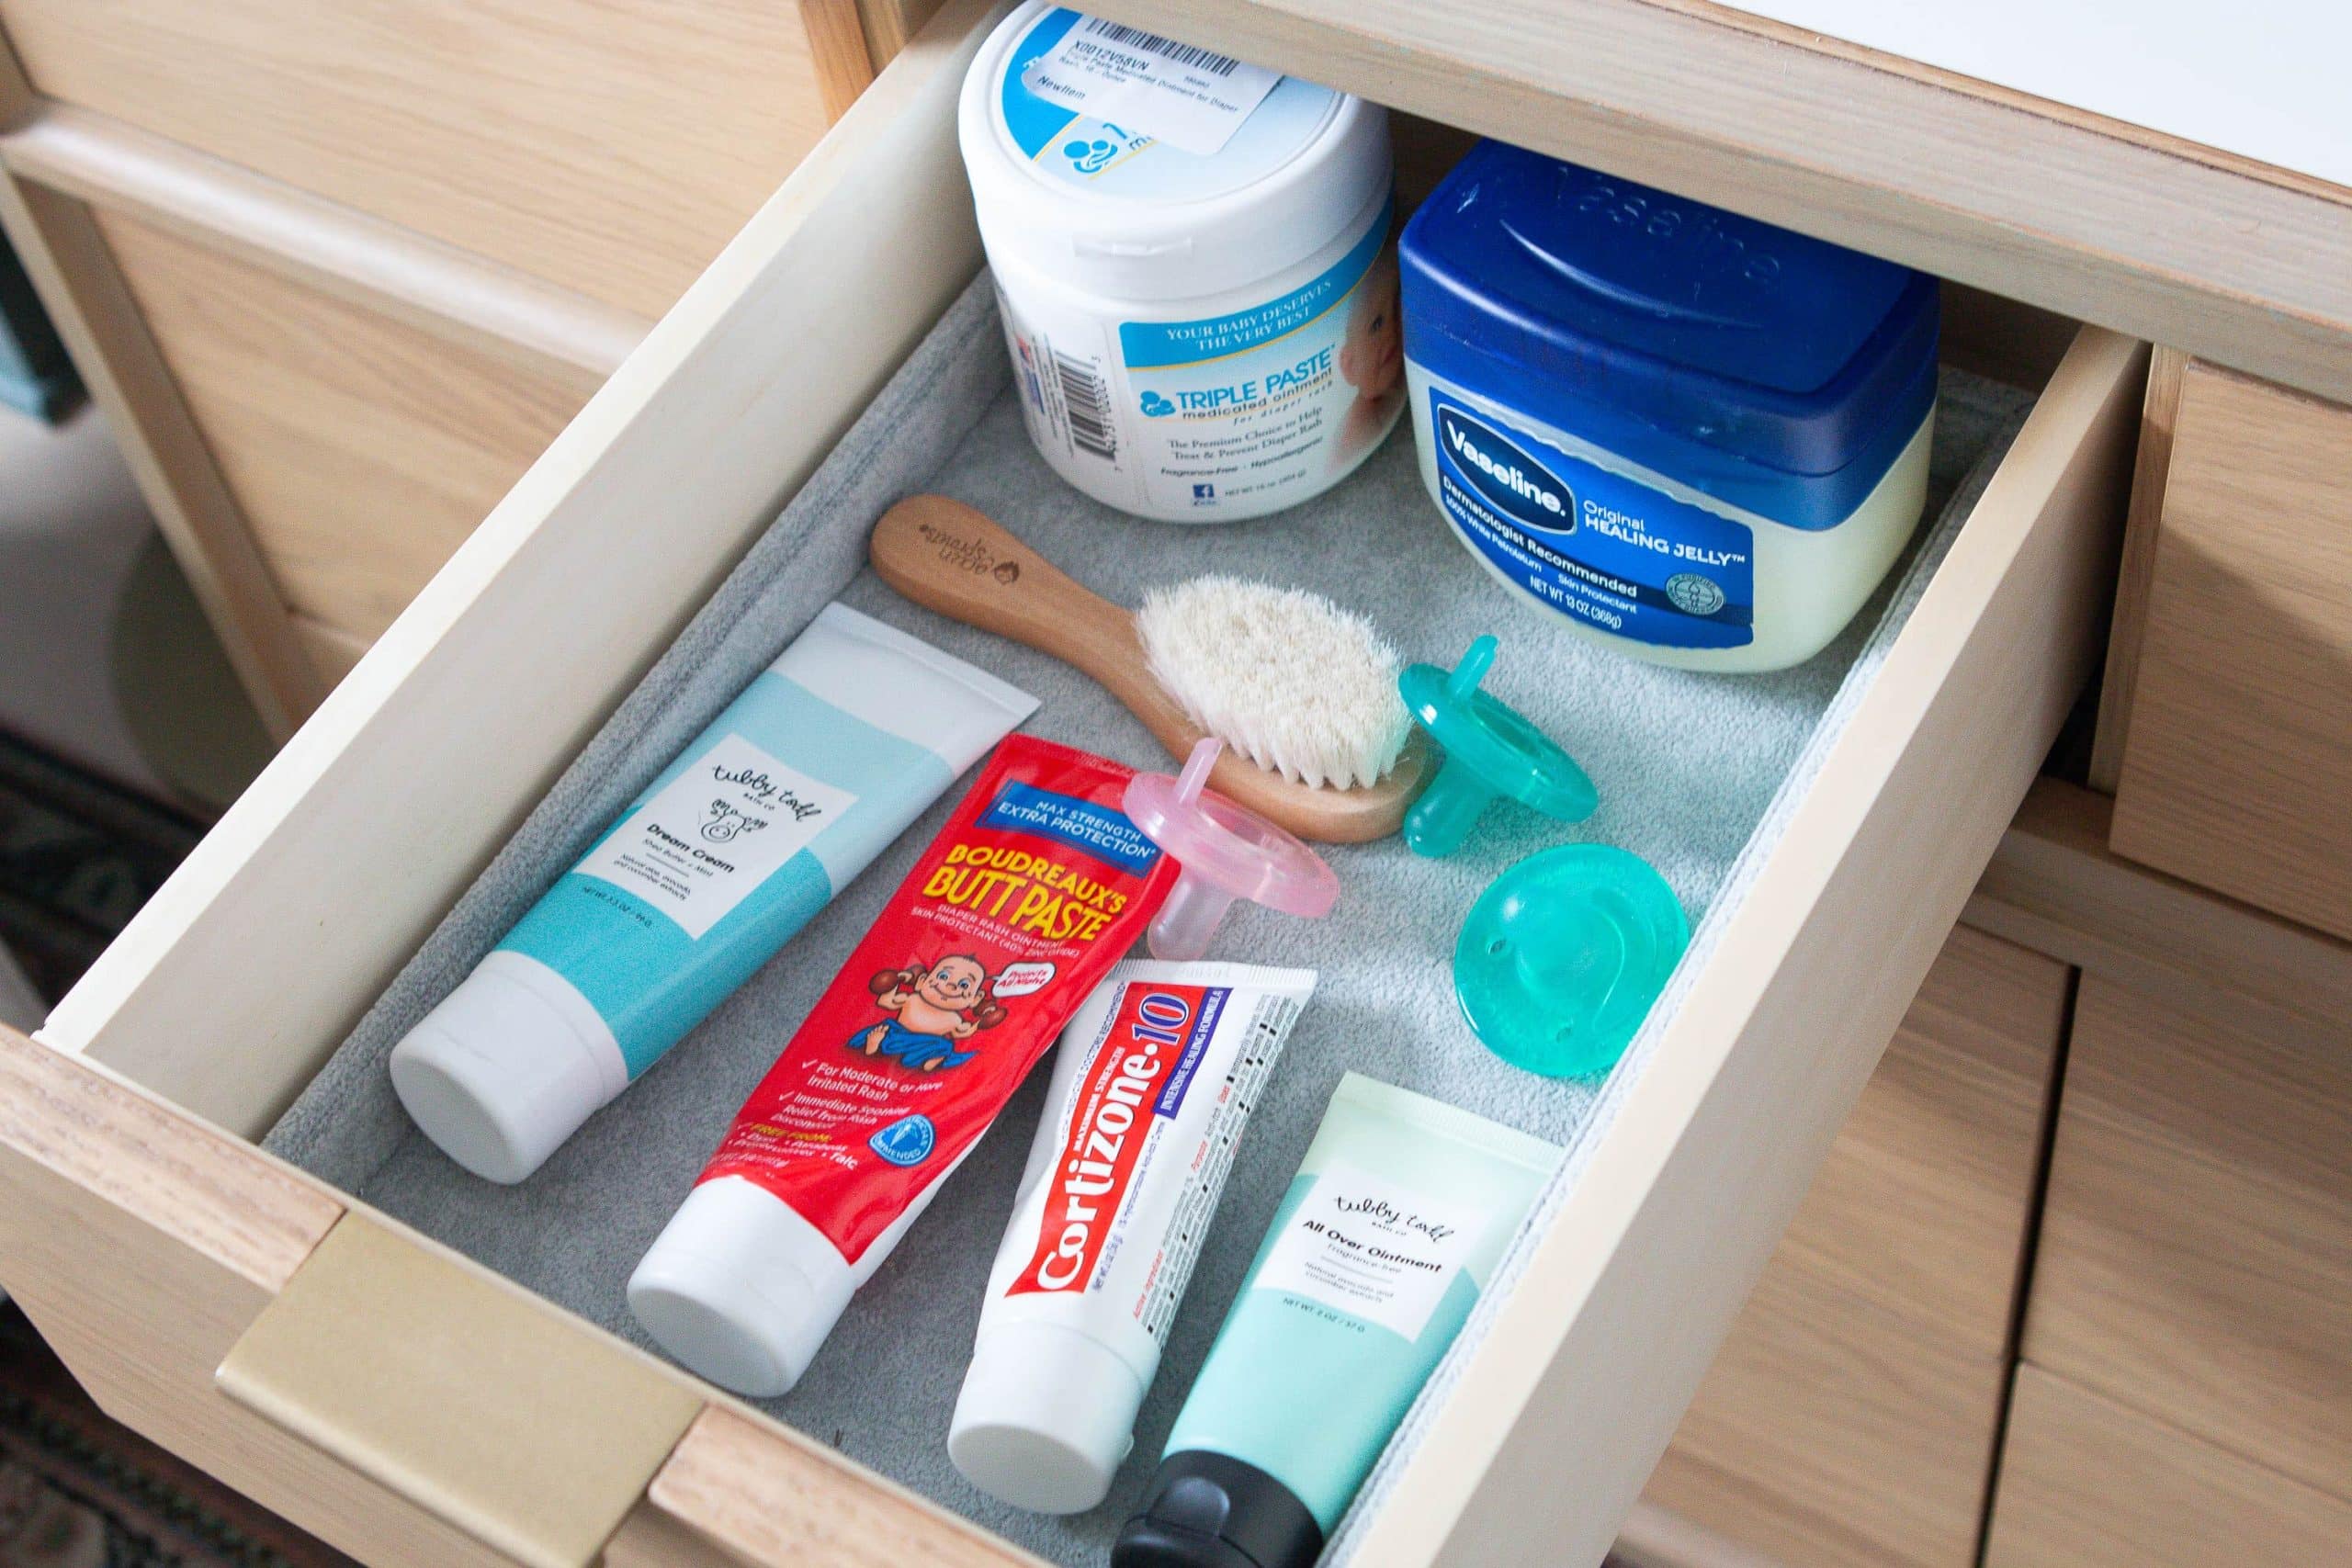
Rory has four small drawers in the top row of her dresser, so next to the diaper drawer we keep all of the diapering accessories. Baby Boy’s dresser has two large drawers up top, so one of them will hold all of our changing table accessories. Here are some of our favorites that we’ll stock up on in there…
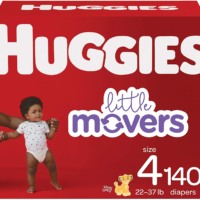
Huggies Diapers
We tried out a few different brands when Rory was born and ultimately decided to go with Huggies. We order them in bulk online so we're always stocked up!
Shop This
Boudreaux’s Butt Paste
Rory has suuuuper sensitive skin and is prone to diaper rashes. We always keep this on hand when things start to get irritated.
Shop This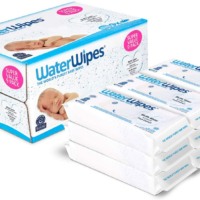
Water Wipes
We tried out lots of wipes those early days and found these to be our favorite! We have them stashed all around our house for diaper changes, messy faces, and sticky hands.
Shop This
Diaper Cream Brush
Having diaper cream all over your fingers with a wiggly baby can be a recipe for disaster. This is nice because your hands stay clean and you can wipe it right on!
Shop This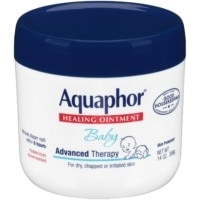
Aquaphor Baby Ointment
This is a changing table must-have for us. Dry spots, irritated butts, and chapped areas all benefit from this miracle cream!
Shop This
Munchkin Step Diaper Pail
So we recently transitioned to this diaper pail and we're really liking it. A piece on our old one broke, so we figured it was a good time to try something new. This pail does a really good job of keeping the stink in. Ha! While we liked our old one (we had this one), I think this diaper pail ultimately prevails!
Shop This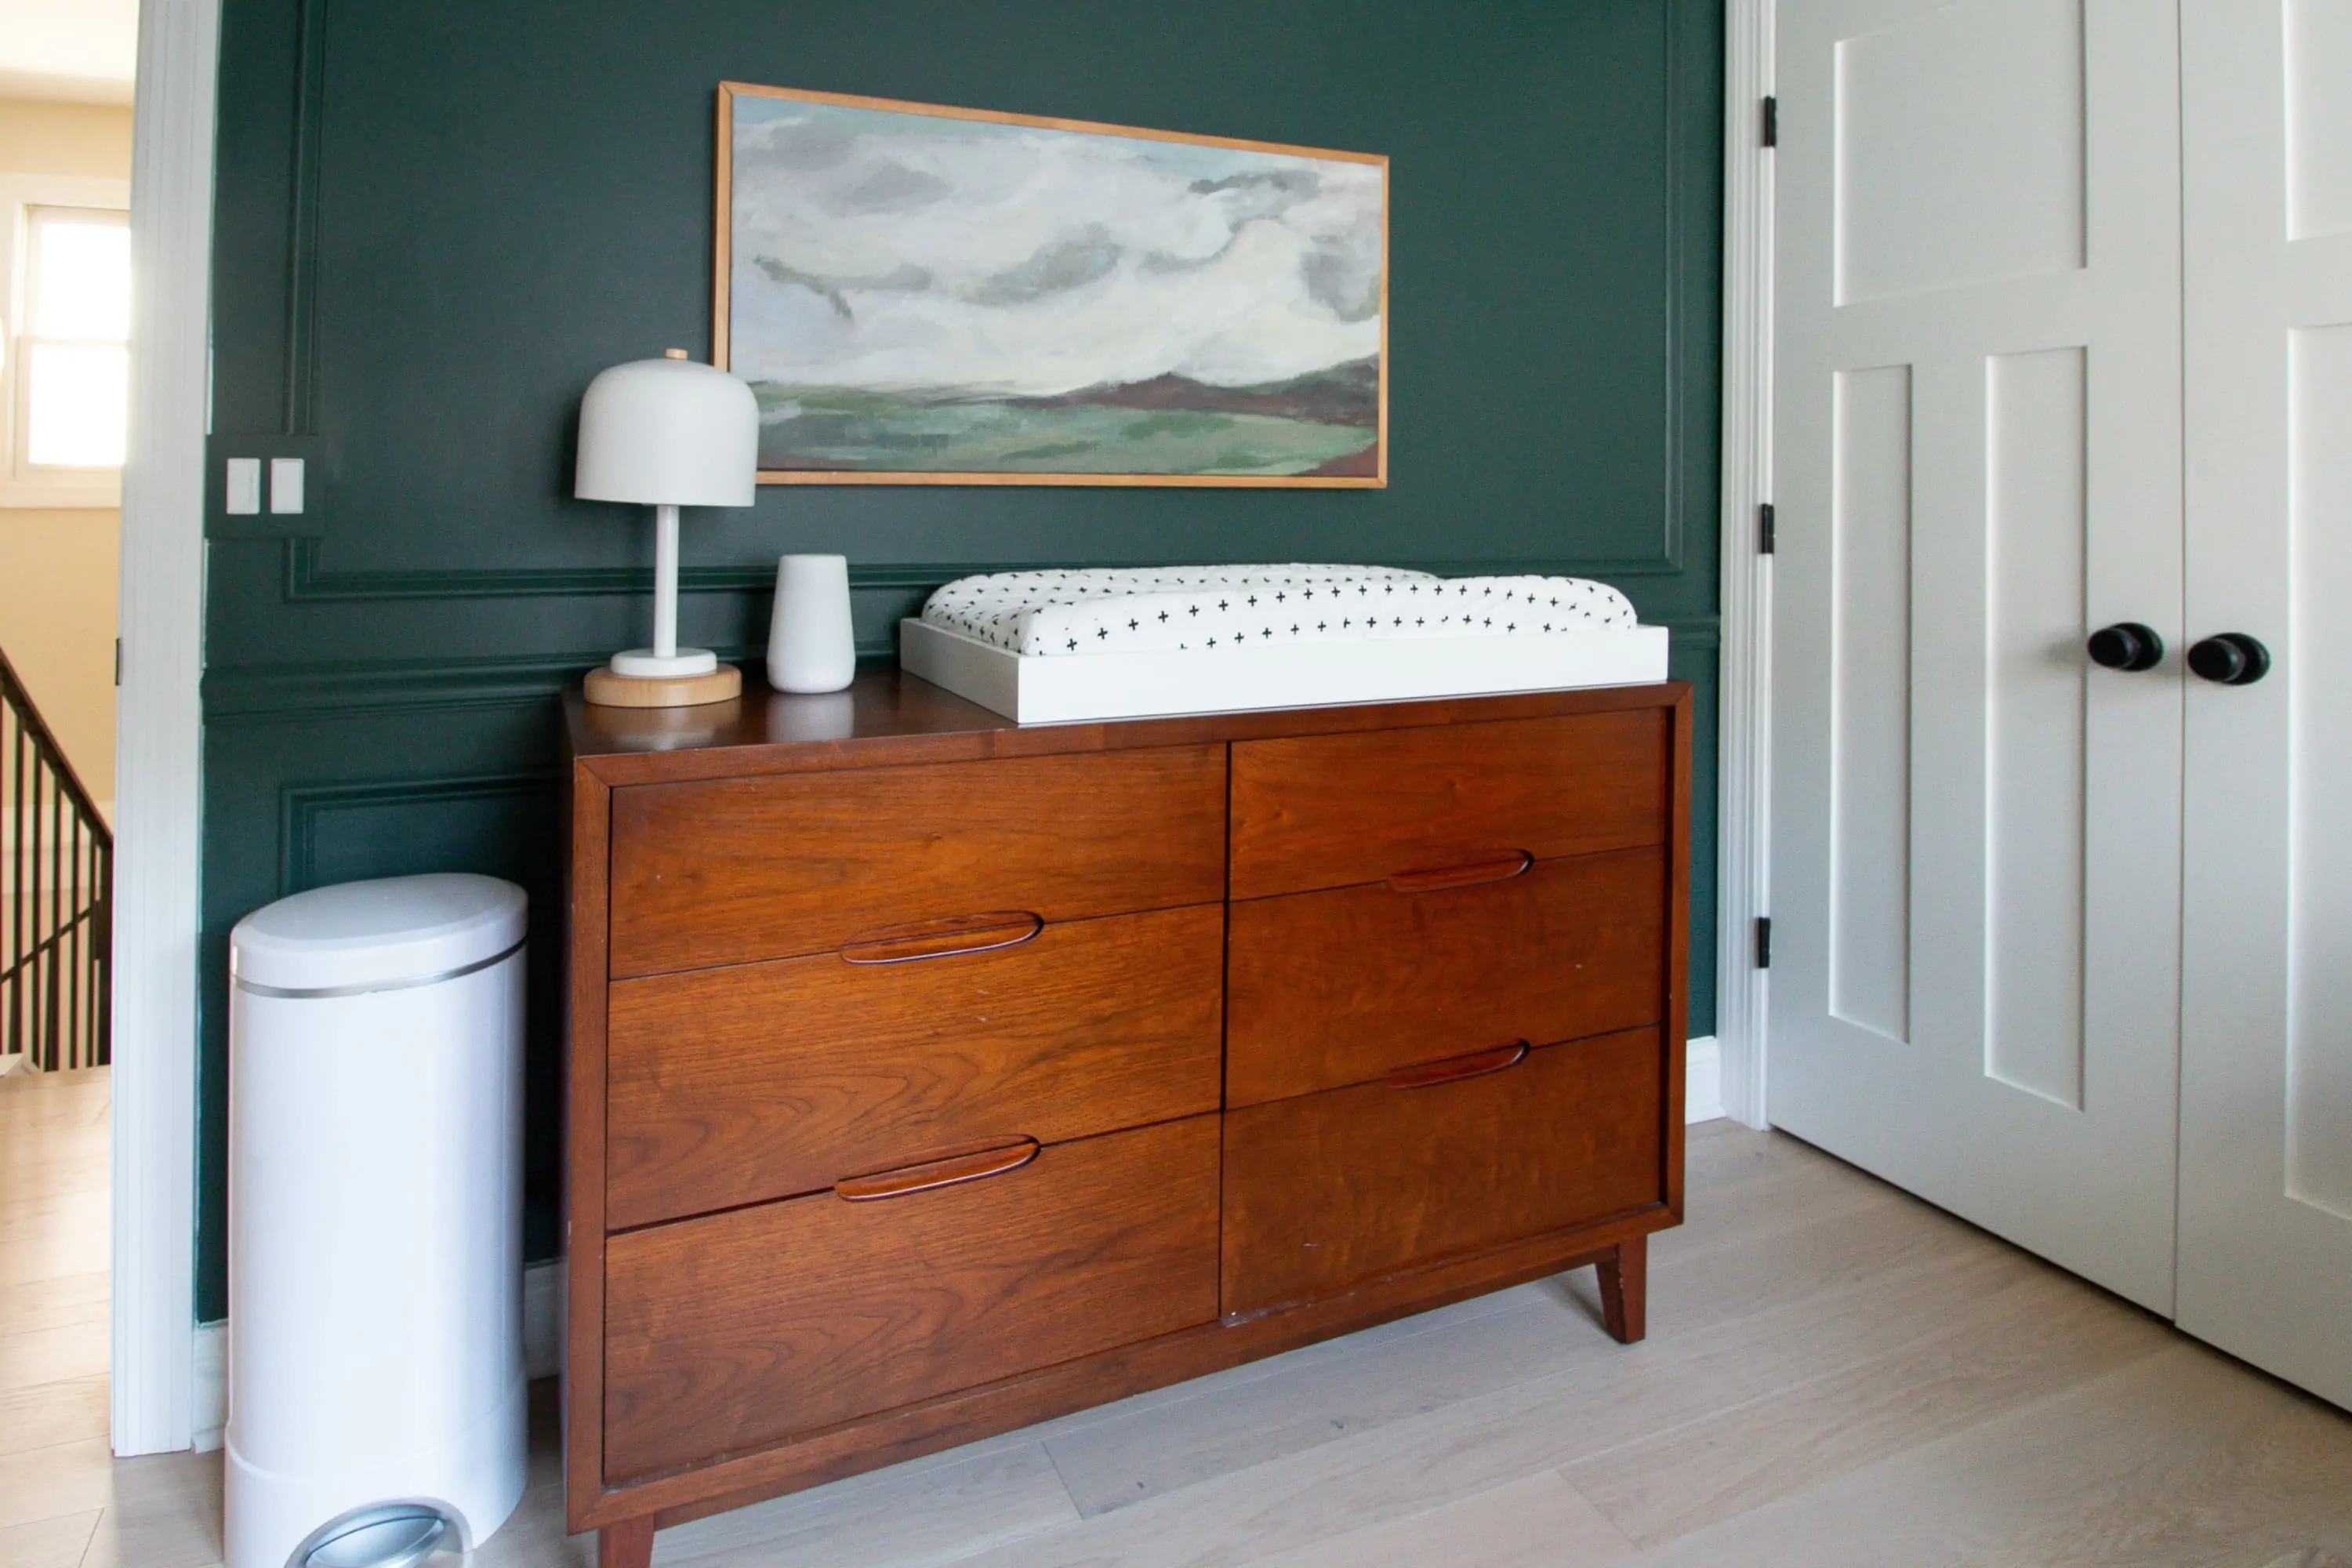
Wall Color, Benjamin Moore “Tarrytown Green” // Picture Frame Molding Tutorial // Dresser (from Crate & Barrel, no longer sold) // Canvas Art // Changing Table Topper // Changing Pad // Changing Pad Cover // Table Lamp // Hatch Sound Machine // Diaper Pail
Since Finn is the organizing wizard in our house, he is in charge of the dresser here in the nursery. I know he plans to finish organizing the diapering accessories in the top drawers this week, and then move onto the clothes down below. It feels so exciting to be at this stage! If you want to see how we organized Rory’s dresser, you can check it out here.
What’s Next?
We are still waiting on the rug to arrive and then I think it’s just a matter of getting the dresser and closet organized! My plan is to reveal the space in the next few weeks, before his arrival. Fingers crossed the little man cooperates and stays in there…
Casey