Building Our Baby Boy’s Nursery Closet
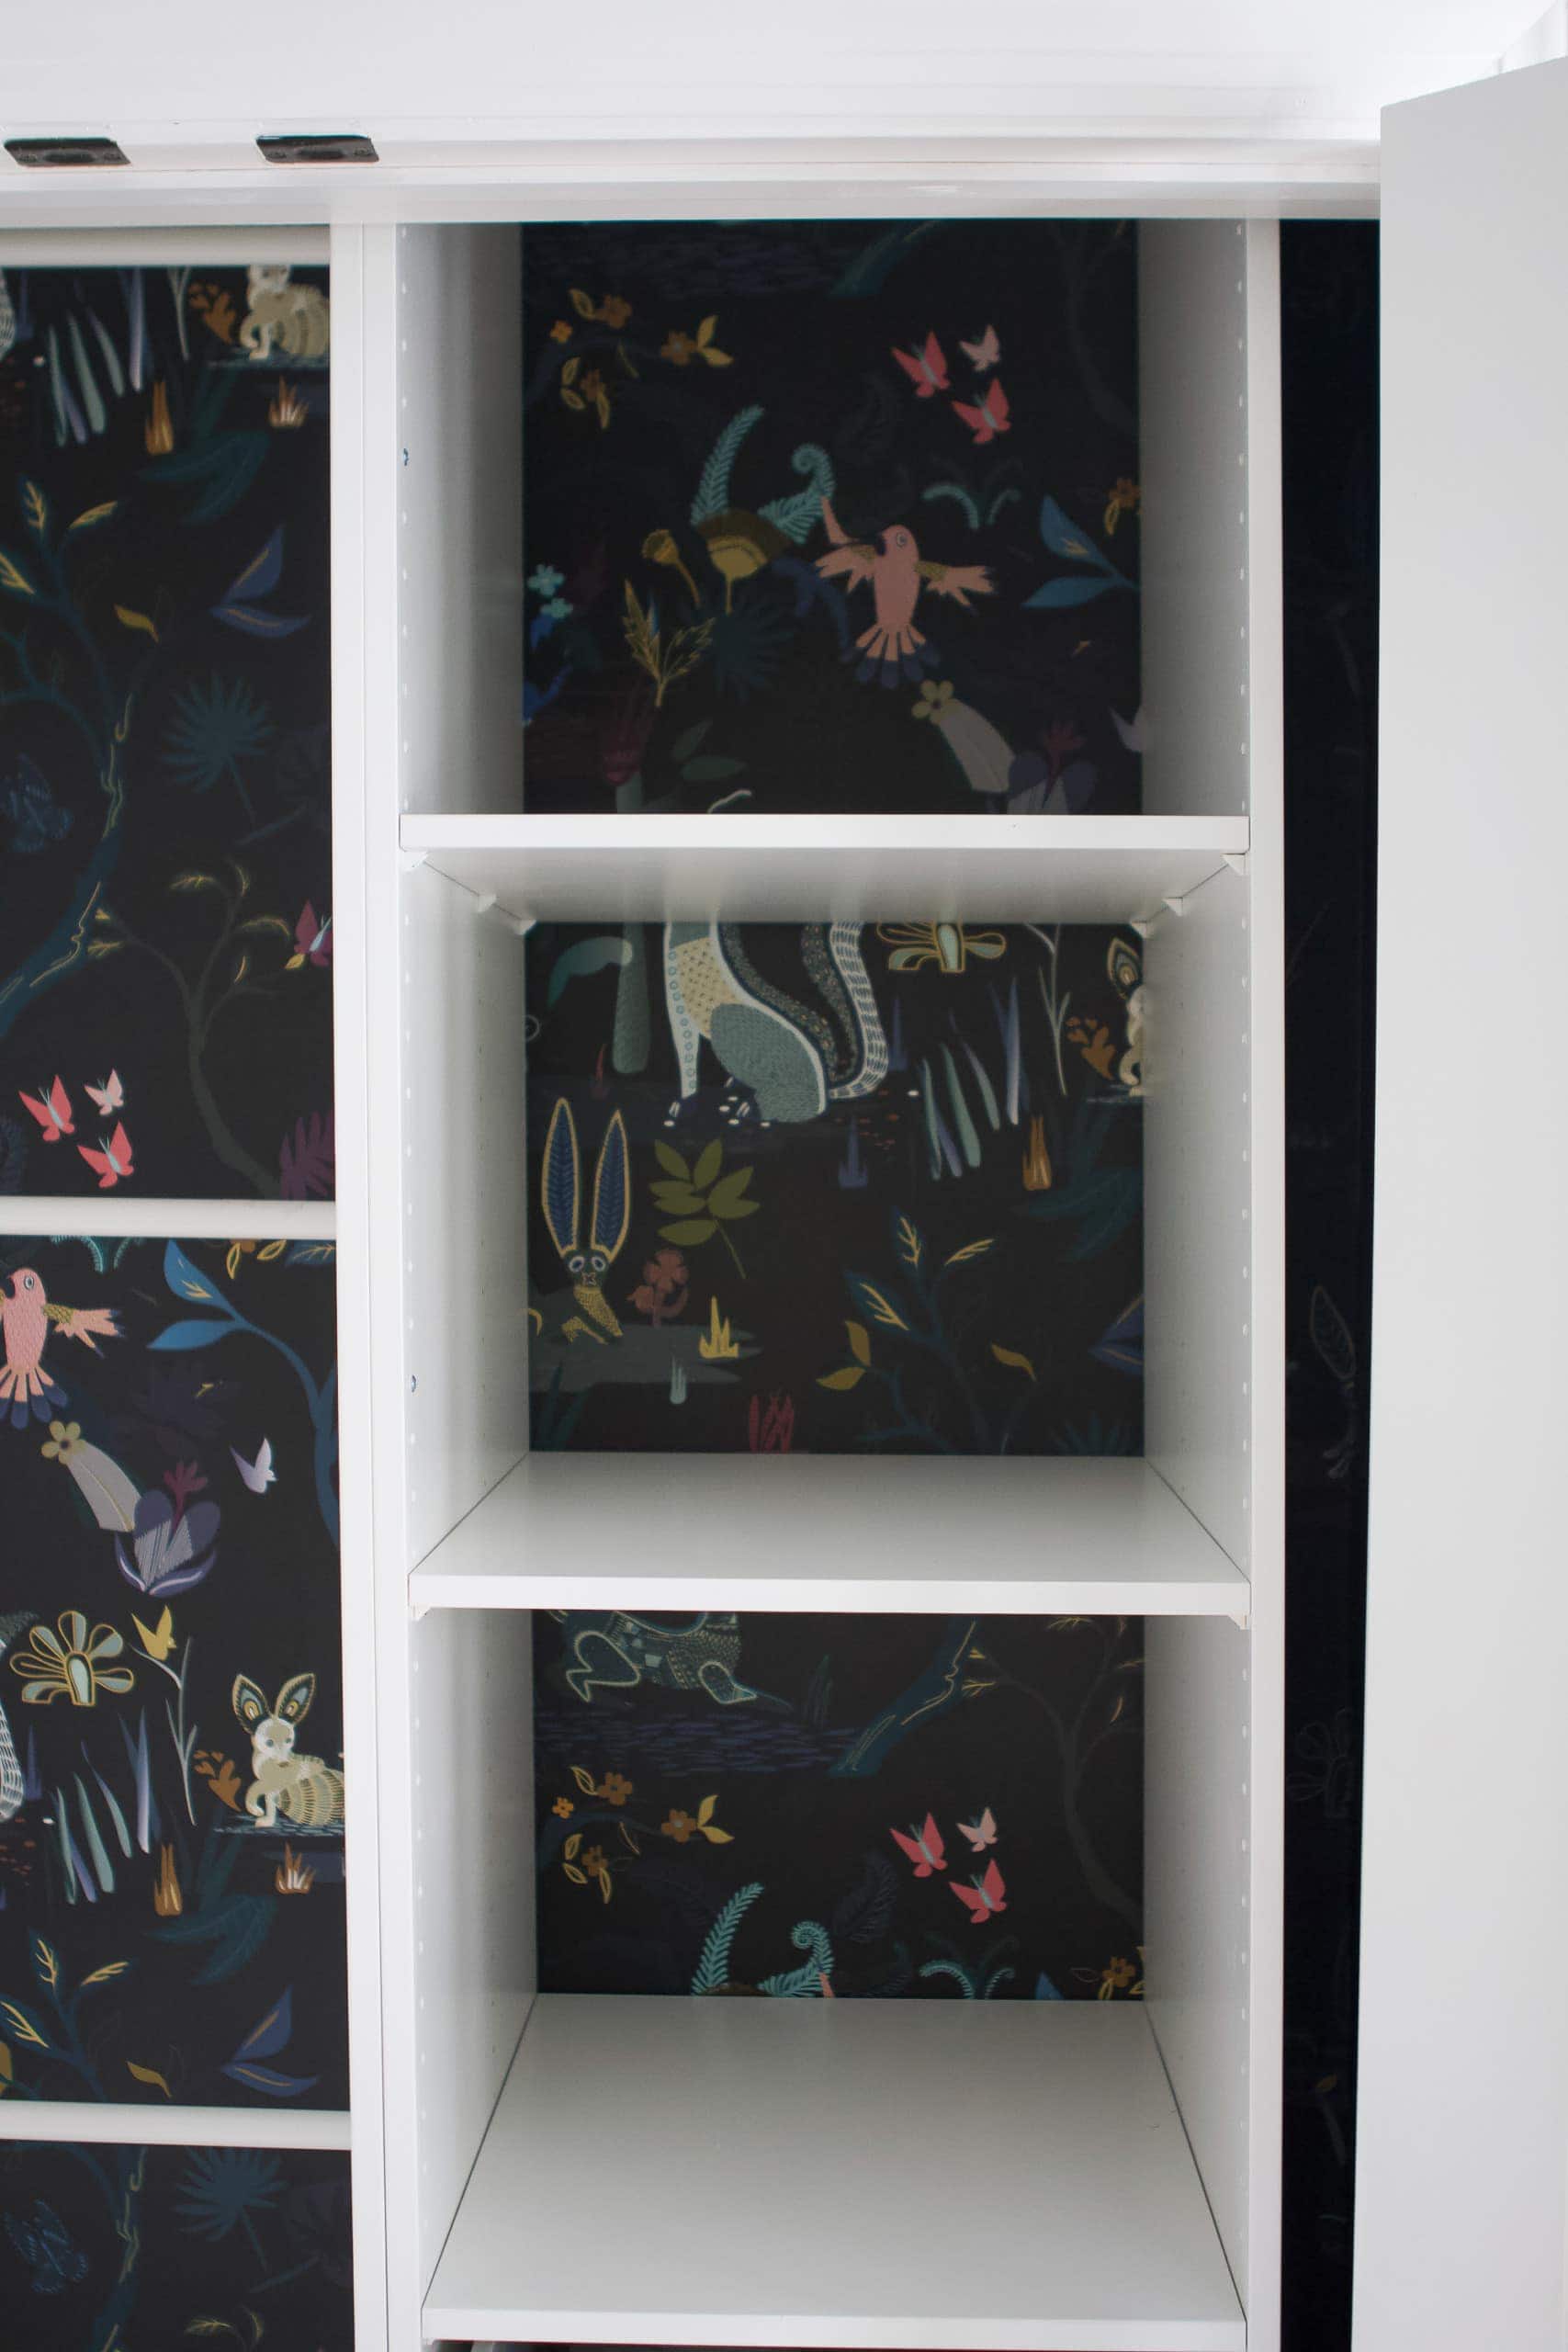
Last week, I showed you the stunning wallpaper we installed in the nursery closet. Since finishing that project, I’ve kept the doors open so I can peek my head in and smile at the gorgeous paper. It’s just so good. With the wallpaper in, it was time to install the actual closet organization system.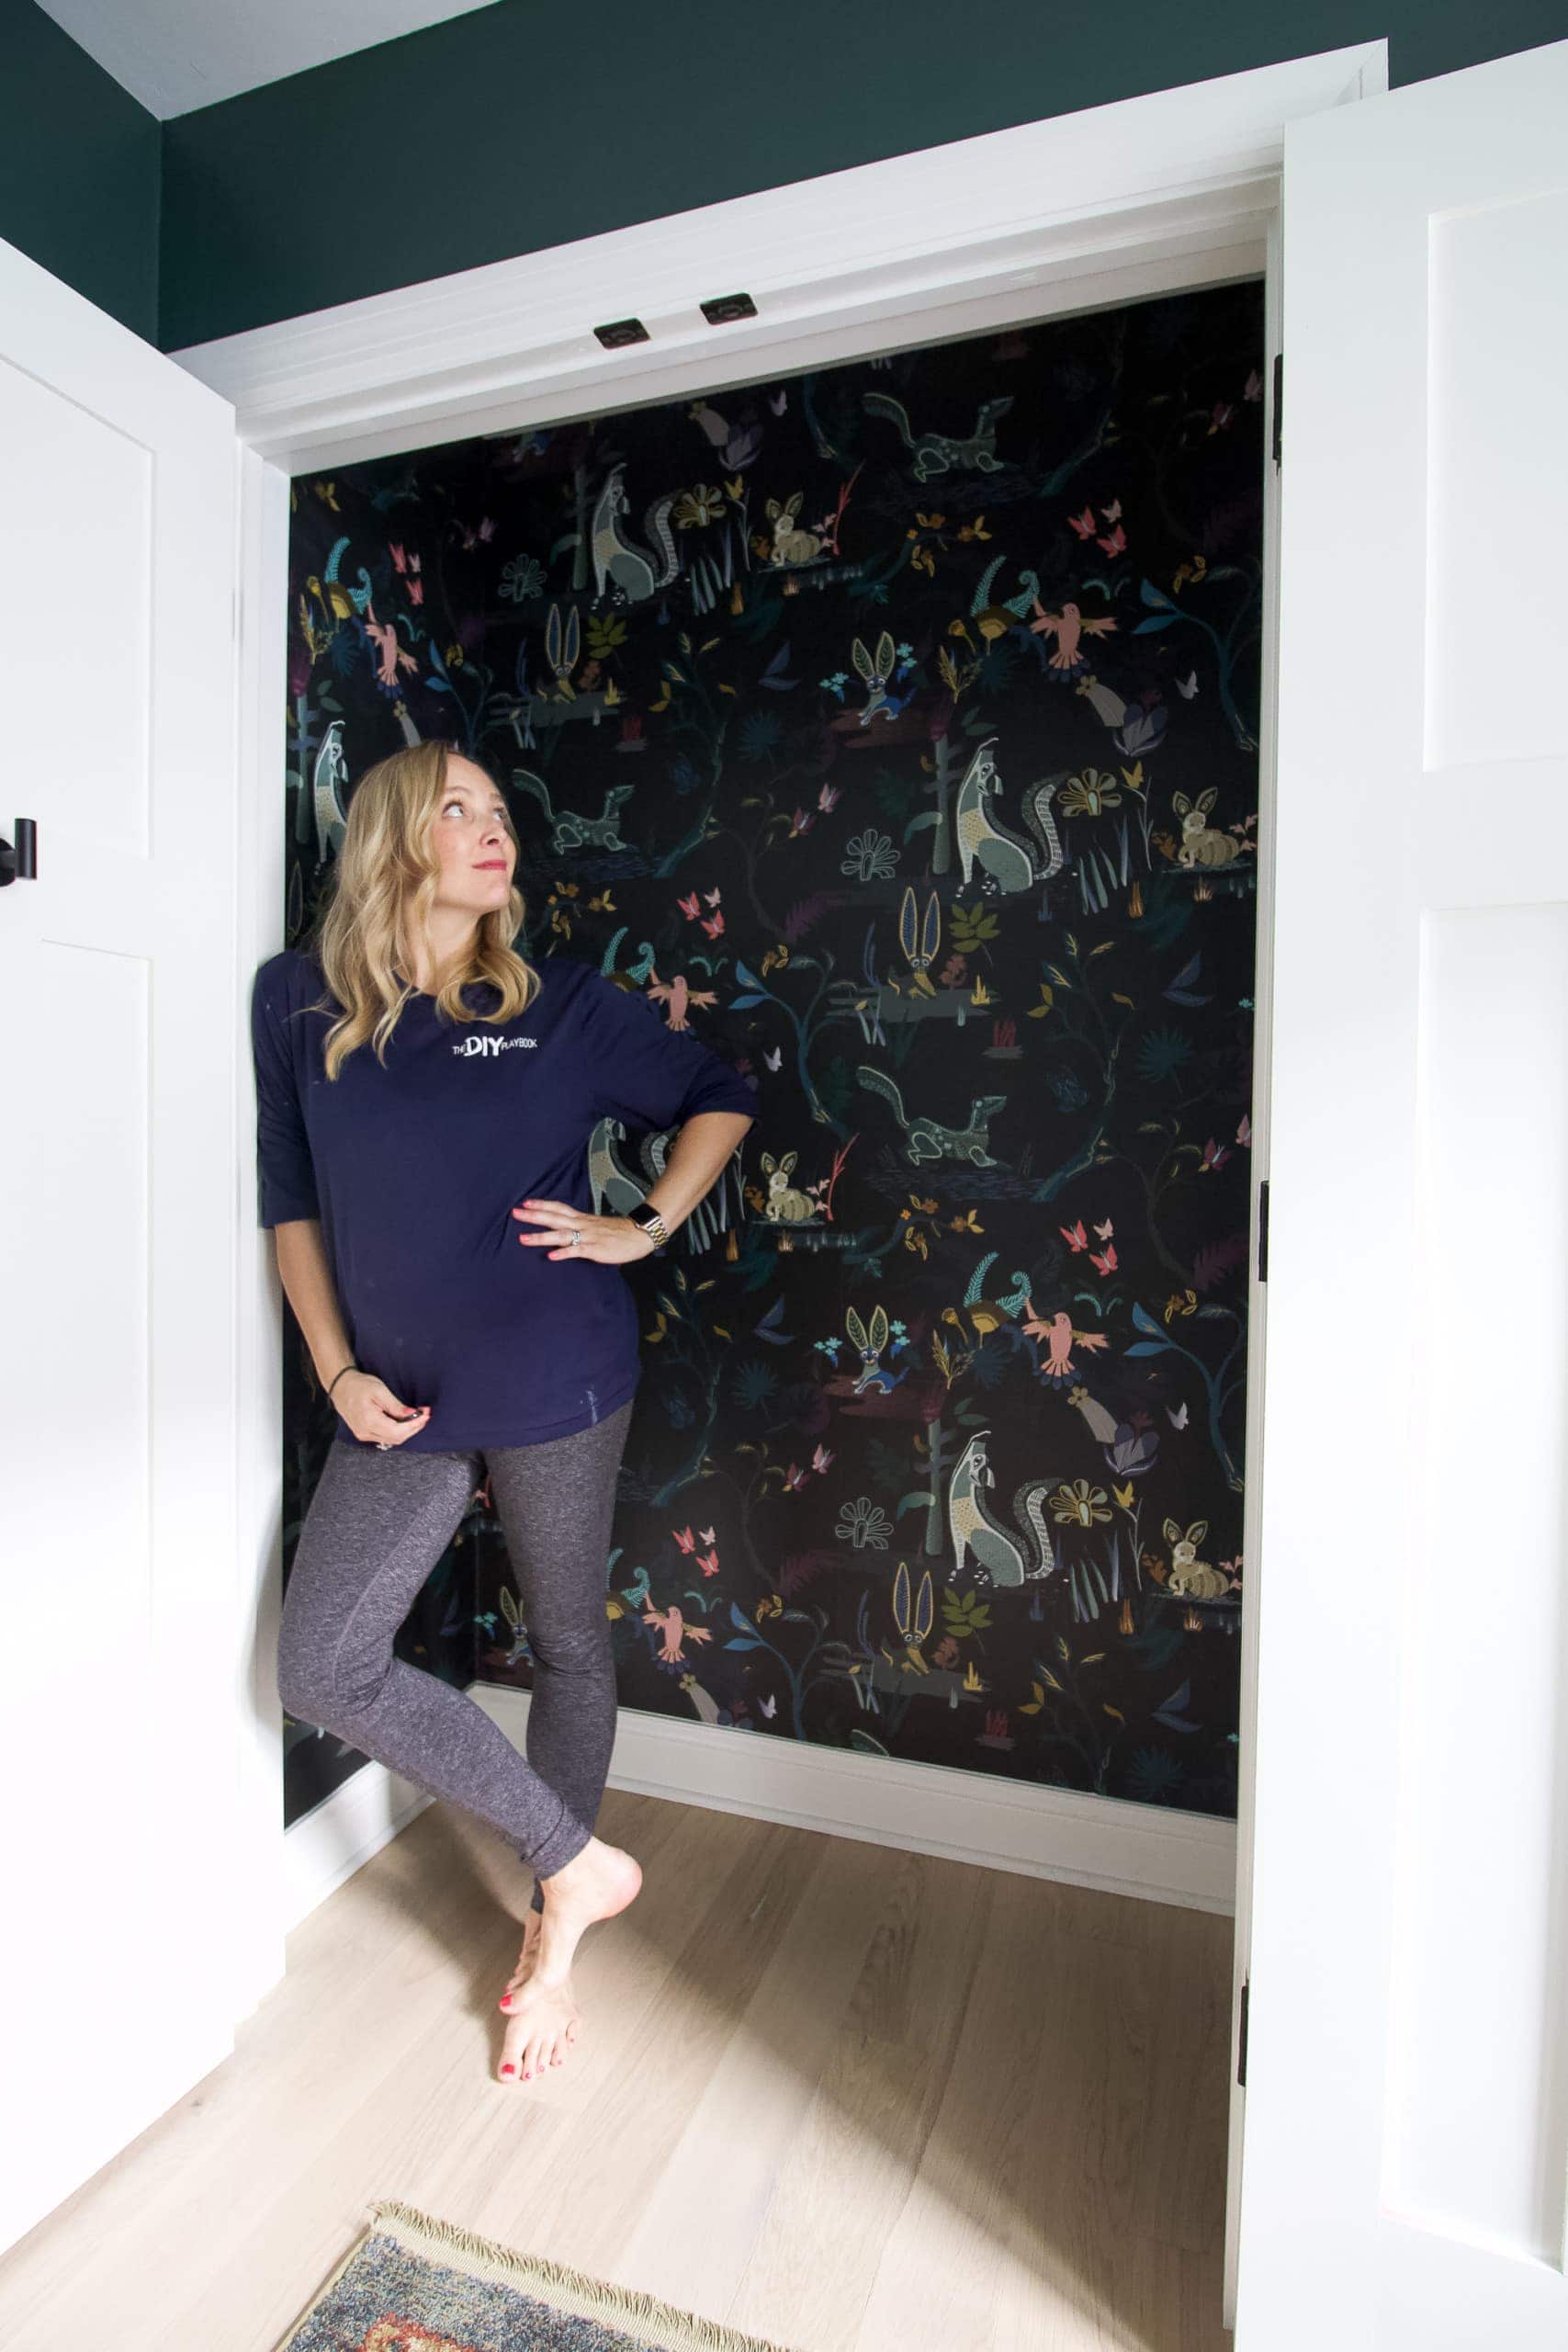
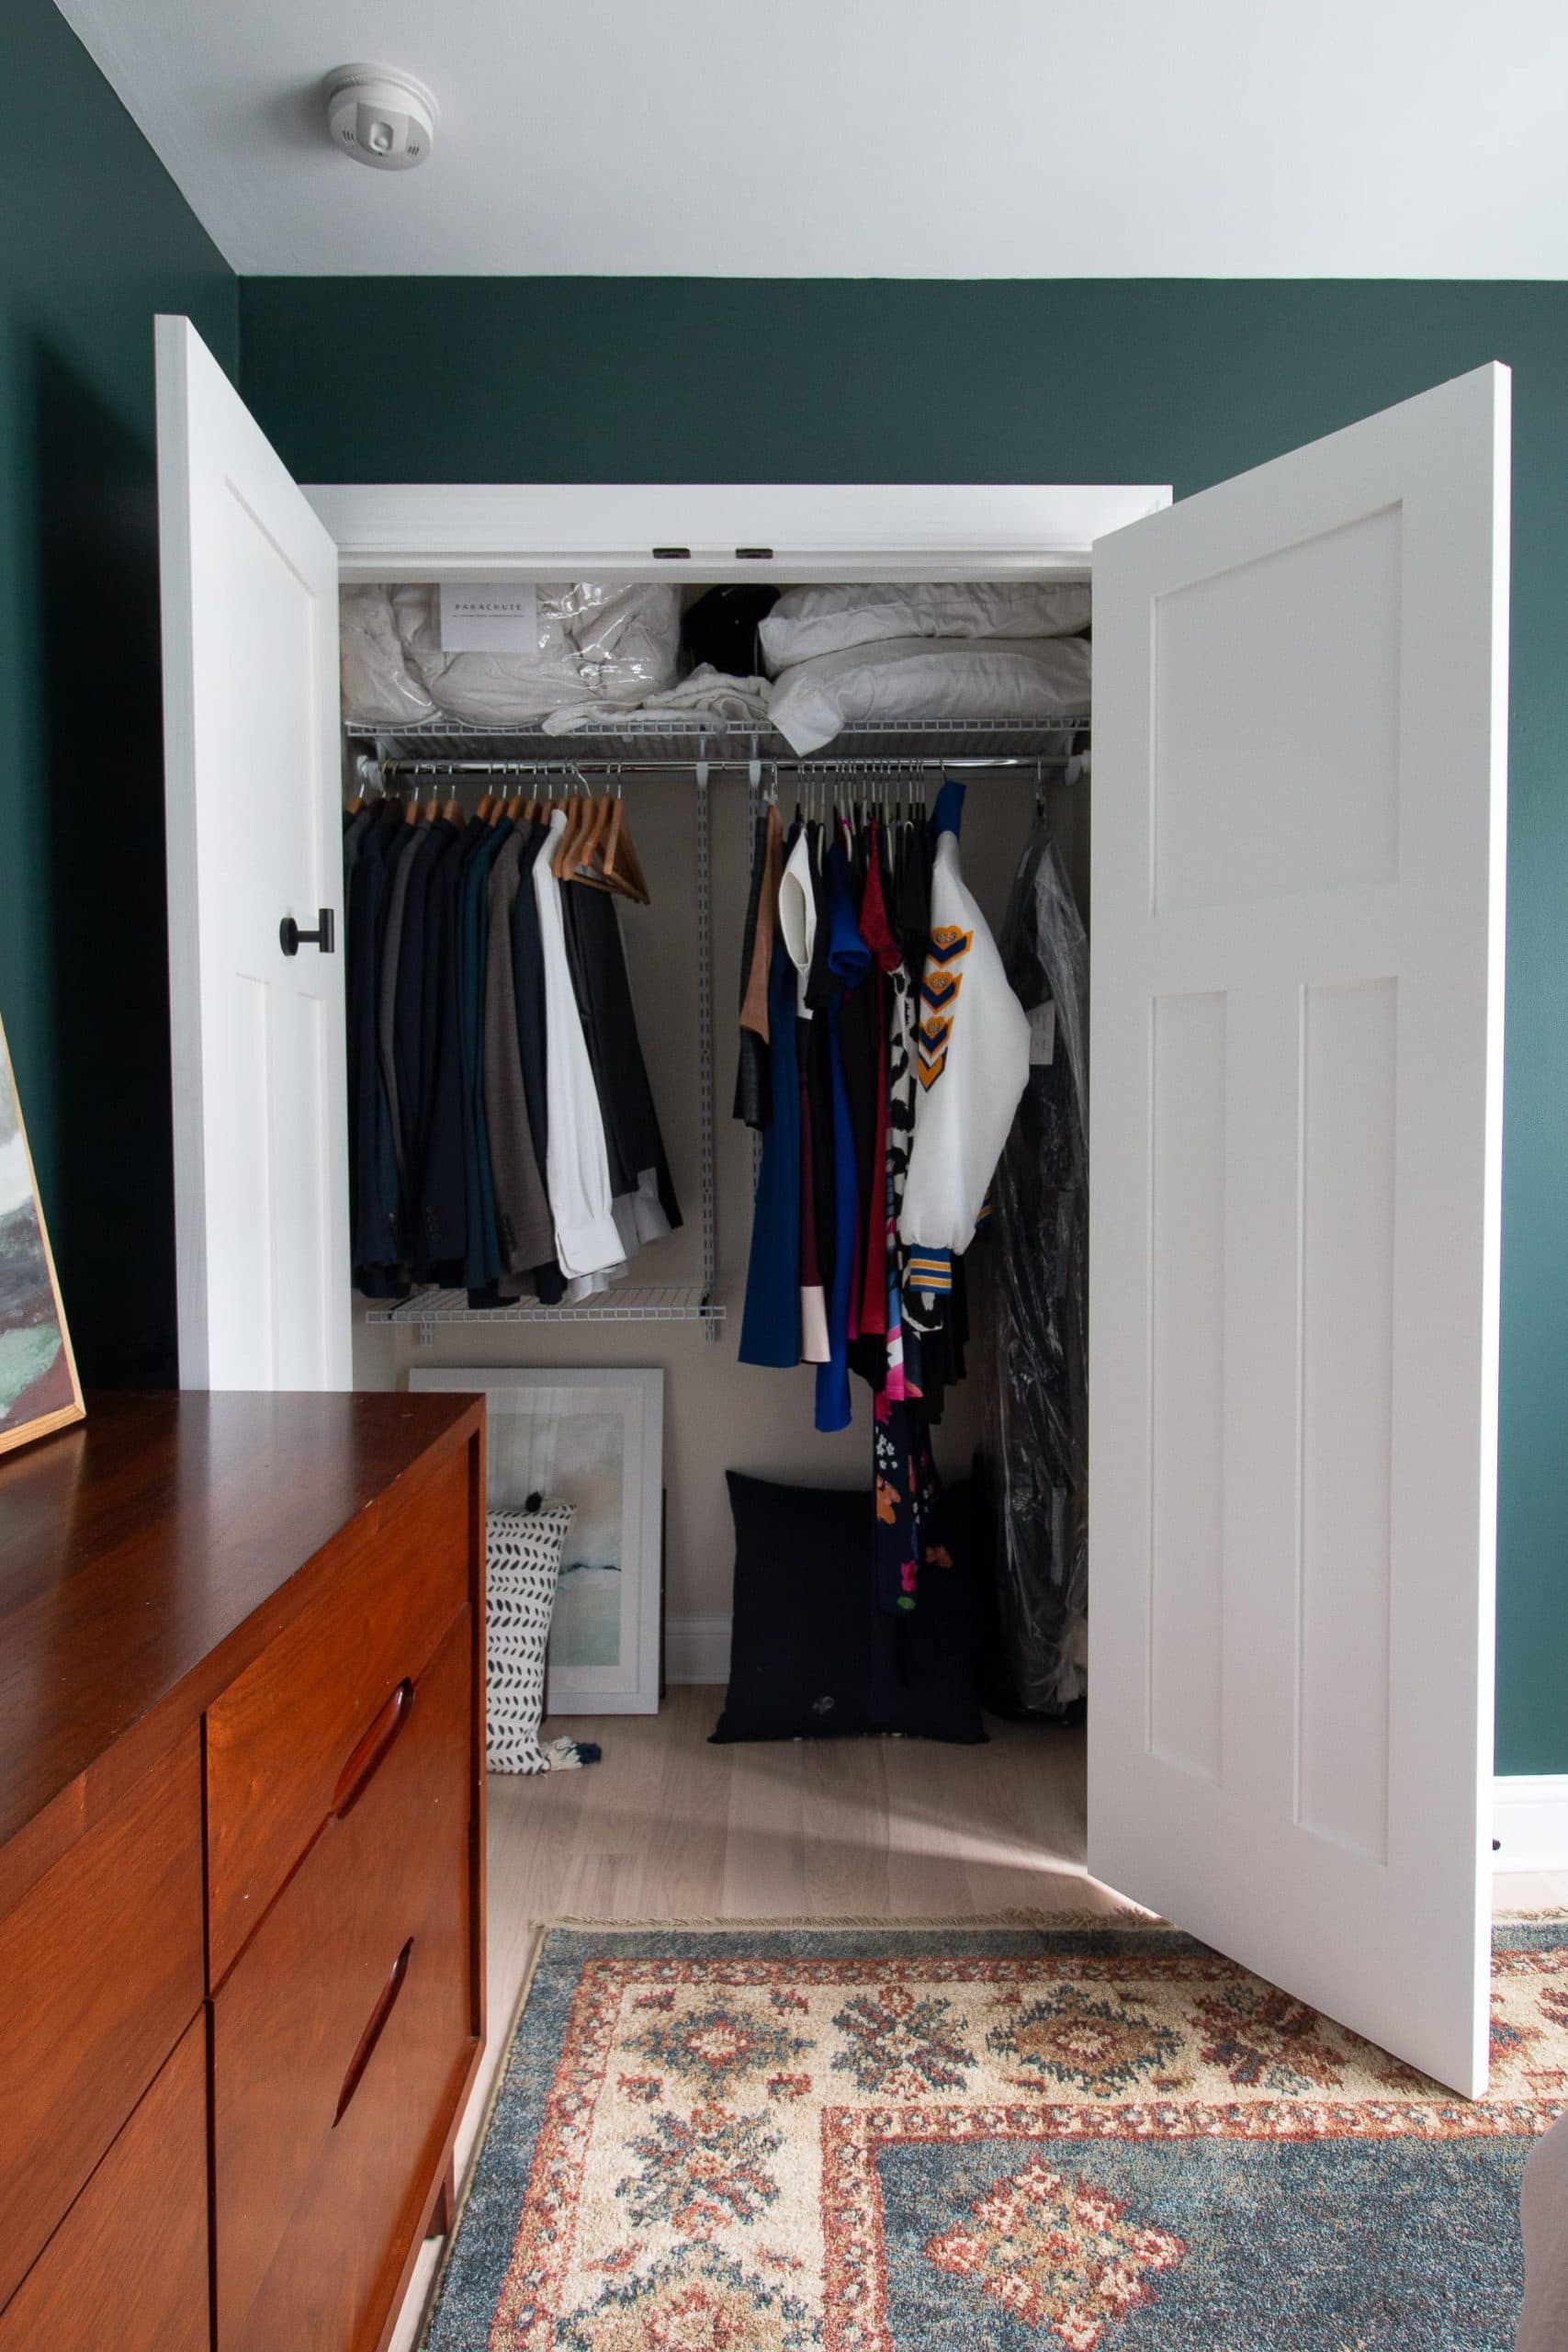
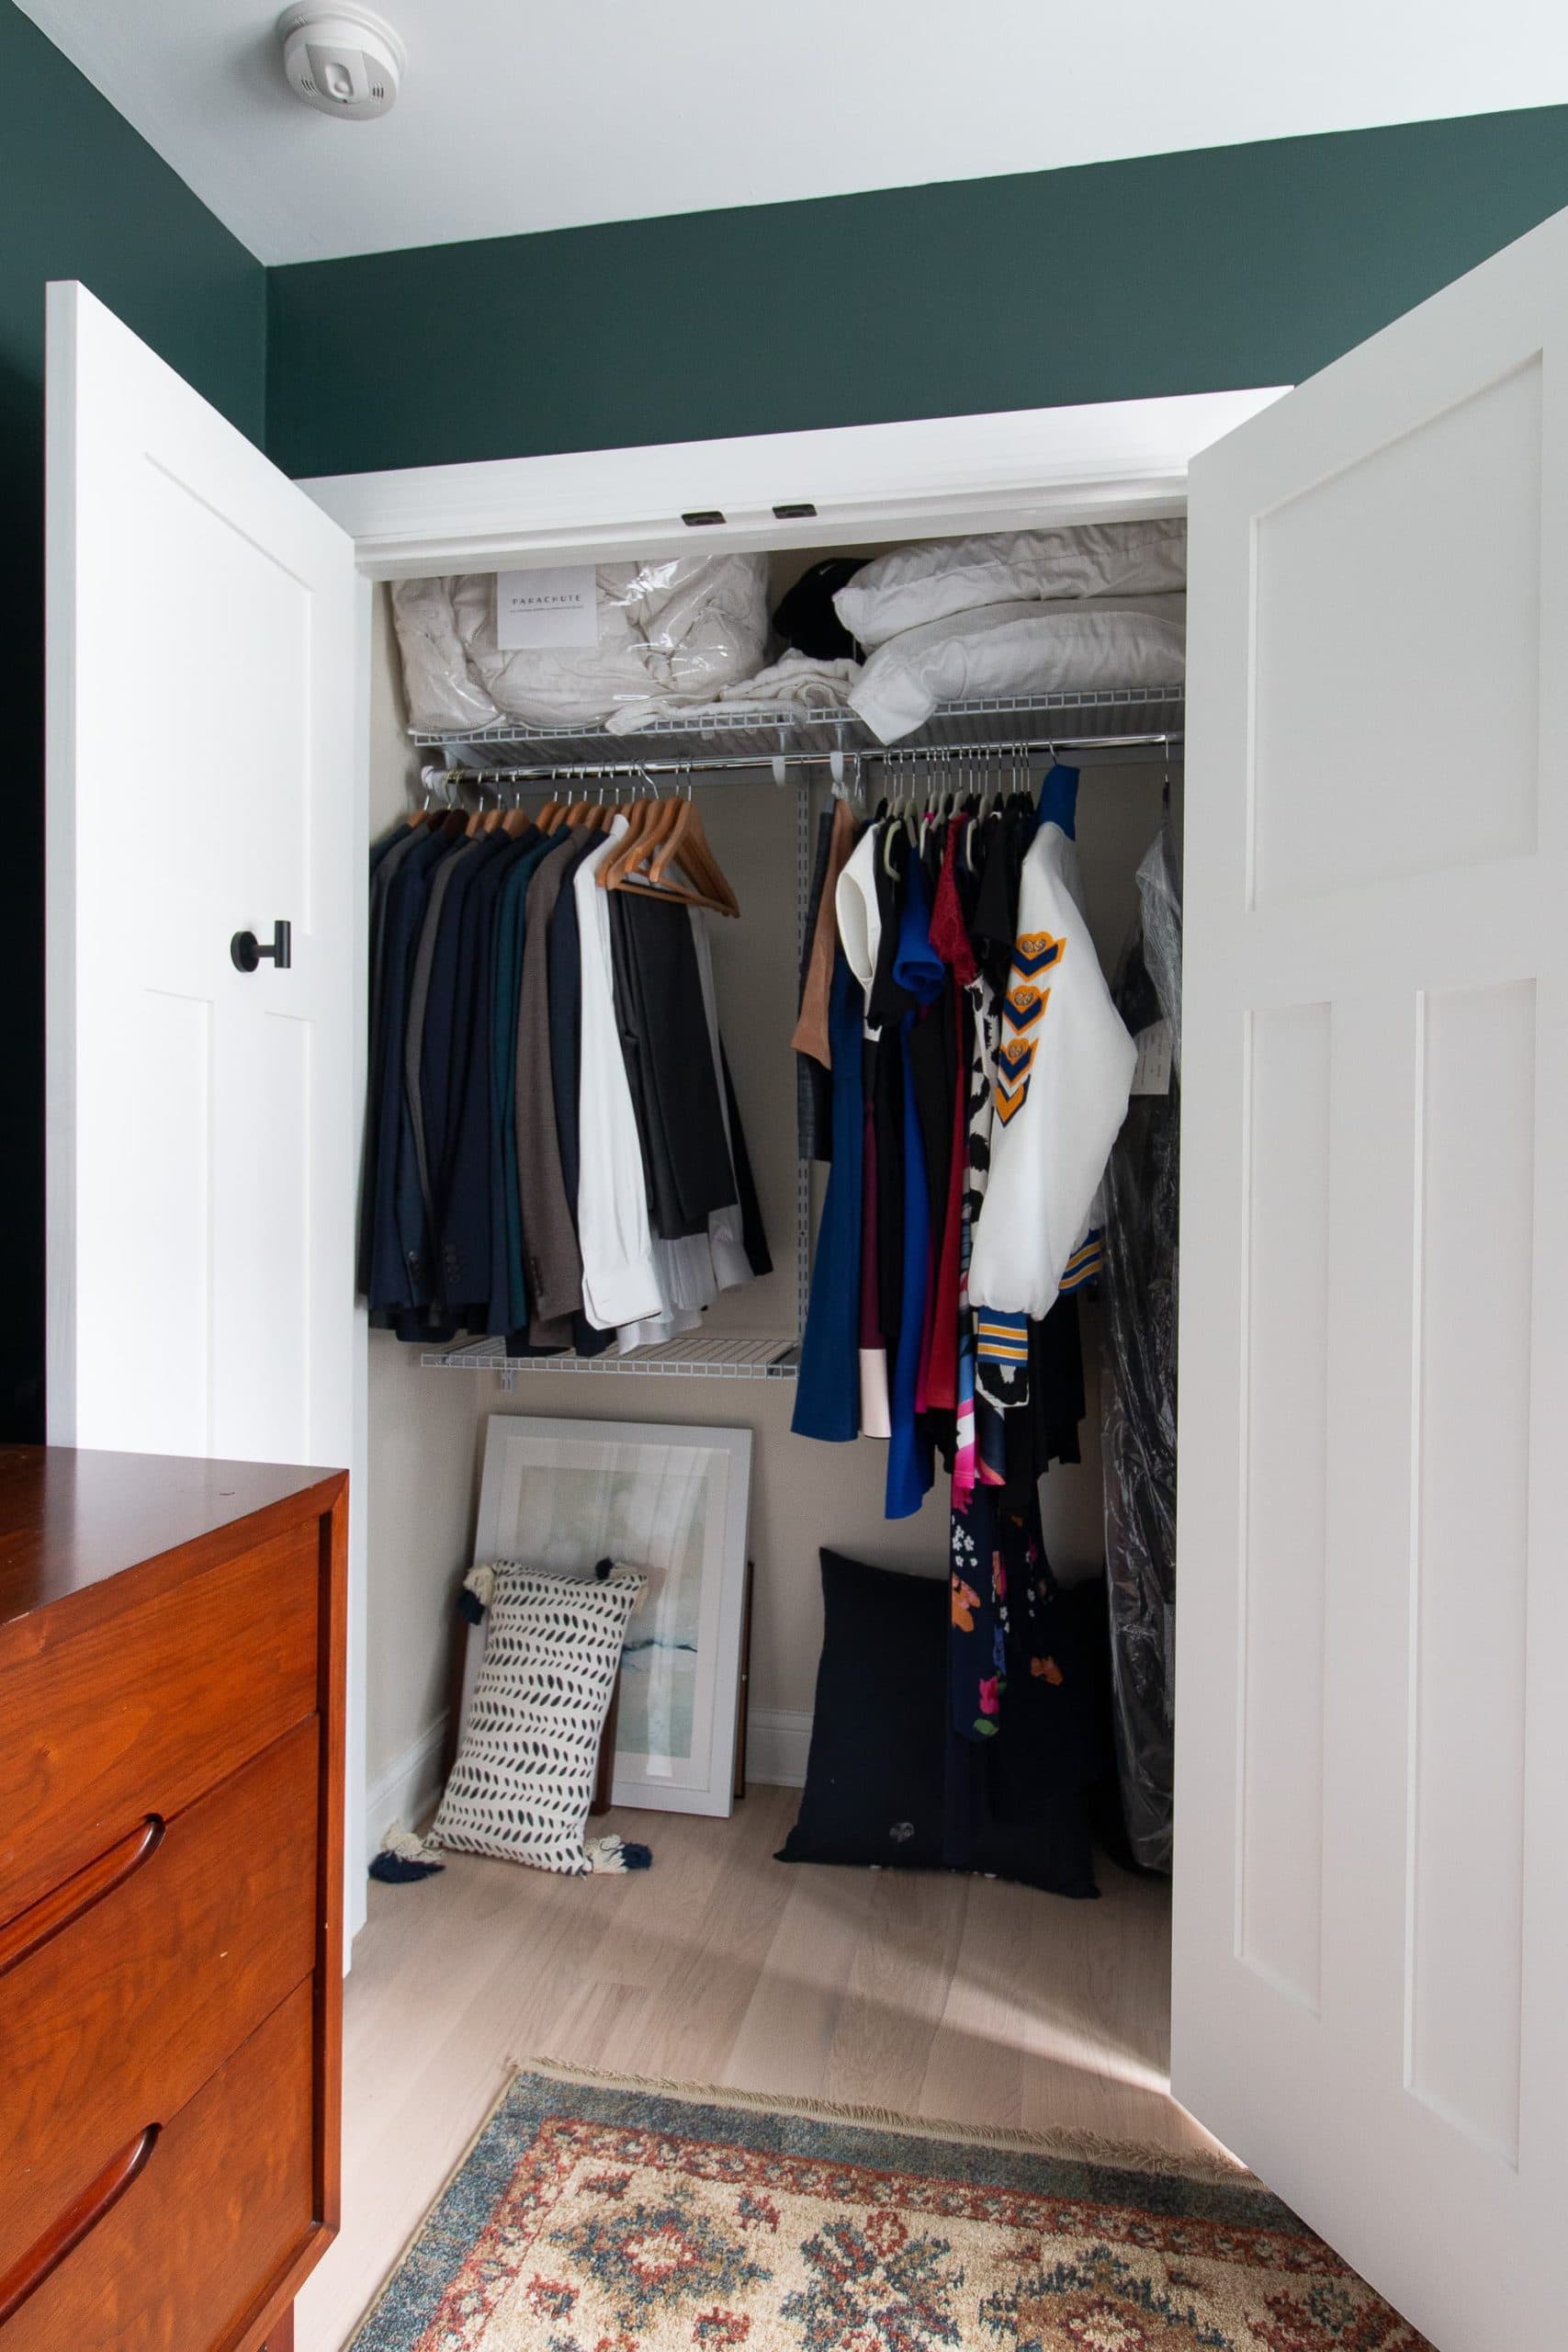
The Closet Before
Here’s a look at the closet back when it just had some wire shelving in it. This was fine…just fine. But it wasn’t going to work well for a newborn. There was not enough storage, too few rods, and no secret storage with drawers. I ripped that out, patched the holes, wallpapered, and came up with a new plan for baby boy’s nursery closet.
Choosing the PAX System…Again!
By now, you’ve seen lots of IKEA PAX closet installations here on the blog. We first used the system for our main bedroom closet and whoa…that was a big one! 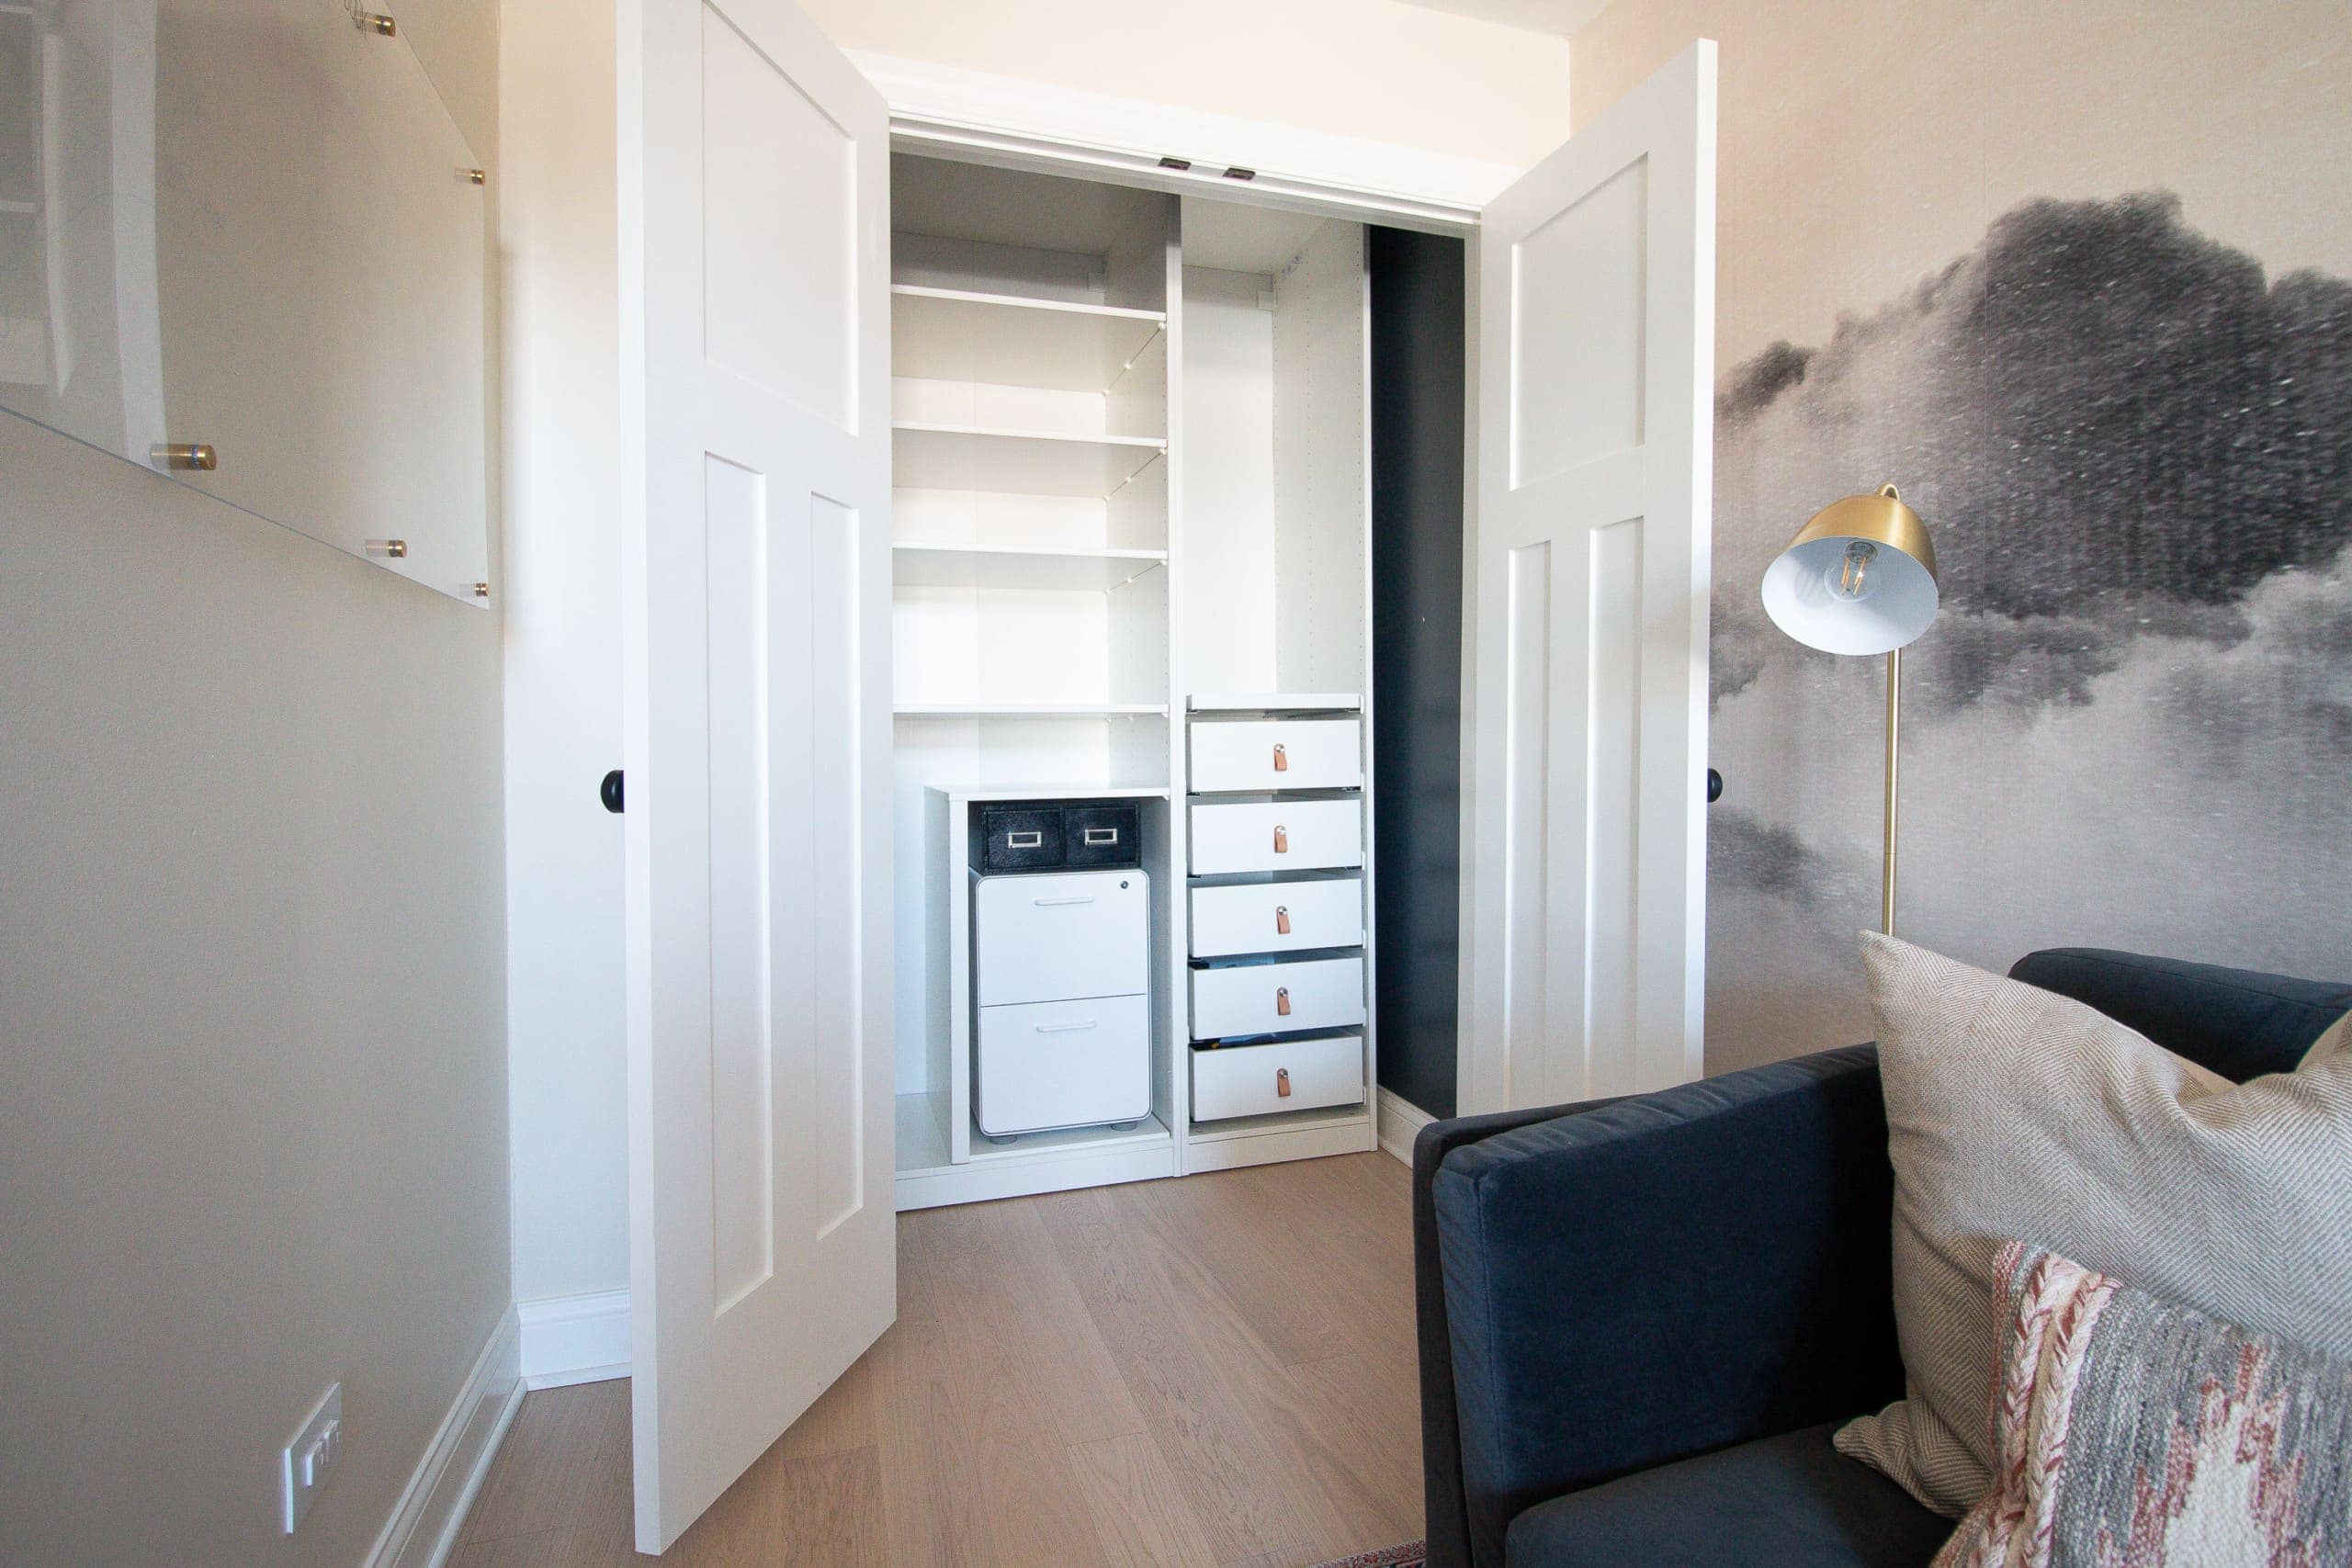 Most recently, we used the same system for our home office.
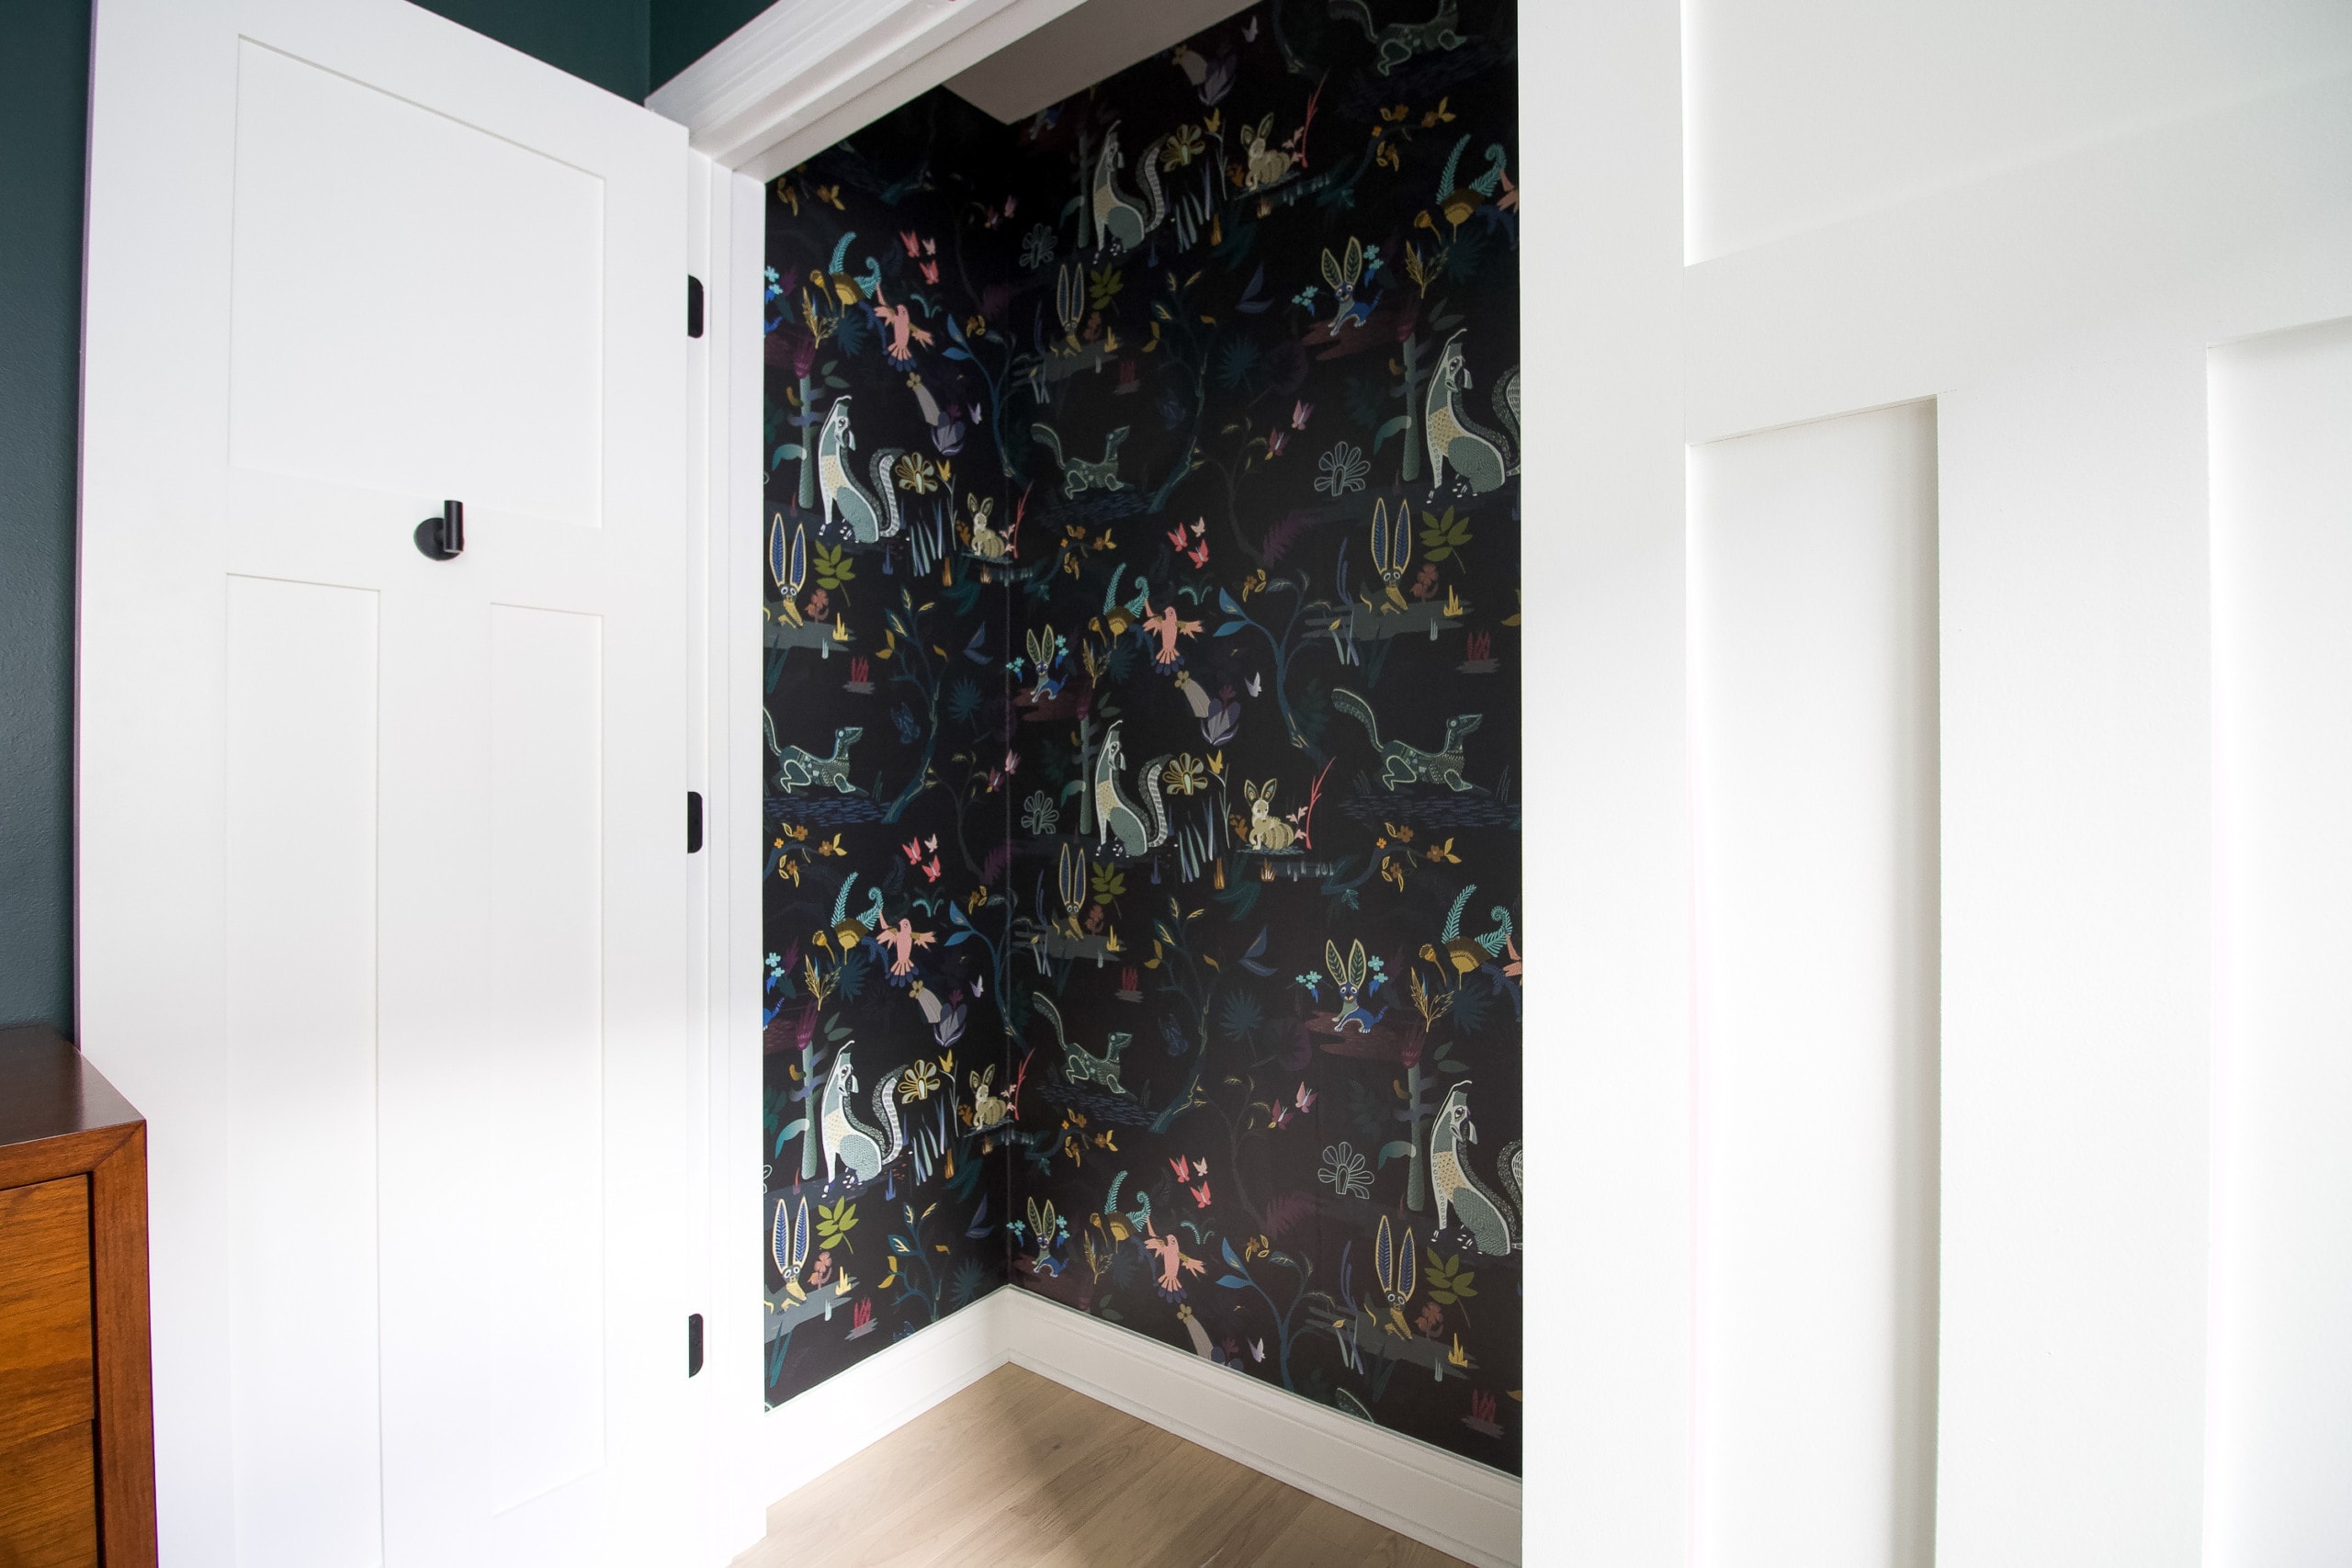
Baby Boy’s nursery closet is about the same size as the home office closet – although not as deep – so we already knew that we could fit two frames into the closet. Then, it was just a matter of deciding on the fun stuff – the placement of the drawers, rods, shelves, etc. I like using the PAX system because it’s really customizable and things can be moved easily down the line. If you need to adjust rods, add a shelf here instead of there, or make other changes as your child grows, this is the system to use.
The Design Plan
IKEA has actually stepped up their online design tool – it used to be horrible – so it’s not such a pain in the ass to use it and, dare I say, it can be fun? I always recommend measuring your space and playing around with the online tool a few times before you really commit to anything. Finn and I each tweaked the game plan as we went, and this is what we landed on. (Note: Be sure to take a picture or write down the code IKEA gives you every time you make changes to your design. If you don’t, you won’t be able to access it, which is pretty annoying).
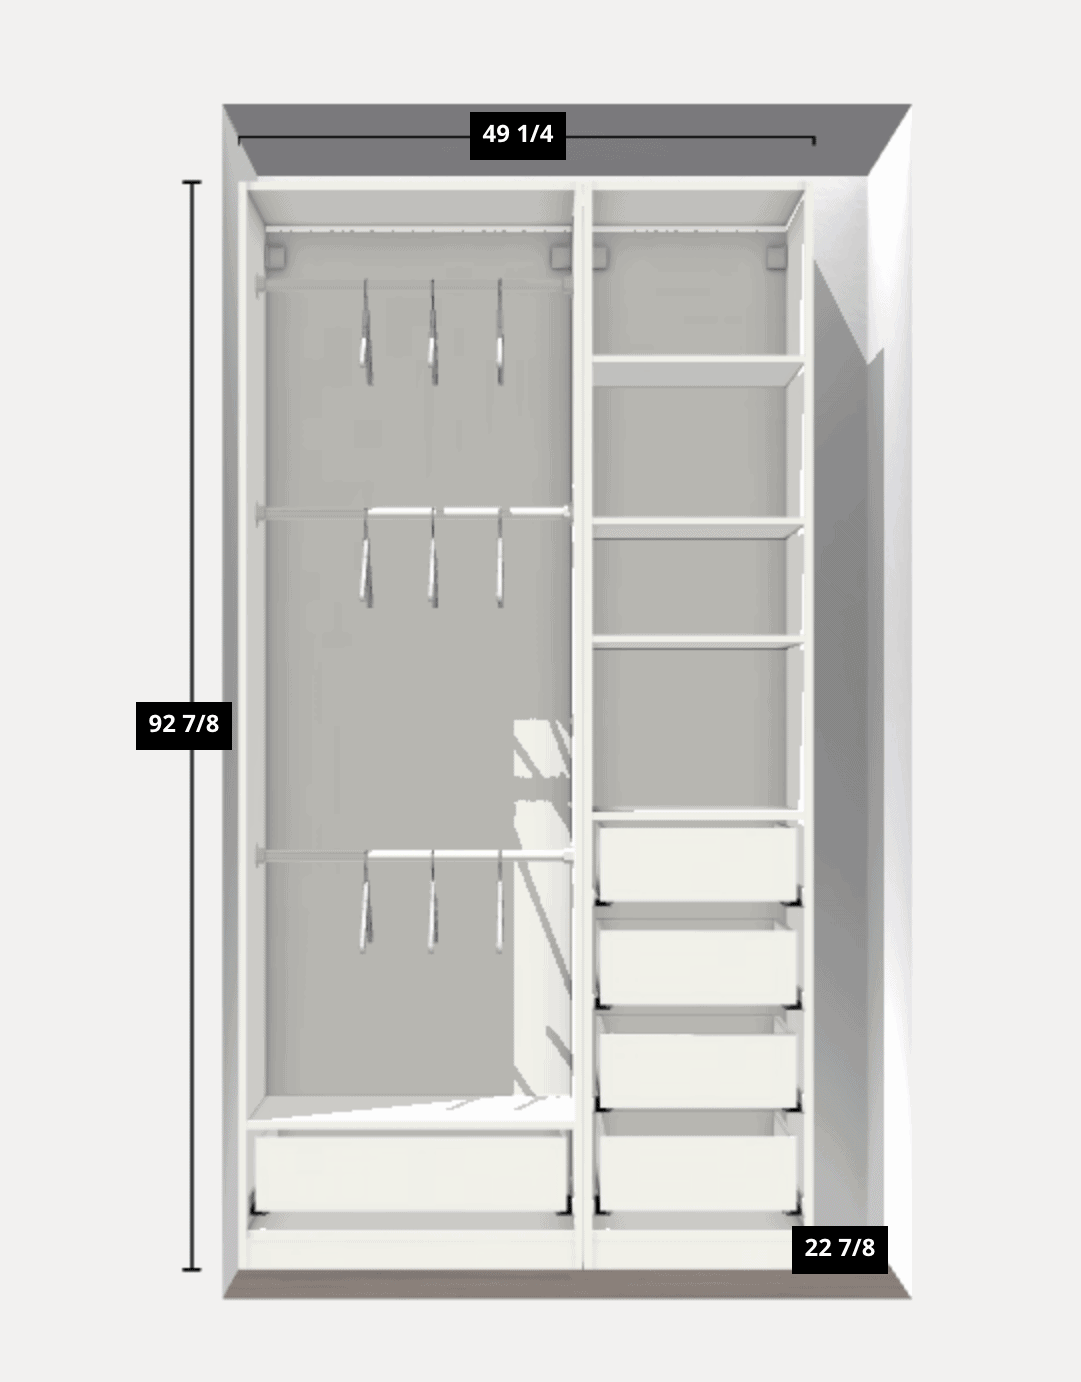
Just like the office closet, we were able to fit in two large frames and then play around with the items inside. Our closet is a tad wider than this, but only by a few inches. It’s also only about 23-24 inches deep, so these barely fit! Our plan is to start with three hanging rods, since baby clothes are so teeny tiny, and then we can eventually go to two as his stuff gets longer and larger. The drawers will hide extra diapers, onesies, shoes, socks, and more. Then, we’ll add books and cute items to the shelves, since we don’t have much open storage in this room.
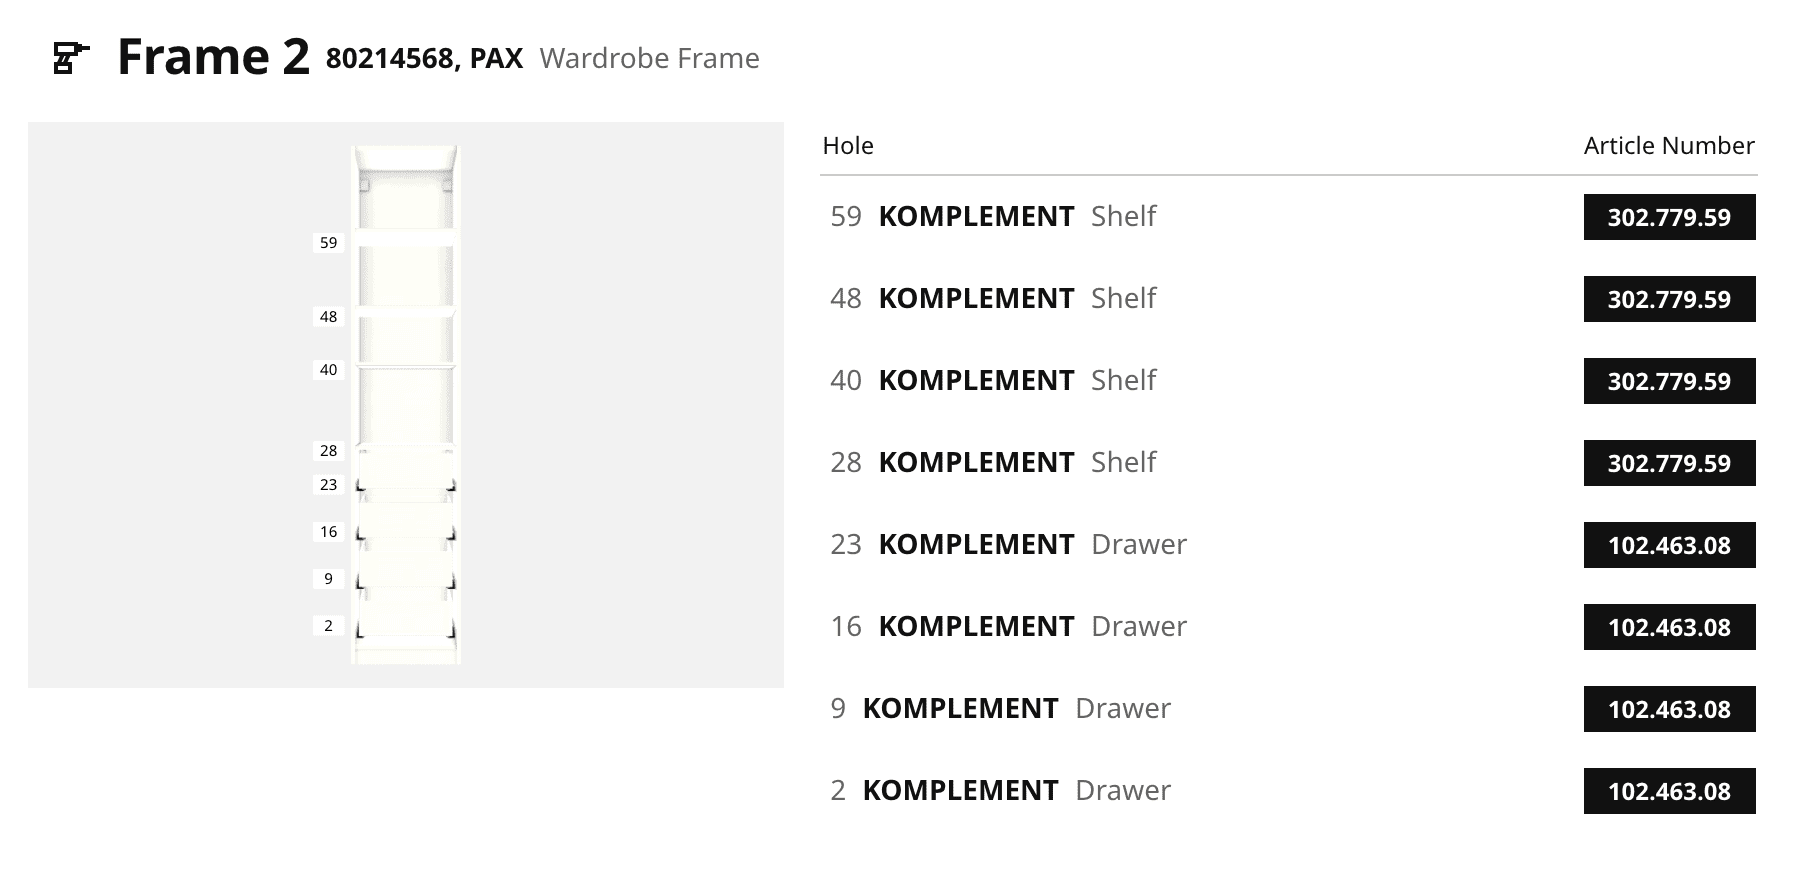
Here’s a look at all of the item numbers if you need them!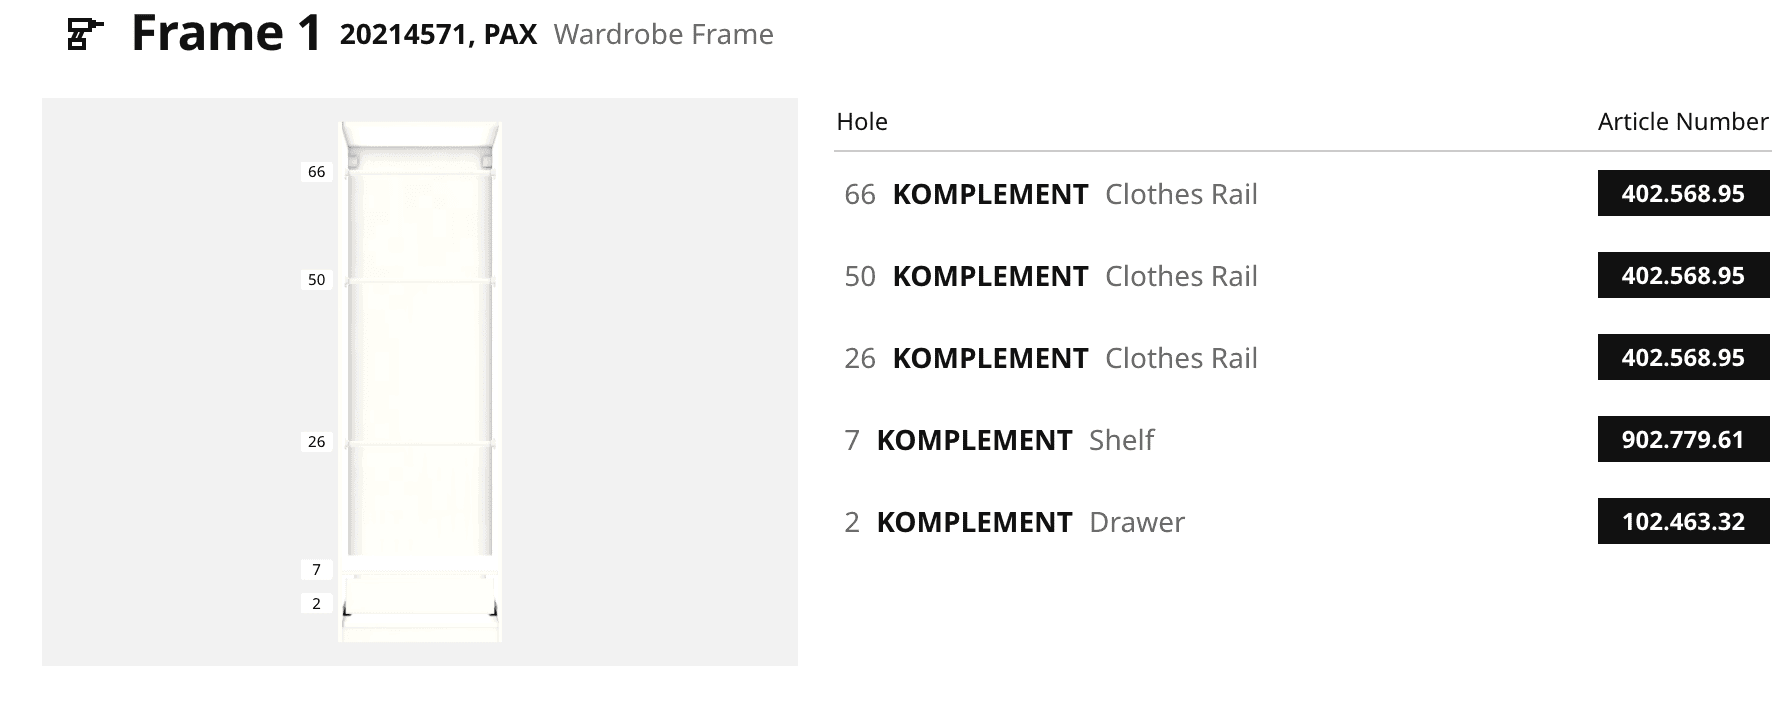
All in all, this entire system cost $455, not including delivery. We always opt for delivery because it’s a pain in the butt to go to IKEA, get all of these huge boxes in the car, and then lug them inside. It’s well worth it to spend a little extra to get them all delivered straight to our garage.
Our Best Installation Tips

Okay, guys, I’m gonna start this off by saying we ran into quite a few snags with this closet installation. I think we went in too confident, after having done this project with success, twice before. But one thing we keep learning, over and over again, is that our 100-year-old home is wonky, and far from straight and level. Just because one side measures one way, it doesn’t mean the other side of the closet will be the same measurement. Noted.
Yes, we made it to the finish line, but it took a tad longer than we wanted, with way more swear words than usual. I note our hiccups below…
Make Space in the Room
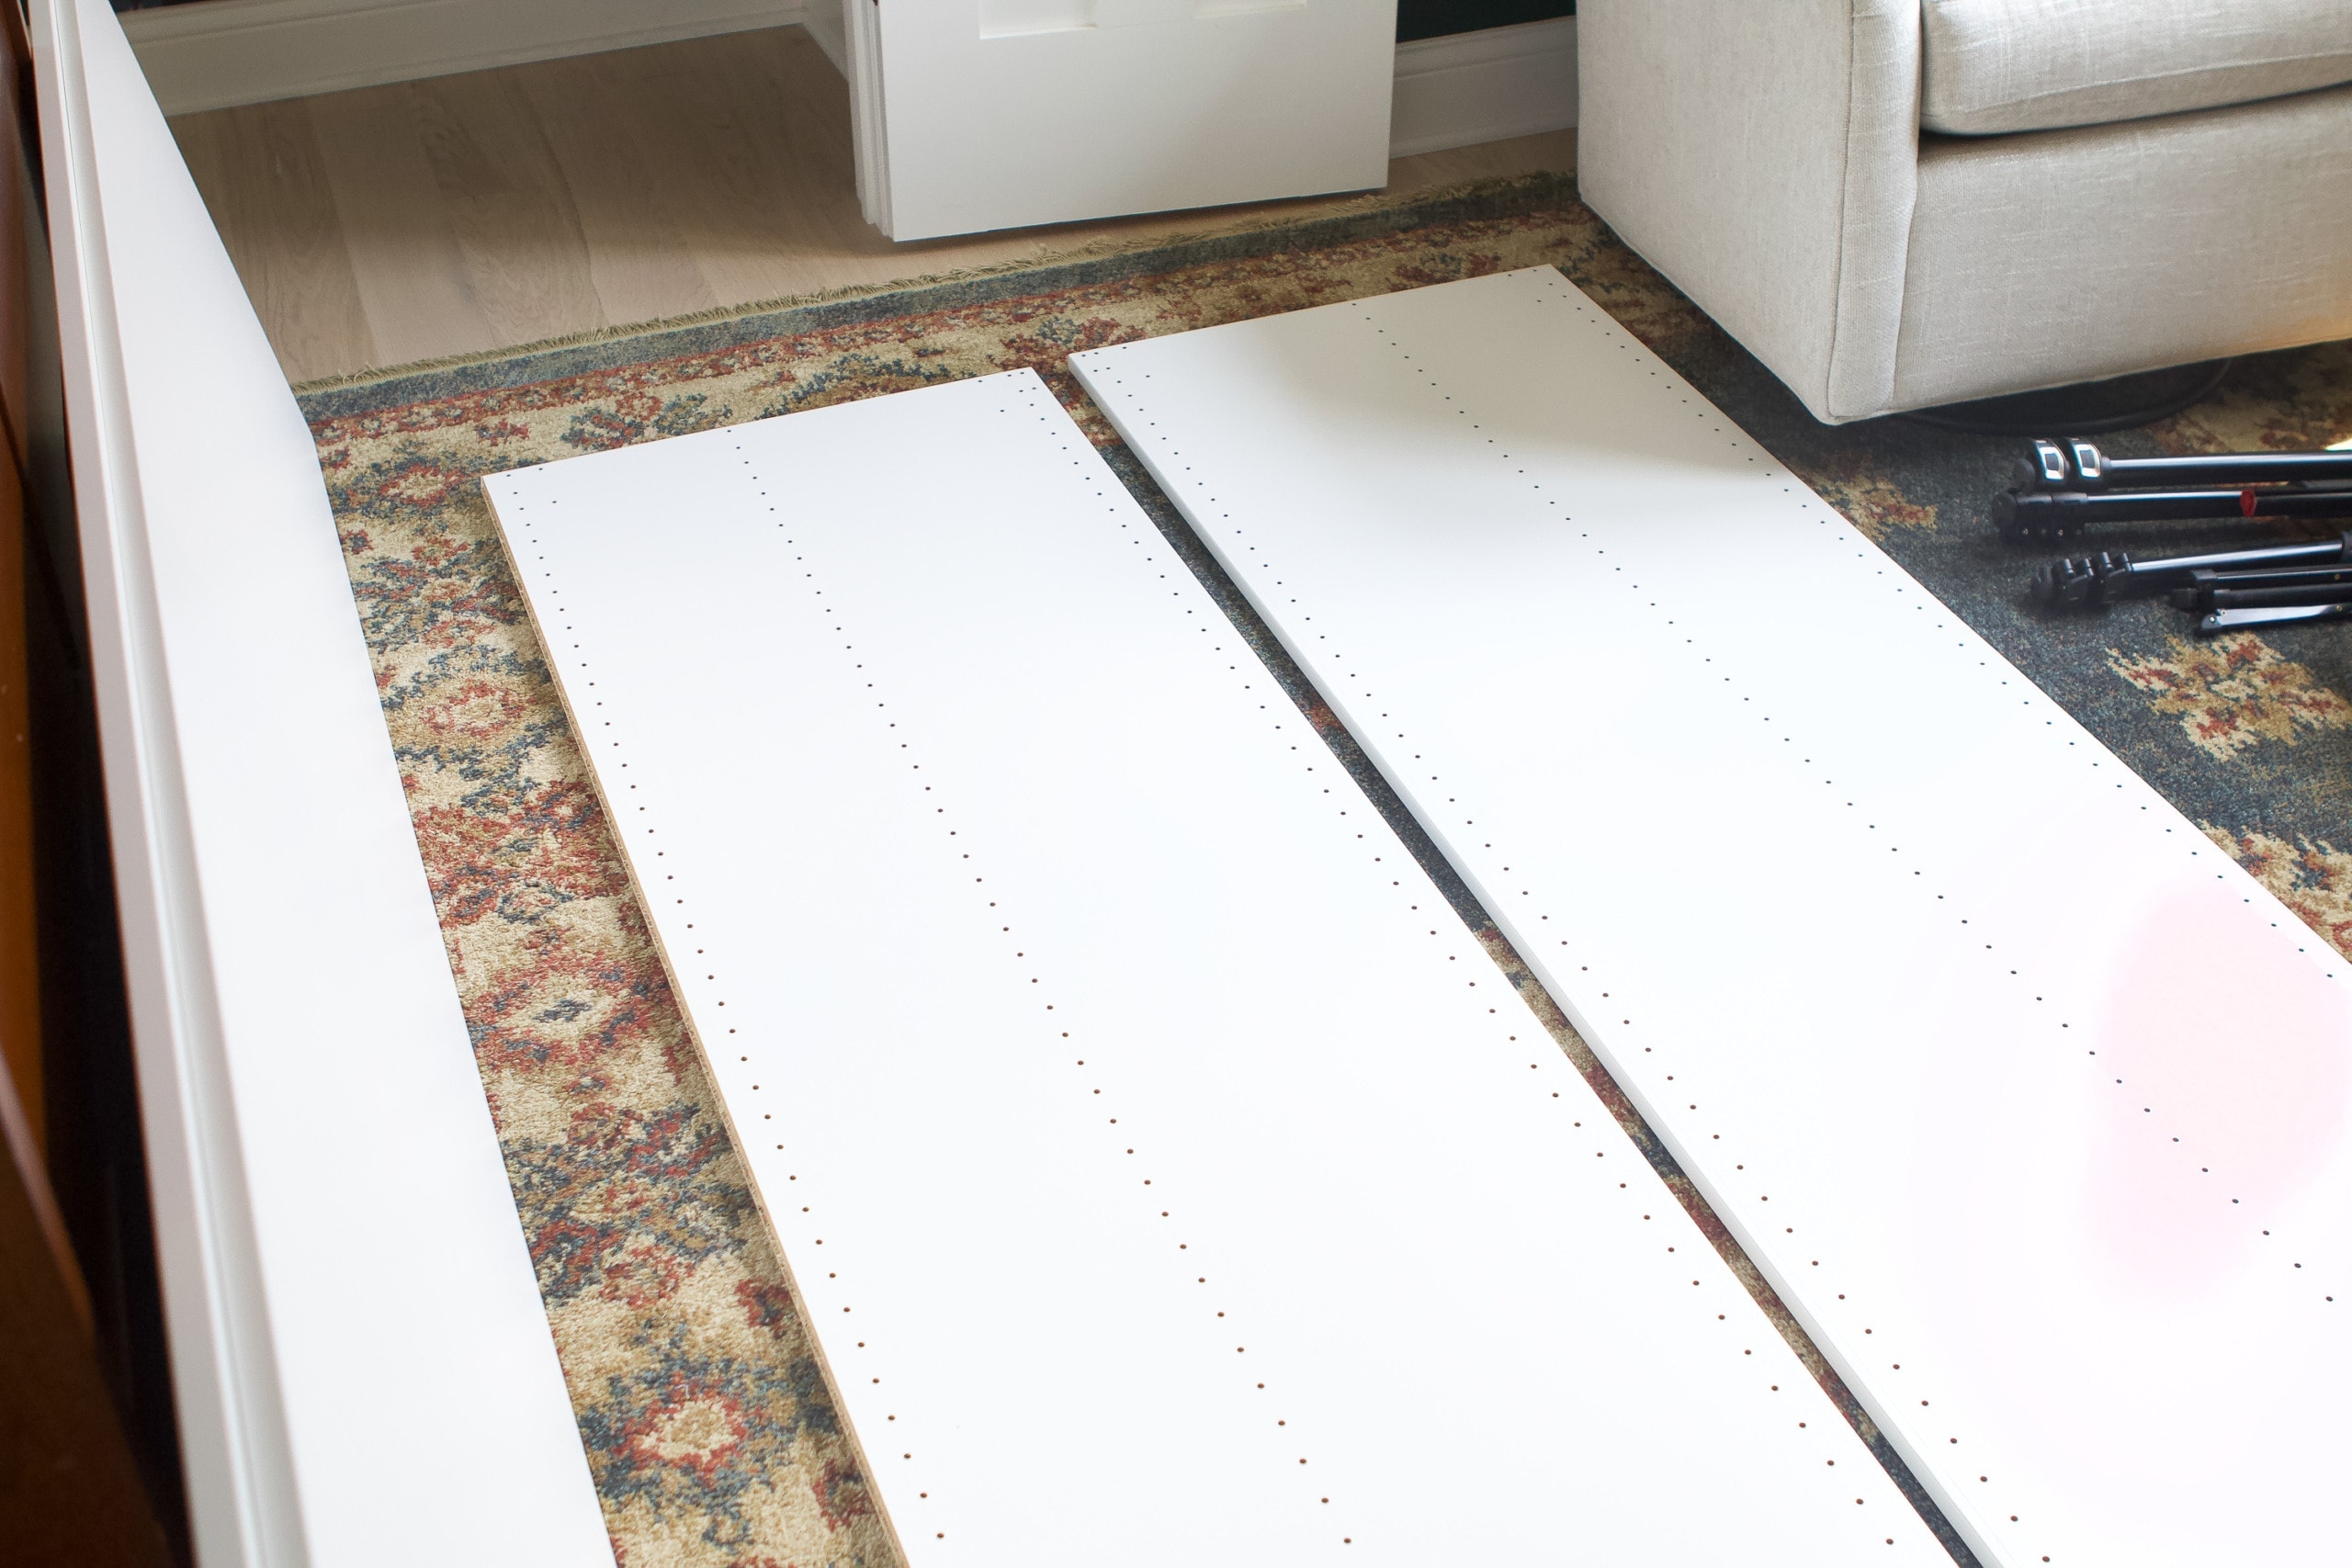
Before we got started building the closet system, we got rid of the big queen bed in here. (A friend was happy to take it off our hands. Love when that happens!) You definitely want enough space when building this because the frames are really big! Get your tools organized, unbox each piece, and have a good workspace from the start.
Build on the Ground…Or Not?
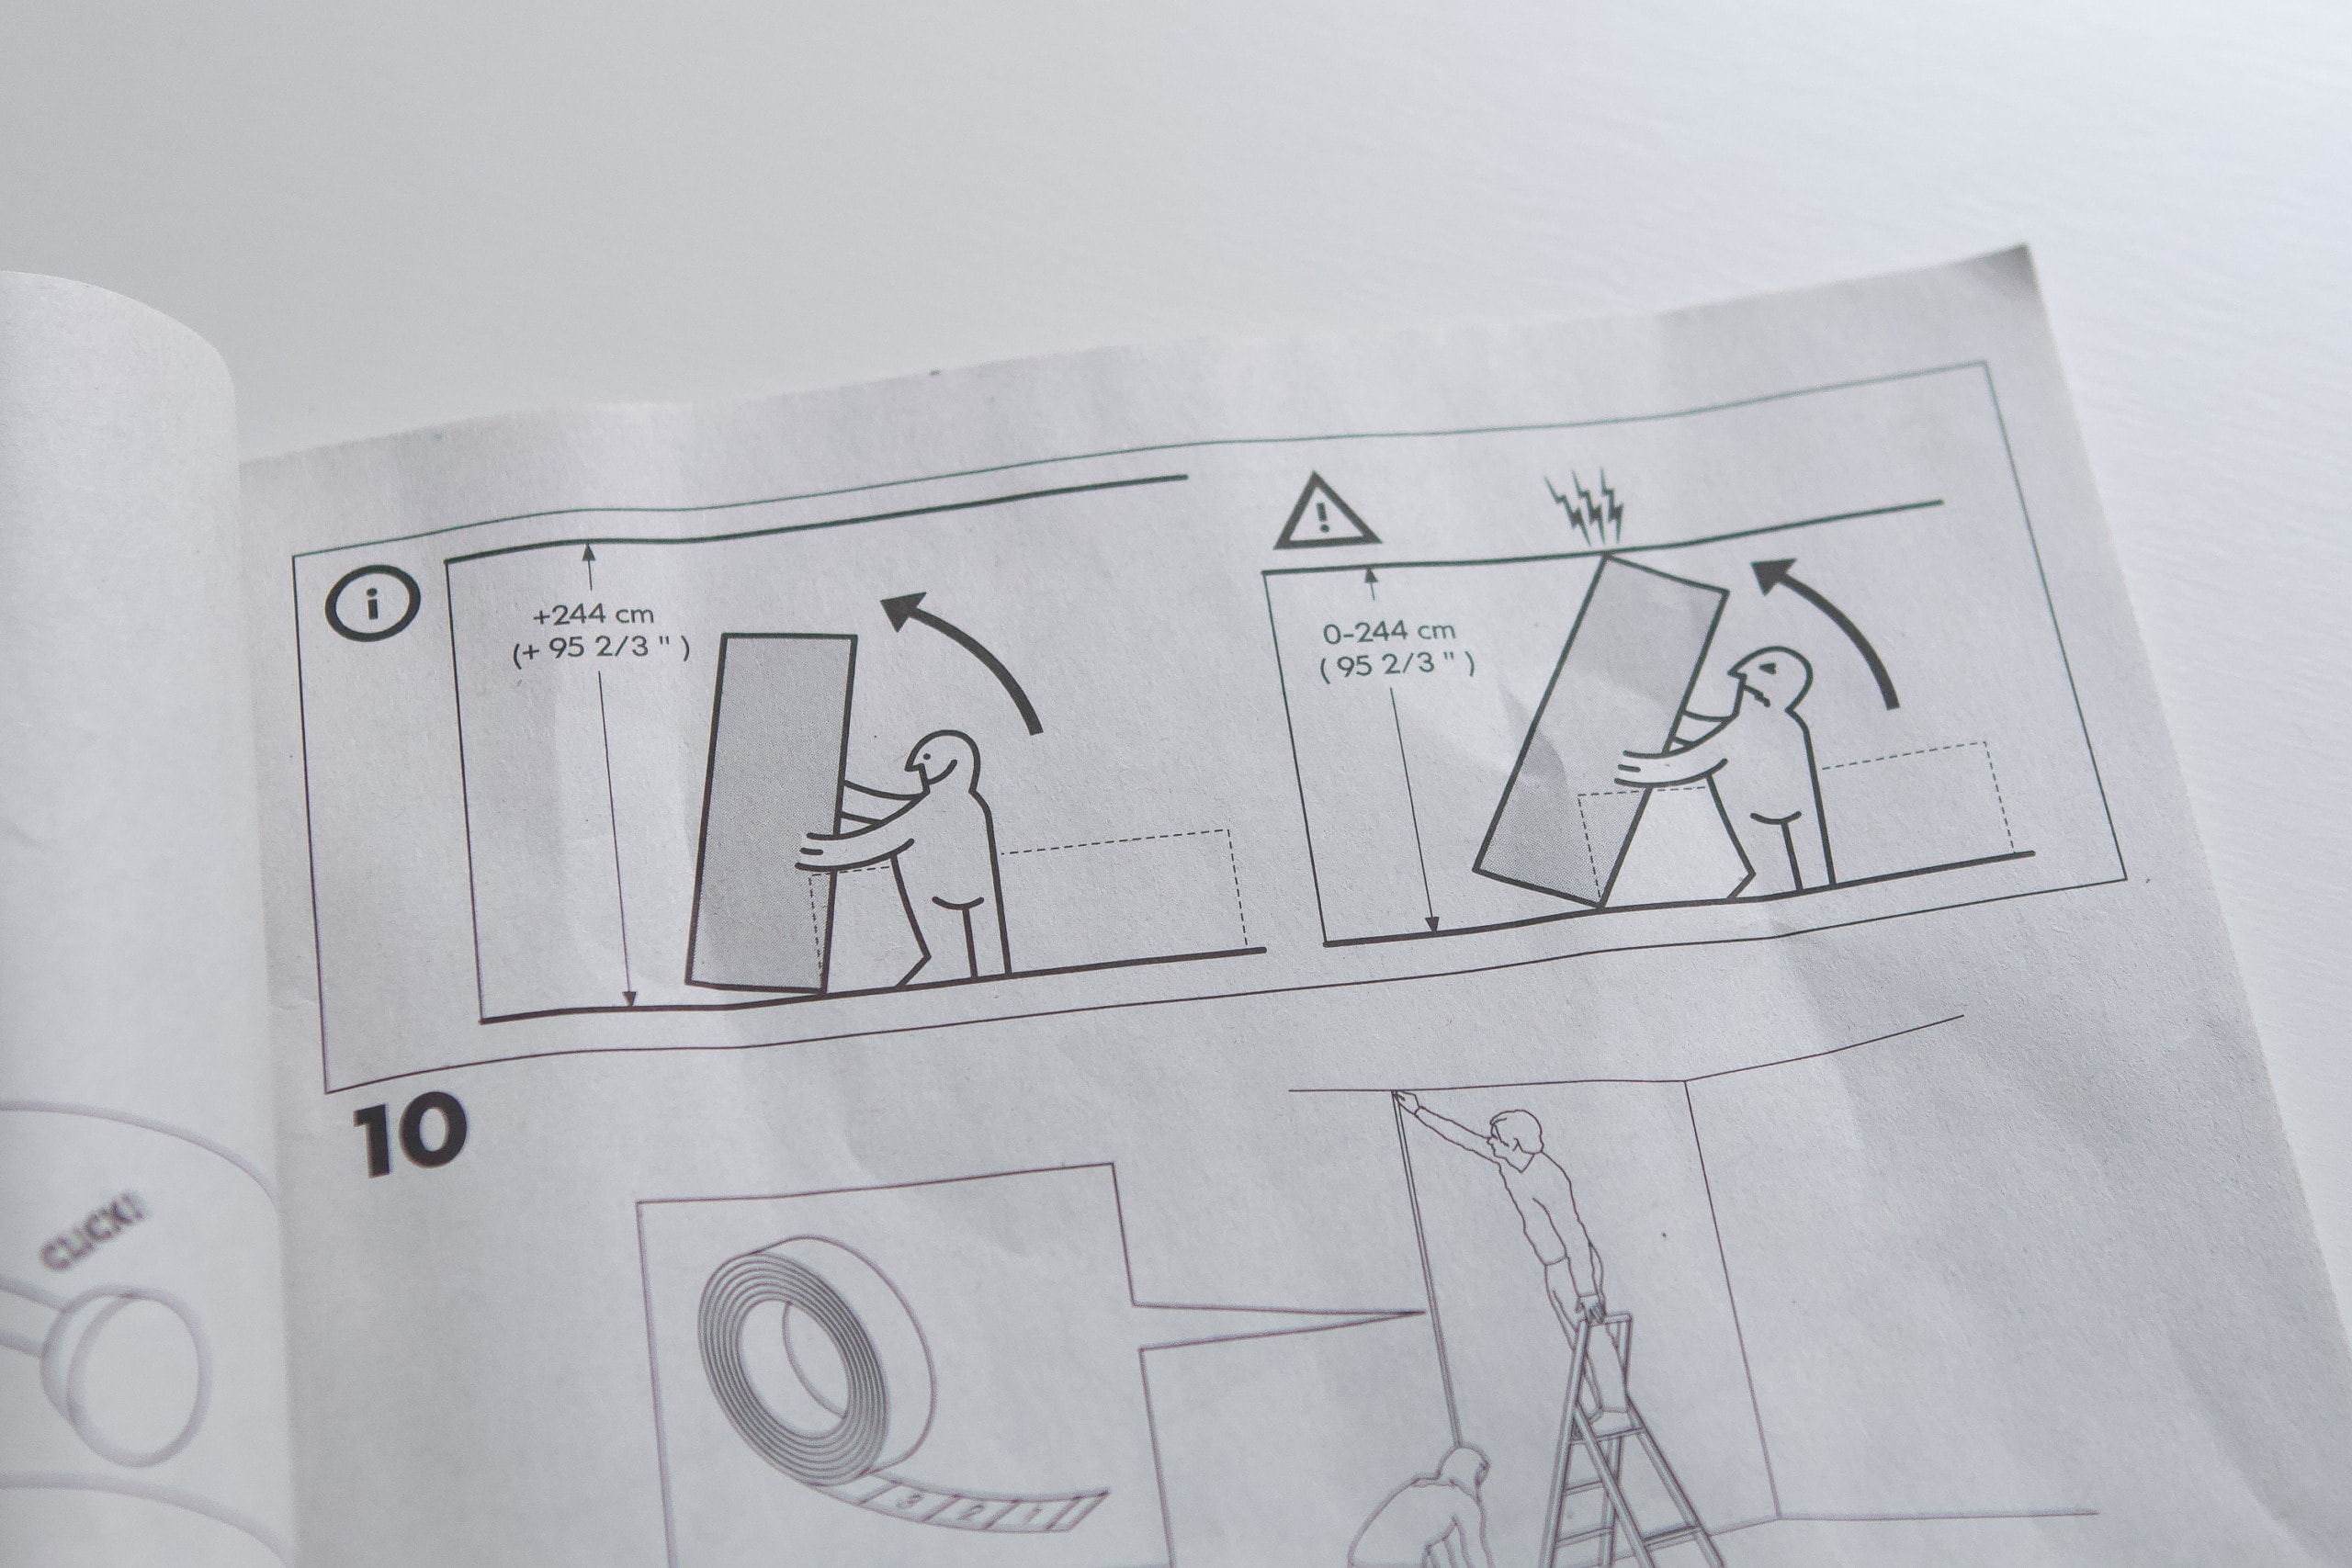
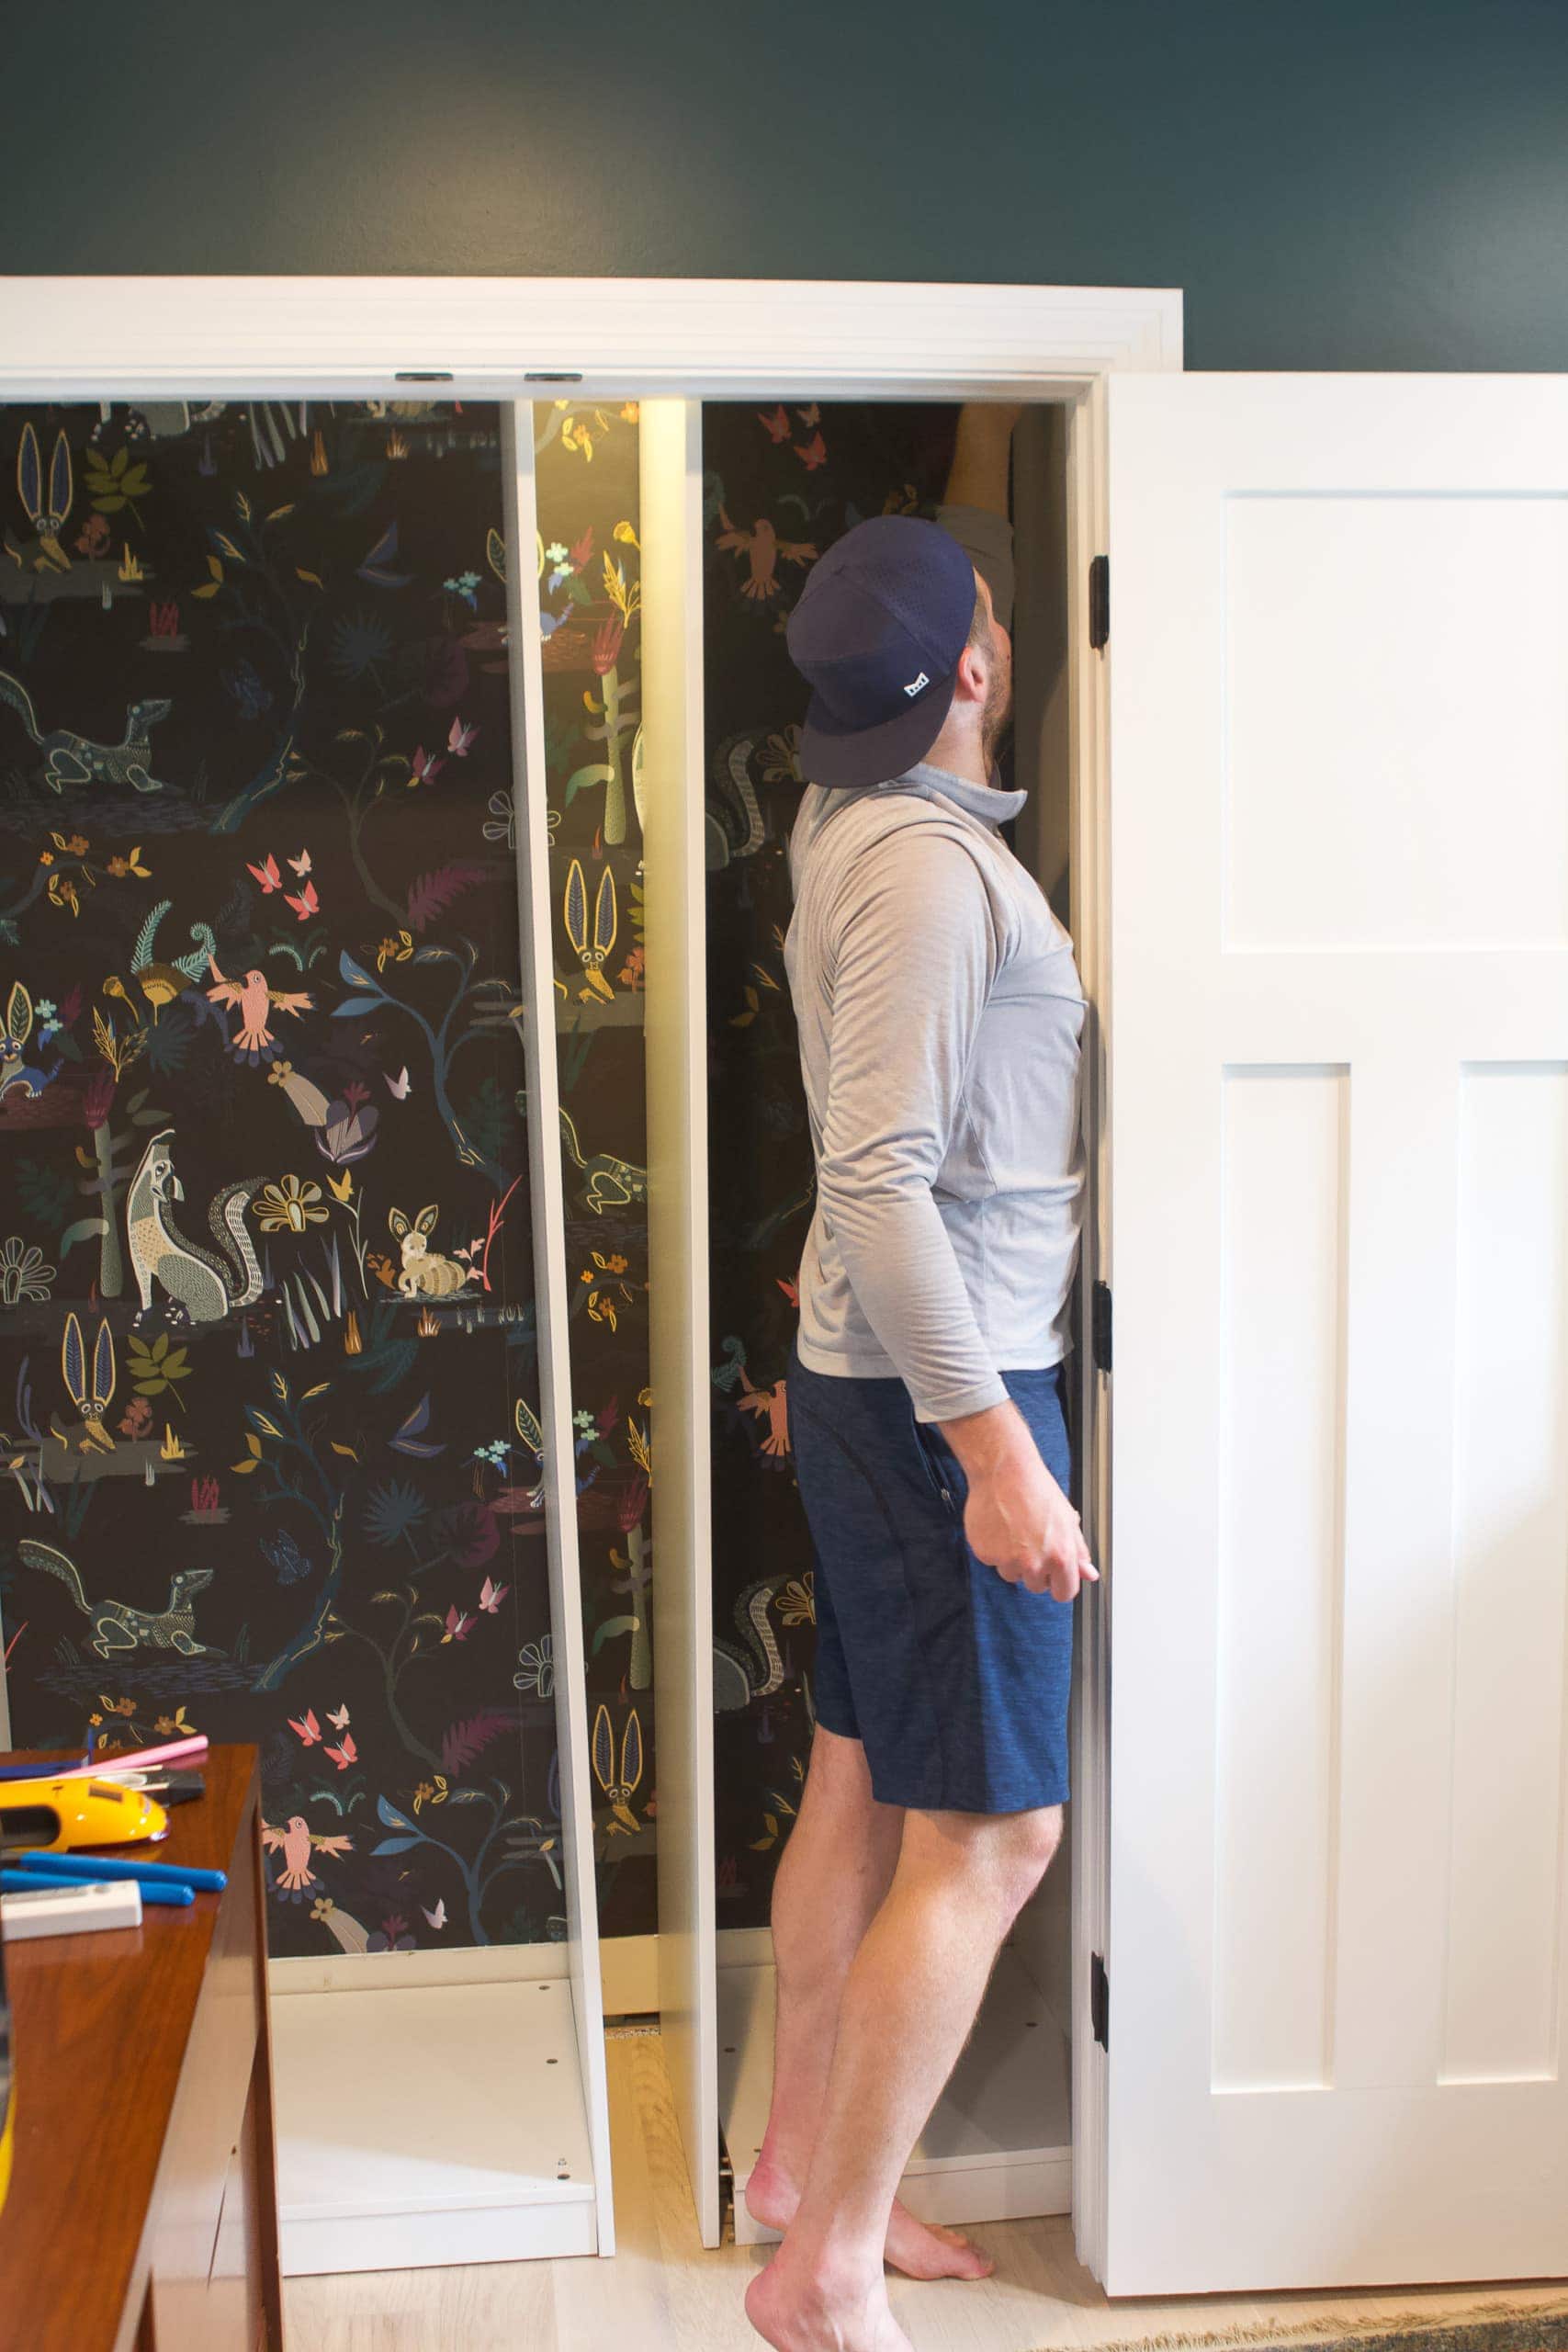
Here’s our first snafu, and it’s a sad one because we made this exact mistake two years ago. The PAX is 10,000 times easier to build on the ground and then stand up and push into the closet. However, your ceiling height has to be taller than 95 2/3 inches in order to do this. Our ceiling height is 97 inches in the closet, so we figured we had plenty of space! Well, we didn’t take the closet frame into account. Sure, the IKEA frame could sit up inside the closet with plenty of room to spare, but it couldn’t budge past the door frame, which is 80 inches tall.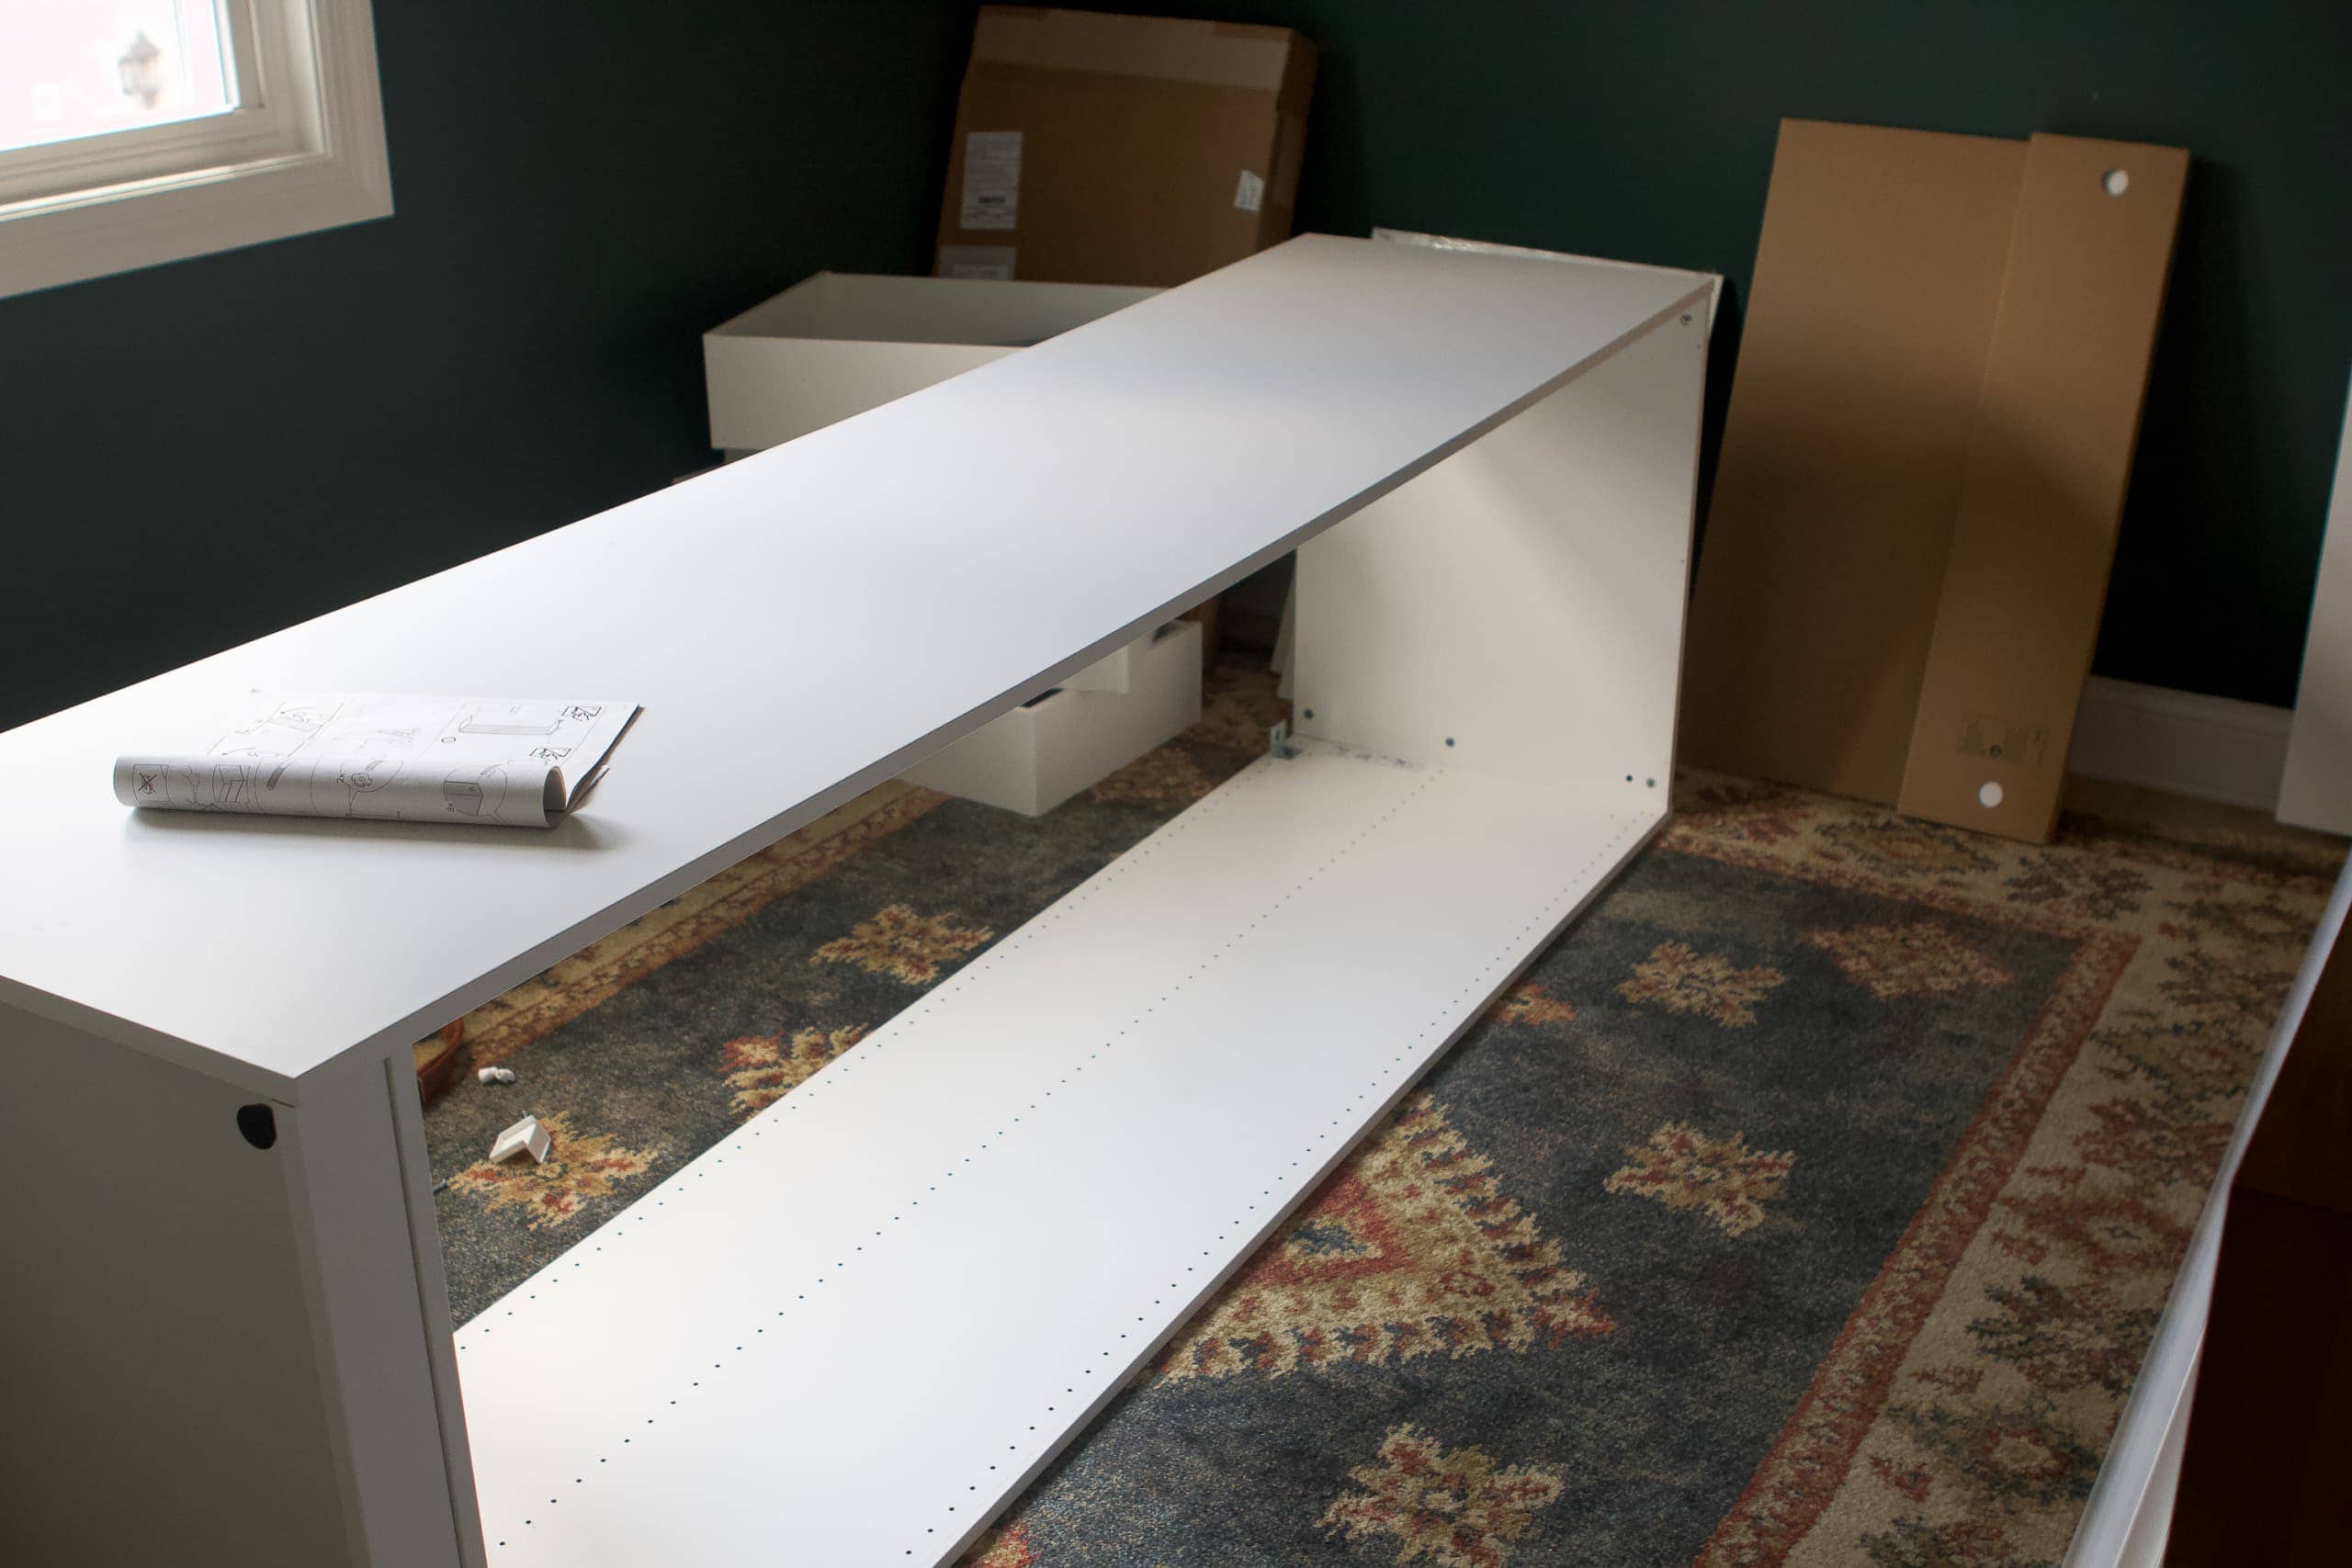
My plan was to build the frames and then enlist Finn’s help to get them into the closet. I built the first one and then we went to put it in the closet. Nope, it wouldn’t budge. I think we got cocky, because we were able to build our office frames on the ground and stand them up, and this space had almost identical measurements. However, the office closet is several inches deeper, so that must have been the reason it worked for that closet.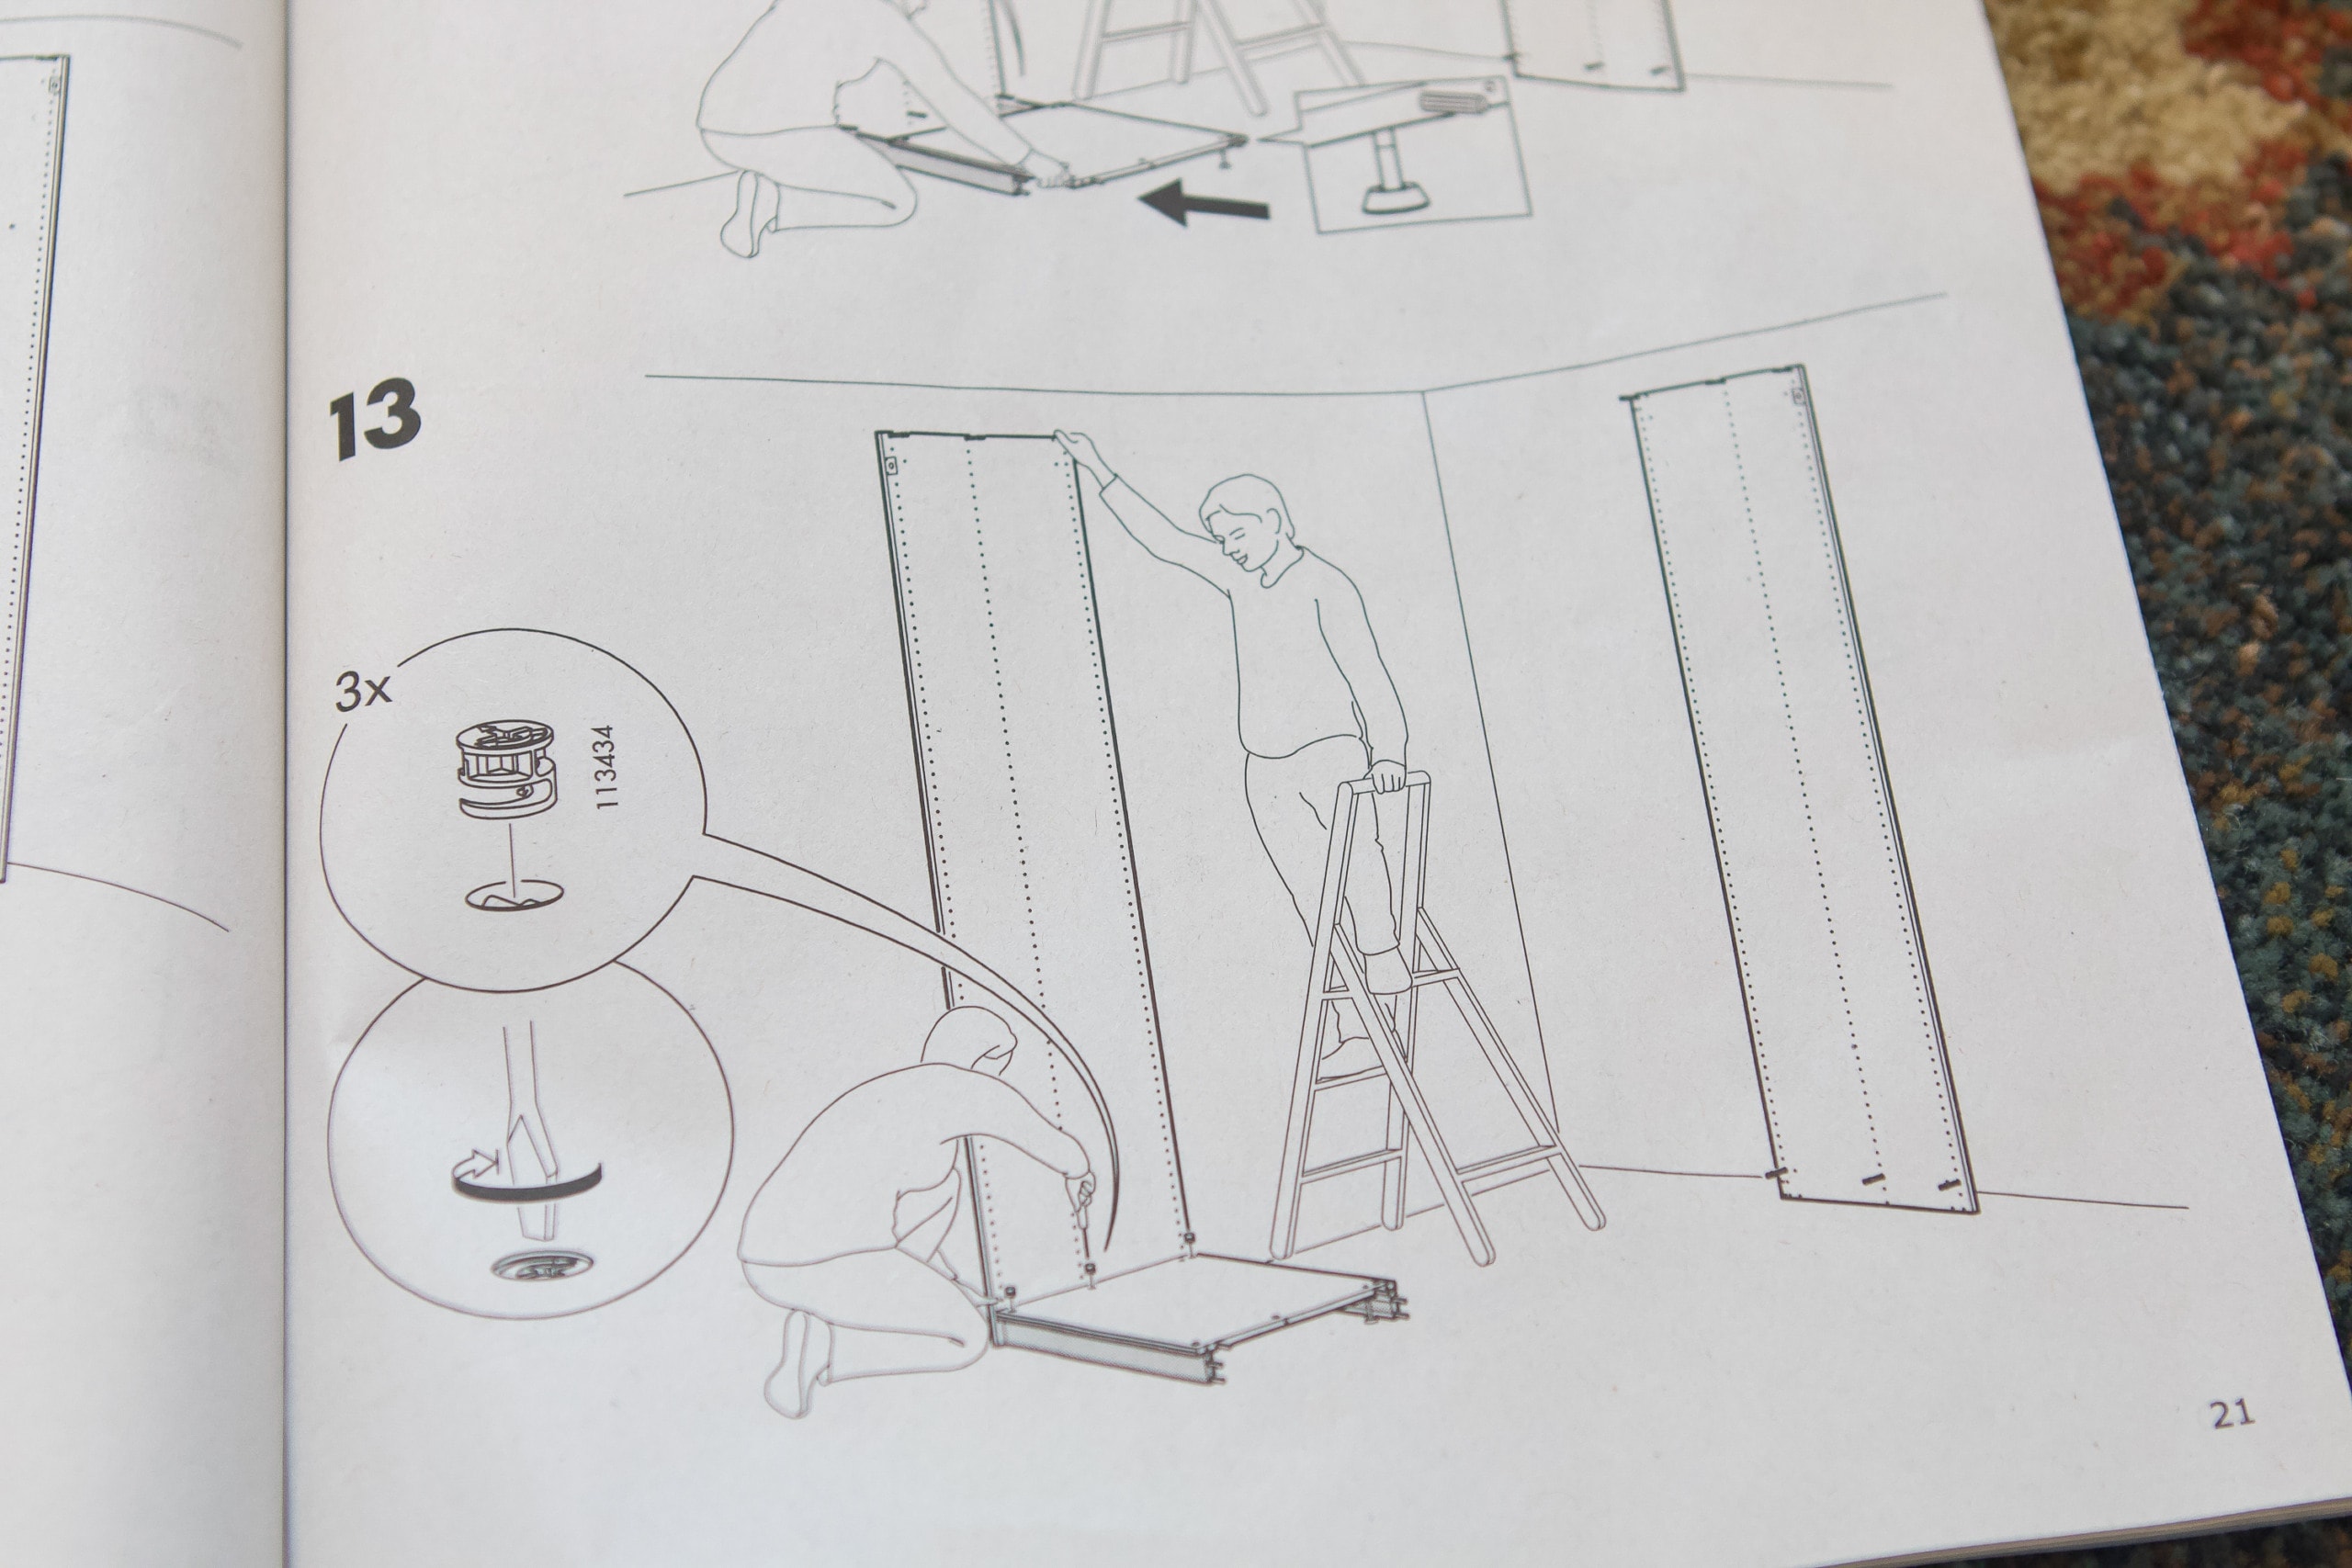
We were really mad at ourselves, but luckily we carefully took the frame apart and built it standing up, instead. This is not the most fun way to build it, because someone has to be up on a ladder with their arm shaking as they hold the pieces in place, while the other one frantically tries to screw it all together. Even though it’s difficult to build this way, it’s definitely possible. We ended up having to build both frames in the closet, which made this project a lot more difficult and time-consuming.
Enlist a Buddy
So while I thought I could tackle this project mostly by myself, it ended up being a joint effort with Finn. And thank goodness for him. There’s no way I would have been able to hold it all up and get it screwed together, especially while seven months pregnant.
And another thing to note. We opted not to use the back of the frame so we could show off the gorgeous wallpaper. The frames were still plenty strong without the plywood backing. Not to mention, it would have been virtually impossible to add the backing in this small space.
Secure with Toggle Bolts
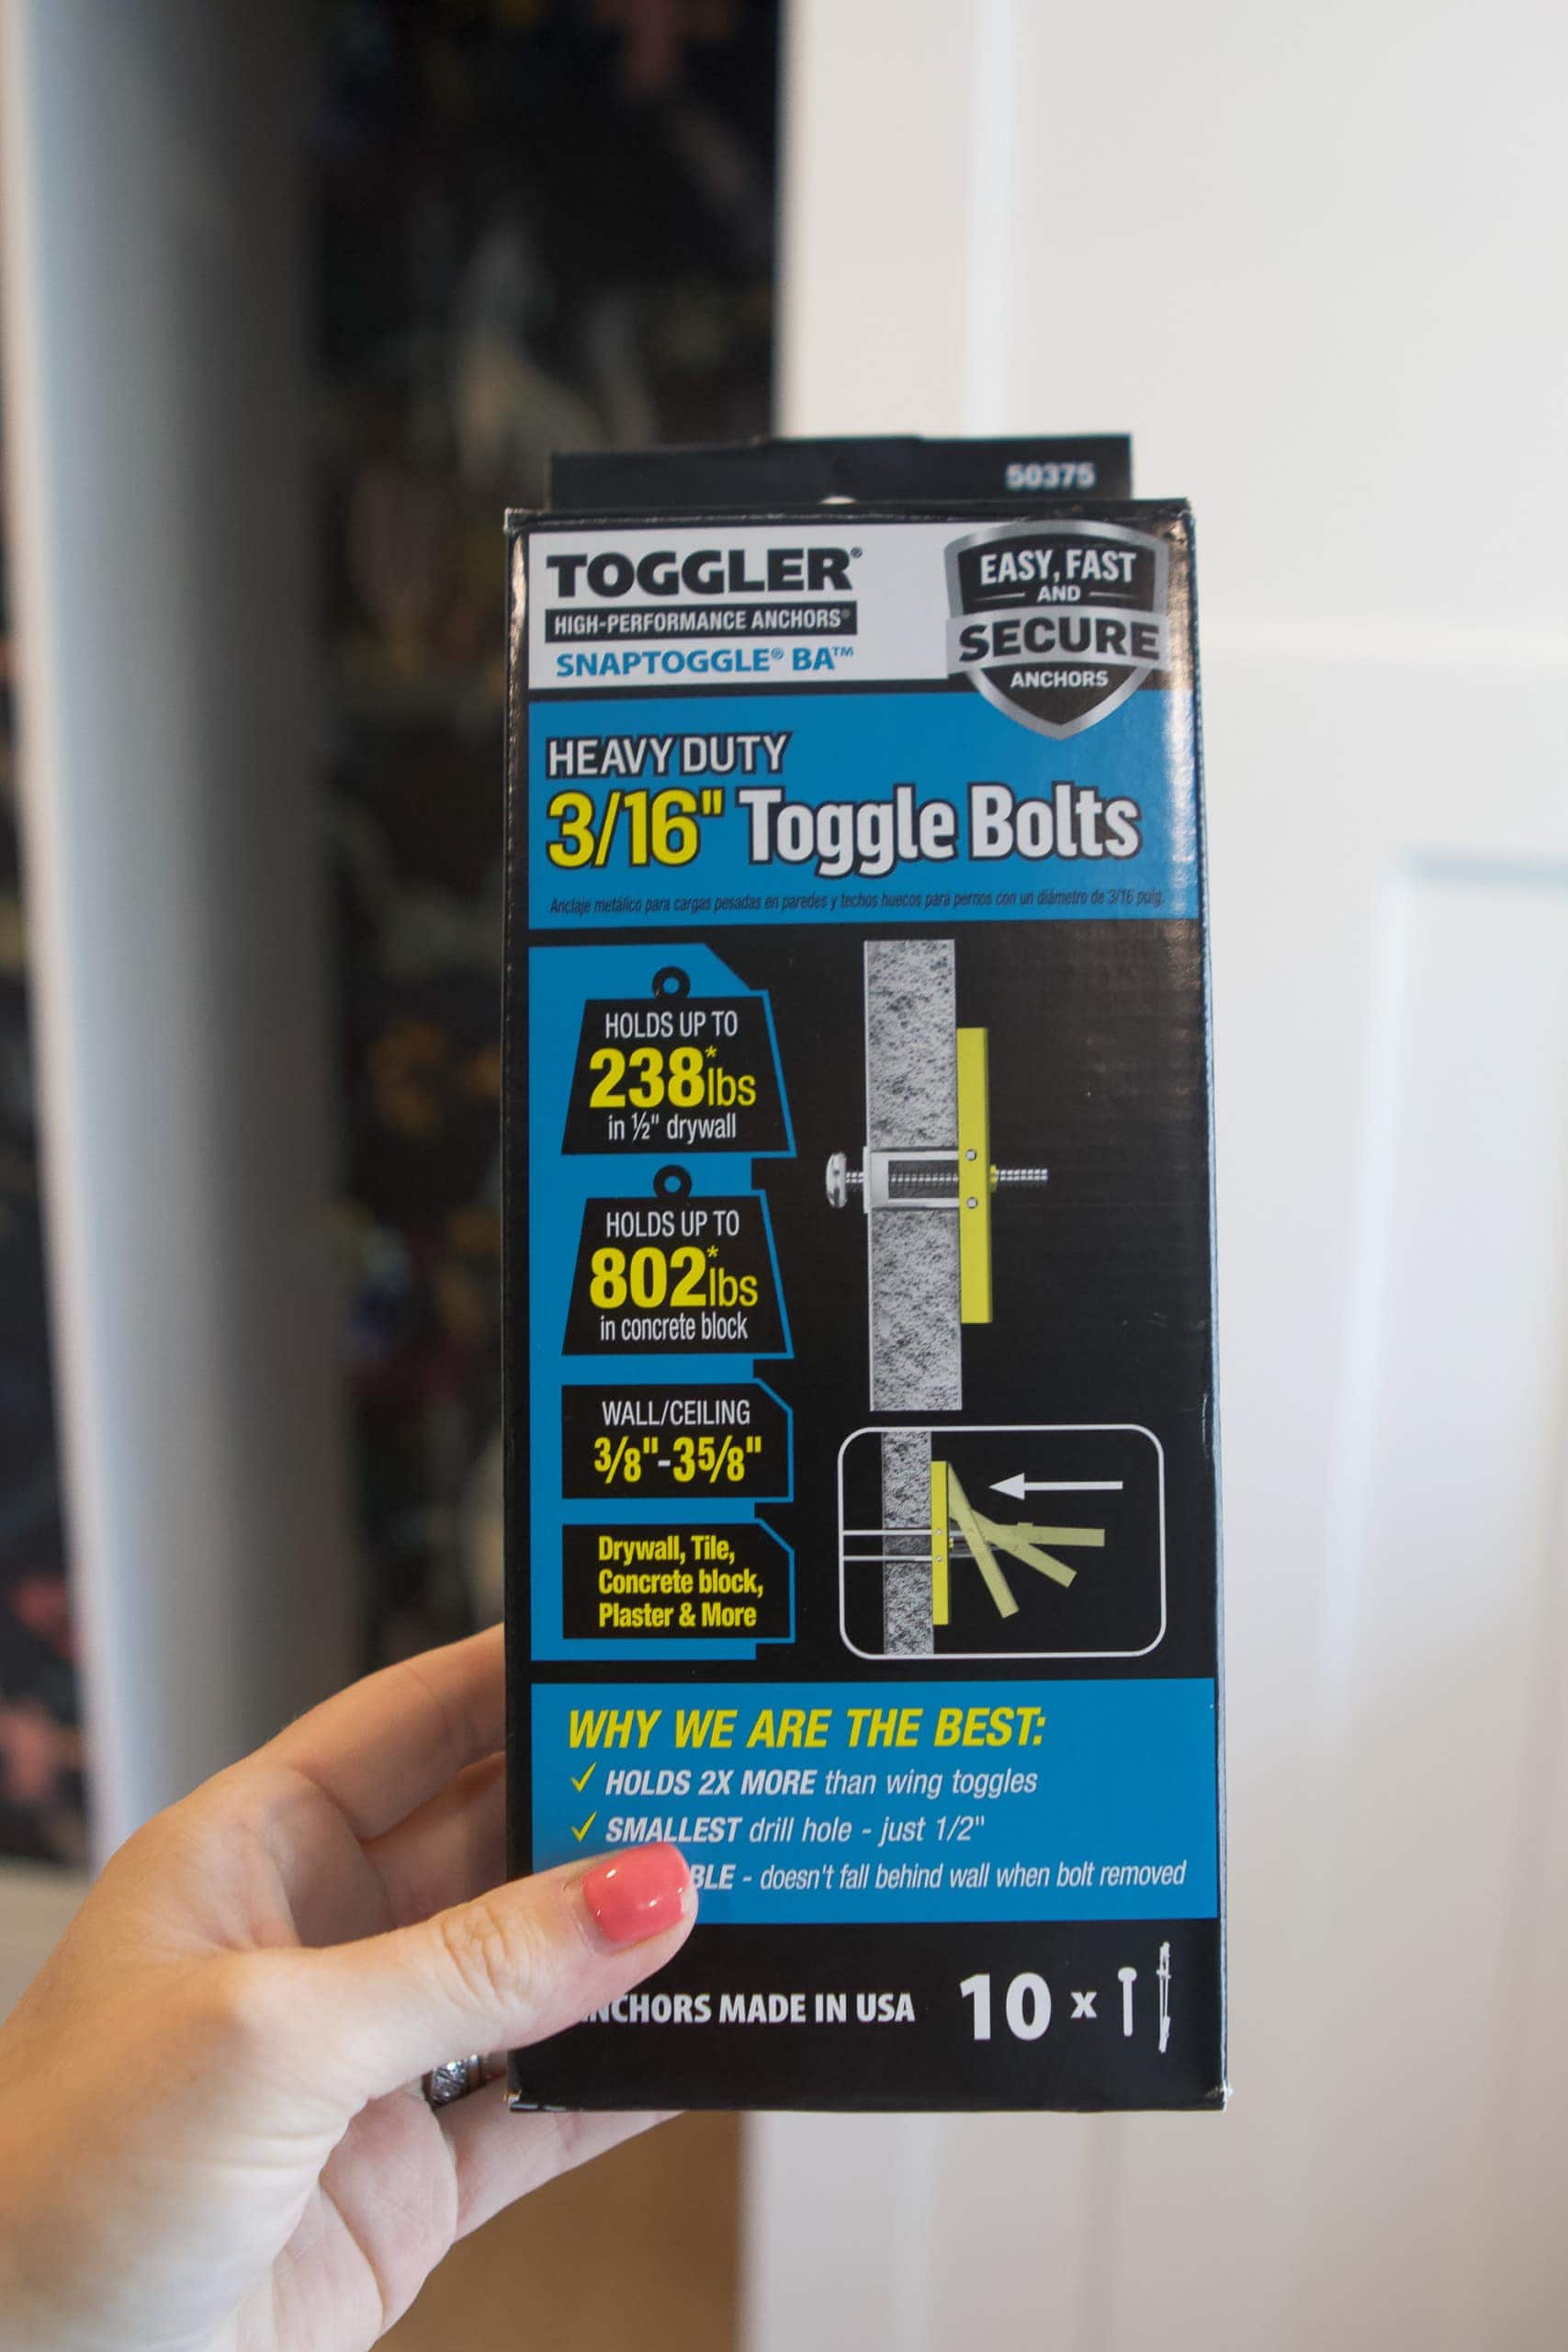
Once your PAX frames are built, you attach them to the back wall. If you don’t hit a stud, then you’ll want to use anchors to secure them. I love using snap toggle bolts for this because they’re incredibly strong and easy to use. (More about how to use wall anchors in this blog post.) IKEA doesn’t provide any hardware for this step, so make sure you stock up on what you need ahead of time. Just drill a hole in the wall – using a 1/2 inch pilot bit, which is a big one! – insert the anchor, and then add the screw.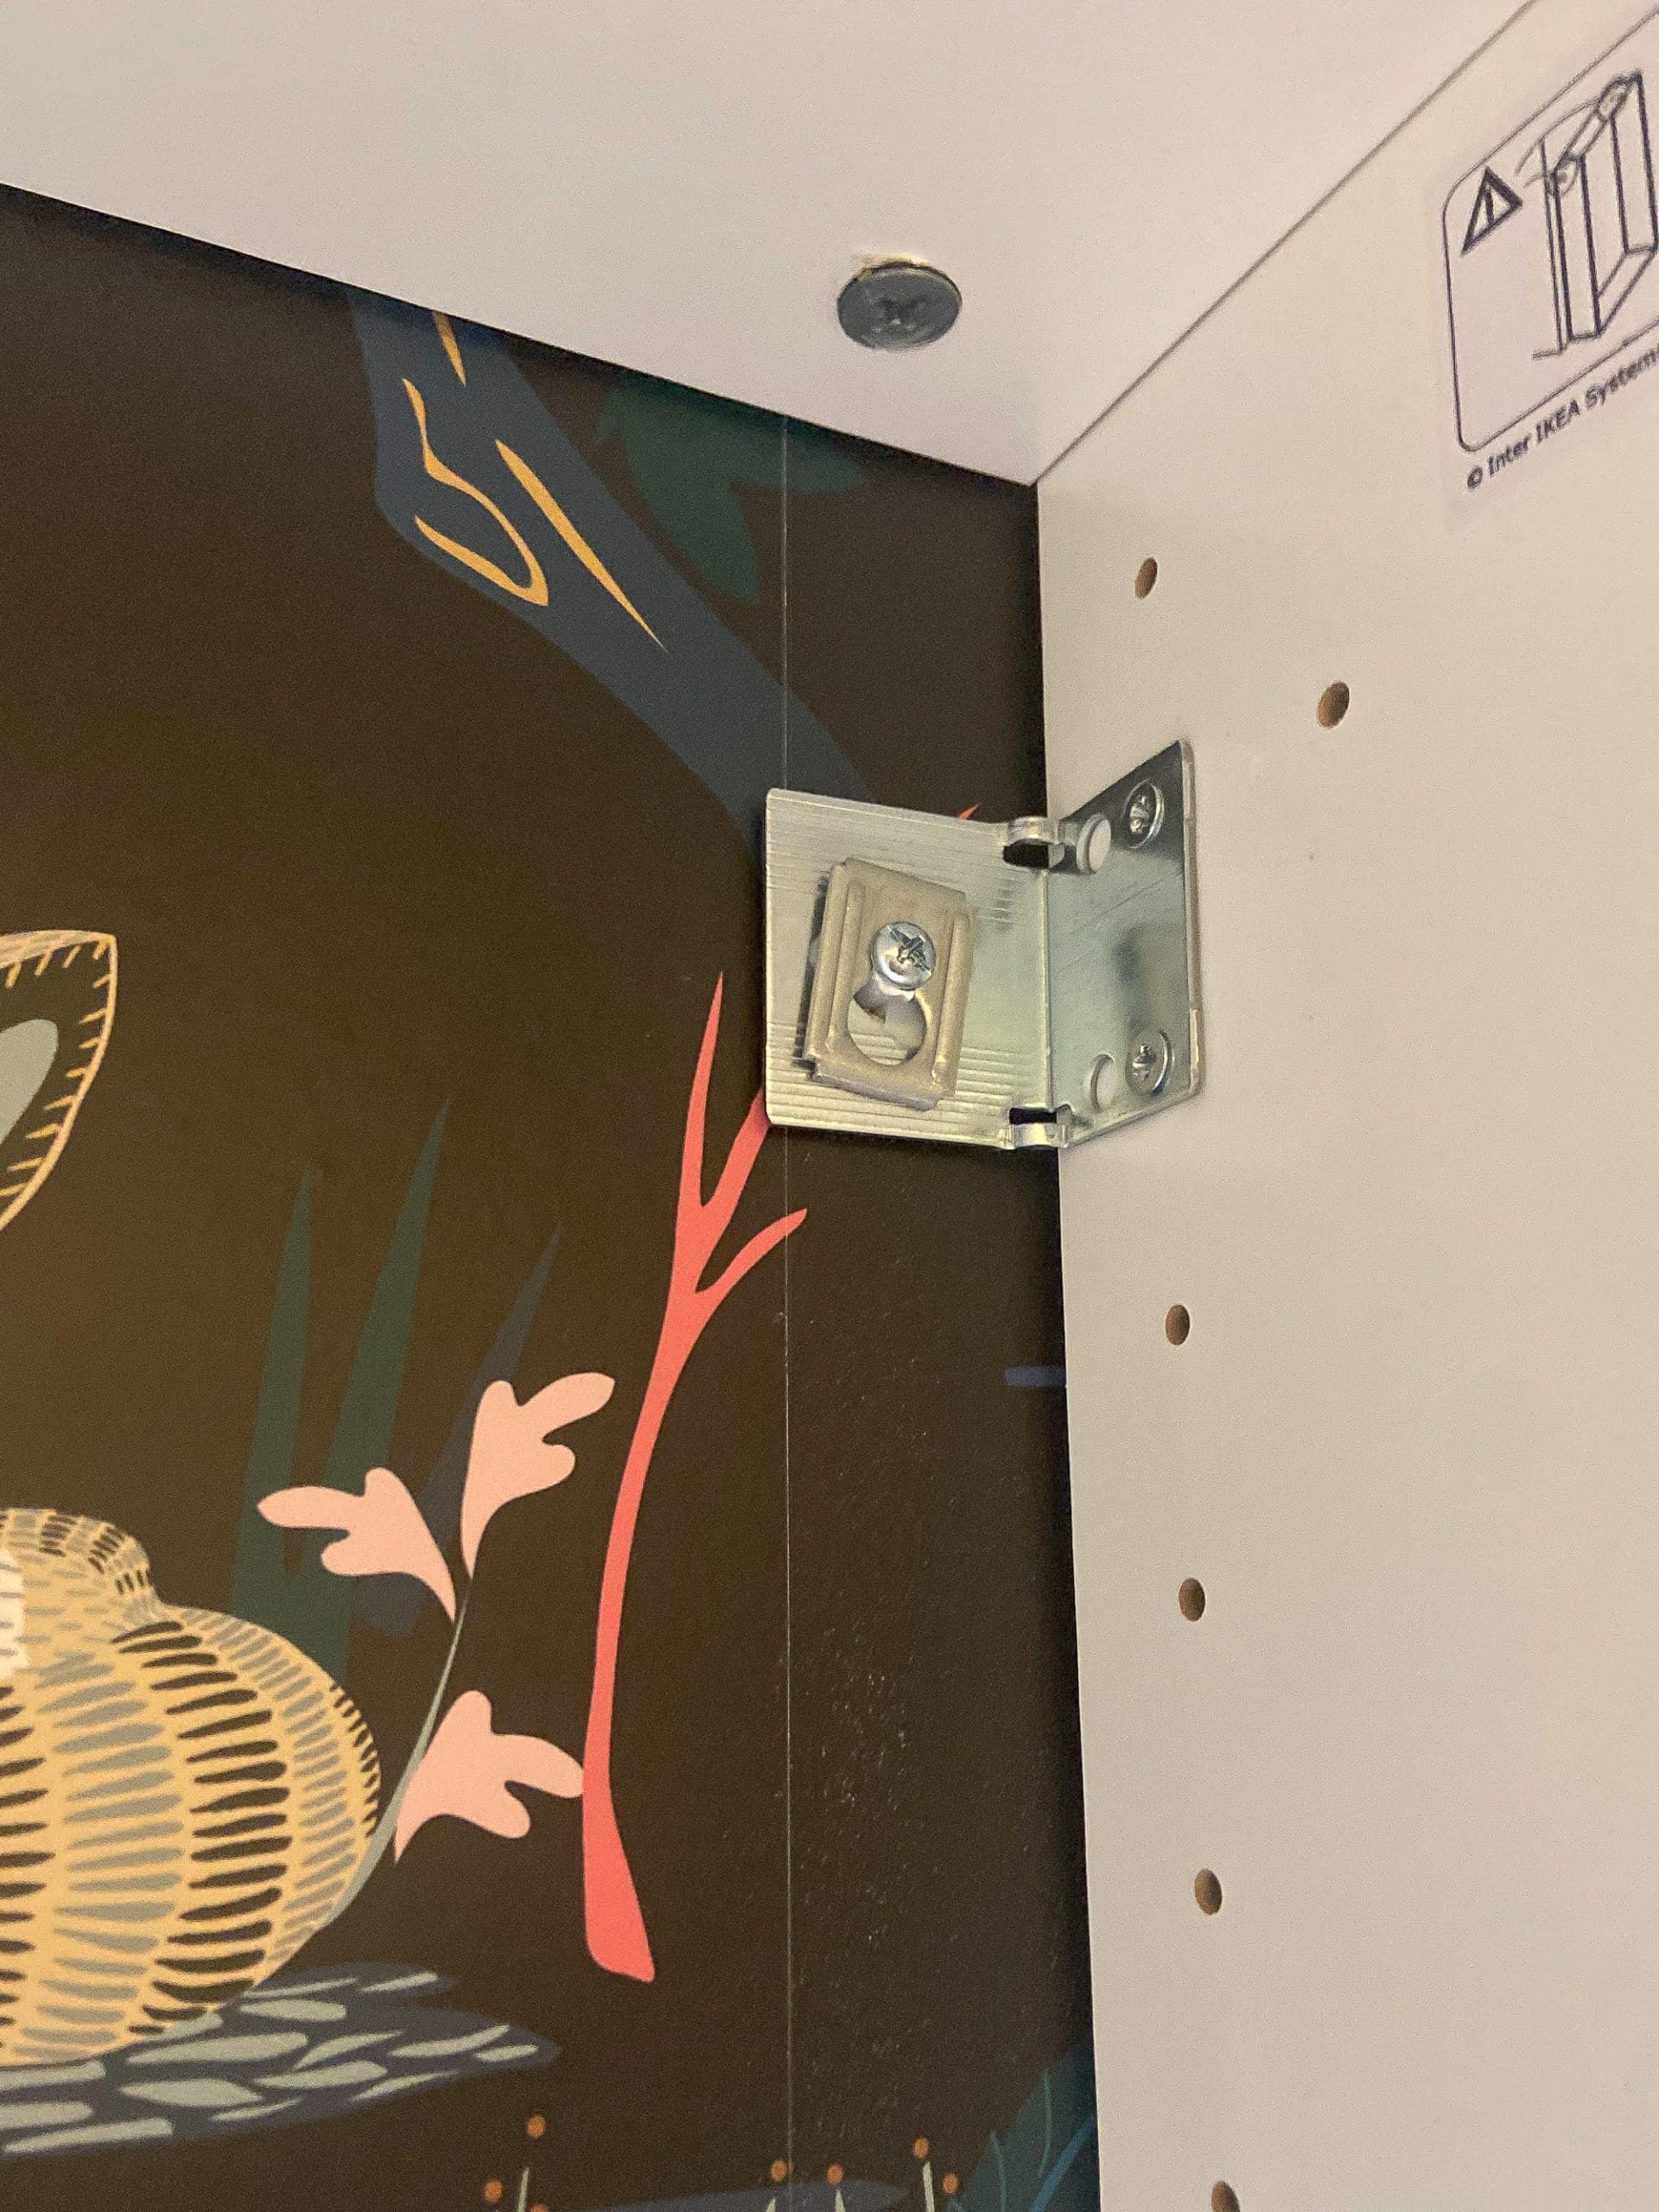
I was lucky because I hit two studs, so I was able to attach them without anchors.
Level Them Out

With the frames secured to the wall, you’ll want to make sure the frames are level from side to side and front to back. Grab a spirit level and if things are off, you can adjust the legs on the bottom of the PAX, using a screwdriver.
Clamp & Secure Together
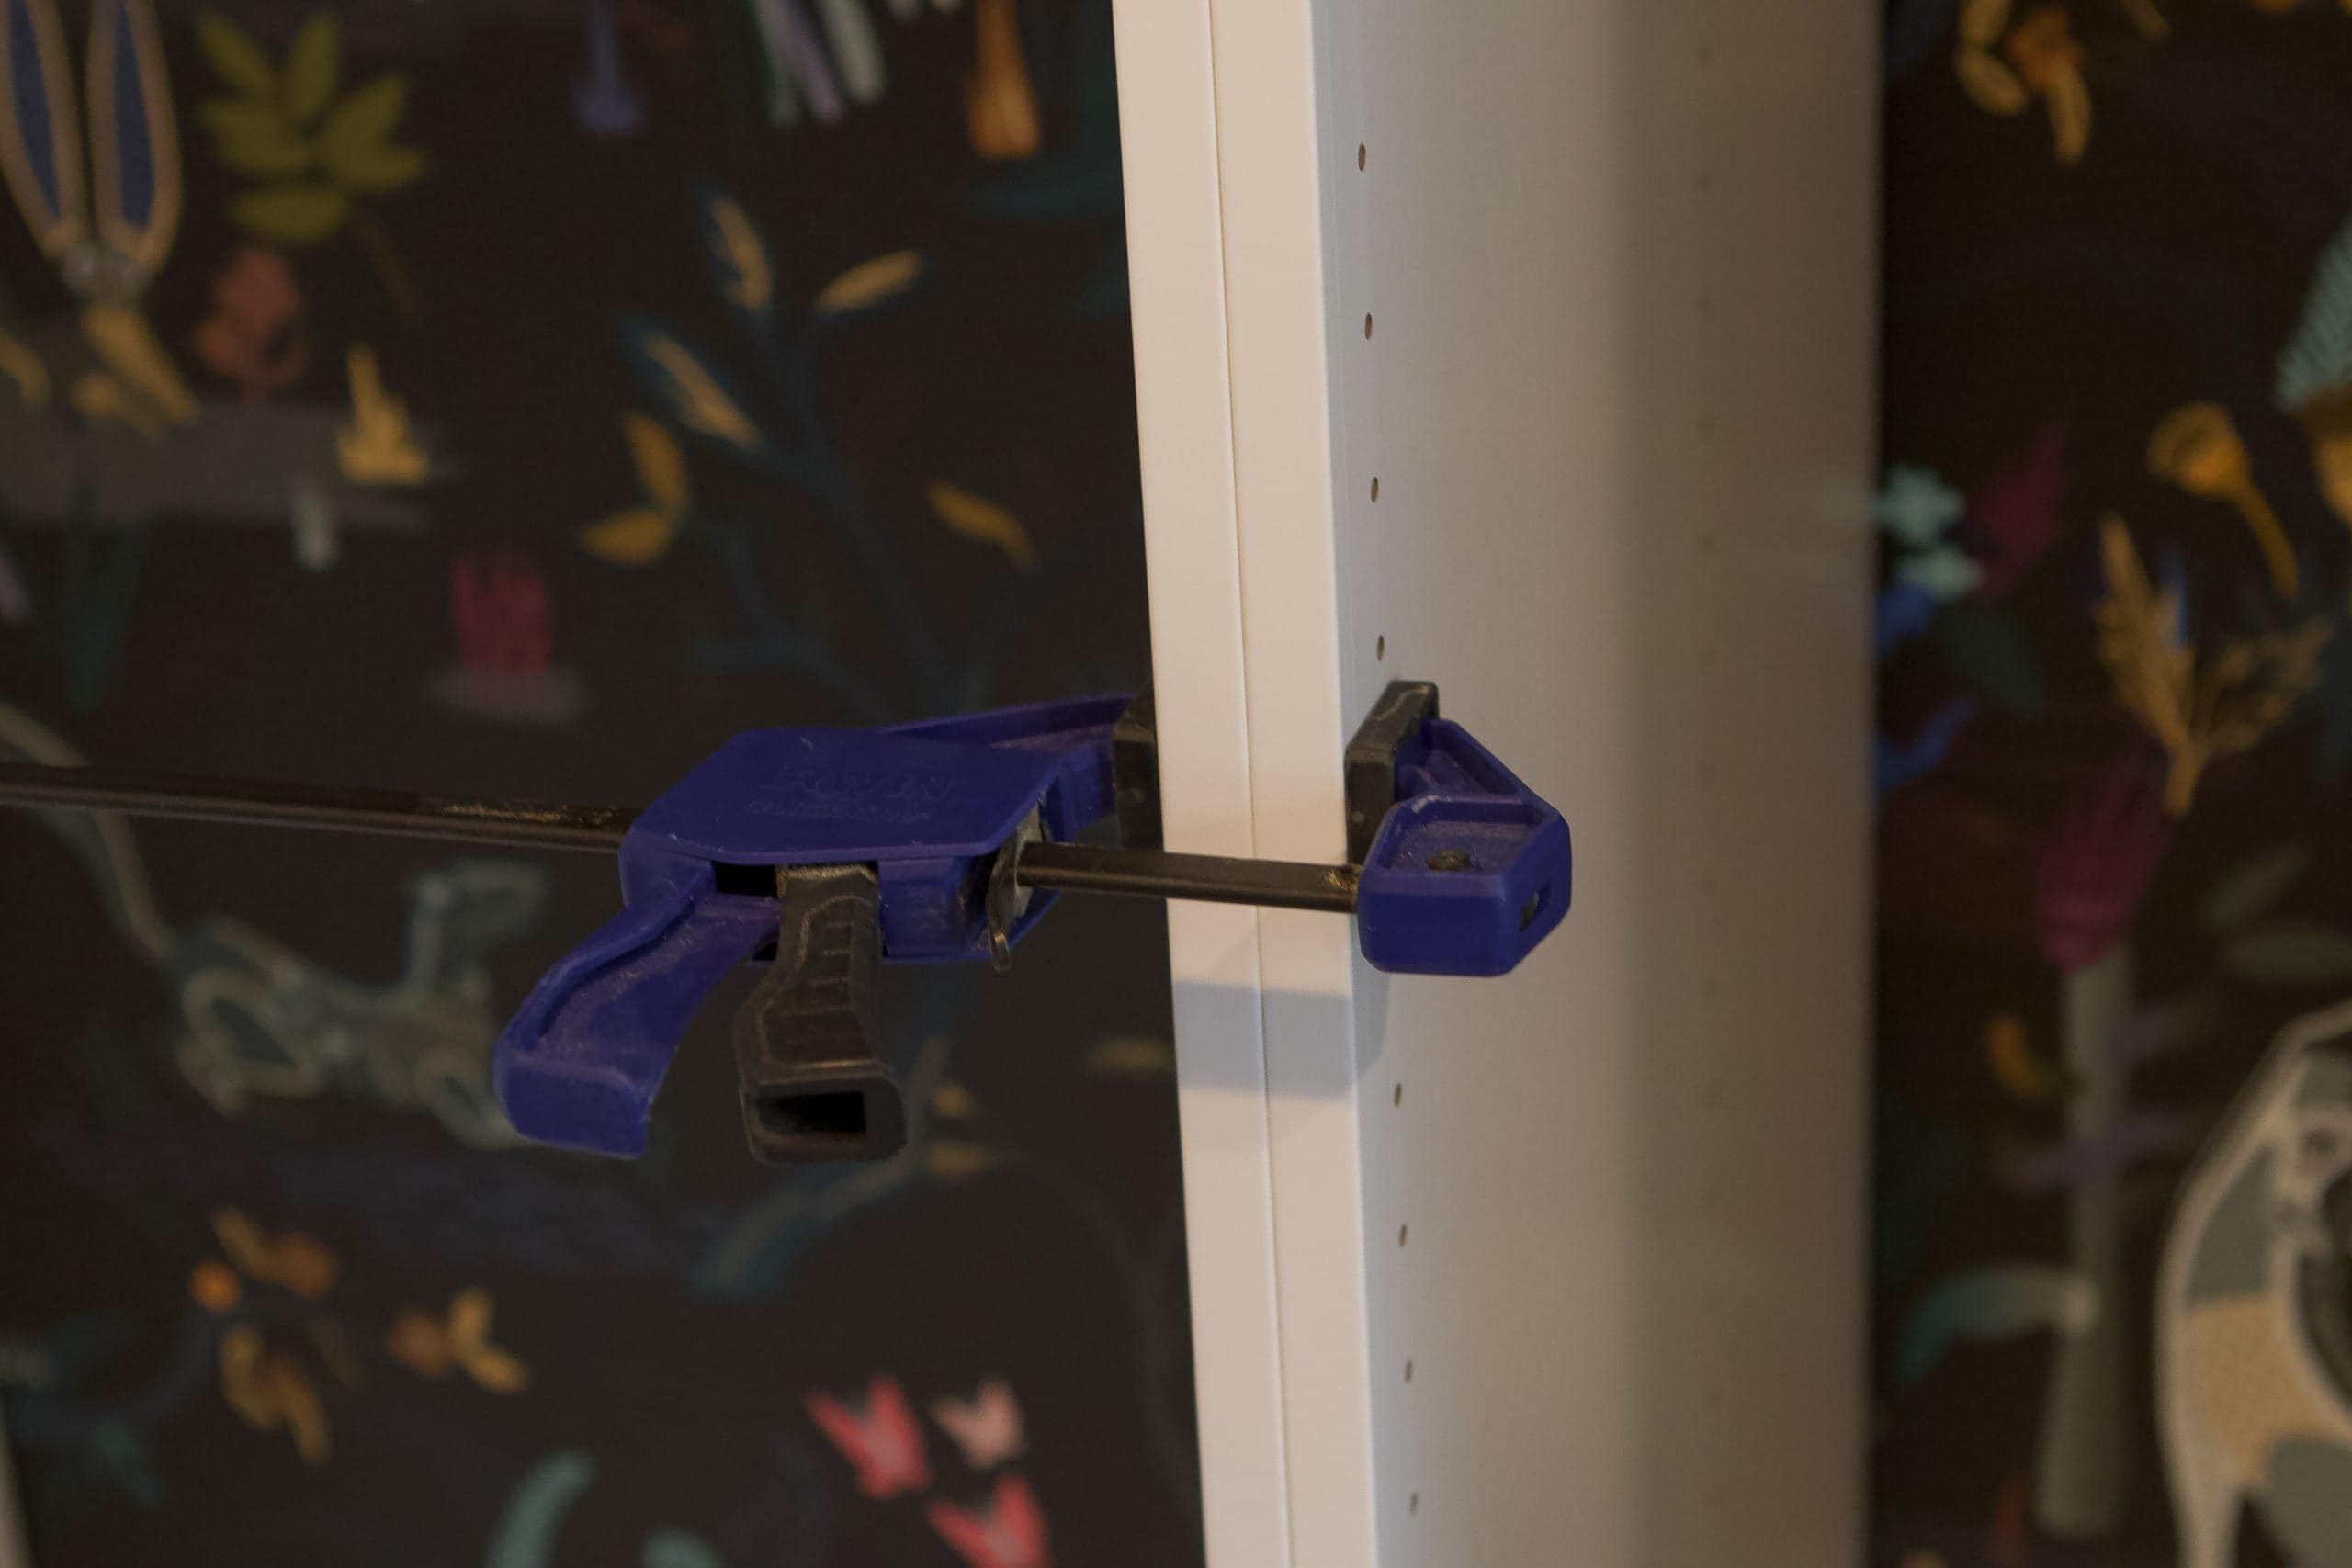
Once everything is level, clamp the frames and attach them together. IKEA provides the hardware for this step. 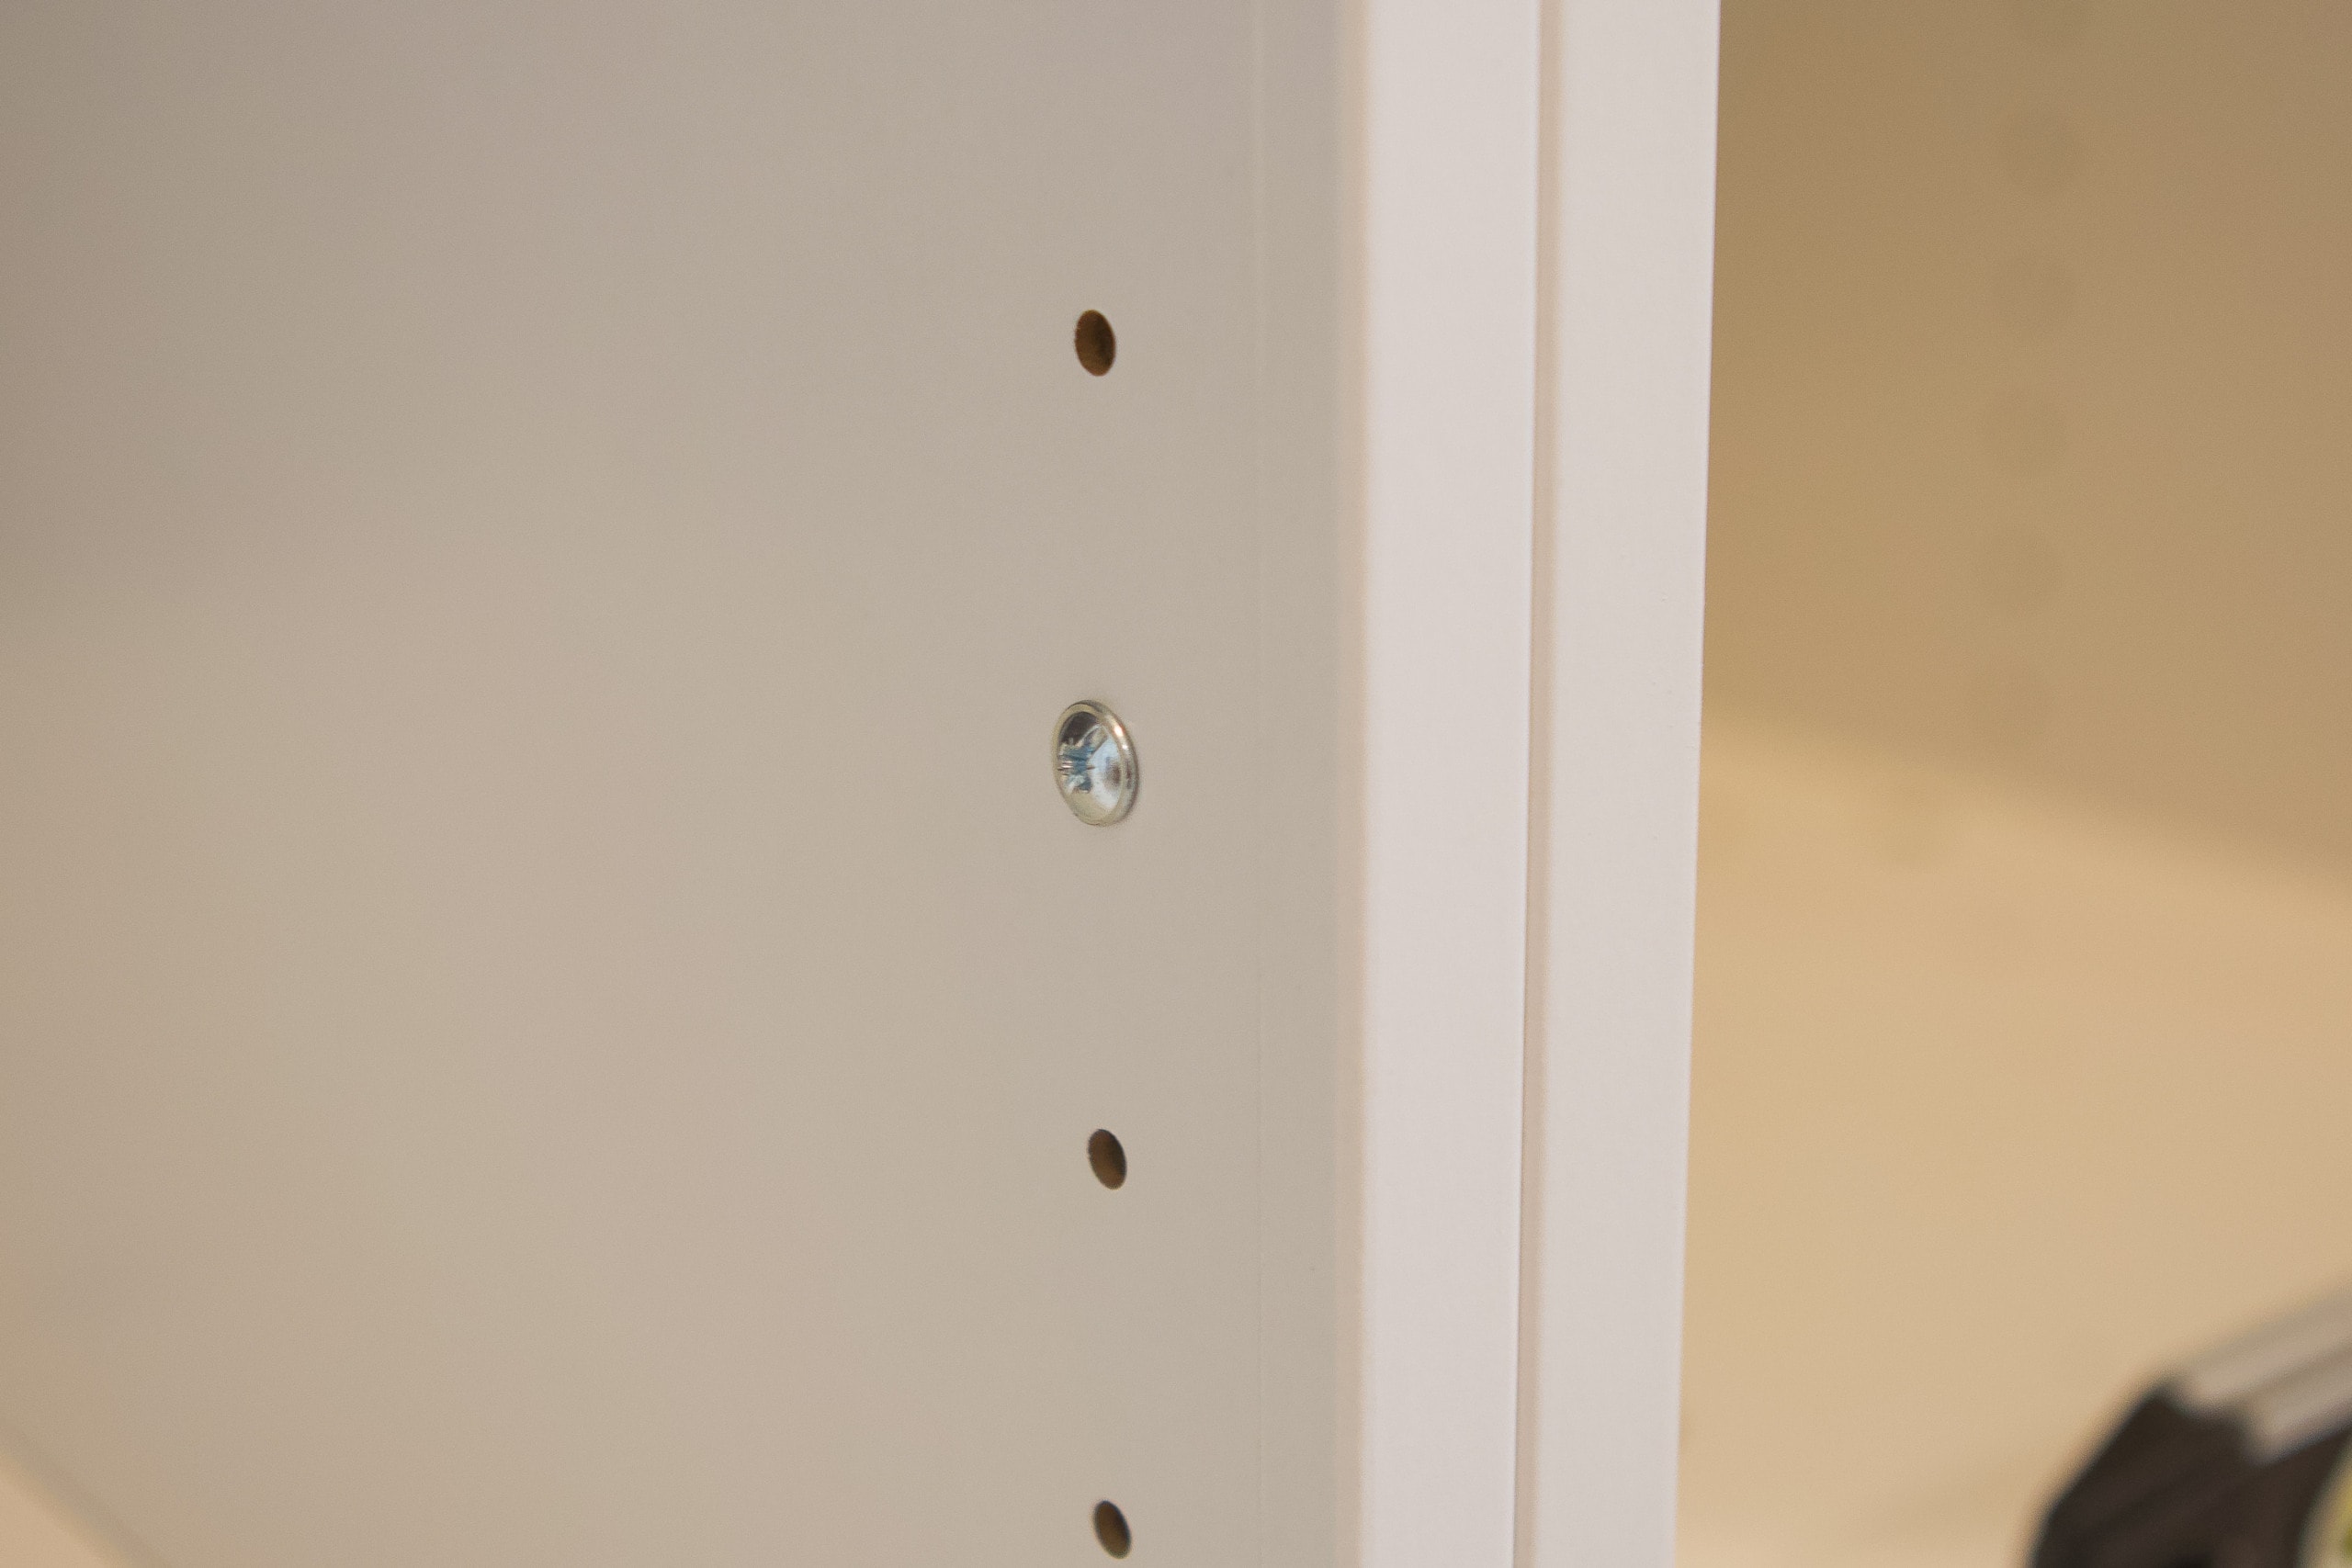 You’ll just create a pilot hole from one frame into the other and then use the provided screws. This is a must to make sure there is no gap between each frame.
Add Your Inserts
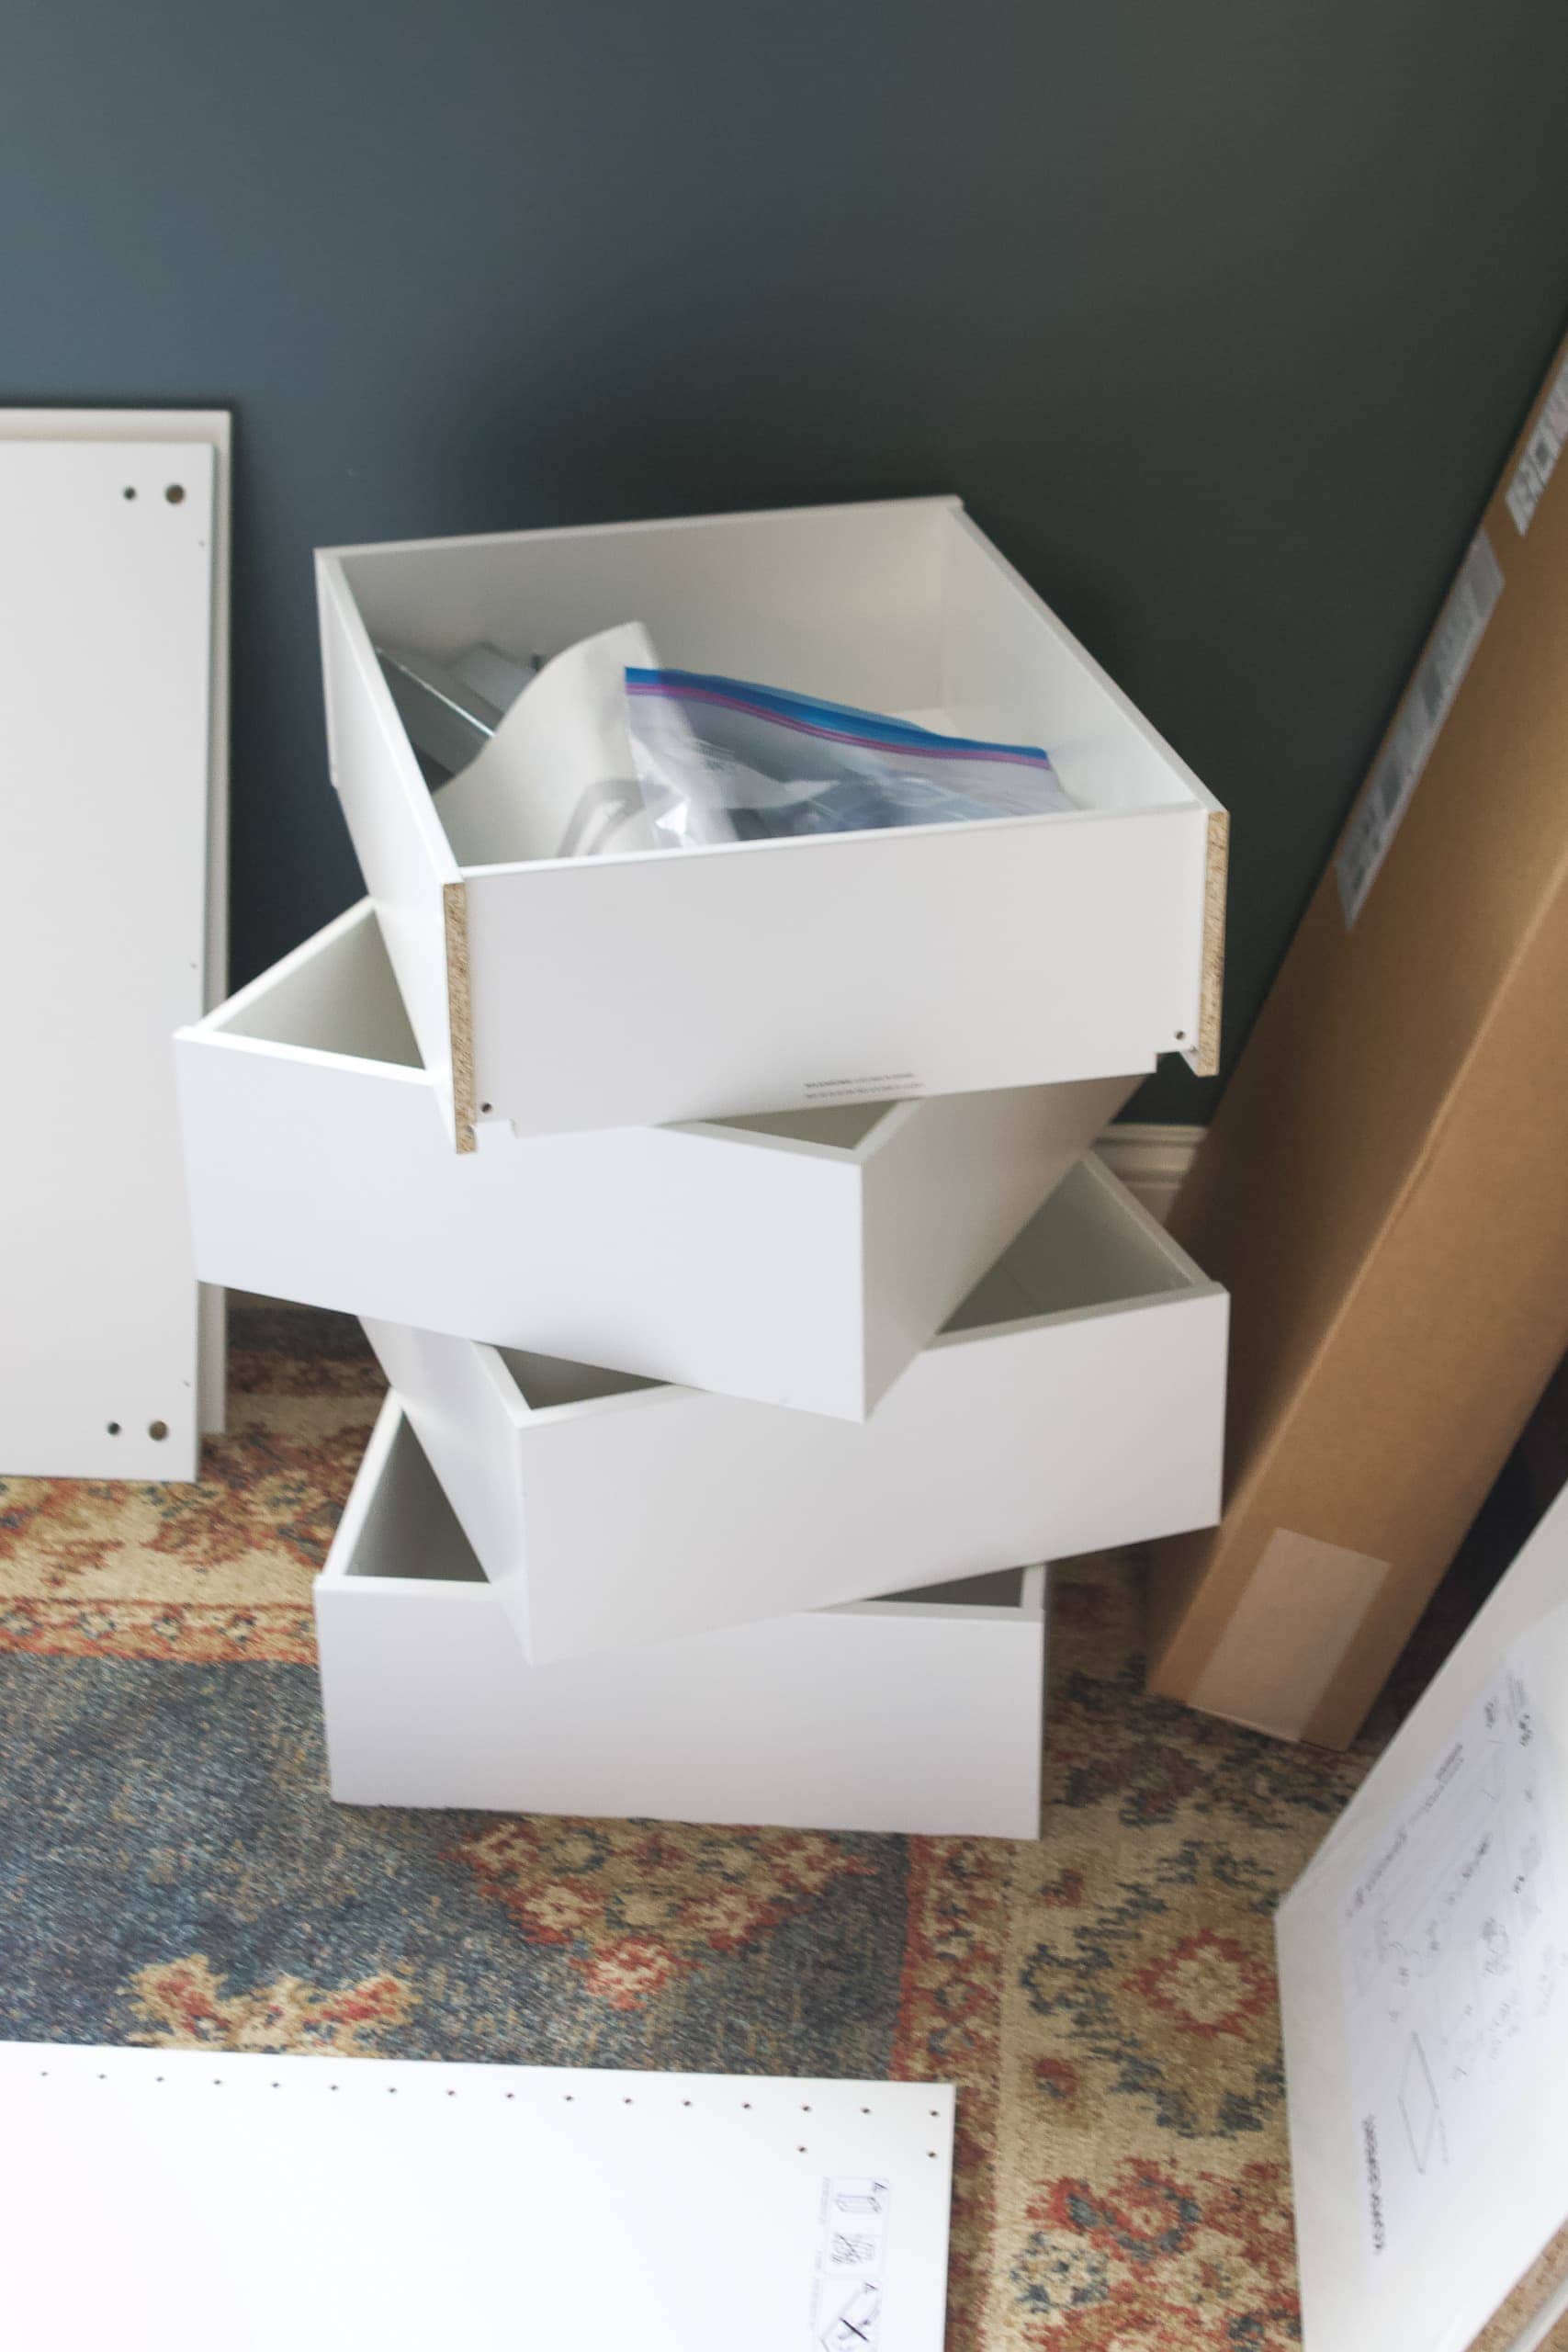
Finally, the fun part – adding the drawers and shelves. We planned to install a long drawer on the bottom of the larger unit on the left, but here’s where we ran into snafu #2.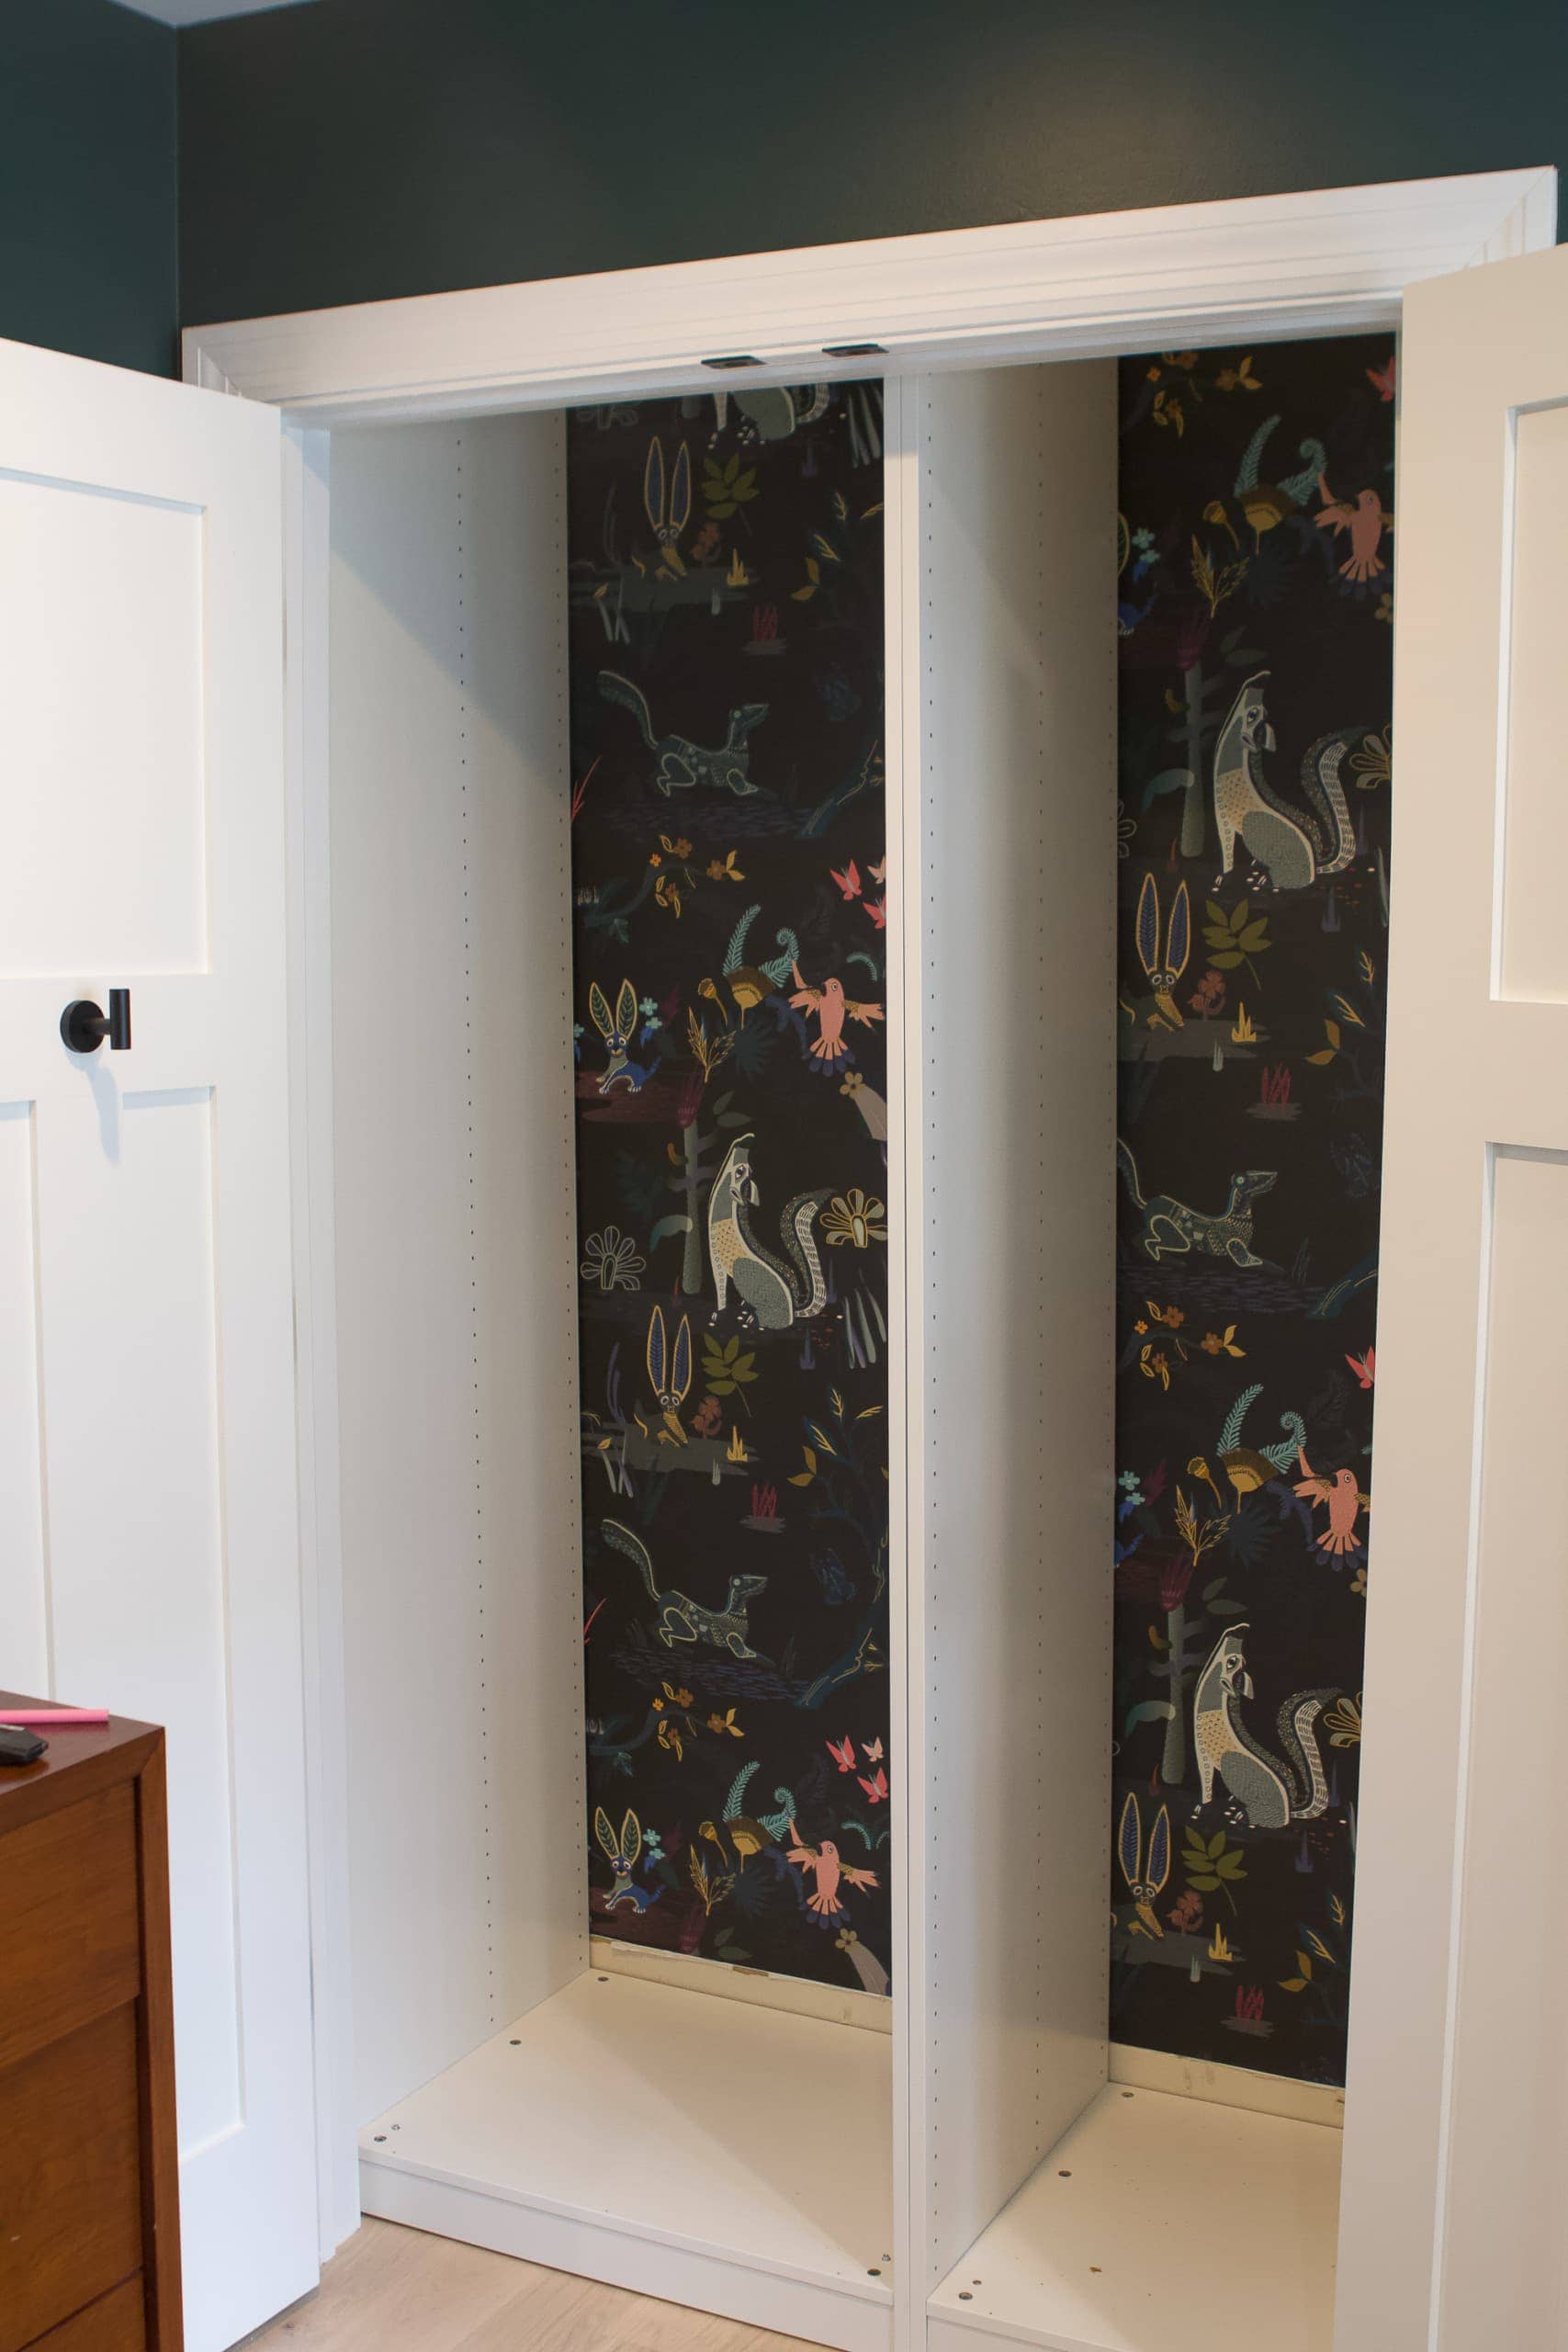
We didn’t take the door frame into account…again. In order to pull out the drawers, they need to be positioned only in the closet opening. So we decided to move the entire unit to the far left of the closet in order to give the drawers on the right enough space to move in and out easily. That meant that we lost the drawer on the bottom left. Boo.
However, we came up with a different solution. We kept the shelf on the bottom and then we plan to add a basket underneath that we can pull in and out to still take advantage of this space. It isn’t as amazing as a big drawer, but I think it’s a good solution. (We were able to return the drawer, btw.)
Cover Up the Holes

Finally, what I recommend to anyone using the PAX system, is to make sure you buy LOTS AND LOTS of hole inserts. You need way more than you think, so stock up! Only add these at the very end, when everything is in the exact place you want, because they’re difficult to remove.  Then, go ahead and fill any hole that isn’t used, so it looks cleaner and more seamless.
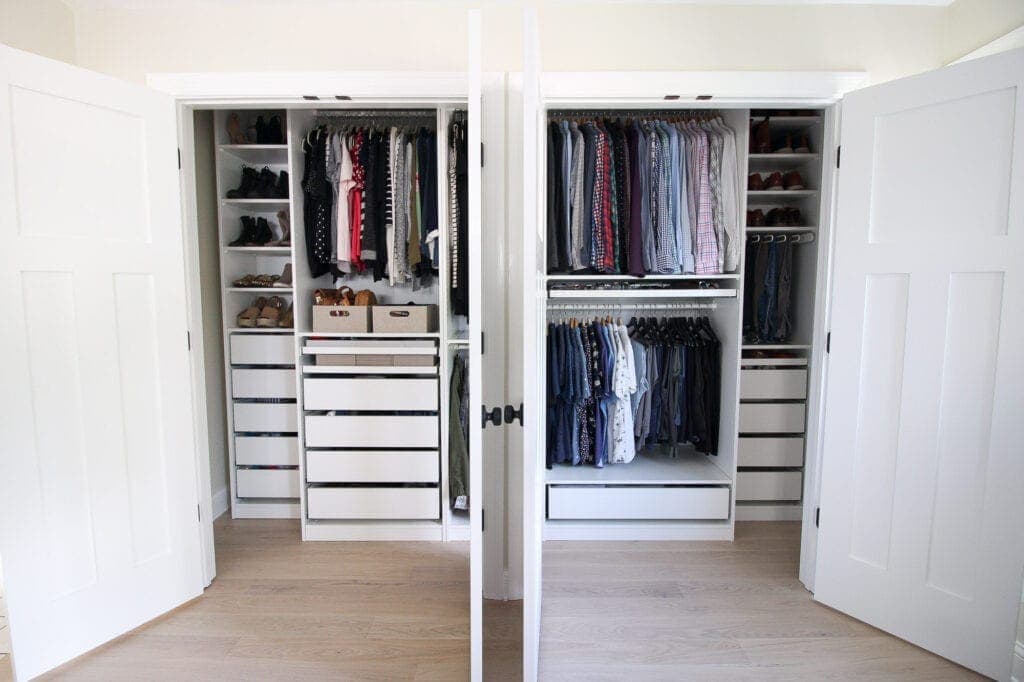
Baby Boy’s Nursery Closet

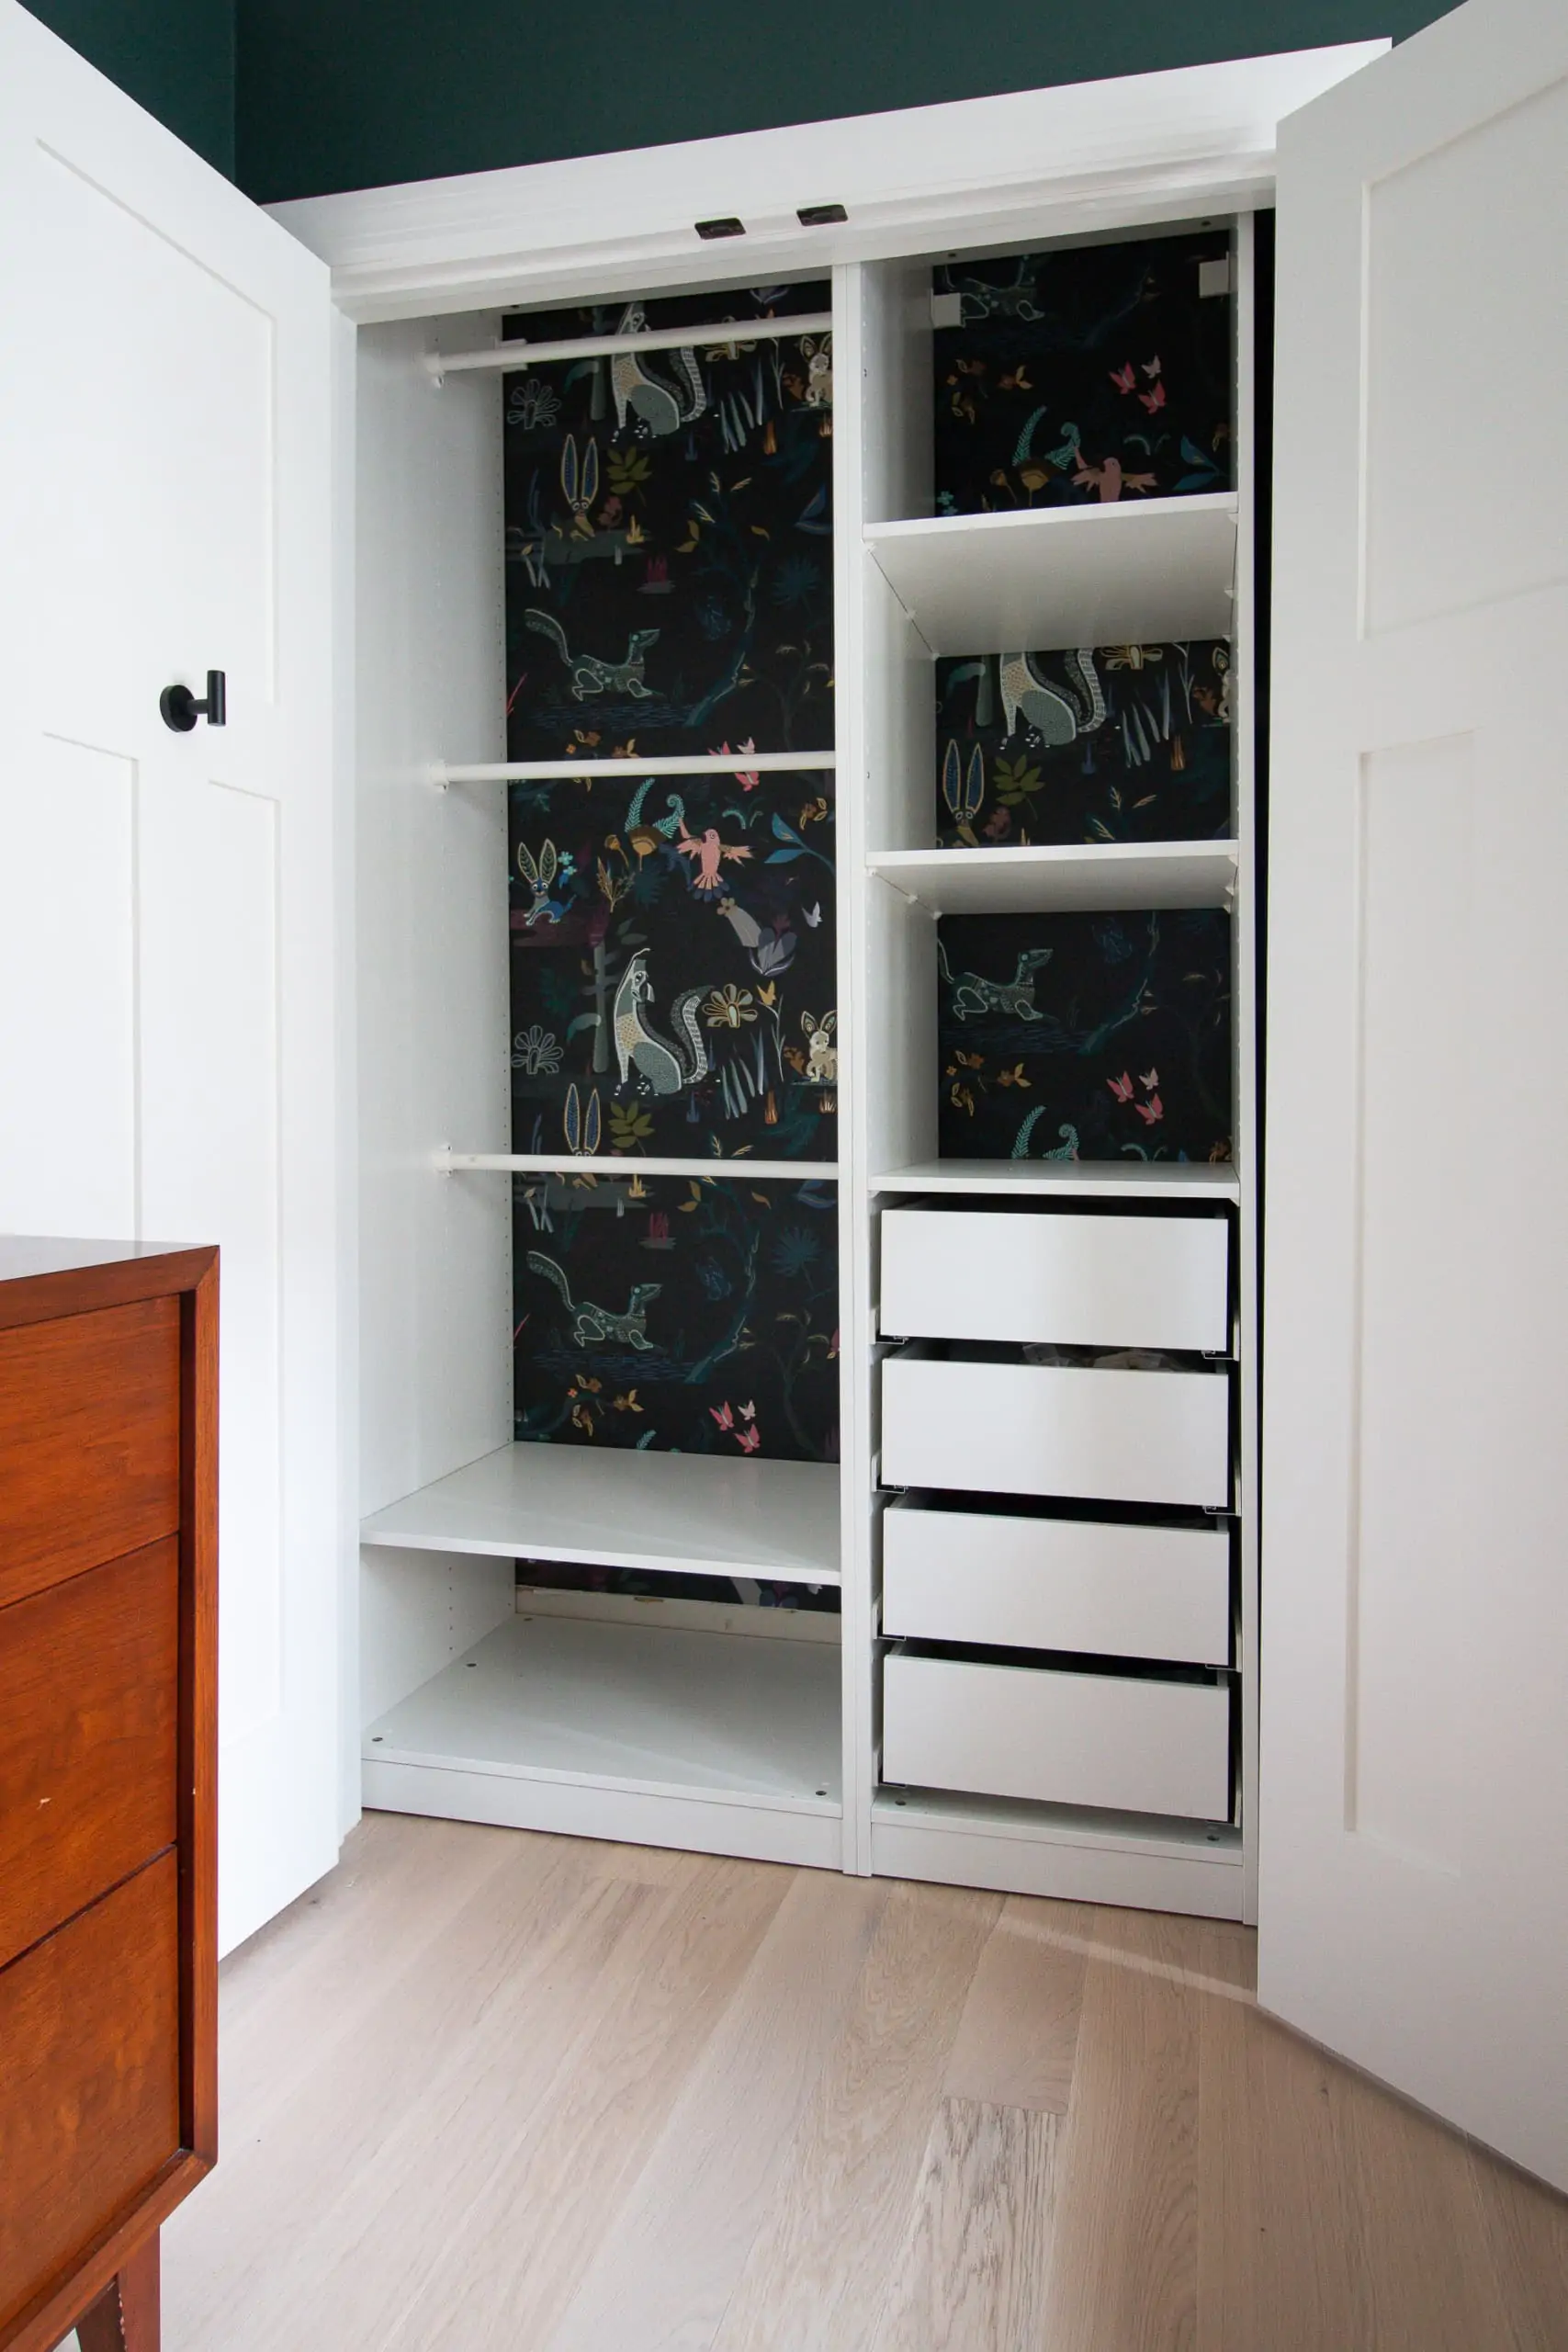
Even after running into a few annoying snafus, we were able to come out on the other side of this project! And now we have lots and lots of storage for our little guy. This shows the space empty, but I can’t wait to get it organized and looking cute. (I’ll be sure to share once we are at that point.)
What’s Next?
Now that the closet is done, let’s move to the walls of the nursery. It’s time to add my picture frame molding to the walls in here, to give it an upscale look, and more interest. This is a pretty big DIY project, with lots of math – Ugh – so I’m expecting it will take at least a few days to get this woodworking project done! I’ll share more soon.
Casey

Catch Up on Ellis’ Nursery
- Nursery Design Plan
- Wallpapering the Closet
- Building the Closet
- Picture Frame Molding
- Installing Blackout Curtains
- Nursery Progress
- Adding Shelves
- How to Install a Changing Pad
- Baby Boy Nursery Reveal & Sources