How to Make DIY Cornhole Boards
Here in Chicago, we call the classic beanbag toss game “Bags”. Honestly, I didn’t know that people called it anything else until I went to college and heard people calling it, “Cornhole.” Say what?! Apparently most people around the country call this yard game “Cornhole.” Who knew?! “Bags” is still the phrase we use in our household, but for this blog post, I suppose I’ll call it “Cornhole”!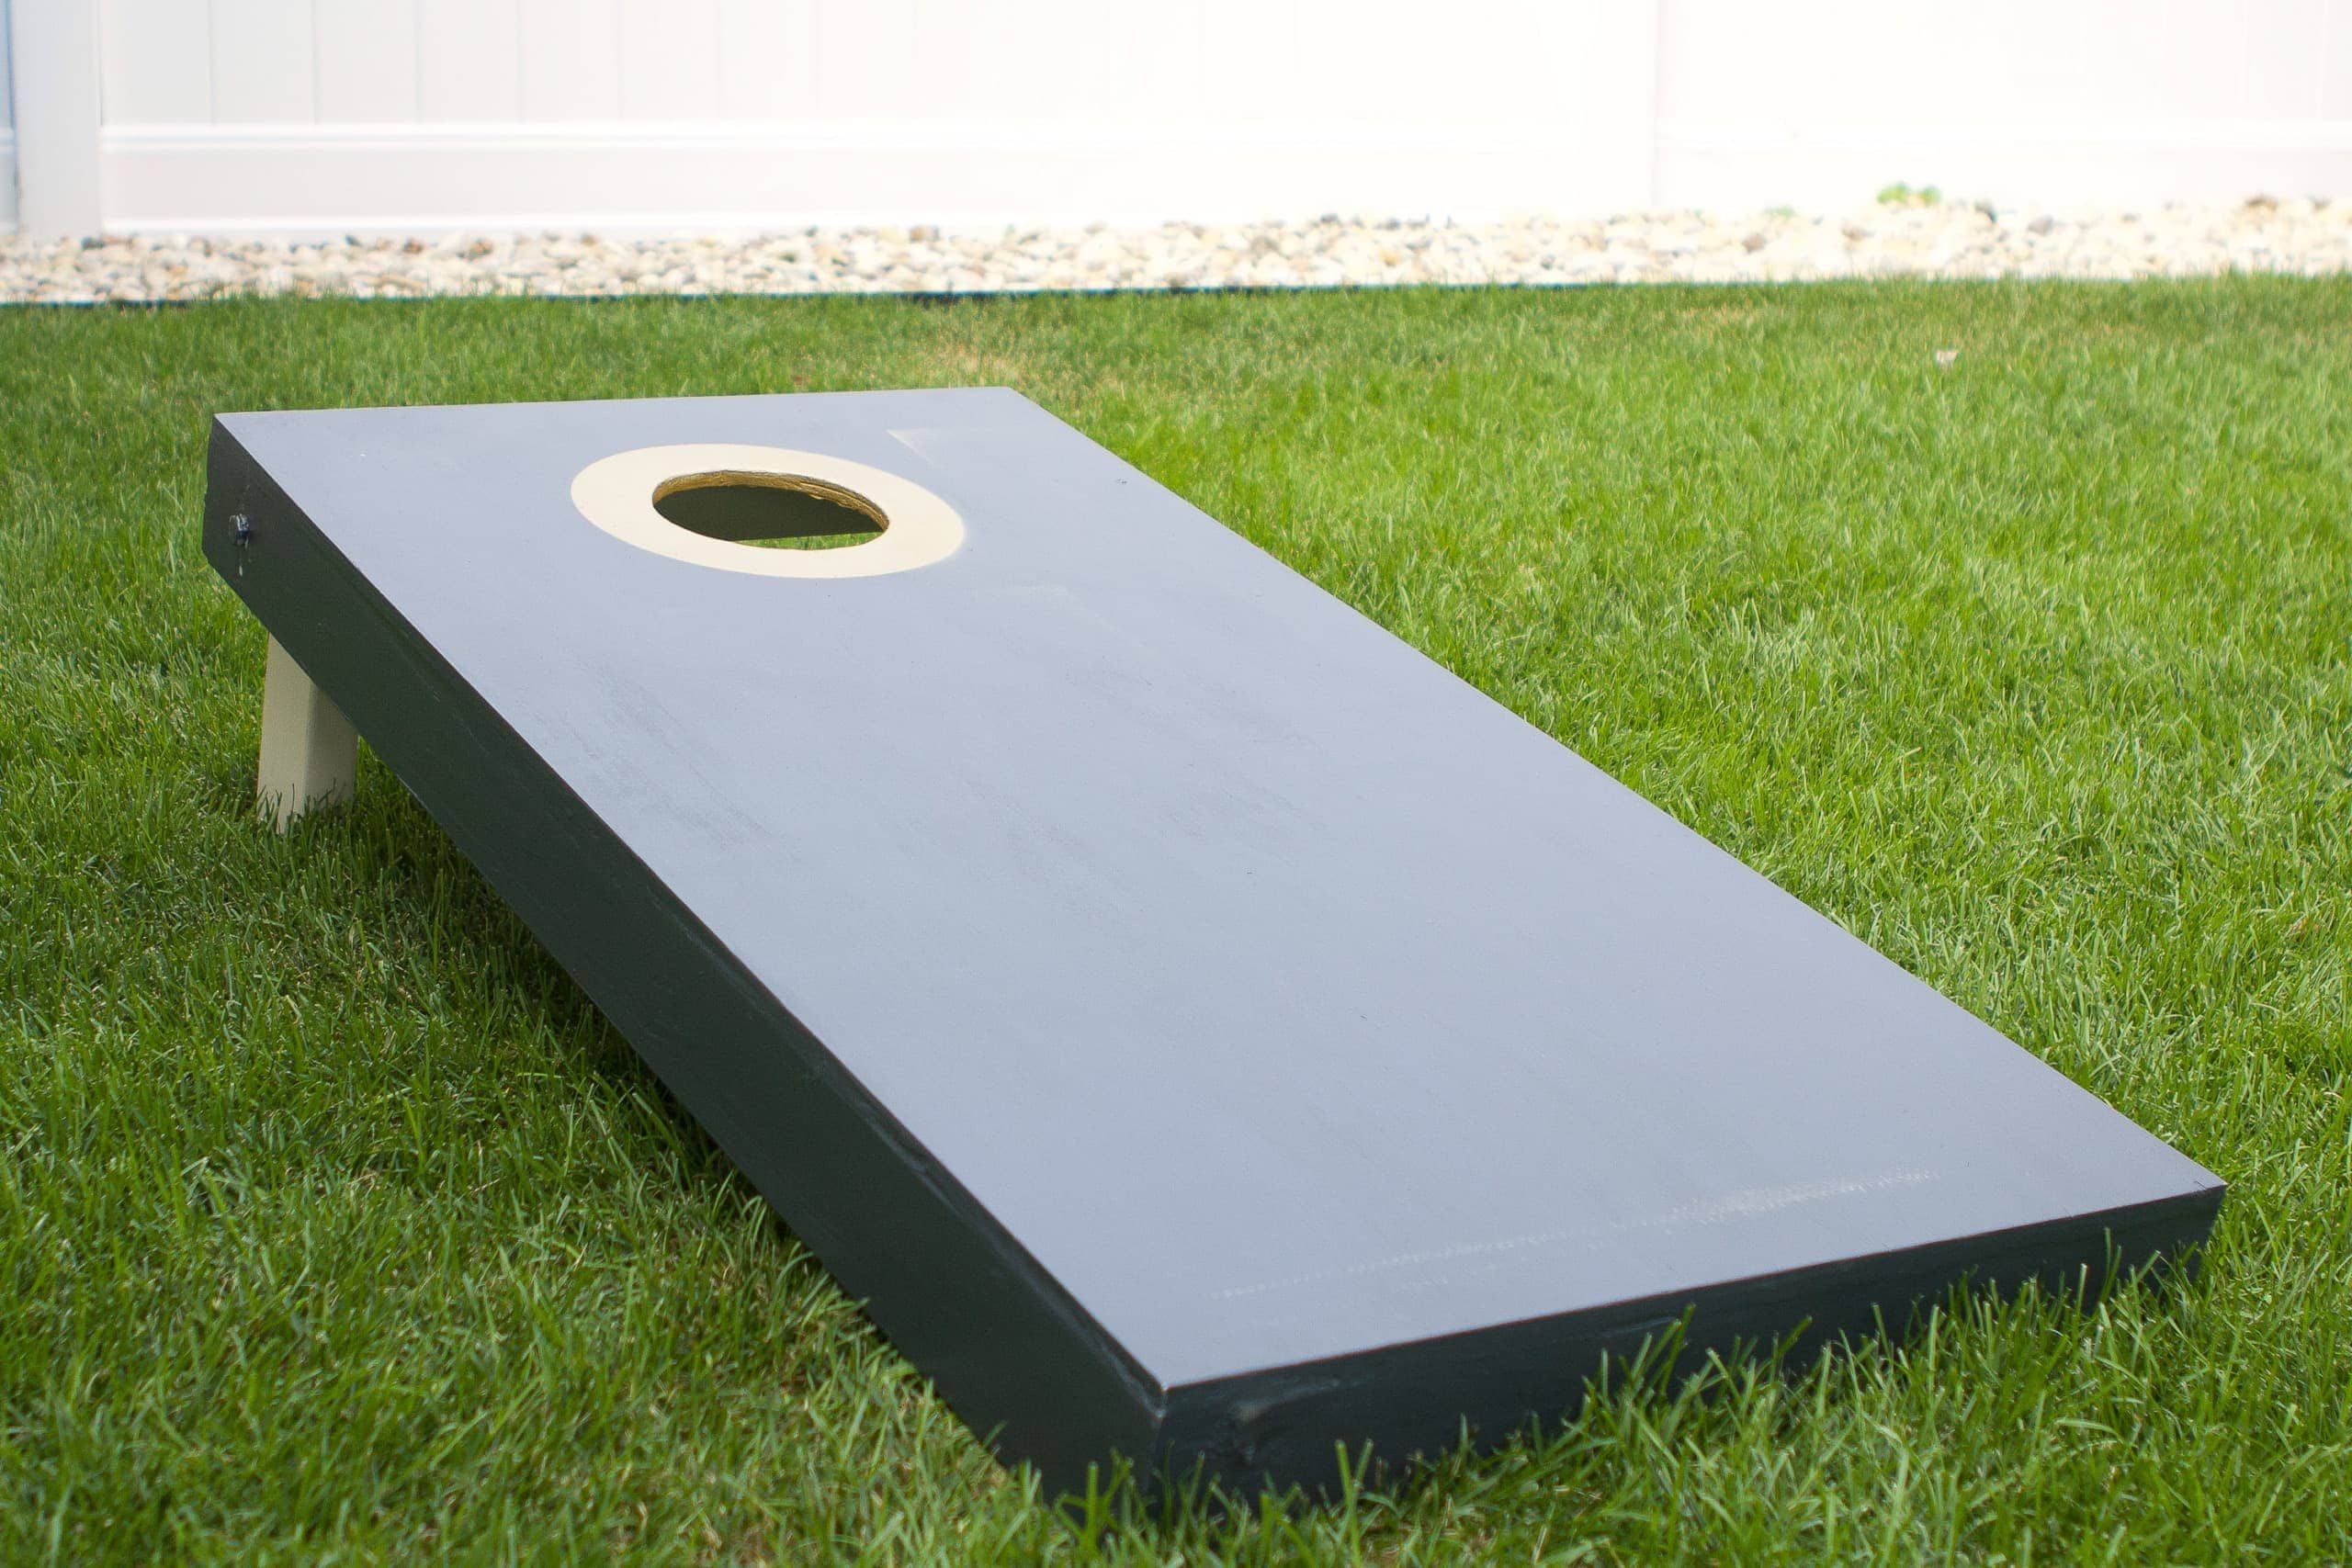
Anyway, Finn has wanted to build DIY Cornhole boards ever since we bought our house. We have the perfect side yard for a game of Cornhole (it’s long and narrow) and summertime is the best time to play this fun game. Buying boards can cost a lot of money, so he figured he could make his own DIY Cornhole boards pretty easily. 
He made DIY Cornhole boards in June, but he only just finished them a few weeks ago. Why? Well, here’s a fun story for you. Finn built the bags, painted them, and left them on one side of the garage to dry. One day, he was backing the car out of the garage into our alley. He saw another car coming down the alley, so he pulled back into the garage and booooom….he hit the drying Cornhole boards. Noooooo! He said he hit them super slowly so it didn’t damage our car, but whoa…the boards completely smooshed. He had to start alllll over and build new ones. Hence, the reason this tutorial has taken a bit of time to hit the blog!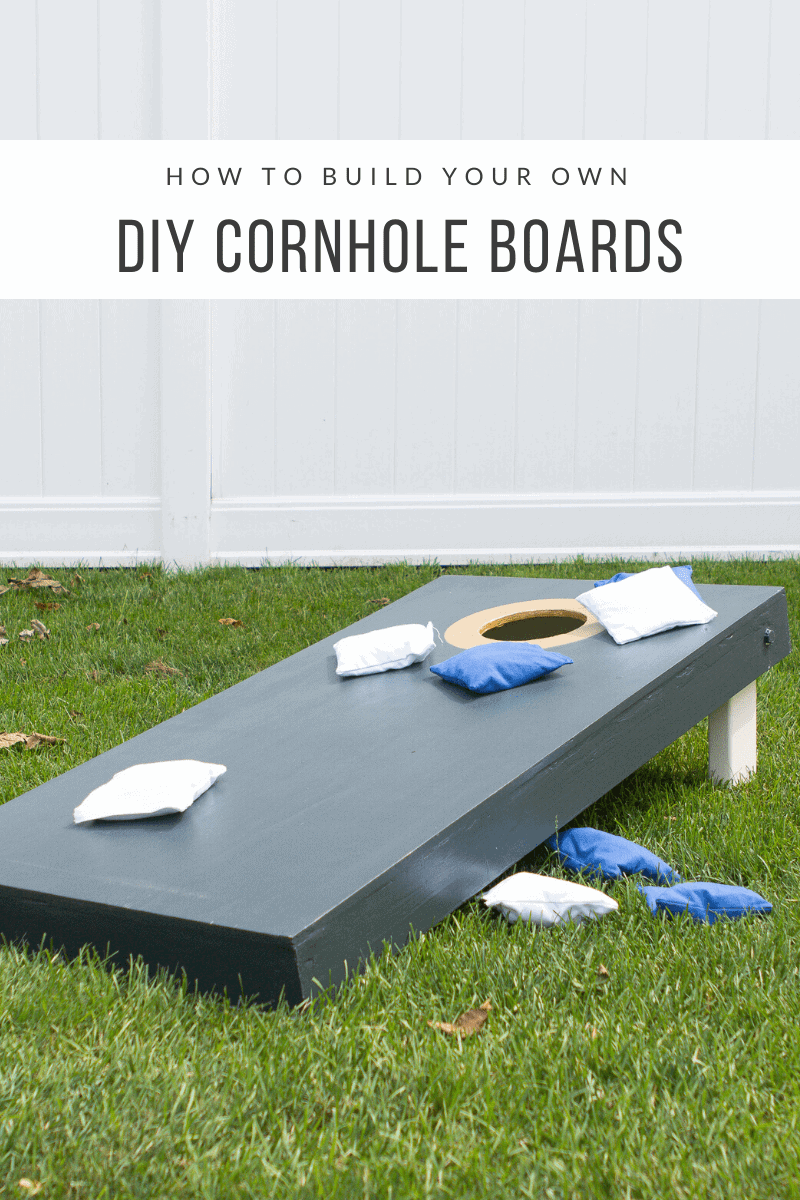
The good news is we now have two new awesome Cornhole boards and I’m finally here to share the process so you can build your own.
DIY Cornhole Boards – Supplies

- 2×4 Wood
- 1/2 inch Plywood
- Corner Clamps
- Clamps
- Drill
- Paint
- Stencil (if creating a circle around the hole)
- Jigsaw
- Palm Sander & Sanding Pads
- Polycrylic
- Bean Bags
- Miter Saw
- Wood Filler
- Tape Measure
- 3-inch exterior deck screws
- 1-inch trim head screws
- Compass
- 1/2 inch Washer, Wing Nut, & Carriage Bolts
The wood is the most important part of this project. You’ll be building a frame out of 2×4’s and then placing 1/2 inch plywood on top. We always recommend buying a bit of extra wood, just in case the boards are warped or you make any bad cuts!
Cut your Wood
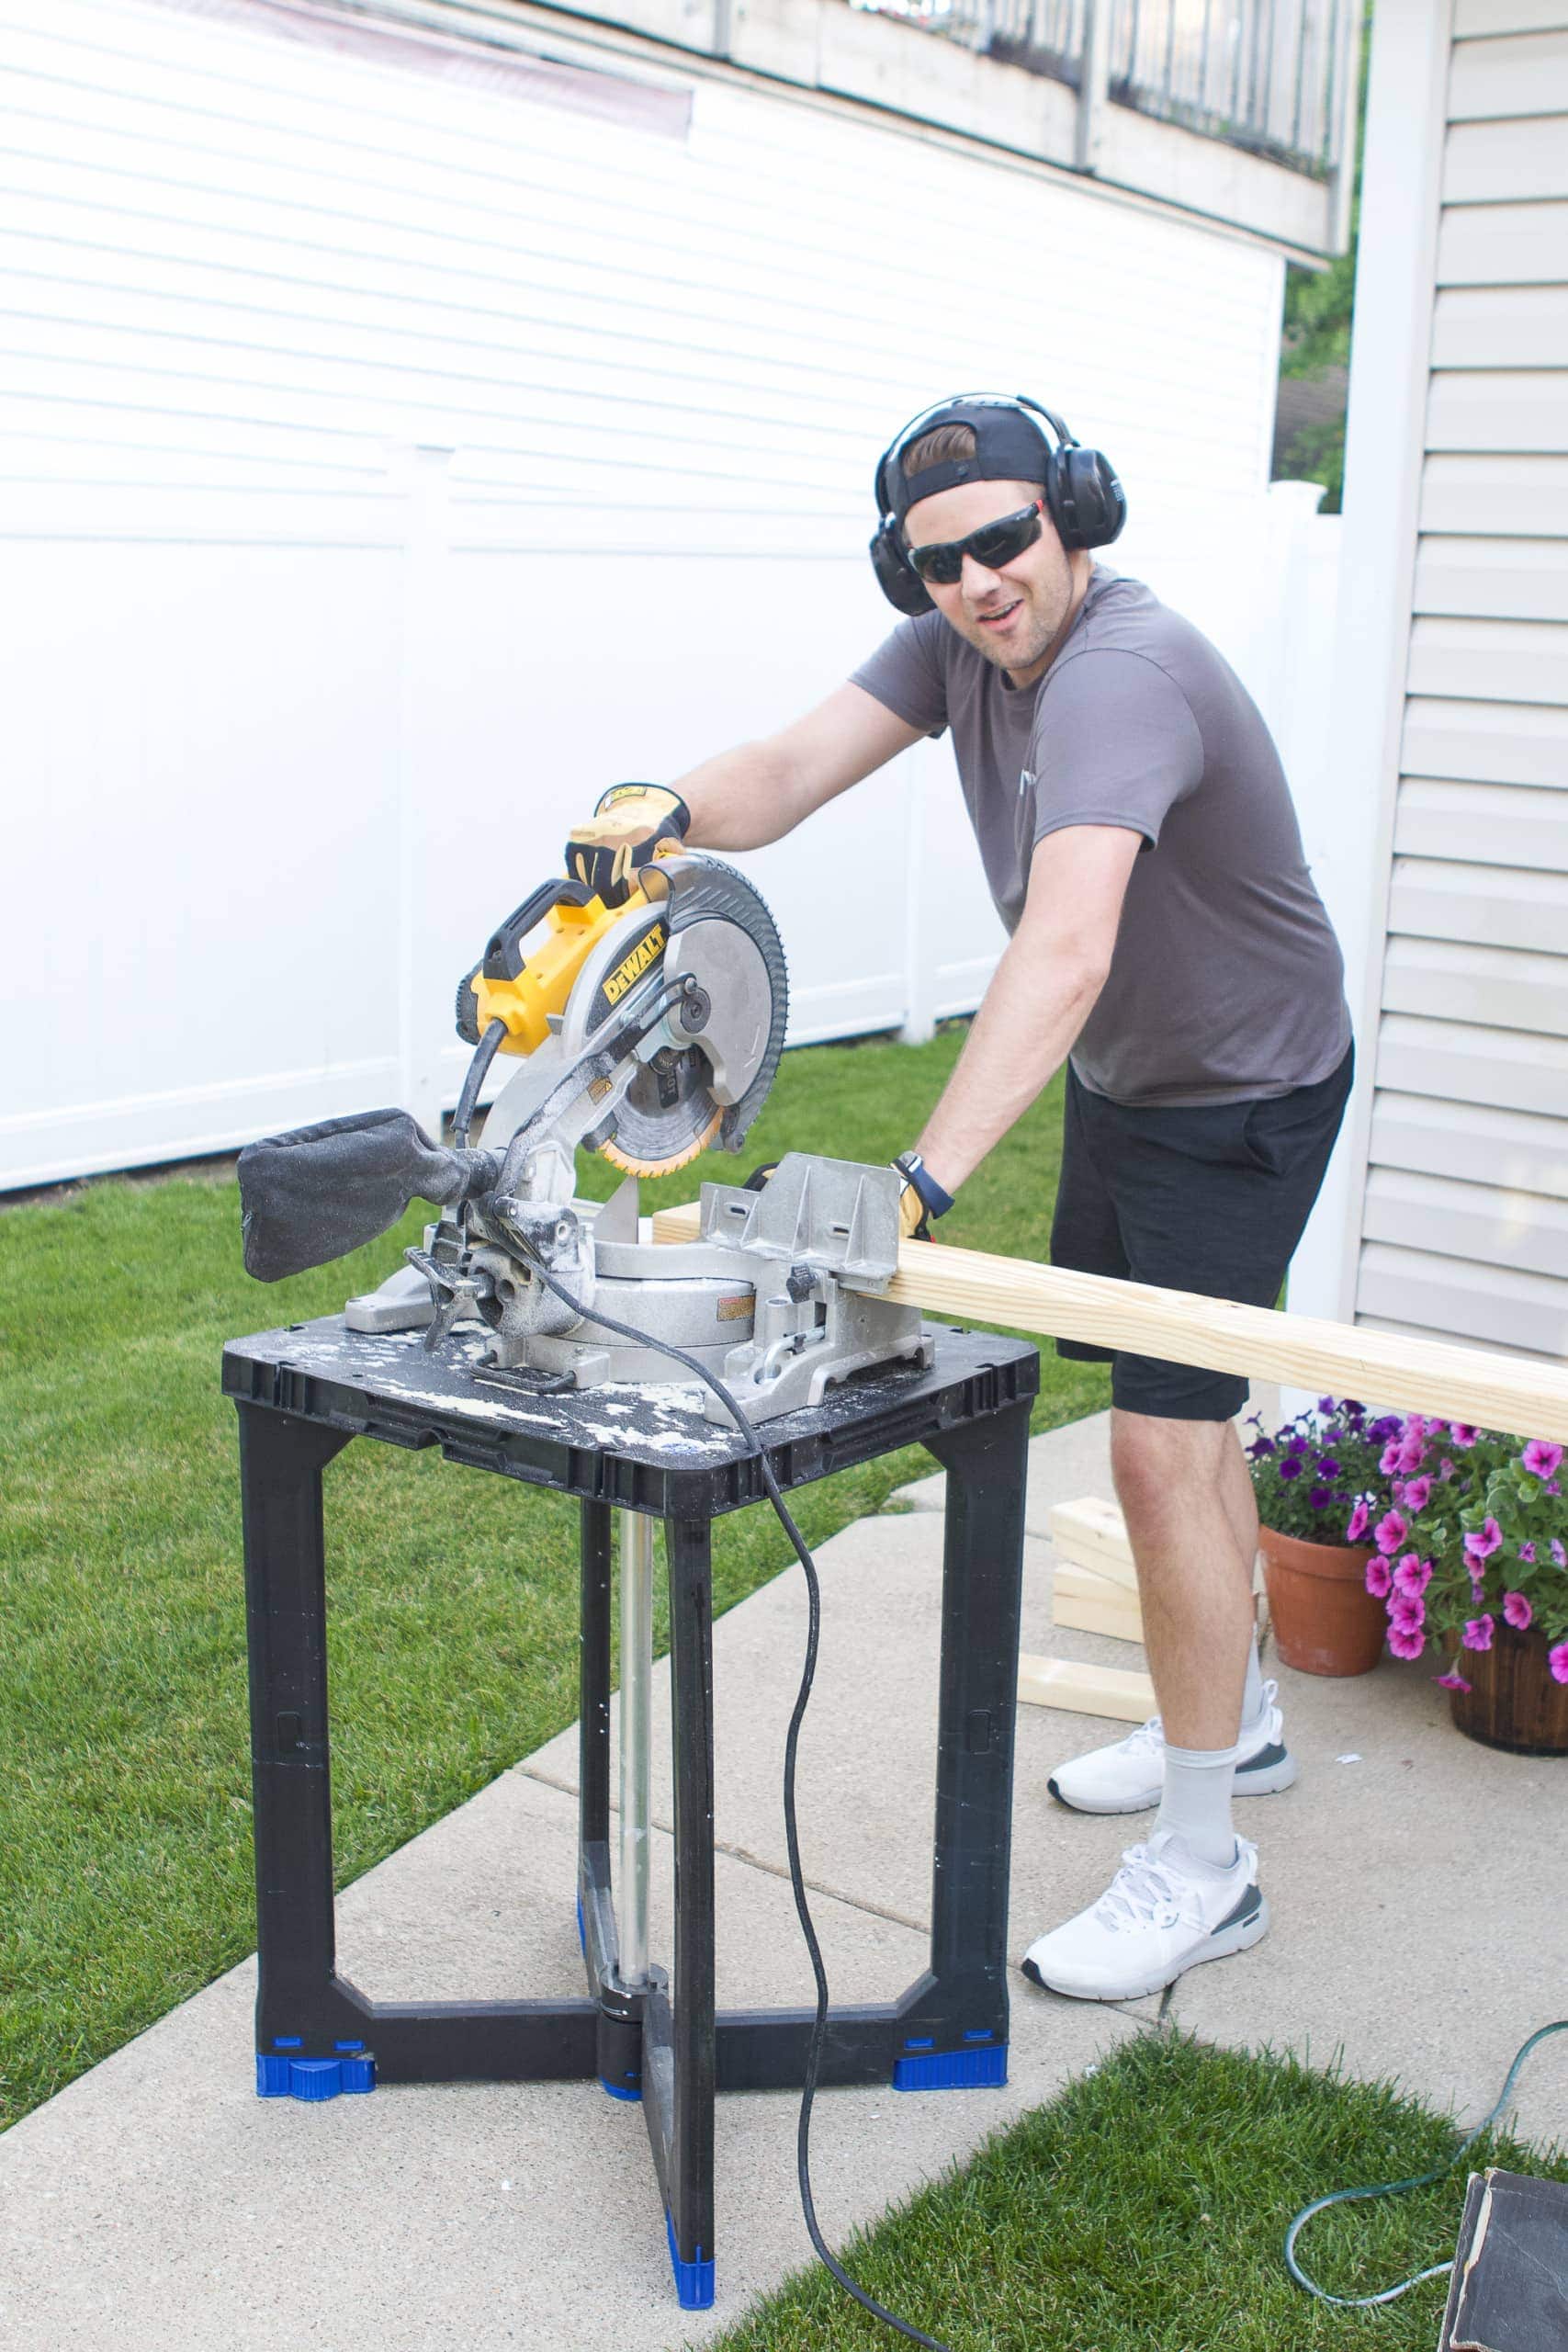
Finn used our miter saw to make all of the cuts. Here’s what you’ll need to end up with to create two Cornhole boards that are regulation size…
- 2 pieces of plywood, cut at 24×48 inches
- 4 pieces of 2×4, cut at 48 inches
- 4 pieces of 2×4, cut at 21 inches
- 4 pieces of 2×4, cut at 11.5 inches
Assemble your Frame
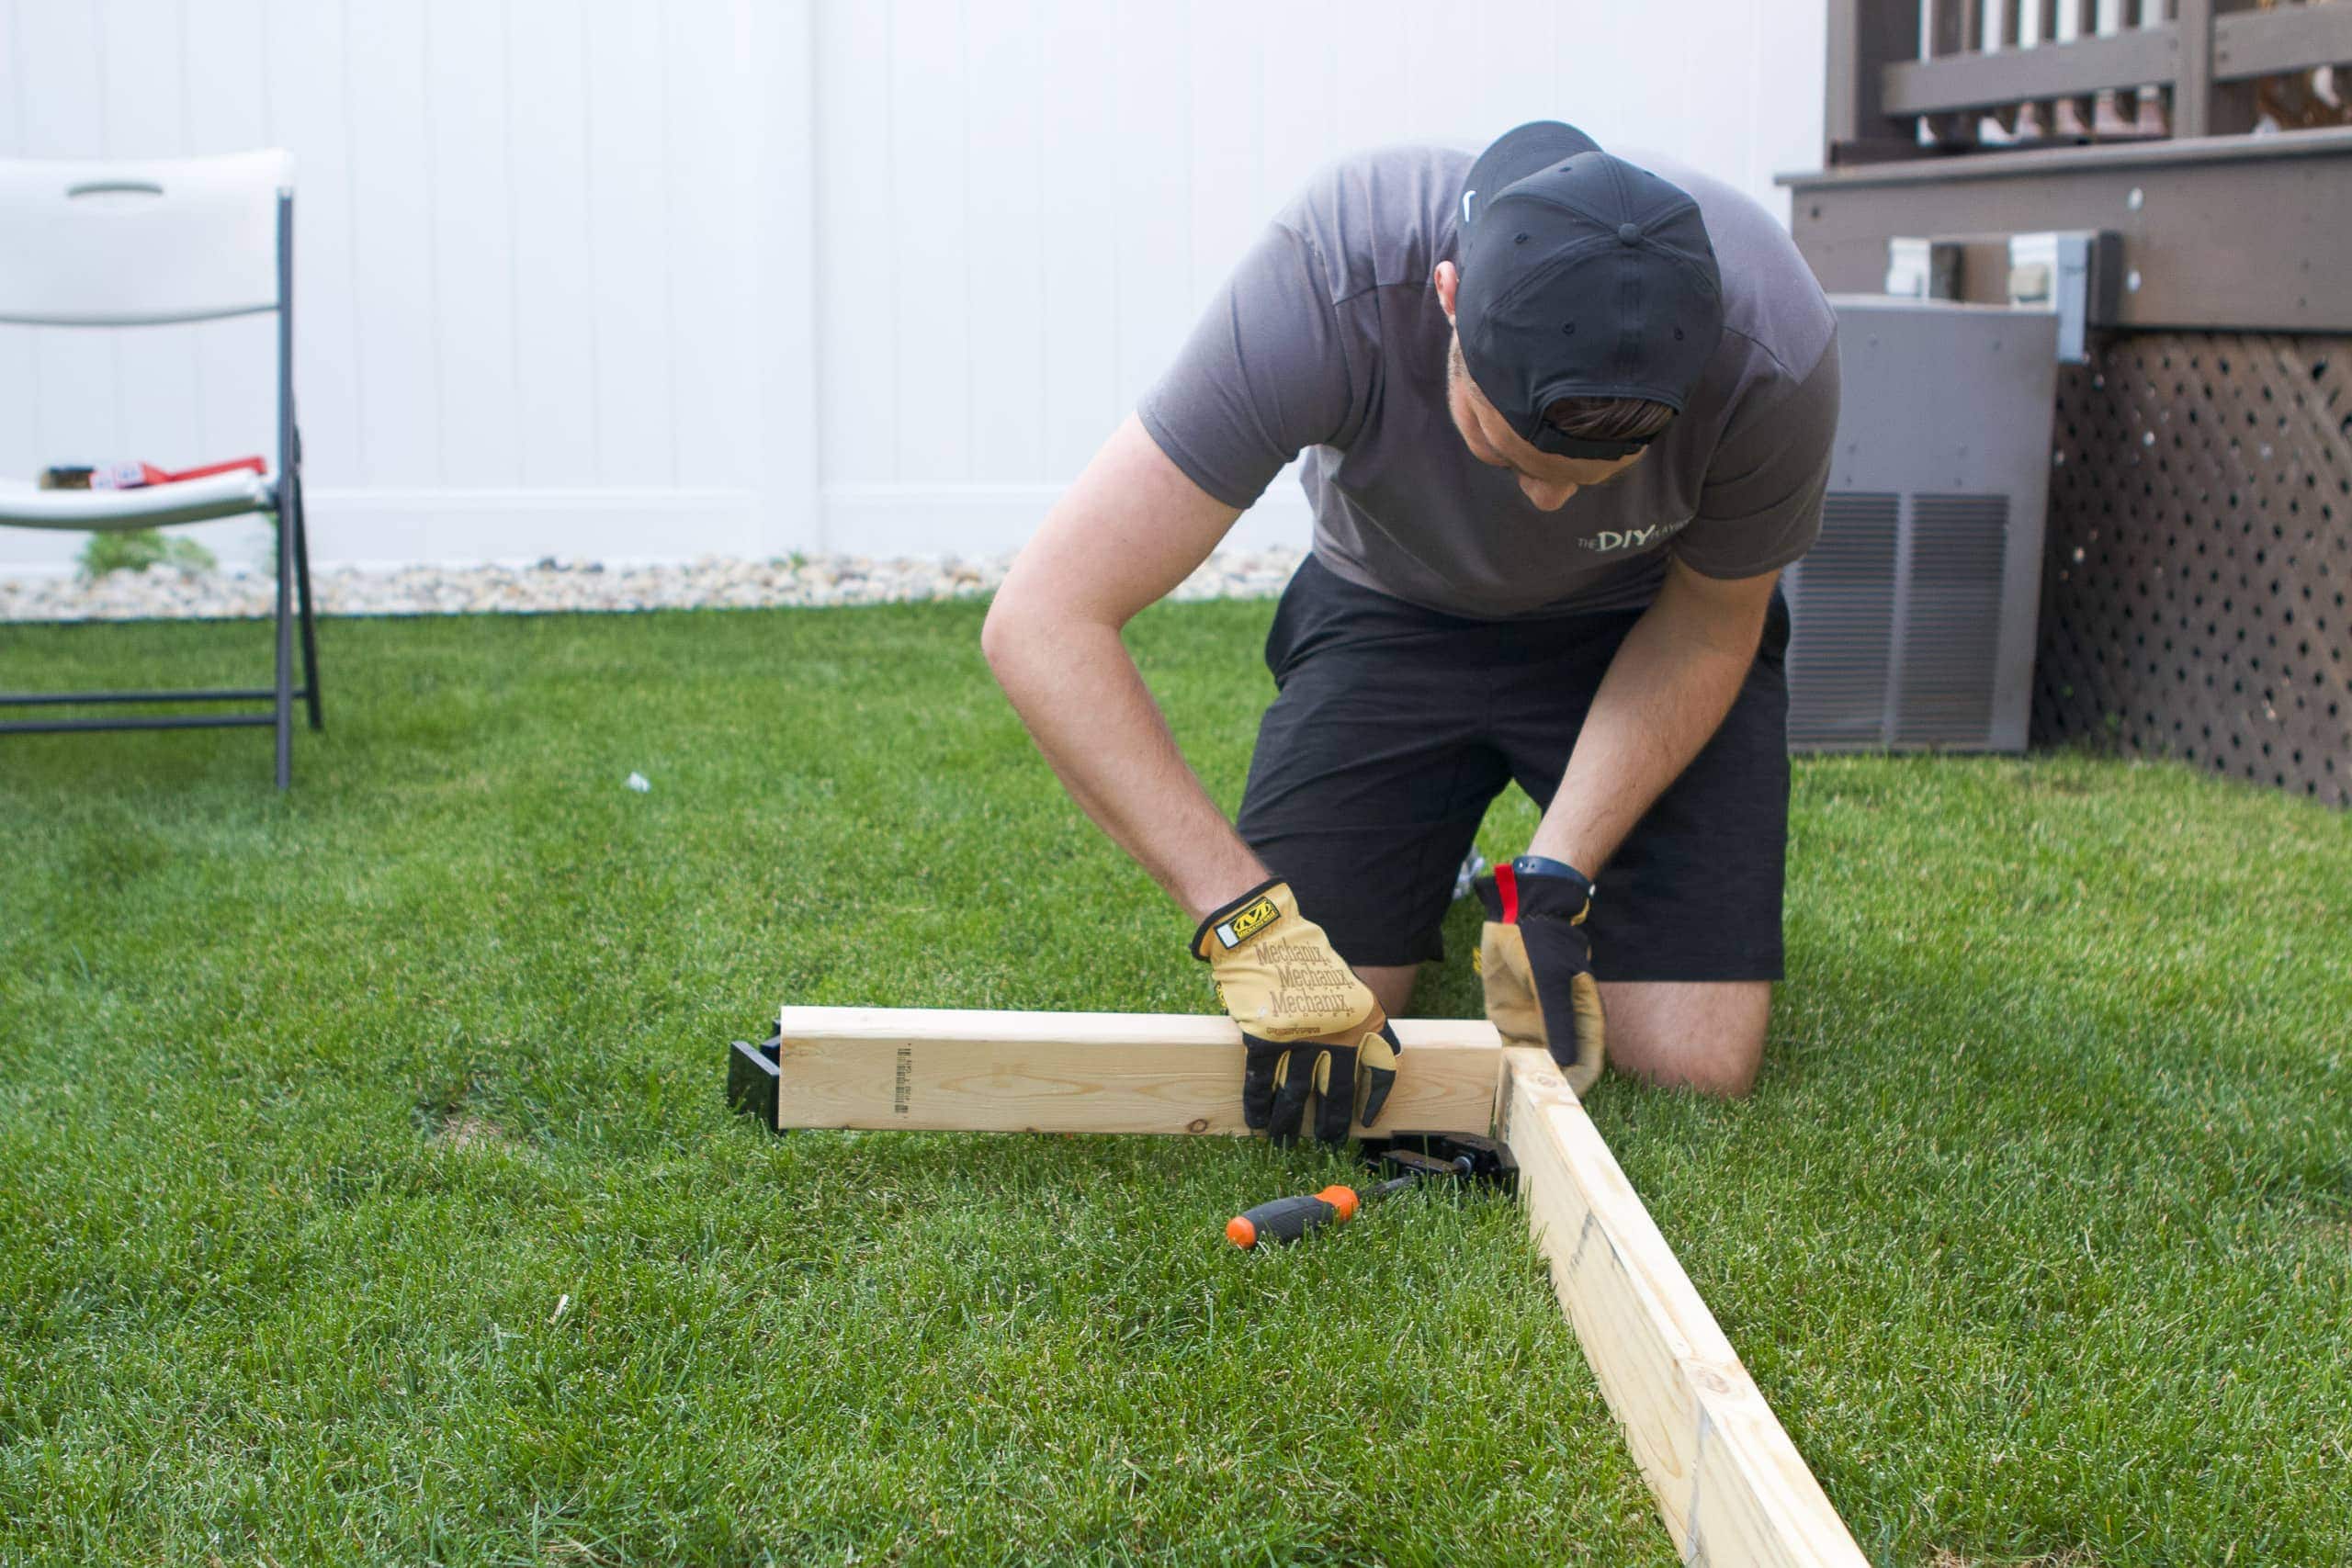
Finn used corner clamps to assemble the frame that is made up of two pieces of 48-inch and two pieces of 21-inch wood. The corner clamps will keep everything straight and secure while you screw all of the pieces together. 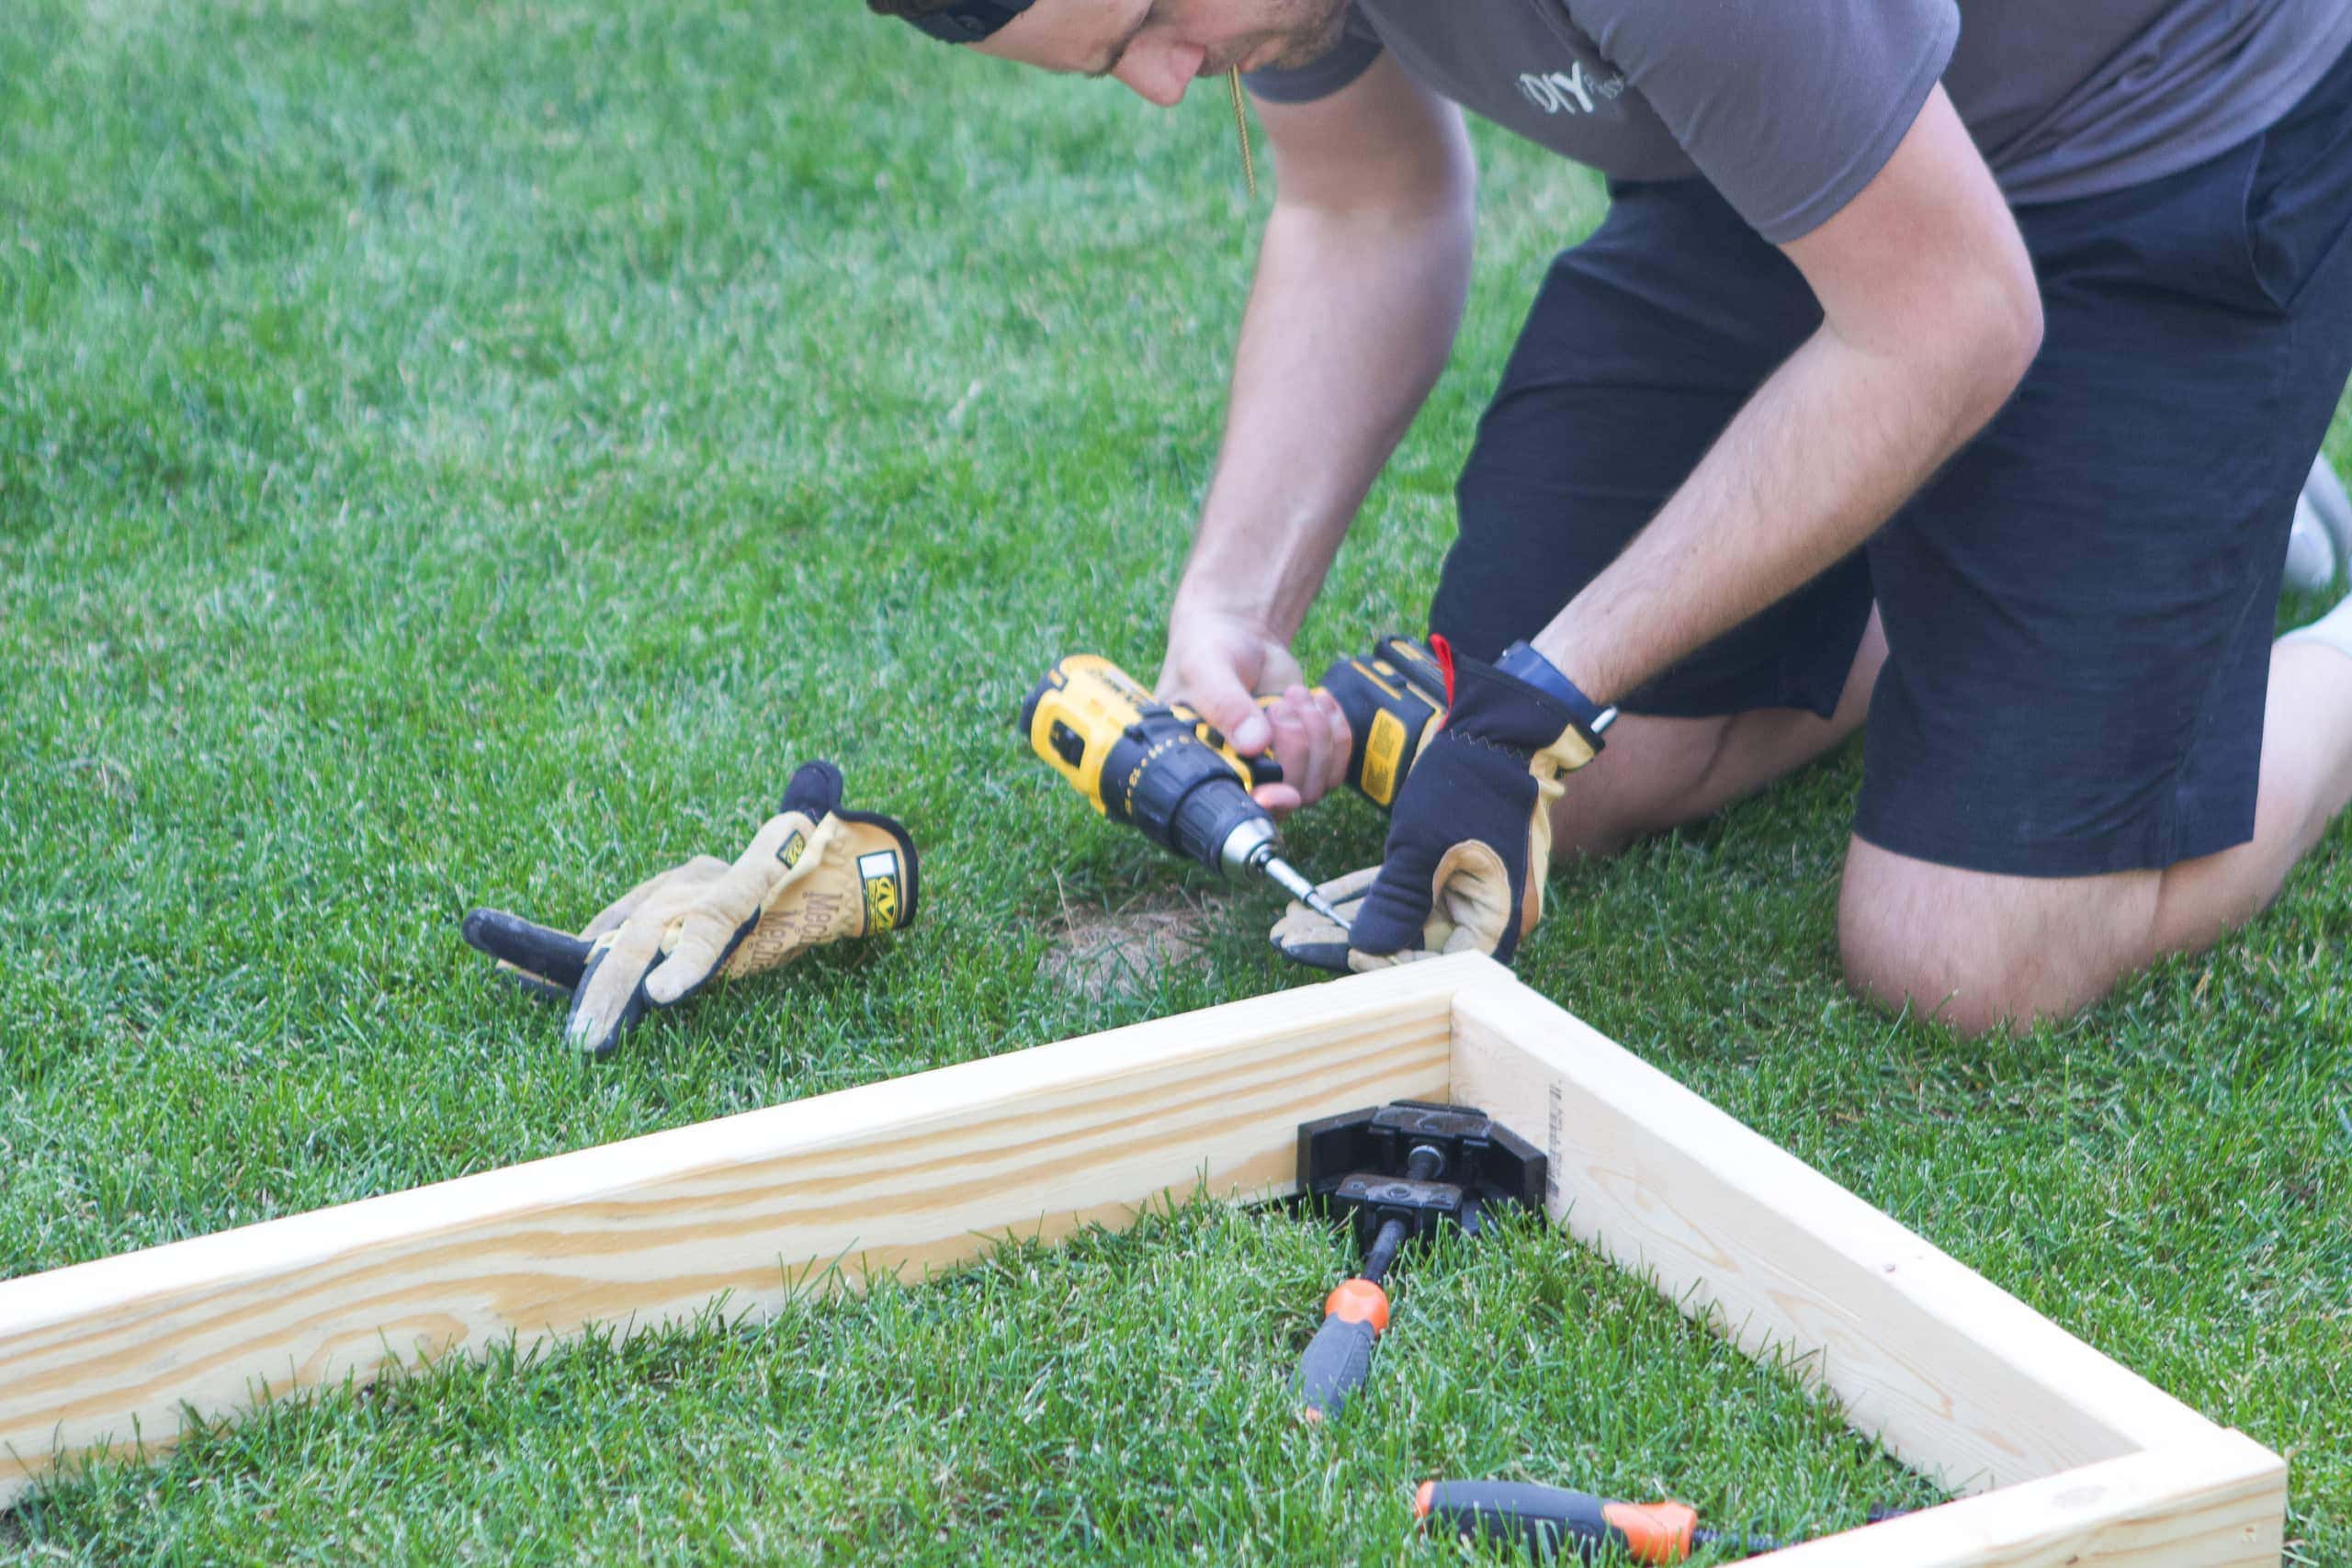 Use three inch screws to secure the boards together.
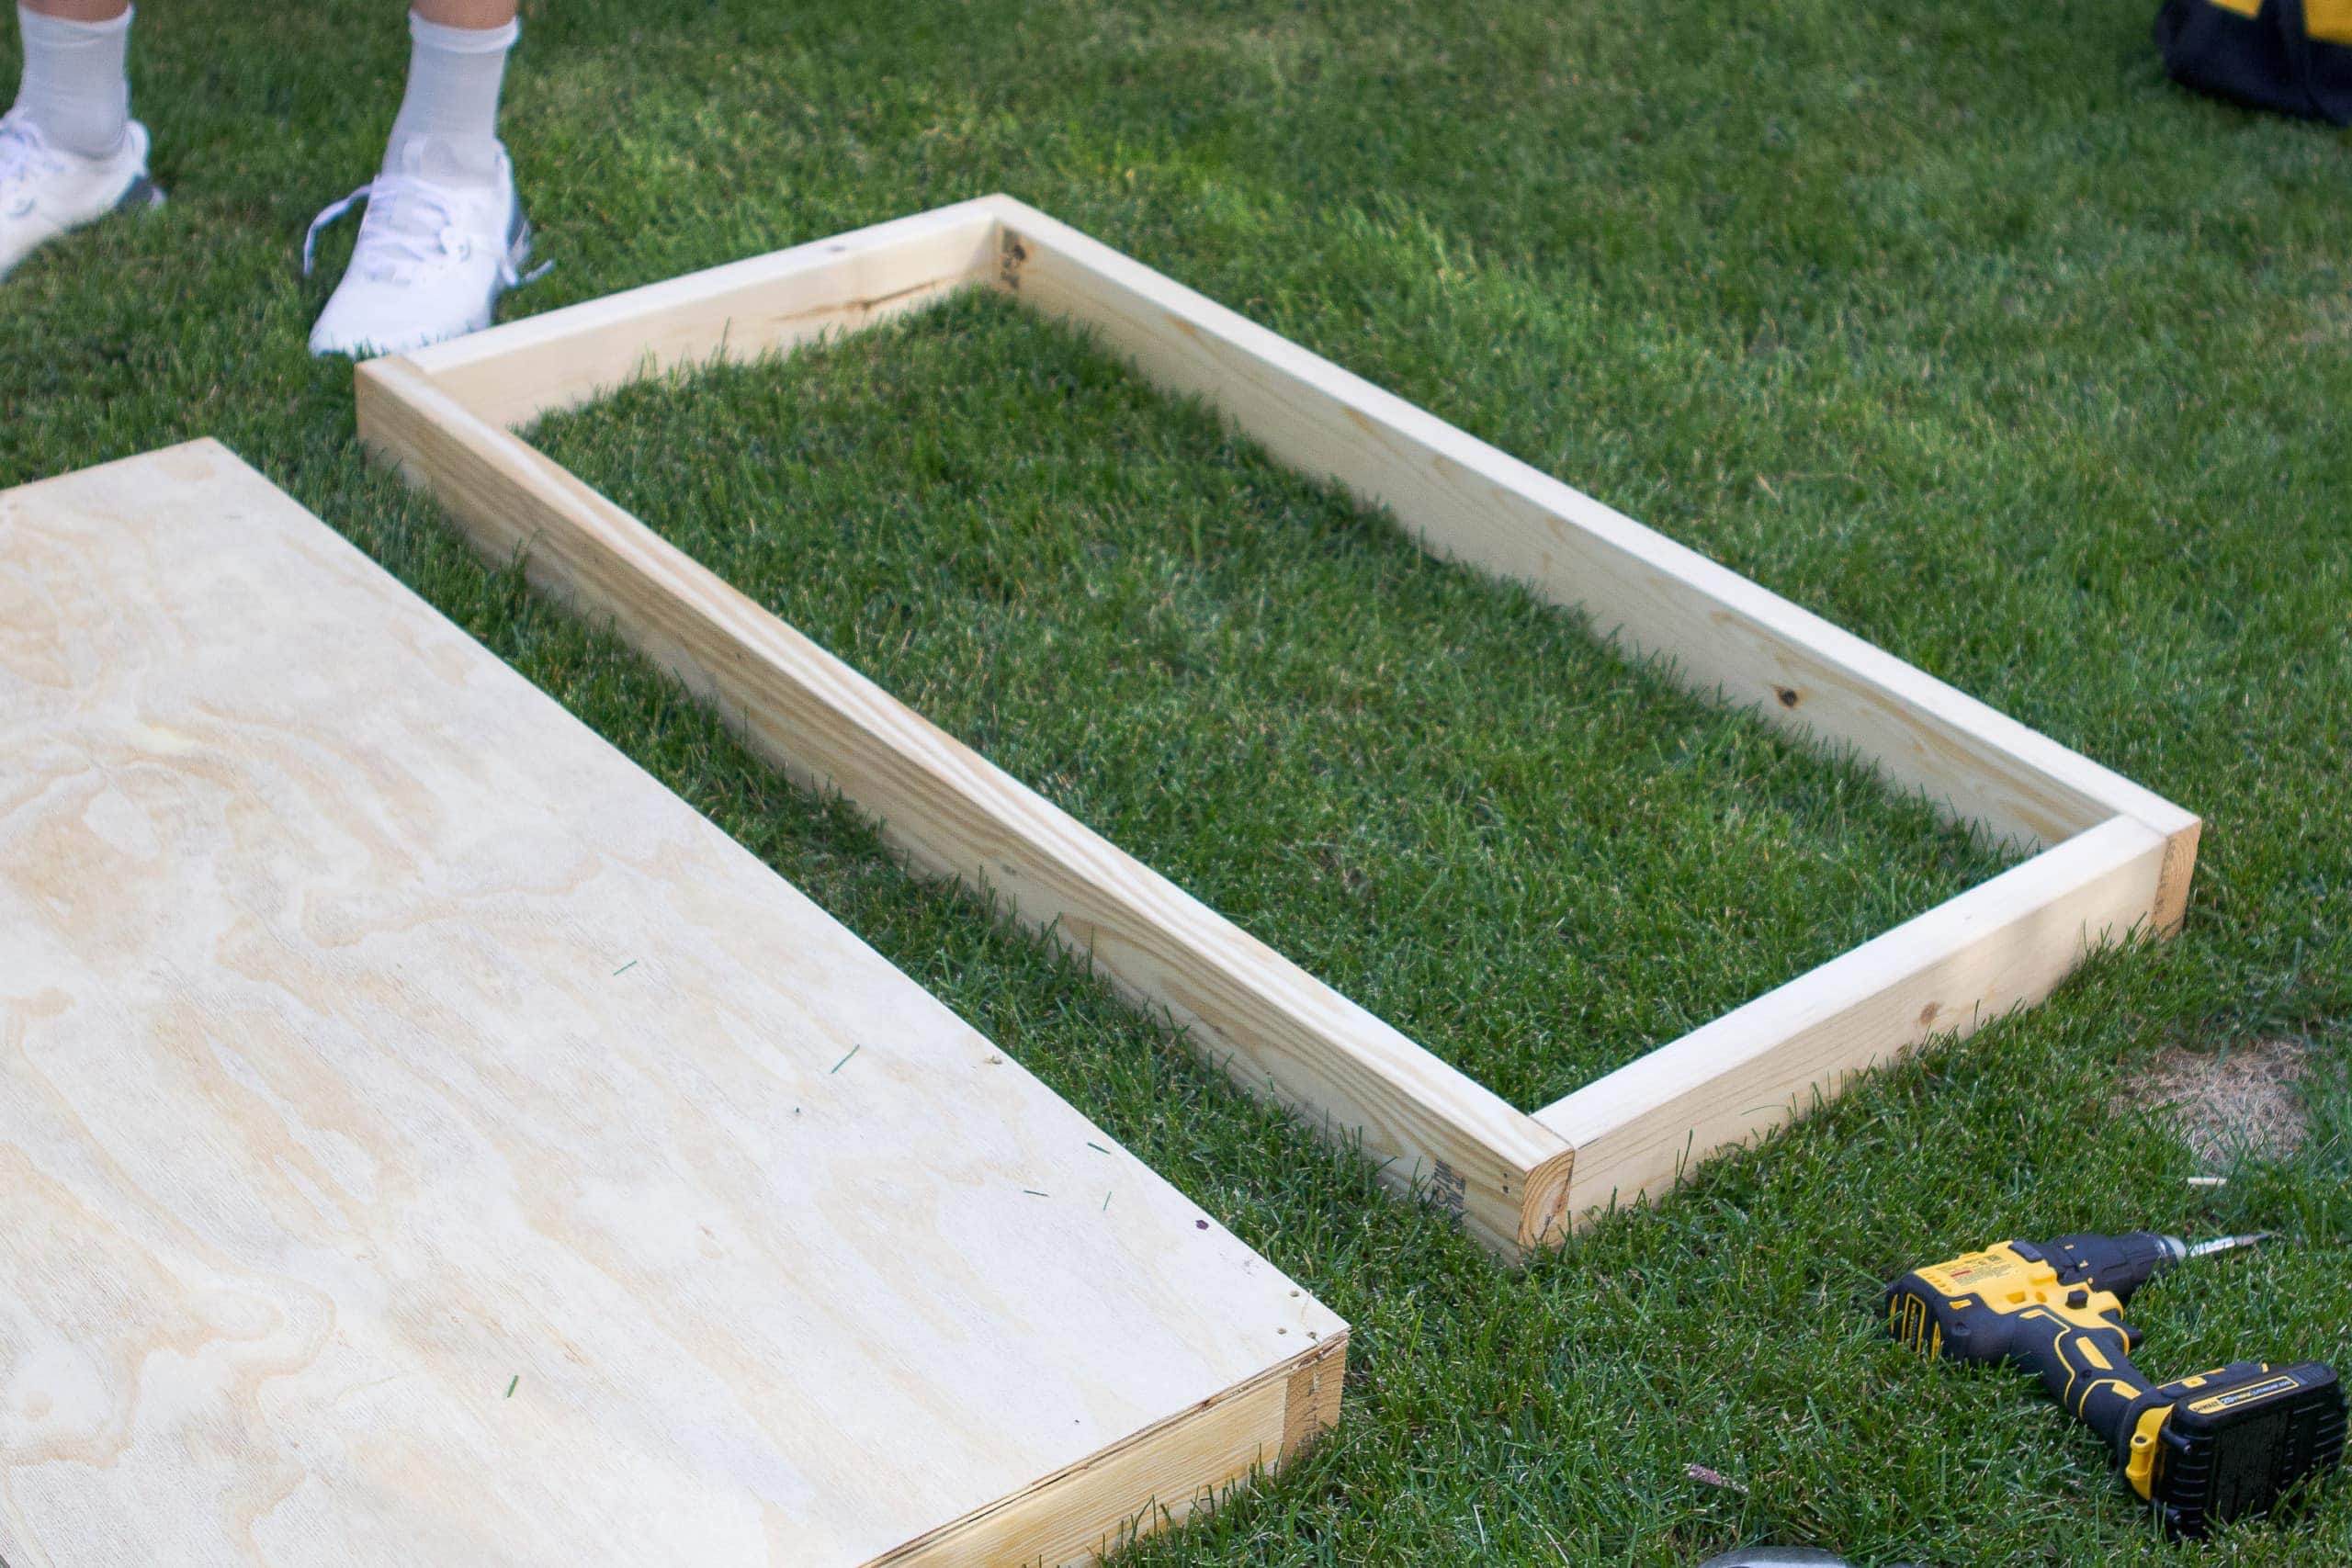
When you’re done you’ll have a big frame like the above picture!
Add Plywood Top
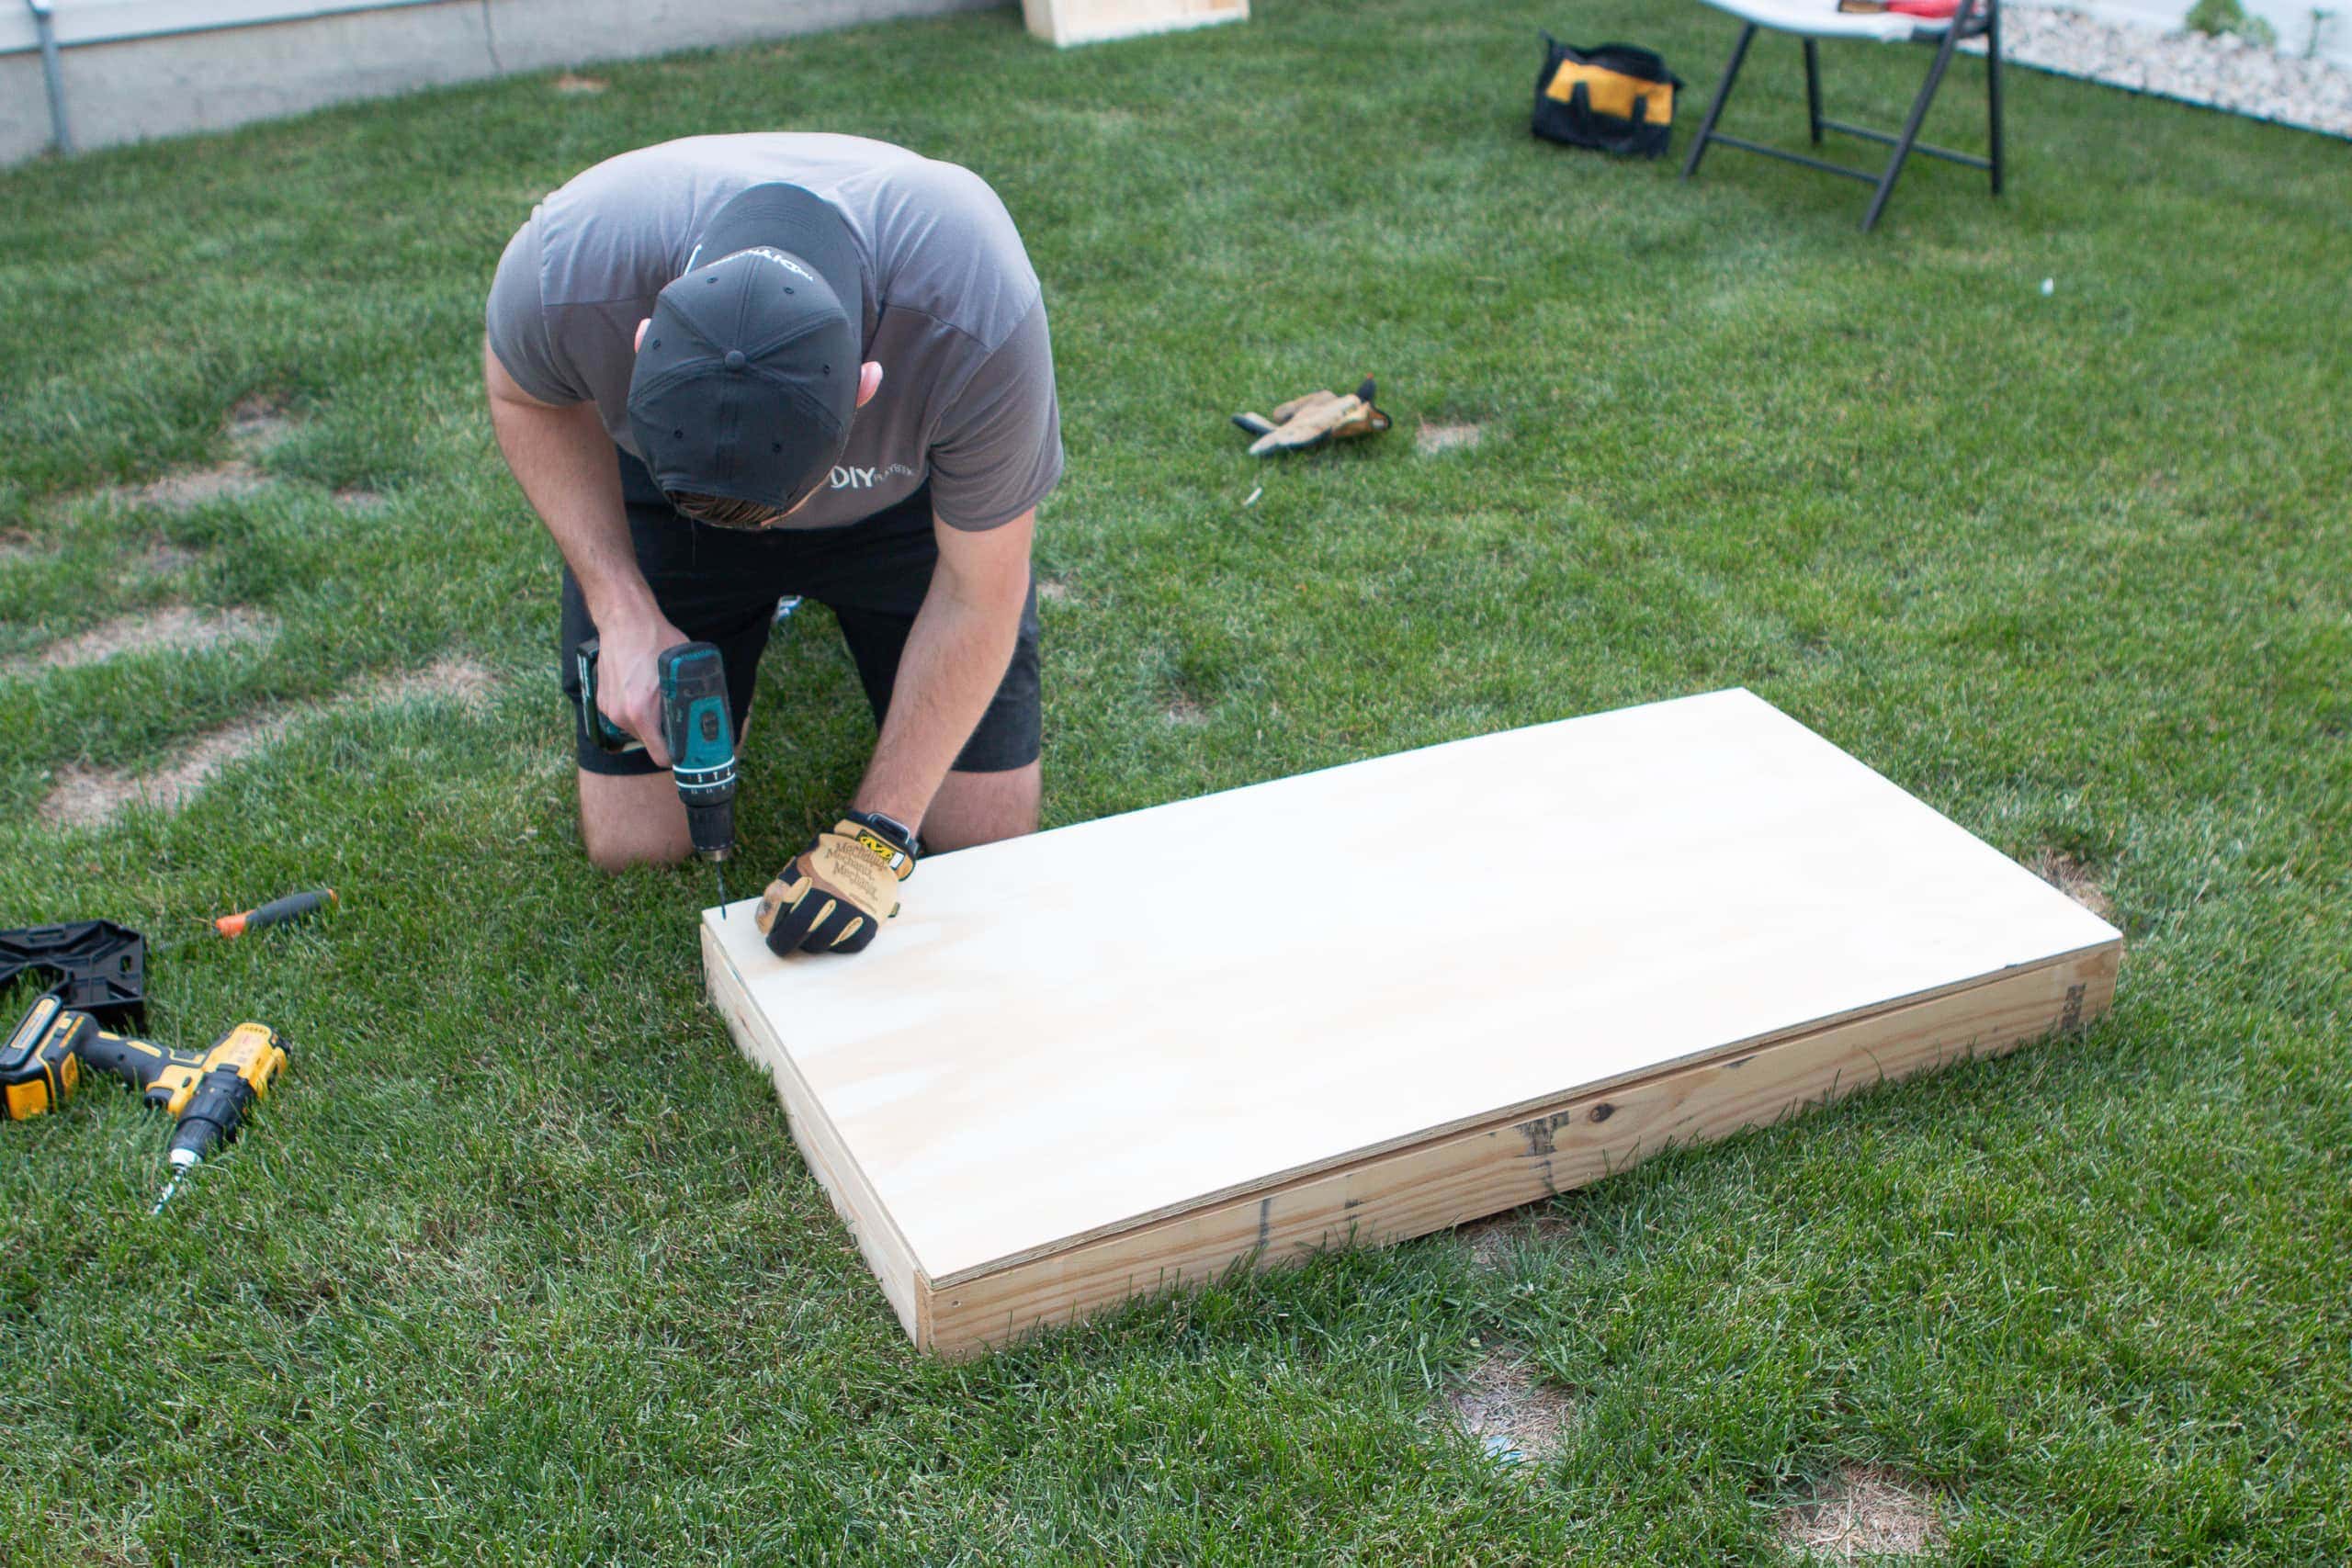
Now, place your piece of plywood on top of the frame. You can use smaller one inch trim head screws to add this piece on to the base. Finn placed his screws in all of the corners and along the edges, so it was nice and flat on the wood.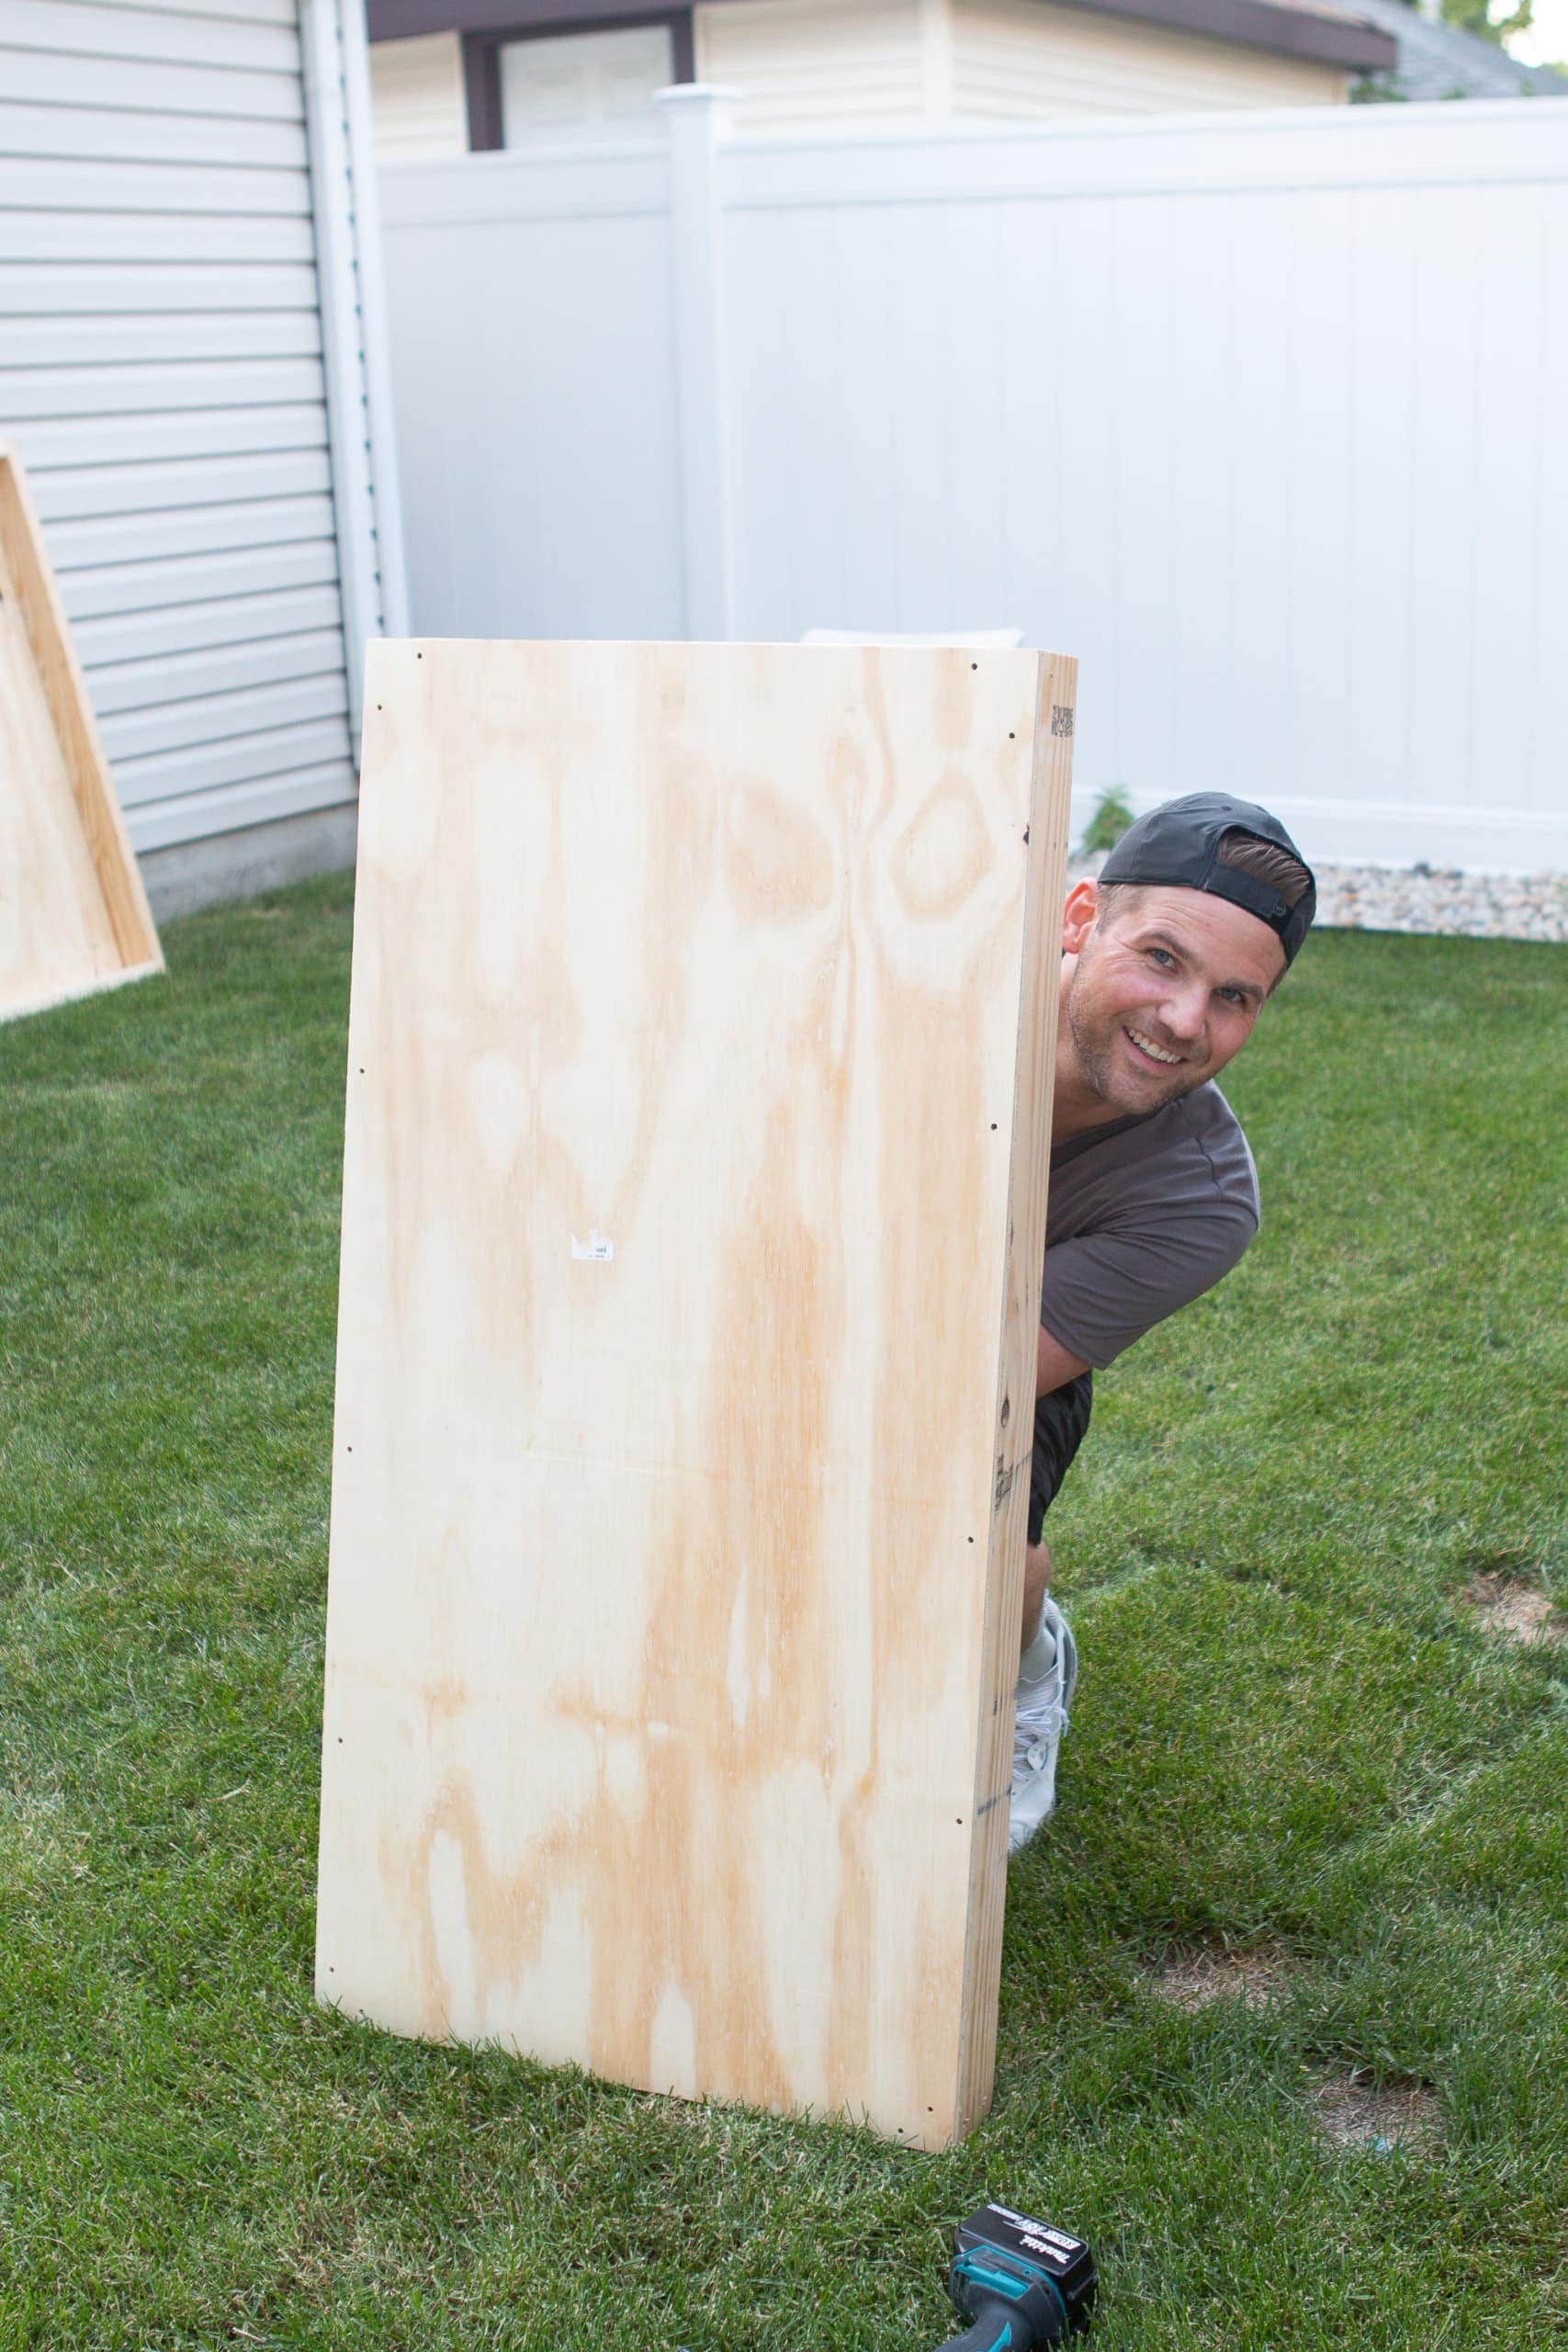
You can repeat all of those same steps on your second box.
Round Out the Legs
With the platform box built, the next step is to focus on the legs. This is the hardest part of the project, but don’t worry…it’s not that bad! You’ll be creating legs on the back of the box that can swing out to stand up and swing back in to store it easily. Because of this swinging mechanism, the top portion of the legs will need to be rounded off. 
Take your four pieces of 11.5-inch wood to make the legs. You’ll want to make a 3.5-inch radius cut on one end of each leg. To do this, measure 1.75 inches down the length of the 2×4 and draw a line across it. Then, place a compass point on that line, then draw the arc.
To round the edges, we used our jigsaw, and then Finn sanded it down to get those areas nice and smooth.
Attach the Legs
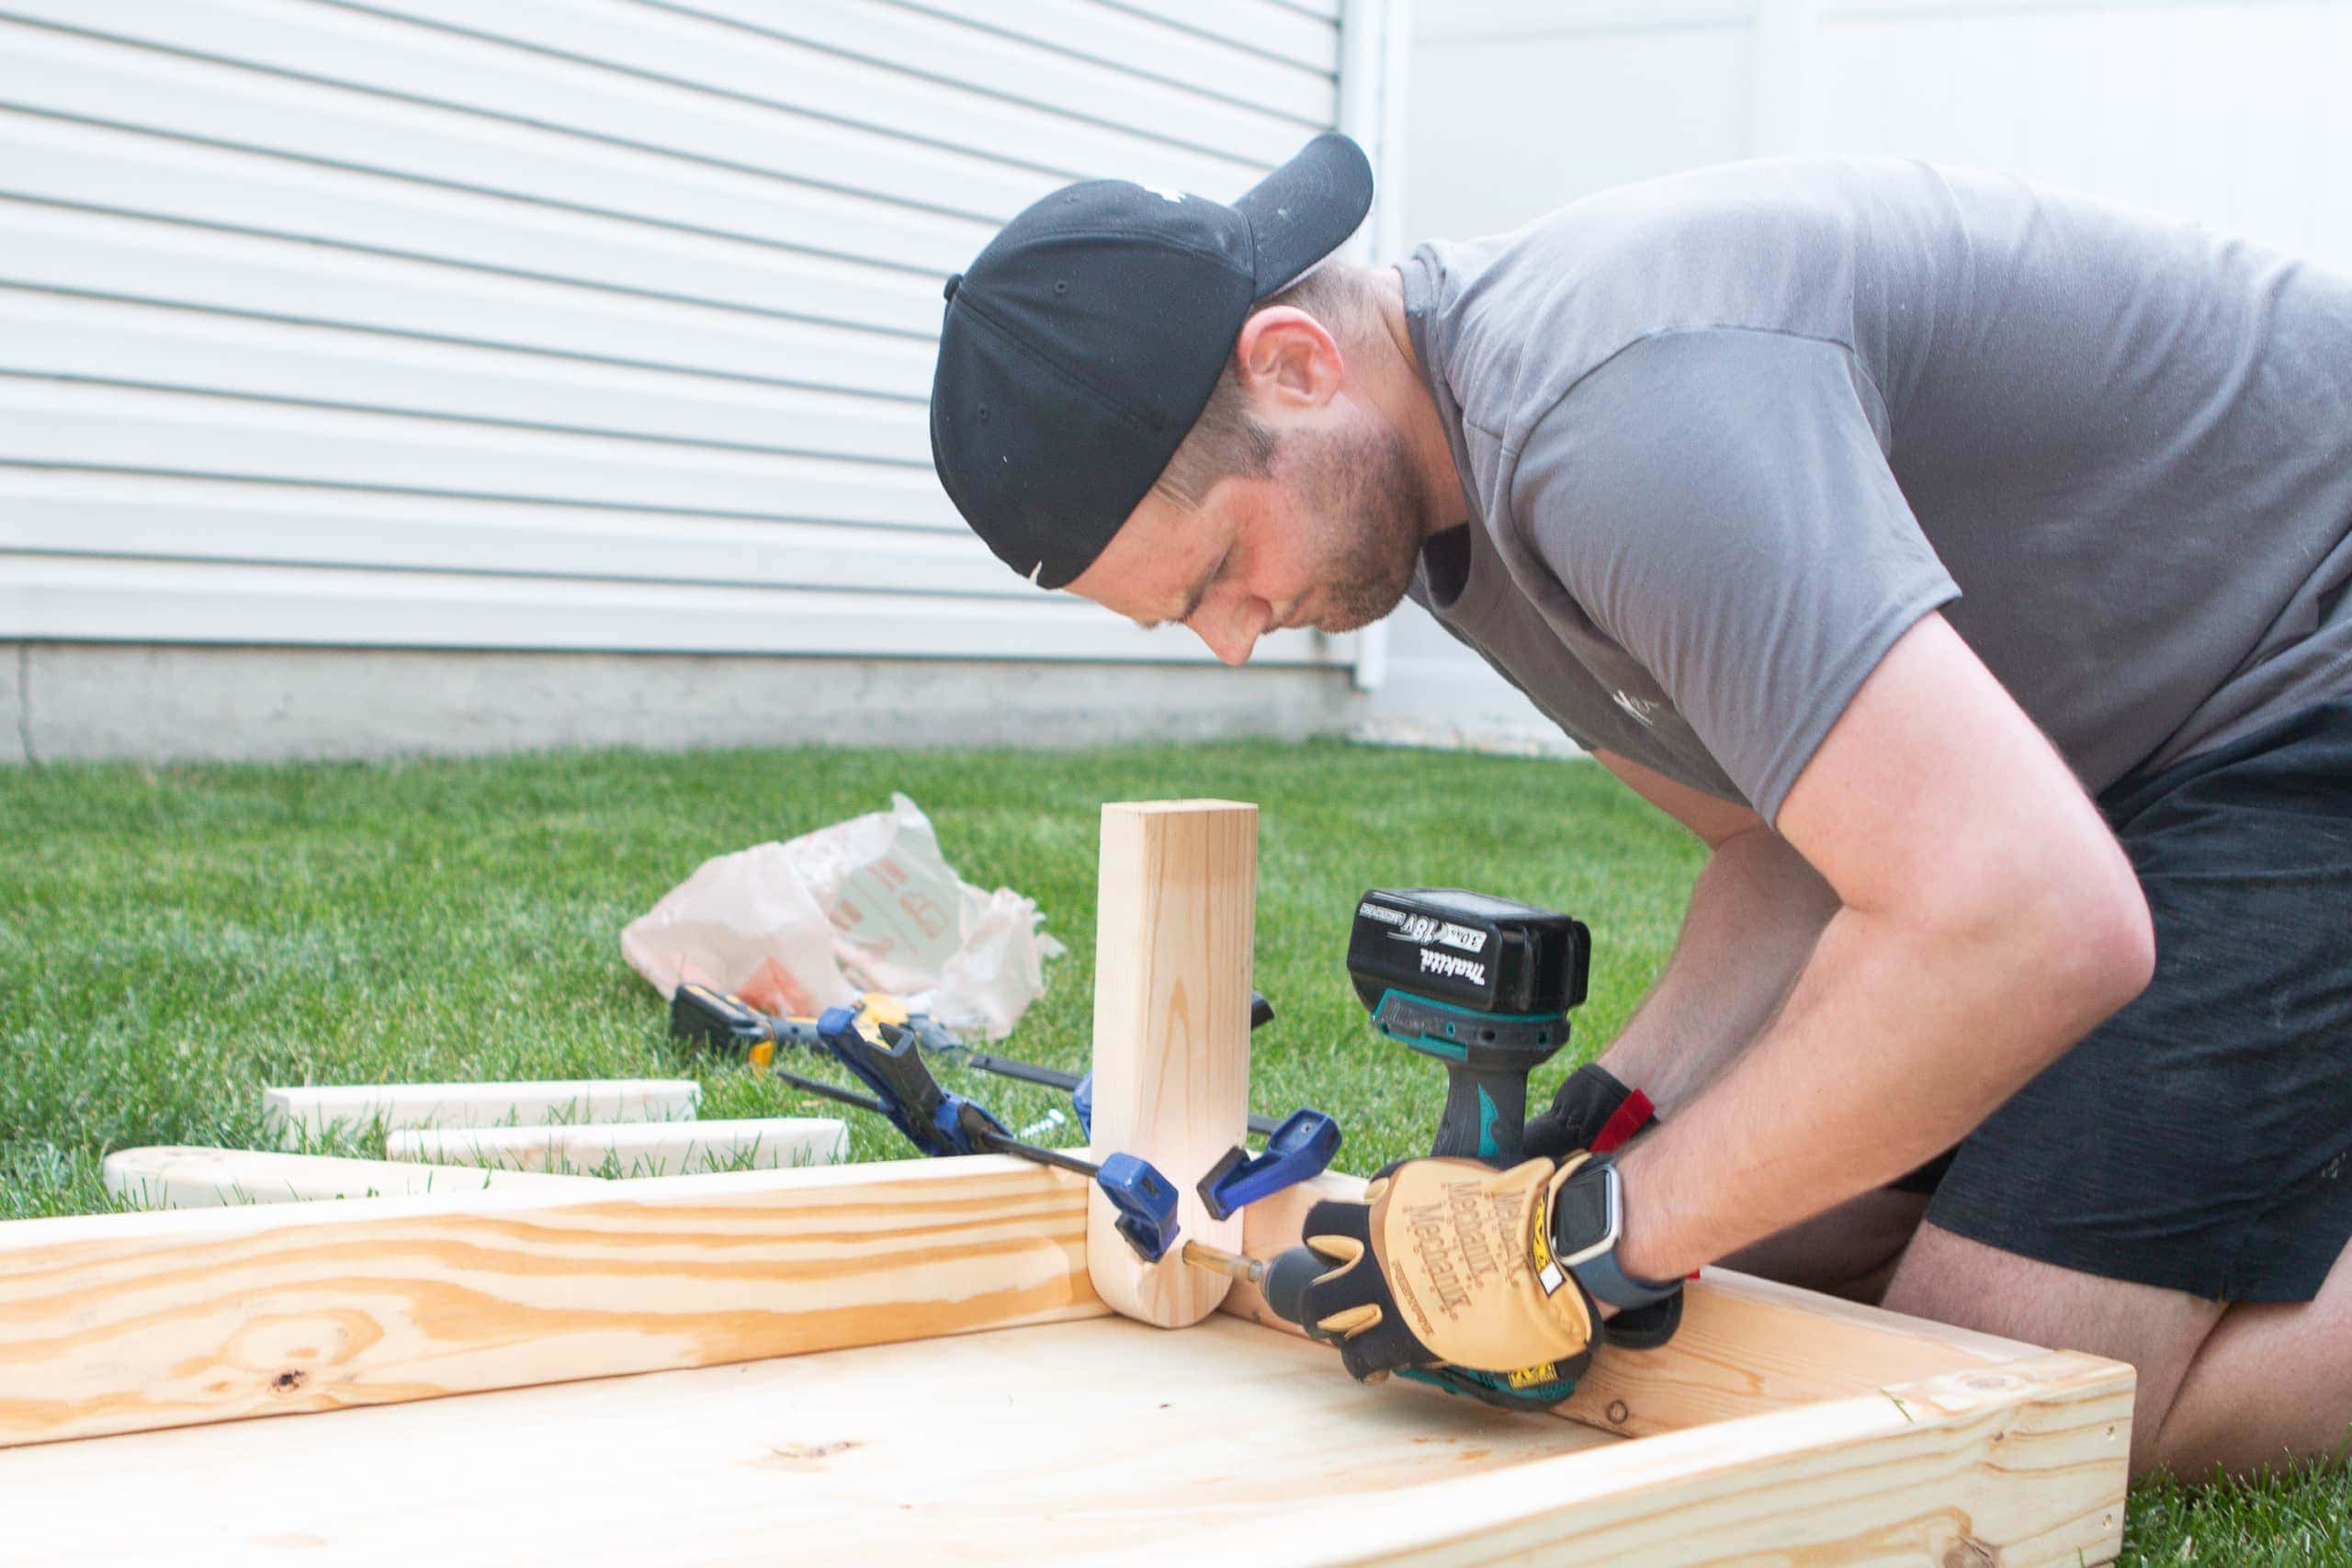
You’ll want to turn the box upside down to attach the legs on one side of the board. Put the leg flush against one of the top corners with the rounded side on the bottom and clamp it into place. Then, take your drill bit and drill a 1/2 inch hole through the side of the box and through the leg. 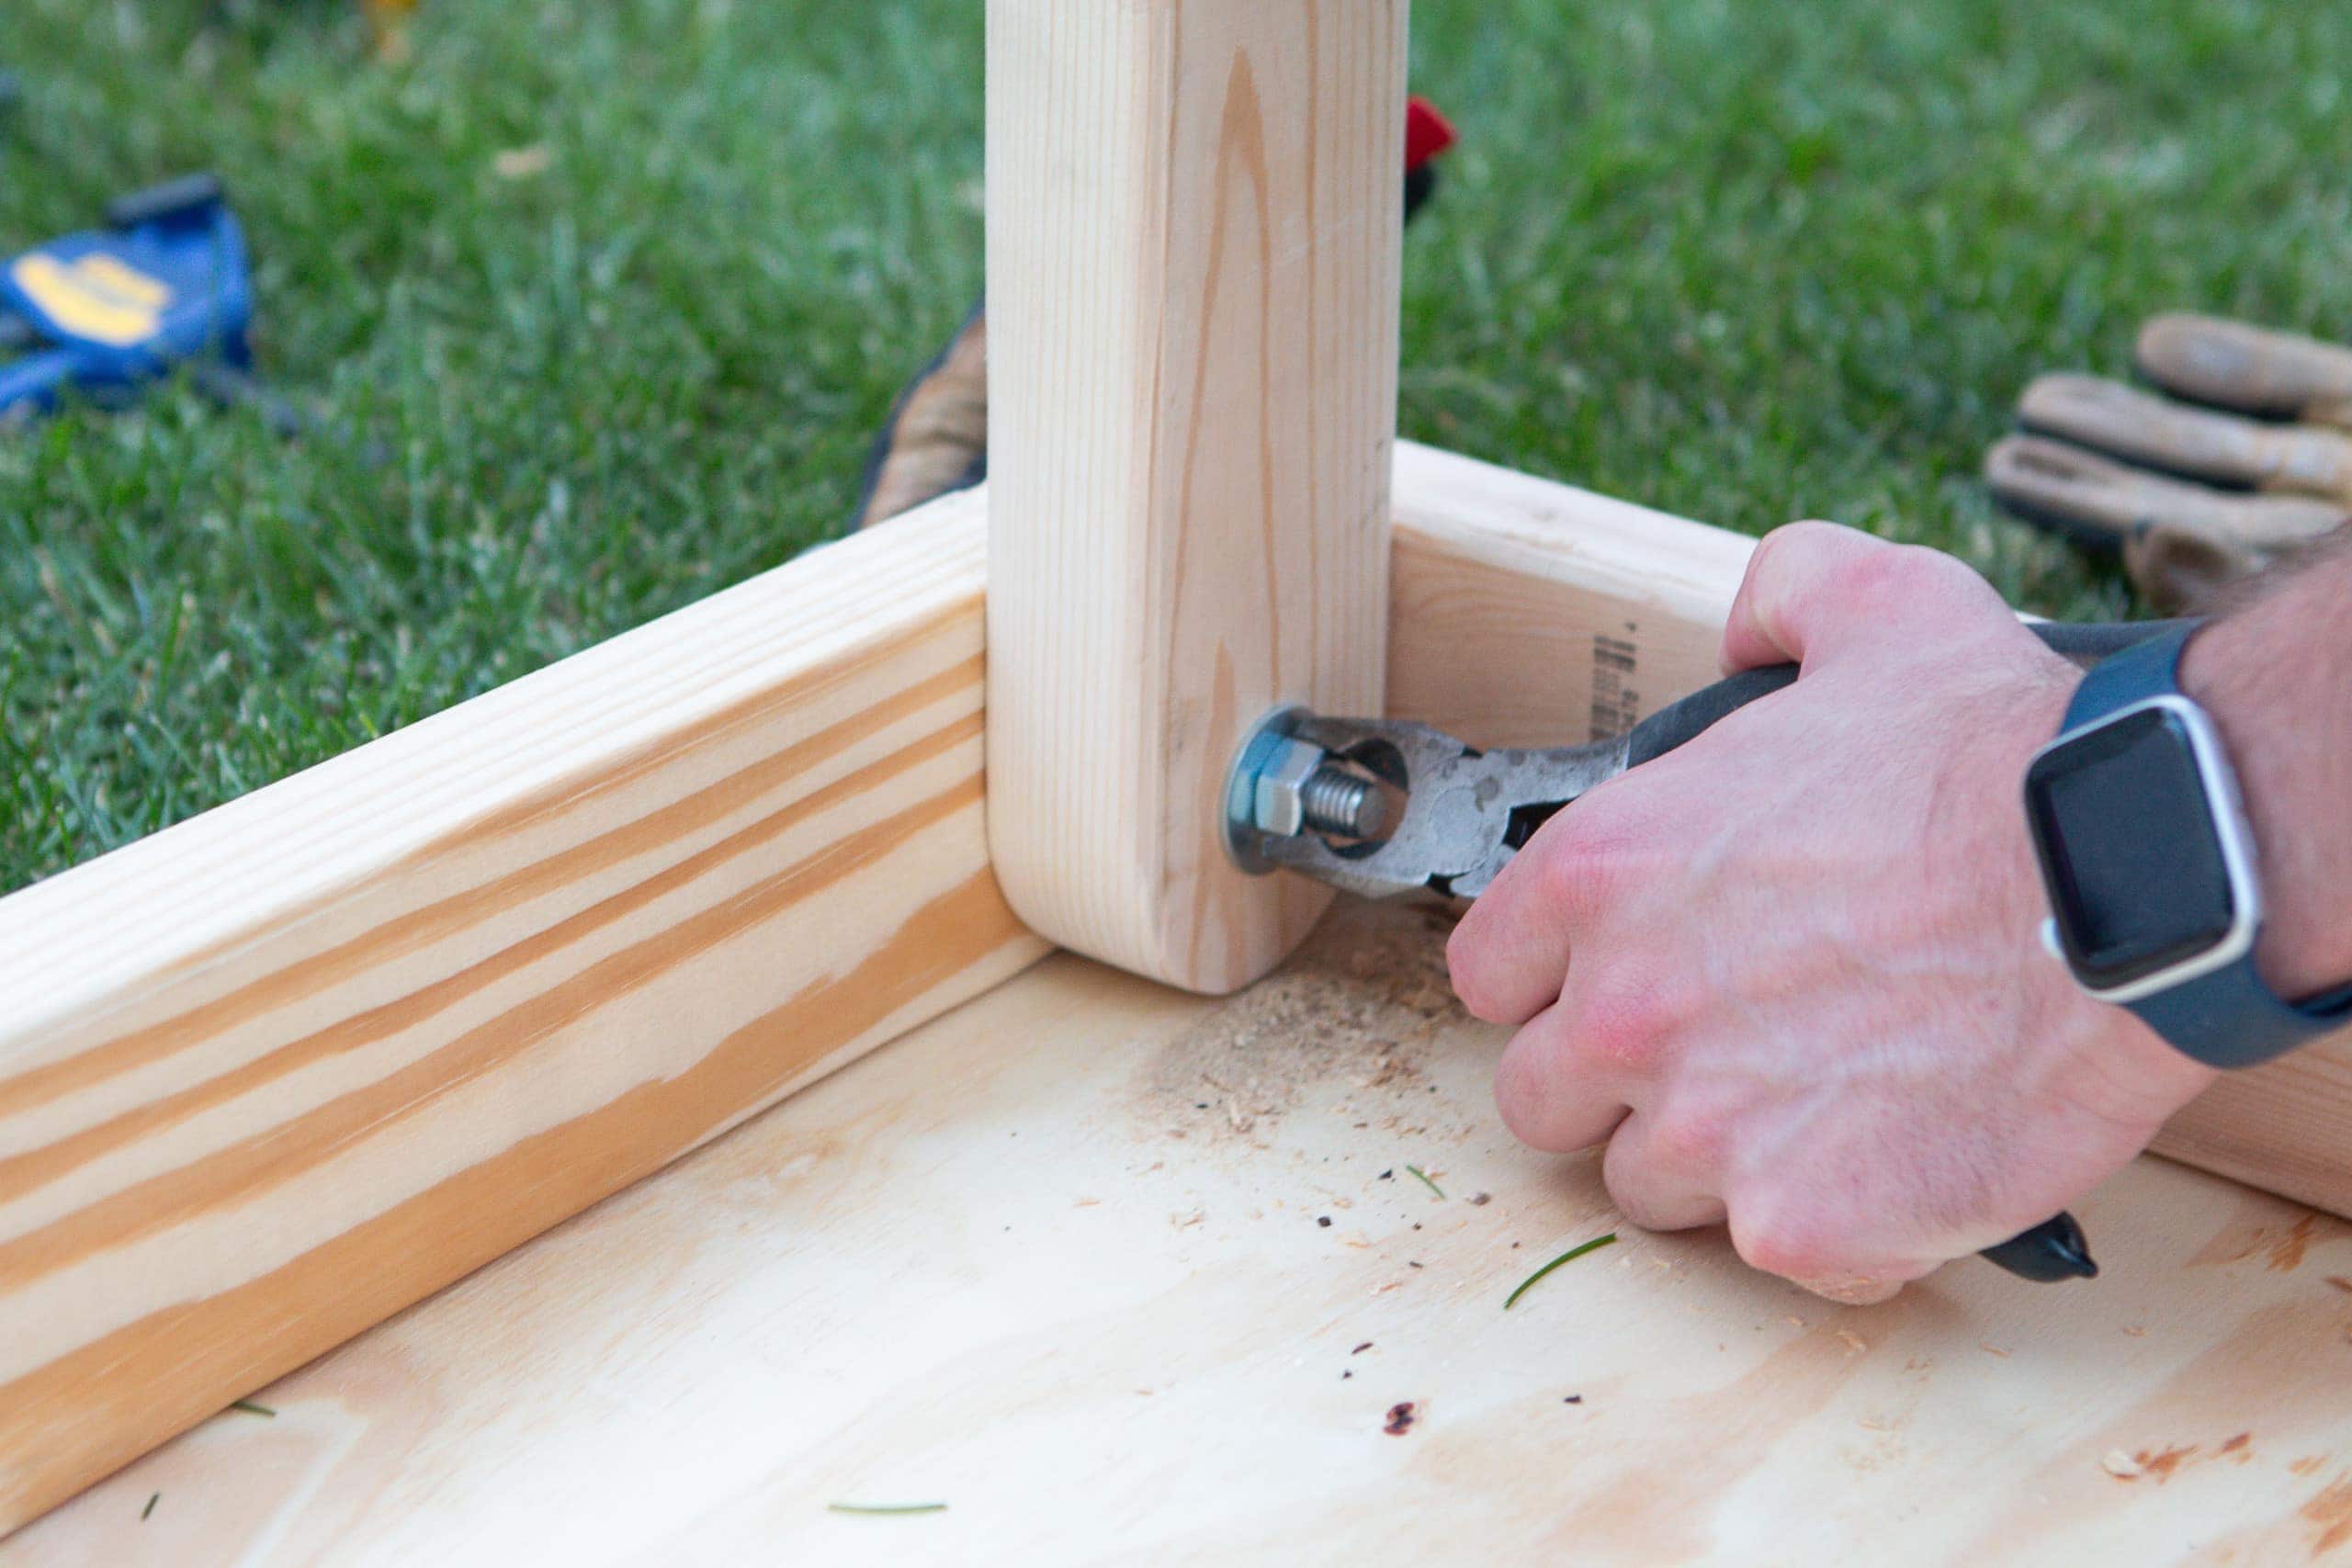
Once you have your hole, you can put the carriage bolt through both holes and attach with a washer and wing nut. 
You’ll want to check to make sure you can fold your legs down inside the box. You may have to adjust the rounded edge if it’s too difficult to fold up and down. Finn did have to sand it a few times to get it nice and smooth for it to function properly. Repeat on the other side and on the other box!
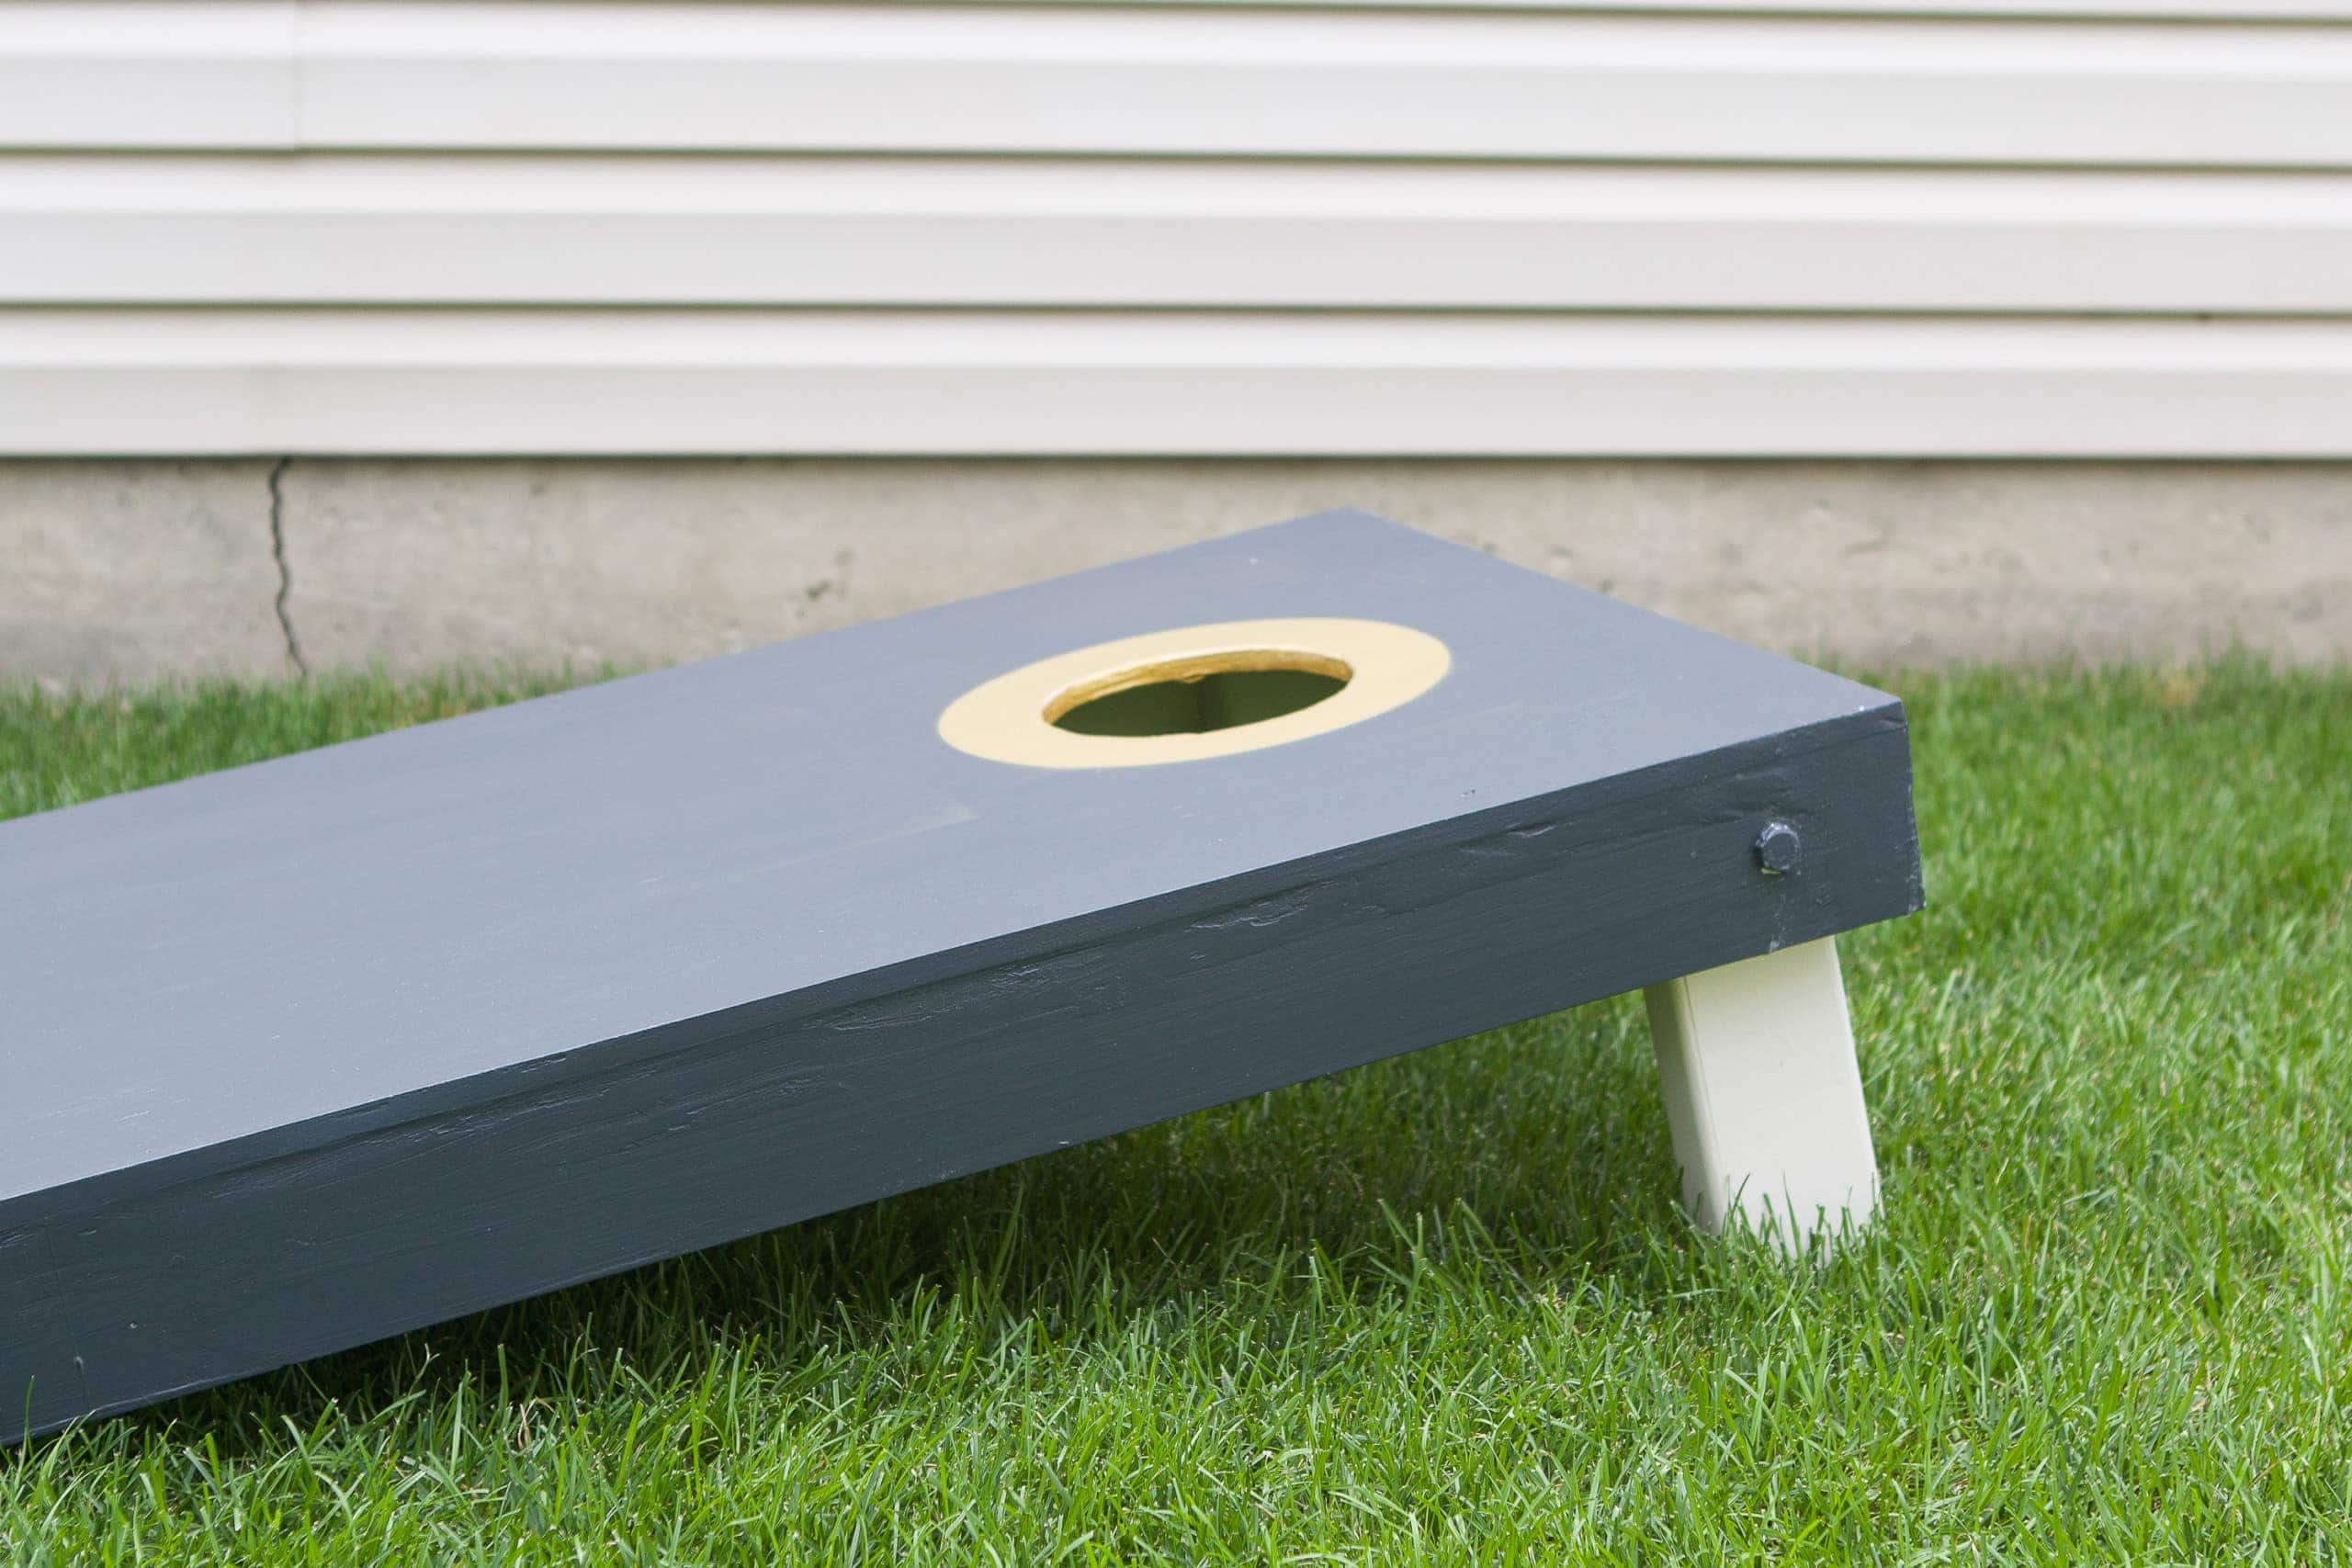
Create a Hole
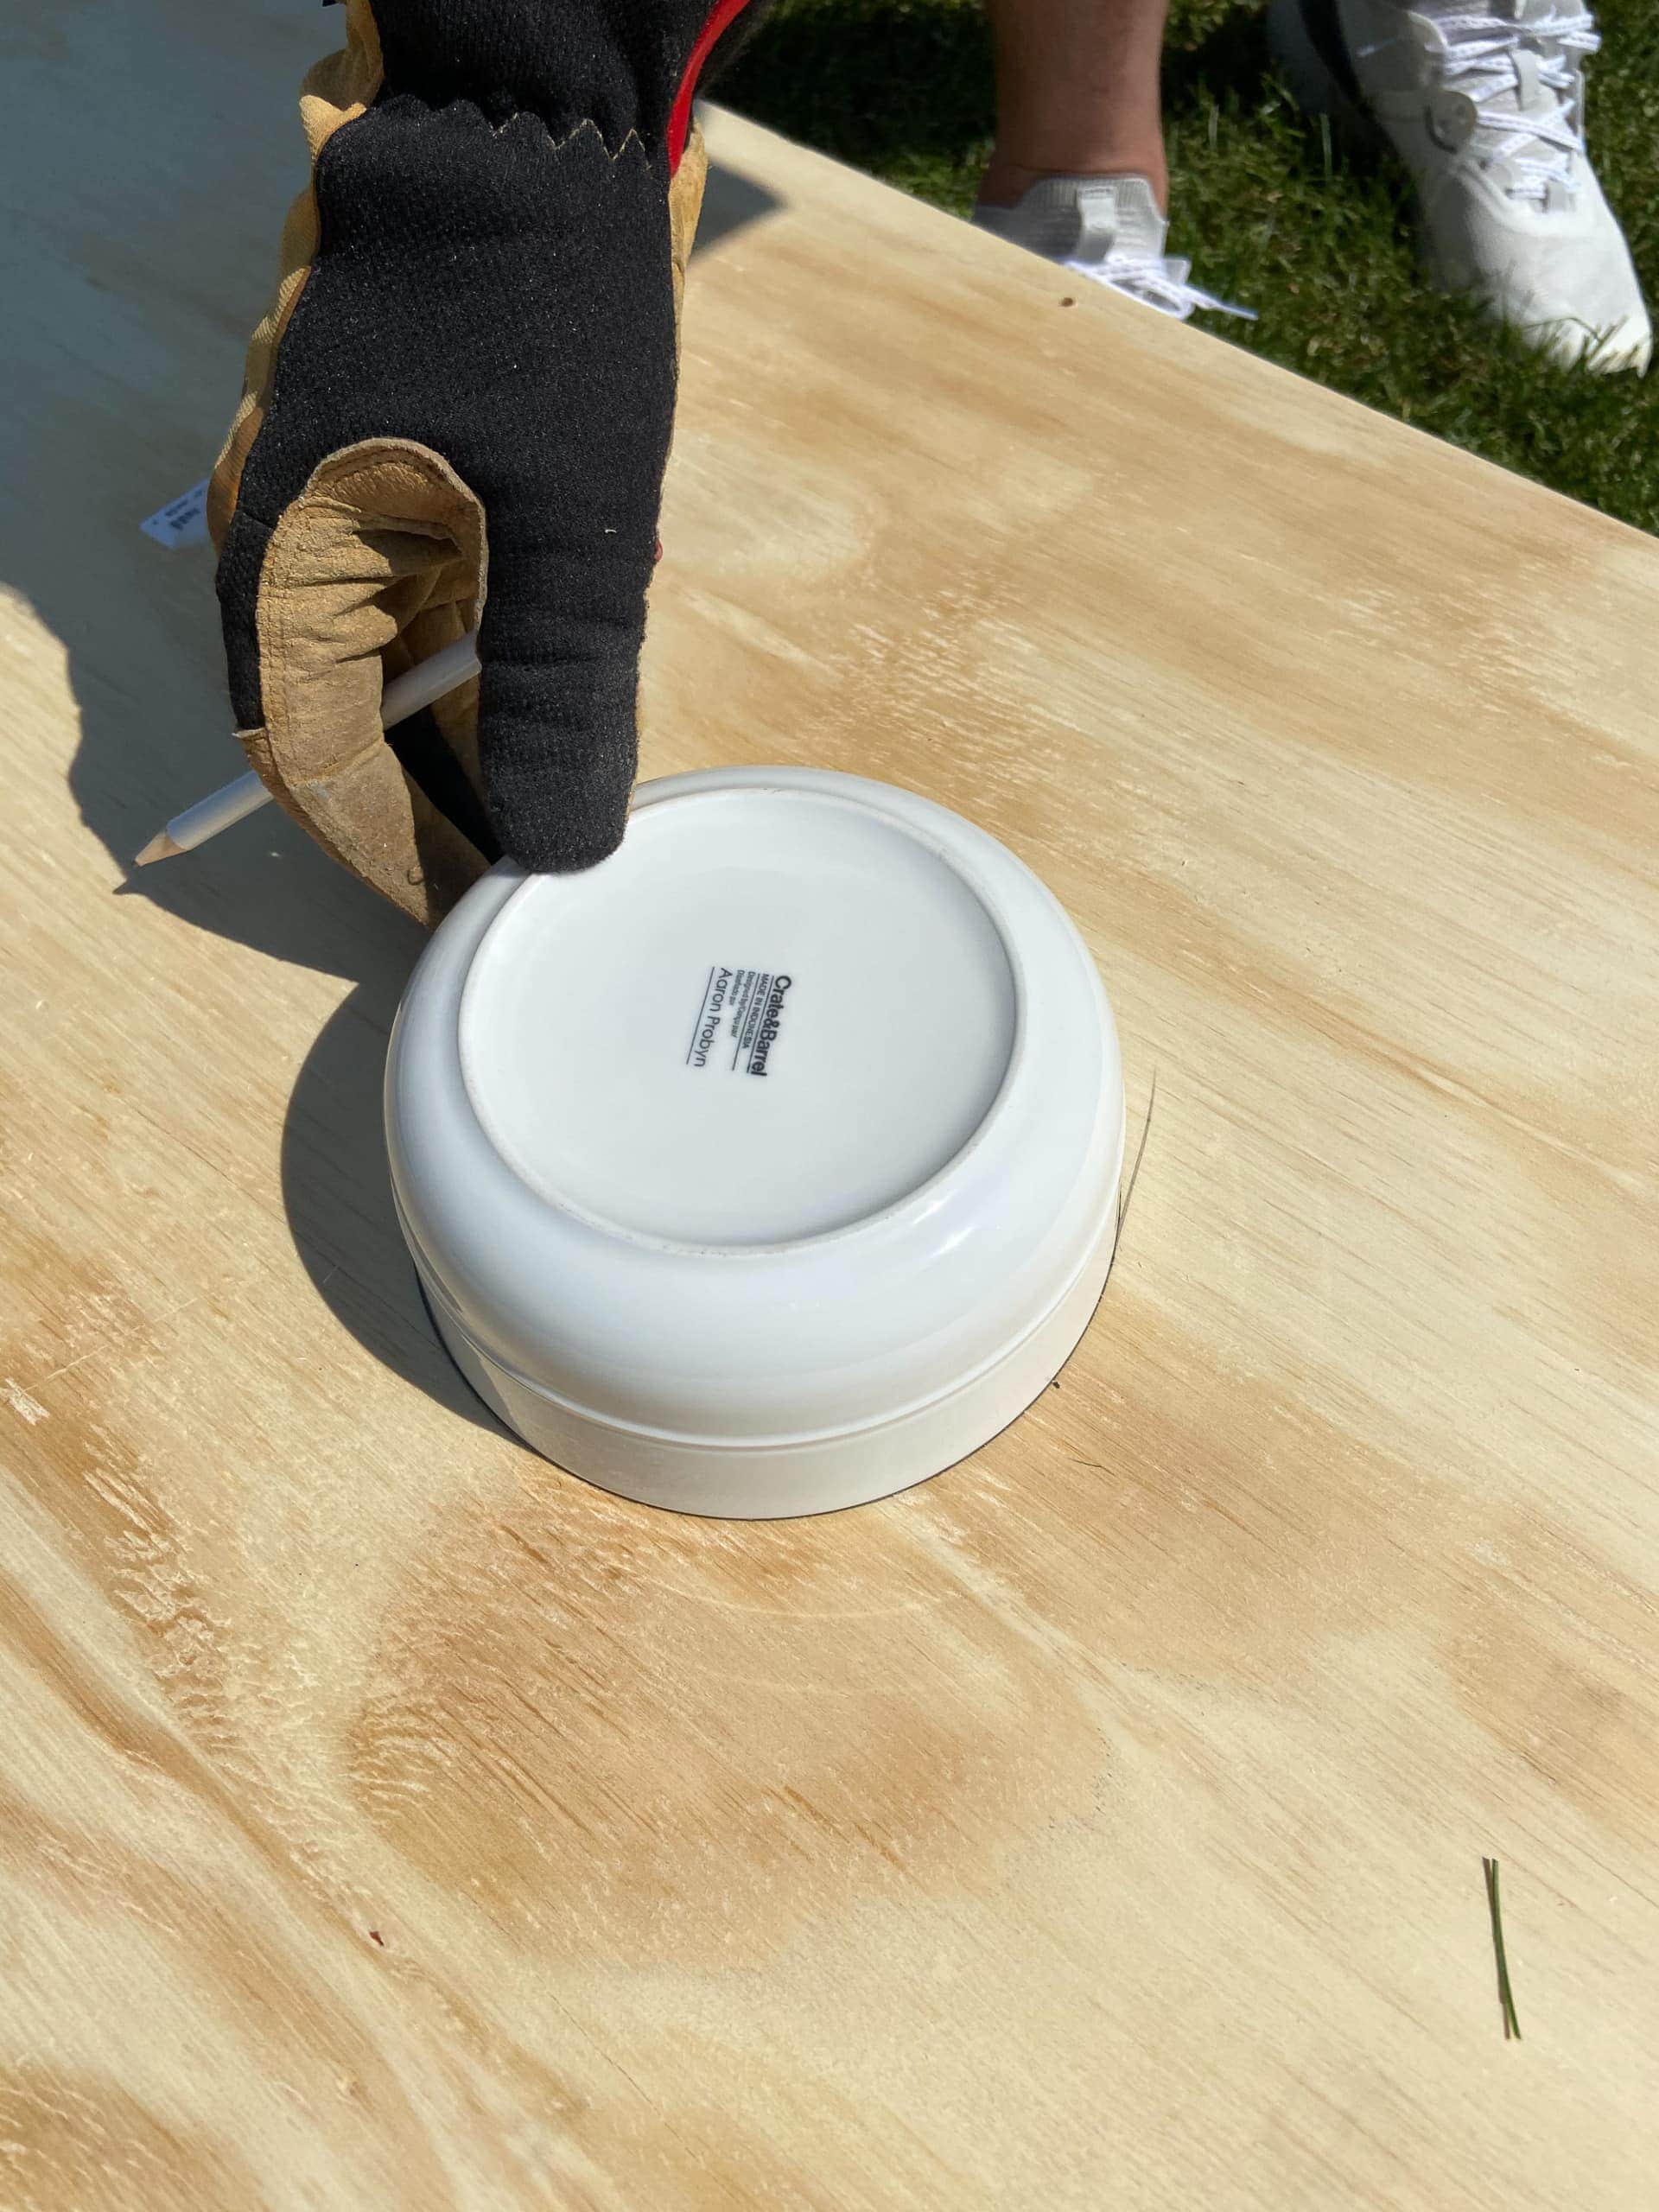
Now, it’s time for the most important part of the game, the actual hole for Cornhole! To find the center point for the hole, make a mark 9 inches down from the top and 12 inches in from each side. The hole will be 6 inches in diameter and you can use your compass for this (or find a bowl that is exactly 6 inches like we did and trace that!). 
Finn then used our jigsaw to cut this circle out of the wood.
Use Wood Filler & Sand It All Down

Yay! The boards are built. Finn covered the screw heads with wood filler, let it dry, and then sanded down the entire box with our palm sander. Sanding is always a good idea for a smooth finish and it’s especially important with this project so your boards are slick for the game.
Paint & Protect
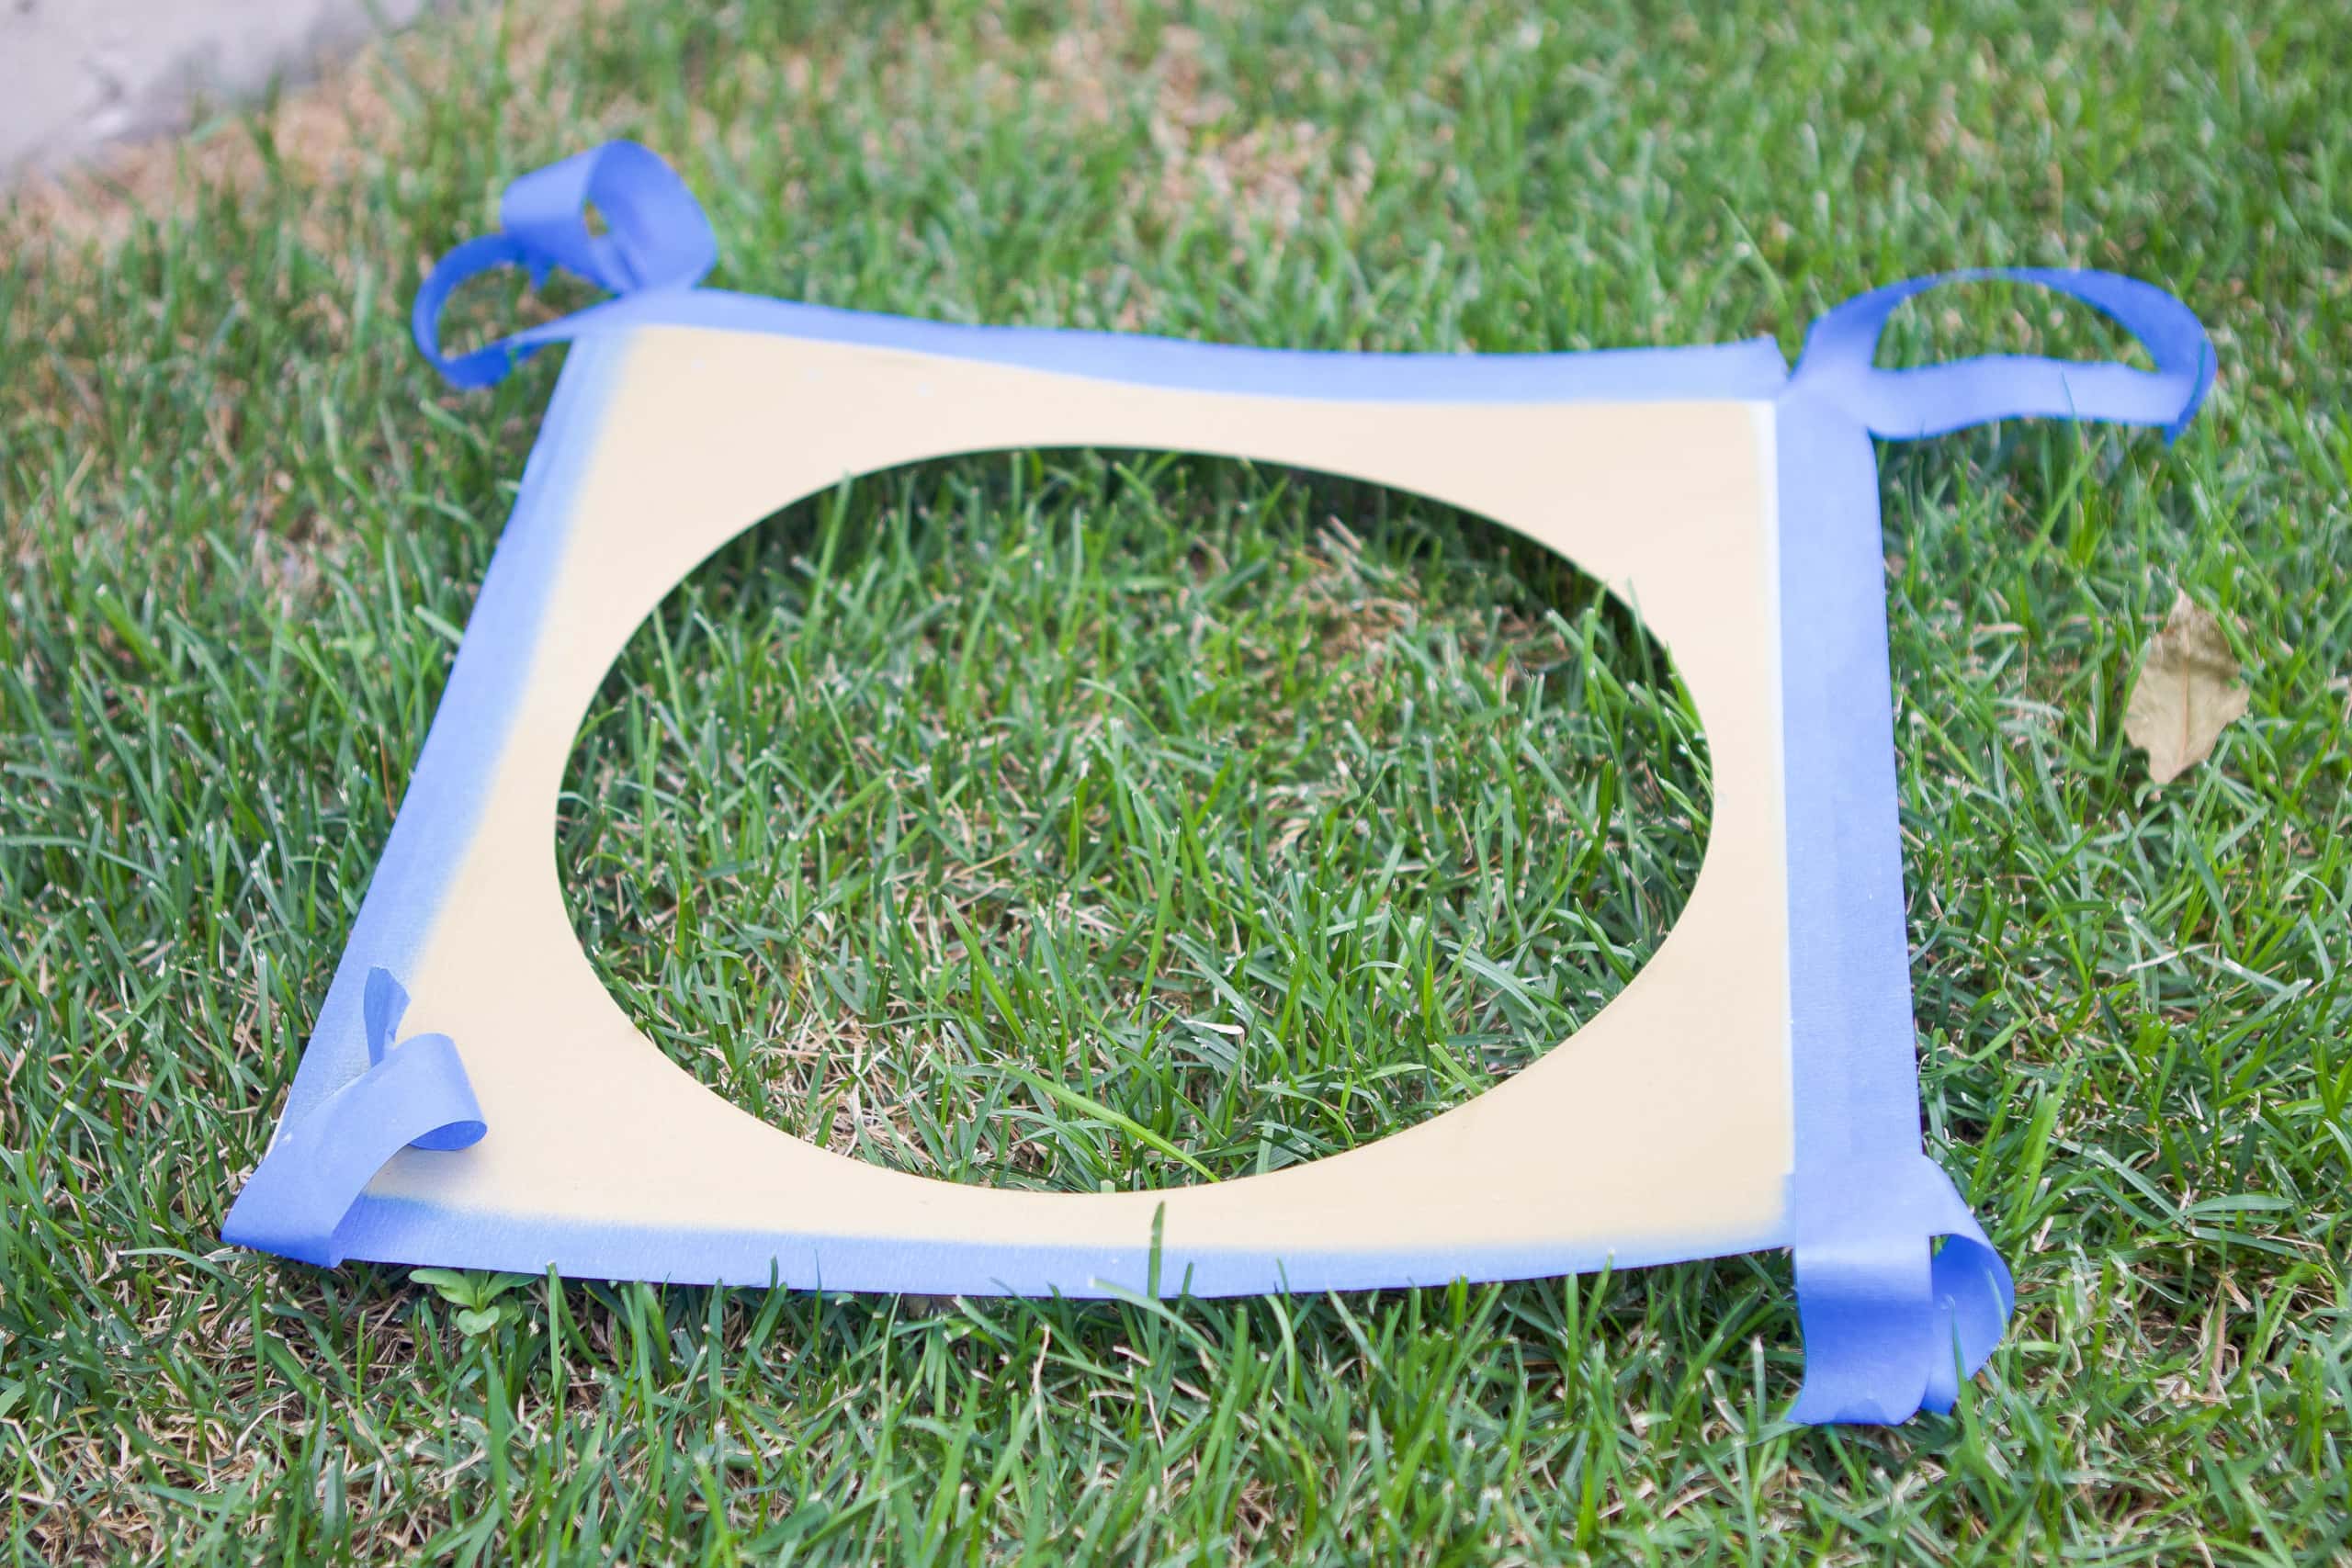
Next up was a light coat of primer before painting. 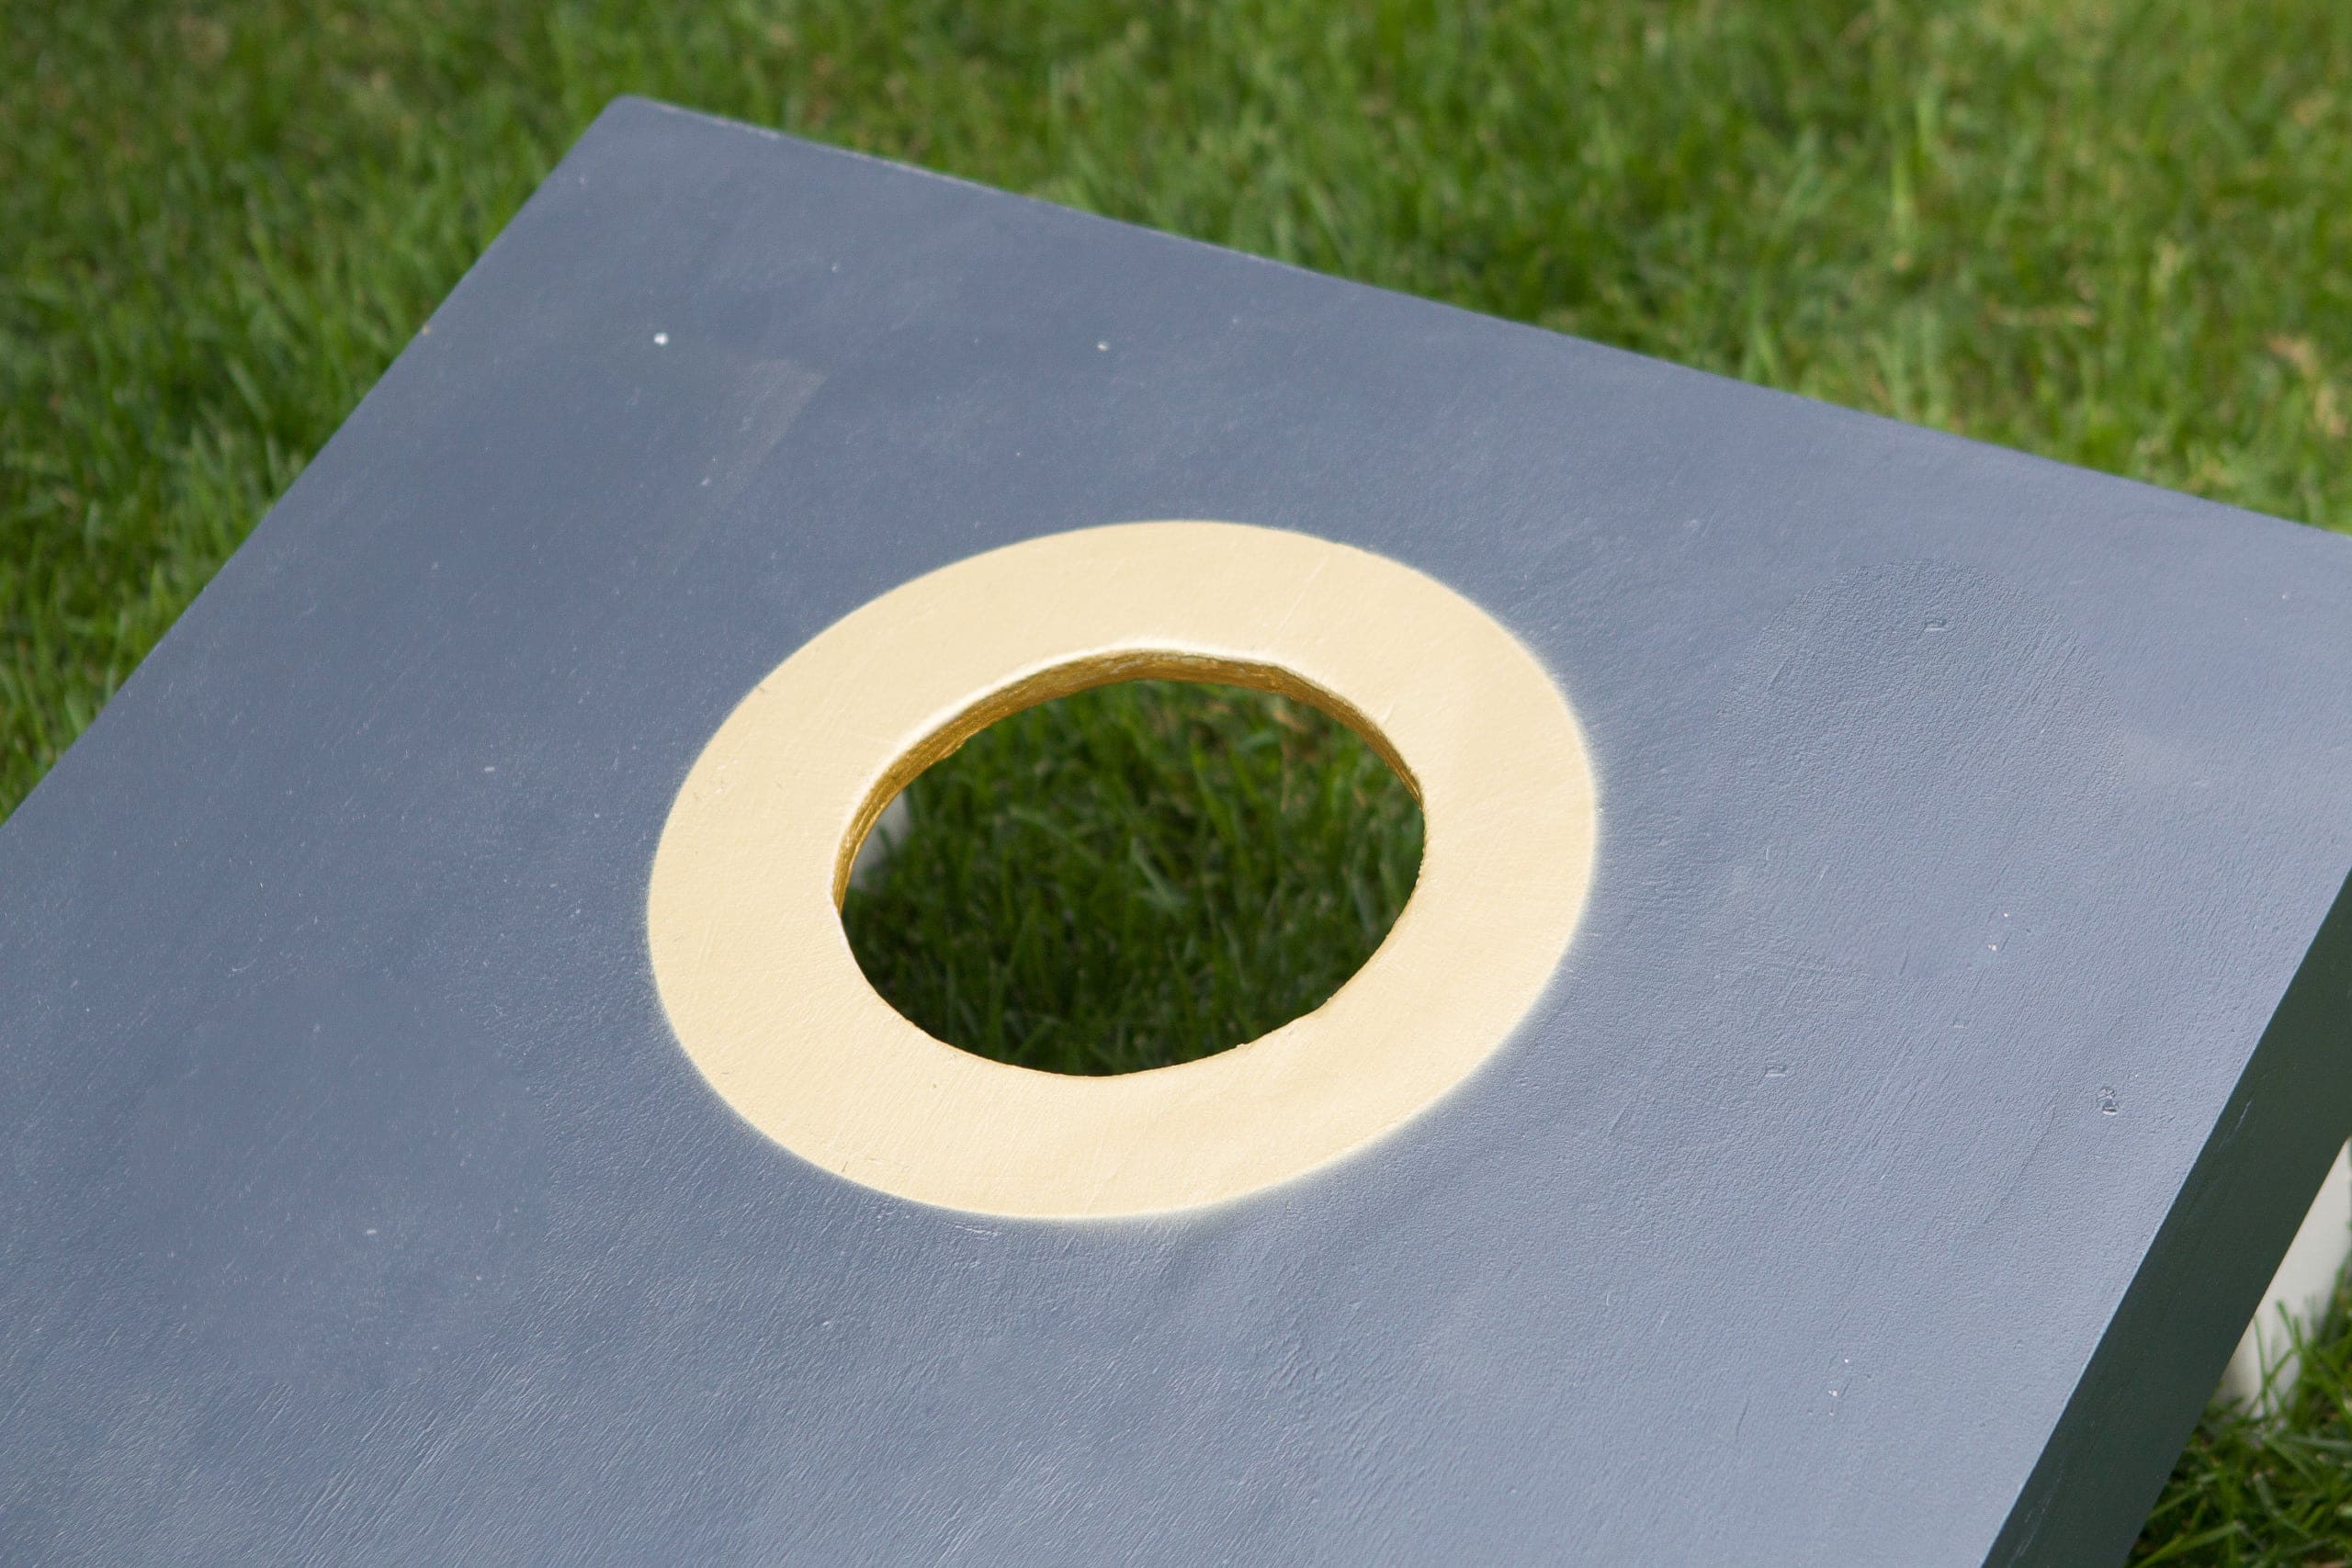 Finn really wanted to paint a decorative circle around the holes, so he ended up buying this 10-inch round stencil (inspired by my recent stenciled floor project) and gold spray paint to make the gold centers. He then used leftover paint from our built-ins (Valspar “Chimney Smoke) to paint the rest of the box navy!
The final step was a coat of Polycrylic protective finish. This will keep the wood boards looking good for years to come! Oh, and be sure to buy bean bags. We got these from Amazon and they have lots of color combos to choose from.
Our New DIY Cornhole Boards
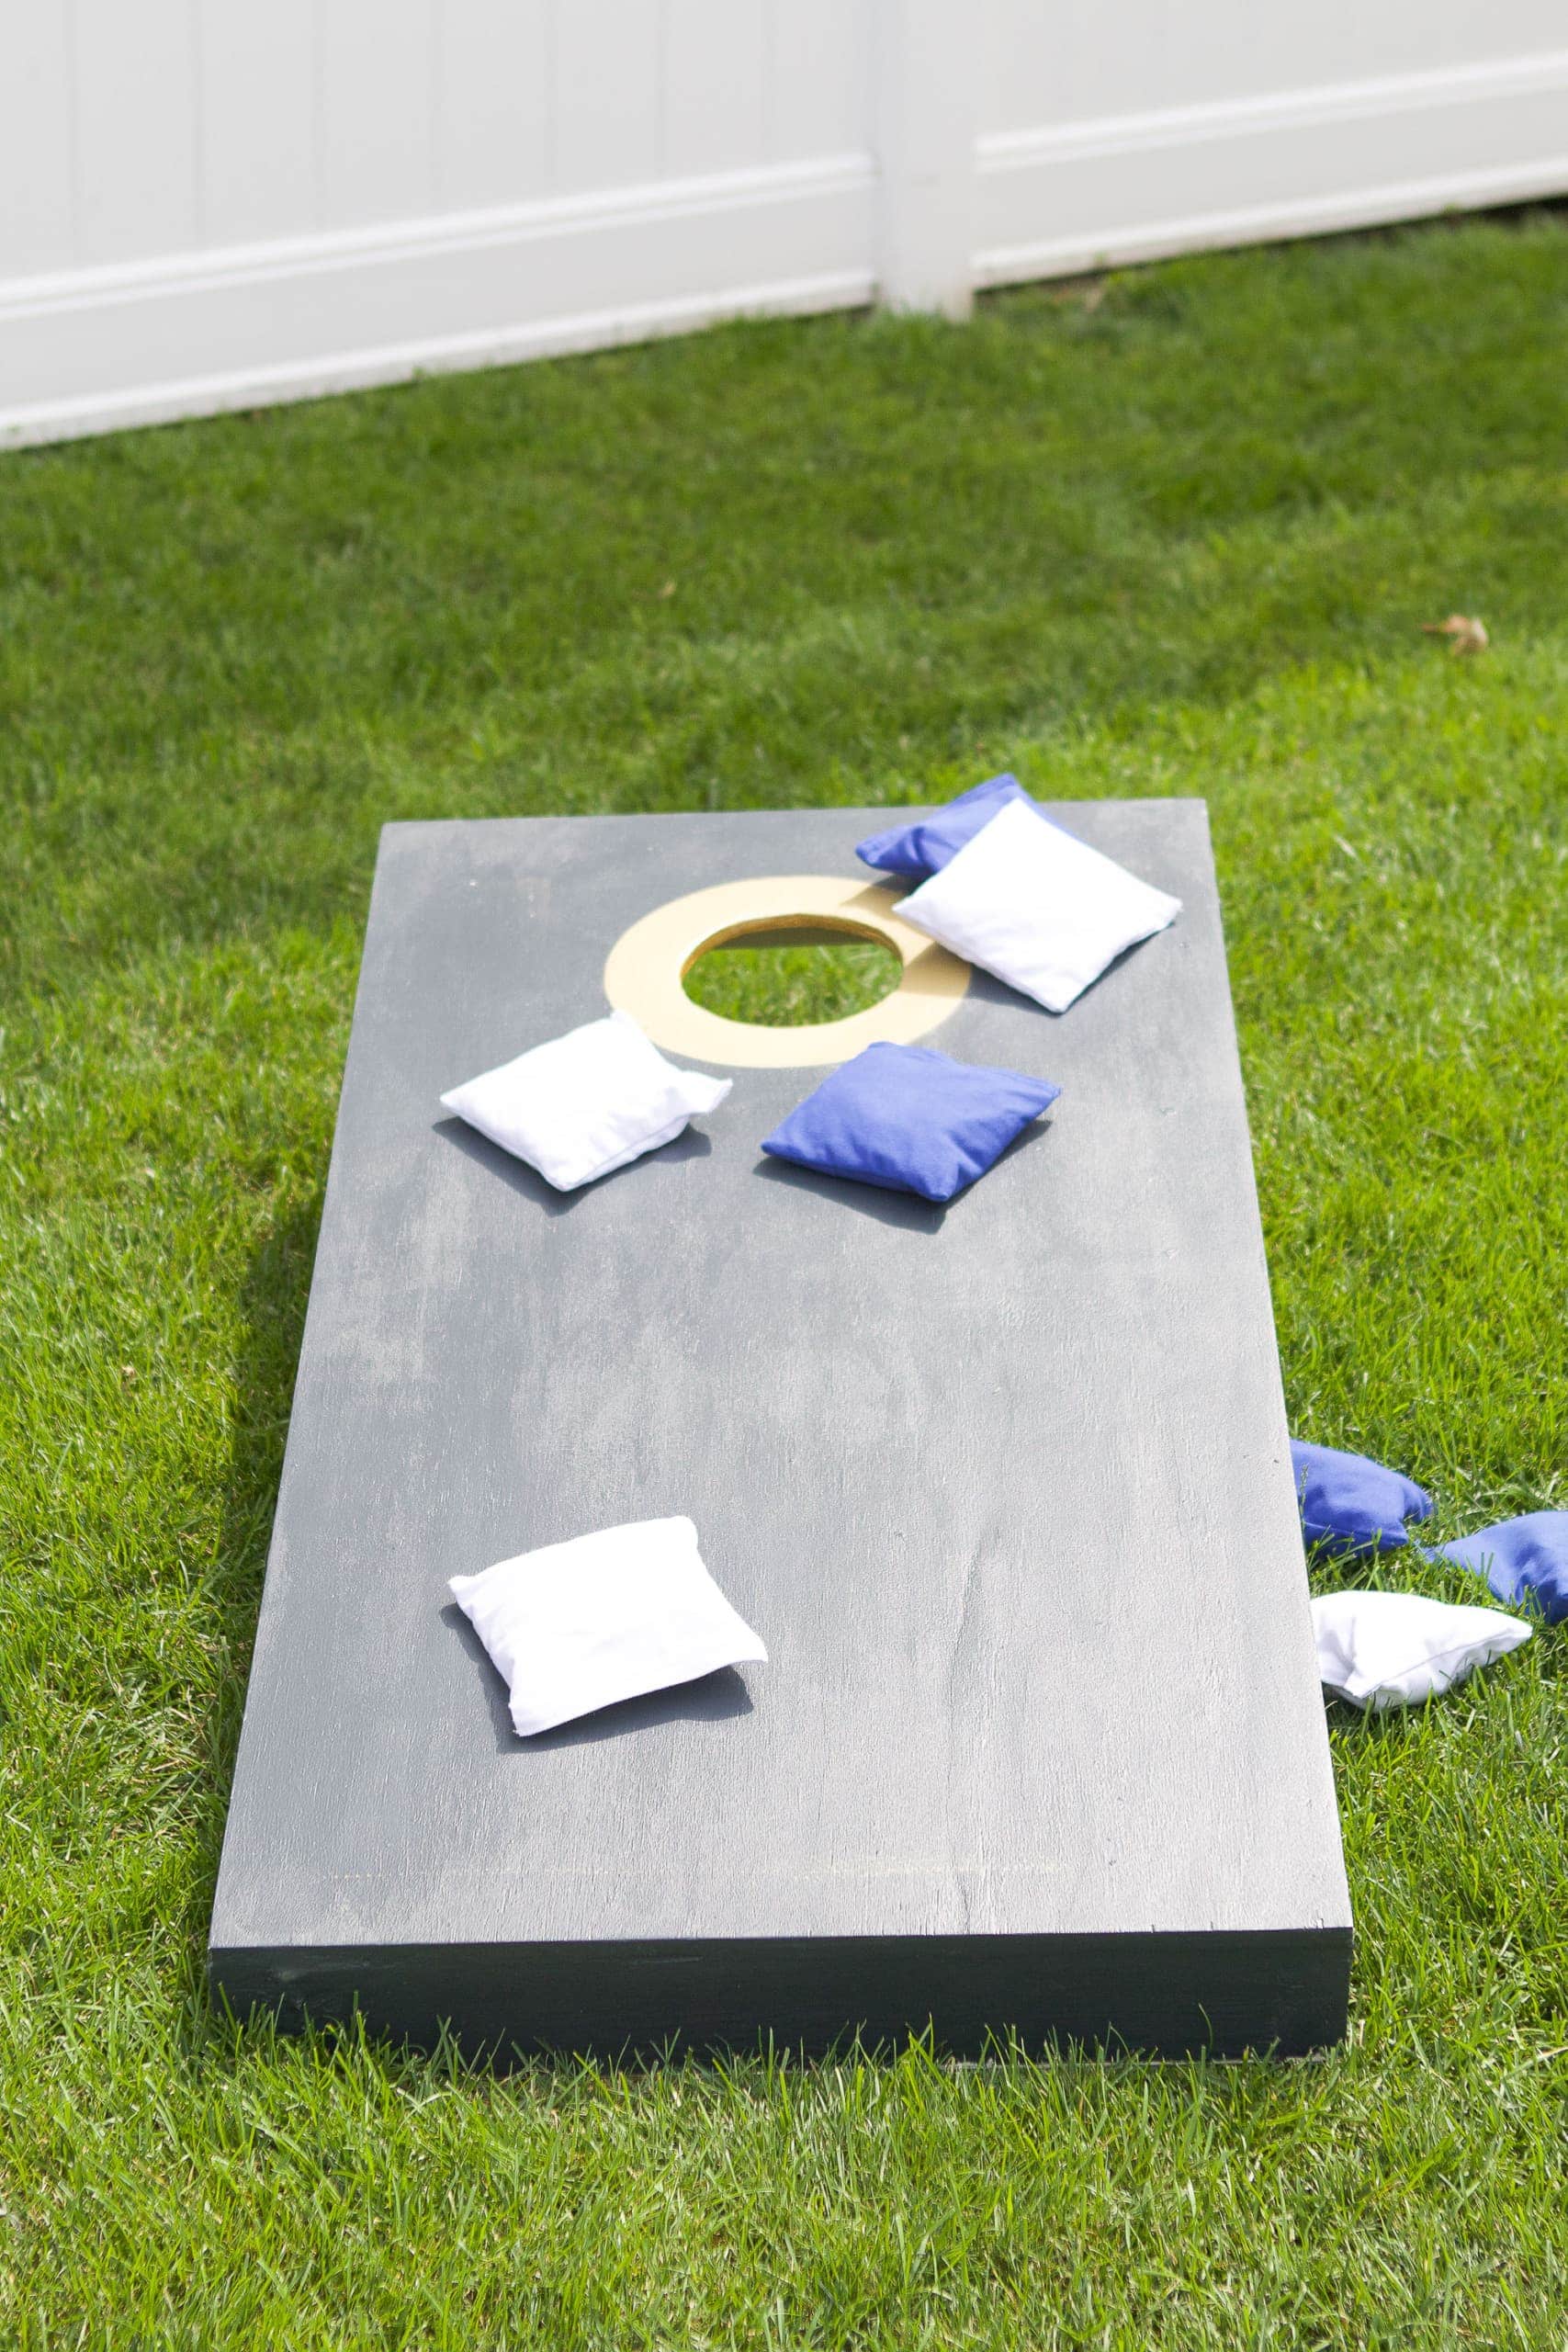
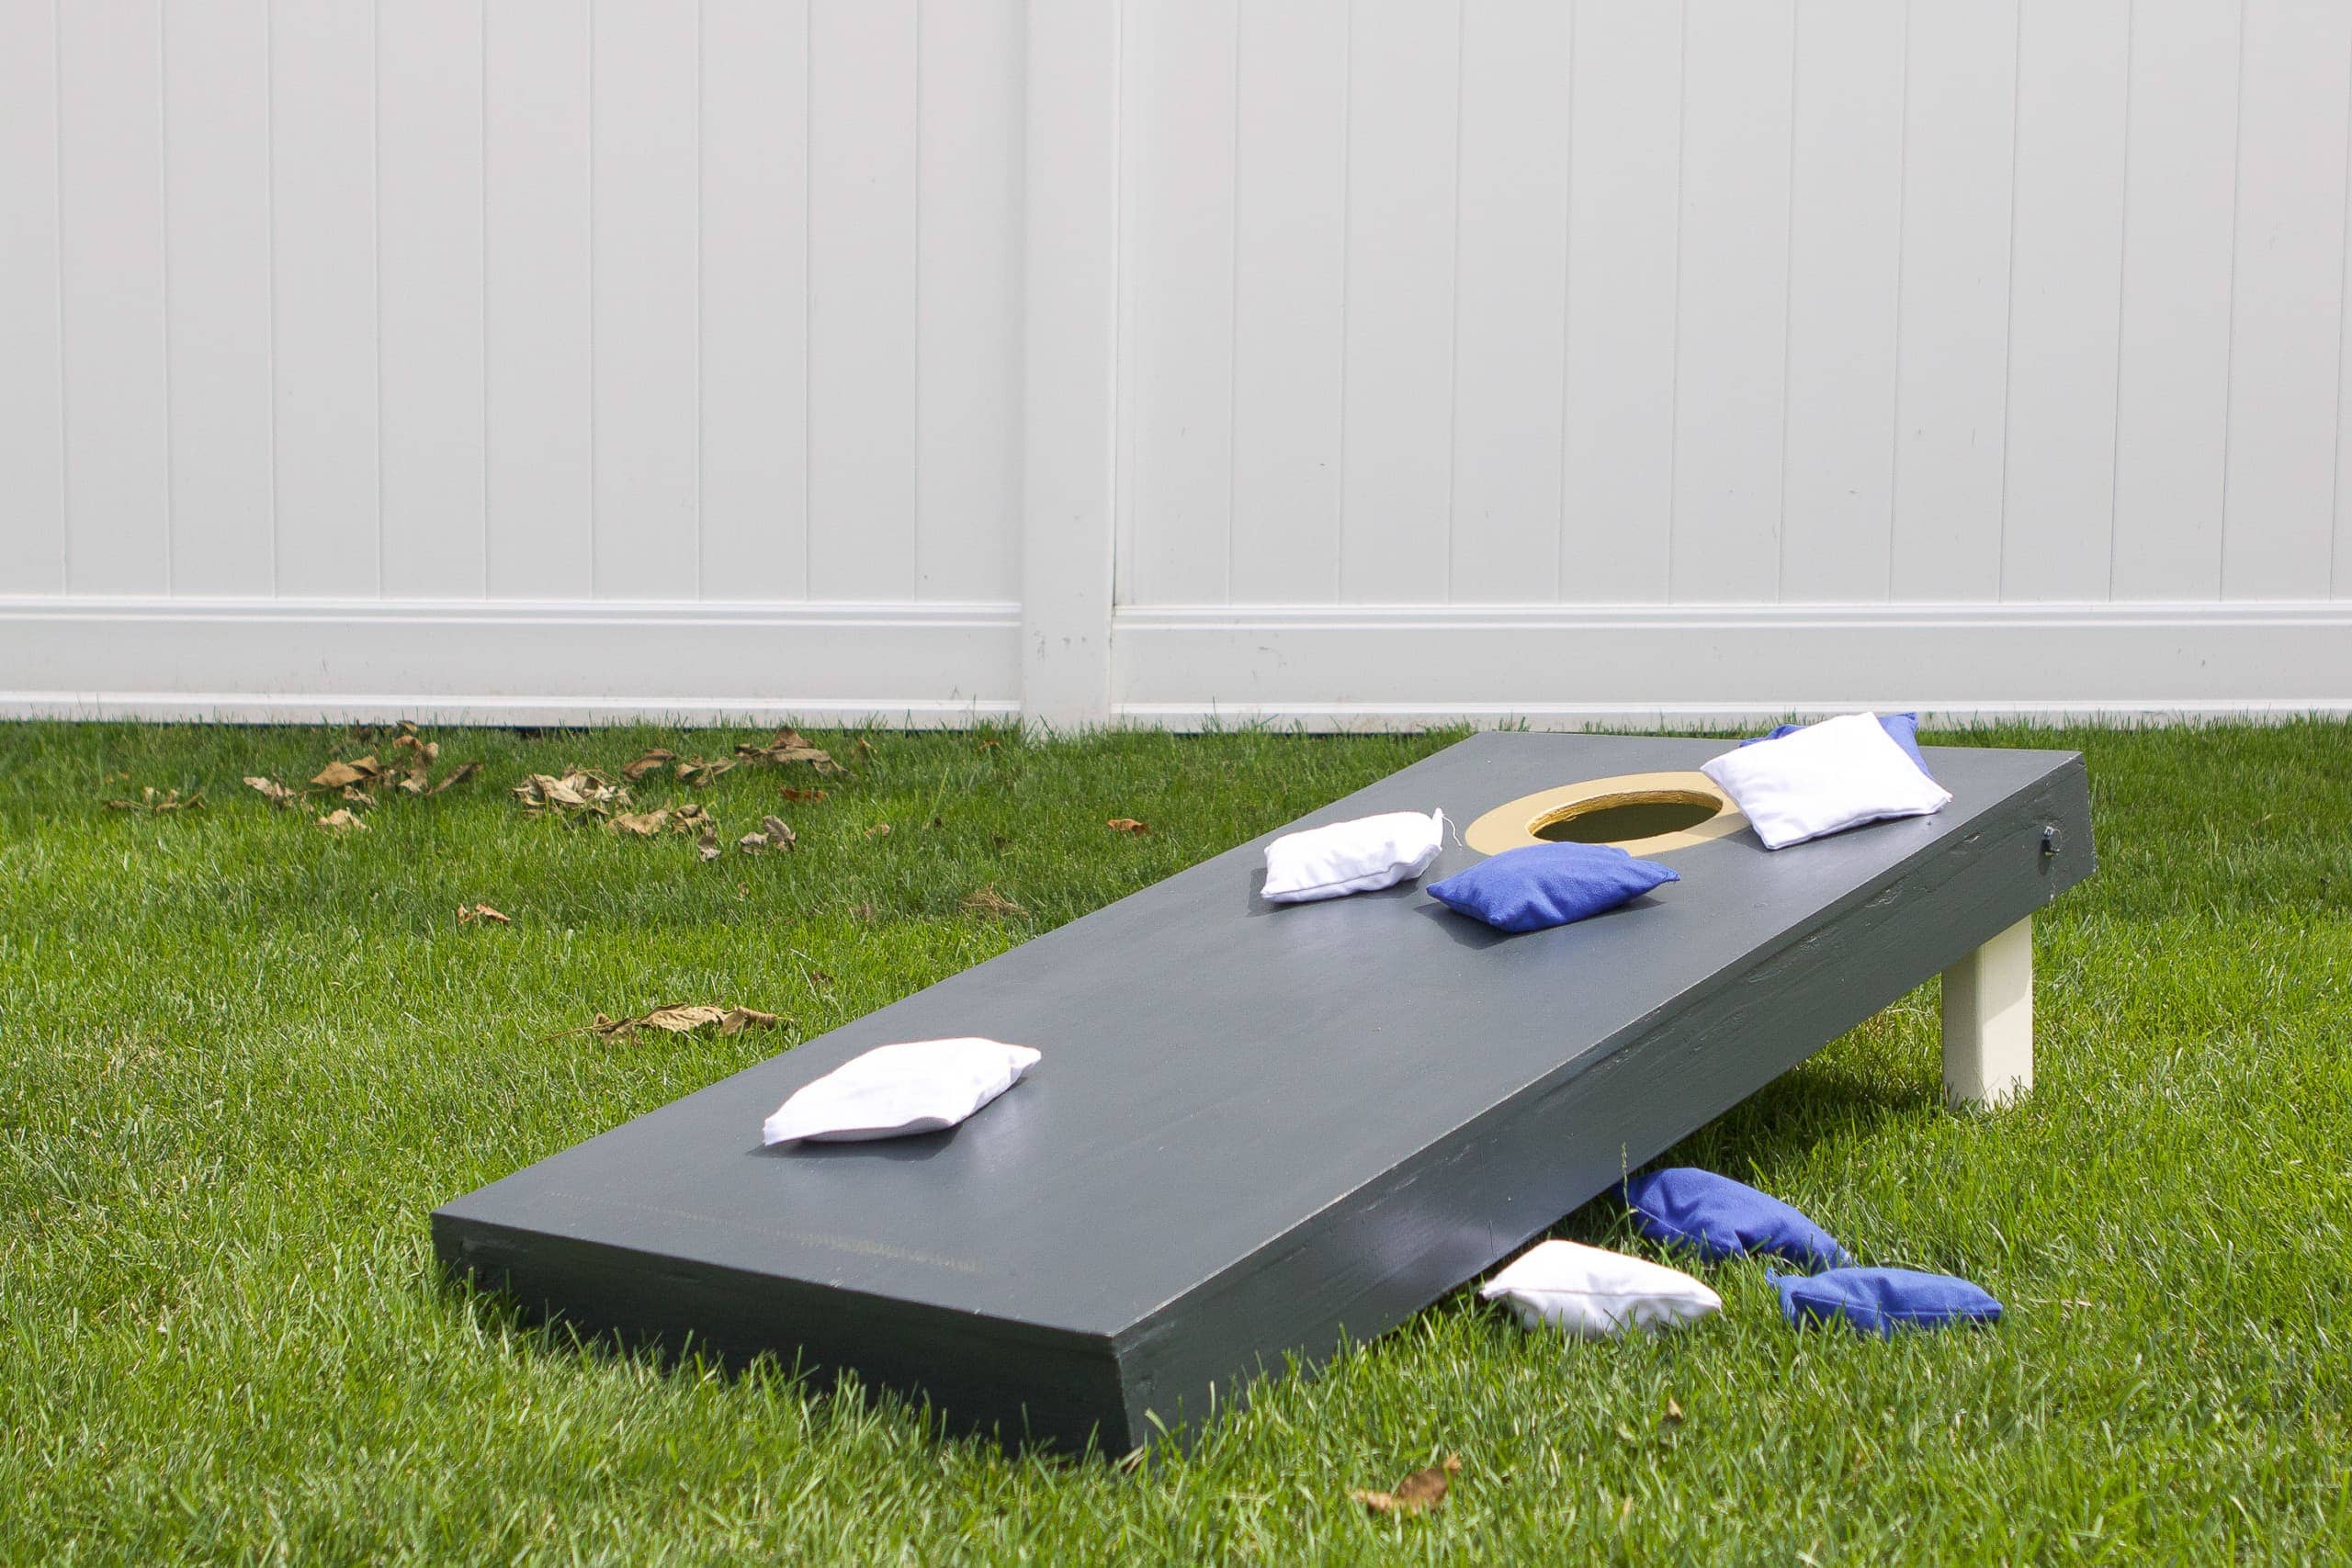
I think they turned out awesome and I’m so proud of Finn for making these. 
This was actually his first DIY project since having Rory and he spent a few weeknights with the baby monitor building it. 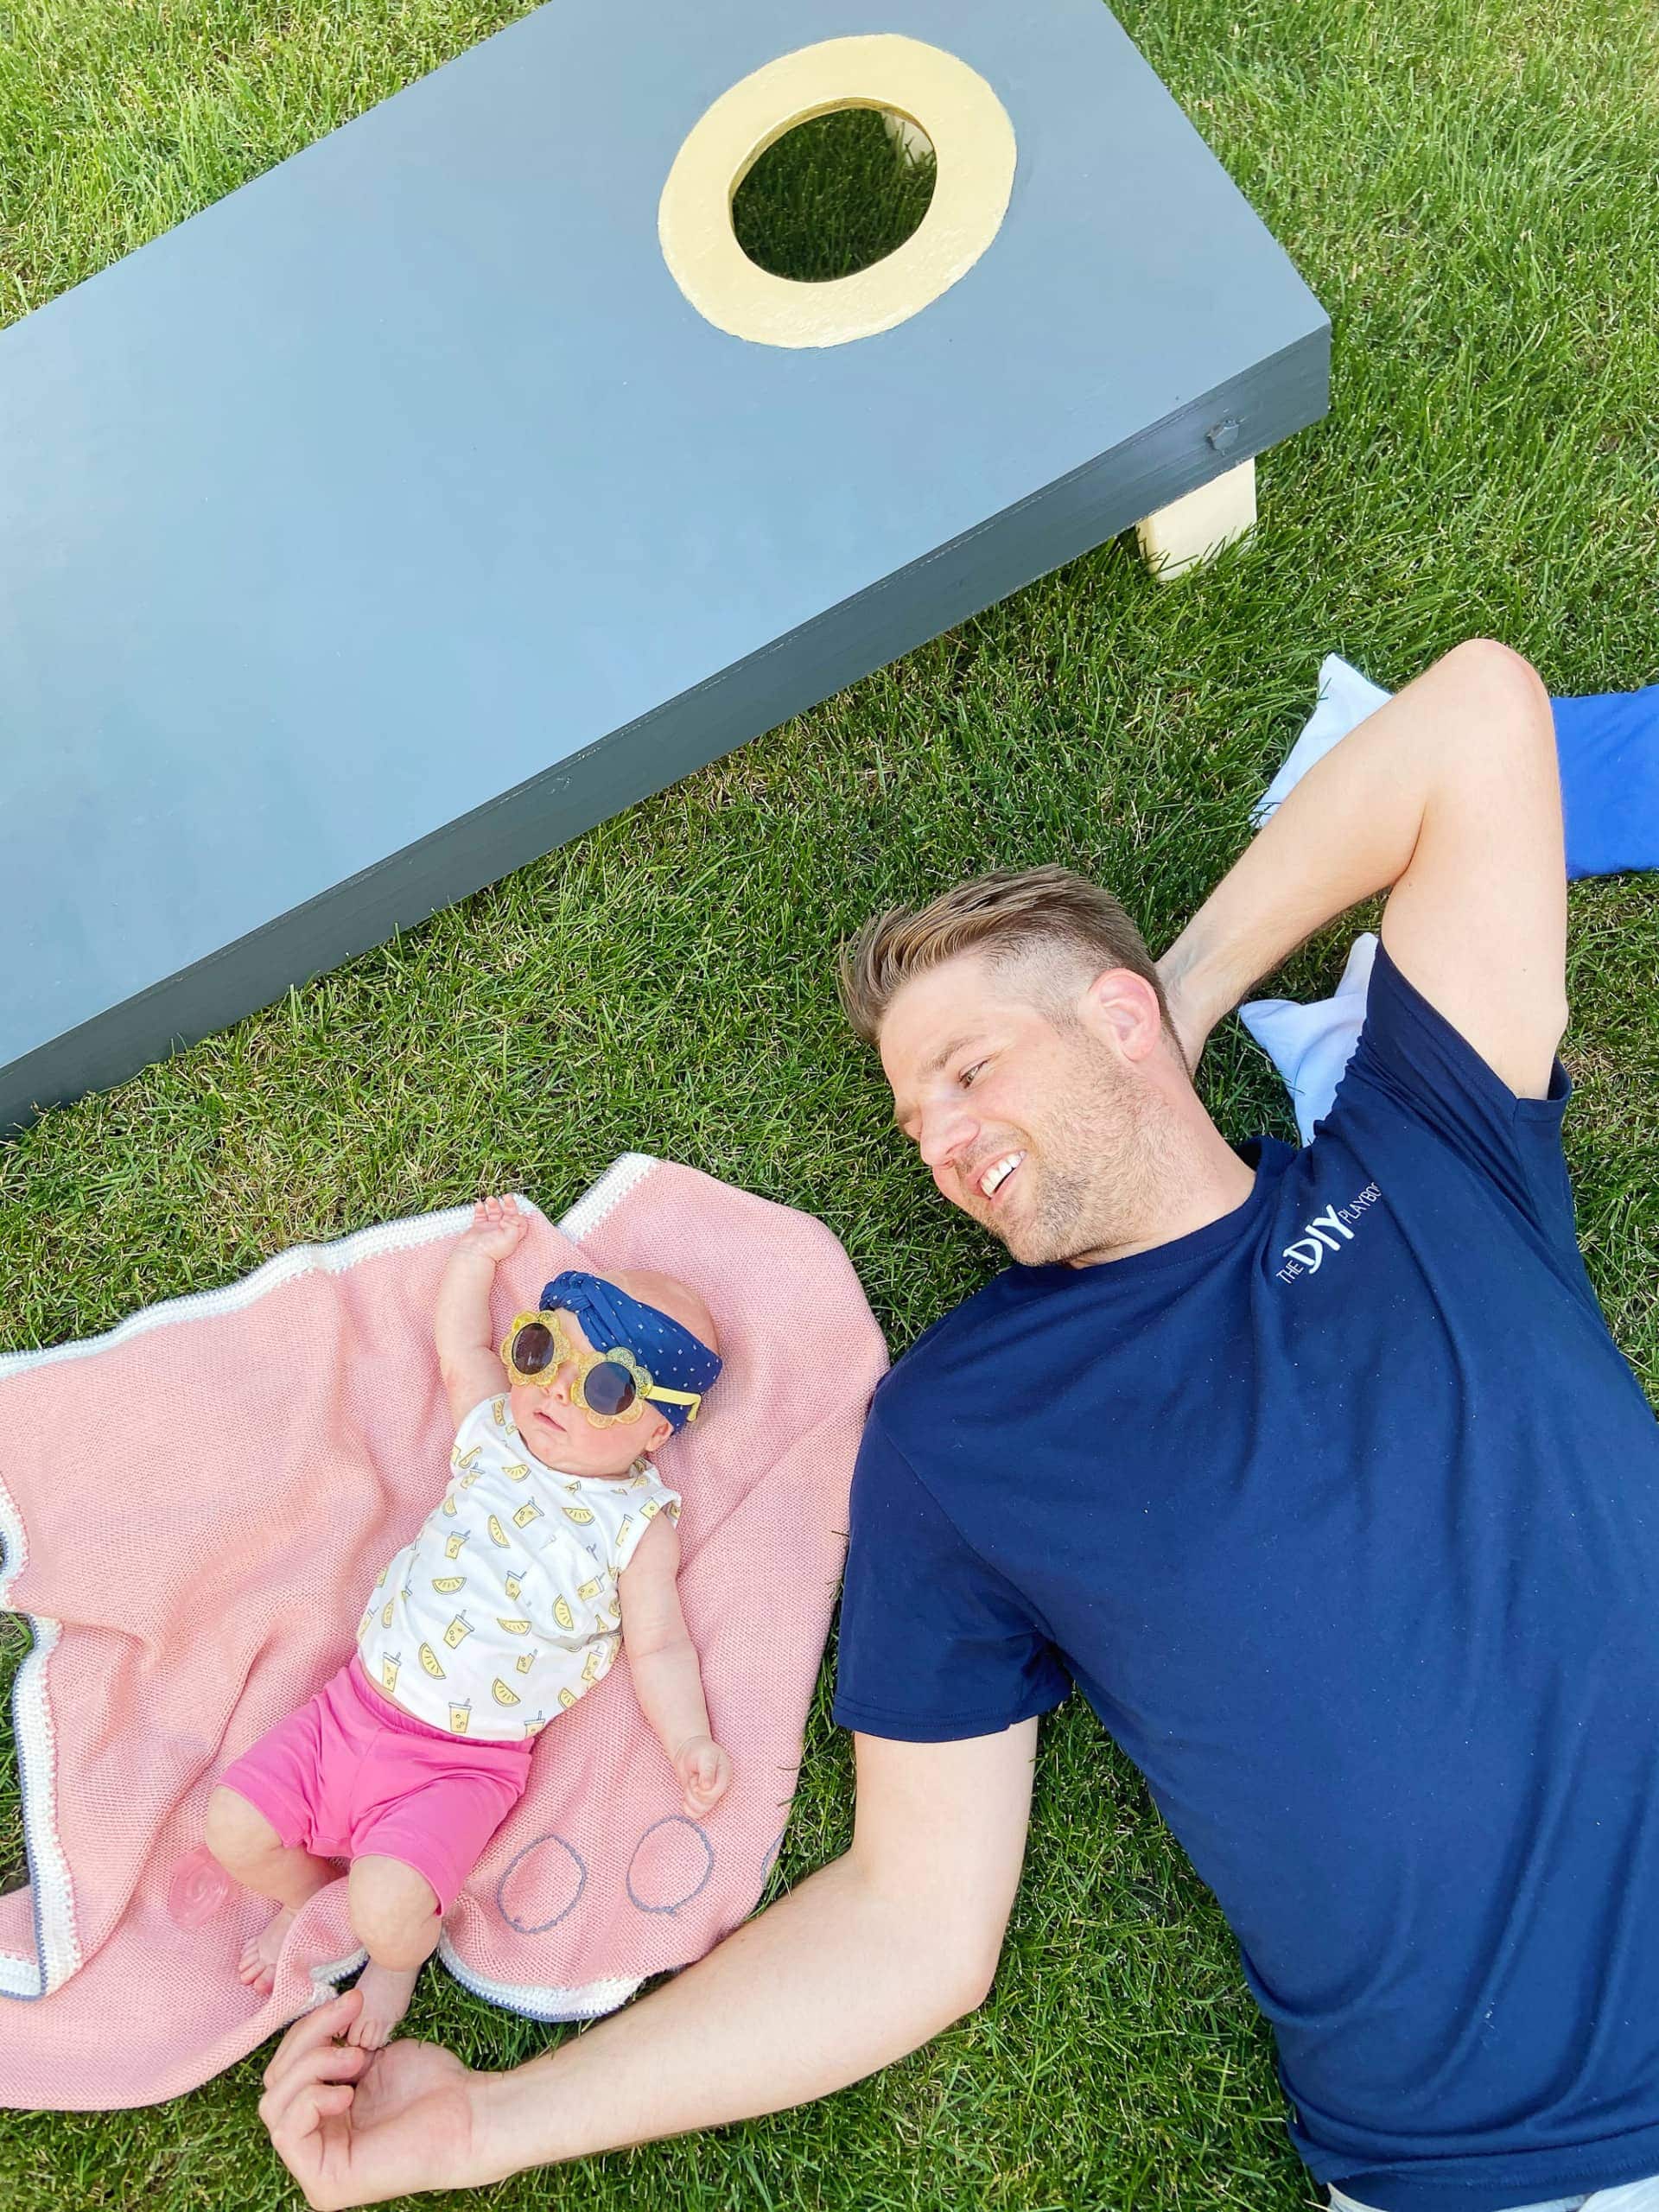
I can’t wait until our little girl can play with us in the yard. She will be very proud of her daddy!
Casey


