How to Paint Tile Floors (Ceramic Tile DIY Guide)
Want to update outdated tile floors without tearing them out? Painting tile might sound intimidating, but it’s one of the most cost-effective ways to transform old ceramic tile floors.
Six years ago, I was eager to give our guest bathroom a new life, but we didn’t yet have the funds to renovate the entire space. I decided to paint and stencil the ceramic tiles, and it instantly became one of the most popular projects I’ve ever shared!

Today, I’m re-sharing that DIY project with updated links, steps, and tips. Why? Because I think this is a project that absolutely anyone can tackle, and I loved it so much that I ended up painting three tile floors throughout our house, all with different color combos and stencils.
We lived with this painted tile floor for a couple of years, and during that time, I also shared a one-year update on how it held up in real life. Eventually, we tore out the entire bathroom as part of a full renovation for our kids. It wasn’t because the painted floor failed, but because the space itself was being completely reworked.
If you want to give your old tile a new look in 2026, this tutorial has everything you need. I’ll walk you through how to paint tile floors, step by step. This includes choosing the right paint, prepping ceramic tiles properly, and deciding if this is a good idea for your space.
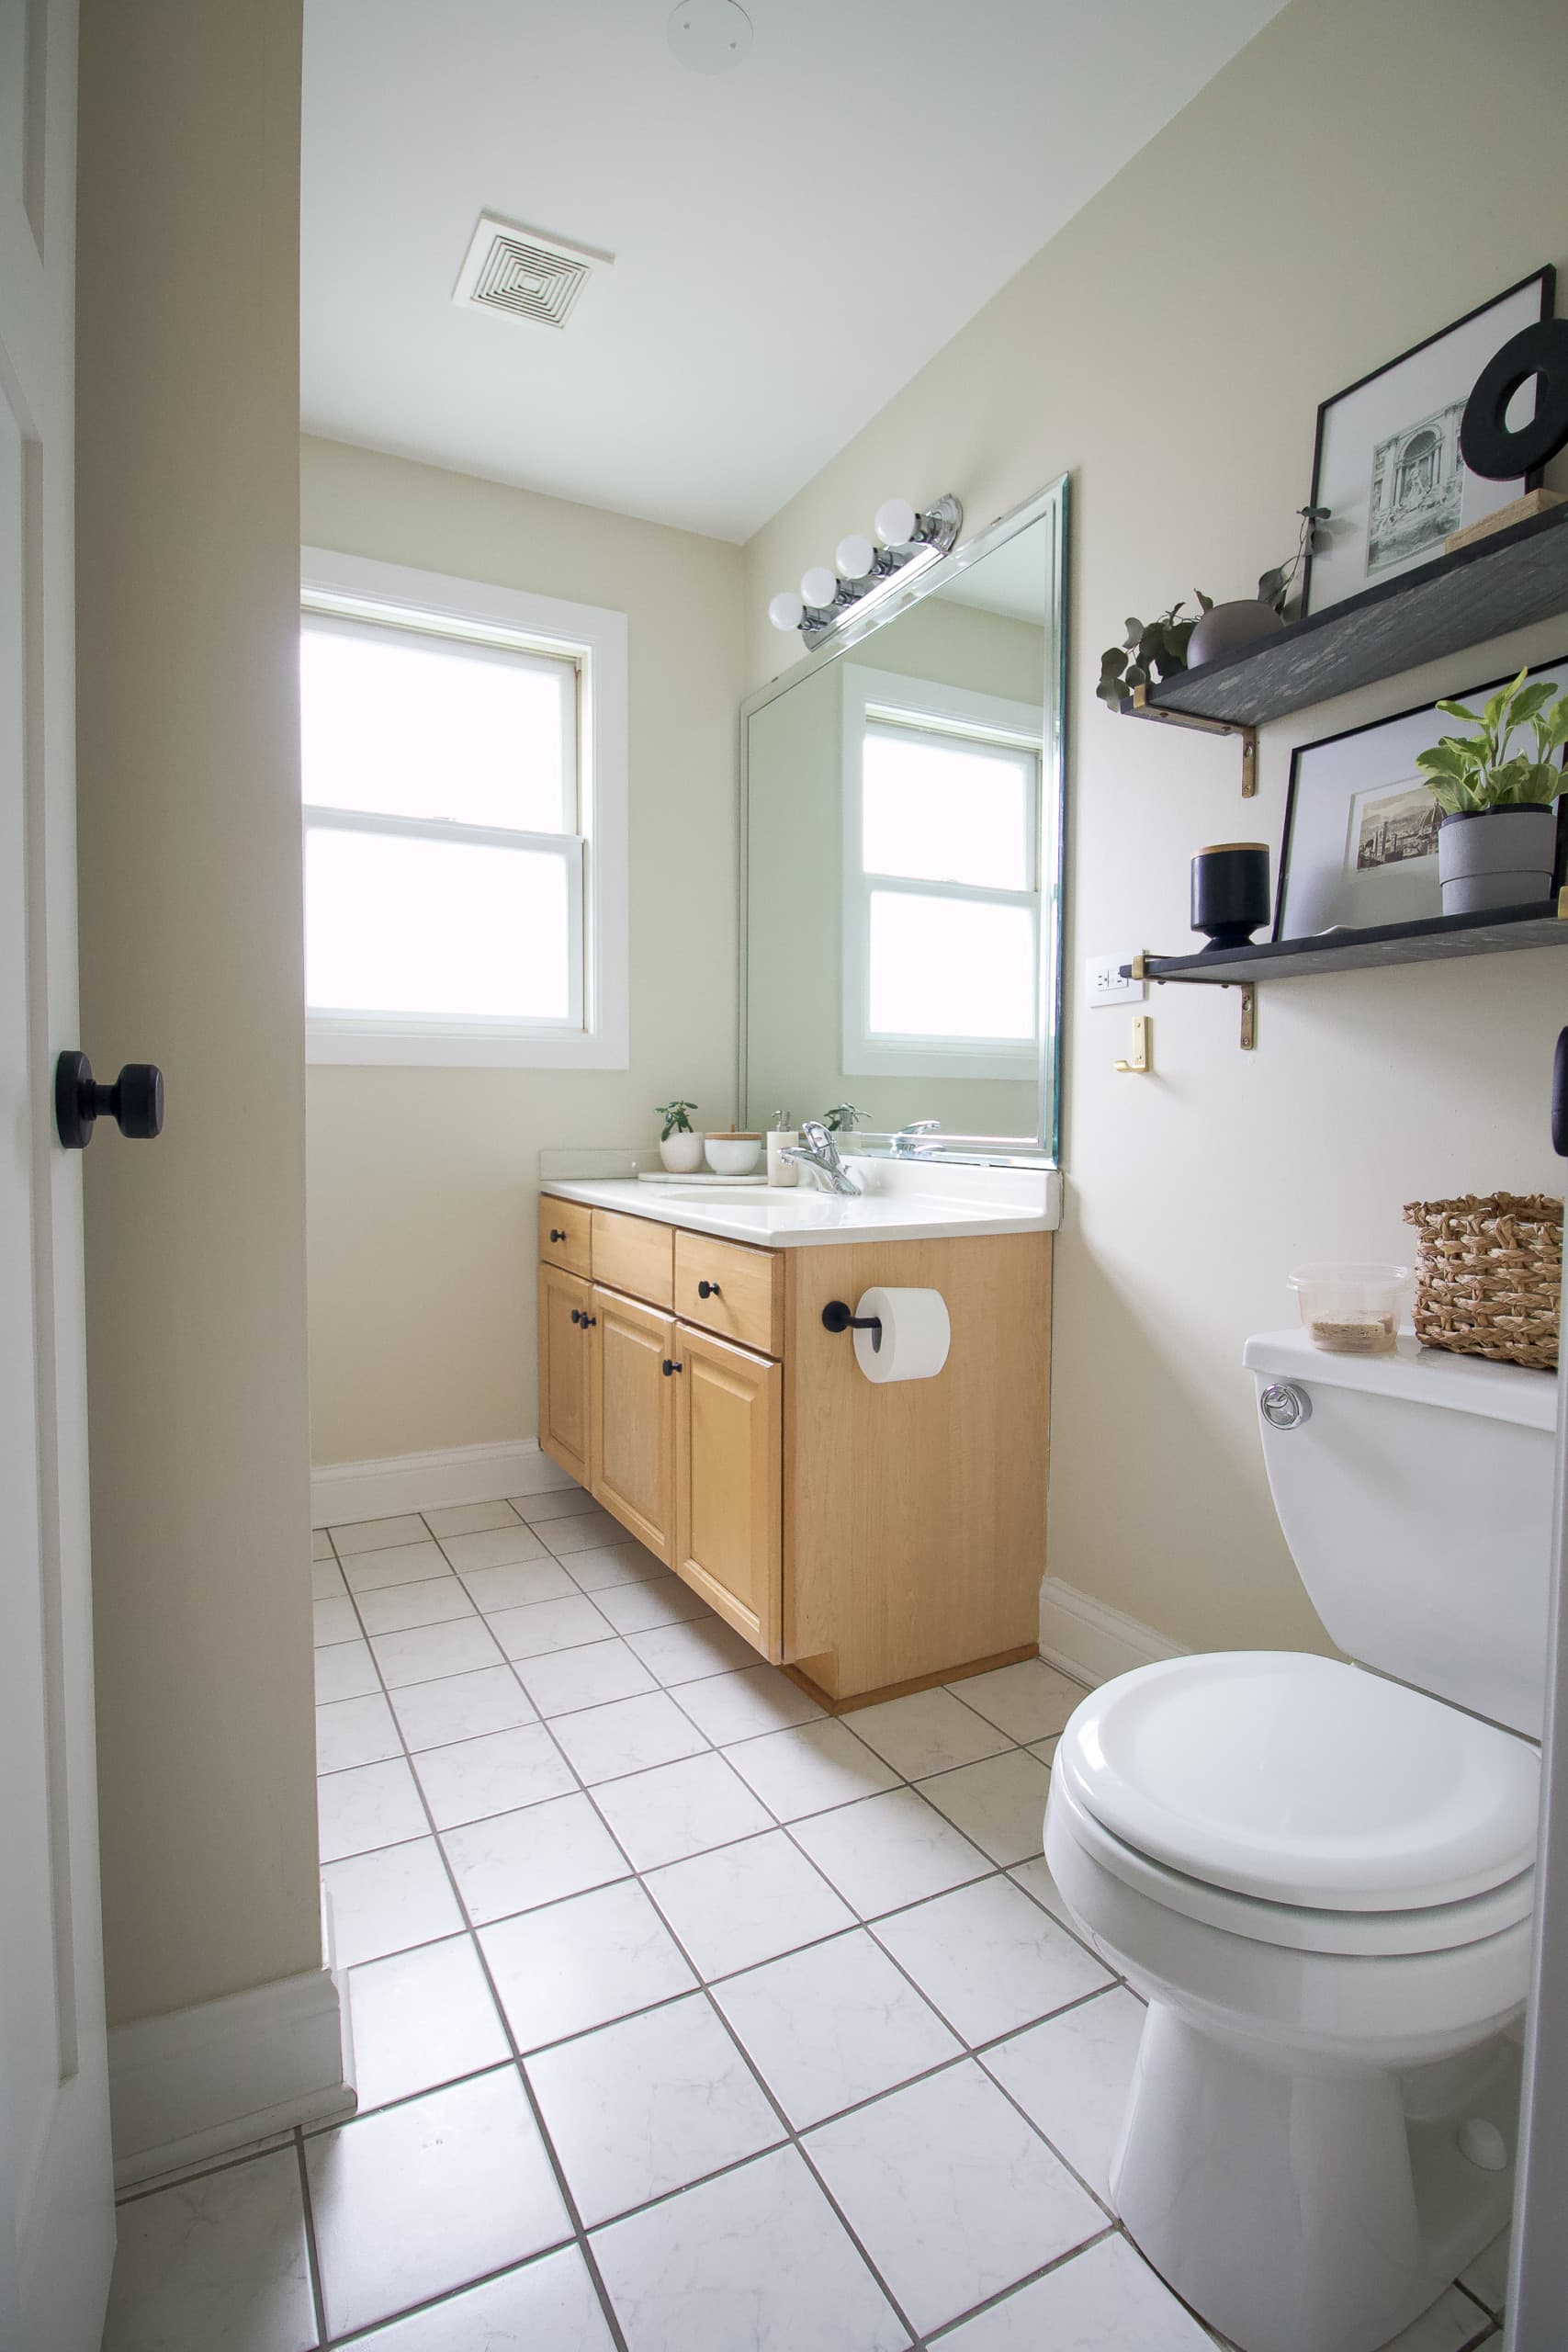
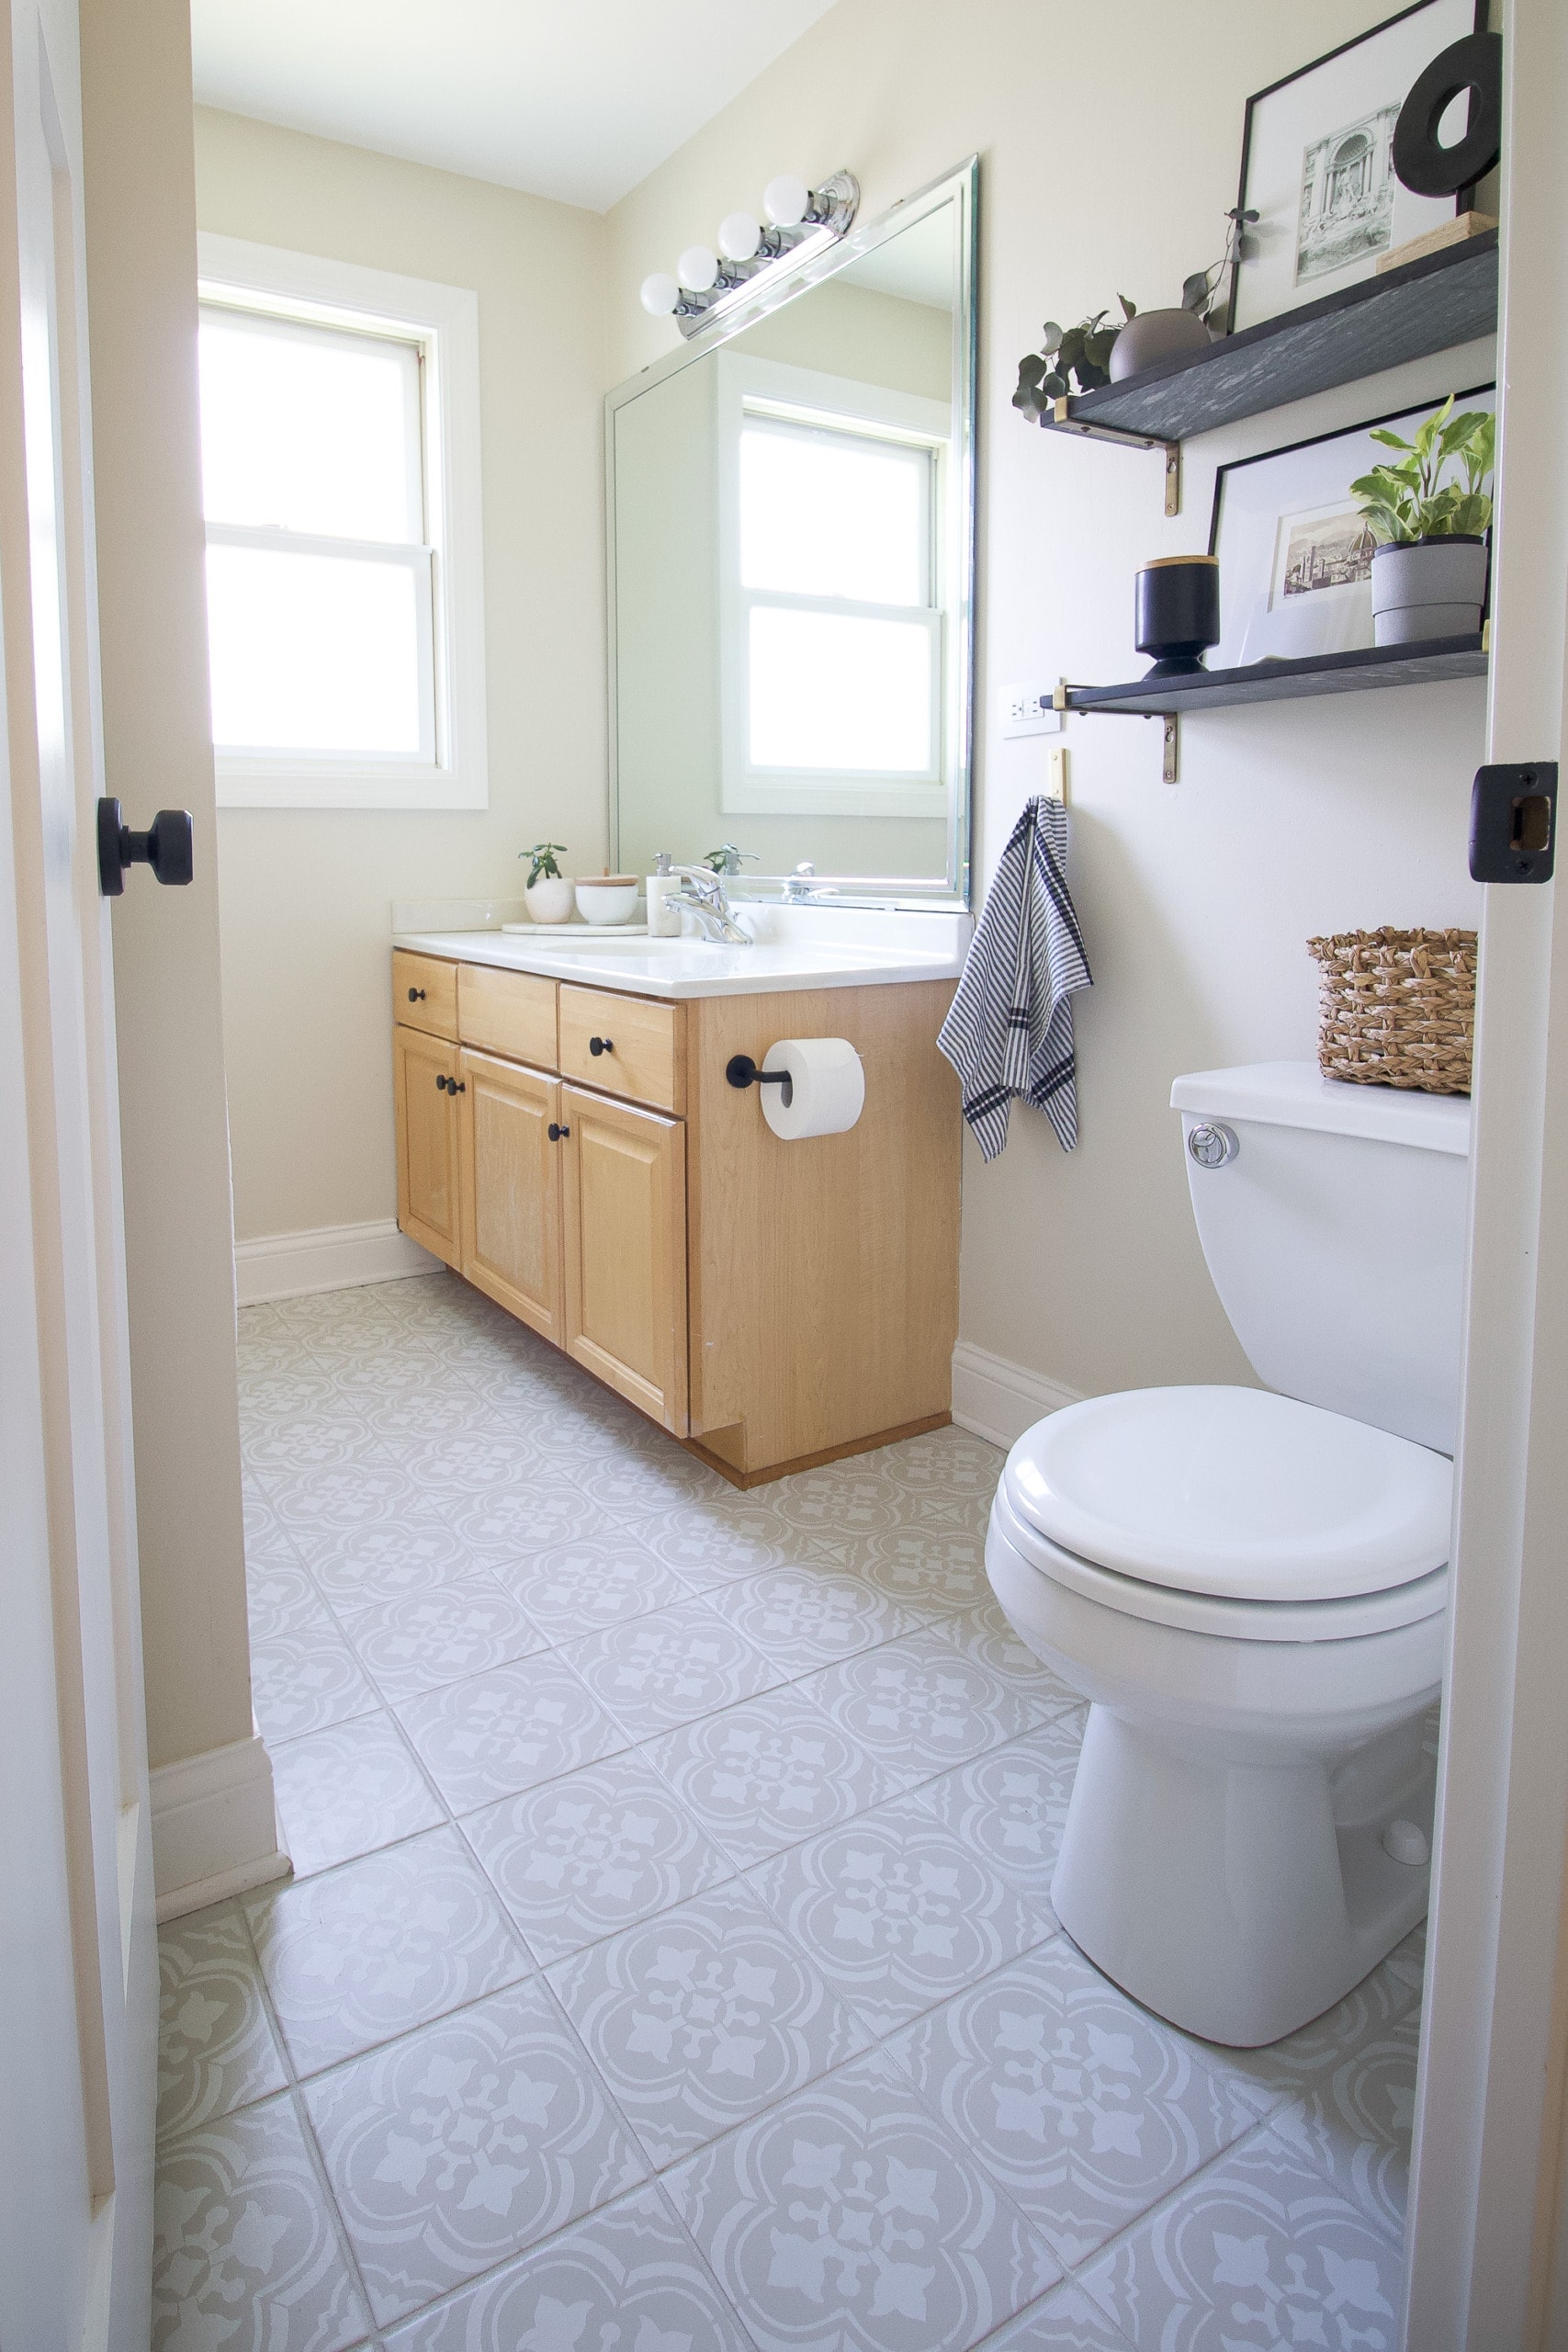
Our Bathroom Tile Before
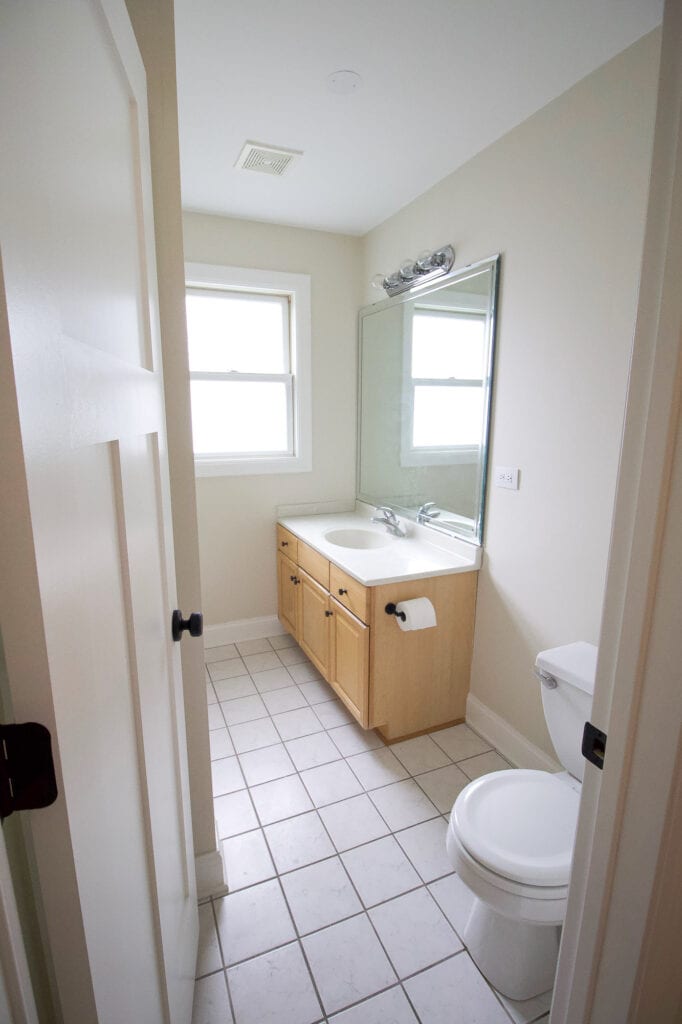
When we started, the tile in this bathroom was original to a late-90s addition, with stained old grout and years of wear that no amount of scrubbing could fix. Replacing the existing tiles wasn’t in the budget, so painting the original tiles became the most effective solution for a fresh, updated look.
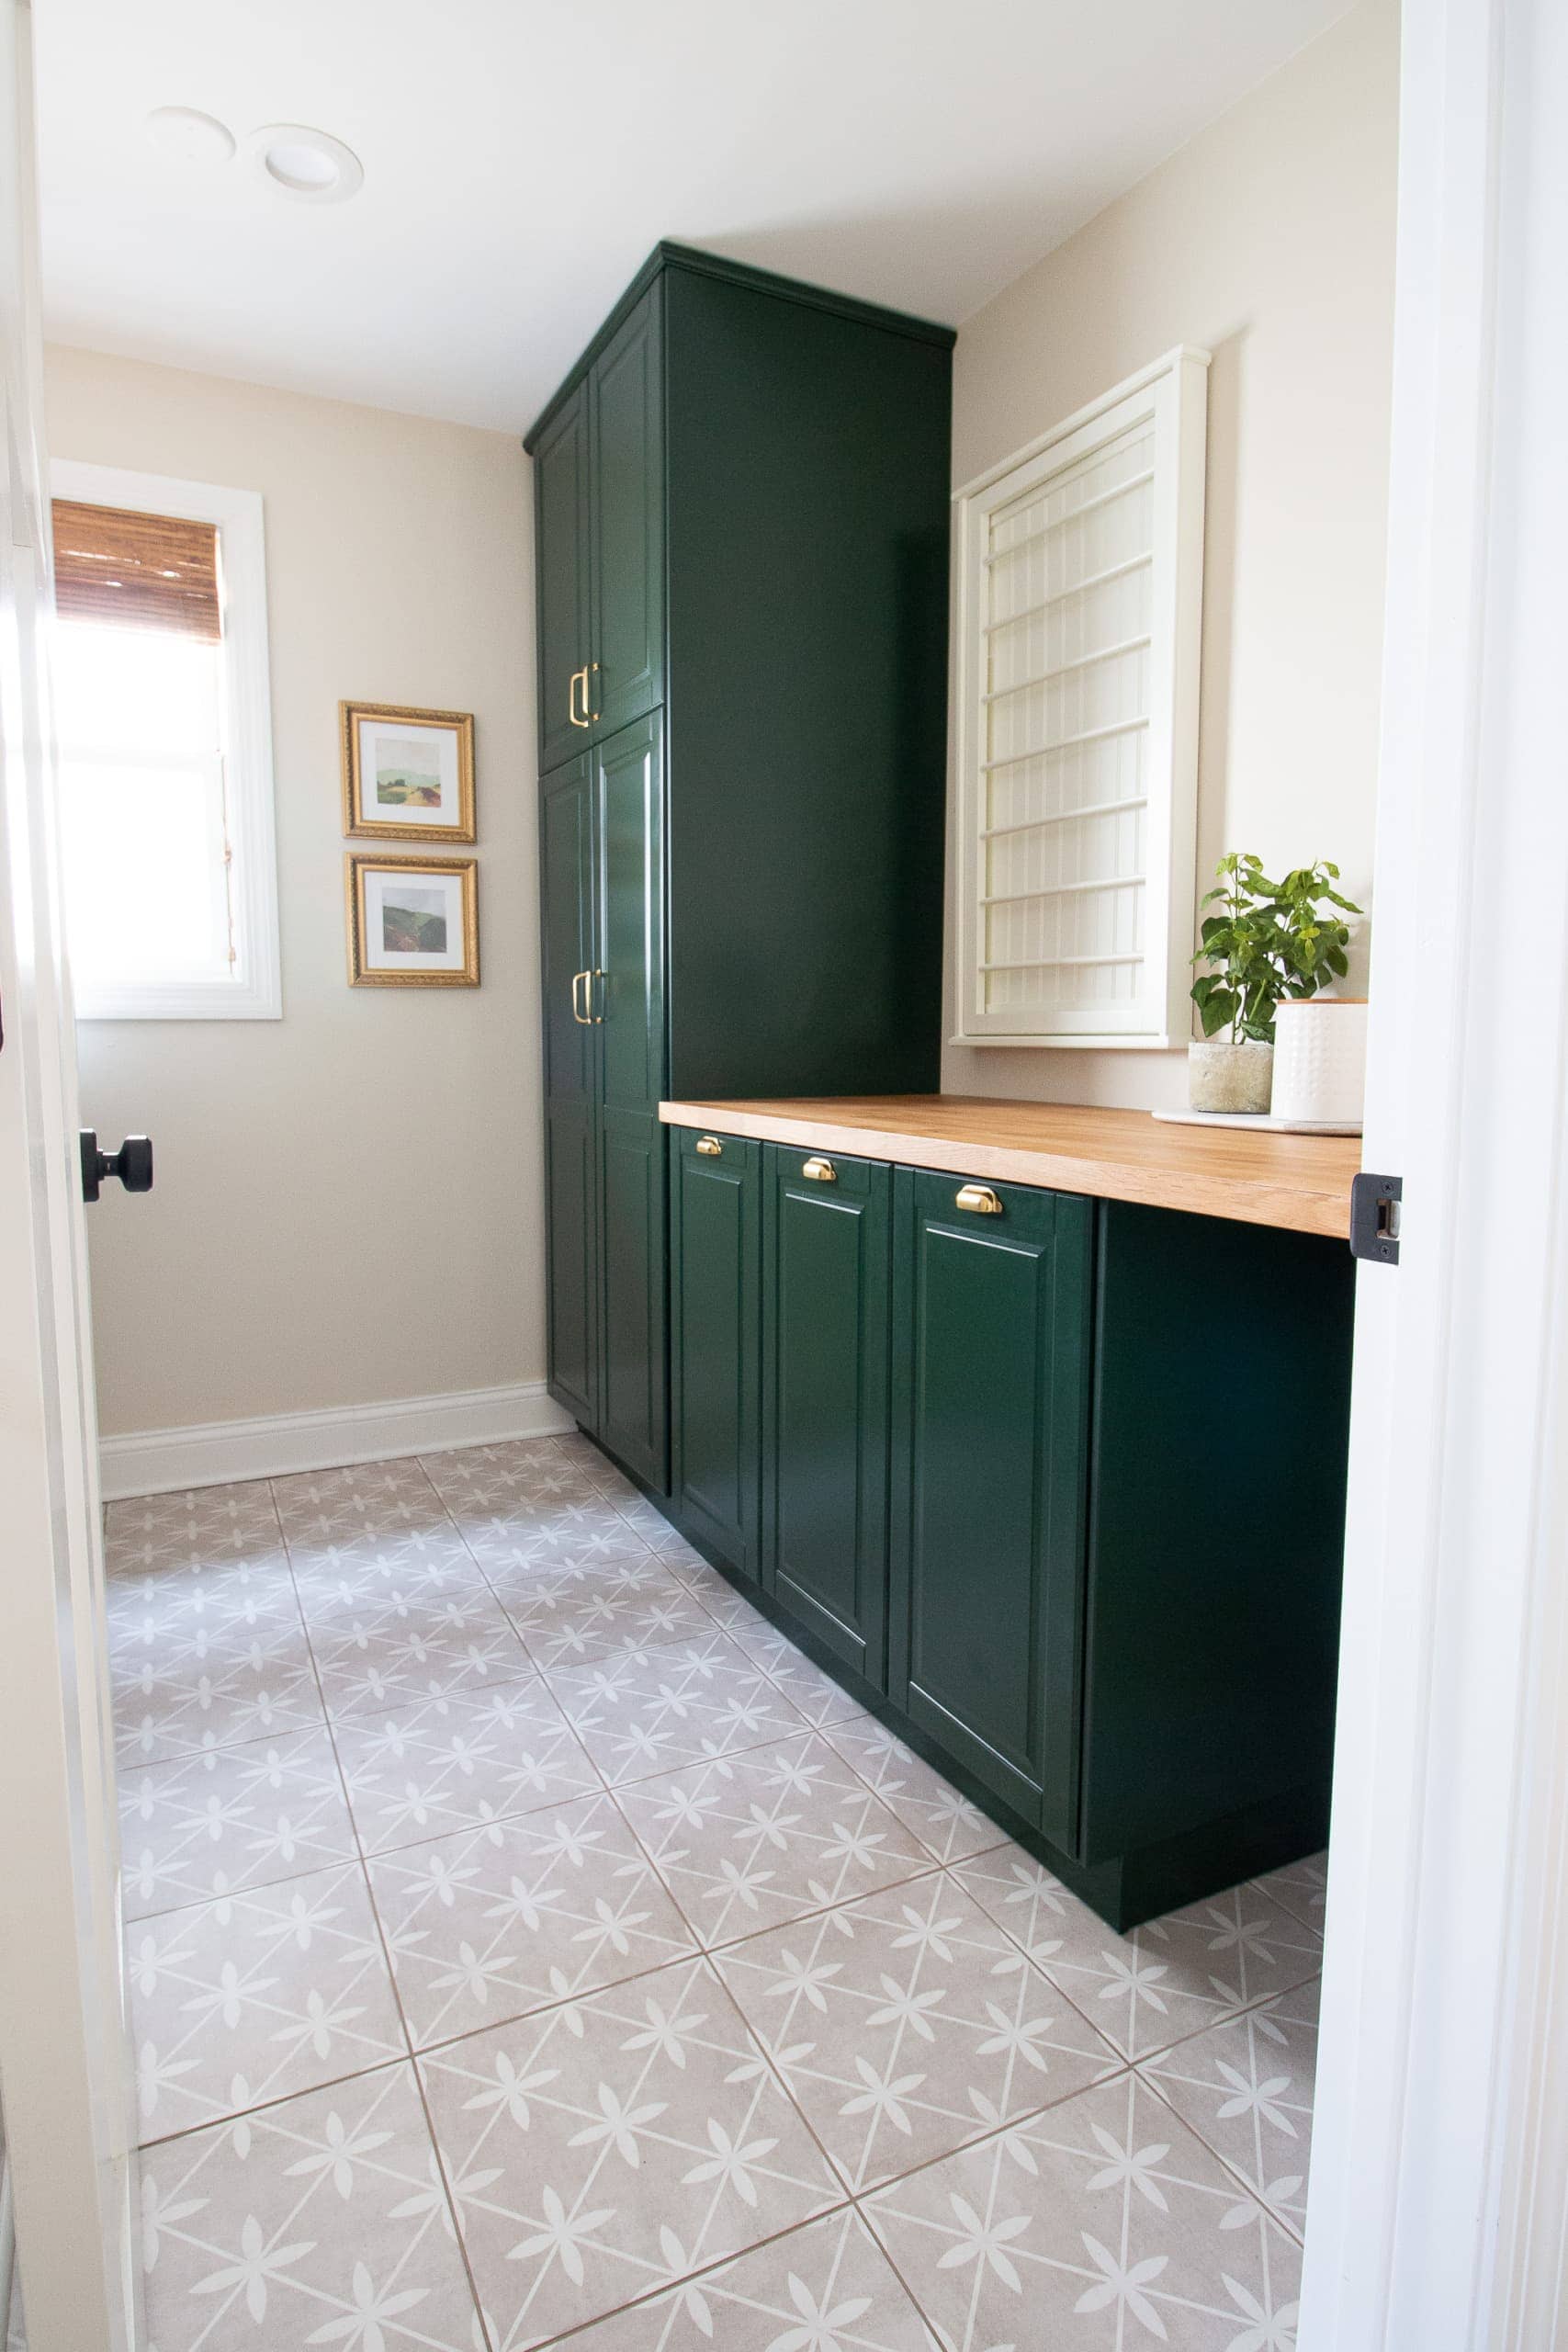
Directly across the hall from the guest bathroom, you’ll find our laundry room. I love the patterned tile in this space and figured that if I coordinated with this tile in the bathroom, then we would be in good shape.
Is Painting Tile Floors a Good Idea?
Before we get to the tutorial, here’s the question I get constantly. Is painting tile floors a good idea?
This is a great project if your tile is solid (not cracked or lifting); you want a budget-friendly change, and you’re okay treating it gently during the cure time.
Skip this project if your tiles are loose, the floor has major damage, or you need something totally maintenance-free in a high-abuse space.
My honest take: This is an awesome “hold me over” solution while you save up or plan a bigger renovation.
If you’re doing this in a bathroom, laundry room, or another lower-traffic area, it can hold up really well. In my experience, it held up for years when I followed the prep and cure steps. Here’s my review of my painted tile one year later.
At A Glance:
| Difficulty: ⭐️ ⭐️ ⭐️ of 5 | Time: A weekend |
| Supplies needed: Rust-Oleum HOME Base Coat (Coastal Fog & Steam Gray) Rust-Oleum HOME Top Coat (Matte) Krud Kutter Stencil | Tools needed: Scrub Brush Rags Painter’s Tape Paint Tray Roller Roller Covers (both 3/8″ nap and 1/4″ nap) Paint Brush Stencil Brush Small Artist Paint Brushes |
It’s All About Using The RIGHT Paint
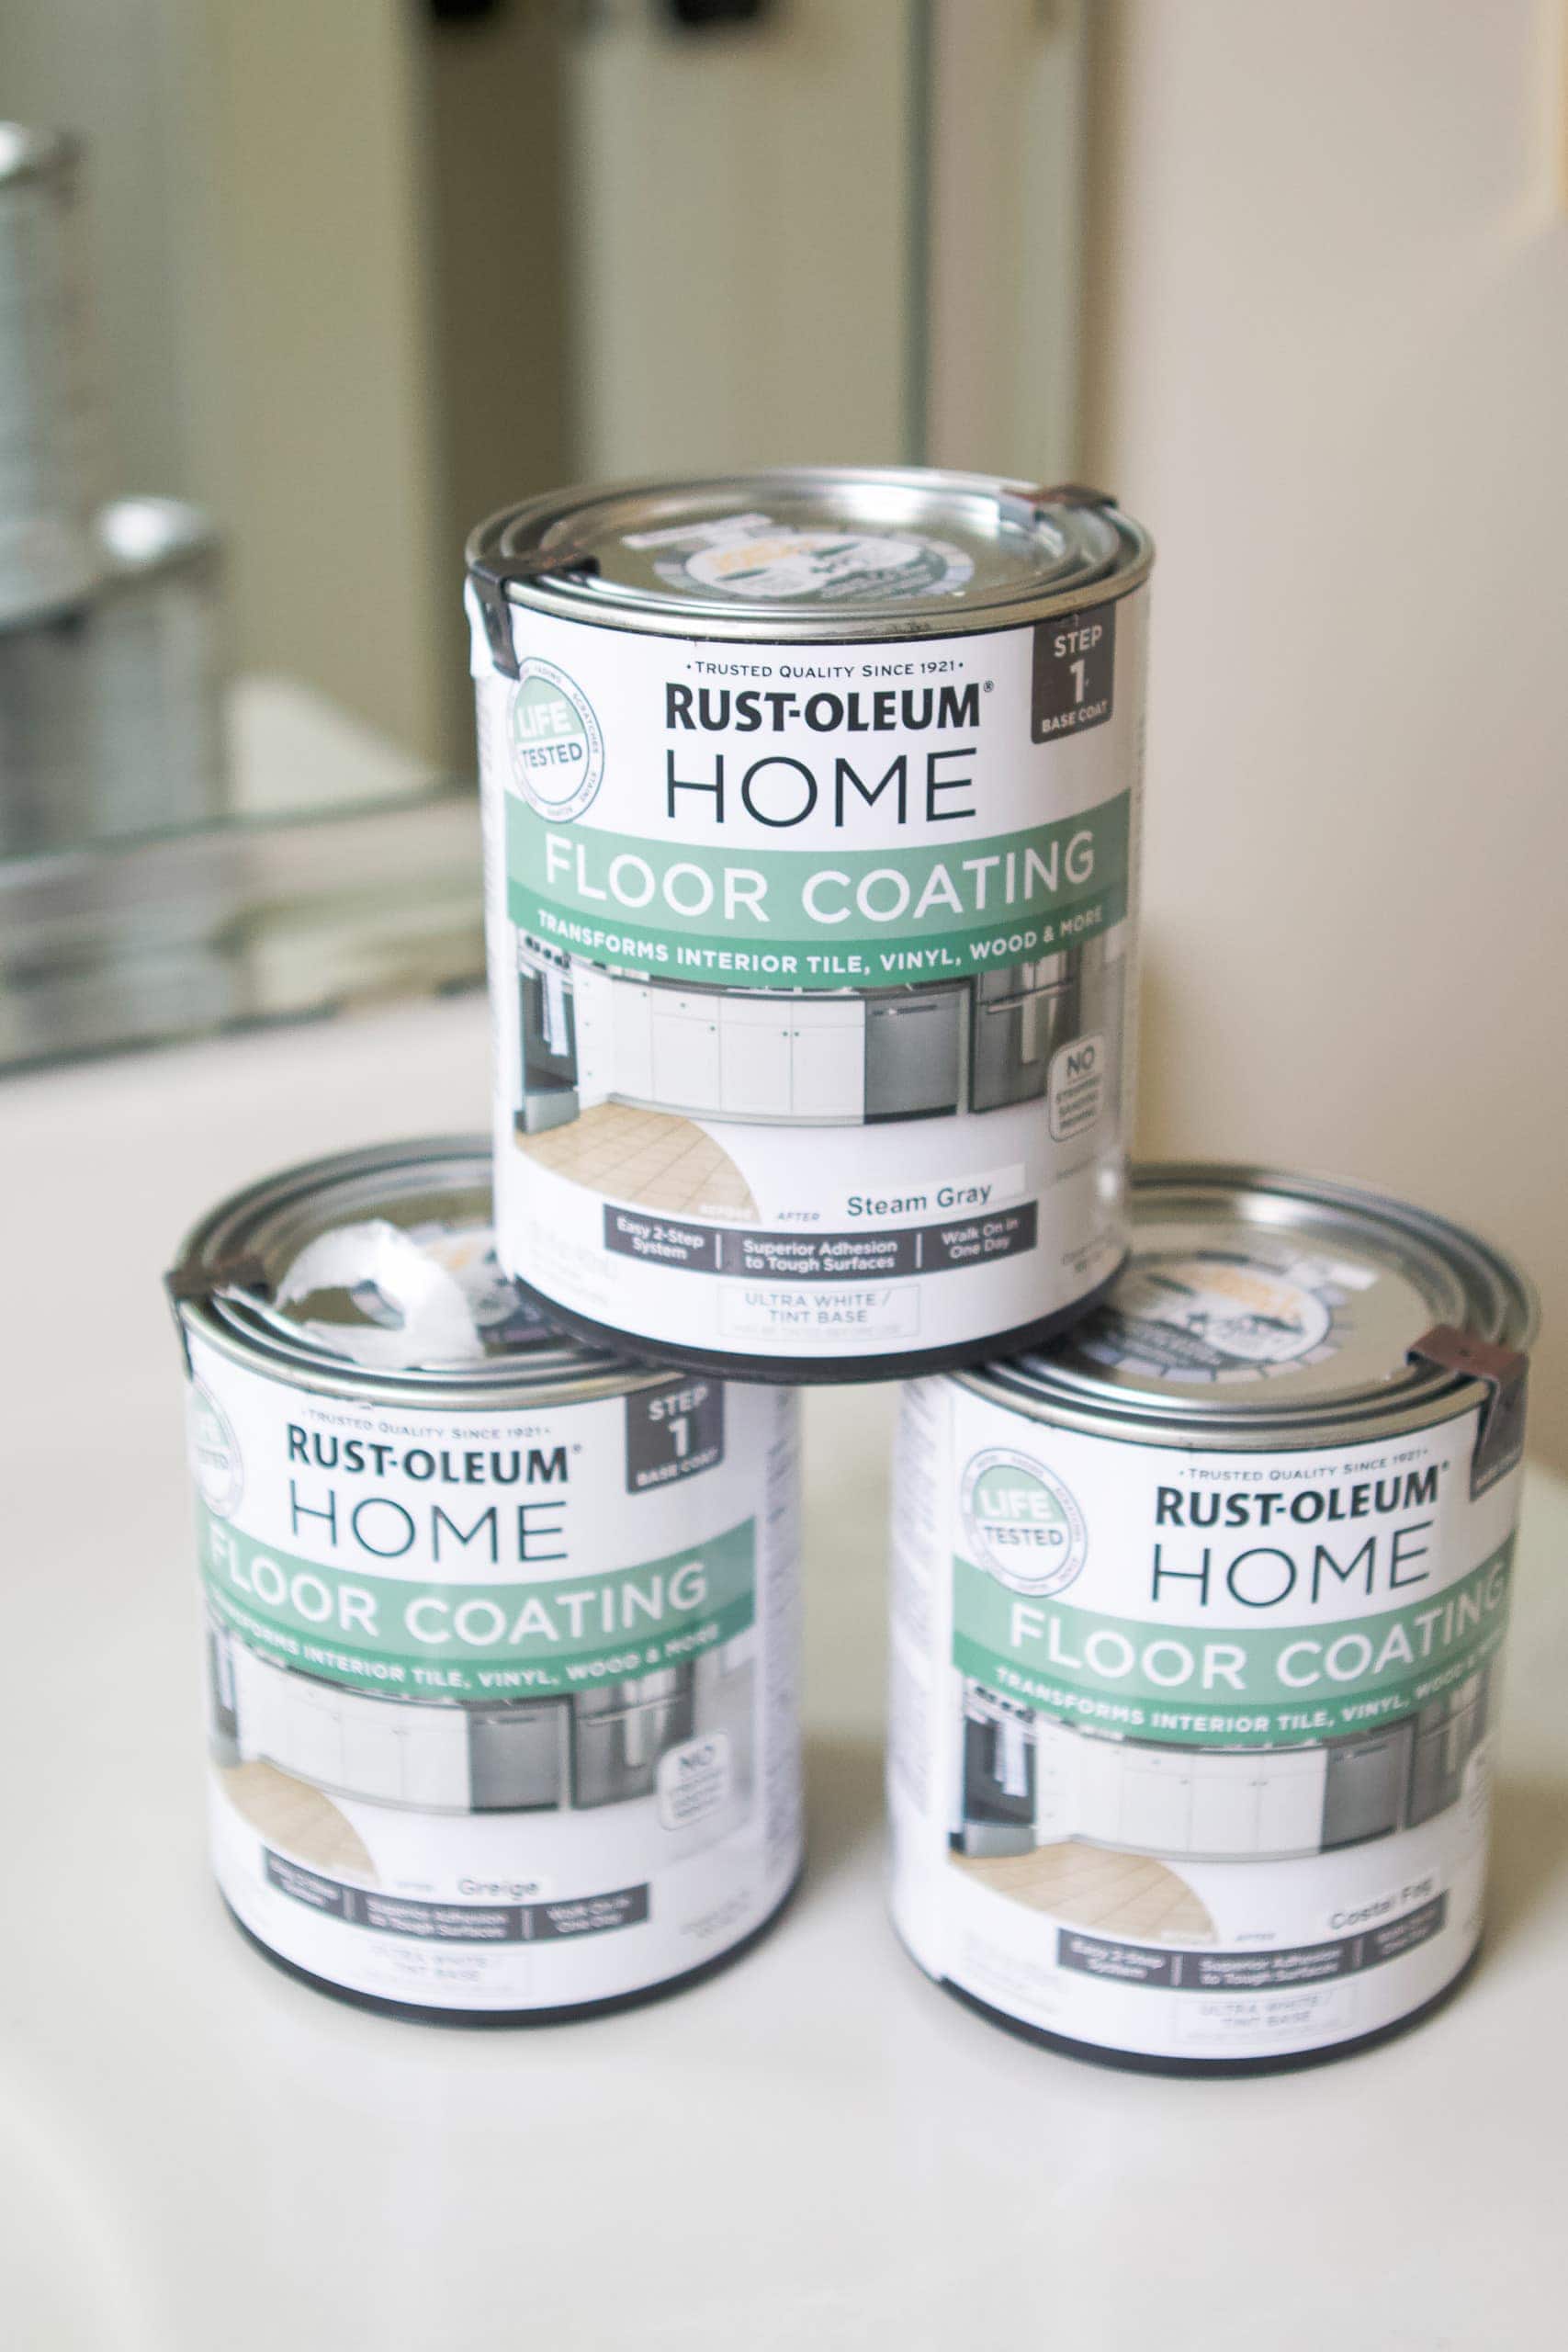
The most important supply for this project is the floor paint. Rust-Oleum makes a product specifically for painting floors called Rust-Oleum Home Floor Coating. It comes in a ton of colors and you can use it on wood, tile, vinyl, laminate, concrete, linoleum, and more.
You’ll see products like tile paint, patio paint, and epoxy paint at places like Home Depot. Epoxy paint can be very durable, but it’s also more intense to work with. For most DIY projects, a floor coating system like the one I used is a great option because it’s durable and beginner-friendly.
Basic latex paints are not designed to handle foot traffic and will wear quickly. A floor-specific coating system is made to give full coverage and hold up better over time.
I ended up choosing three colors because I wasn’t totally sure which ones would be the winners in this space.
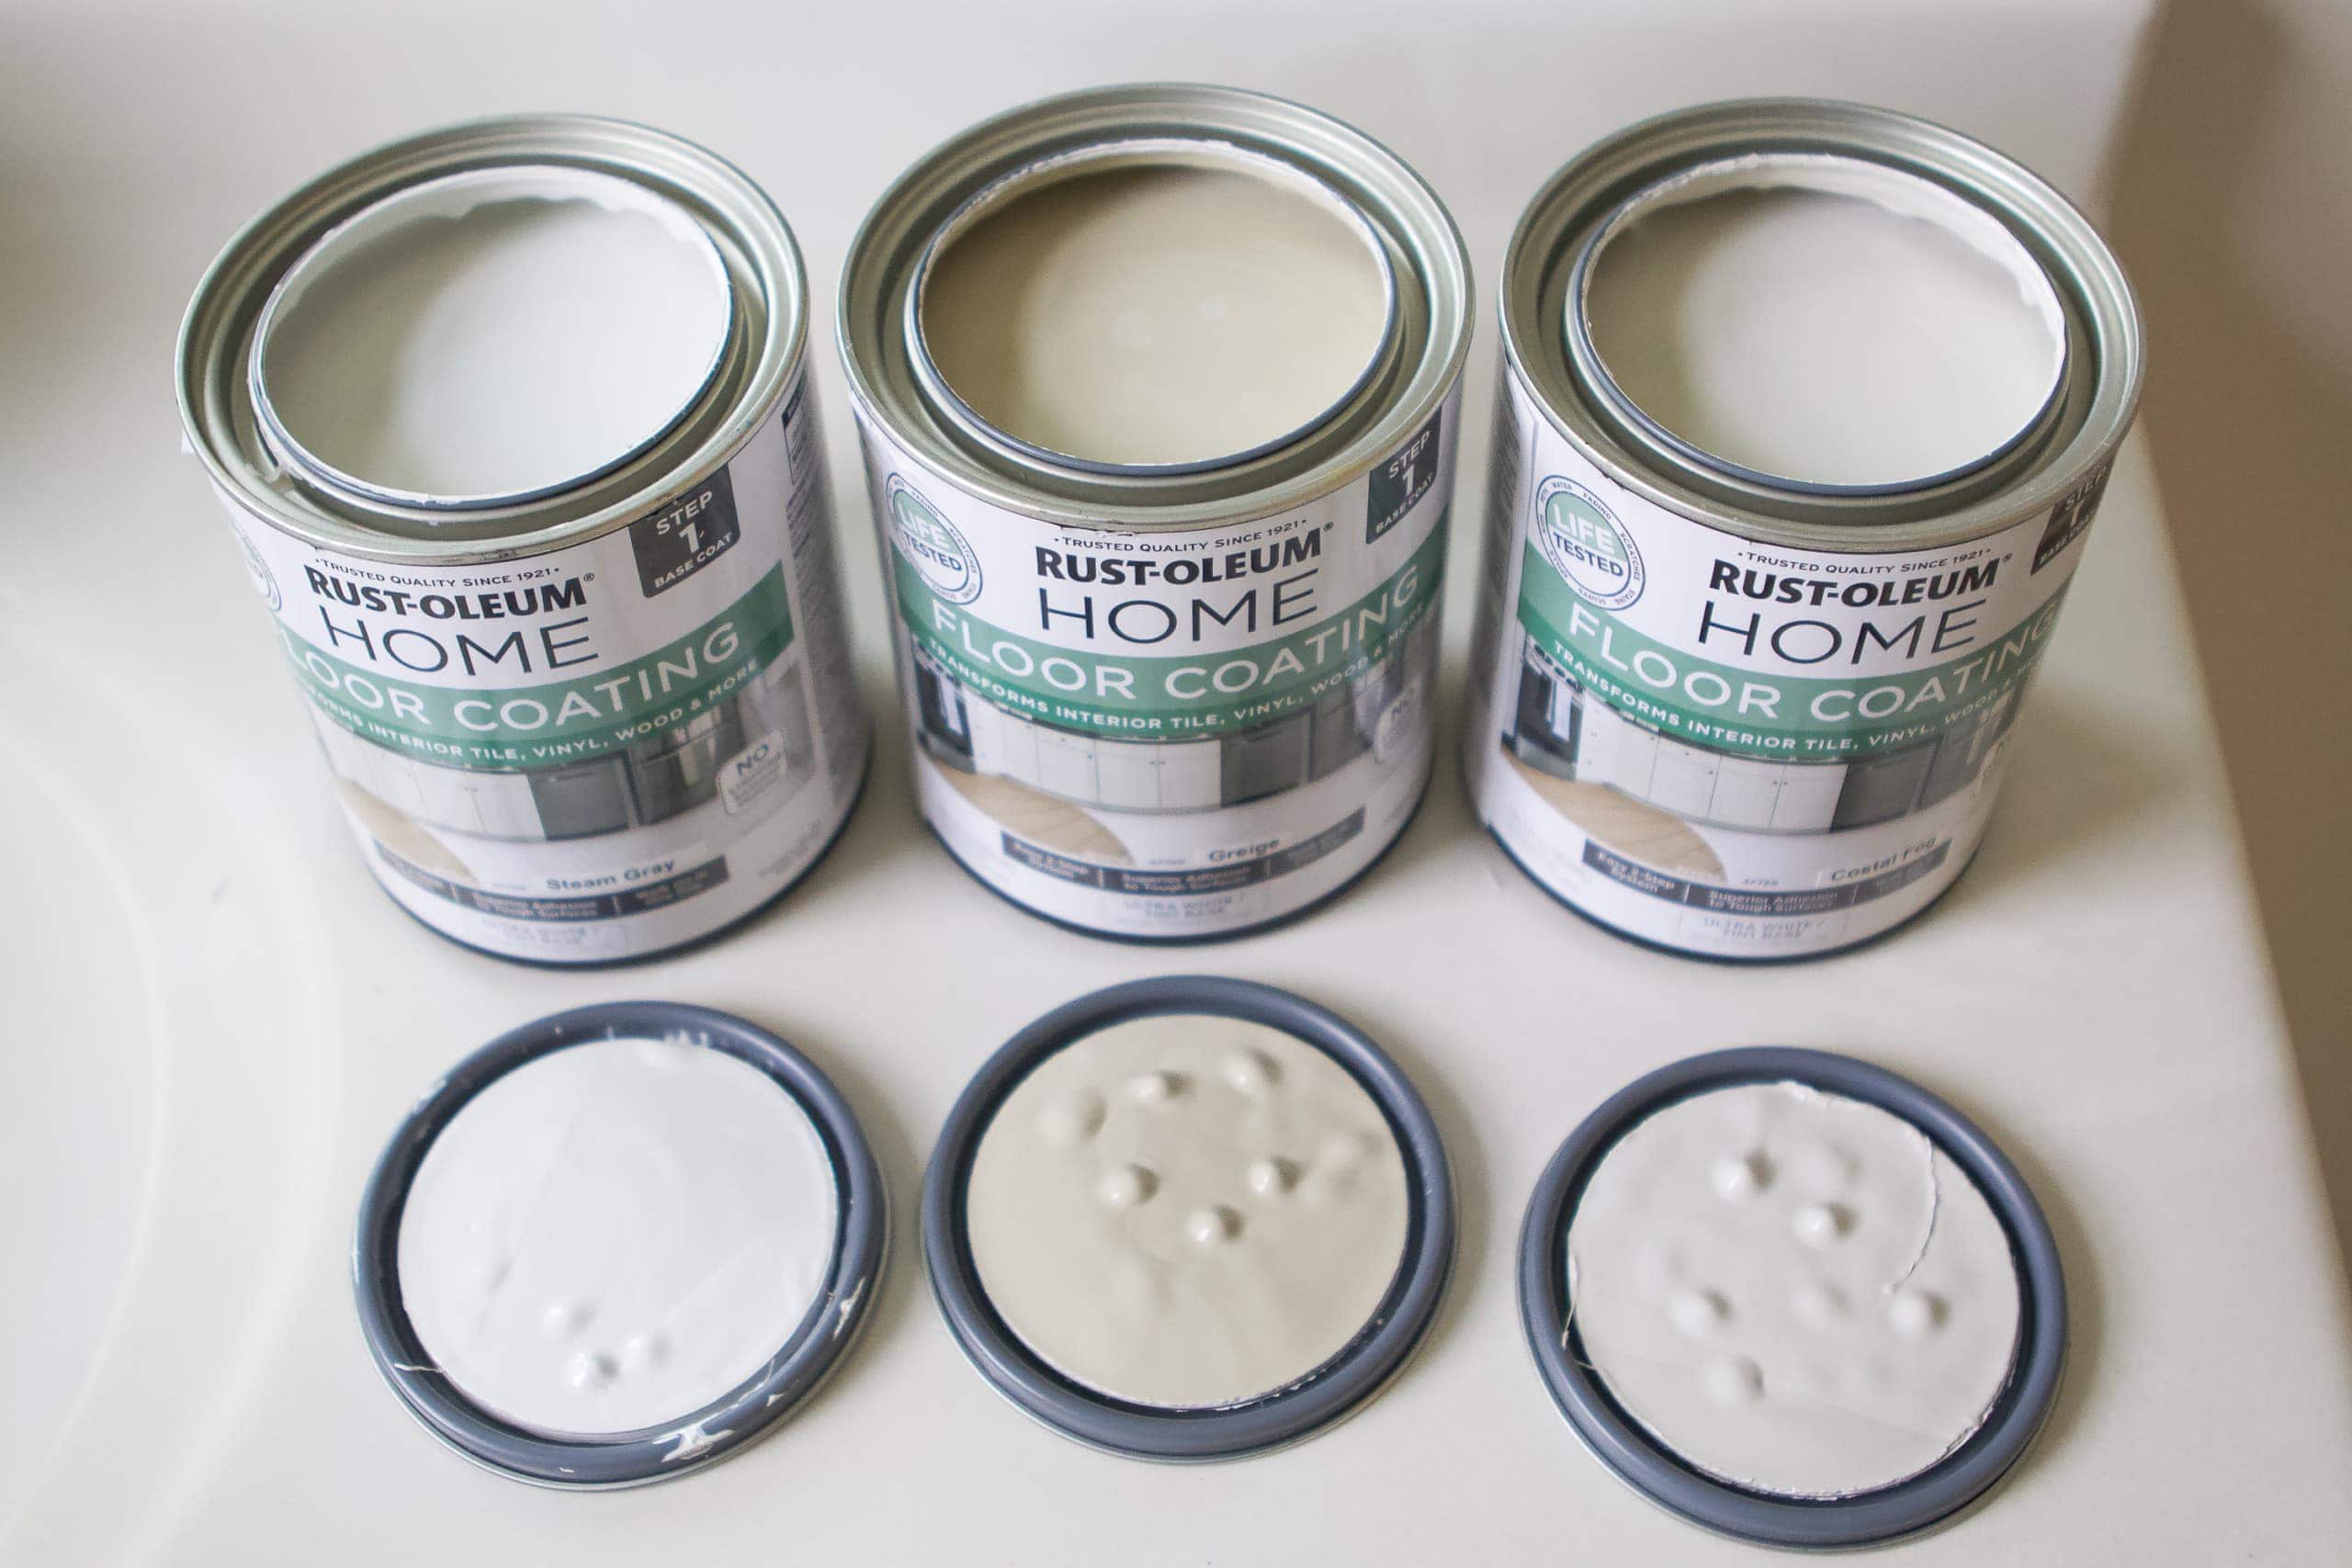
From Left to Right; Steam Gray // Greige // Coastal Fog
I knew I wanted to do a base coat of all one color and then stencil a design in another color on top. After seeing the colors in person, I decided on “Coastal Fog” for the base and “Steam Gray” for the top design.
When buying the paint, it’s super important to make sure you also buy the top coat. It comes in either a matte or semi-gloss sheen, and I opted for the matte. Or you can just buy this kit that has everything you need!
How much tile floor paint do you need?
It depends on your square footage and how porous your original tiles and grout are. For best results, plan for two coats of paint for the base color, plus your stencil color, plus a clear coat (top coat). I’d rather you have a little extra than run out mid-project. Nothing ruins a good time like a last-minute Home Depot run.
Step-by-Step: How to Paint Tile Floors
This DIY is beginner-friendly, but the results come down to a few key details. I’ll walk you through exactly what I did, plus the little lessons I learned along the way.
Clean Your Floors Really Well
Every painting project starts the same…with some prep work! This project is no different. You want to get your floors super clean before you paint them. I first vacuumed the floors well and then used Krud Kutter to get the tile super clean.
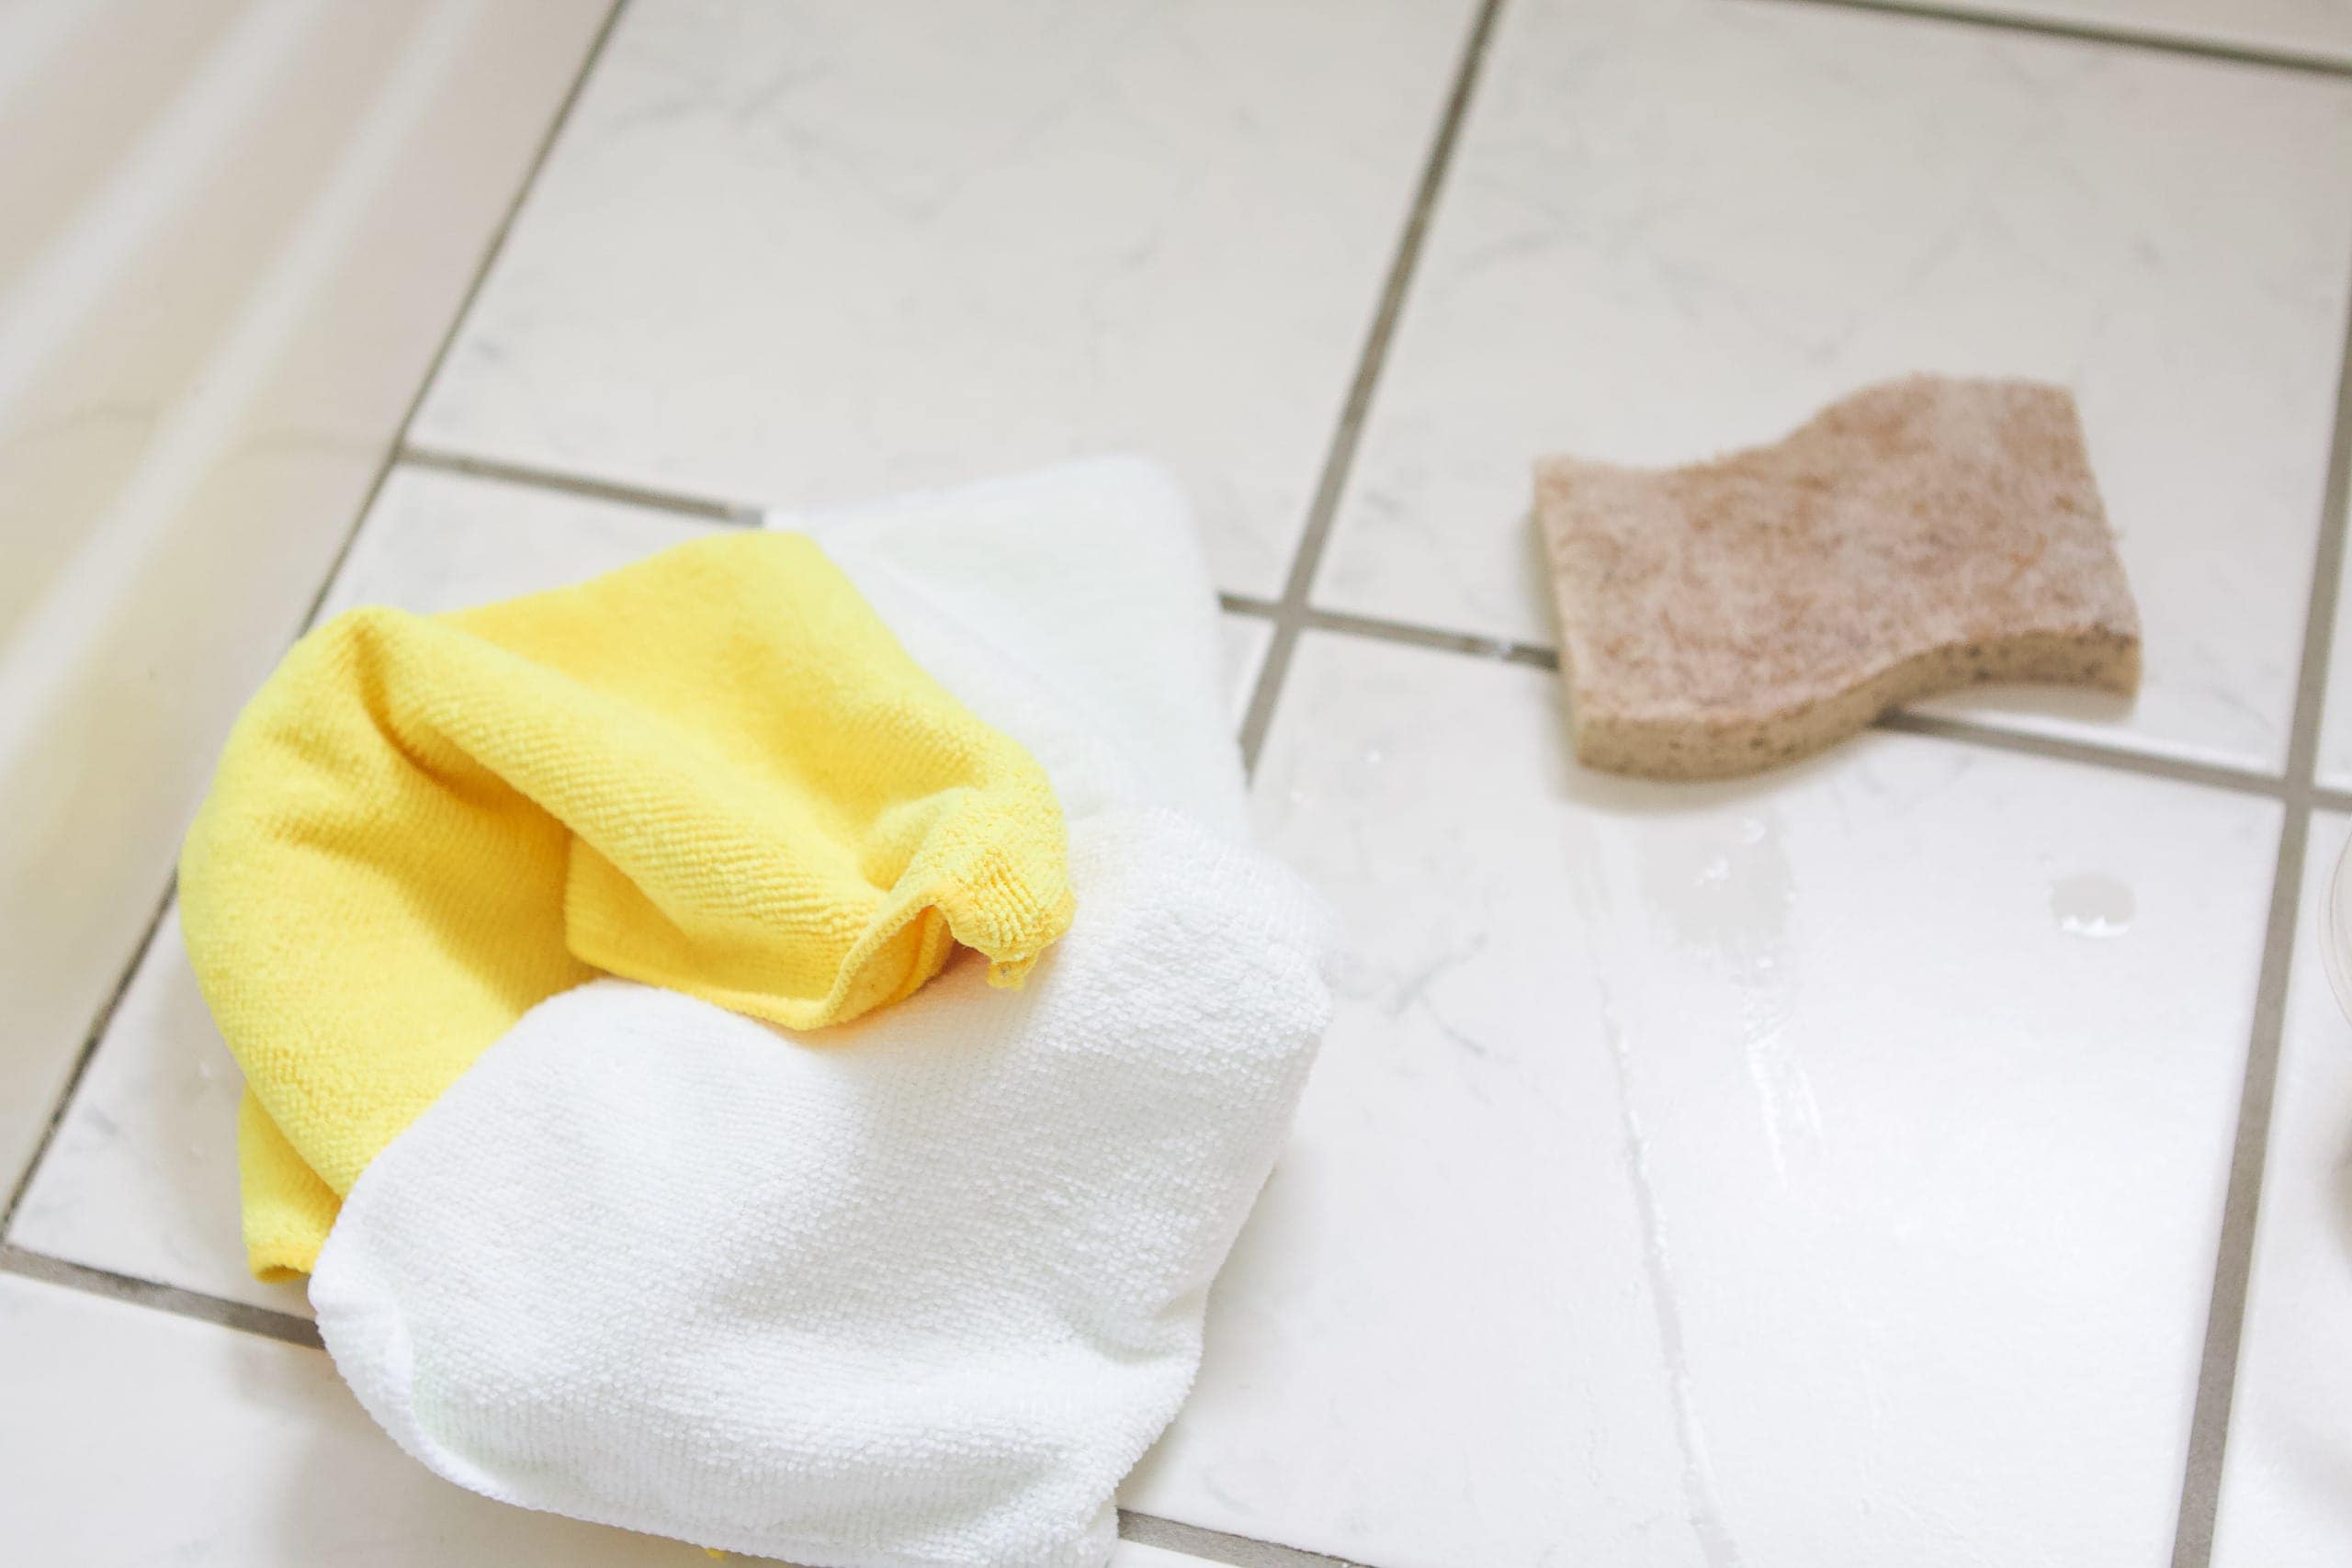
I just followed the directions on the back of the bottle and used a scrub brush to really get into the grout lines and around the edges of the floor.
After cleaning, I did a final wipe-down with fresh water and a mild soap solution to remove any residue. I used microfiber cloths and a soft sponge, and I avoided anything that leaves a residue behind, because that can mess with the paint sticking.
Let everything dry completely before you move on to the next step.
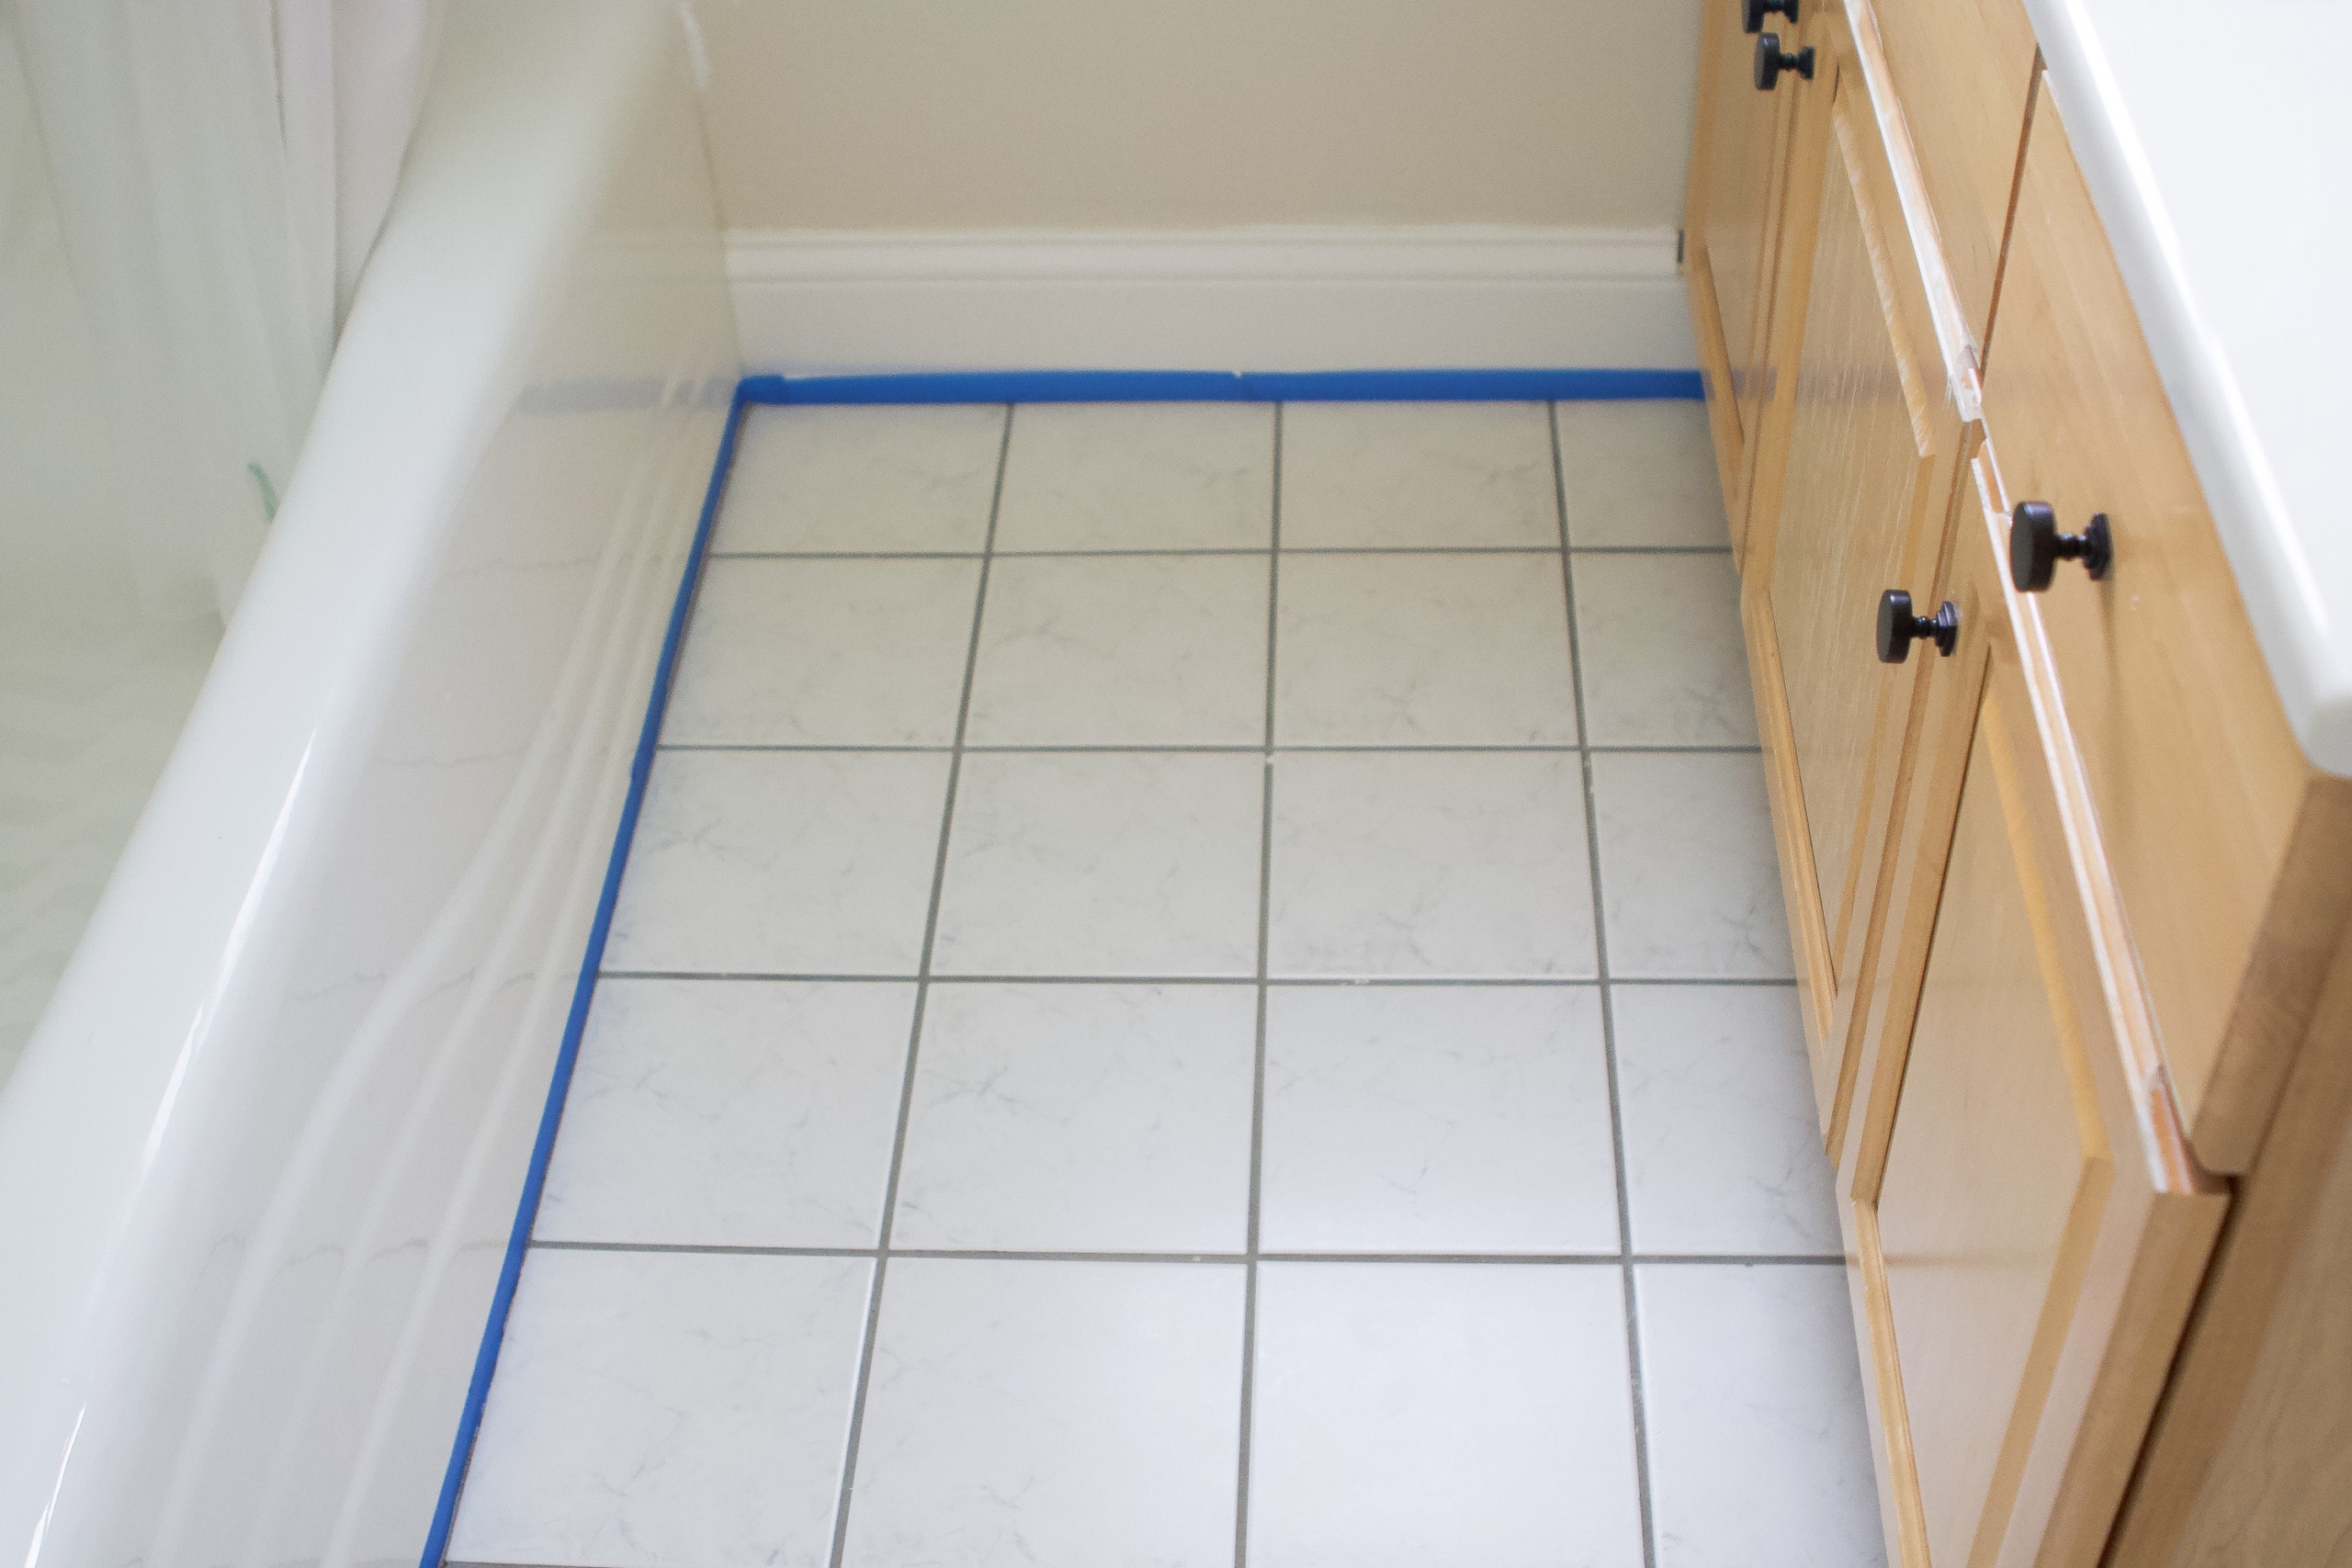
I then used painter’s tape to tape off the baseboards, vanity, and toilet – basically any edge that I didn’t want to accidentally paint.
If your baseboards have gaps, you can run a thin bead of paintable caulk first so the edges look cleaner and more finished. You will be able to use the floor paint right over the caulk.
Apply Your Base Coat
I’m not gonna lie, I was a tad nervous when I started painting. I mean, there was definitely no going back. But I figured ANYTHING was going to look better than the current state of our ugly tile, so I might as well go for it.

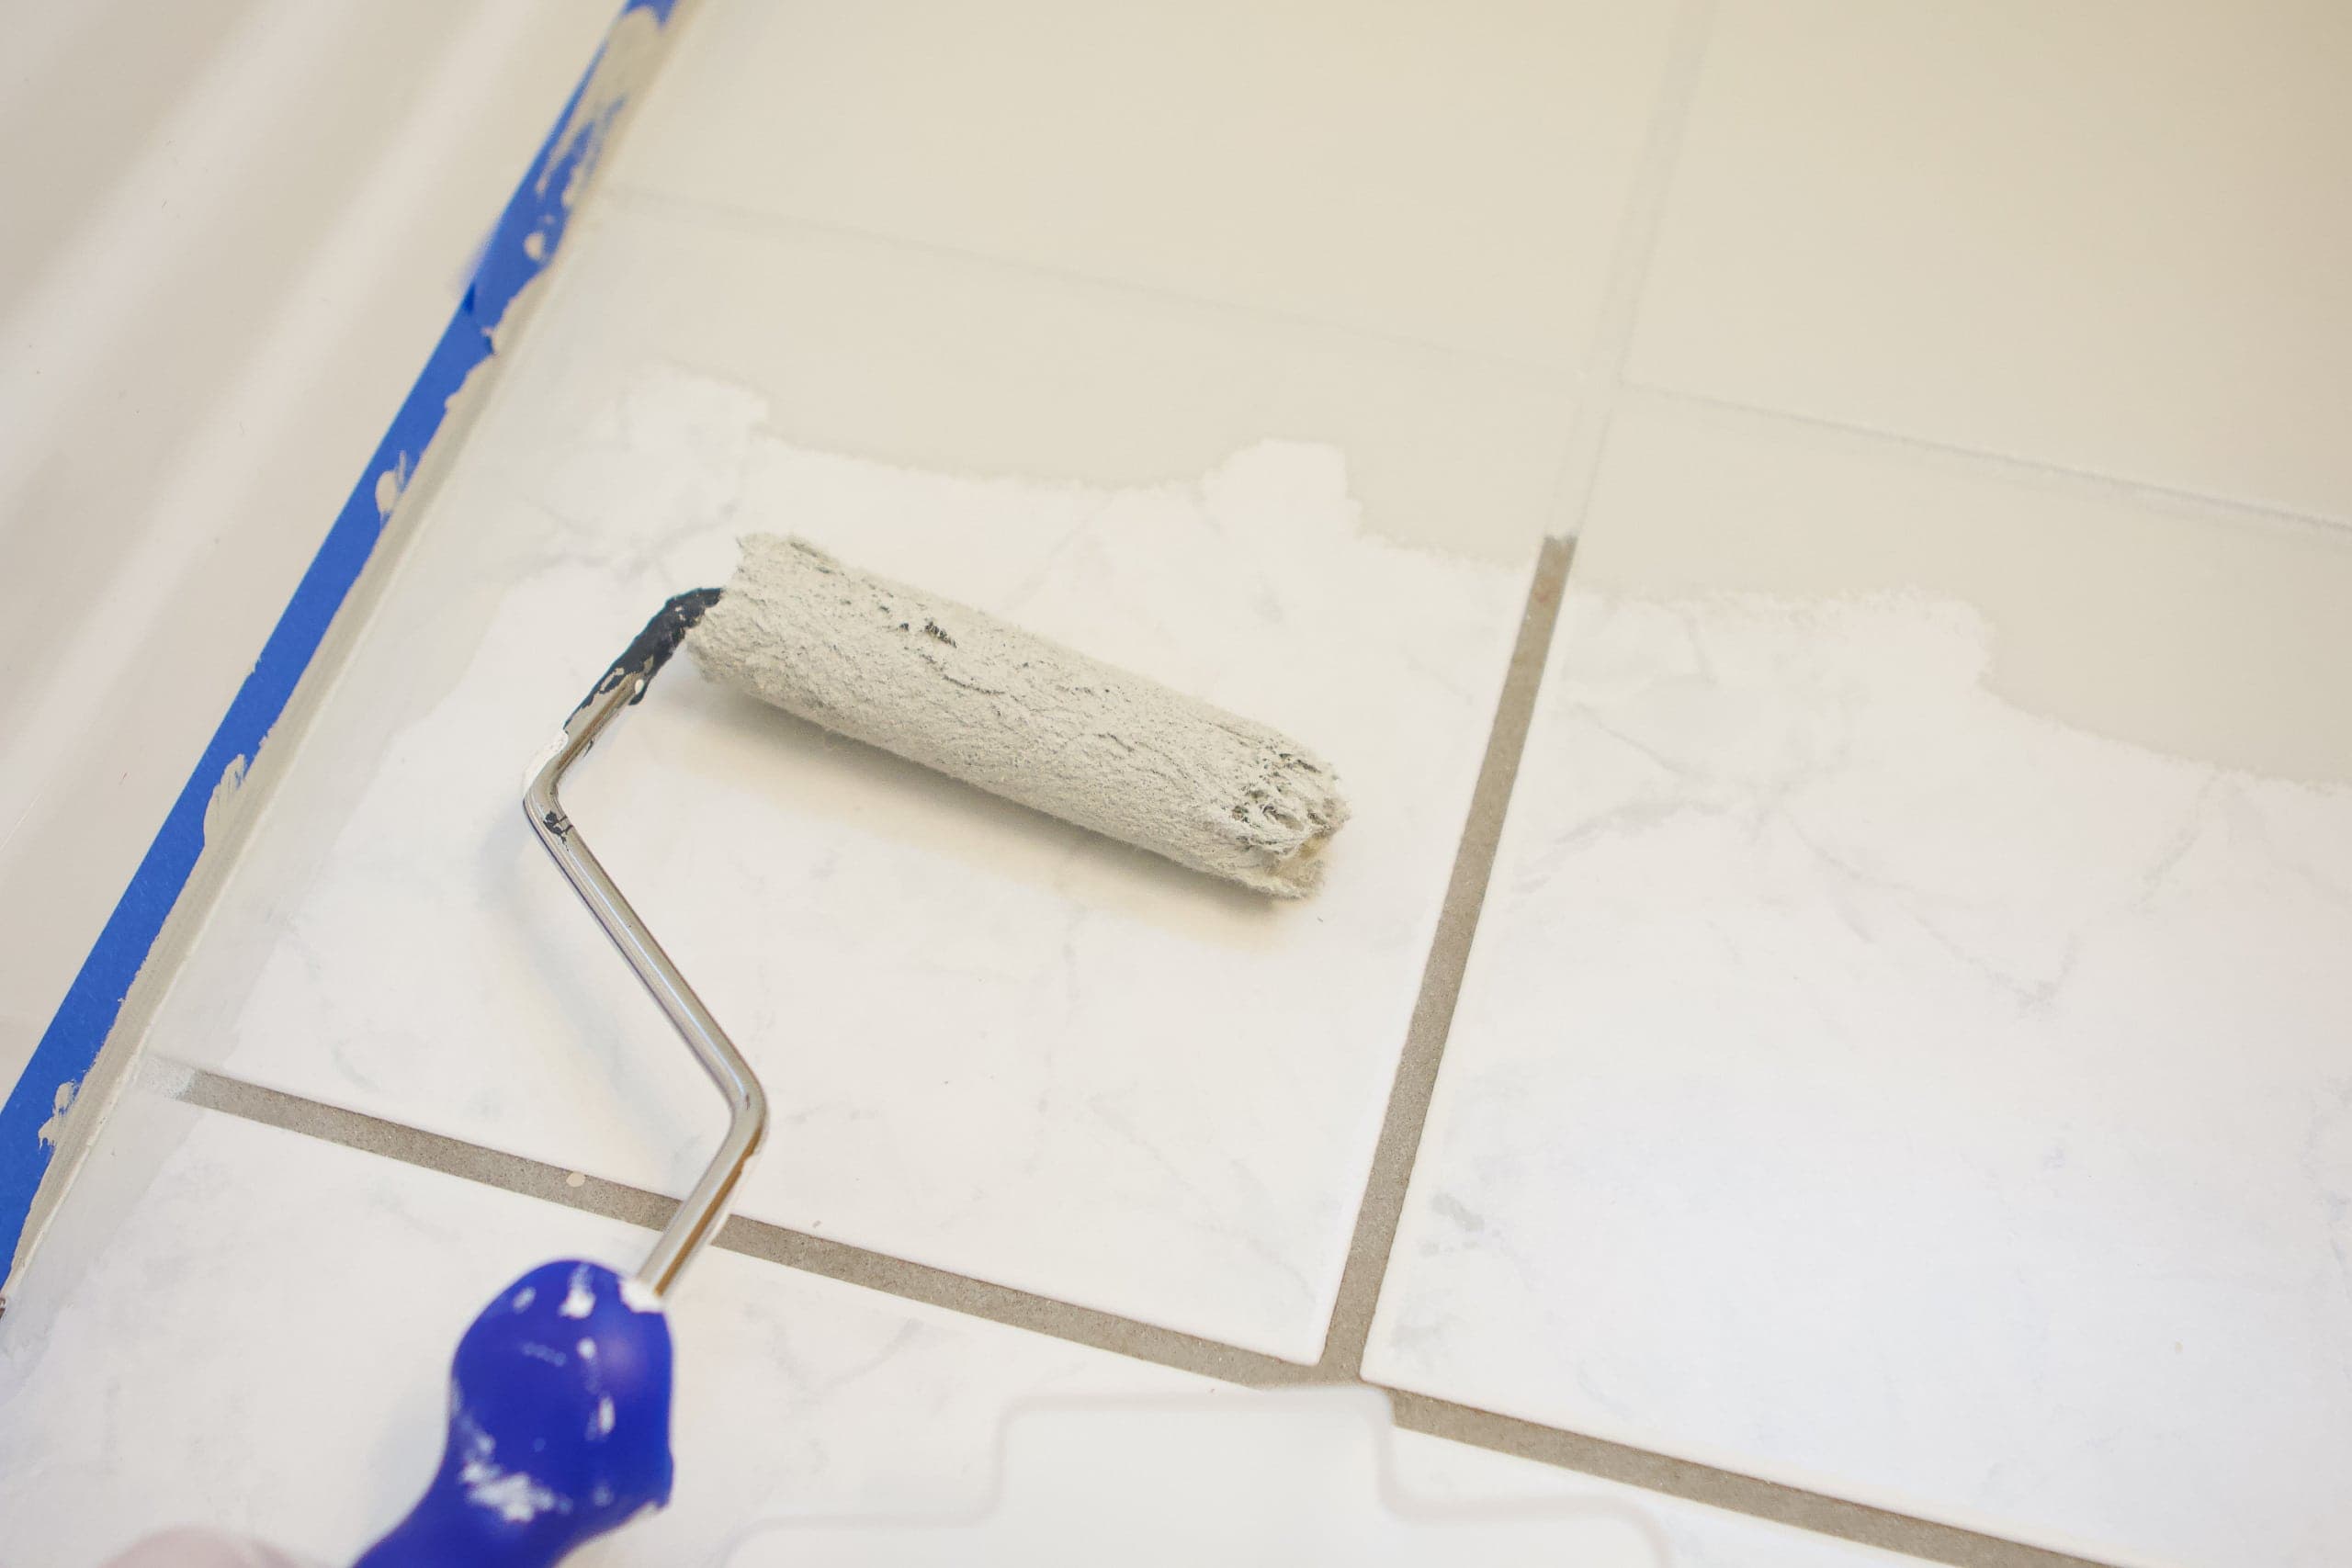
I worked in 4×4 areas, painting the edges with a brush and rolling the rest. It’s super important that you use a 3/8″ nap roller for this and you don’t want to use so much paint that it puddles.

I started at the far wall of the bathroom and worked my way out. I recommend wearing knee pads or kneeling on a towel. Trust me, your body will thank you later!

It took me about an hour to get the entire floor covered and the hardest part was maneuvering around tight spots, like the toilet. One coat is recommended, but I decided to put on a second coat because I had a few spots that weren’t totally even and uniform.
I waited six hours to apply that second coat (It is super important to wait that long!) and then let the second coat dry overnight.
Stencil the Floor
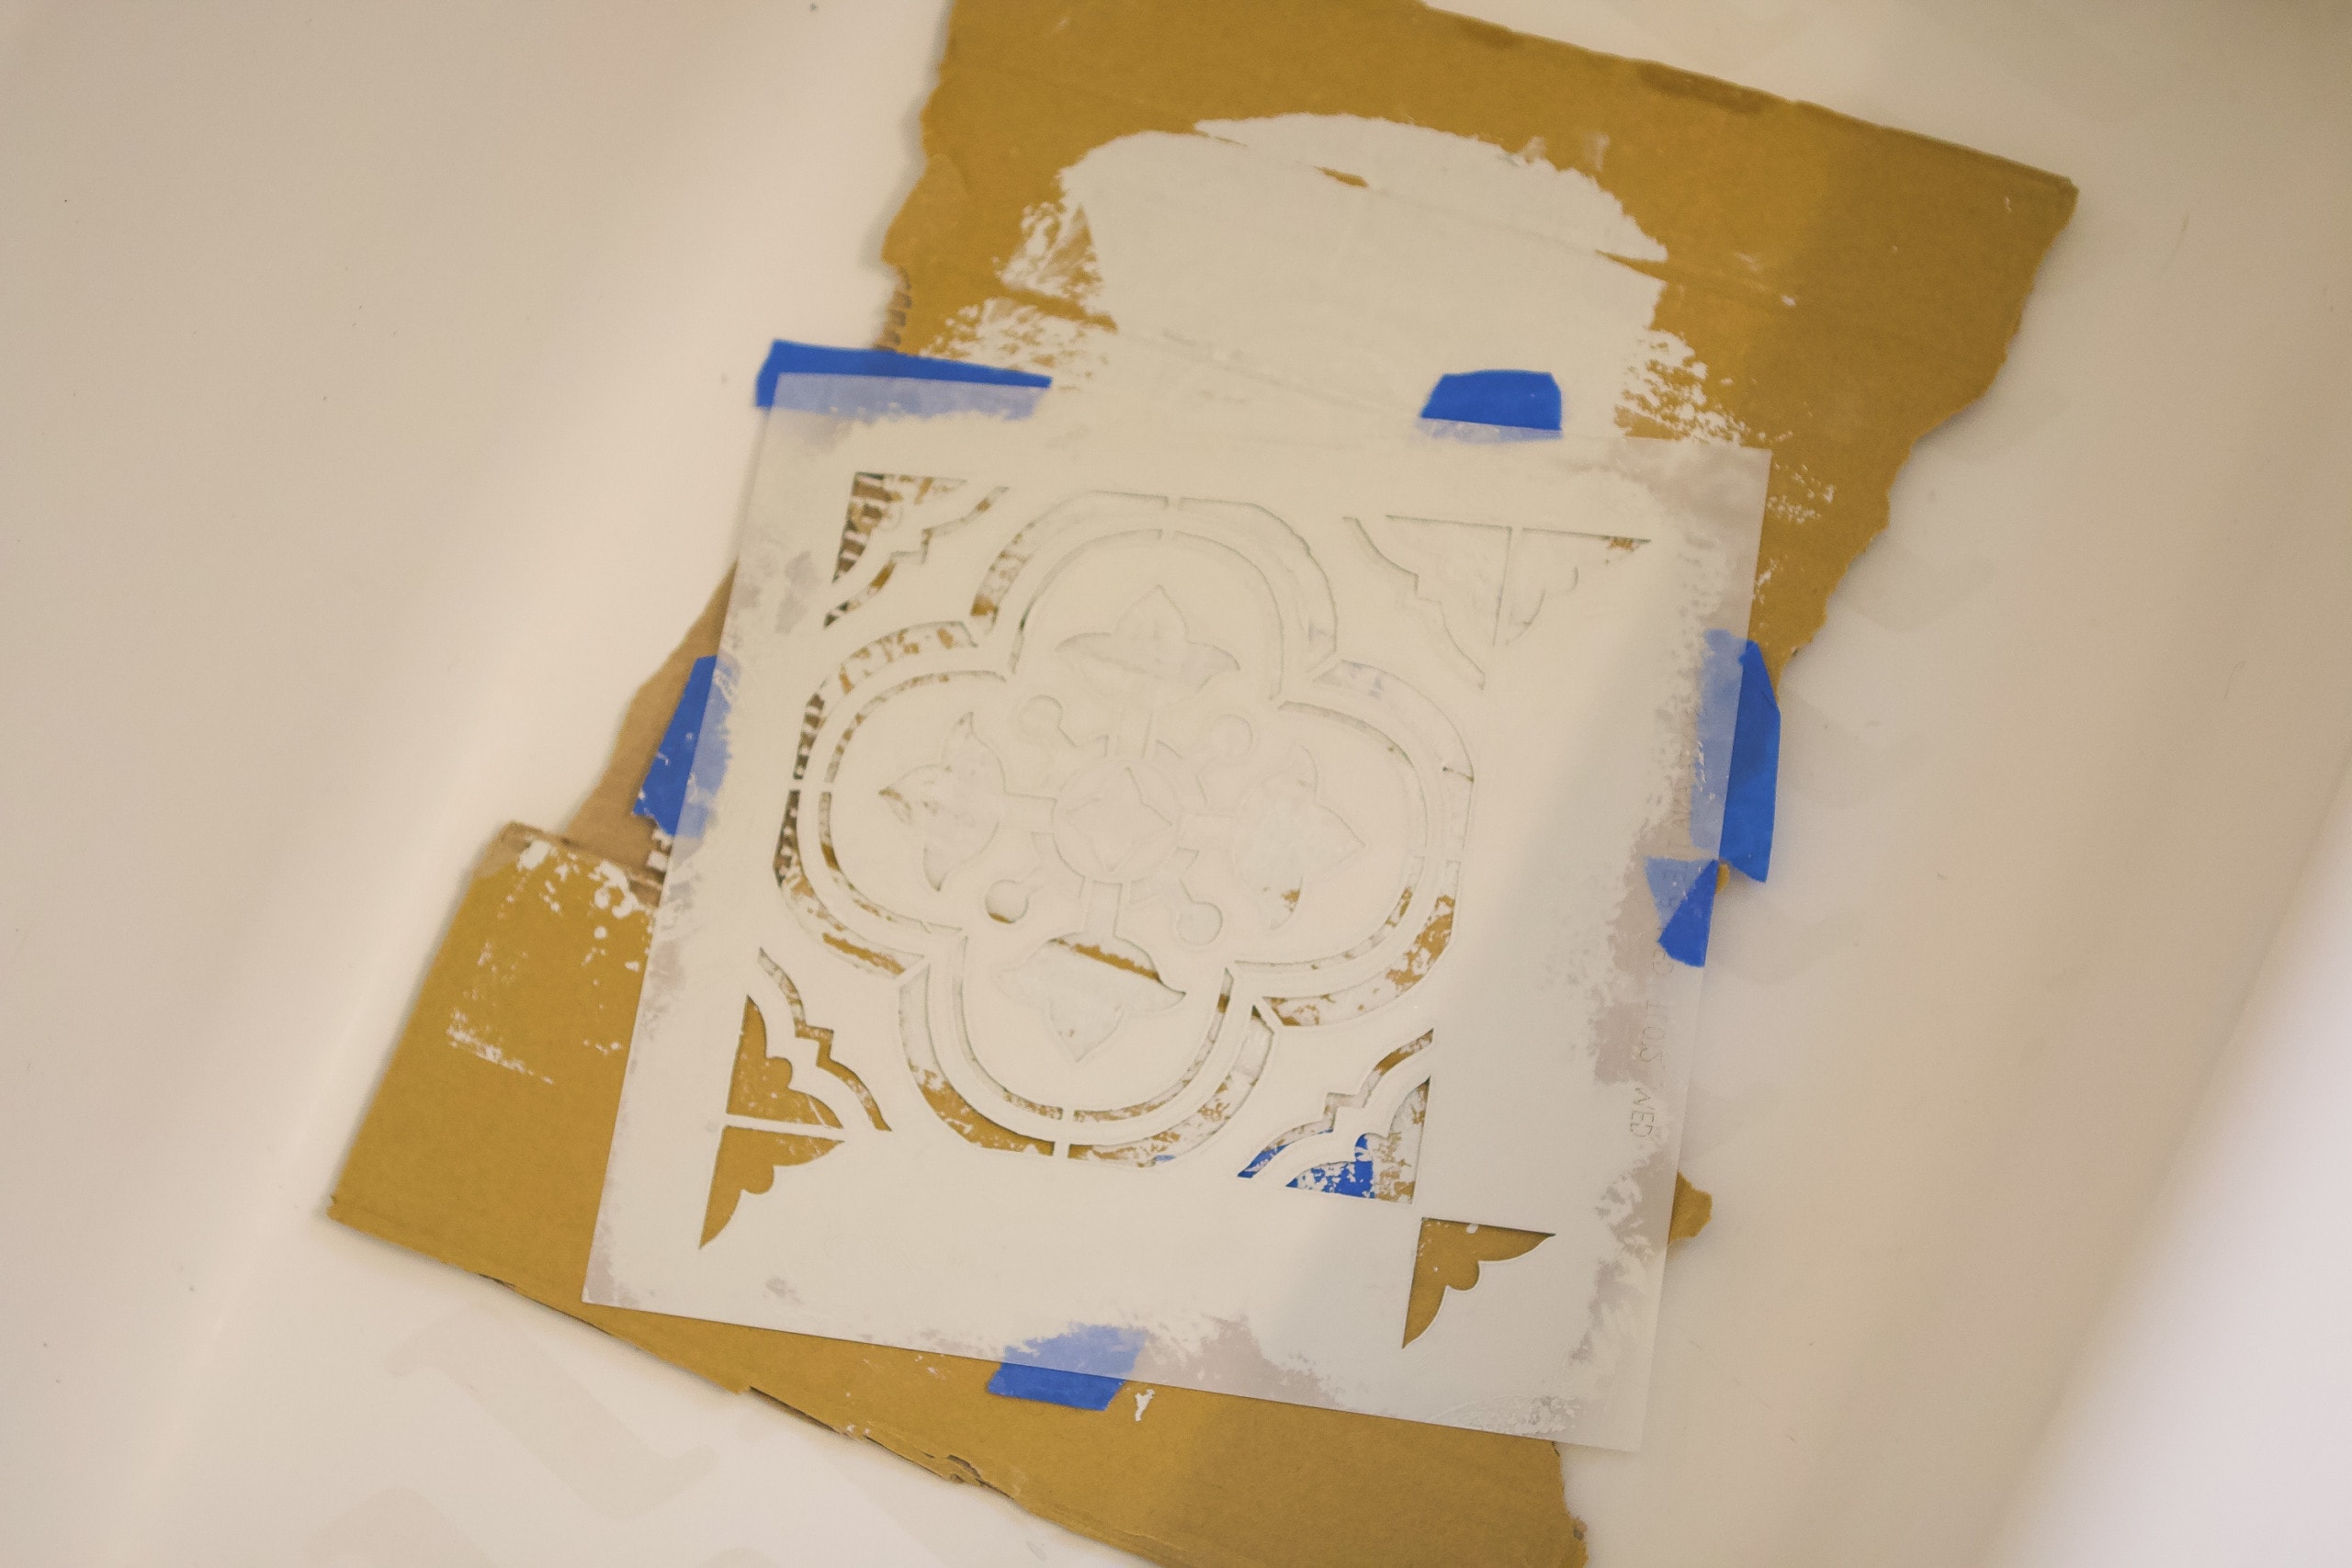
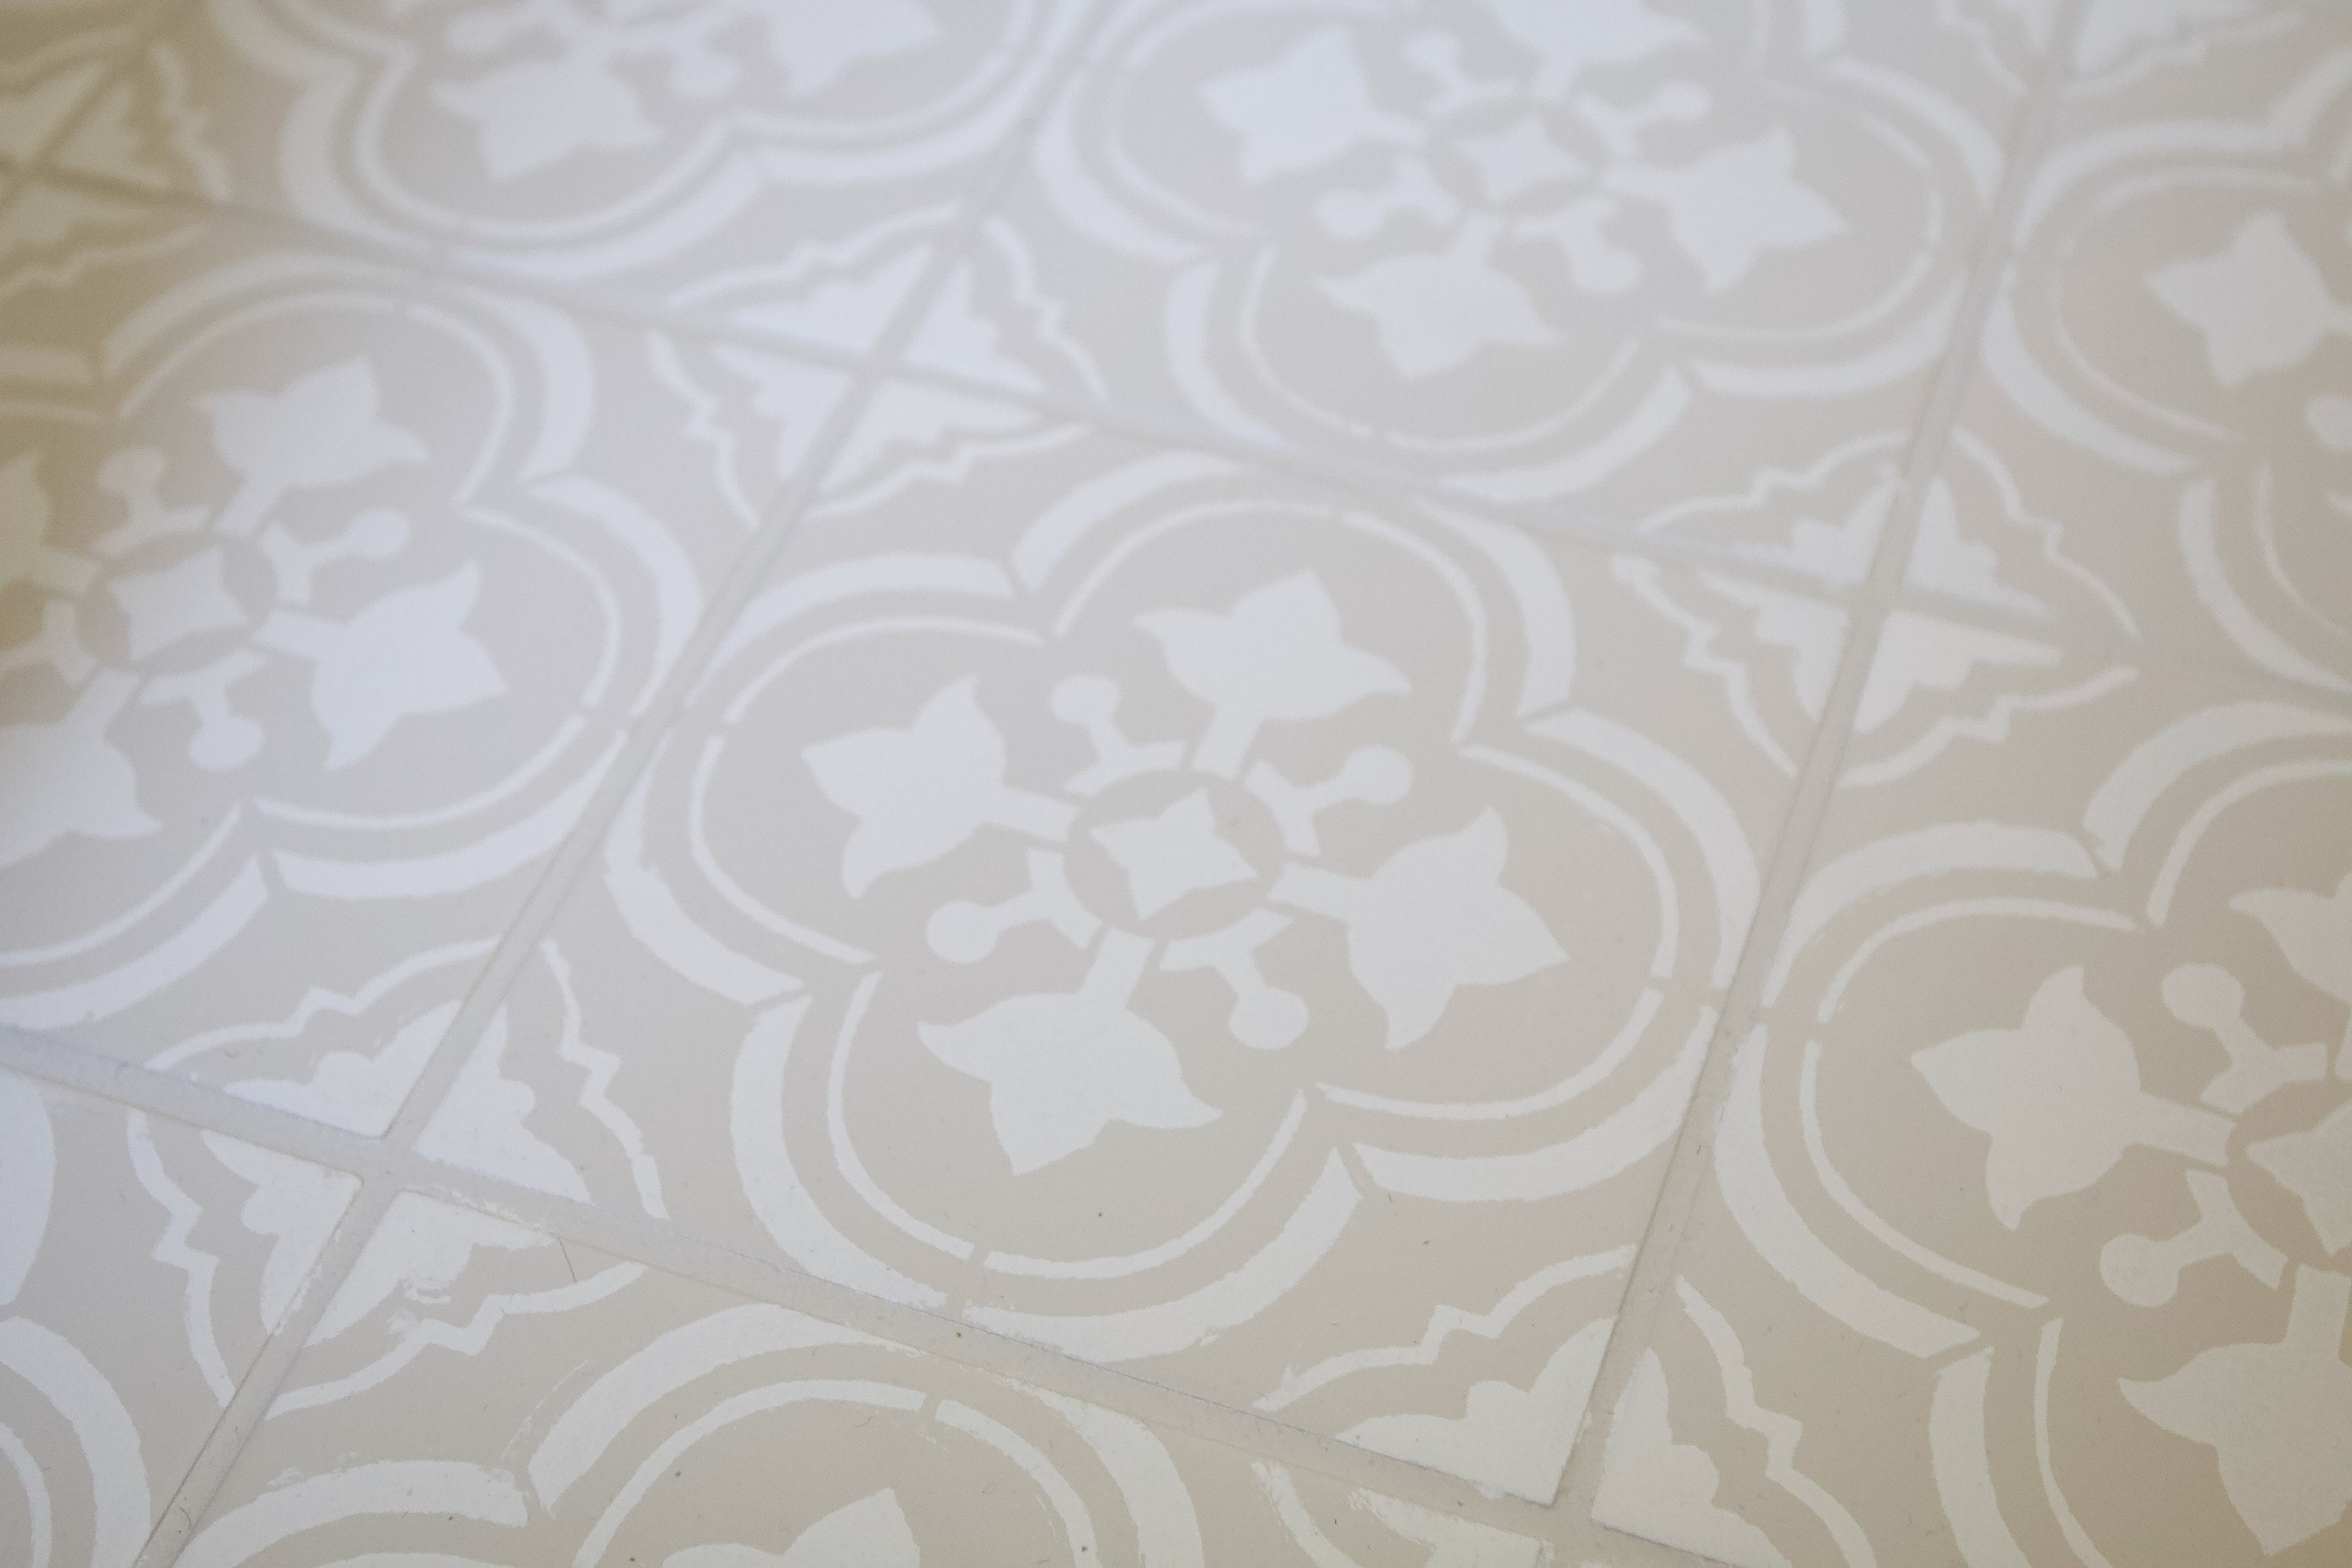
The next morning, I woke up raring to go. My floor was dry and already looked ten times better than the outdated tile. I perused so many stencils from this site and ended up going with this one because I loved the intricate design and figured this room could use some round and soft edges.
I haven’t ever really stenciled before, so this was new to me and I have a lot of tips to share, mostly because I made some mistakes along the way.
First, have a piece of scrap cardboard handy. You’ll need a place to rest your stencil in between painting tiles and you won’t want to place it directly on your floor. This was also a good spot to wipe down the stencil if I accidentally got paint on the other side.
Midway through my project, mine was pretty banged up and coated in thick paint, and I had to give it a good cleaning. It would have been nice to have a fresh one for the rest of the floor. Next time I’ll know better.
How to Avoid Bleeding (Less Paint!)
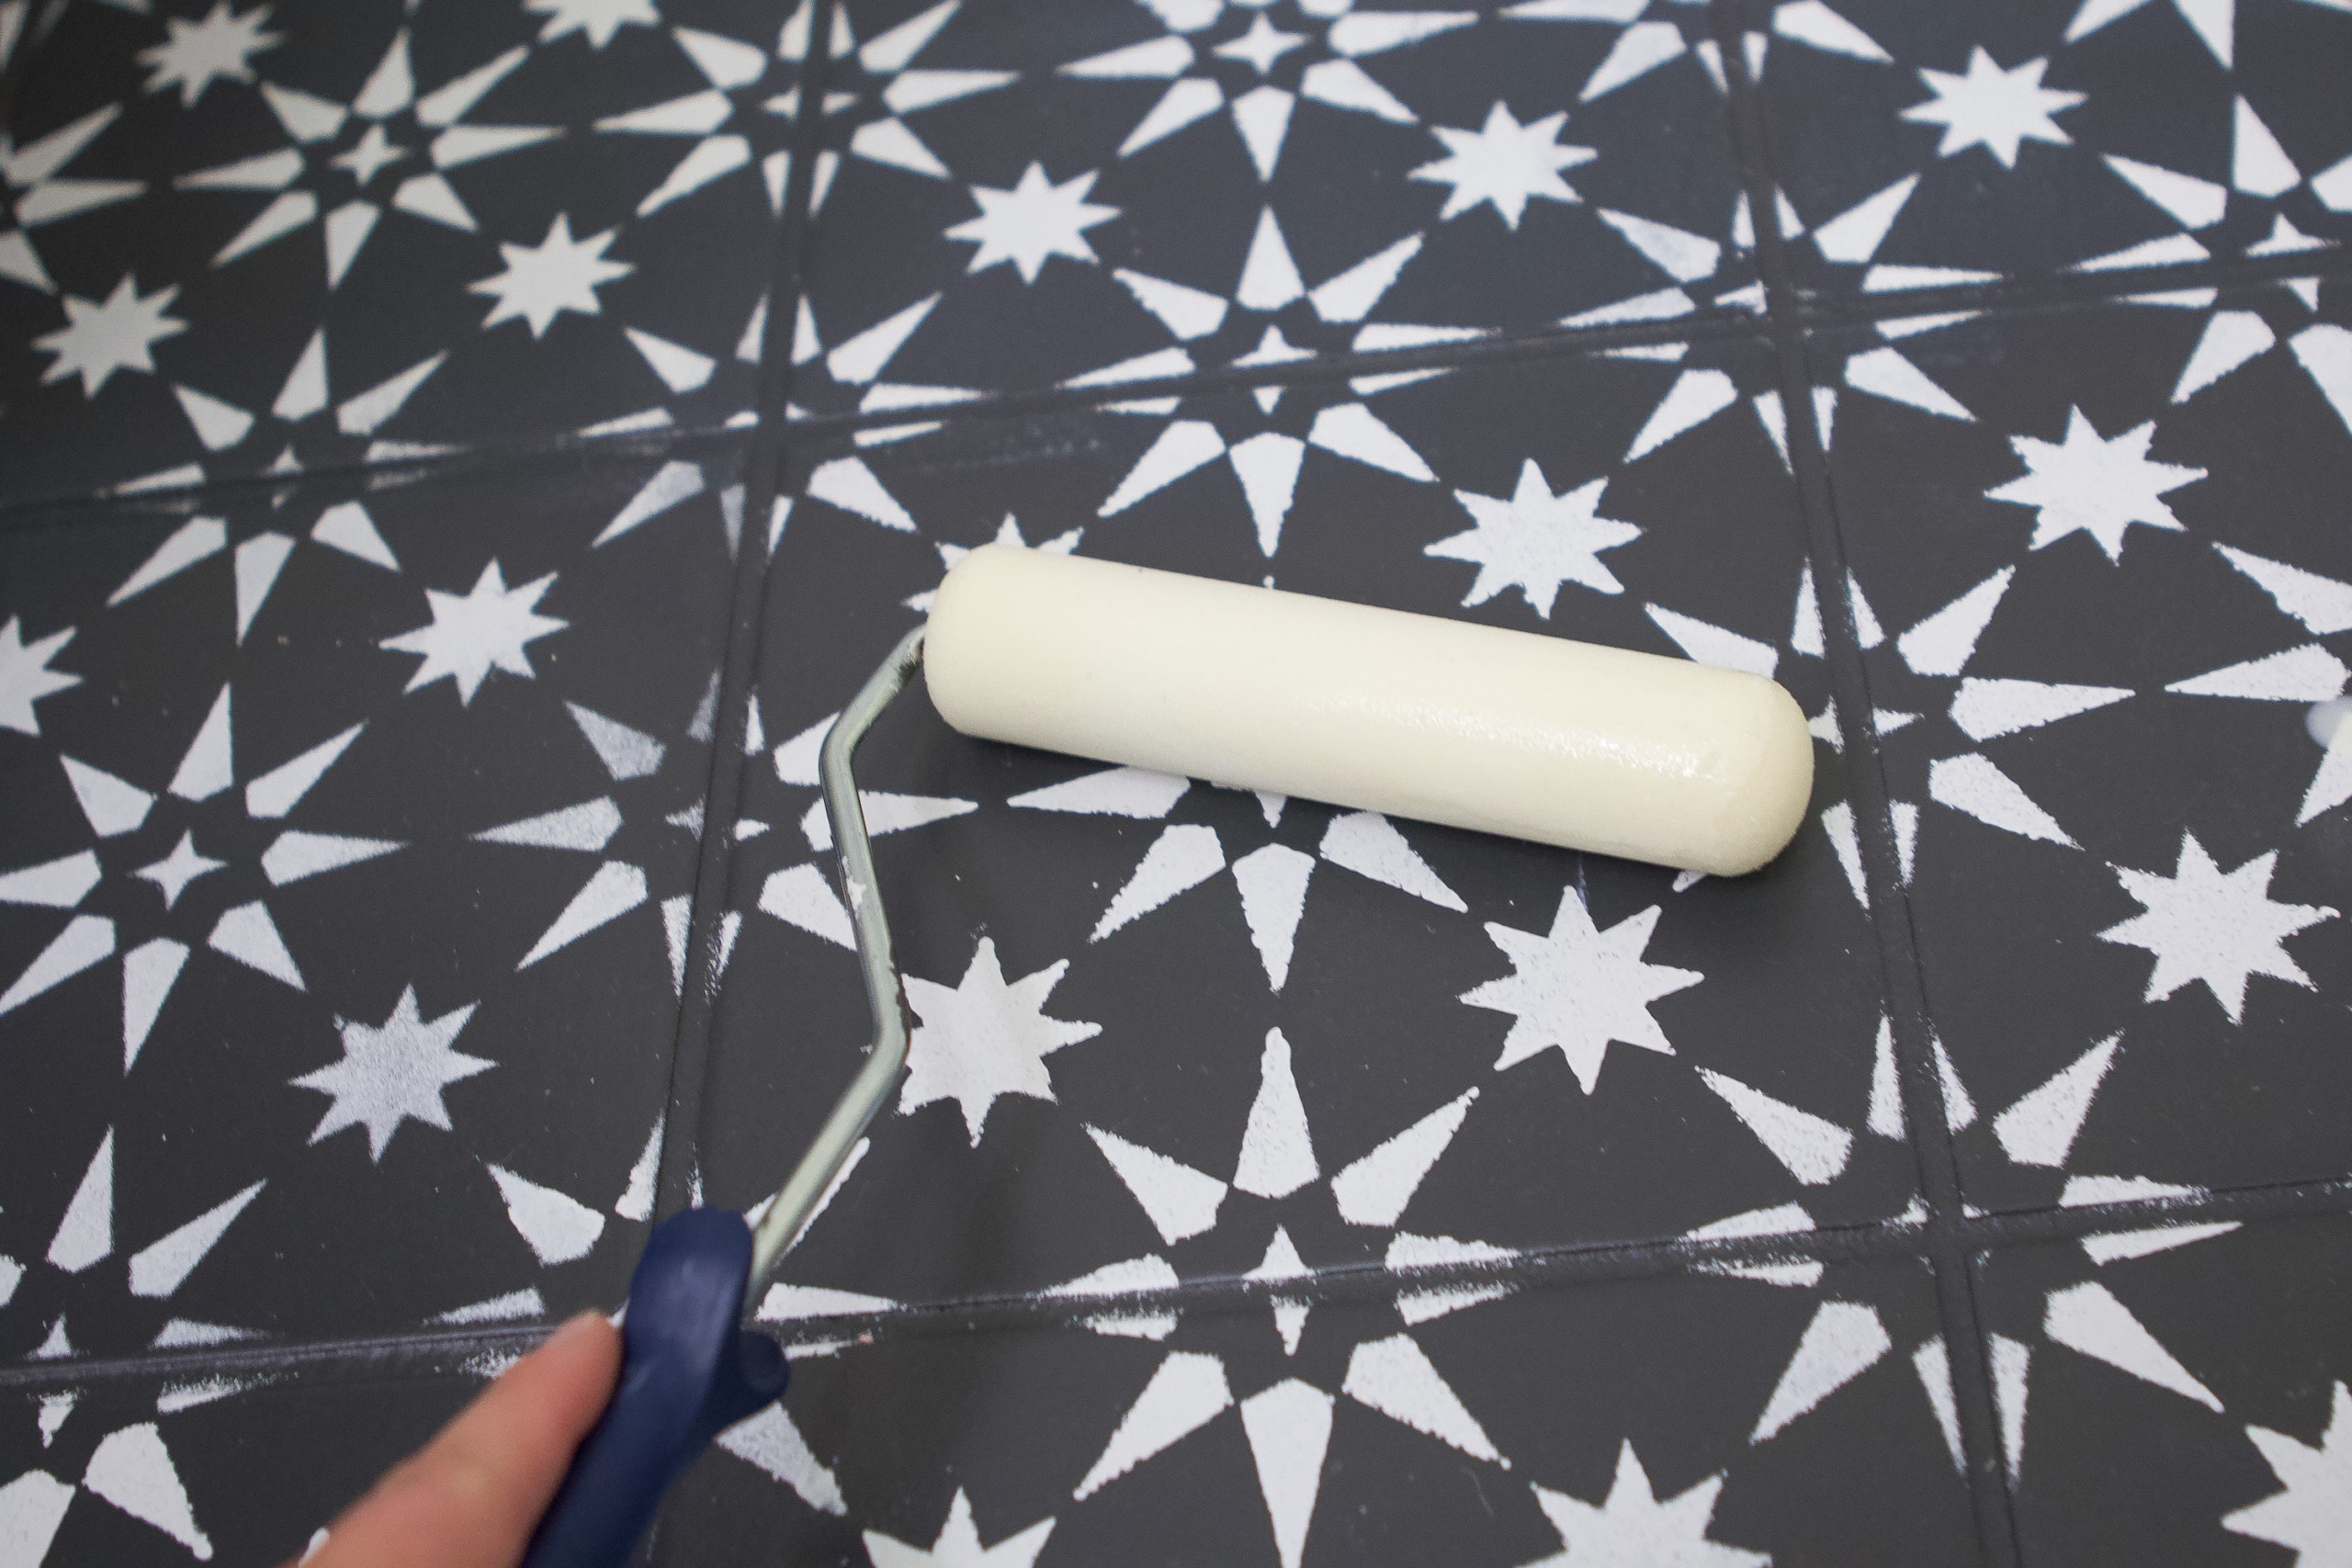
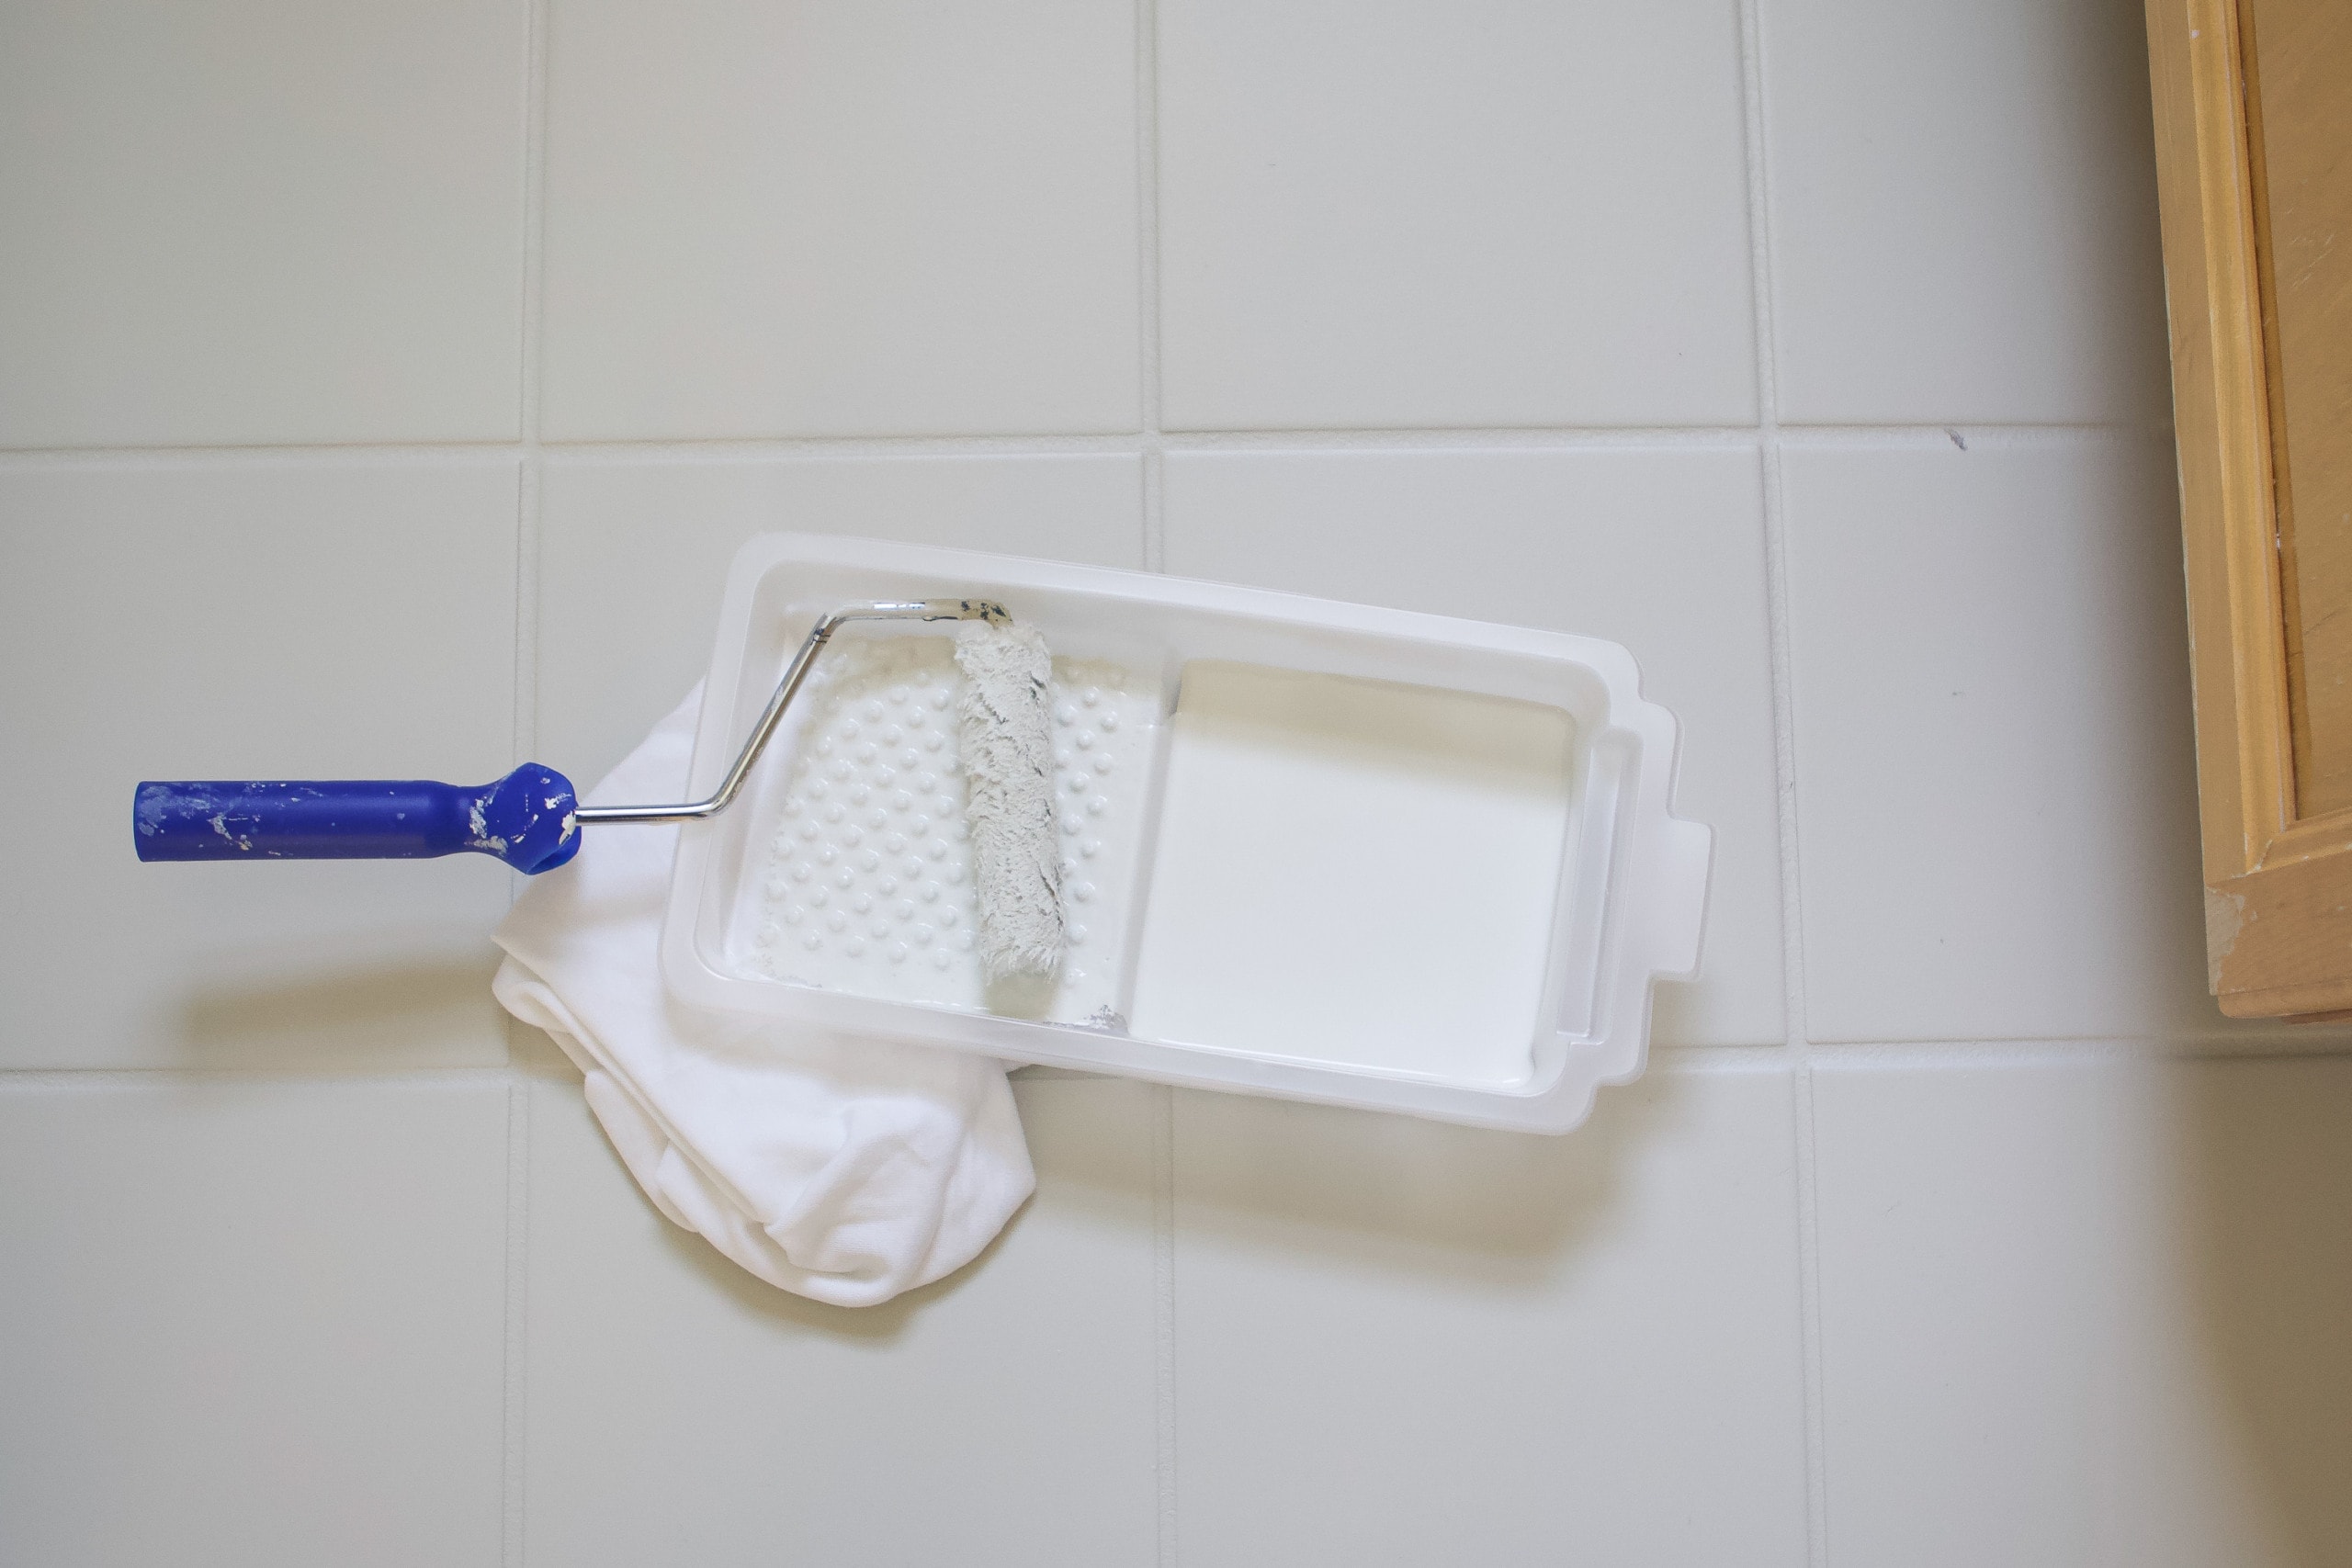
You’ll use a tray and roller to stencil the floor. I used the color “Steam Gray” that actually looks more like white than gray.

I quickly learned that the key to stenciling is to use a teeny tiny amount of paint. There’s no need to load your roller every time you stencil a tile. Instead, one roller full of paint should last for five to ten tiles, or more! A few of my first tiles were a bit wet, and this got the stencil pretty goopy.
Stenciling Edges & Corners
My next challenge was figuring out how the heck to do the edges and corners. It was hard to get my stencil in there to get the pattern perfectly on the ground.

For this, I found that using a stencil brush (instead of the roller) was key. I taped my stencil onto the tile the best I could and then used the brush to stamp down onto the tile into the edges.

There were plenty of times that I made some mistakes or paint got on there too thick. When that happened, I would take a small paint brush and try my best to touch it up.
Touch-Up As You Go
Be sure to fix areas like that as you go, because you won’t be able to get back to them as you work your way out of the room. And if you get any paint where it’s not supposed to be, use a wet rag, immediately, and it should easily come up.
It took a few hours to get my entire floor done, but once everything was stenciled, it was the best feeling in the world.
Apply the Top Coat

I let the stenciled floor dry overnight before applying the top coat, although you really only have to wait a couple of hours for the stencil coat to dry.
The top coat is what protects the floor and keeps it super durable, so it’s a must for this project. Think of this as your clear coat and final coat—it’s what helps your painted tile floor resist wear and makes cleaning easier.
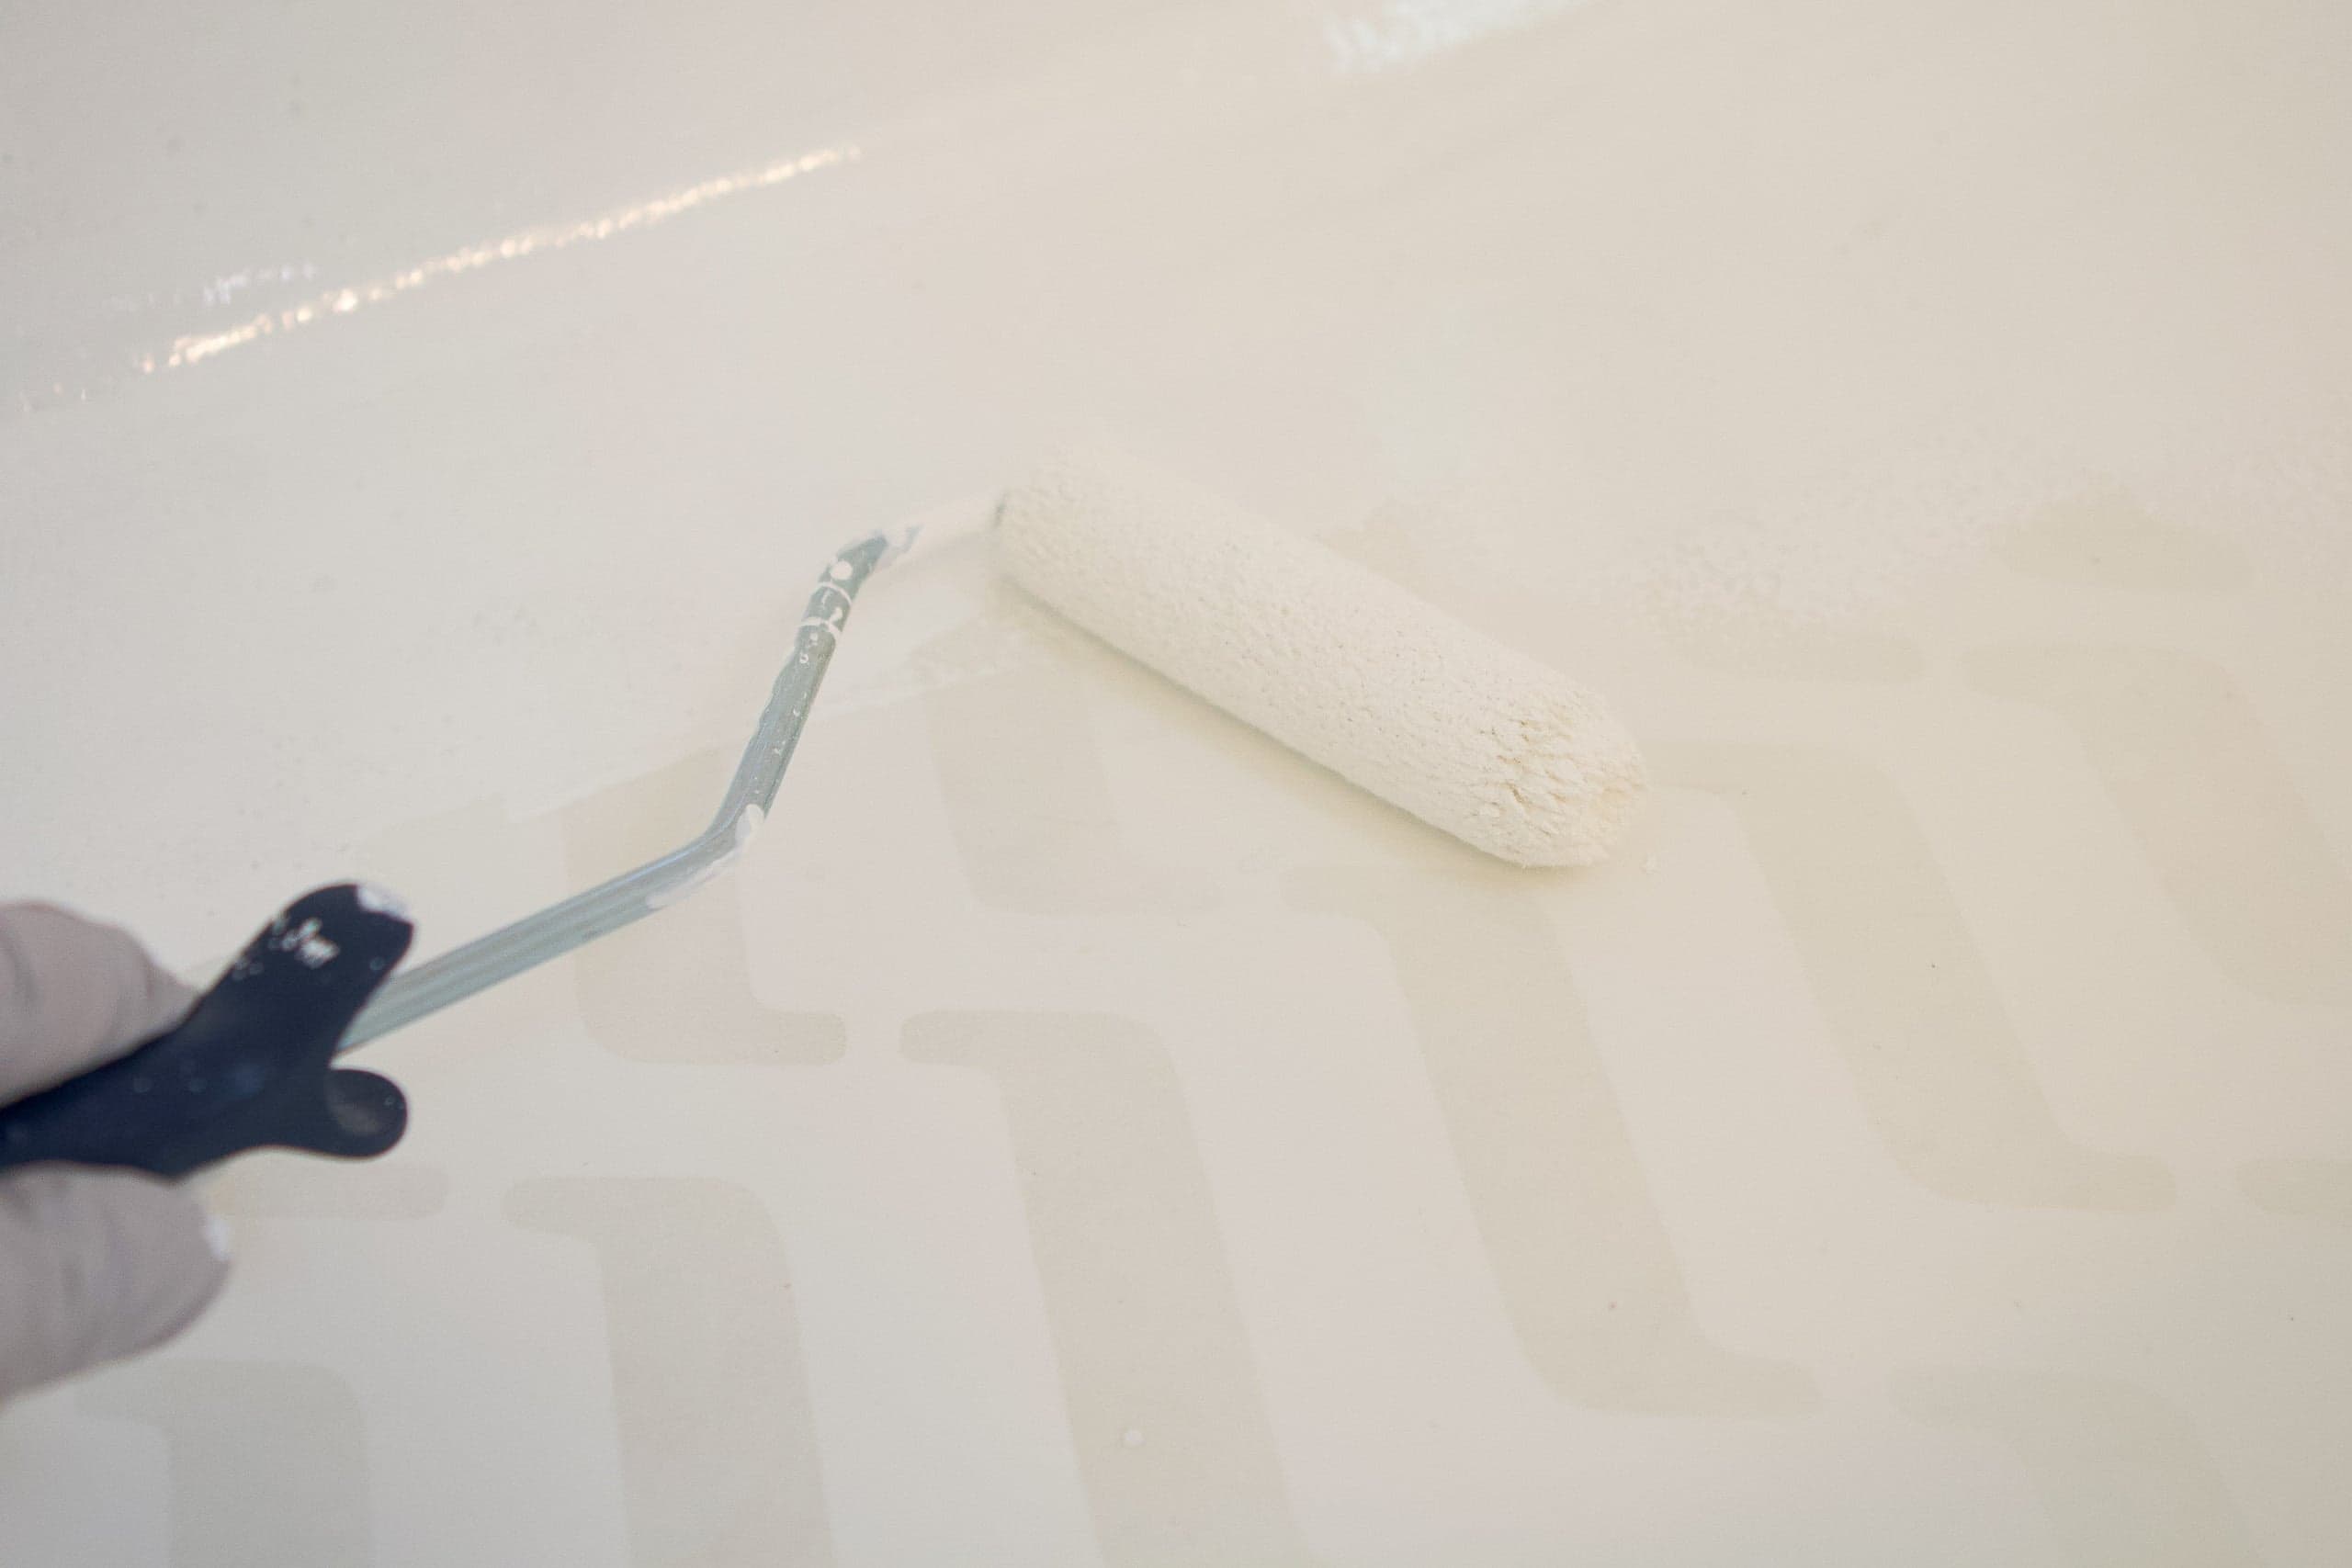
I decided to go with a matte sheen for my top coat so my floor would look like real cement tiles.
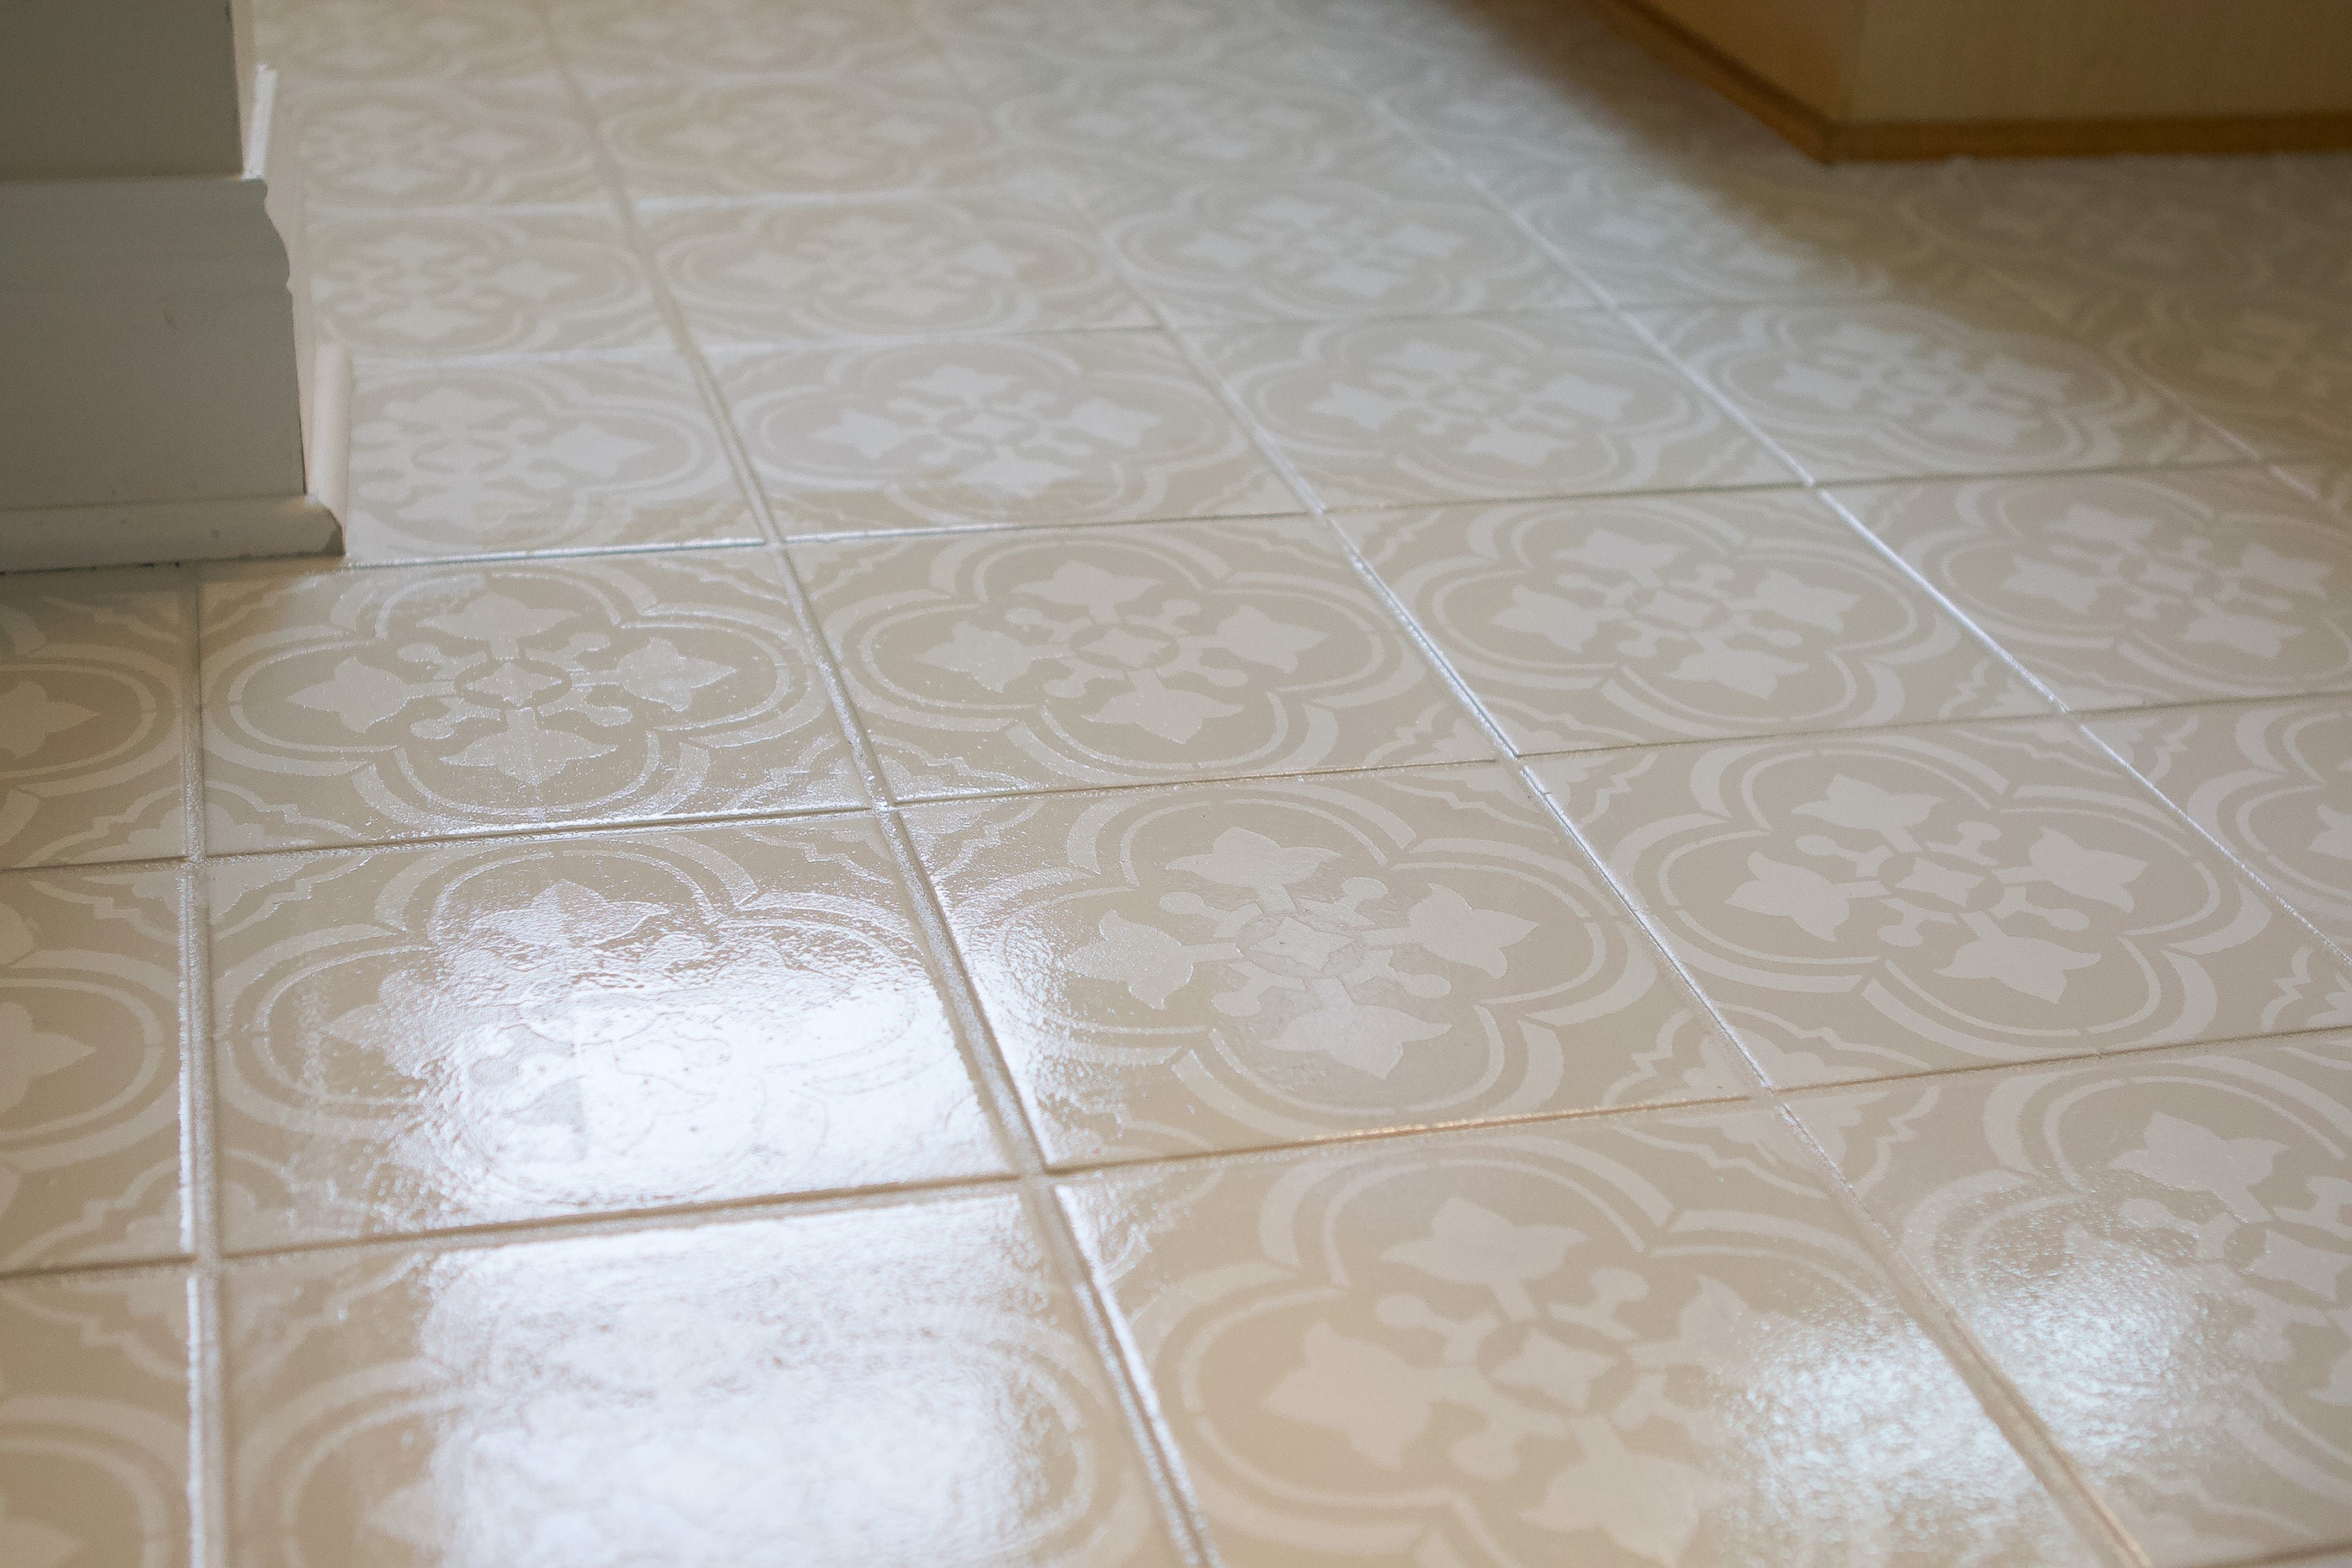
The top coat is clear and I used a 1/4″ nap roller to apply it to the floor, while using a paint brush for the edges. Just like the base coat, you should work in small sections and you don’t want the product to pool. It will make the entire floor look wet, but don’t worry, it will dry and look matte when finished.
Dry to the touch is not the same as fully cured. If you can, give it a few days before heavy use, and be extra gentle for the first week (no rugs with grippy backs, no dragging baskets, etc.). This one step makes a huge difference in how it holds up.
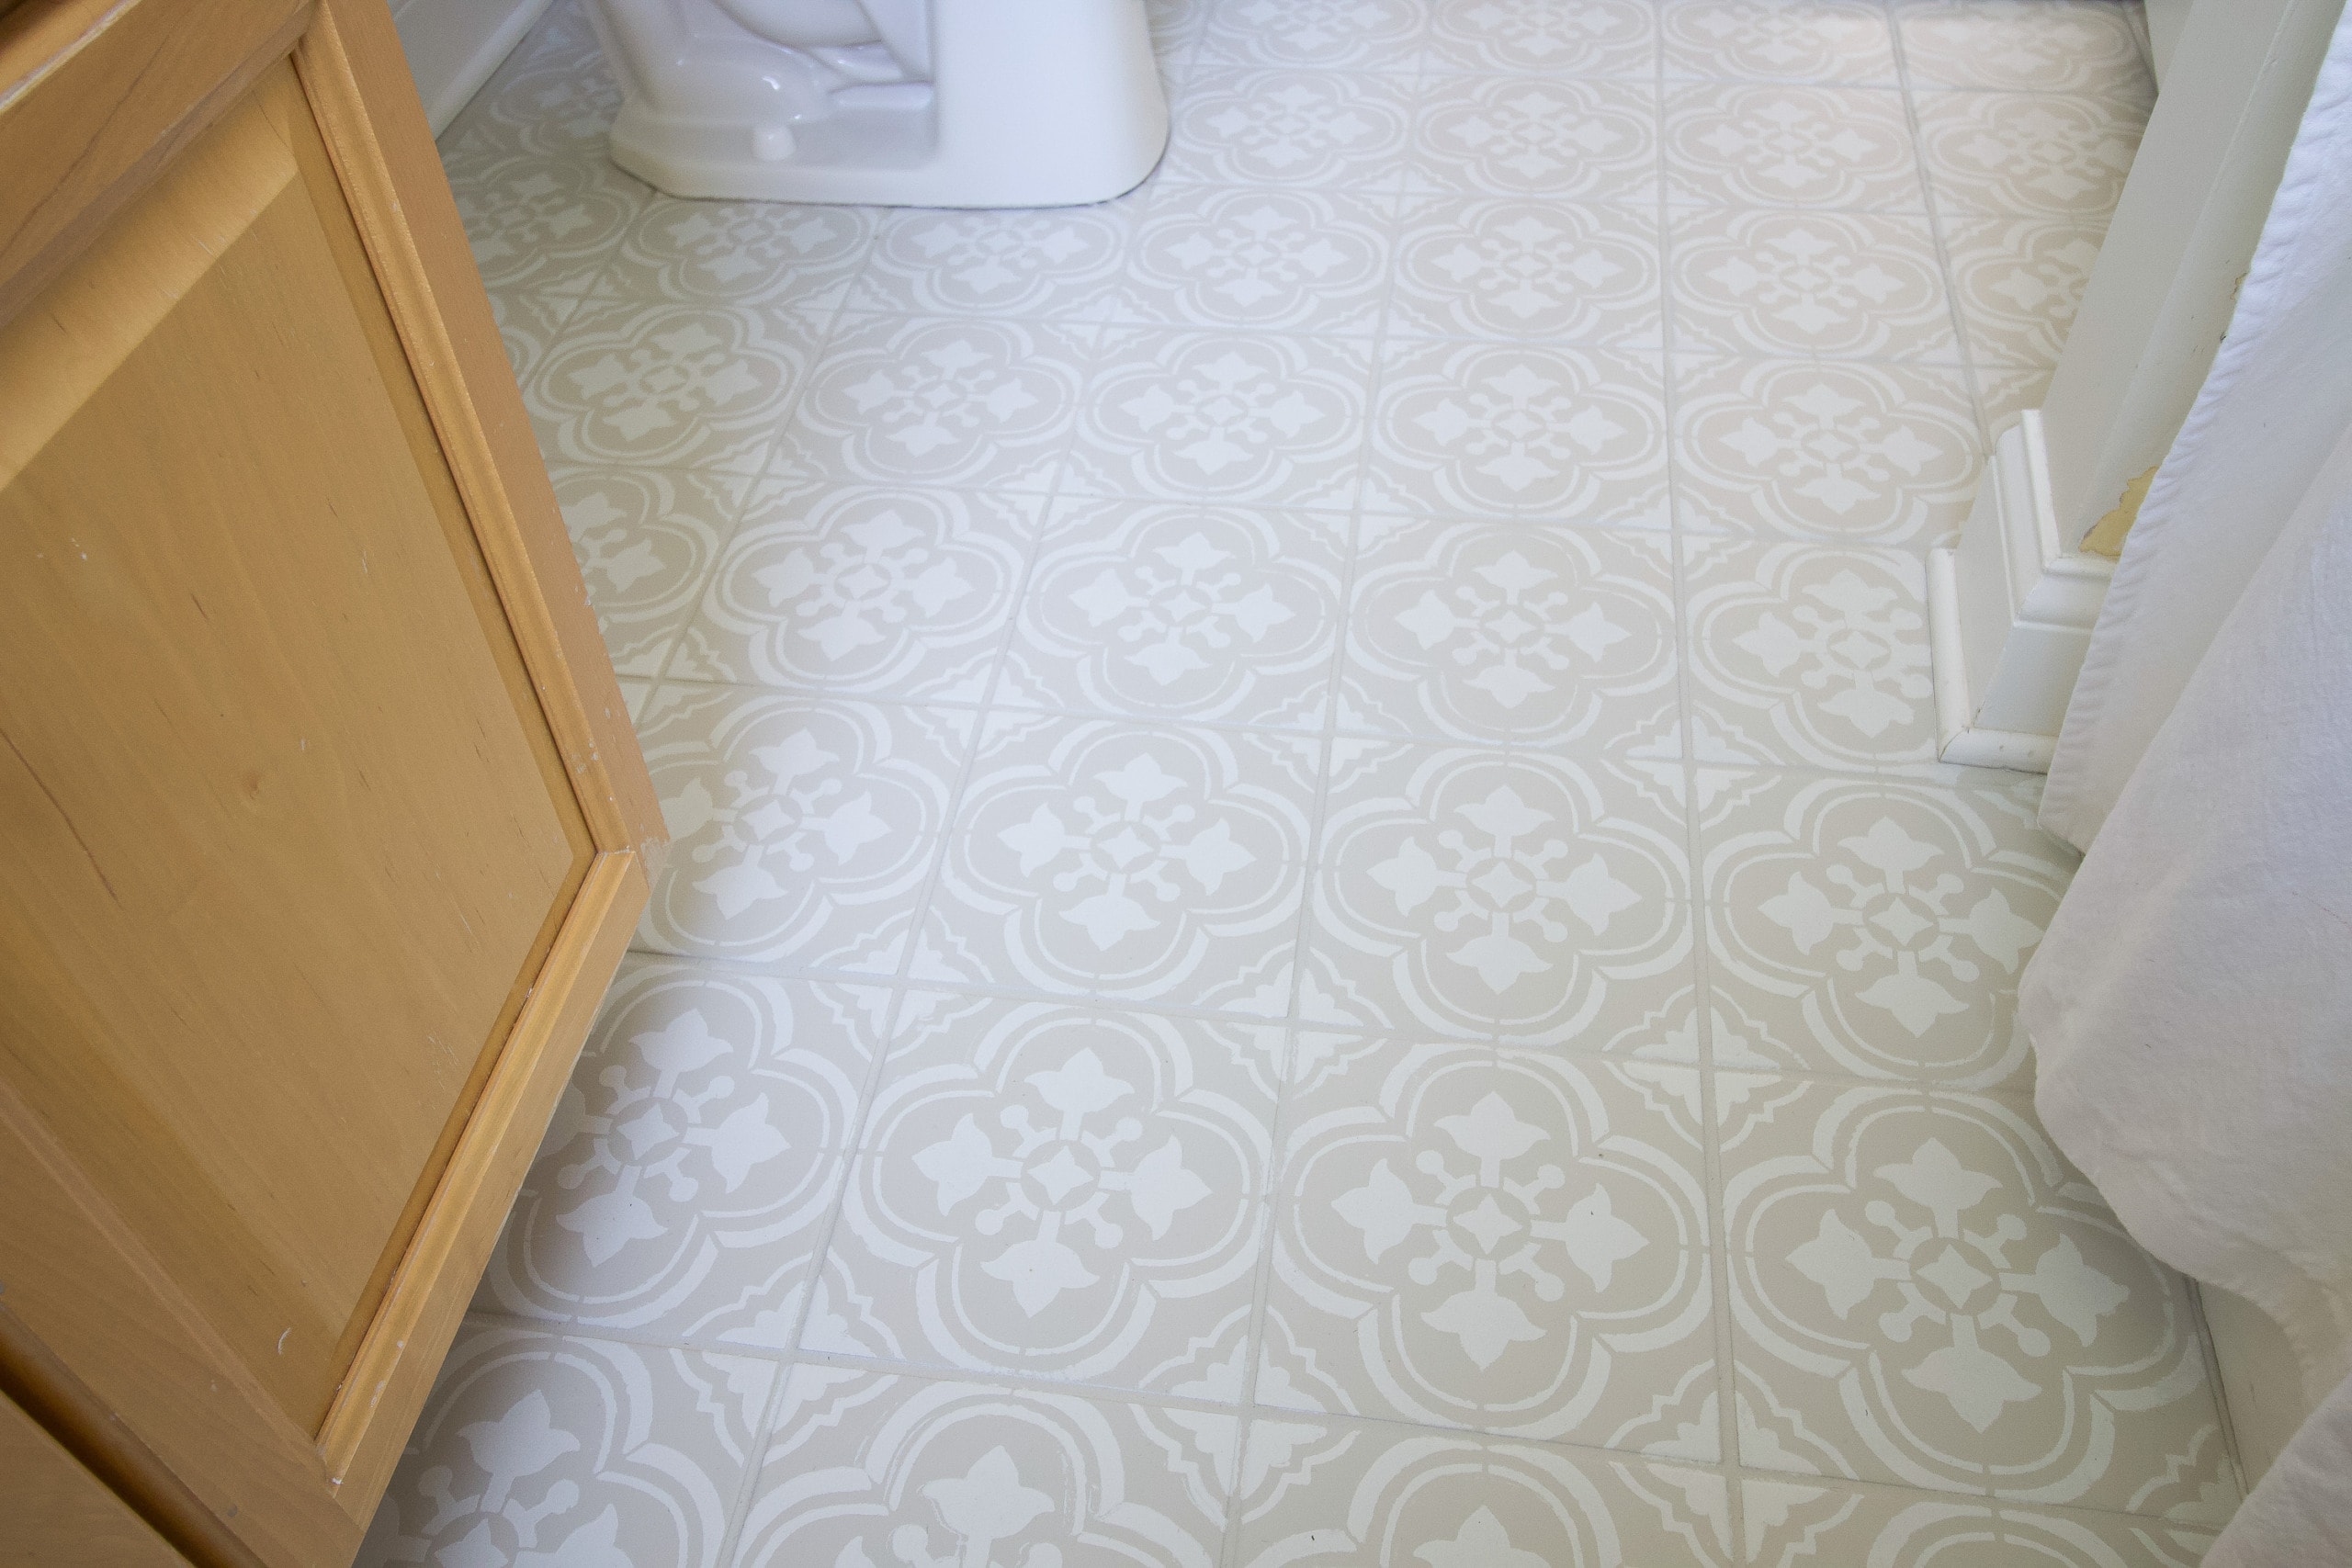
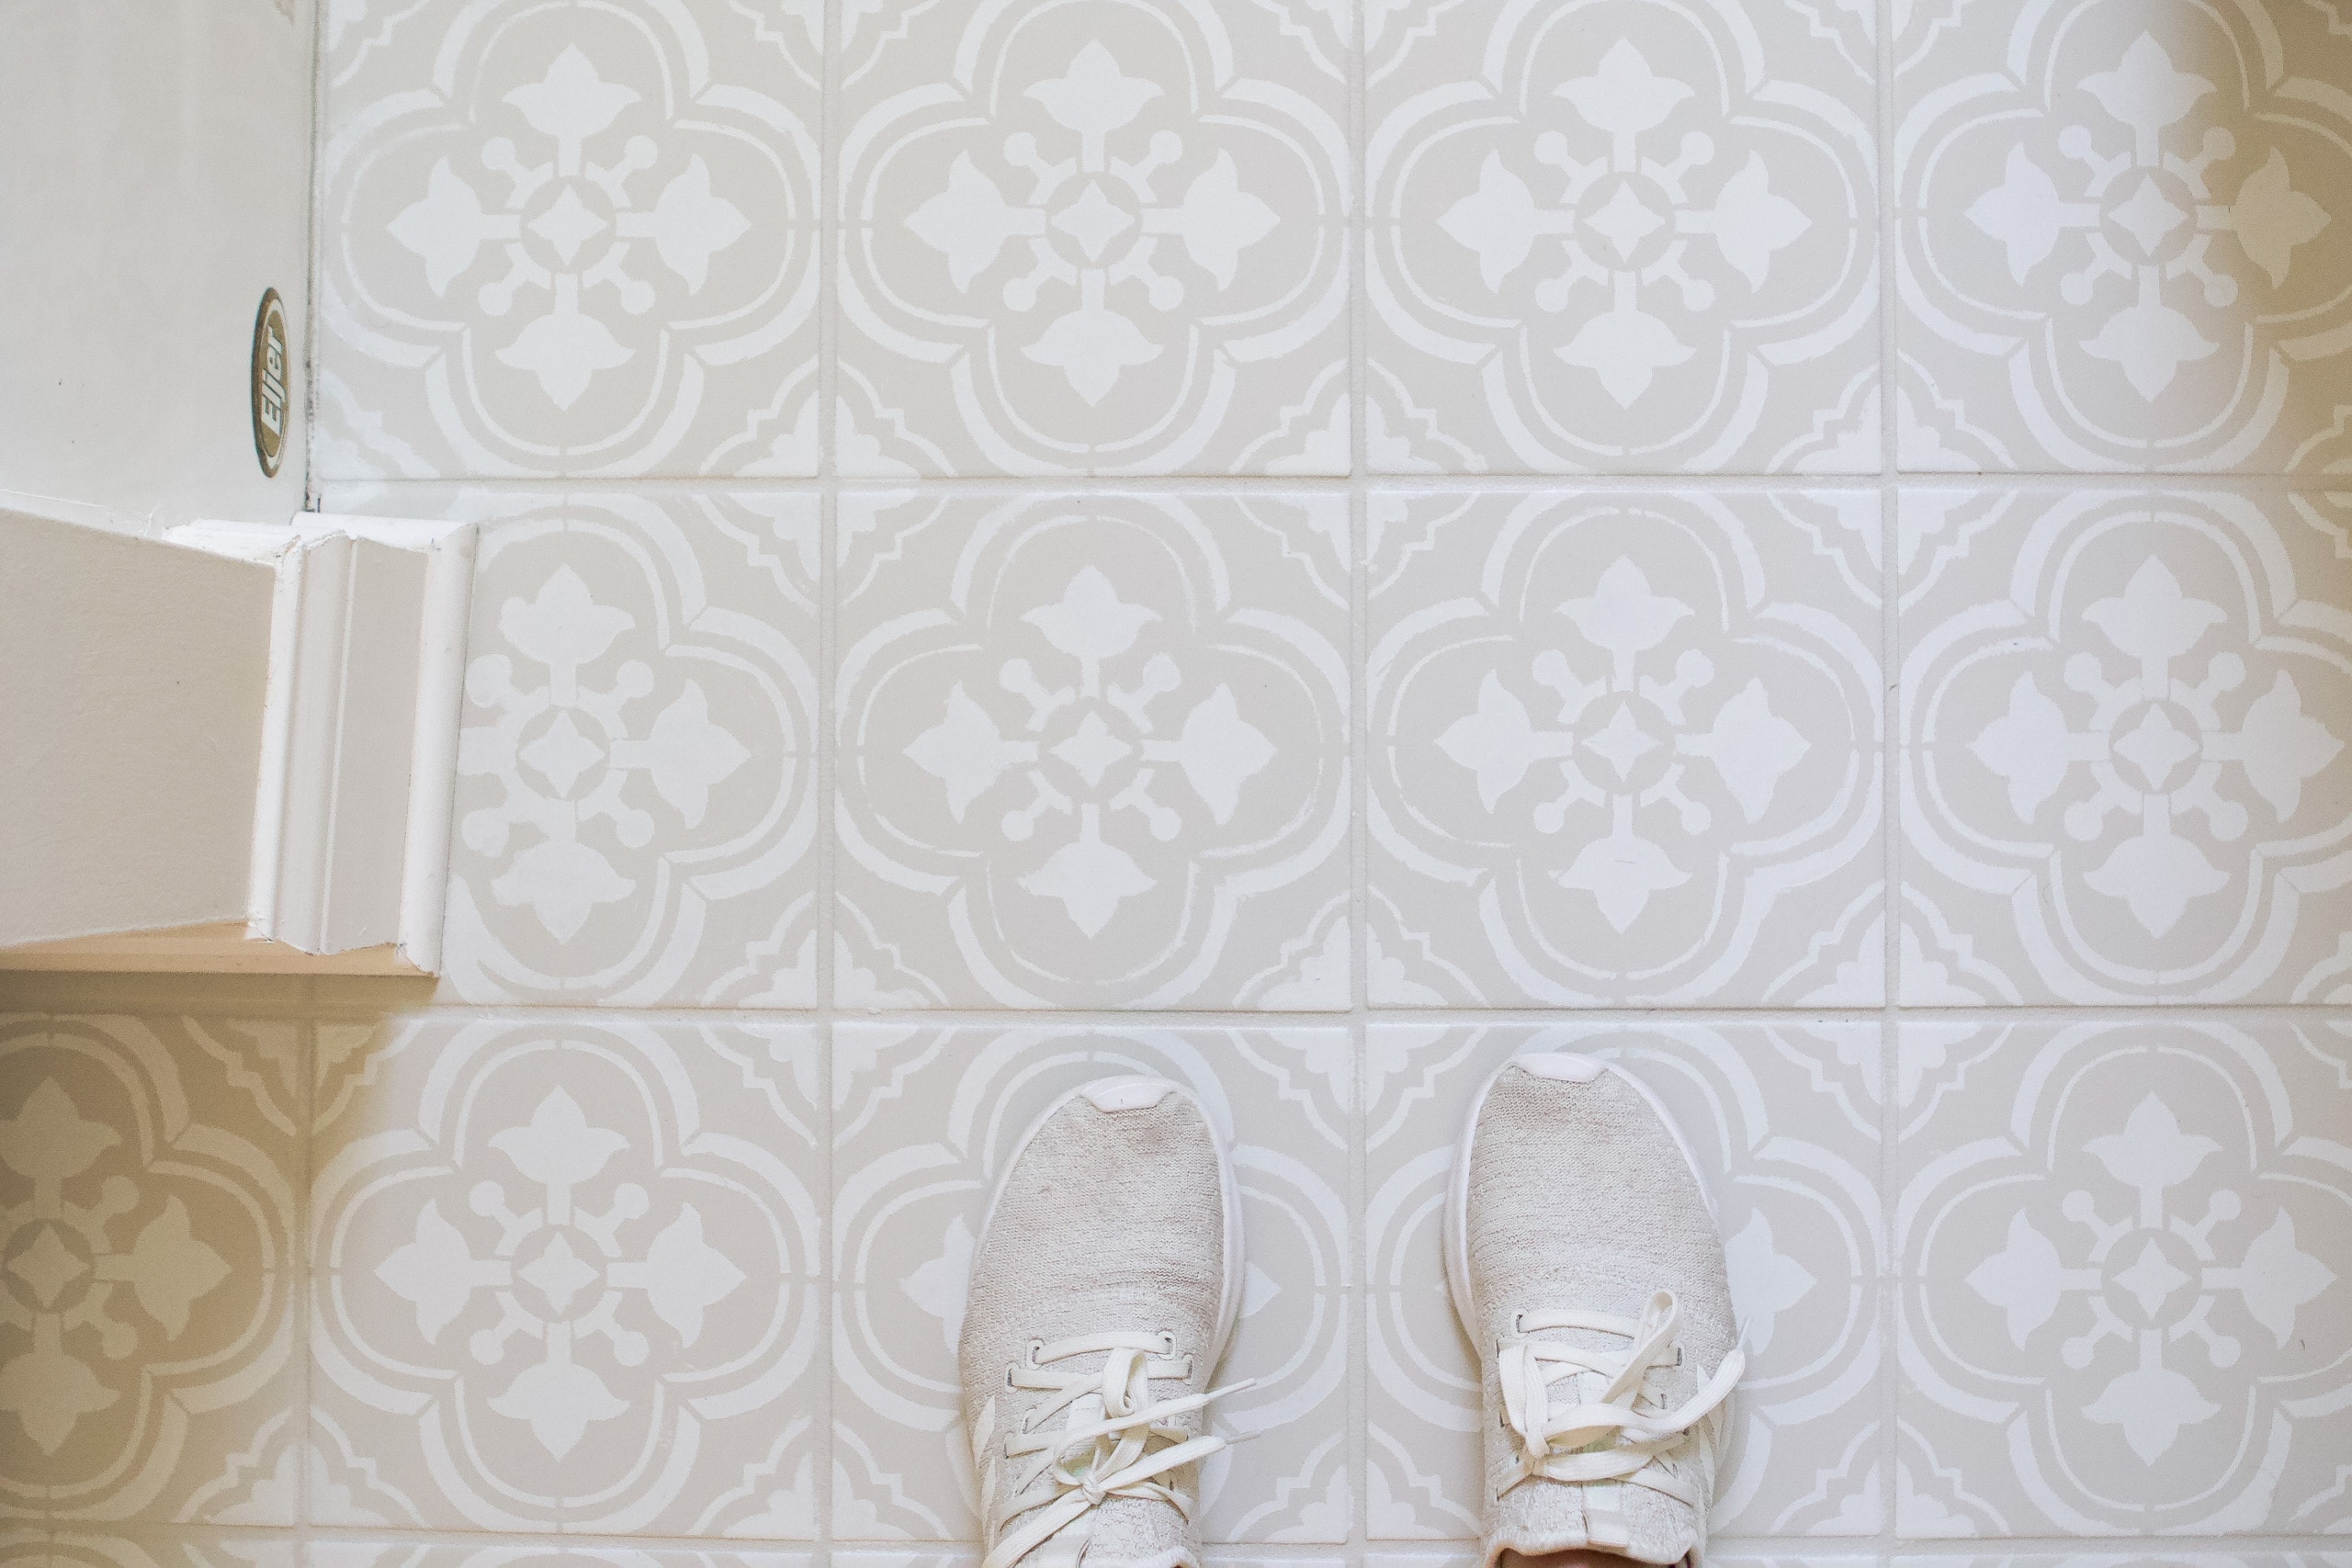
My New Bathroom Floor

Here’s a look at the finished product. I mean, can you even?! I would never guess that these were painted on. Instead, it looks like it’s brand new tile (for a fraction of the cost)!
Let’s look at the before and after for a better view…

Before and After
I really disliked this room before, but it already feels completely different…and we’re just getting started!
How to Care for a Painted Tile Floor
Cleaning is another question I constantly receive. So here’s what I recommend…
- Use gentle soap + water (skip anything abrasive)
- Avoid steam mops for the first couple of weeks
- Use felt pads on anything that could scrape
- If a spot ever chips, touch-ups are easy (base color → stencil if needed → top coat)

If you’ve been staring at an outdated tile floor and feeling stuck, this is your sign. This project is affordable, beginner-friendly, and genuinely transforms a room fast.
P.S. A common question I’ve received is if this product will work for shower tile. This paint will not, but Rust-Oleum makes another paint that is designed specifically for wet areas! Here’s a link to that.
Casey
Come See The Final Reveal of This Budget Bathroom