My Best Tips to Paint Floor Tile
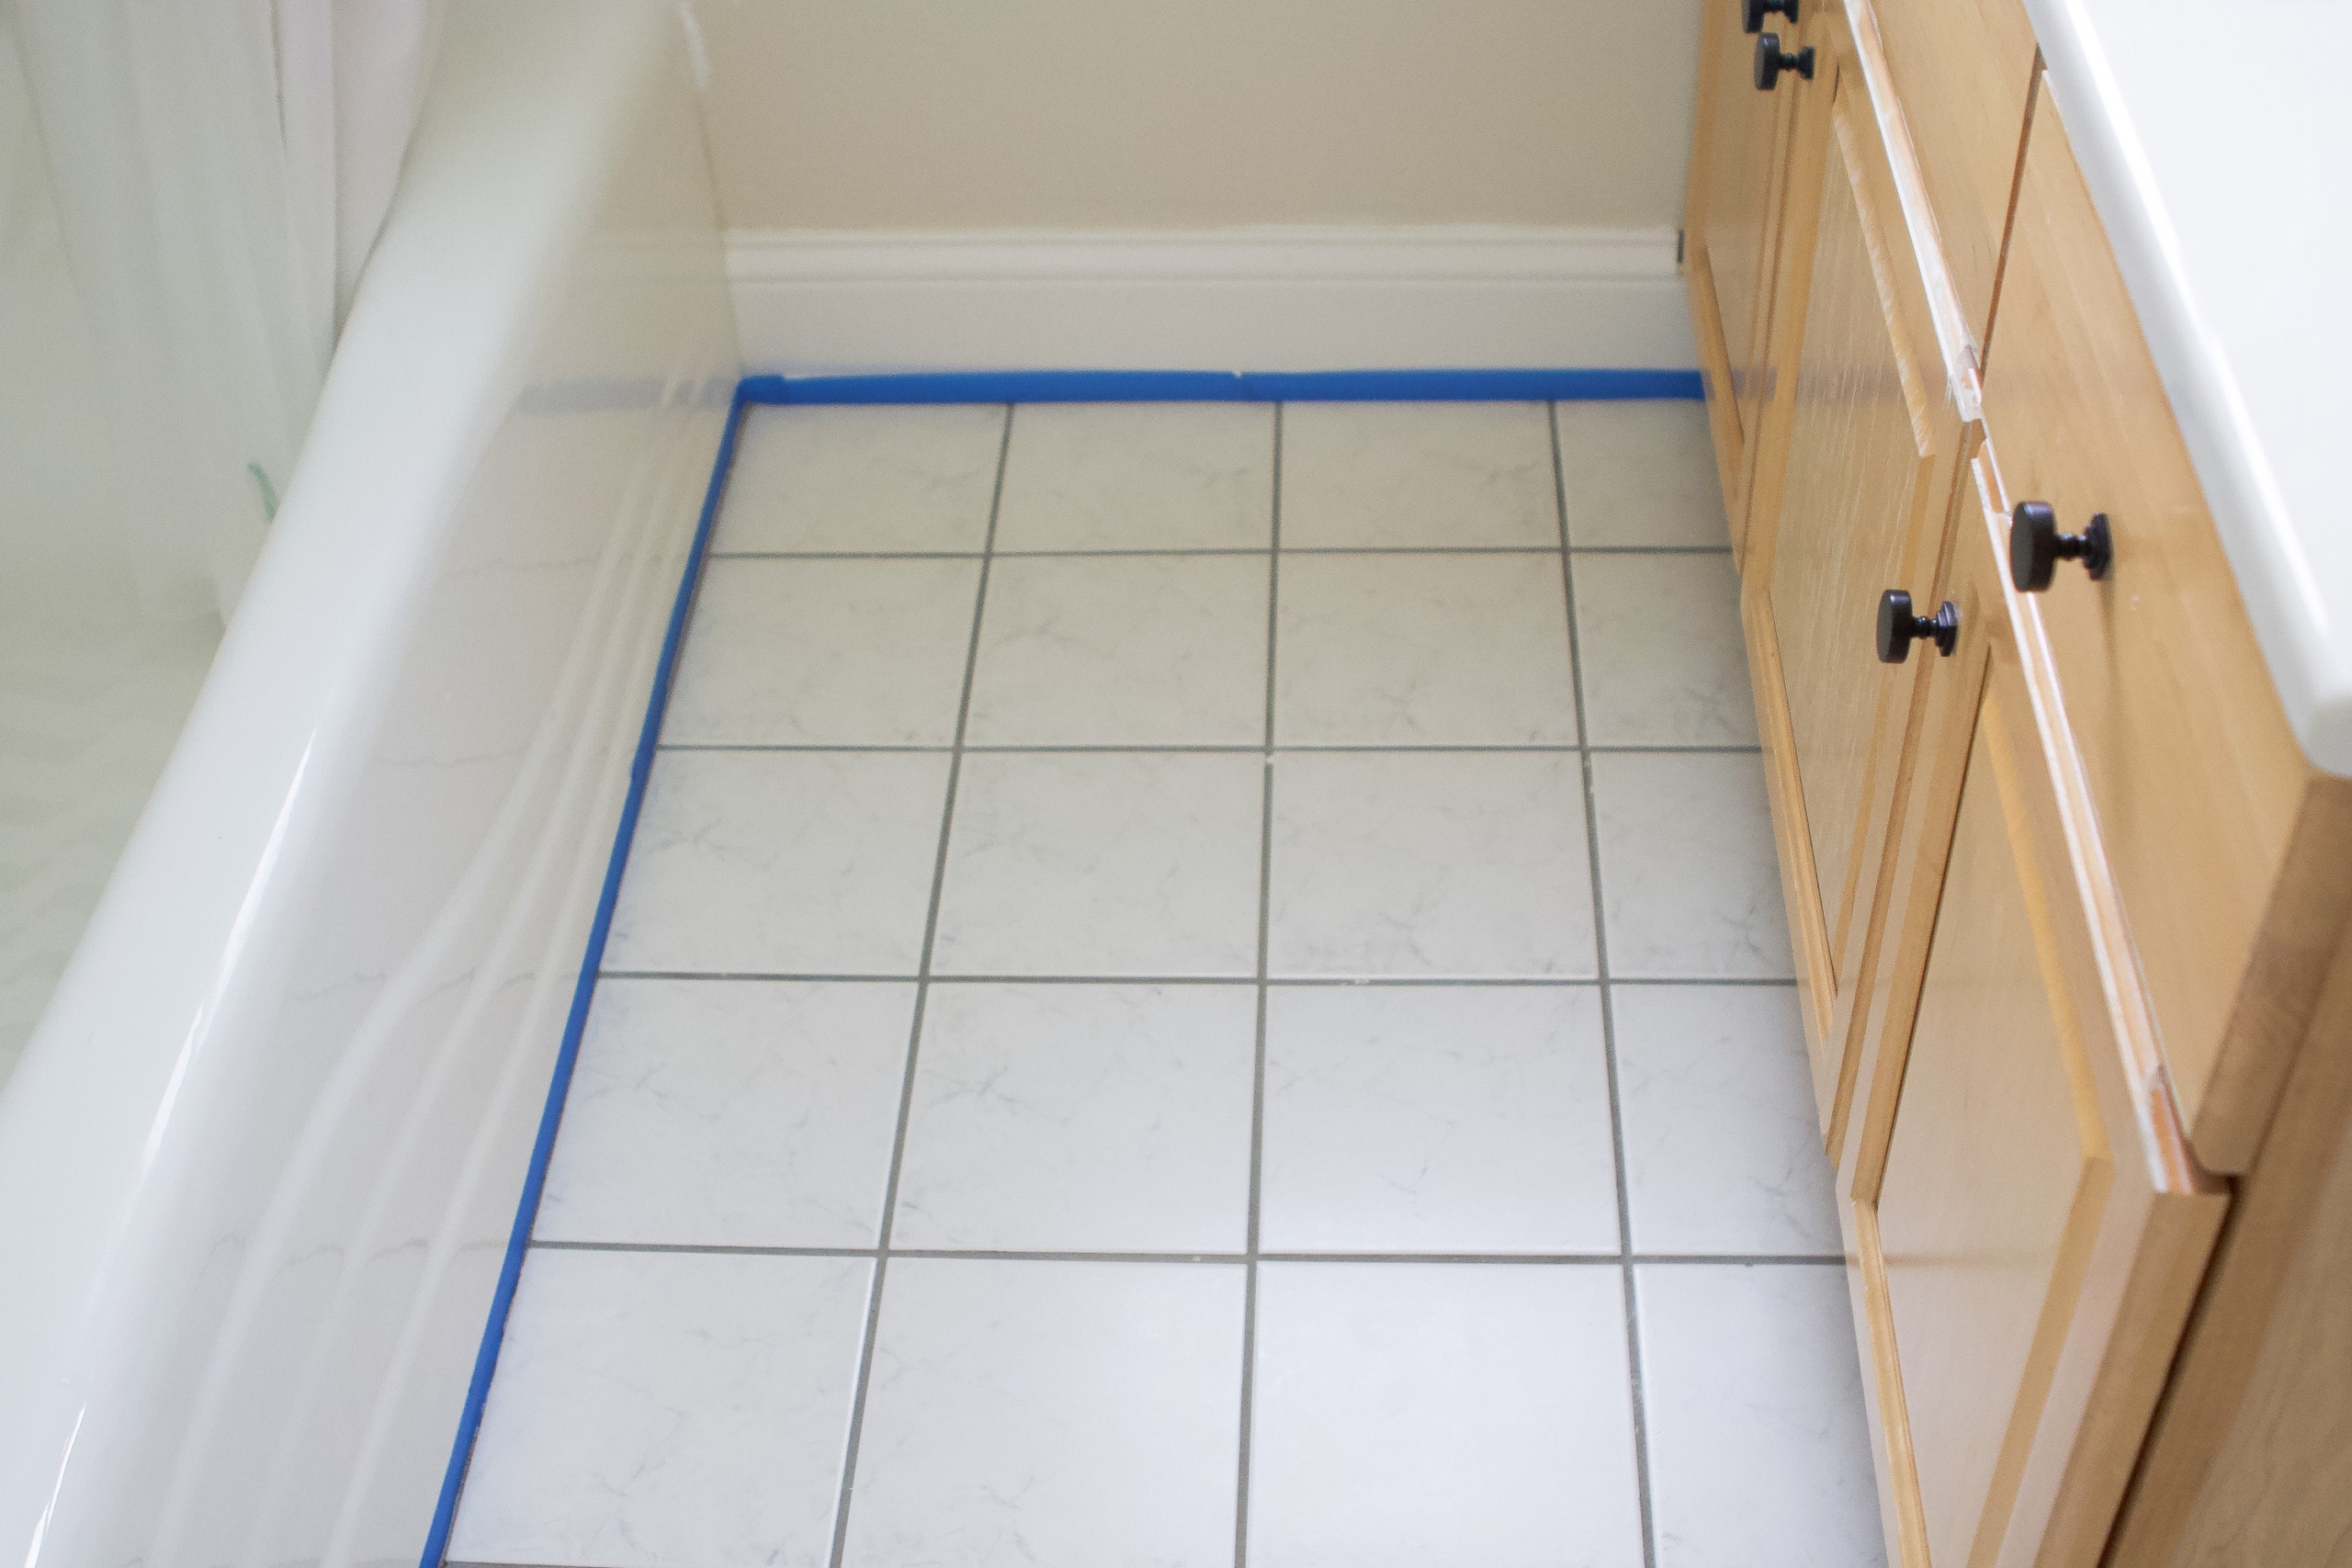
Our basement bathroom’s tile was old and outdated. I decided to give it a new look with paint and a stencil. Here’s my step-by-step process and the tips I learned along the way.
In July, I shared how I transformed the floor tile in our guest bathroom with paint. Even I was amazed by how truly awesome it turned out. That was my first time using the floor paint product and it did not disappoint.
Two months later, and that floor still looks fantastic. Here’s a painted floor tile review after one year of everyday use!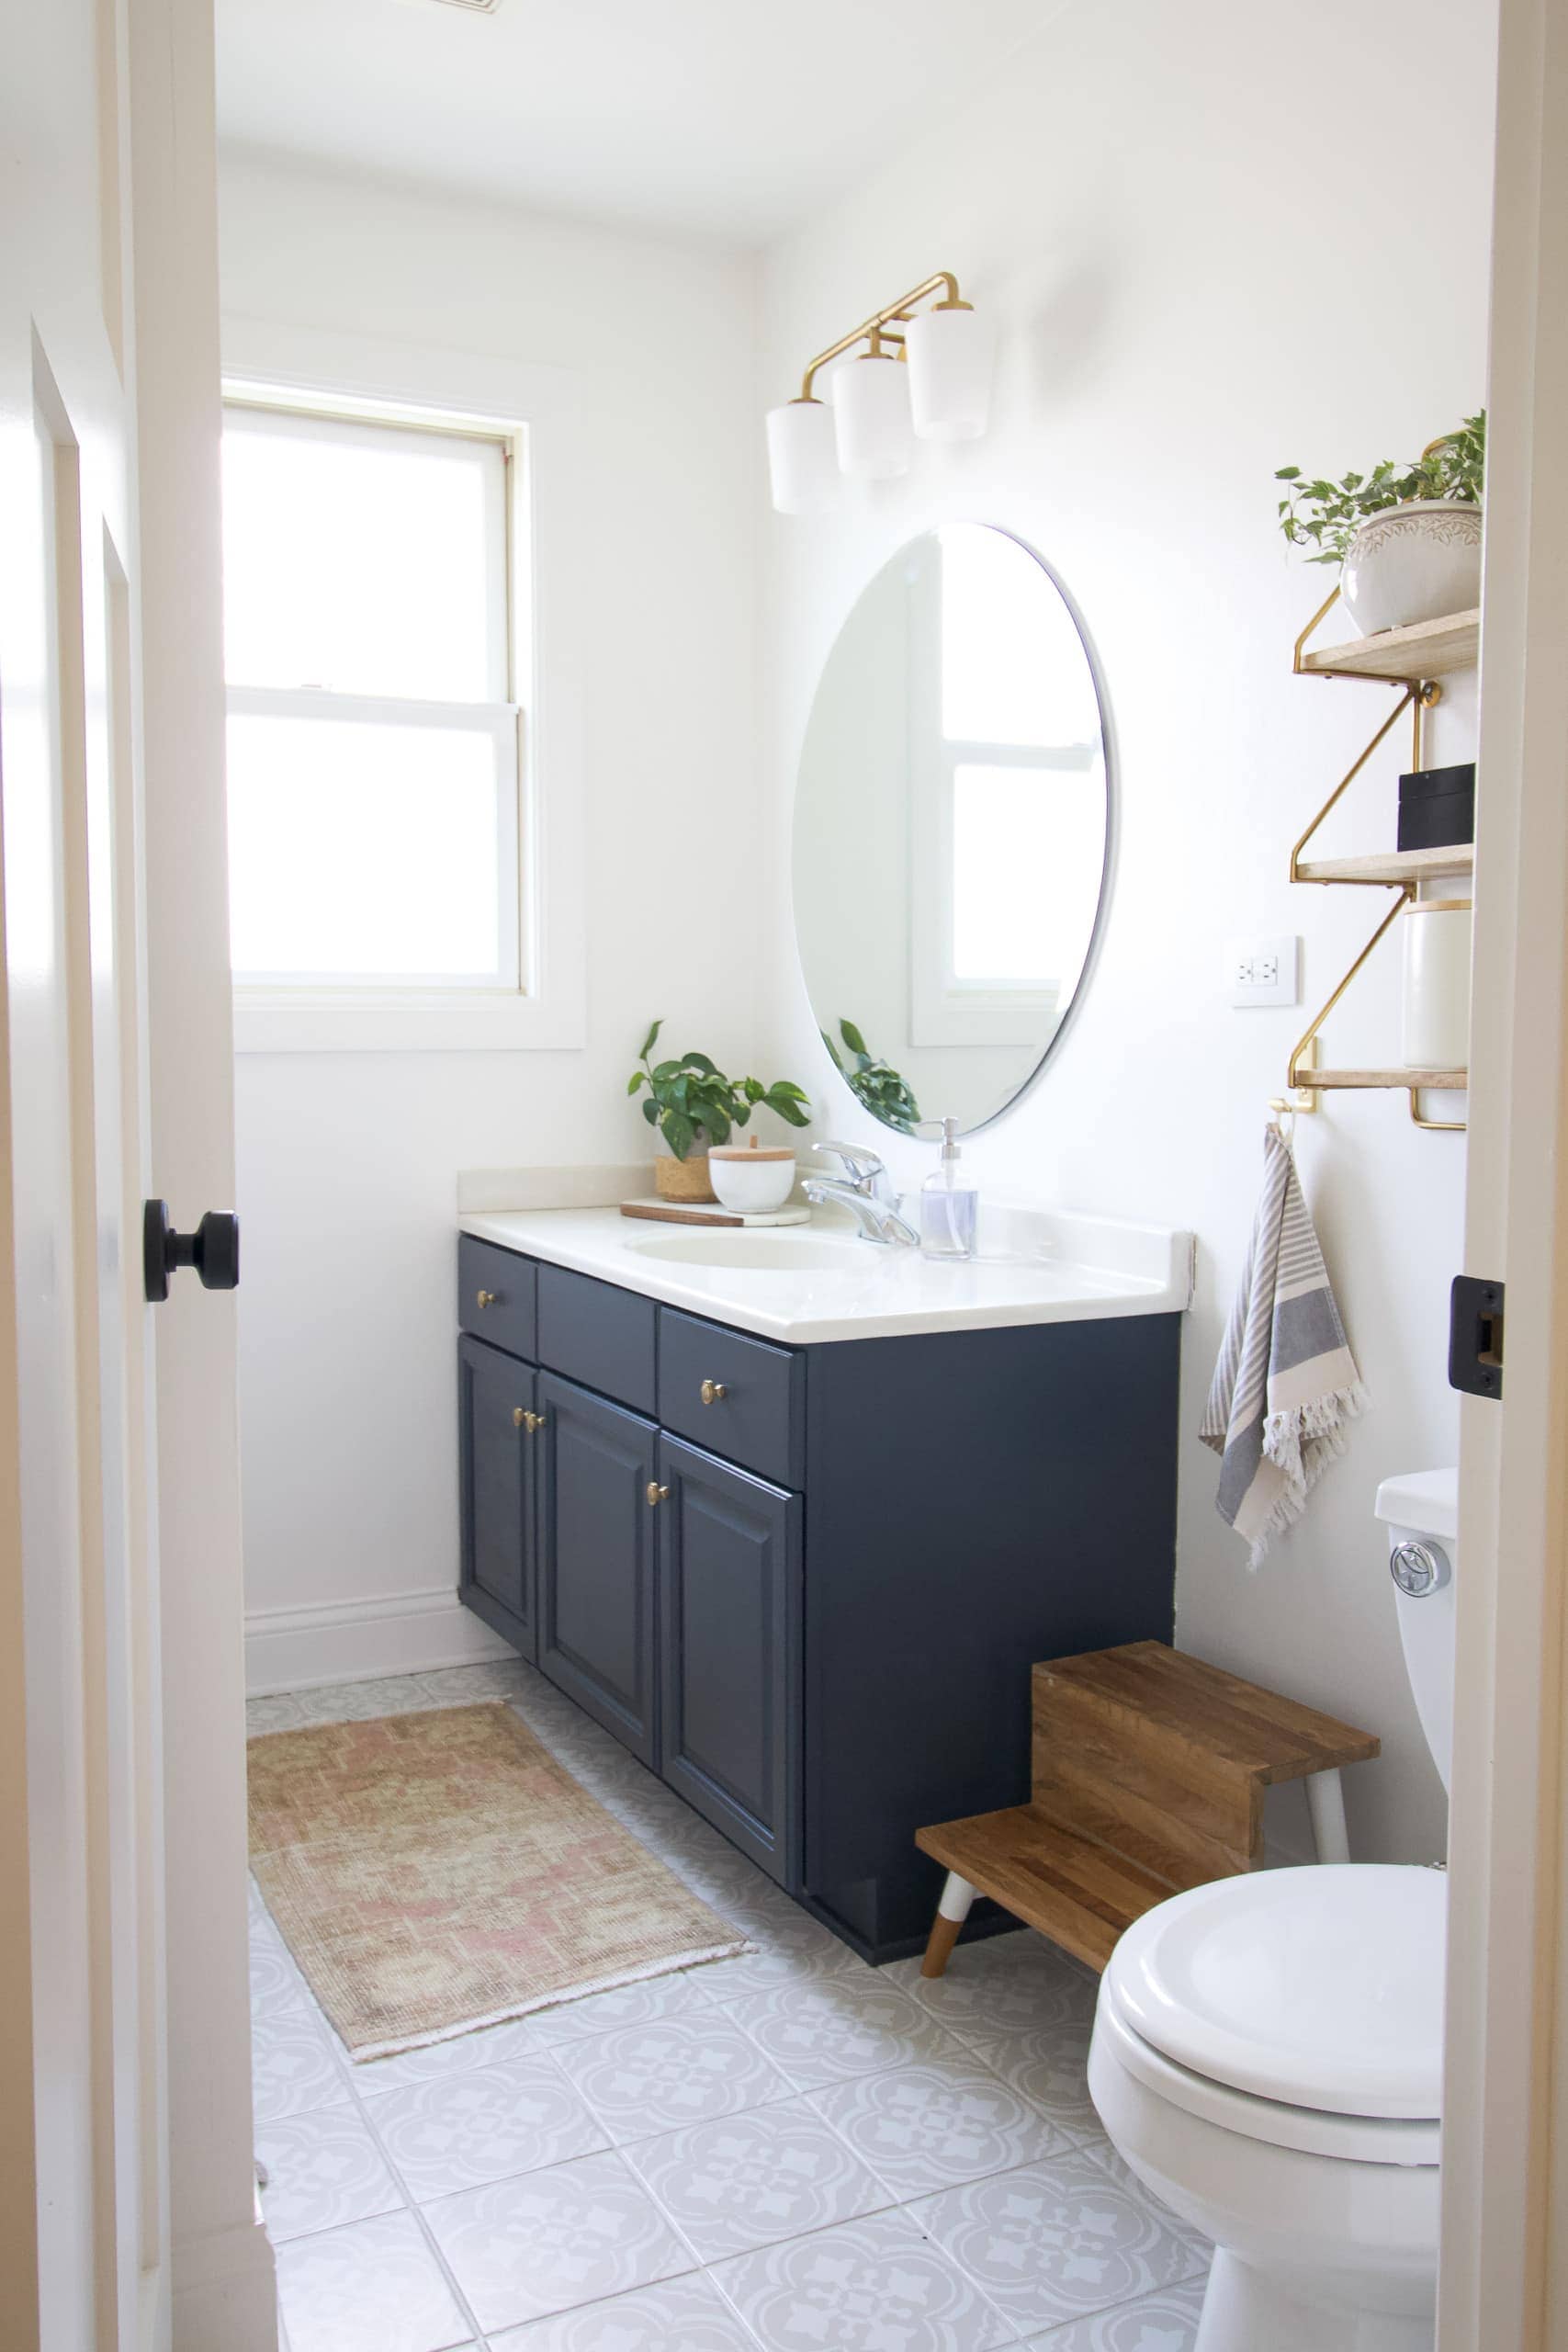
Because I had such an awesome experience the first time around, I knew that painting the floor tile in our basement bathroom was the way to go! But this time, I wanted to change up the colors and stencil to achieve an entirely different look.  I won’t give you a step-by-step tutorial on how to paint your floors since I already did that in this blog post.
Instead, I want to share my best tips to paint floor tile. Now that I’ve done this project twice, I feel like there are a few things that make a big difference in the overall ease of this DIY and the end result.
My Best Tips to Paint Floor Tile
Let me start this by saying that even though this room is smaller than the one upstairs, it was actually a more challenging project. That’s because the stencil was a lot harder to use (I’ll explain more below) and the contrasting colors show all the imperfections. But hopefully, you’ll learn from my mistakes. Let’s dive into my best tips to paint floor tile.
Buy the Right Product
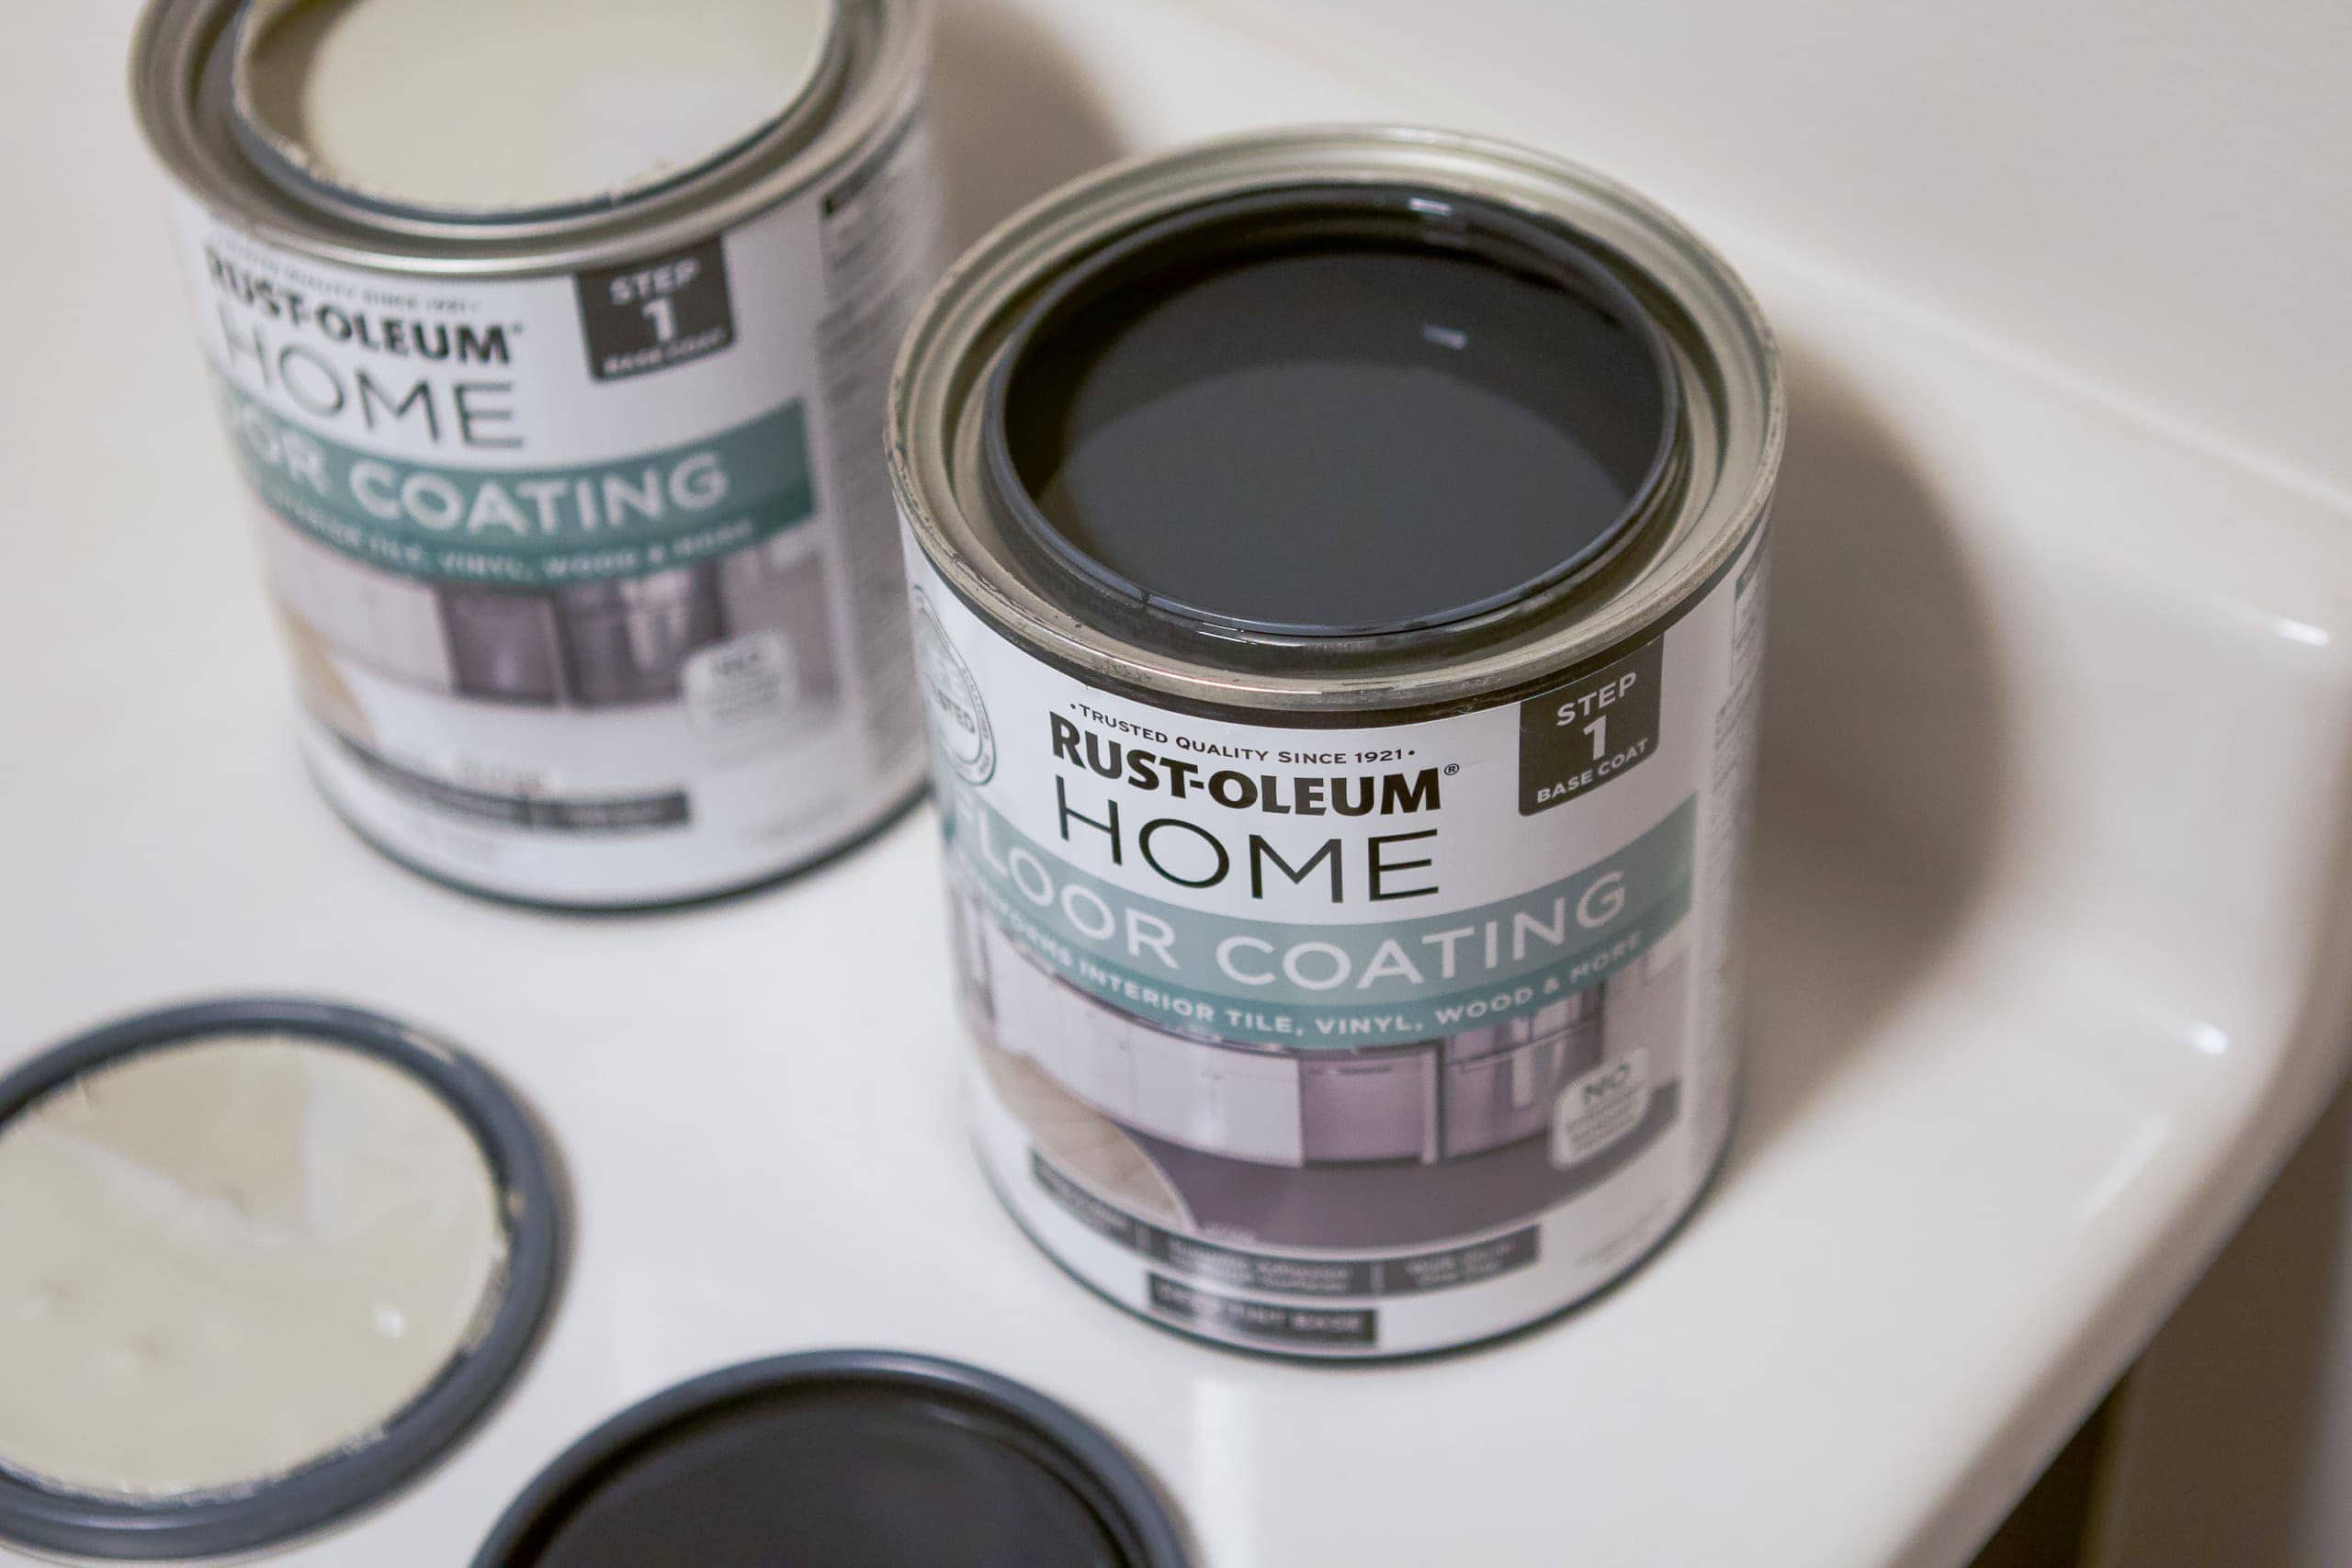
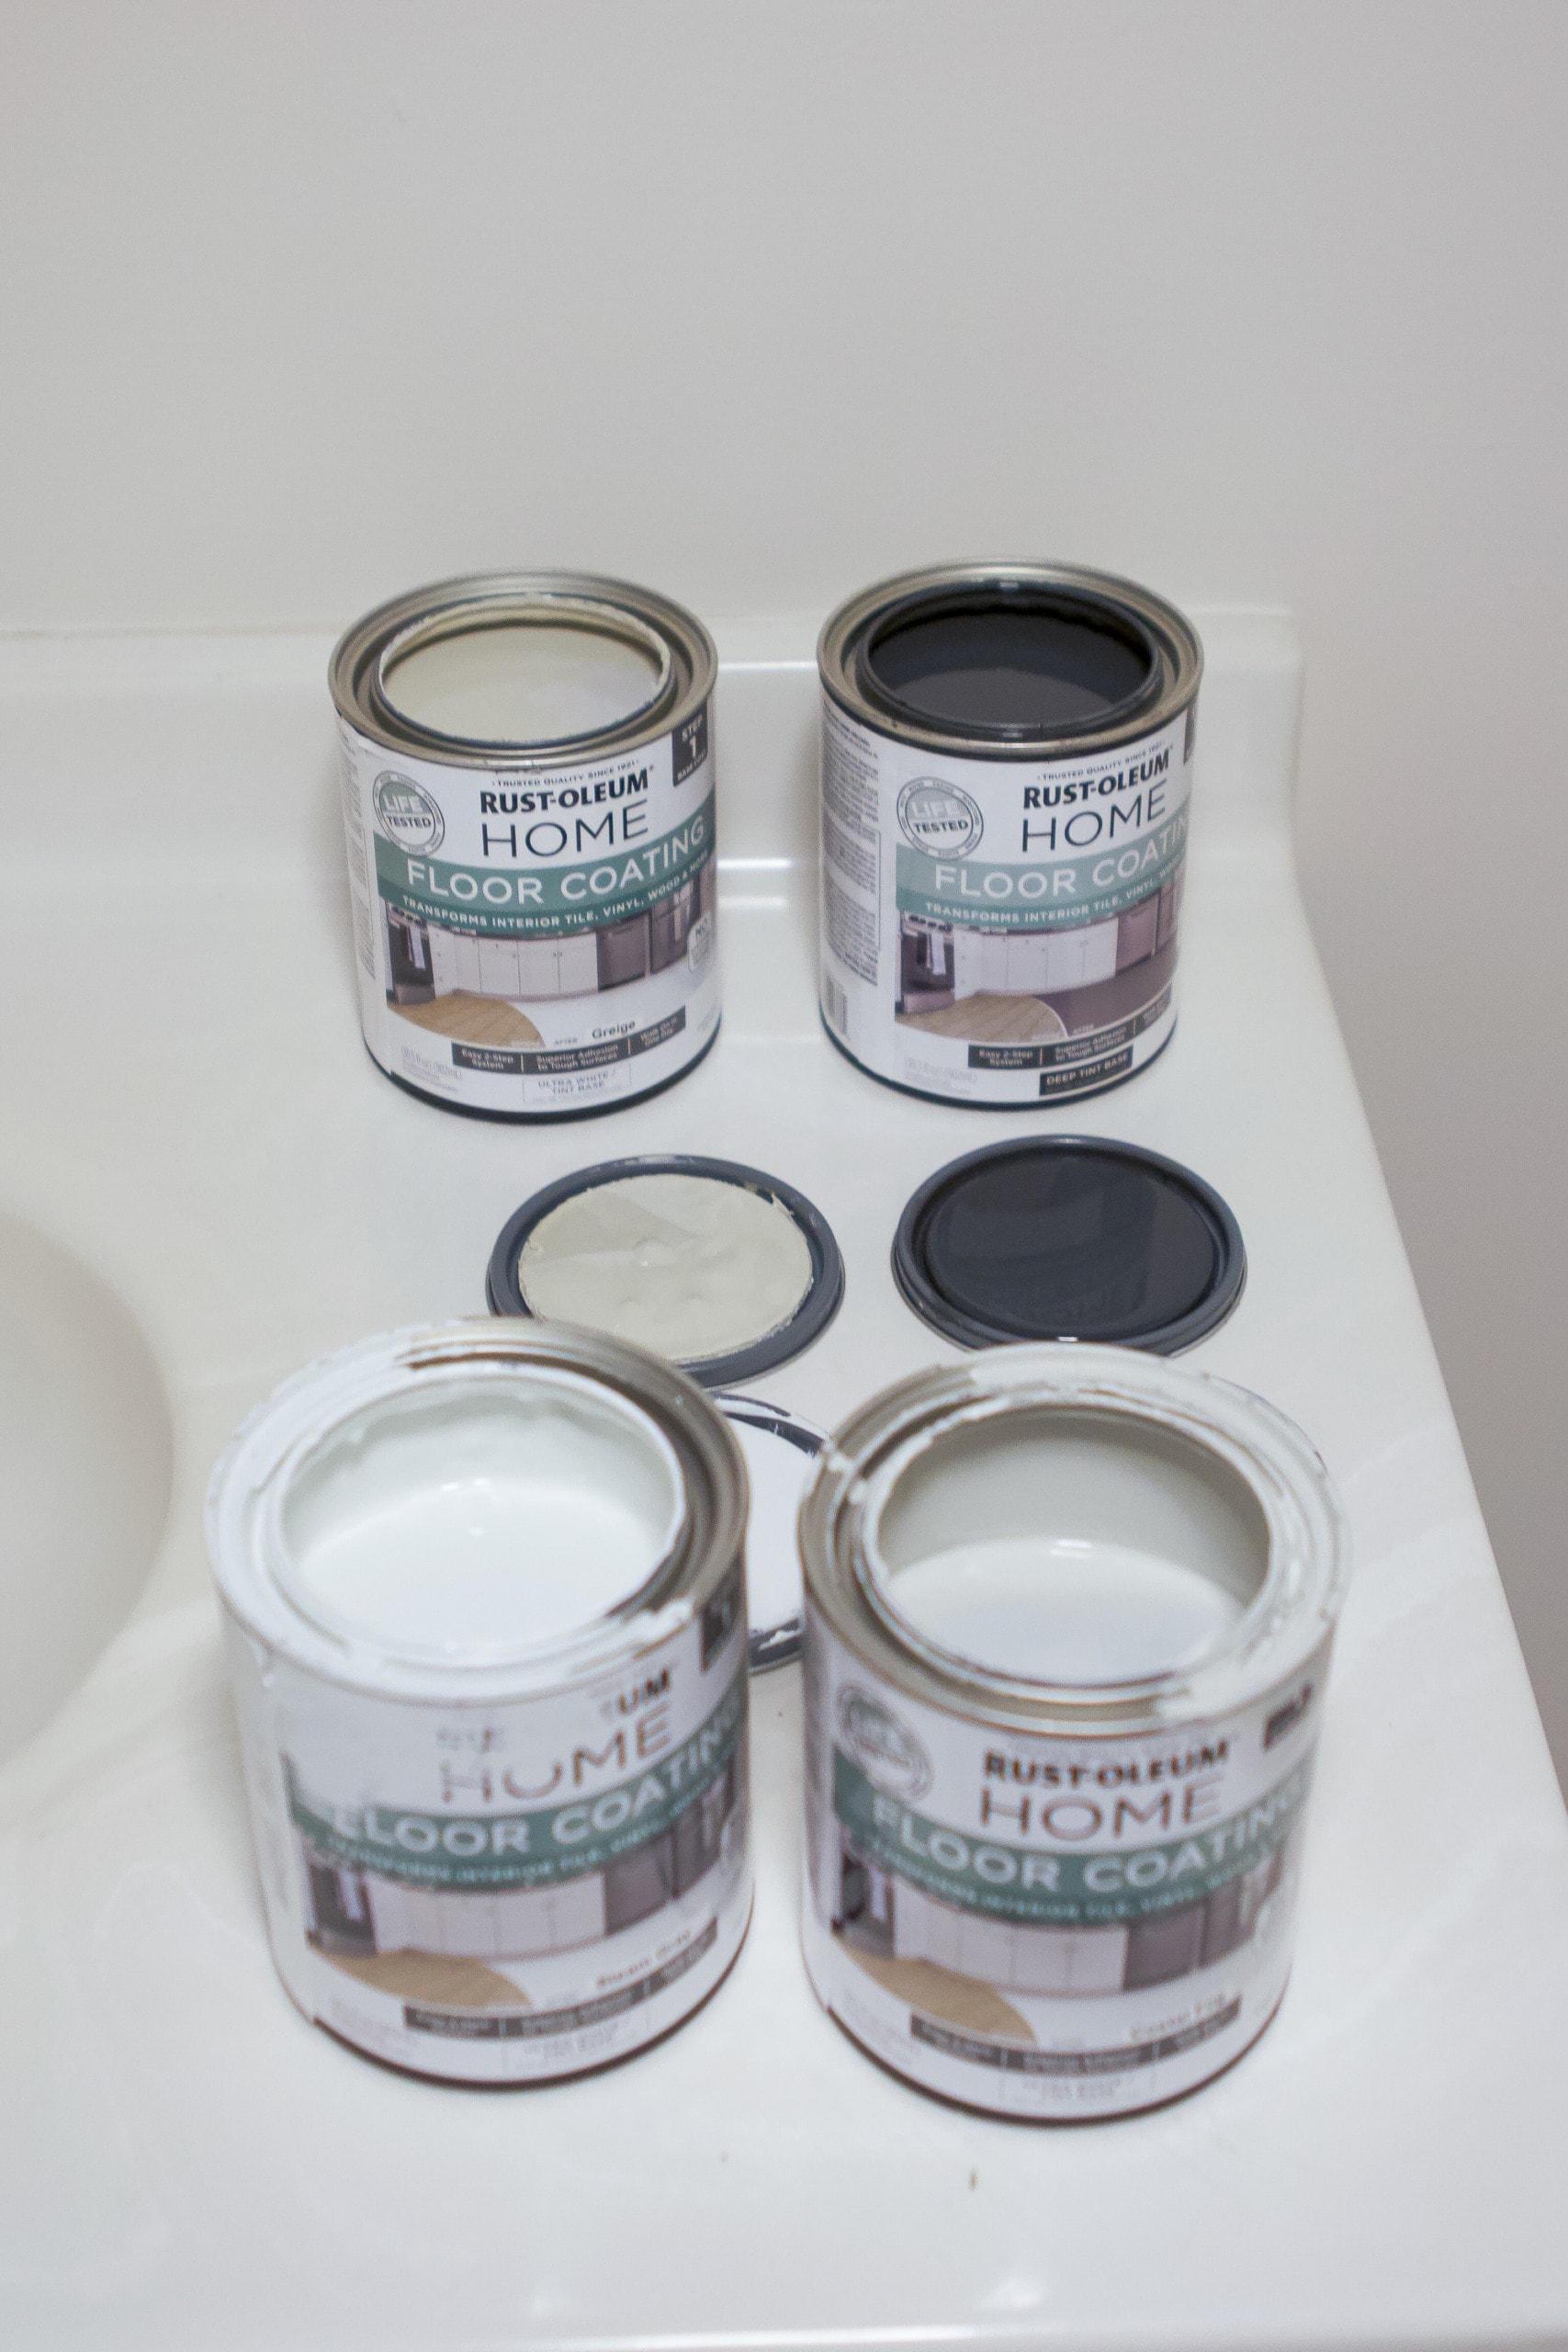
You’ll want to use the Rust-Oleum HOME paint for this project. Normal paint will not work! This paint is specifically designed for this purpose, so even if it’s a high-traffic area, this paint should get the job done and won’t scratch.
You can find the Rust-Oleum HOME floor kit at Home Depot. I suggest buying the kit because it comes with the top coat (I used matte both times). And unless you’re doing a huuuuge space, you can probably get away with just a quart. I had tons of paint leftover from the last time I used it.
I bought the quart of the “Charcoal Gray” color on its own (not in a kit). It took a couple of weeks for the paint to come into my local store, so give yourself plenty of time before starting this project.
Day 1 – Clean & Coat One

I would suggest spreading this project over the course of two days. I ended up putting Rory down for the night, and then I got to work cleaning the floor and doing coat one in about an hour and a half.
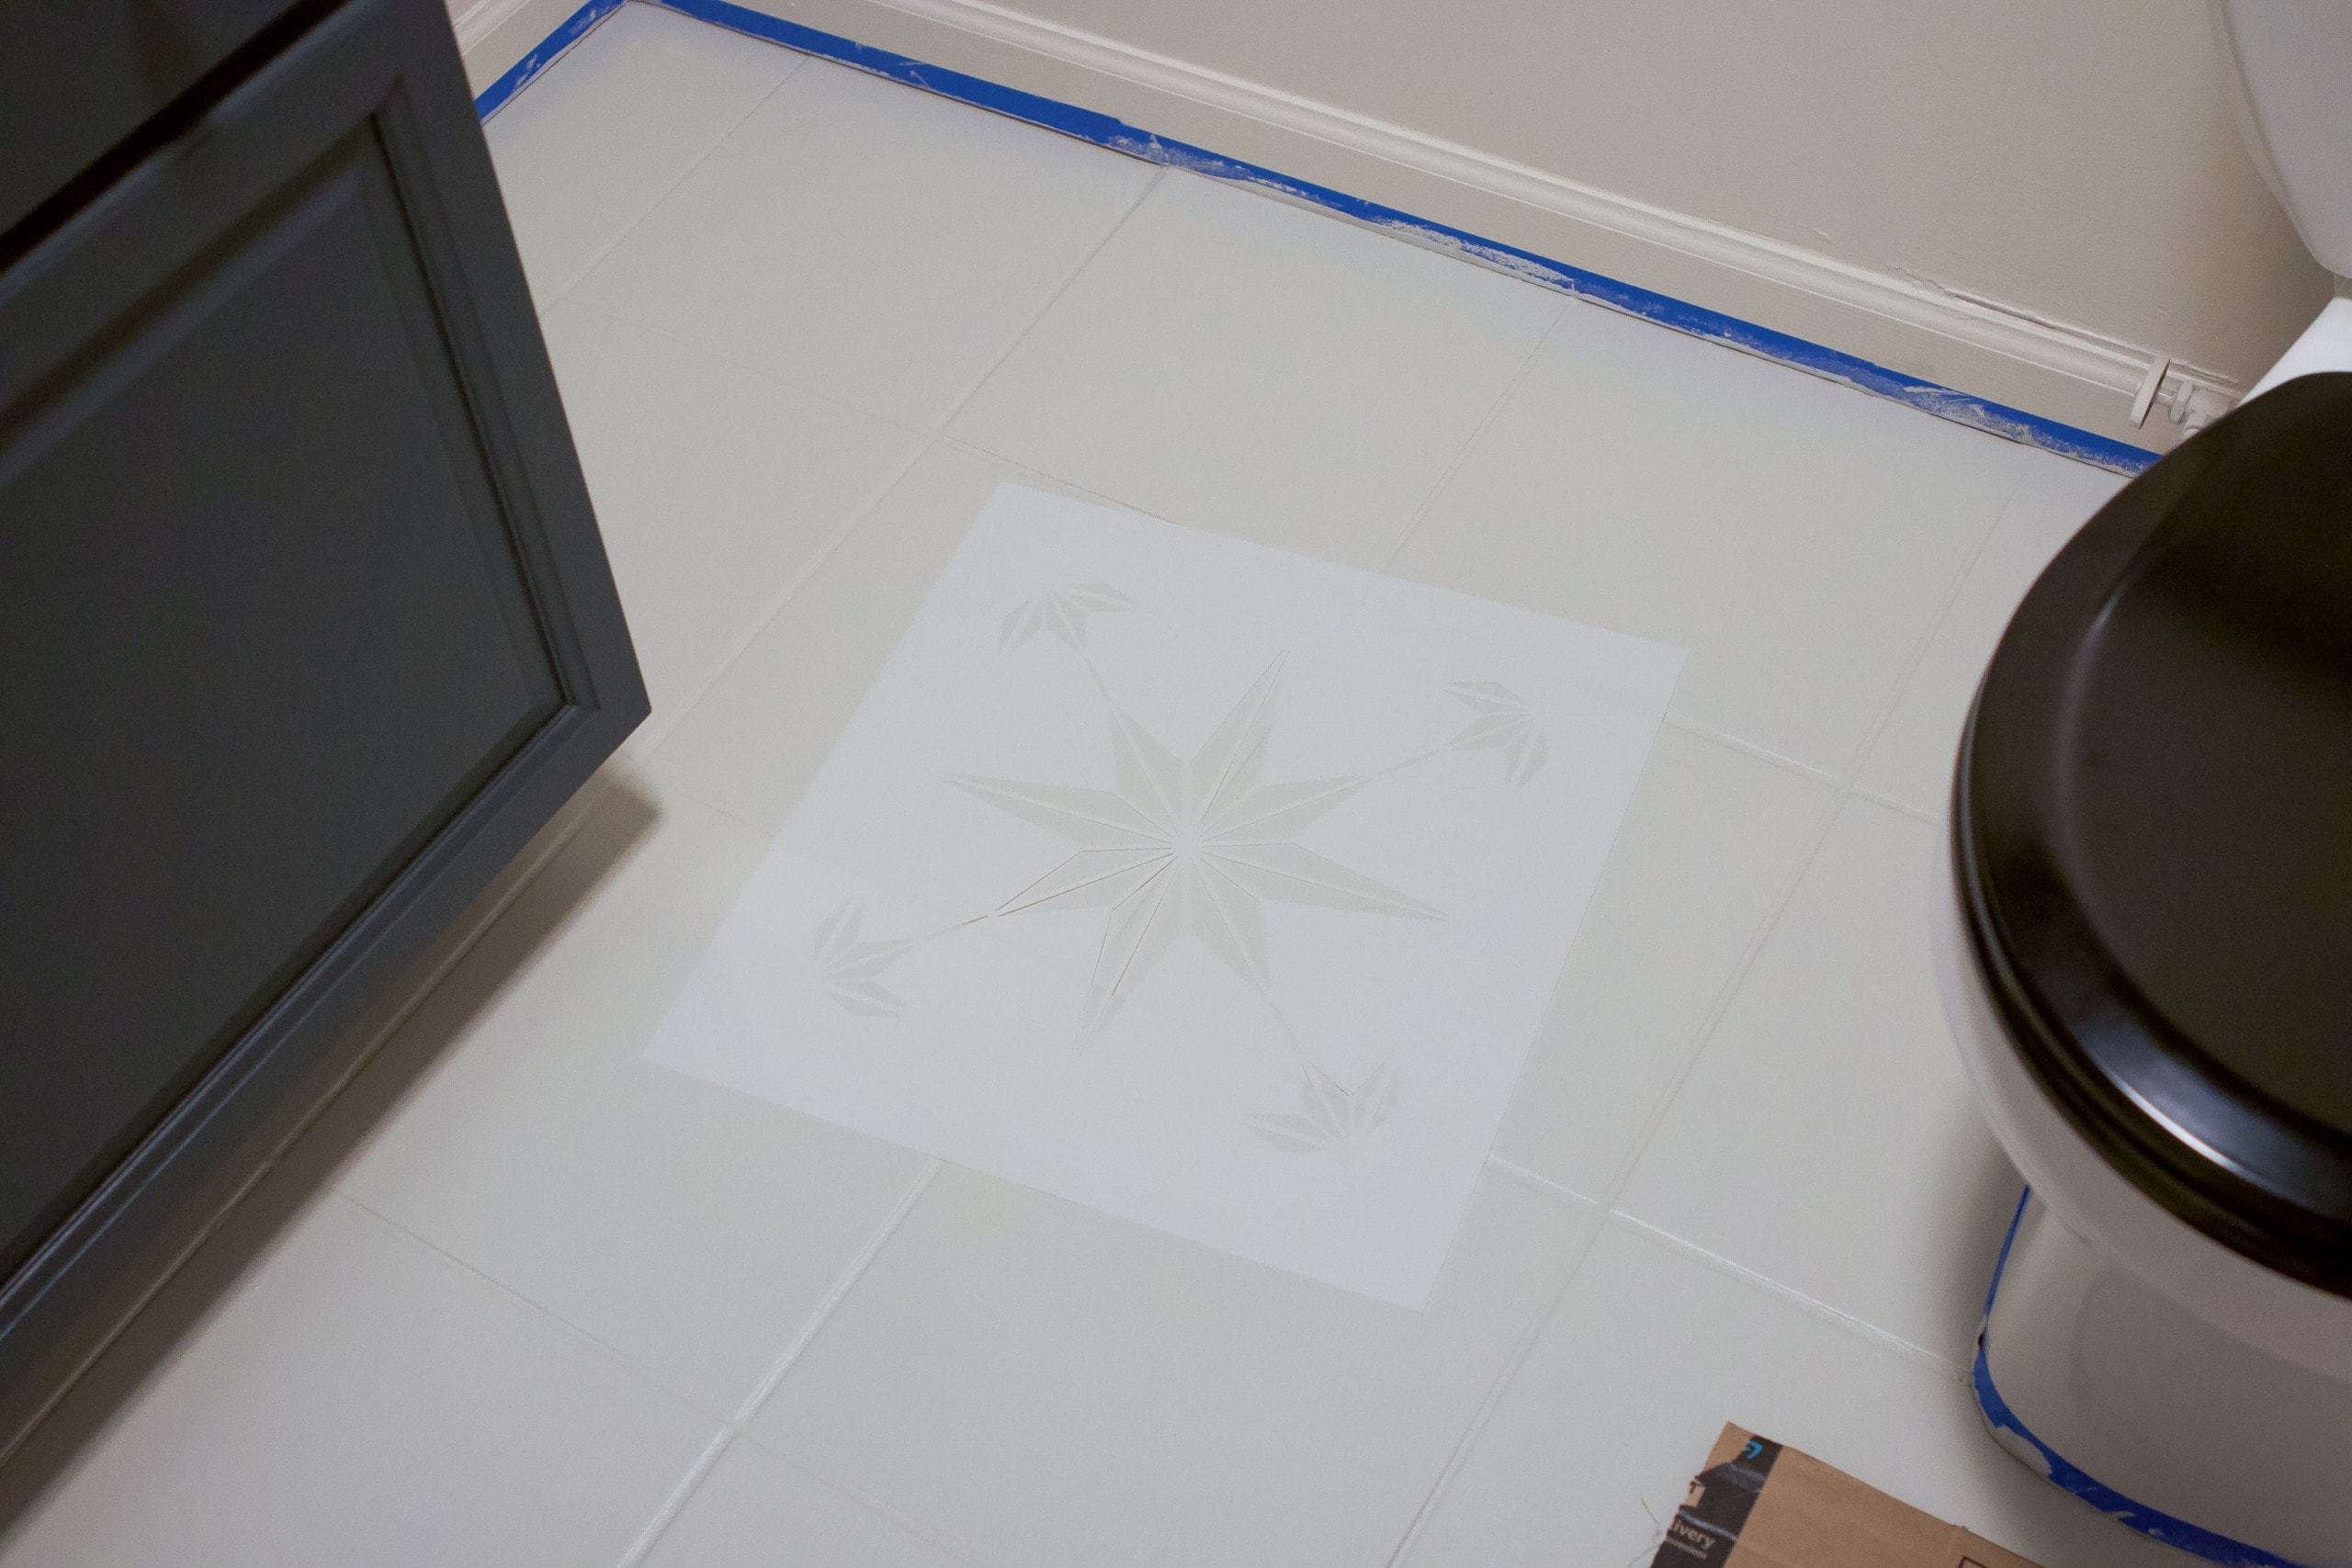
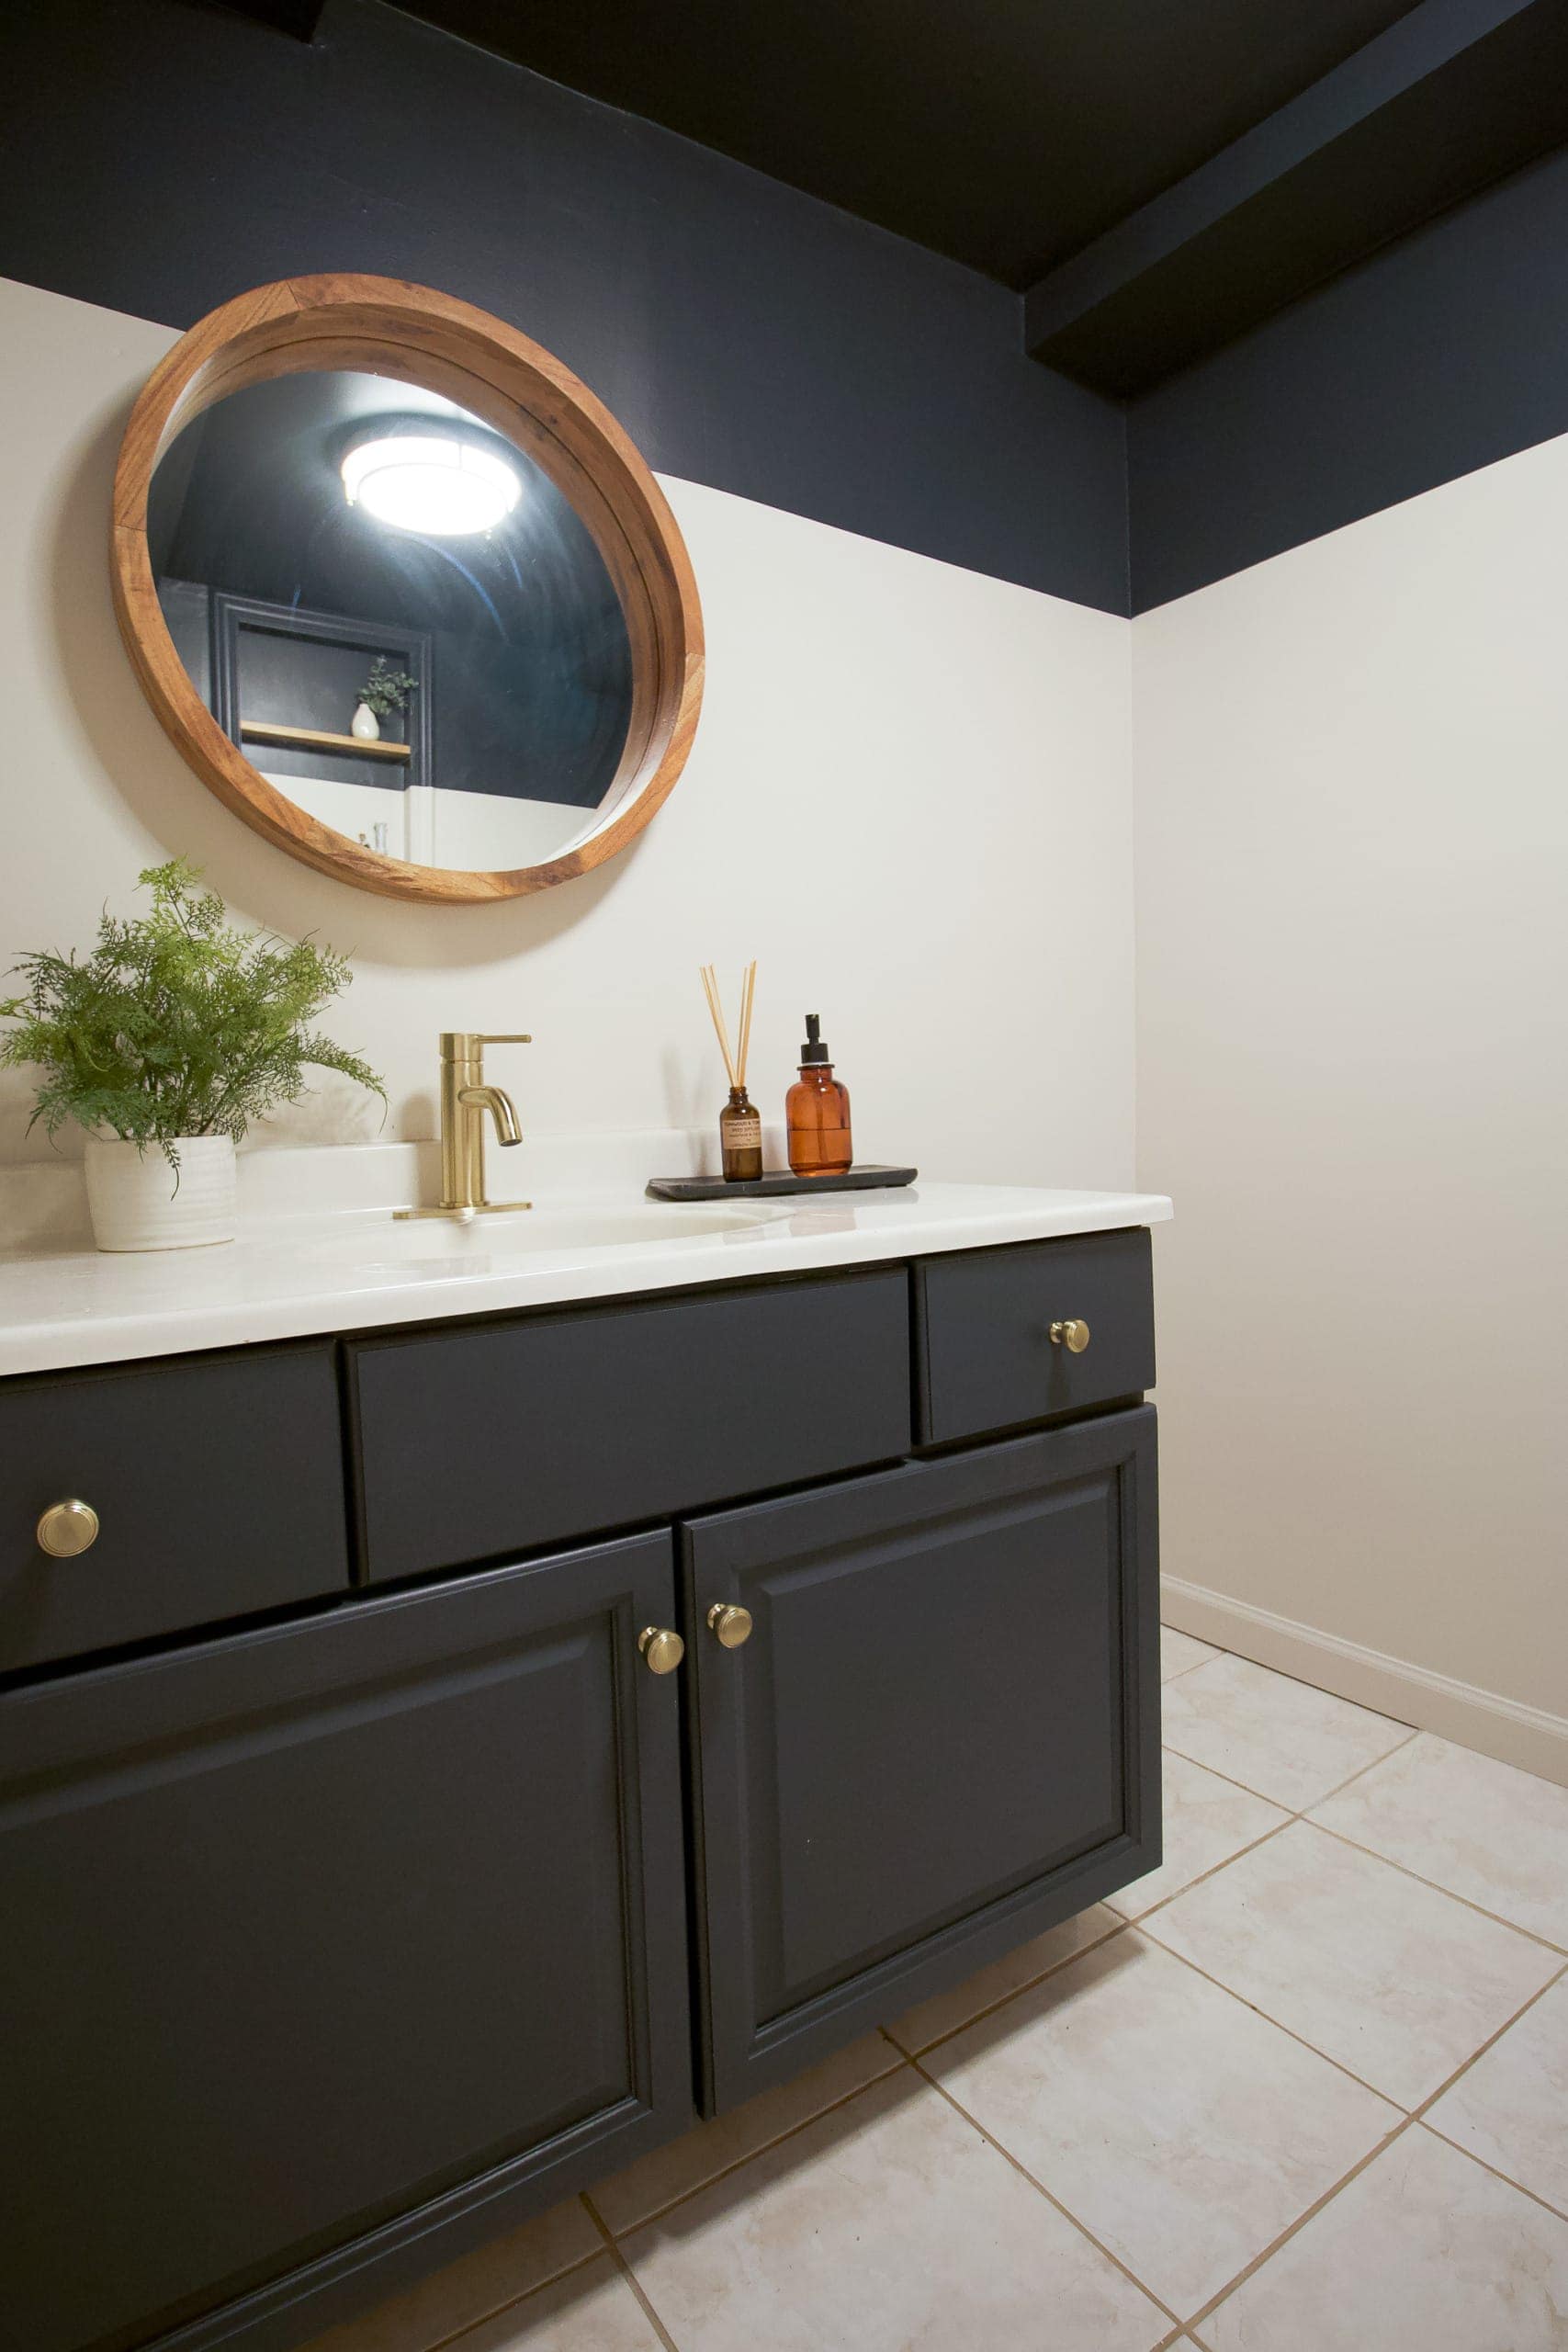
You’ll use Krud Kutter to clean the floor and once it’s perfect, you can tape off the baseboards, toilet, and vanity so you don’t get paint on those areas.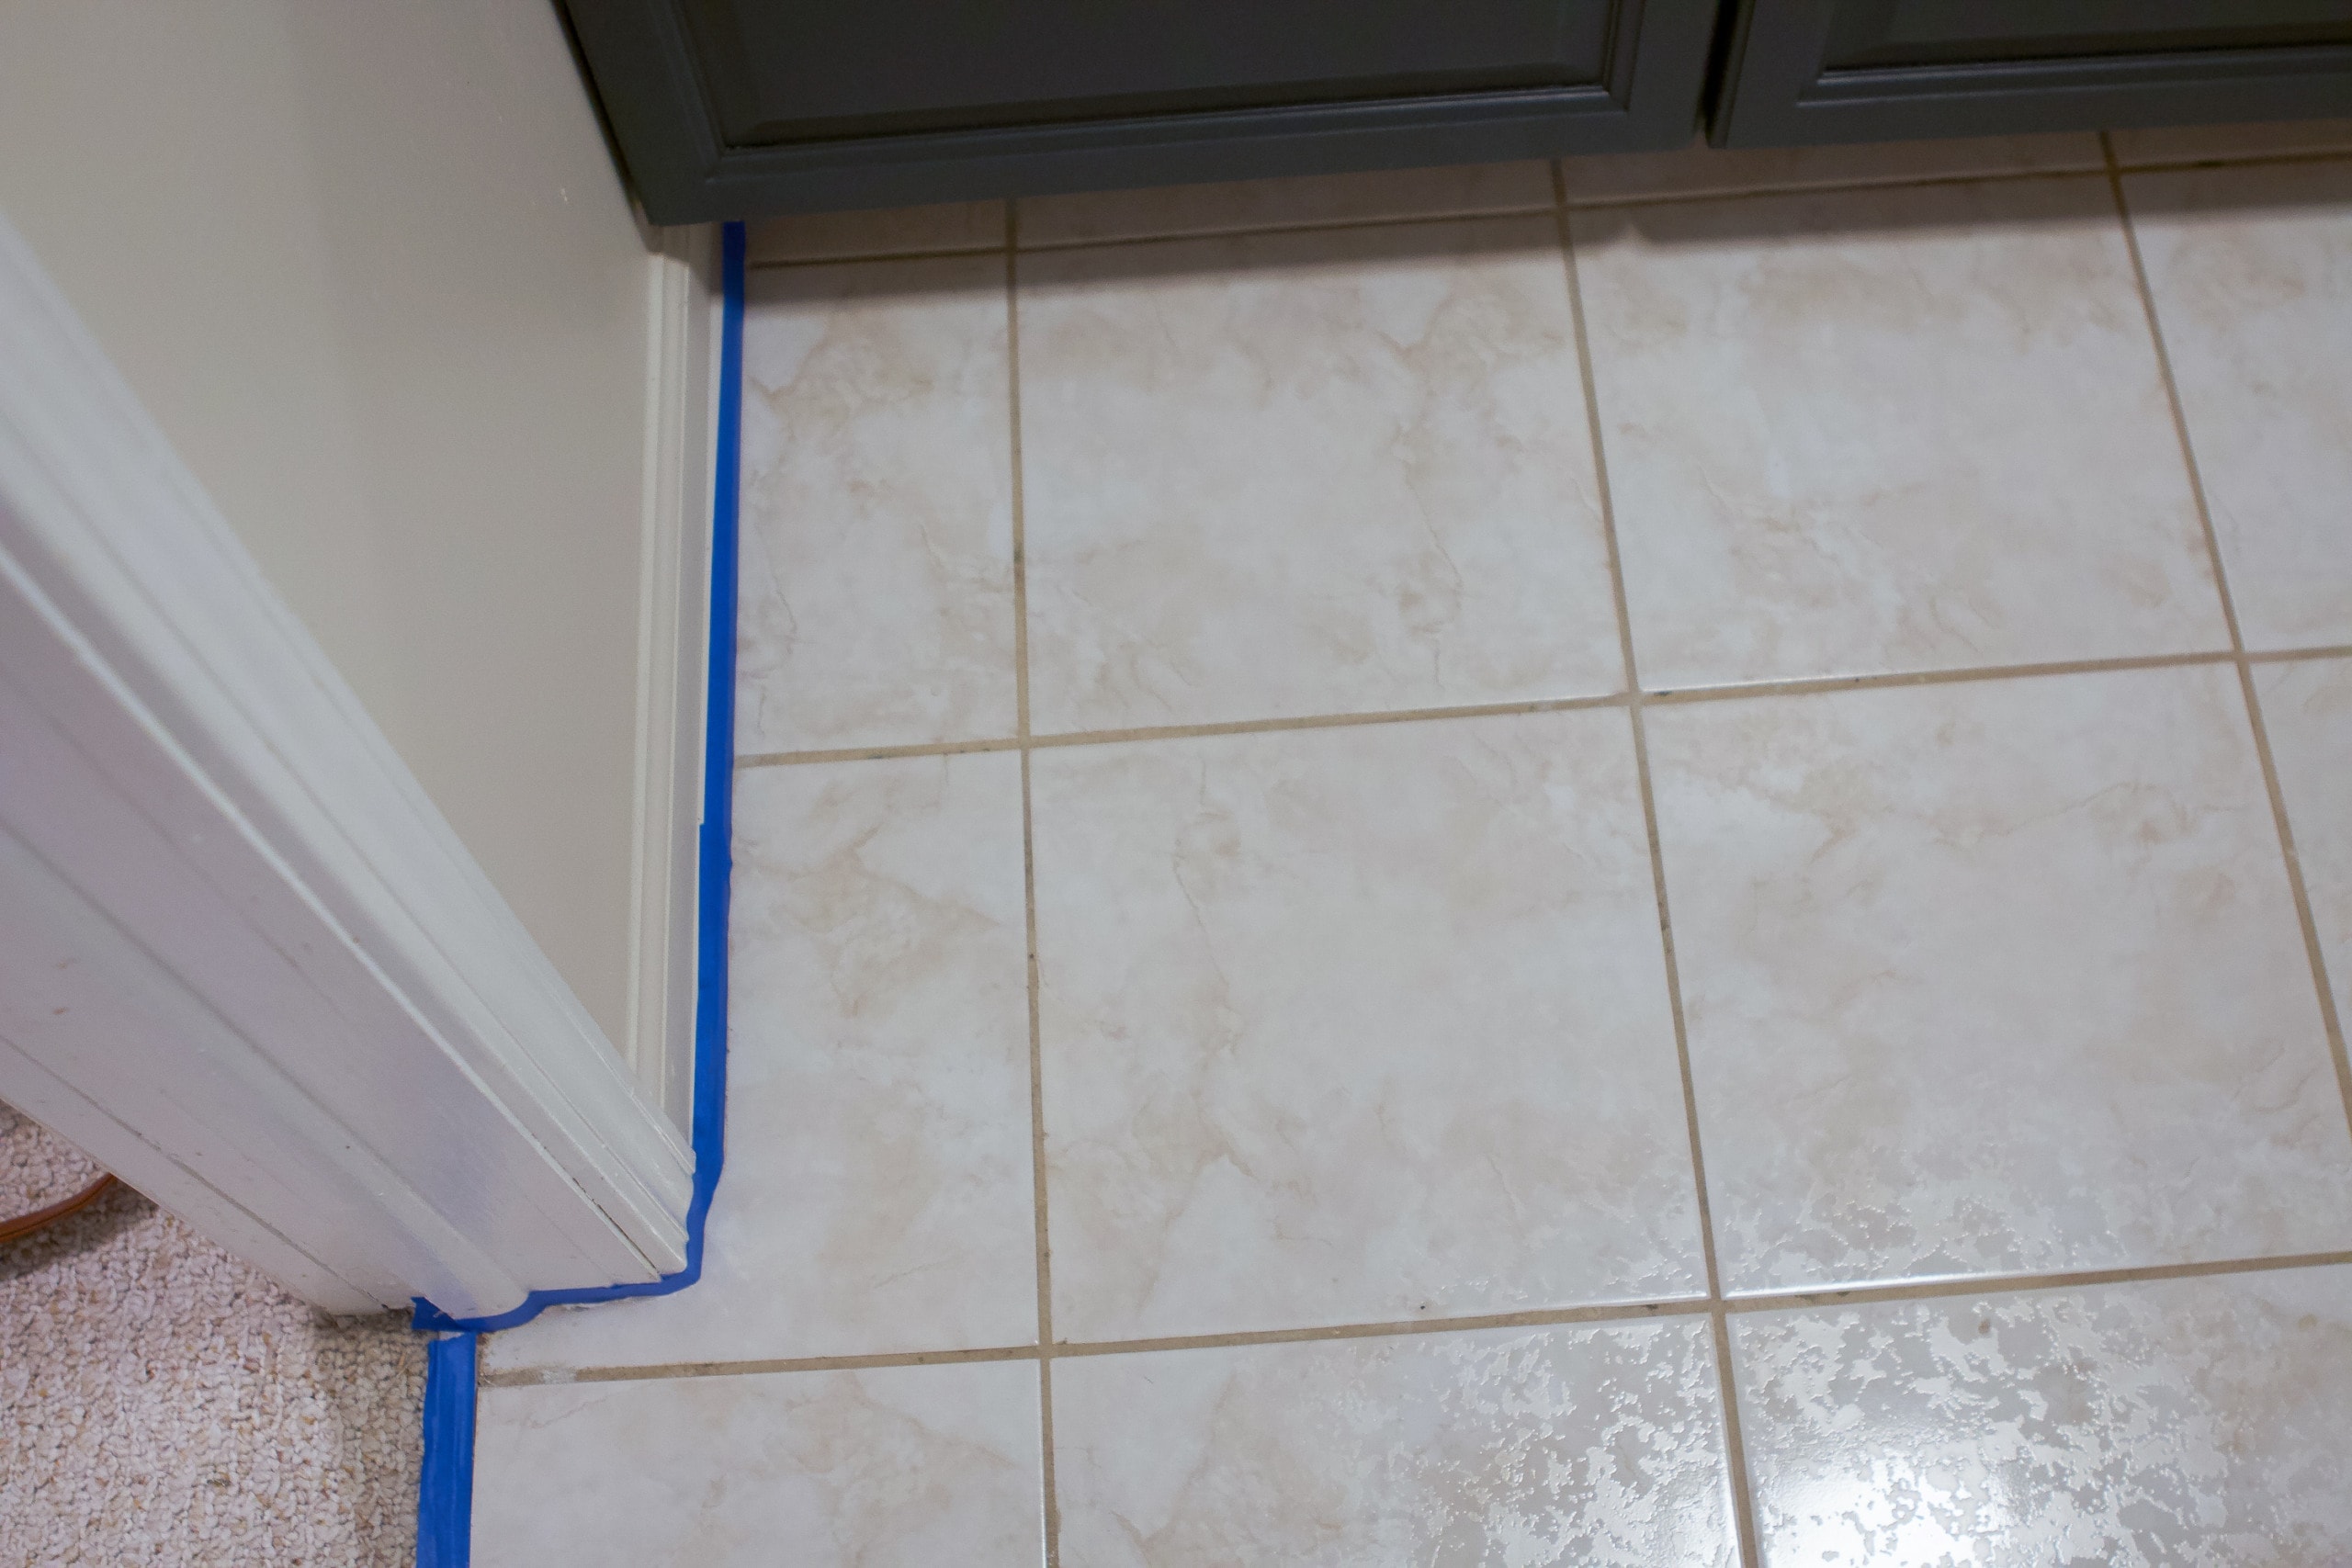
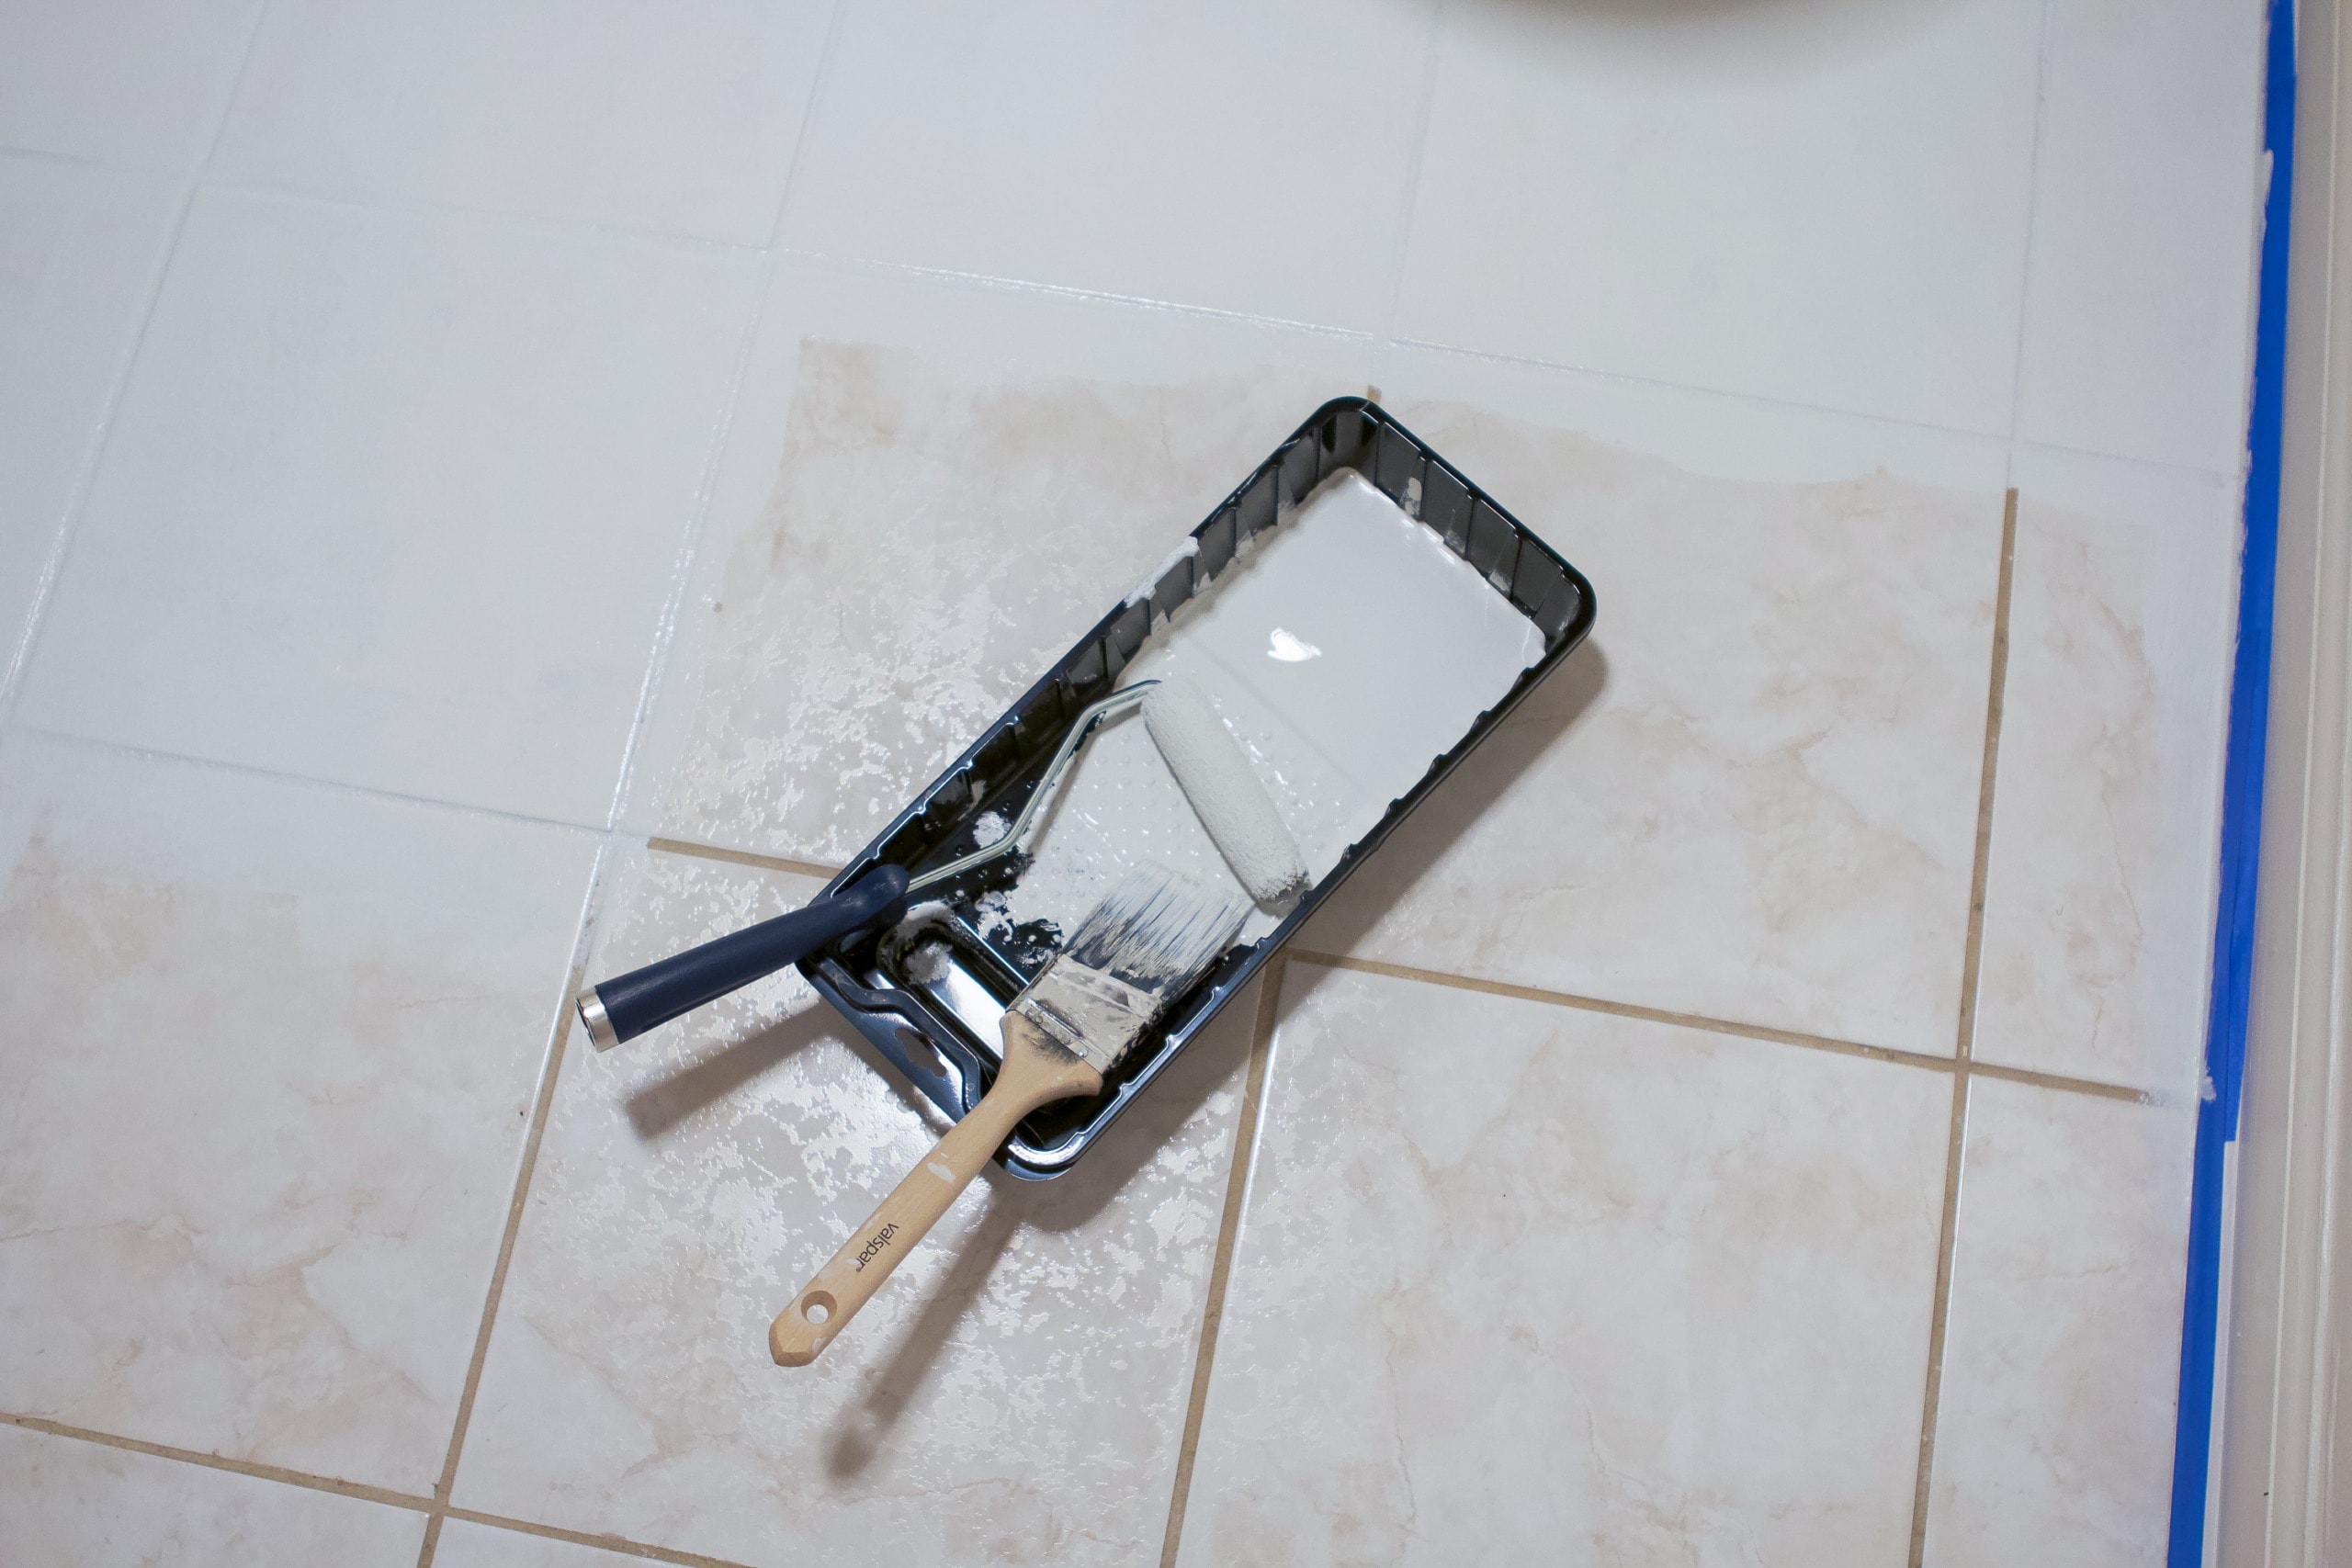
Once it was clean and dry, I was quickly able to paint that first coat using a 3/8″ nap roller and brush. The painting part is actually incredibly fast. It’s the stenciling that takes a while. That first coat MUST DRY FOR SIX HOURS.
So before you do that second coat of paint, you’ll need to wait at least six hours. I let mine dry overnight and then did my second coat in the morning.
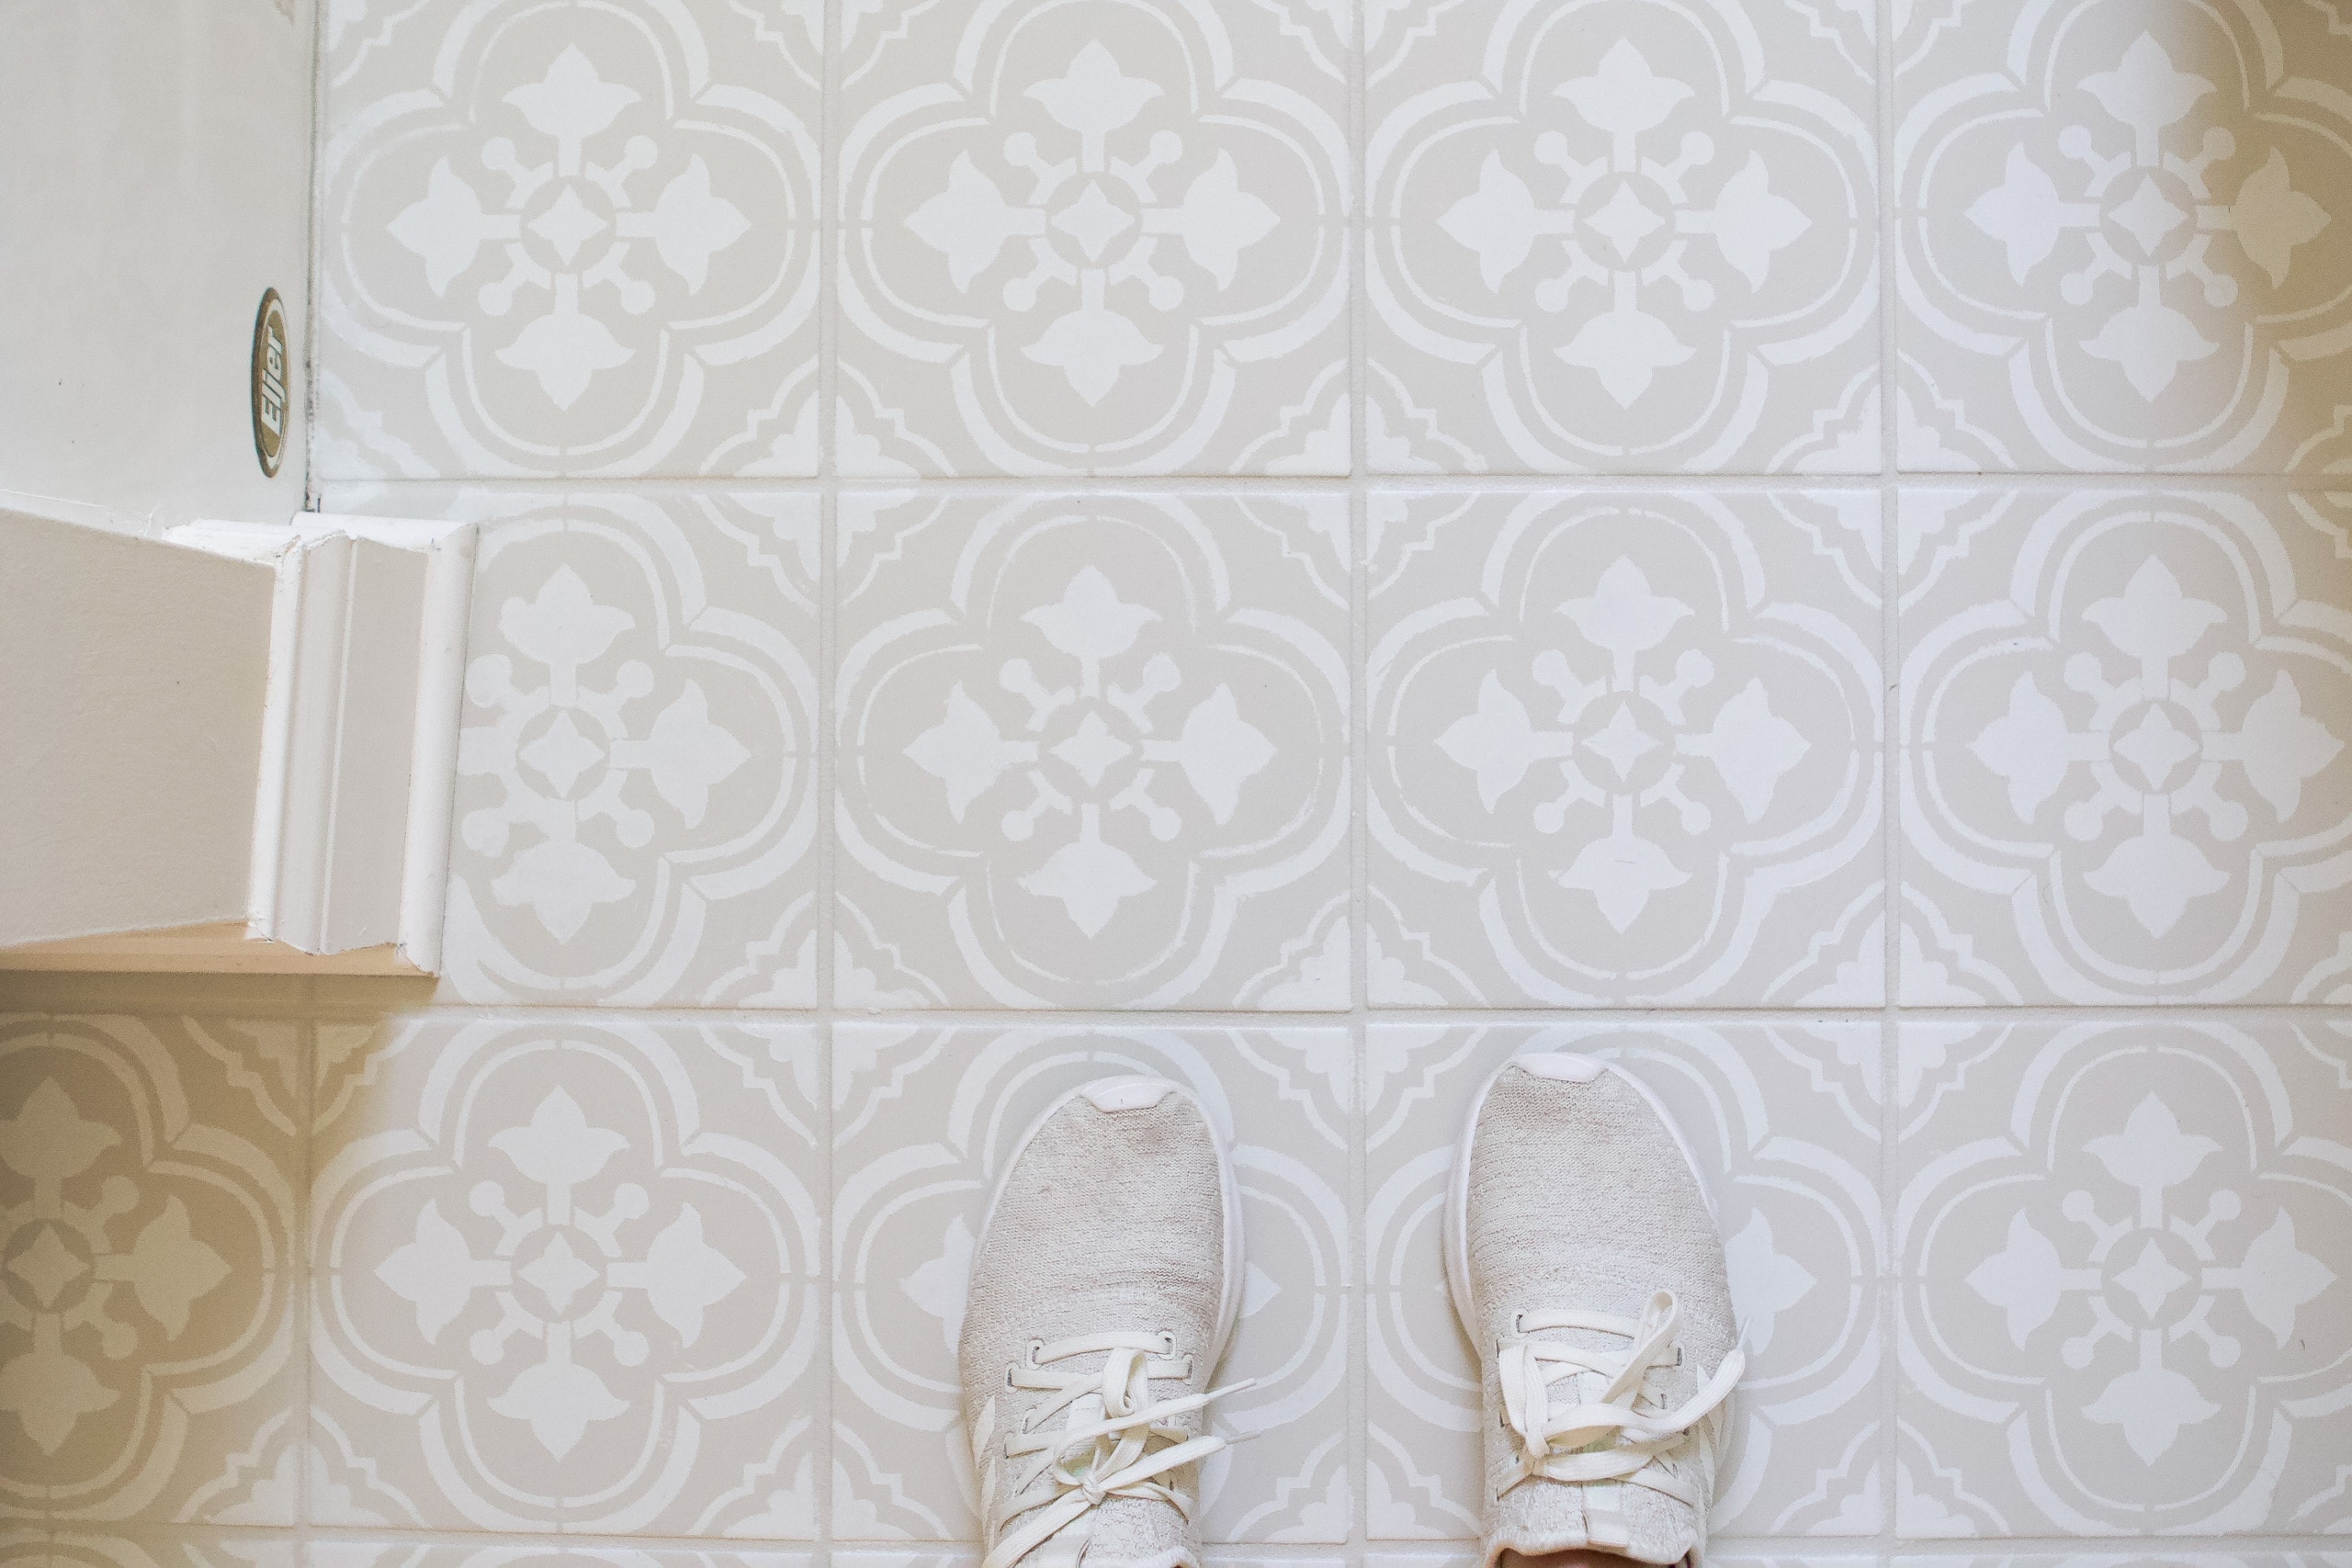
Wear Socks

You’ll want to wear socks when doing that second coat and the stenciling. Until you put the top coat on, the floor is a little bit tacky. It’s not super sticky, but it just has a little bit of a bite to it. Wear socks and use a towel for your knees so you don’t mess up the floor tile at all.
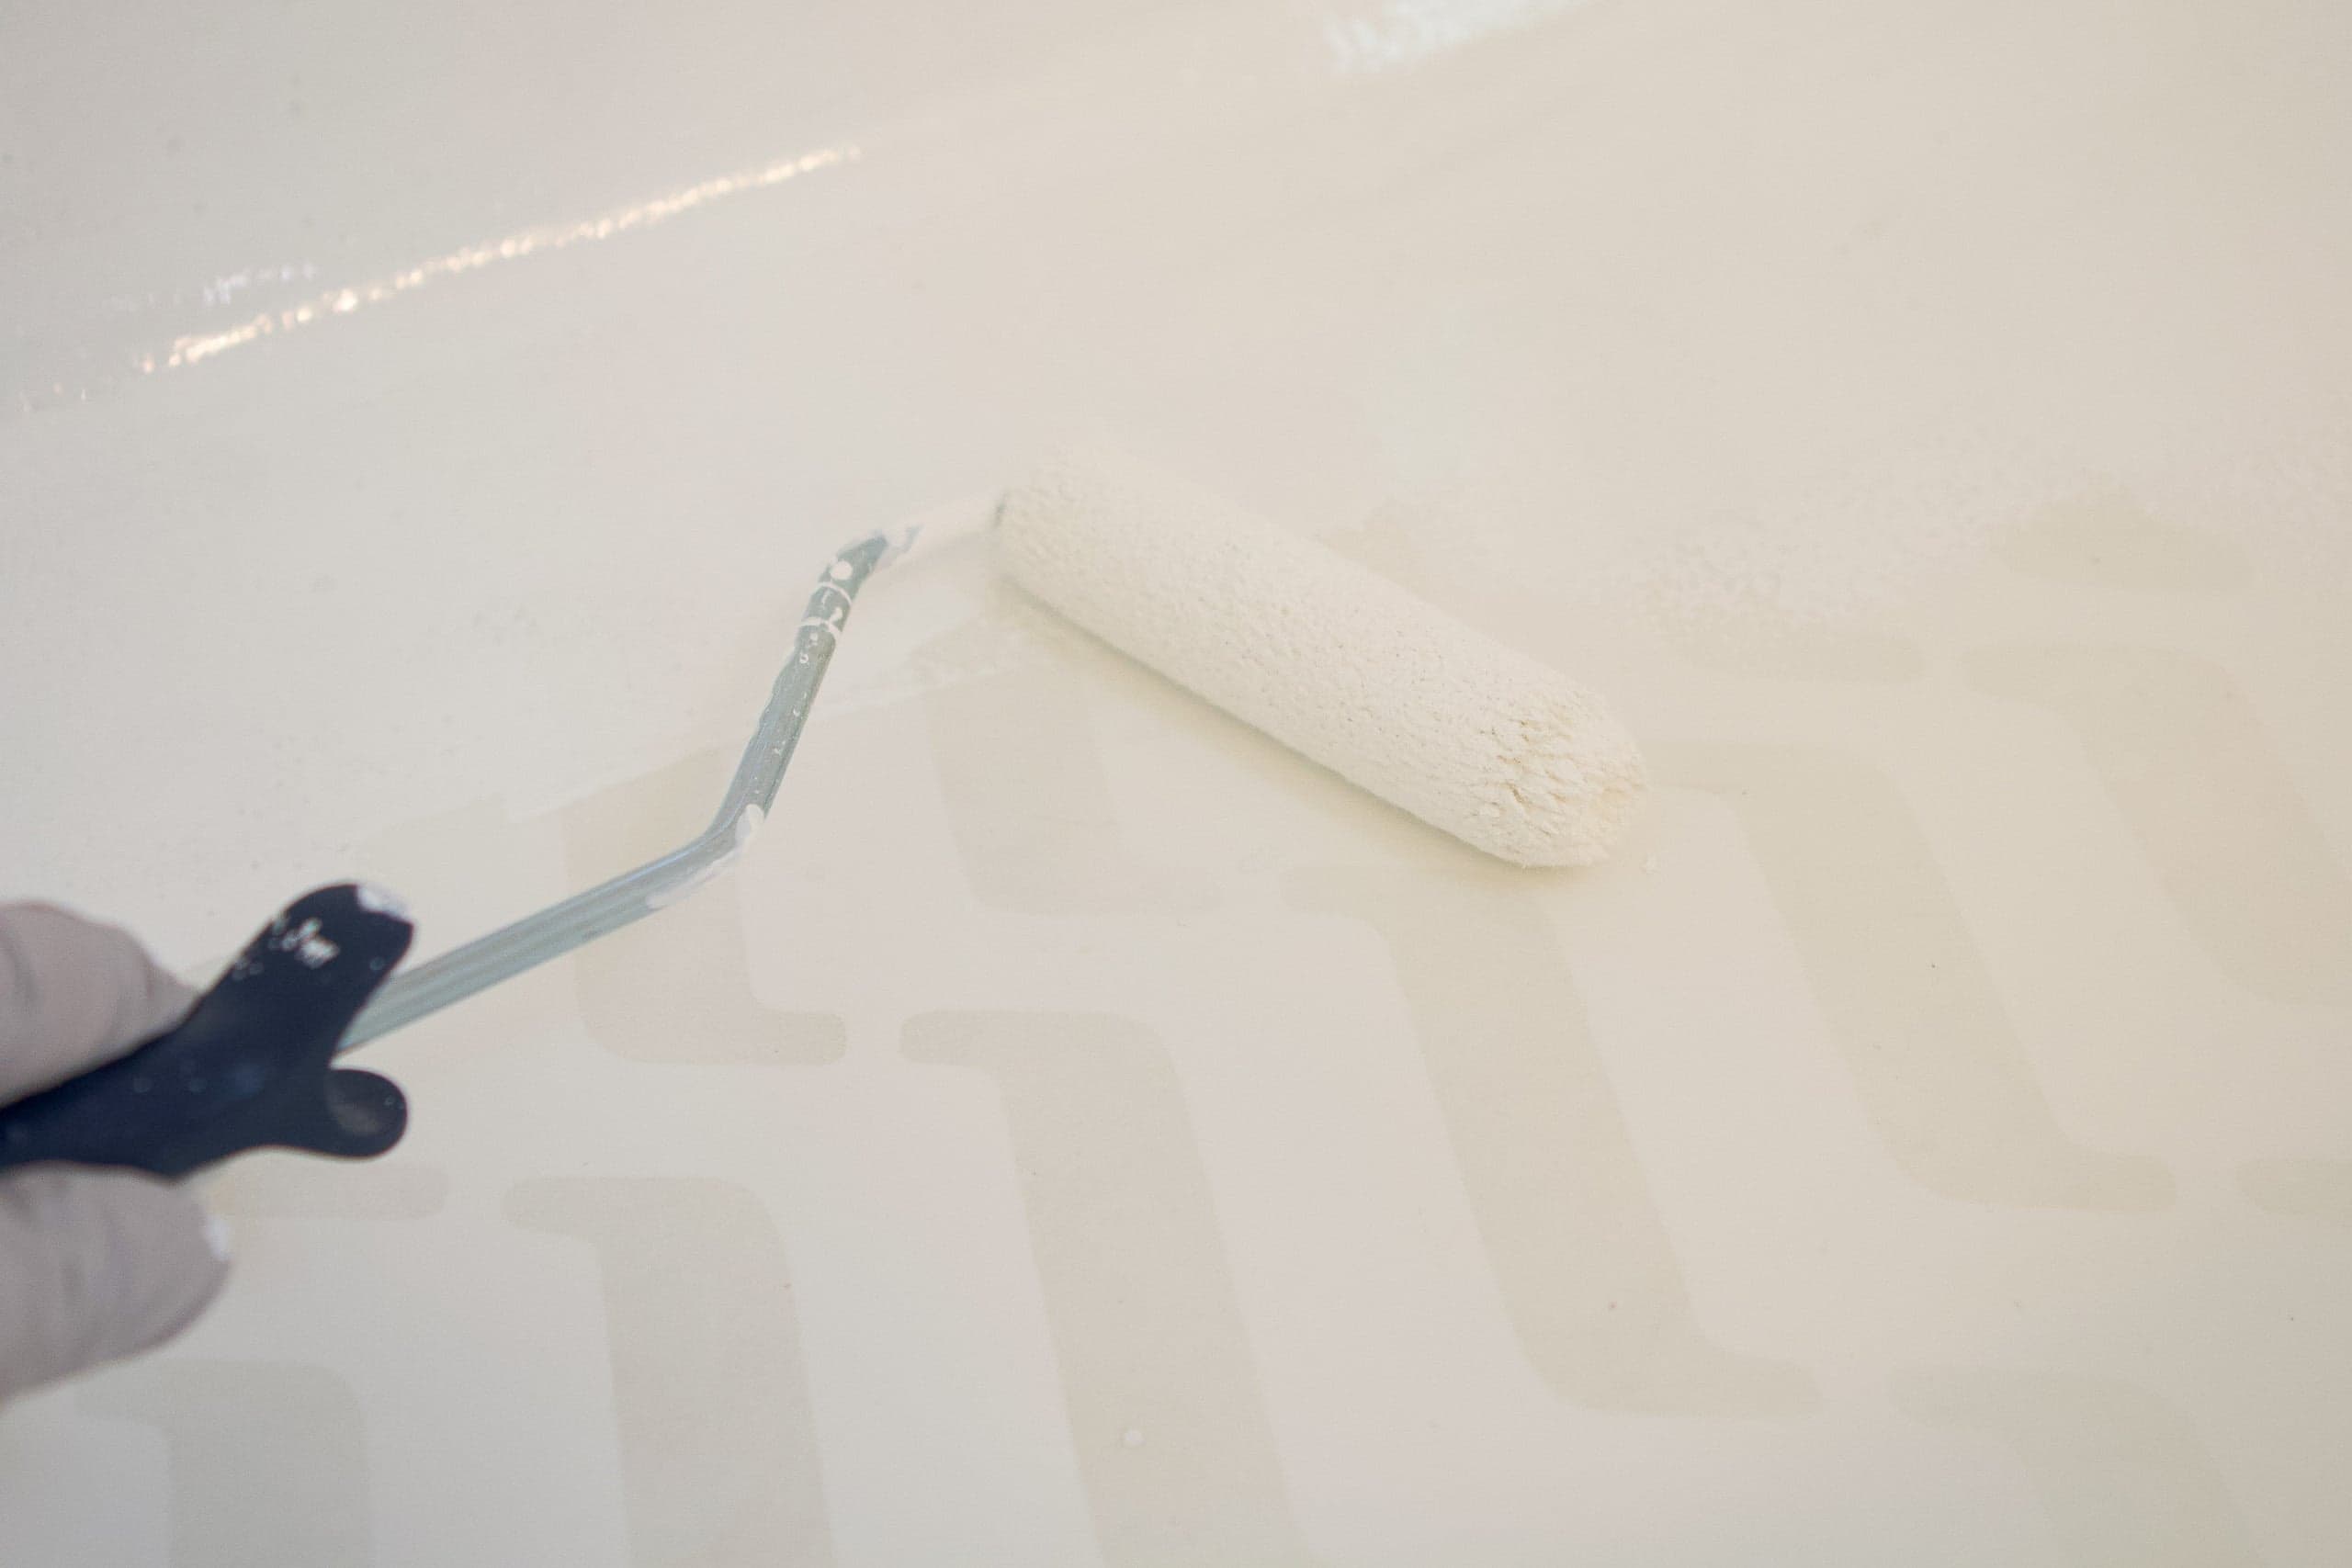
Day 2 – Coat Two, Stencil, & Top Coat

Depending on the size of your floor, you should be able to do the rest of the project on the second day. You only need to wait about an hour in between coats (no more waiting six hours), so you can power through the project on Day 2. I ended up doing the second coat in the morning; I stenciled in the afternoon, and then I did the top coat that evening.
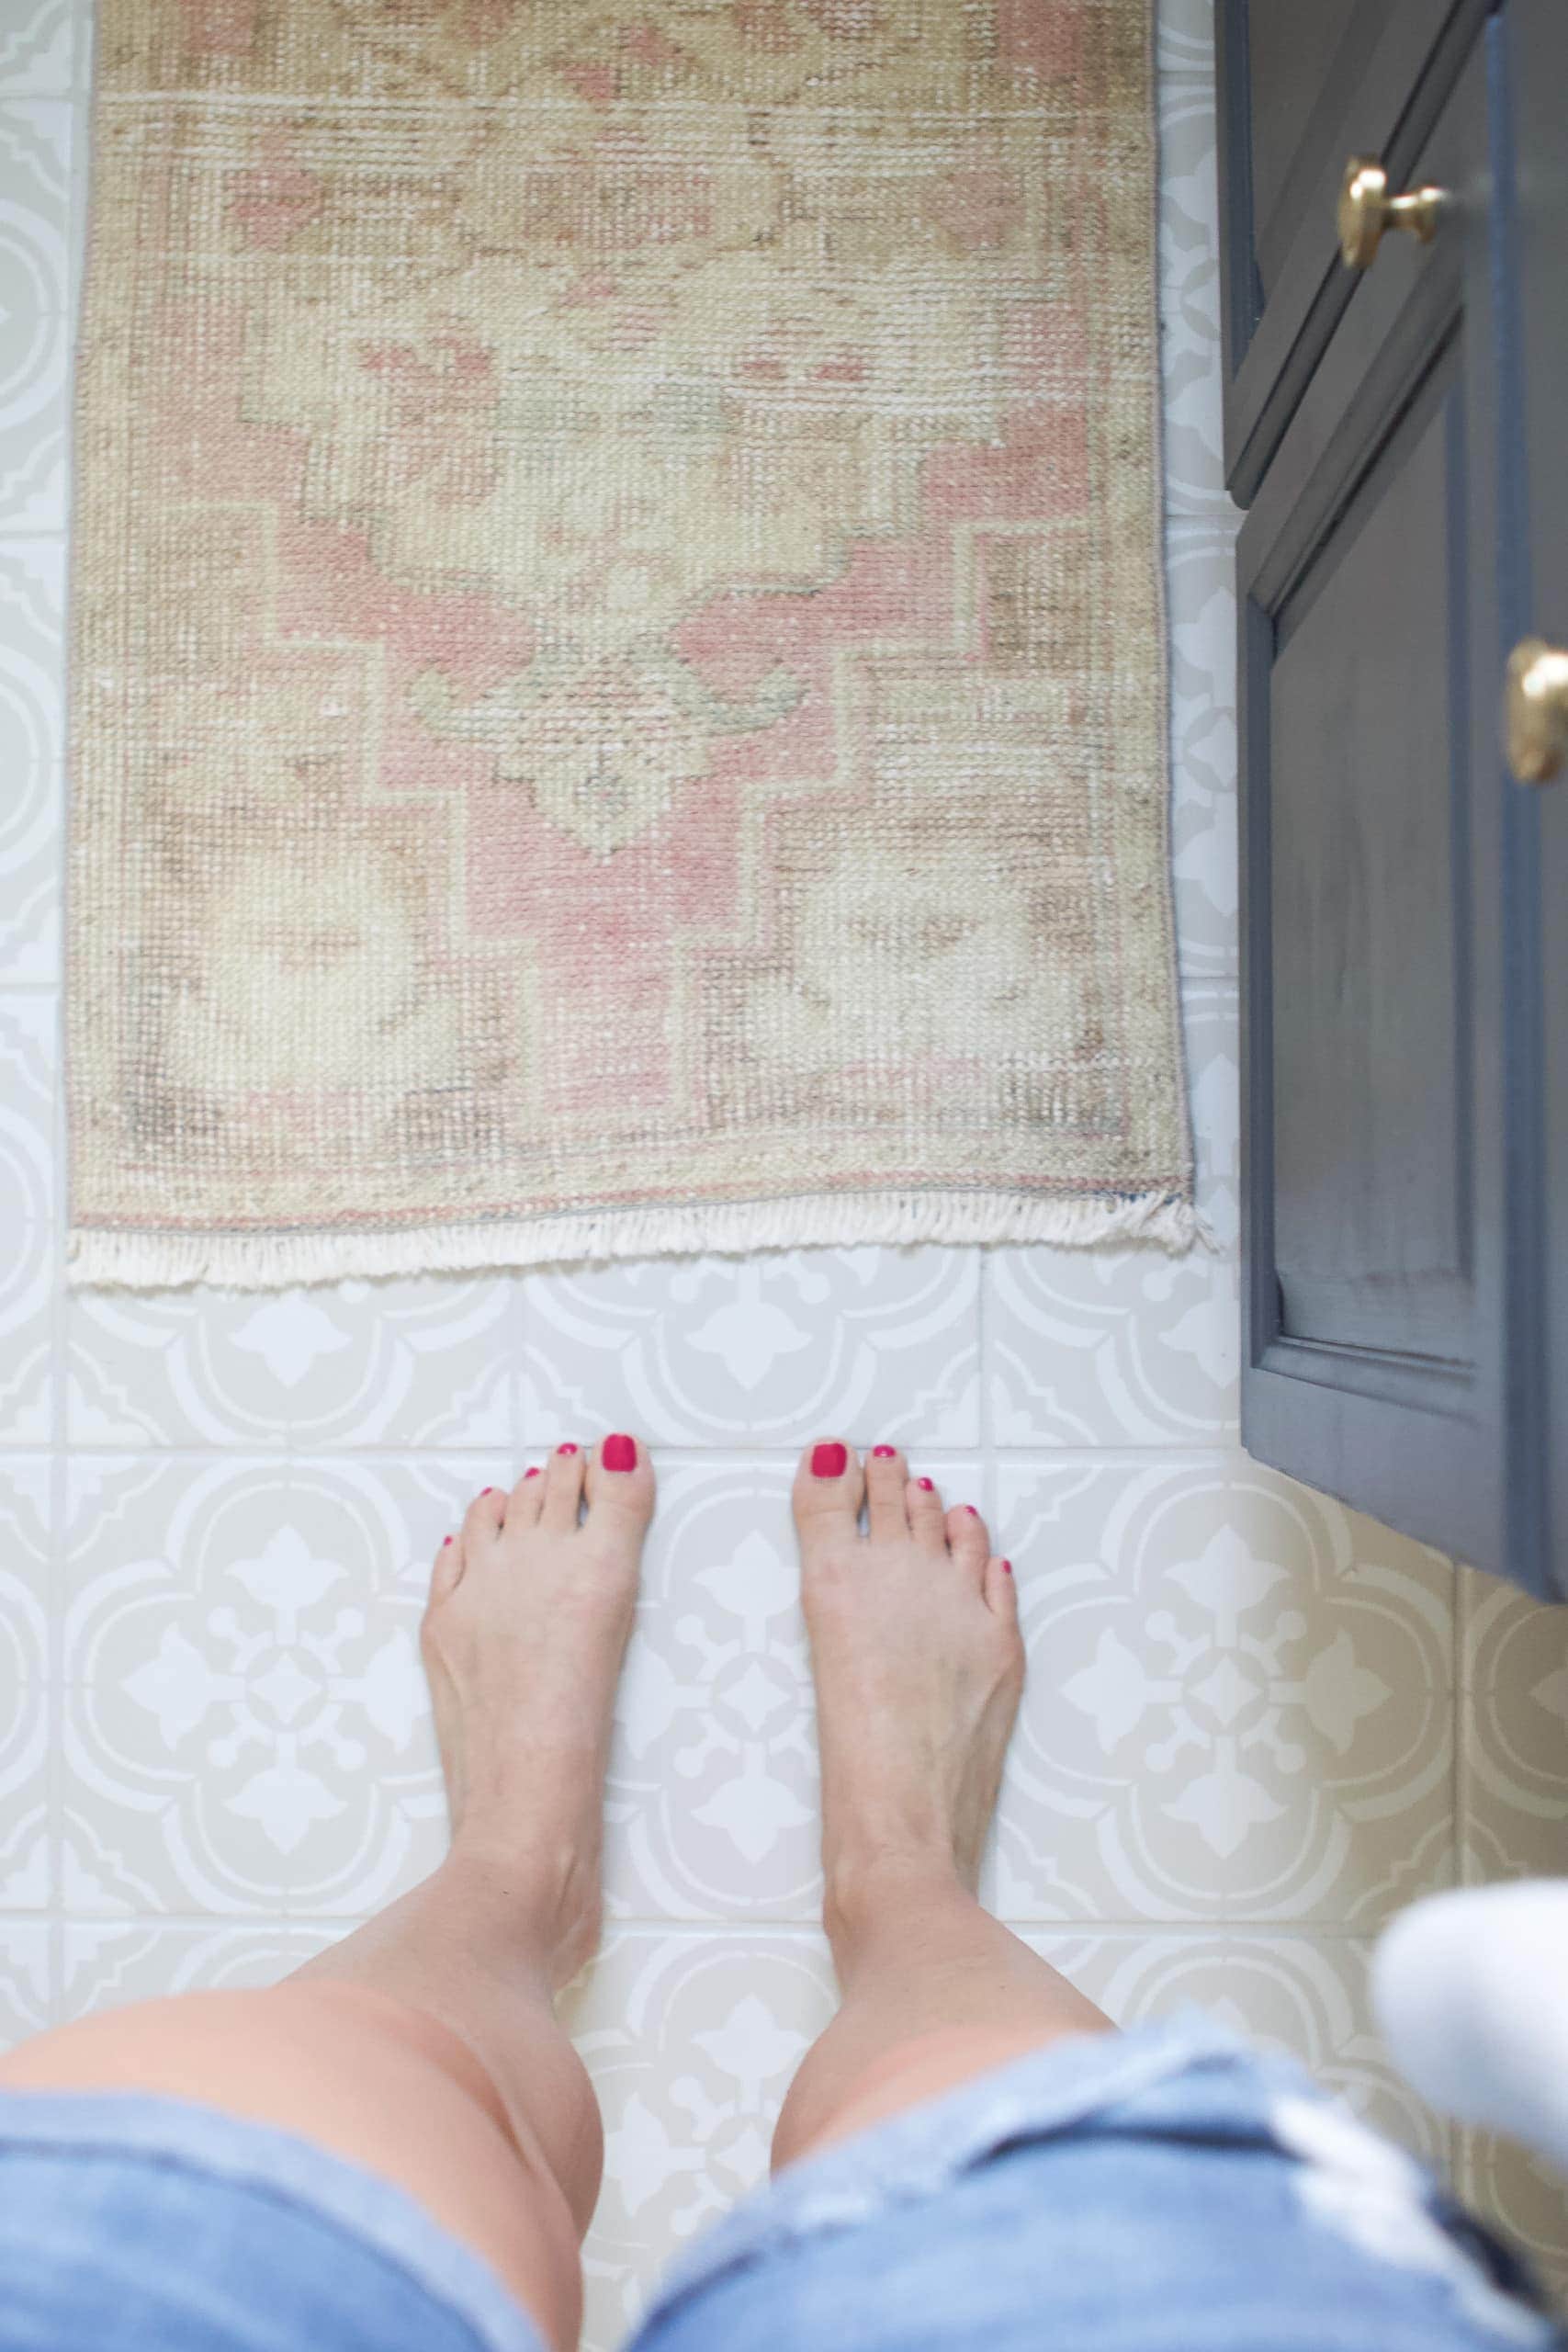
Once it’s all done, you shouldn’t walk on it for at least 24 hours. I waited a few more days to put the rug down and trash bin.
Try Out Colors
In our upstairs bathroom, I used the colors “Coastal Fog” and “Steam Gray” for a nice warm look. In here, I wanted to do something a tad different. I still had “Coastal Fog”, “Steam Gray”, and “Greige” leftover from the other bathroom, so I tried them out on the floor. Colors often look really different from the can to the ground, so I definitely recommend this. 
Greige (left) // Coastal Fog (right) // Steam White (bottom)
You can easily paint these on the ground to get a sense of how they’ll look in the space. Just wipe them up after a few minutes so it doesn’t start sticking.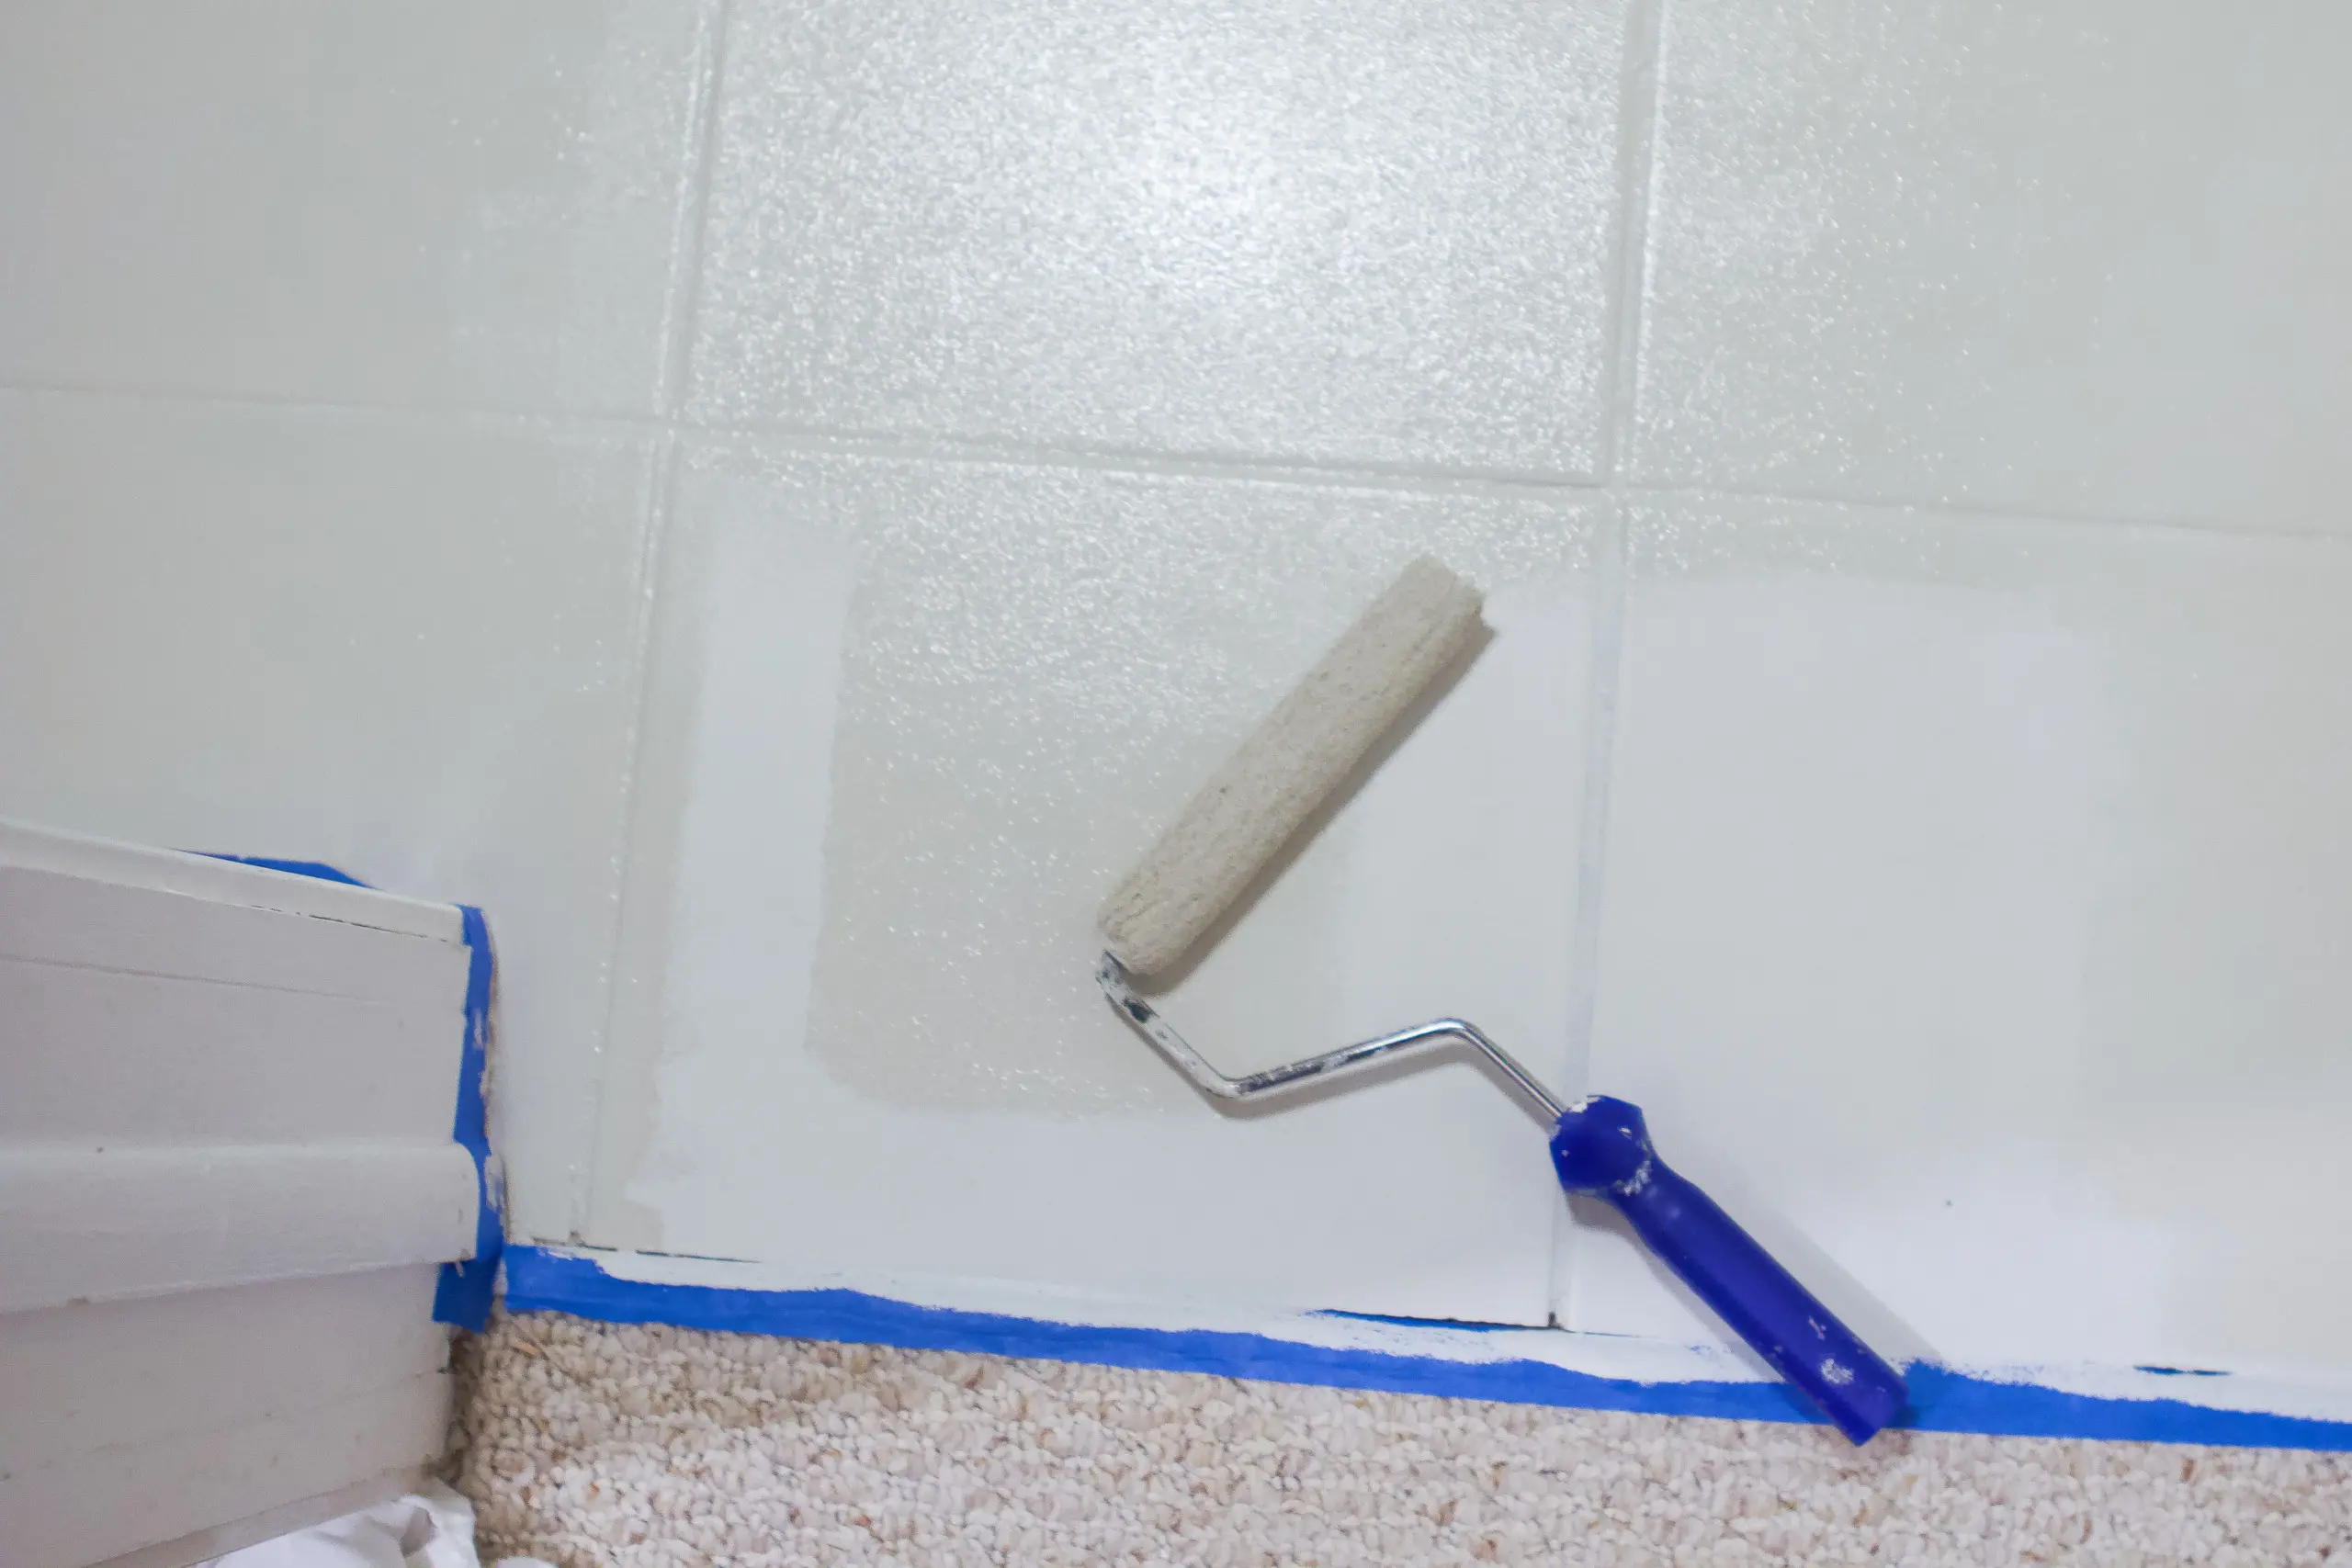
My gameplan was to have a light background color with a dark stenciled pattern on top. I bought “Charcoal Gray” for the stencil color, but I was torn between “Steam Gray” and “Coastal Fog” for the base color. I originally did one coat of the “Steam Gray” and once it was on, I decided it was a tad too light. I ended up painting “Coastal Fog” over it the next morning and it was much more my style. So don’t worry if that happens to you too. You can paint right over it with the color you like better!
Buy 2-3 Stencils
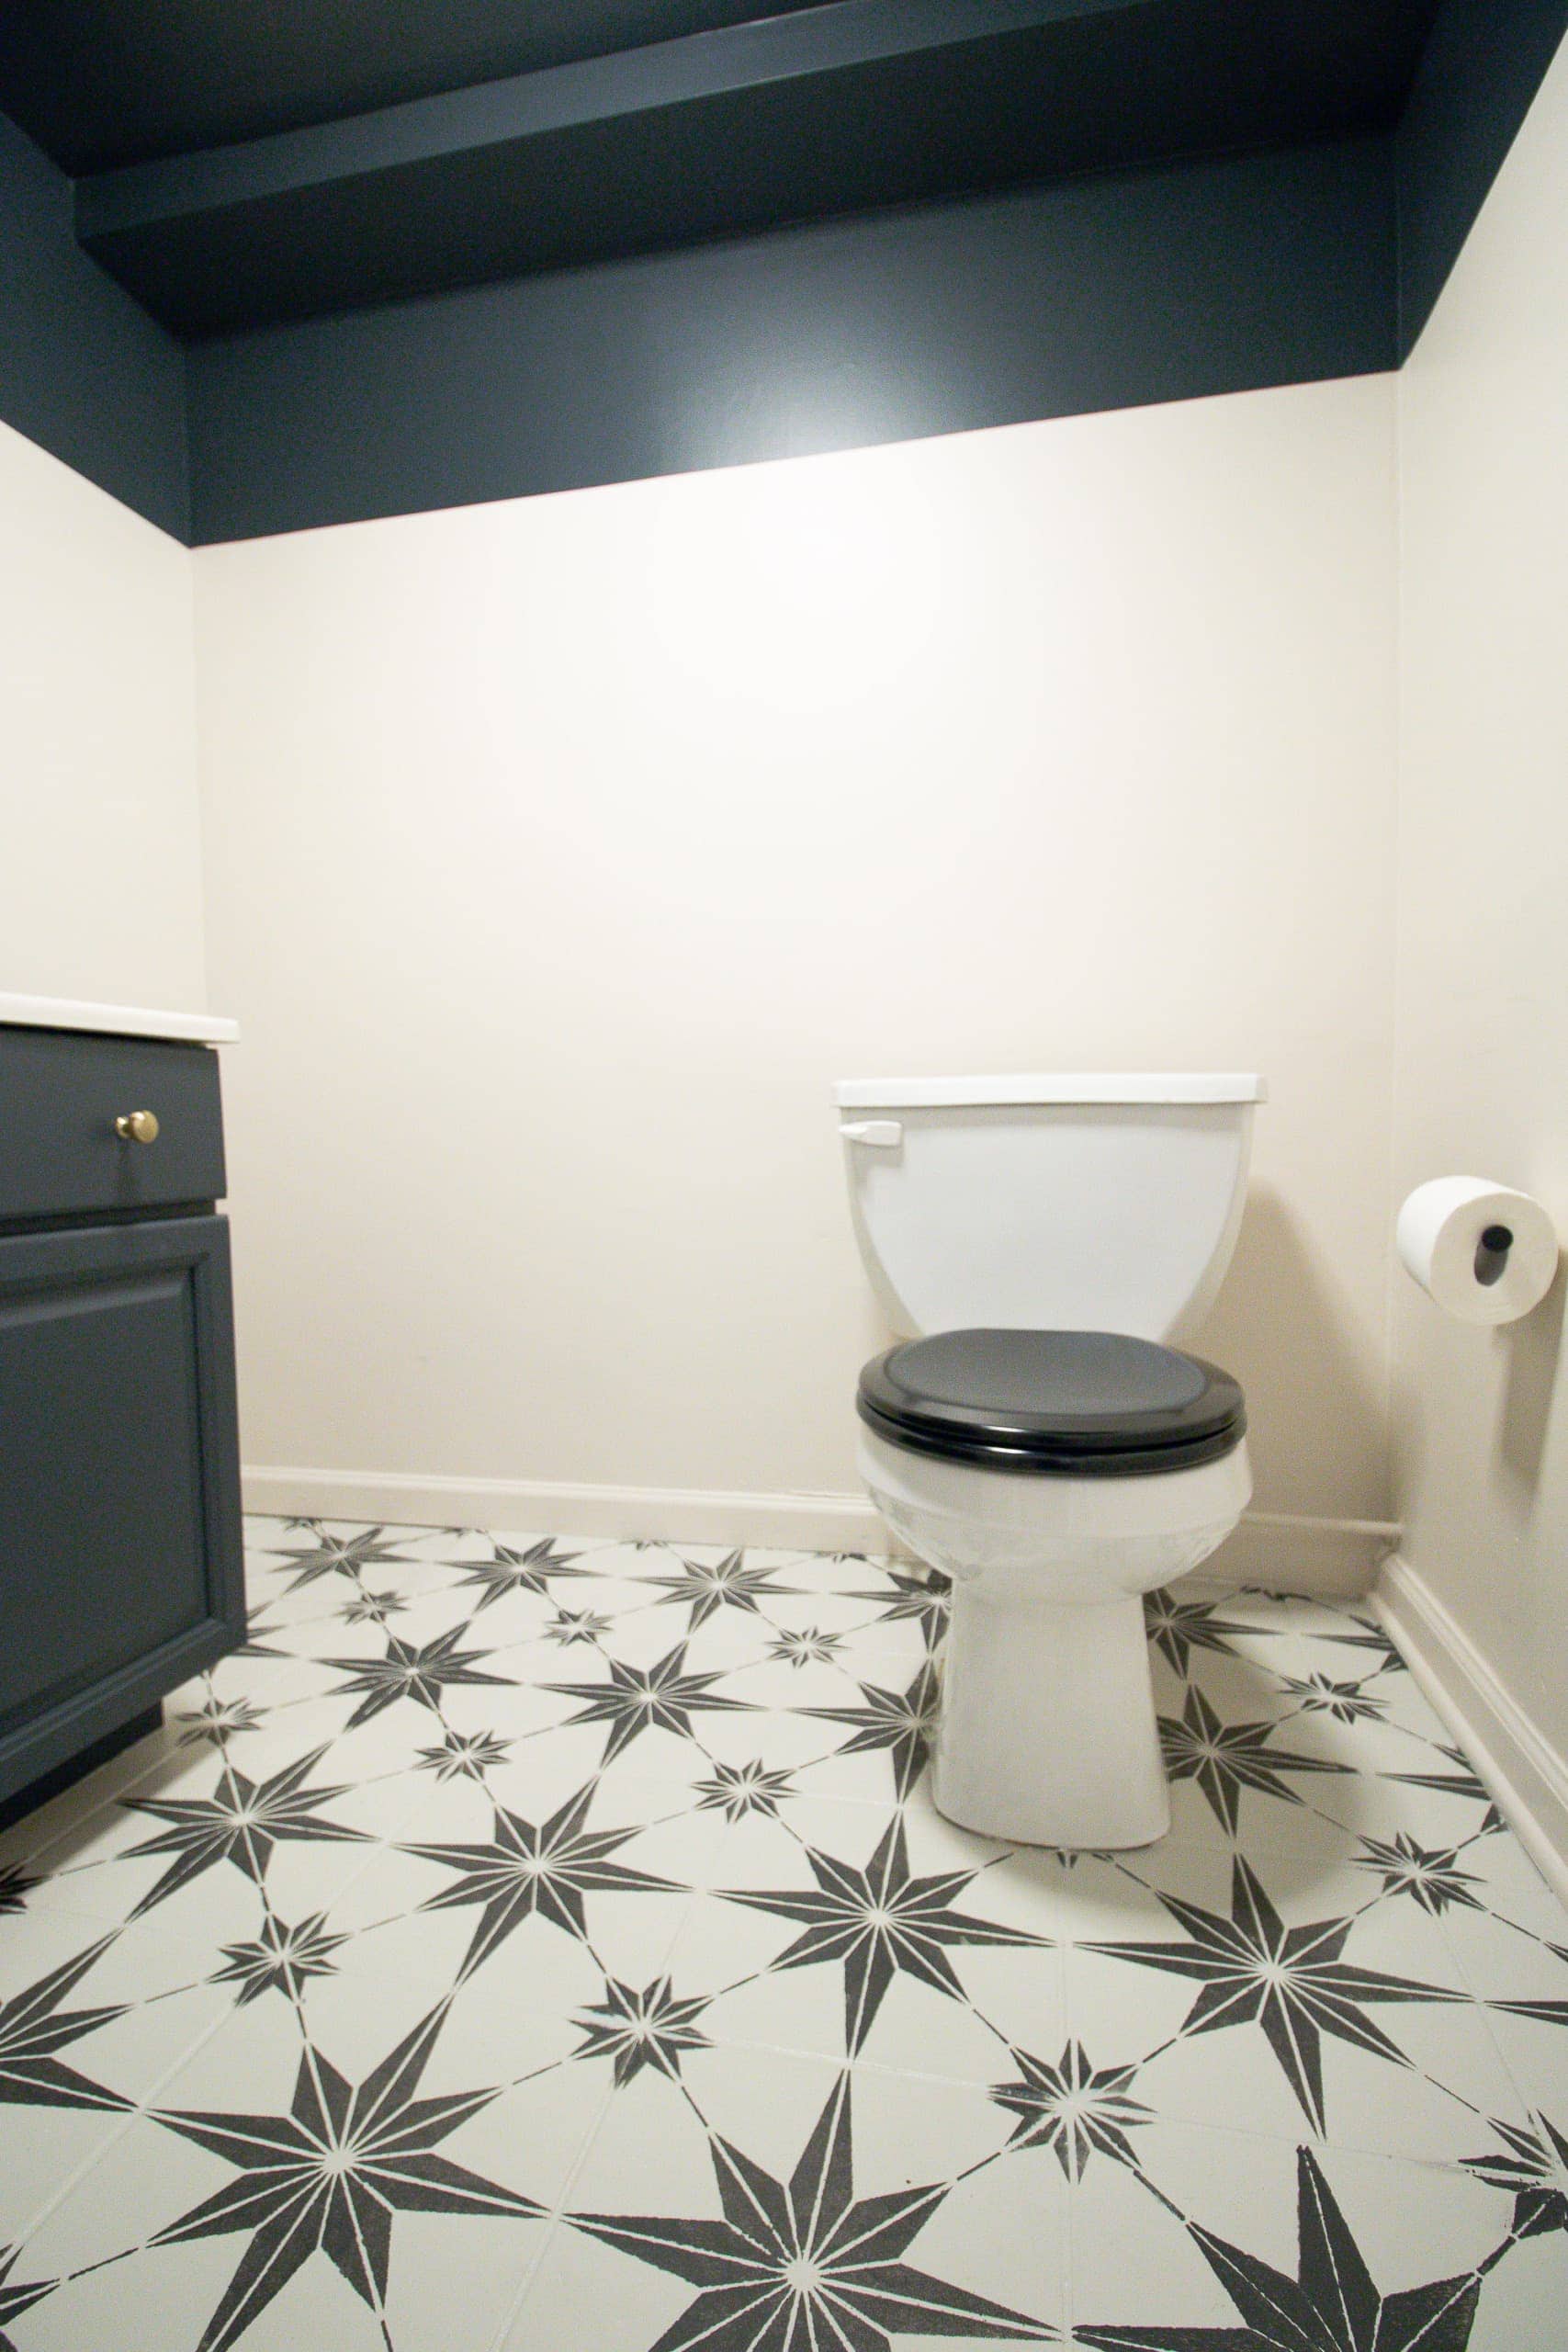
Okay, a word about stencils. The stencil I used in our upstairs bathroom had a lot of curved lines and was a pretty big pattern. The stencil I chose for the basement had a more intricate pattern with a lot of straight lines (I bought the large size for my 12×12 tiles). I quickly realized that those straight thin lines in the pattern would be pretty difficult when it came time to paint. Paint could easily get underneath those areas making it look a tad messier. So, if you’re doing this for the first time, I would recommend getting a stencil with a larger pattern to make your life easier!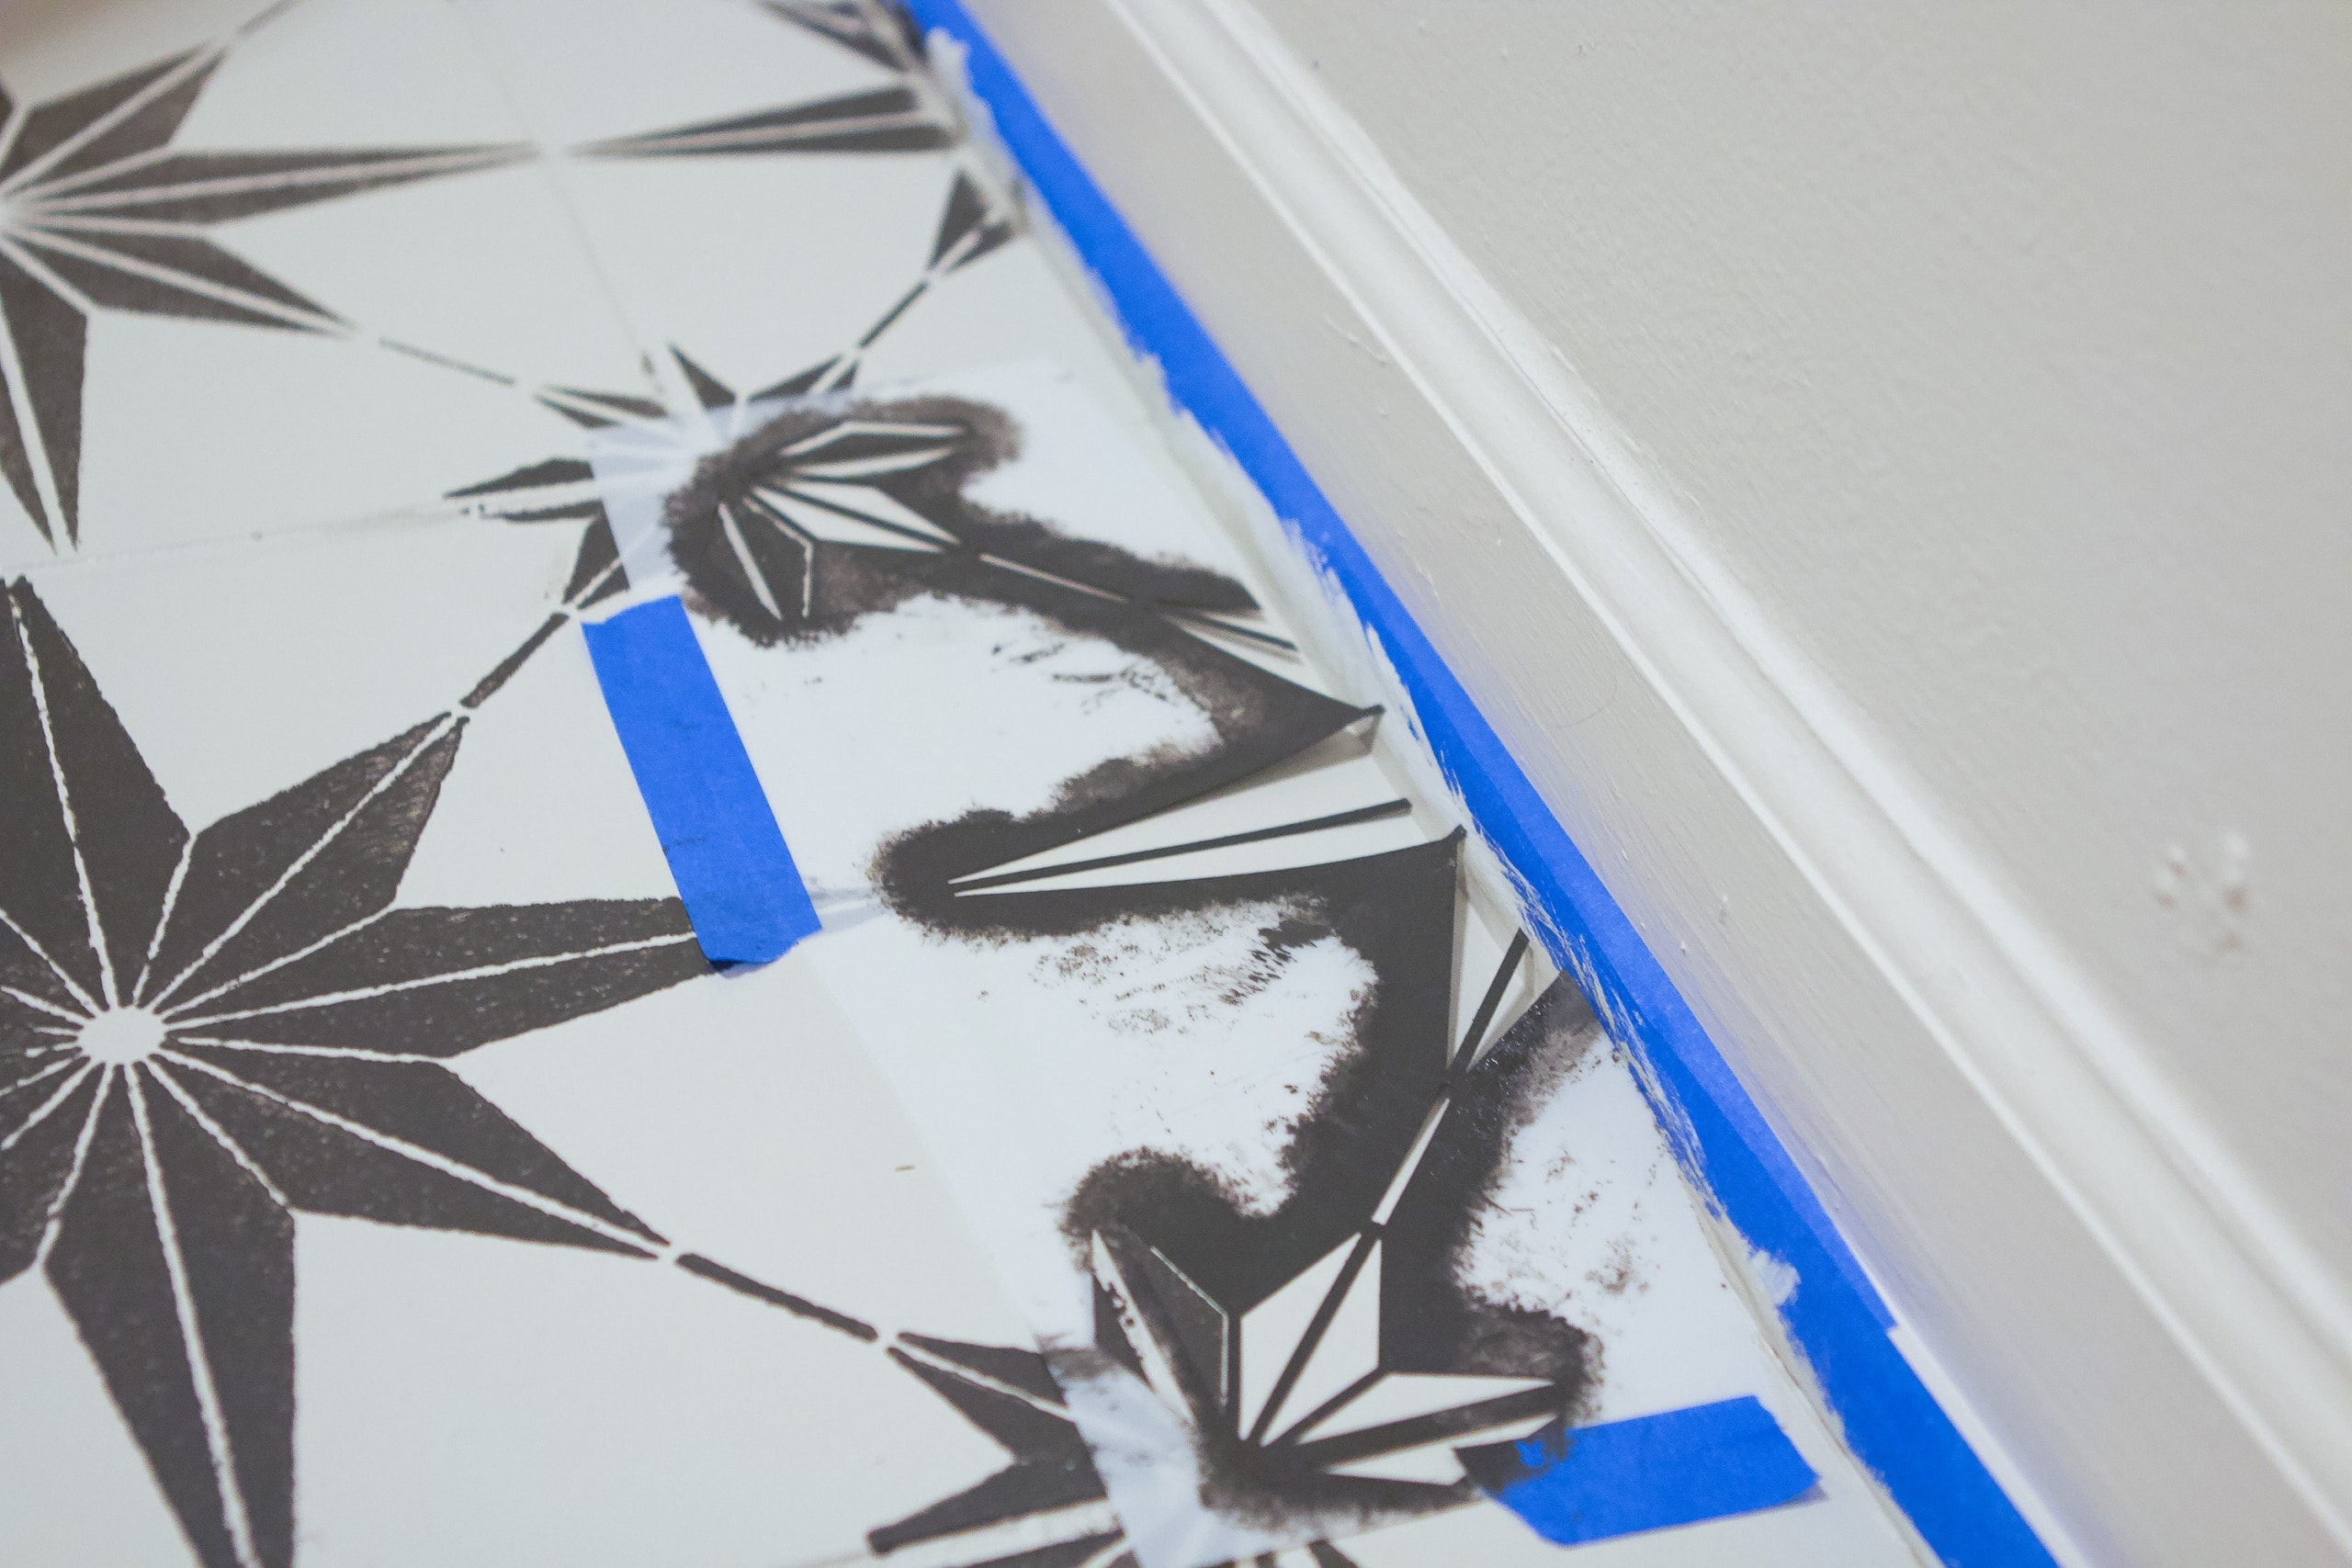
Also, be sure to buy two or three stencils. I did that this time and it was a lifesaver. I was able to cut up the stencil to use on the corners, edges, and around the toilet. This was a lot easier than smooshing a large one to fit into those tight spots. Plus, your main stencil will get pretty beat up after awhile, so it will be nice to switch to a fresh clean one halfway through.
Wipe It Down

I kept a large piece of cardboard handy to rest my stencil on top of it as I went. You’ll need a place to rest the stencil, because you don’t want to place it directly on the ground. Also, keep a rag handy so you can wipe down the backside of the stencil as you go. Paint can seep under the edges and if you place that on the tile, you’ll have marks all over the place.
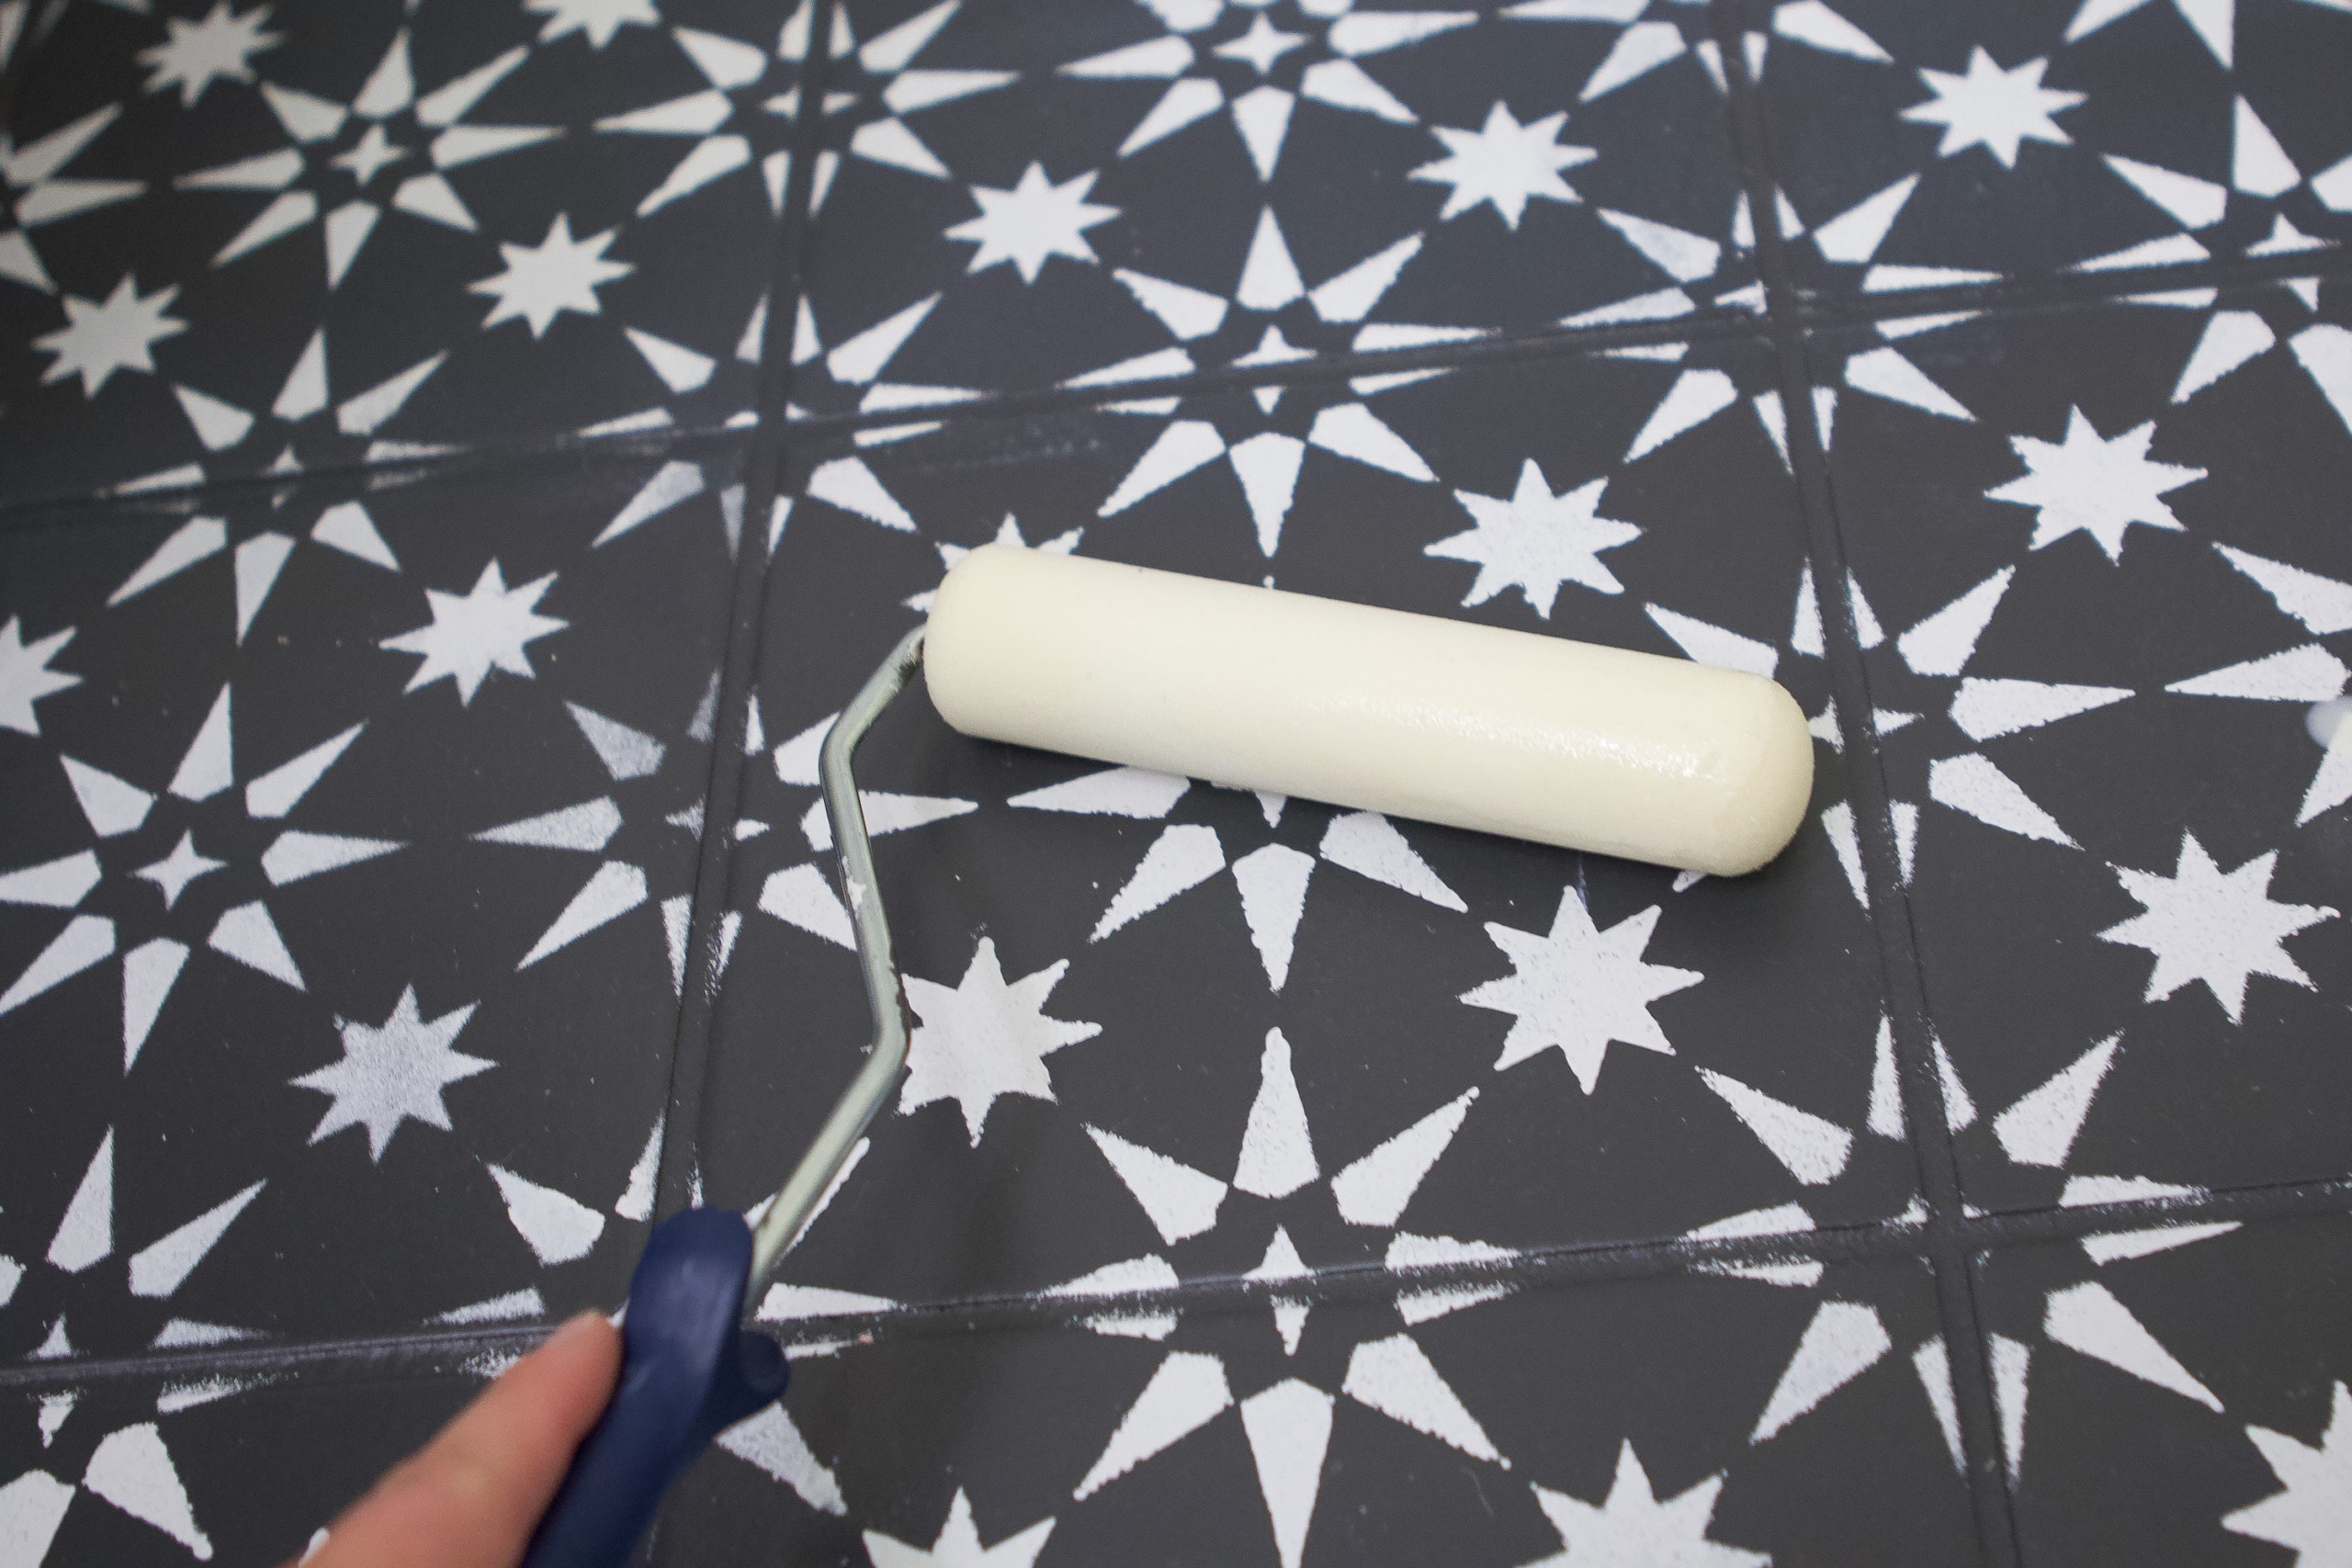
Use a Stencil Brush
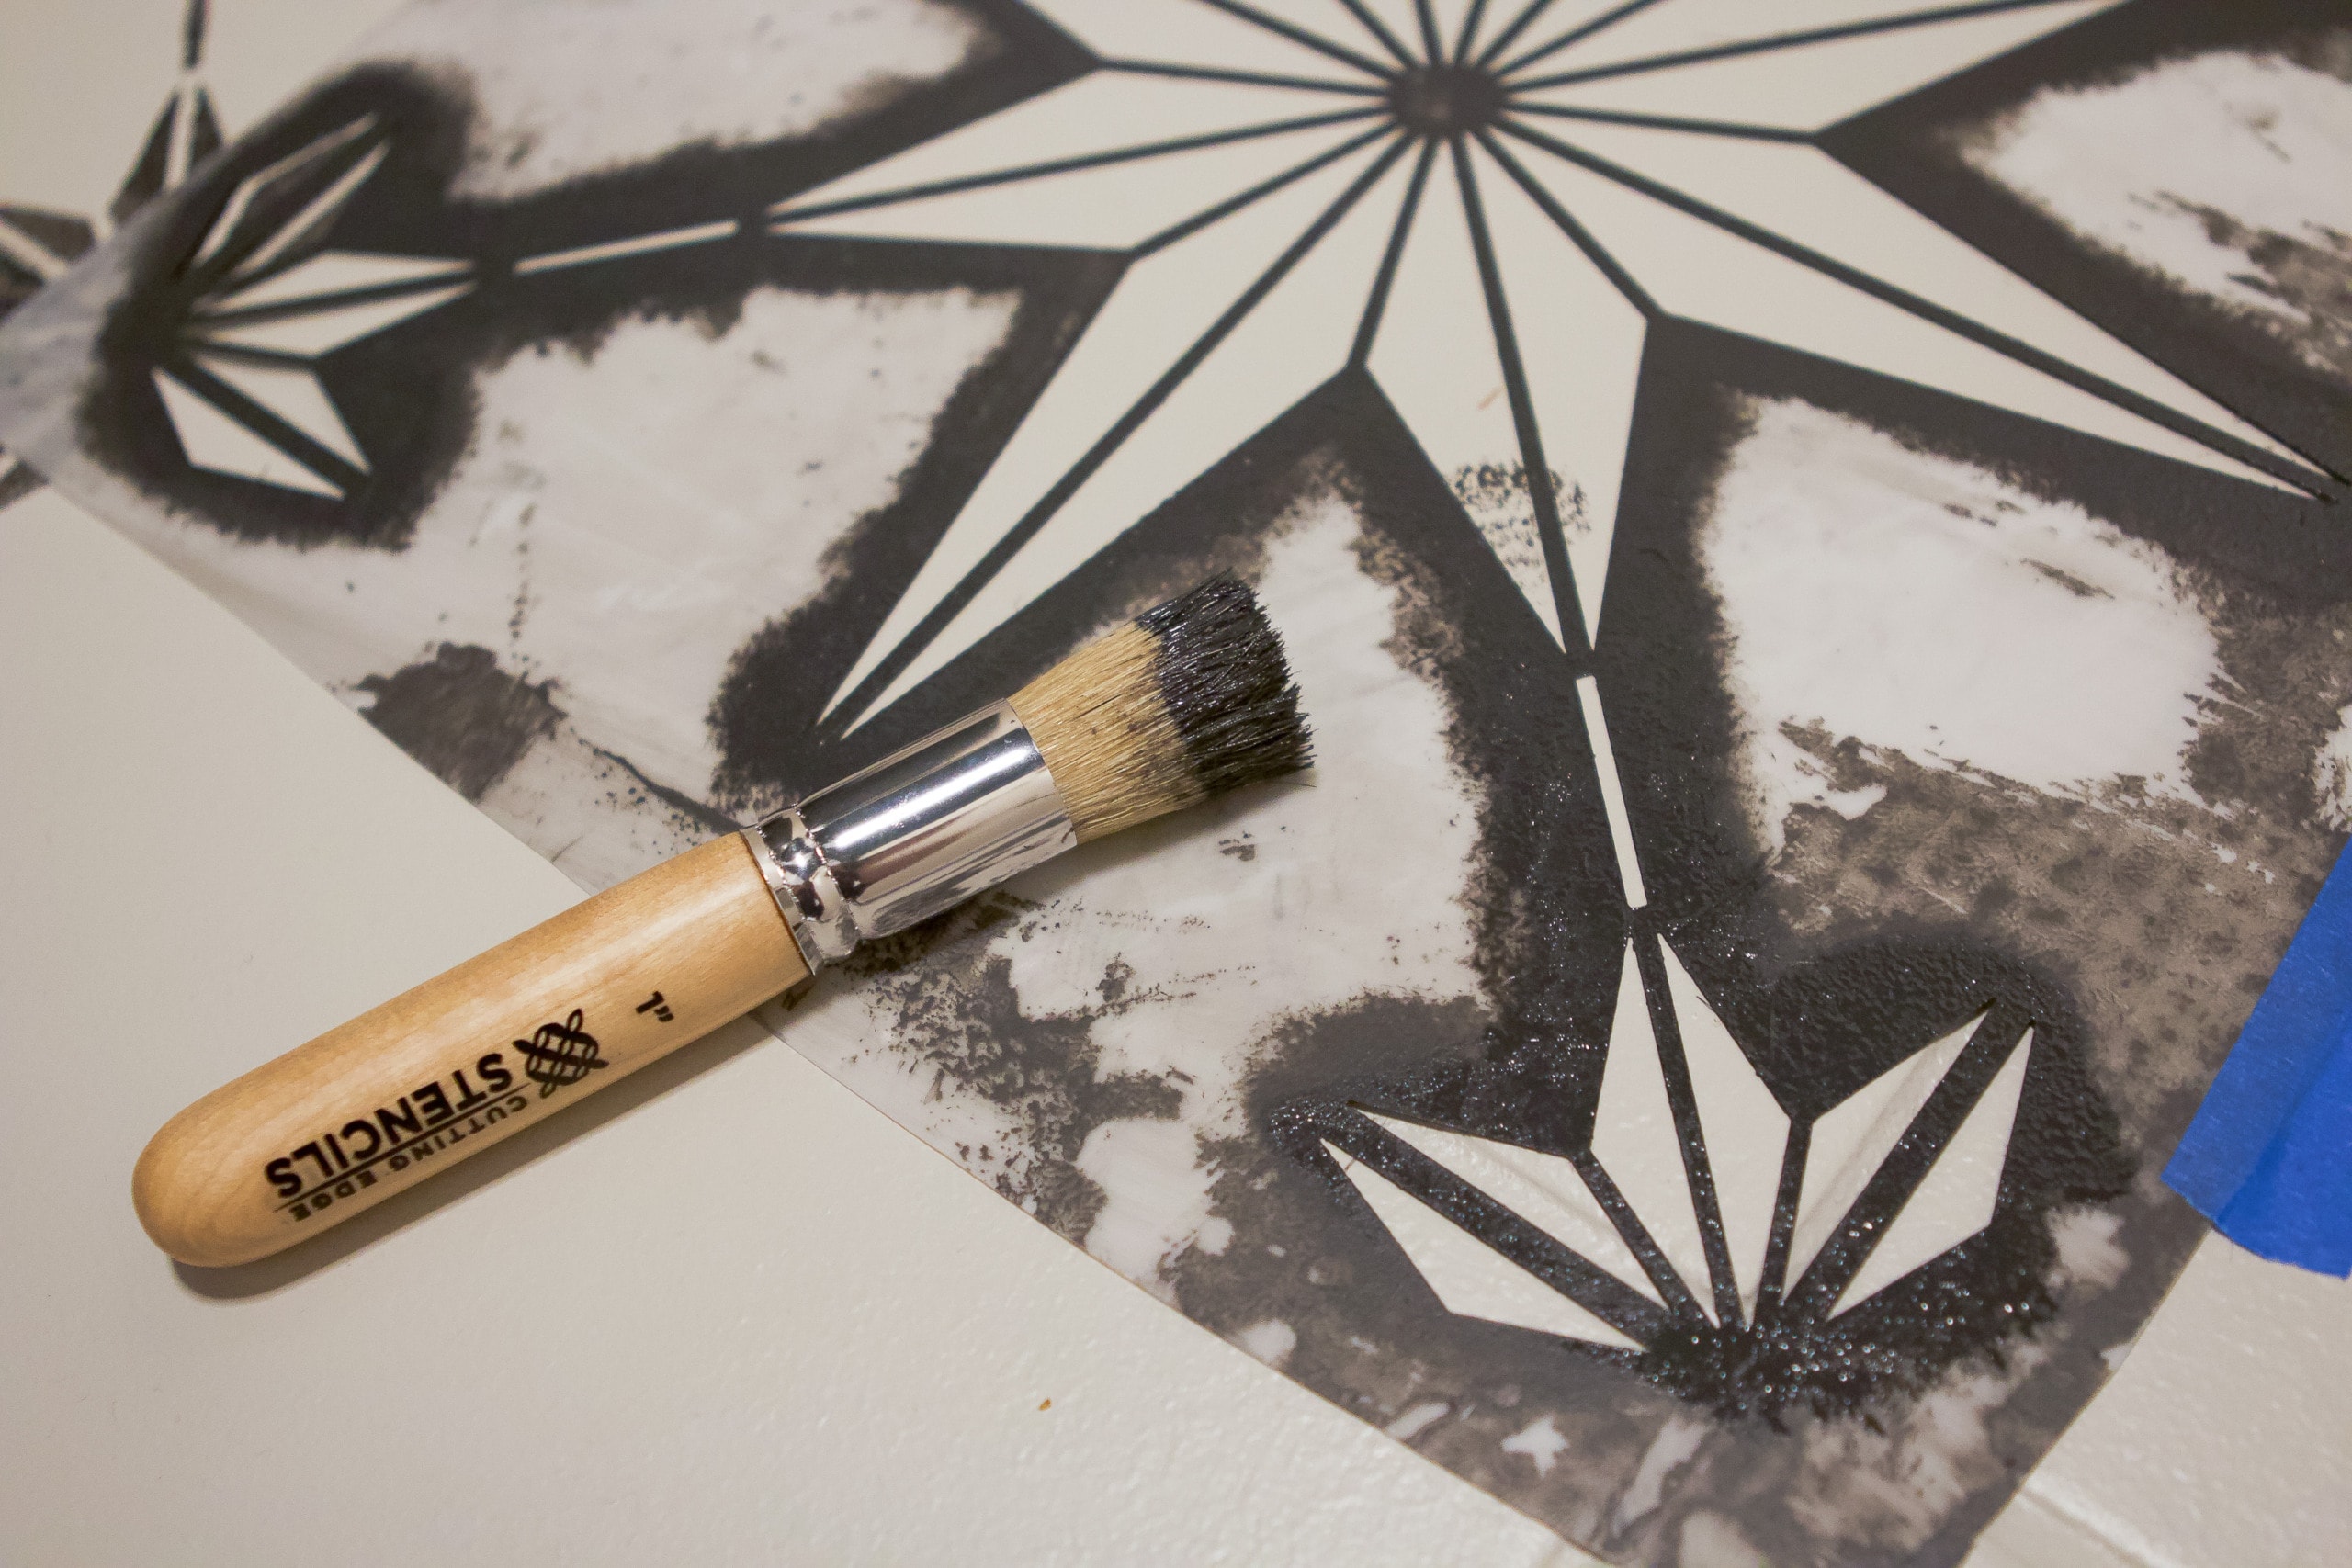
I started by using a roller to apply the stencil design. This was a big no-no for this particular stencil and the dark color. Even if I kept my roller light with paint, it was still too much on the surface and looked dark and messy. I ended up quickly switching to using stencil brushes and this made a huge difference.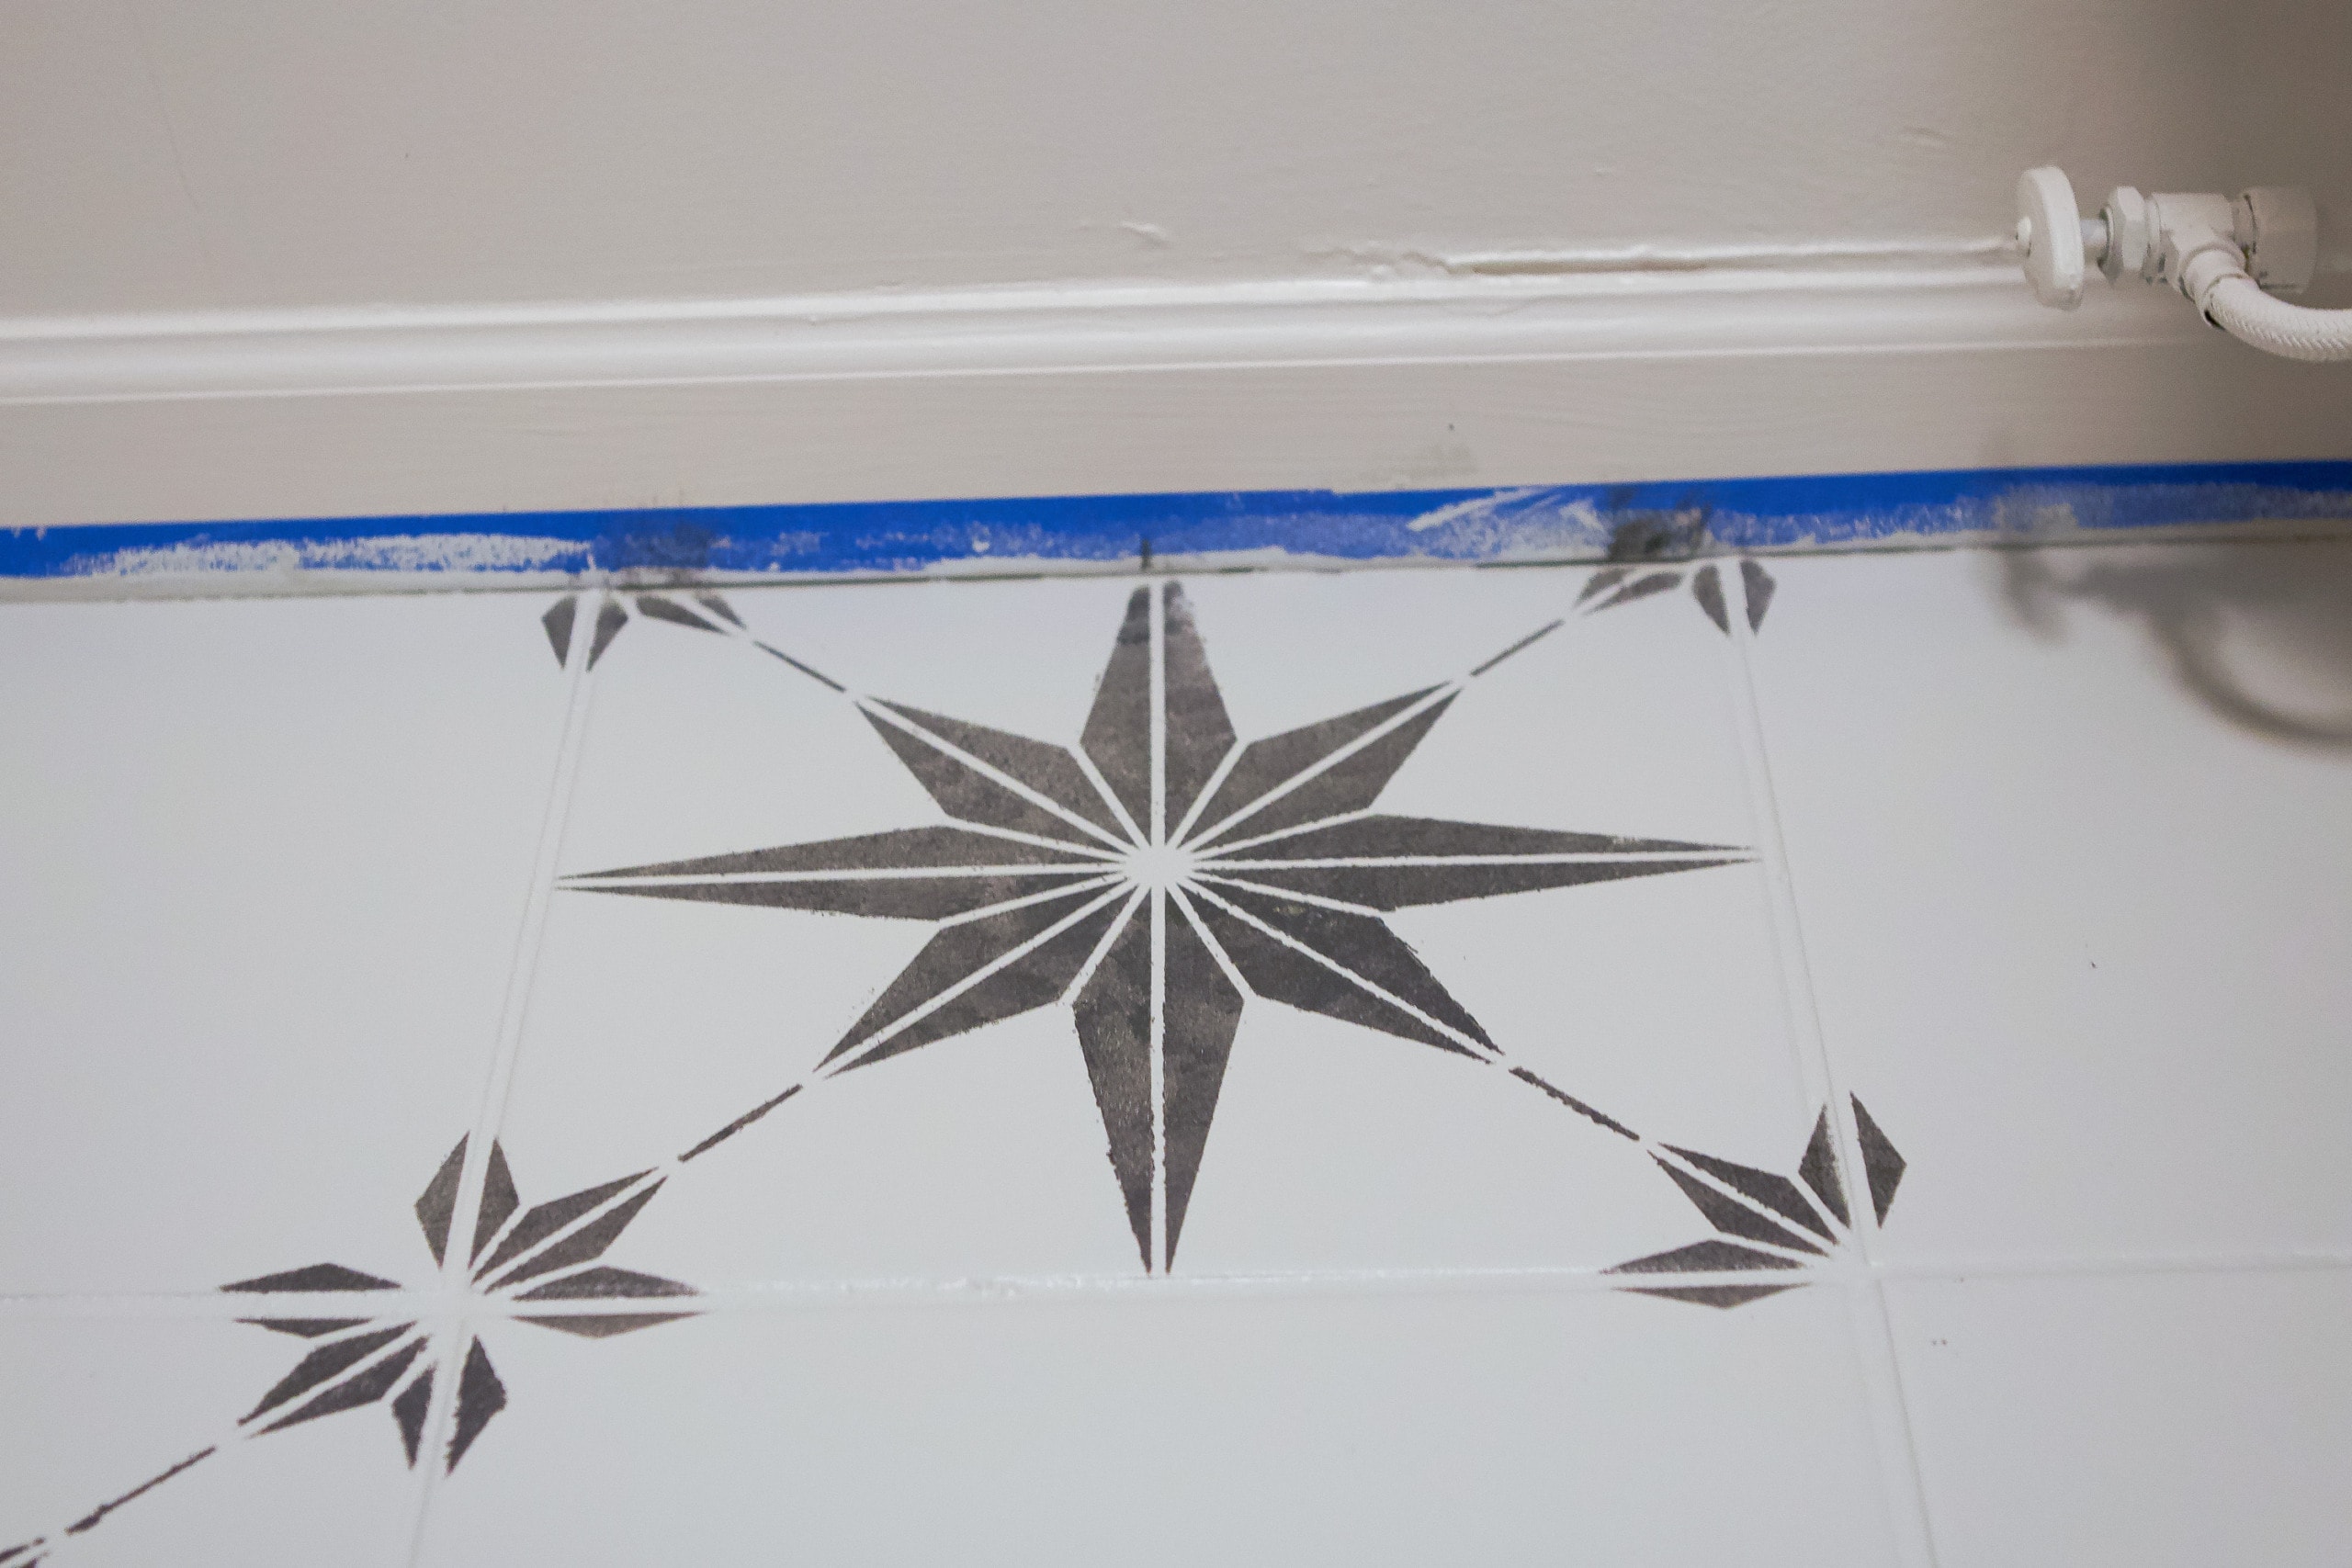
I can’t emphasize enough that you don’t need much paint at all on the brush. Lightly dip it in the paint, dab onto the tile, and that should be more than enough for that entire tile. Using a lot of paint will make your life 100 times harder and things will get messy!
Fix Oopsie Spots
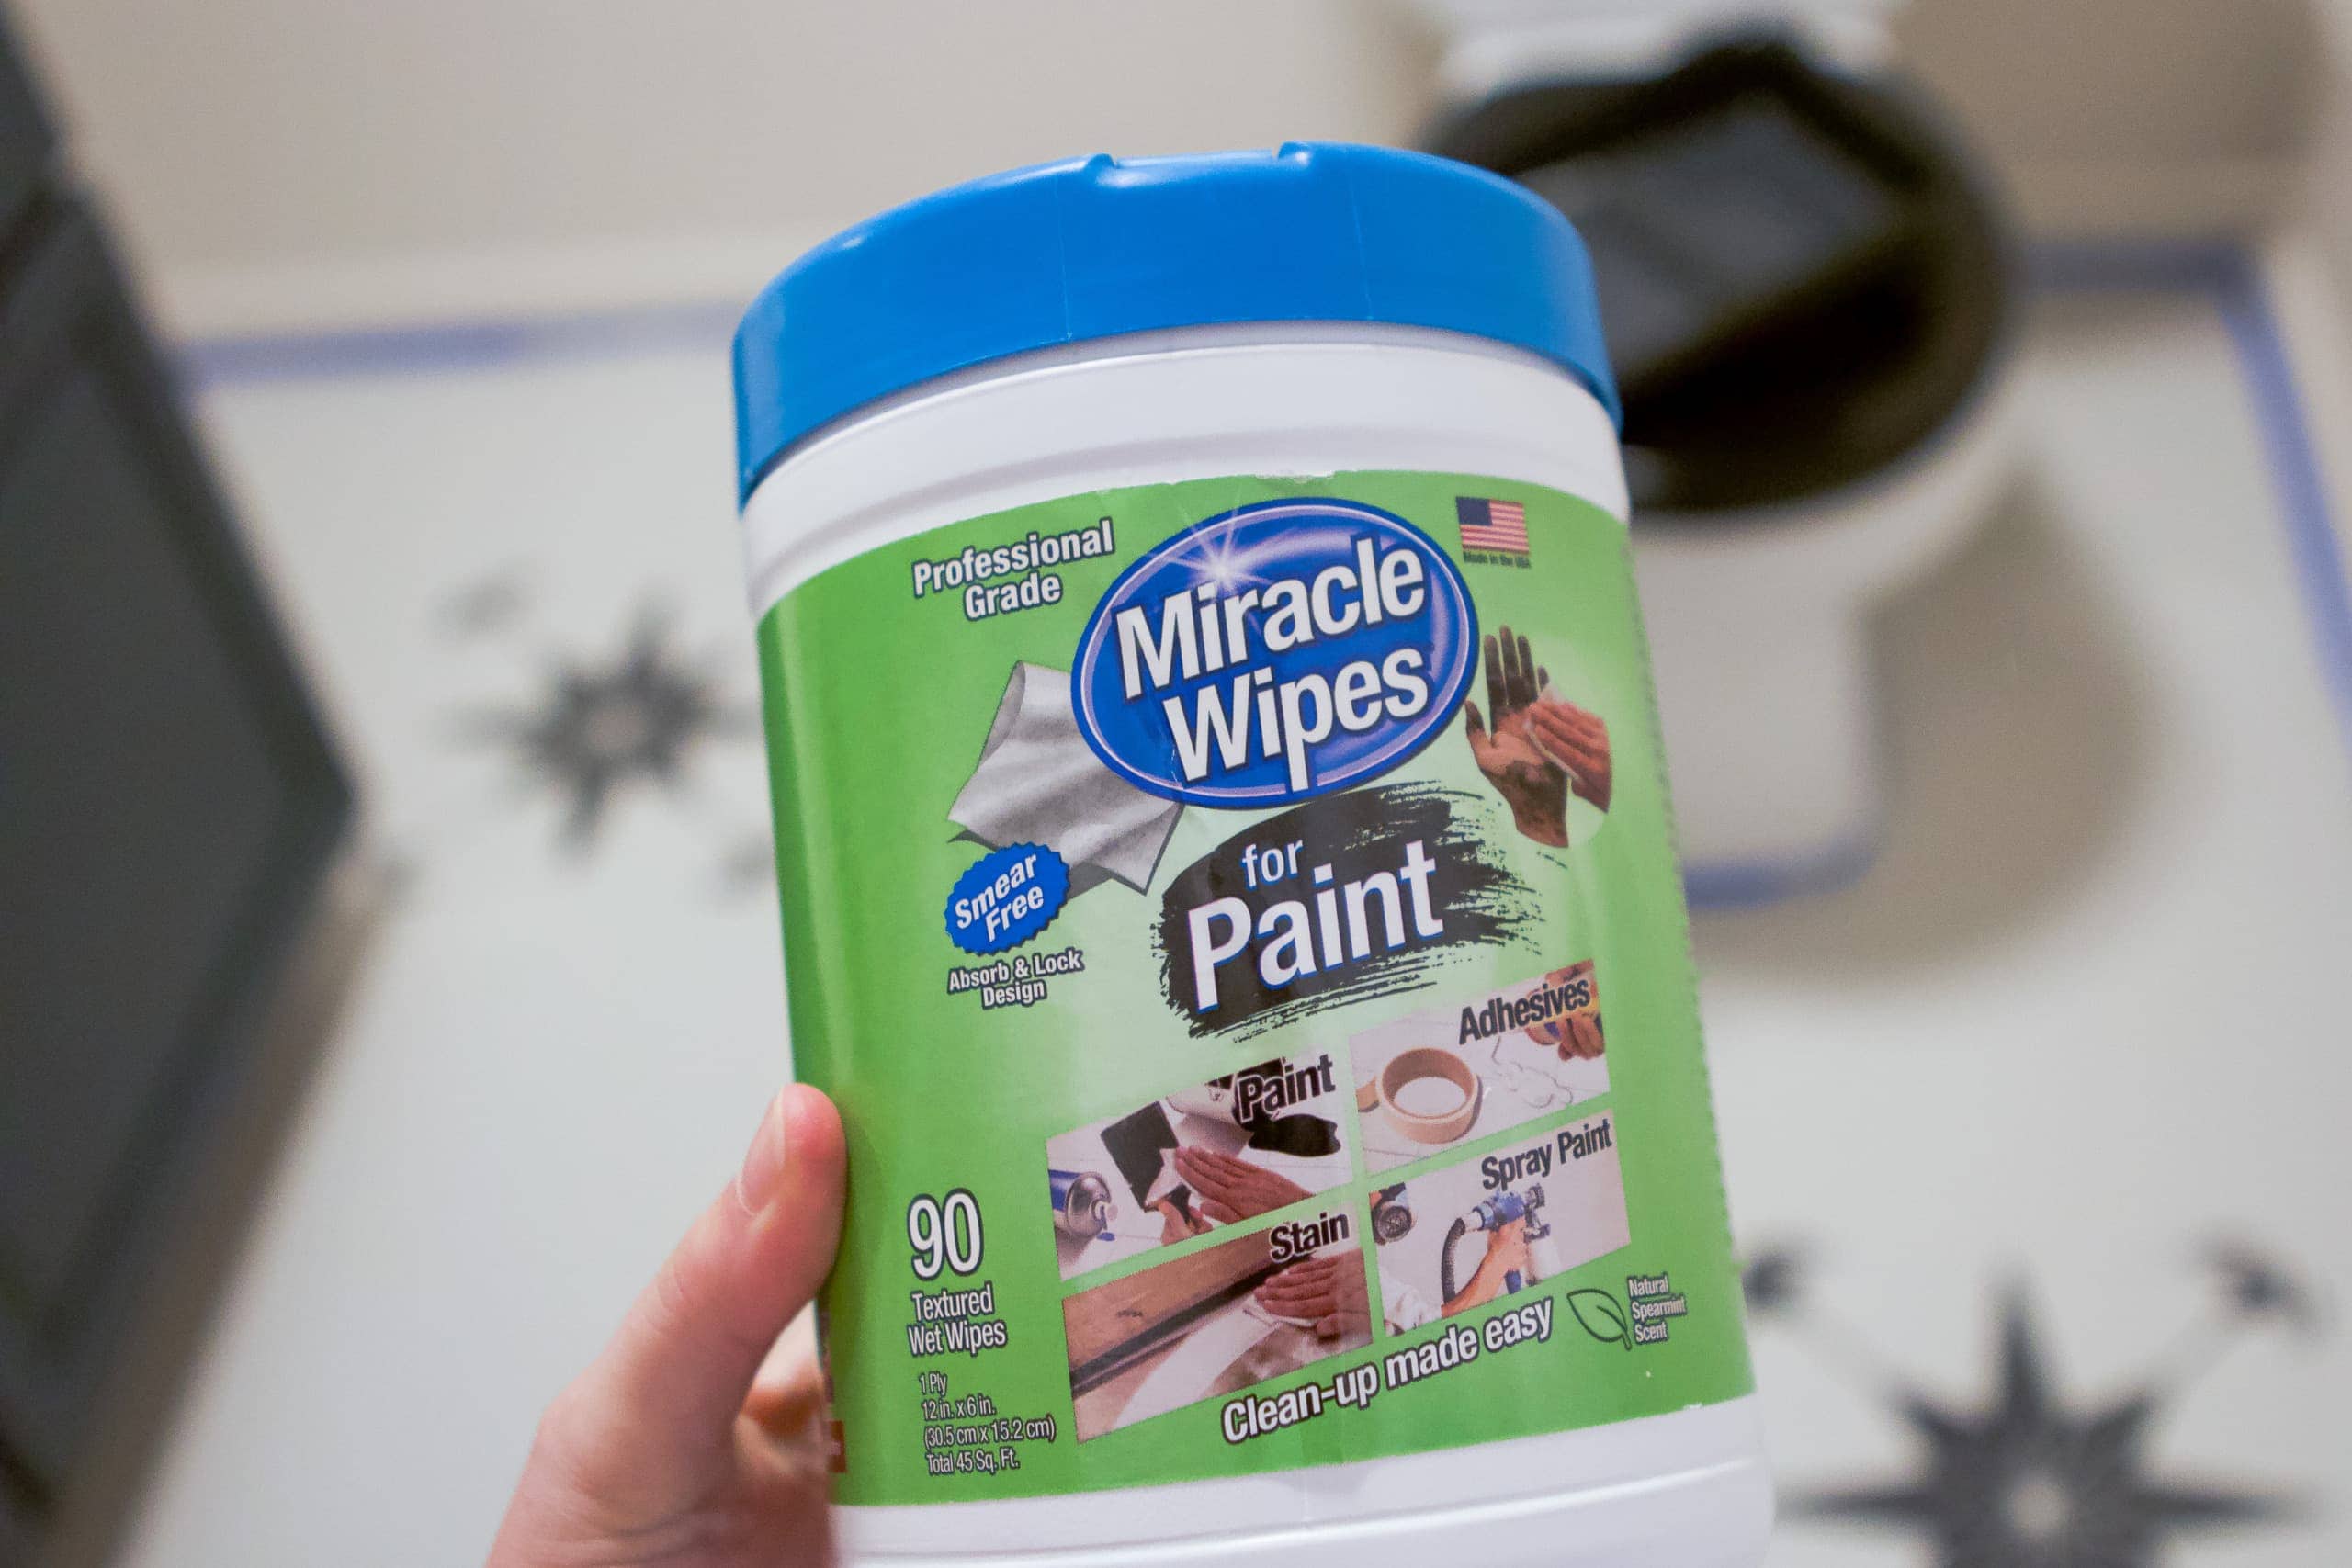
For any painting project, I always have these Miracle Wipes on hand. They’re great to get paint off your hands, baseboards, and more.
Plus, if you mess up and get paint where it shouldn’t be on the tile, you can quickly wipe it off with these. I had a few stencils in the beginning that were super messy and just looked pretty terrible. I quickly took a wipe and wiped all of the paint off the floor so I could try again.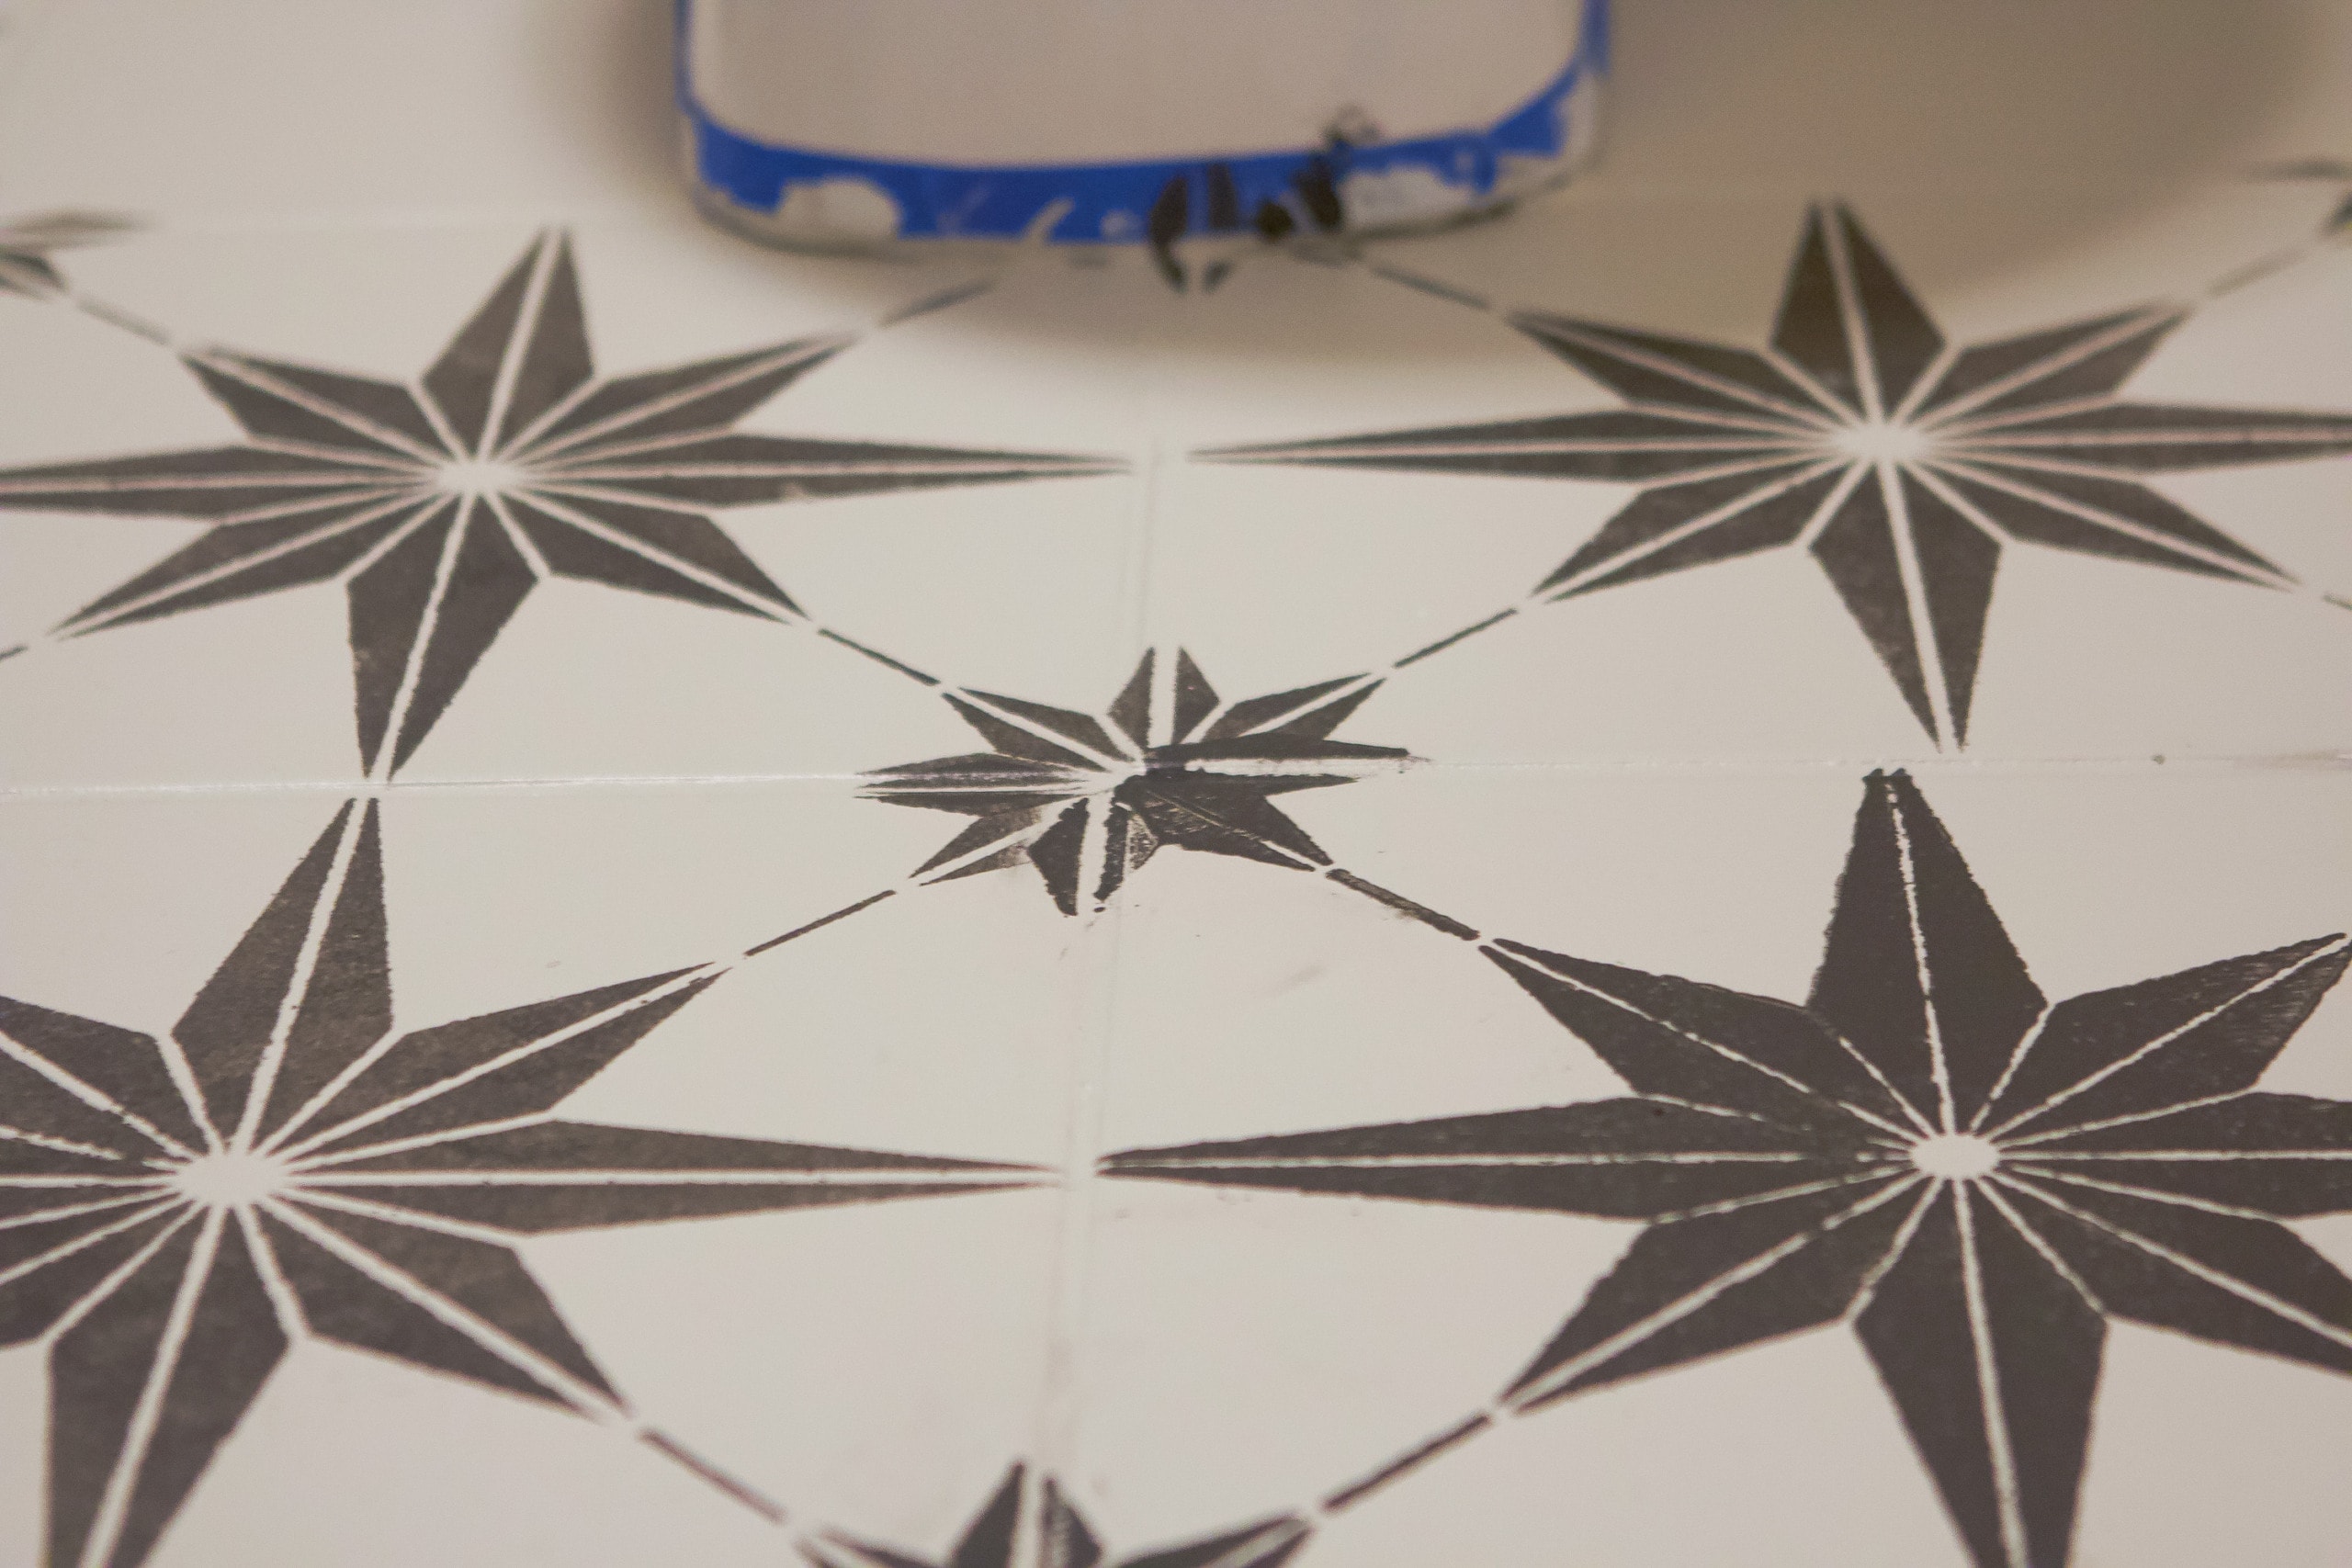

There was also a spot where the design looked bad, like a big black blob on the floor. I ended up letting it dry and then I painted the base color right over it. Once that dried, I re-stenciled that area and it looked so much better. Look at your floor when you’re done and if there are any glaring oopsie spots, you can always paint over them!
Forget Perfection

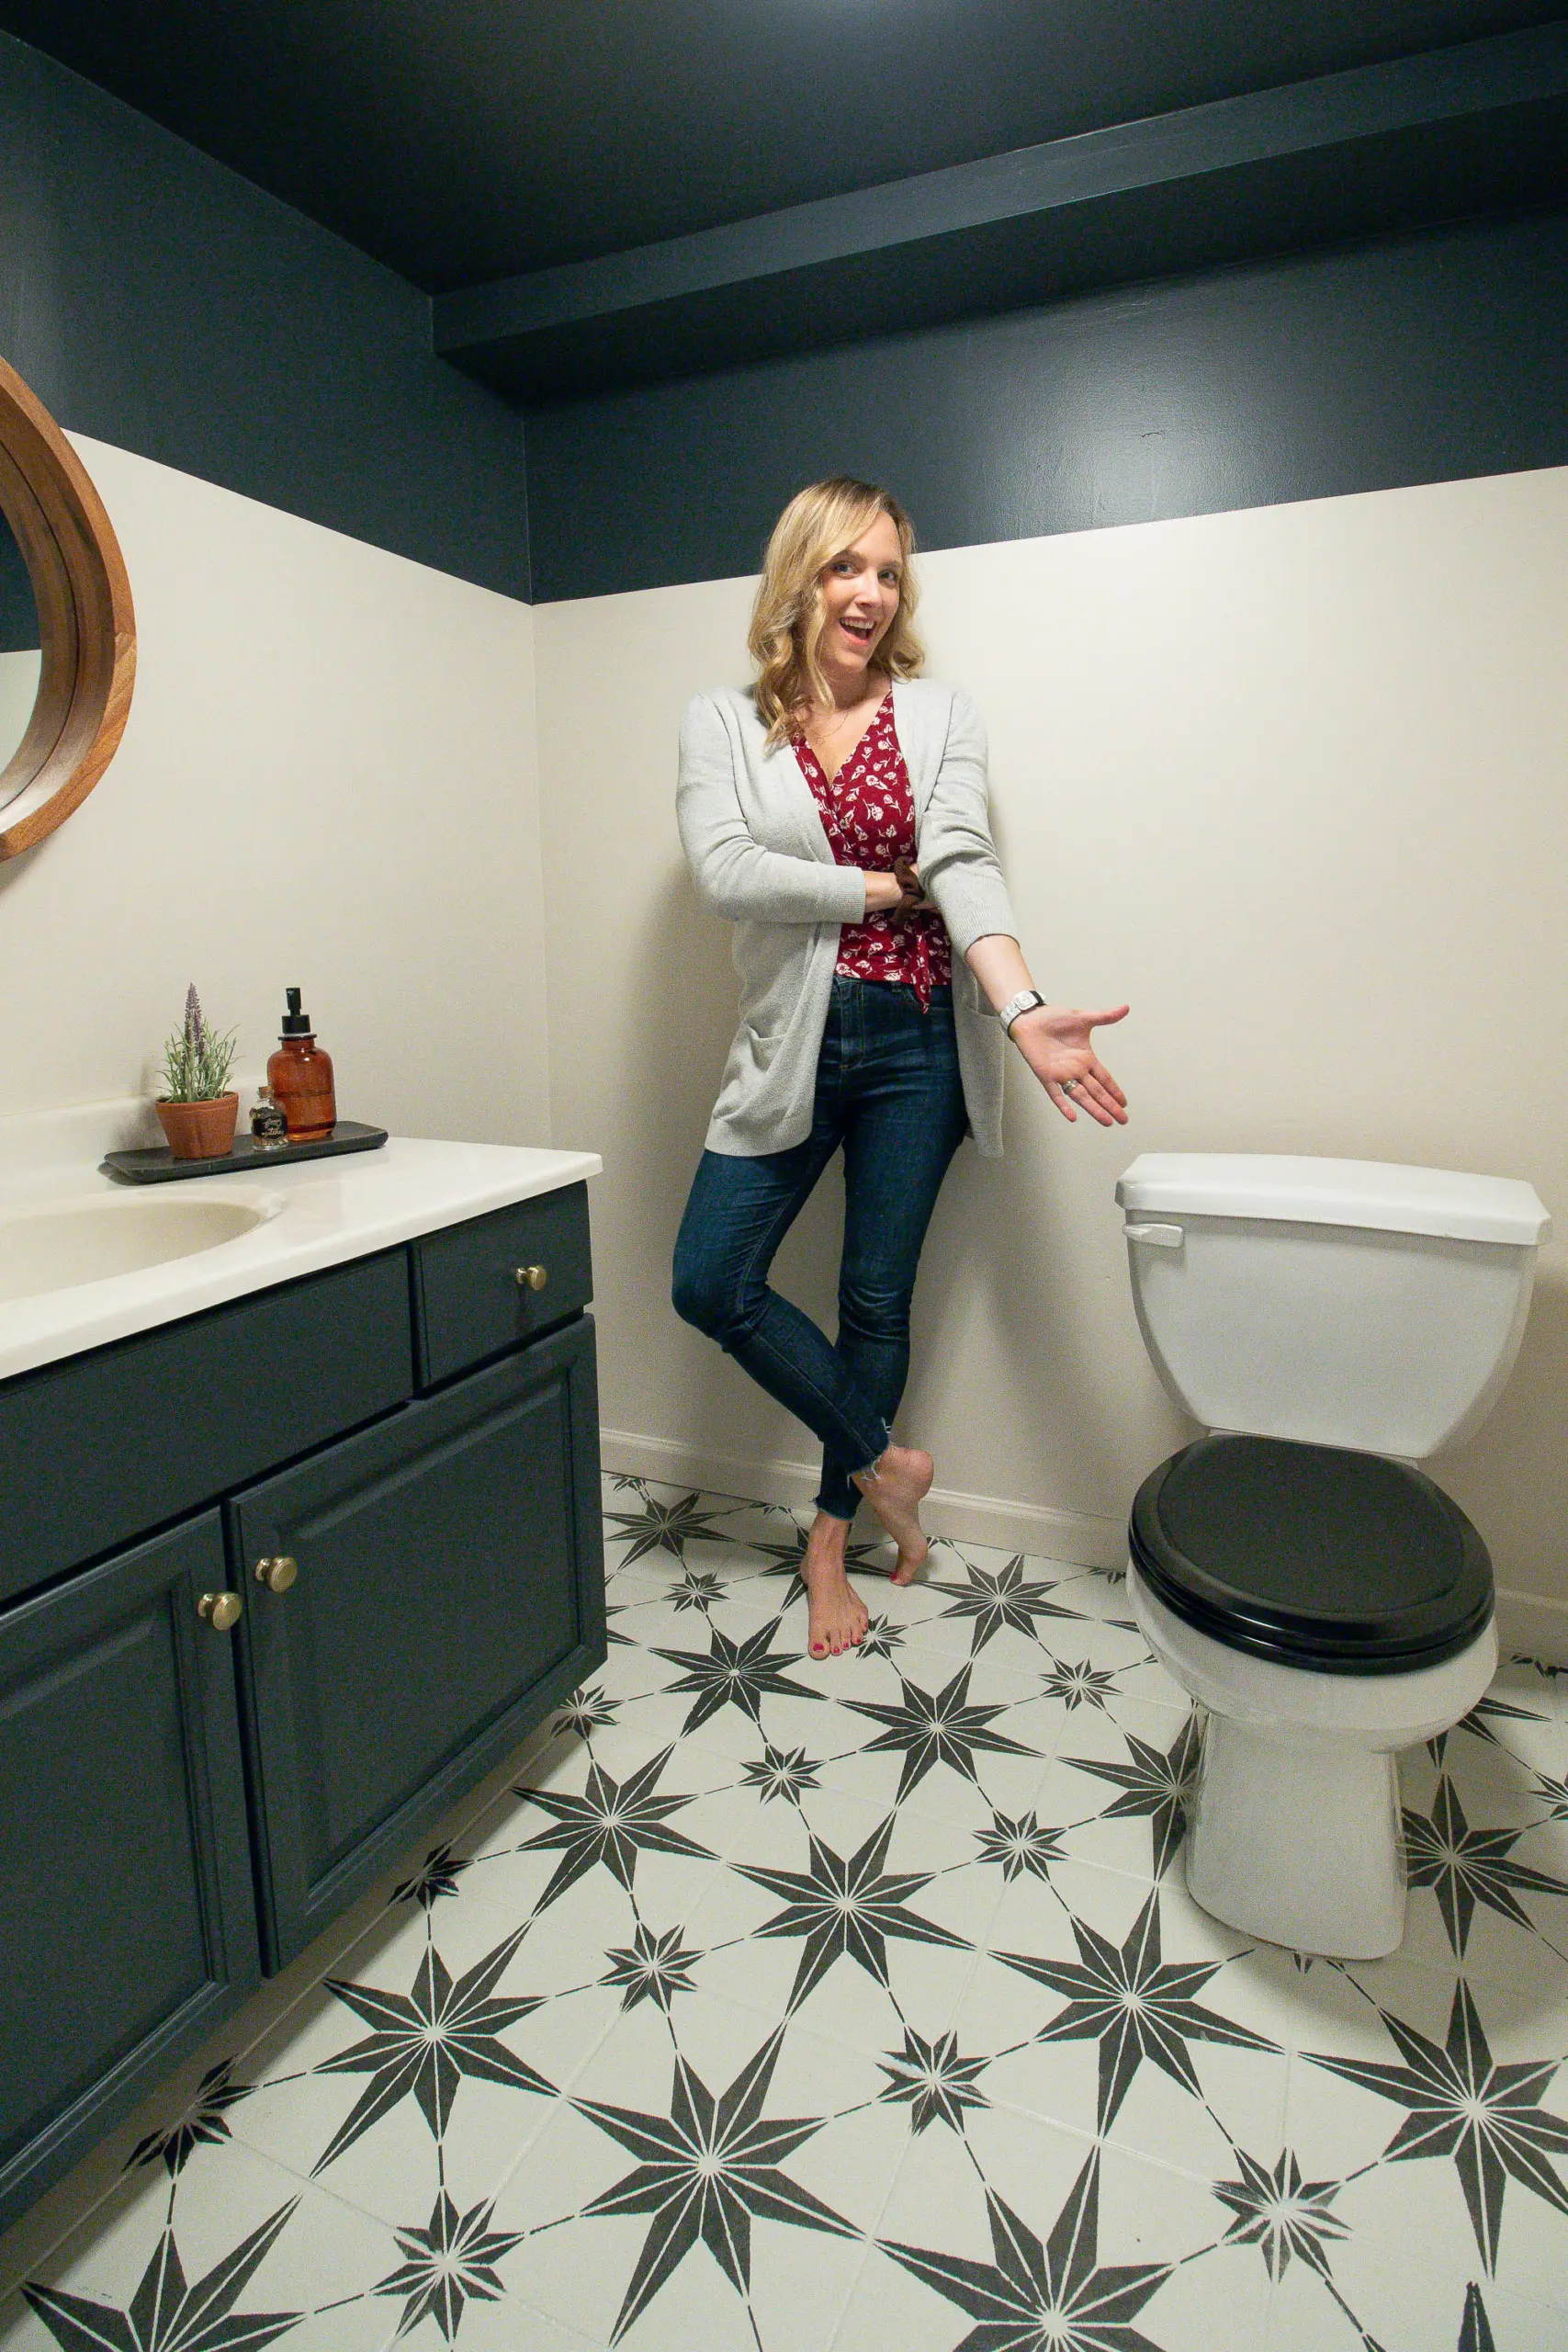
Because the base color is so light and the stencil color so dark, it was difficult to get this floor completely perfect. If teeny mistakes will drive you bonkers, I suggest going with colors that have less of a contrast. However, even if you have mistakes (as I do in this floor), as a whole, the pattern will look amazing!  When you step back and look at my bathroom floor, it looks so cool. Up close, it isn’t 100% perfect and that’s a-okay with me.
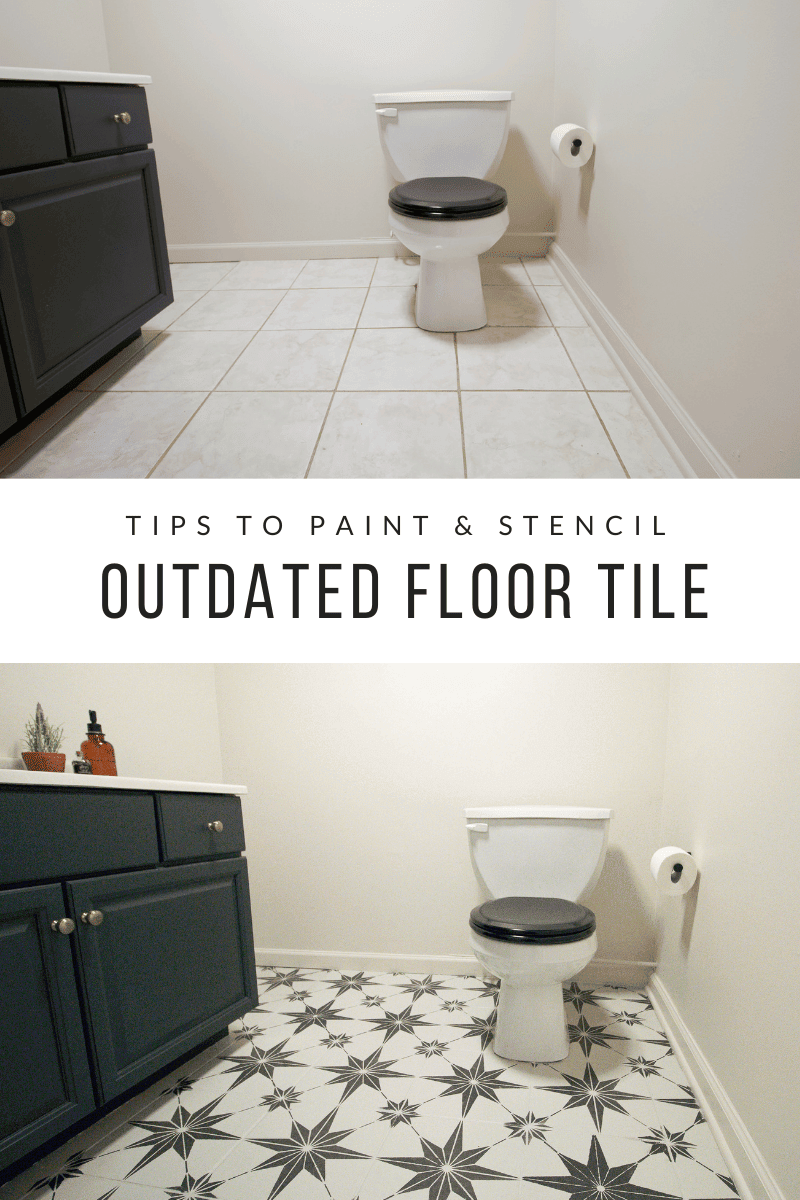
Painted Floor Tile – Before & After
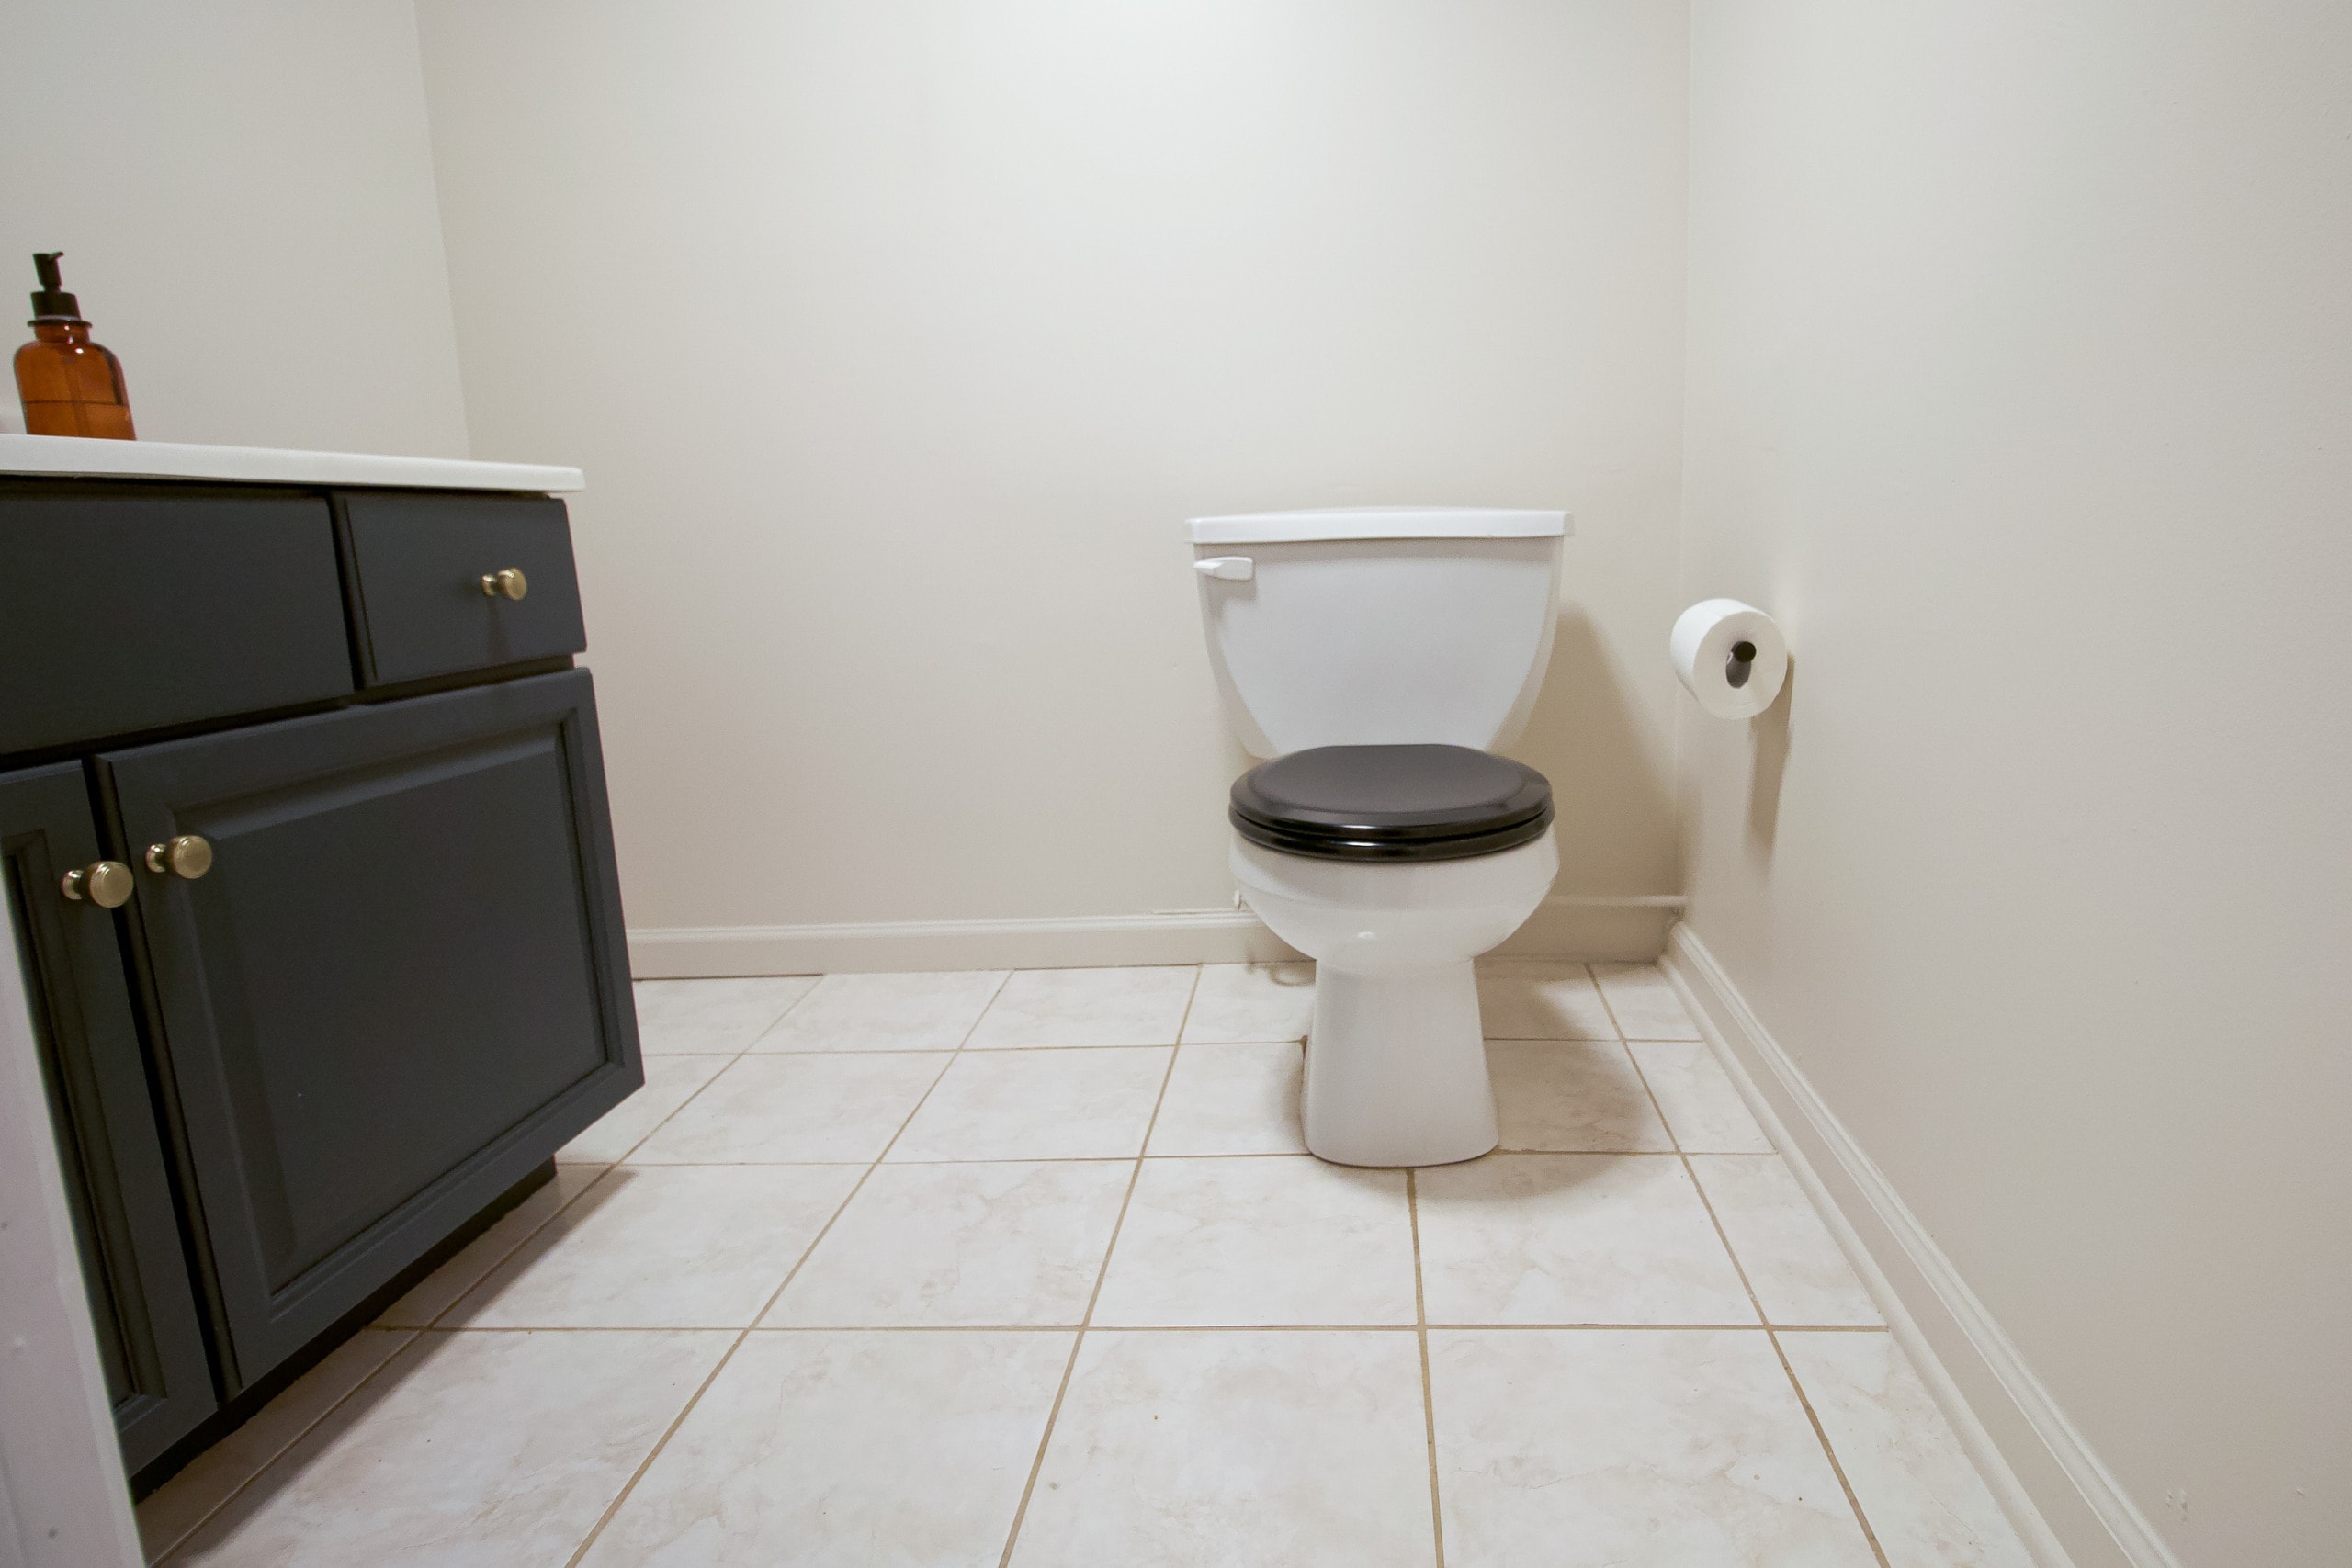
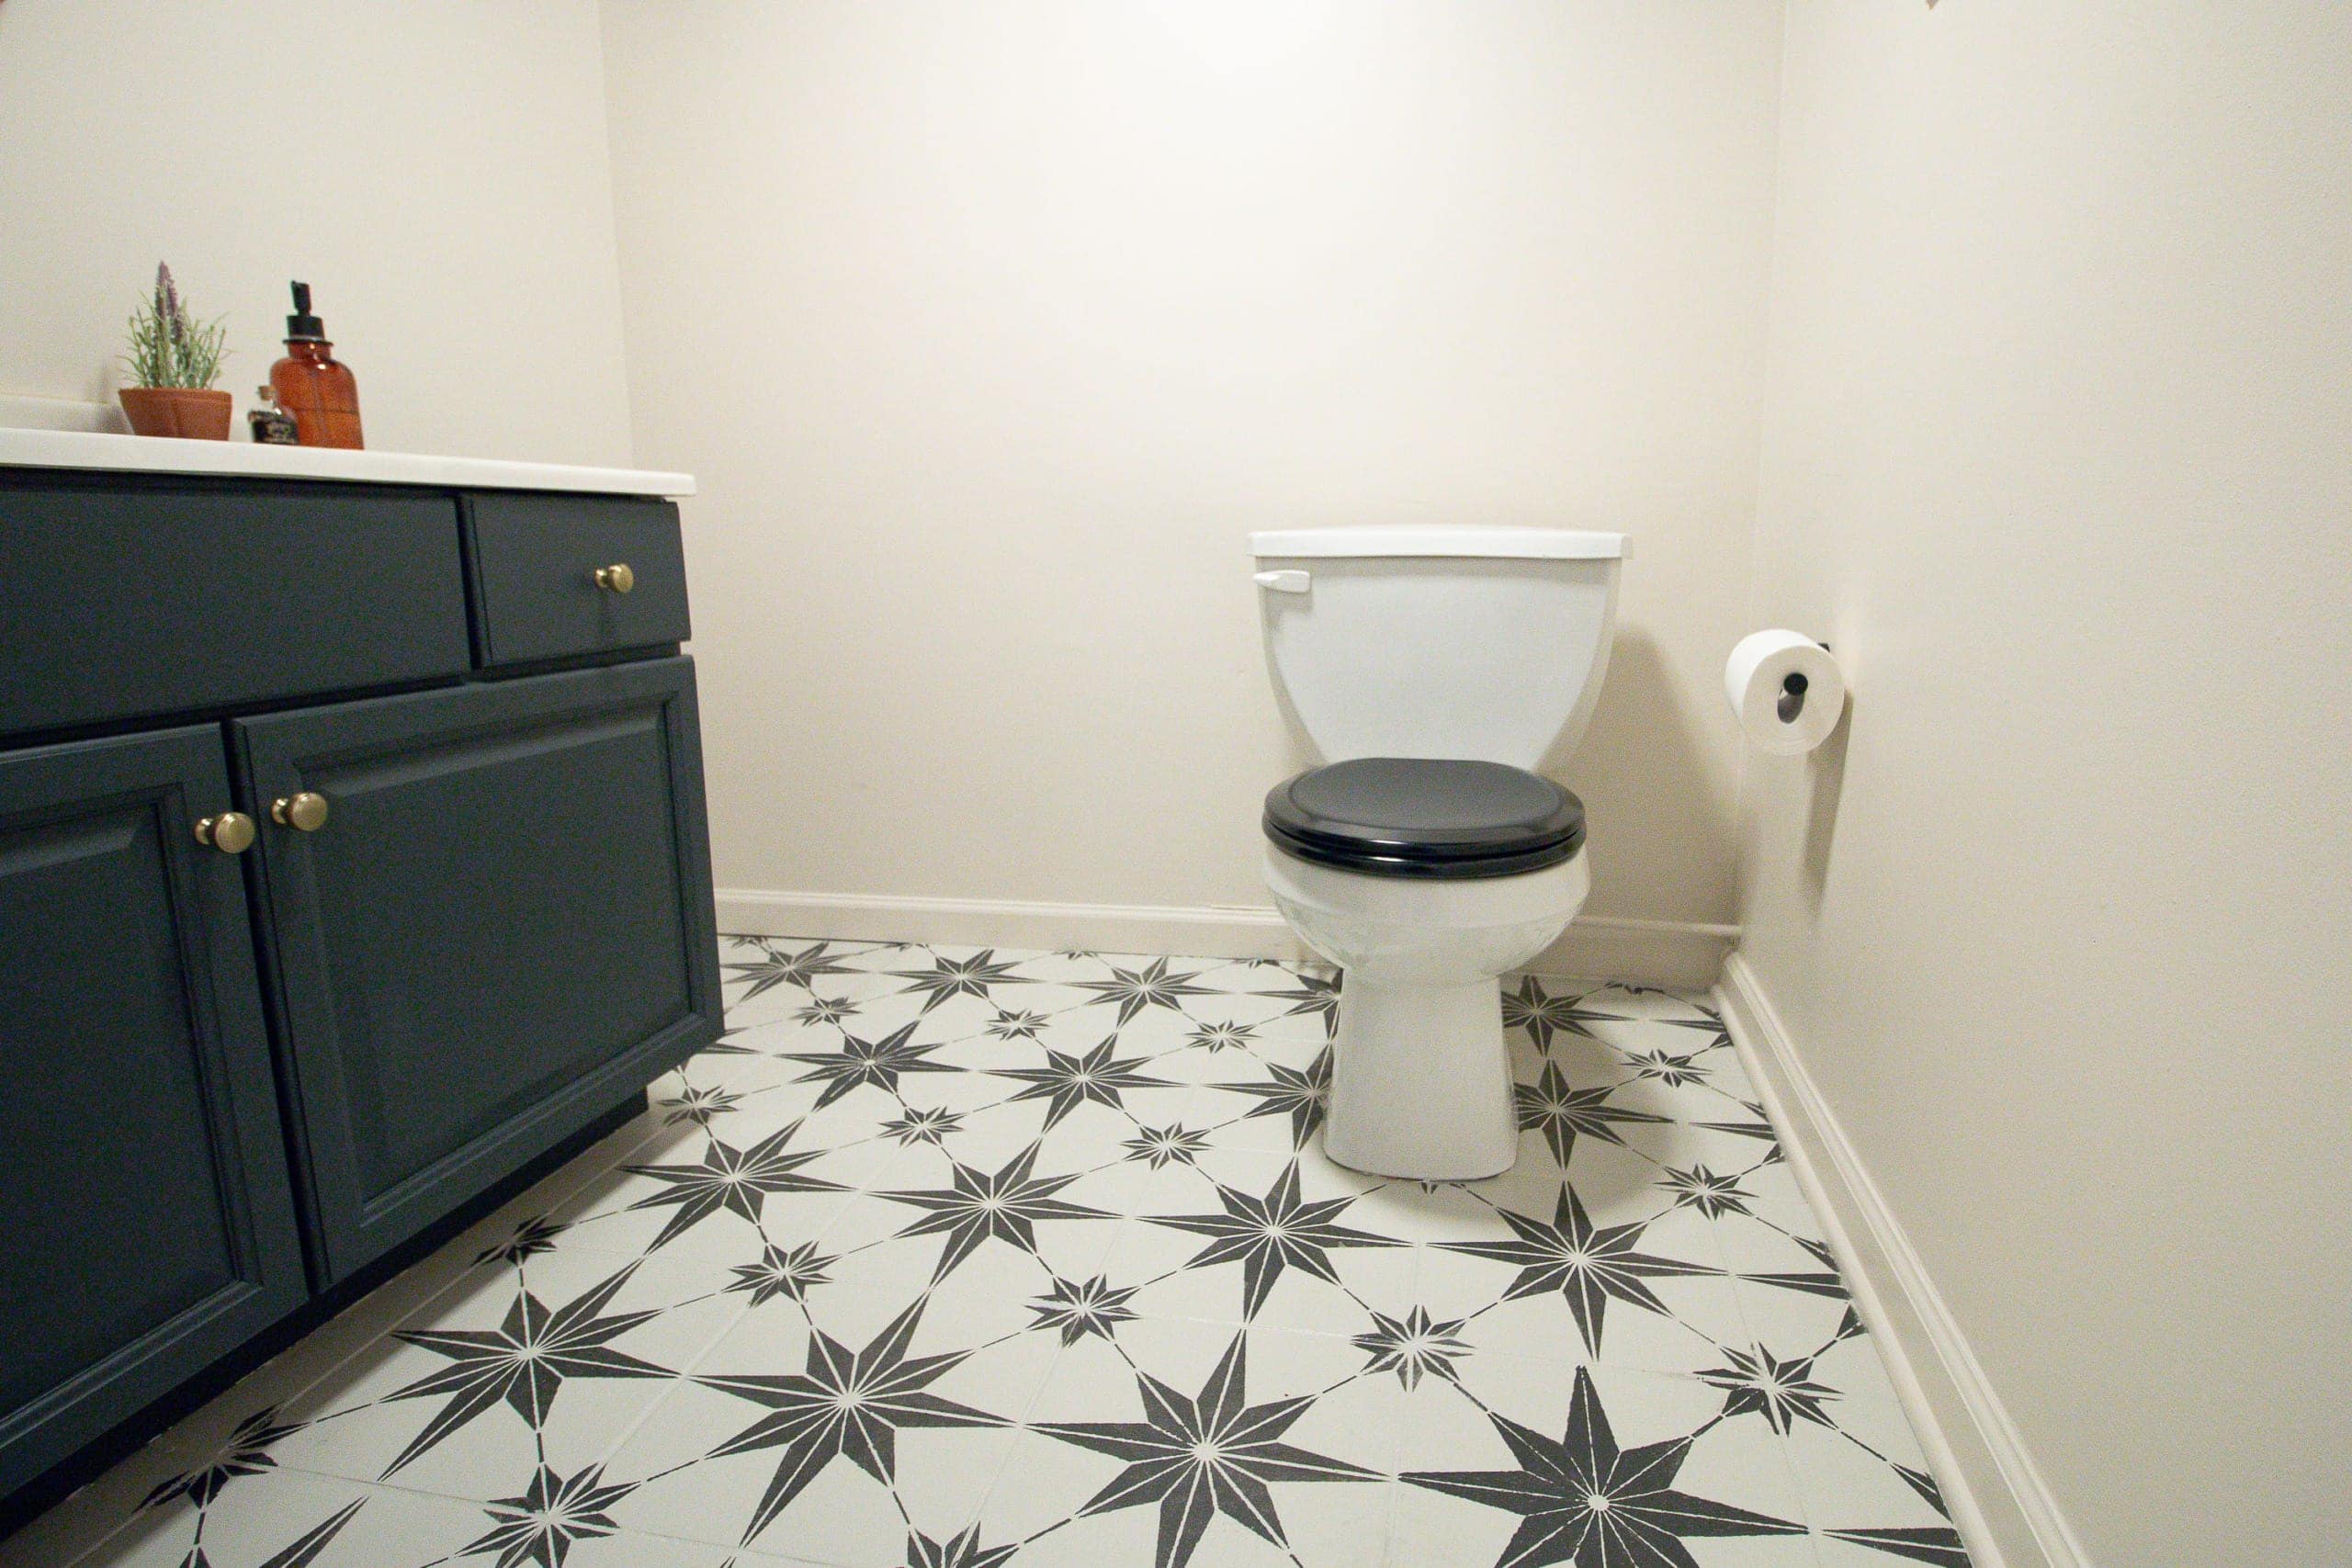

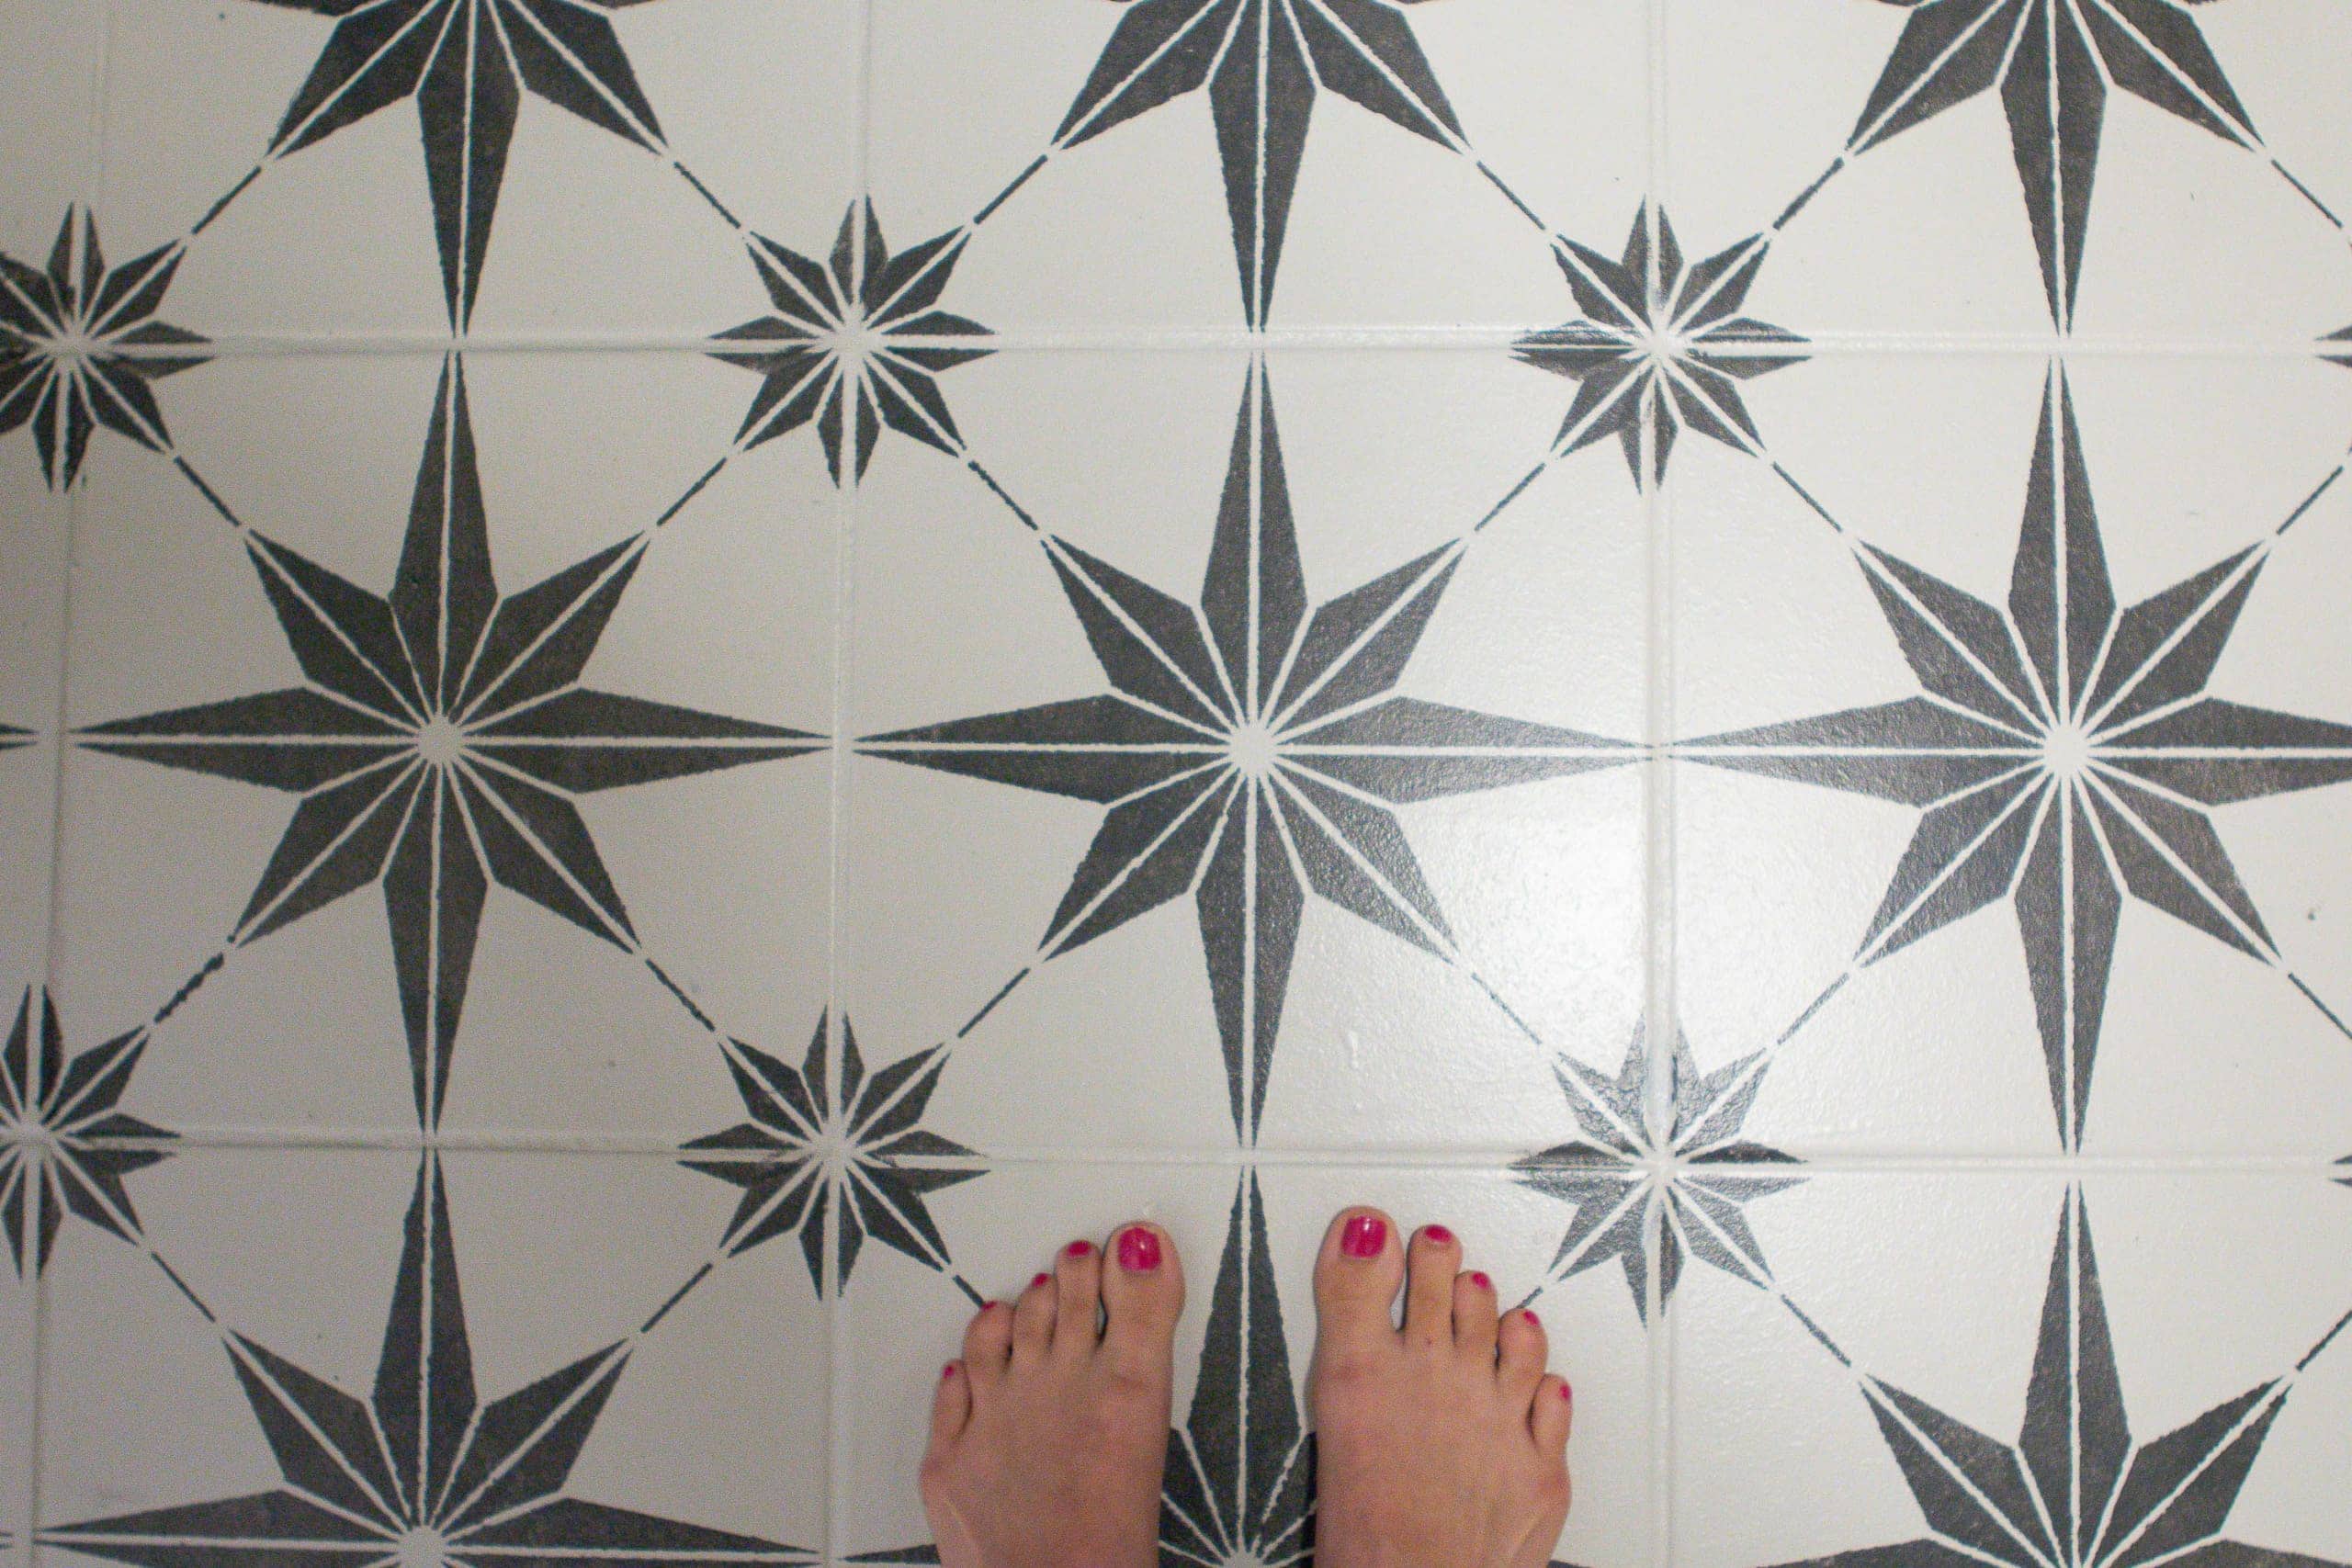

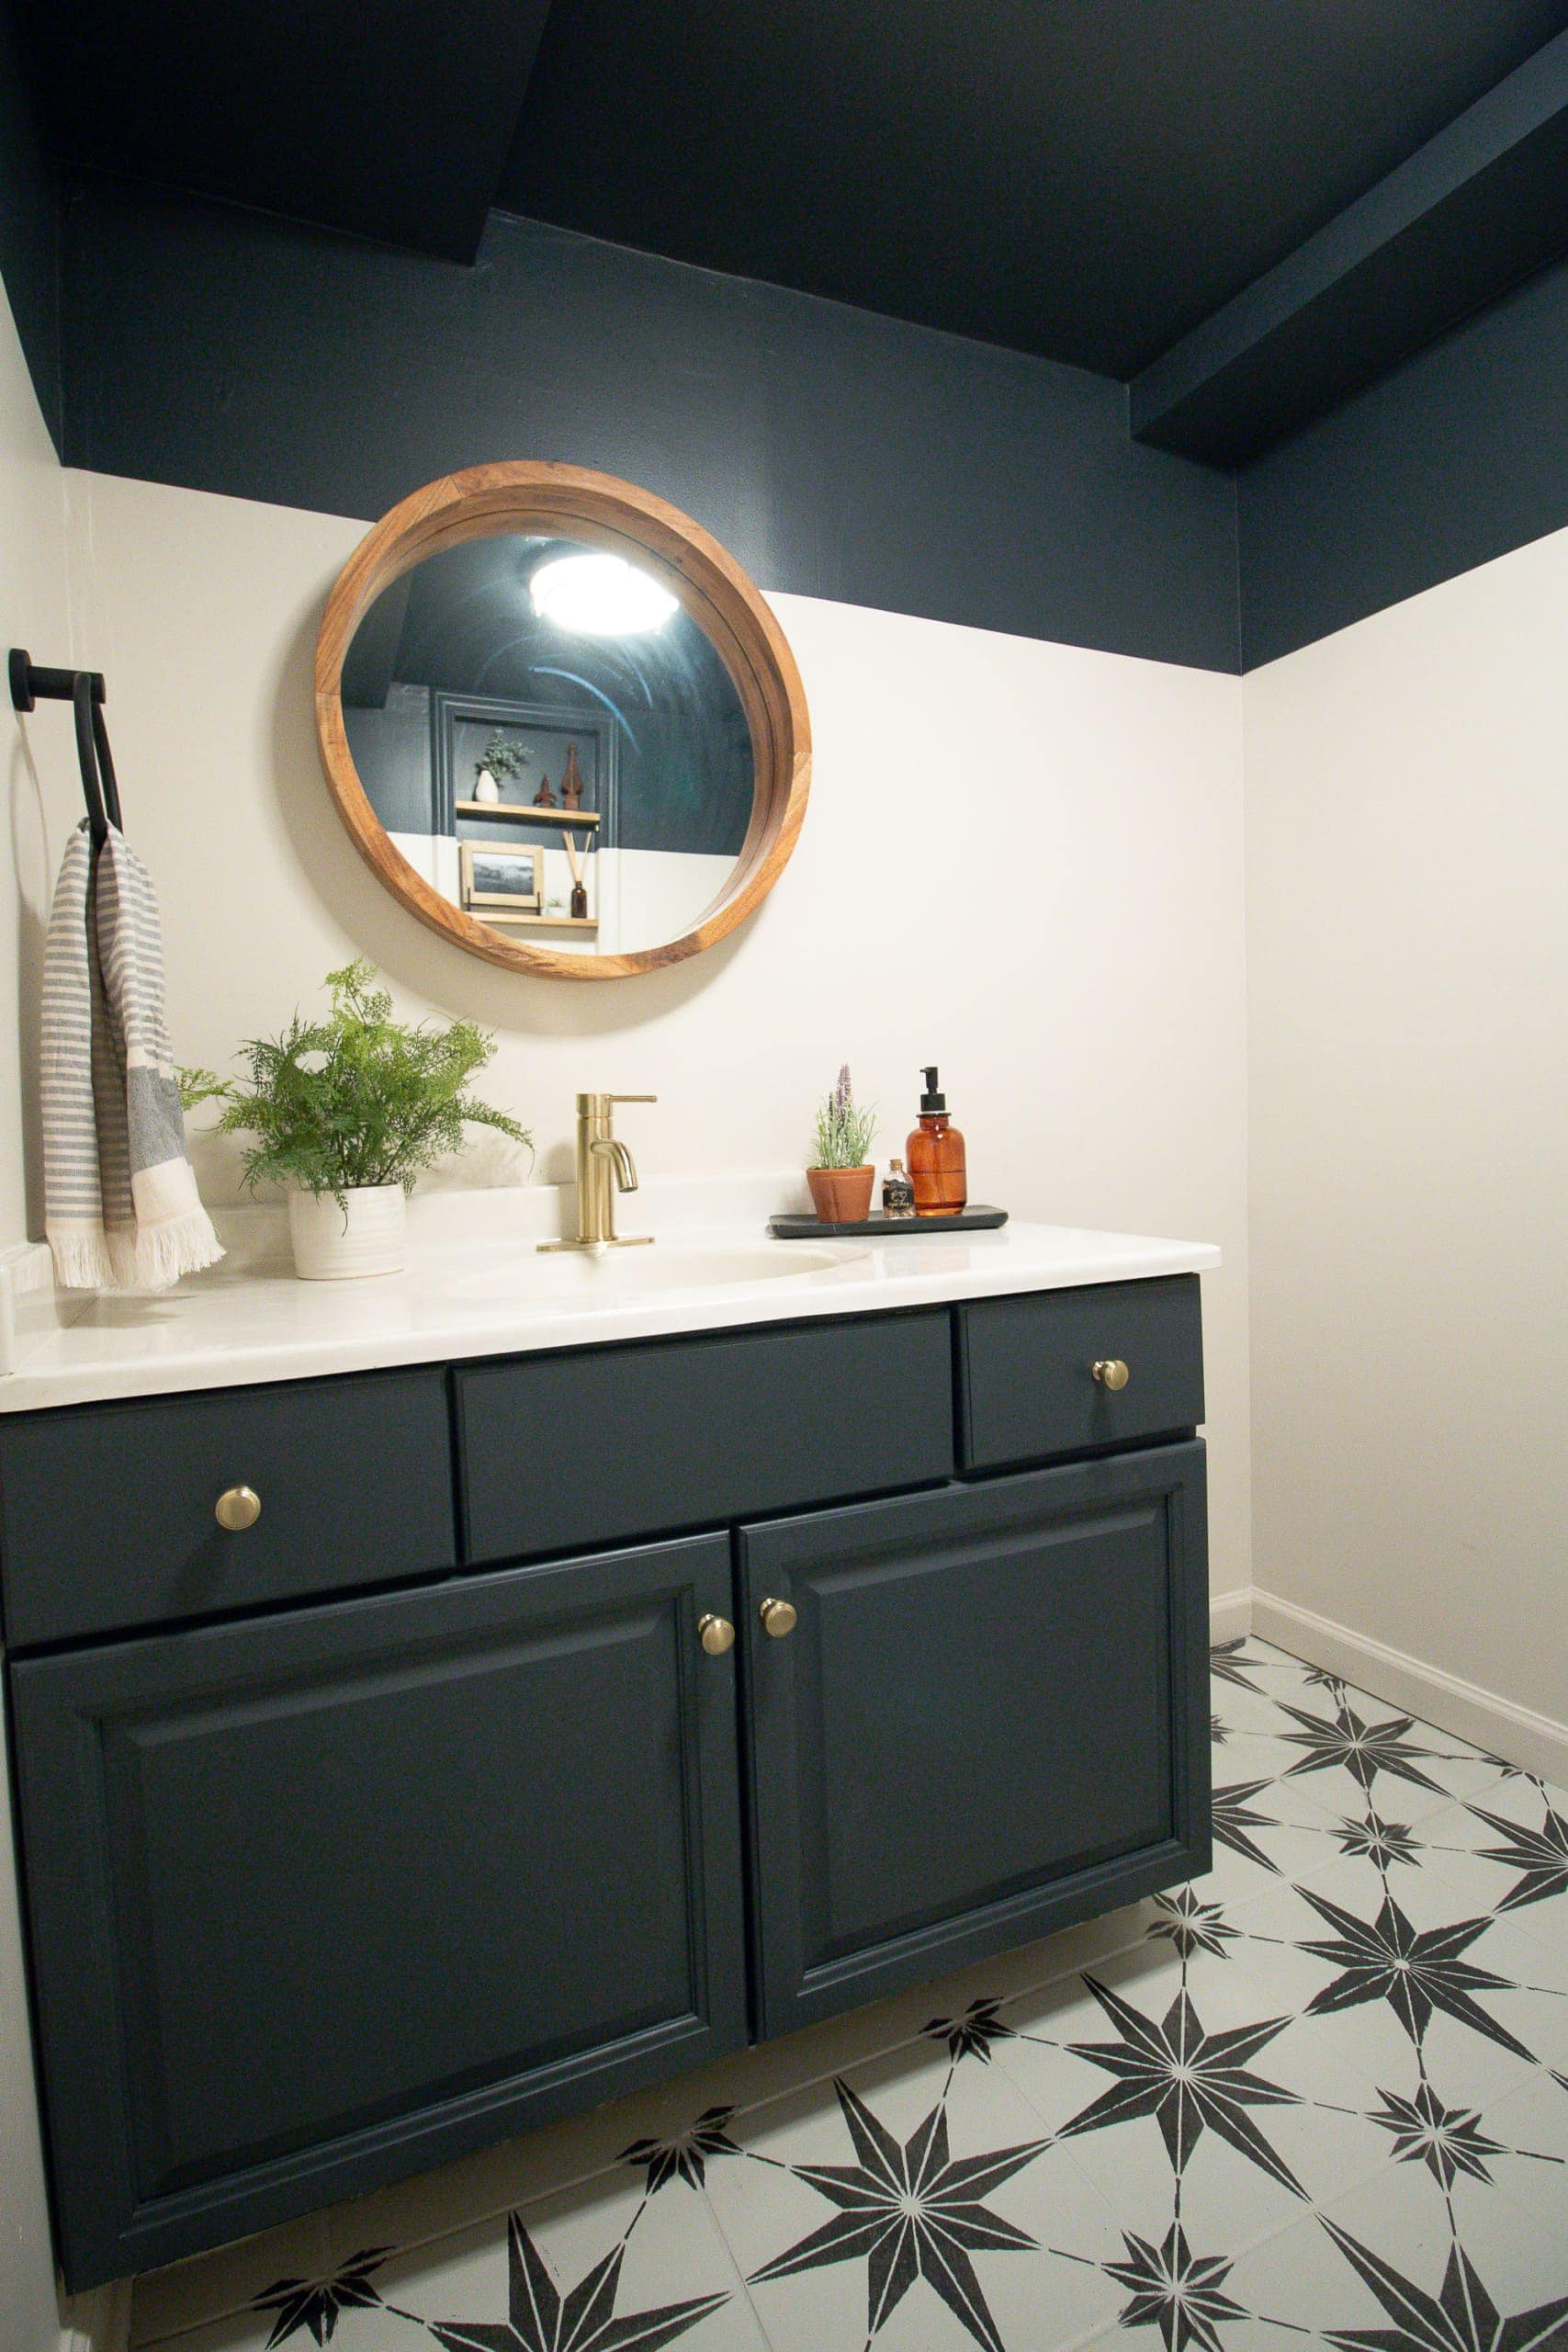
Such a difference! I absolutely adore the new look. Those stars are just so pretty!
What’s Next?
Ahhhh, we’re about 95% there. My last step is to add some art to the back wall over the toilet and then I’m going to consider this project d-o-n-e! It’s been a fun one, but I’m eager to wrap it up. And I’m sure Finn will be happy that I won’t be talking to myself (well, actually, chatting on Instagram stories) as I work in his basement space! Sorry, buddy…
Casey