Tips to Install a Bathroom Faucet
The basement bathroom is coming along nicely if I do say so myself. You’ve already seen what a new coat of paint can do for a room (I’m still so pleased that I went with the two-tone look in there!) and I’ve shared a few other small upgrades on Instagram stories (new toilet seat, new light fixture, and towel ring) that can be found in this Instagram highlight.
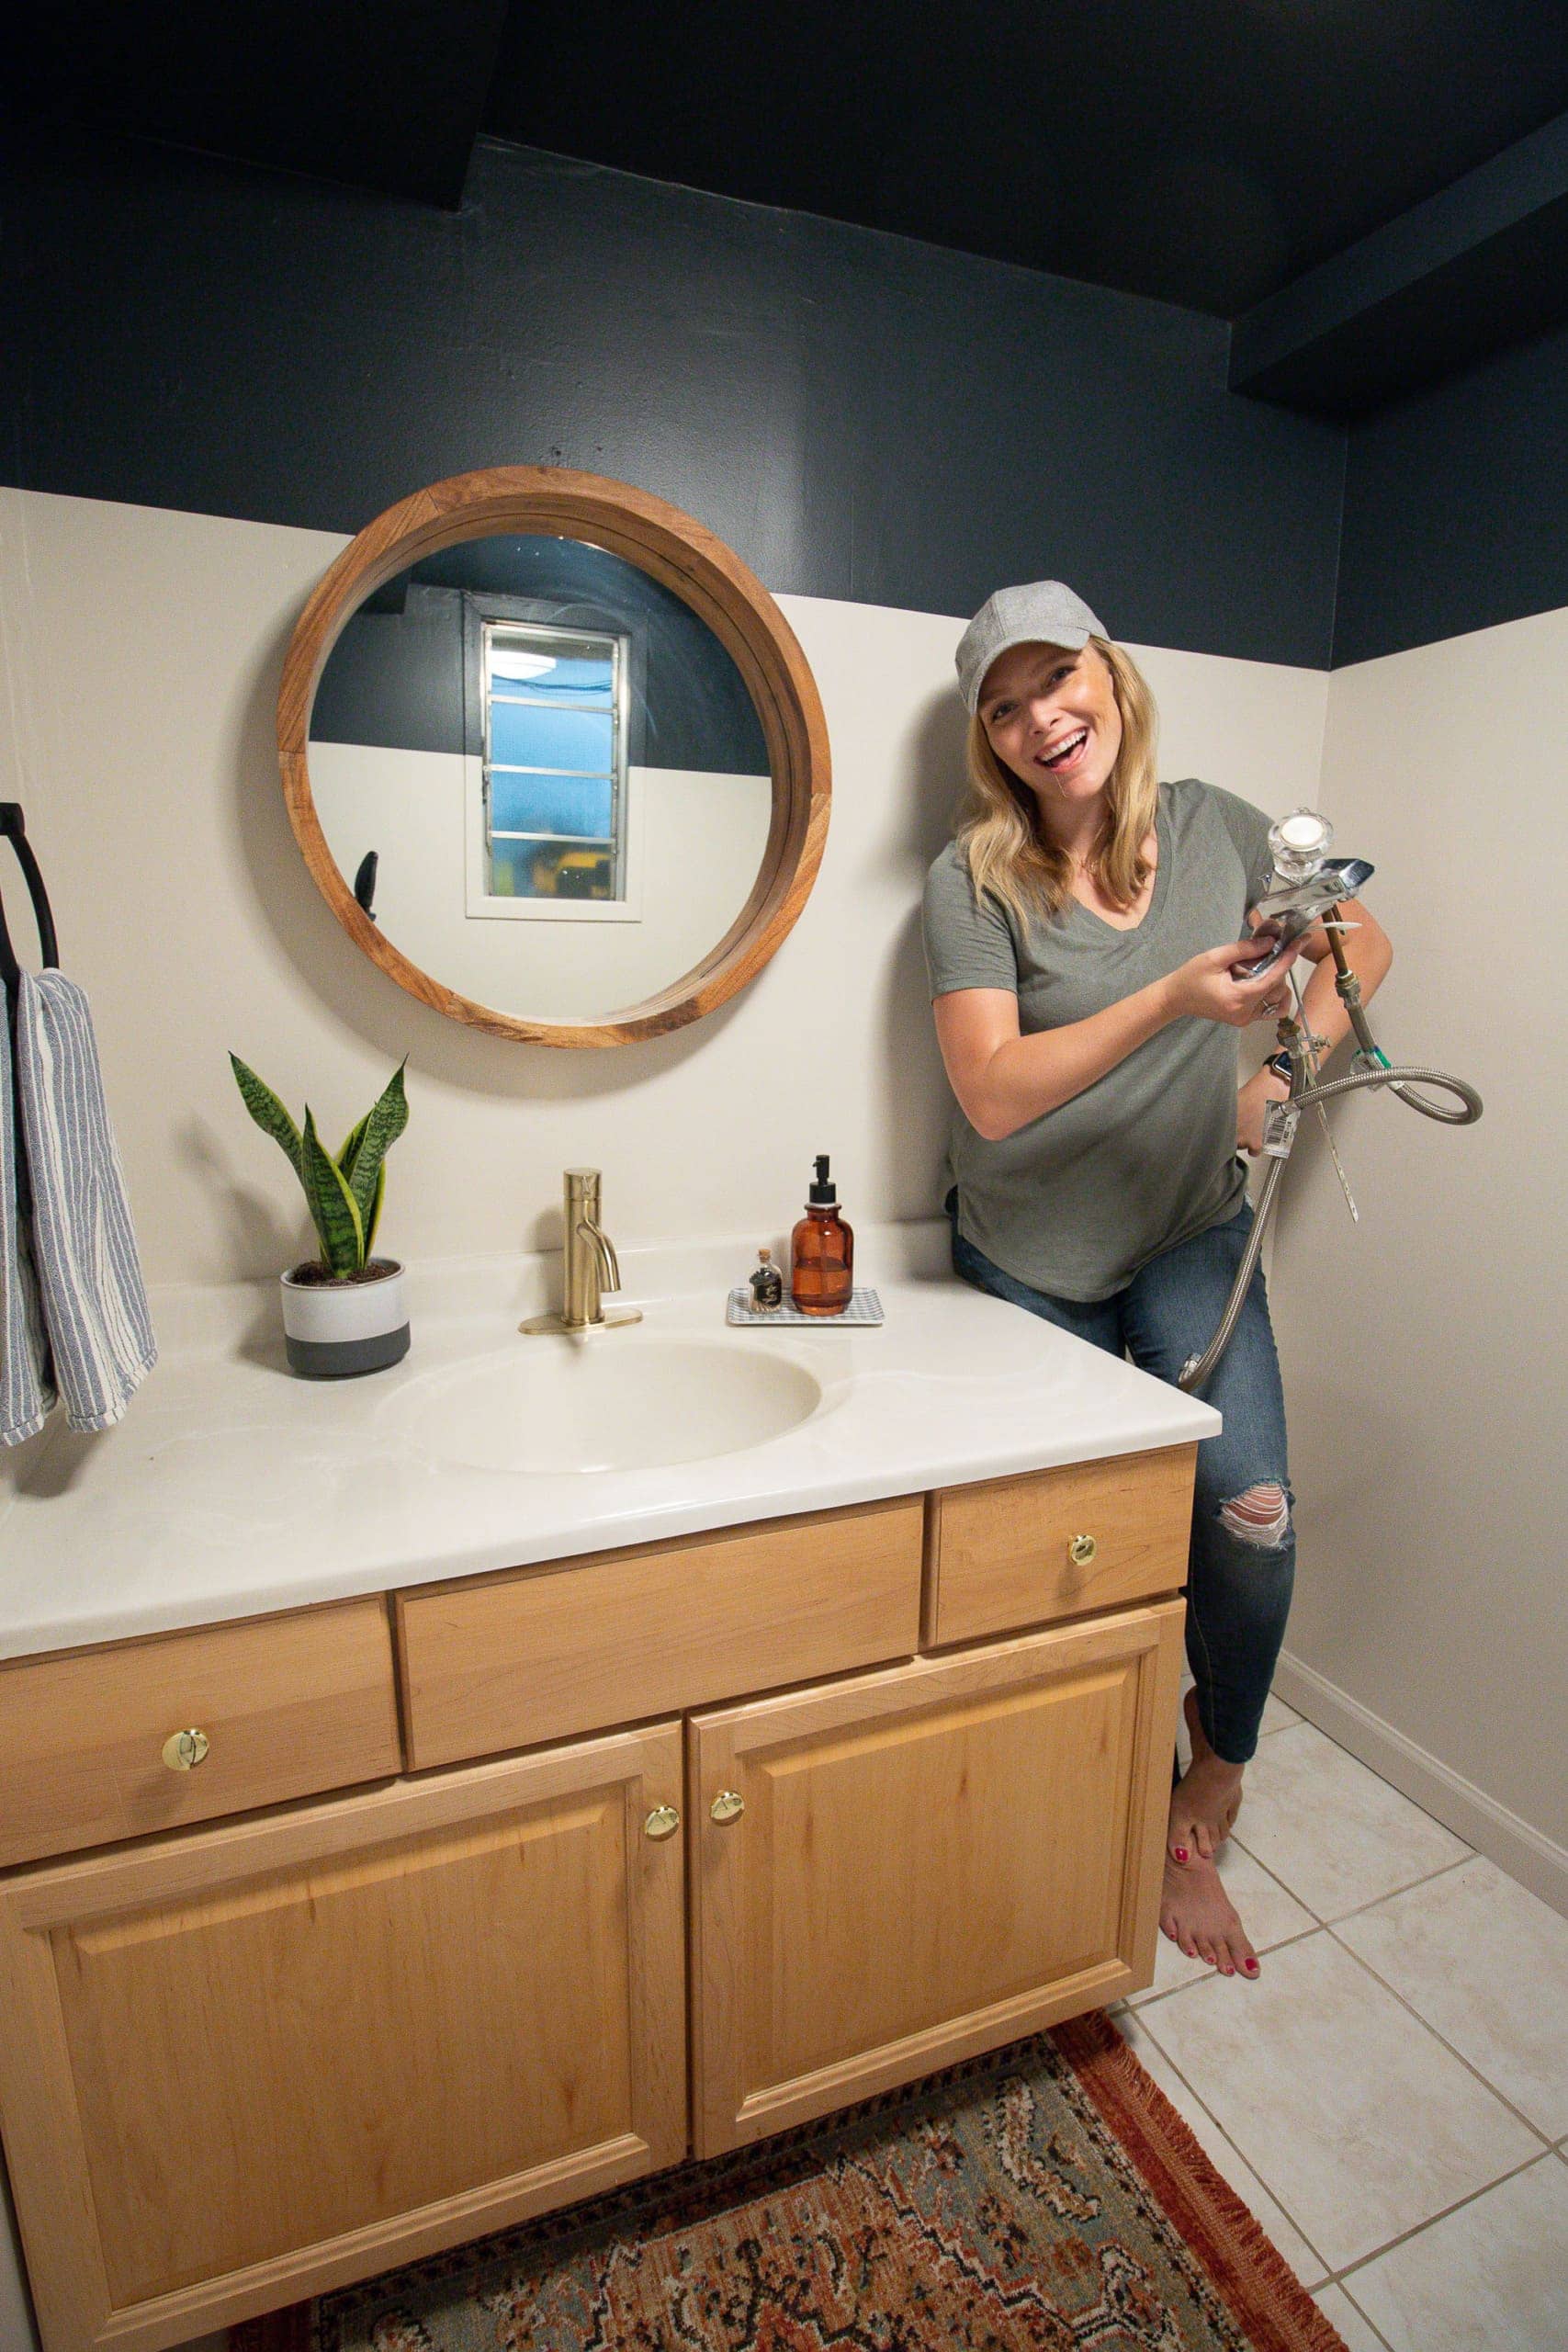
Brass Faucet // Towel Ring // Rug //Planter // Soap Dispenser // Wood Mirror // Paint Details
I recently installed a new bathroom faucet in the space and again I was blown away by what a difference a small upgrade can make in a room. Goodness, I wish I could bottle up that satisfying feeling you get when you make a quick change in a room and love the end result. It feels fantastic!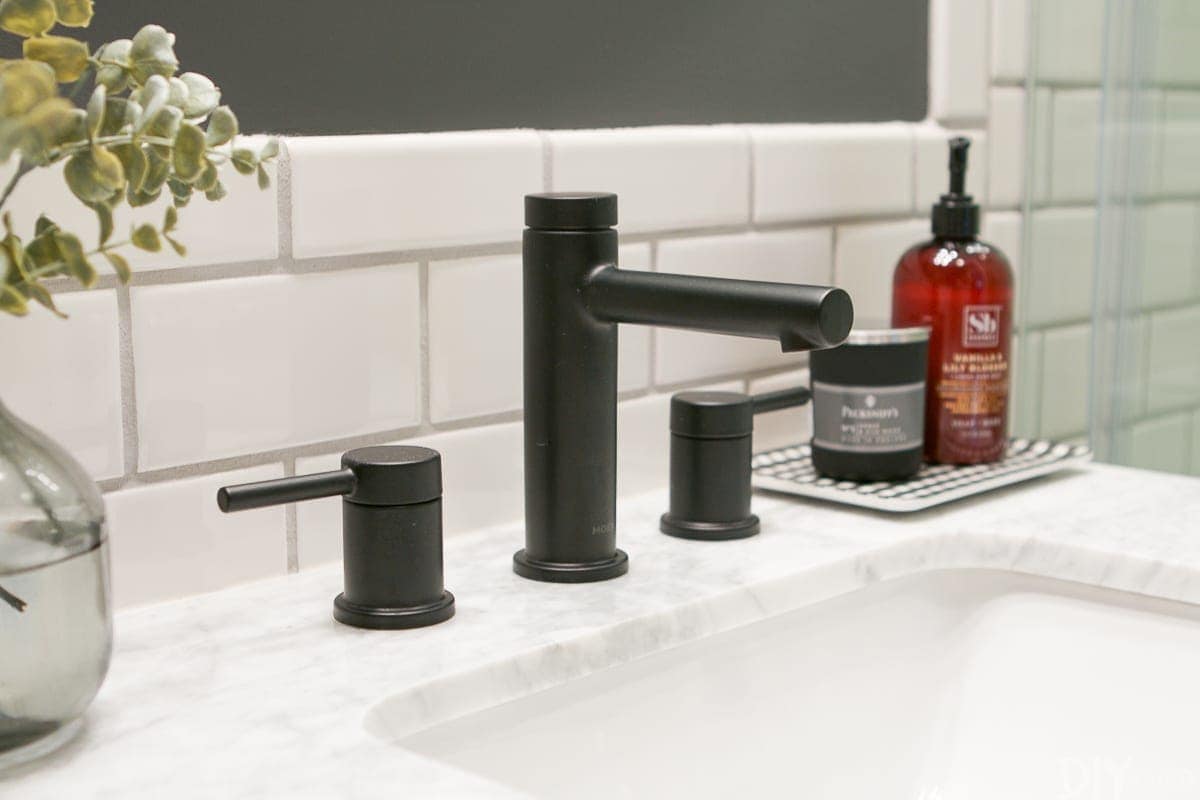
Black Faucet in My Old Bathroom Renovation
But here’s the thing about plumbing projects – many people are intimidated by them. And I get it, I’m not the best at plumbing either! I’ve installed a few kitchen faucets, bathroom faucets, and I’ve made a few toilet upgrades here and there. Even with a teeny bit of experience with plumbing DIY, I am still not the best at them. I’m often fumbling with the wrench; the projects take three times as long as they should, and my body gets sore as I’m crouching into tight corners to swap out plumbing hardware.
A new-to-me company, called Plunjr, recently reached out about teaming up on social media and I was intrigued by their services. I ended up using them when swapping out the basement faucet and I was blown away by how great the experience was. This blog post is in no way sponsored. (But in full disclosure, I did work with them to share their app on Instagram.) I just found so much value in their app that I really wanted to share what it’s all about with all of you!
Plumbing Help Simplified
Essentially, The Plunjr app is a live video plumbing service that connects you with a union plumbing technician. So, if you’re installing a new faucet and run into a problem or have a question, you’re connected with a technician over live video and they walk you through the issue. If you need a specific part to fix the problem, they can ship it to you directly! With COVID-19, many people feel uneasy having strangers in their homes (rightfully so!), and it can be hard to do projects by yourself when you would usually require a professional. This combines DIY with a touch of professional help when you need it! Plus, if you run into a problem that you can’t fix yourself over the phone with Plunjr, they’ll dispatch a local plumber to finish the job.
Apparently the average cost of a plumbing service call is over $500 (whoa!) and the cost of a 15-minute Plunjr call is $45, plus any parts you might need. But from now until September 30th, they’re doing a deal where you can talk to a technician for $.01 a minute. Yes, one cent! If you have a faucet you want to install, a toilet you need to repair, or another plumbing project you’ve been putting off…now is the time to get ‘er done!
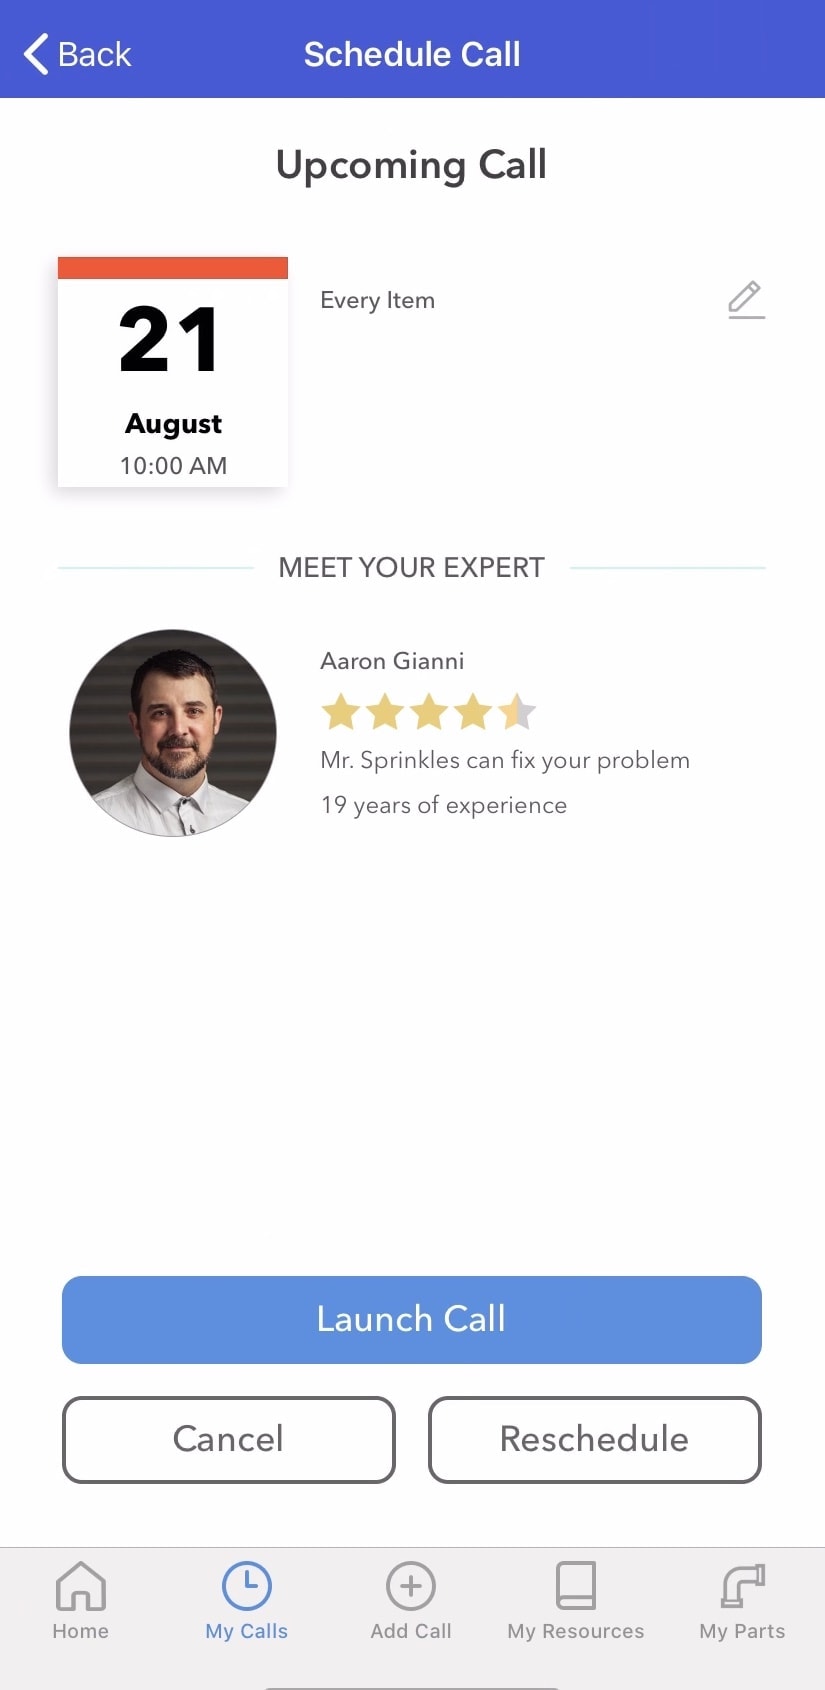
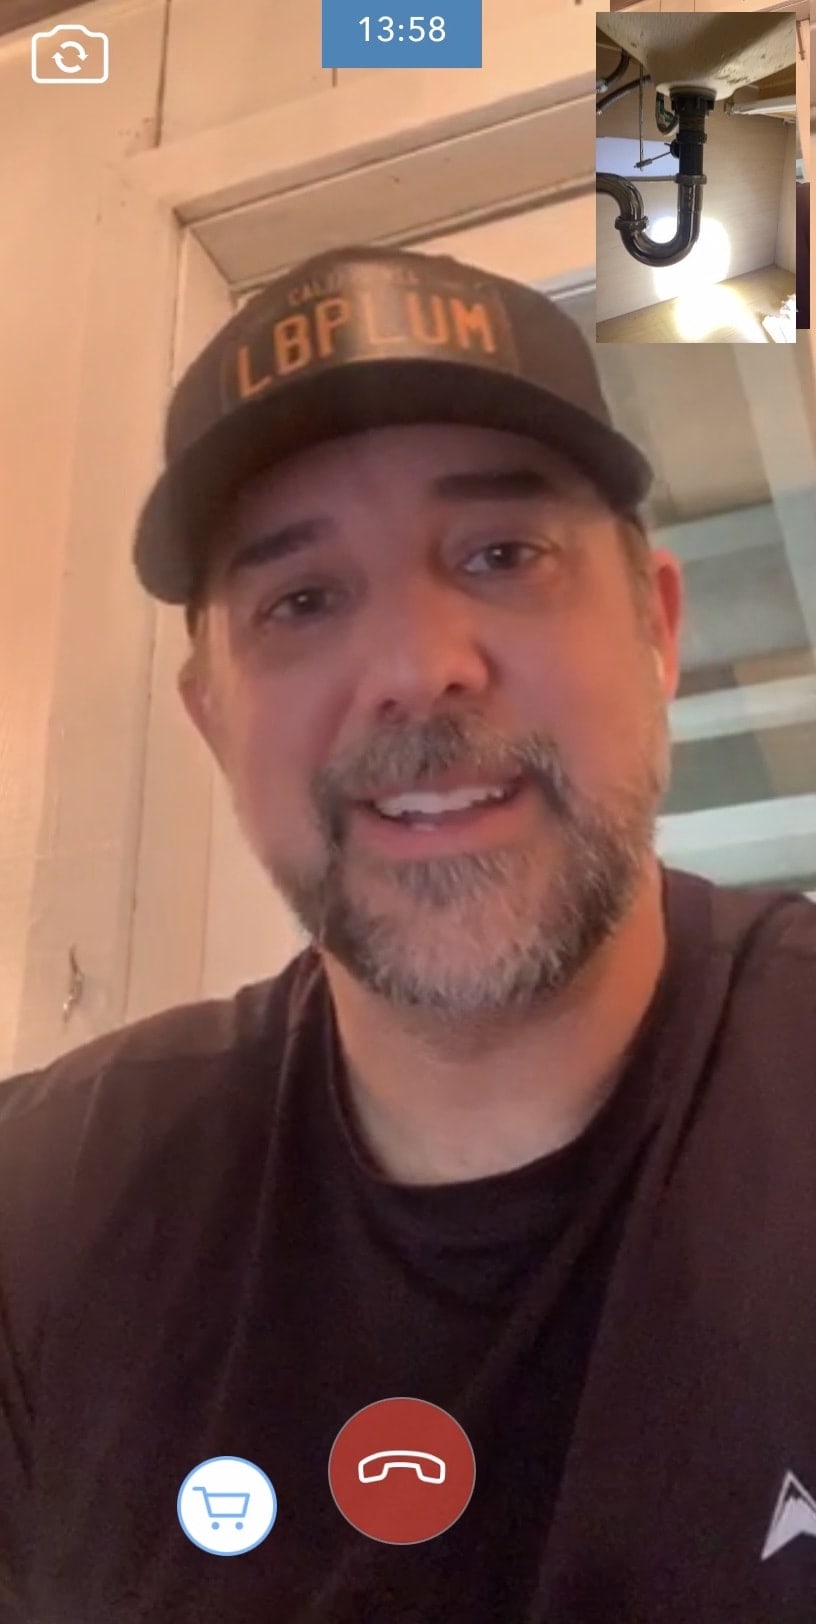
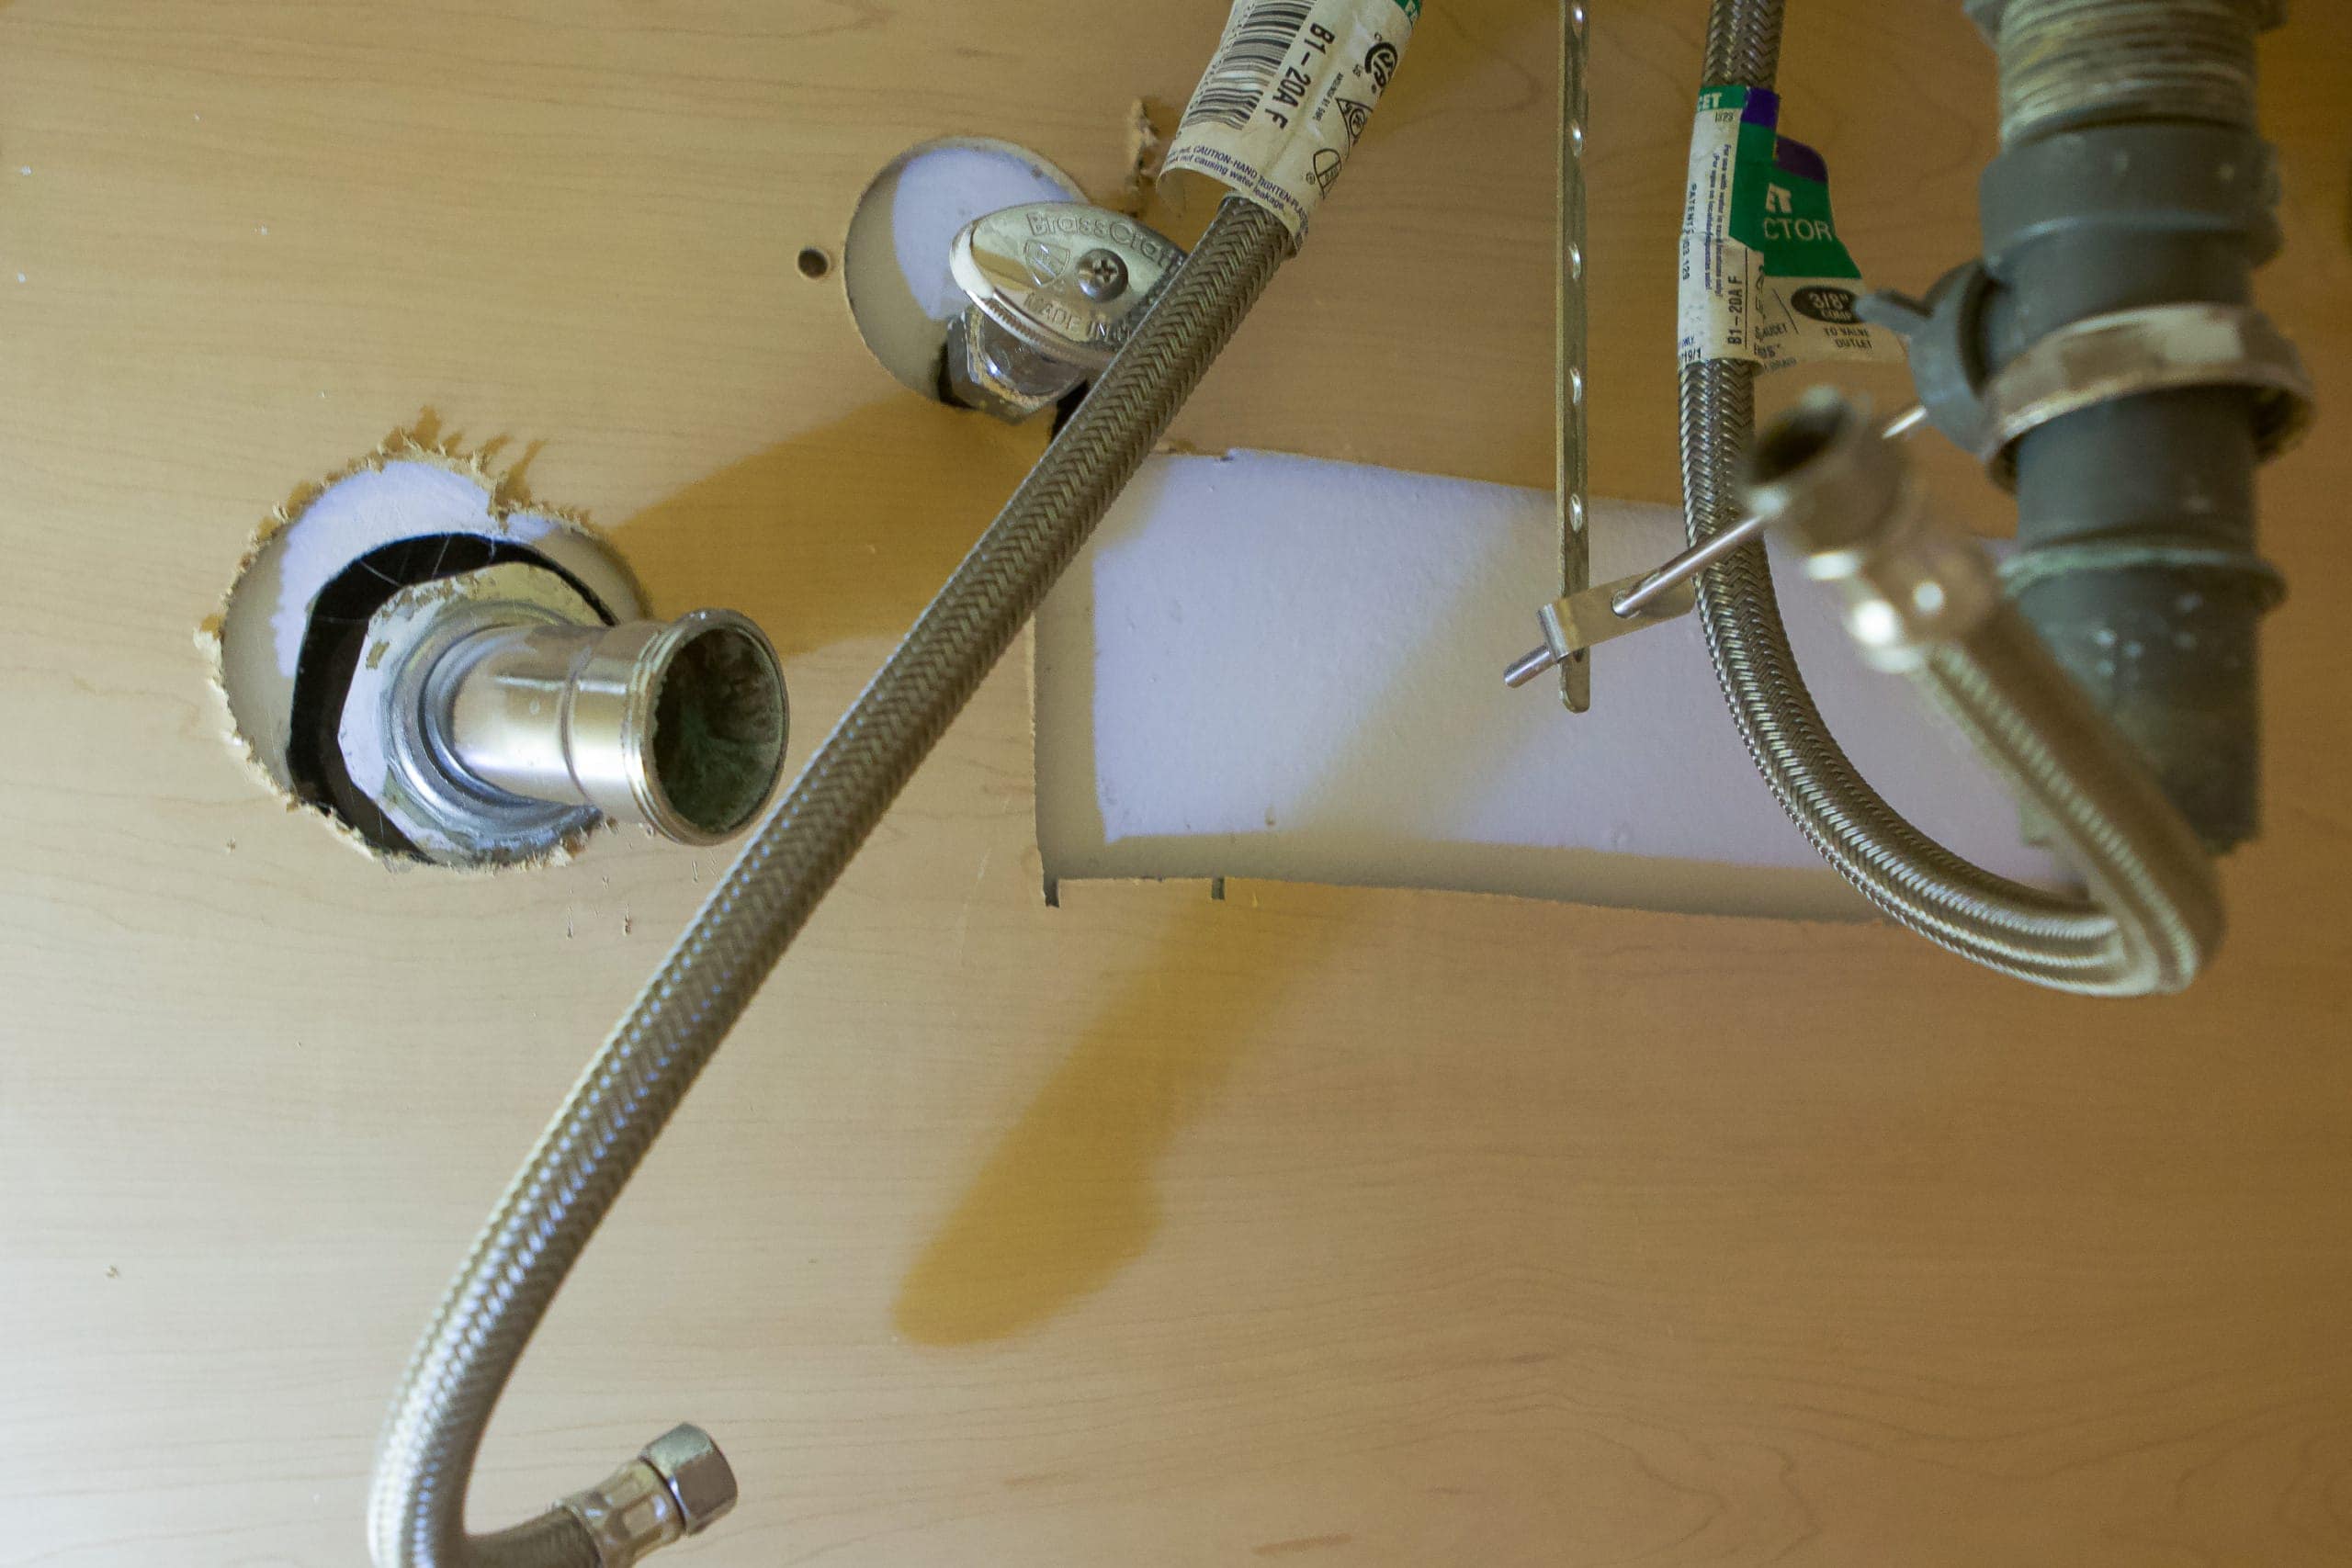
As I mentioned, I ended up trying out the service with the basement bathroom faucet. Above is a screengrab from my call as I was showing the plumber the underside of the sink. I know how to install a bathroom faucet since I’ve done it a few times in the past, but I was never very good at it and I have always thought there had to be tips that would make the process a lot easier. I decided to set up a call on Plunjr with a plumbing technician, Aaron, before I started my project. I showed Aaron the old faucet, the new faucet, and my entire setup and he gave me tons of tips to make the job easier and the work faster. I was blown away by some of the things I learned and I will be using all his advice for future plumbing projects.
Tips to Install a Bathroom Faucet
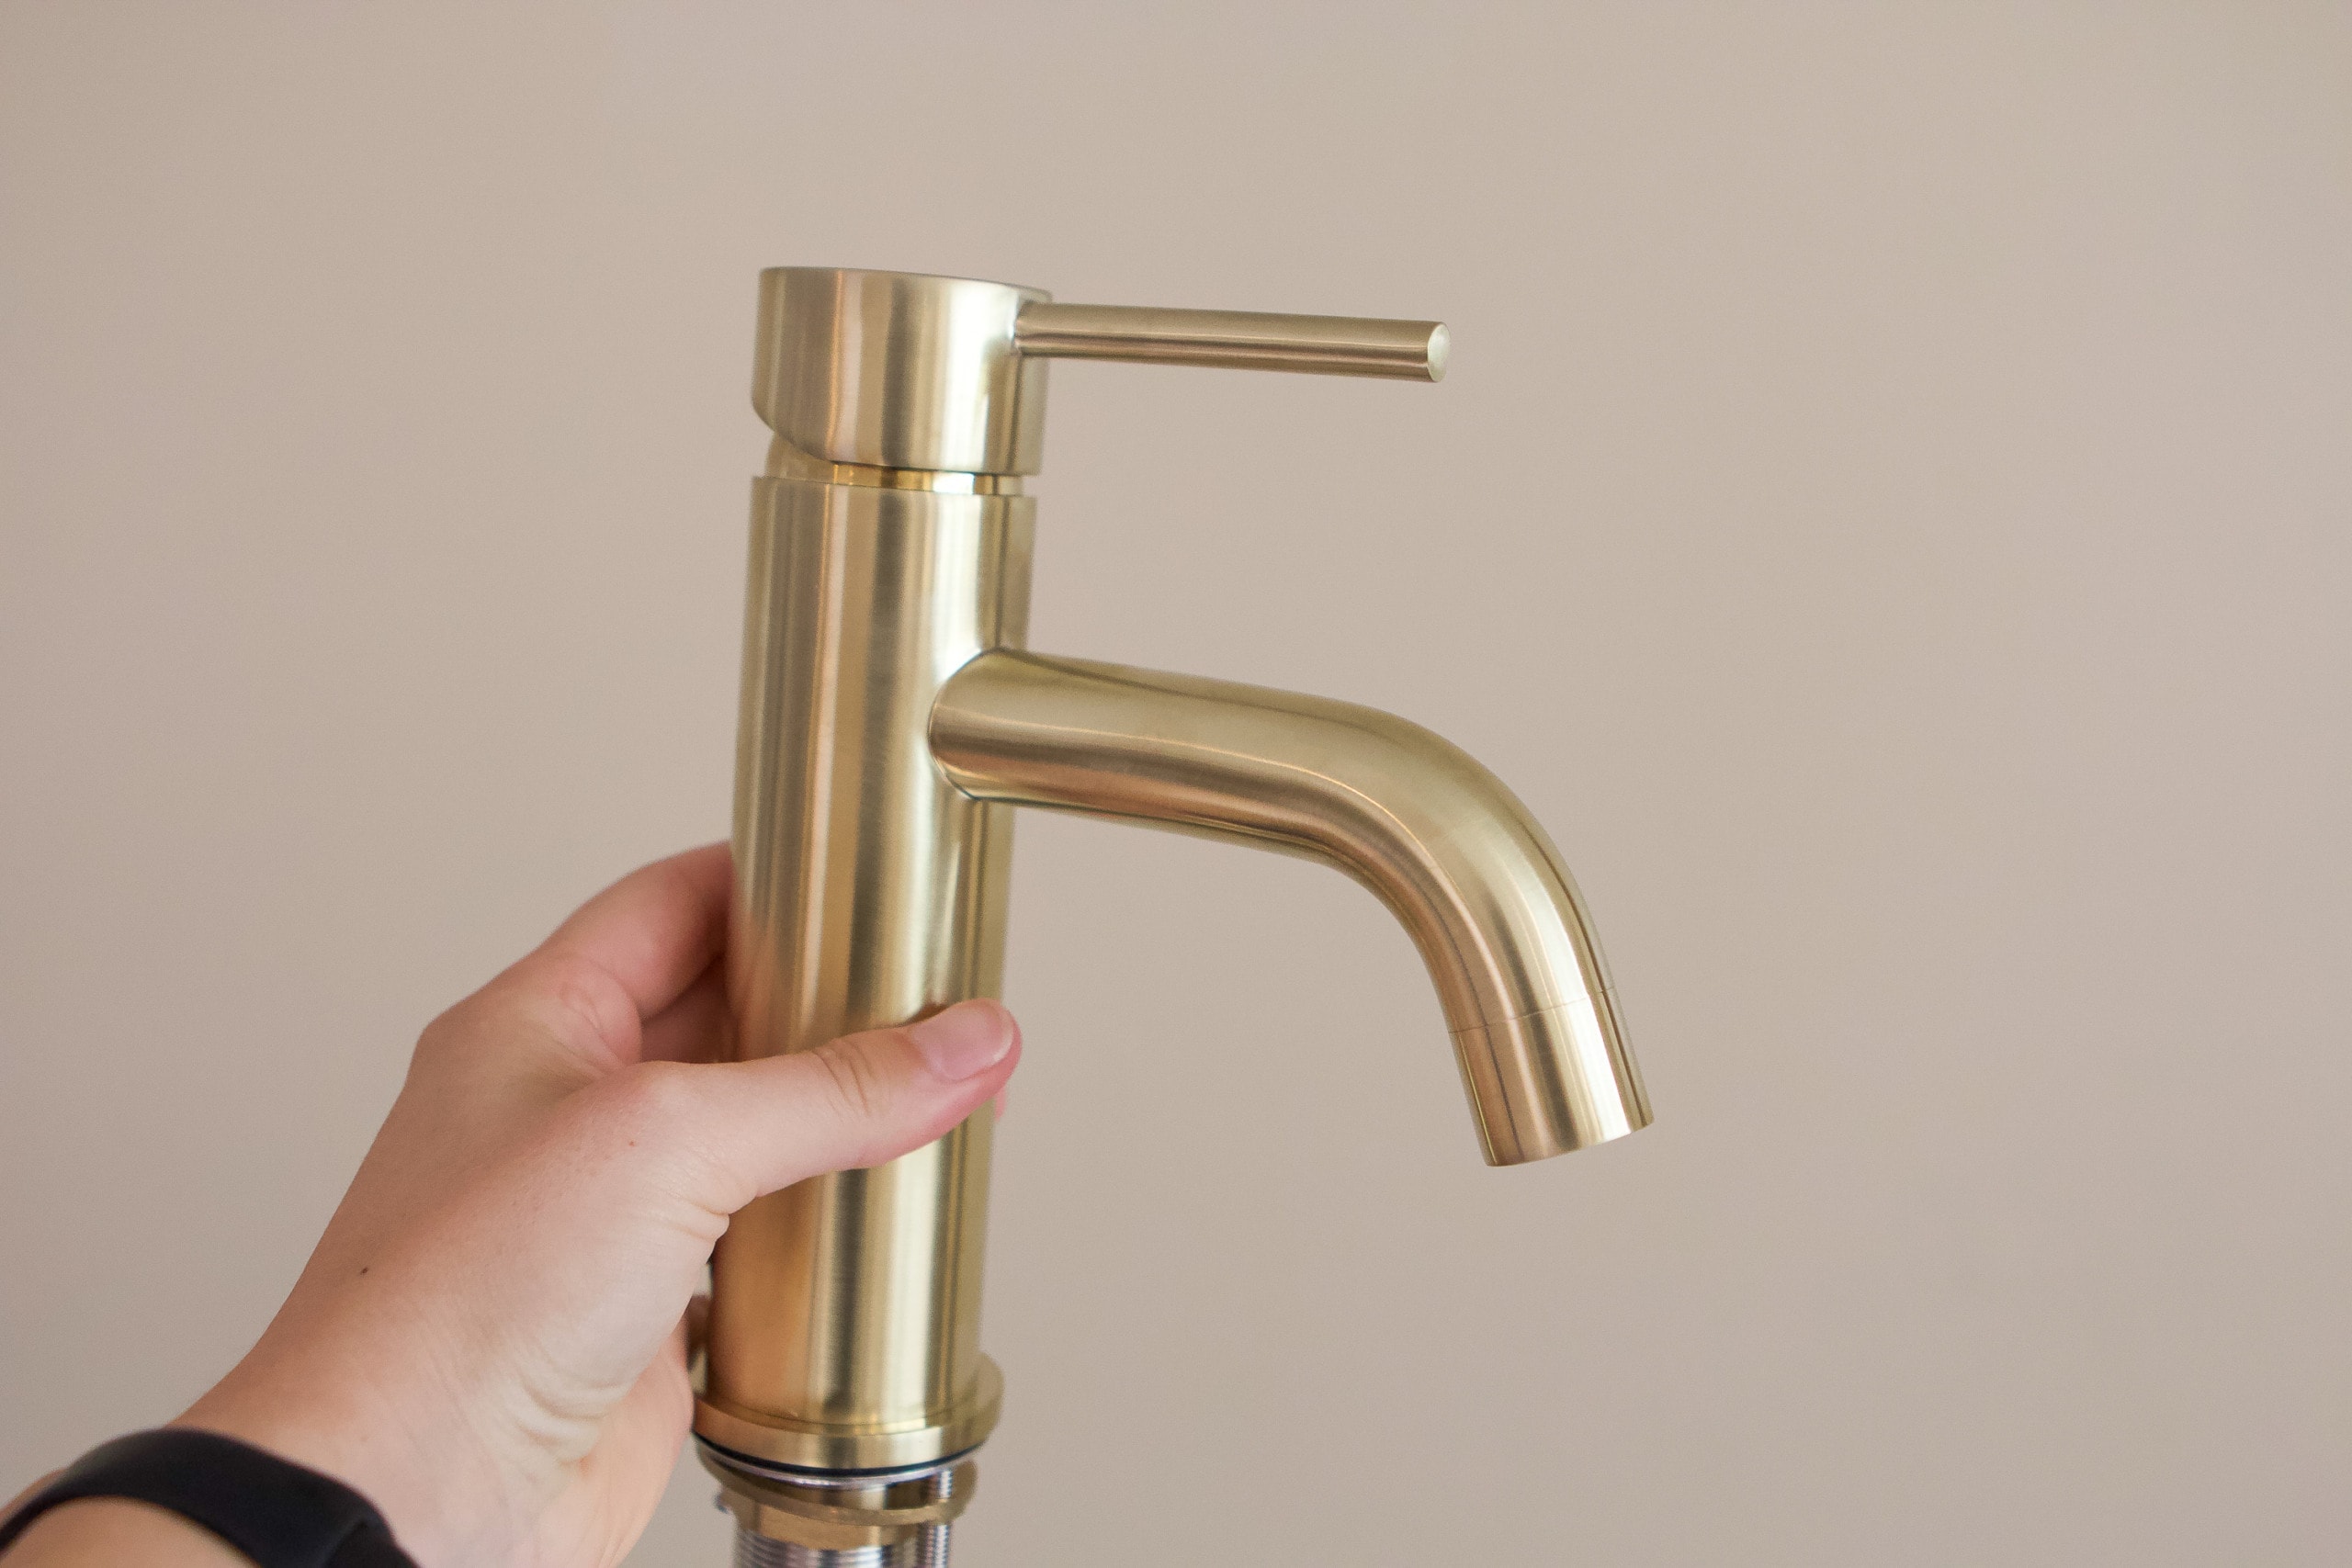
Today, let’s review some of the professional tips he gave me on how to install a bathroom faucet. (This is the new brass one I bought!)
Take Out the P-Trap
The hardest part about installing a new faucet is the fact that you have to get all up in the cabinet. Even if you have a roomy vanity, you’ll be working in cramped, tight quarters! Aaron told me that the first thing I should do was remove the p-trap and the extension behind it before starting. That way, I could better access the area to remove the old faucet and install the new faucet.
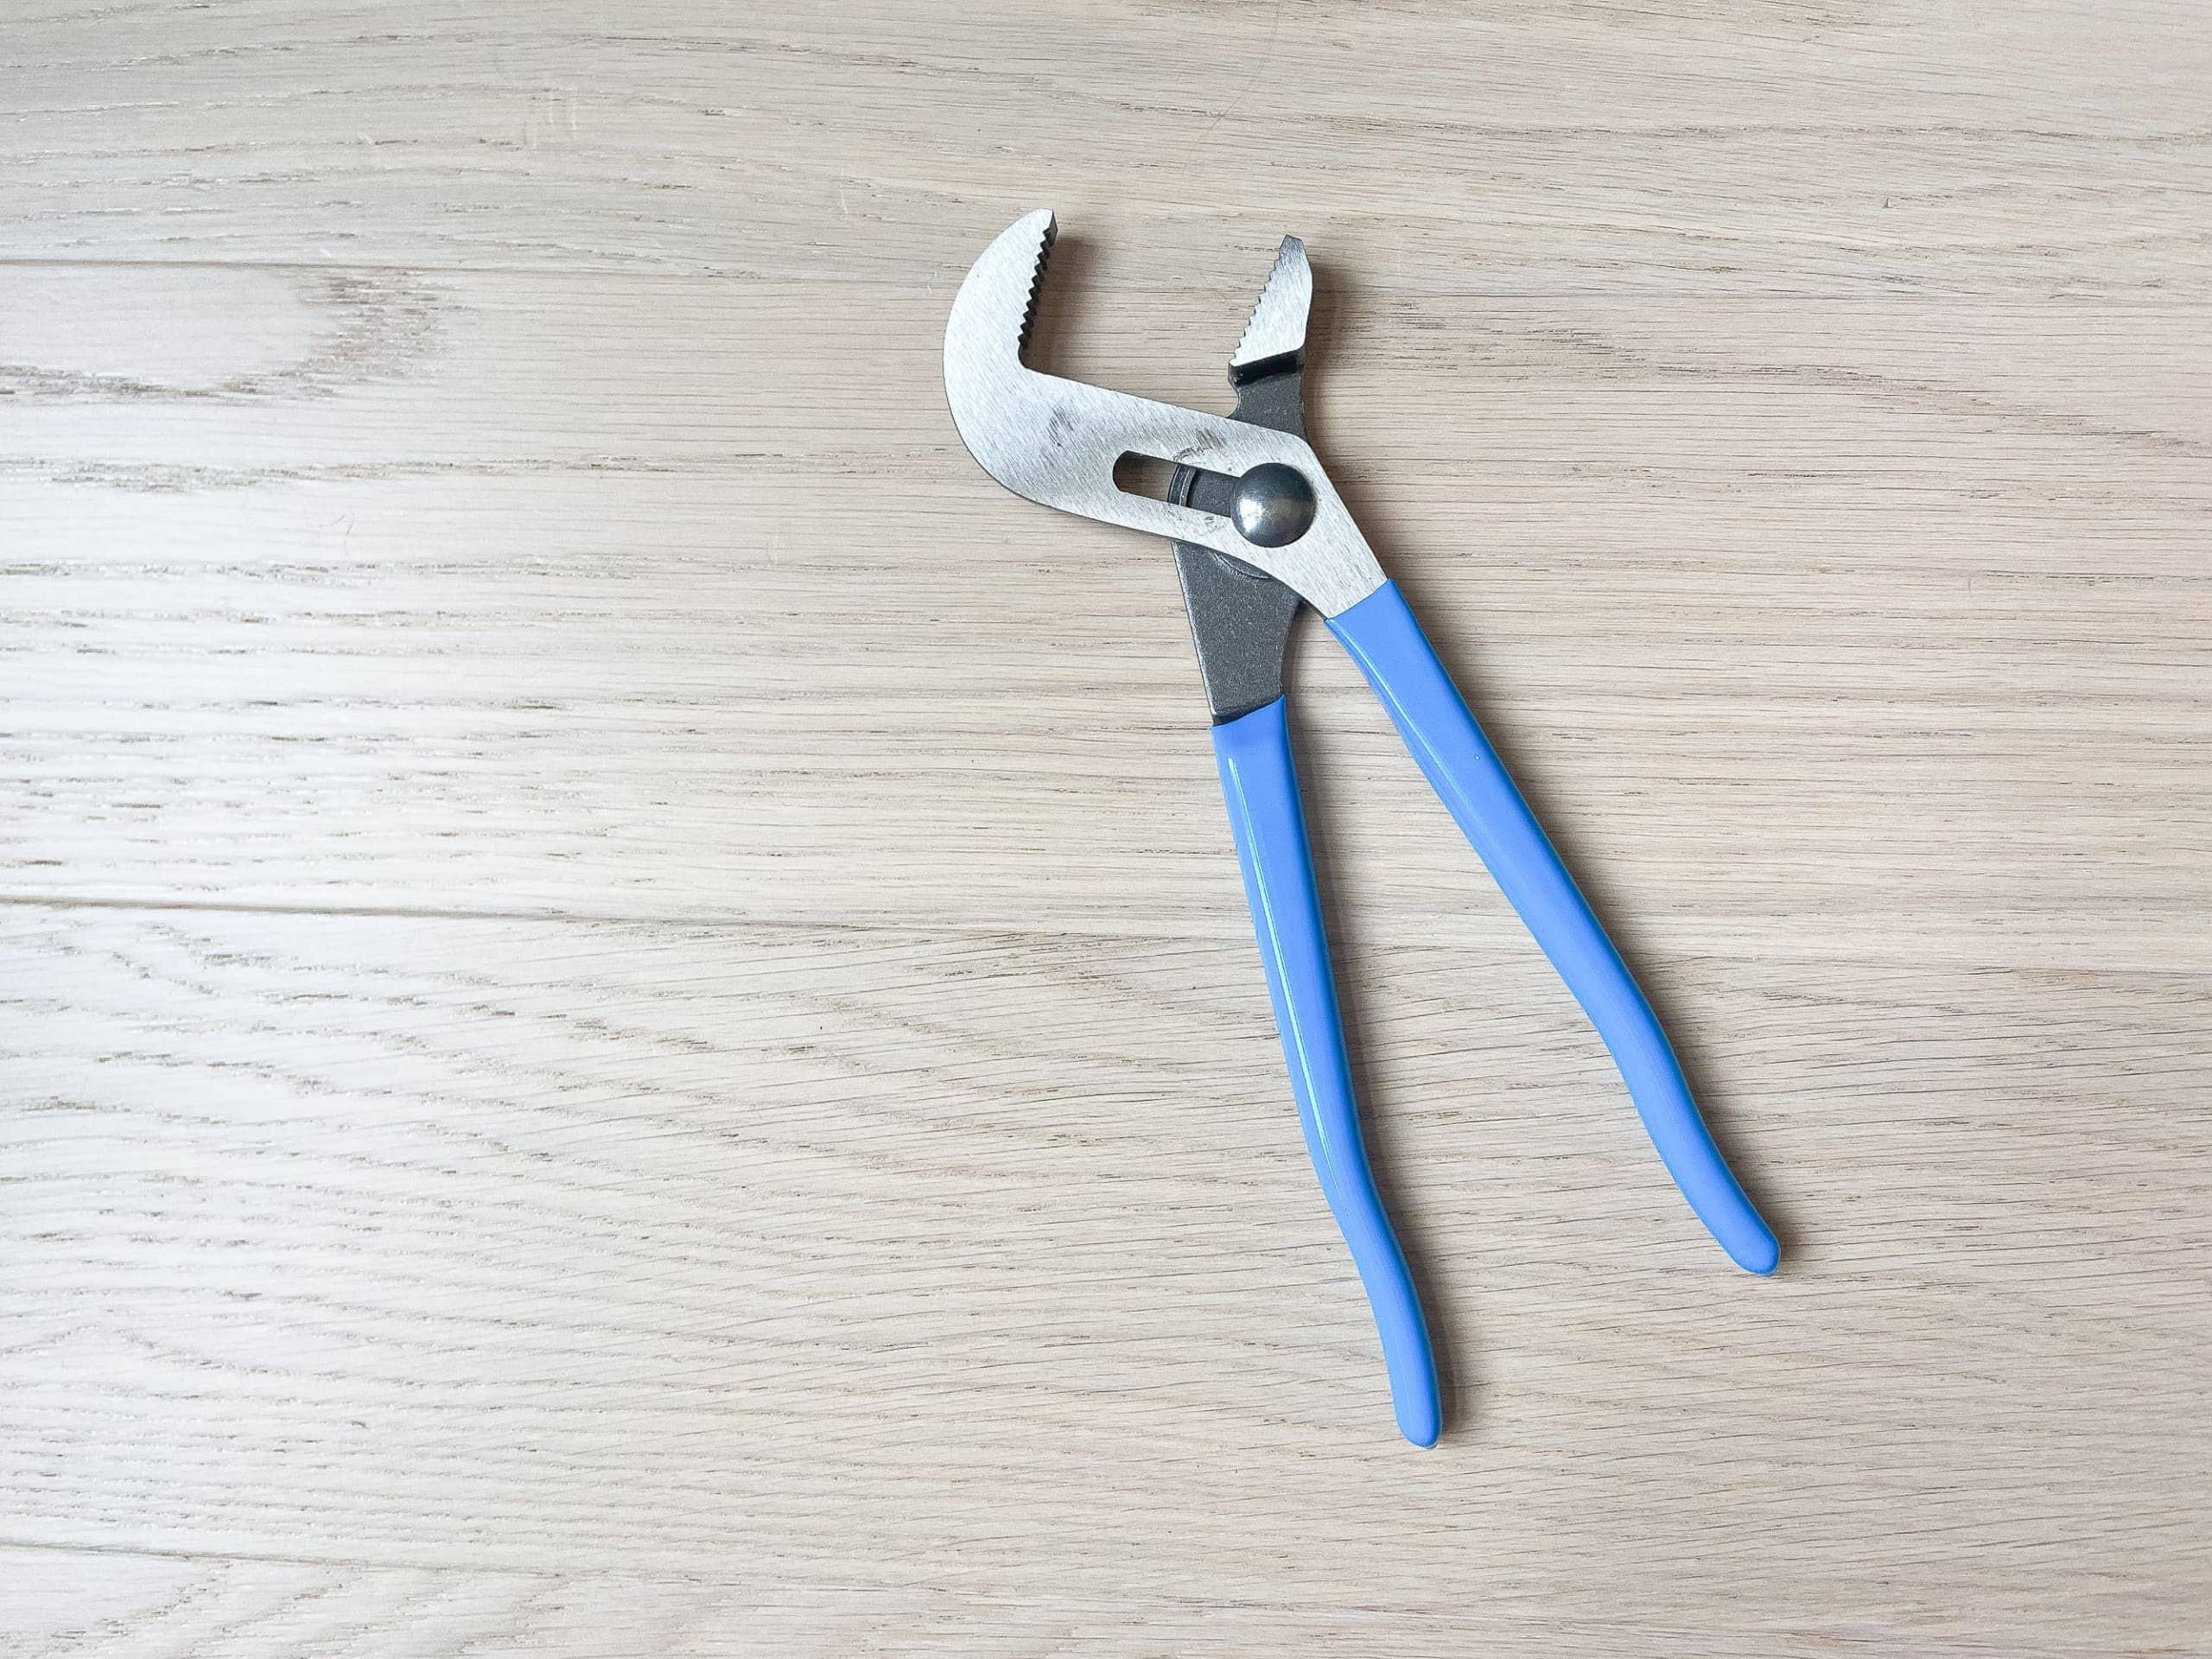
Without his insight, I would have kept it on there and tried to wiggle around it (much to the dismay of my back). I simply used channel lock pliers (Aaron recommends channel lock 420…he said it’s a plumber’s go-to tool!) to loosen the nuts. Have a bowl handy because water will come out. And make sure you keep all of these pieces together because you’ll reassemble them at the end!
Use a Ratchet
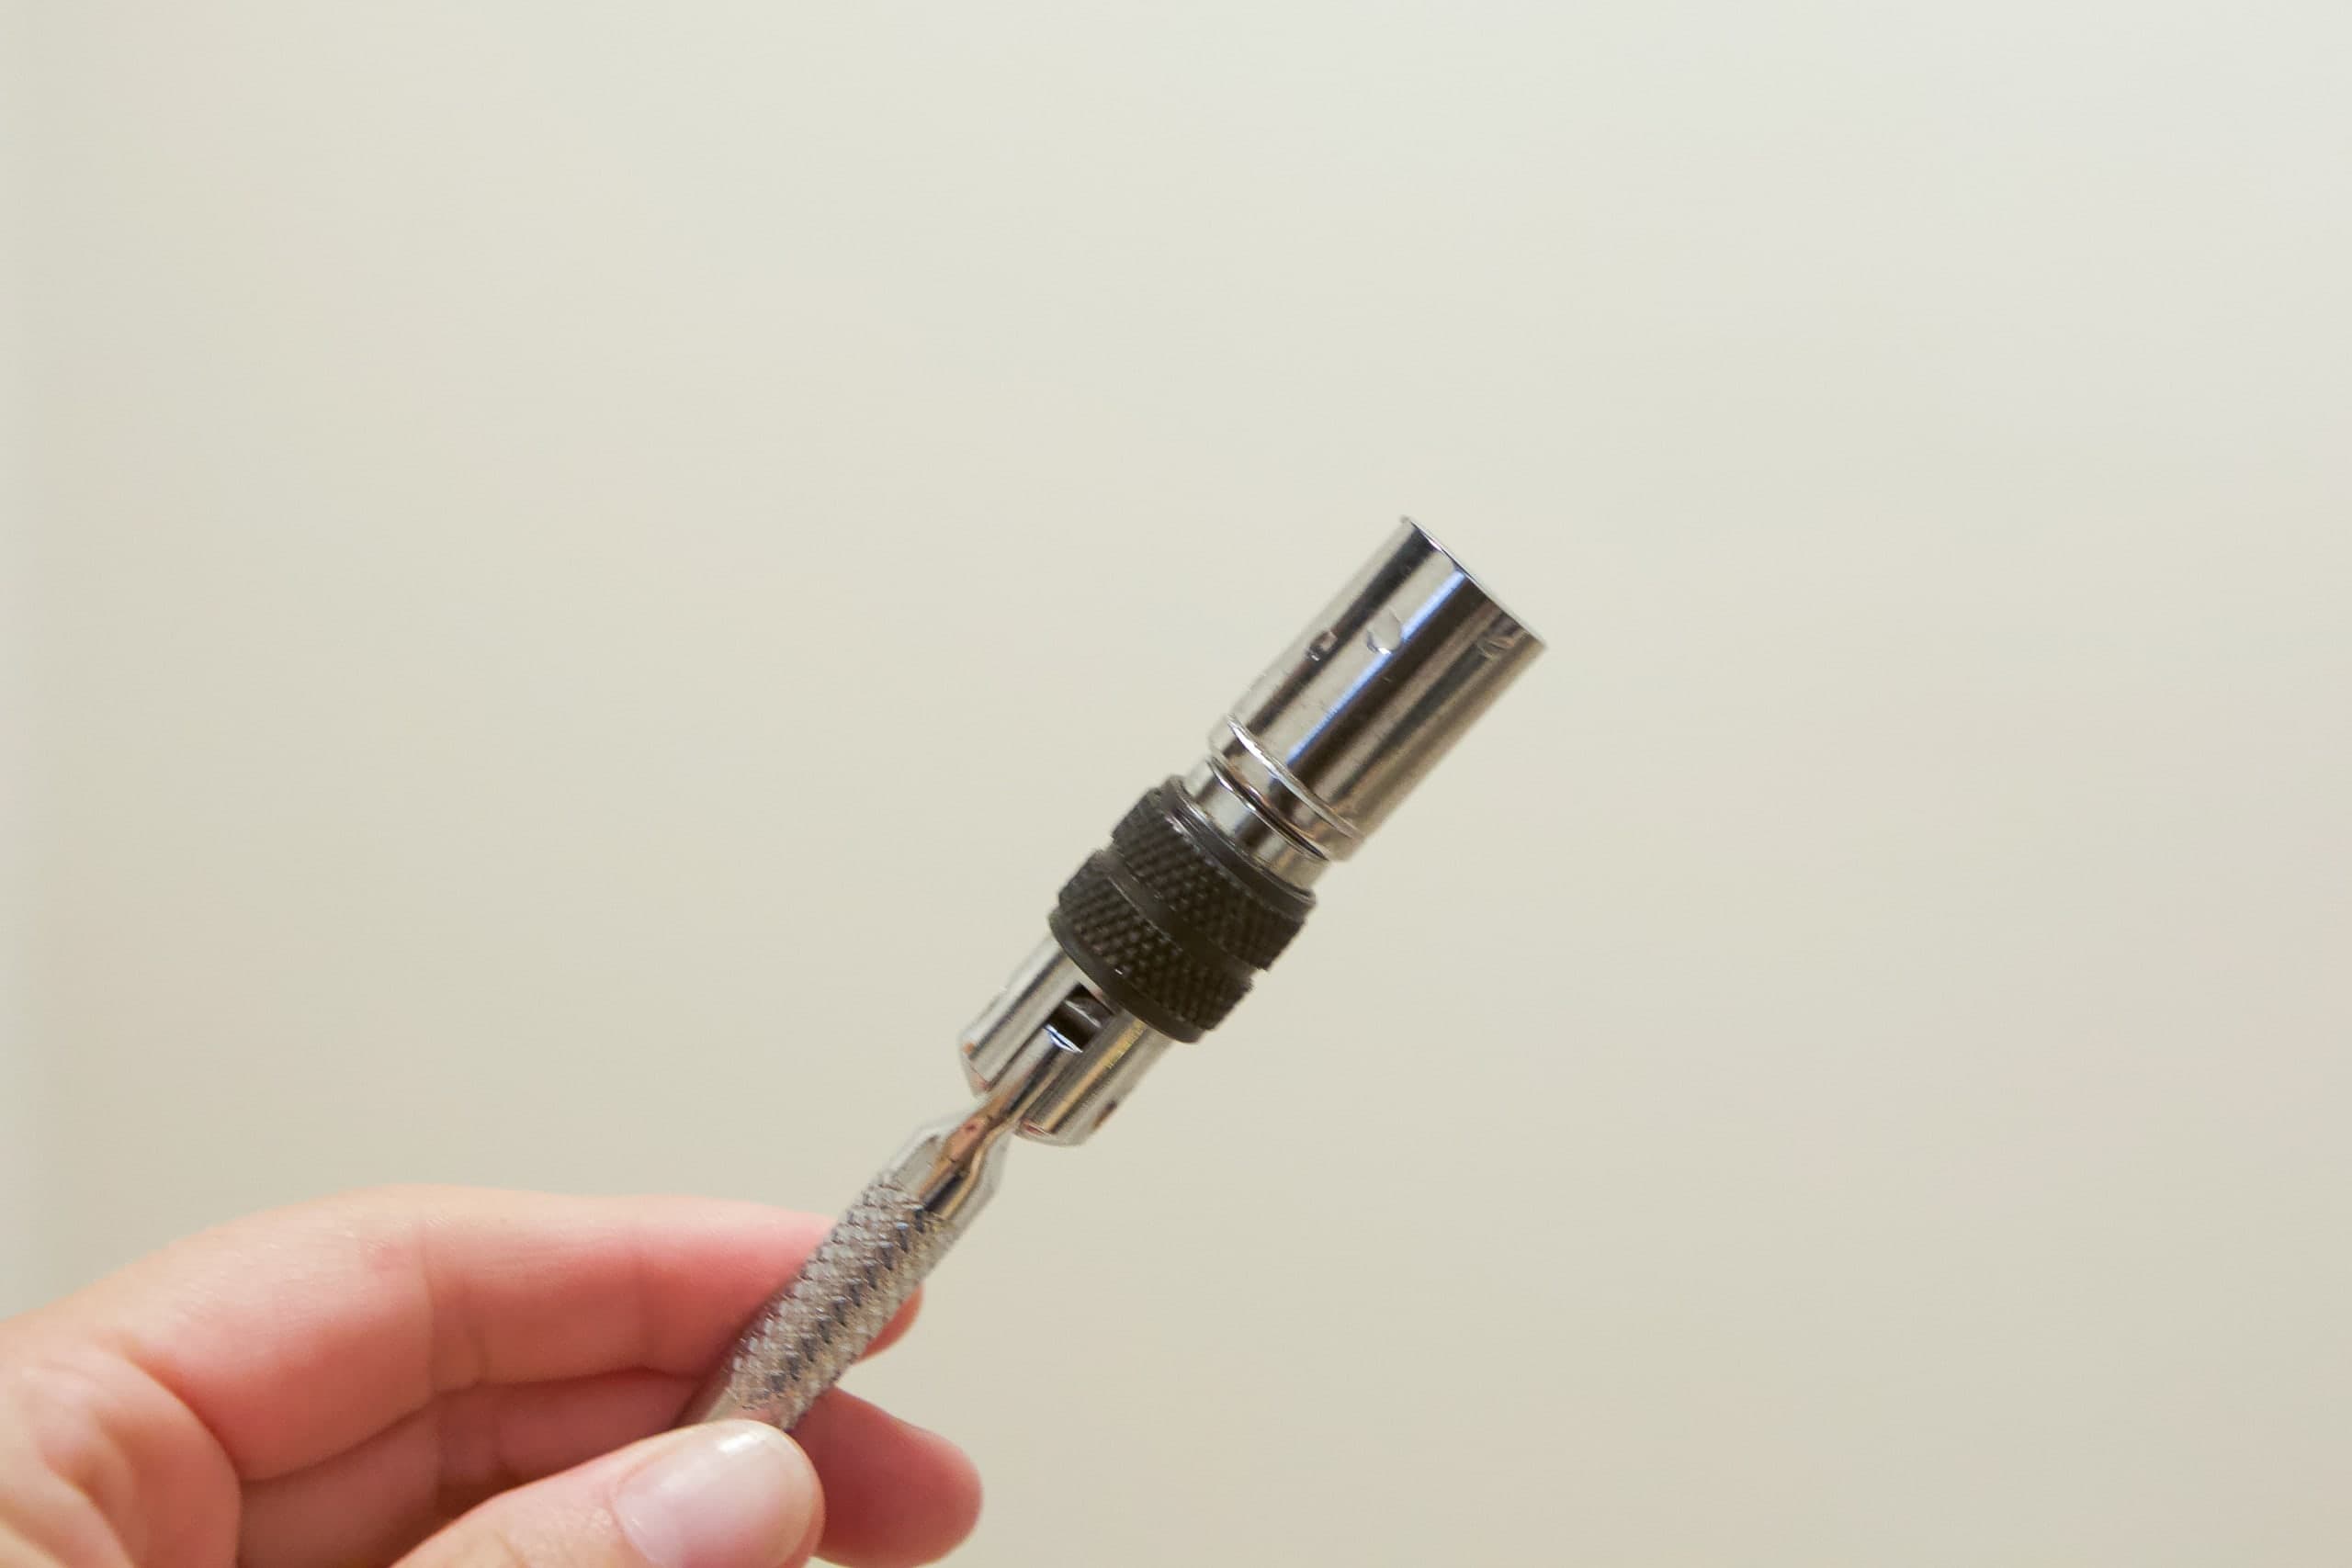
The old faucet was held in place with small nuts located way up near the countertop. Maneuvering a wrench to loosen them would have been a workout. Aaron suggested using a ratchet with a deep socket instead of a wrench. I ended up using a 7/16″ socket for my nuts and it worked like a charm. This was actually the first time I’ve ever used a ratchet (here’s a kit with lots of socket sizes) and my eyes are now opened to how convenient this little tool is!
I laid on my back under the vanity (with safety glasses because stuff can easily fall into your eyes!), loosened the nuts with the ratchet, and then took them off by hand. With those off, I could remove the old faucet from the top.
Prep Outside the Vanity
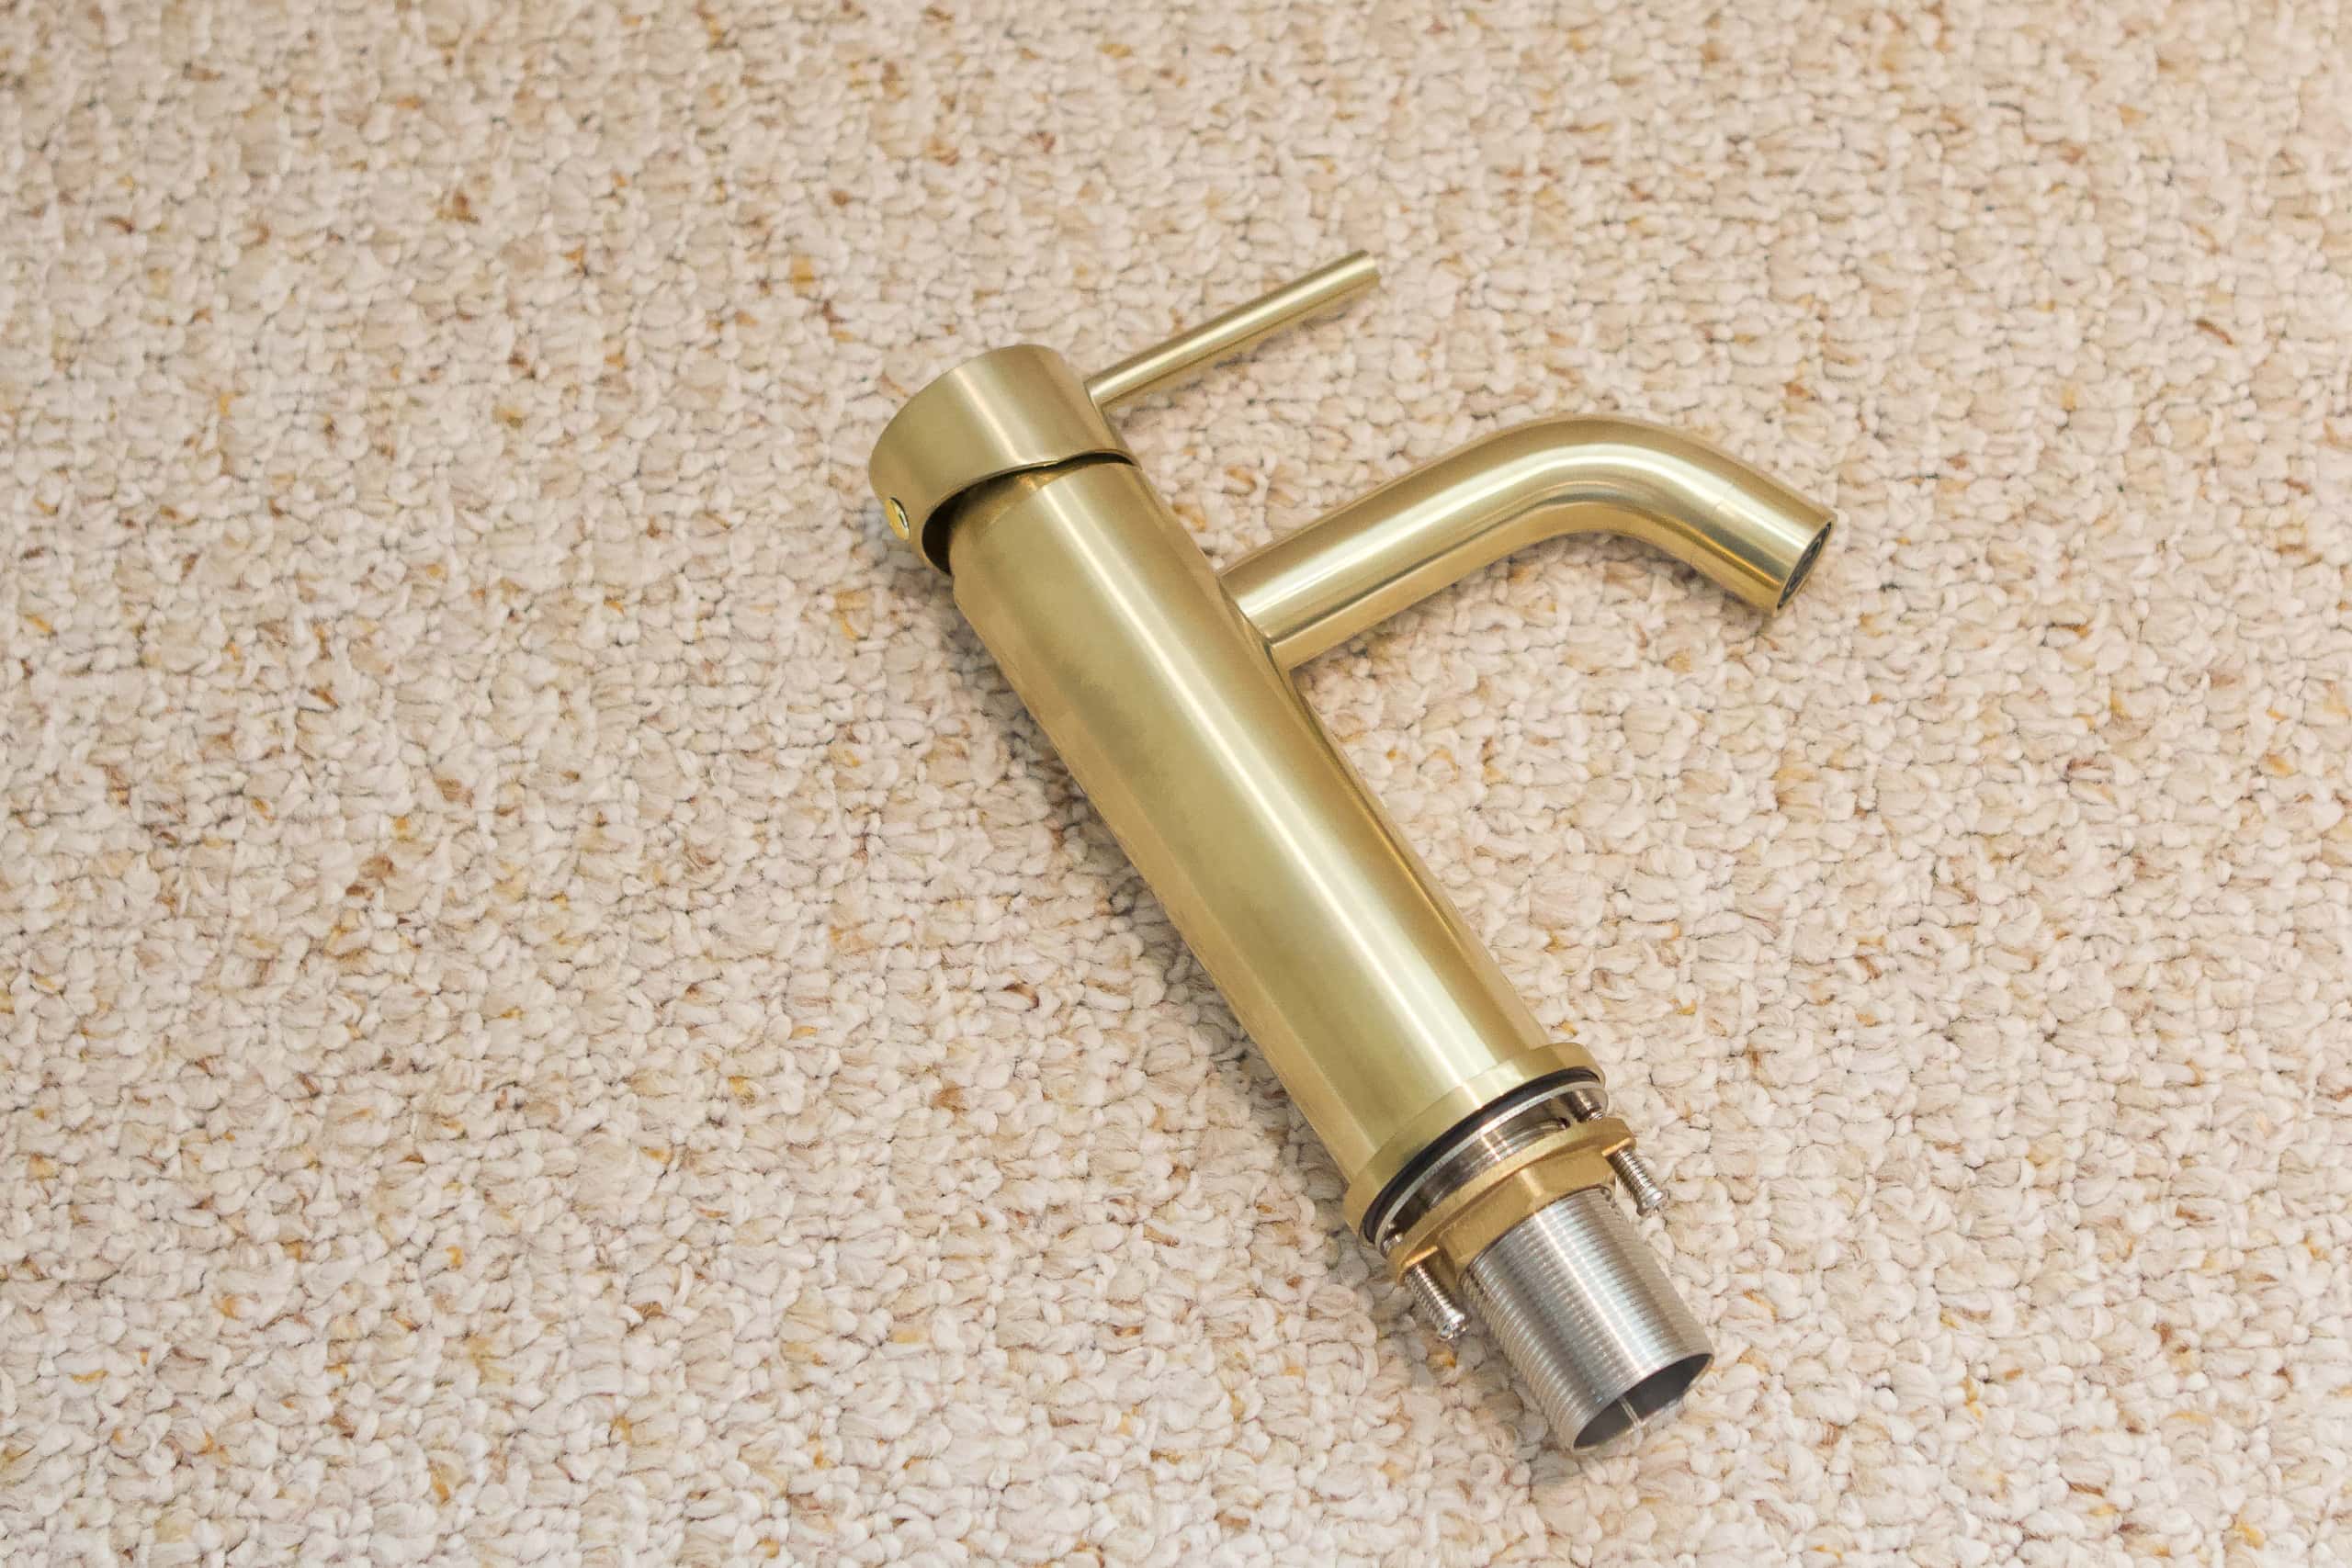
When it comes time to install the new faucet, Aaron mentioned that I should try to do as much as possible outside of the vanity. It’s a lot faster and easier to prep everything when it’s right in front of you than when you’re lying on your back in a cramped position. I ended up installing the supply lines into the new faucet and getting the new faucet all prepped before I put it in the vanity.
Use Plumber’s Putty
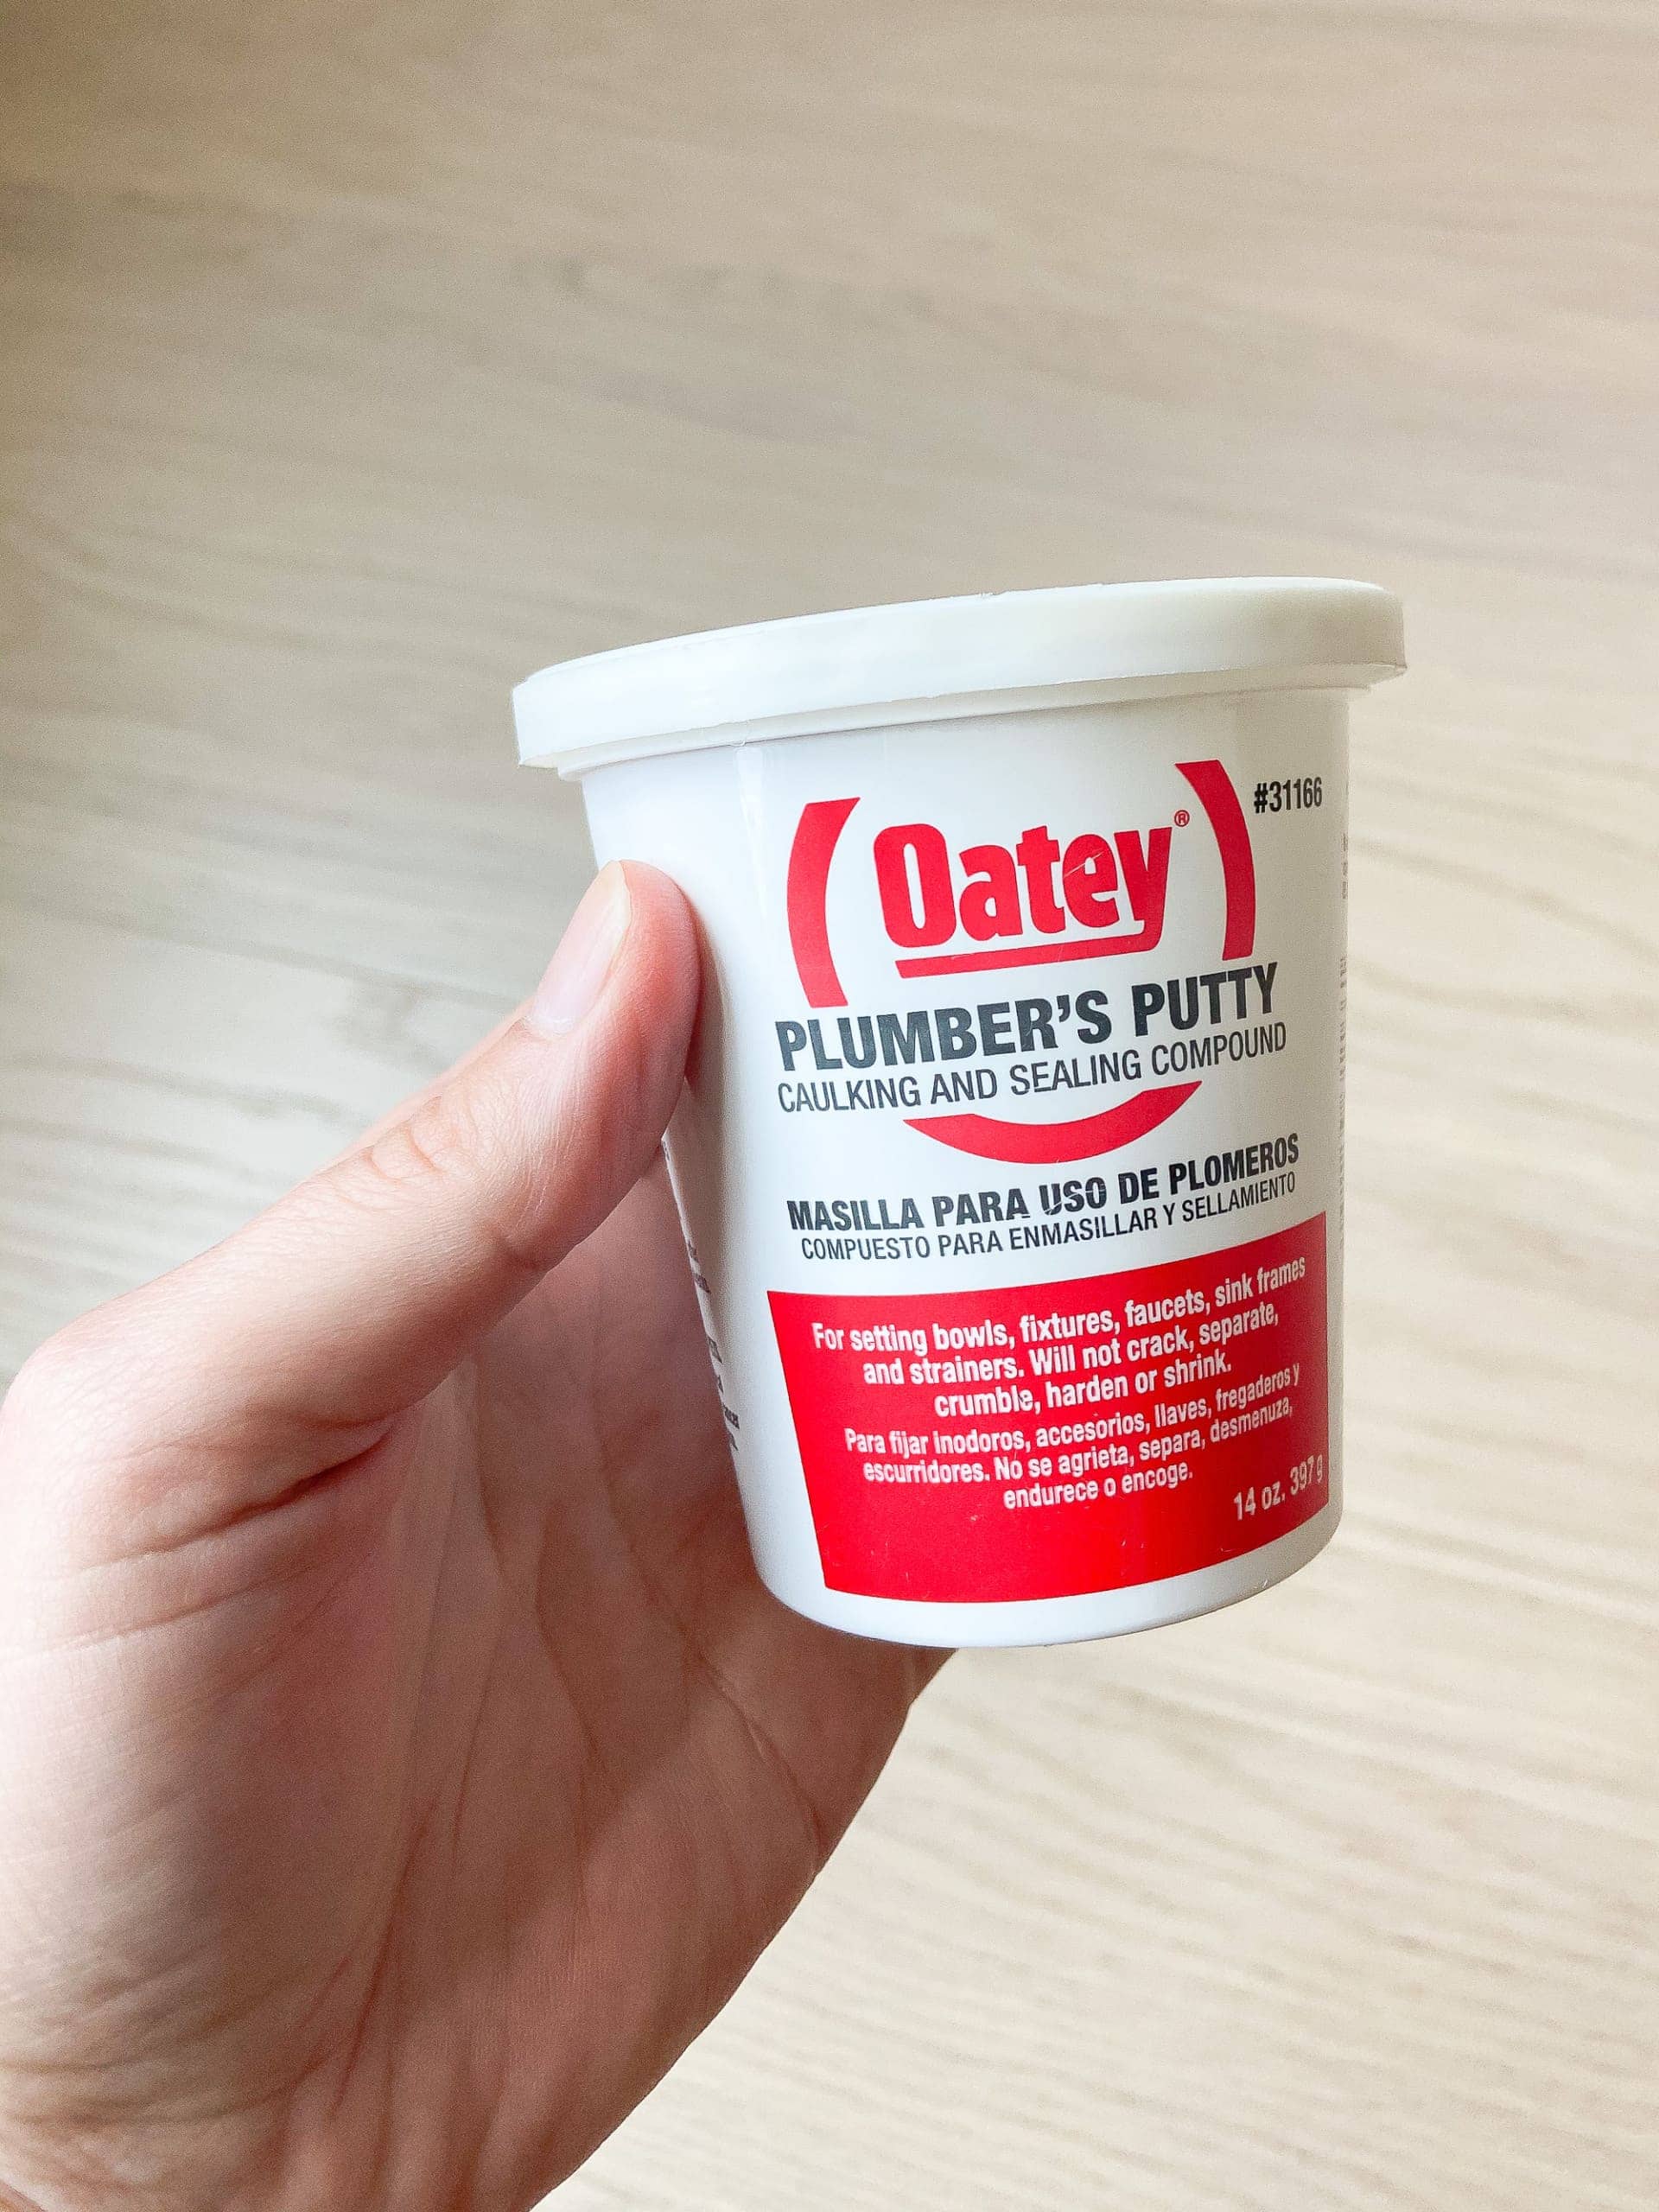
Plumber’s putty is another tool I’ve never been 100% sure how to use, but again, I got some great tips from the pro. When installing the drain kit, it’s used on the ring to create a watertight seal. I made a quarter-sized round ball of putty and rolled it into a 6-inch snake that was about 3/8 inches round. I smooshed it around the drain and then pushed the new part into place. It’s supposed to squeeze out the sides a bit and then you just wipe away the excess and remove. If it doesn’t squeeze out the sides, then you don’t have quite enough.
Replace the Washers

When I chatted with Aaron, he mentioned that I might want to pick up some new washers for the p-trap and extension. They’re super cheap (only about 18 cents a pop at the hardware store) and they will will ensure that there are no leaks. But, the moment I got off the phone with him, I wanted to start the project right away, so I just went for it without making a trip to the store for new washers.
I re-installed the p-trap at the end and turned the water on. There were drips all over the place. Ha! He was right, I should have replaced the washers! I ended up making a quick trip to the store to pick up a few cheap washers and in the end, I had no more leaks. Lesson learned…always have new washers on hand when replacing a faucet. I bought some 1 1/4″ ones, but you may need 1 1/2″ washers depending on your pipe size.
Don’t Overtighten!
Okay, here is Aaron’s final pro tip for me to share! When tightening the nuts on the p-trap and other waste lines, it’s important to hand tighten first and then grab your wrench. You should only give it a 1/4 to 1/2 turn with the wrench or you run the risk of overtightening and breaking or pinching the washer. I never knew this! I always just turned as far as I possibly could, thinking a super tight connection was the best. Now I know better!
The same goes for the angle stops (where you connect to the water supply line). Turn them left until they’re all the way open, then turn back 1/2 a turn to extend the life of the angle stop.
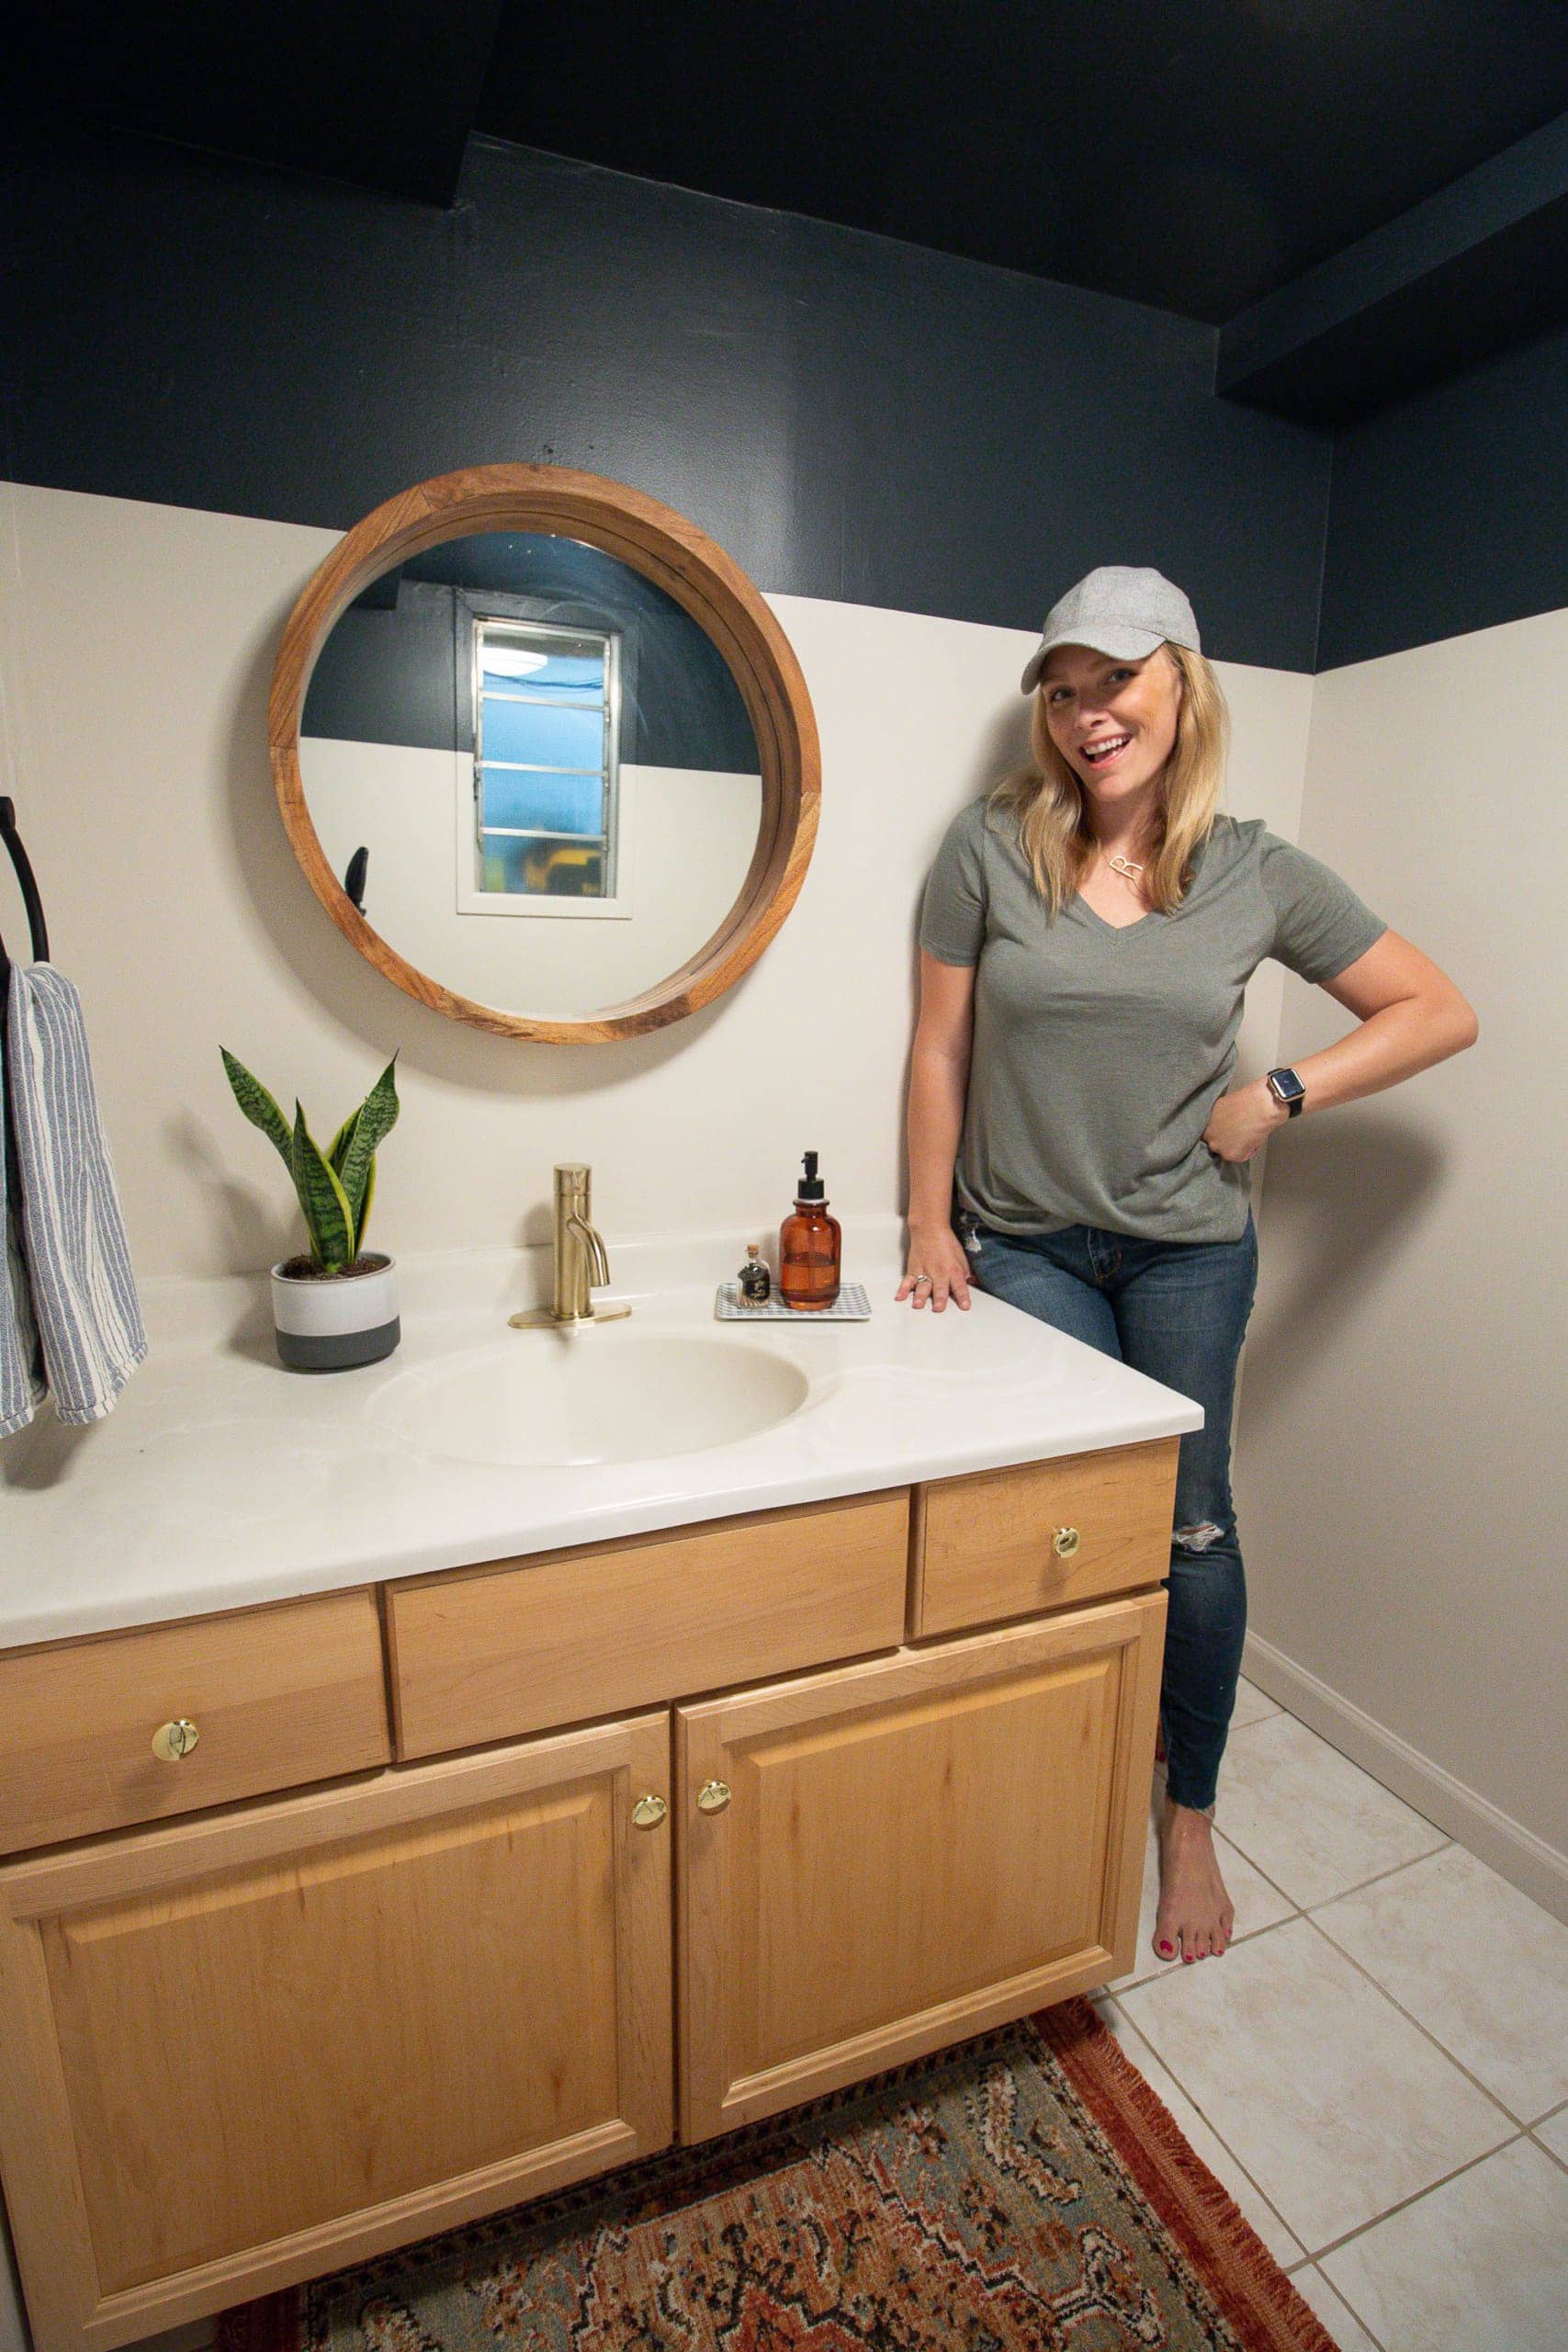
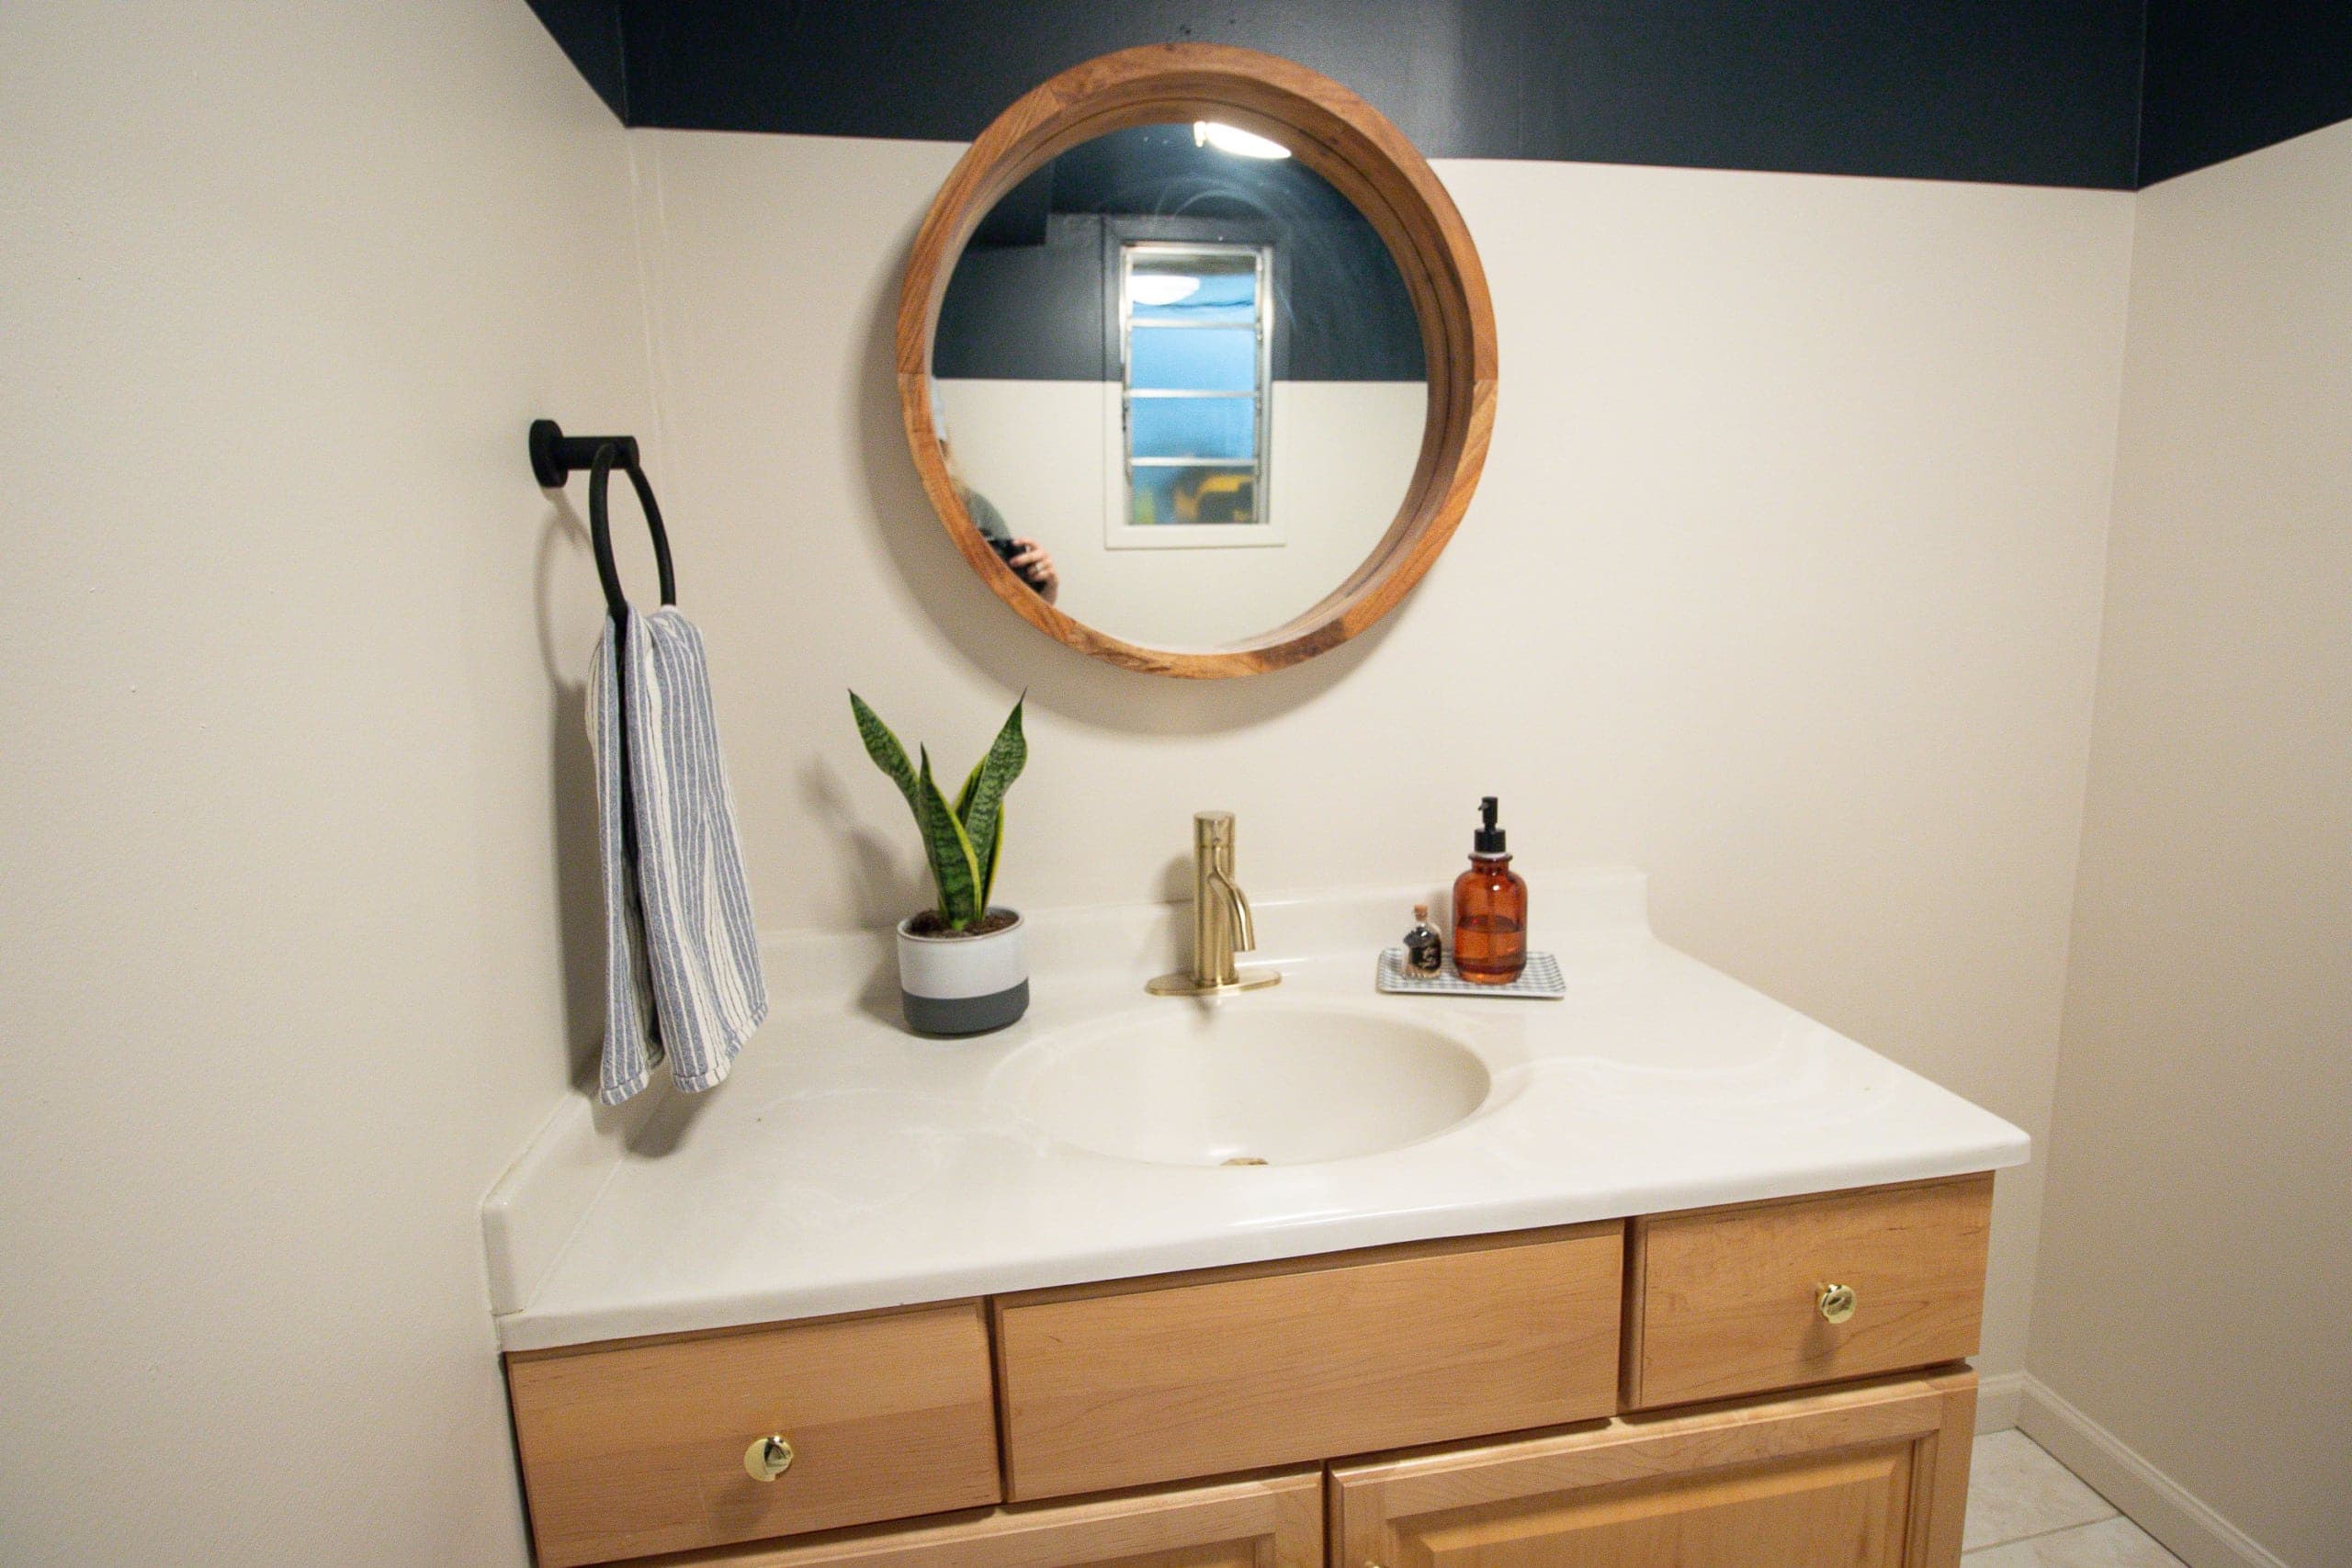
My New Bathroom Faucet


Quite an upgrade, right? I love the brass faucet I chose for this space. It’s such a nice upgrade and it was actually a super budget-friendly faucet. 
I’ve gotta say, I’m actually looking forward to my next plumbing project because of these insider tips on how to install a bathroom faucet. I know my next faucet installation will go a lot smoother. I’m far from a plumbing pro, but I certainly have more confidence now!
Oh, and once you’ve installed your faucet, be sure to clean the aerator regularly. This keeps the water pressure in check and prevents it from spraying all wonky!
And if you’re having any toilet problems, check out this blog post for tips on how to fix common toilet issues. I’m telling ya, plumbing projects are actually not that hard!
What’s Next?
 Next, I’m planning to paint the vanity and really figure out that strange window to nowhere in this room. I’ve been loving your ideas for the crazy window, but haven’t narrowed down exactly what I want to do just yet. Stay tuned!
Casey


