How to Paint Your Bathtub and Shower Tile
Disclaimer: This post is sponsored by Rust-Oleum.
When I first showed you how to paint tile floors back in this blog post, the main question I received was, “Can I use this paint to cover the ugly tiles in our shower?” I consulted with Rust-Oleum (the brand that makes the floor paint) and they said “No, but we have a product that works great for that!” After conveying this info to the dozens of people who asked, many requested that I do a tutorial using Rust-Oleum’s Tub & Tile refinishing kit.
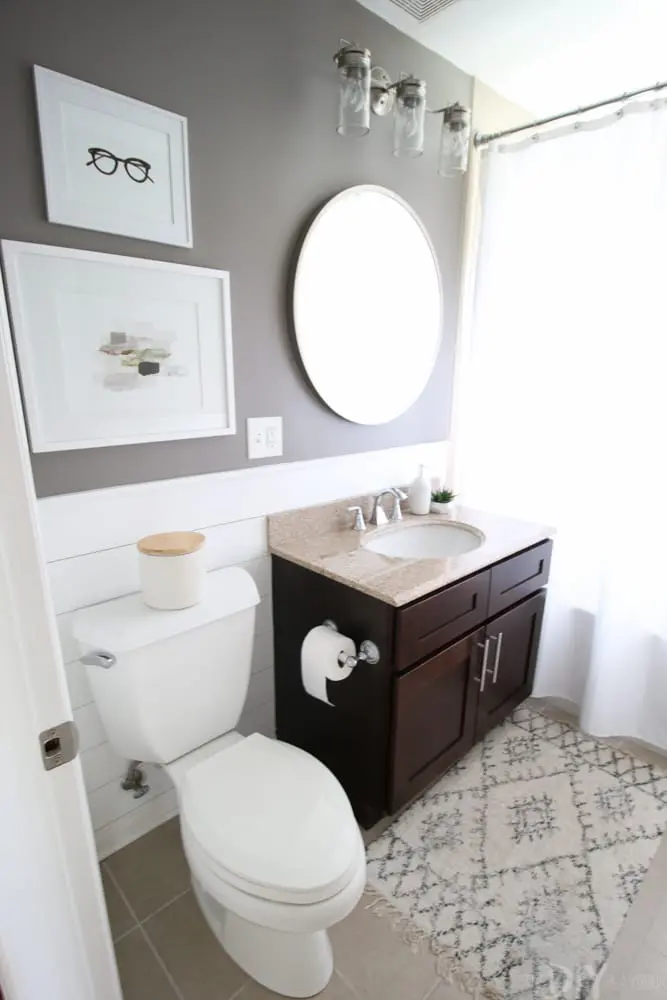
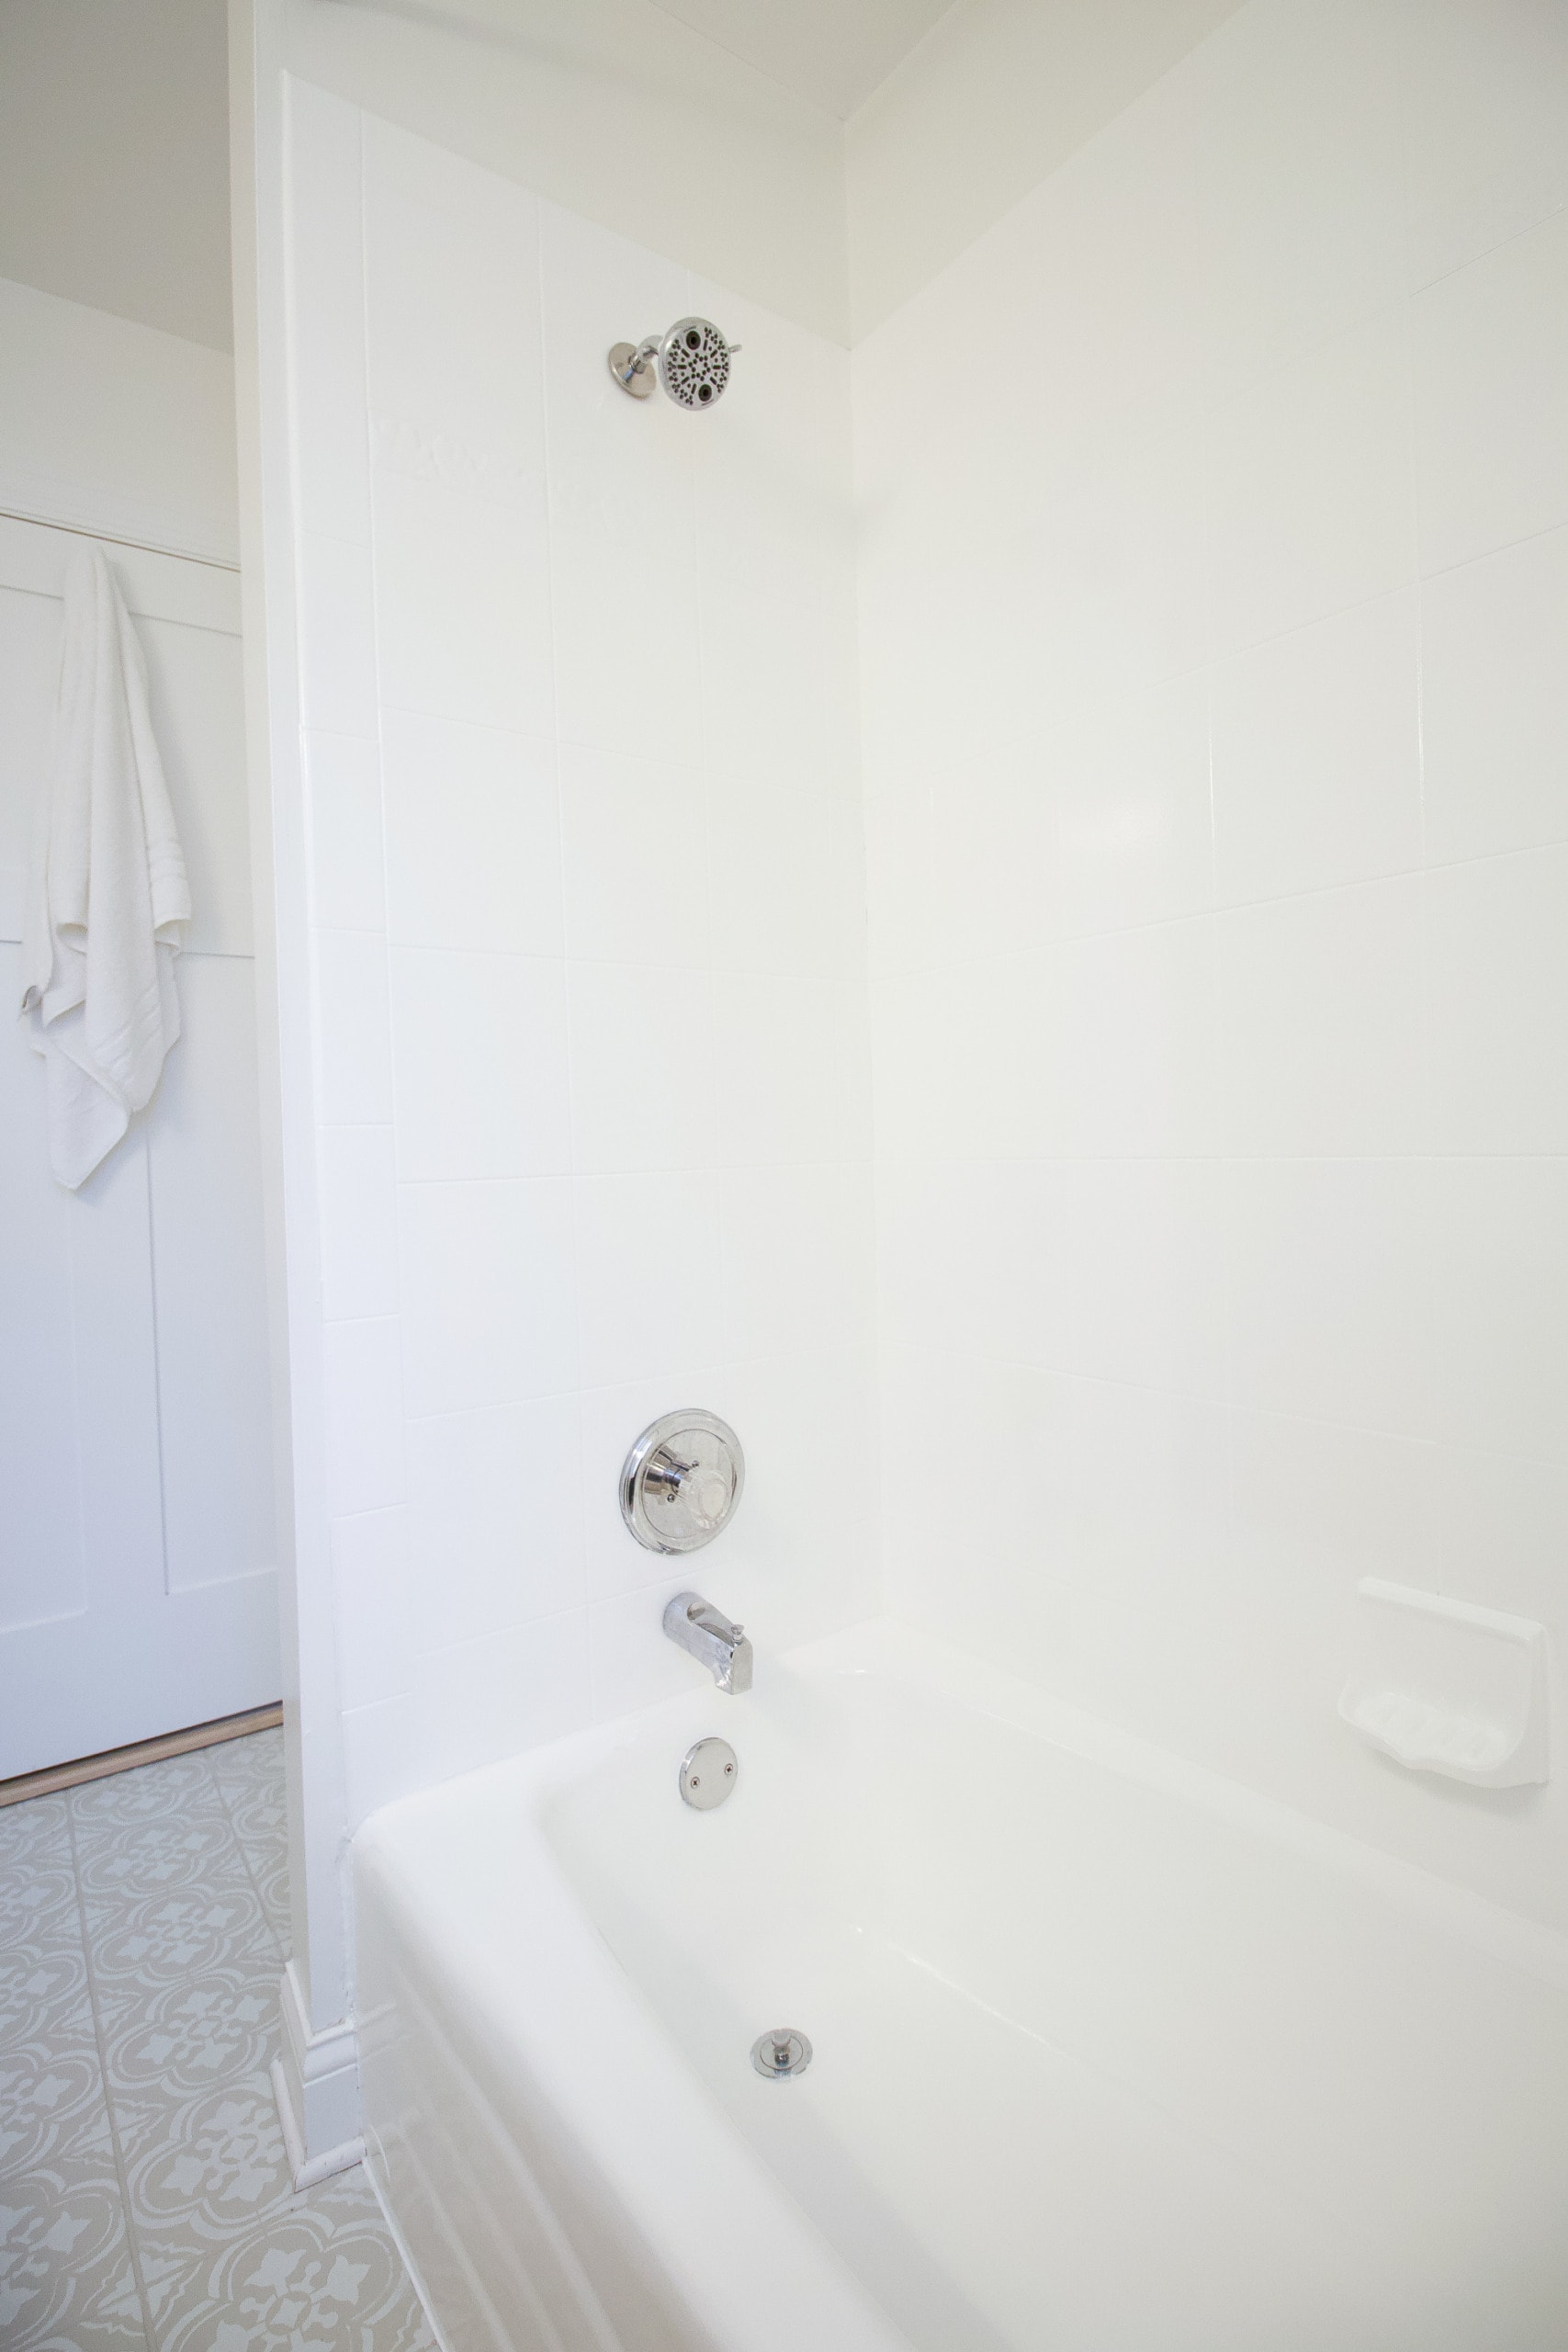
Honestly, it hadn’t even dawned on me to paint the shower tile in our guest bathroom because I didn’t know it was possible! When I redid the space over the summer, I upgraded just about everything in the space, besides the shower. I finally realized that I might as well put a little hard work into the entire bathroom.
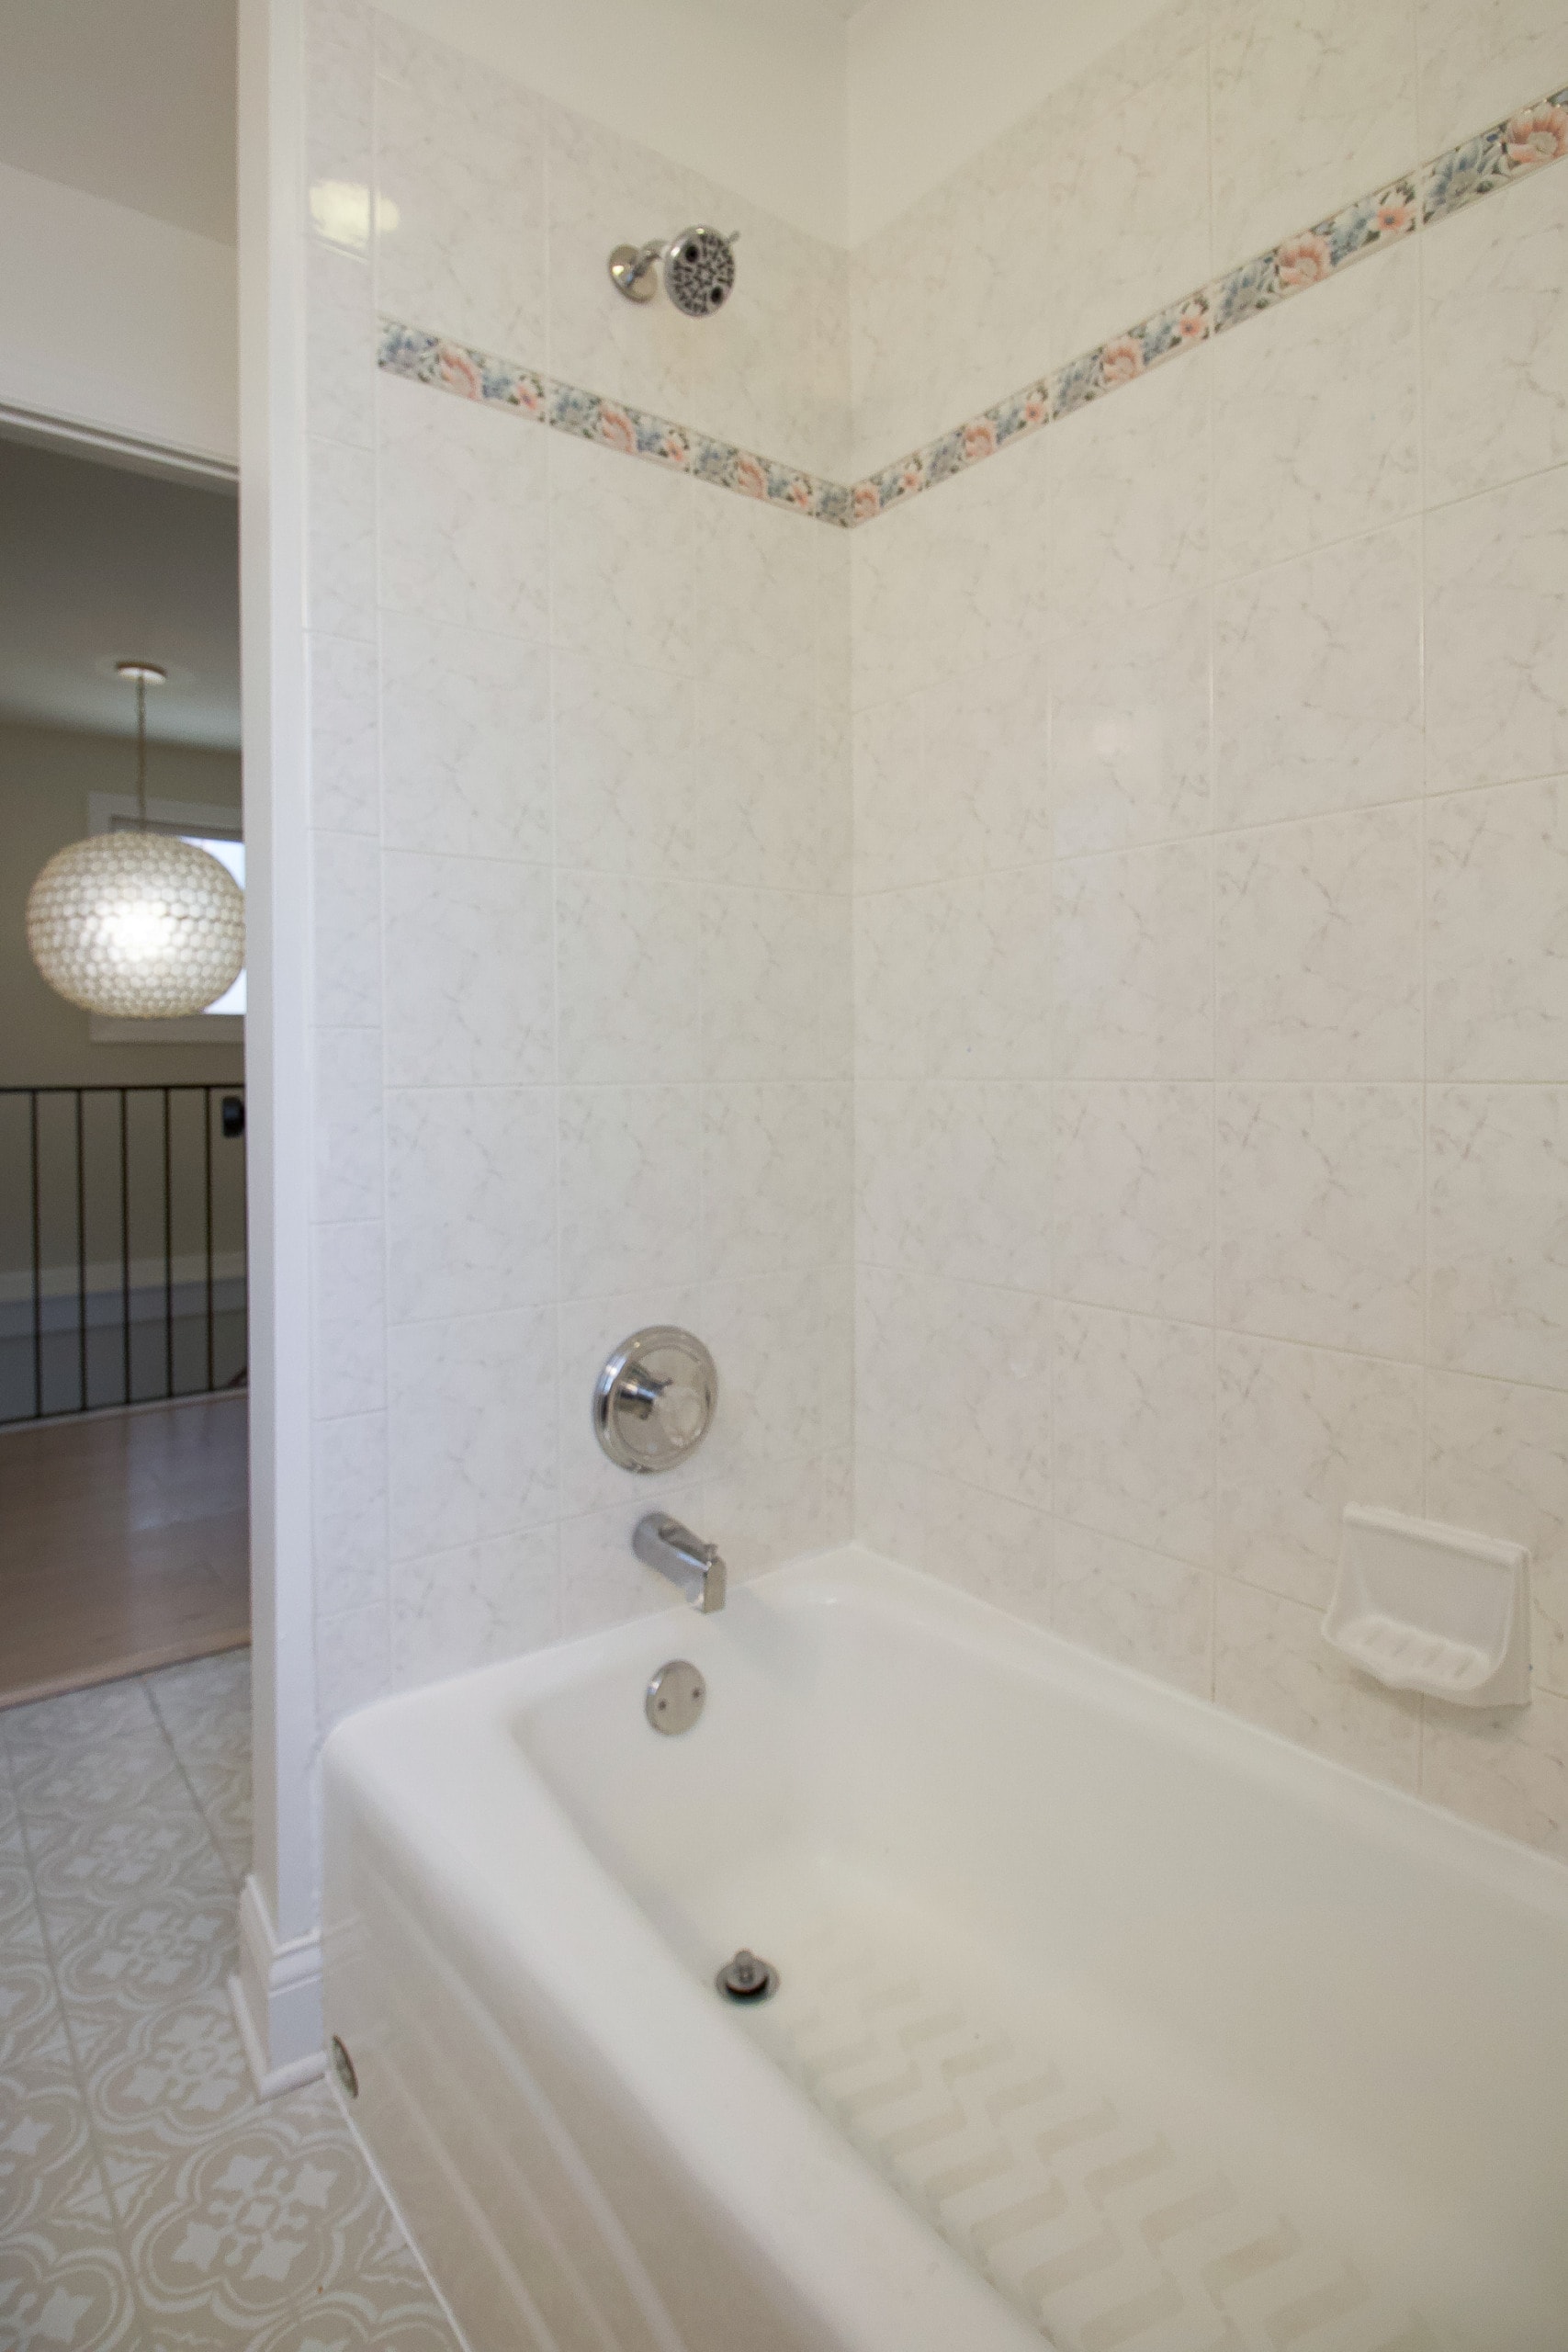
The shower wasn’t necessarily ugly, it was just pretty outdated with the flower pattern tile. I knew a fresh coat of white paint would help update this space and make it look bright, clean, and new again!
How to Paint your Bathtub – Video
I decided to put together a little video tutorial outlining the entire process using this product. Sometimes it’s easier to see a project come together via video than it is with still pictures, so I hope it’s helpful for you! You can watch the video here or over on Youtube.
Now, let’s break down all of the tips and steps that I outlined in the video.
Painting Shower – Supplies
- Rust-Oleum Tub & Tile Refinishing Kit
- Comet & Abrasive Pad
- Lime-A-Way Cleaner
- Rags
- Safety Gear (gloves, mask, glasses)
- Painter’s Tape
- Paint Tray & 1/4″ Nap Roller
- Wet/Dry Sandpaper (400 & 600 grit)
- Paint Brush
- Tack Cloth
- Bleach
- Bucket
- Sponge
- Caulk Removal Tool
- Silicone Caulk & Caulk Gun

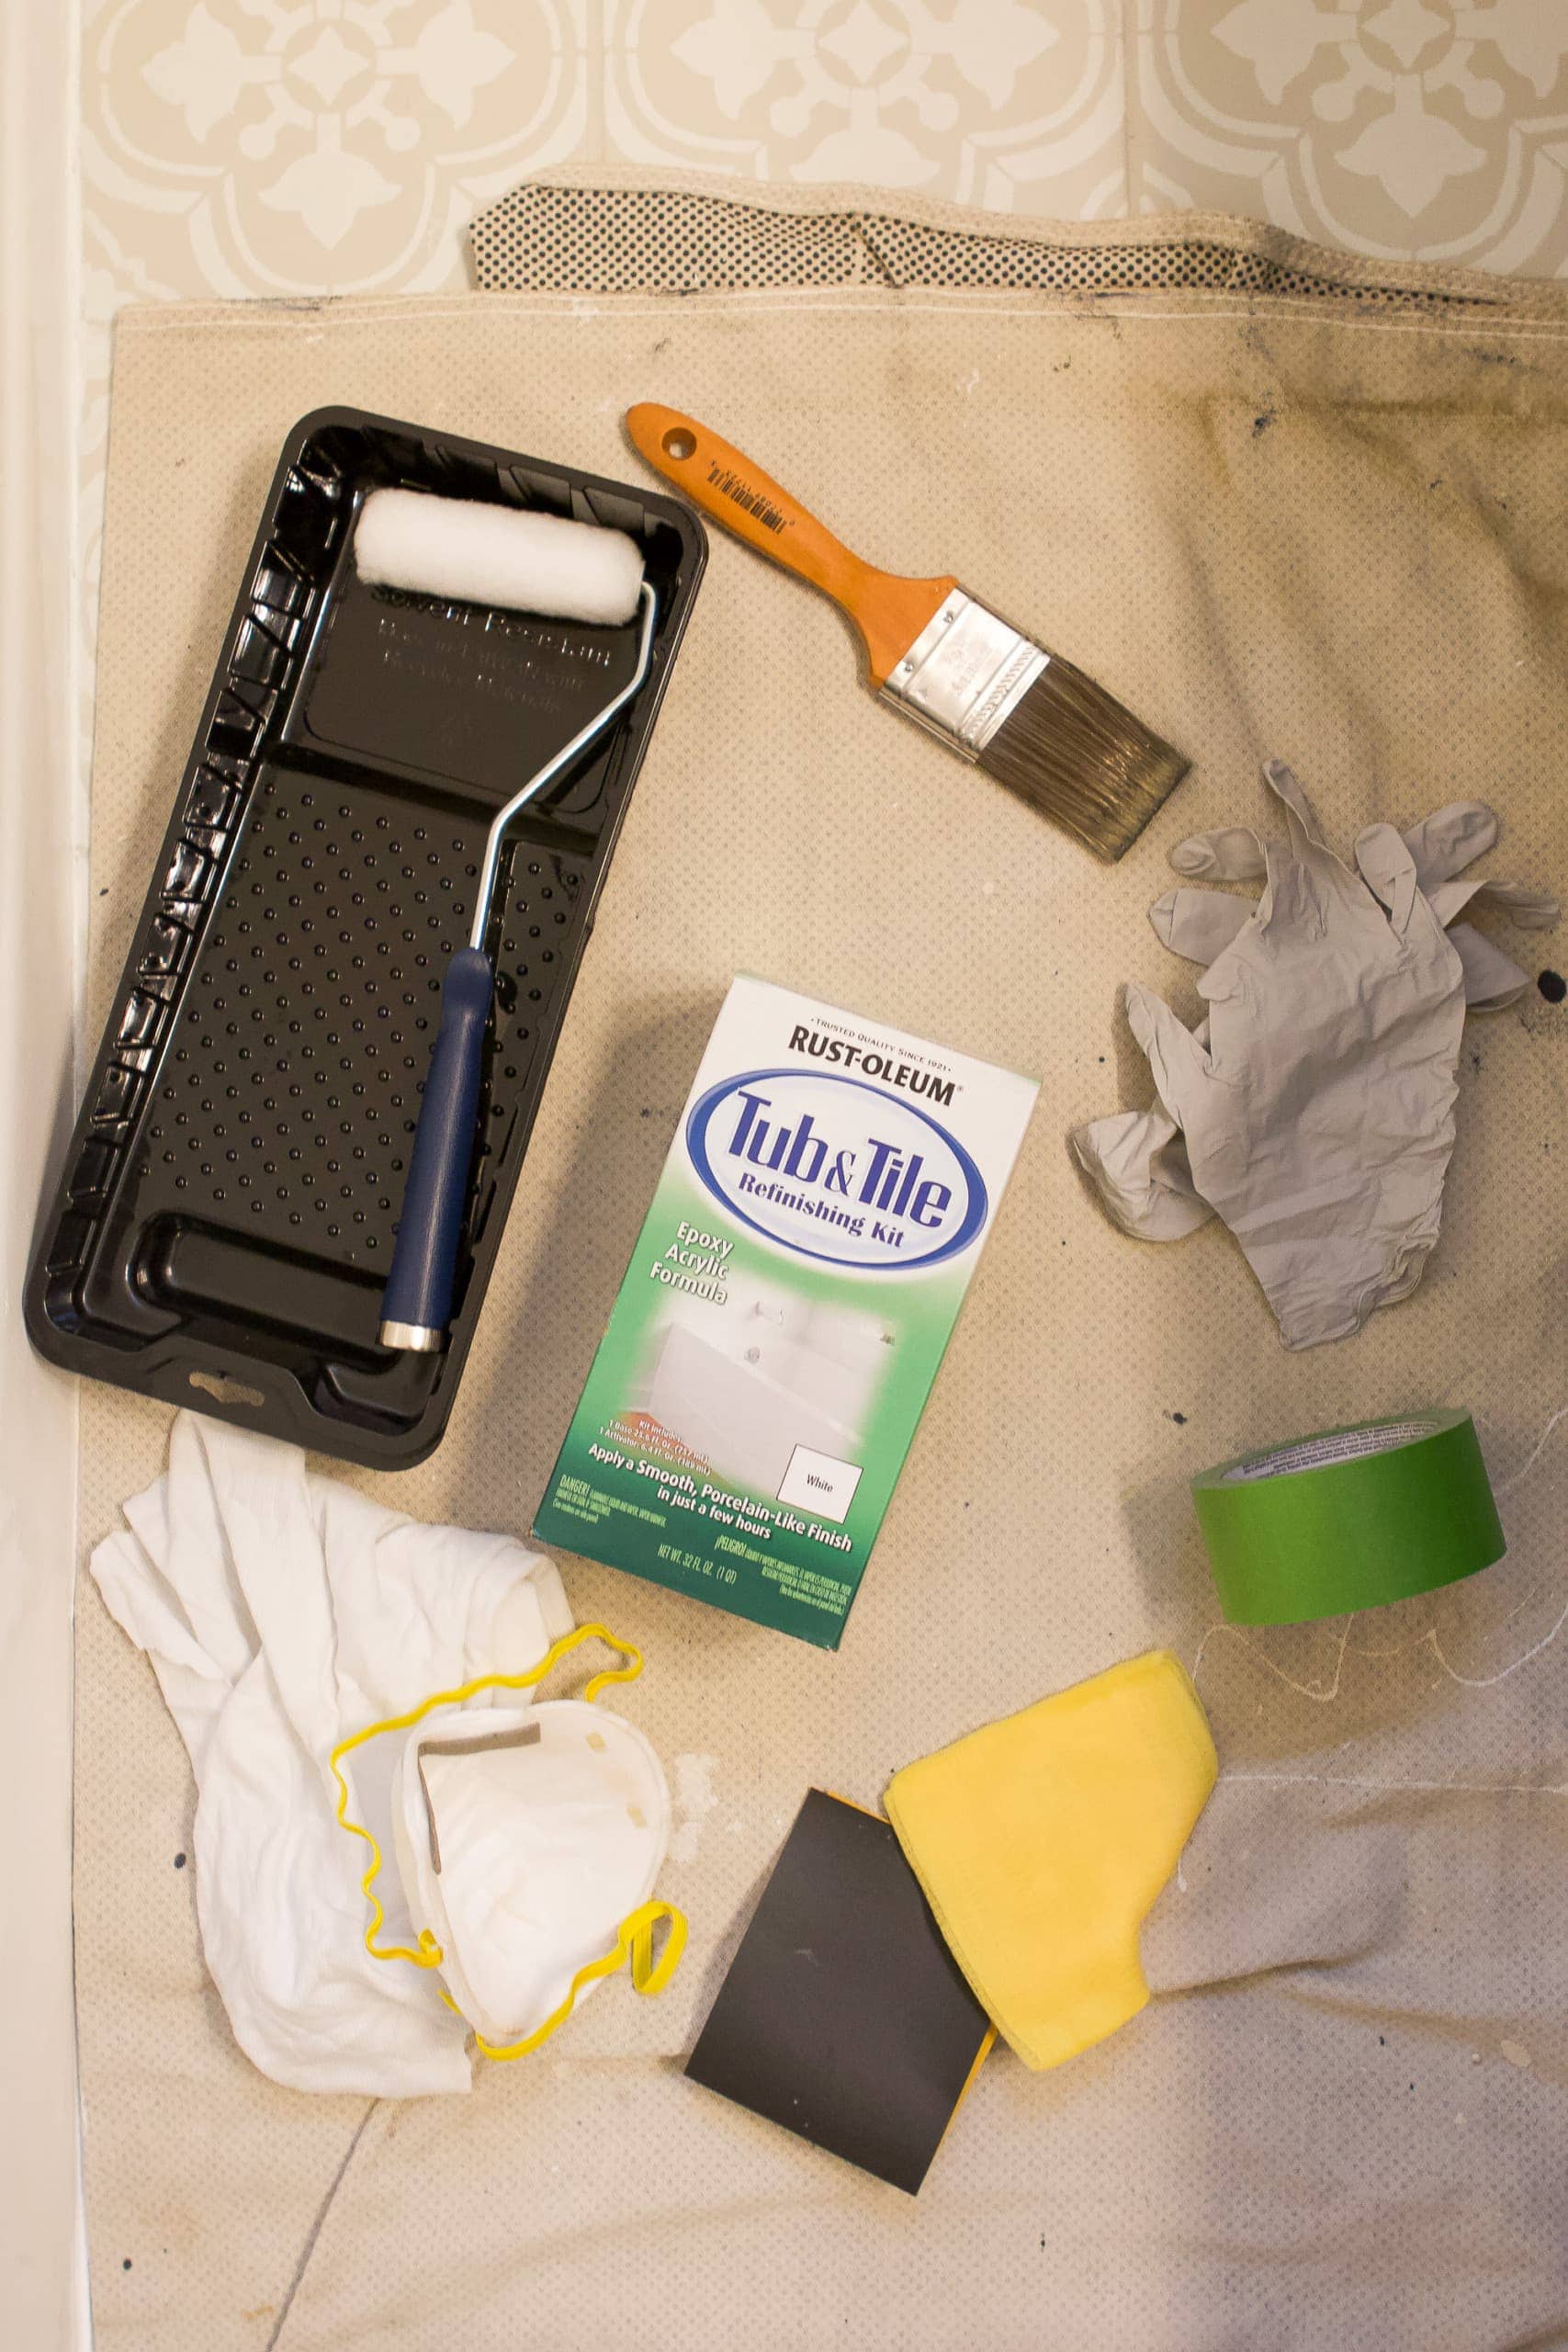
The most important supply is the paint itself! Rust-Oleum’s Tub & Tile refinishing kit is specifically designed to go in wet areas and it’s made to have excellent adhesion and durability. It’s also nice because it can be used on many different materials, like porcelain tile, (that’s what we have in here), ceramic, fiberglass, and acrylic. You cannot use it on flexible plastic (like those plastic shower surrounds), so make sure you know your shower material before you start this project!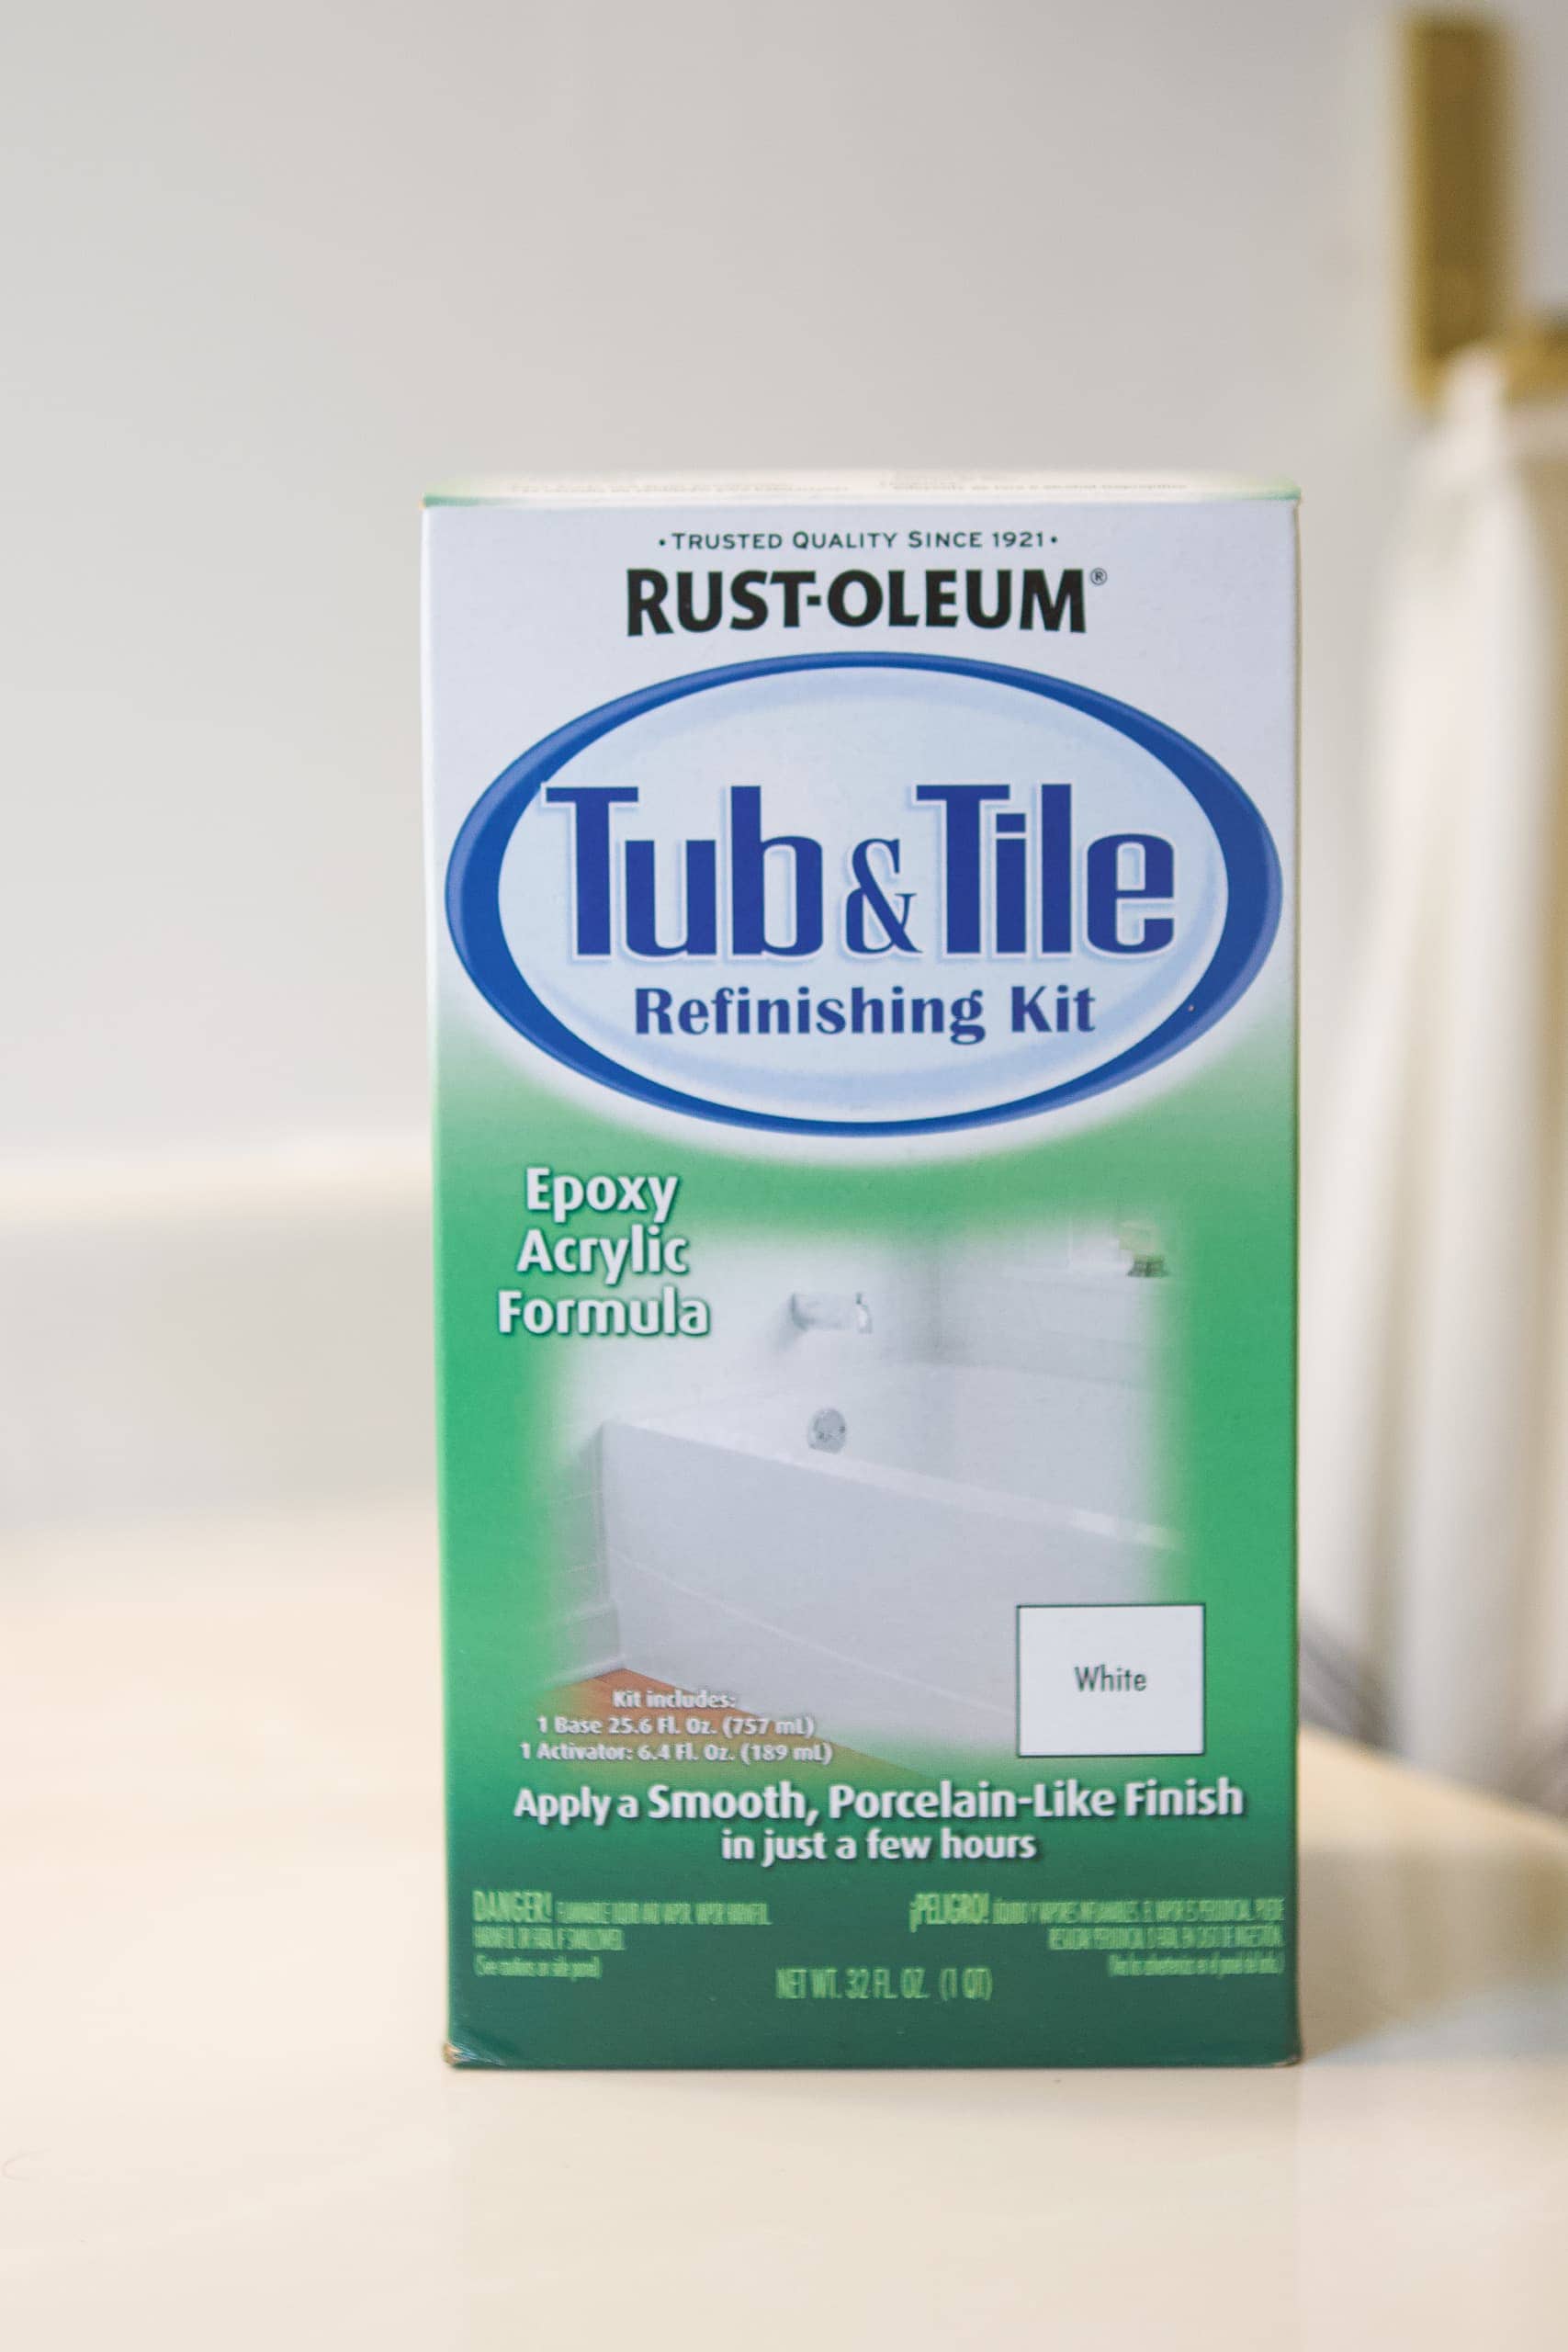
I also went through two kits for my project. One kit should cover two coats on a bathtub, but since I was also painting the shower tile I opted for two kits and it was more than enough. Buy extra so you have it on hand and you can always return it if you don’t use it!
It’s All About the Prep
This project comes with a lot of prep work, but I can’t emphasize enough how very important this is! If you don’t have a super clean and dry surface before painting, you won’t achieve the desired outcome. Don’t skimp on the prep work. Trust me!
Remove the Caulk
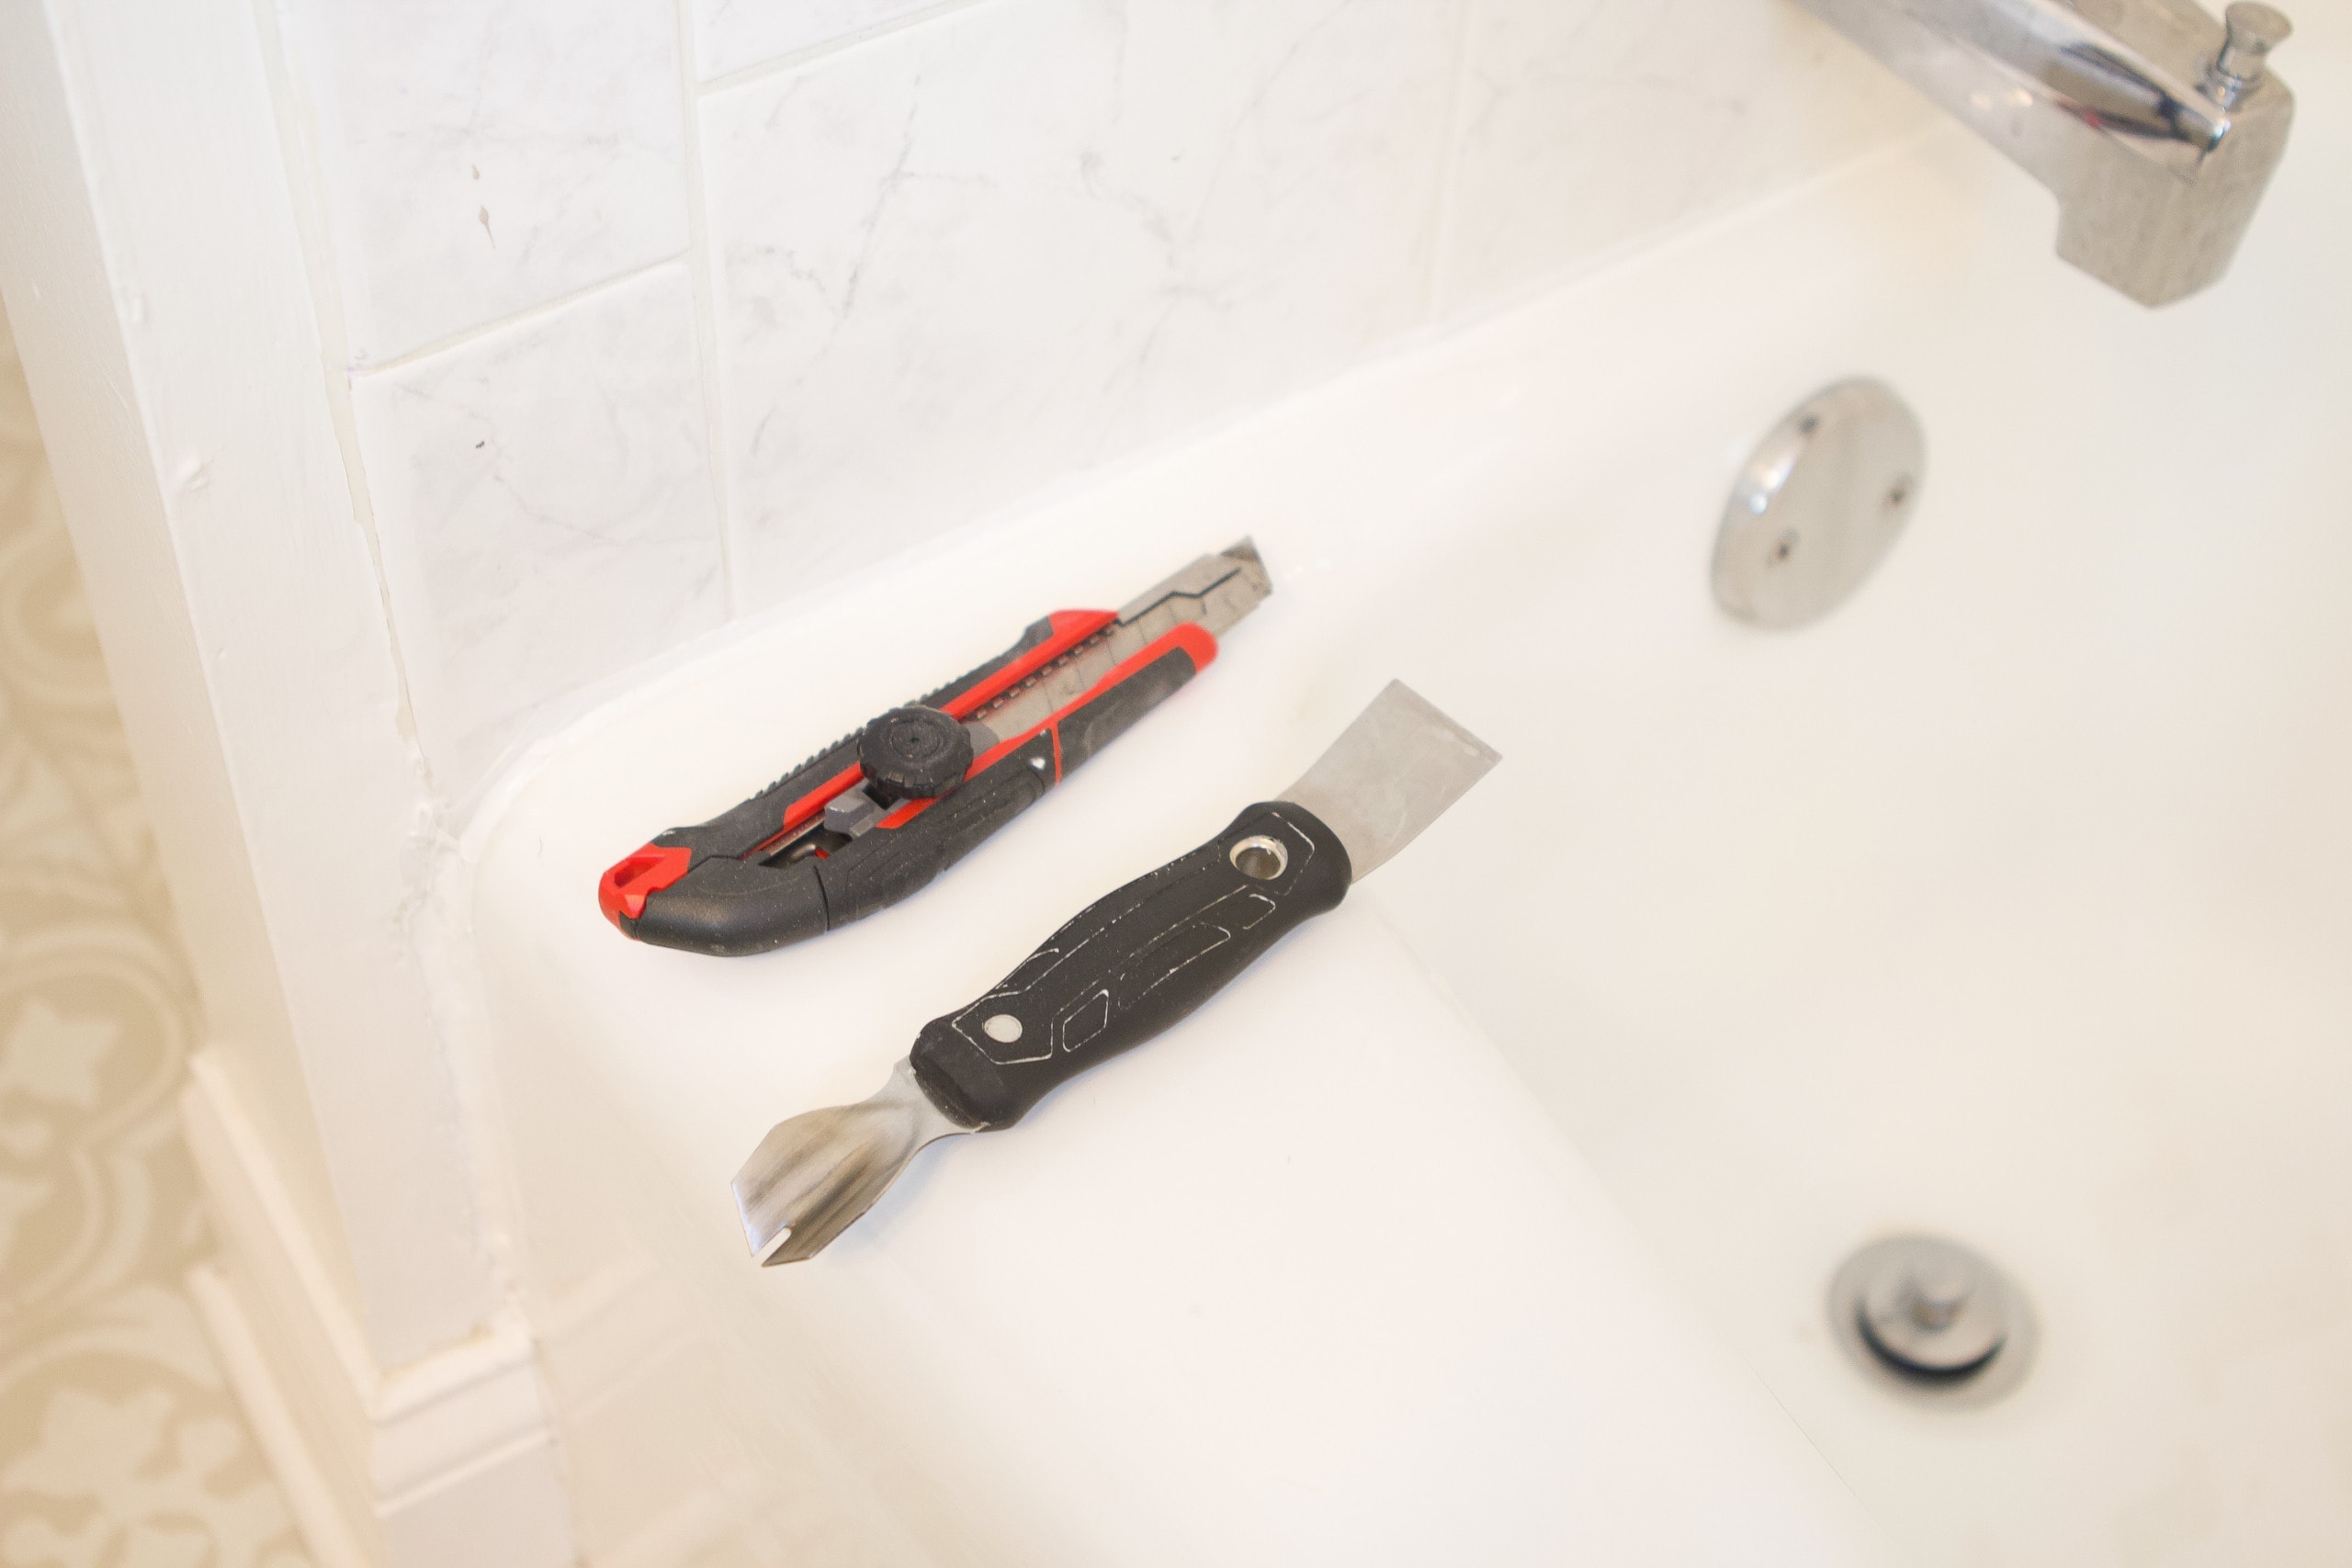
There are lots of steps when it comes to the cleaning process for this product. I first started by removing the caulk along the base of the tub. I know, I know…we literally just replaced it earlier this summer. (Sorry, Finn!) But you don’t want to put the paint over the caulk, so you’ll need to remove it. Just follow the same steps from this blog post to get it all out and clean.
Let the Cleaning Begin


The cleaning process has a lot of steps and they’re all listed on the back of the product. Here’s a rundown of what I did…
- Wipe down with a sponge and water/bleach mixture
- Scrub with Comet and an abrasive pad
- Scrub with Lime-A-Way and an abrasive pad
- Rinse with water
- Use 400 grit wet sandpaper in circular motions
- Use 600 grit wet sandpaper in circular motions
- Rinse with water
- Dry for 1.5 hours
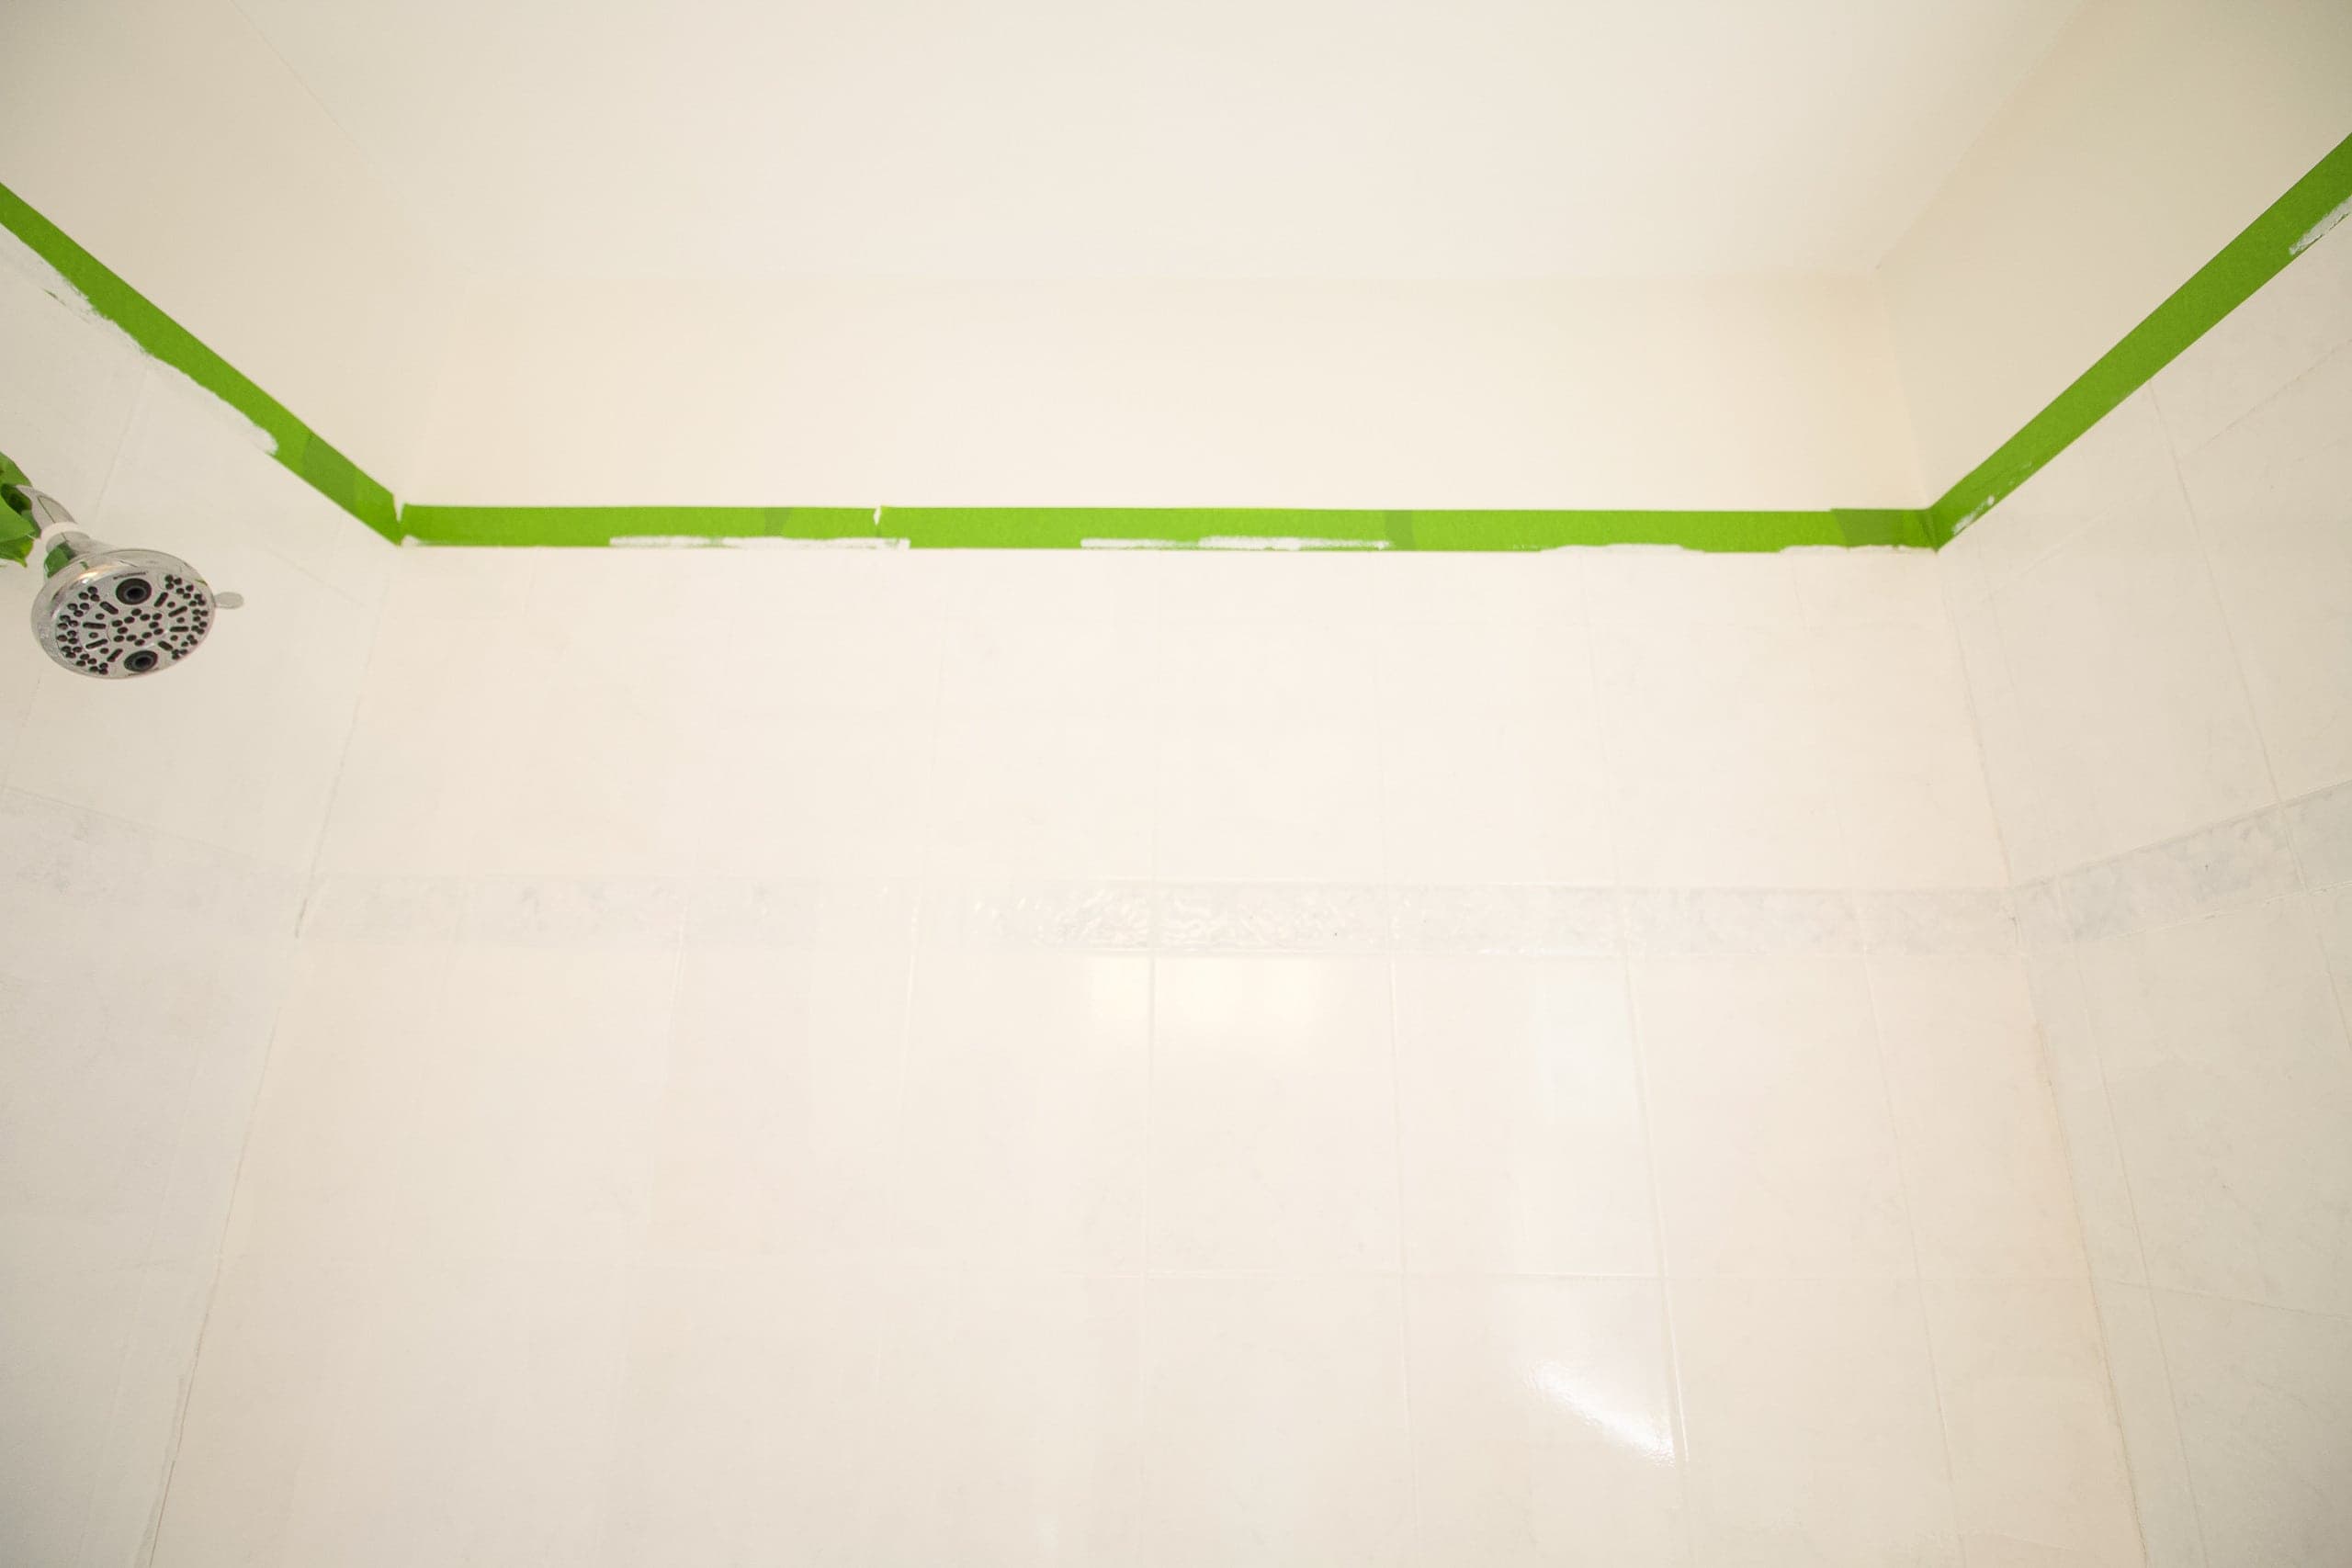
- Use tack cloth to remove any lingering dust
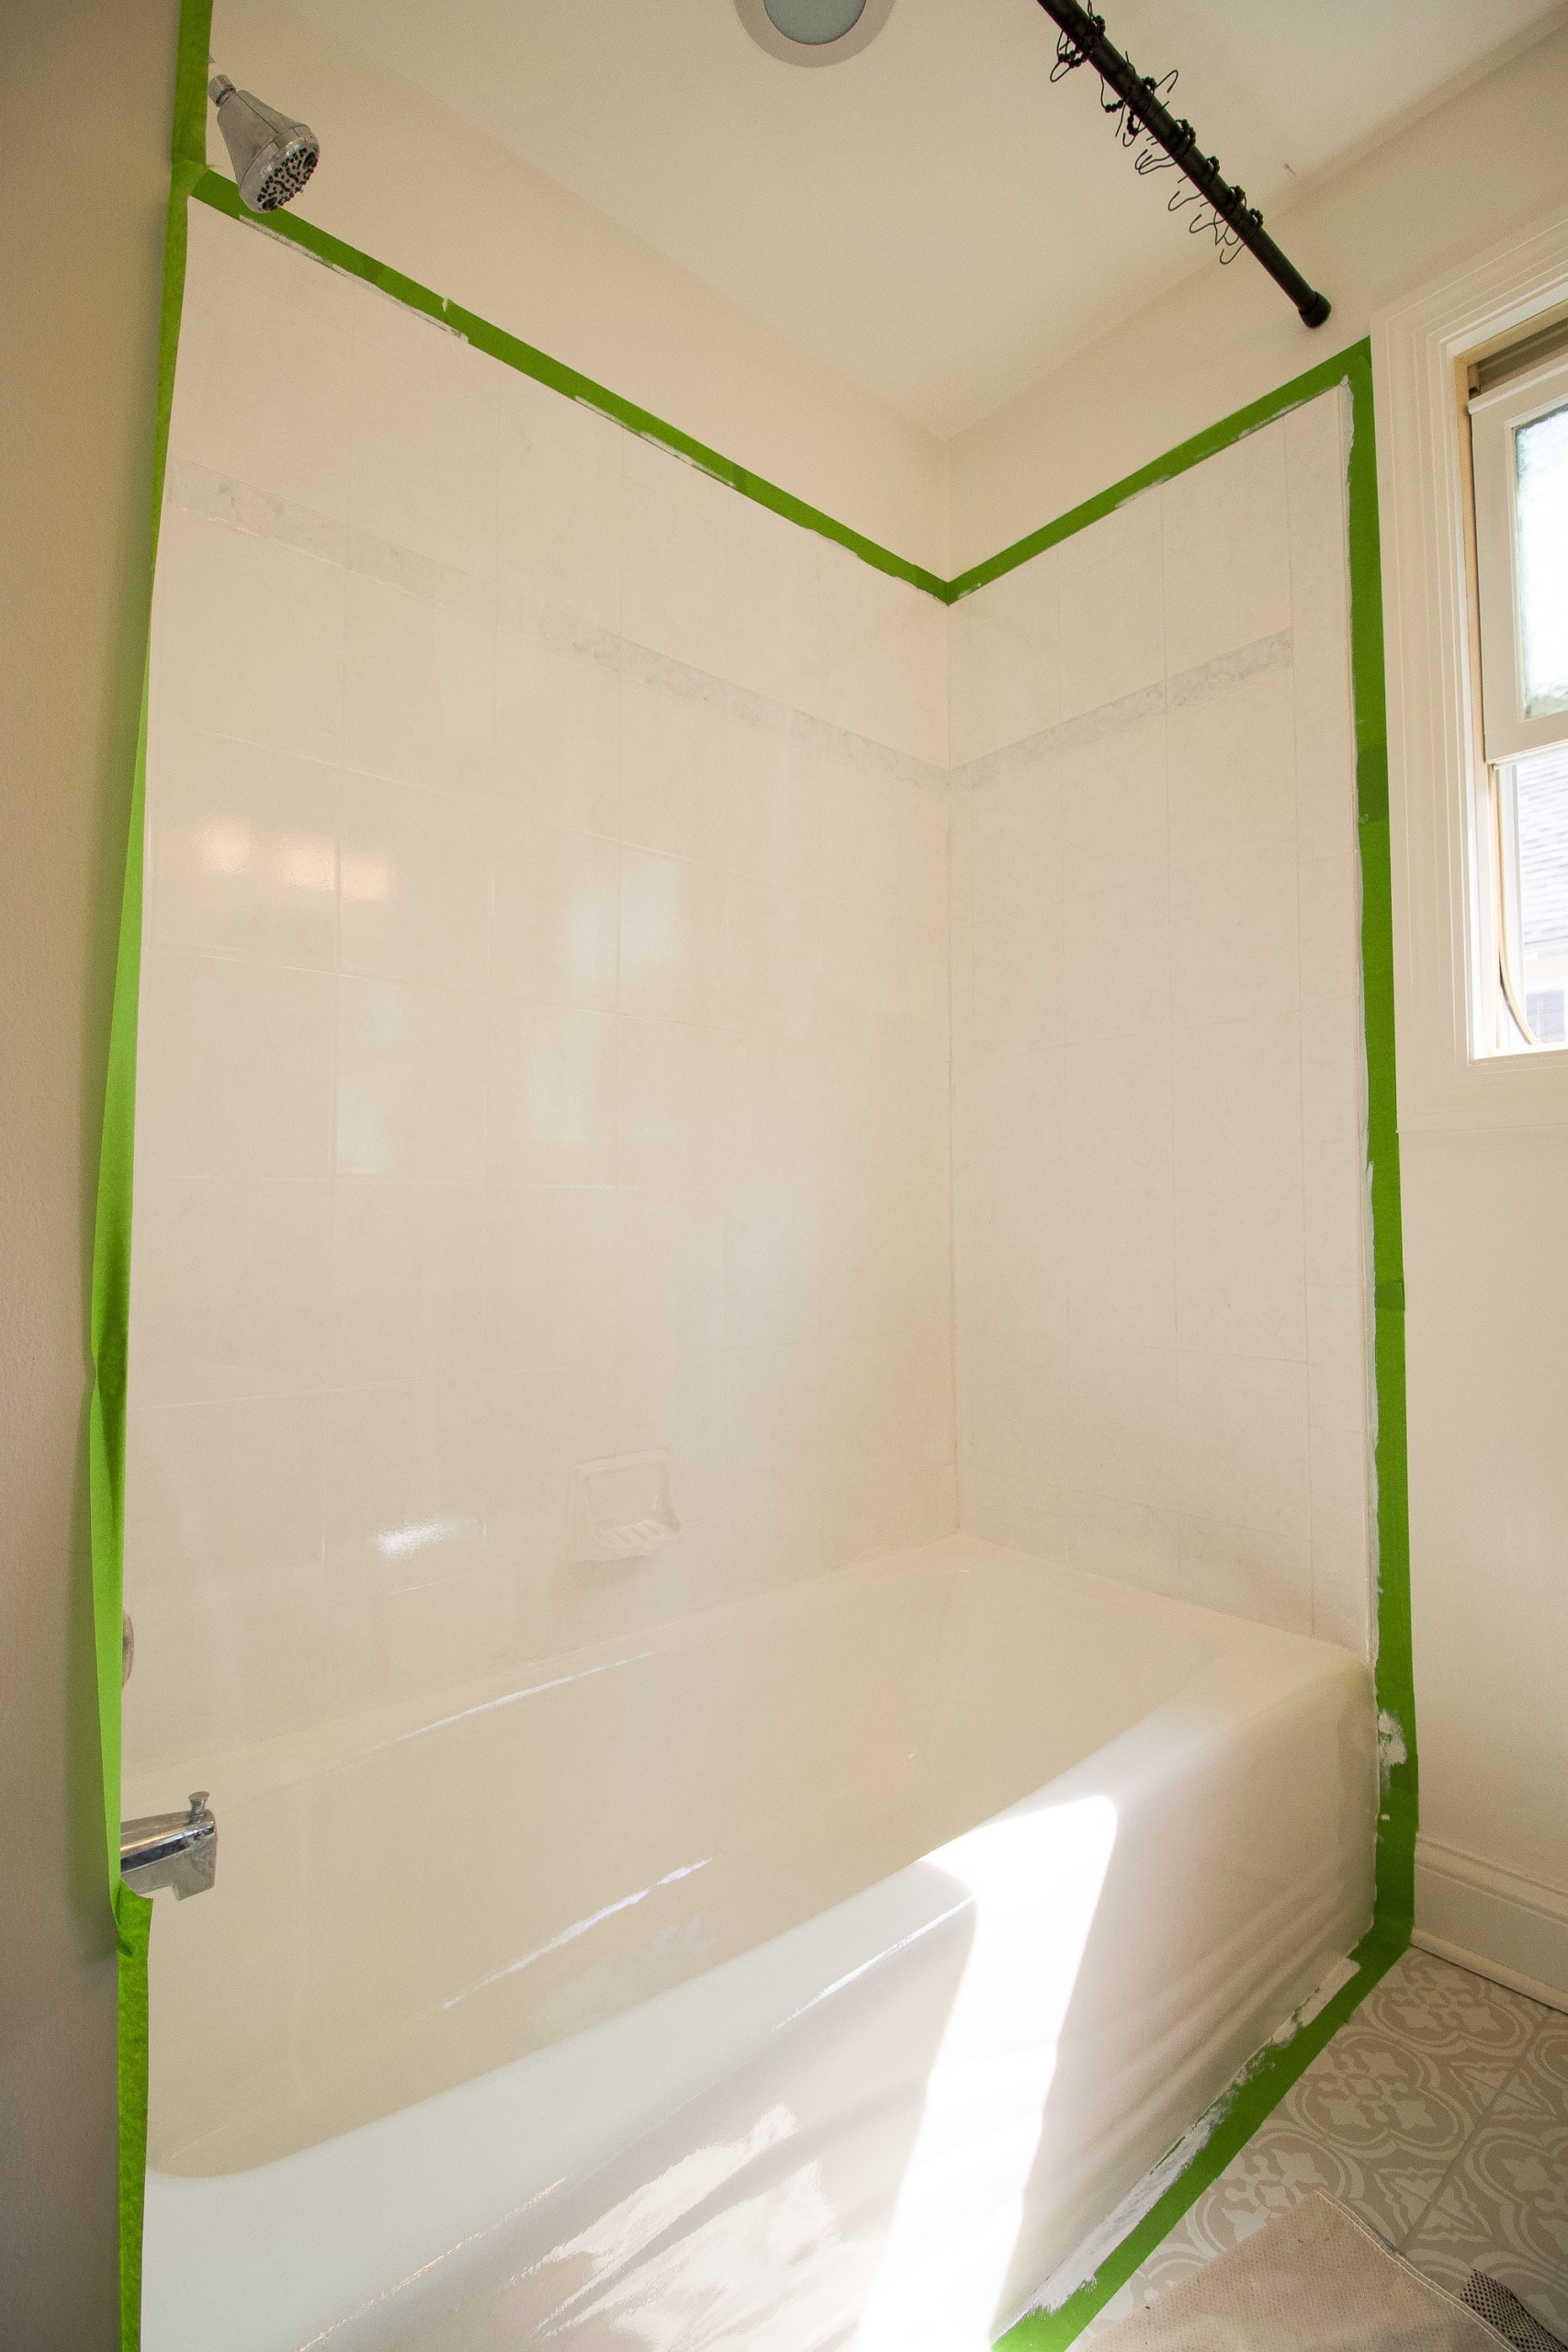
- Tape off fixtures and walls with painter’s tape
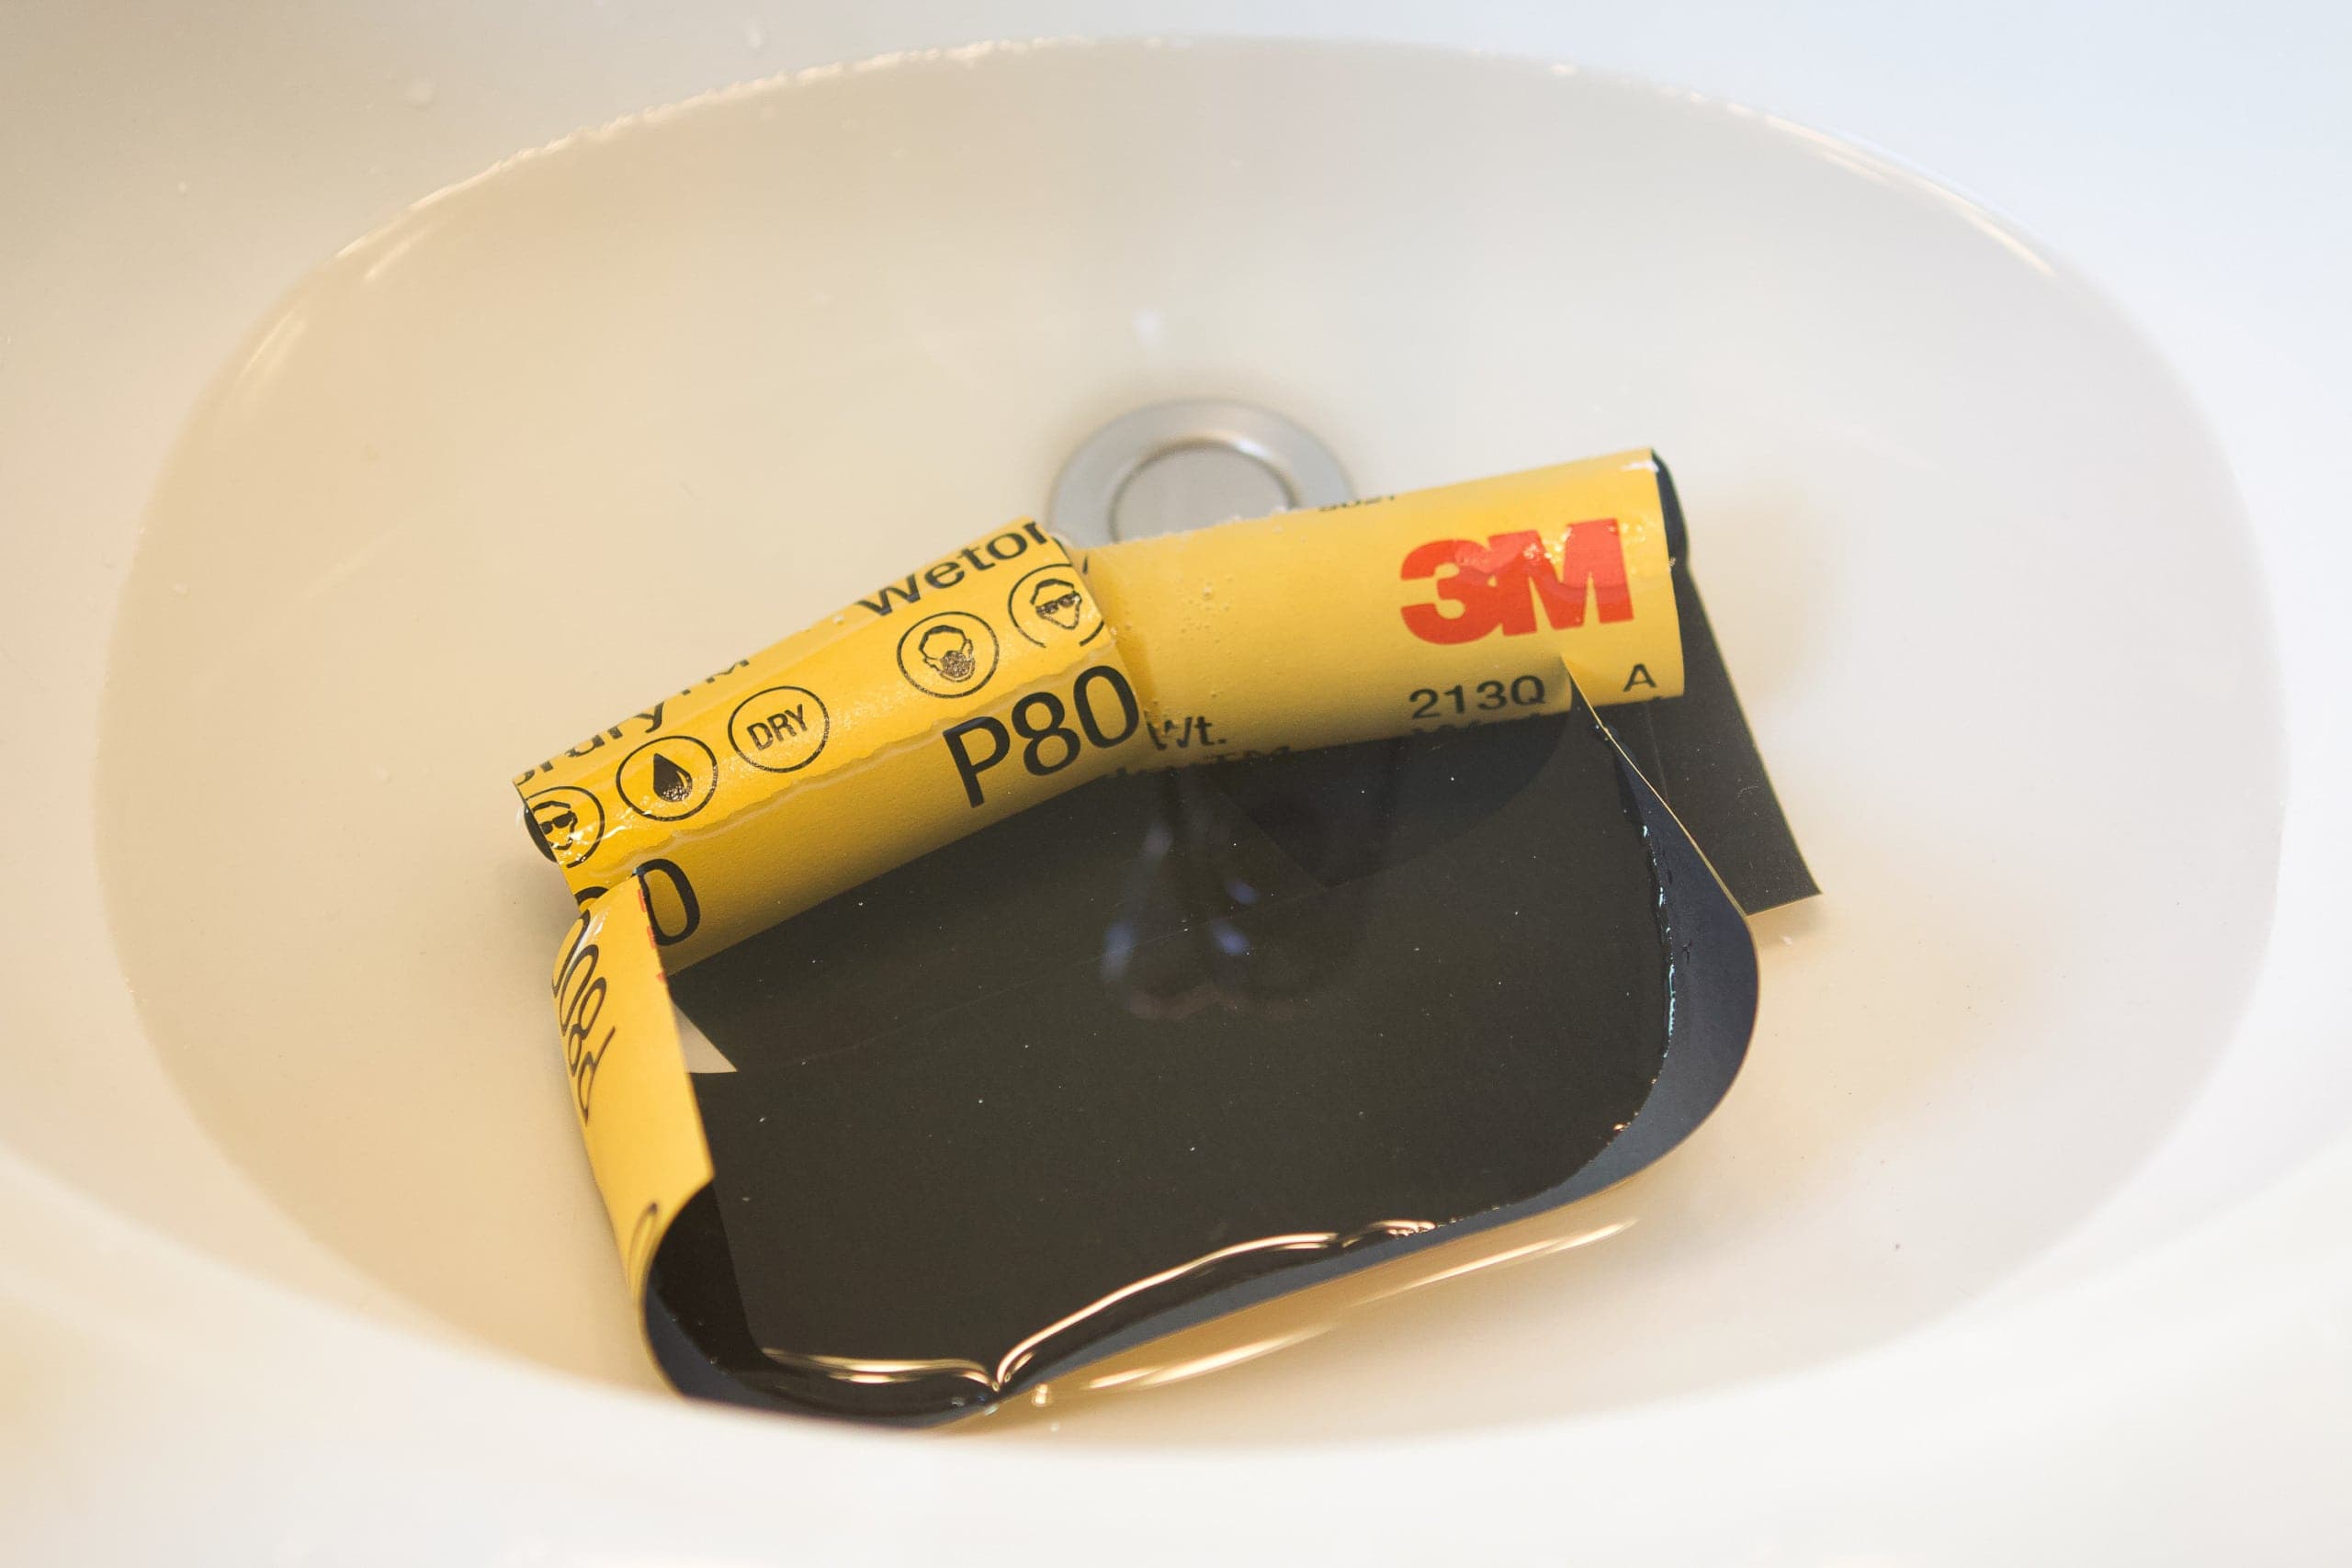
See, I told you it was a process! None of these steps were difficult and they are all very necessary. The only one that you might not be familiar with is the wet/dry sandpaper. This was actually my first time using it! You can soak the sandpaper in water overnight or for at least fifteen minutes. Then, just fold it in half and scuff up the surface using circular motions. This will help the paint stick to the tile and bathtub a bit better.
Prepare for Fumes
The floor paint had zero fumes when I used it in this bathroom. This product is a tad different. It has strong fumes. Luckily, these go away once the product dries and cures. But during the application process, it will be a tad stinky. It’s important to turn the bathroom fan on, open a window, and wear a mask. I wore a mask, gloves, and goggles the entire time I used this product.
I also had Rory leave the house for the day and head over to my mom’s house. I felt better knowing she wasn’t near this strong odor when I was painting in here. Plus, I got things done a lot faster because I wasn’t stopping to play with her as I often do on project days!
Mix Part A into Part B
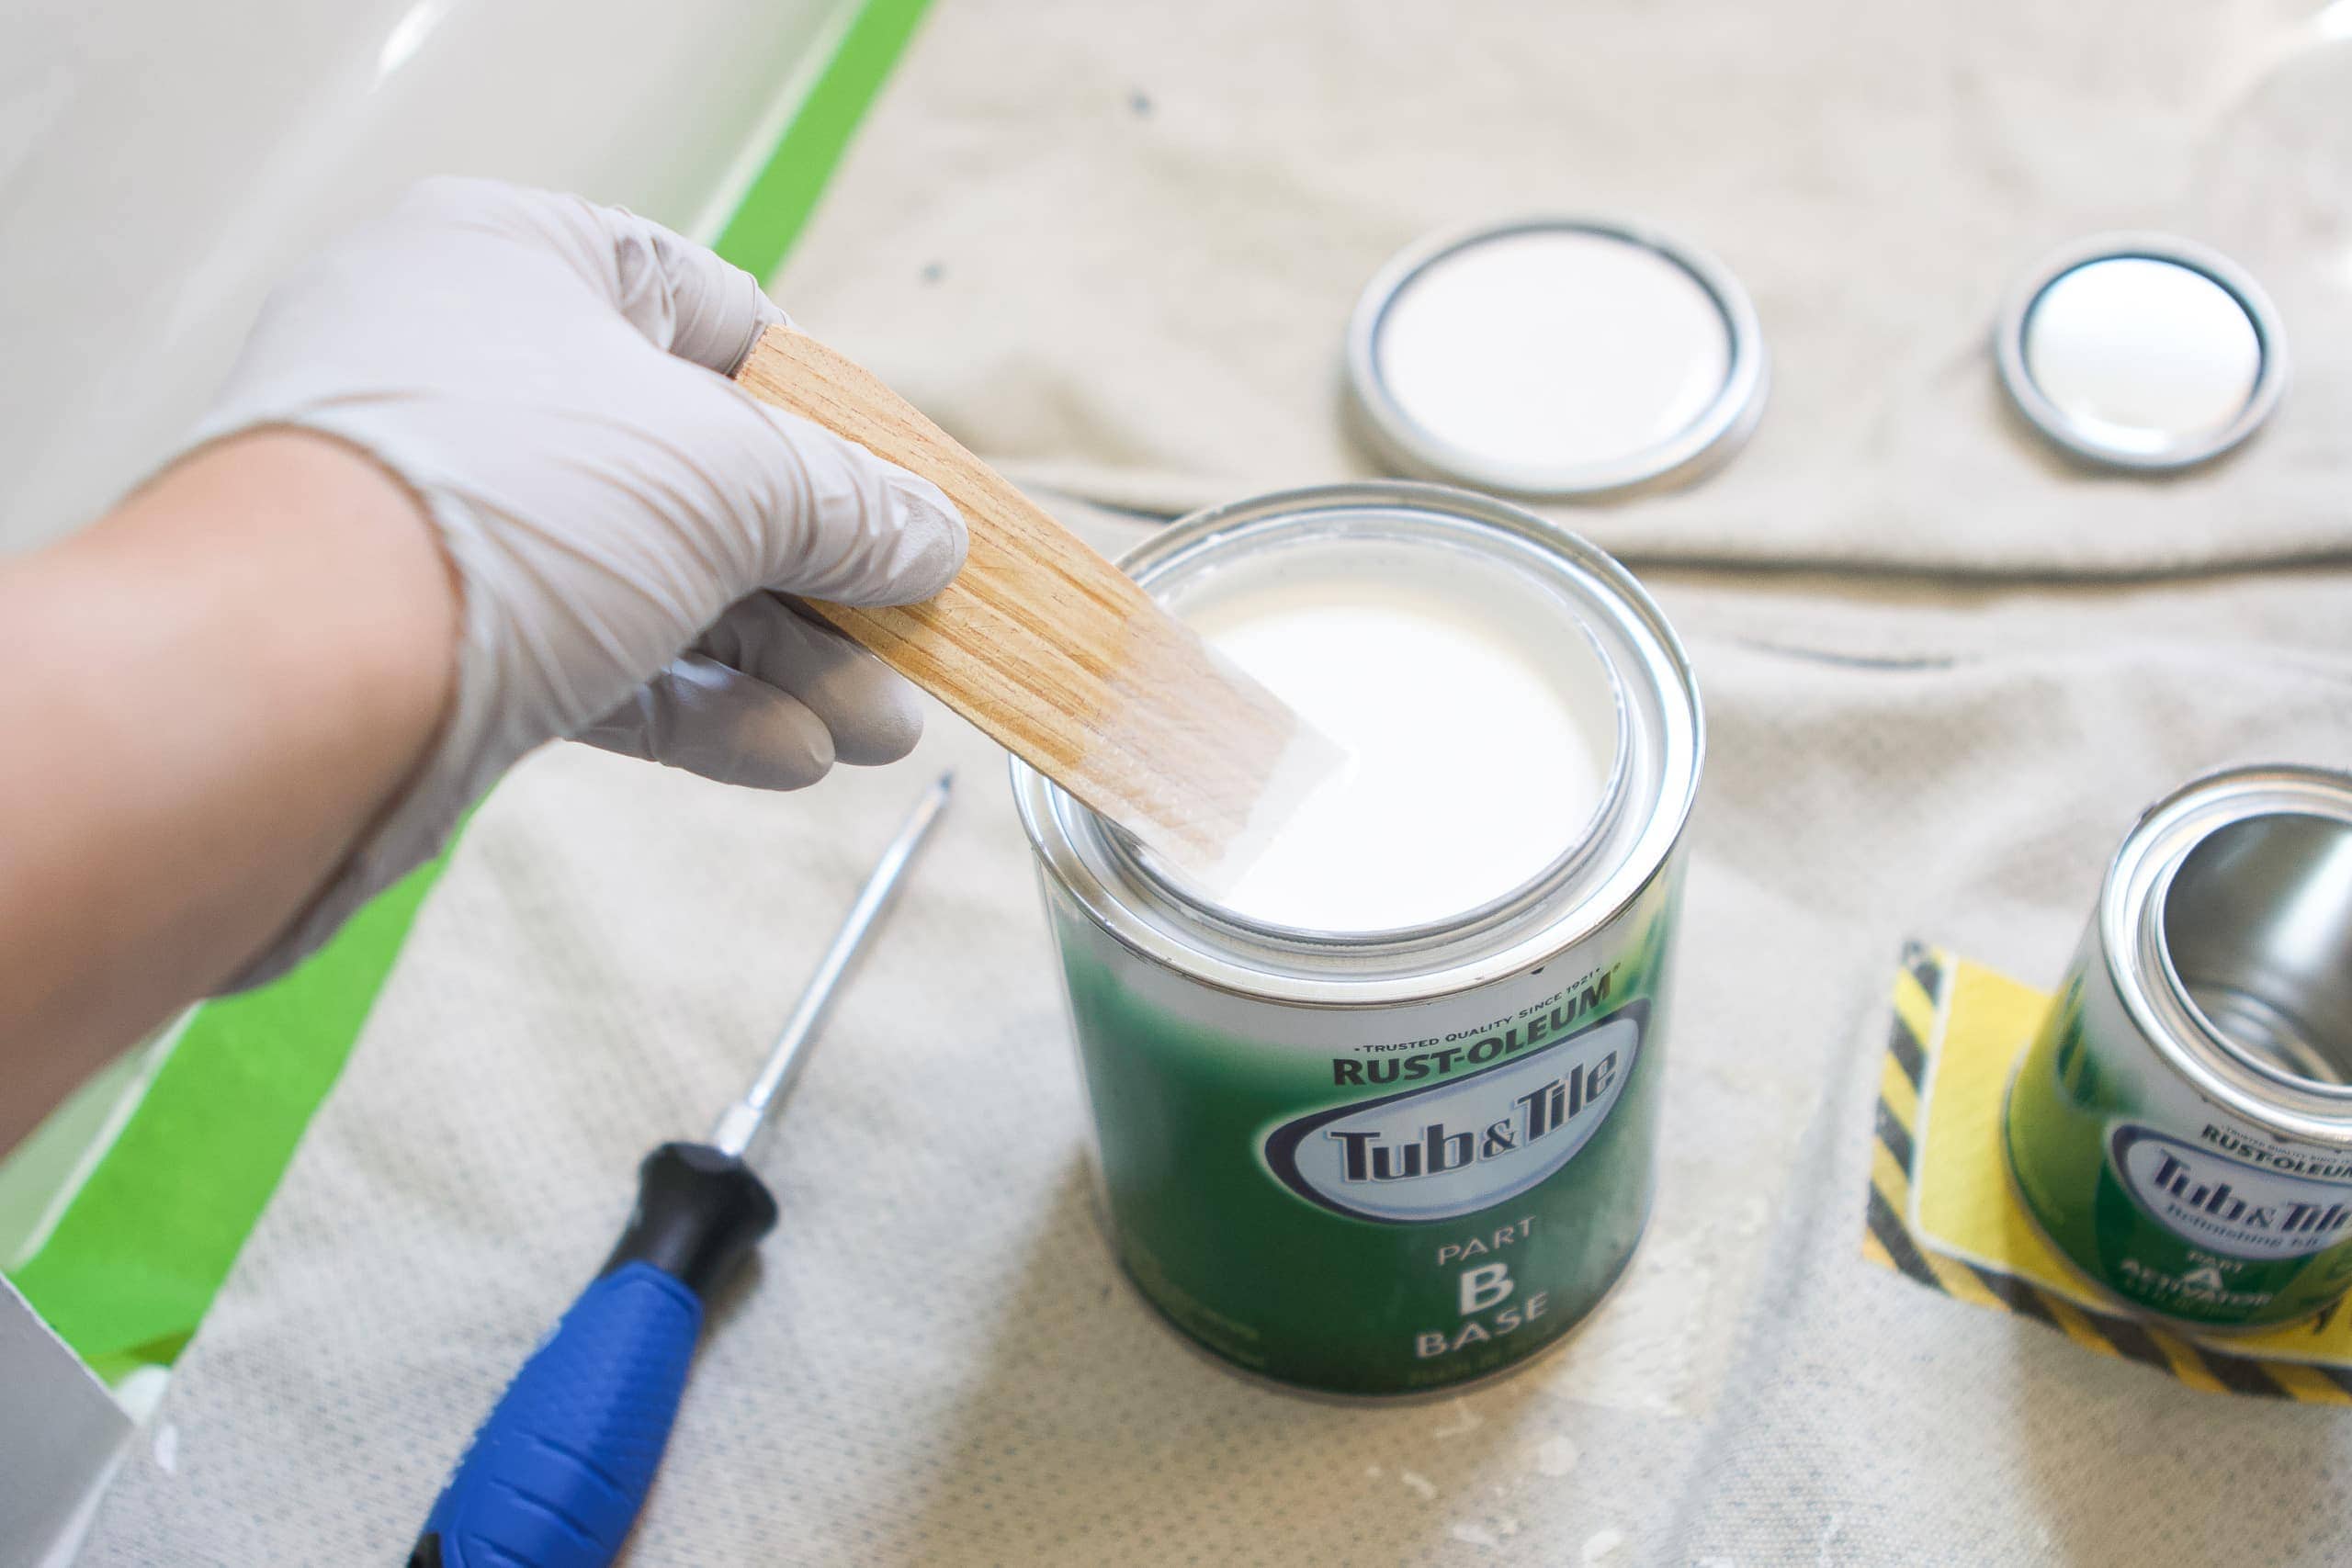
The product comes in two cans. Before you start painting, you’ll mix part A (small can) into part B (larger can). Have a stir stick on hand to really mix it together. It’s important to really mix it well. I found that the consistency was a little watery at first until part A really combined well in the bigger can.
Once it’s all mixed up, you’ll want to use the product within six hours. This should be more than enough time to get your one to three coats on your bathtub and shower.
Start Painting!

I’m not gonna lie, those first few strokes of paint were a tad terrifying. No going back! I used the paint brush for the corners and where the tile met the bathtub. But for a majority of the painting, I used the roller. Be sure to use a 1/4″ short nap roller.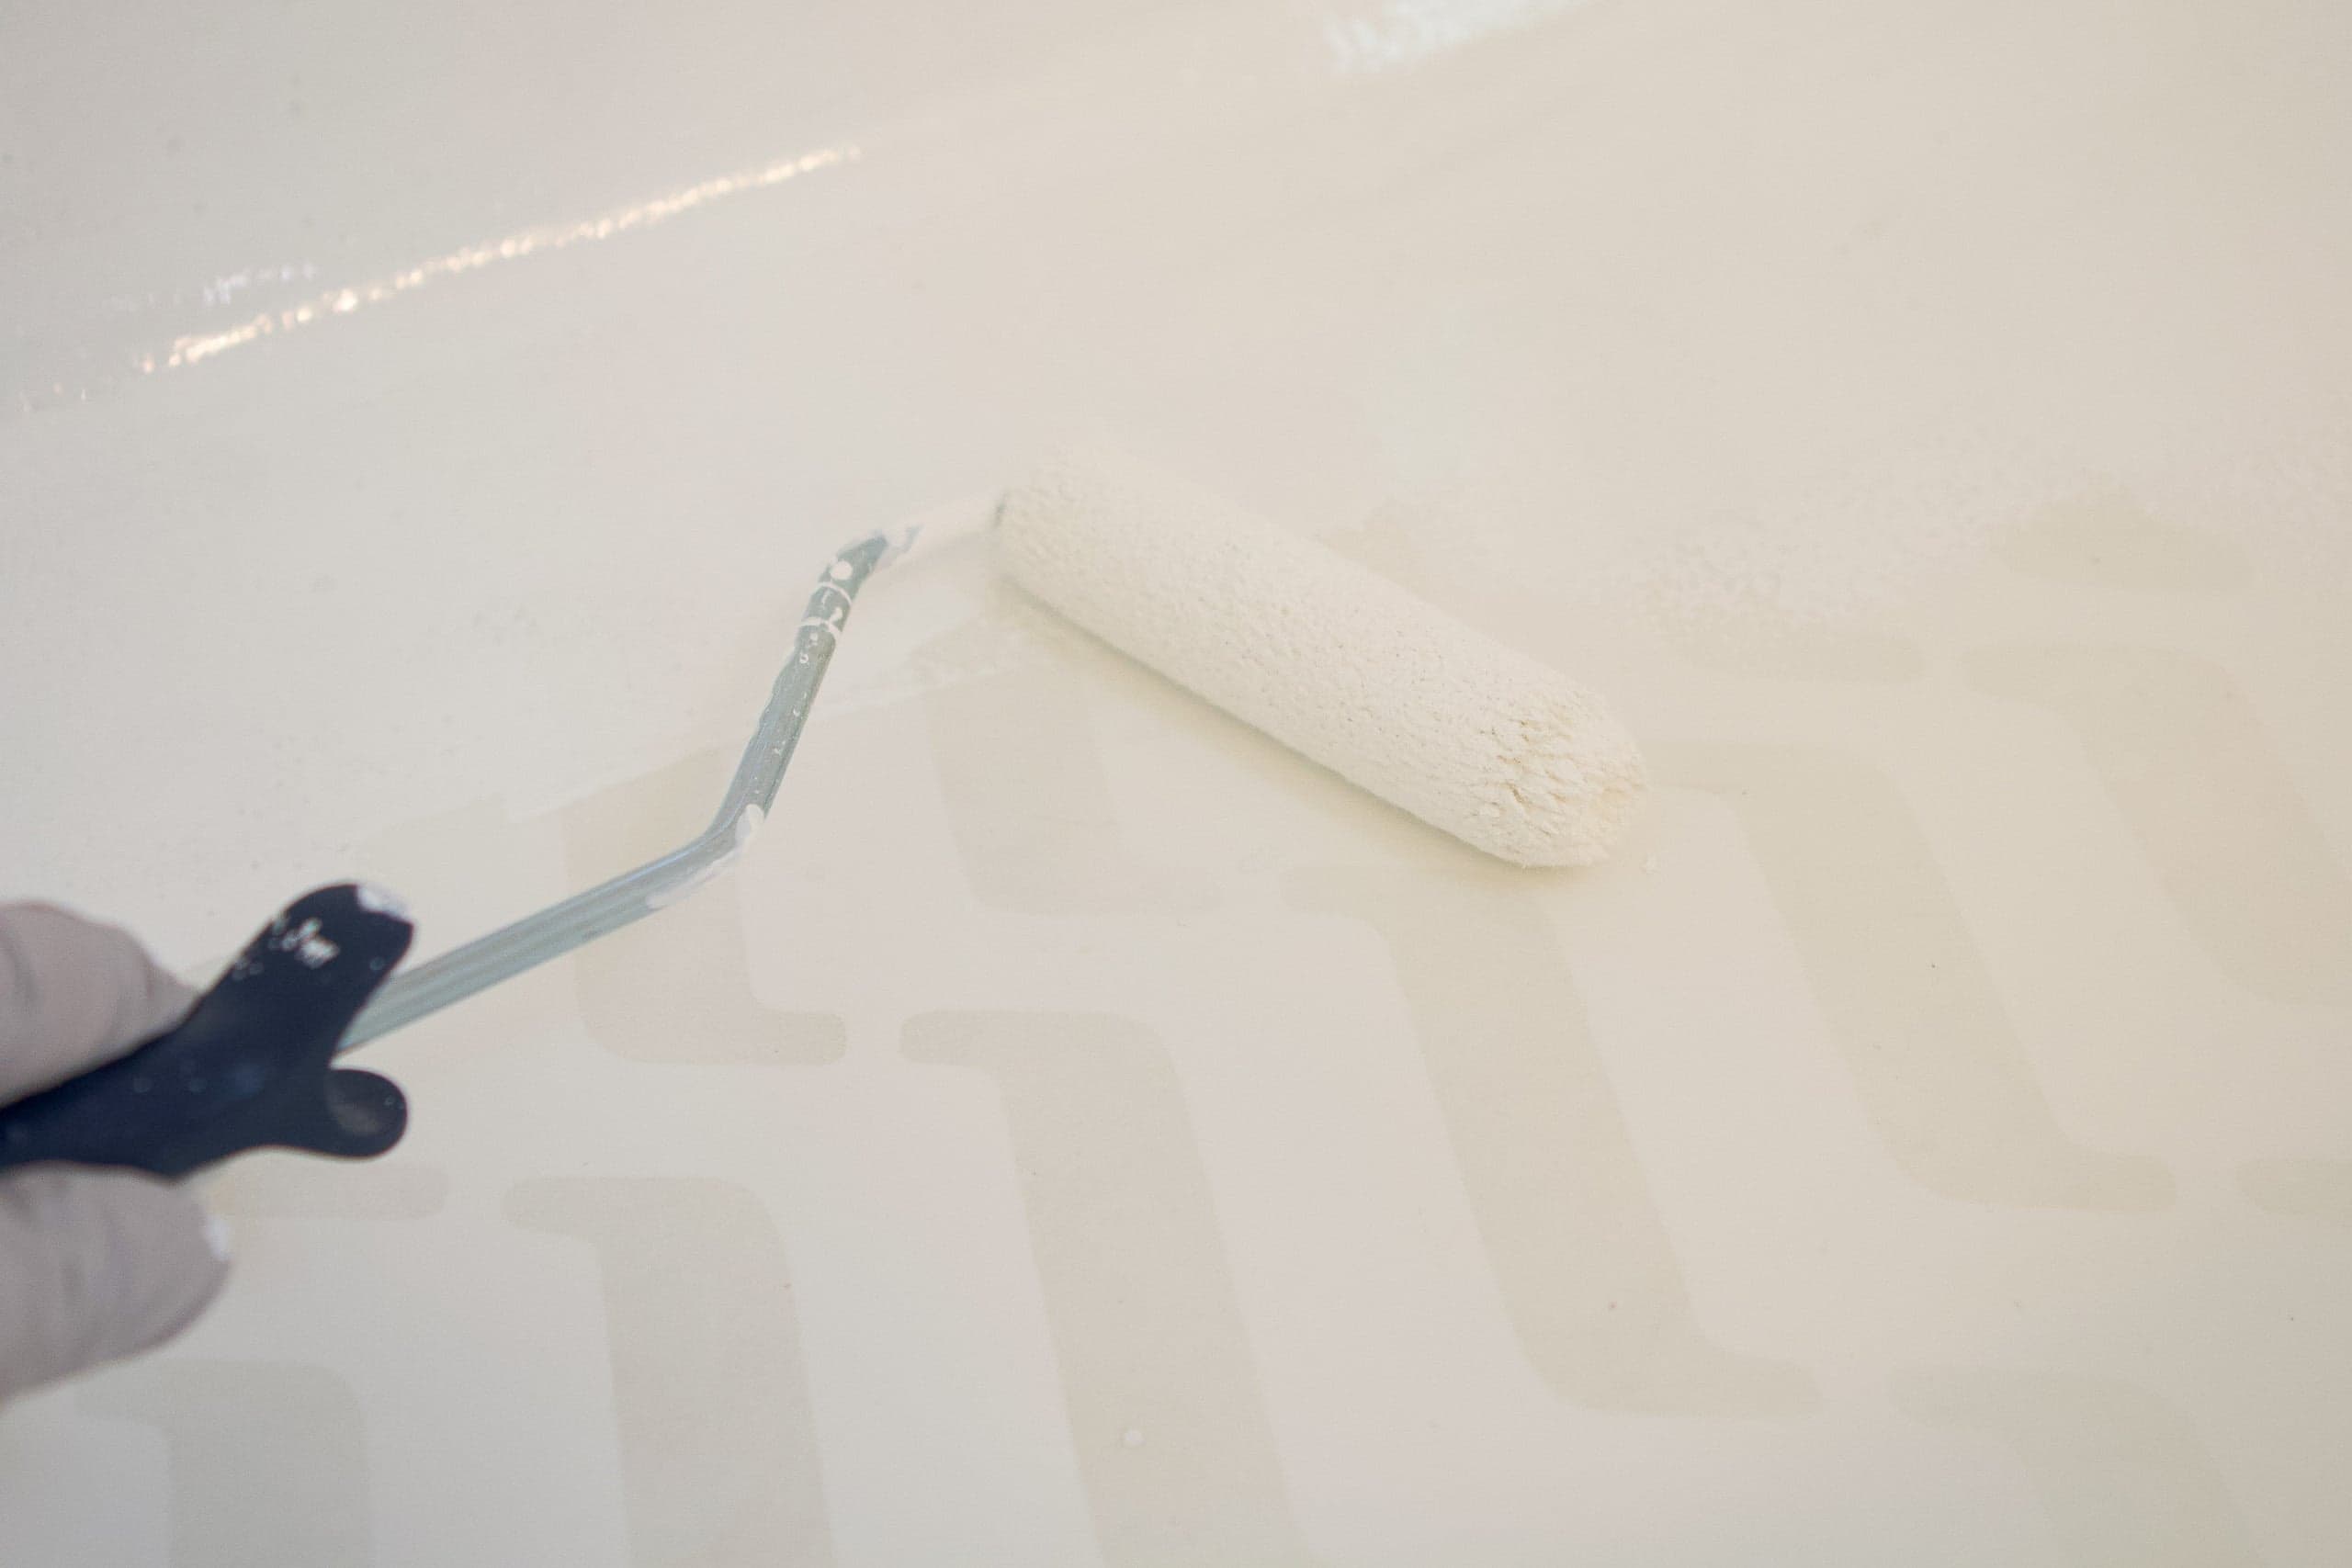
I found it best to brush the paint on in the same direction and feather it out so I didn’t have any spots that were too heavily coated with the product. 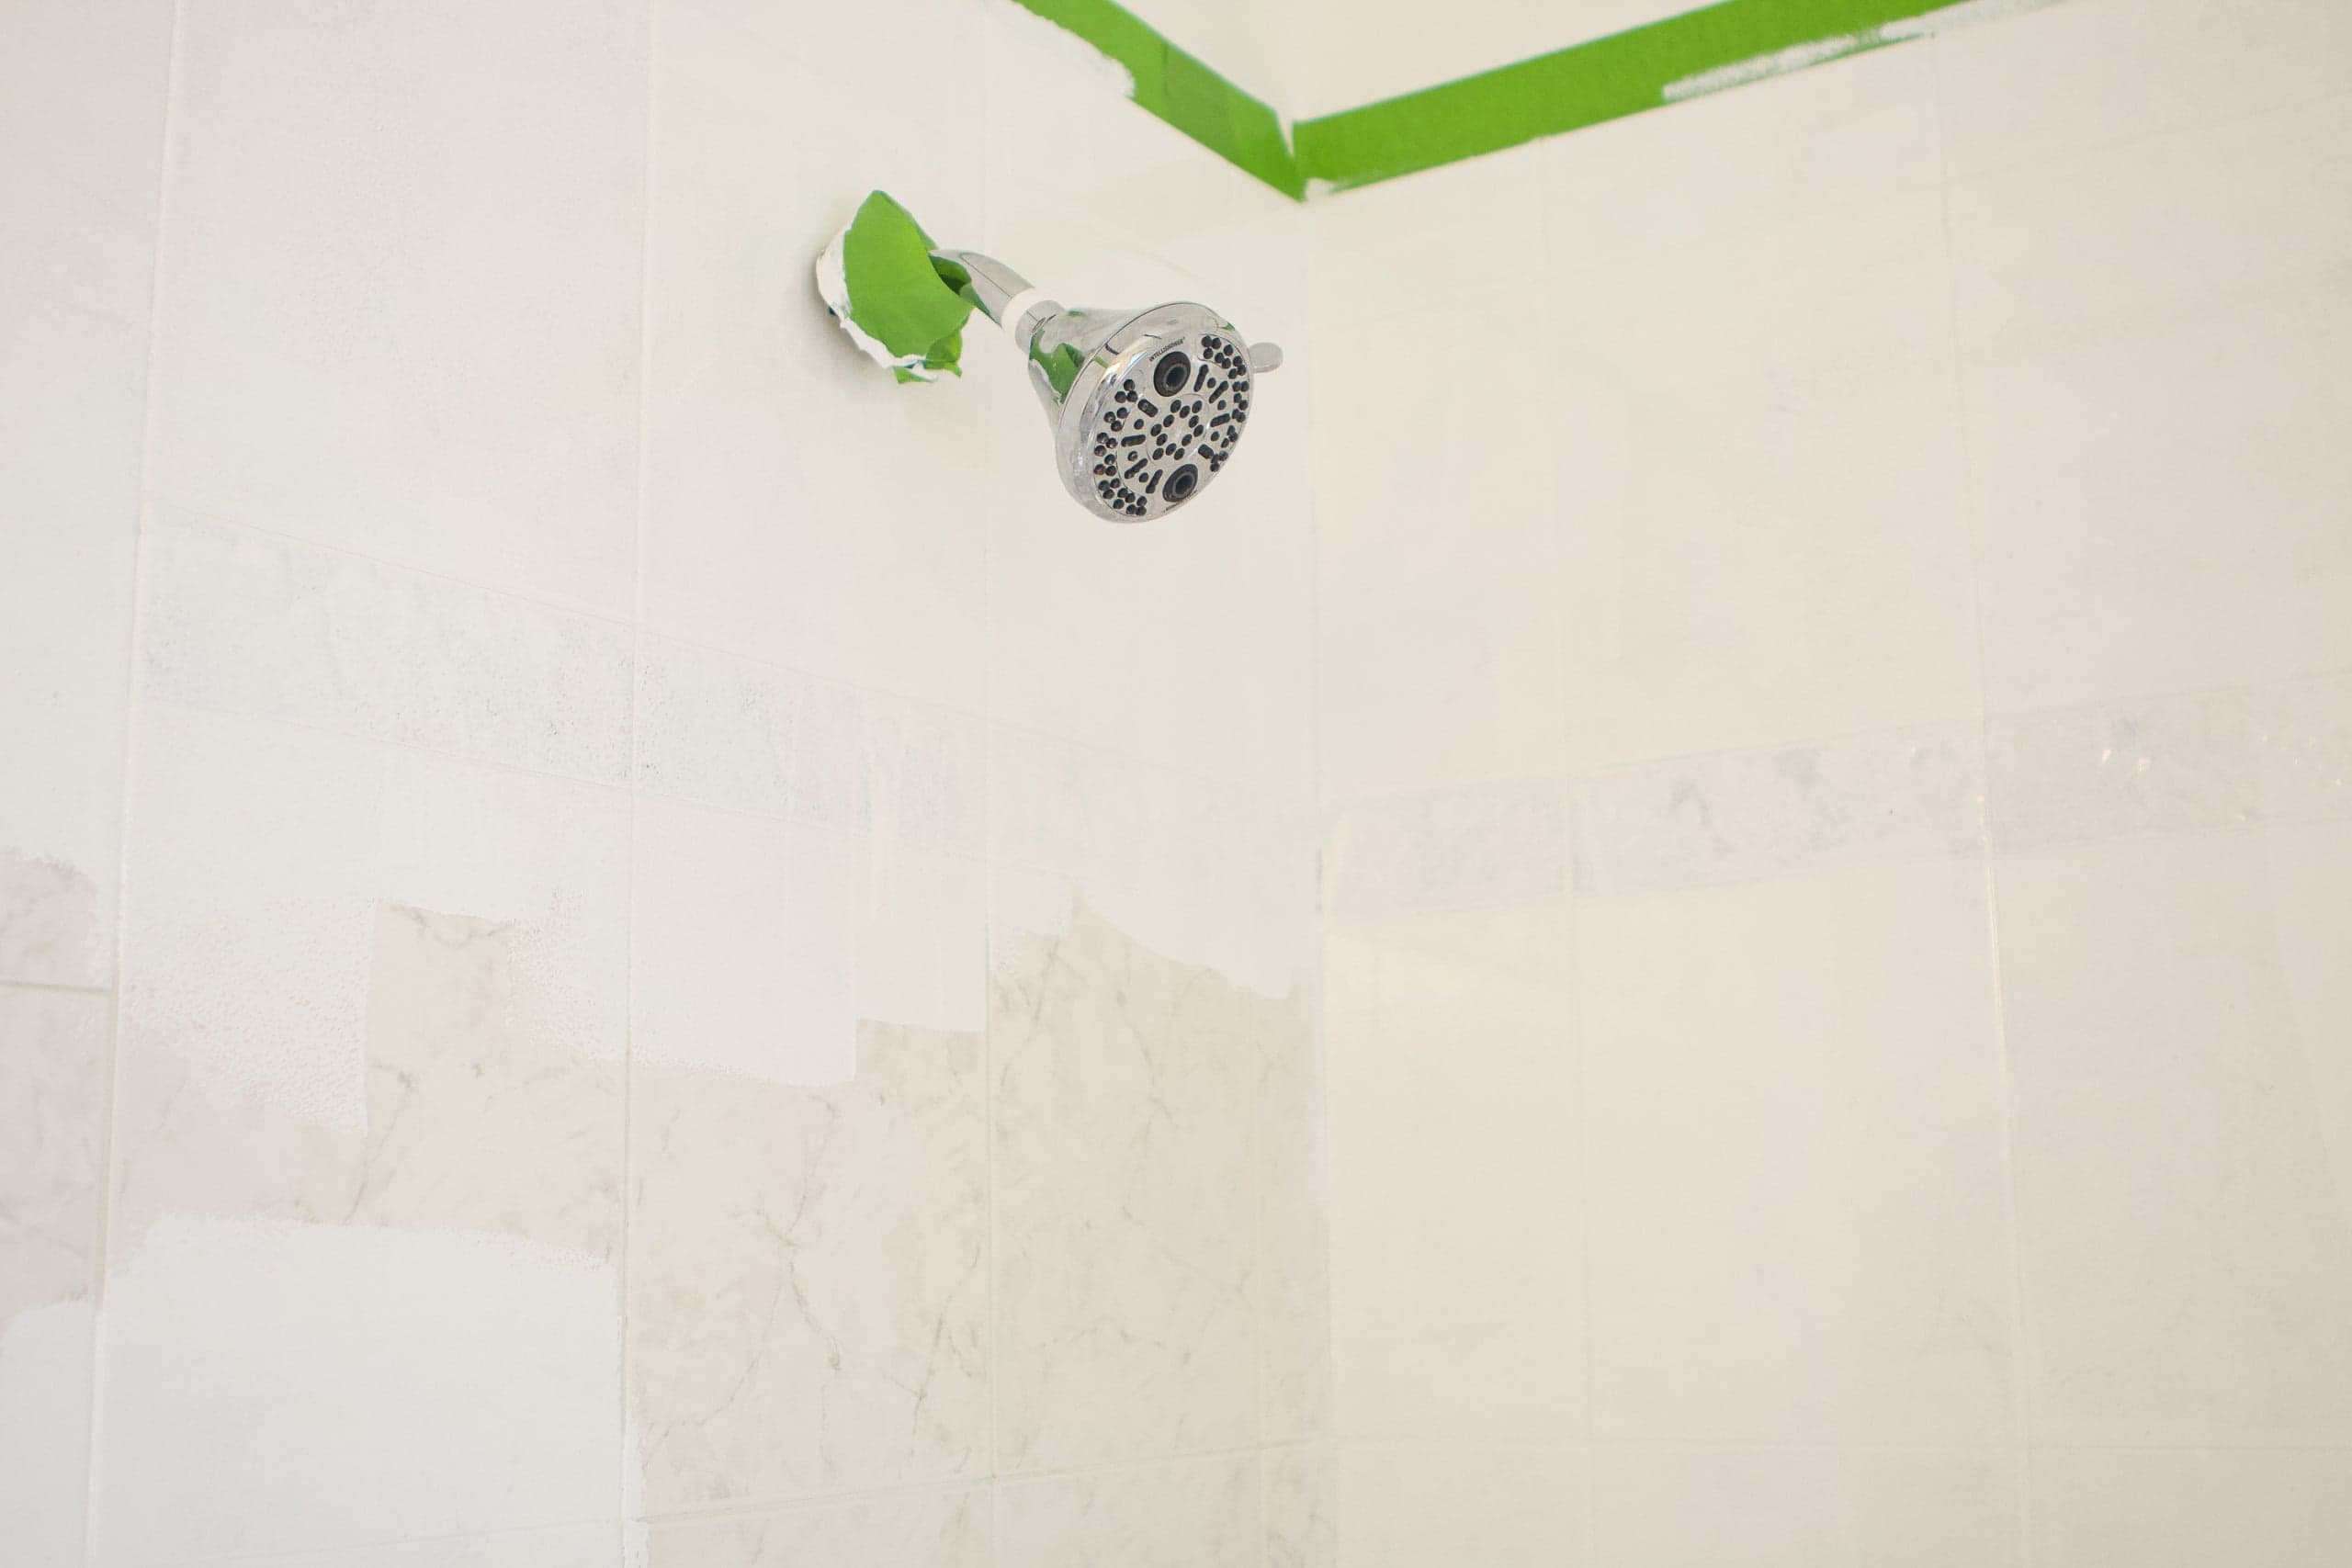 Also, don’t overwork the paint! Just get it on there and don’t go over it again and again. You can always get more coverage on the next coat.
Add Another Coat
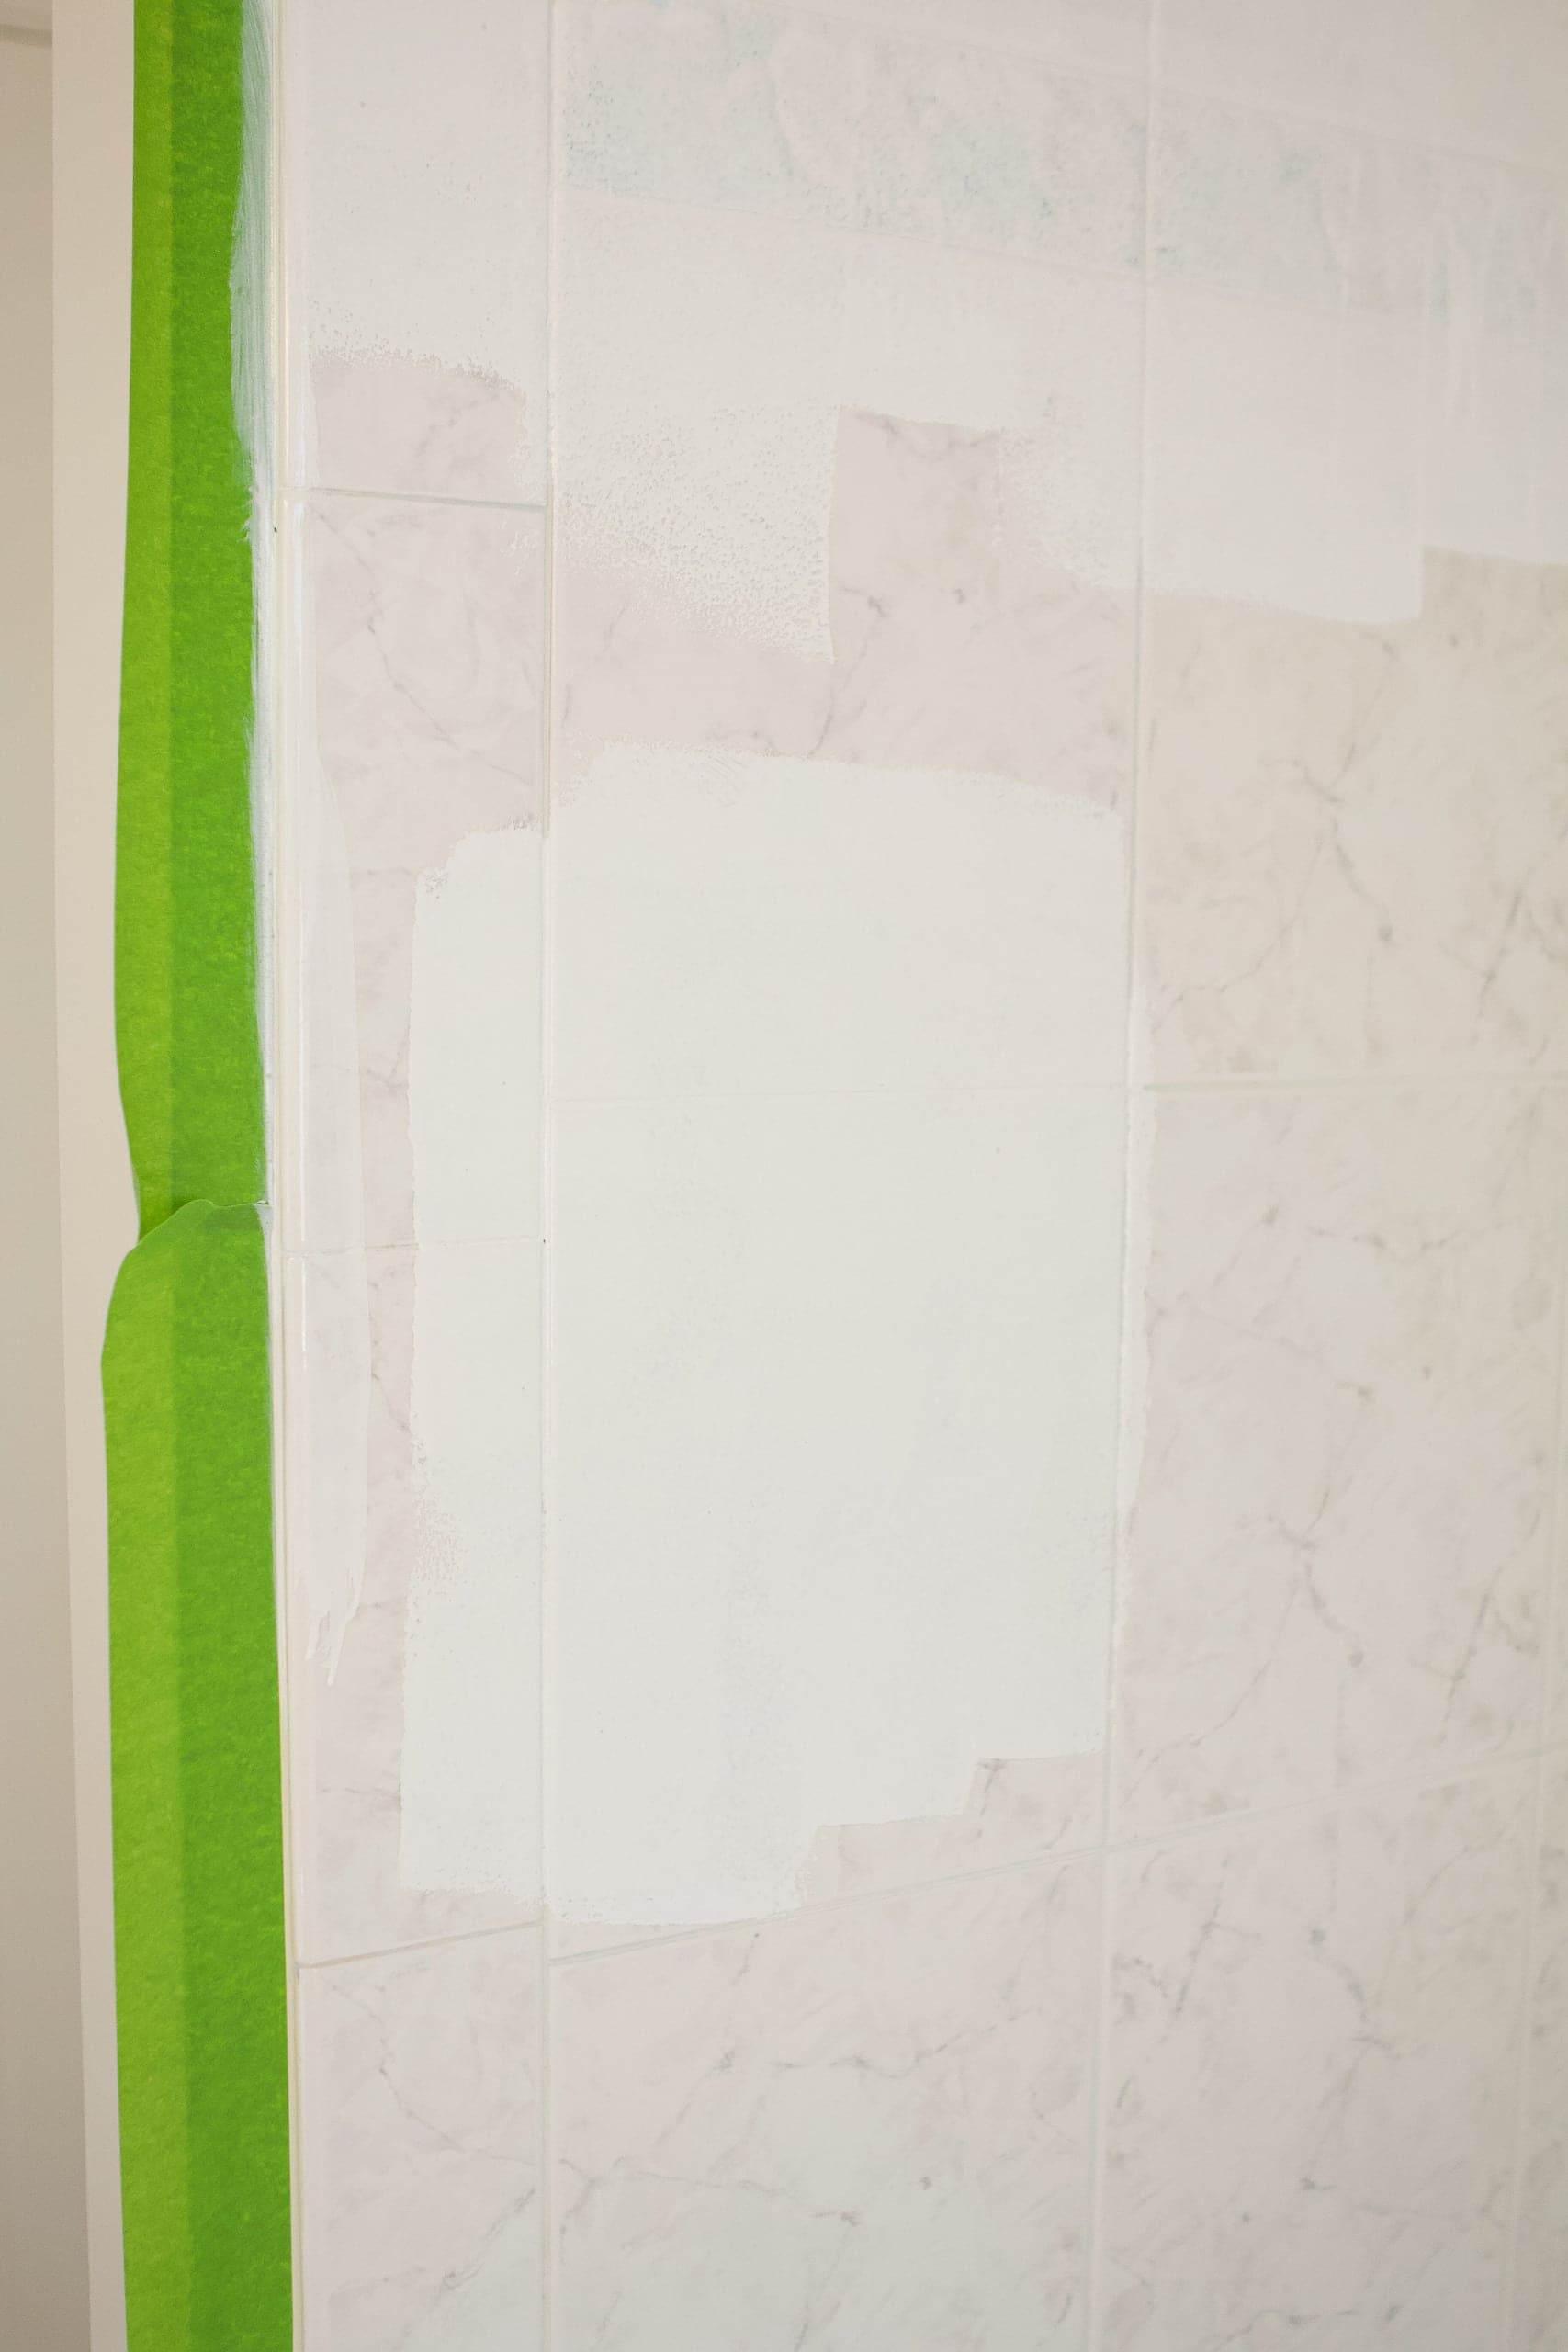
 After the first coat, my paint job was a bit spotty and I could still see the flower pattern. I waited an hour and then painted my second coat. Again, make sure you get your second coat on within six hours. So, you won’t want to leave the first coat to dry overnight. Plan to do all of the painting in one day.
Recaulk Your Bathtub
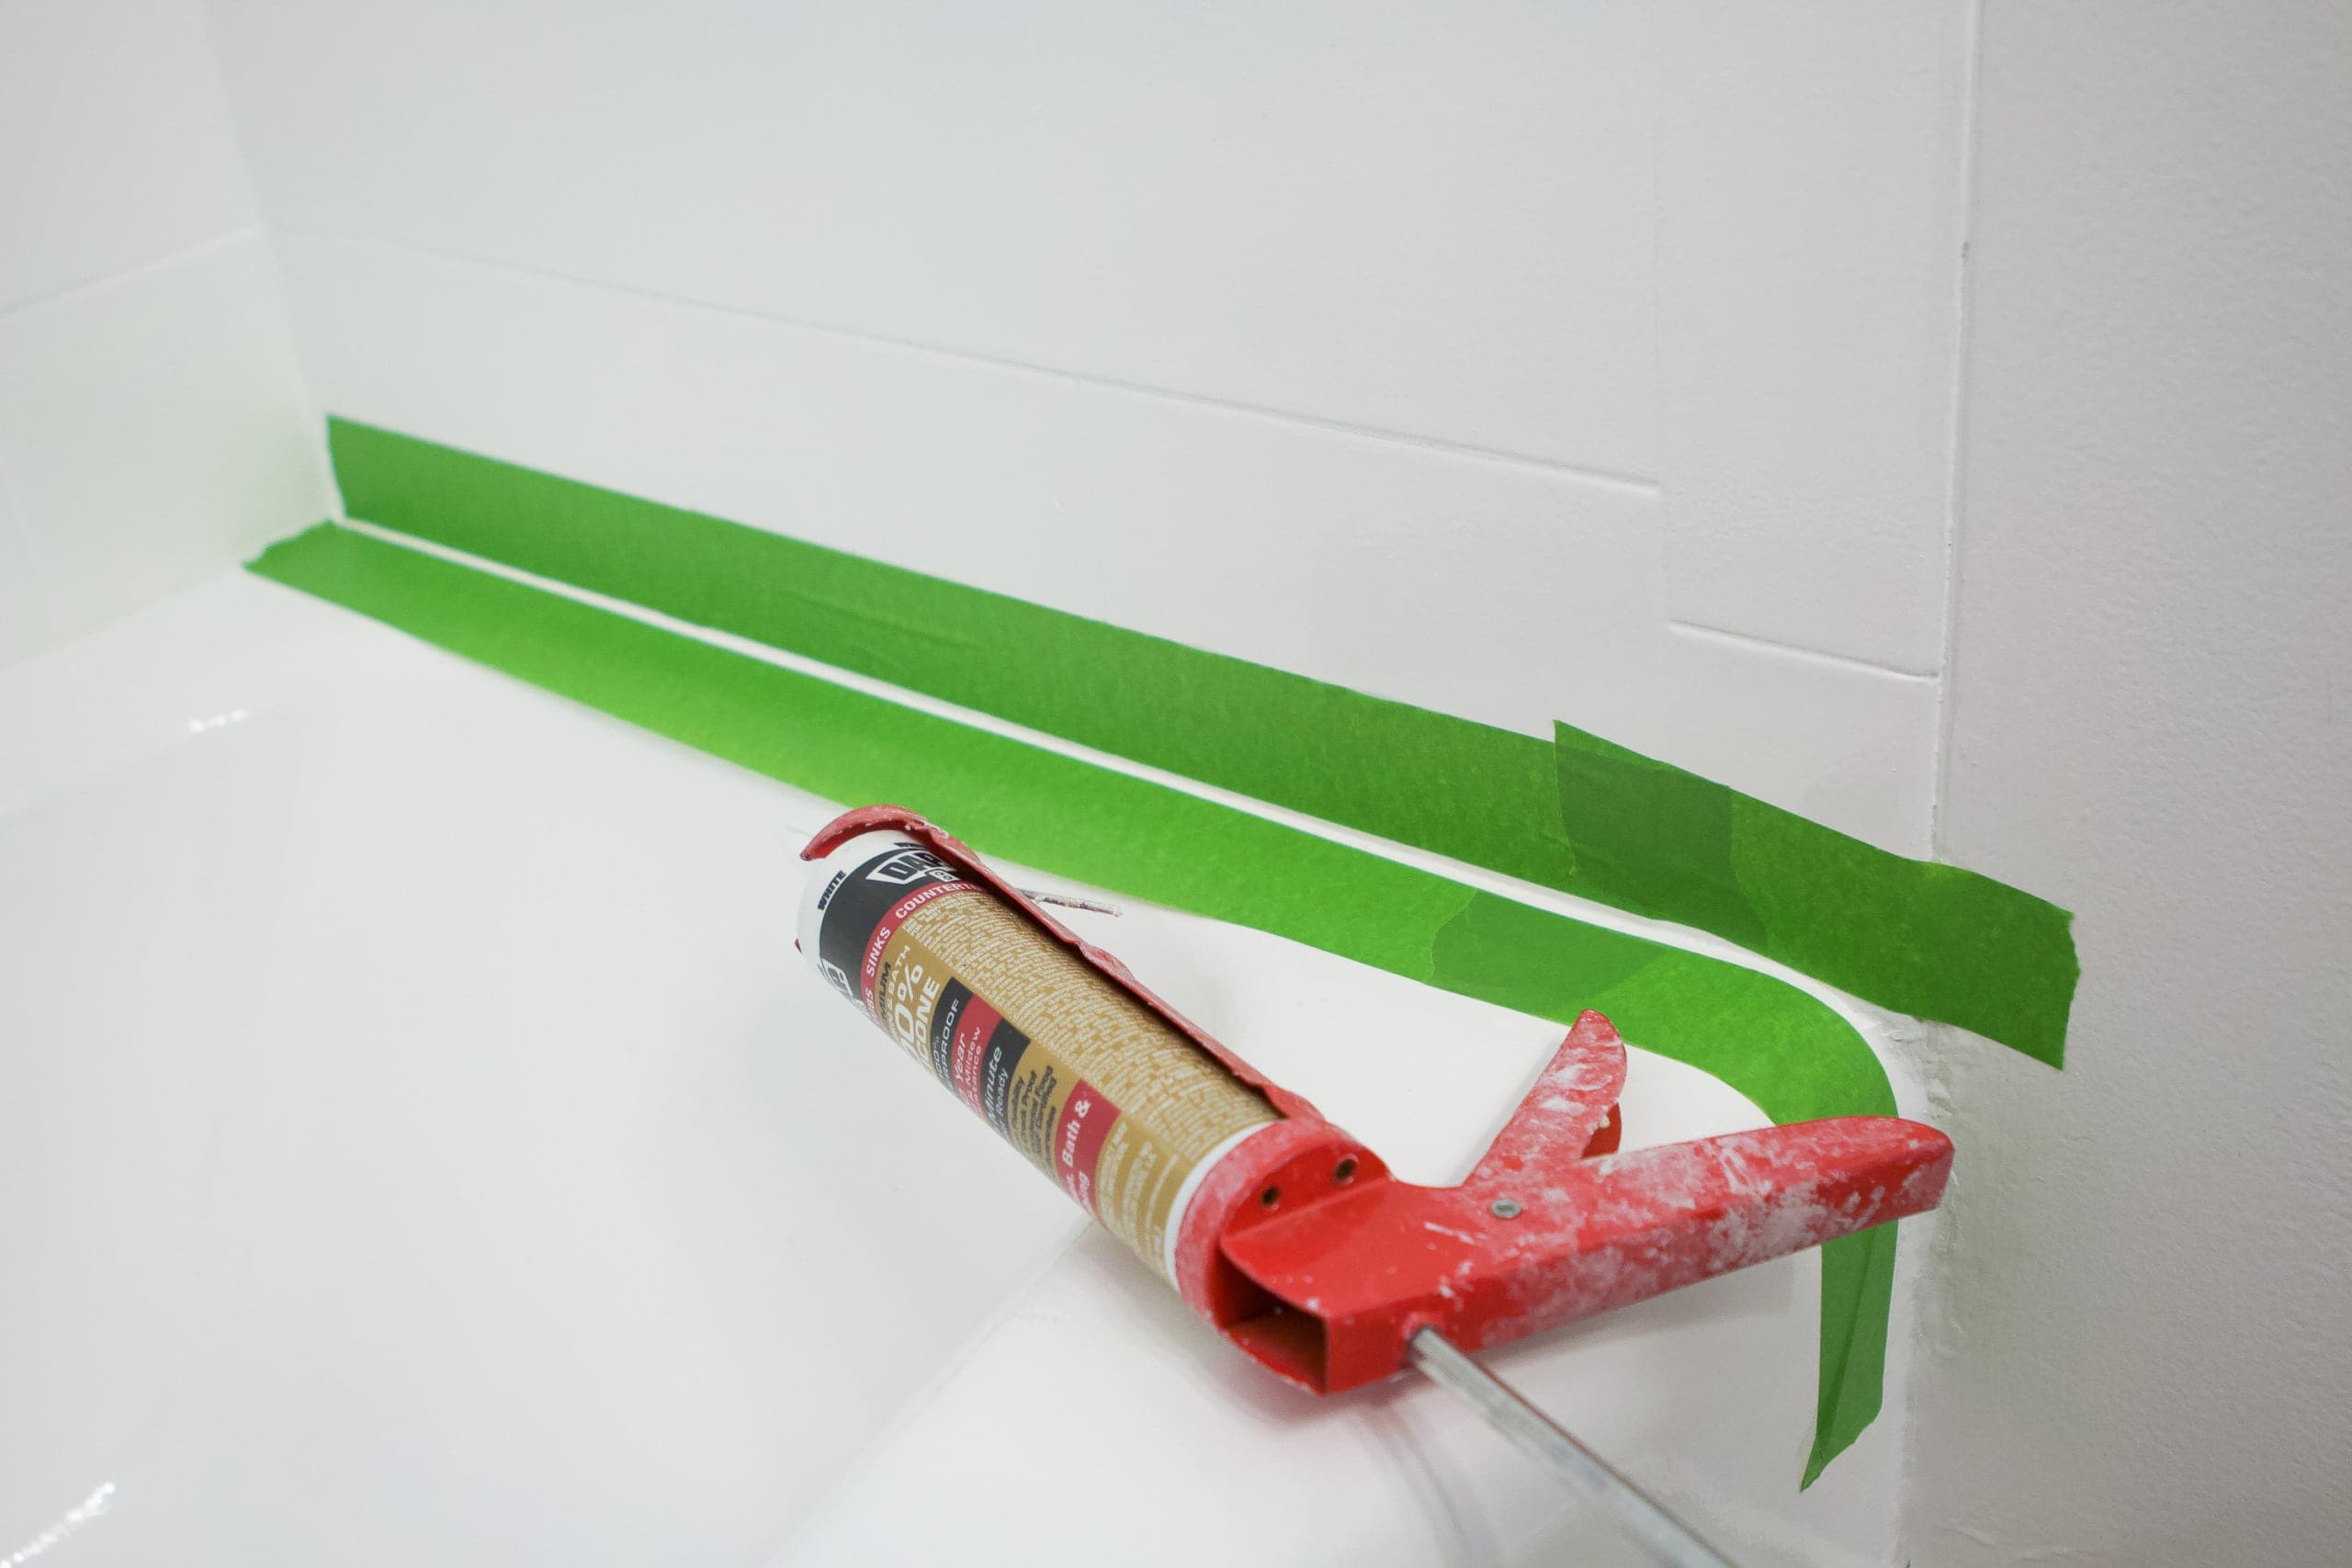
The next day, I recaulked the bathtub surround using the exact same steps from this blog post. I would probably avoid using Frogtape for this step because it’s incredibly sticky and could maybe peel off some paint when you lift it up. I tried to be verryyyyy careful using it. Instead, opt for blue painter’s tape and don’t push it onto the tile too hard. It’s just there to act as a guide and prevent the caulk from making a mess all over the place!
Let it Cure
You’ll want to wait at least three days before using your shower and bathtub. We gave Rory her baths in our main bathroom for a few nights to really let this paint cure and harden.
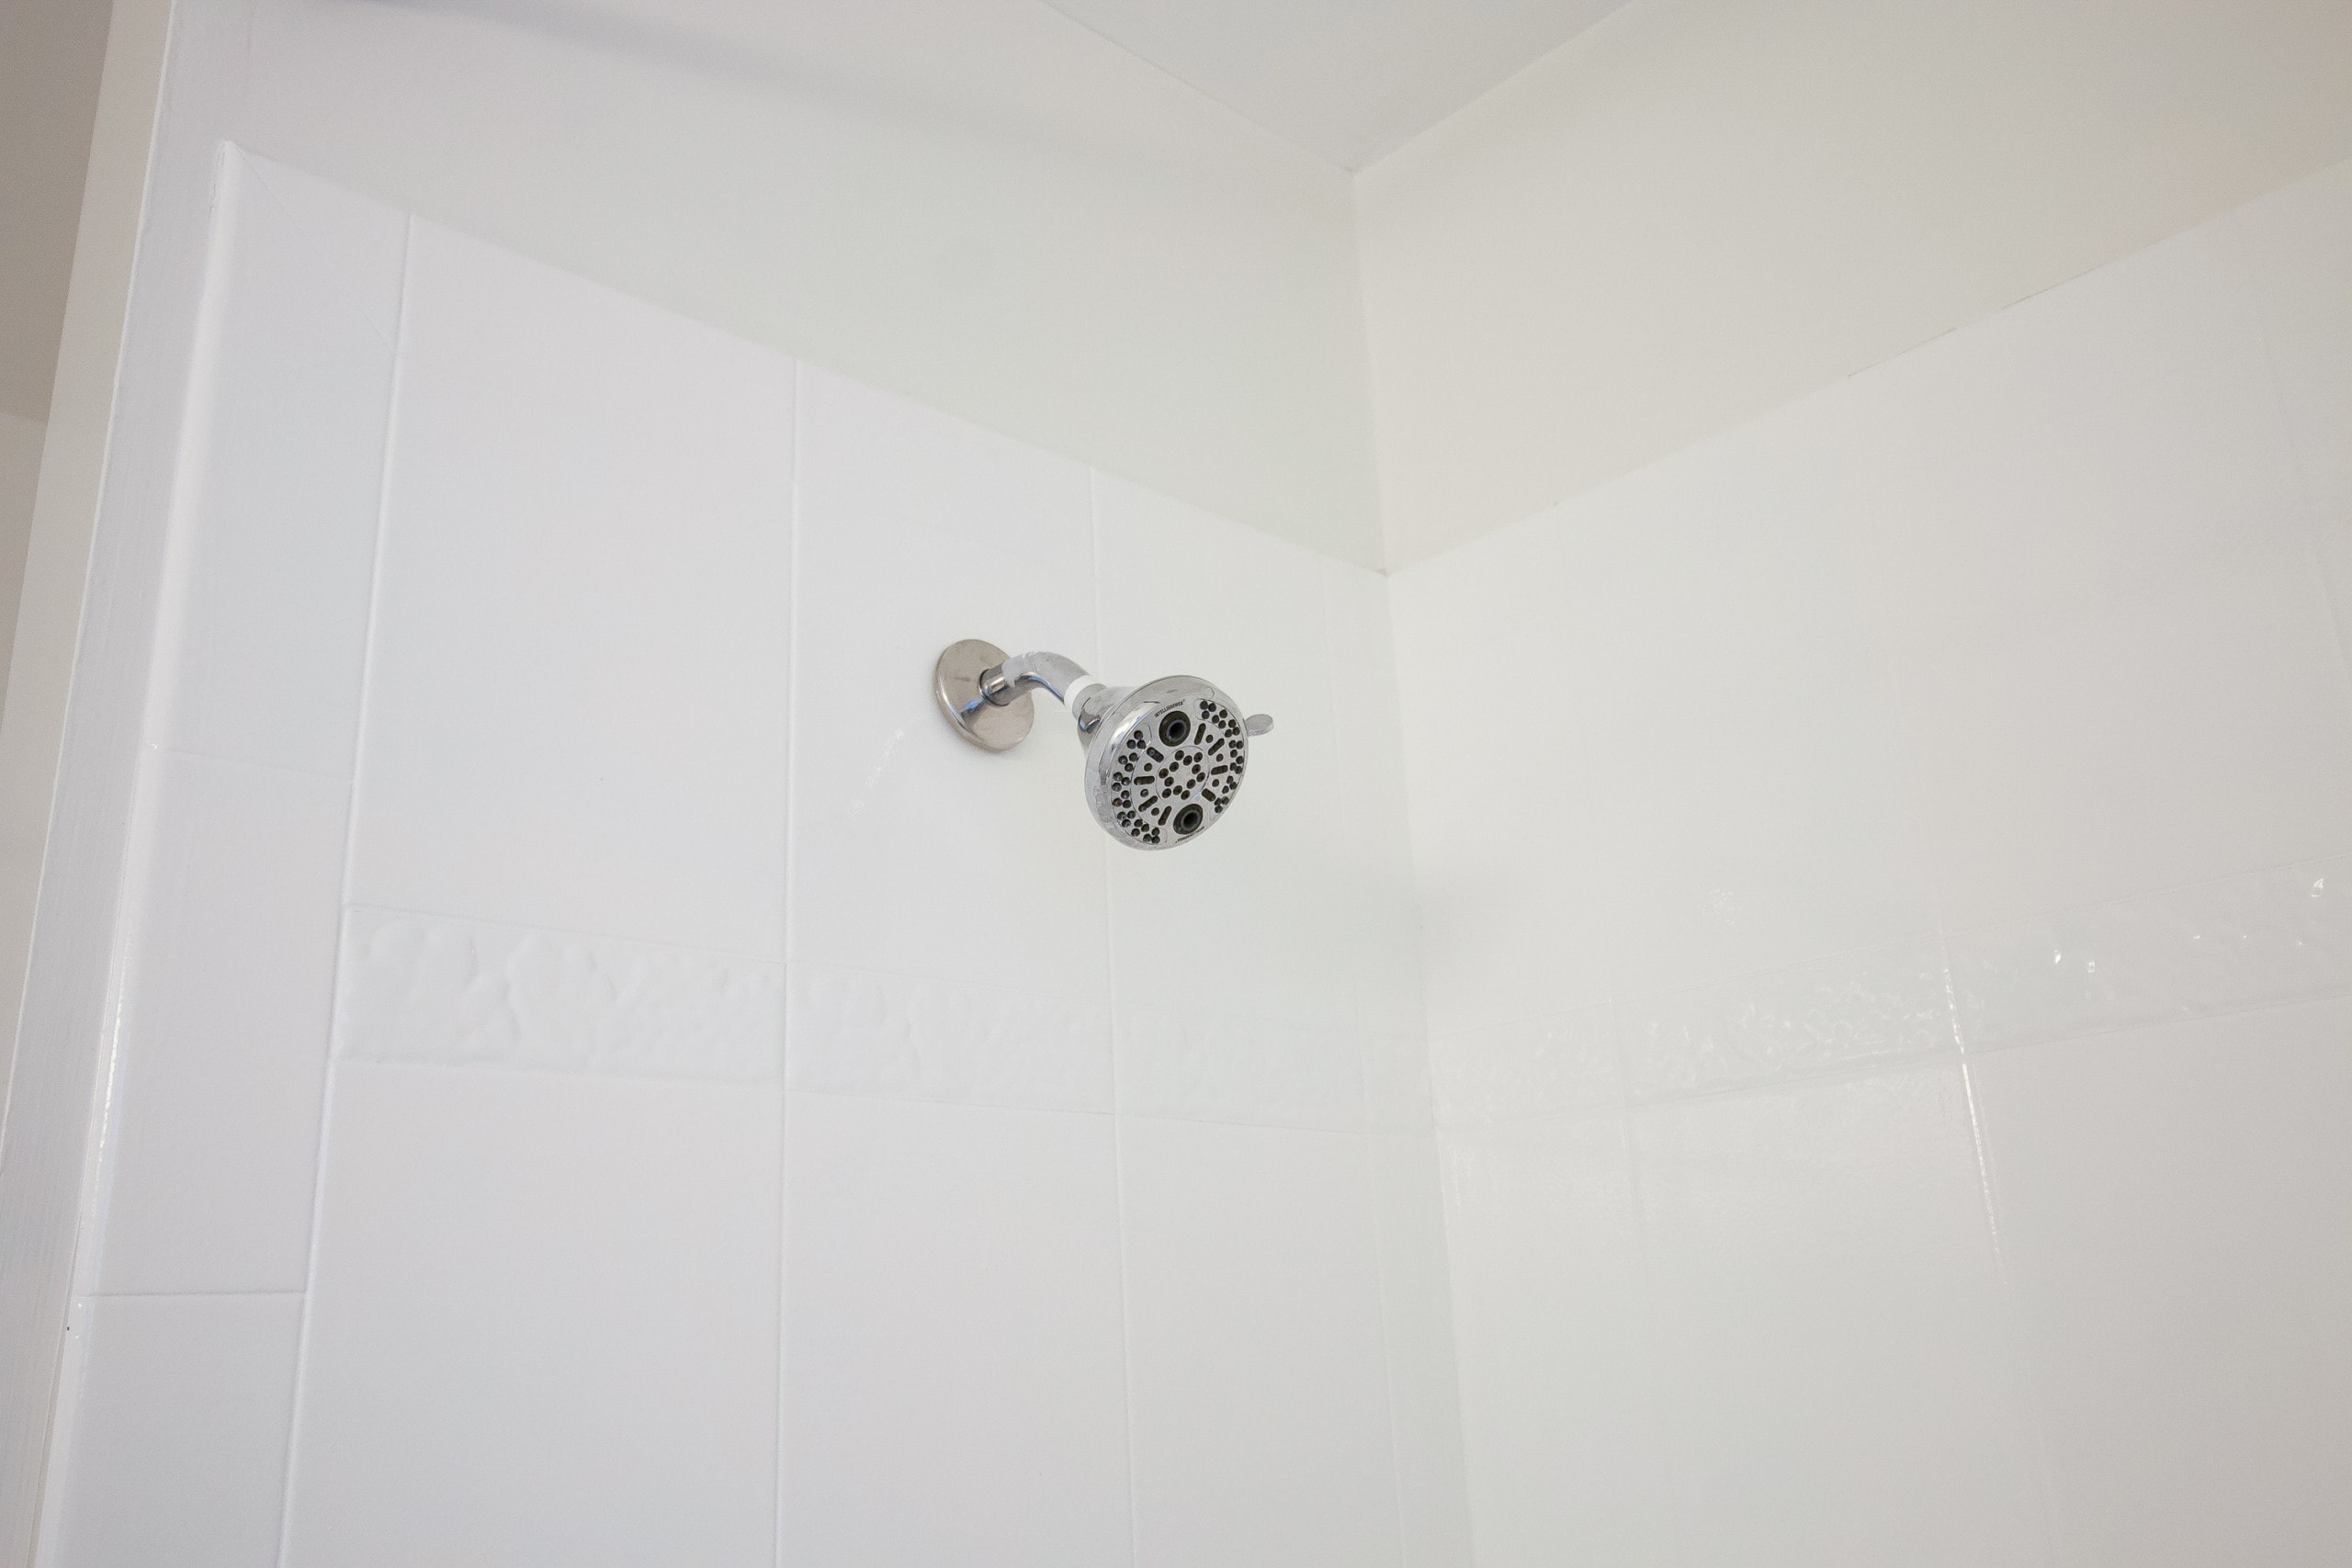
Our Bathroom Shower – Before & After
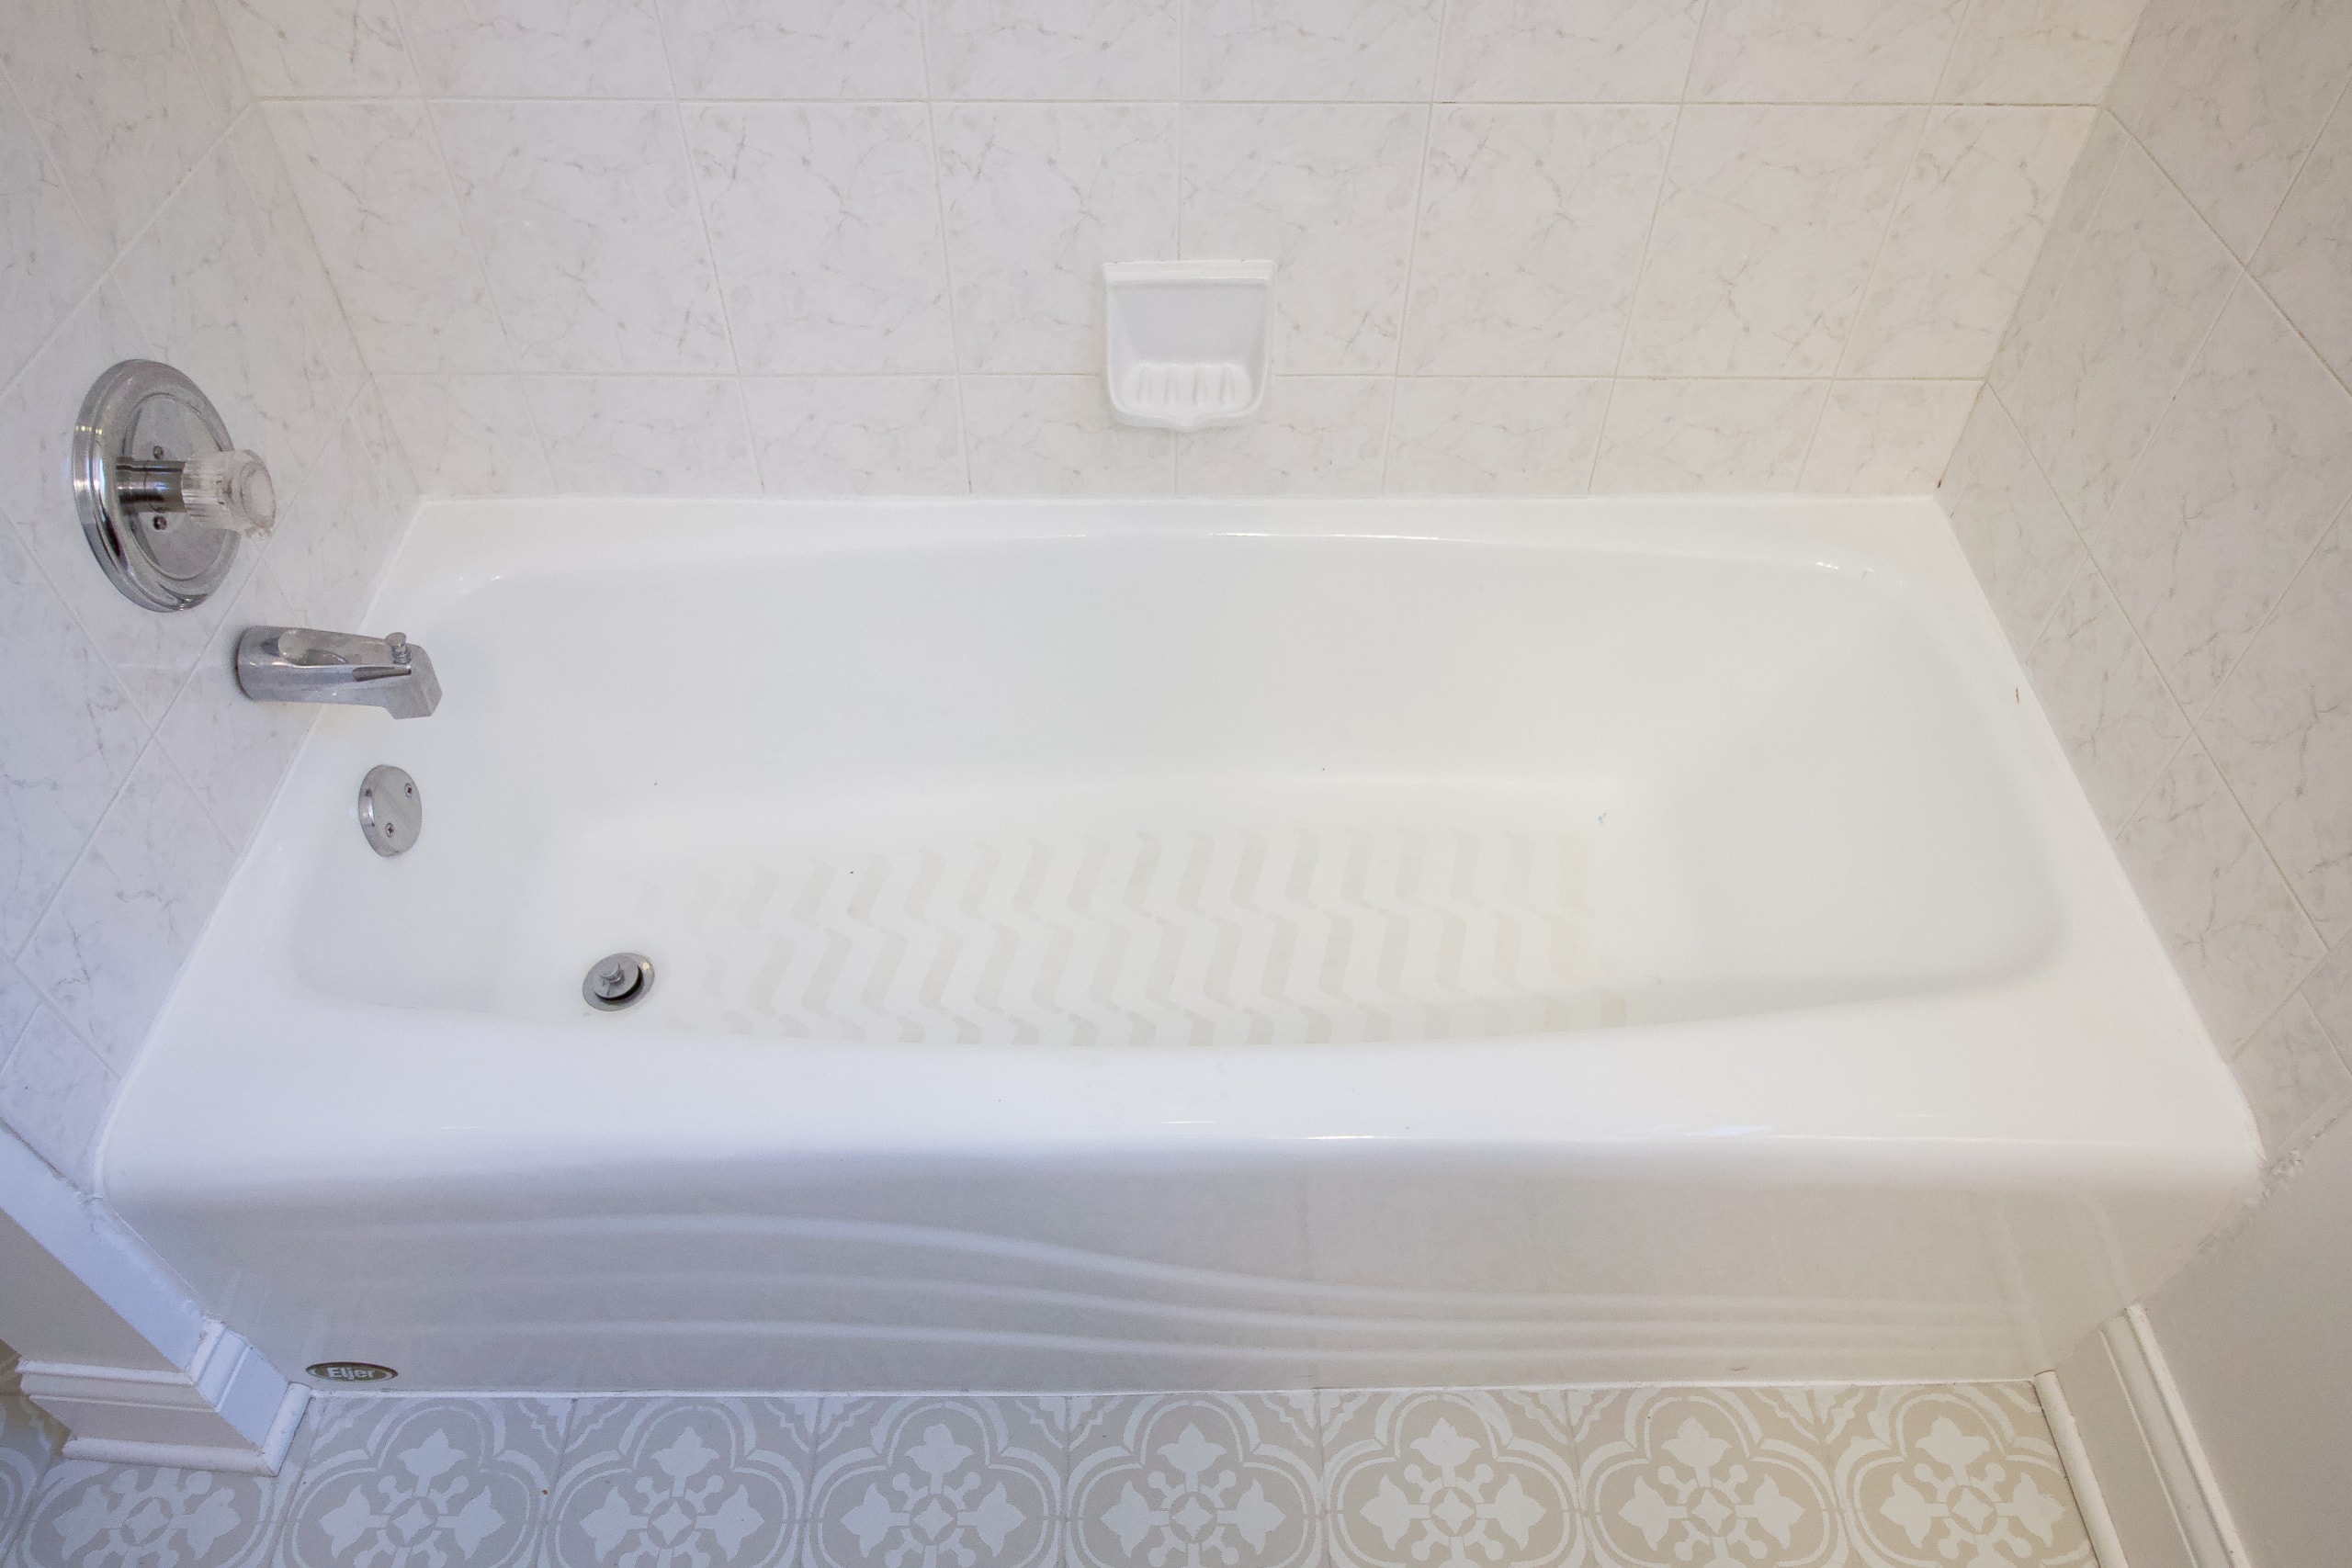
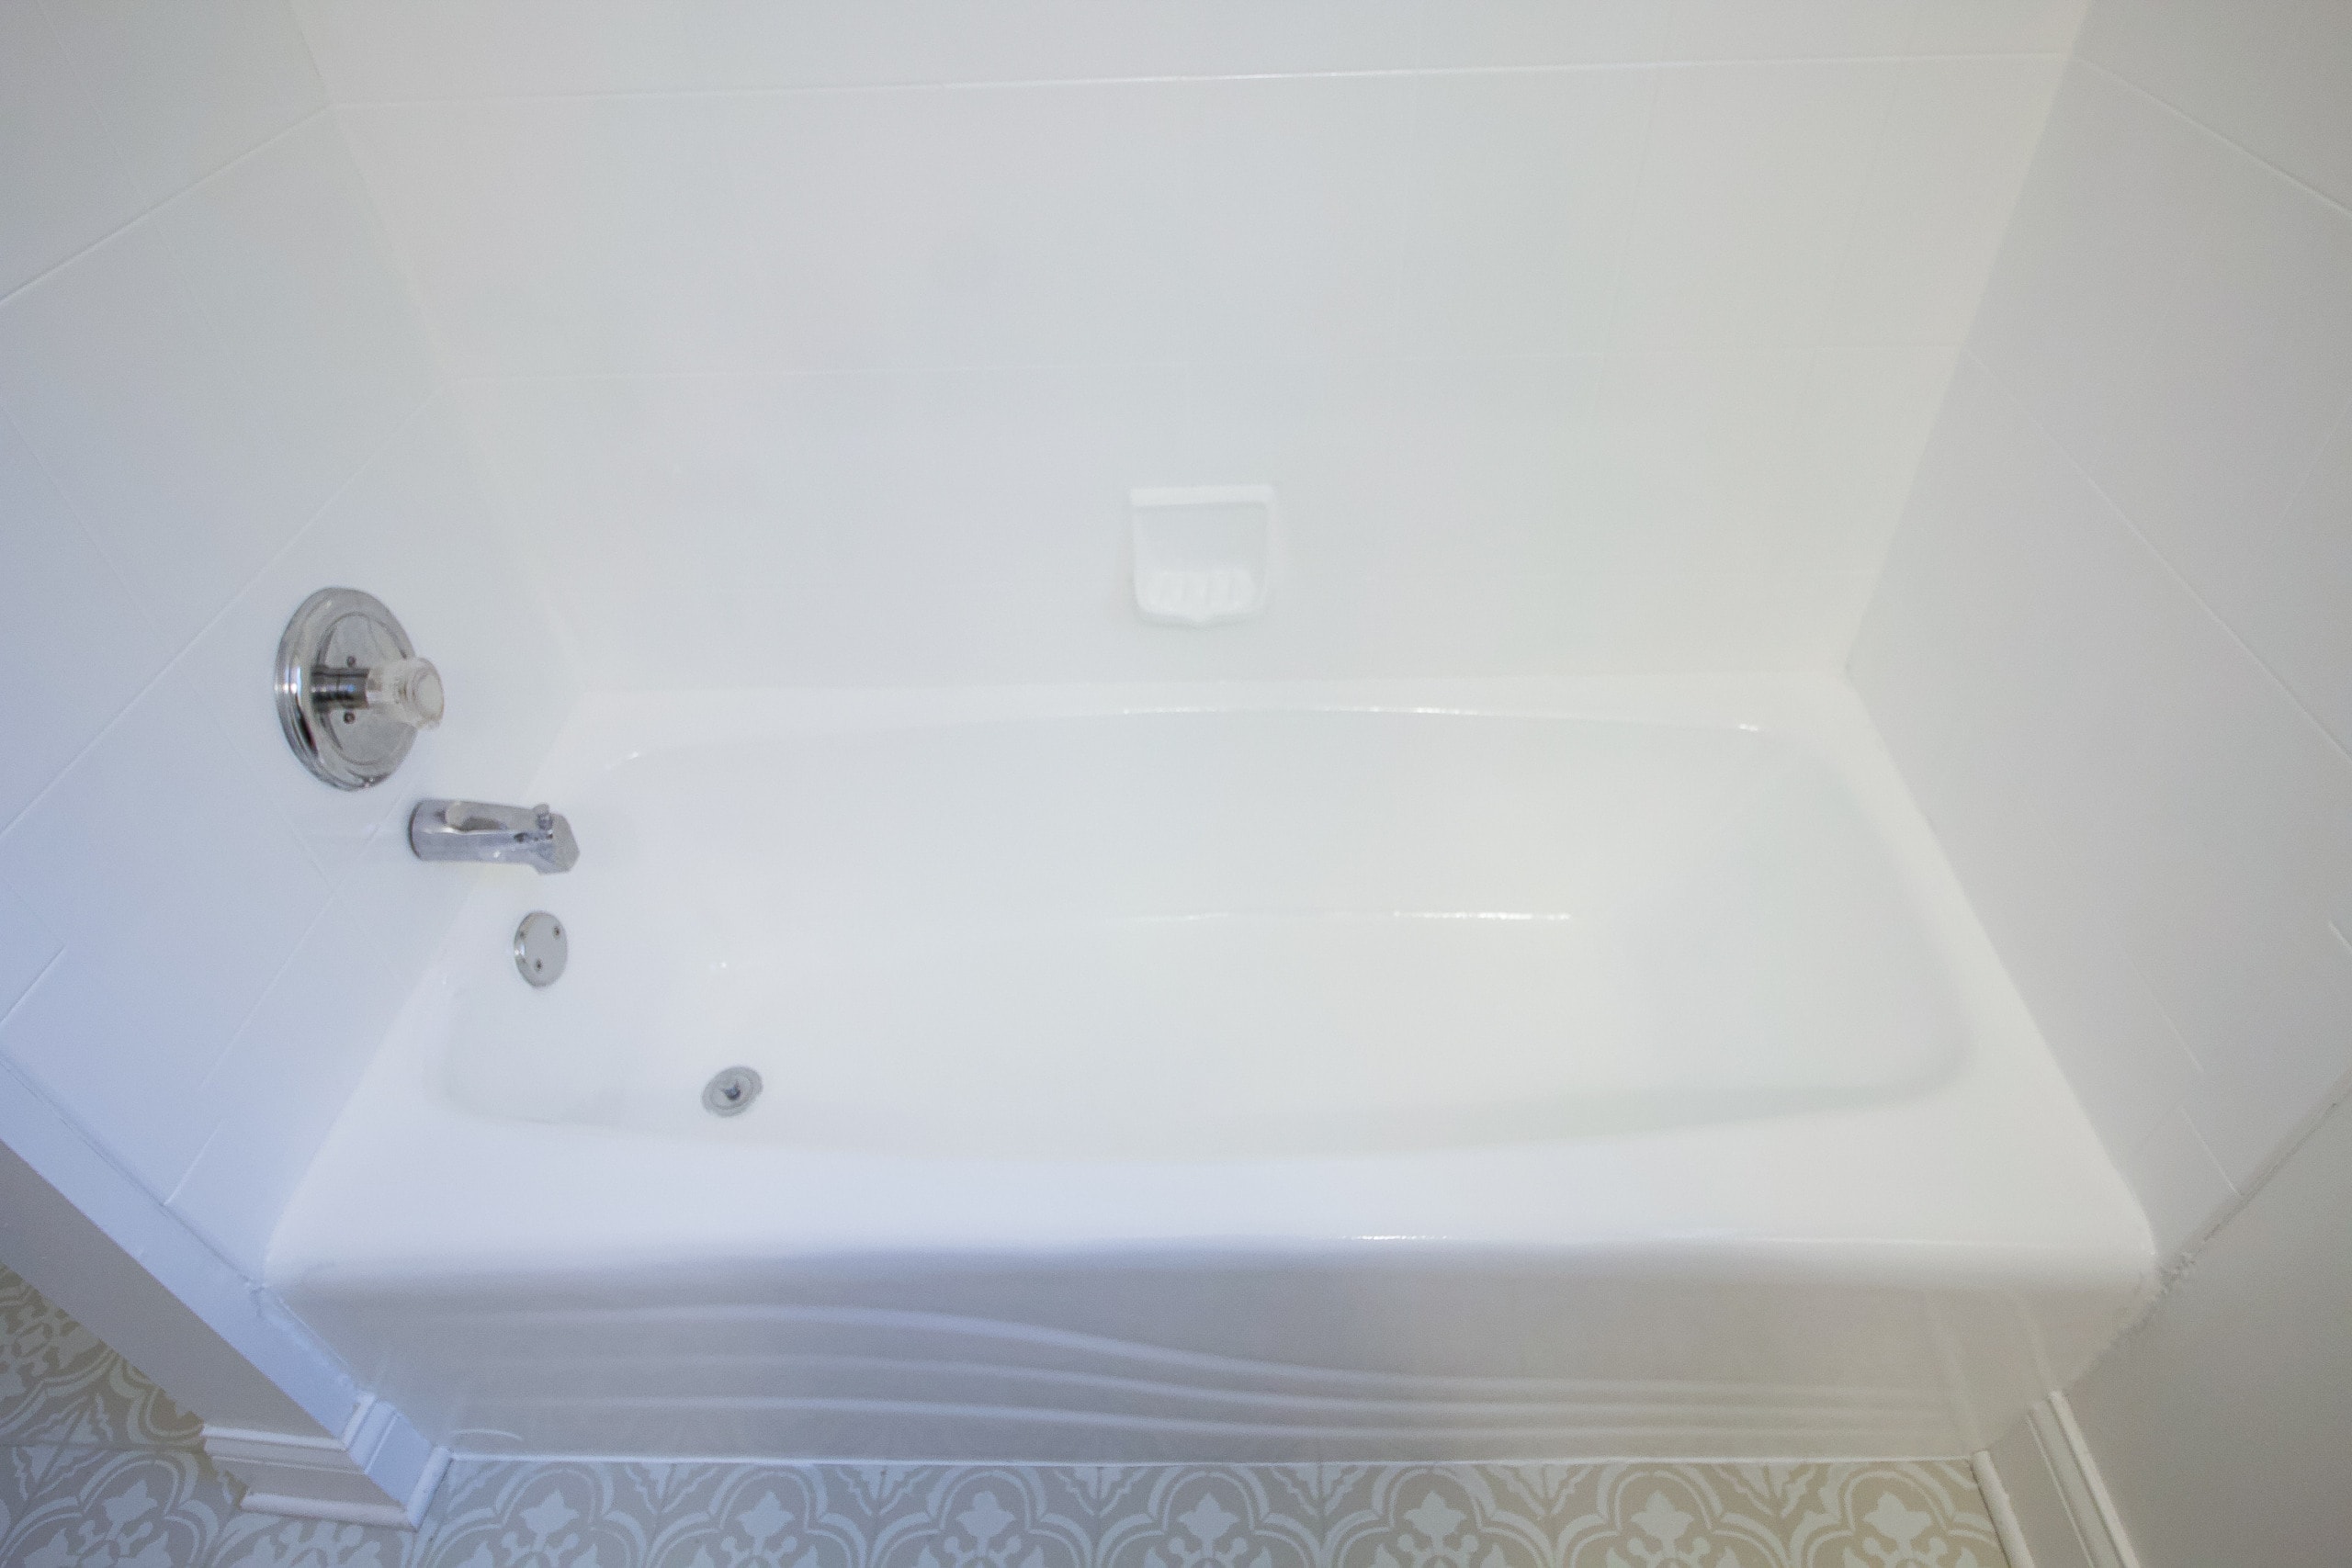
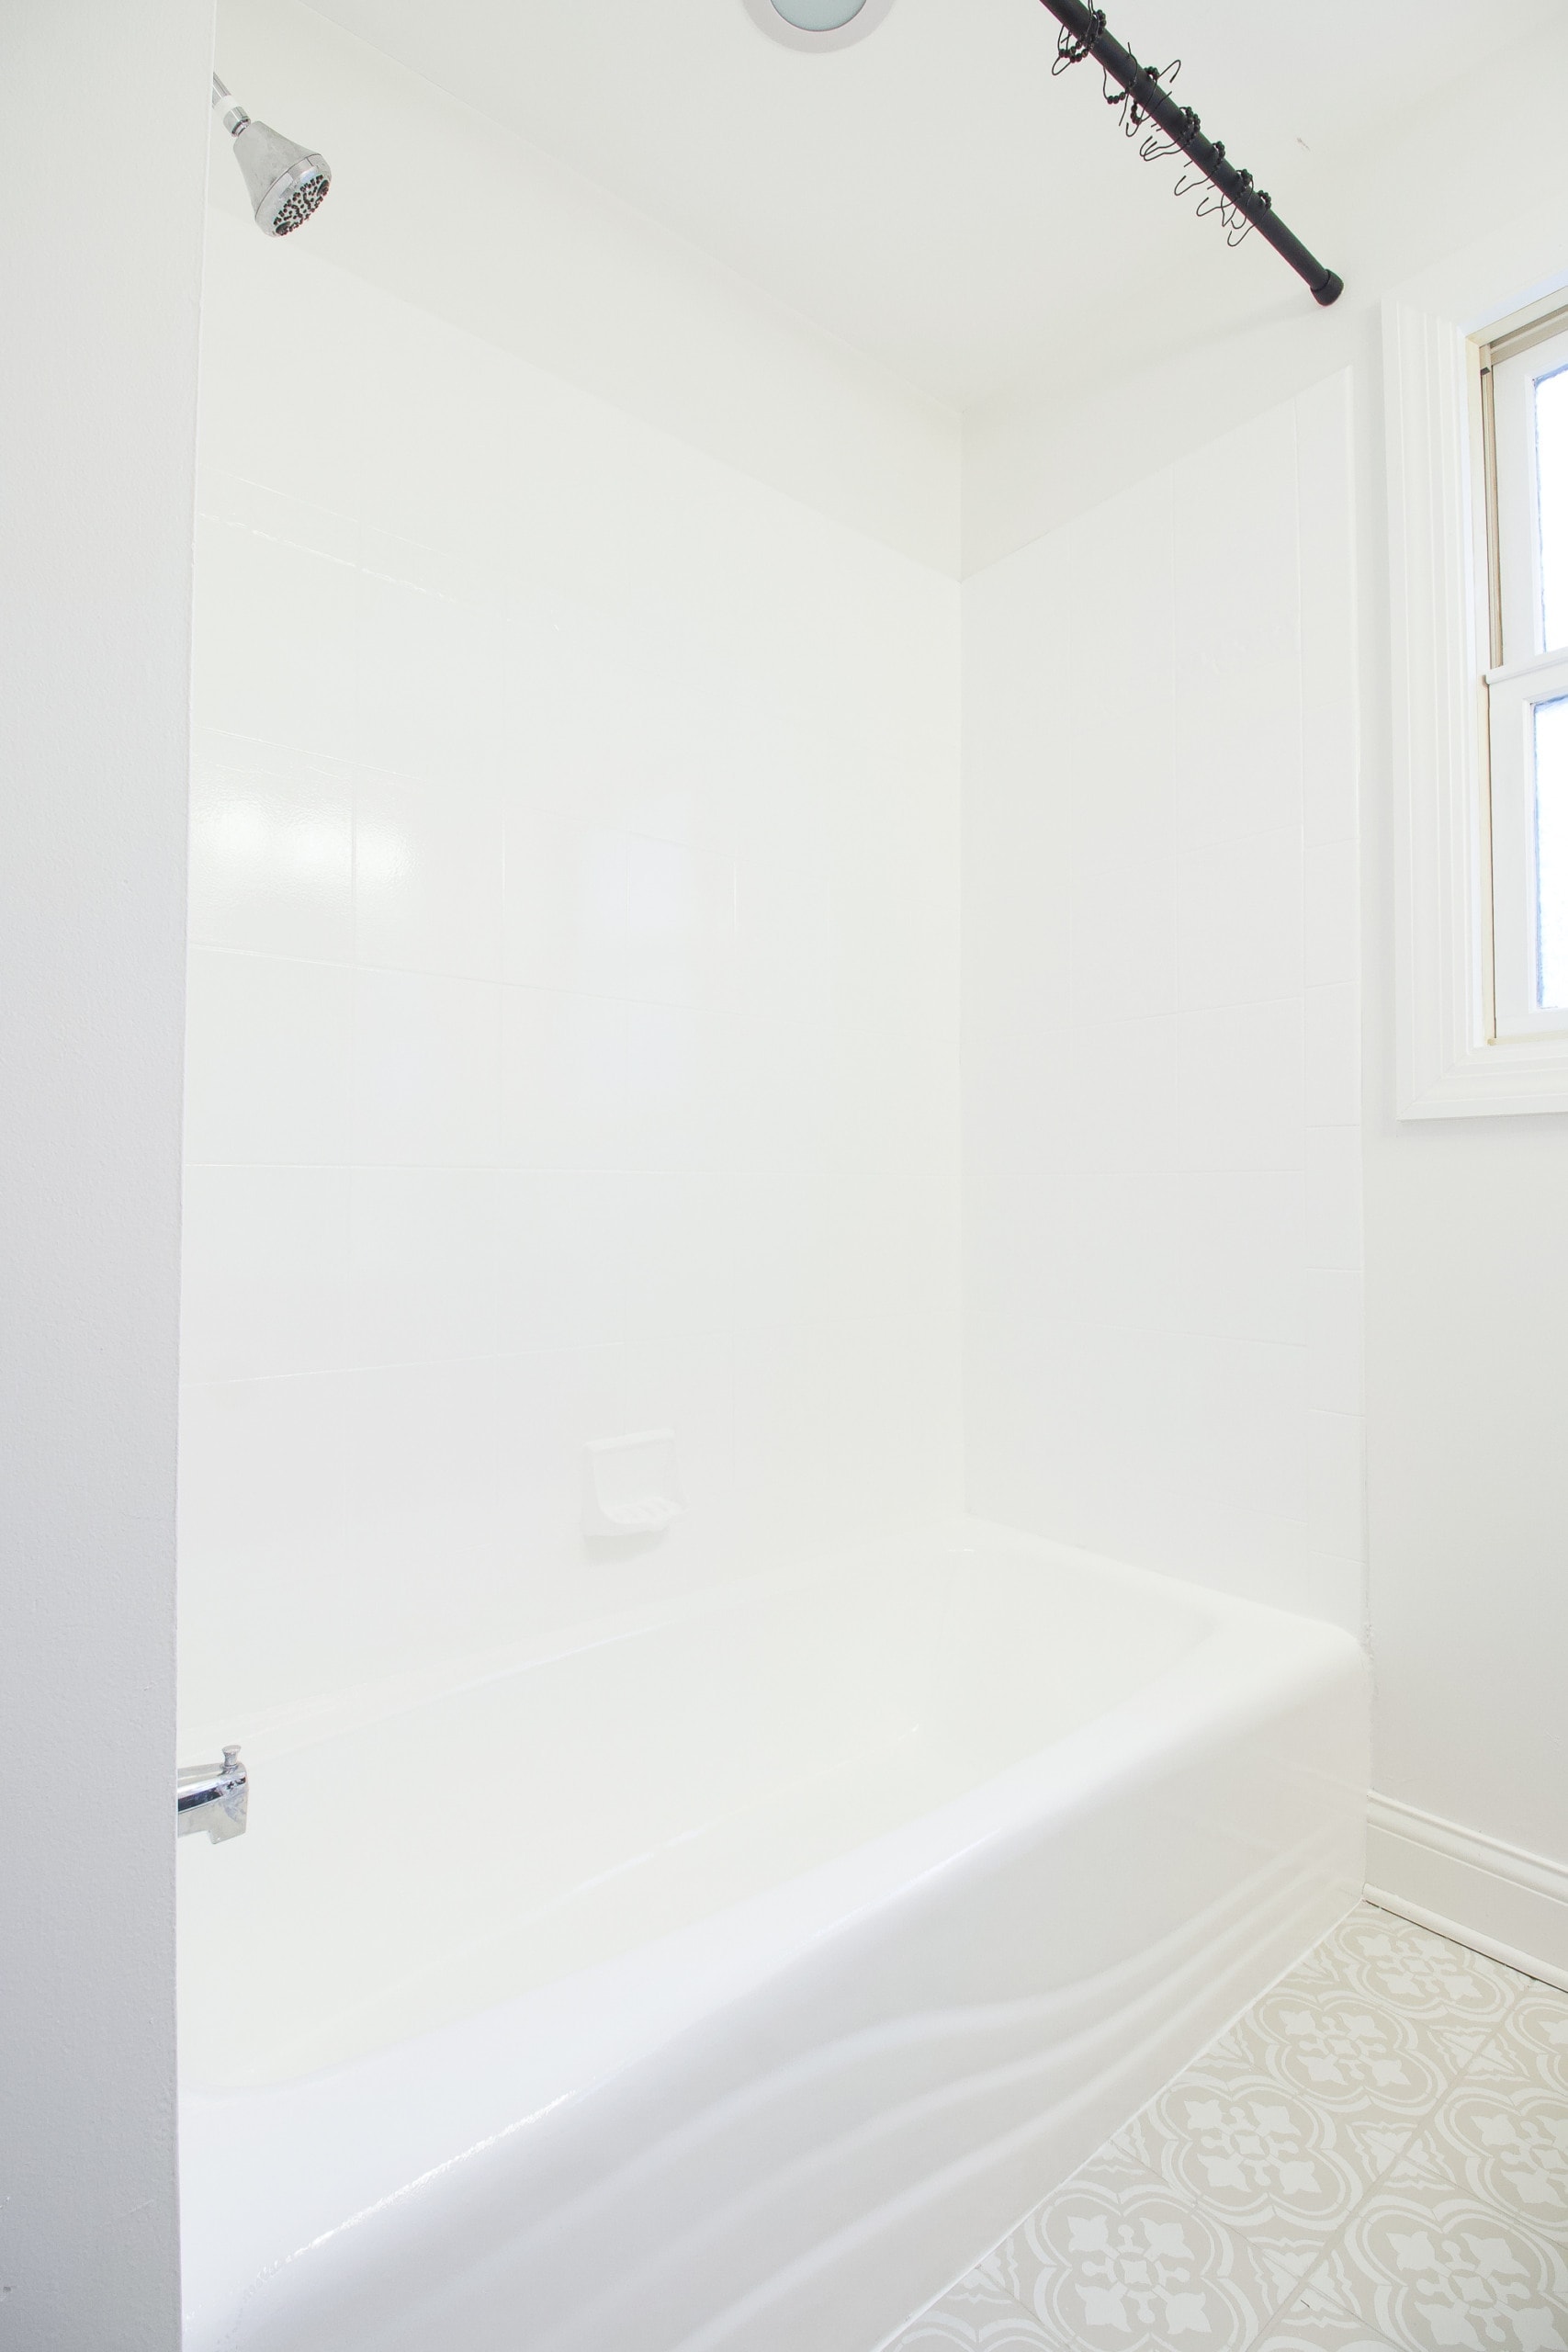
It’s crazy how much brighter and bigger the space looks now!!! I can hardly even believe these photos.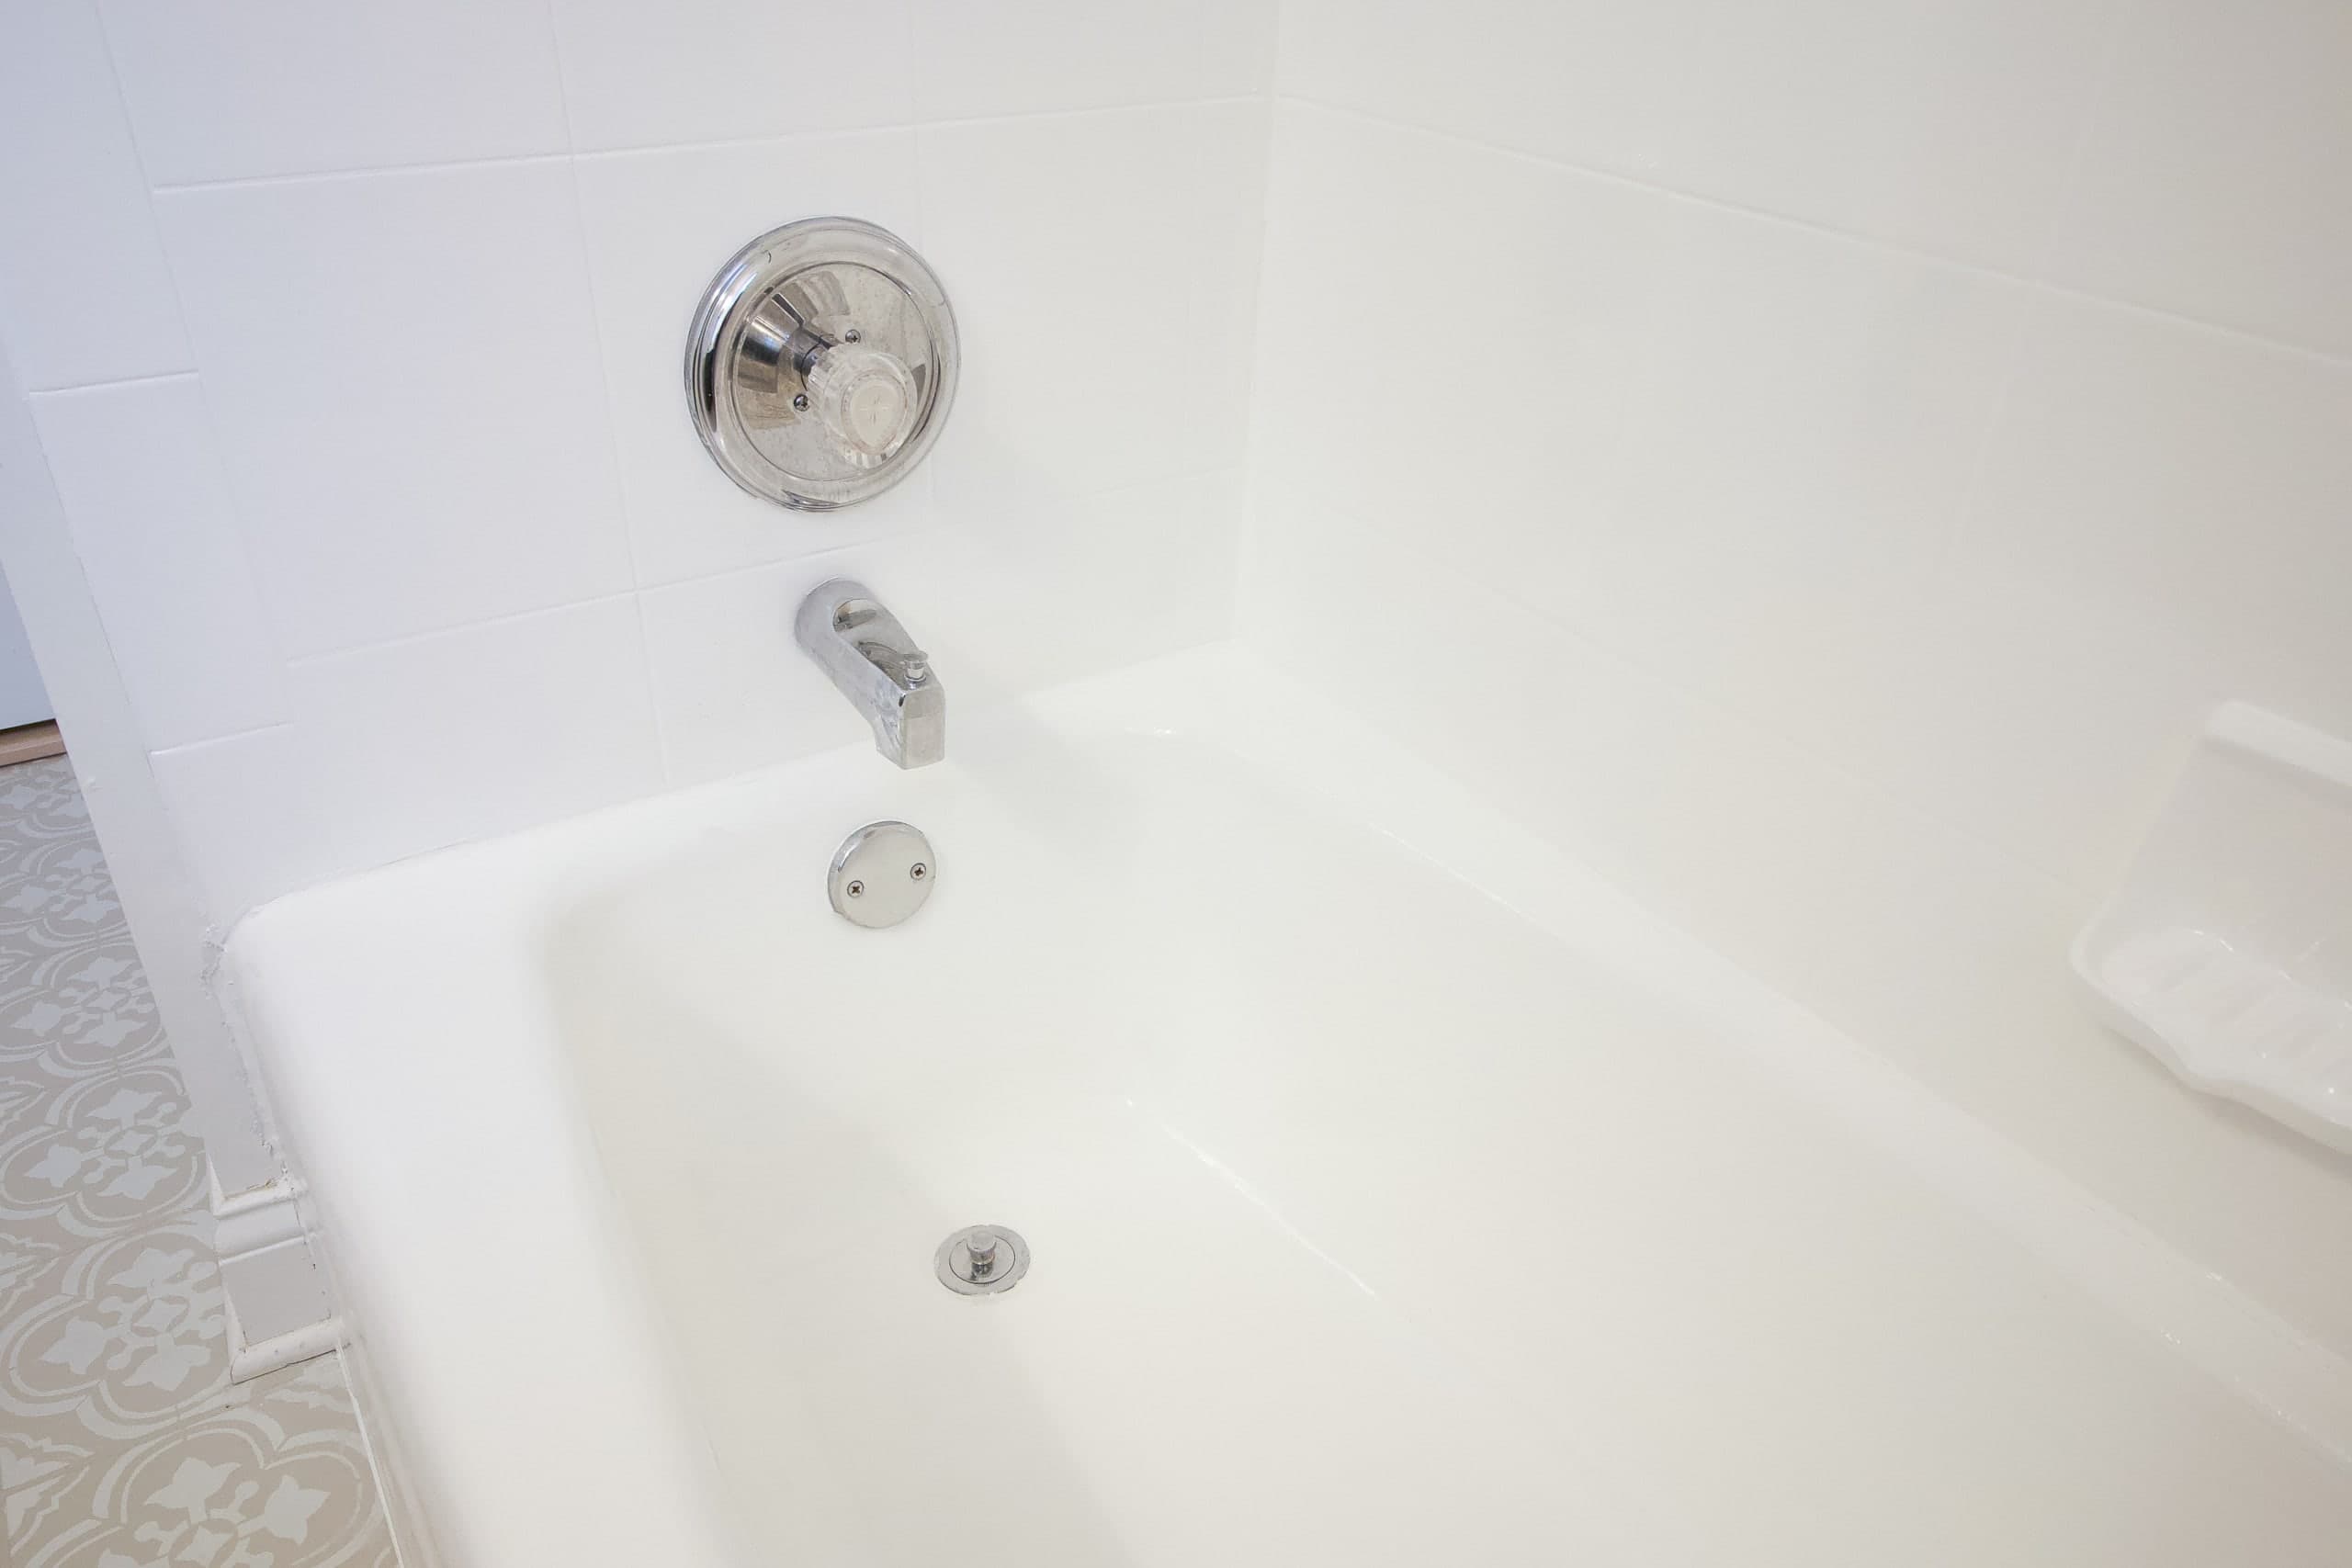
At first, I didn’t know if I was going to paint the bathtub along with the shower. But I quickly realized that the bathtub was going to look super dingy next to the bright white shower tile, so I might as well paint it all. I’m so happy that I did. 
I have a paint drip here or there, so I would highly recommend taking your time and reviewing your work as you go. I was eager to get this project done and to take photos, a video, and create an Instagram story, so I was a bit distracted during the project. Make sure you check for any rogue hairs, dust, or drips as you paint! 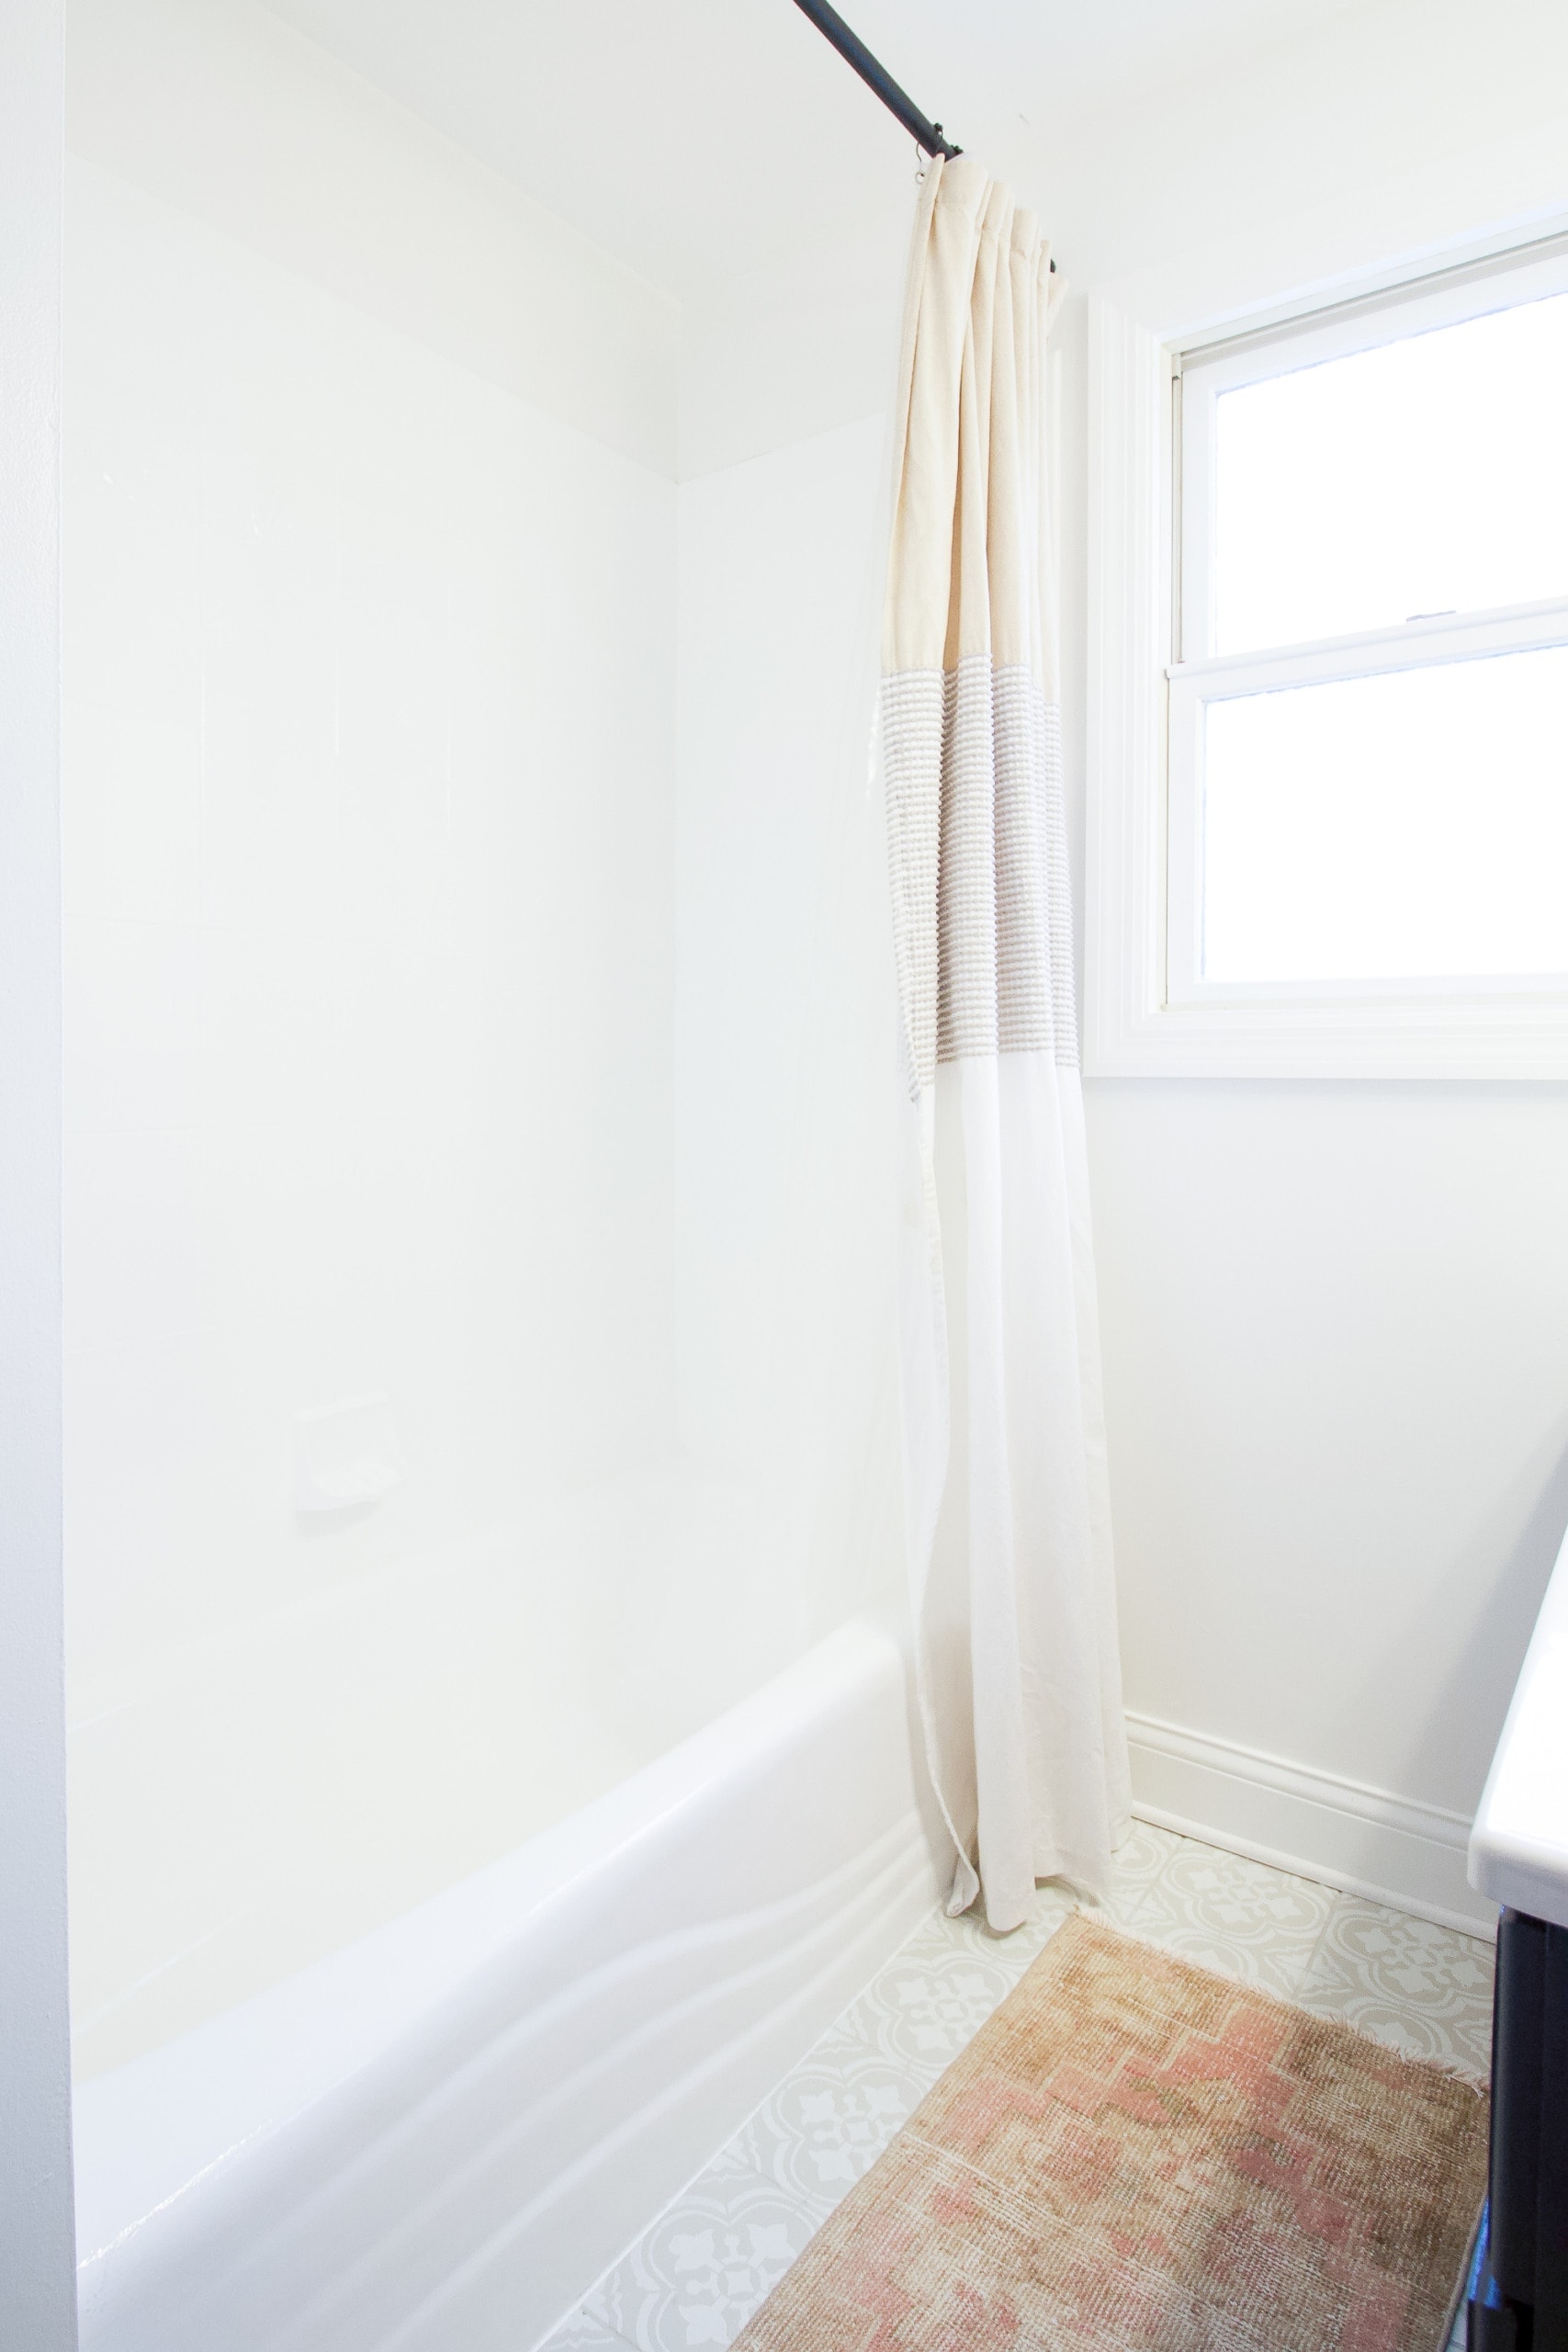
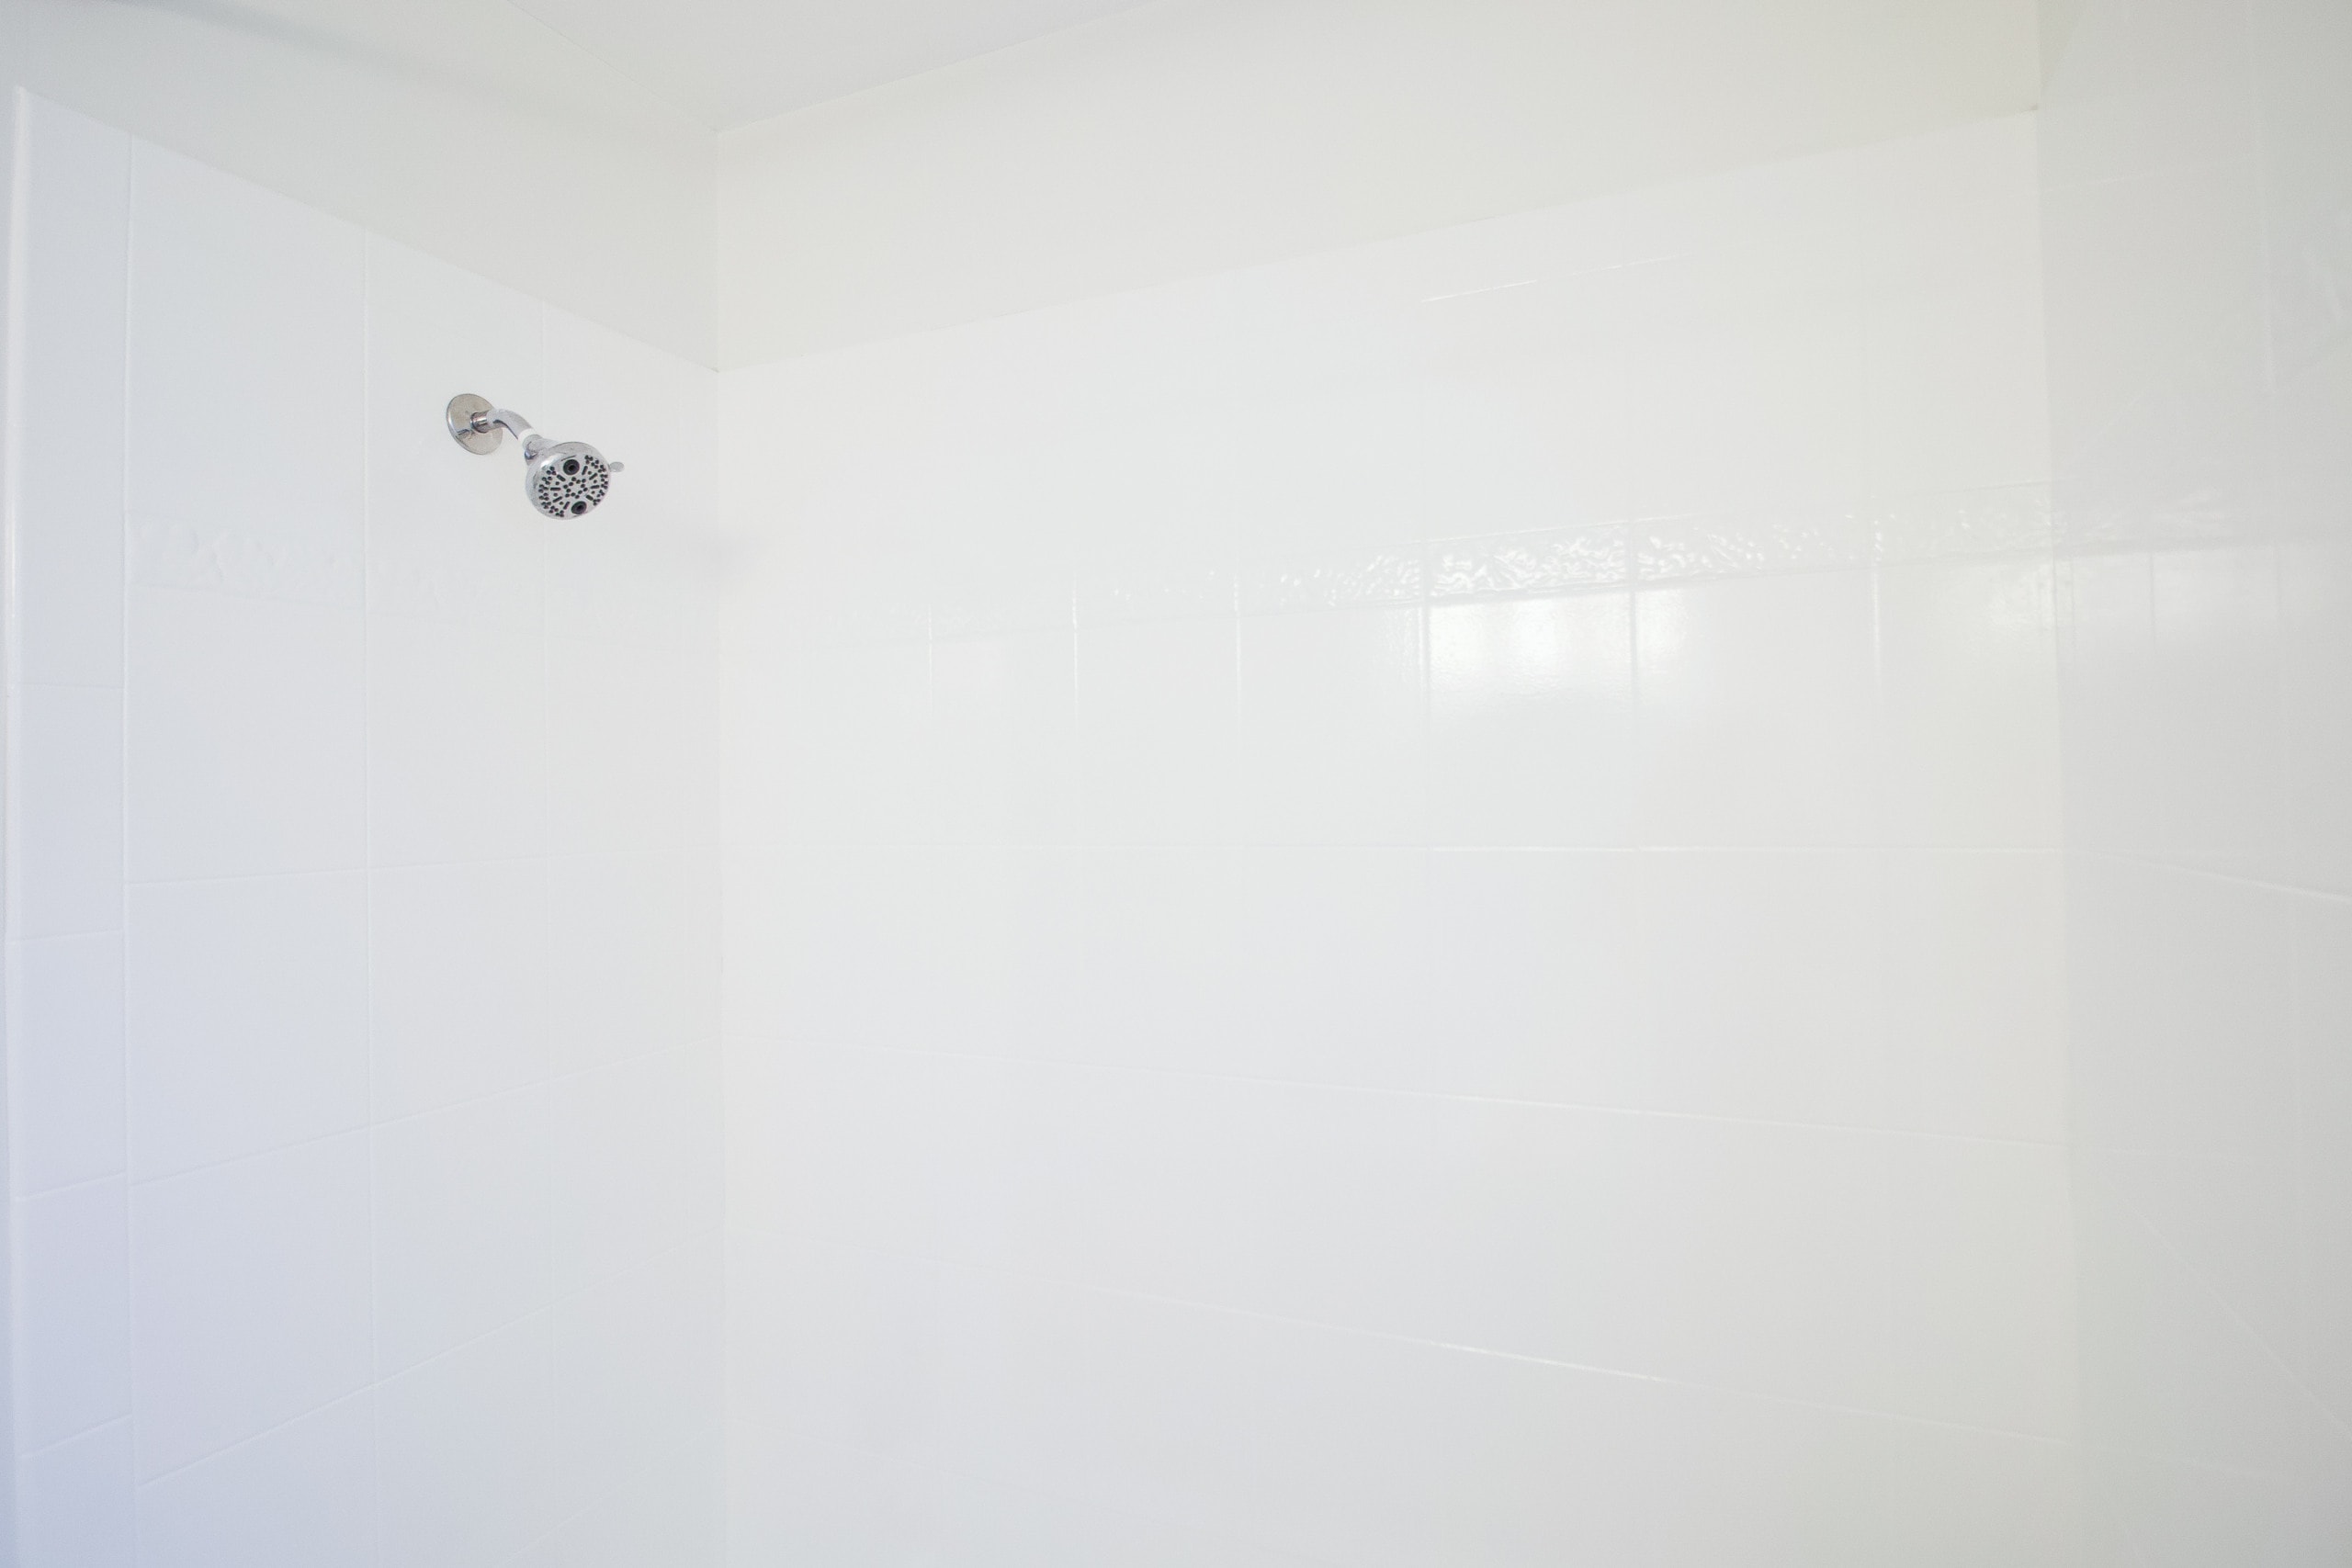
You can see the texture from the flower pattern, but you definitely can’t see it popping through. It looks so much better to me!
Happy Painting!
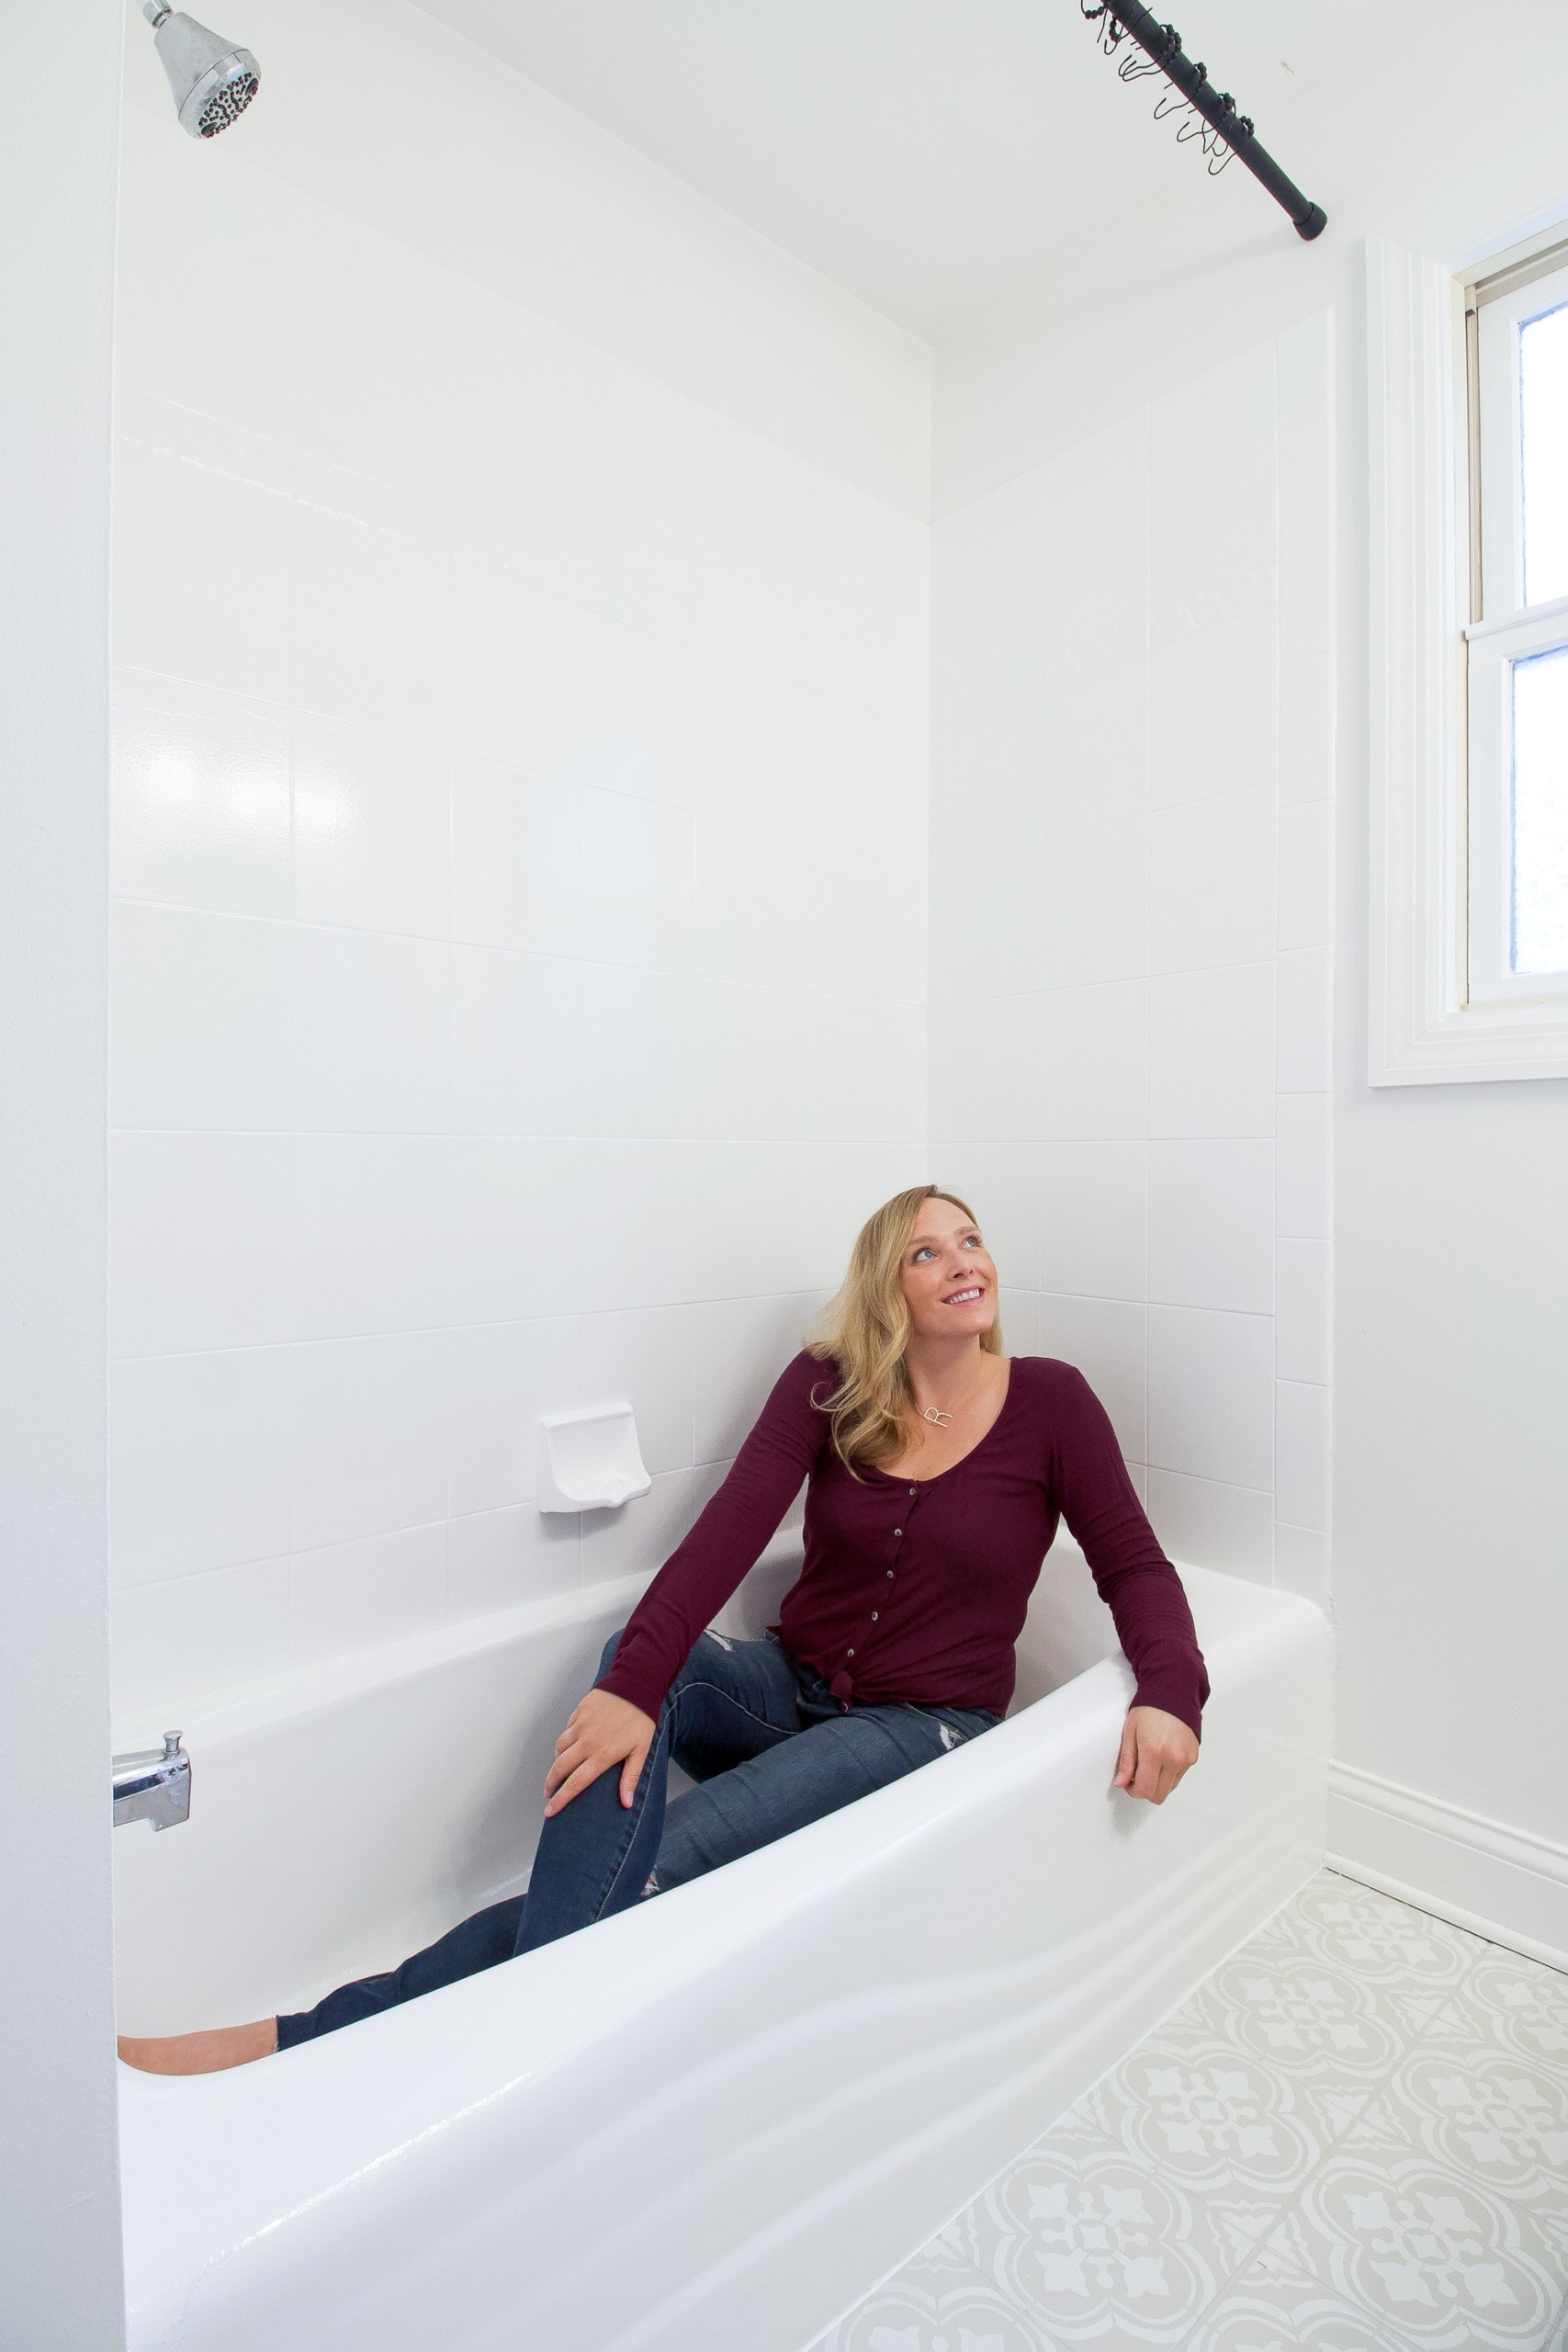
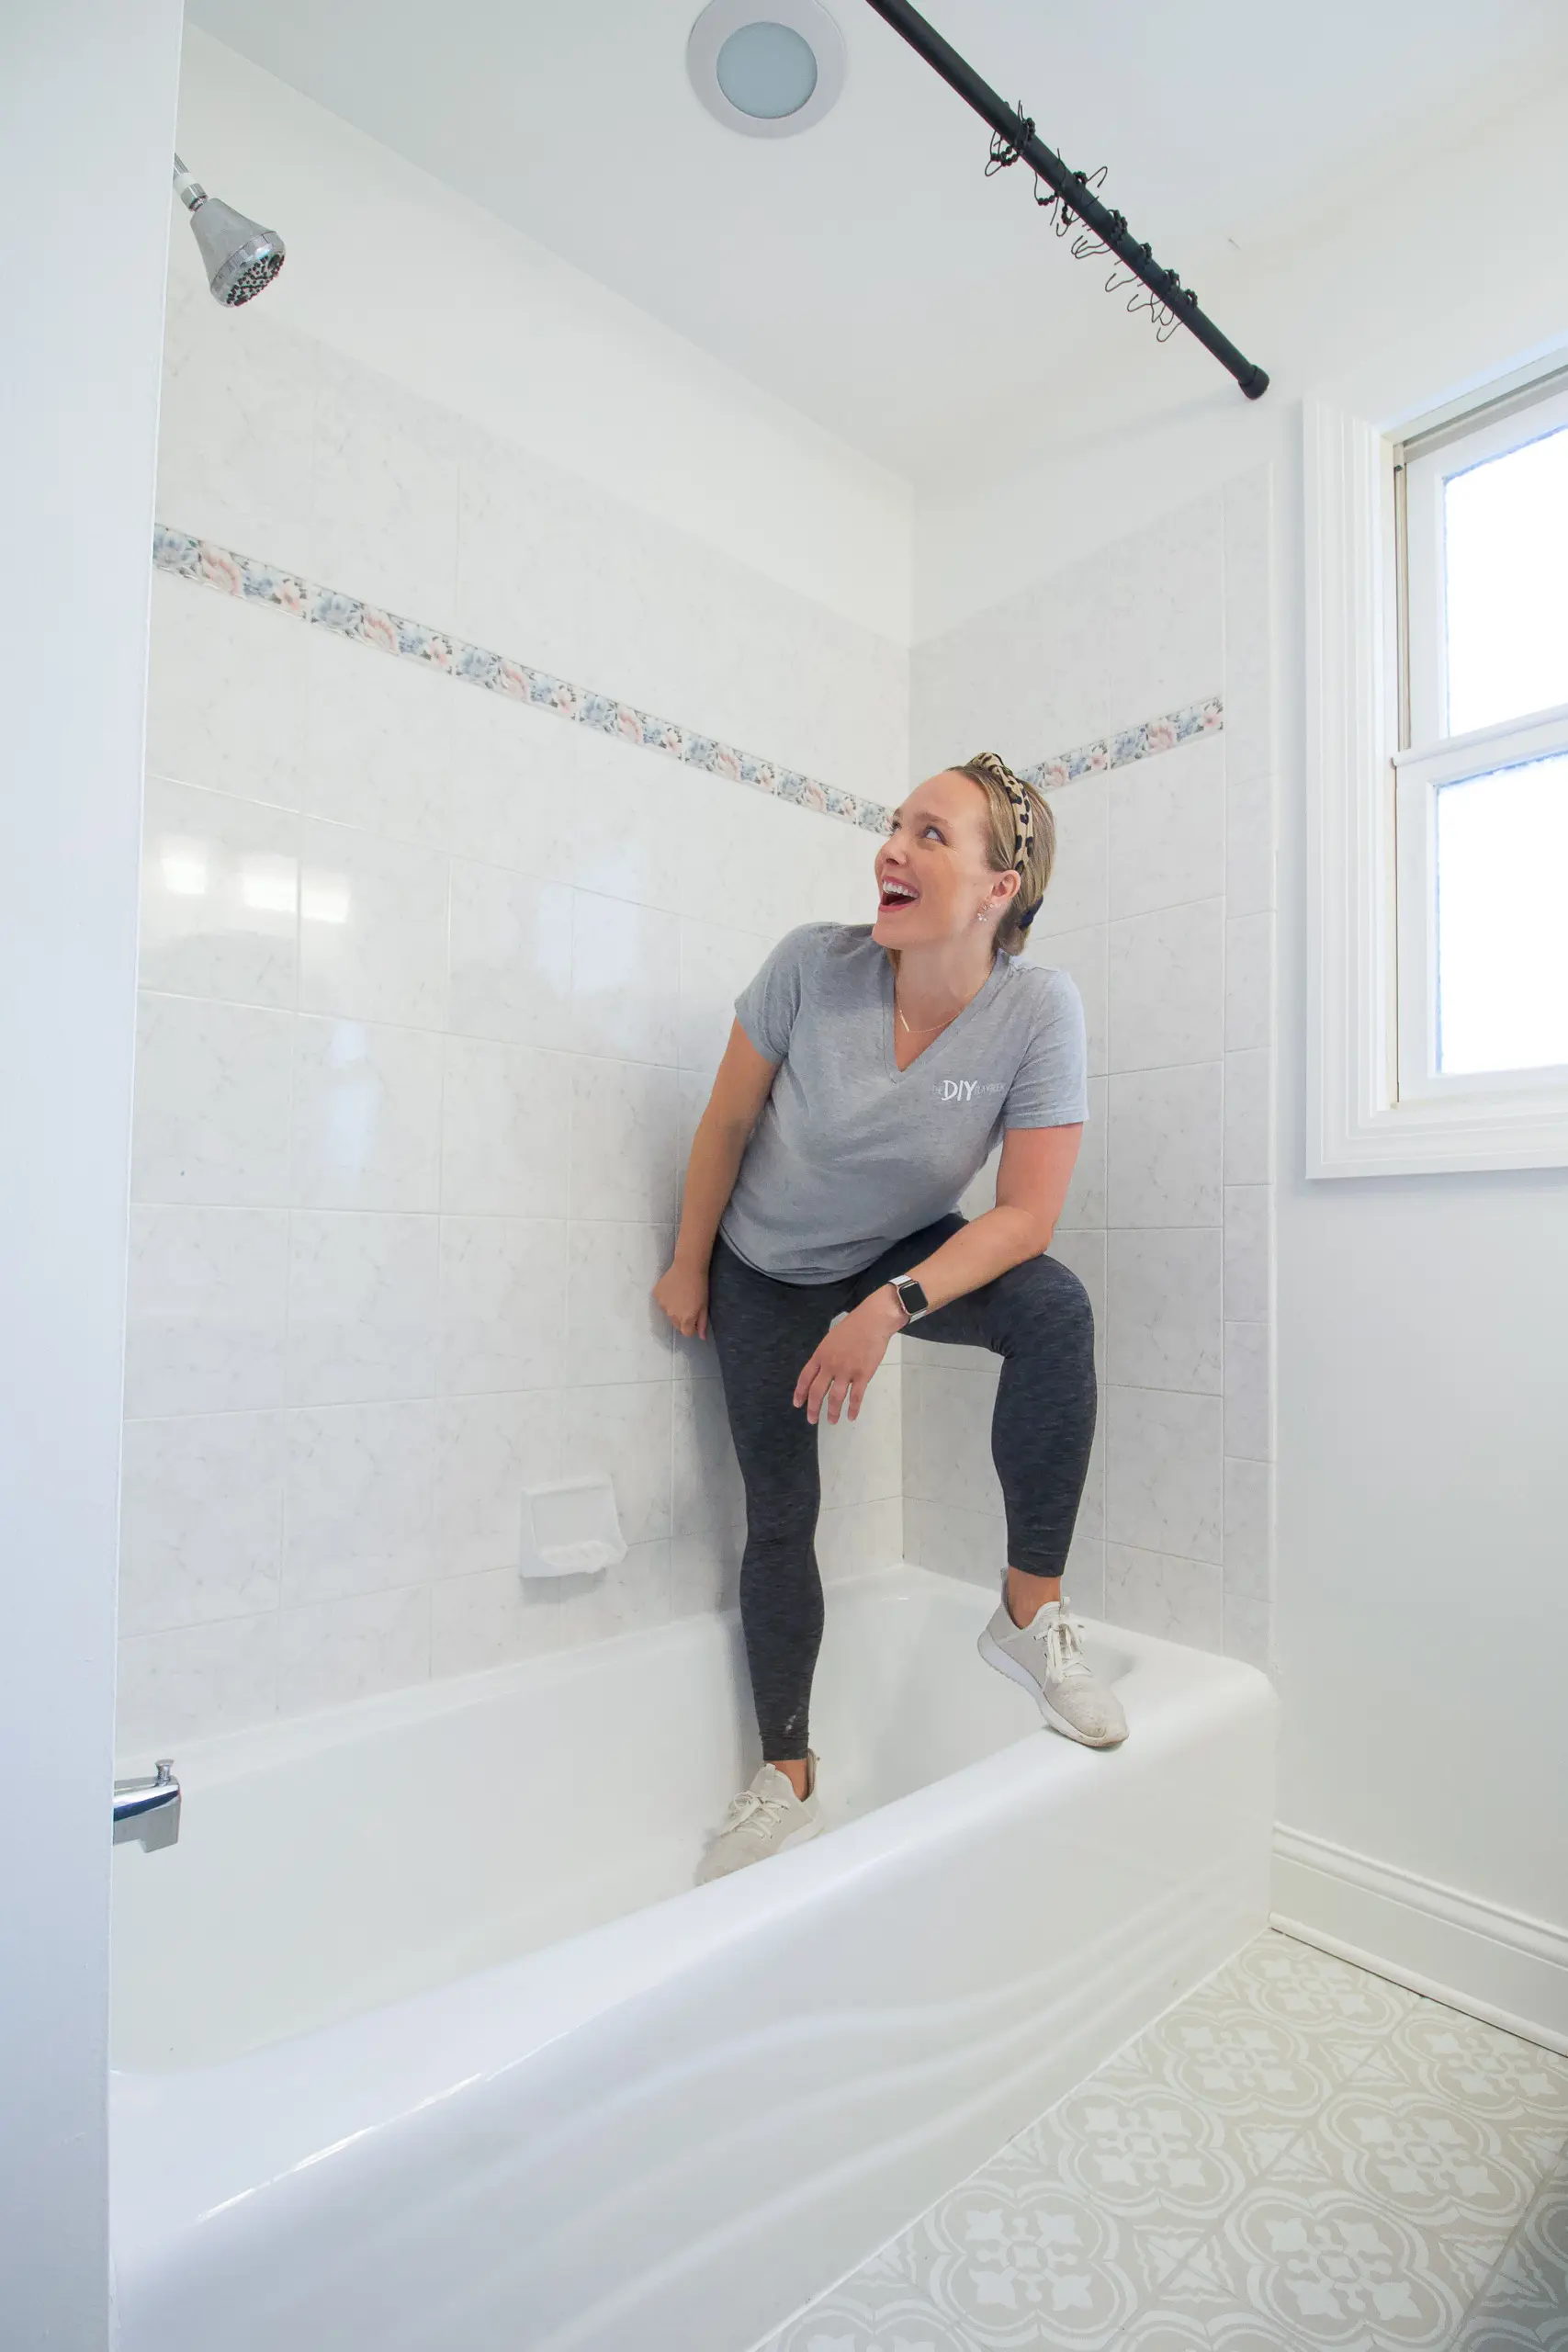
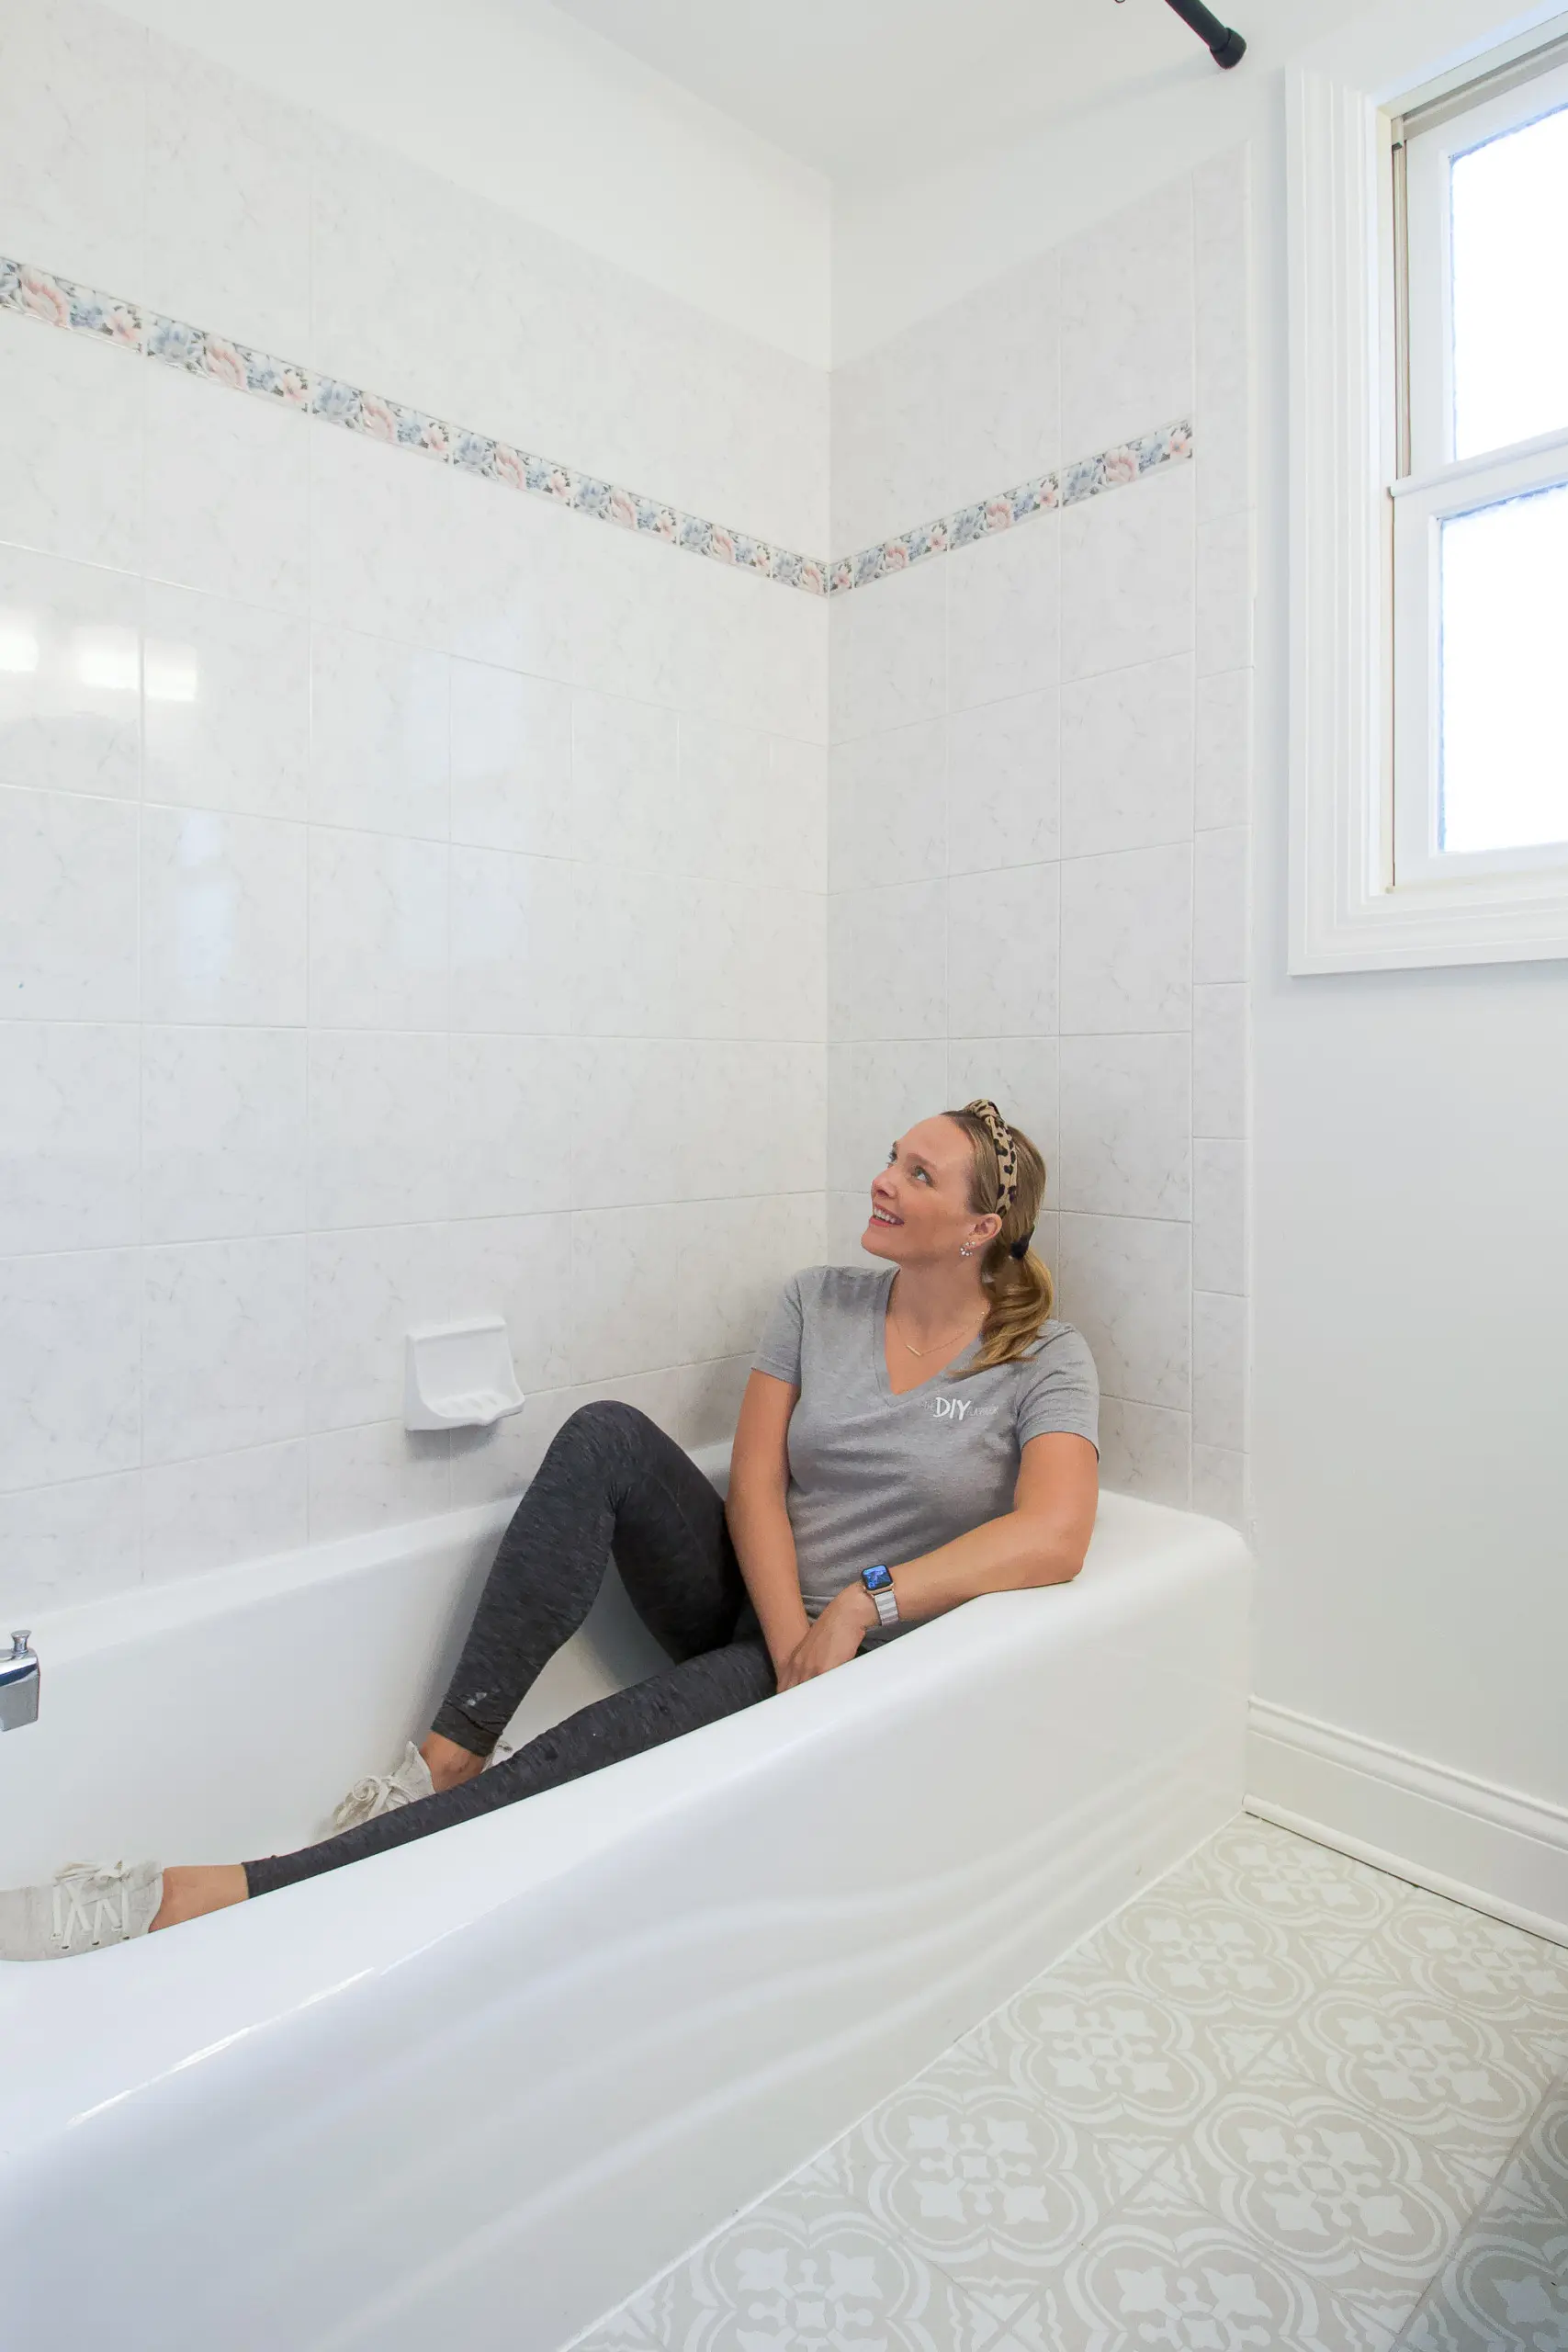
And for your enjoyment, here is a totally normal photo of me sitting in my new bathtub – fully clothed, of course! We’ve really been loving giving Rory her baths in this nice clean bathtub. I’m so happy that I took a day to get this project done. It really completes the space and officially marks the end of my budget bathroom series!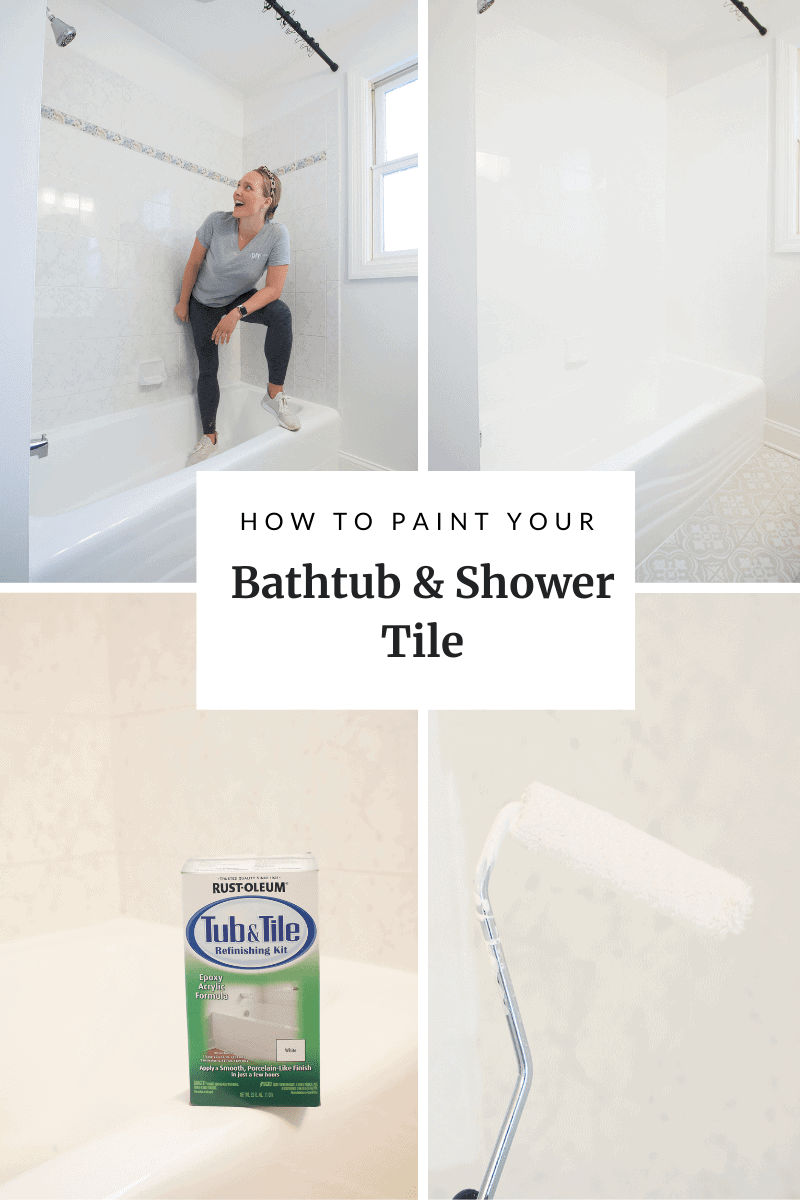
If you paint your bathtub or shower, I would love to see the results. Be sure to share in the comments, on Instagram, or even shoot me an email at diyplaybook@gmail.com. I can’t wait to see your fresh new bathtubs!
Casey