Come See Our DIY Built In Linen Cabinet
This post has been a long time coming and I’m so excited to finally share our new built in linen cabinet with all of you. It’s been the final project on our main bathroom to-do list and it’s taken me over two months to complete. Every time I walked into that bathroom and saw the half-finished project, I shuddered. So to say I’m excited about this would be an understatement!
Our Built In Linen Cabinet Plan
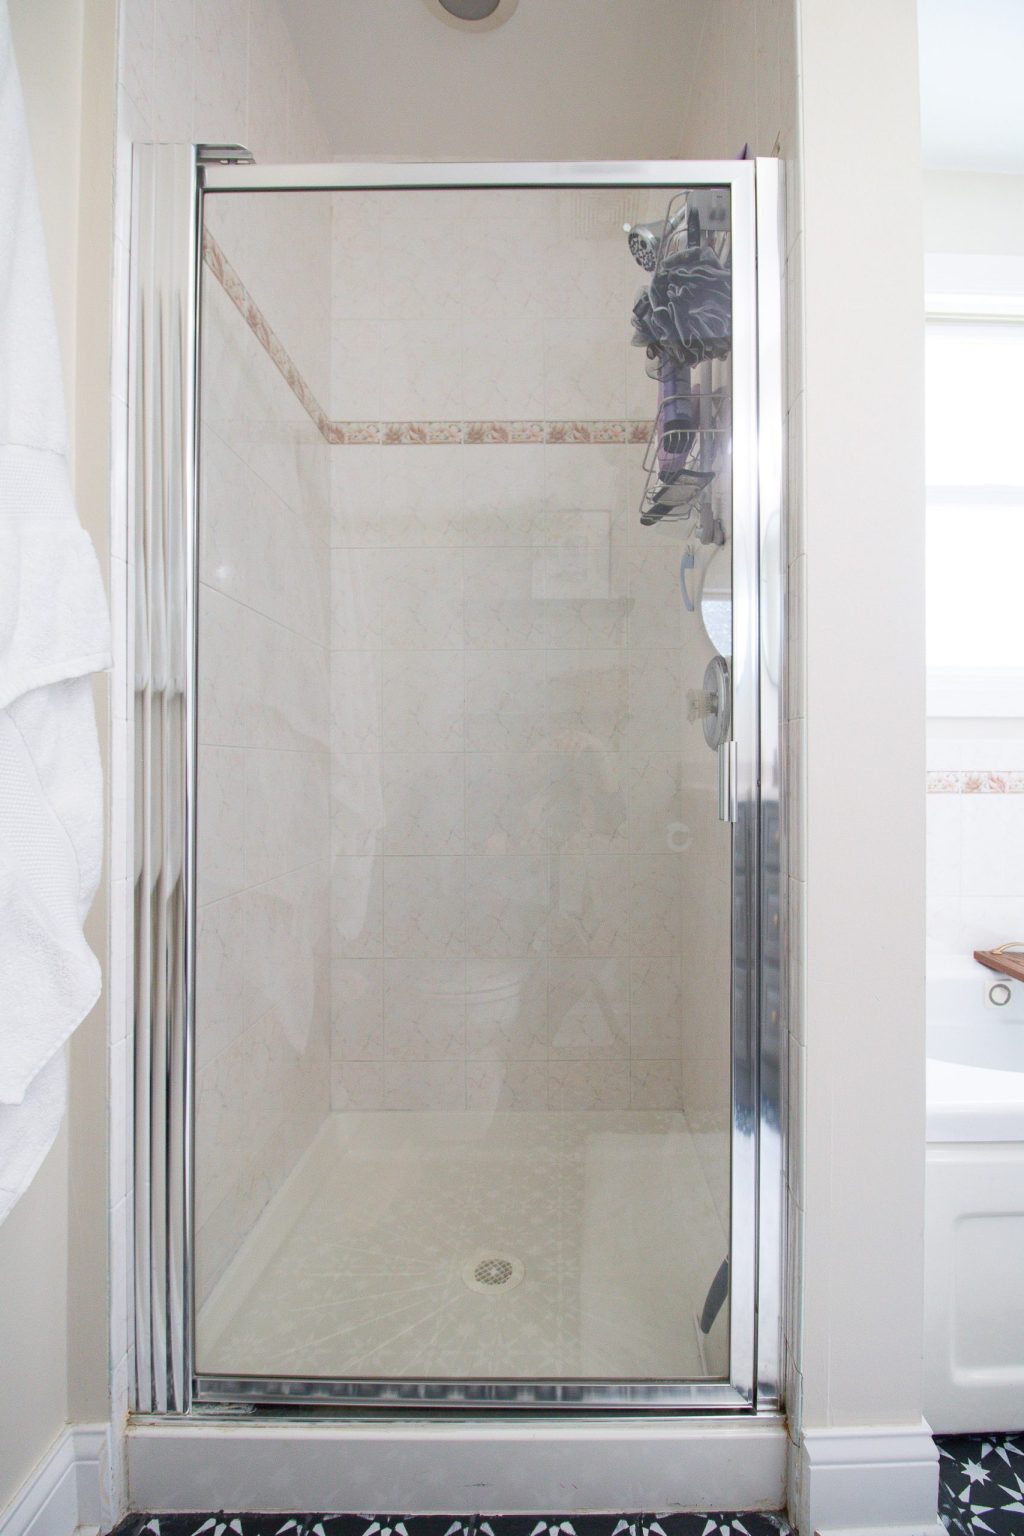
To review, when we renovated this bathroom, we originally had a small shower in this little nook. We replaced our old bathtub with a large shower and I then had my contractor tile and drywall out this area for a future linen cabinet.
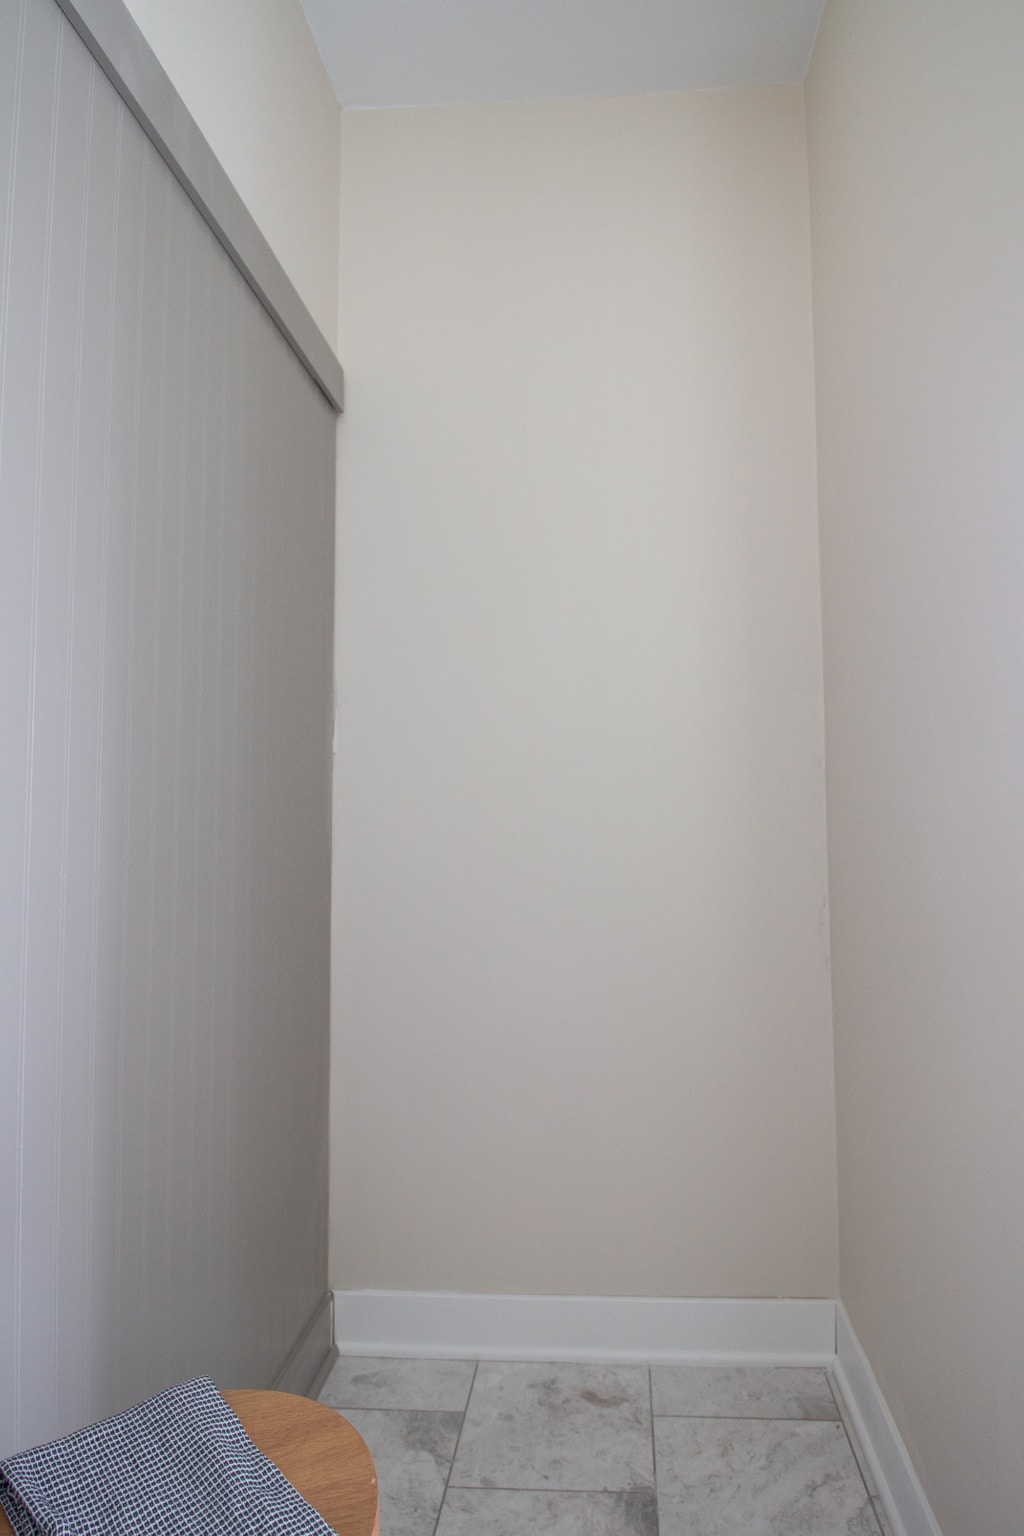
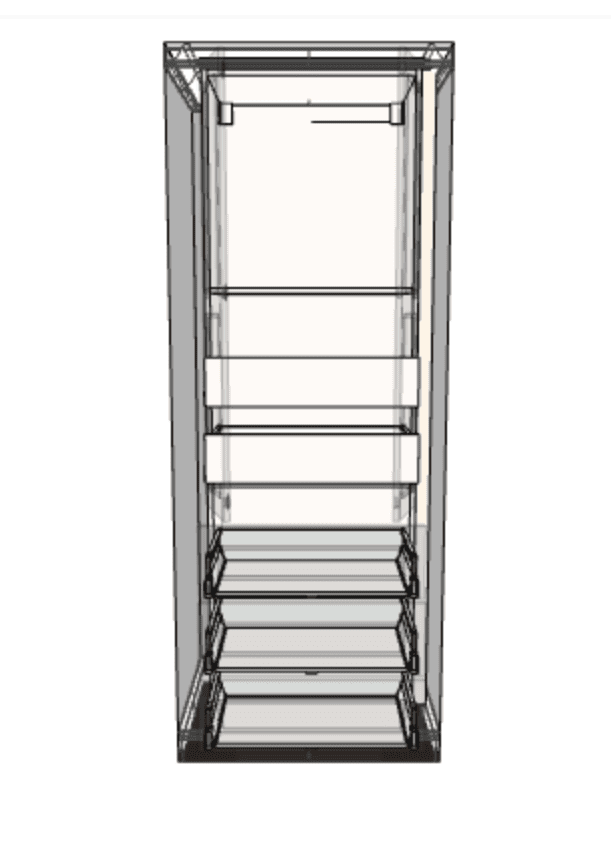
I shared more details and measurements about designing this built in linen cabinet back in this blog post. In short, I used the IKEA kitchen planner to design the cabinet interior and then chose upgraded doors, drawer fronts, and trim from Semihandmade to give it a more custom look.
I ordered everything back in March and it was a bit of a headache getting all of the correct supplies. So my advice is to plan ahead of time and give yourself lots of wiggle room for your project deadline.
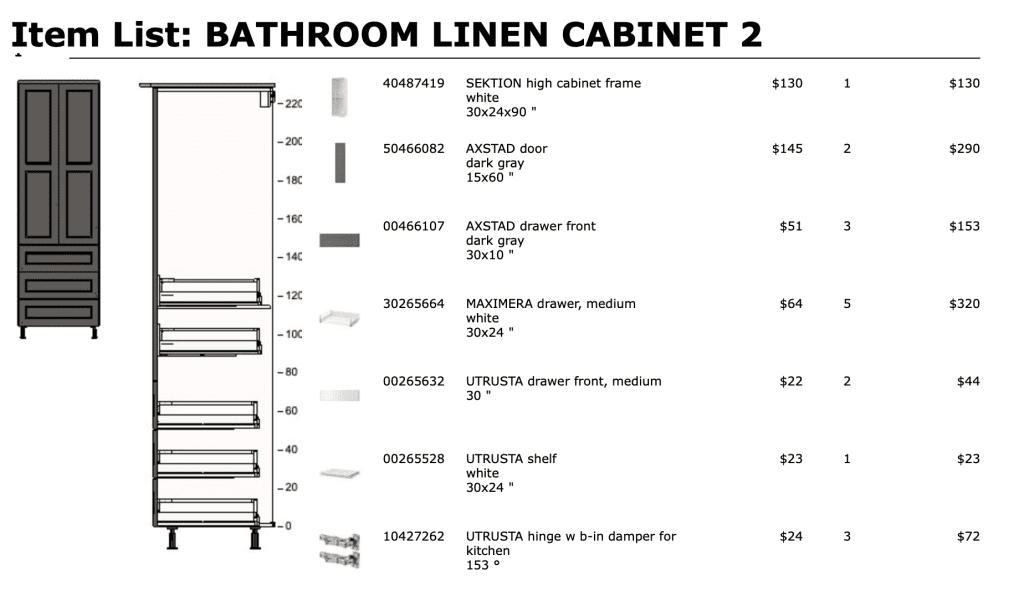
The Materials & Supplies

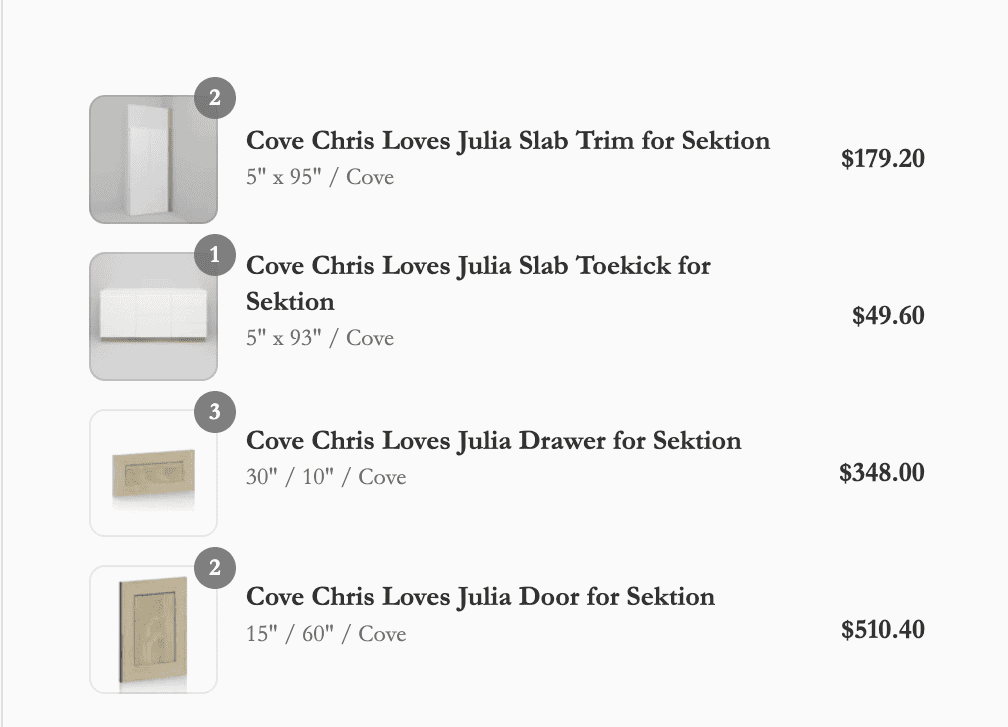
Whenever I do a project like this, I often get questions about the exact items I used. So, here are screenshots of my orders!
In addition to these materials, you’ll need to grab a few supplies.
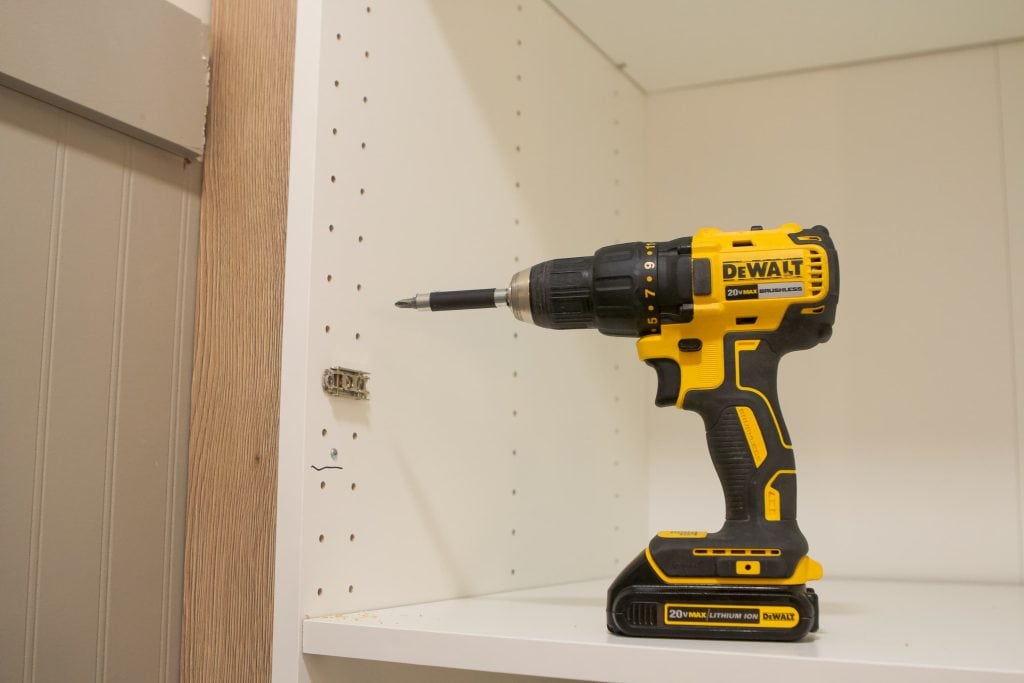
- Drill
- Level
- Hand Saw
- Toggle Bolts
- Circular Saw
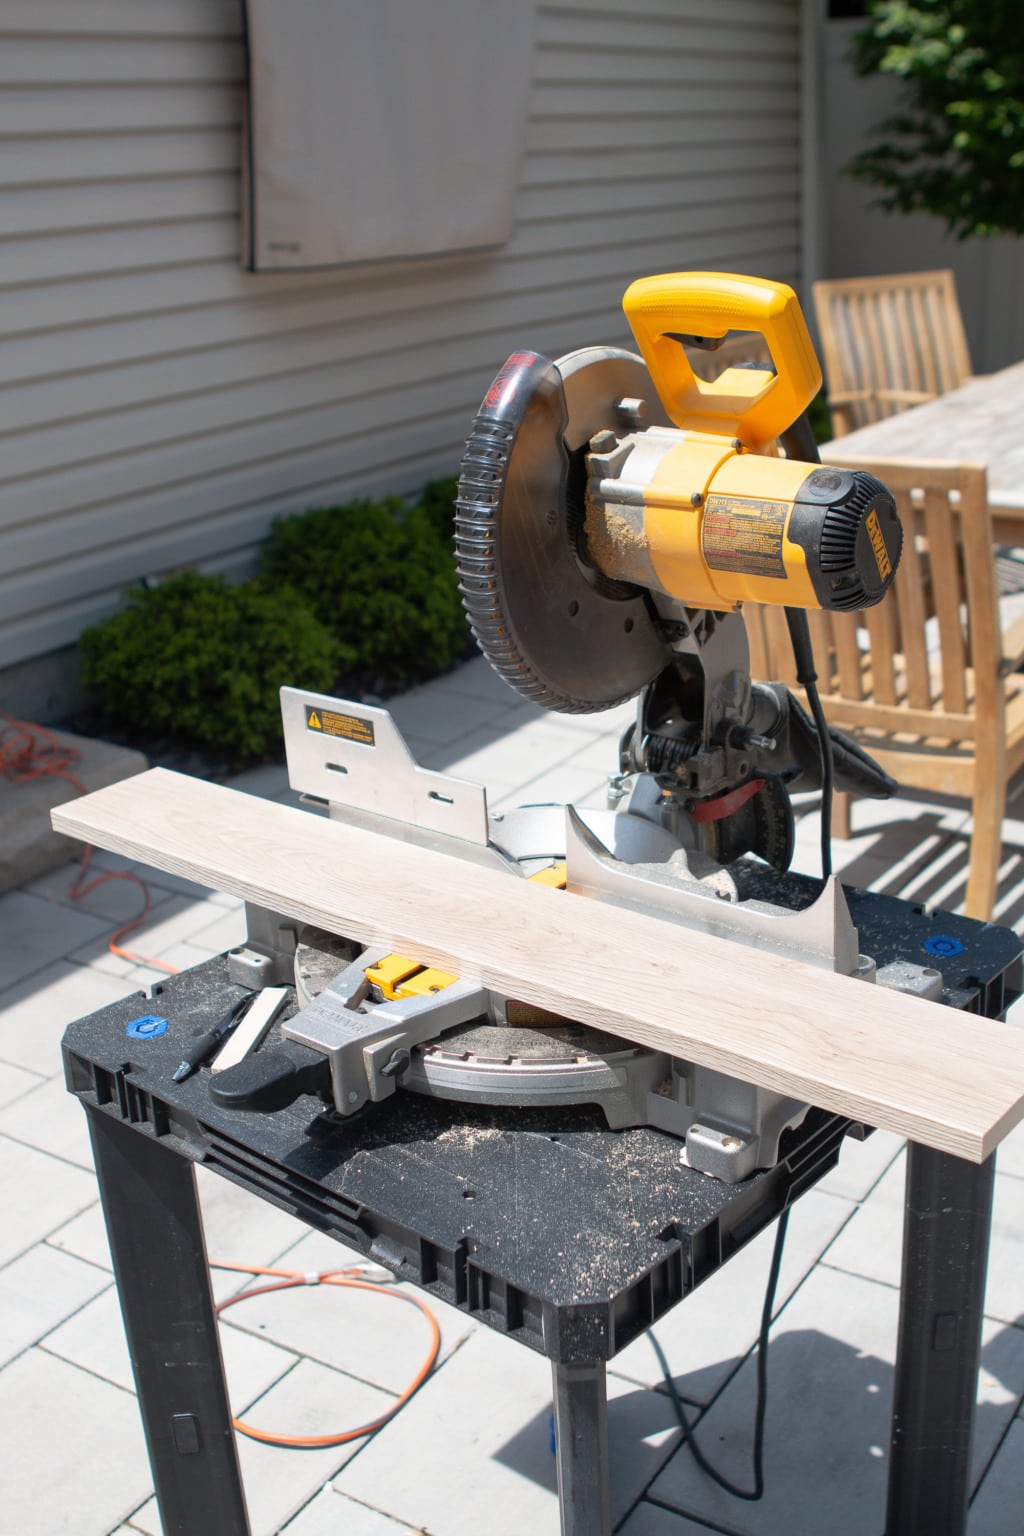
- Miter Saw and Stand
- Straight Edge
- Crow Bar and Mallet
- Oscillating Tool
- Caulk, Caulk Gun, and Caulk Saver Tool
- Paint Brush
- Screws
- Clamps
- Safety Gear (glasses, gloves, and headphones)
Removing the Millwork
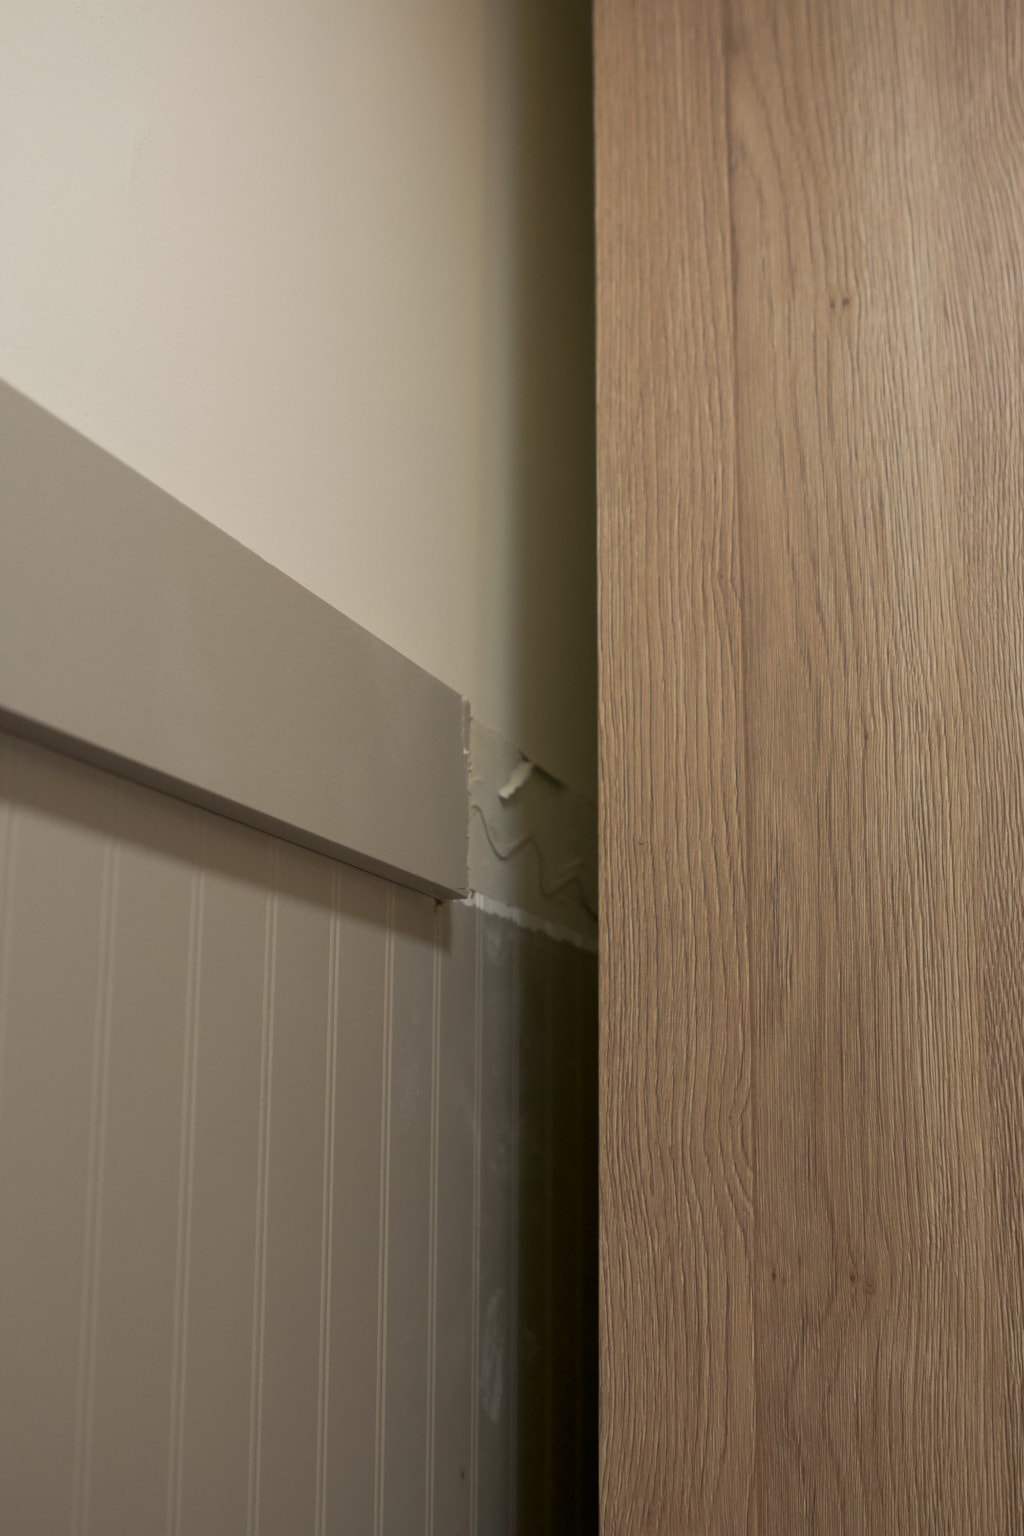
I had my contractor add baseboard and the wood wall treatment into this nook before I had an exact plan for the linen cabinet design. That meant that I had to remove these pieces before we could add anything to this area.
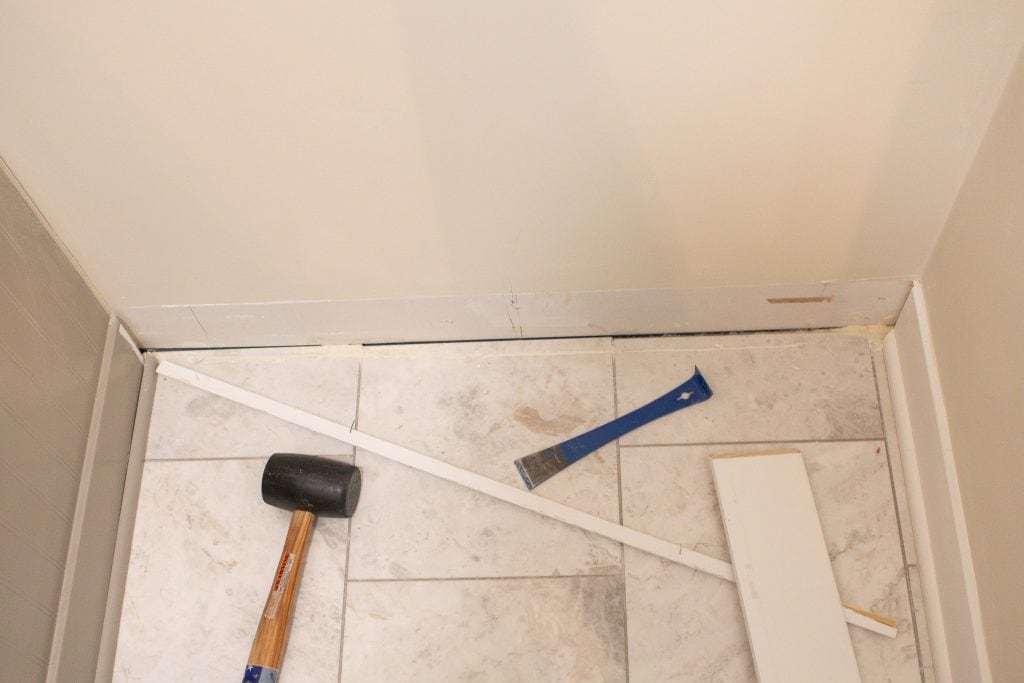
To remove the baseboard, grab a crowbar and mallet. Place the crowbar behind the trim and use the mallet to pound it behind the wood. You’ll then pull out to loosen the nails from the drywall.
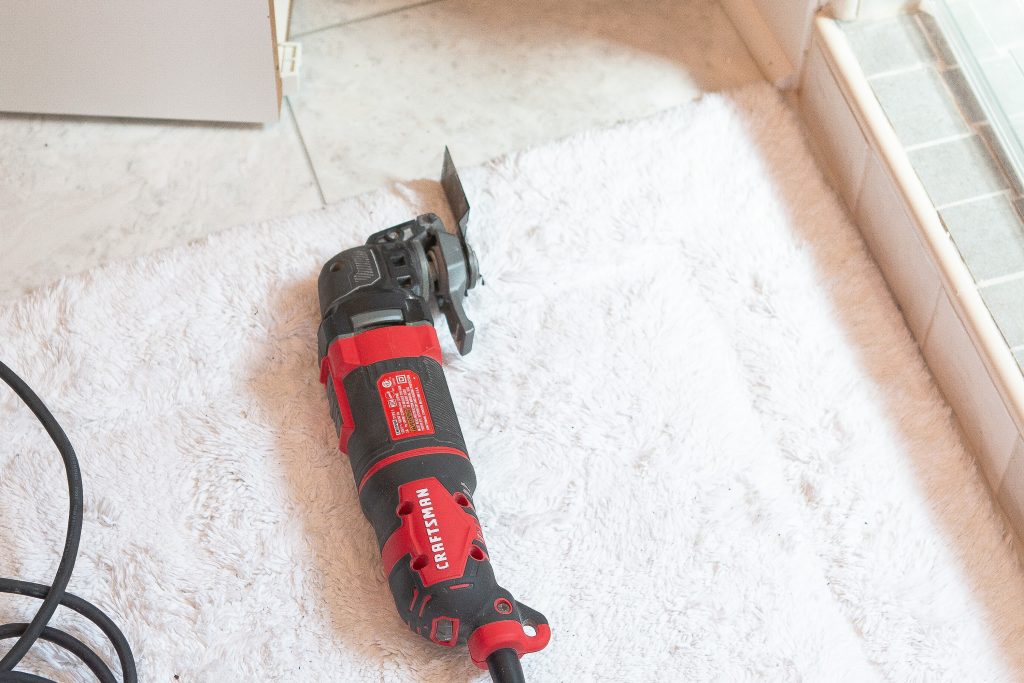
On the sides, I grabbed this oscillating tool so I could cut the baseboard, toe kick, and the wood piece on the wall. This was a bit tricky because I had to measure to make sure I was cutting it in the right spot. I ended up cutting the wood to the depth of the cabinet, plus the door depth. (I later found out this was cutting too much. Instead, just cut to the depth of your cabinet without the door.
The multi-tool is a very effective tool, but it can be a little scary when you first use it. Wear gloves, safety glasses, and noise-reducing headphones to keep yourself safe and know that it will be very loud and may smell a bit like burning wood. But, you can do it!
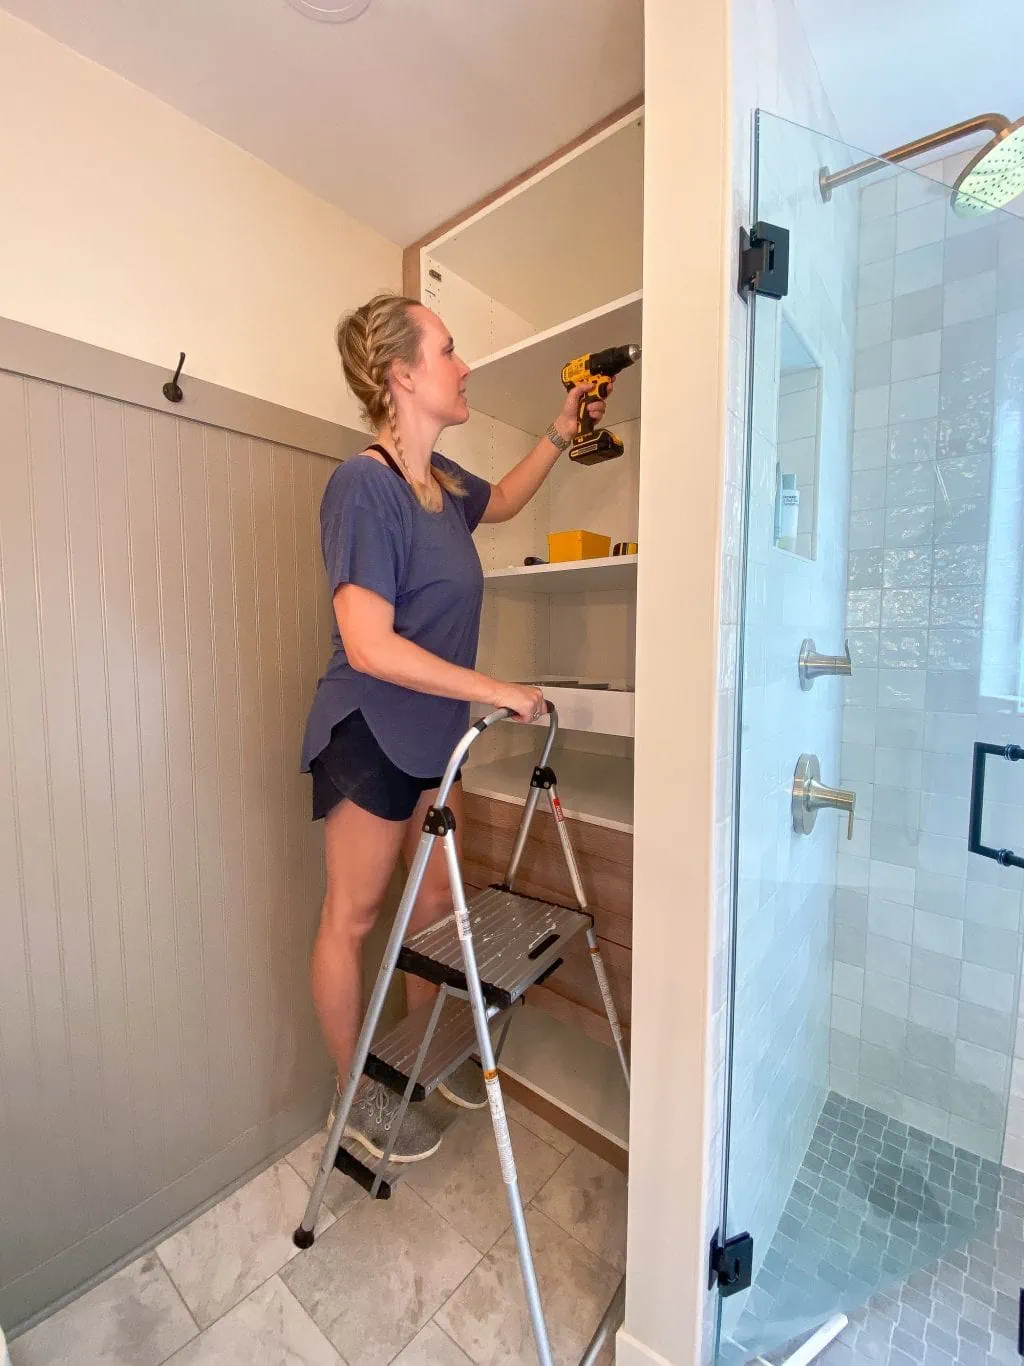
Building the IKEA Frame
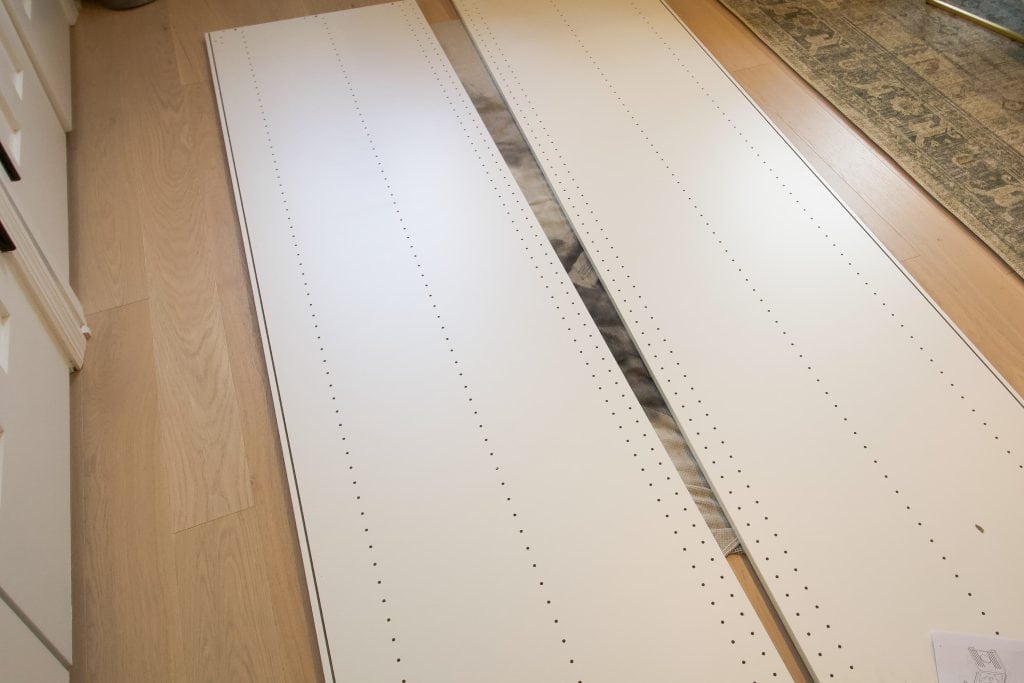
This is our fifth project using the IKEA products (you can read more about the other projects here!) and I’ve made lots of mistakes when building these in the past. Most notably, building the frame on the floor and then not having enough clearance at the ceiling to get it upright, like in our main bedroom closet.
Here, I was so terrified of making that same mistake. I considered building the entire piece in our bedroom, where there’s lots of room to work, and then getting it into the bathroom and in the corner. However, I was too afraid that I would build it and not be able to get it upright.

In the end, I did the first few steps in the bedroom and then moved it to the bathroom to finish it. Jan helped and we both somehow squeezed into the small bathroom with this ginormous item in place. I had to remove our ceiling light fixture to get it upright and squeeze it into the nook. But goodness, it worked!
So my advice? Measure your ceiling height 10 times before you start or you could ruin the frame by building it and then trying to rebuild it. And if possible, build it in the area where it will eventually live.
Attaching It To The Wall
With the frame in place, it was time to secure it to the wall. Your cabinets will come with a steel suspension rail that you’ll need to cut to fit your wall. I had Finn do this for me and he ended up finding the most success using a simple hand saw. It will take some muscle and strength, but eventually, you’ll get through it!
Once the rail is cut to size, it’s time to attach it to the wall. For this, I like to use my own anchors. I love using these toggle bolts because they’re crazy strong! If you can, try your best to attach the rail to a stud in at least one spot. For the other areas, use these toggle bolts. Make sure your rail is super level before you attach it.
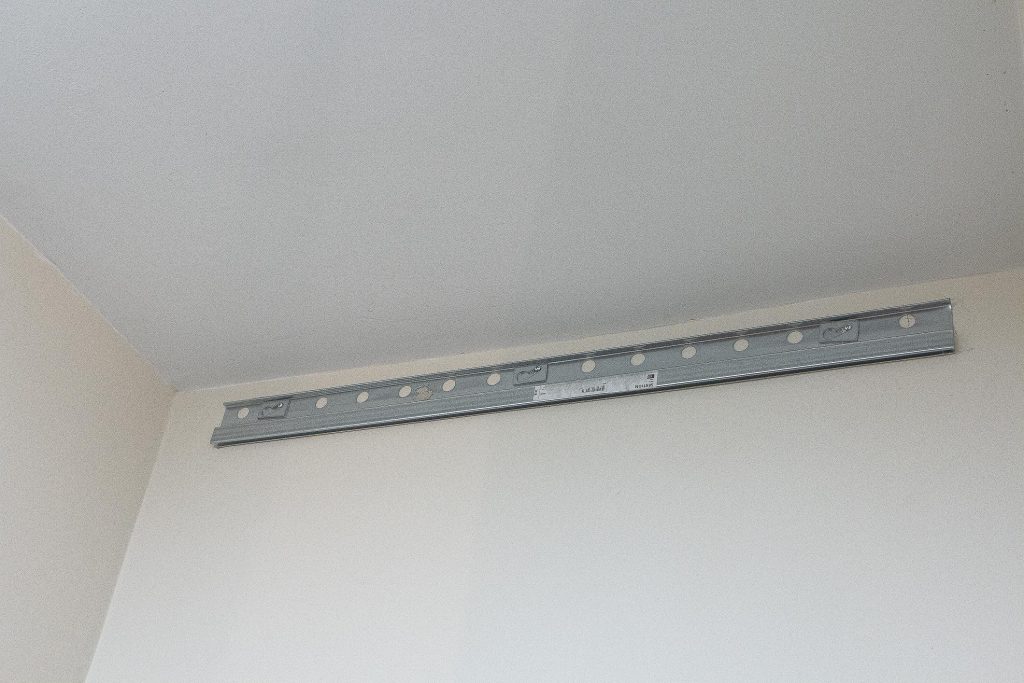

With the rail secure, it took both me and Finn to lift the heavy frame onto the suspension rail. Once it was hanging securely, I placed the frame legs underneath and adjusted them to get the entire piece level from side to side and front to back.
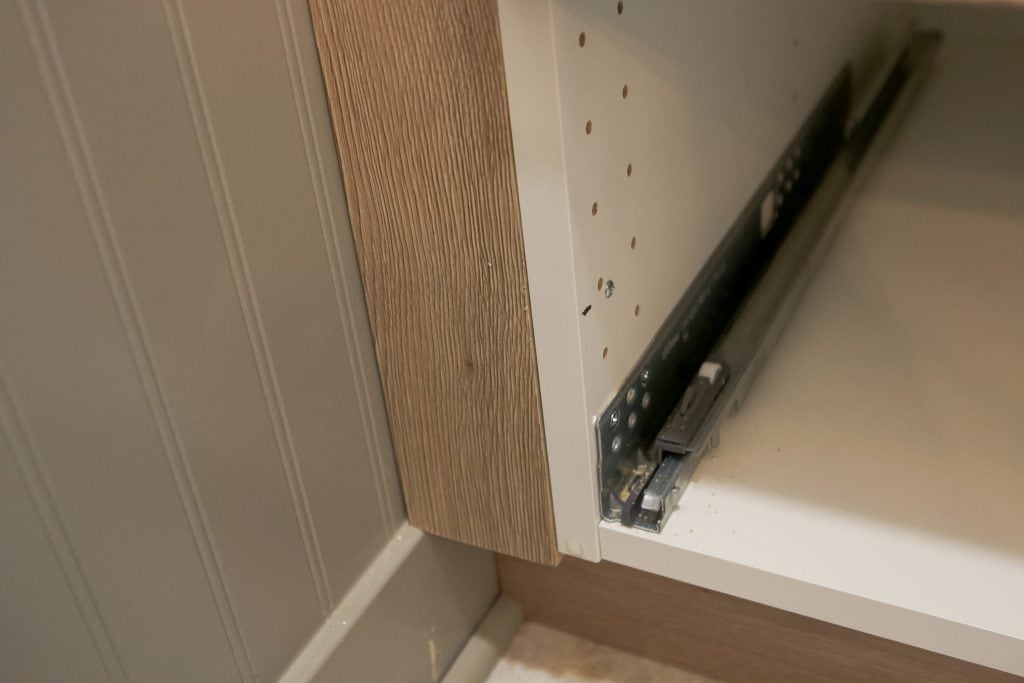
Adding Drawers & Shelves
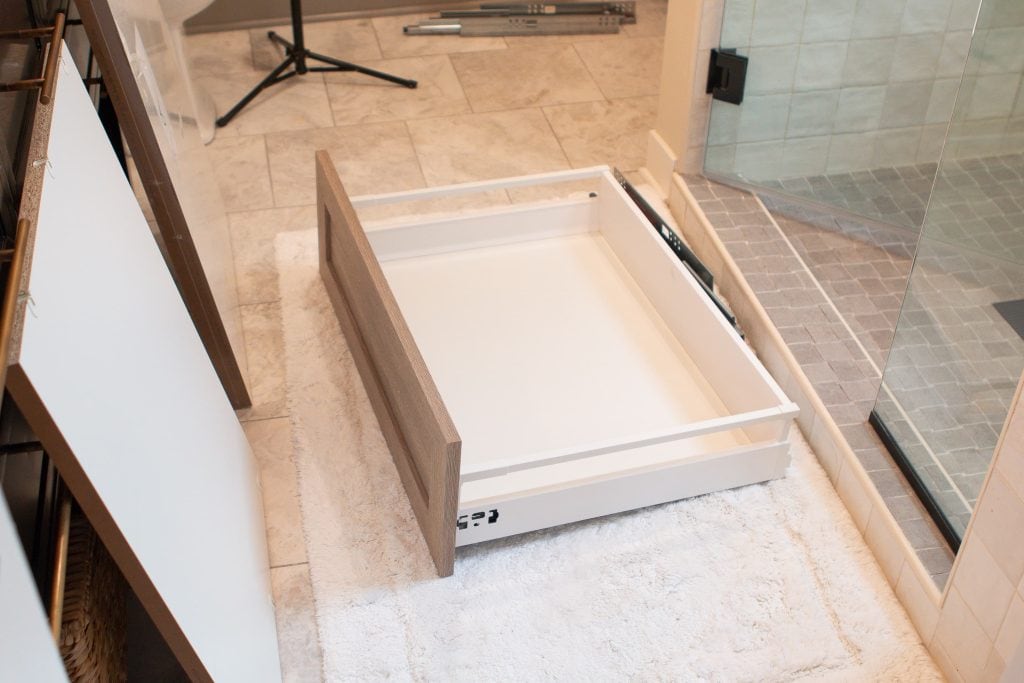
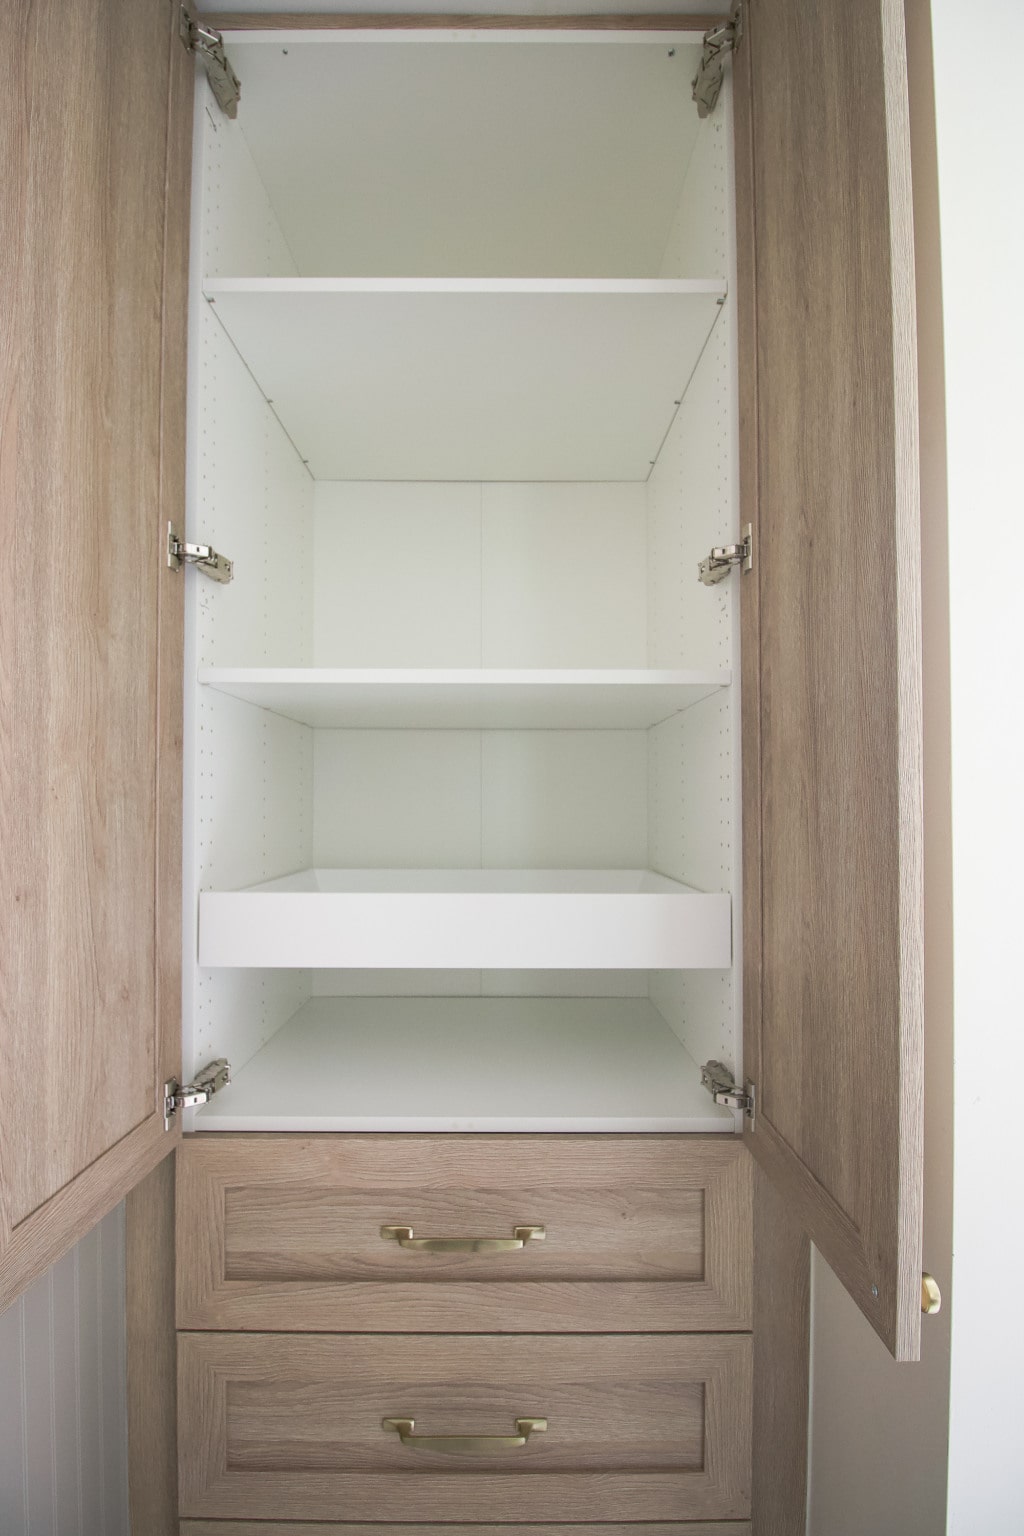
Next, we had to actually make the frame functional with drawers and shelves. With our design, we decided on three bottom drawers with two large cabinet doors up top. Behind the doors, we have three shelves and two additional drawers.
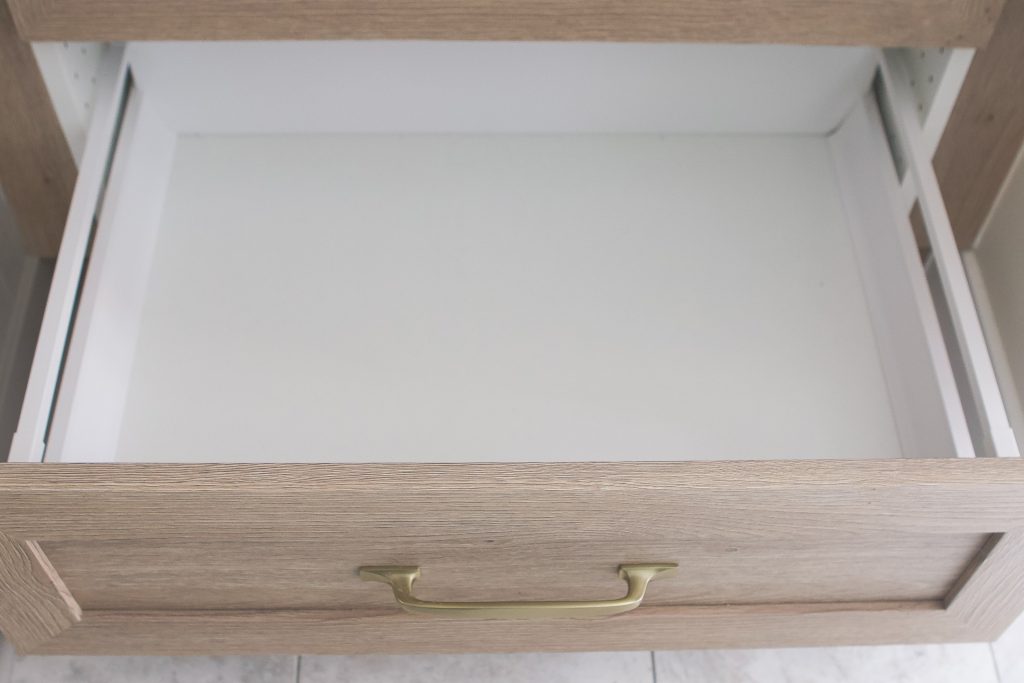
We were able to build the drawers, but couldn’t quite finish them until our custom drawer fronts arrived from SemiHandmade…
Adding The Drawer Fronts & Doors
We did those first few steps of the project and then waited many weeks for the pieces from Semihandmade to arrive so we could keep going. Once they finally made their way to my garage, it was go time!
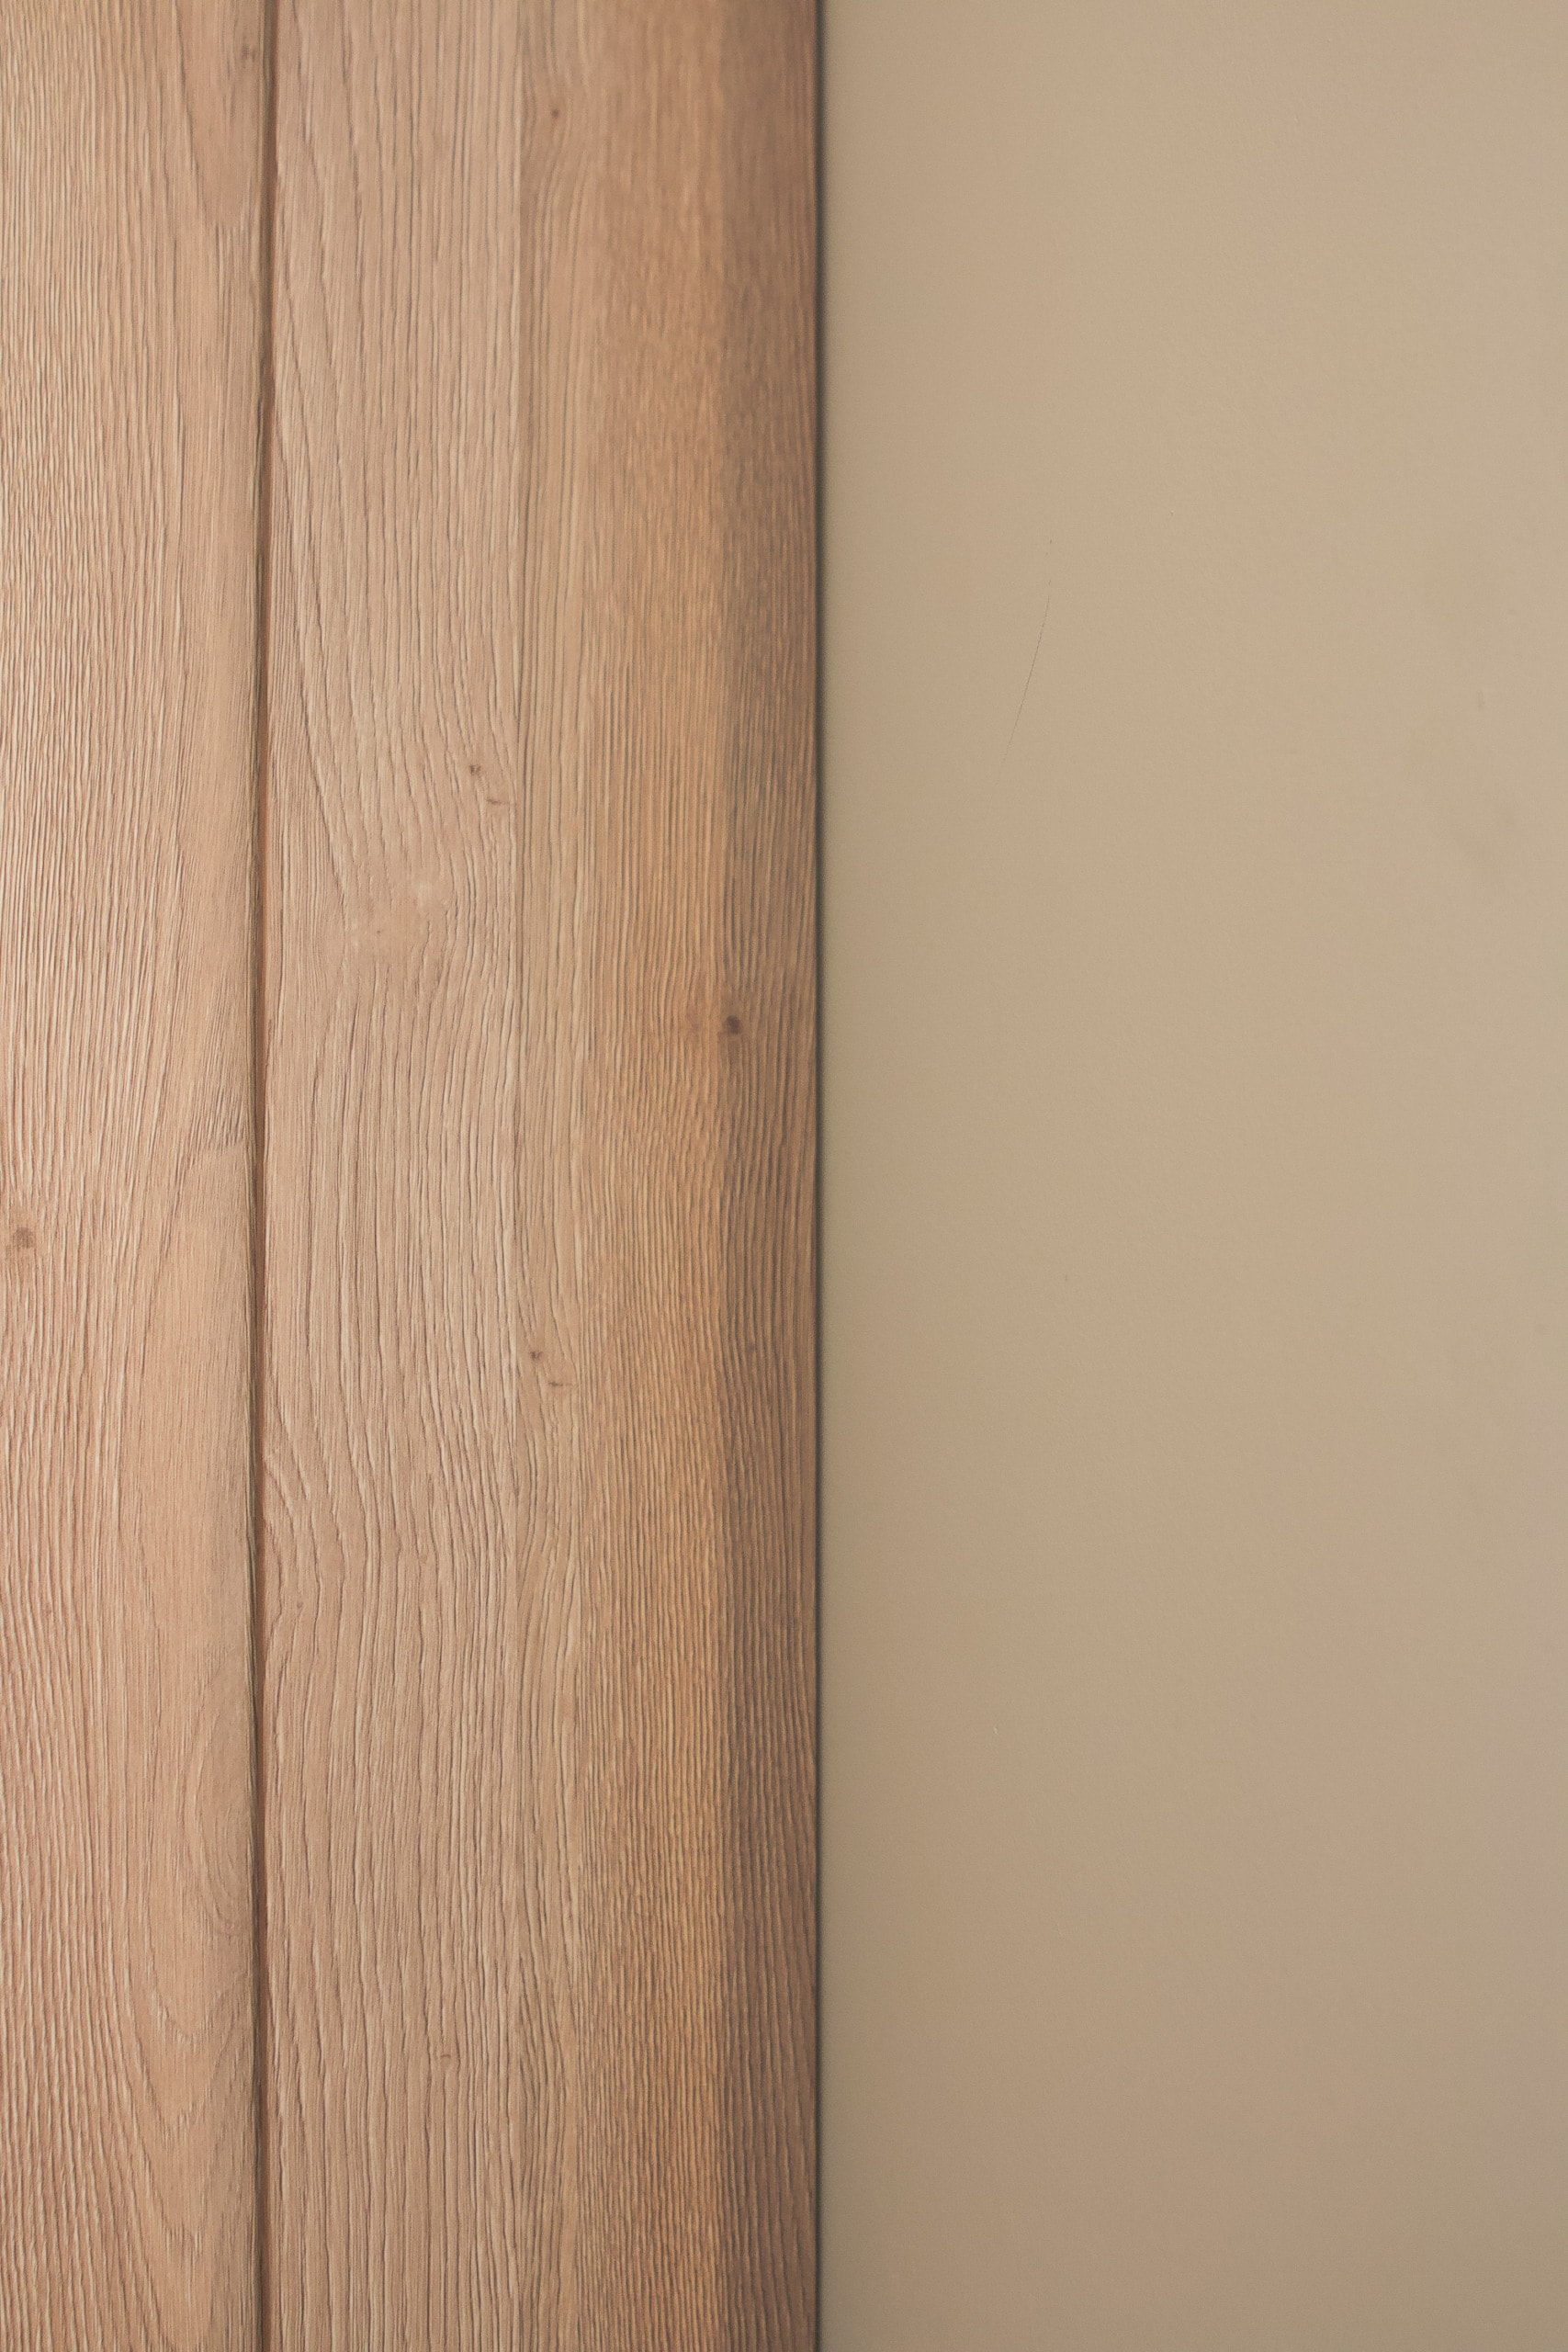
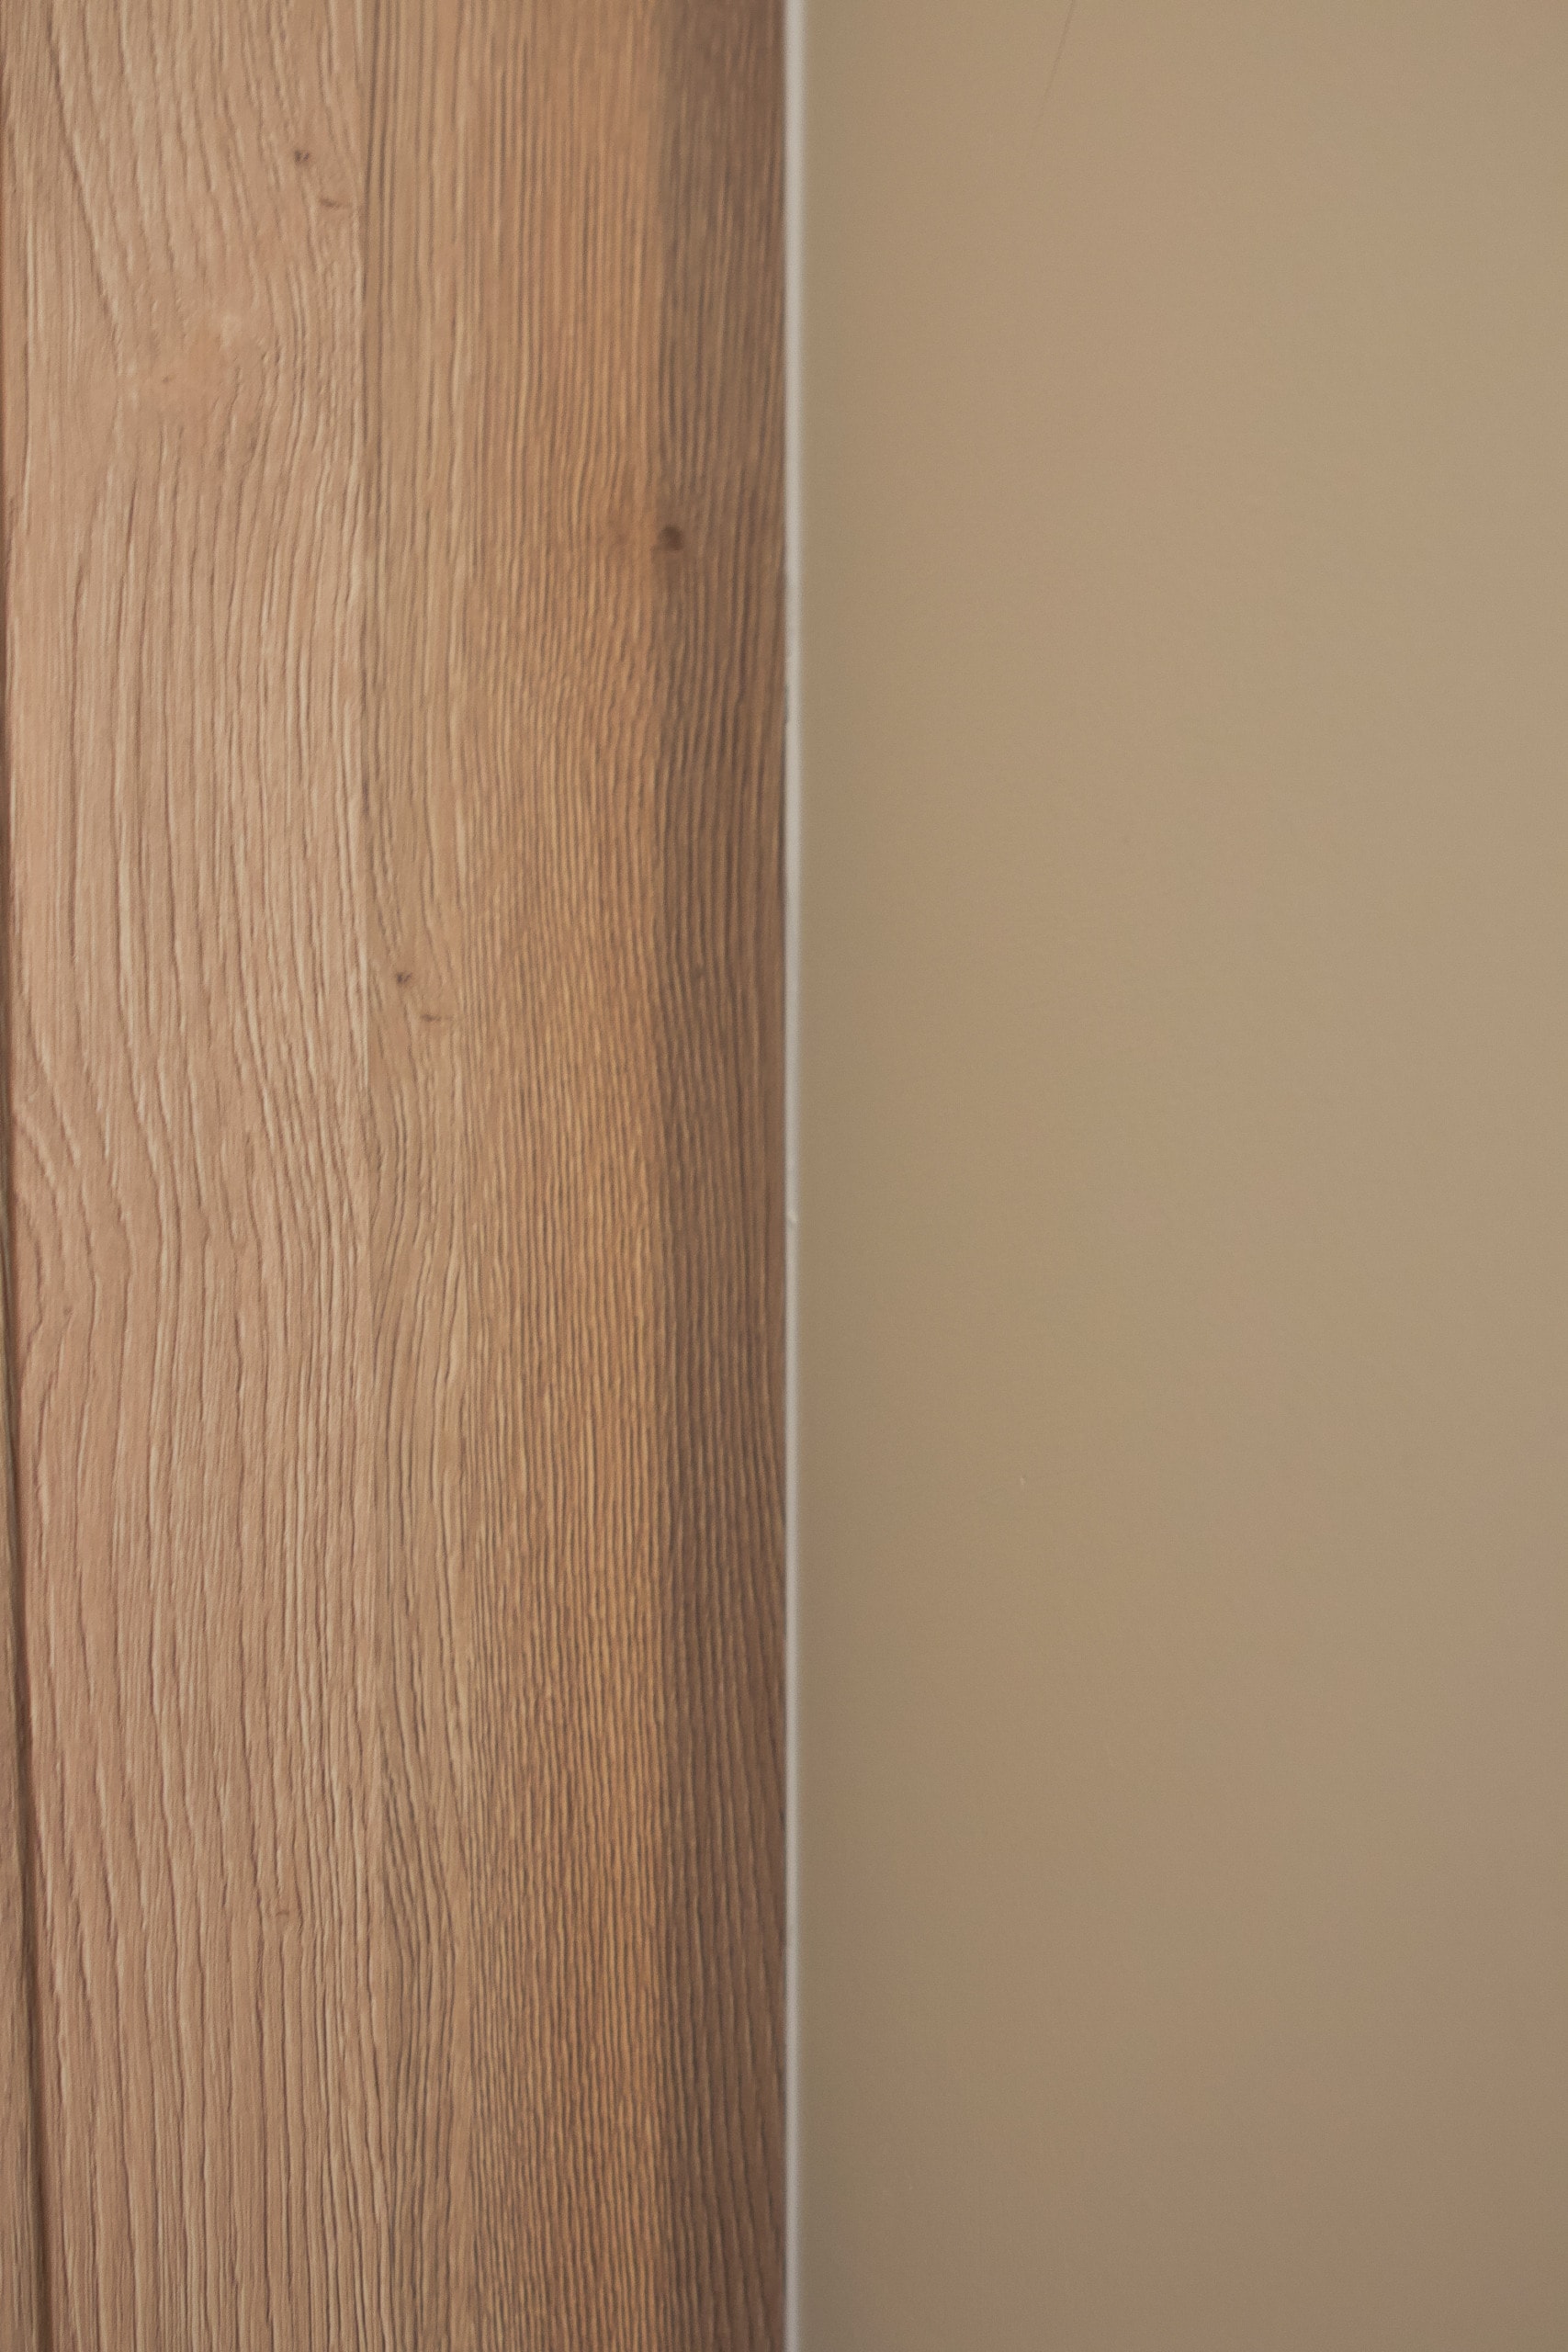
Here’s something so weird to share. I could have sworn that I chose the color “Dusk” for these cabinet fronts…a more grayish wood tone. And that’s even what I said I would do back in this blog post. However, when they arrived they were the color “Cove”. I looked back at my order and I did indeed order, “Cove”. I have no clue what was going through my head when I ordered these, but I really like the color, thank goodness!
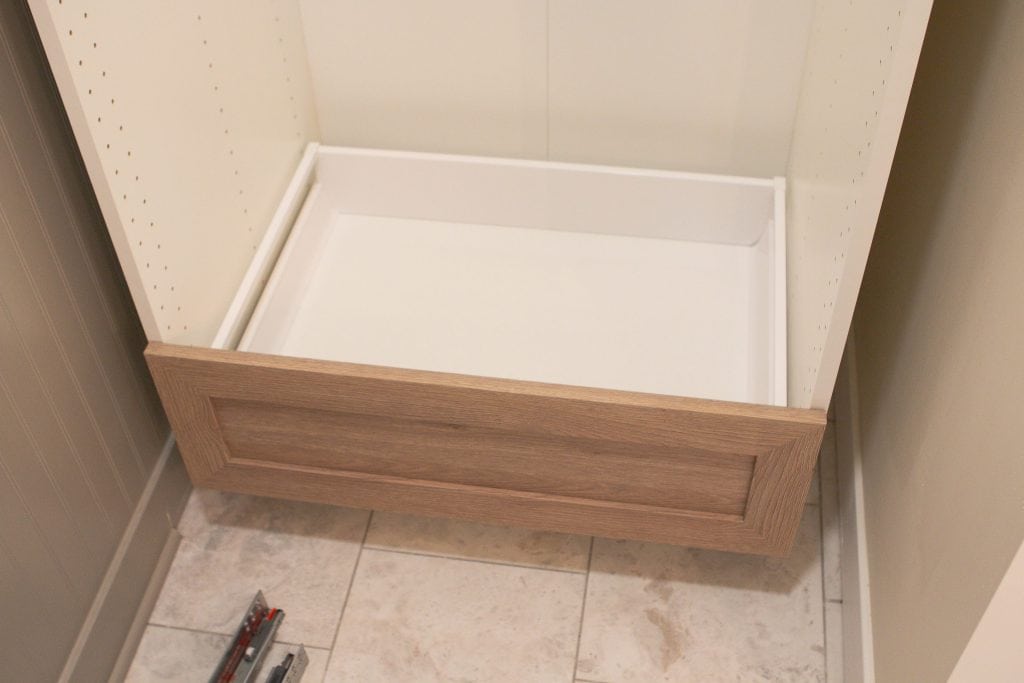
At this point, you’ll want to have both the IKEA and SemiHandmade instructions handy. Once I got one drawer front on, it was easy to continue the process with the remaining drawers. I then added the hinges to the doors and popped them onto the cabinet frame.
Giving It That Built-In Look
Okay, so we had a functional cabinet, but we really wanted to take it to the next level to make it look like it was completely built into the wall nook. I ended up ordering extra material from Semihandmade to match the cabinet fronts. I used those pieces as filler for the sides, top, and toe-kick for the bottom.
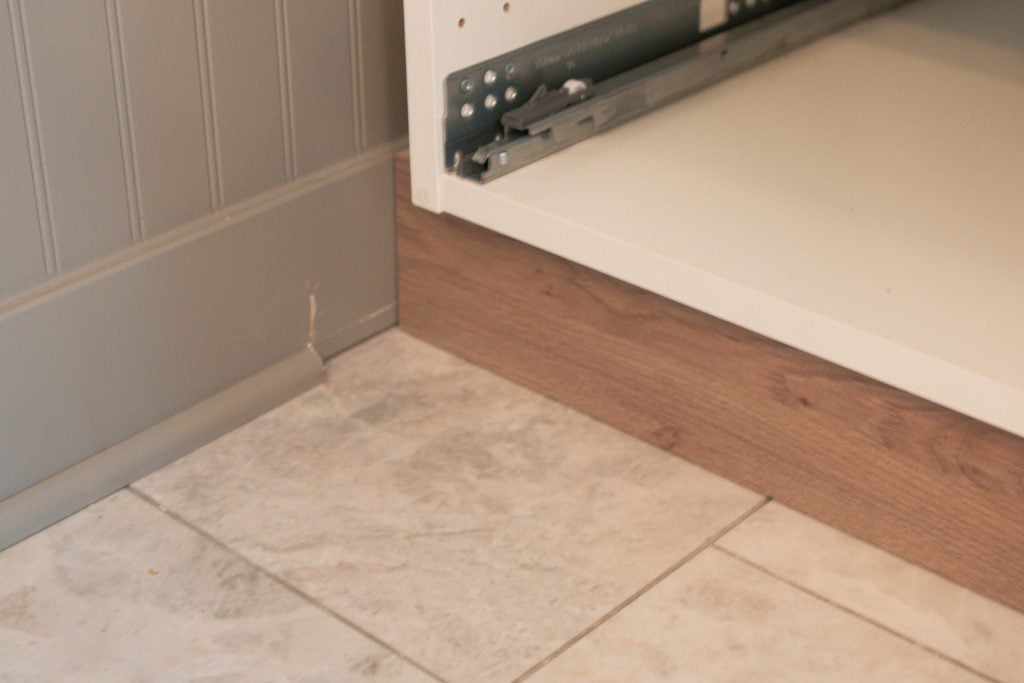
Attaching the Toe-kick
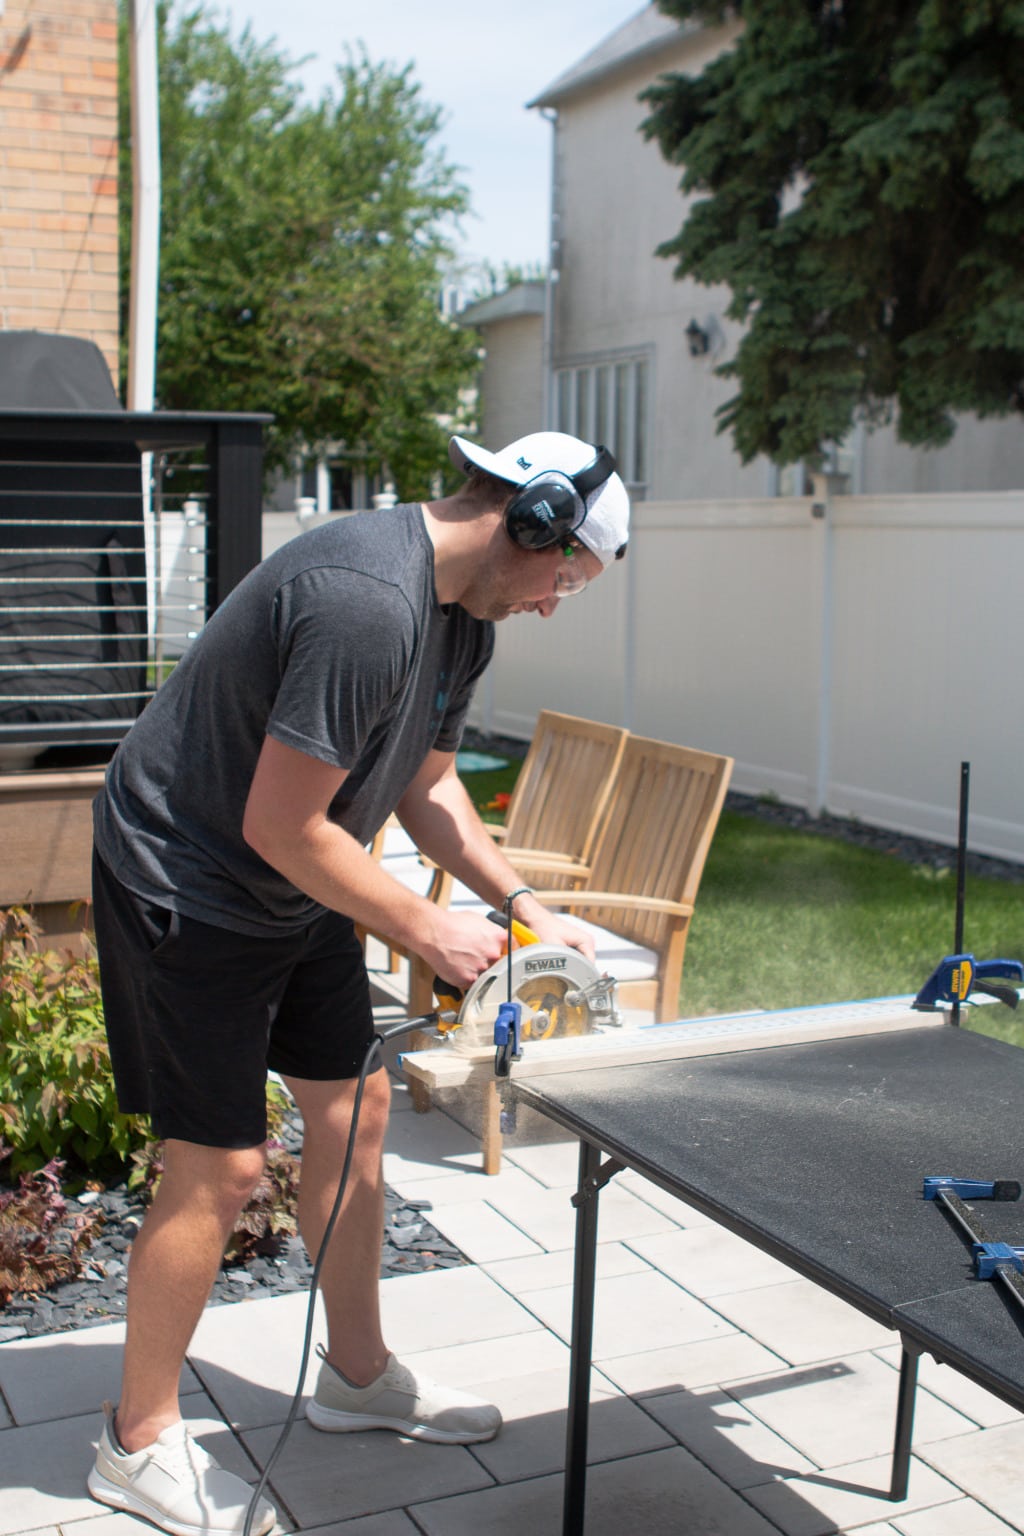
Now is the time to break out your saws. You’ll need a miter saw to cut your pieces to the correct length and a circular saw or table saw to get the correct width.
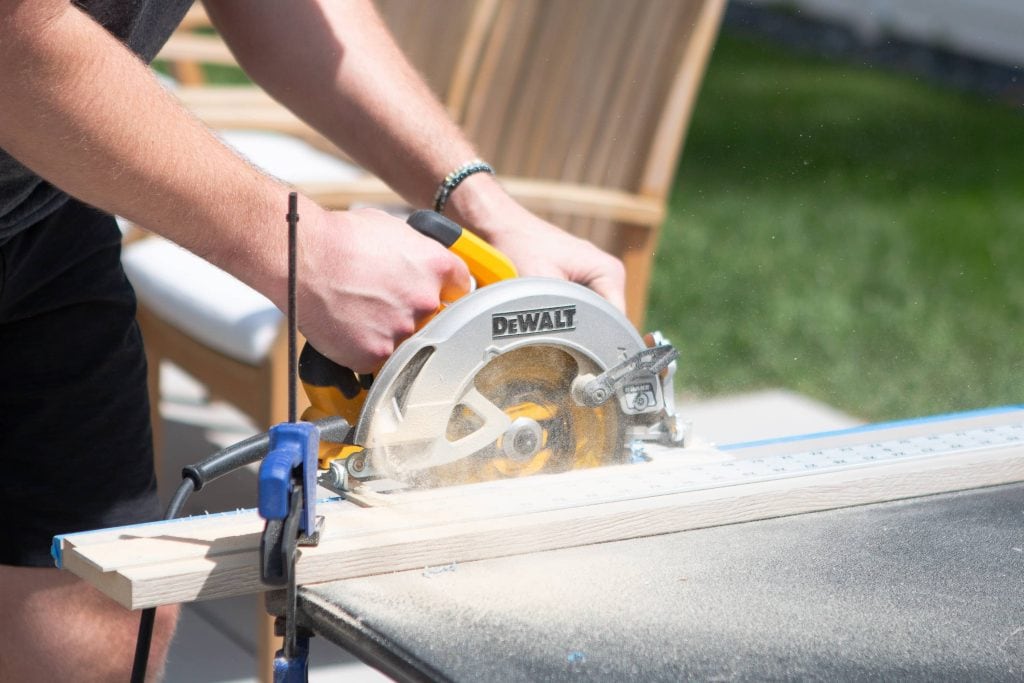
For the toe-kick, I measured the length from wall to wall and cut my piece of trim to size. It was a bit too tall, so I had Finn cut the width for me using the circular saw.
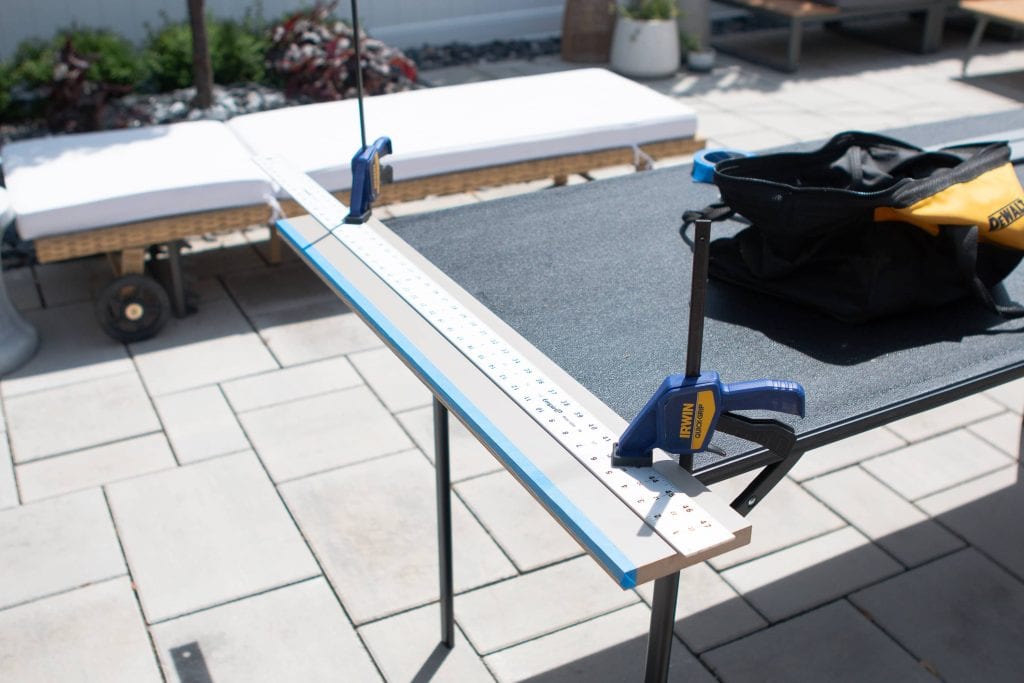
For our circular saw setup, we used a metal straight edge and clamps to make a super straight line for the cut.
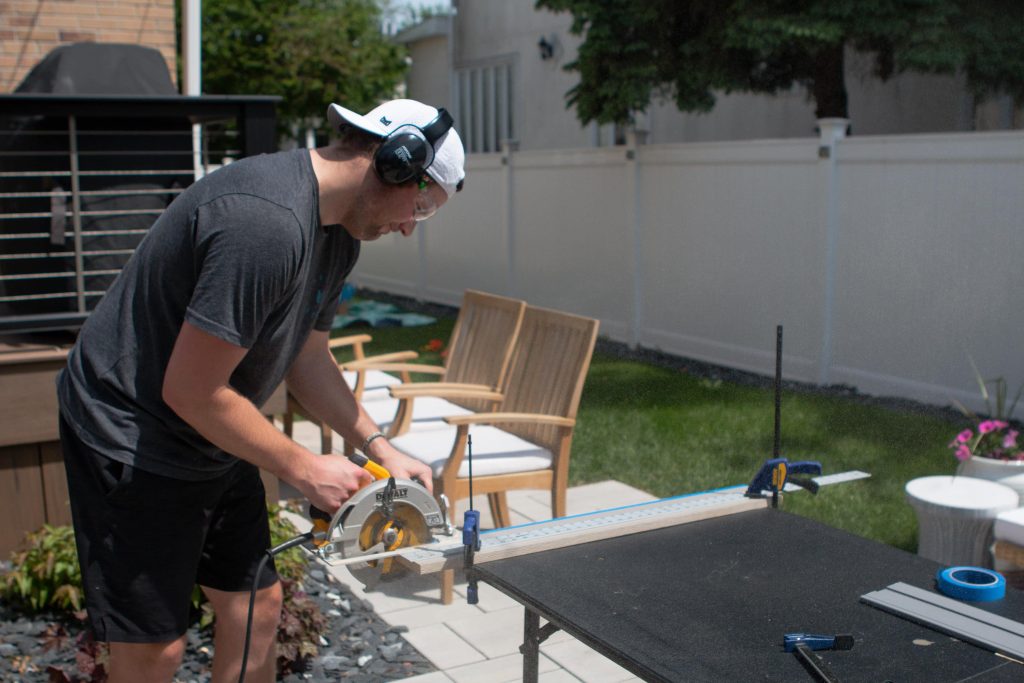
Finn then trimmed off the excess so it would be the perfect width.
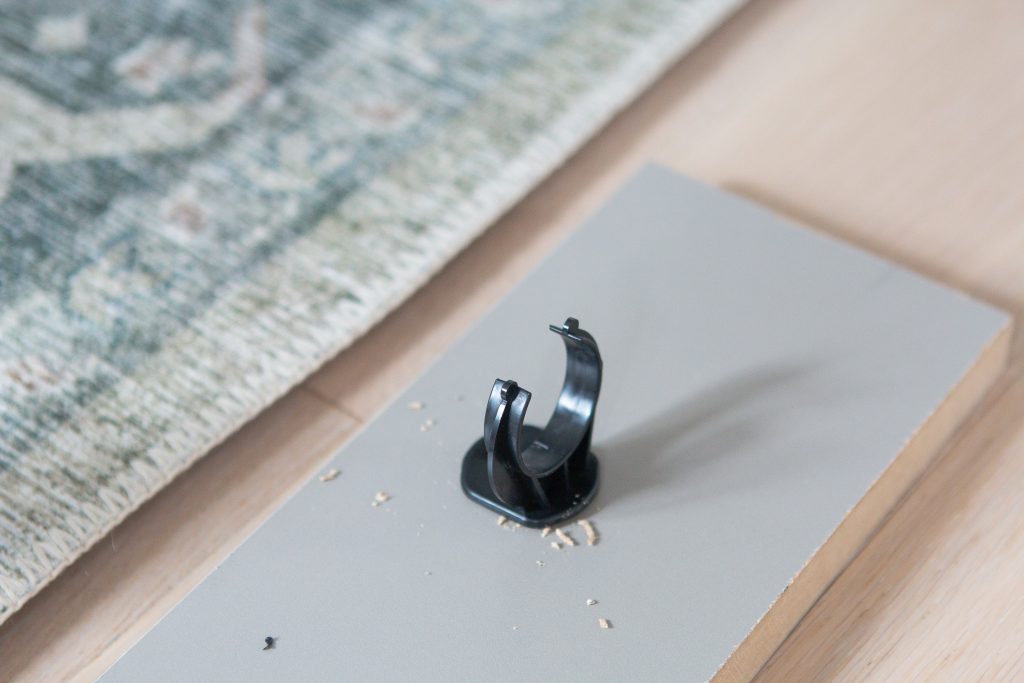
The IKEA legs on the bottom of the frame come with plastic clips. You attach these to your toe-kick and they wrap around the two front legs. I used 5/8″ screws to secure these to the back of the toe-kick.

As you can see from the above pictures, it makes such a difference when you trim out a piece like this.
Trimming the Top
One side down, three to go. Next, I had Finn cut the top piece for me. The trickiest part is that our ceilings are far from level, so he had to make his cut thicker on the sides and thinner in the middle in order for it to fit above the cabinet. Old houses, I tell ya!
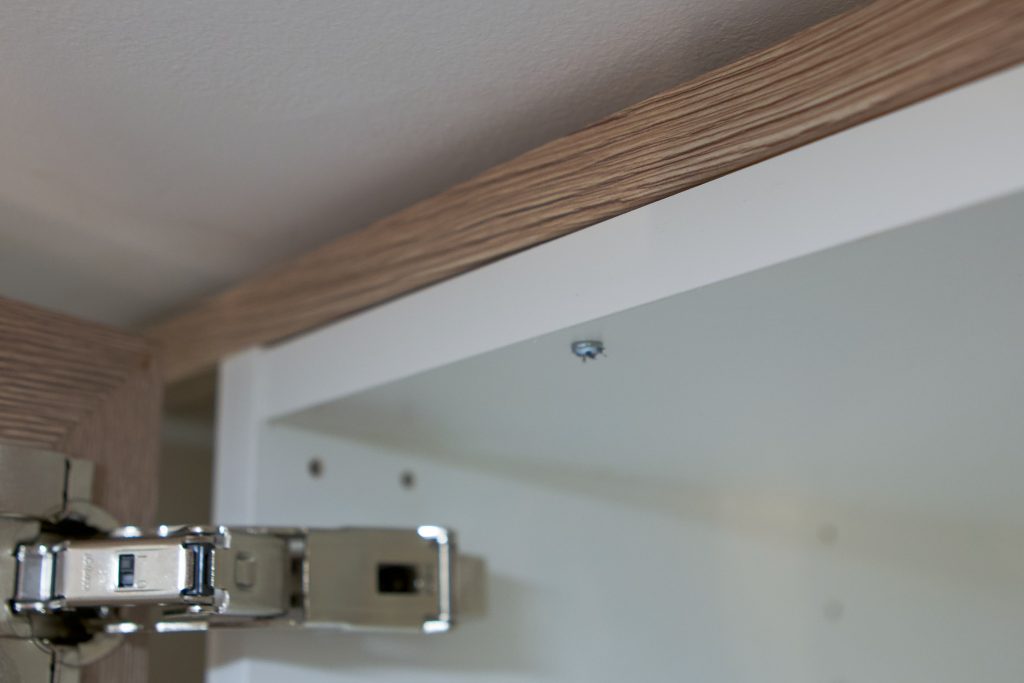
Once he got the piece cut to size, I used screws to attach it from the inside of the cabinet, up into the wood. A few screws and it wasn’t going to budge!
Trimming the Sides
Next up, were the two side pieces. Again, Finn was a master at cutting these and had to do some finagling to get each piece to fit perfectly.

I ended up having Finn cut me extra pieces of wood to use as blocks on the back of each trim piece. I clamped three on the backside of each piece and screwed them to the filler pieces.
I then marked where the blocks were on the inside of the cabinet and drilled a screw right into them. I did this at the top, middle, and bottom so the filler piece was very secure on the side of each cabinet. I like to use the blocks because I didn’t want my screw to accidentally go through the front piece of the filler. If you have really thick filler pieces, you can forego this step.
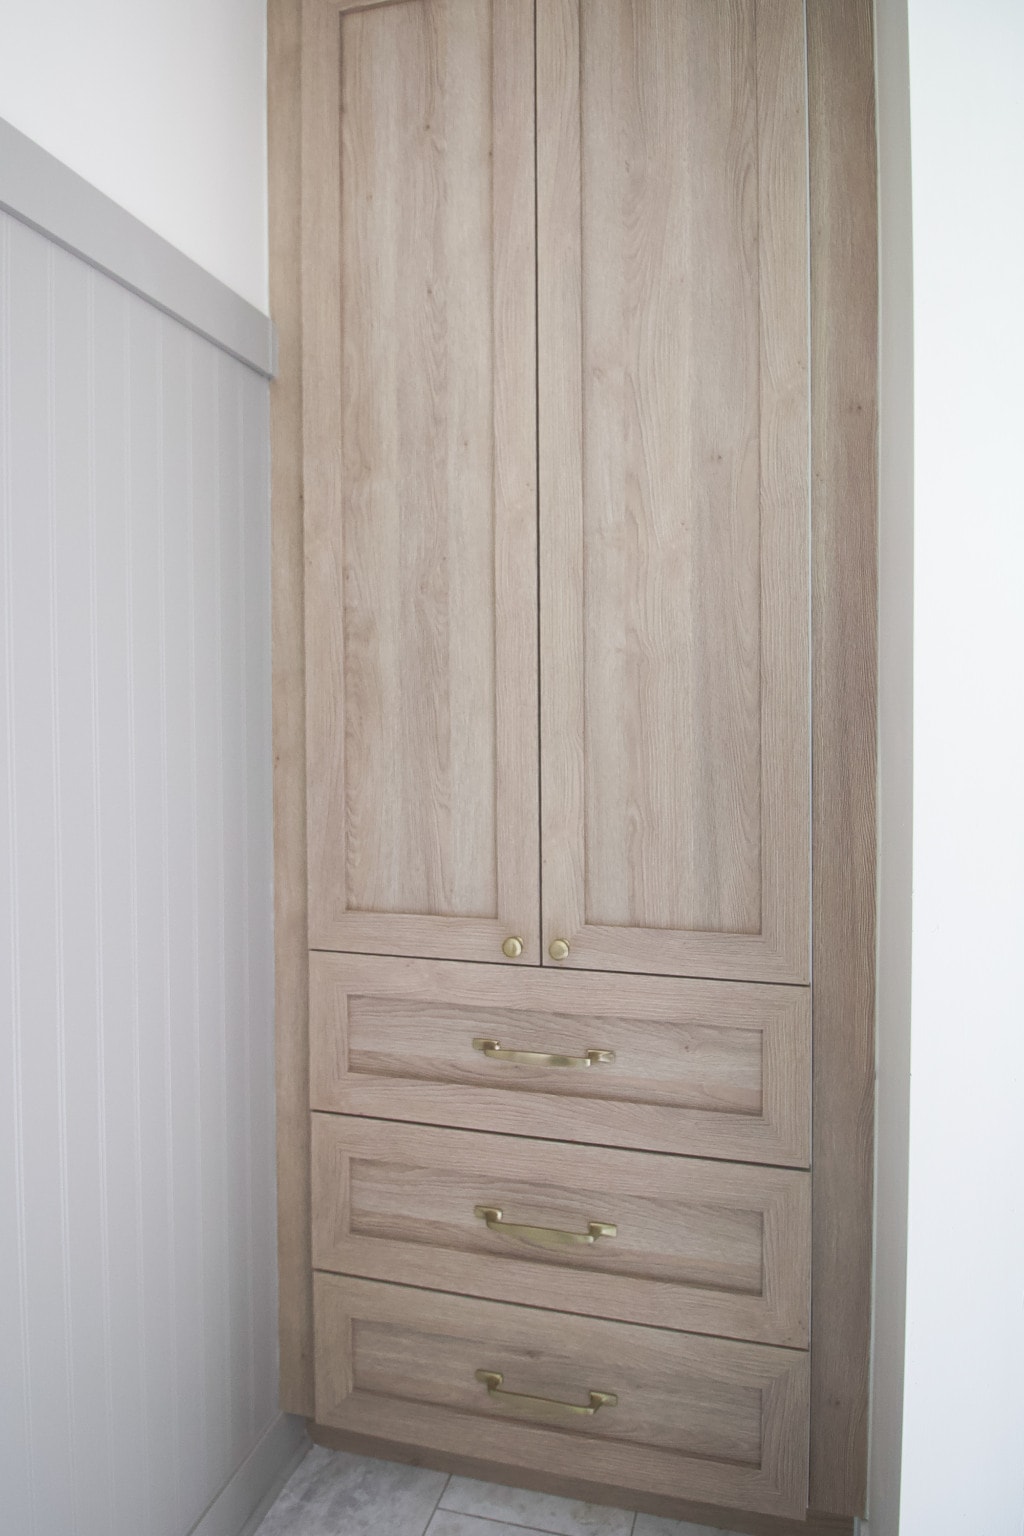
Those filler pieces make such a difference and really give it that built in linen cabinet feel!
Caulking & Painting
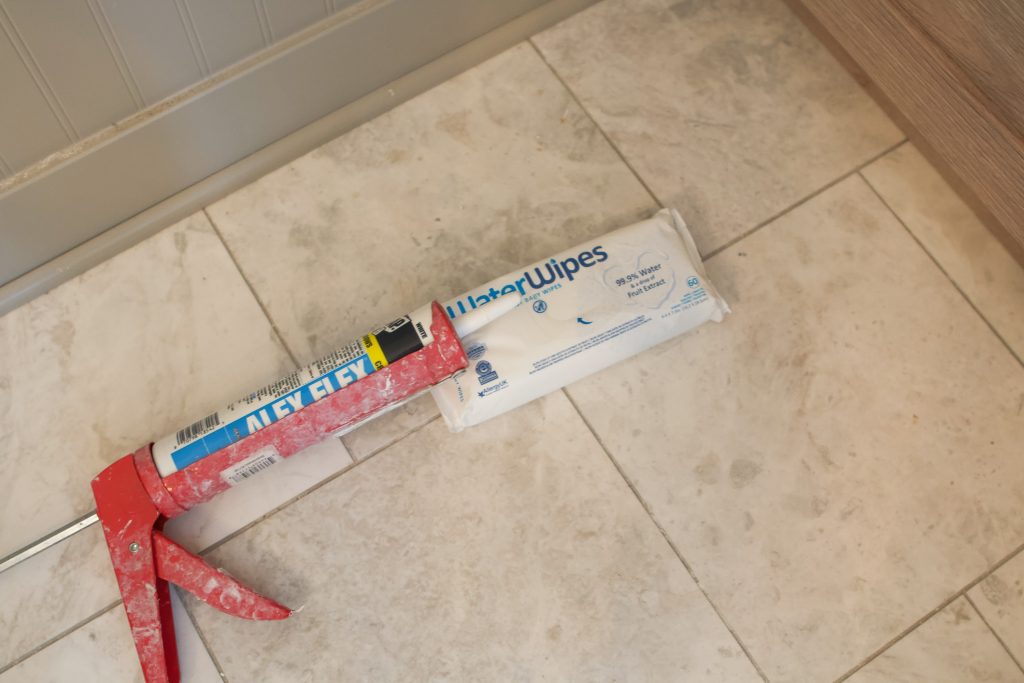
Okay, now these steps aren’t a must, but if you’re going to do all of this work, you might as well make your new linen cabinet look the best it can! I like to use caulk on the seams to really give the piece a built-in feel and hide any gaps. I use this caulk for all of the trim in my house and follow my work up with a wet baby wipe, which we always have on hand around here!
You can see in the above photos the uncaulked area on the left and the caulked area on the right. Caulk really is the finishing touch and takes your woodworking project to the next level.
The caulk I use is paintable, so I then got out my wall colors and touched it up right along the seam so you couldn’t see the white line.

As mentioned, I cut too much of the top wood piece on the left side of the cabinet when I was removing it to get the cabinet in. I thought the filler would lay flush with the doors, but in order for them to open, you need the filler to be in line with the cabinet. I had to cut a tiny sliver of wood for this spot and caulk and paint it.
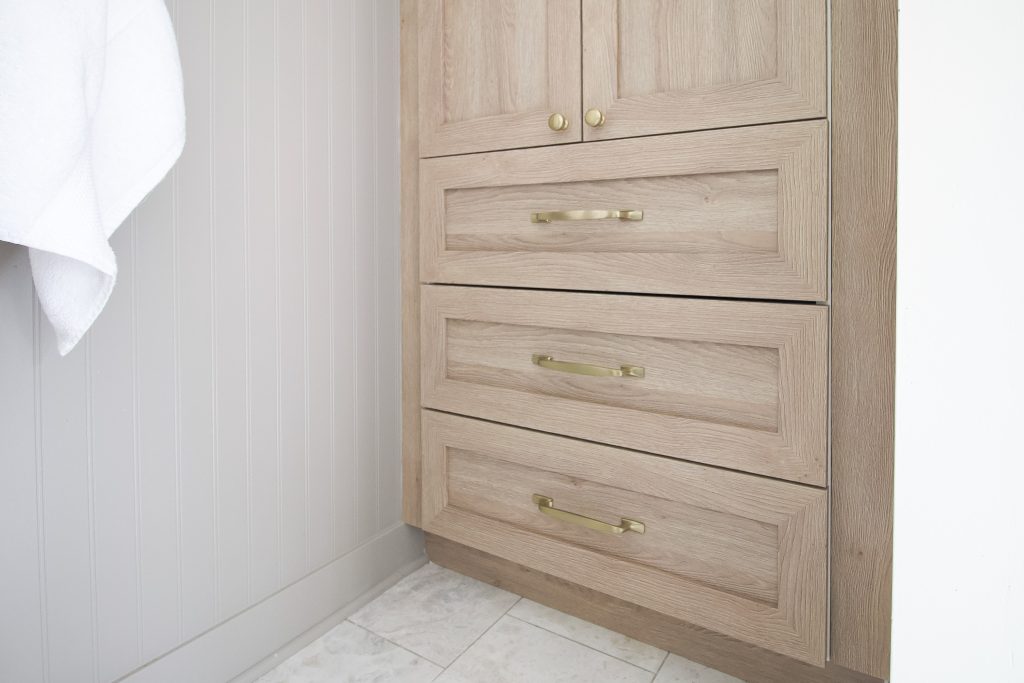
Adding Hardware
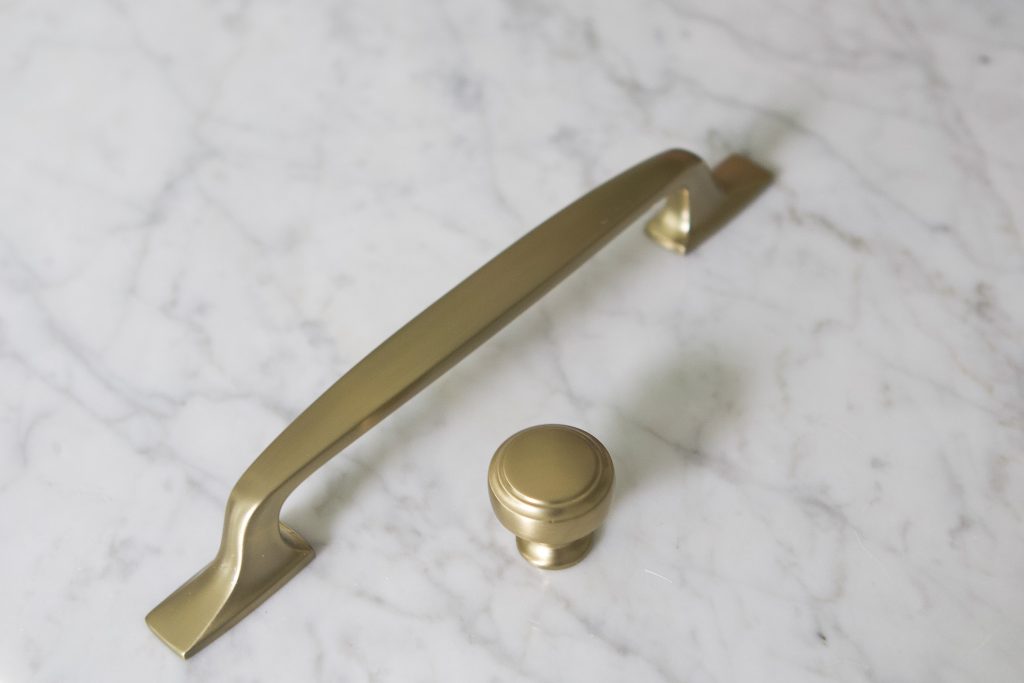
With the heavy lifting complete, it was time for the jewelry of the project! Personally, I’m a fan of pulls on drawers and knobs on cabinets. That’s what we did in our kitchen and I’ve loved it ever since.
I had some leftover hardware from our kitchen renovation and decided to use it here. I went with these pulls and these knobs. I always recommend repeating elements throughout your home to keep things cohesive.

In terms of sizing, I wrote an entire blog post that outlines how to choose the correct pull size for your drawers. It’s a great resource. In general, I like my pulls to be almost 1/3 the size of the width of the drawer. My drawers here are 30 inches, so that meant I was looking for a 10-inch pull. The ones I ordered are about 8 inches, end to end, so I figured that was close enough.
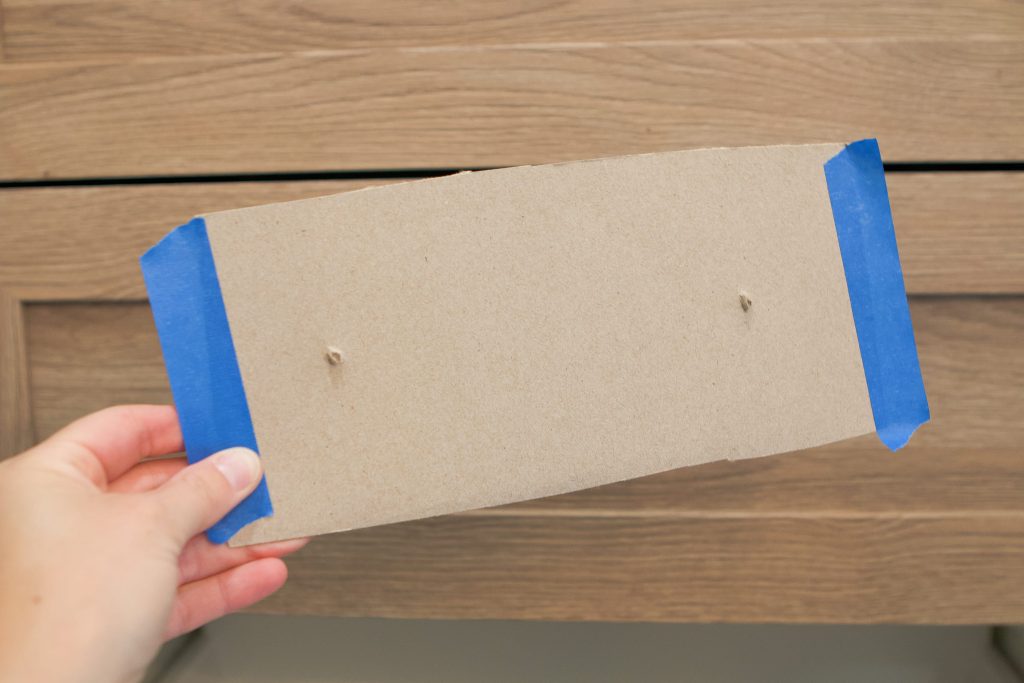
As you probably know by now, I’m not a big math person and I usually eyeball things instead of measuring them. That’s not always my best trait when it comes to DIY projects, and it drives Finn nuts! My best tip for installing pulls is to create a template, especially if you’re installing more than one. I measured my first cabinet and installed the first pull. Then I took an old cereal box (Cinnamon Toast Crunch, btw) and made a template with the exact holes marked on there.

I then took that to the two remaining drawers to easily mark my holes on them. When in doubt, make your life easier with a template!
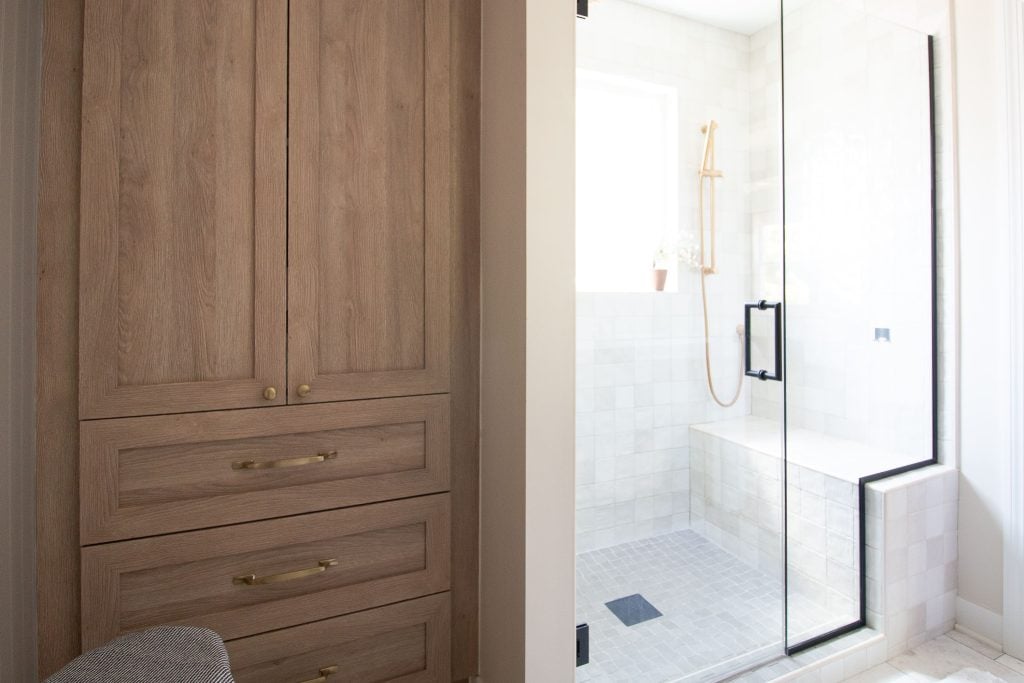
Our New Built In Linen Cabinet

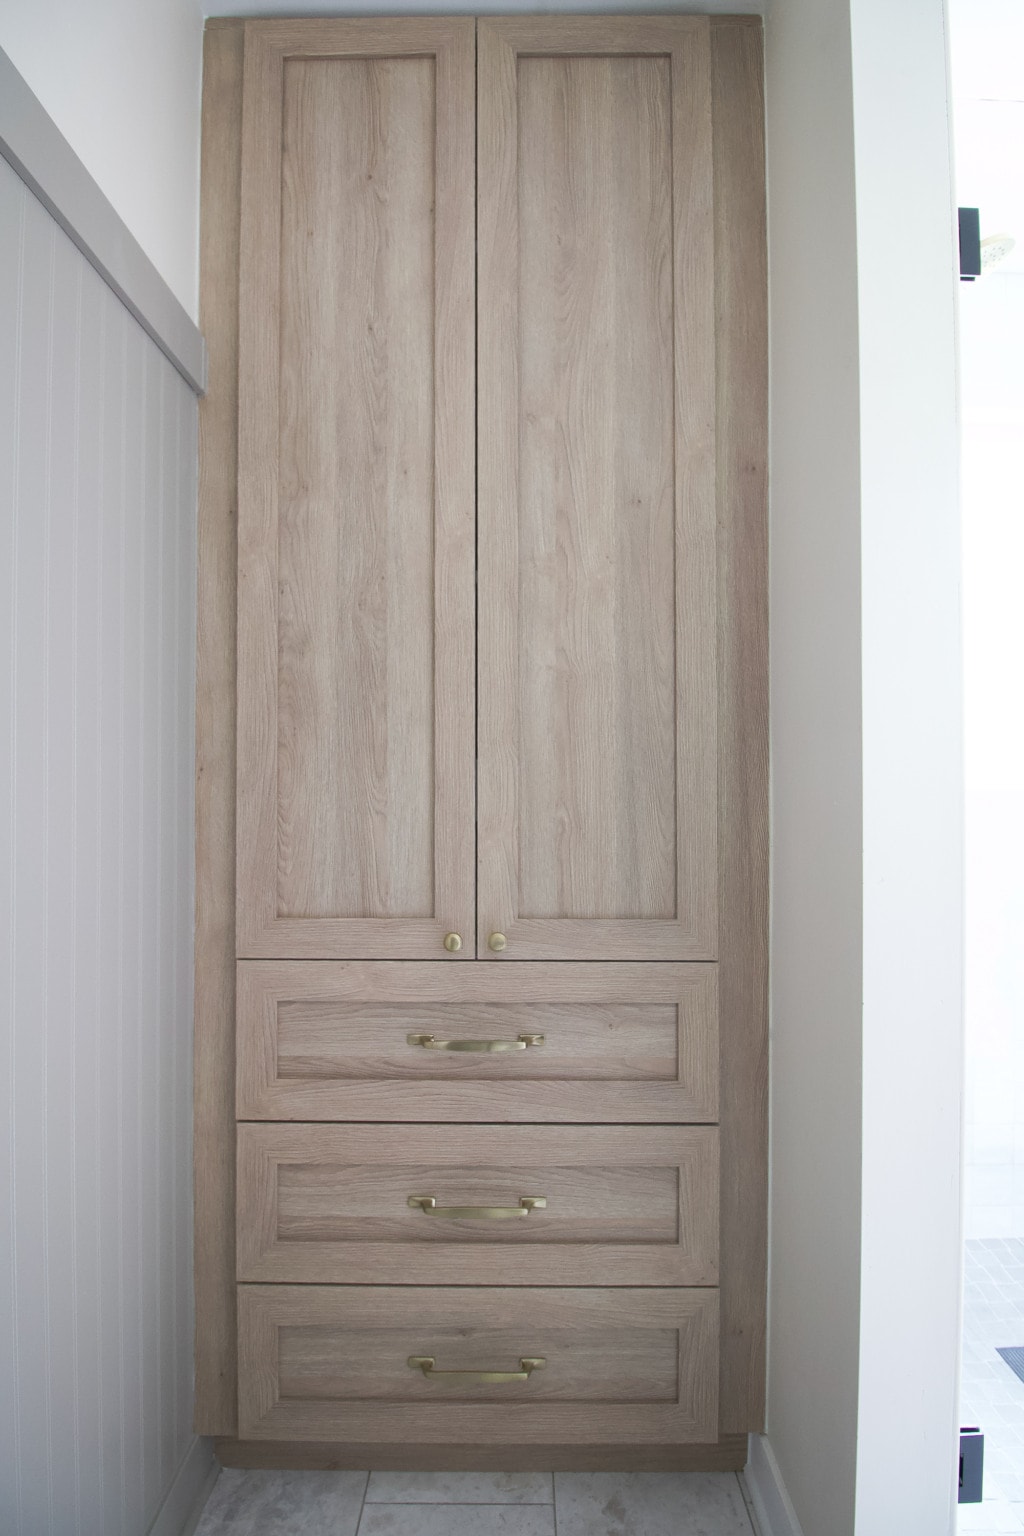
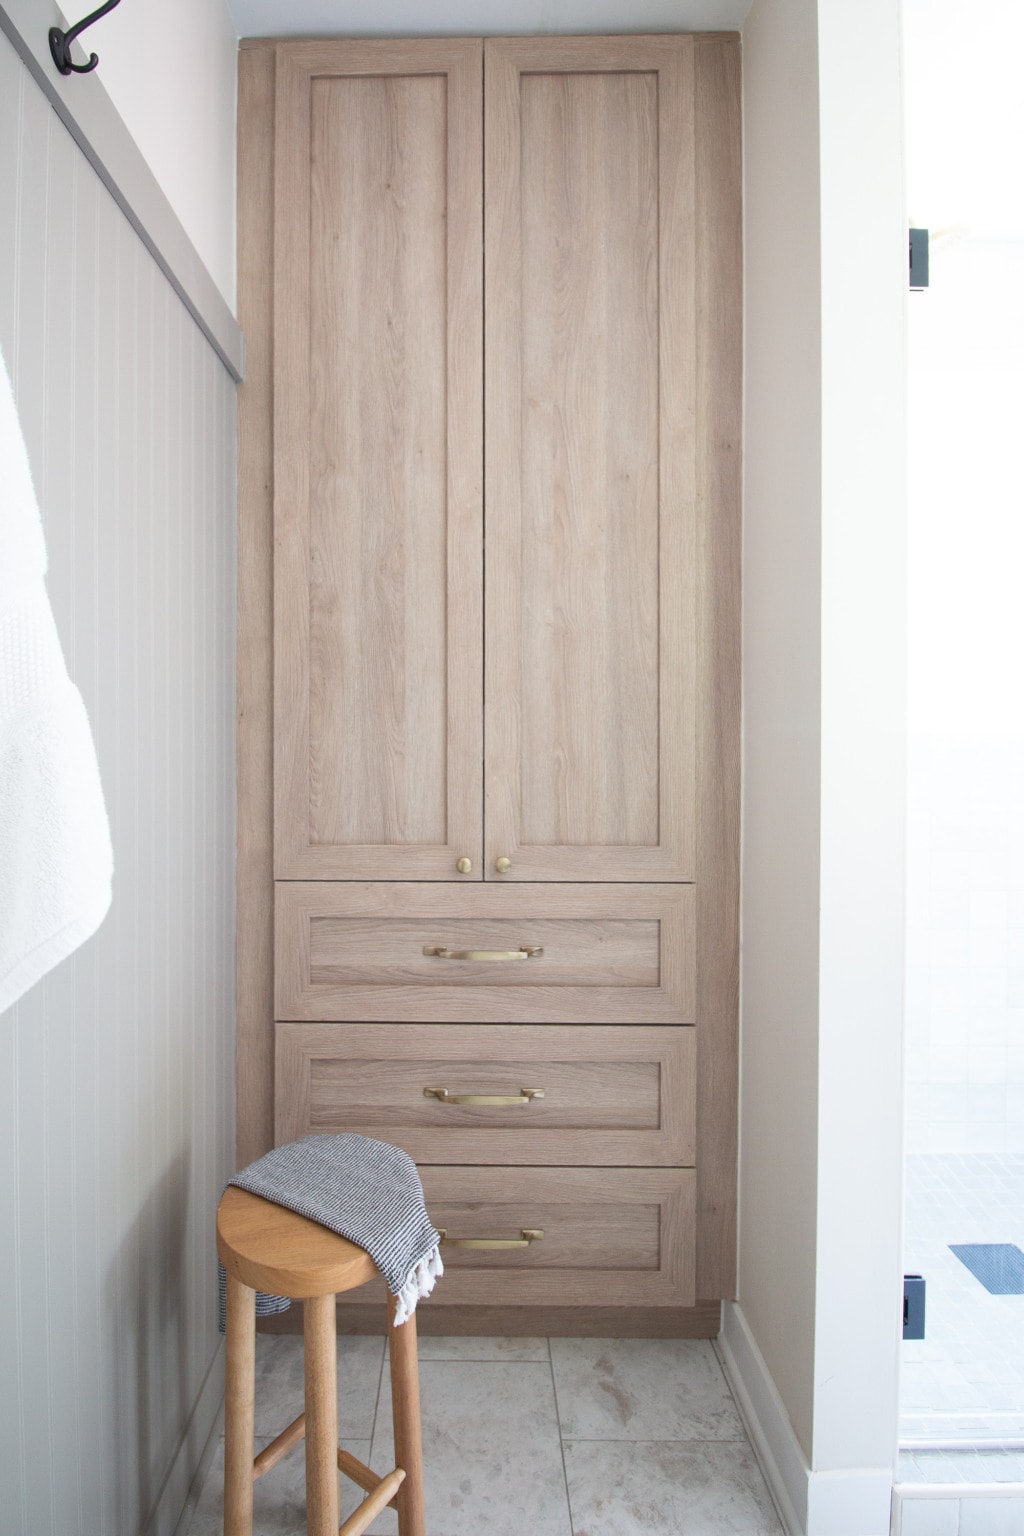
I love the new cabinet so much. The wood adds a lot of texture and warmth to the space and it’s the perfect little surprise when you walk into the bathroom. Not to mention, it has storage for days! It’s the perfect addition to this space.
Before & After
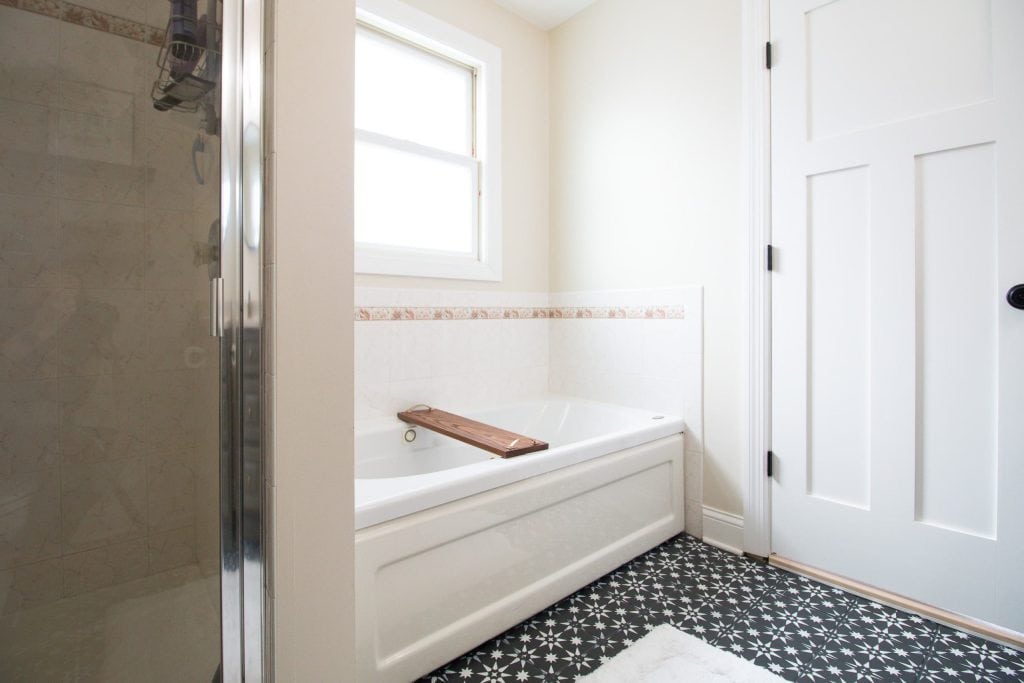
I’ll take this large linen cabinet over that teeny tiny shower any day!
Sources & Budget
Paint Colors: Benjamin Moore “Rockport Gray” (wood wall), Benjamin Moore “Ballet White” (walls), Benjamin Moore “Simply White” (trim) // Cabinet Materials from IKEA // Doors & Drawer Fronts // Knobs // Pulls // All other bathroom sources here
The project total was a bit higher than expected. IKEA prices have definitely gotten higher and the Semihandmade fronts weren’t cheap either! In the end, I probably spent about $2,000, which is definitely more than I planned to spend. Good thing I really like it!
What’s Next?
Now, it’s time to actually use this new huge storage cabinet! I need an exact gameplan for what we’ll store here. I’m thinking extra toiletries, toilet paper, towels, etc, but I need to actually map it all out. I’ll keep you posted as I get this space super organized in our new bathroom.
Oh, and now that this linen cabinet is complete, I can officially write my final main bathroom reveal post! That will be hitting the blog at the end of the month.
One More Thing…

I won’t have any blog posts next week. We’re actually moving the entire site to a new one that will launch on Monday, June 20th!!! I’ve been working on this behind the scenes for a long time now, so I’m eager to get the new one launched. Next week will be my quarterly blog break and I’ll be doing a lot of backend work, transitioning to the new site. Can’t wait to show you!
Catch Up On The Bathroom Renovation
- How to Prepare for a Big Home Renovation
- Bathroom Progress – 2 Weeks In
- Main Bathroom Must-Haves
- Main Bathroom Design Plan
- Main Bathroom Mini Reveal
- Installing The Light Fixture
- Bathroom Renovation Costs
- Linen Cabinet Reveal
- Main Bathroom Reveal
Casey


