Adding Shelves to Baby Boy’s Nursery
Last Friday, I gave you a progress report on Baby Boy’s room. It’s really coming along now! And today’s project somehow makes the room ten times better! I installed nursery shelves over the glider and it’s wild how this small addition, and cute accessories, really bring this room to life. Let’s get to the goods…
Choosing Nursery Shelves

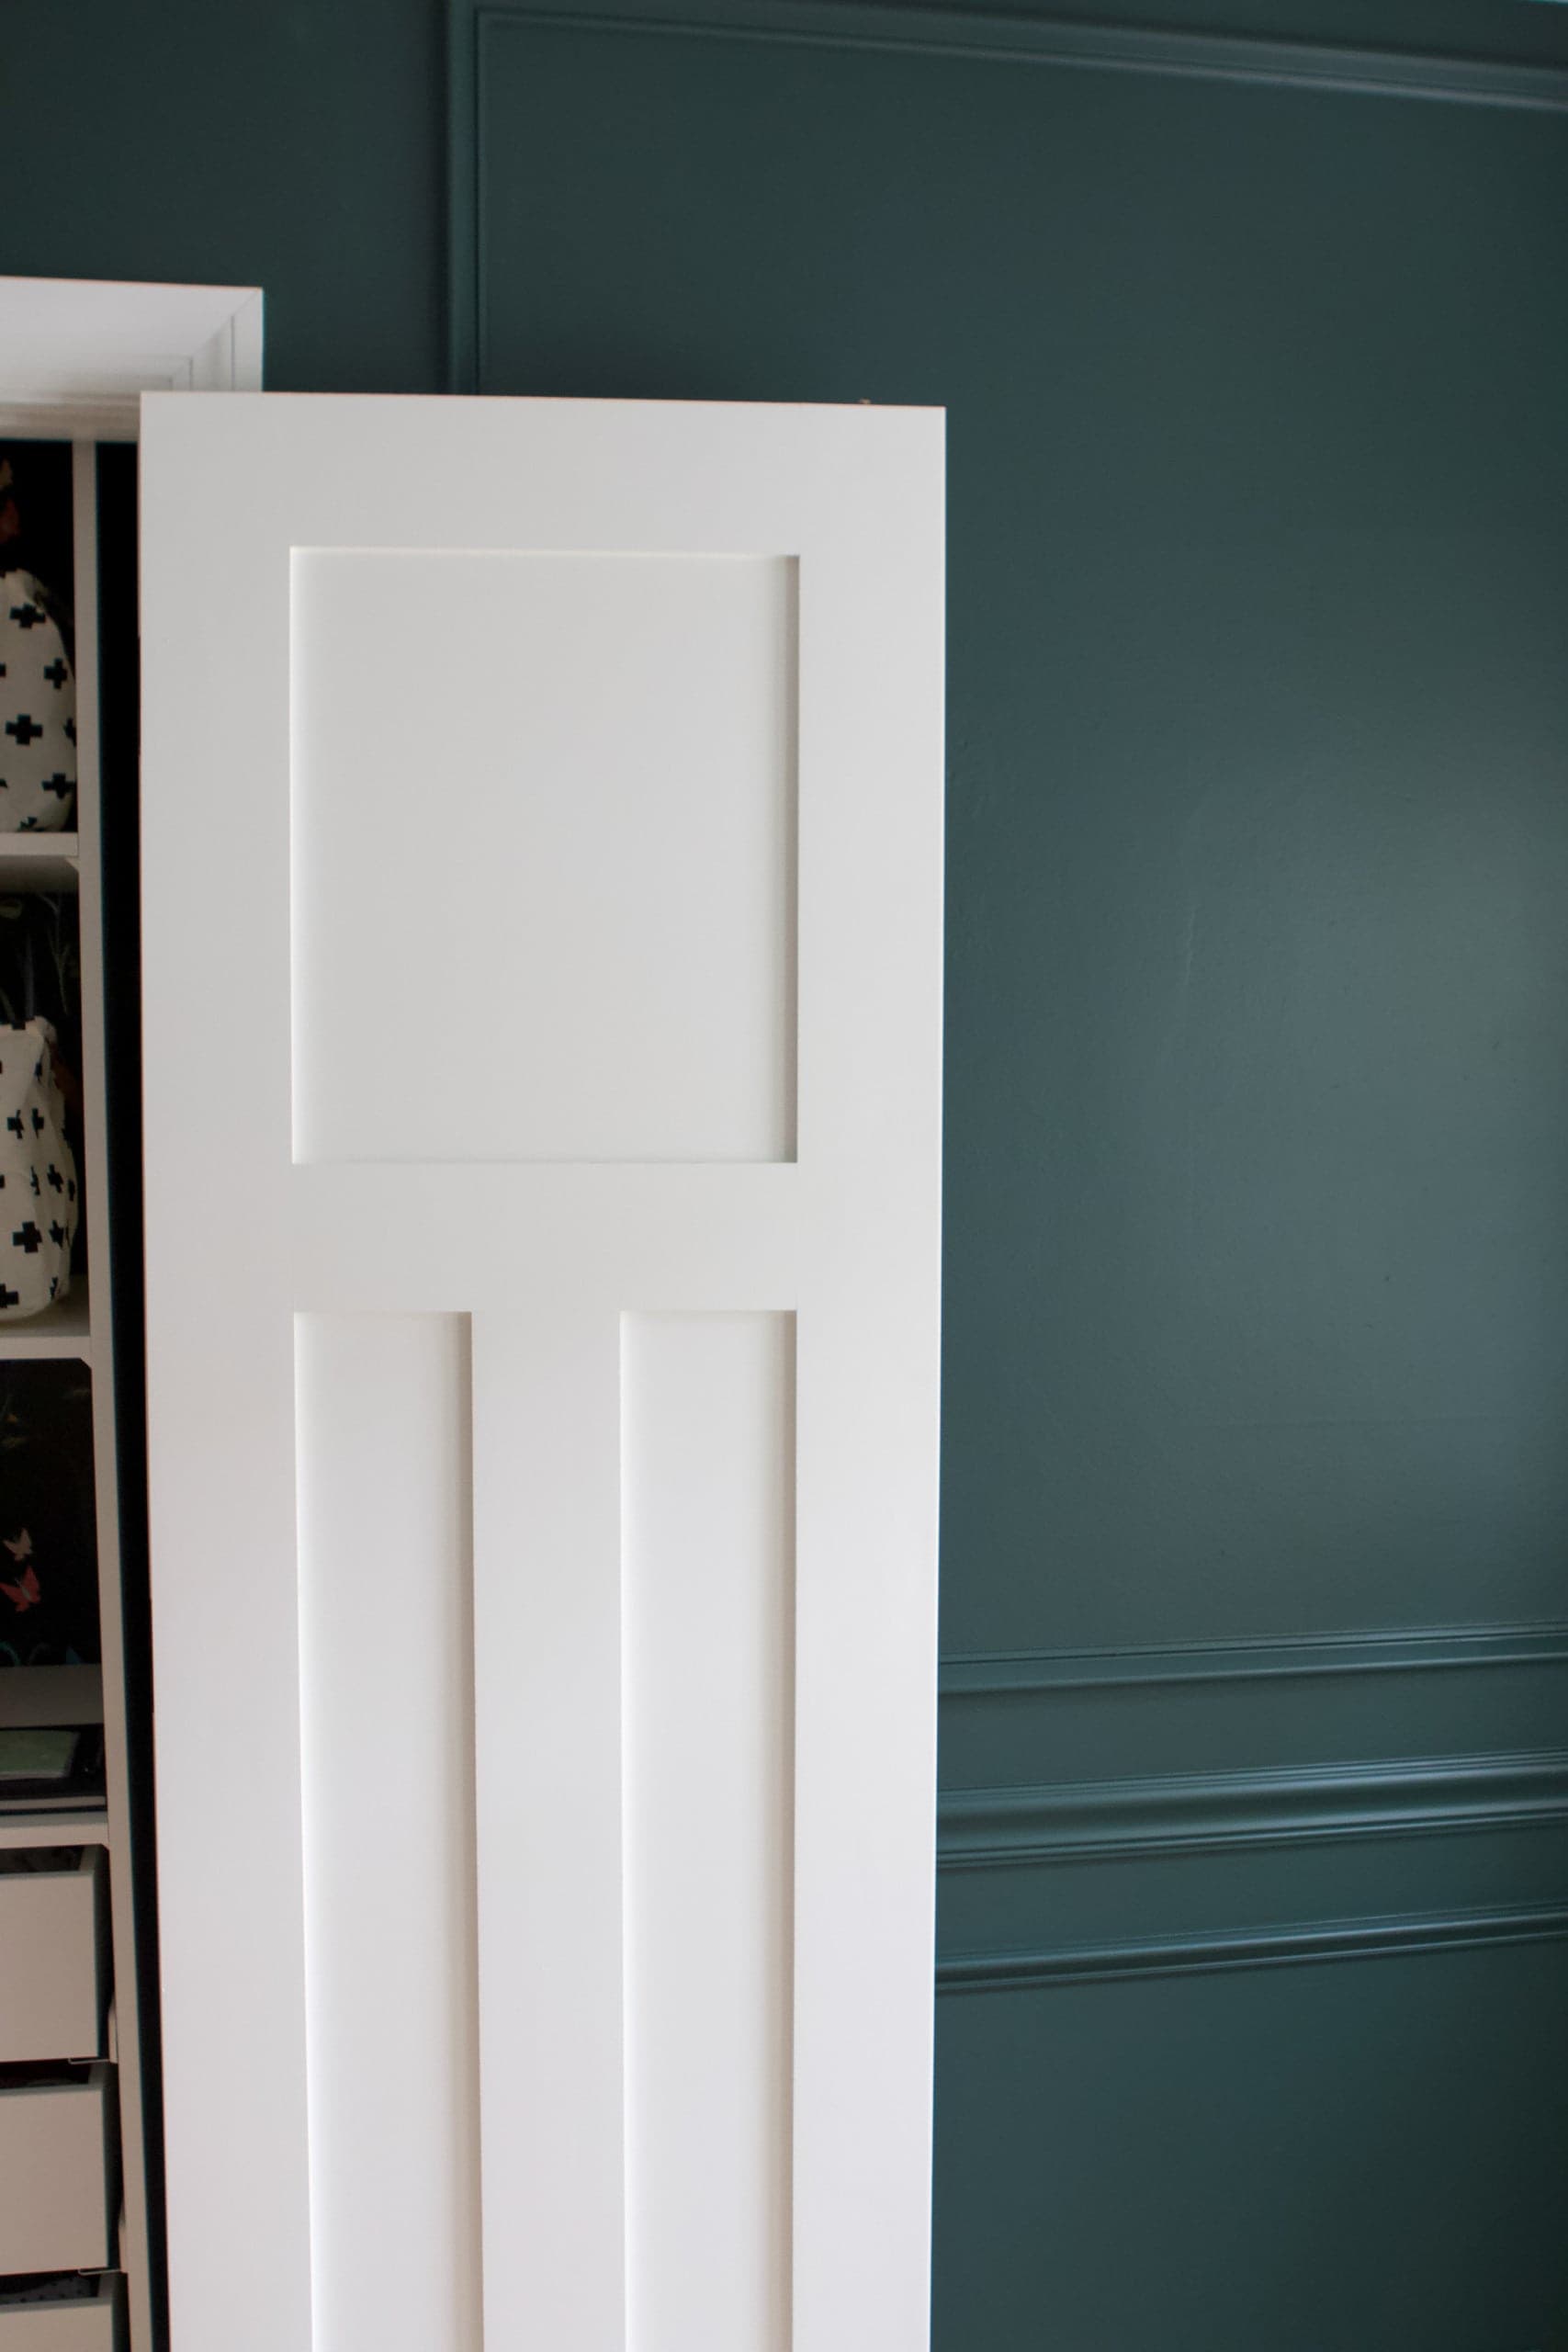
I love the built-ins we have in Rory’s room, but unfortunately, this space just isn’t big enough for a system like that. Built-ins are such a great place to hold books, showcase family mementos, and add personality to a room. Since I couldn’t go that route, I vowed that I would find a spot to add some cute nursery shelves to bring a little style to the room. This wall above the glider ended up being the perfect spot.
As for choosing the actual shelves, I wasn’t totally sure what shelves I would go with. I checked out Urban Outfitters (they surprisingly have a lot of great wall shelves at good price points), but nothing seemed right. Then I remembered that the brand Shelfology sent me one of their new shelves to check out at the beginning of the year. At the time, I didn’t have a spot for them so the box just sat in our storage area. I honestly didn’t even know what they would look like or if they would be the right size, but I whipped them out anyway, and brought them upstairs…they were perfect!
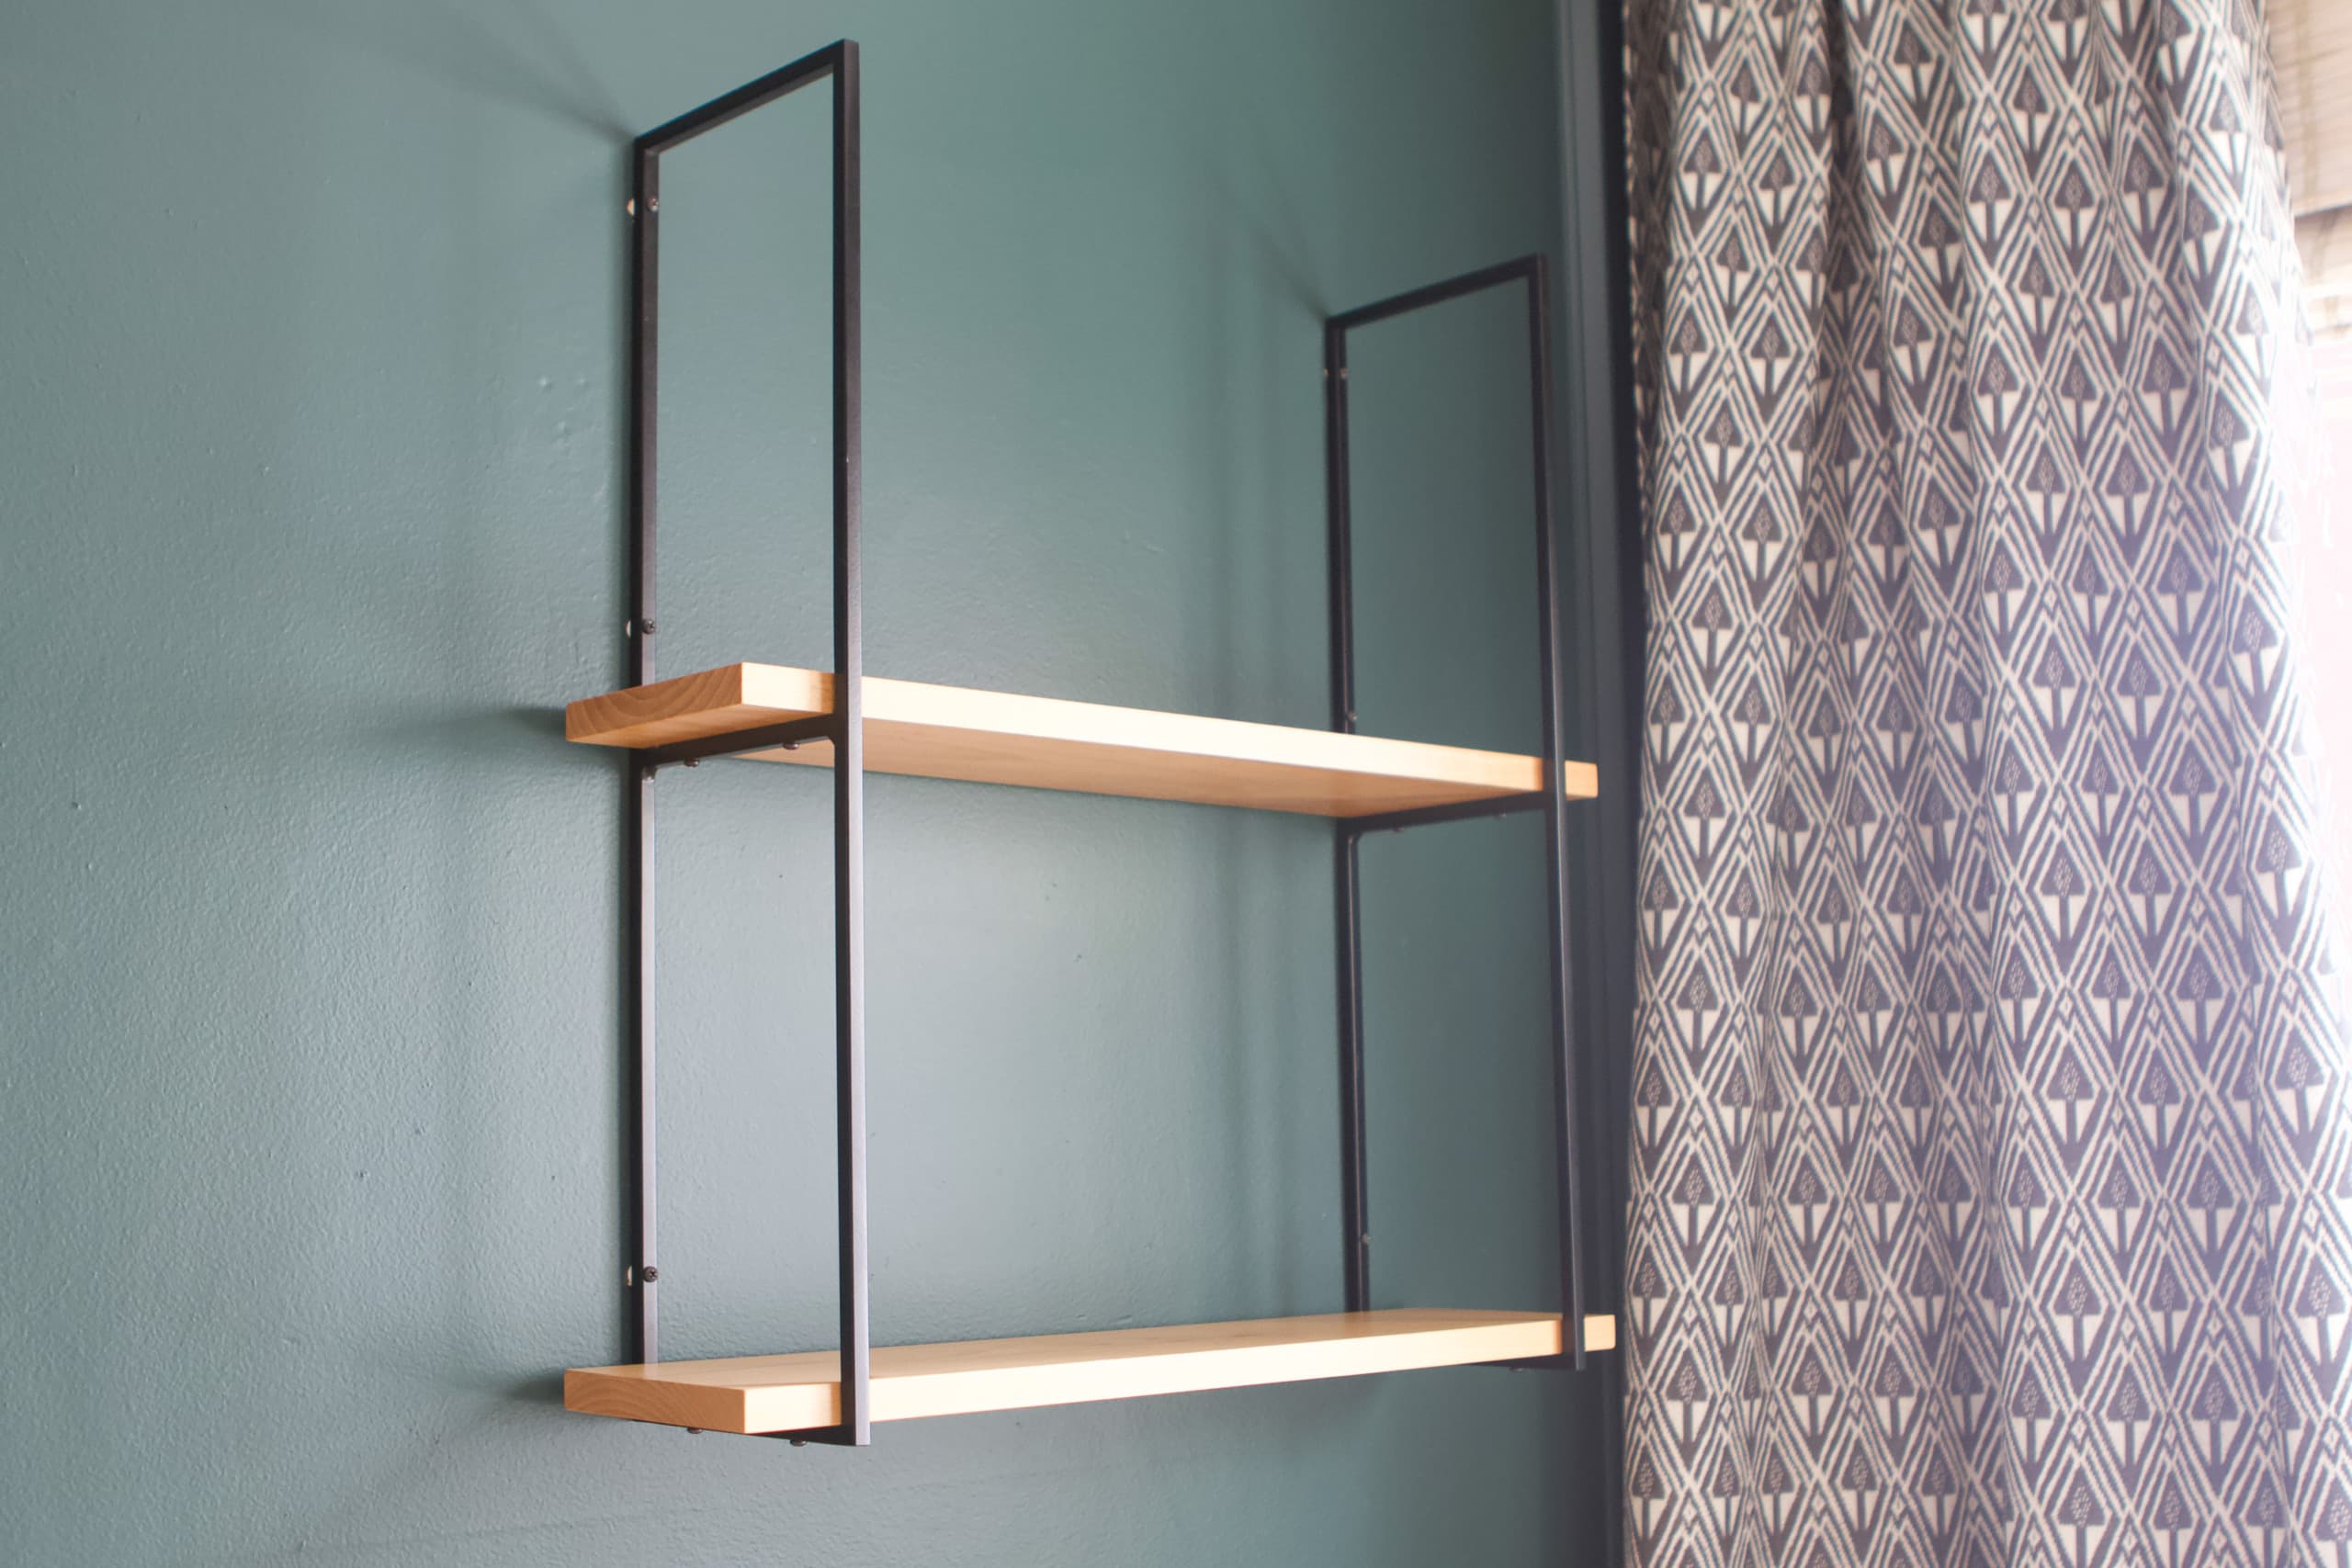
I chose Shelfology shelves in our kitchen because everything about them, including the color, wood, thickness, size, etc., can be customized. The nursery shelves that I hung here can be designed the same way (this is the same design on their website). My boards are 24 inches long, with two black brackets, and a 6-inch depth, but you can customize these in any way, for your specific space.
Tips to Install Shelves
I’ve installed lots of shelves over the years, here are a few of the big tips I always follow…
- Don’t hang them too high: The number one decorating mistake I see is shelves and art hung too high. Go with eye level and read this blog post for more details on how to choose the best spot.
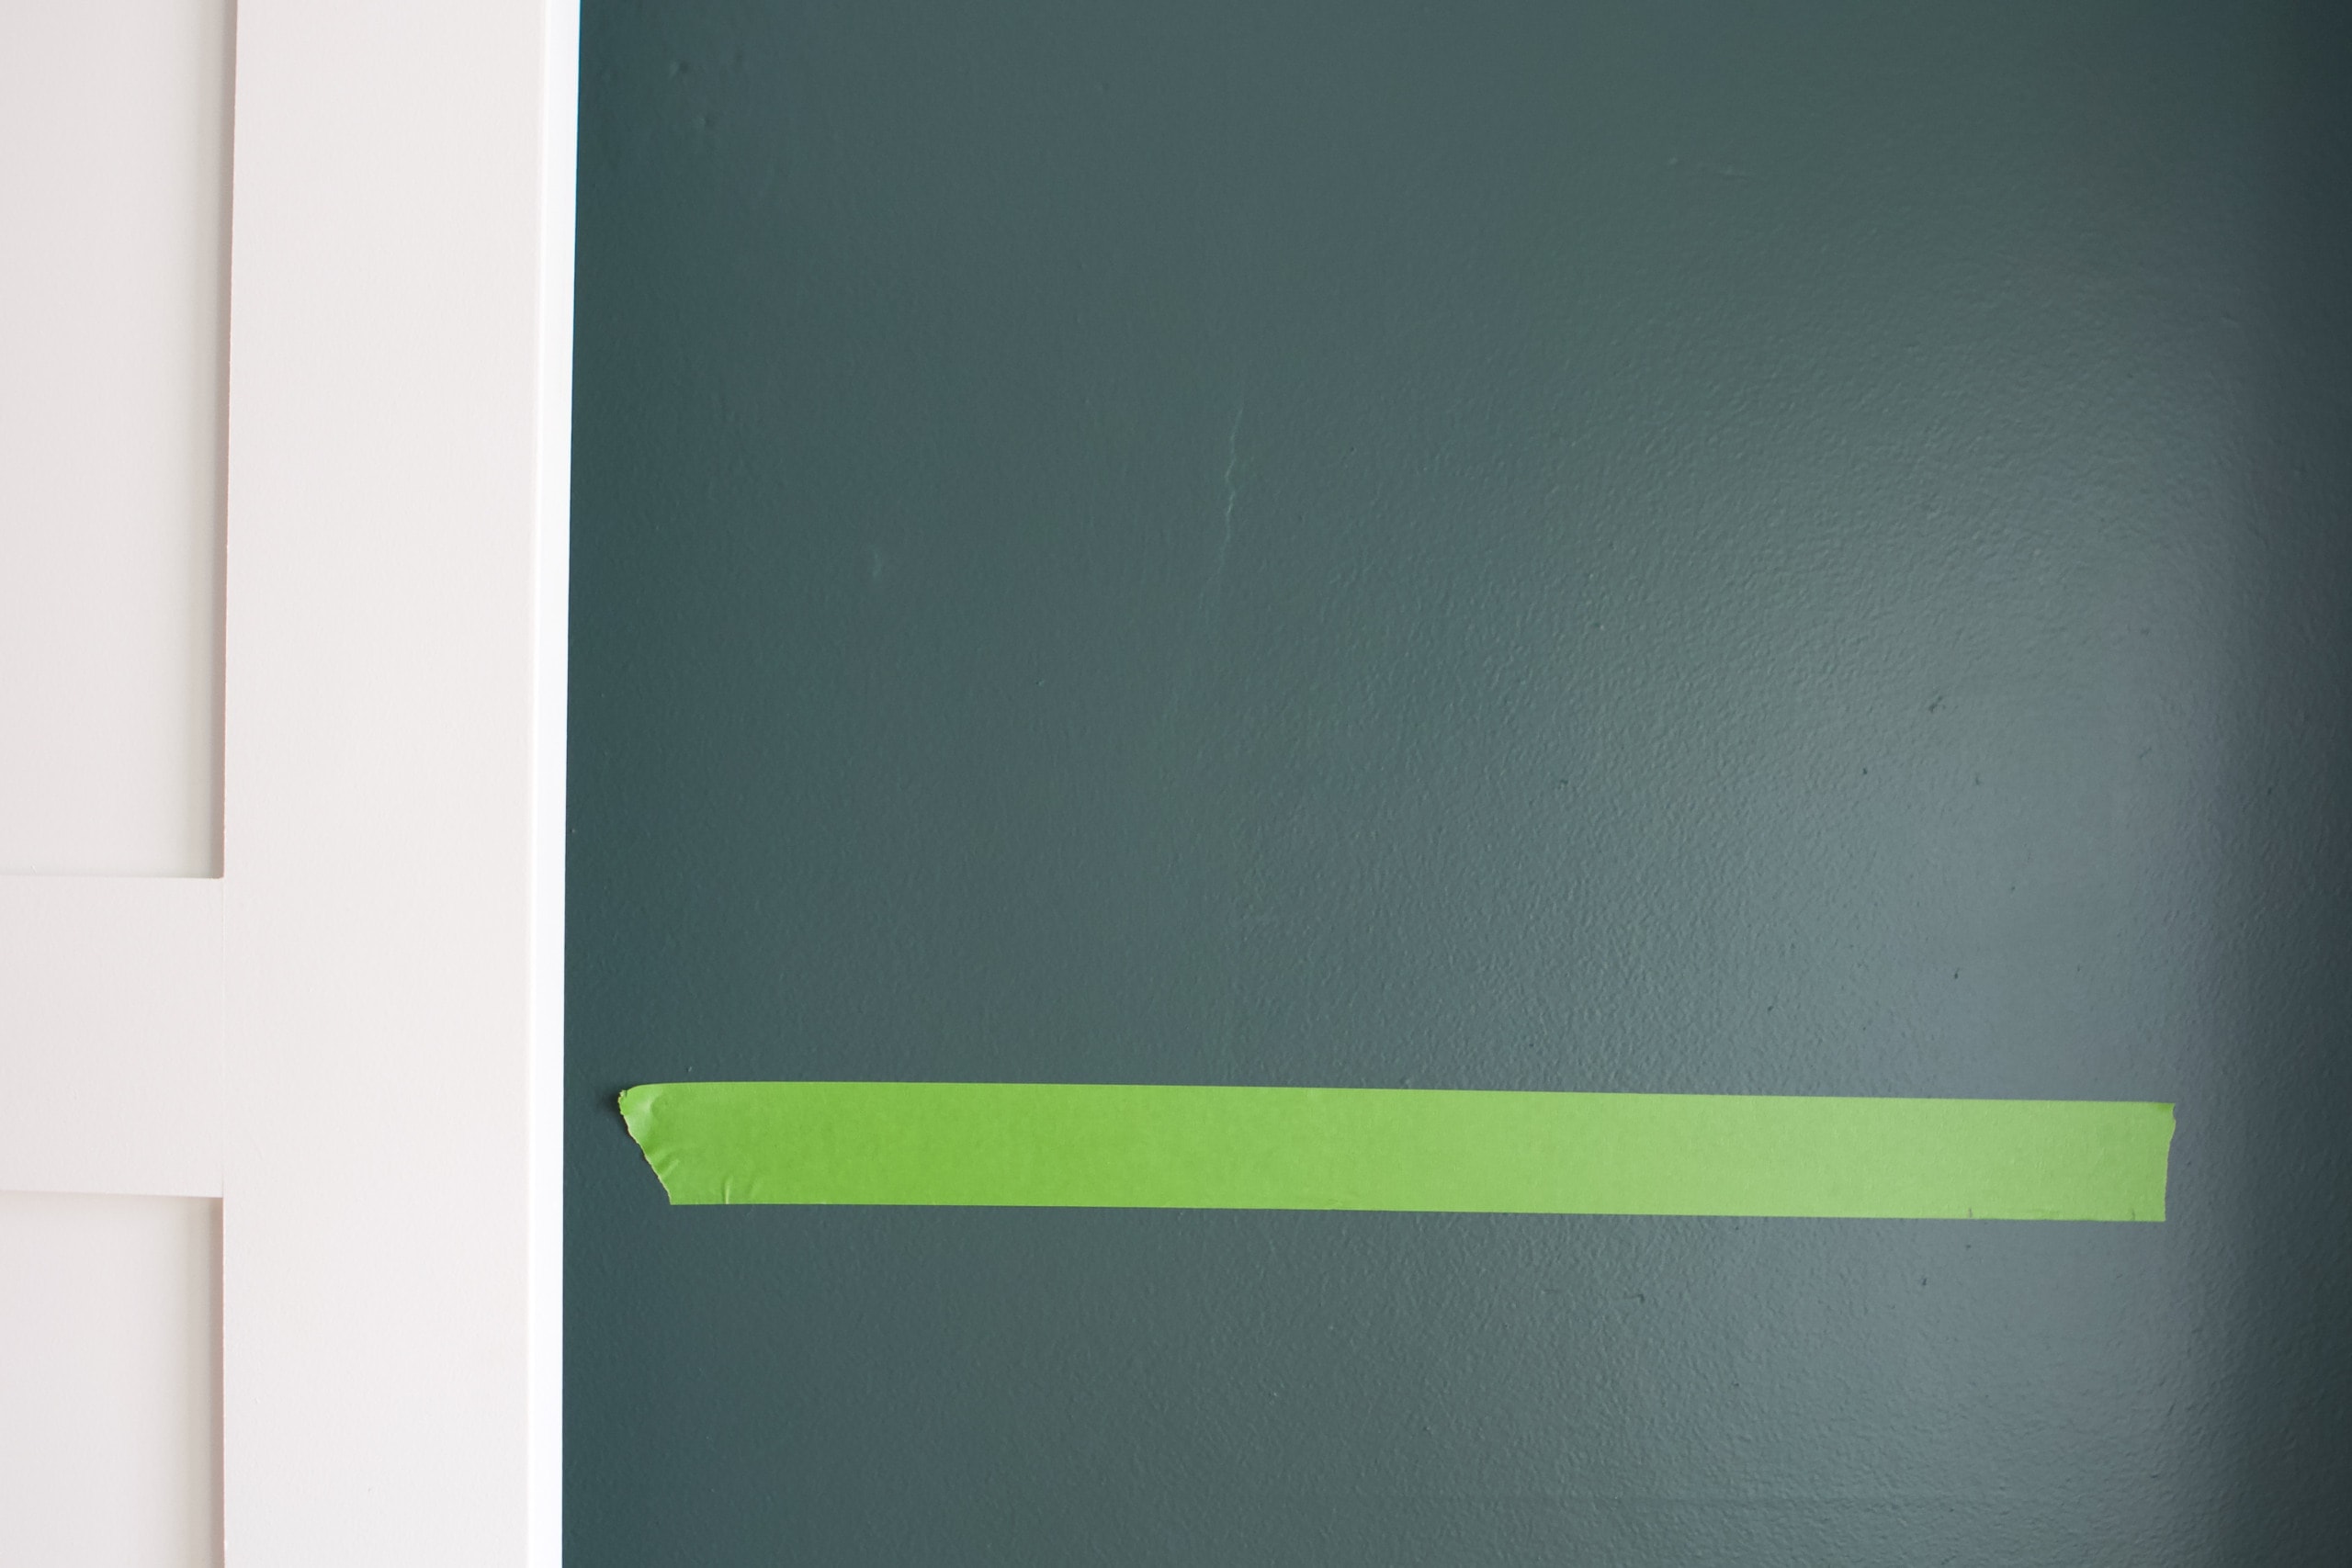
- Use painter’s tape: If you need to visualize the height of the shelves before you put holes in your walls, grab some painter’s tape. This is always helpful!
- Look for studs: It’s always best to secure shelves into studs so they’re super strong. But if that doesn’t work, be sure to use wall anchors. This post goes into detail about how to use wall anchors and my favorite kinds of anchors.
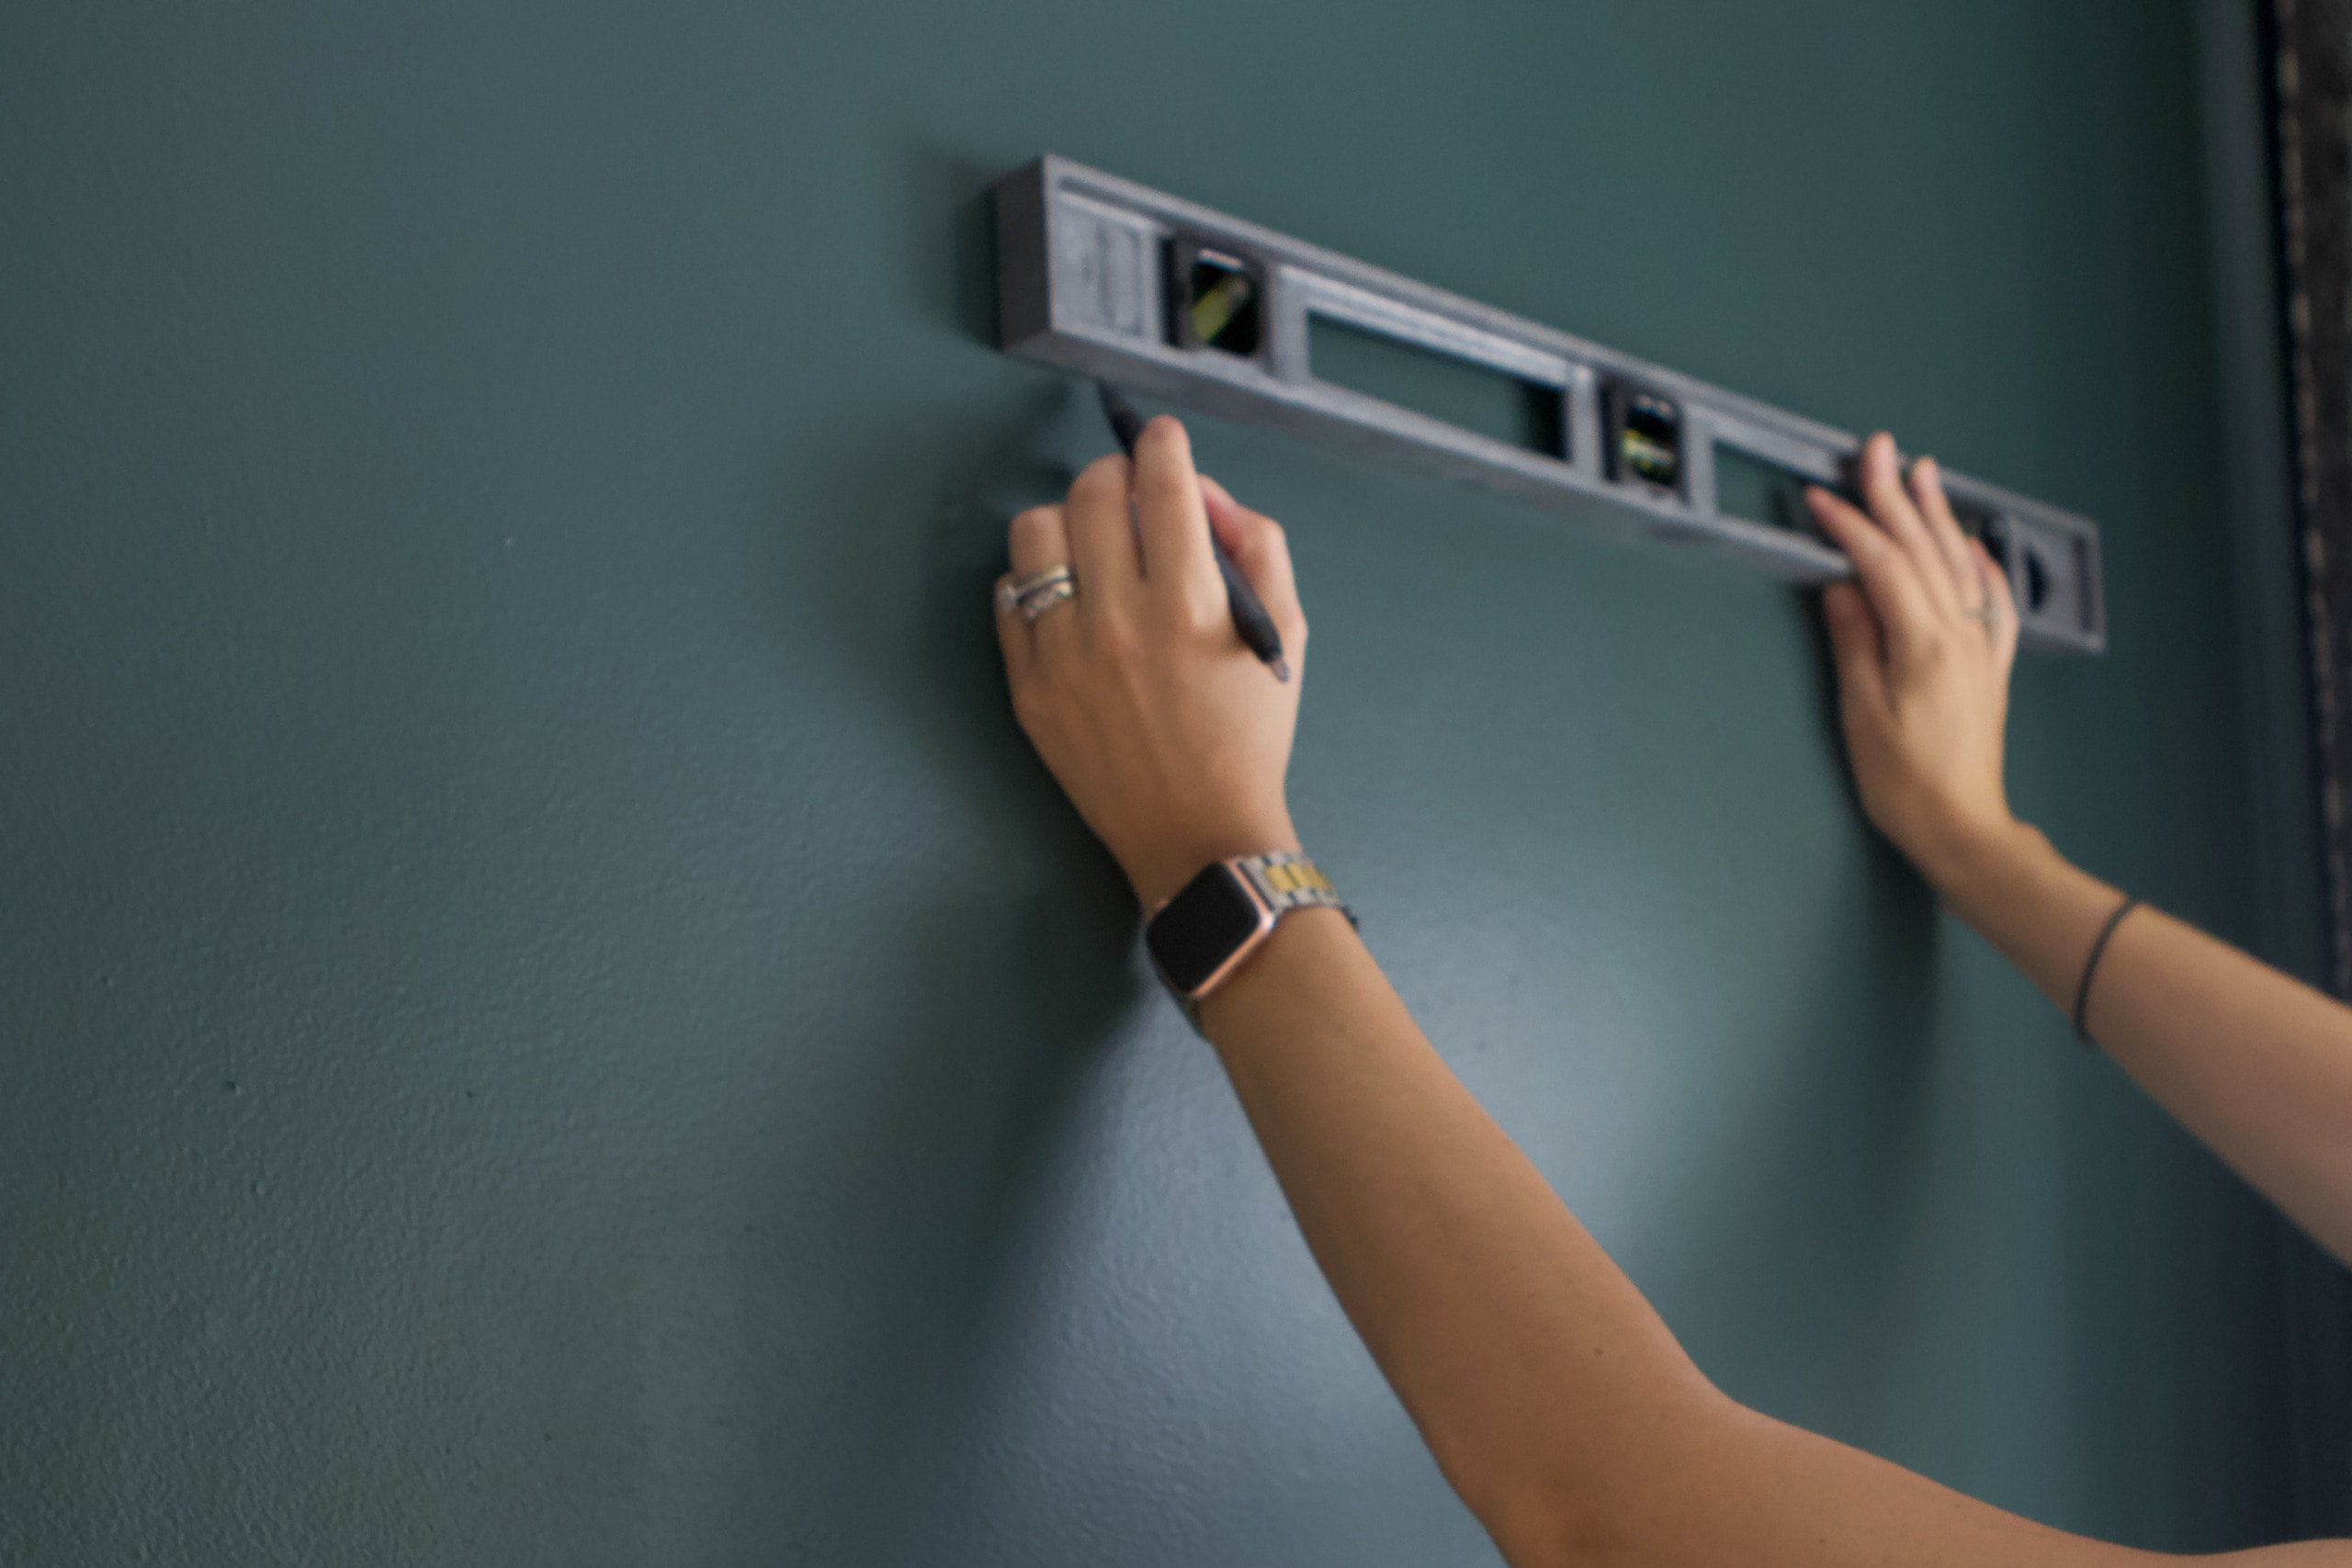
- Keep a level handy: If you’re installing multiple brackets, as I had to for this project, then you’ll want a long level to make your job a tad easier. I typically like to break out a small spirit level and a long level for these types of projects.
- Space your shelves correctly: The distance between the two shelves was already determined with the brackets for this project, but if you get to choose the spacing, make sure you consider what you’ll be displaying on the shelves before you start hanging. I’d say anywhere from 12-18″ is usually a good rule of thumb.
For my situation, I had to consider the placement of the closet door in relation to the new shelves, so they wouldn’t hit each other. Normally, I would position the shelves on the center of the wall, but I had to scoot them to the right a tad so they wouldn’t interfere with the door swing.

It can be tough to hang things when you don’t have an extra set of hands. With these particular brackets, I found it easiest to drill my first anchor in and then loosely attach the bracket so I could mark the other two holes. It was too difficult to hold the bracket in place myself, so the screw at the top worked wonders!
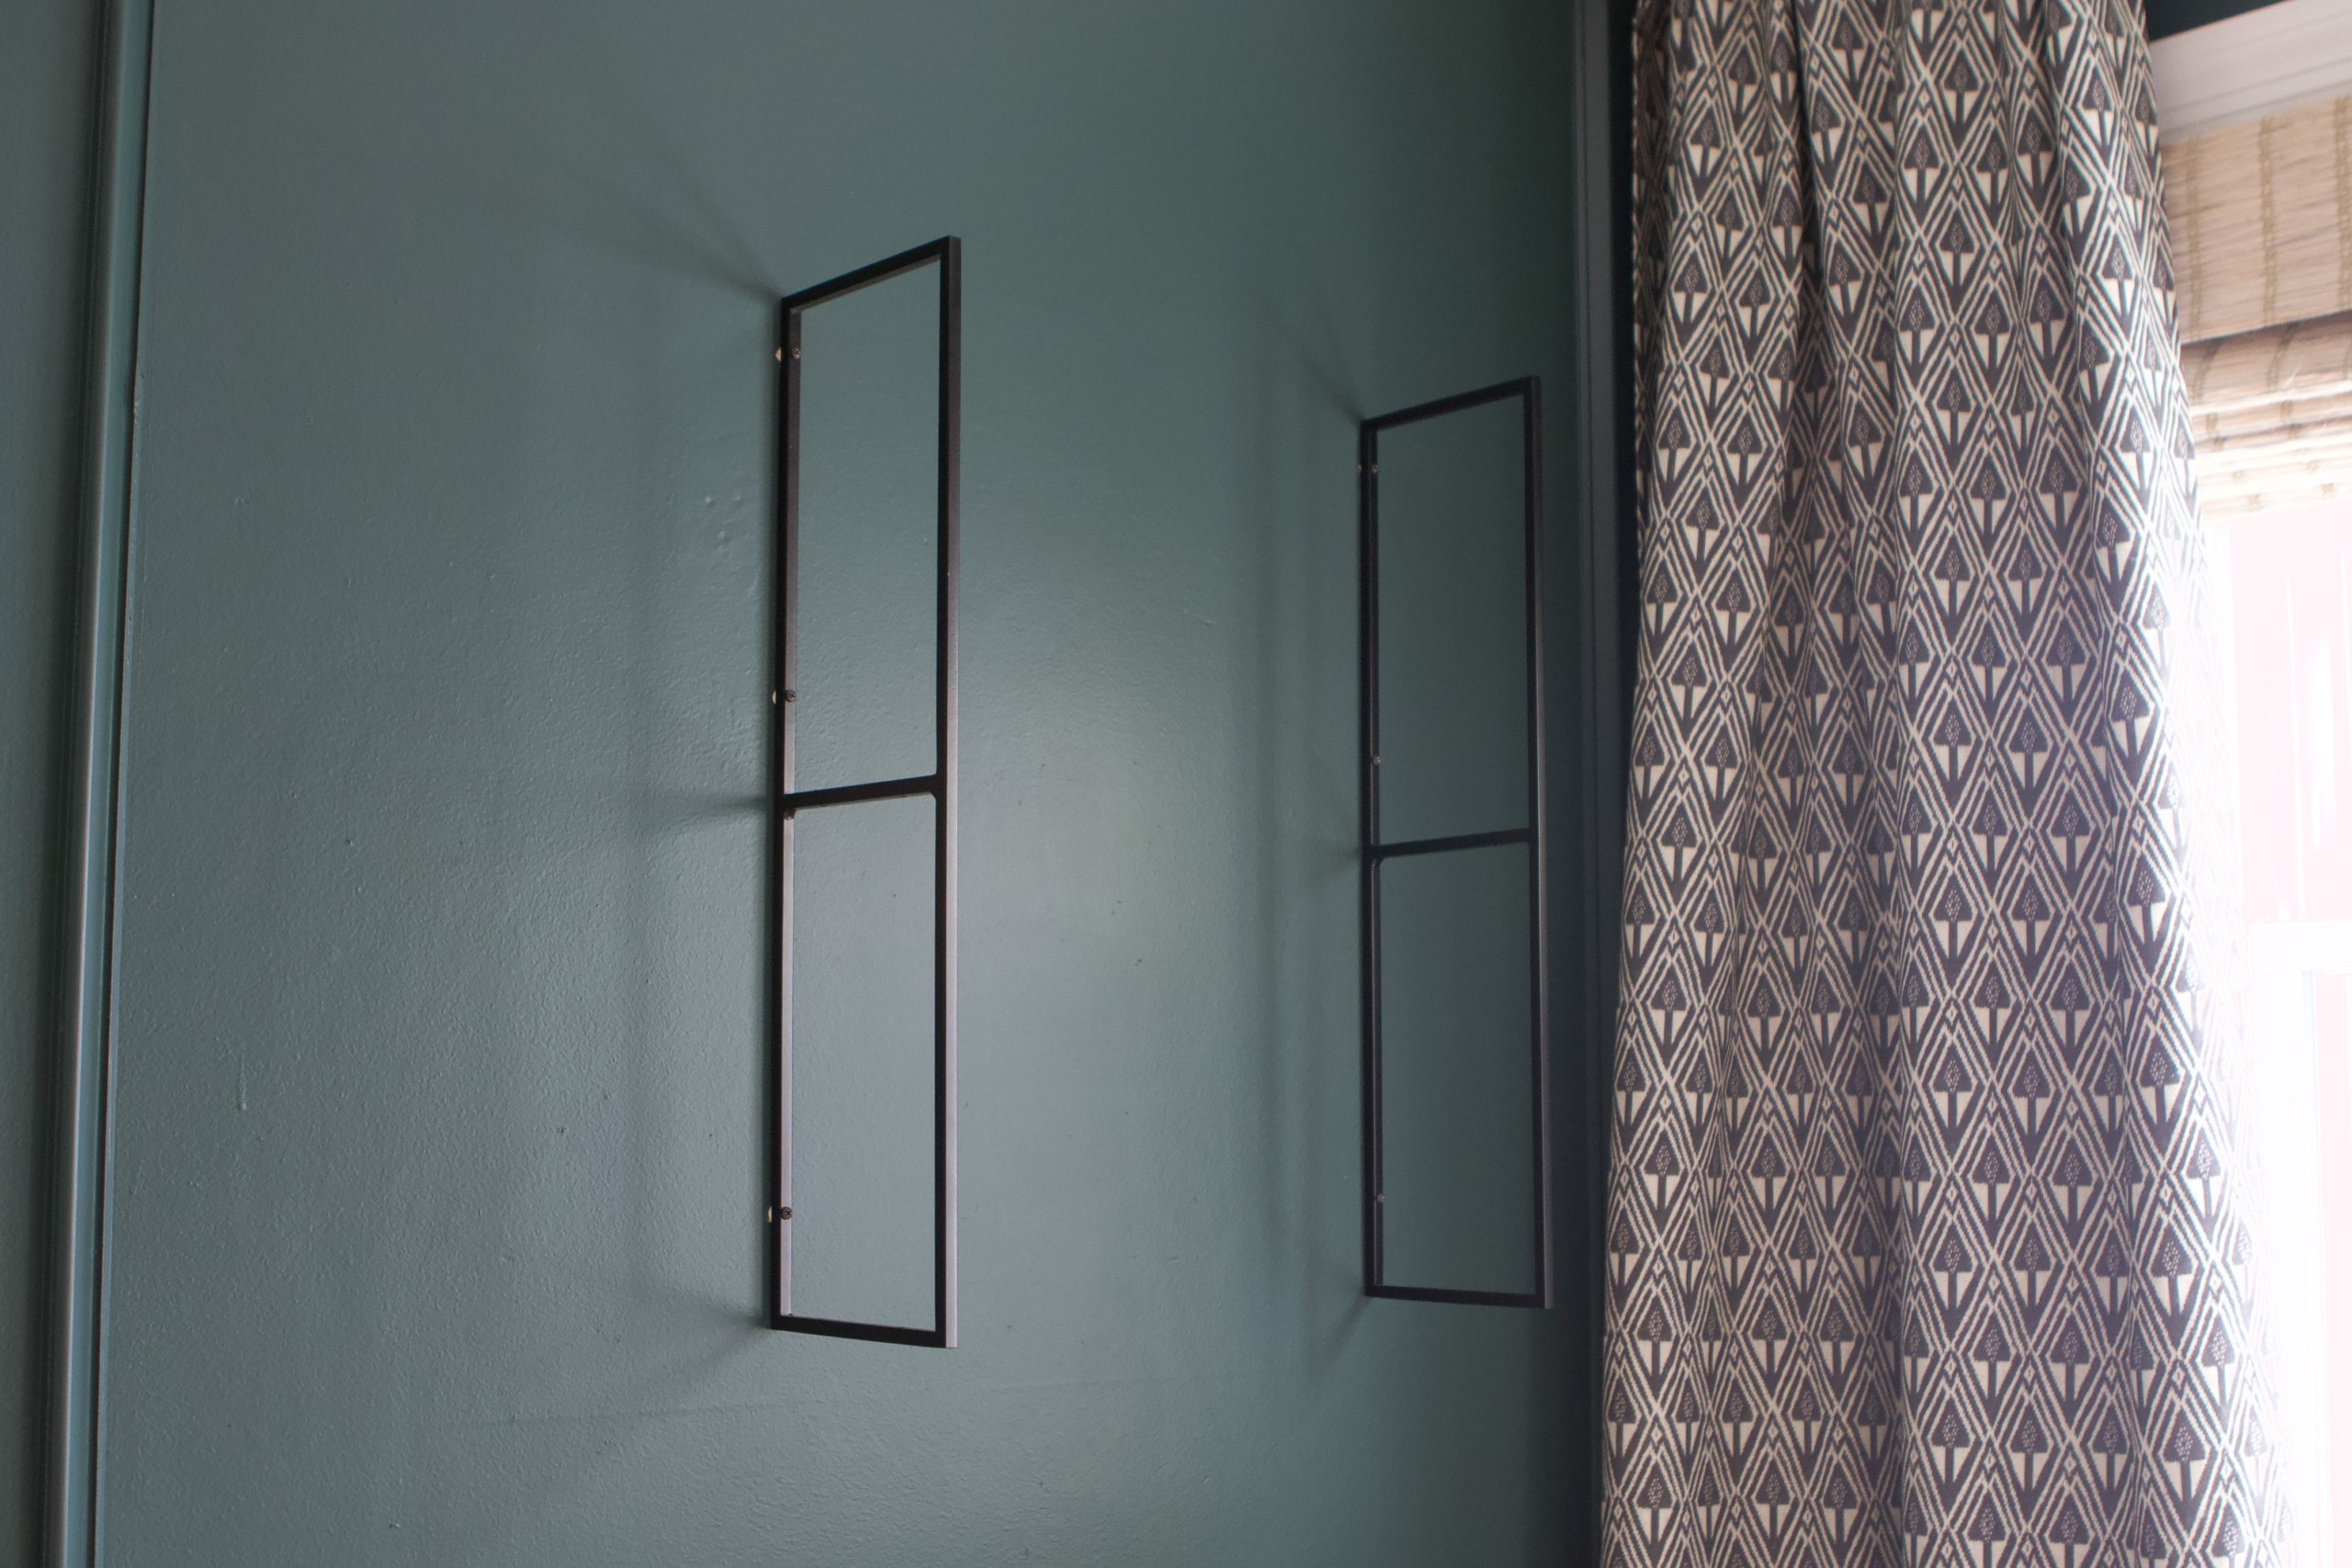
With brackets like these, you want to make sure they’re level vertically, and also level with one another. The long level came in handy for this, as I could reach the other bracket area to mark the wall.
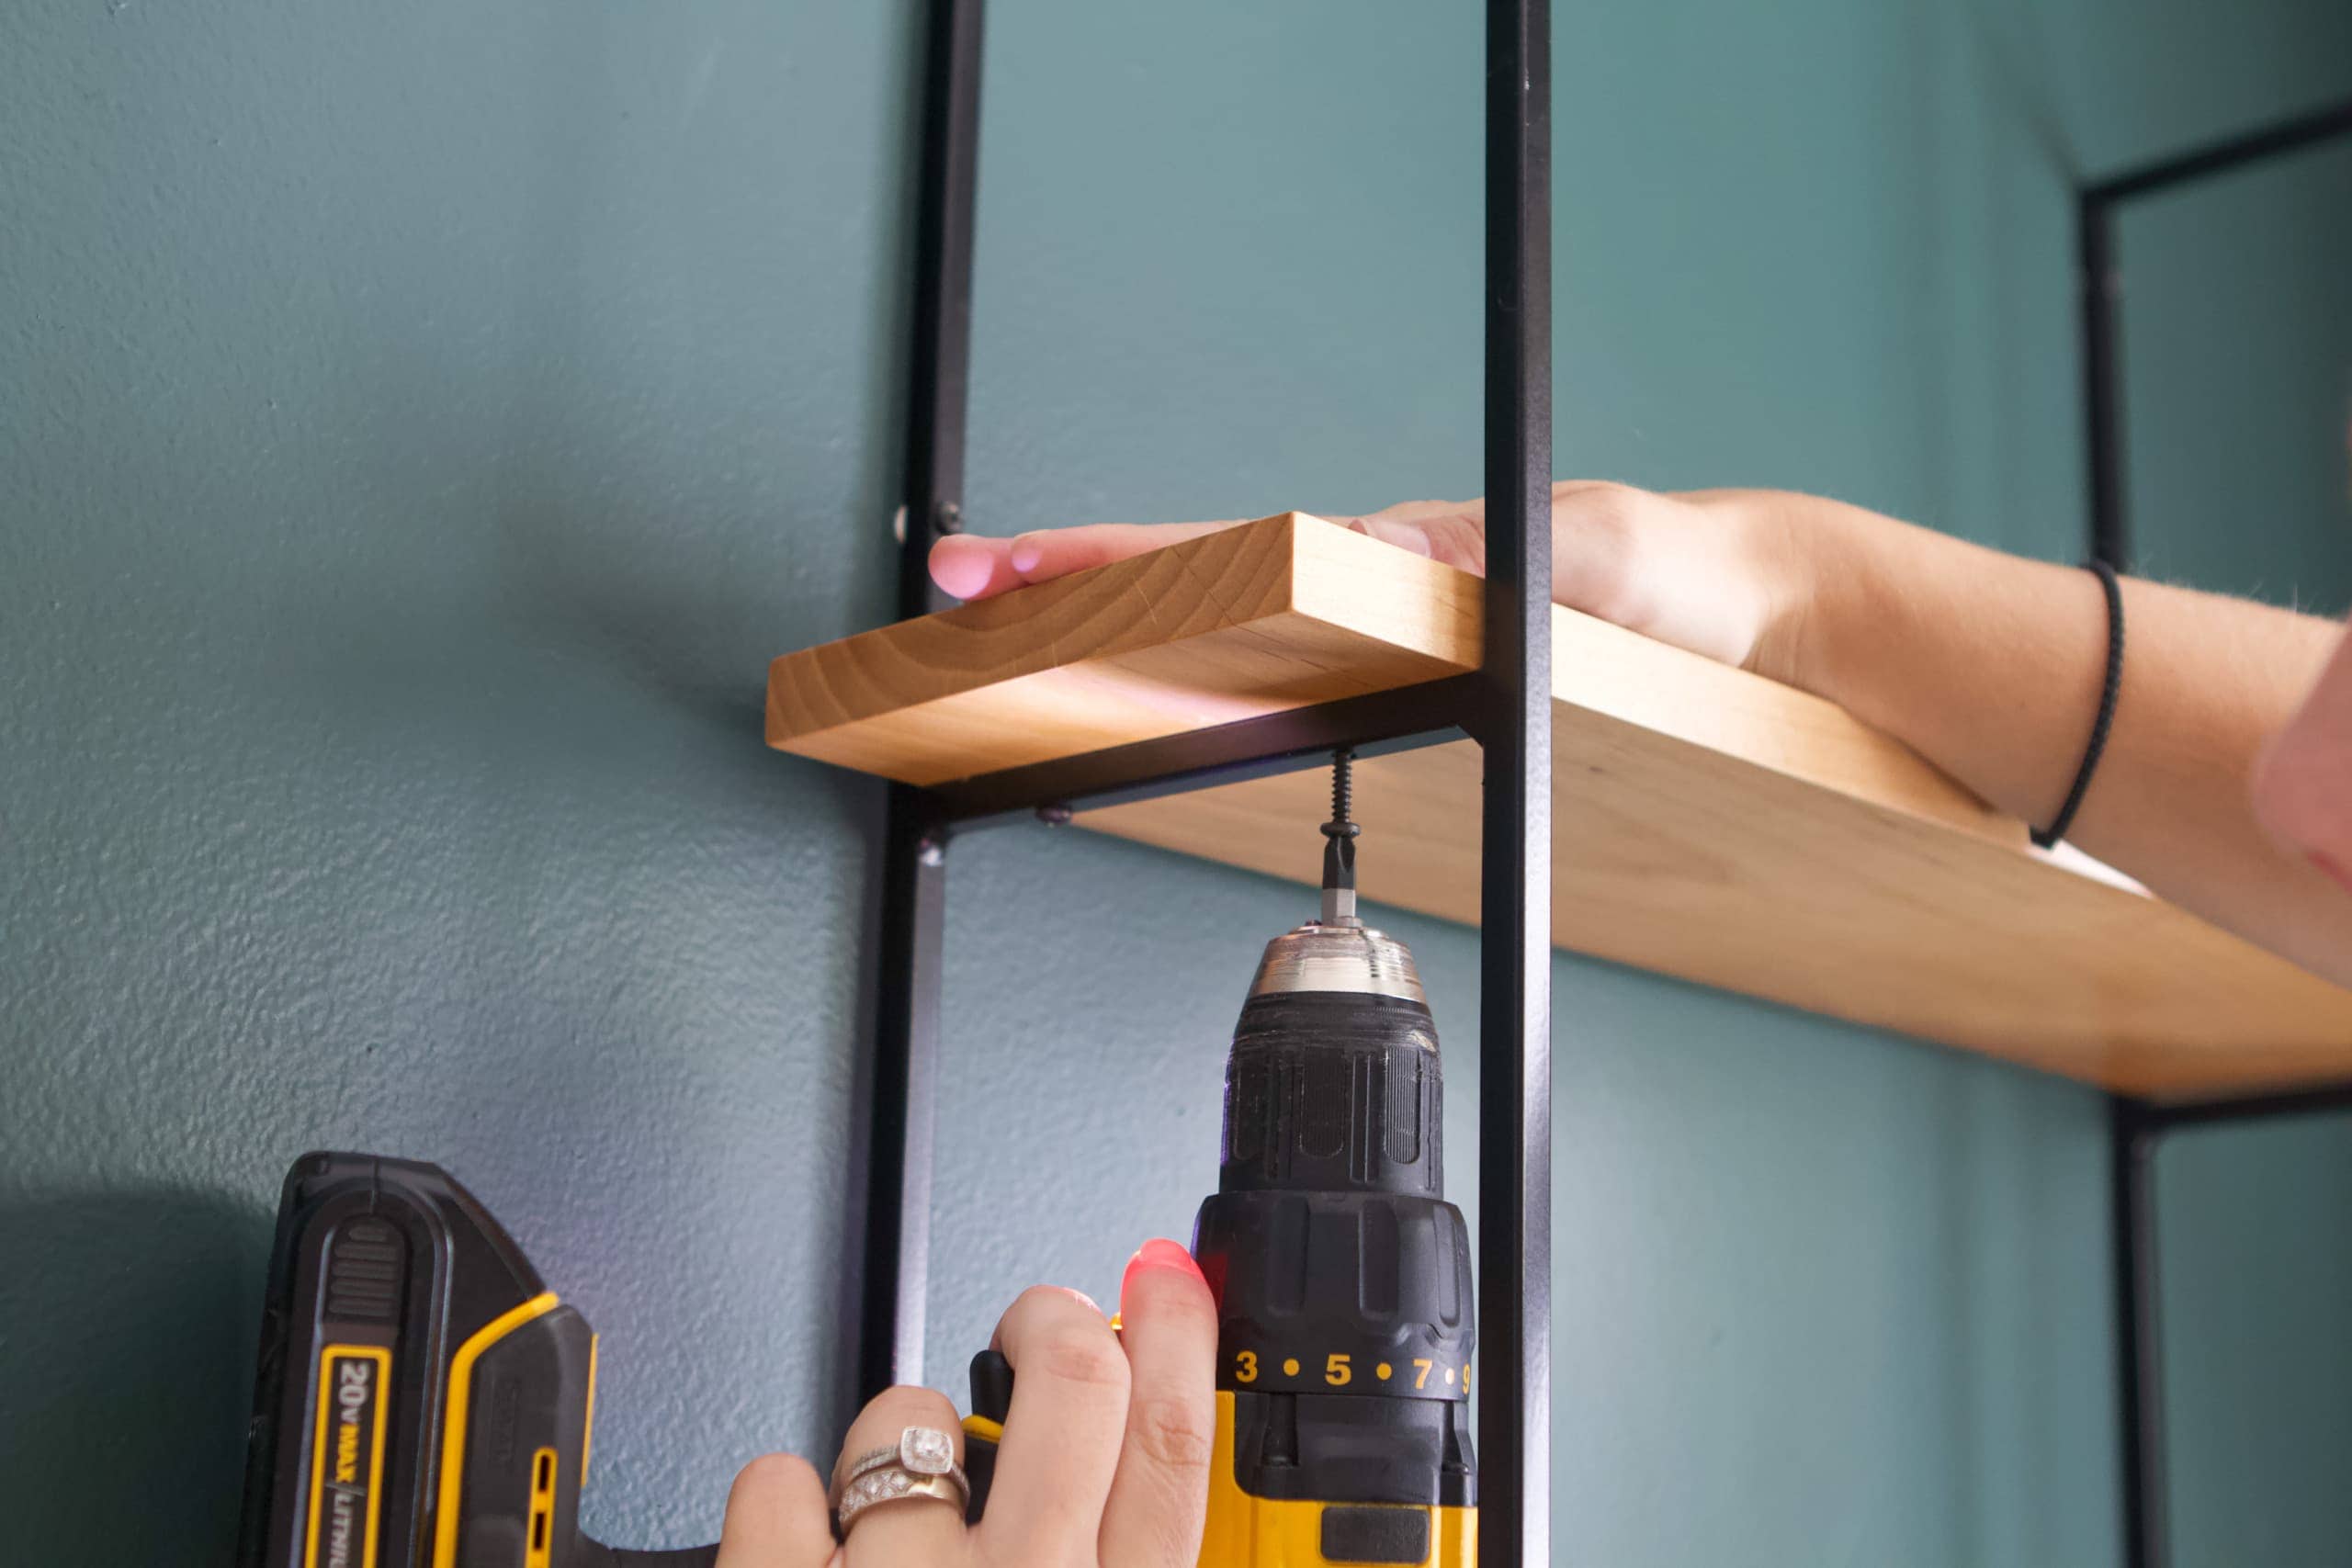
The last install step involved screwing up into the wood to attach the shelves to the bracket. You’ll have to put some muscle into it and hold the wood from the top to get it tight and secure.
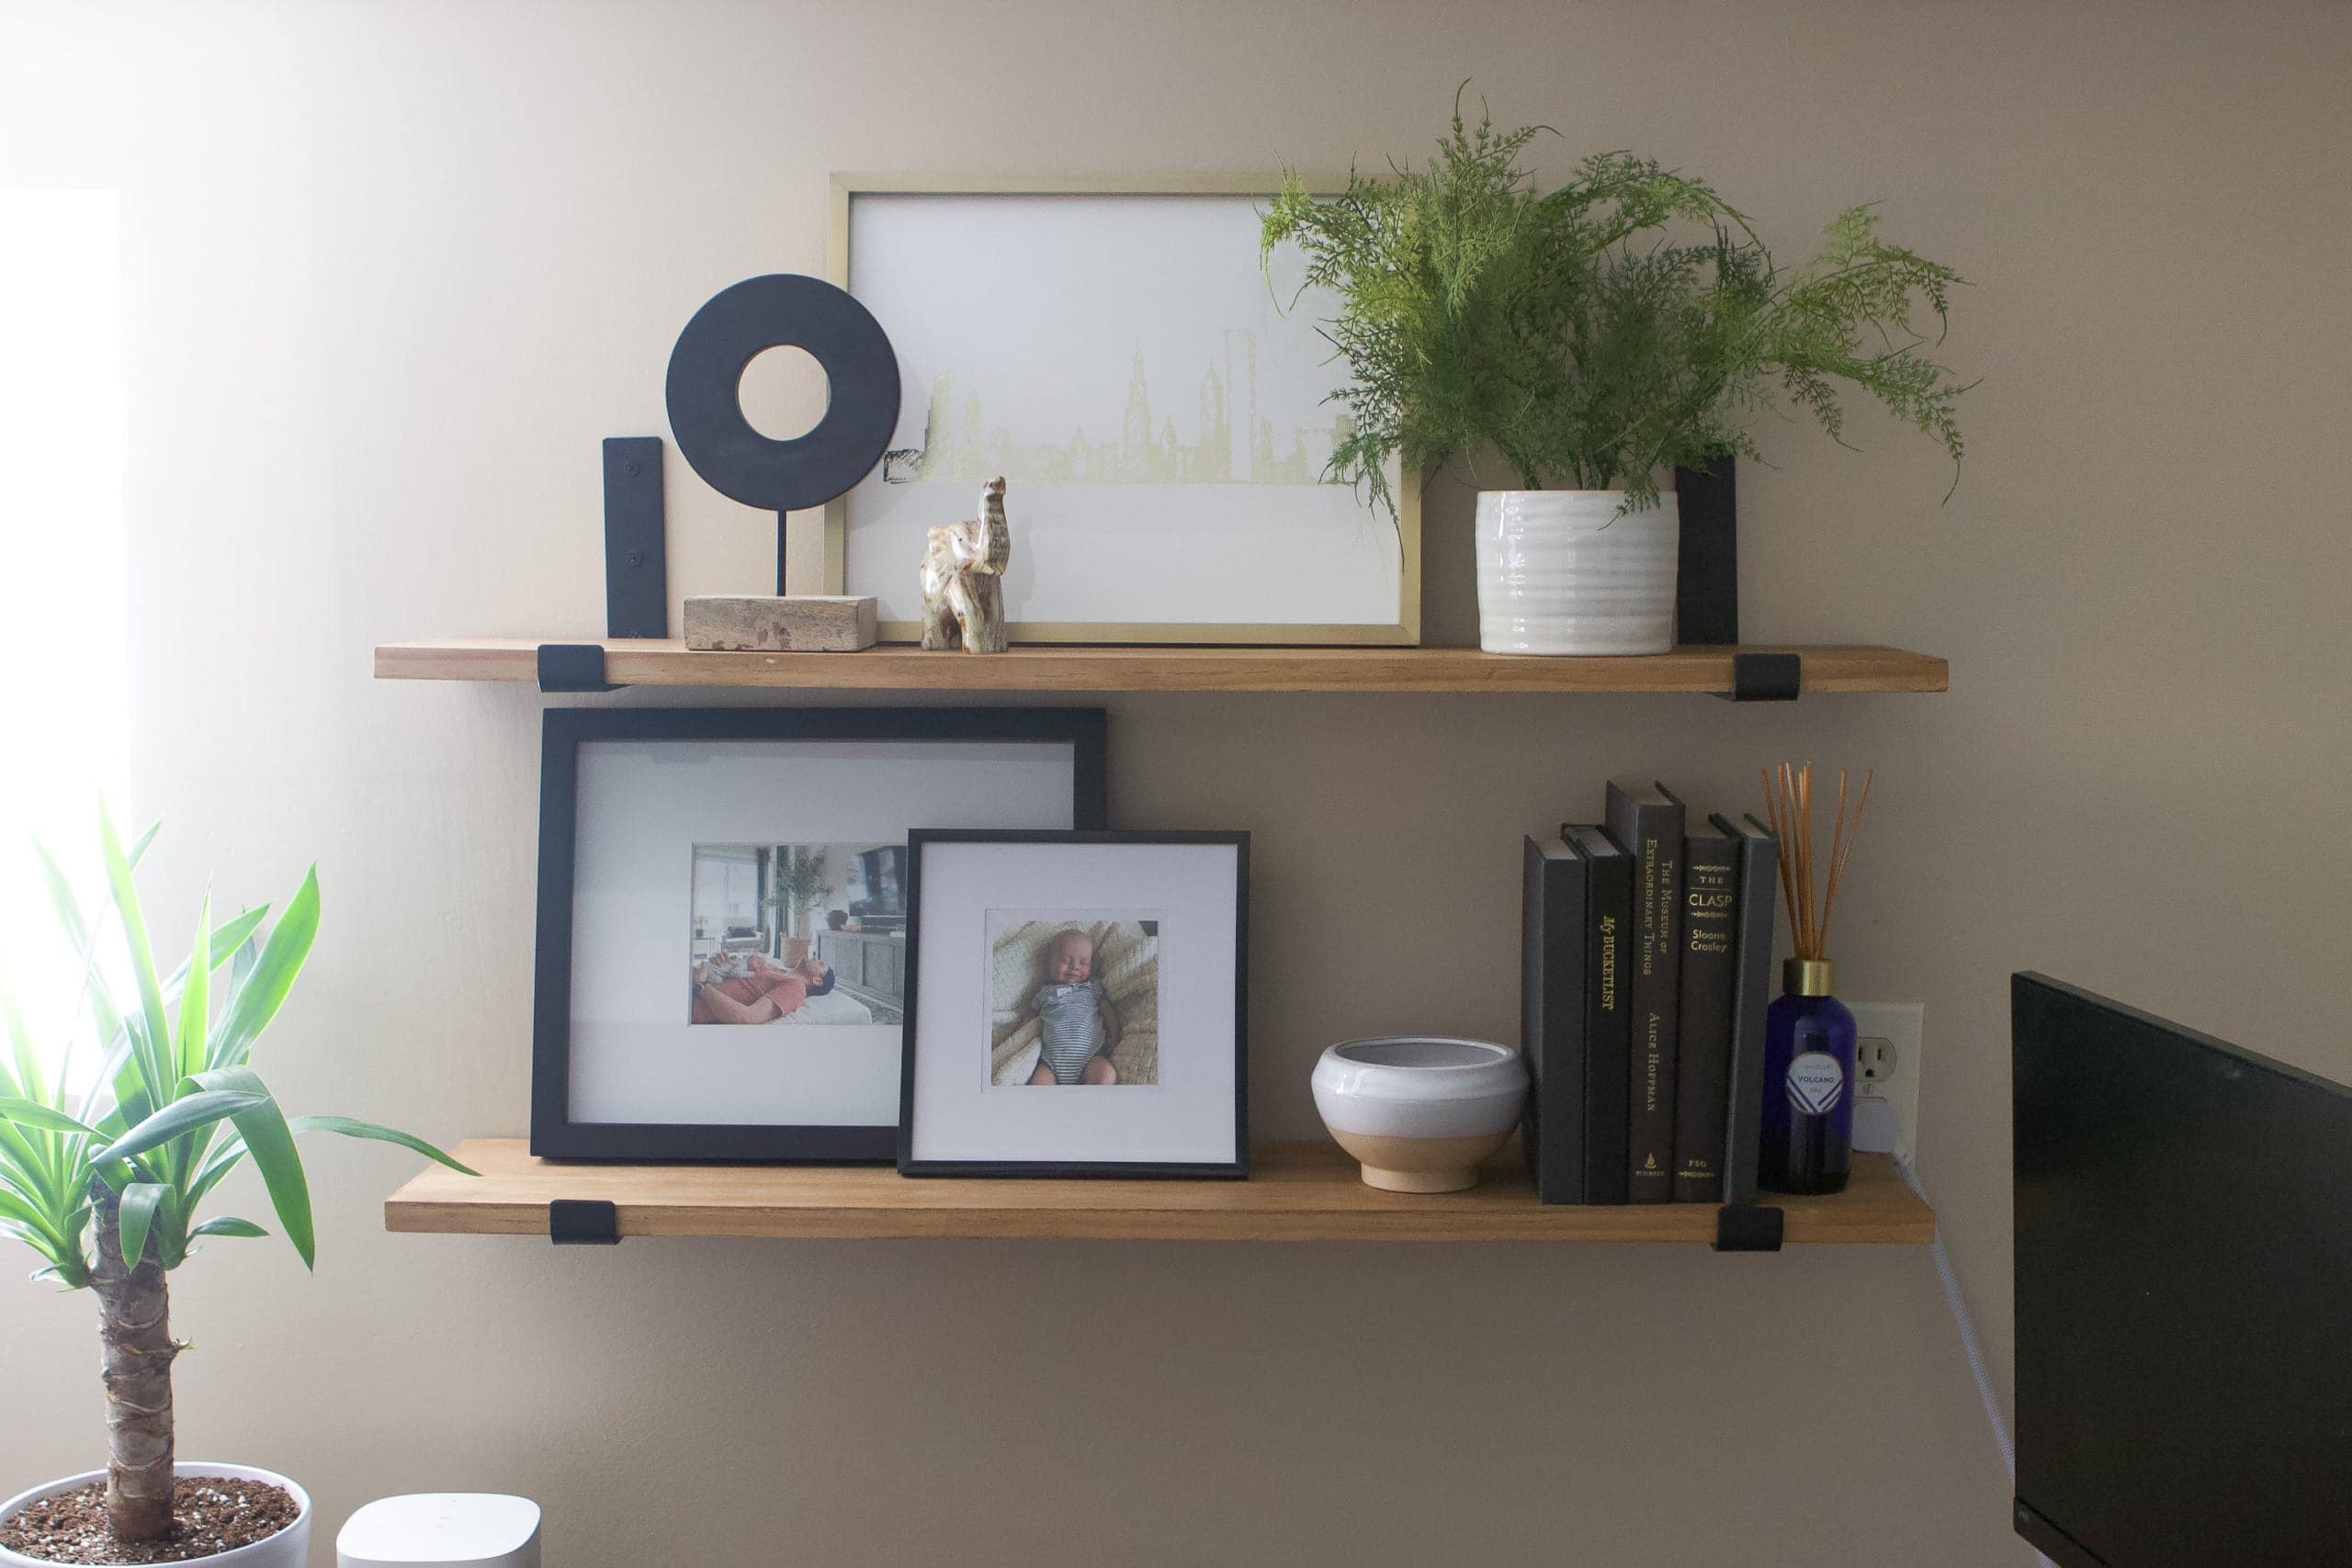
All Styled Up

Here’s a look at my new shelves all styled up! I had so much fun finding cute items to put on these nursery shelves. Decorating shelves in a baby’s room is much more fun than decorating shelves anywhere else in the house!
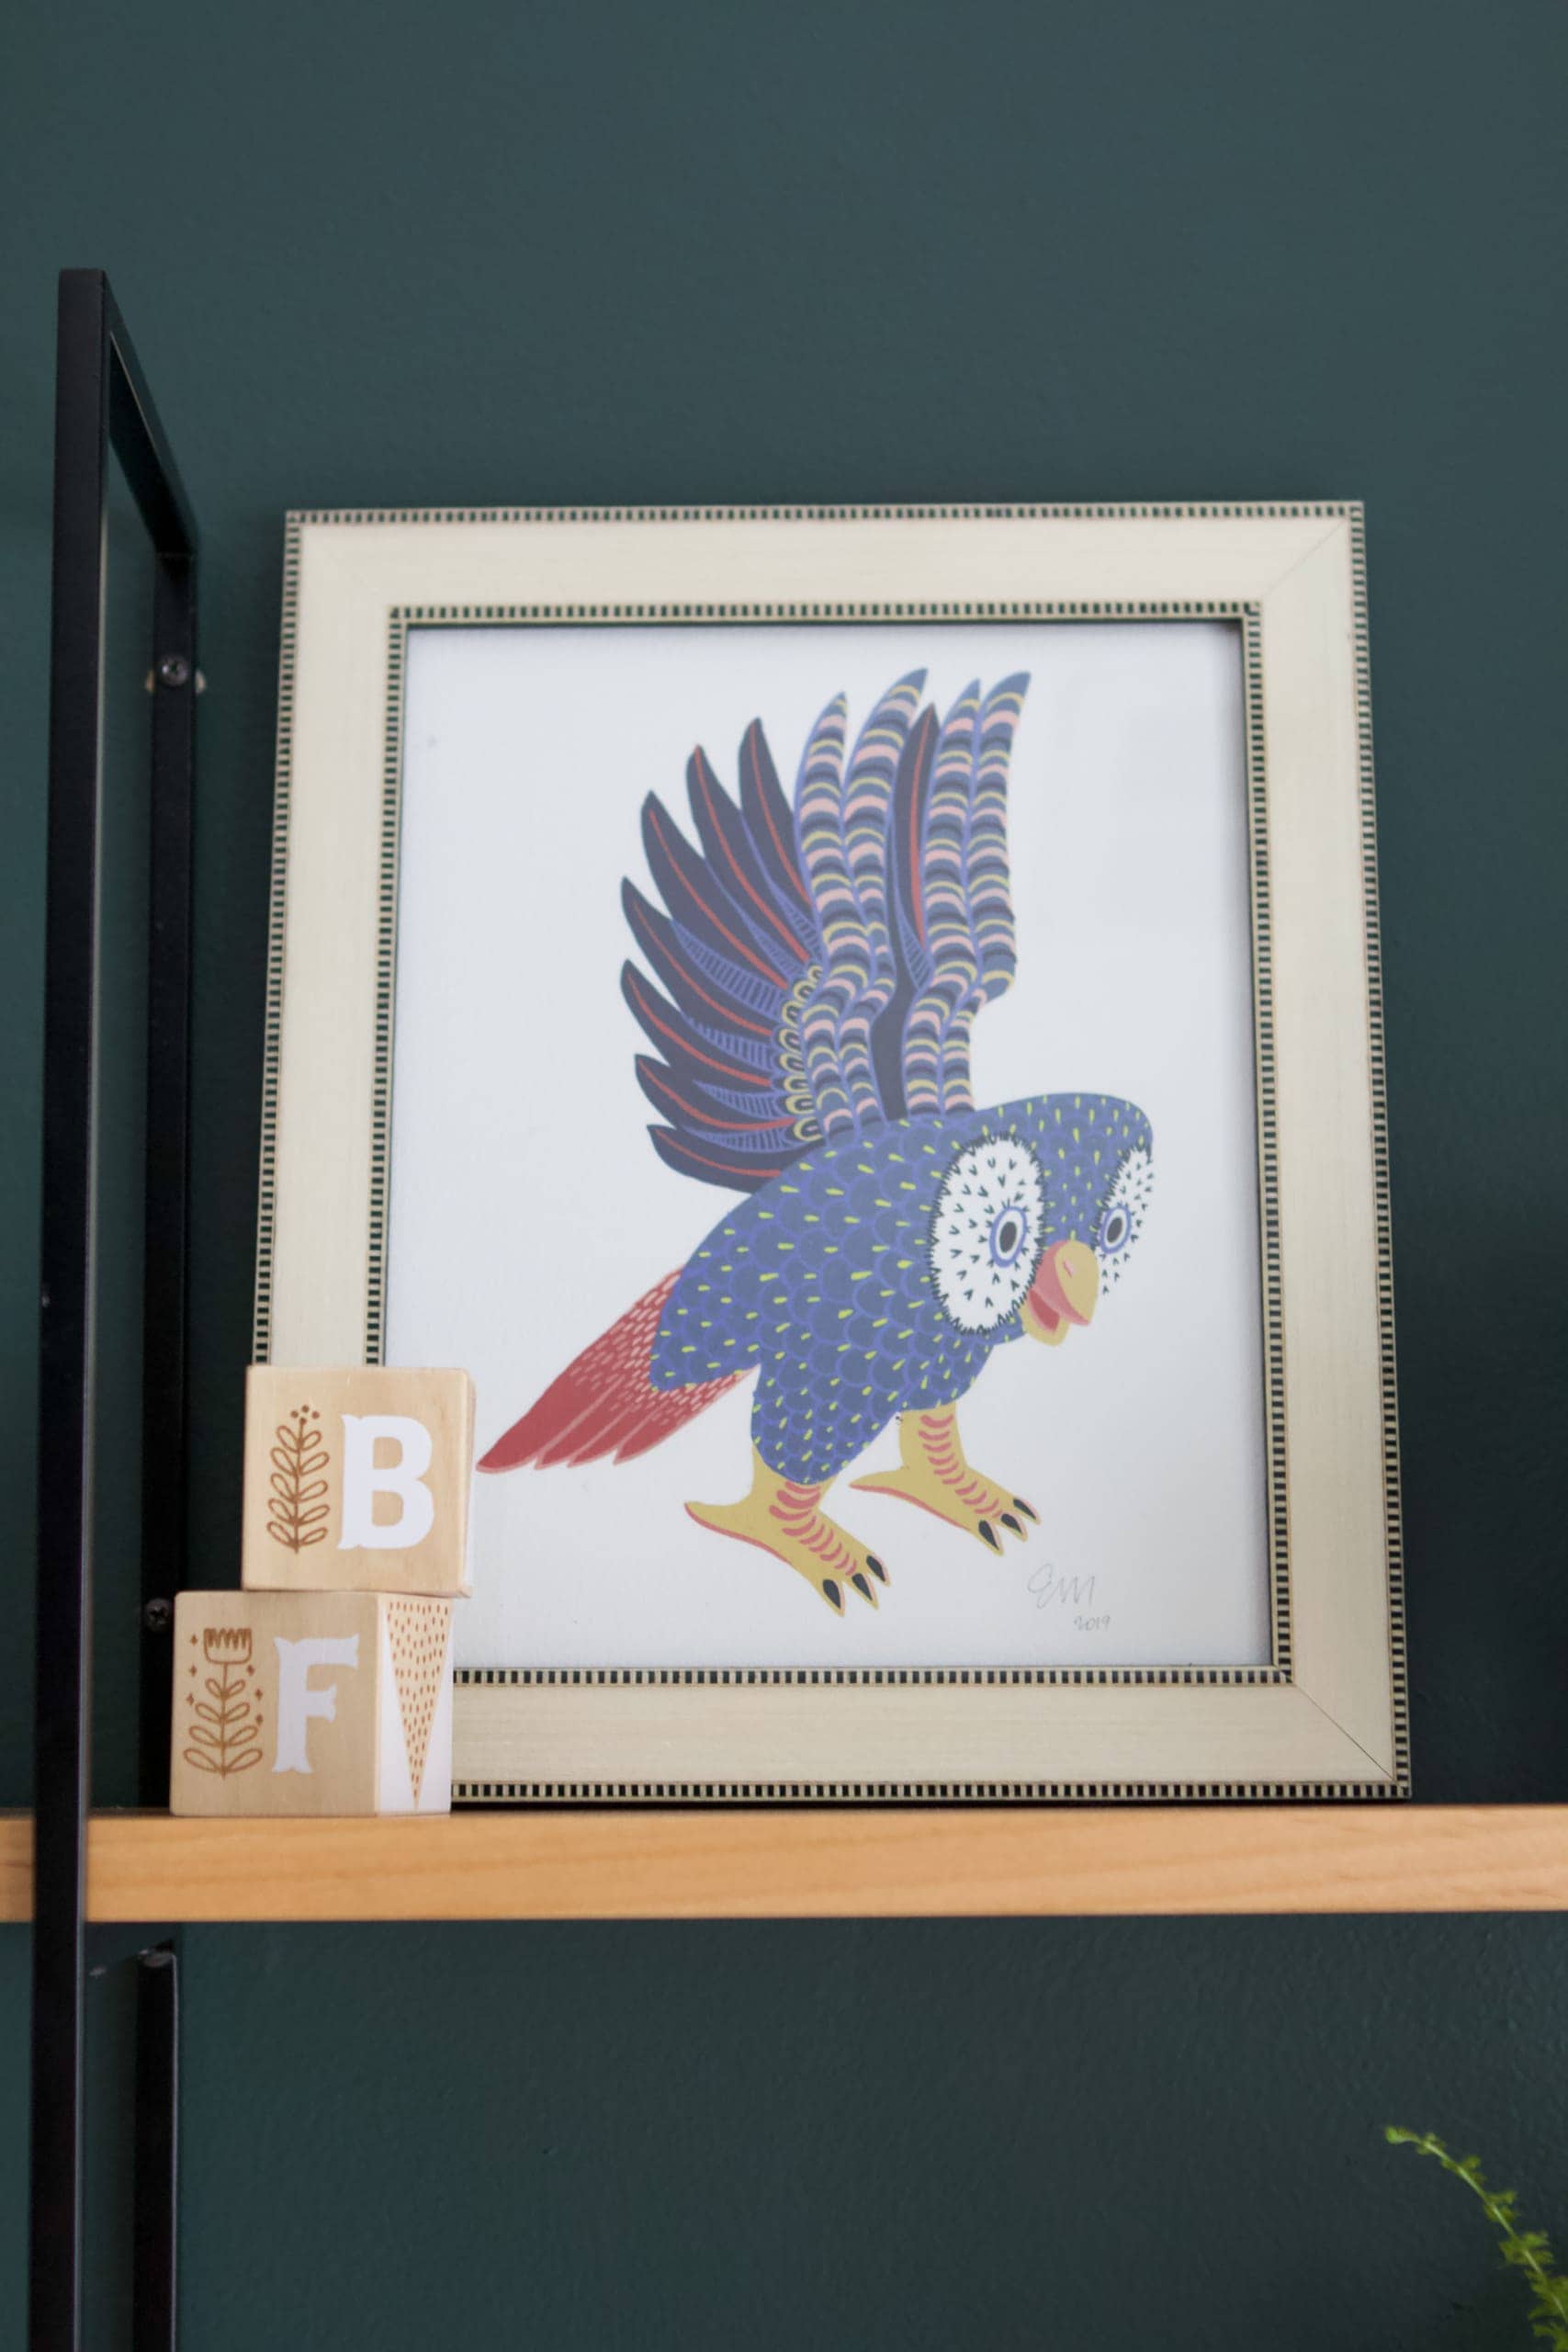
Up top, I ended up framing this owl print that Erin, from Relativity Textiles, created. You’ll notice it’s one of the same creatures from the wallpaper in the closet! I love that I can bring this little guy out here to show him off. She also sells other creatures from that cool wallpaper scene if you want to check them out right here.
I added a few cute wooden blocks for “Baby Finn”. No, “BF” are not his initials. We think we have a name and it doesn’t start with a “B”. Ha! I just wanted to throw that out there because I’m sure people will ask. I’ll be changing the blocks, once he is here, and using his real initials.
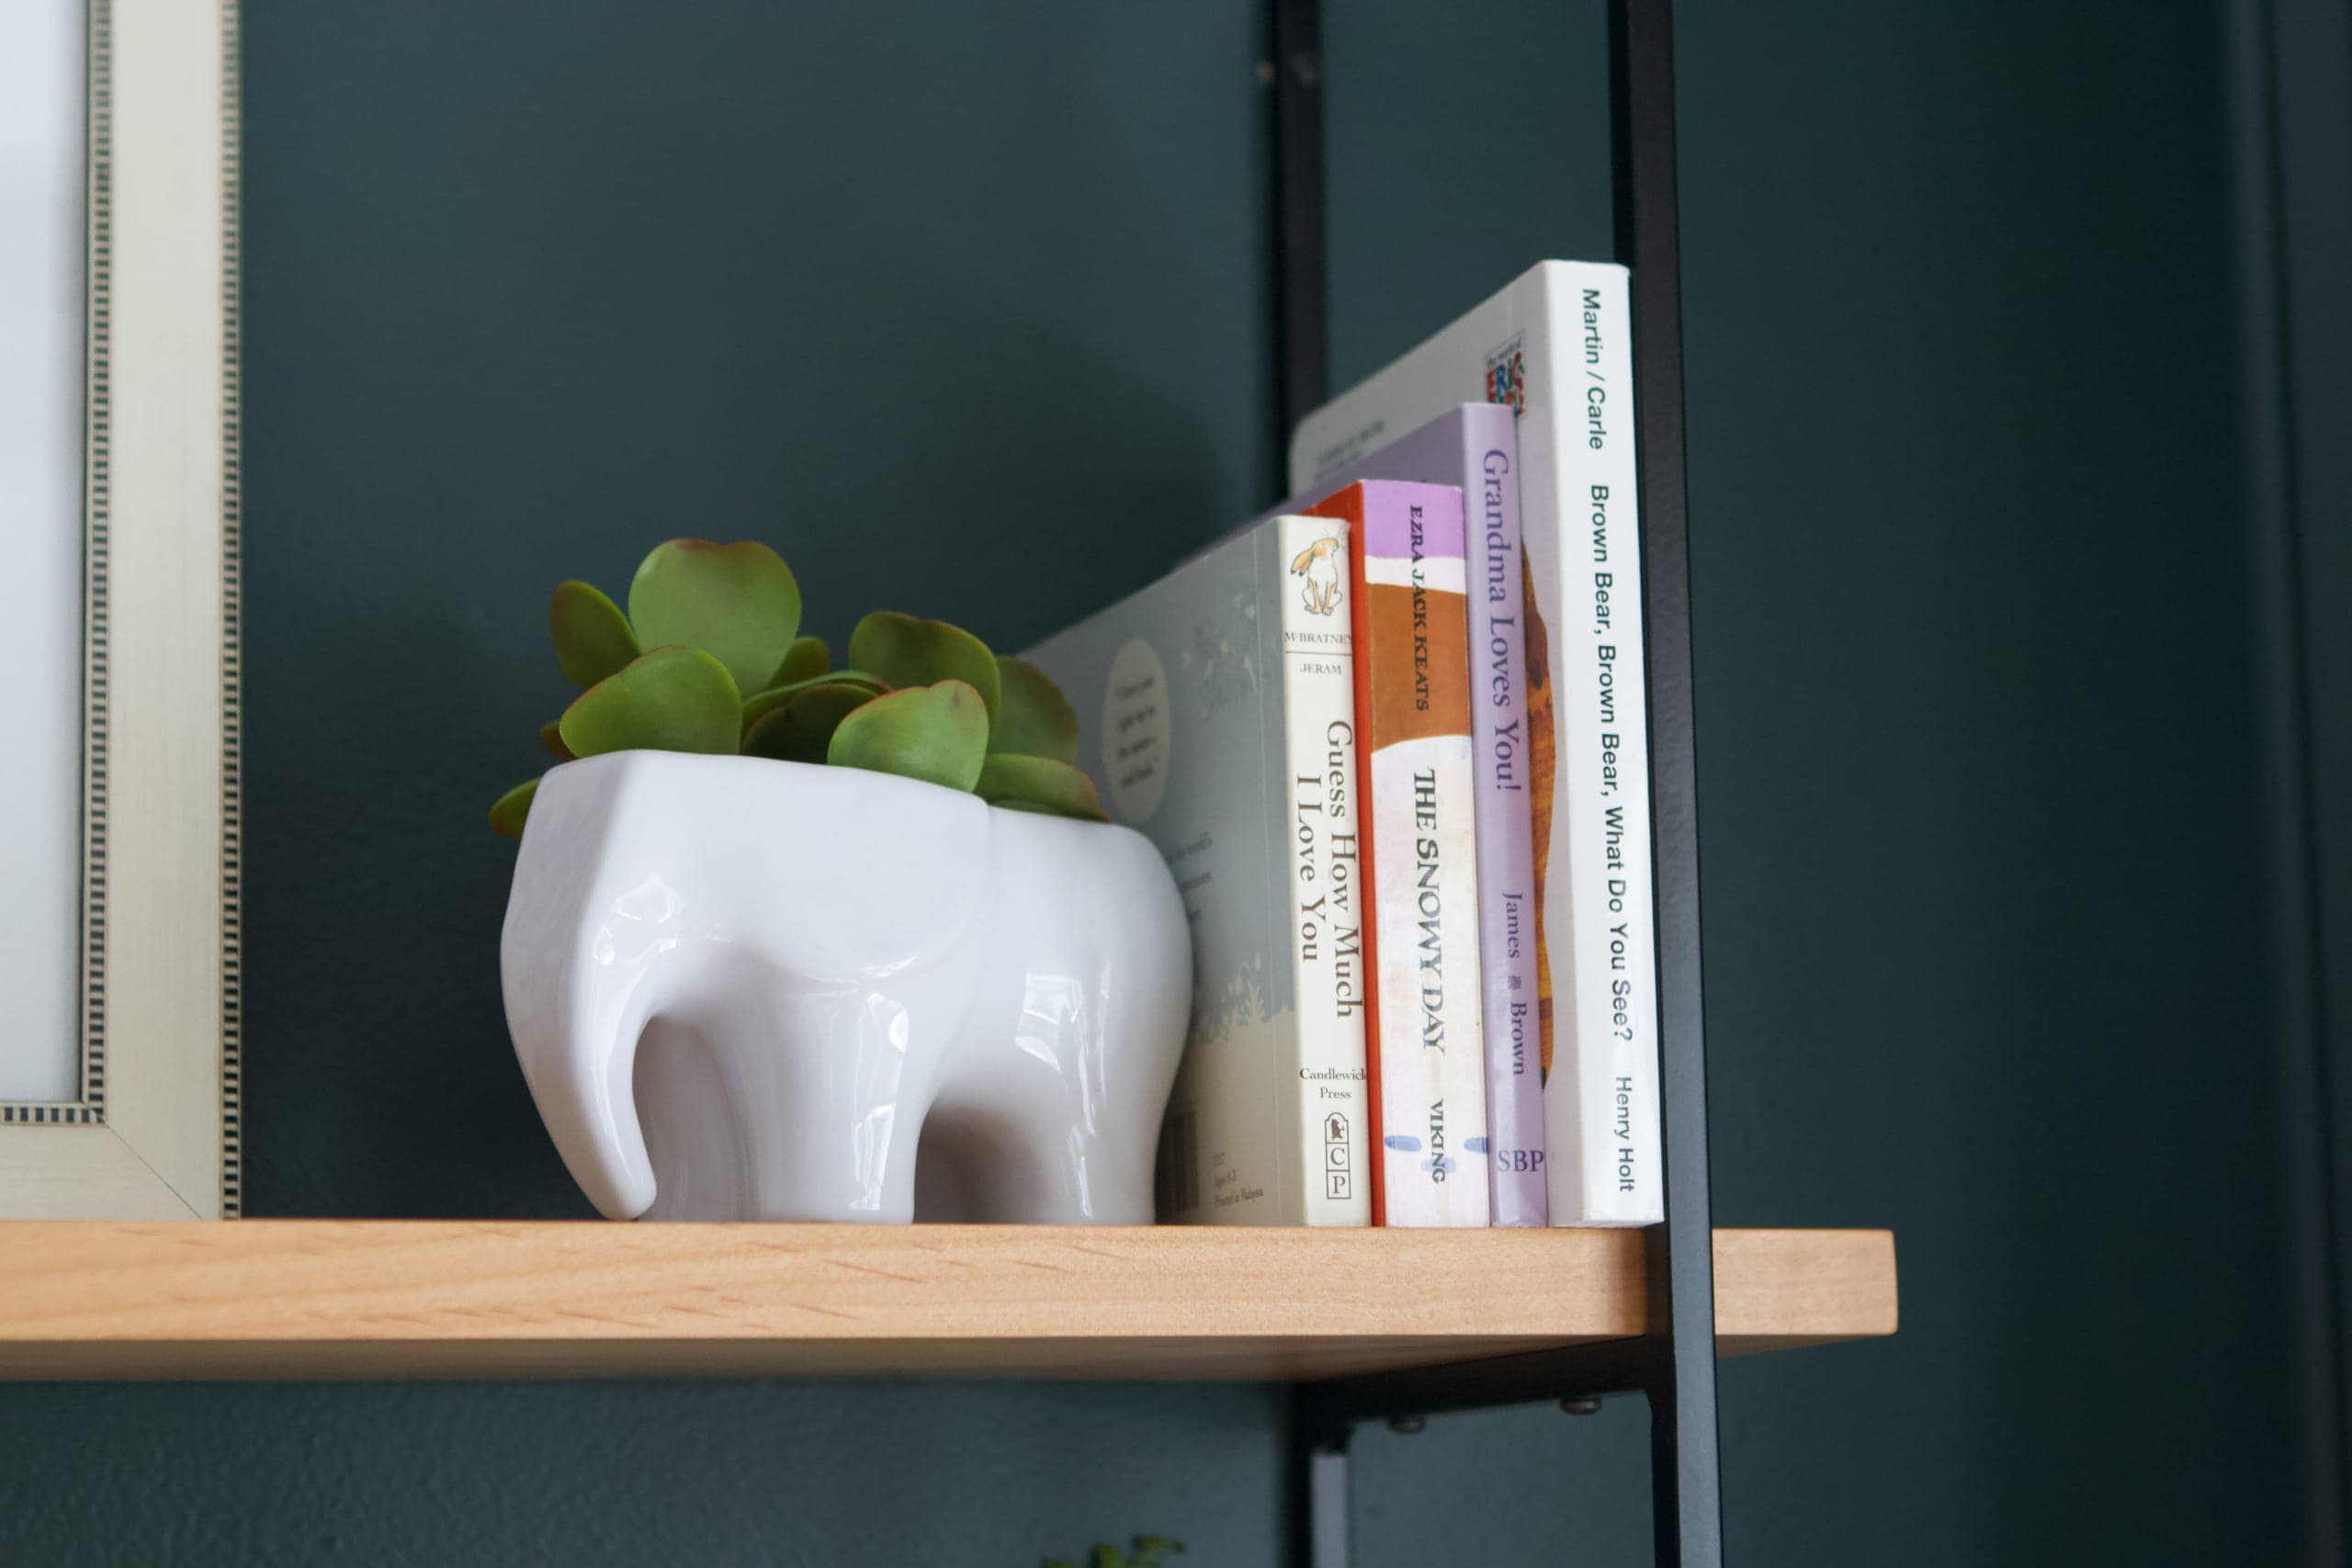
Of course, I had to add some books on here because it is a kid’s room after all! The hardest part was finding books that were shallow enough for these shelves. Since this won’t be his primary book stash, I’ll have to pick another spot in the room to house all of his books for bedtime stories.
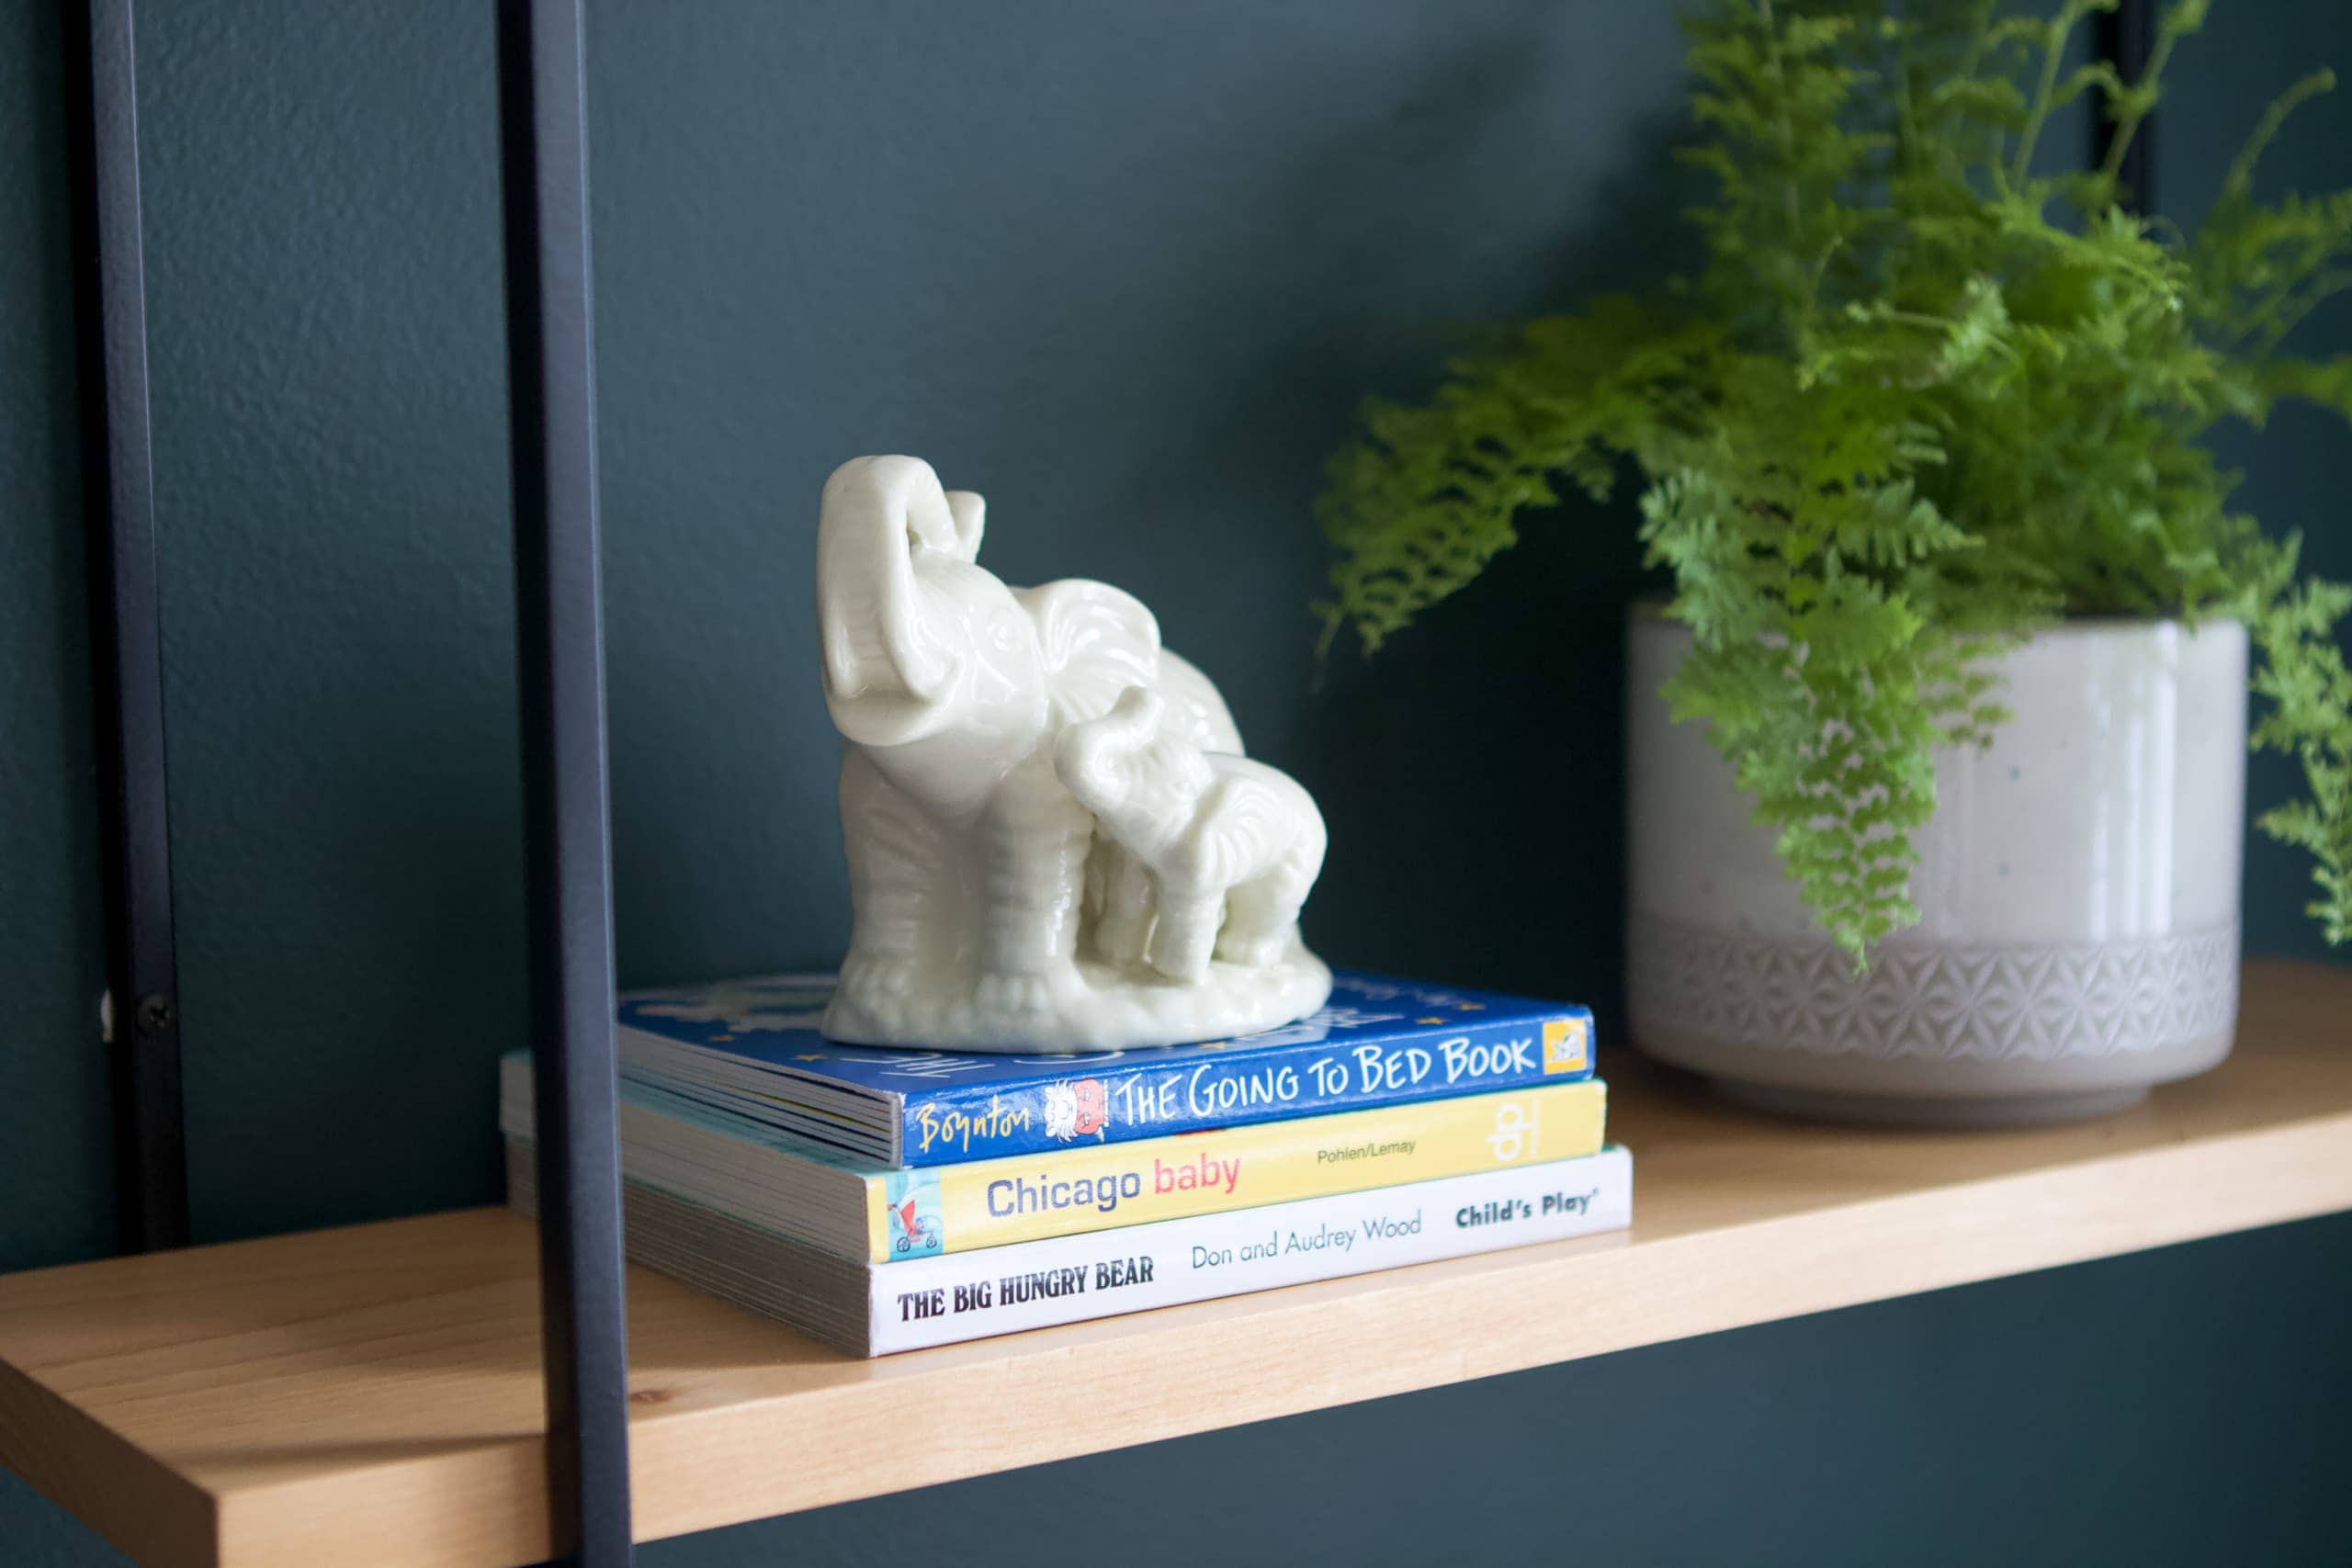
On the bottom shelves, I have more books and this cute elephant statue that I actually had in Rory’s room for a while. I found it at an antique shop when I was pregnant with Rory and it’s just too cute.

Next to that, I had to add some greenery to bring some life in here. I placed a small fern in this cute pot (minus the wood base), that used to live in our main bedroom. (It’s all about using what you’ve already got!)
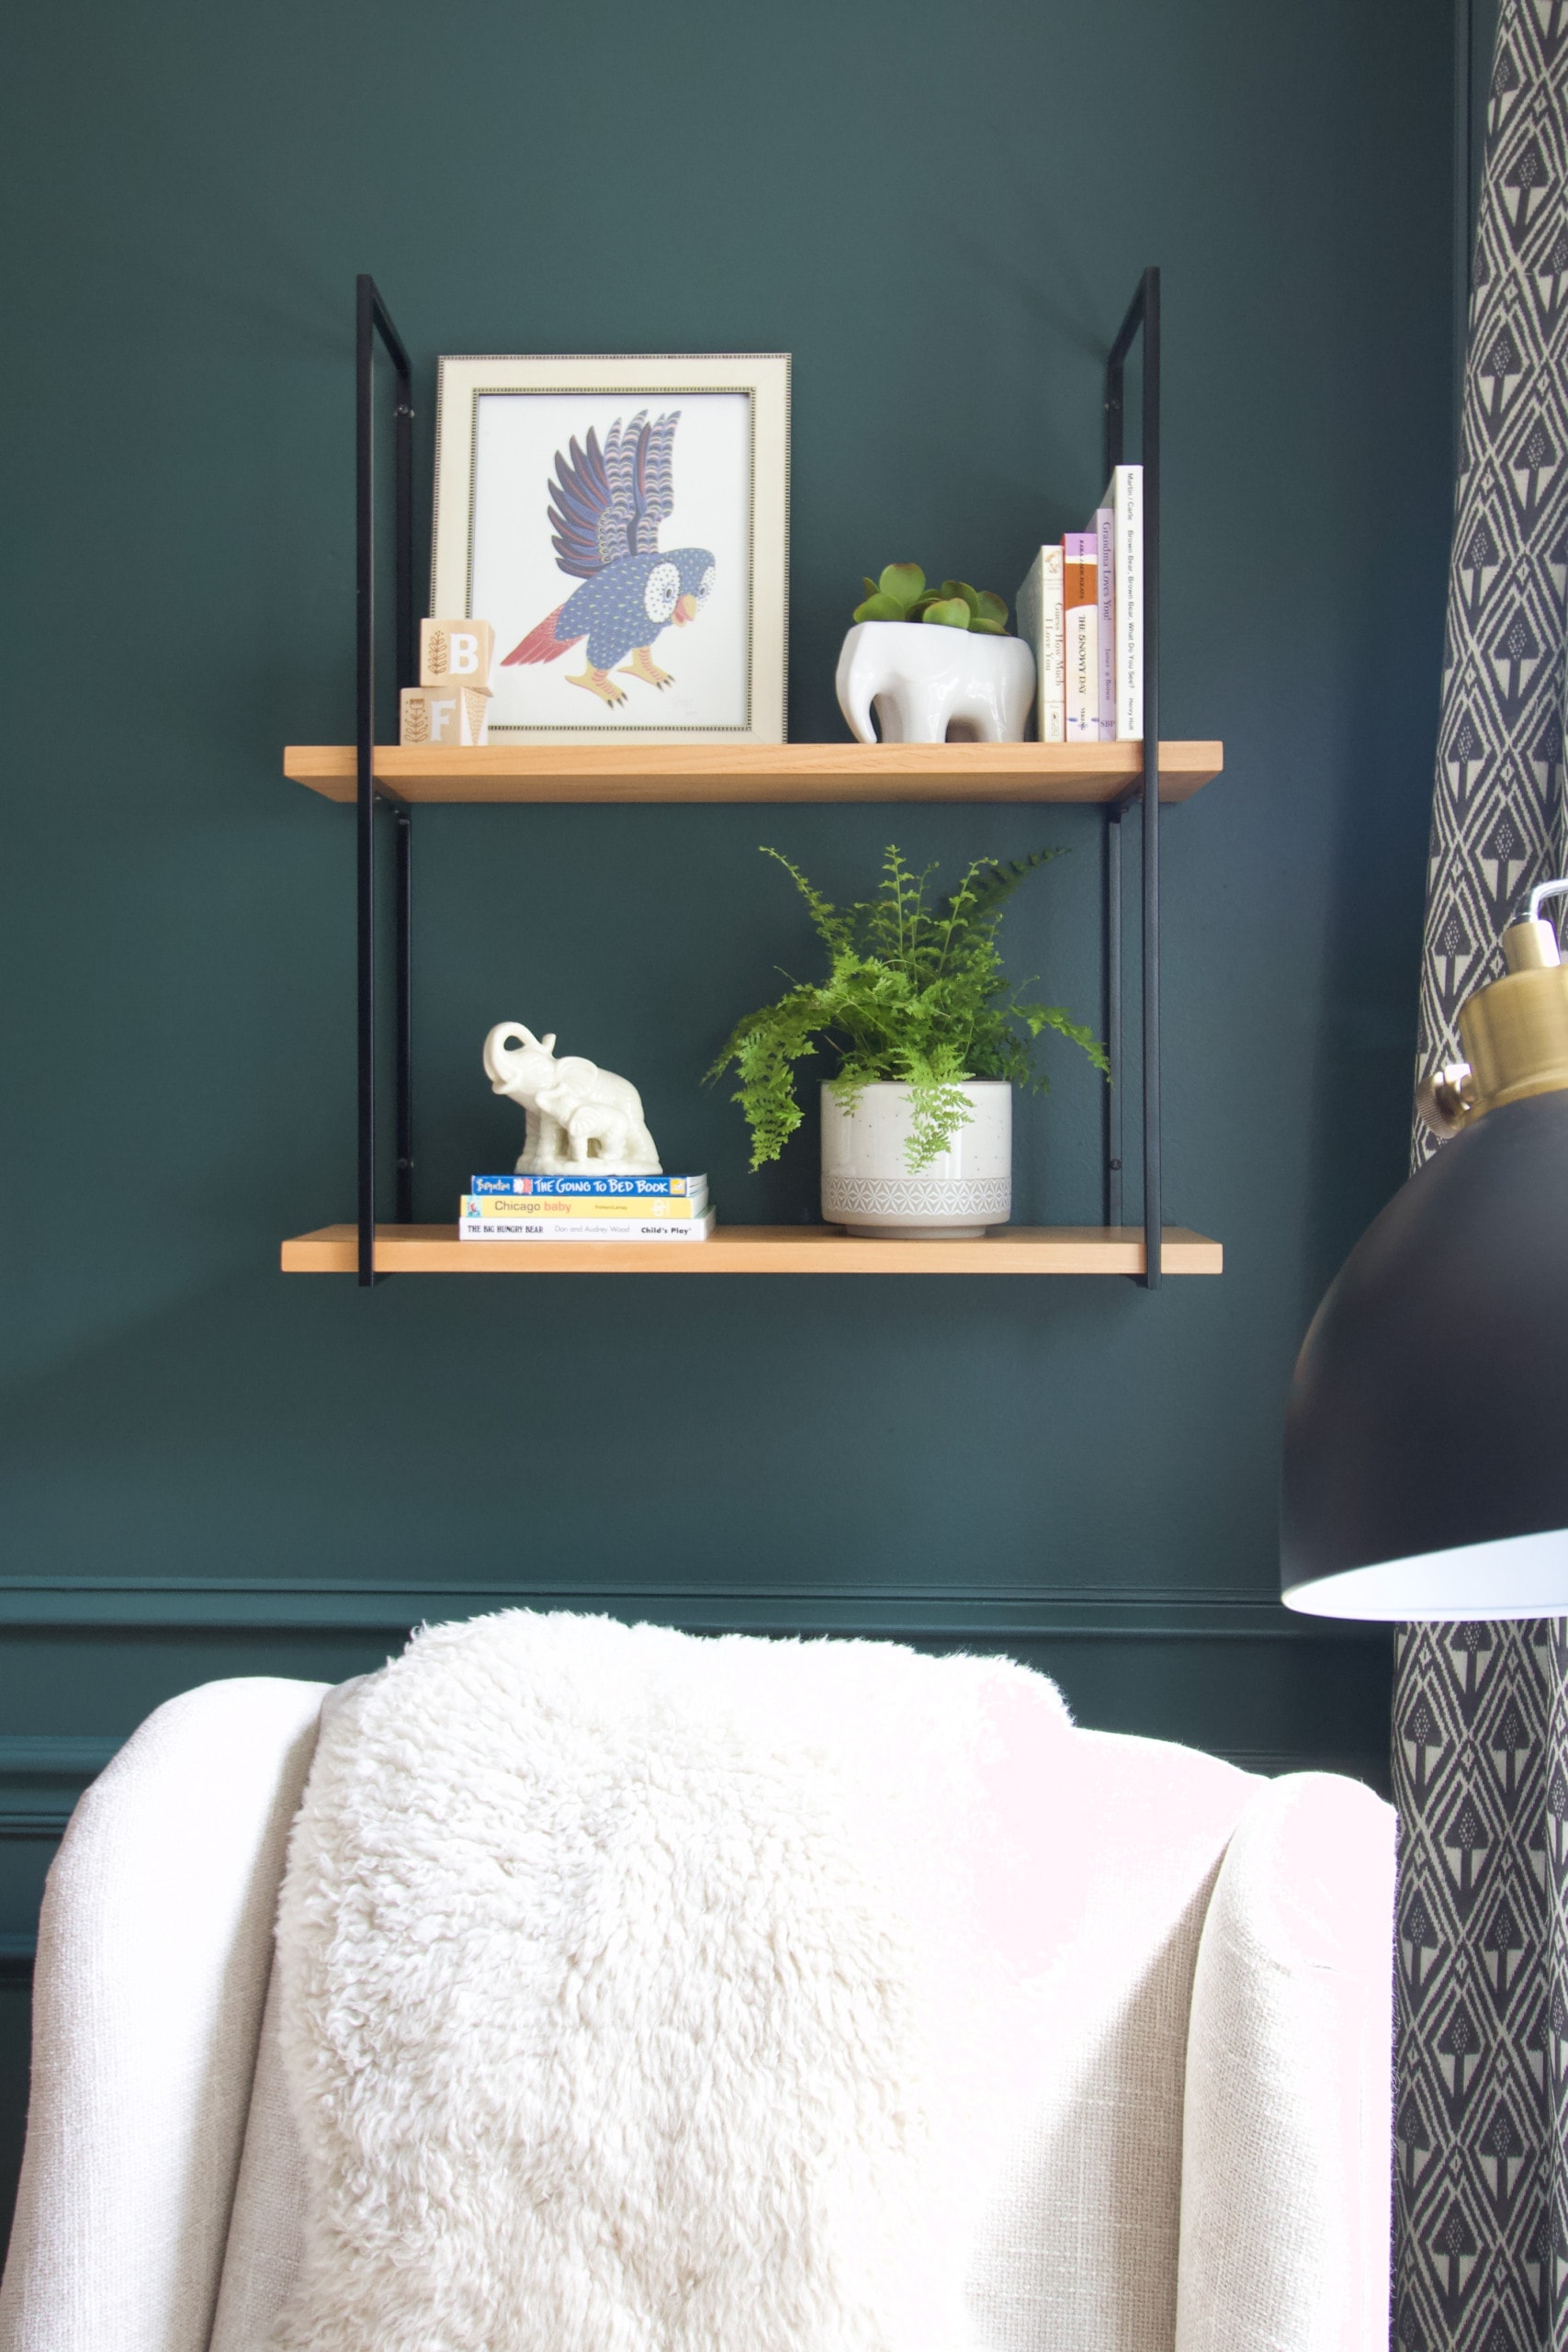
Overall, I think the nursery shelves turned out pretty adorable and I’m sure I’ll be tweaking them until his arrival.

It’s the perfect place to add some personality to the room because you see this area as soon as you open the door.
A Few New Goodies…
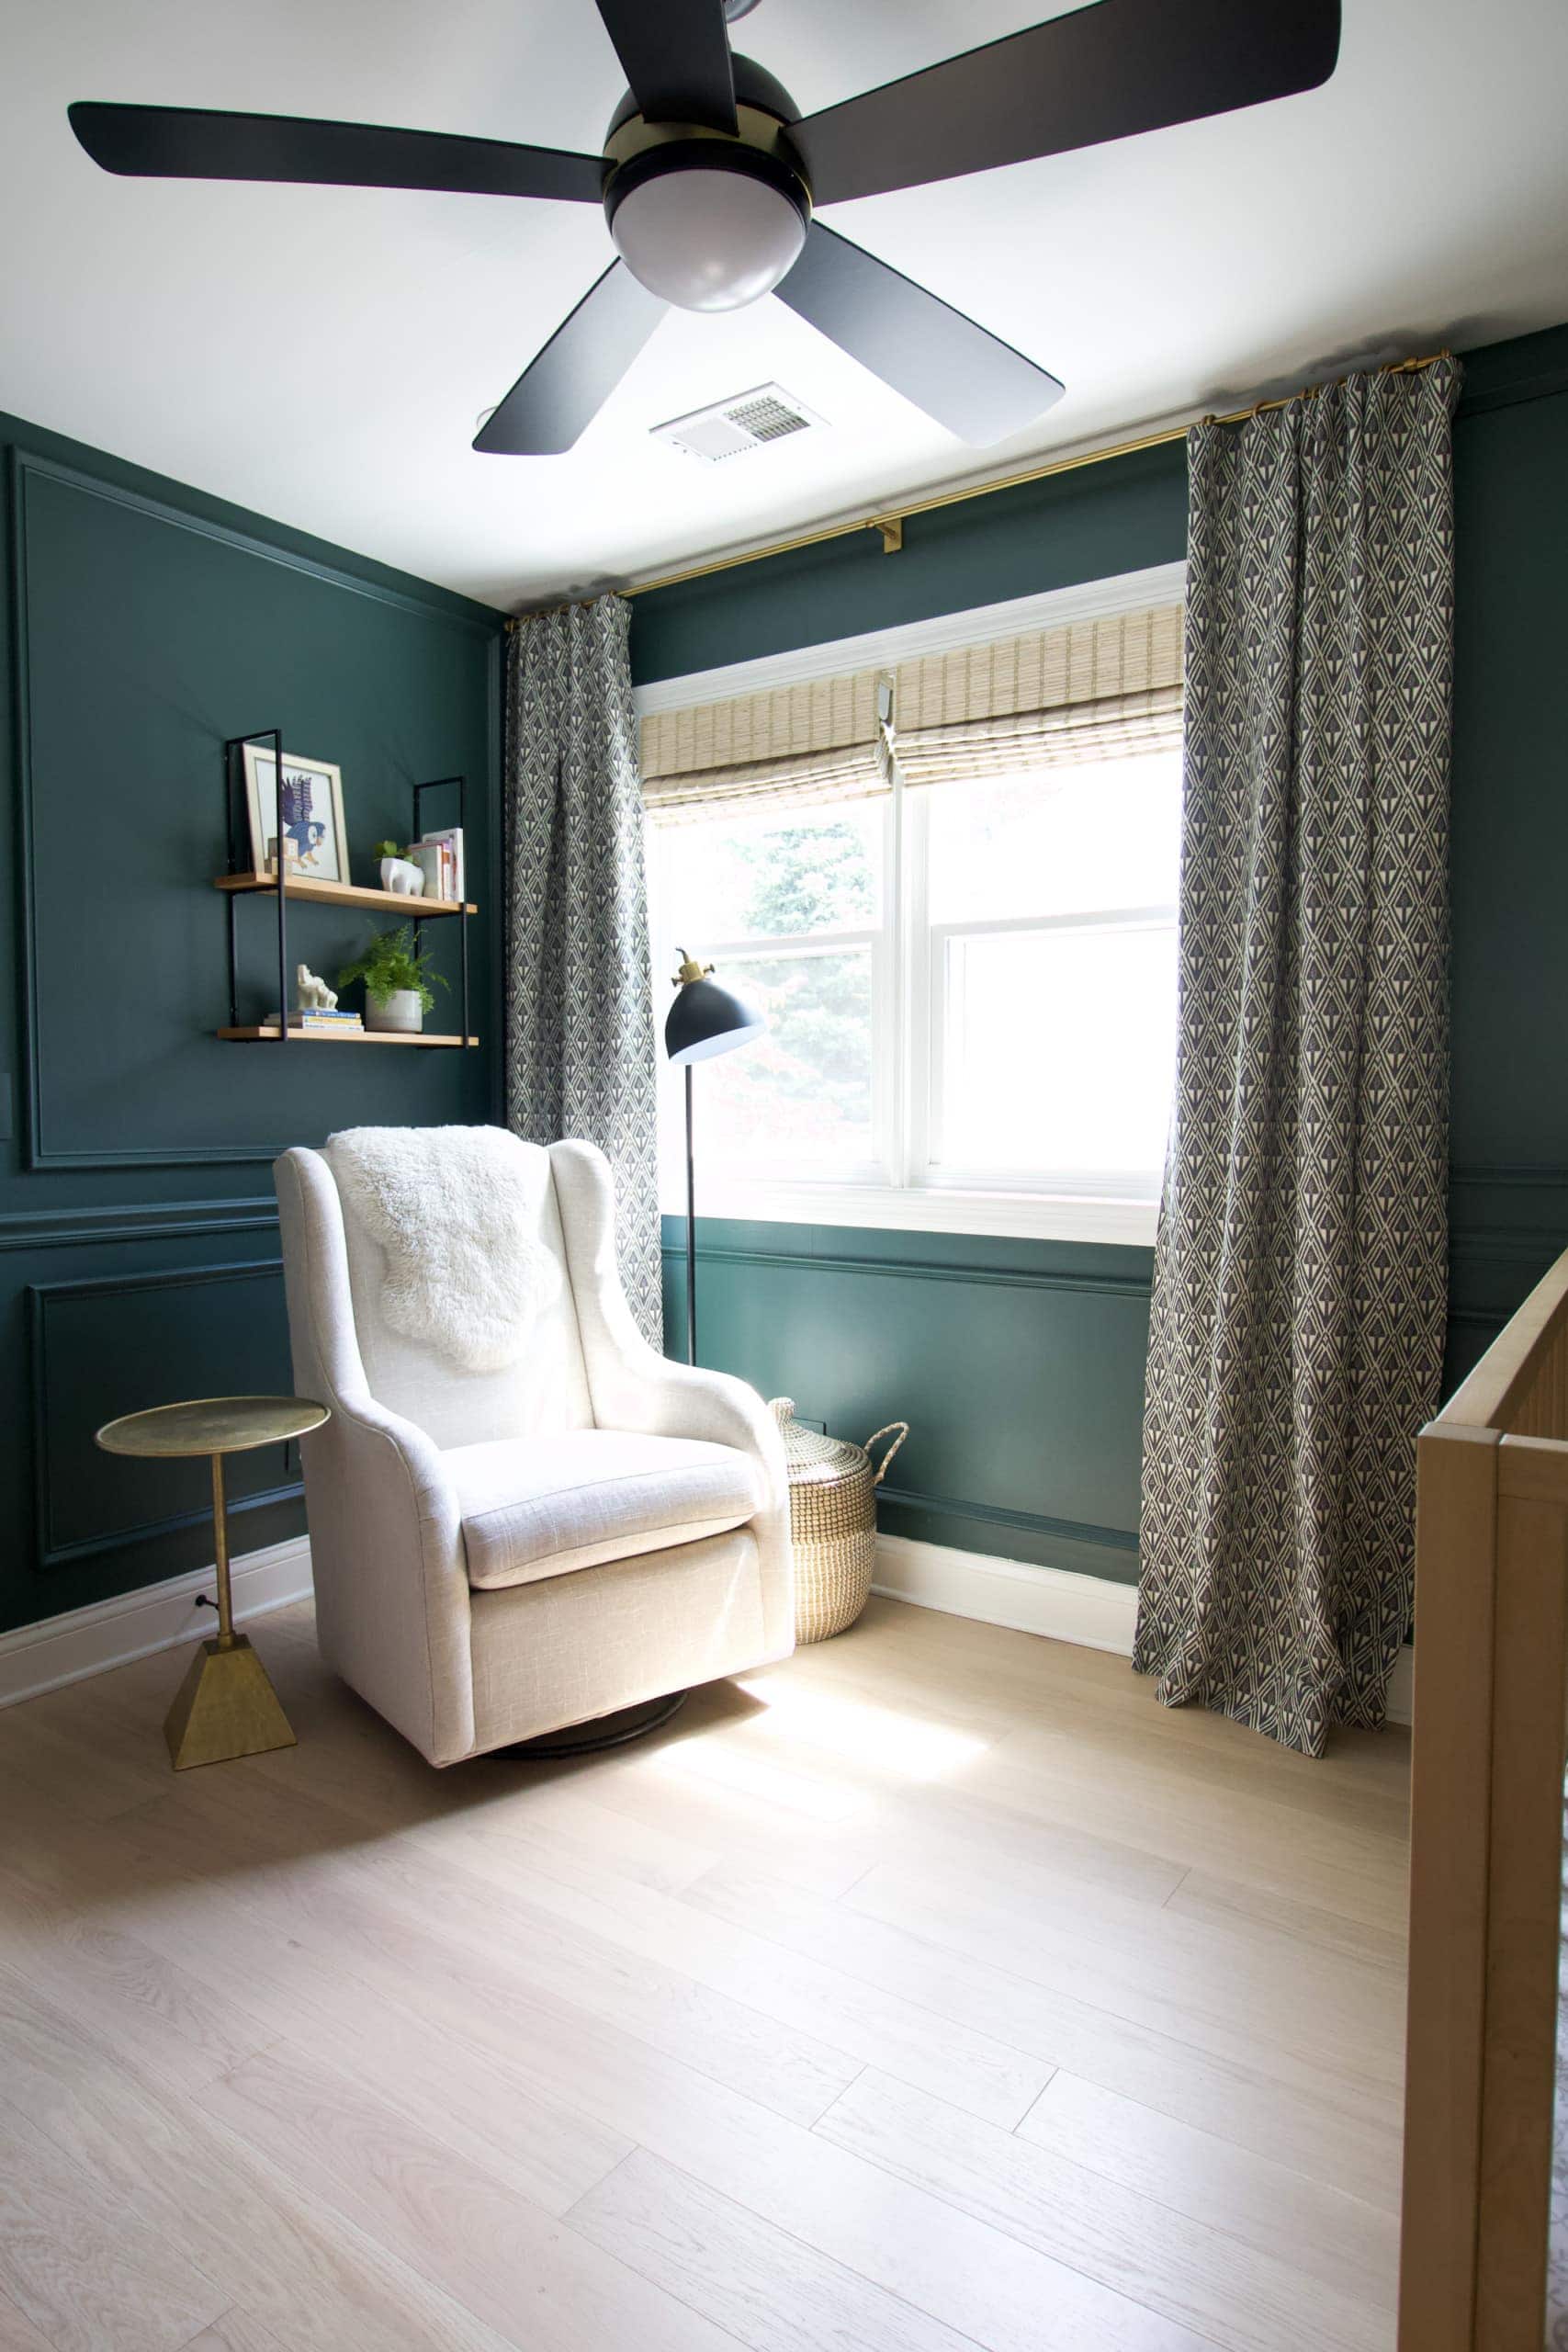
The wide shot reveals a few more items I scooped up for Baby Boy’s nursery.

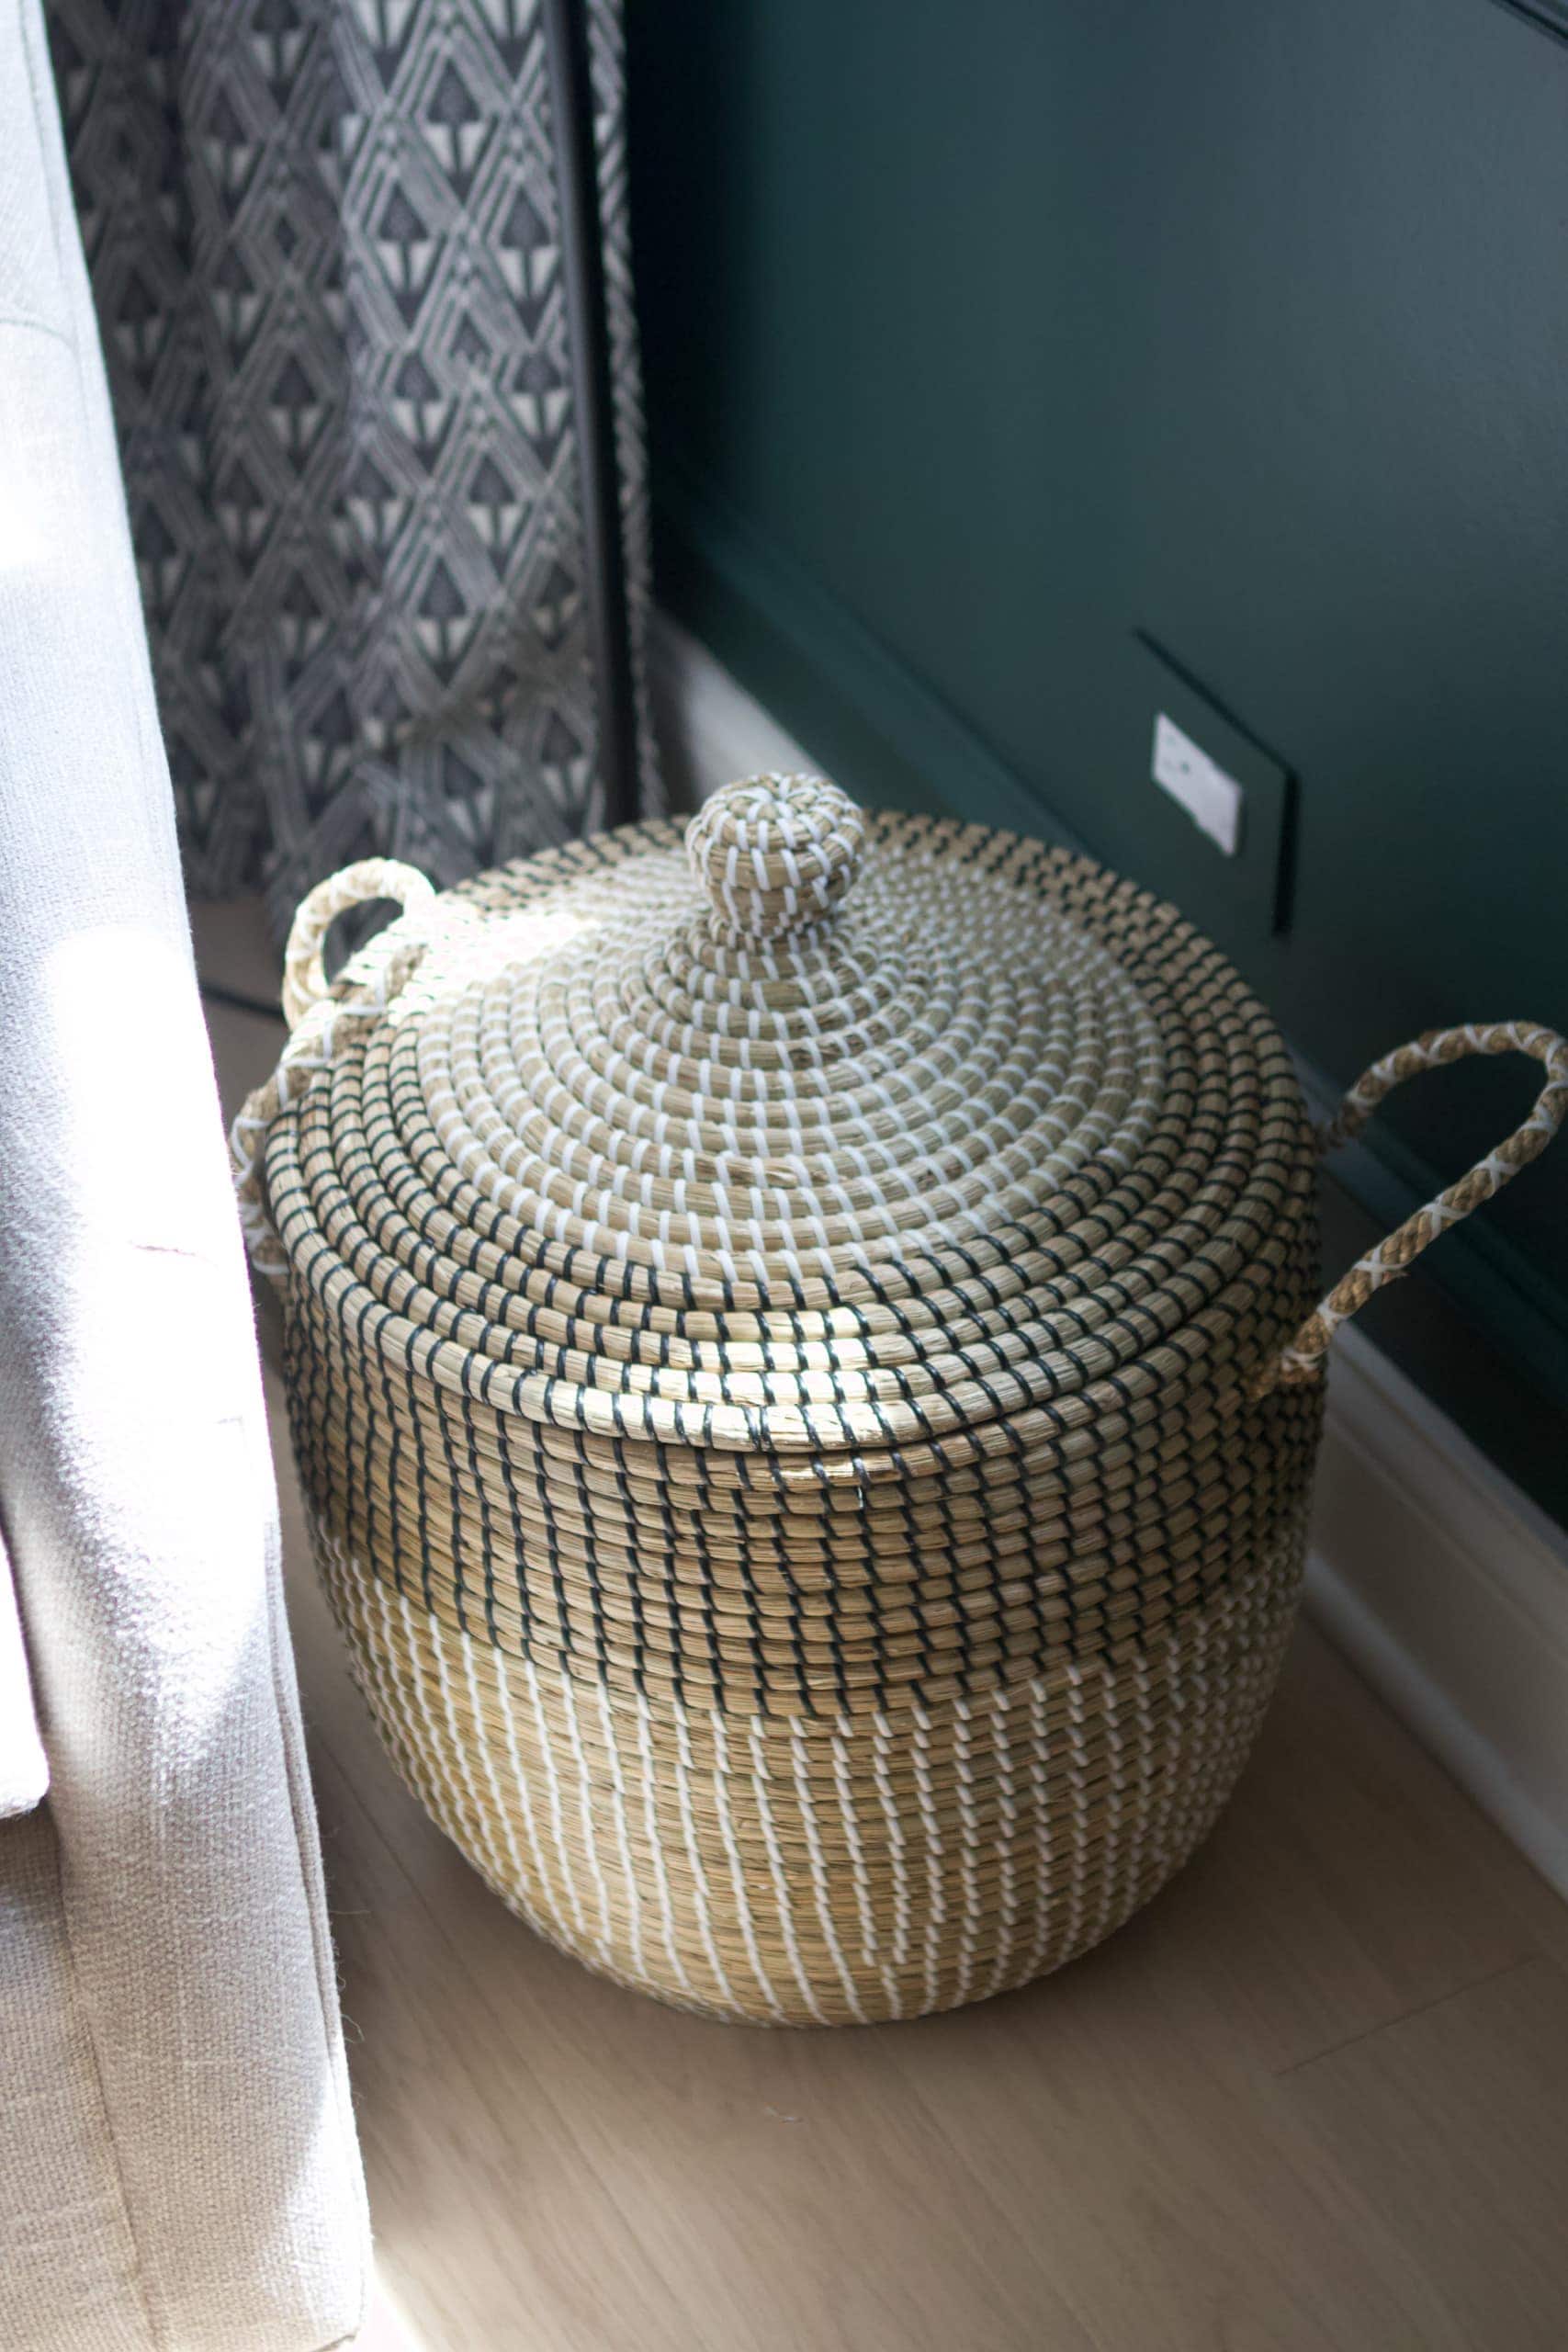
I found a gold side table and a small basket from HomeGoods for a steal. The side table is key because I’ll need a spot to put bottles, water, books, and more when I’m sitting here rocking the little man. As for the basket, I think it will be a good spot for more books. I can easily reach inside to find a new story to read him at night. Plus, the lid keeps it looking neat and tidy!

Because I went with the gold side table, I ended up choosing the black and gold lamp! If you remember last week’s post, I was going back and forth between two lamps for this little reading nook. I think the black one ended up being the right choice!
Other Shelf Projects
This is certainly not the first shelf project I’ve tackled. Here are a few favorites from over the years…
- DIY Industrial Pipe Shelves
- Simple Wood Shelves
- Spice Rack Bookshelves for $4
- Tips to Decorate Nursery Shelves
- How to Build Simple Closet Shelves
Nursery Sources
Wall Color, Benjamin Moore “Tarrytown Green” // Picture Frame Molding Tutorial // Bamboo Shades (color: “Jute Natural”) // Curtains (no longer sold) // Curtain Rod // Small Curtain Rings // Black & Brass Ceiling Fan (similar) // Glider (from Crate & Kids, no longer sold) // Black Lamp // Sheepskin Throw (similar) // Side Table (HomeGoods) // Basket (Home Goods) // Shelves // Frame (HomeGoods) // Wood Blocks // Owl Print // Planter
What’s Next?
Honestly, I’m not sure what’s next! I’m still waiting on the rug and I know that will be a gamechanger for the space. I’m also trying to figure out if I should add any other wall decor in here. Now that the shelves are up, I can get a better sense of the areas that need a little extra somethin’ somethin’. I’ll report back soon…
Casey