Easy DIY Nursery Bookshelves for Under $4 Each
You guys are probably sick of hearing about my nephew by now, I promise this is the last project involving the little guy for quite a while! But when my sister asked if I had any solutions that would fit in Owen’s very small nursery for his growing collection of books, of course I was willing to help. Plus I thought it would be the perfect opportunity to give you all an updated look at the nursery we created for him last year!
 Owen’s room is tiny, so buying a new piece of furniture (like a full bookshelf) for his room was not an option. The only space we could utilize to store his books is wall space and that’s where these DIY bookshelves come in.
An Easy and Affordable Bookshelf Solution

The truth is, I am not the mastermind behind this super easy, $4 bookshelf solution… I wish I was because this IKEA hack is genius! Instead, I actually saw this project in a friend’s nursery and loved how these cute shelves corralled her little one’s books. Then I found out that each shelf was under $4 and takes about 5 minutes to build and I knew this project would be the answer for my sister’s small space storage dilemma.
IKEA Hack
Although these look like they are the cutest little bookshelves ever, they are actually designed to be kitchen spice racks from IKEA. You can find them in the kitchen area and each package is only $3.99. So the grand total for all three of these shelves was around $12!!

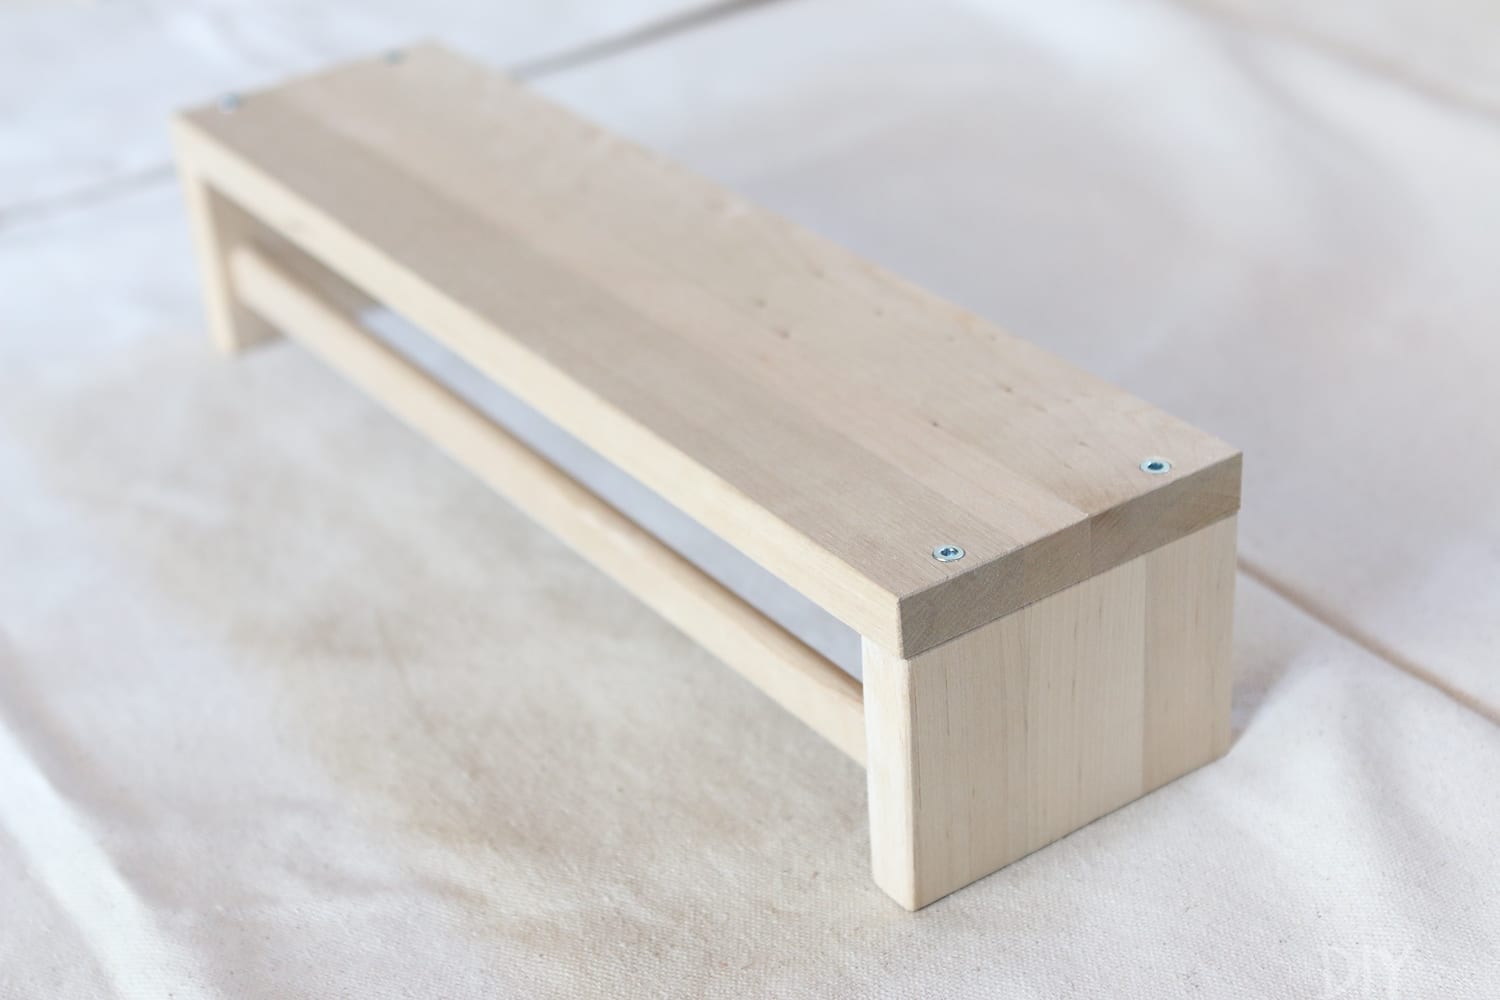 In true IKEA fashion everything you need to build these shelves (4 screws and an allen wrench) comes inside of the package. So the only other supplies you need on hand is the paint or stain you wish to use in order to personalize them for your space.
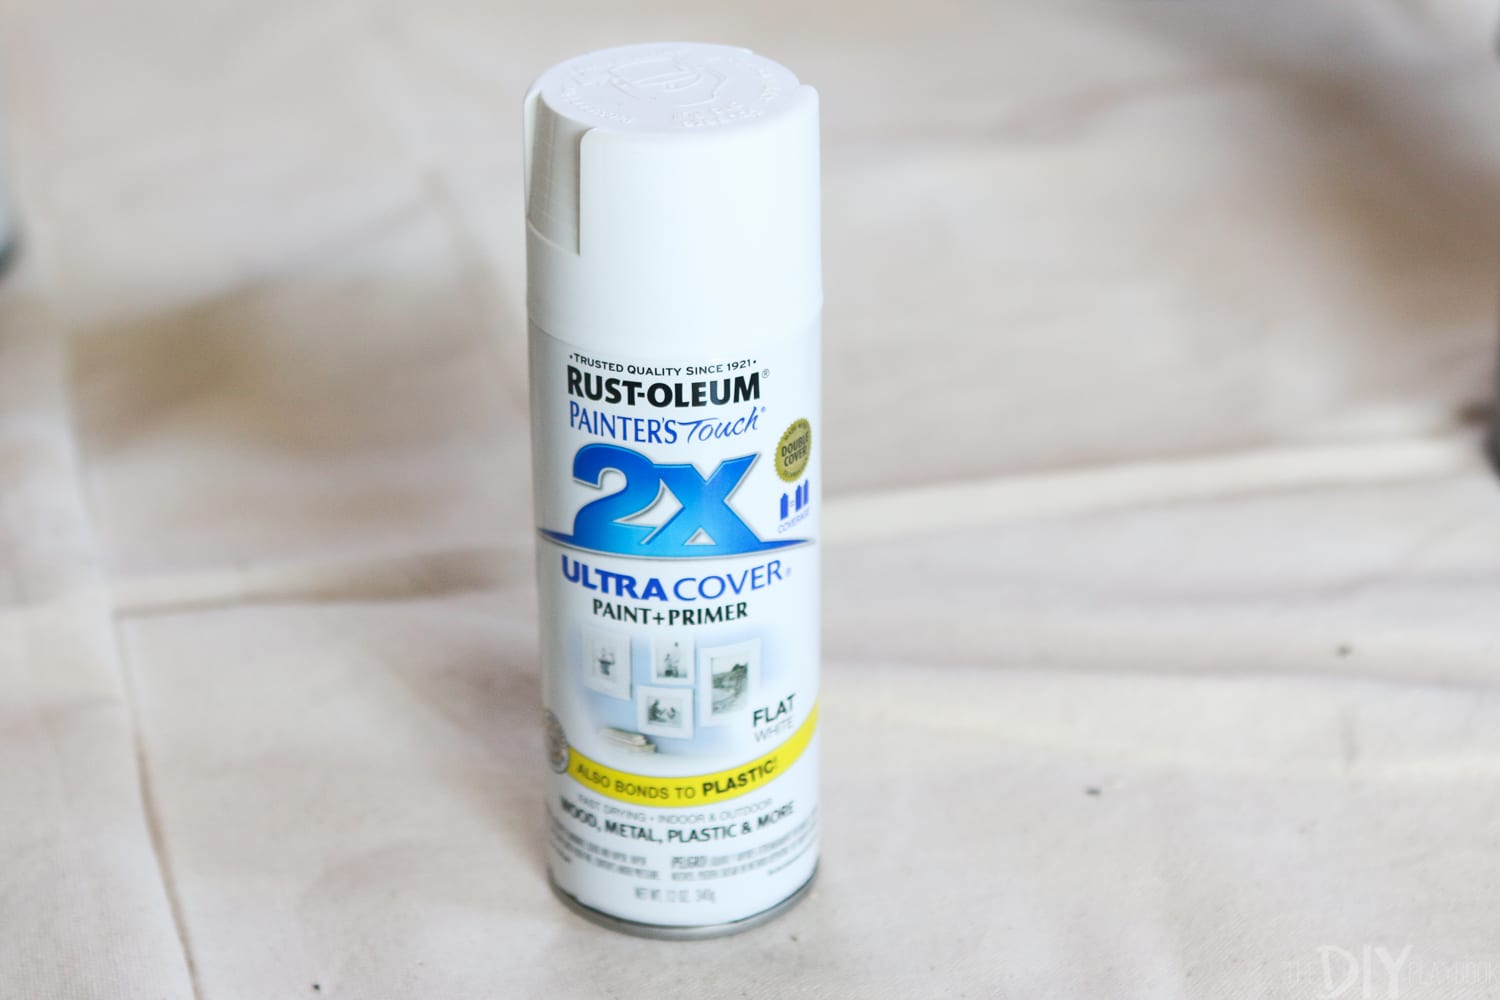 I built the shelves and then sprayed them with two coats of this paint/primer spray paint combo. You can always paint or stain the pieces before building them too. I don’t think it matters all that much either way.
Hanging the Bookshelves
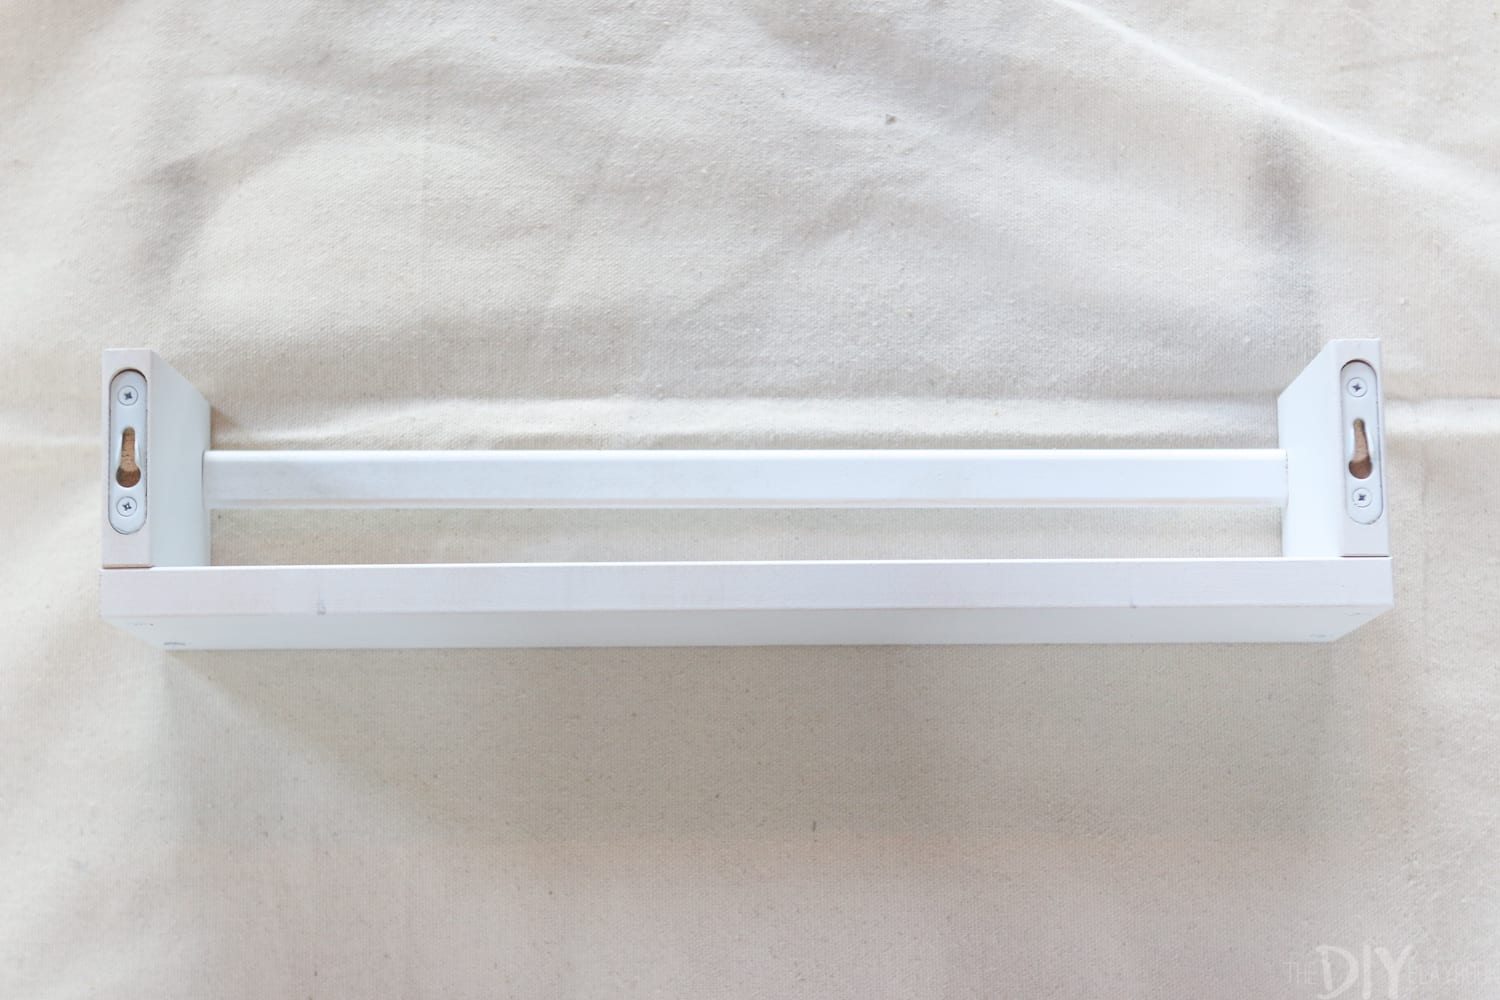
After painting or staining the bookshelves all that’s left to do is hang them on the wall and fill them with books! These shelves already have hanging hardware attached on the backside of them, so all you need is a couple of anchors and screws and you should be all set.
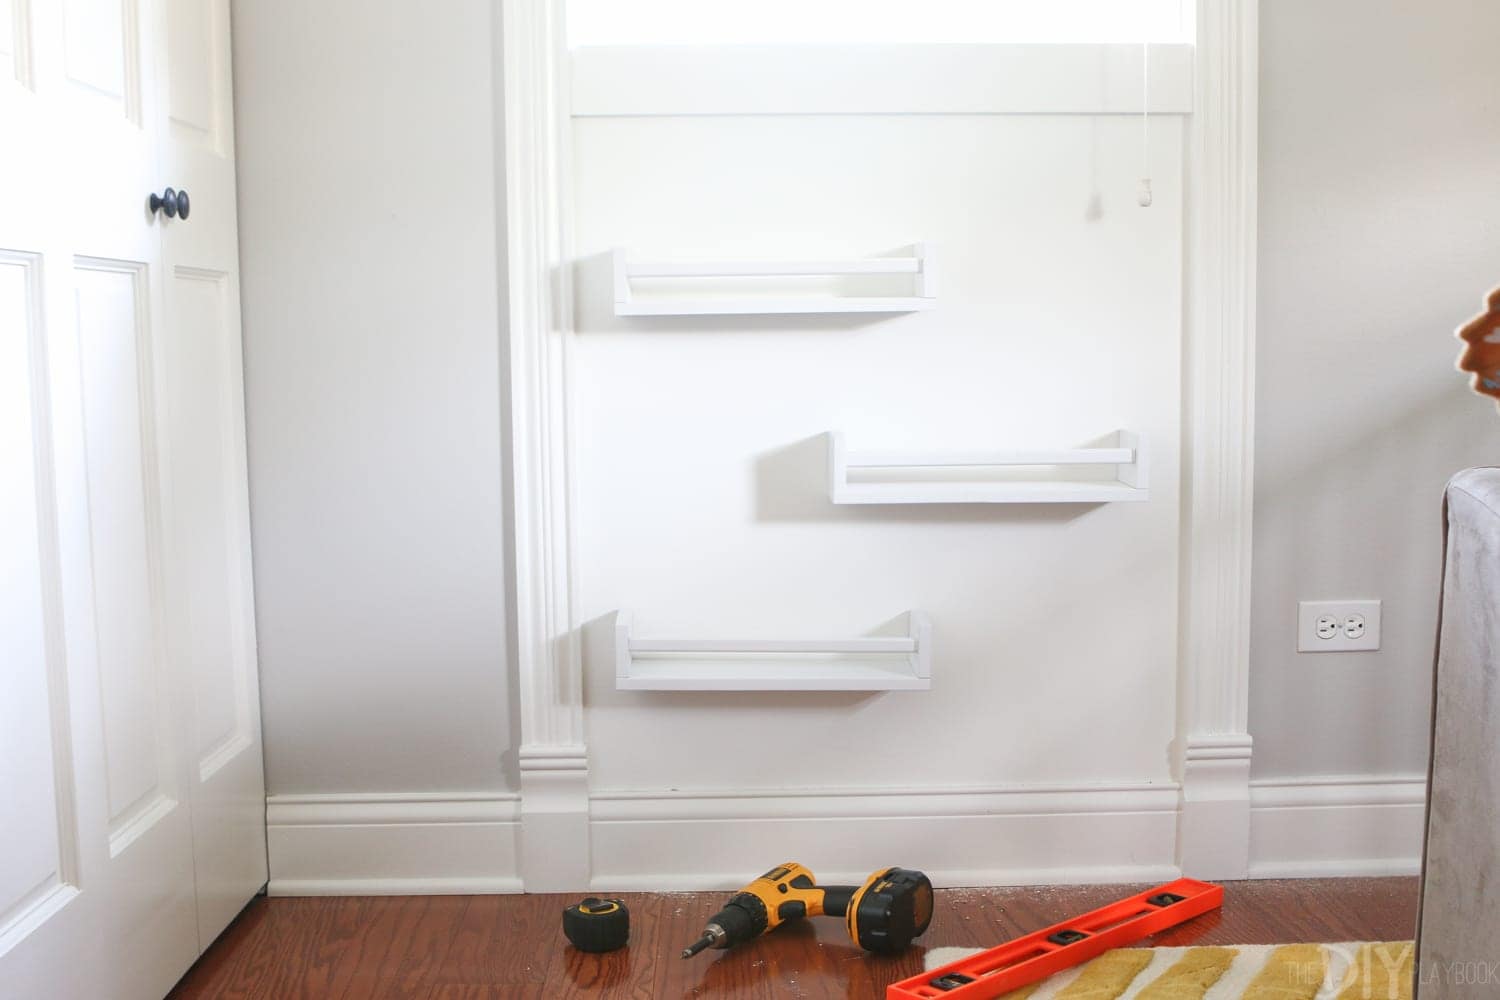
The process was super simple for ours, really the hardest part was figuring out how far we wanted the bookshelves to be apart from one another. And I definitely suggest using anchors for these shelves if you can’t screw into studs. With the weight of the books, and little ones pulling on them, you don’t want those suckers to go anywhere!
All Done!

This project seems too good to be true since it’s so affordable and extremely easy, but I’m happy to report there were no hidden problems. My sister’s happy to have a home for all of Owen’s books and Owen is happy to tirelessly take the books out of the shelves as much as he can get away with.
You could always hang these shelves higher on the wall so that your little ones don’t have access to the books (and a potential mess) but my sister wanted the bookshelves to be at Owen’s level so he could eventually be a part of choosing the book he wants to read each night.
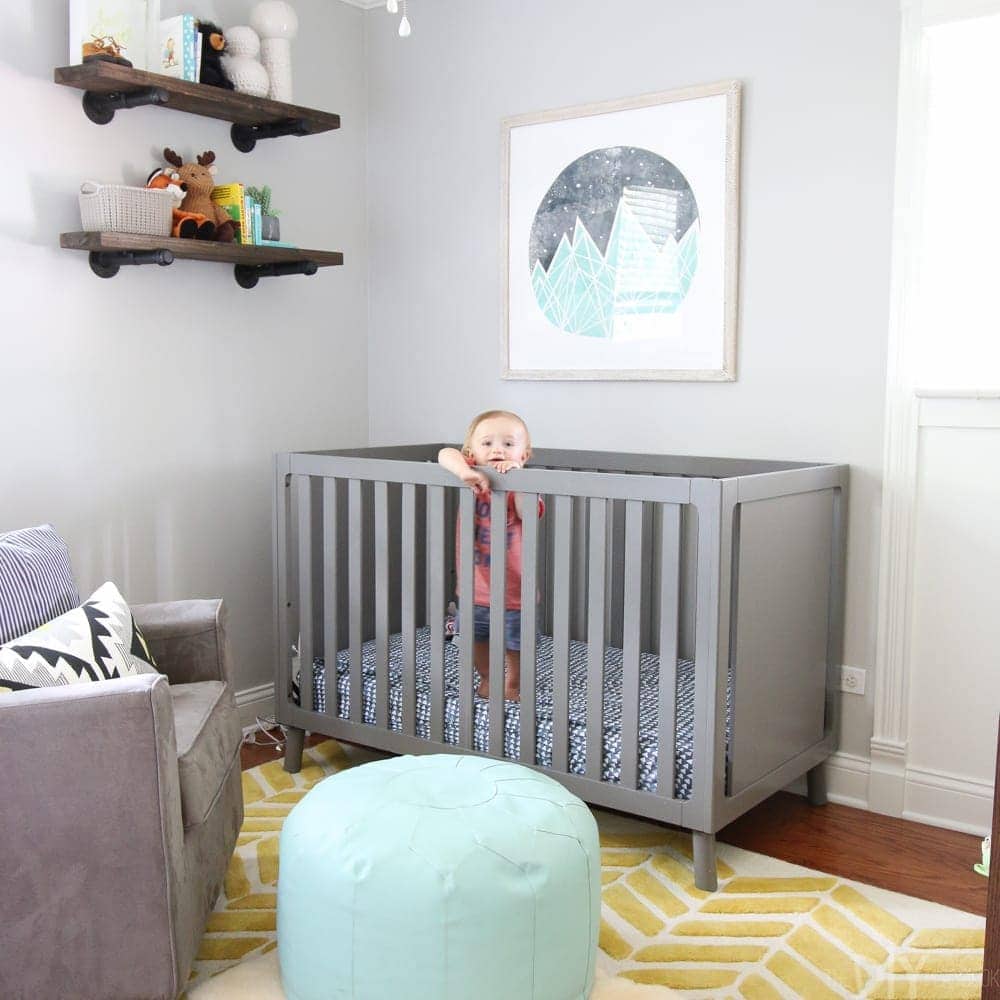
The Nursery 1 Year Later
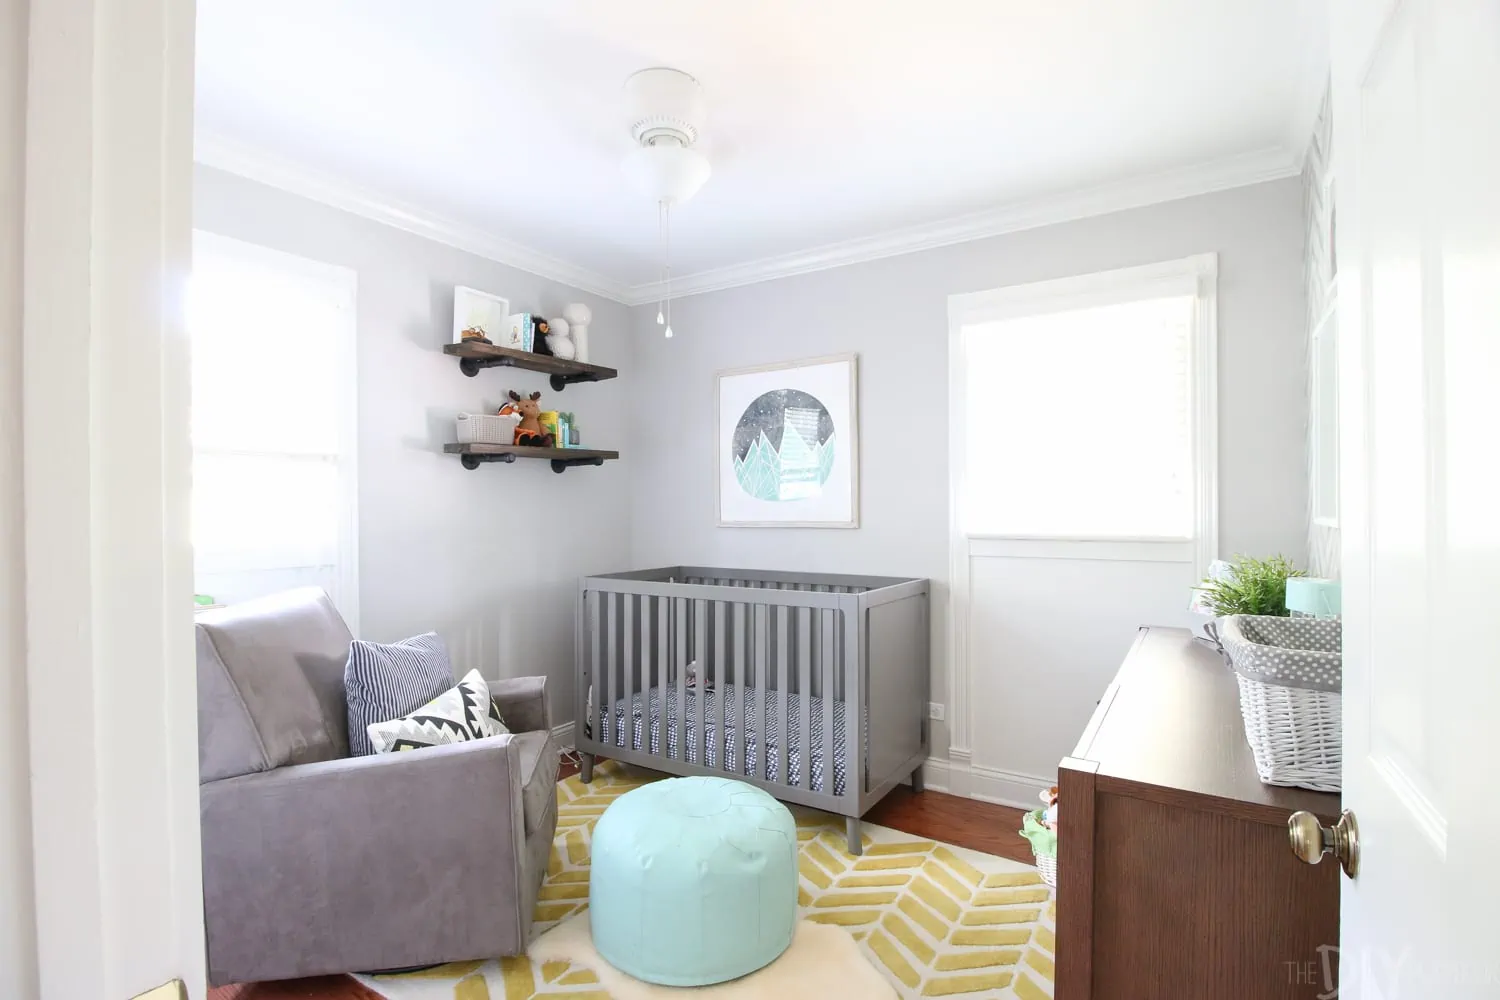
It’s been a little over a year since we finished Owen’s gender neutral nursery and I’m happy to report that the room looks almost the same as it did when we left… except for all the extra “stuff” this little cutie has already accumulated. So many gifts!
Other Mini Updates
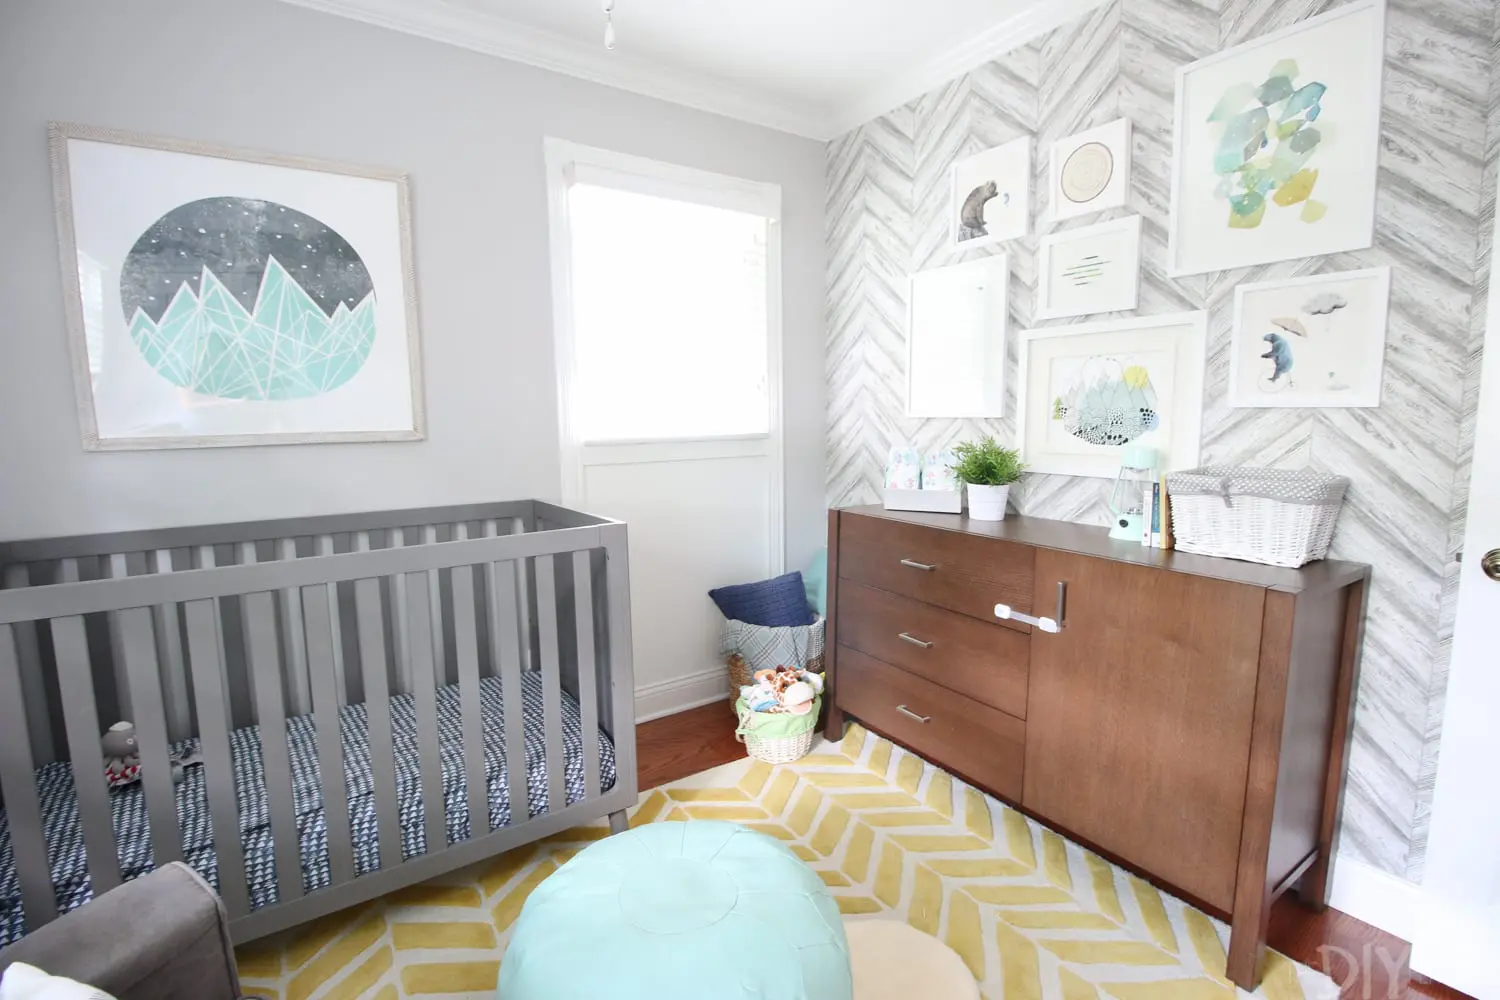
The crib mattress has also been moved down since he is now standing in his crib and the changing pad on the top of the dresser has been stored away. My sister loves the storage the dresser provides, still uses the hook behind the door for his towel everyday, and has spent many hours rocking Owen in that big comfy chair. As long as they’re still happy with the space, so are we!
For the full source list for this room, be sure to check out this post.
Bridget