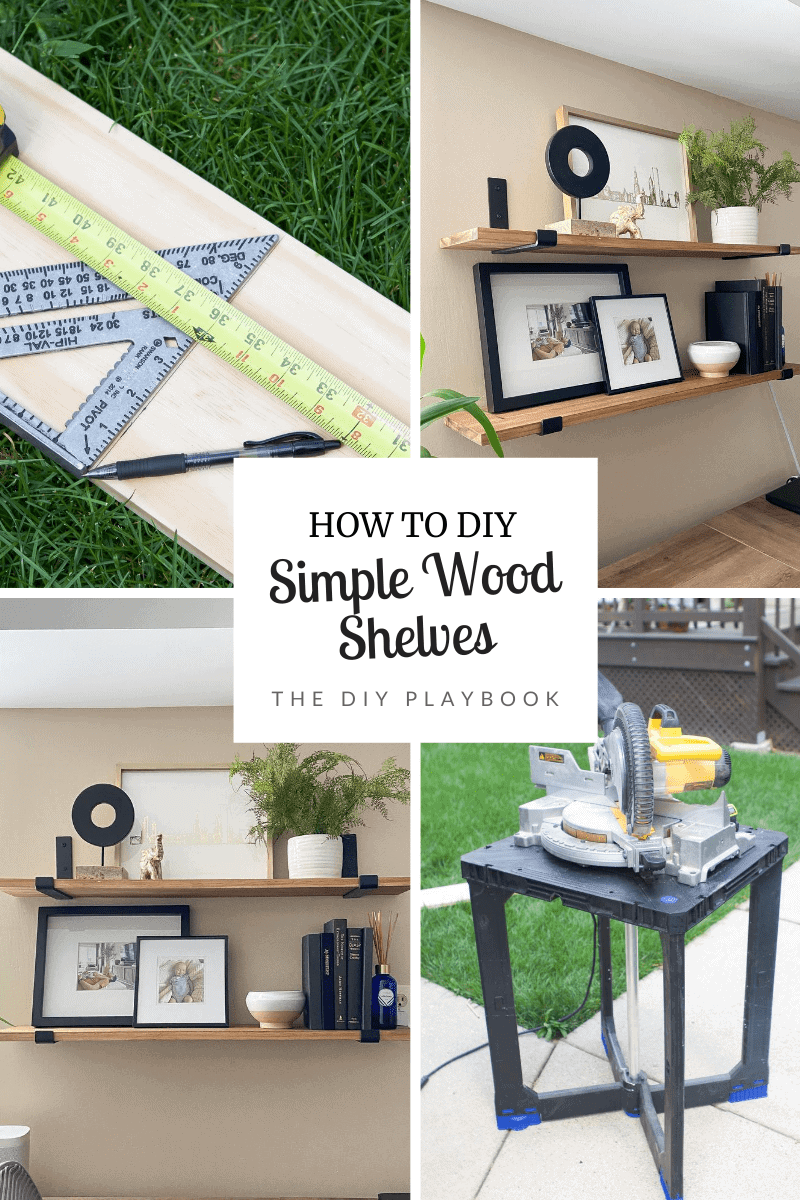
How to Make Simple Wood Shelves
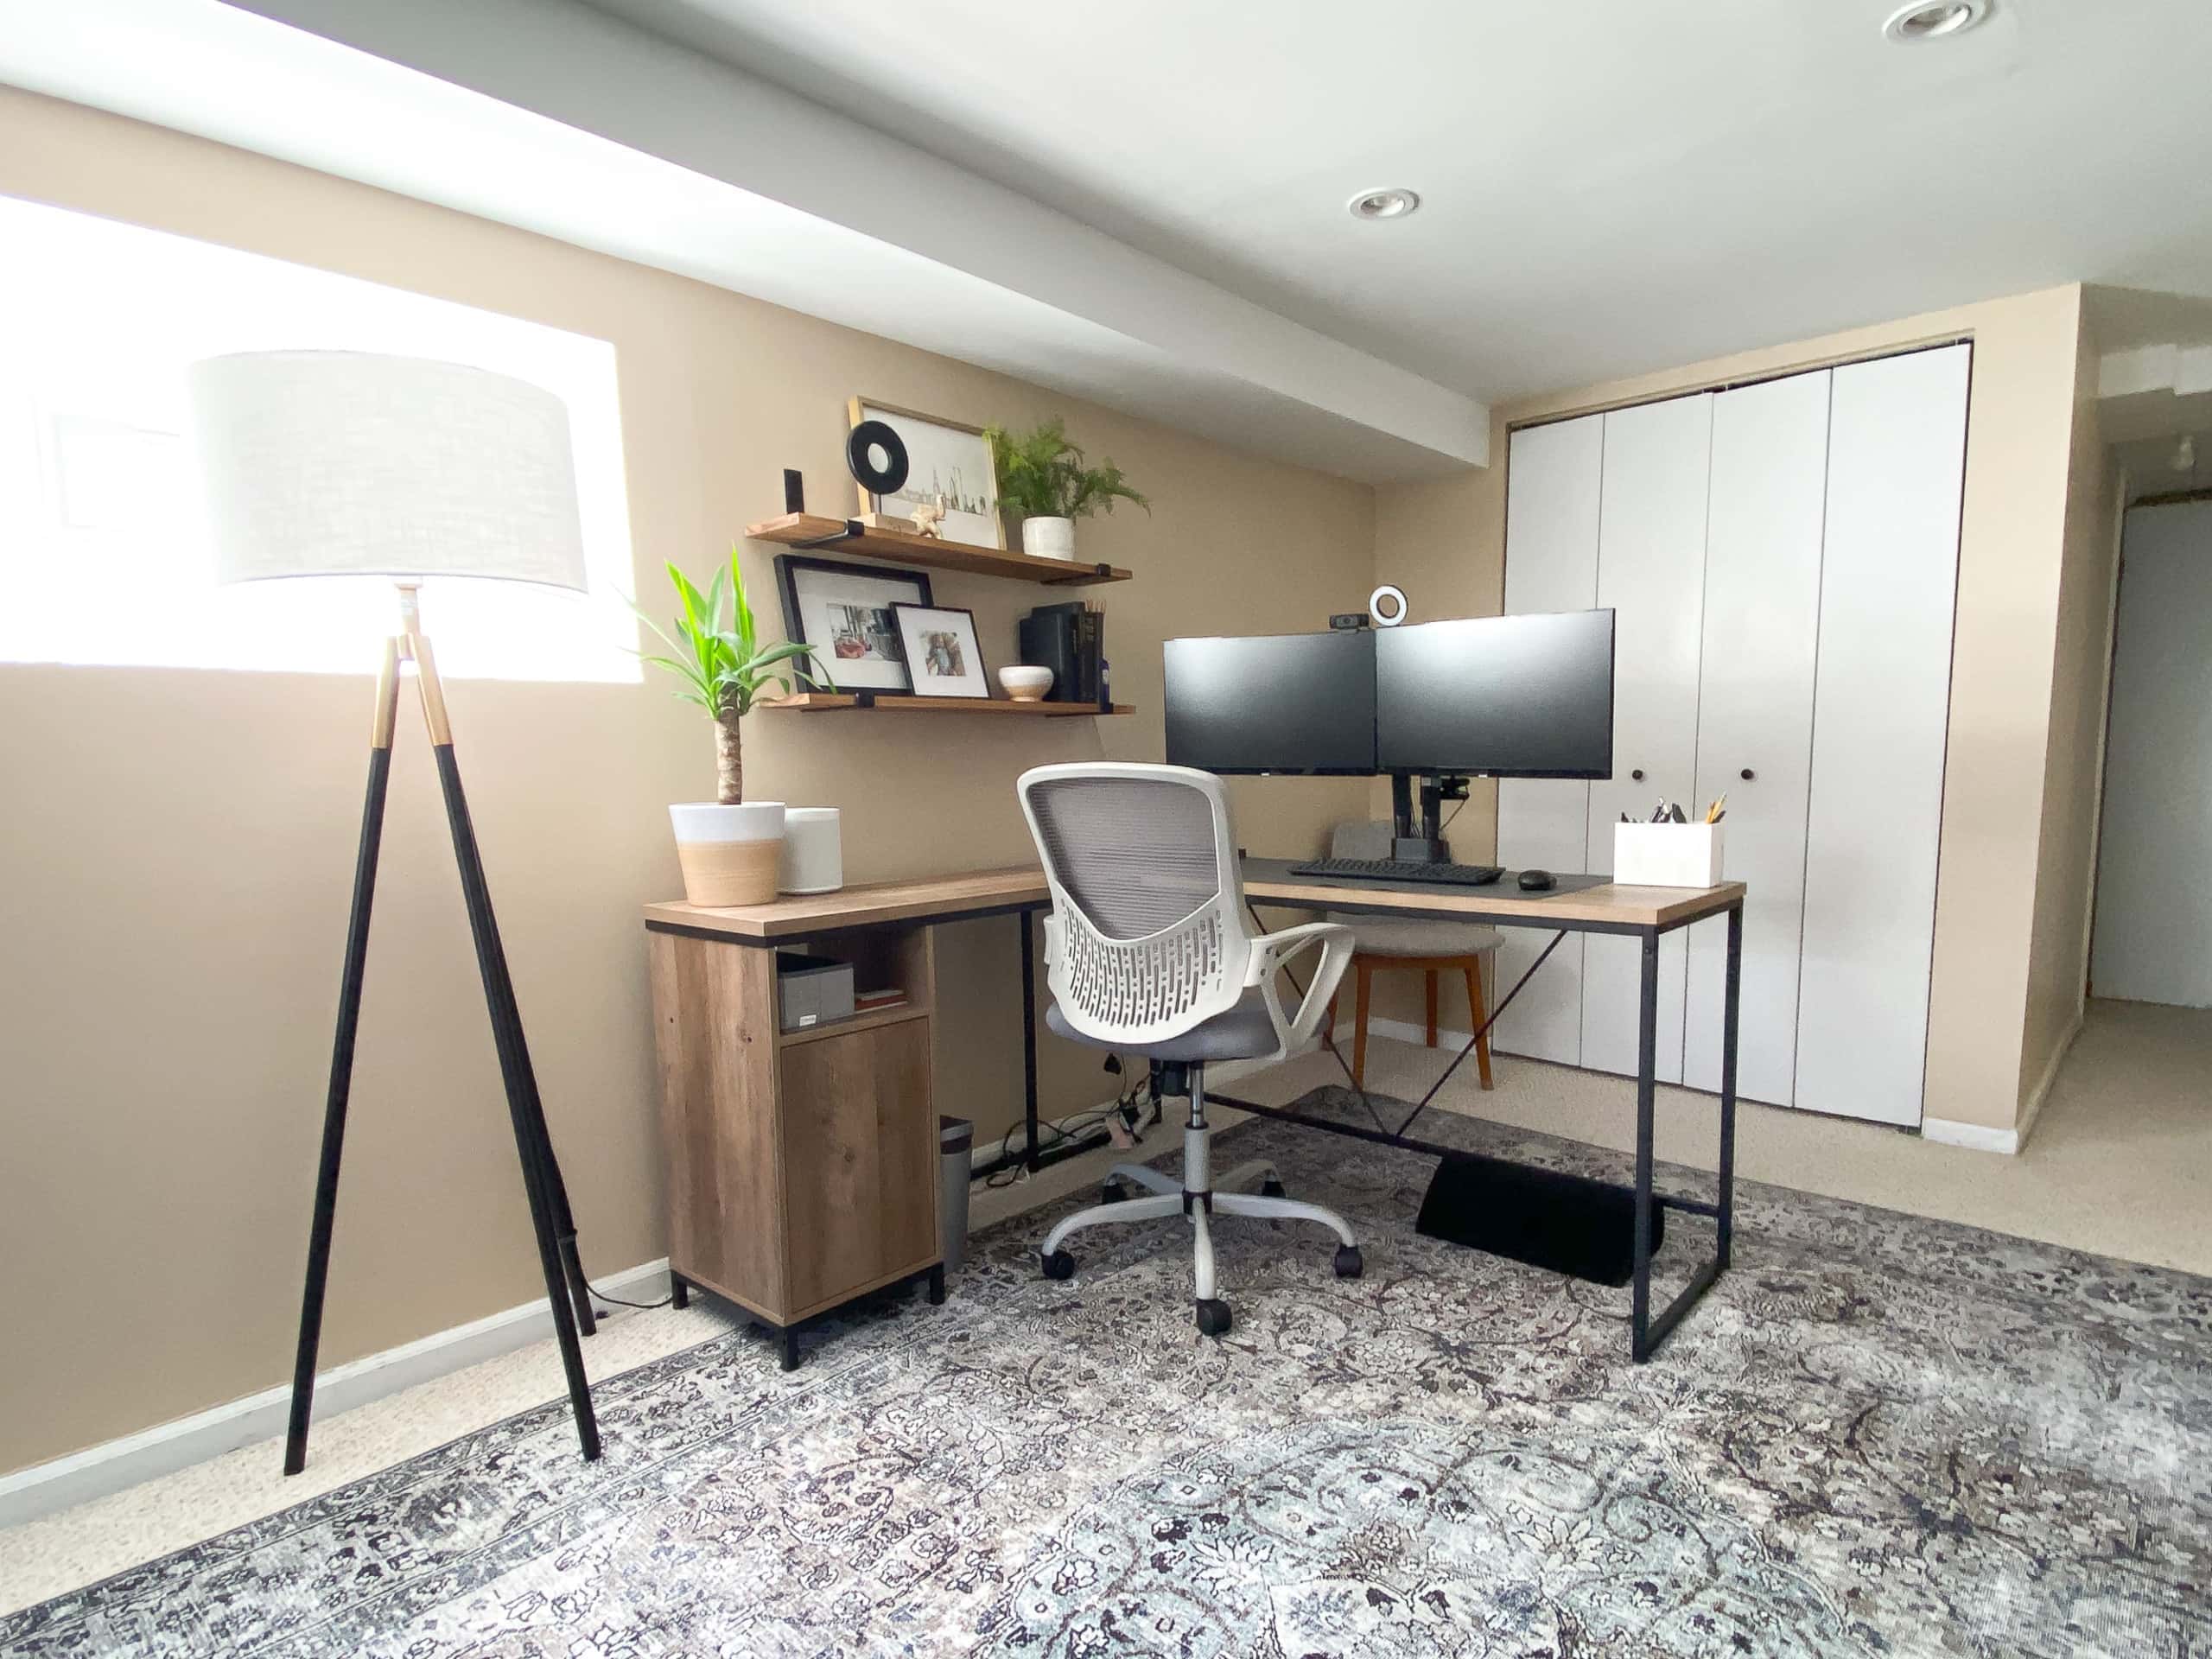
Remember Finn’s new work from home setup in the basement? Well, this area was just missing a little somethin’ somethin’. I always like a good spot to style and I knew this area would benefit from more storage. I decided to build simple wood shelves for this area. Not only would they add some life to the space, but they would be a great spot for Finn to display plants, store work supplies, and stare at loving framed photos of his wife (kidding….kinda).
Instead of buying a shelving unit, I decided to make my own simple wood shelves. That way, I could customize the color and the length to fit the space. Here’s a look at the area before.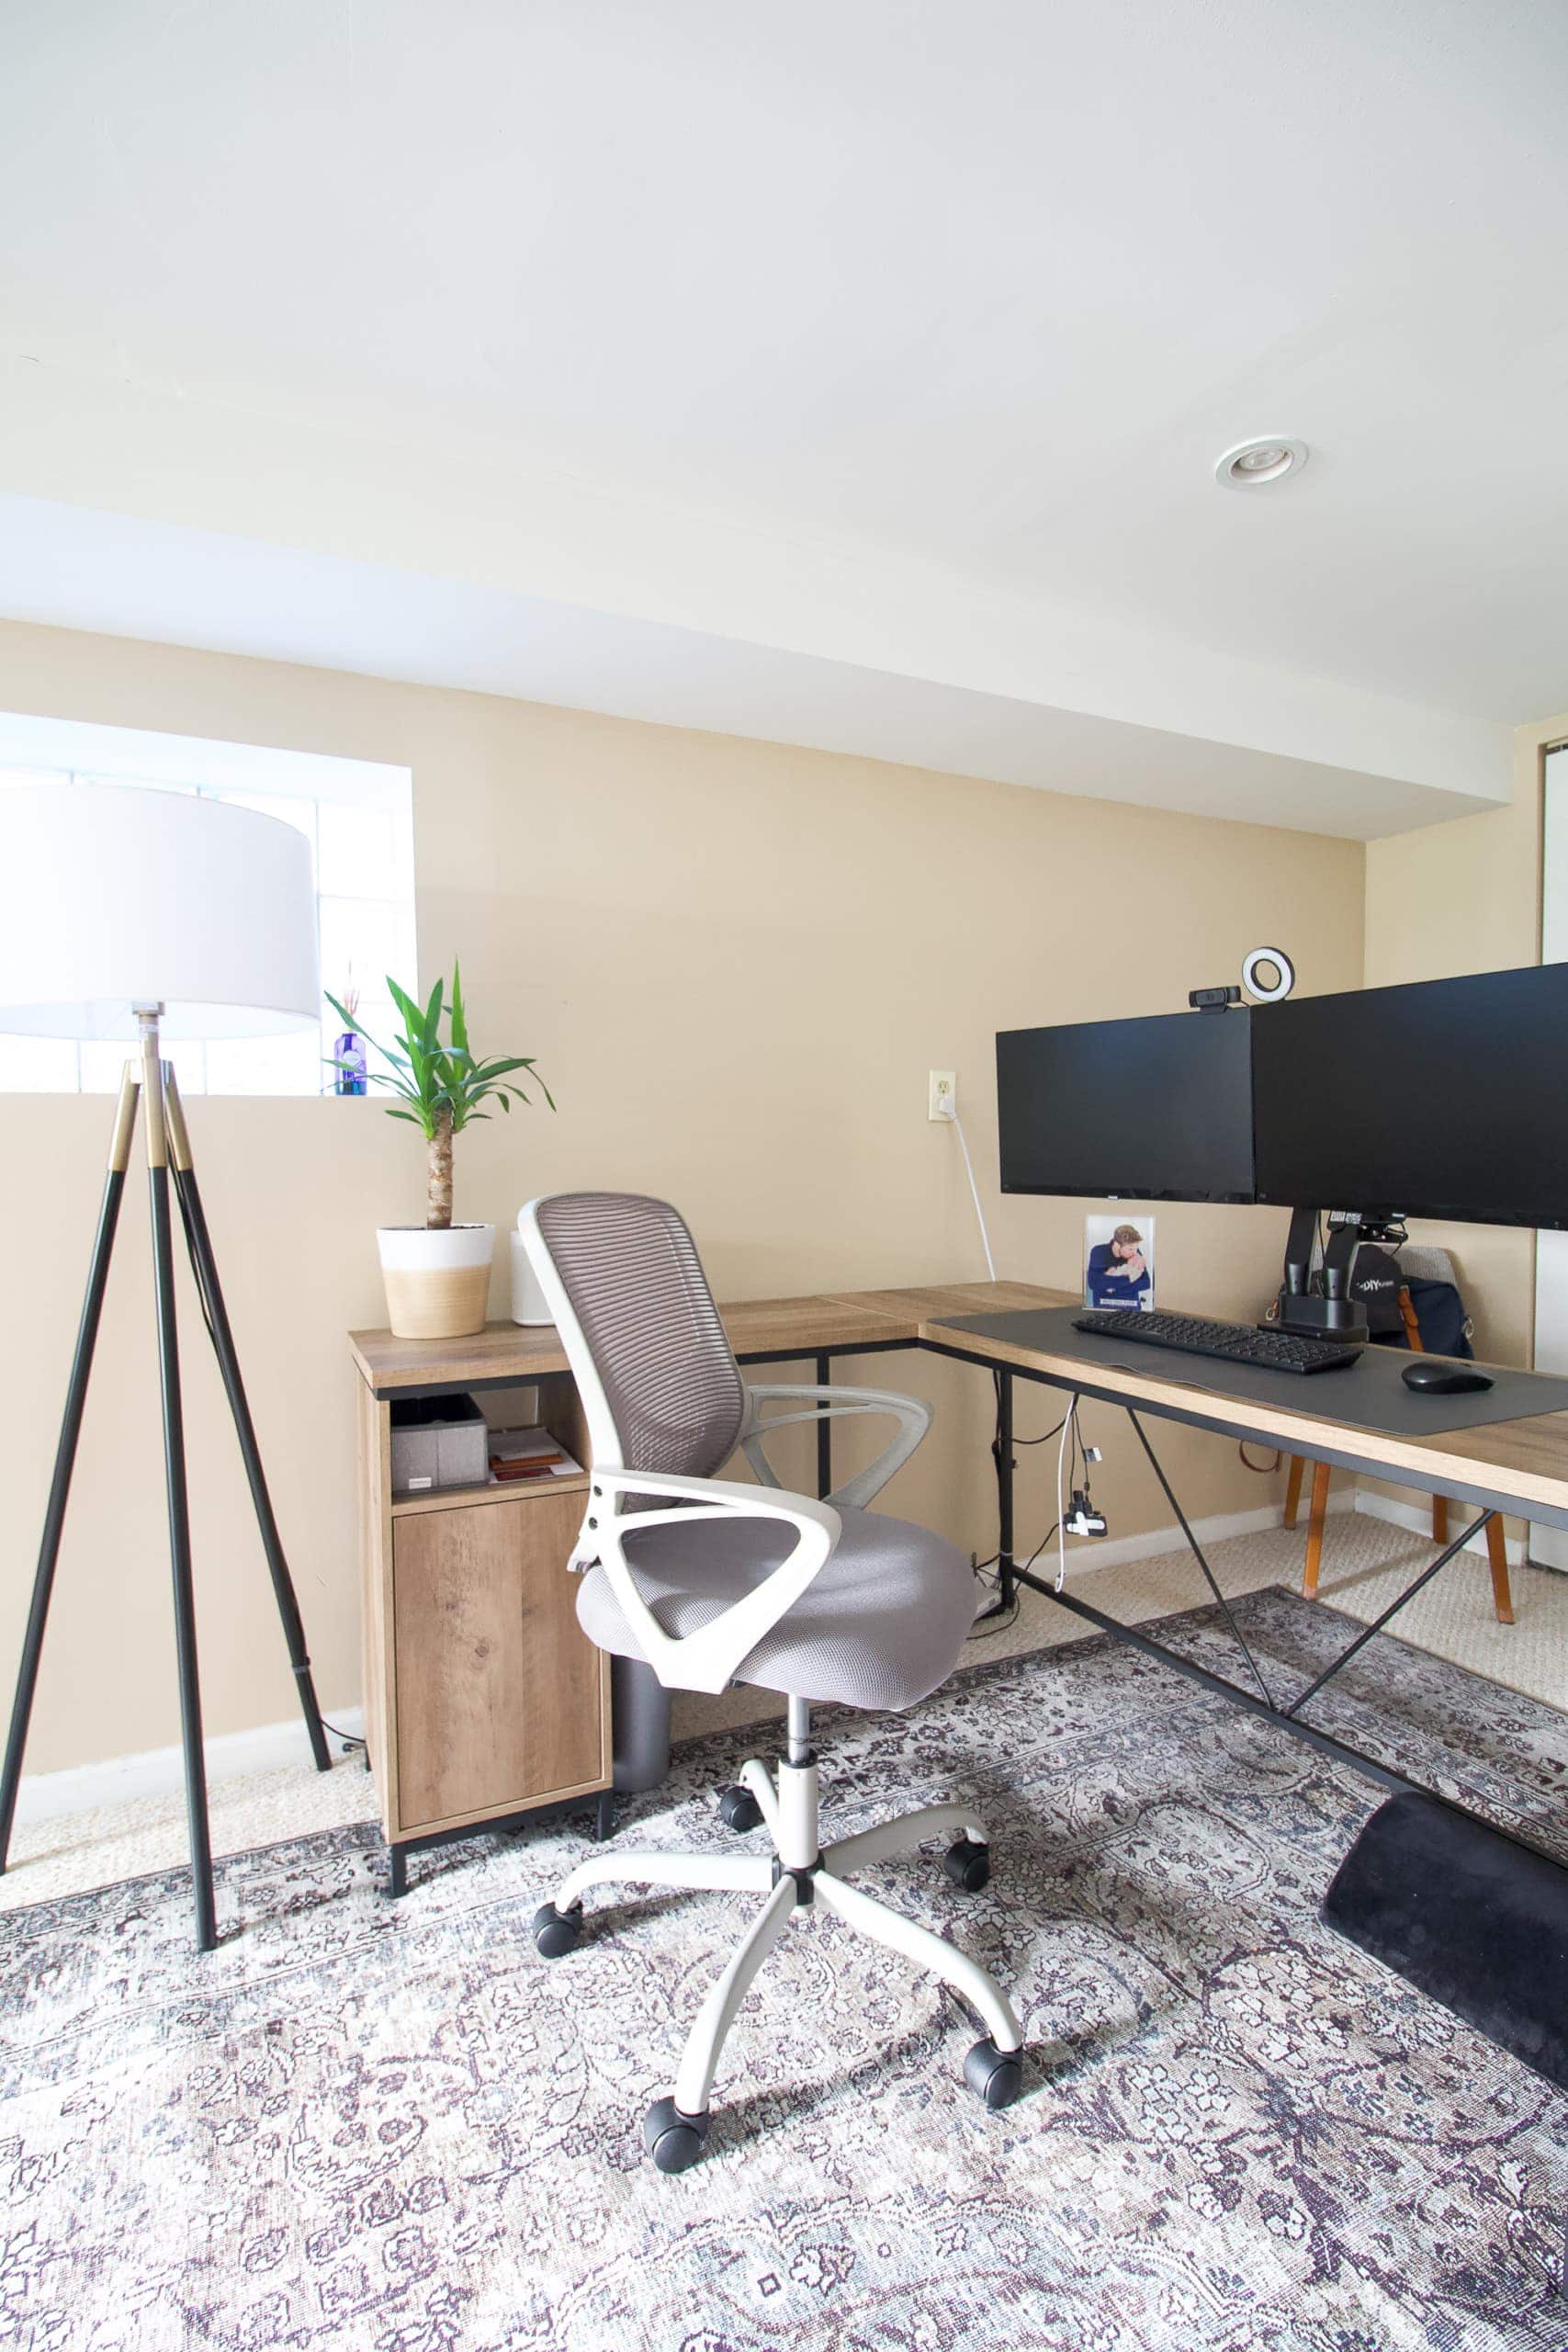
See that outlet on the wall? My goal with the shelves was to place one in a spot where I could conceal the wall outlet with a plant or frame. In this blog post about Finn’s home office space, I griped about the outlets being halfway up the wall. But a smart reader (hey, Debbie!) mentioned it was probably because of the concrete foundation. Duh! So I guess these strange outlets are purposeful after all. Still, if I can do my best to make one of the many less of an eyesore, I’m all about it!
Simple Wood Shelves – Supplies

- Wood (I bought an 8ft by 8inch piece of pine)
- Miter Saw & Saw Stand
- Tape Measure
- Speed Square
- Palm Sander (or you can just use sanding blocks)
- Wood Conditioner
- Stain (I used the color “Provincial”)
- Rags
- Shelving Brackets
- Drill & Bits
- Wall Anchors
- Stud Finder
I decided to go with pine for these shelves because it stains really beautifully and comes in lots of widths. After checking out the space, I decided on eight inch deep shelves. Twelve inches would have been too deep and anything else wouldn’t have allowed for much display space.
Cut Your Wood

After measuring Finn’s desk area, I decided to go with two 36 inch shelves, so that meant I only had to make two cuts with my miter saw. I marked 36 inches on the board and drew a line with my speed square. A speed square is always nice to have on hand when using the miter saw because you can draw straight lines really easily and these serve as a guide when you bring your piece of wood to the saw.
My miter saw is unable to cut all the way through an 8-inch board because the blade is too shallow, so I ended up having to flip the piece over to complete the cut. That wasn’t a big deal at all, just make sure you line up the saw the best you can to make sure it’s super straight on that second cut. After a few cuts, I had two pieces of wood the same size and ready for sanding.
Sand the Wood
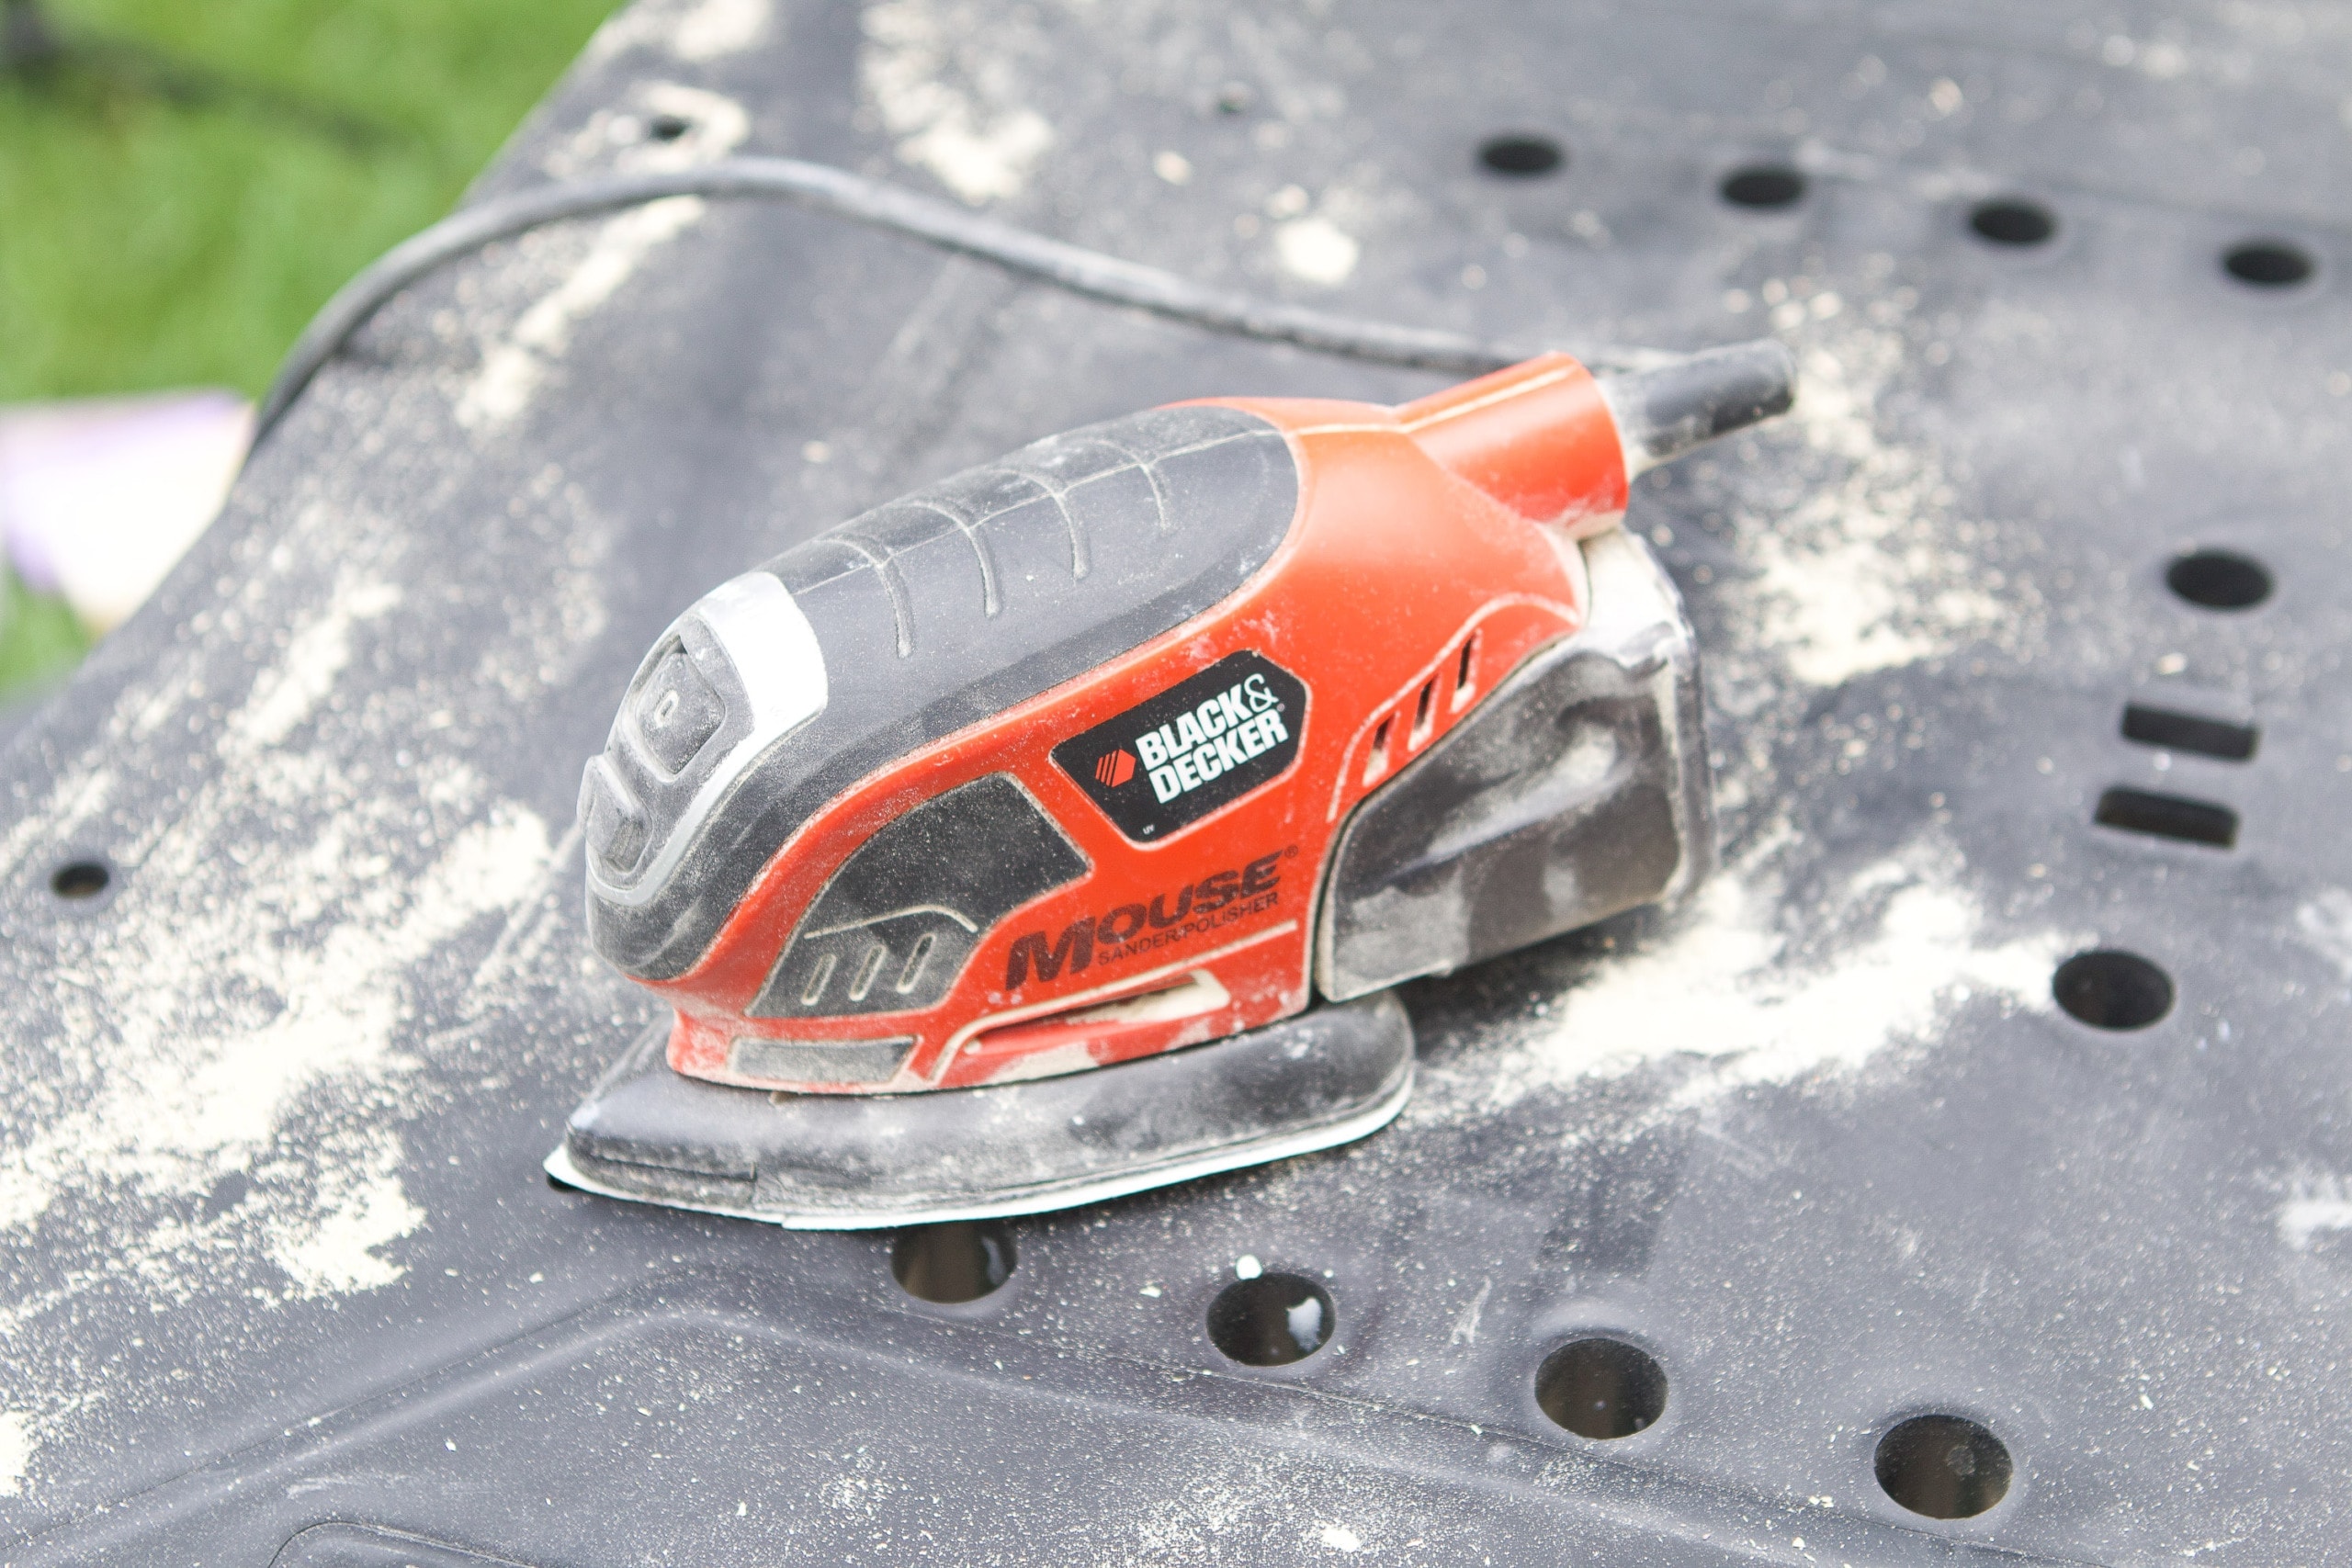
My pine pieces were already pretty smooth, but I wanted to make sure the cut edges didn’t have any splinters sticking out. I used my palm sander with a fine grit (220) of sandpaper to smooth everything out lightly and then wiped down all sides of the board with a rag.
Use Wood Conditioner
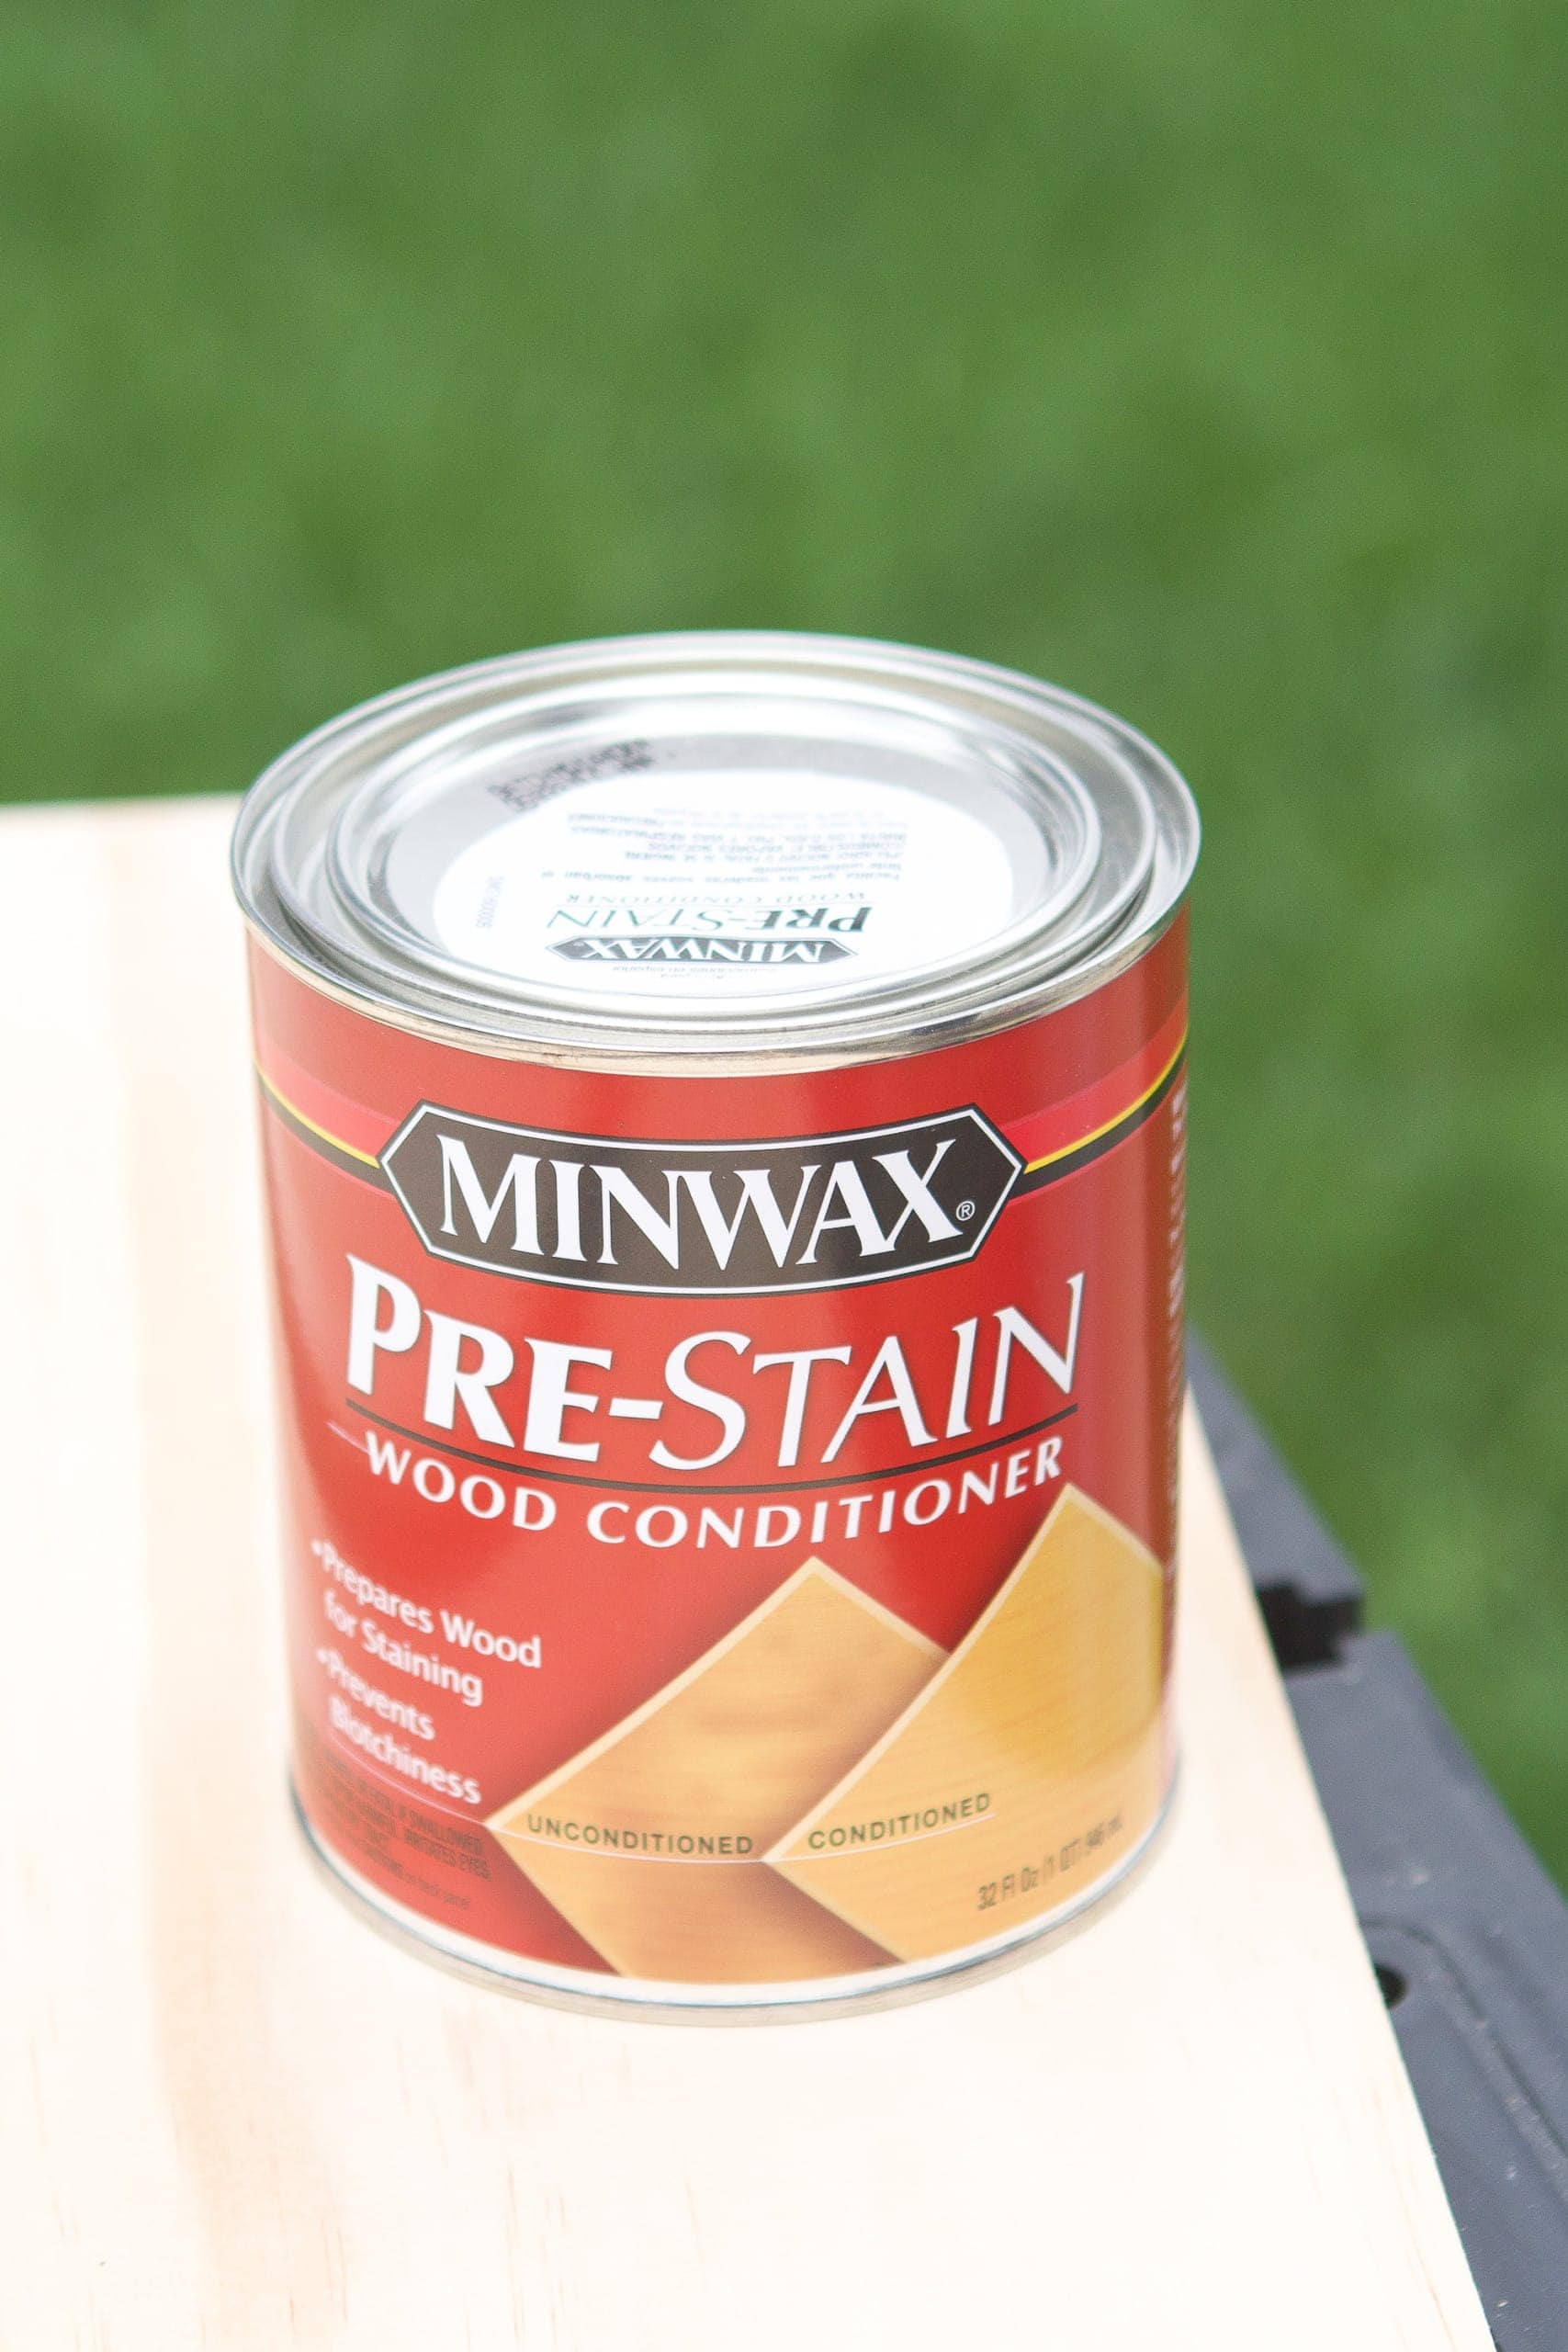
When you’re staining wood, especially pine, a wood conditioner is usually a good idea! I have not always used it in the past and when I don’t , the wood can turn out a bit splotchy and blotchy! If you want your wood to soak up stain evenly, then the wood conditioner will really help.
To use, just dip a rag in the wood conditioner and spread it evenly over all sides of the wood board. Let it dry for a few minutes and then wipe off any excess. You don’t want any of the conditioner to pool on the surface or it will be difficult to stain. In the above photo, the board on the right has wood conditioner on it and the board on the left is bare. It really doesn’t change the color of the wood much at all.
Stain Away!
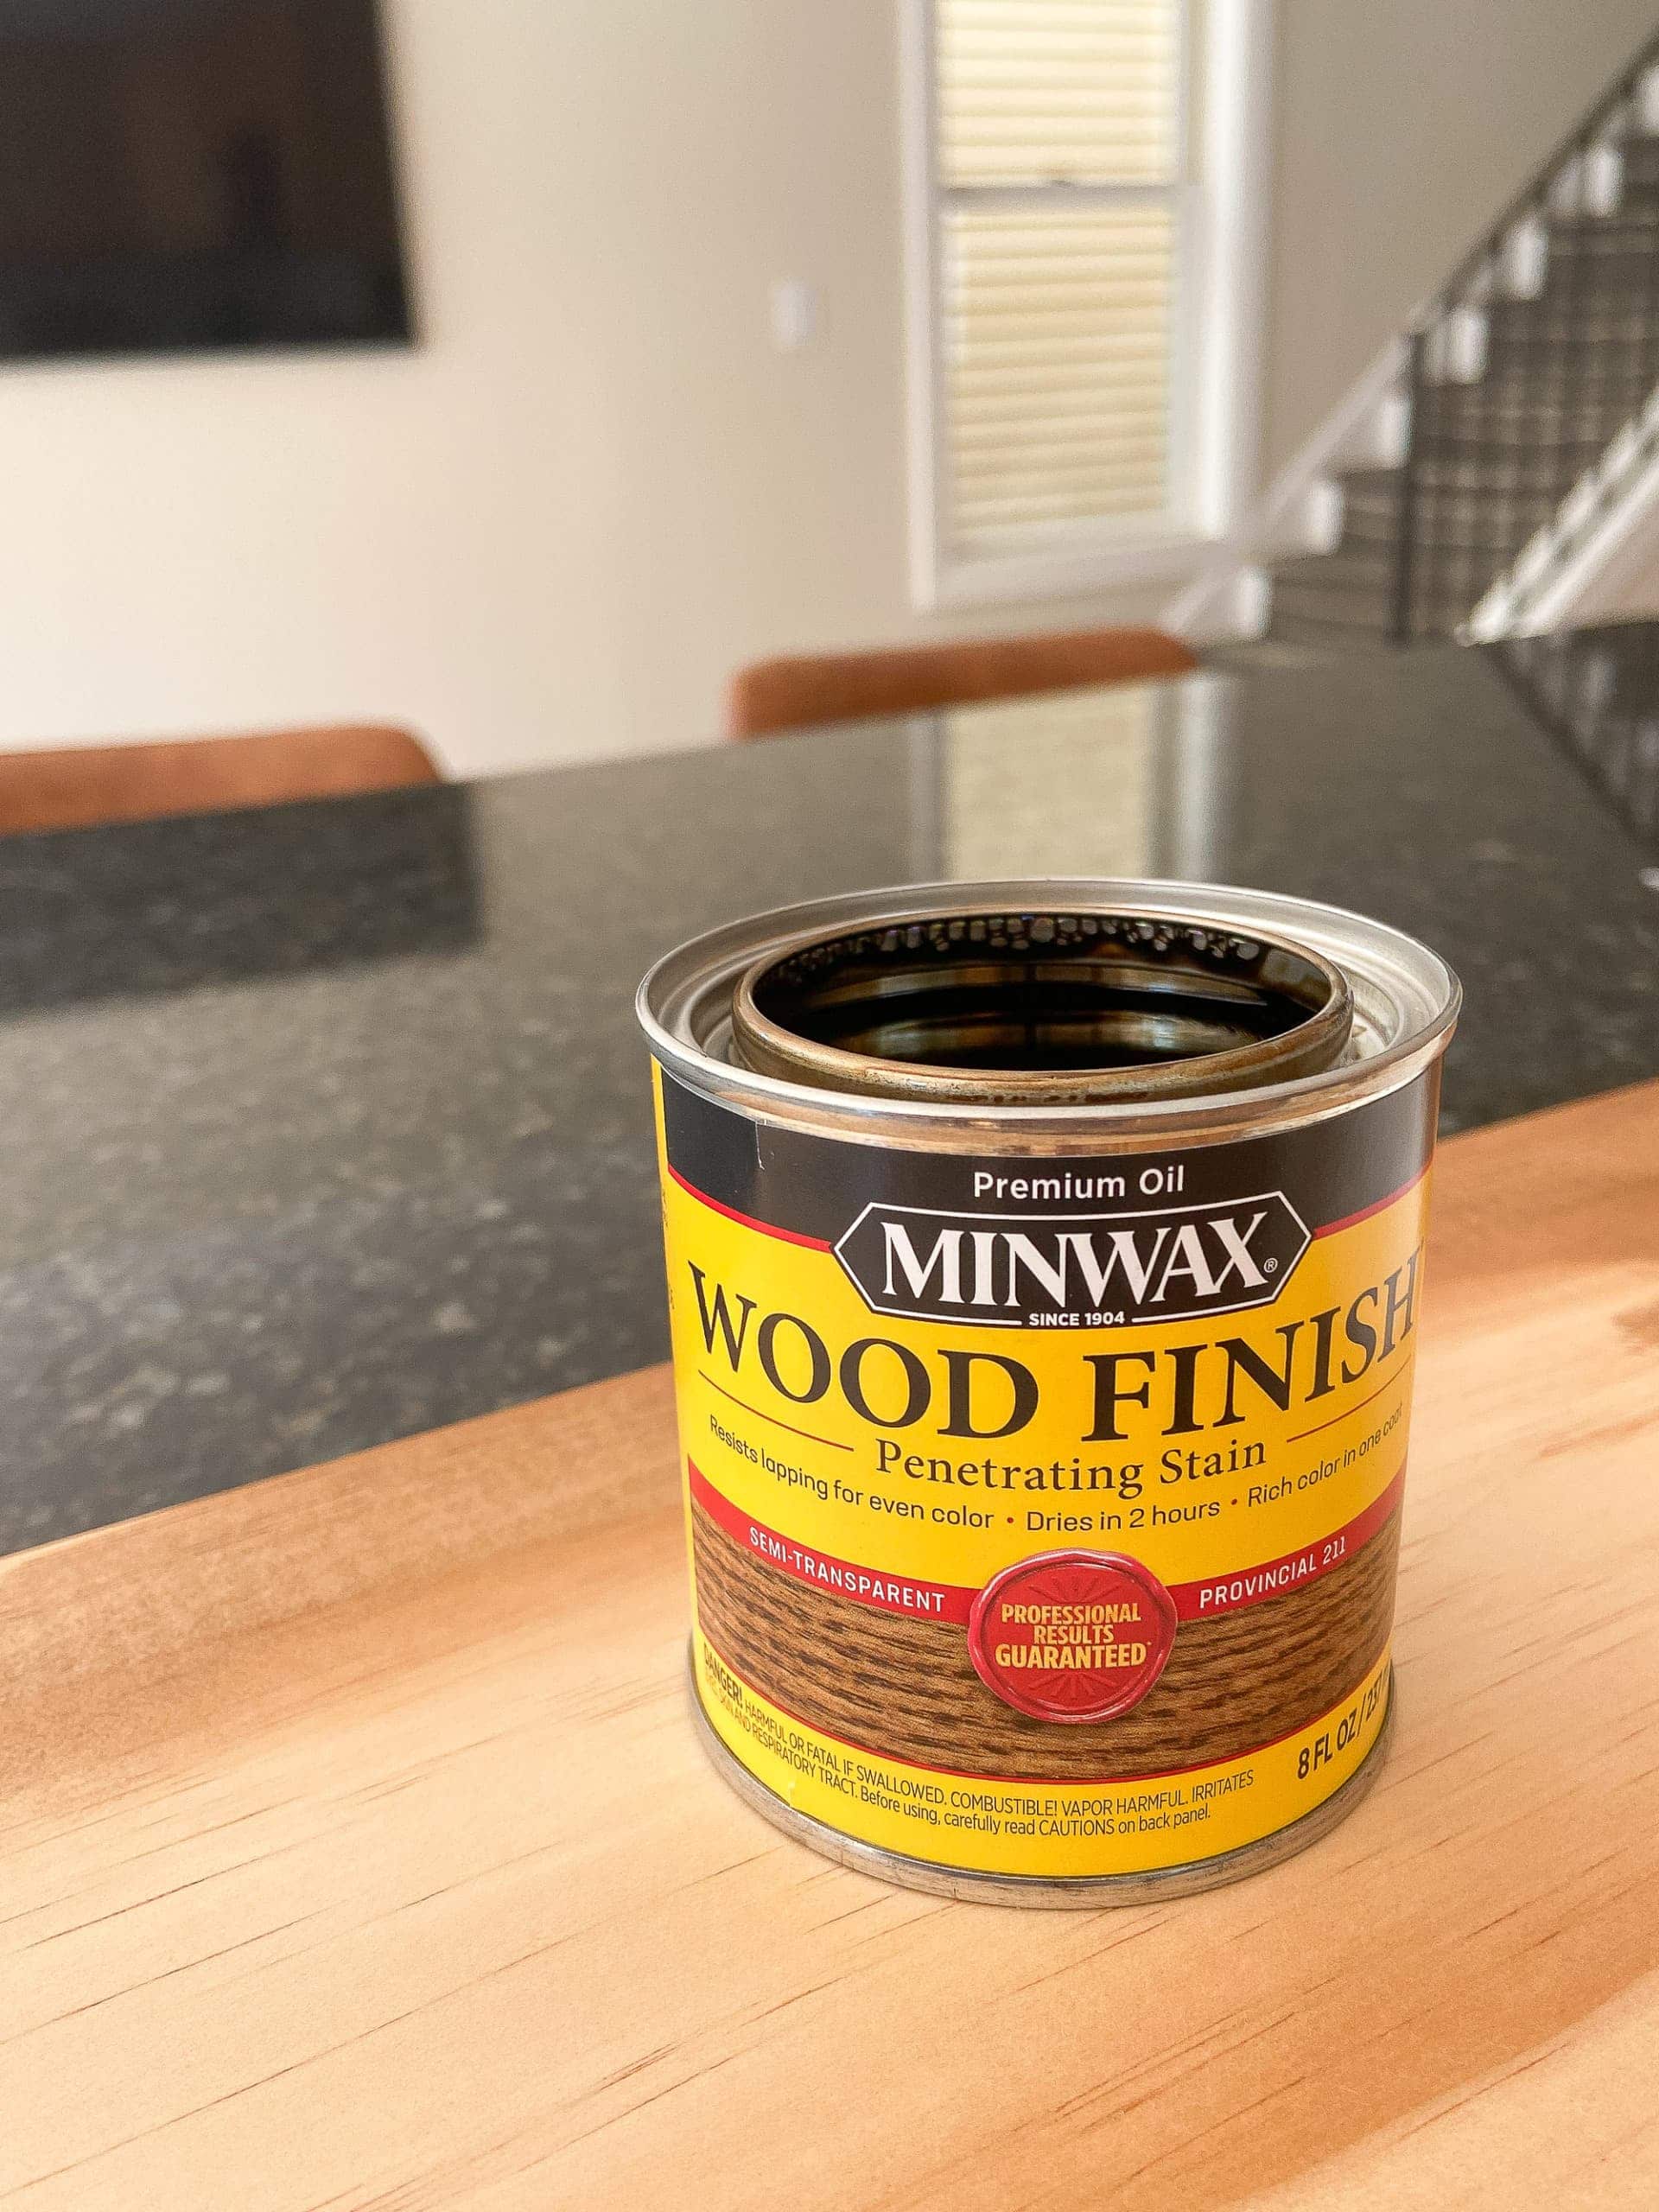
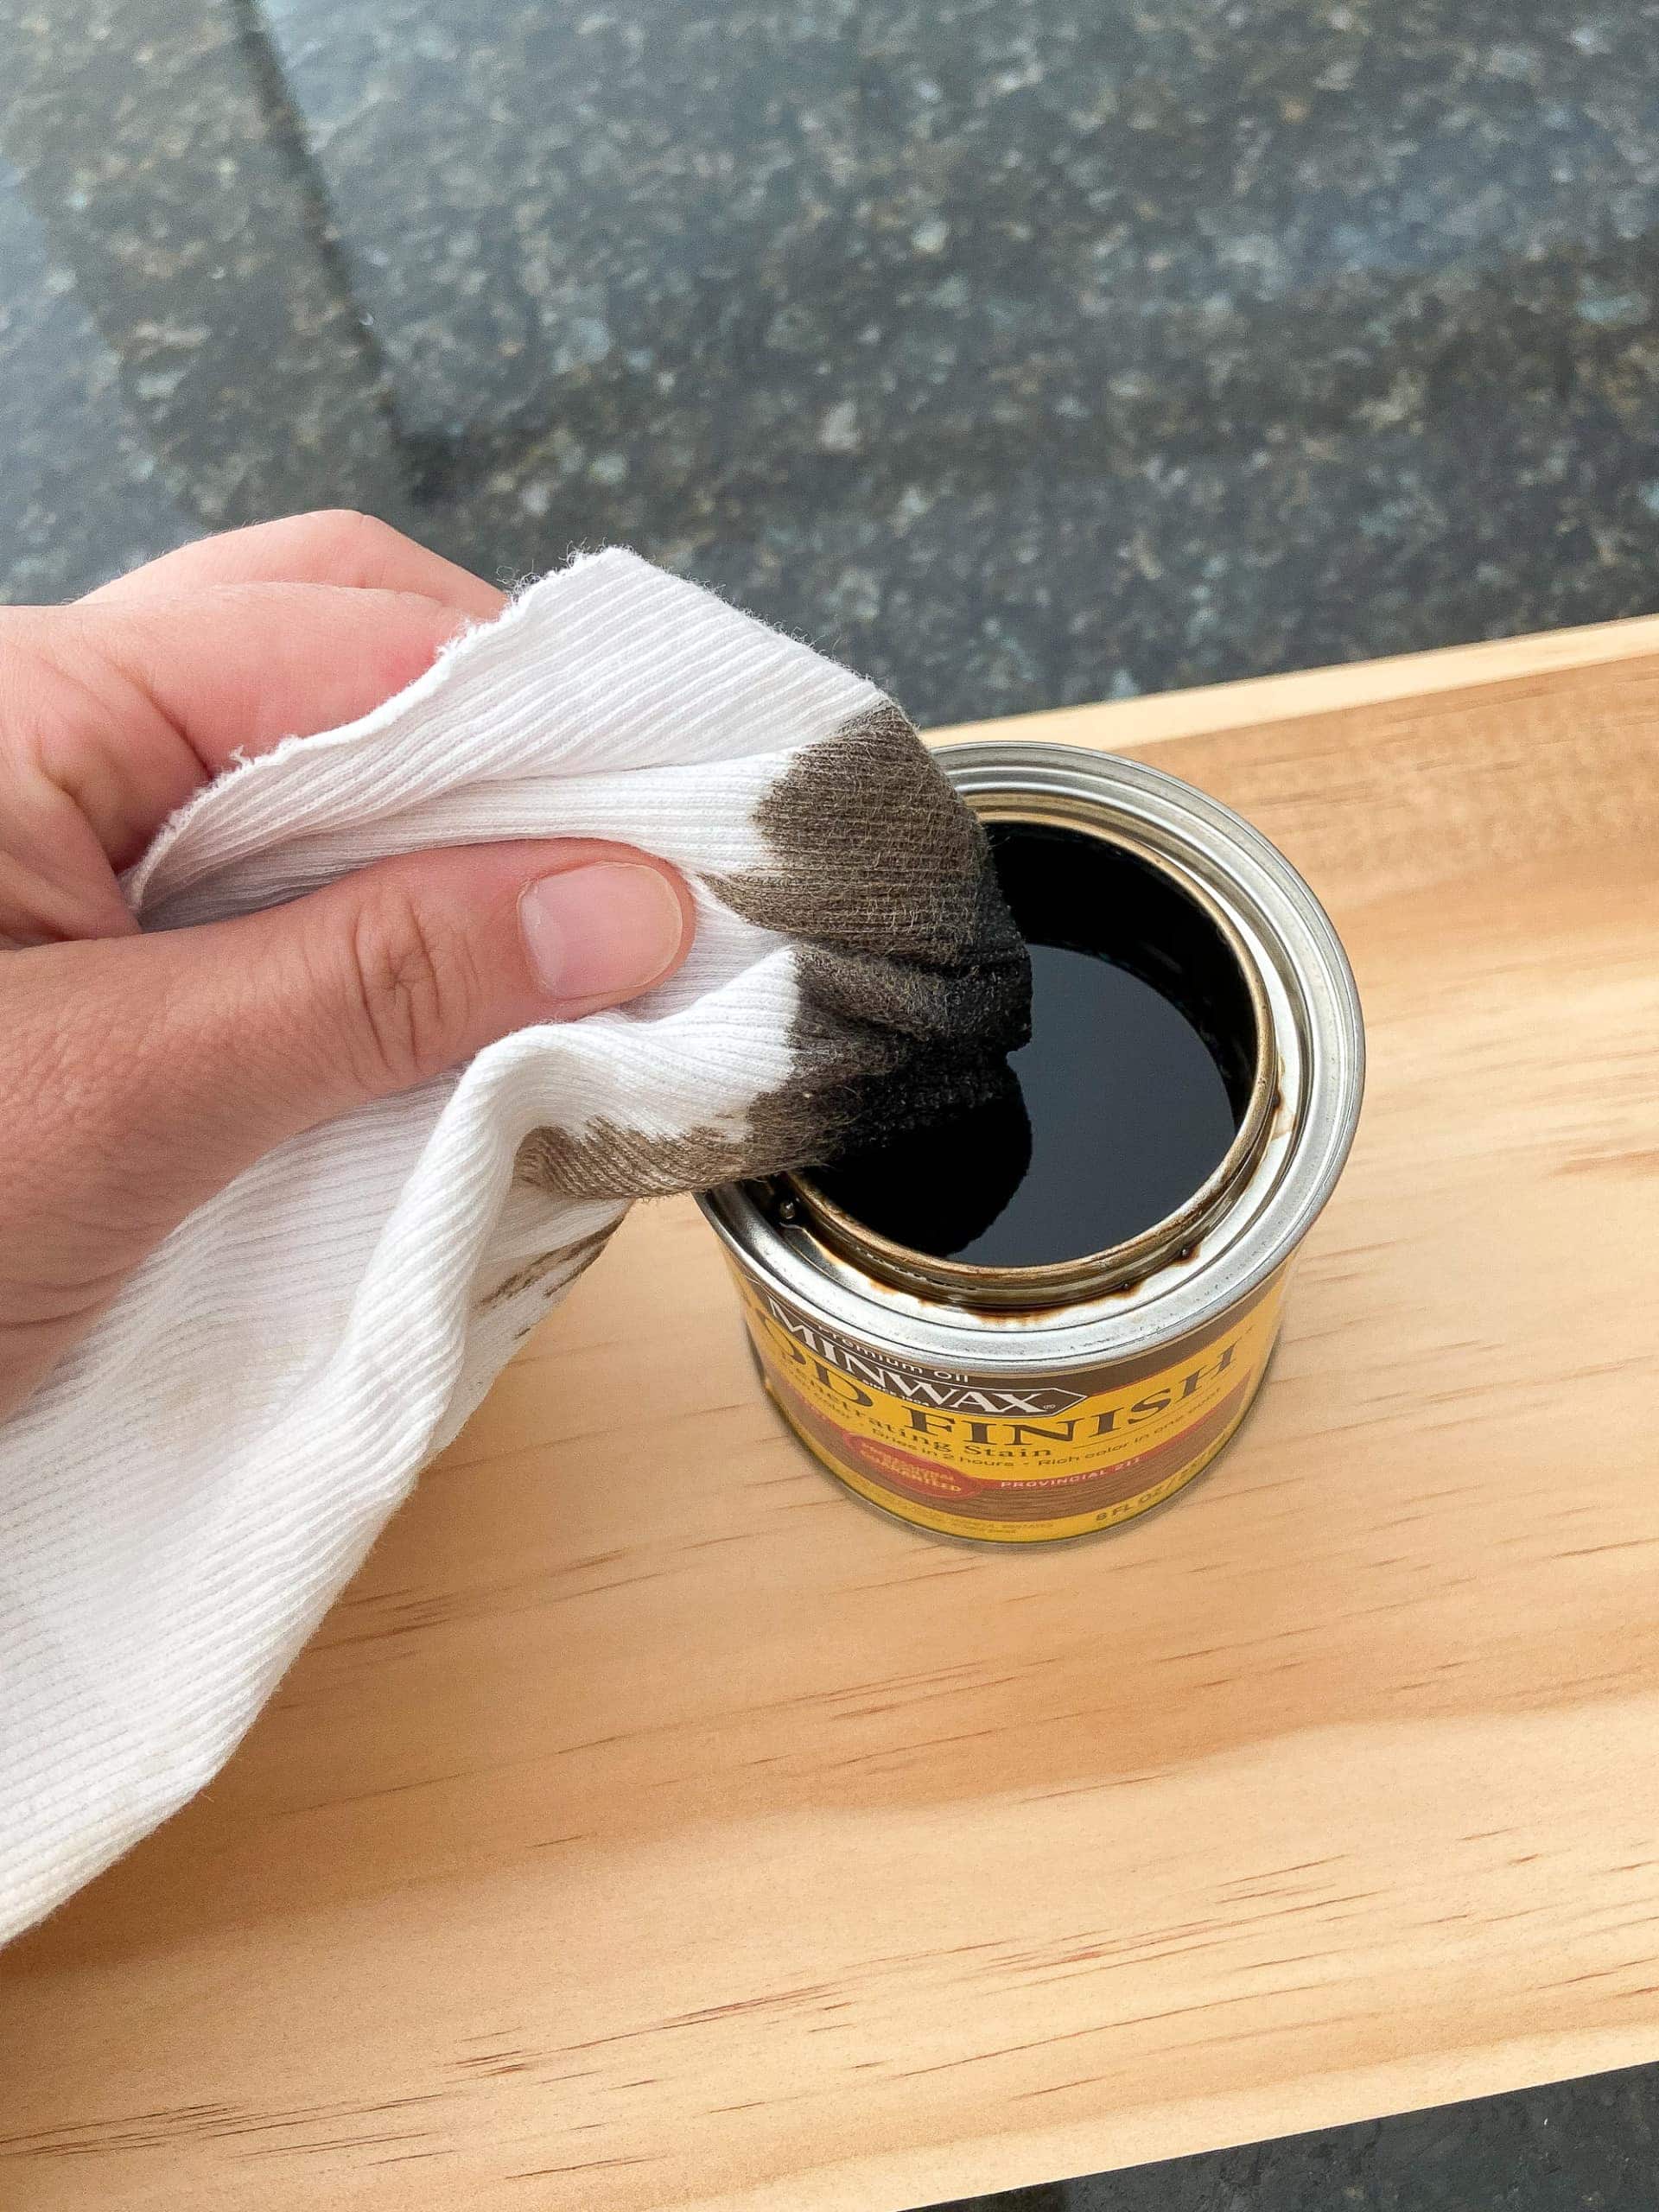
For the wood stain, I ended up using the color “Provincial” because it was a nice light brown that matched the color on Finn’s desk. For a project like this, you really only need the tiny 8 oz can of stain. A little goes a long way. Just like with the wood conditioner, use a rag and dip it into the stain and spread it out onto the wood. Make sure you don’t let any pool on the surface. If you want your color to be darker, let the stain dry, and then do another coat a few hours later.
Buy The Correct Brackets
I ended up buying these brackets for my simple wood shelves. These specifically fit shelves that are 7.25 inches wide. You’ll buy a piece of wood that says it is 8 inches wide, but wood is never the same size as it’s labeled at the store (like a 2×4 isn’t actually 2×4. Weird, right??). I highly recommend buying your wood FIRST and then your brackets, because the piece will need to fit exactly. 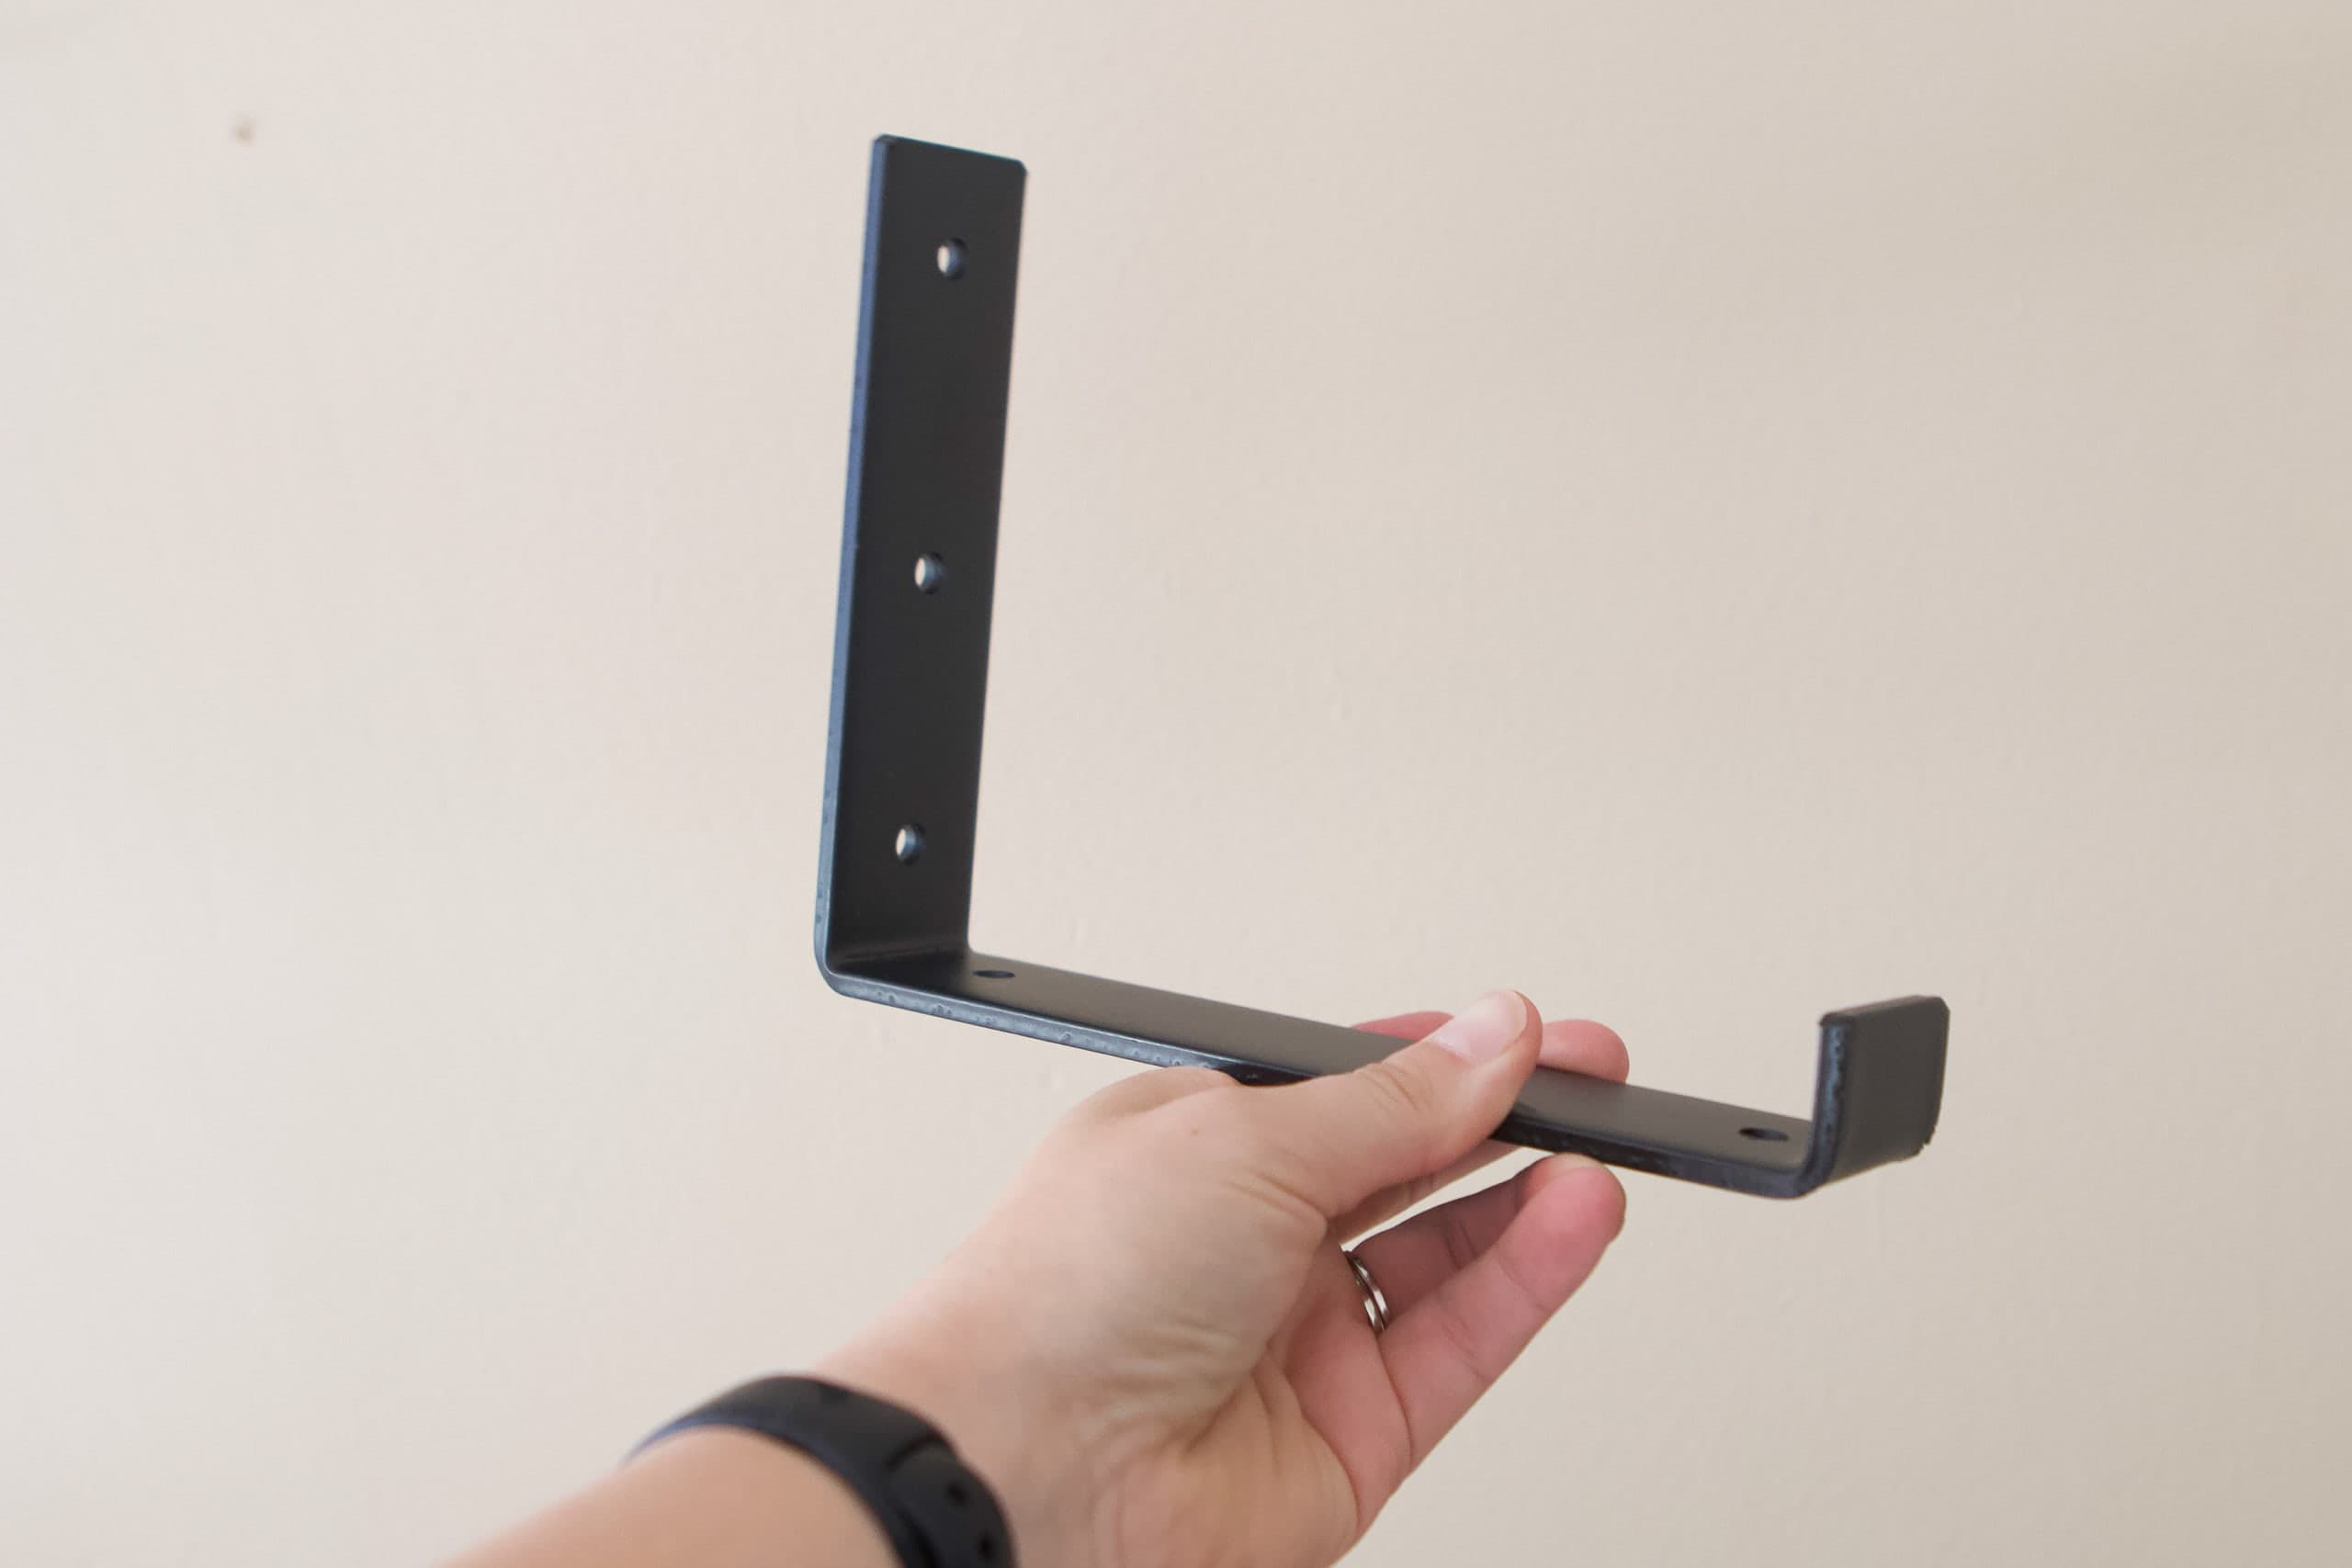
I love that these brackets add a hint of black and are very sleek. Because my boards are 36 inches long, I only needed two brackets per shelf (they come in a pack of 2!). But, if you’re installing shelves much longer than that, I would probably opt for three or more brackets to make sure the wood doesn’t bow and that it is supported all the way across.
Install the Shelves

When you hang anything on the wall, the first step is to always use a stud finder to see if you’ll be drilling into studs. If not, you’ll need to use anchors to hang your heavy item. 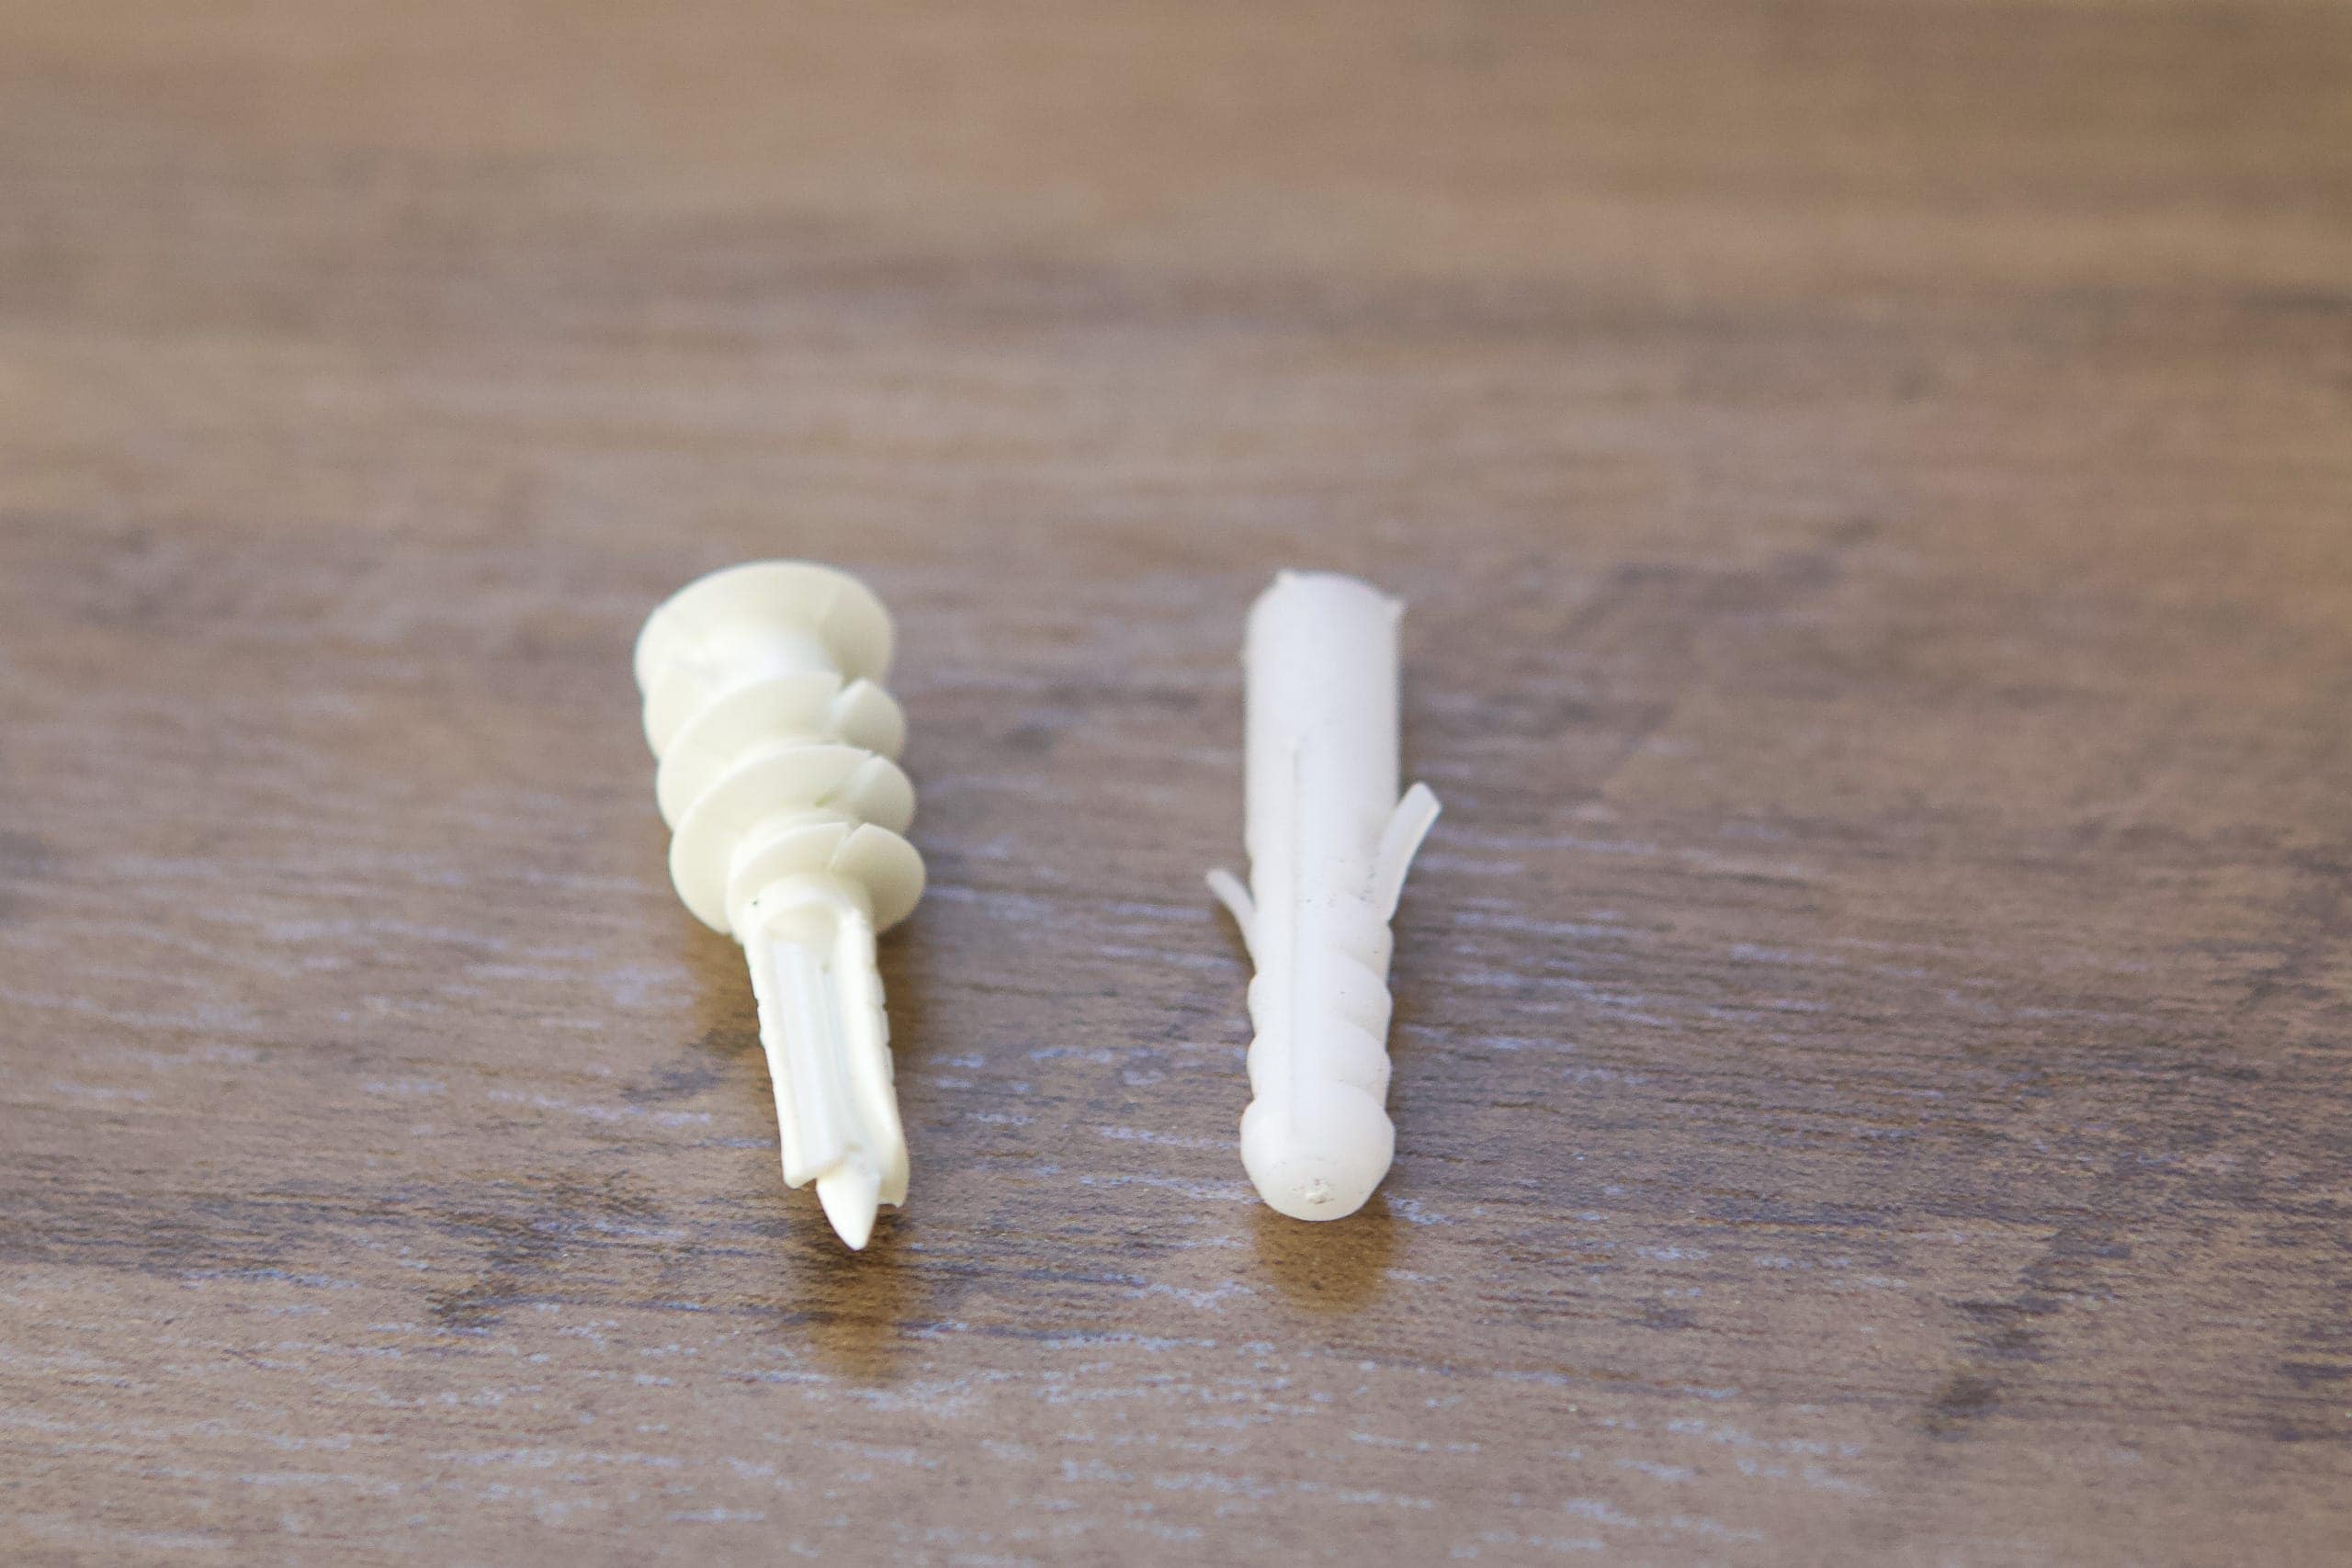
The brackets came with the anchors on the right. I tried them for the first bracket and they were way too weak. I immediately whipped out my favorite anchors and they’re now so much sturdier. If you remember this blog post all about wall anchors, I walk you through my steps to choose and install wall anchors. These are my favorite and each one holds up to 75 pounds! With six of these per shelf, these aren’t going anywhere! 
First, you will install the brackets onto the wall and then place the wood shelf on top. 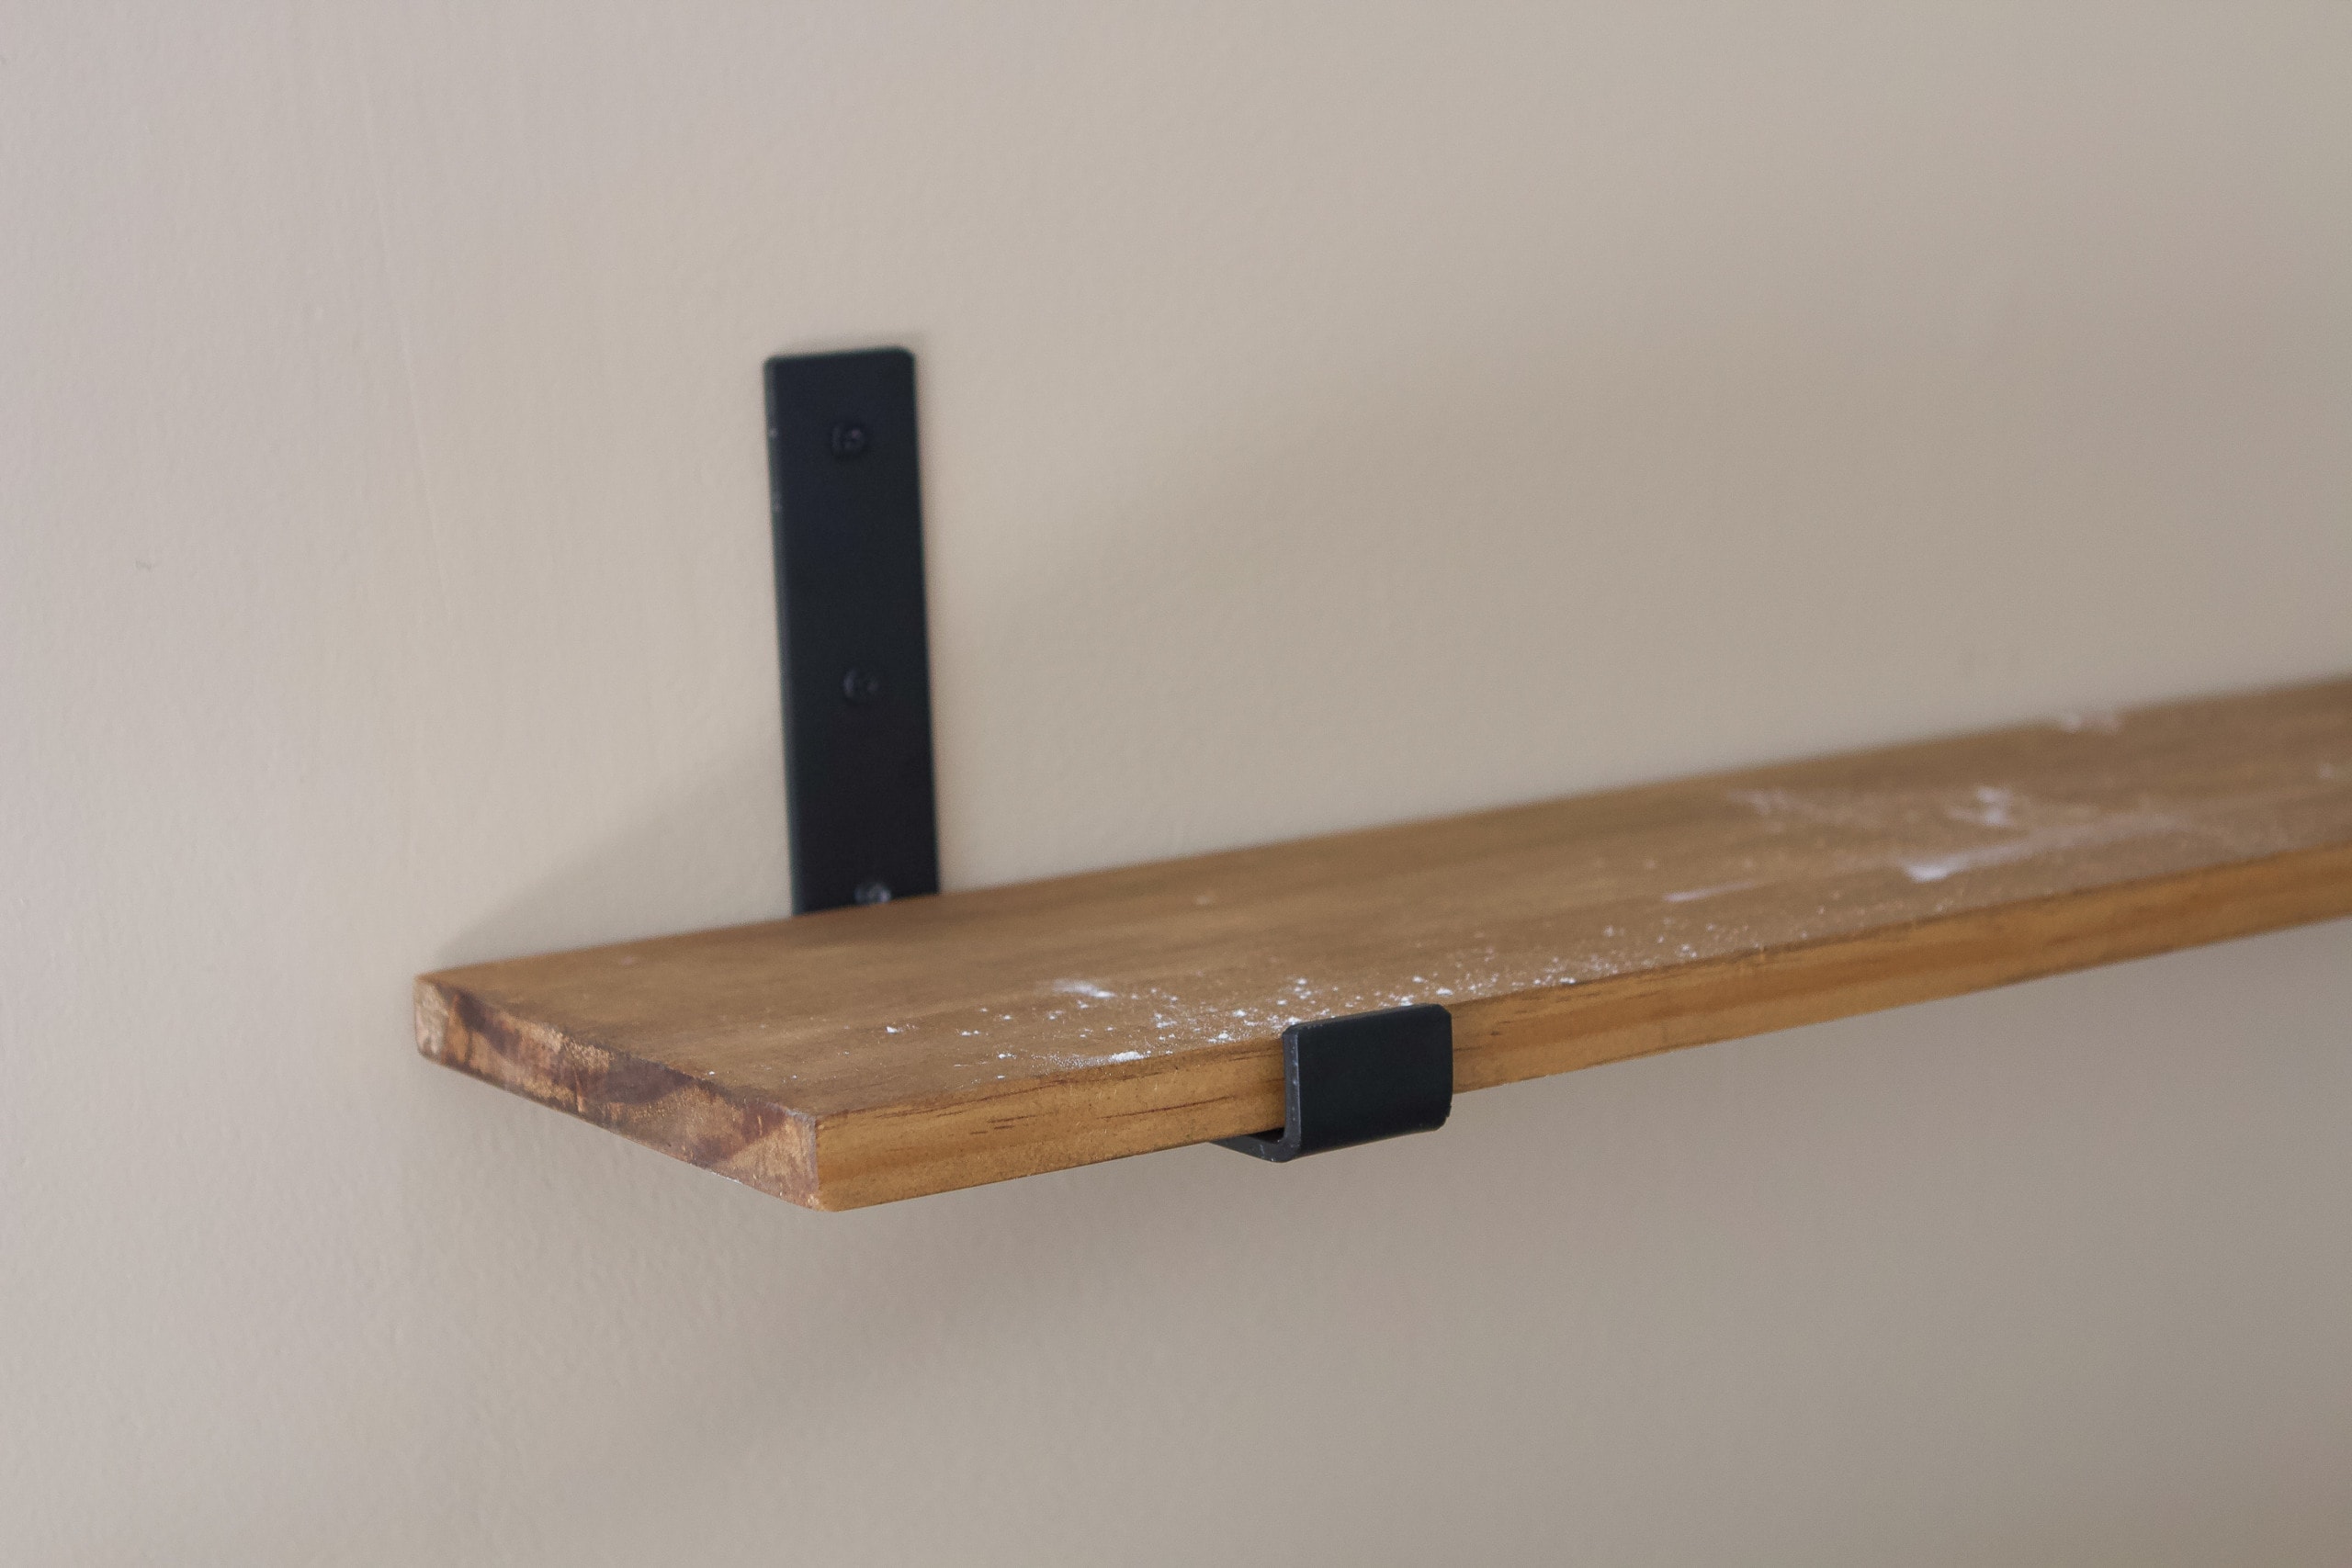
There are holes on the bottom of the brackets so you can drill up into the wood and secure them so that they don’t move around. In all honesty, I didn’t even do that step! The screws that came with the brackets were too deep for my wood and if I would have used them the screw would have poked out the top! Instead, I figured with heavy items on the shelves, they wouldn’t move around. I can always buy some short screws and attach them later on if it becomes a problem.
Styling Time!
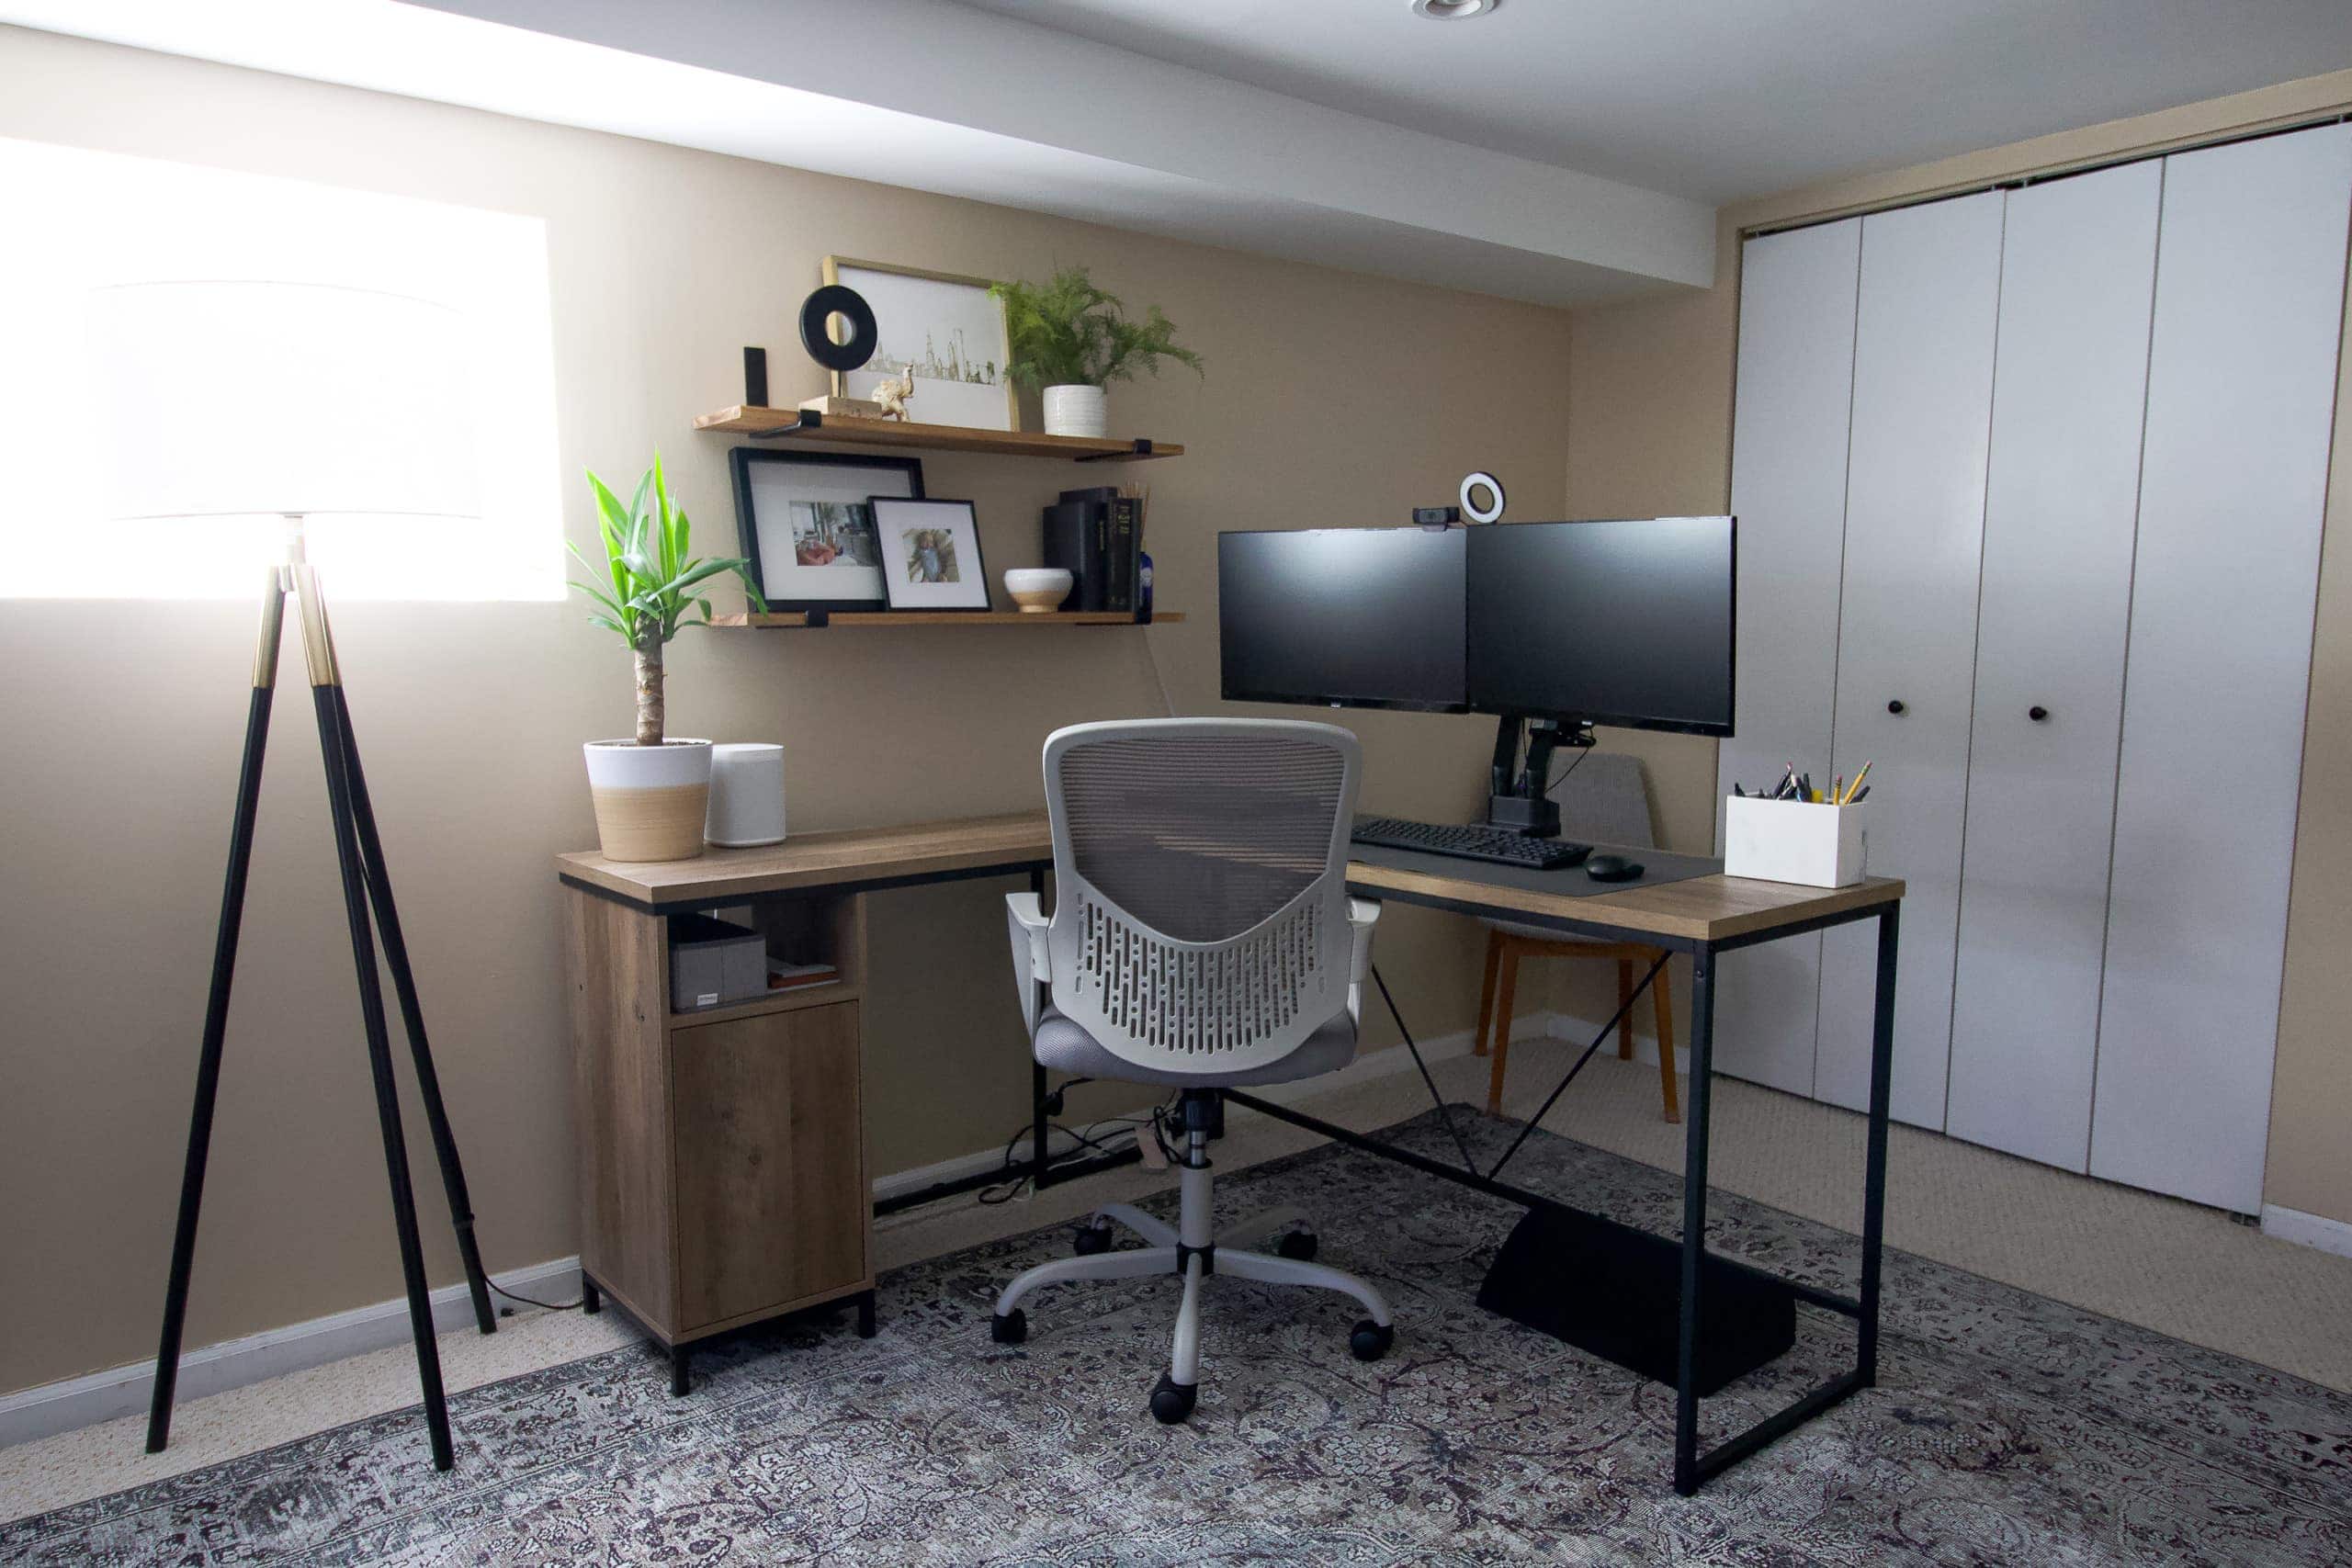
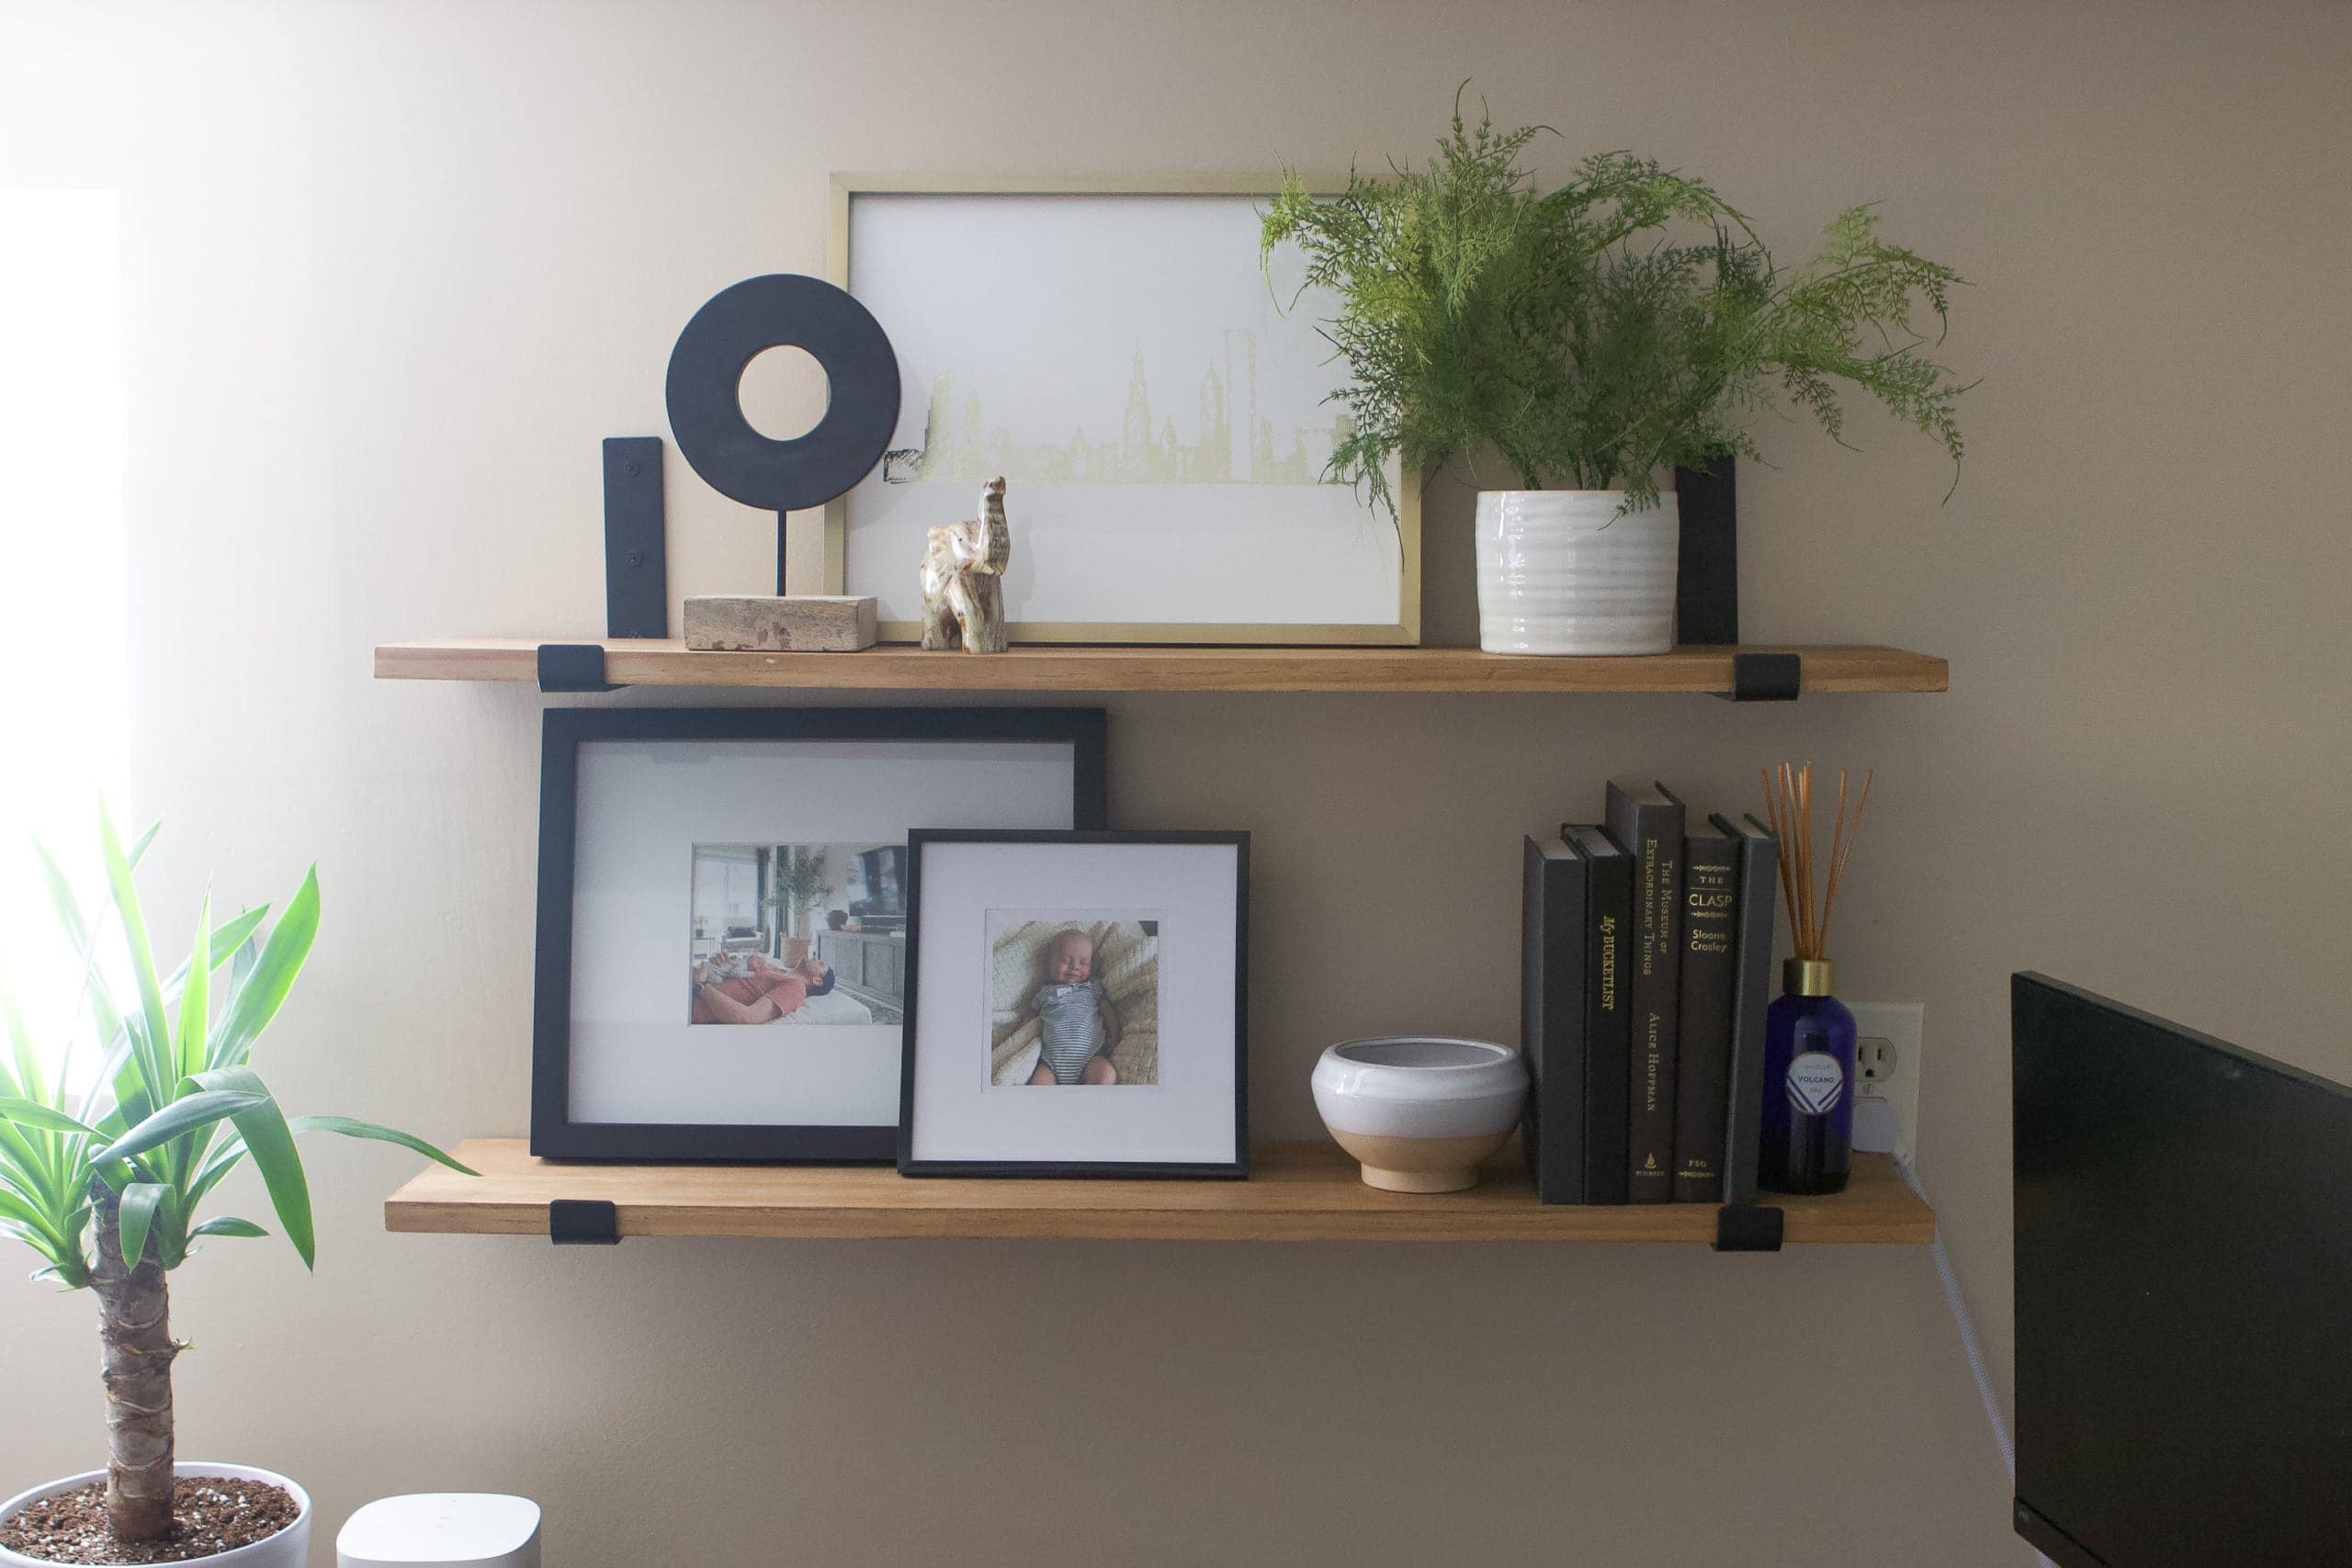
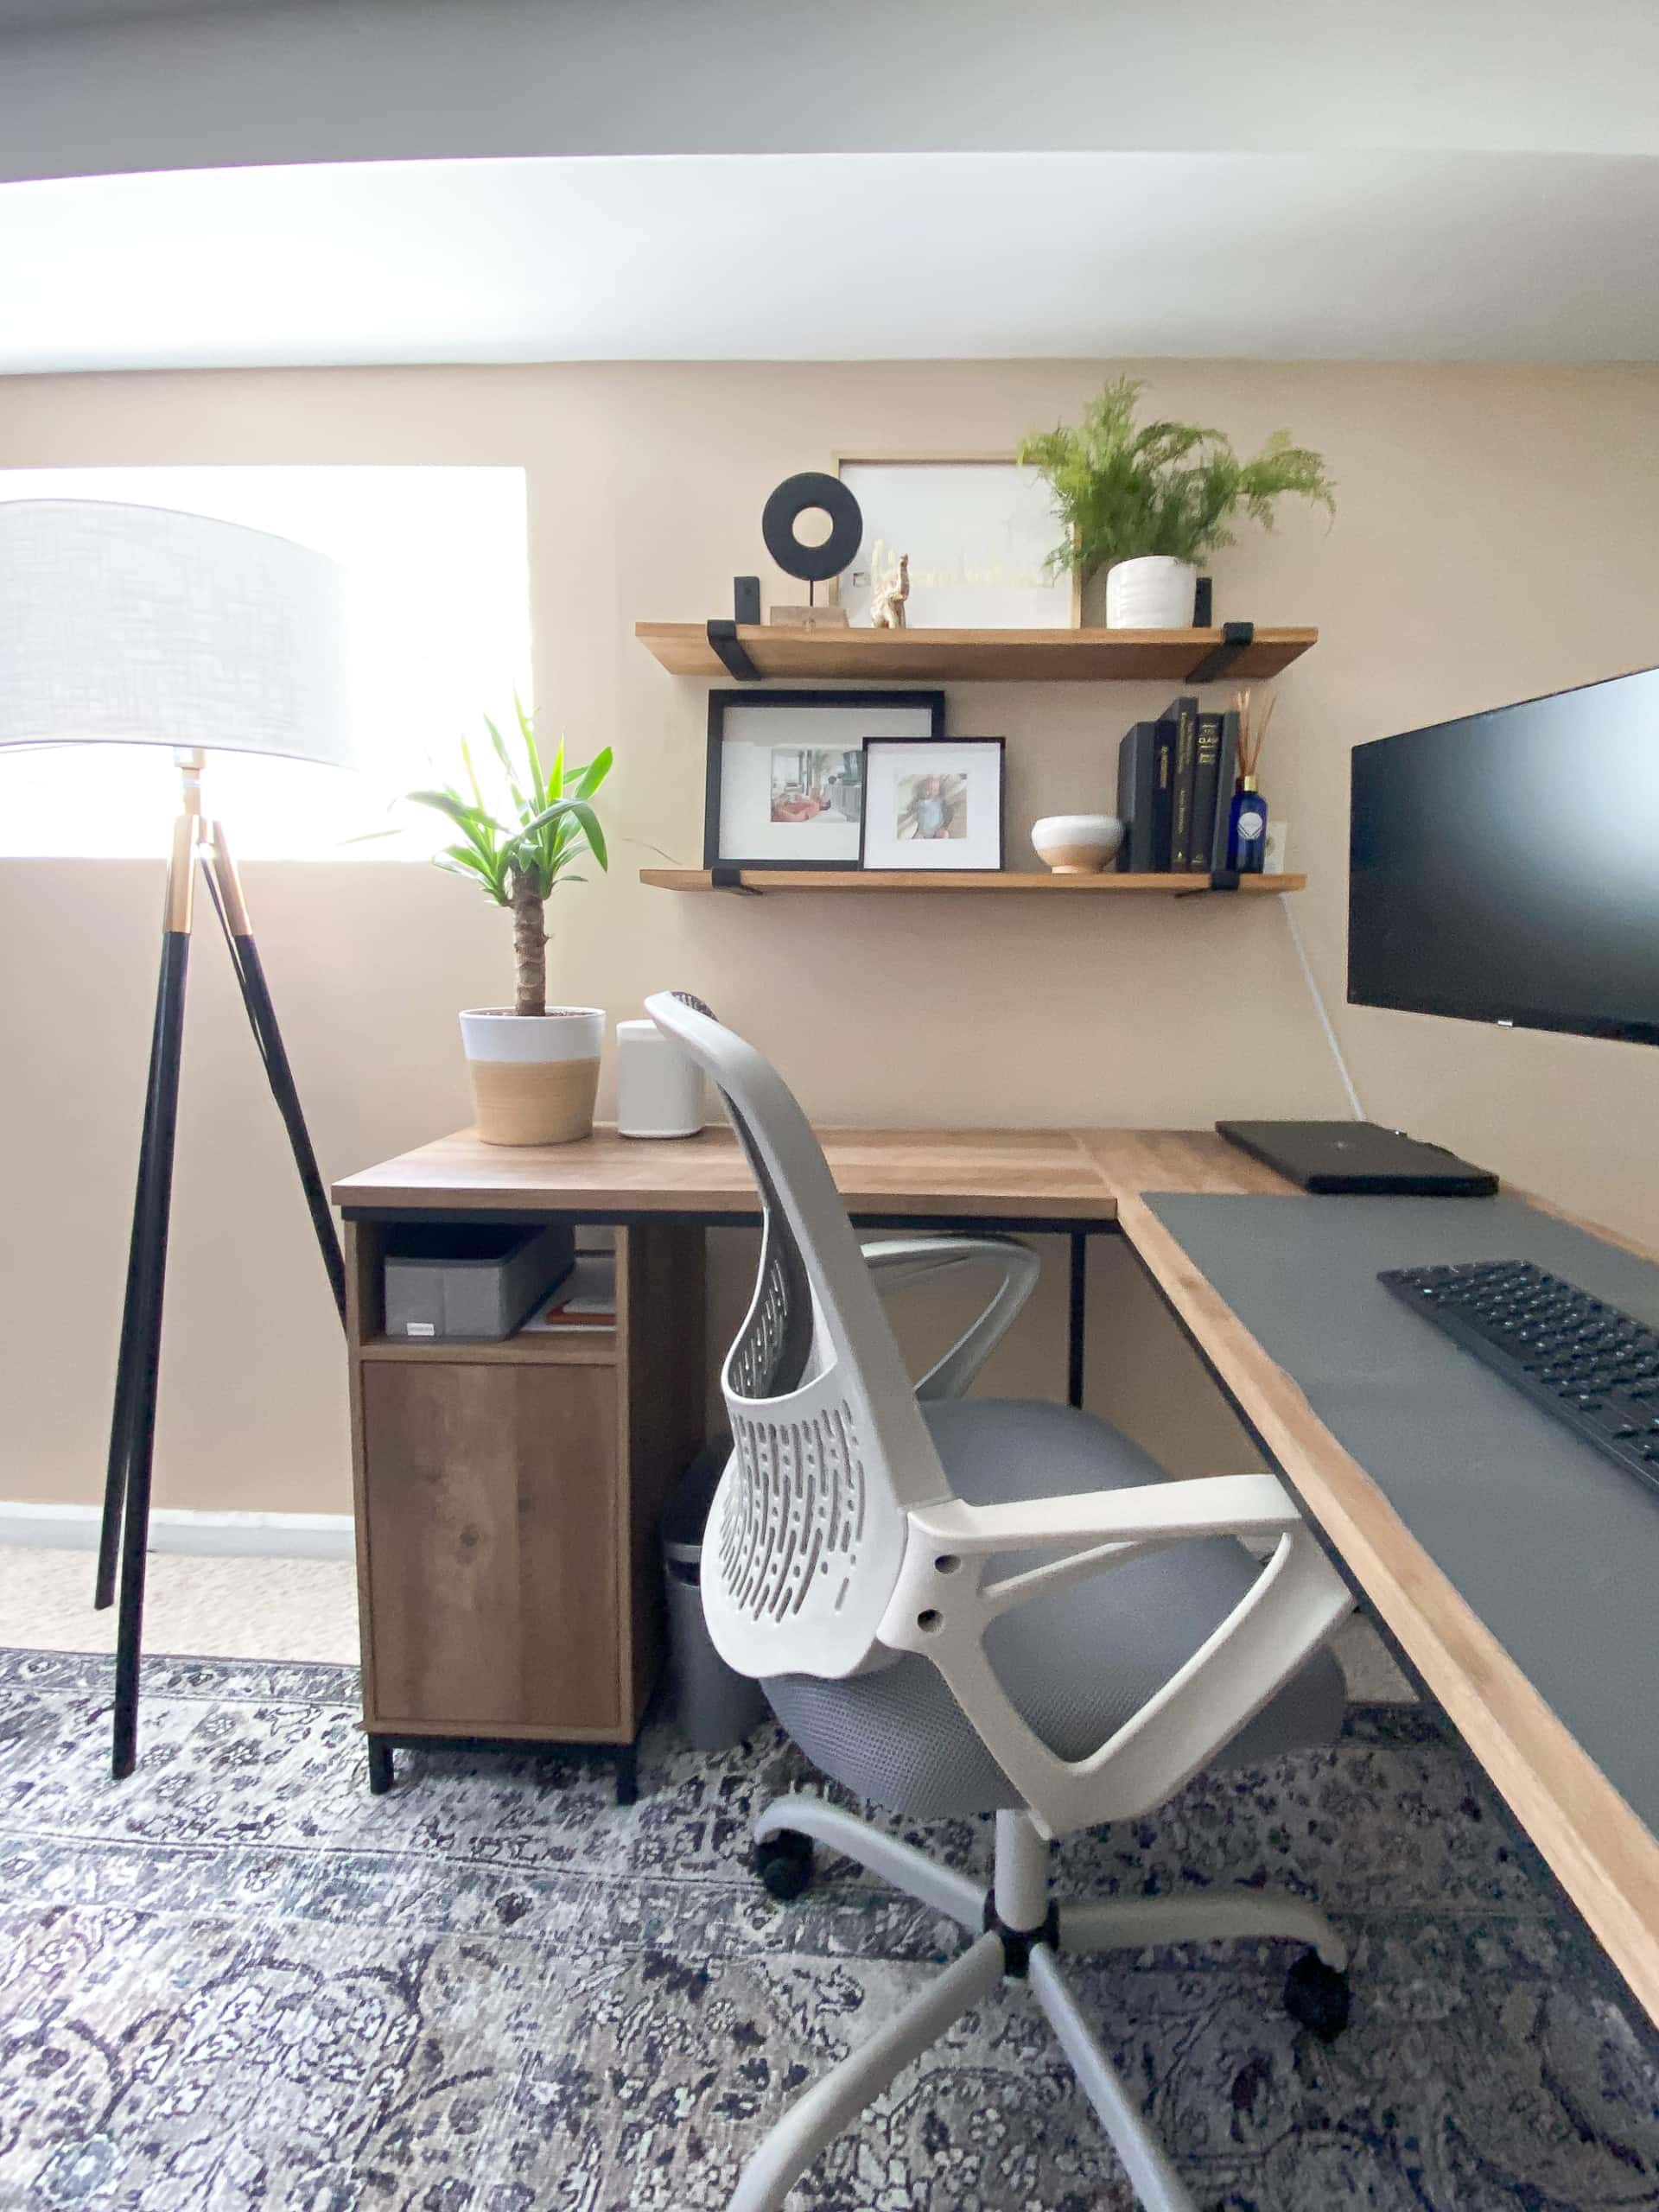
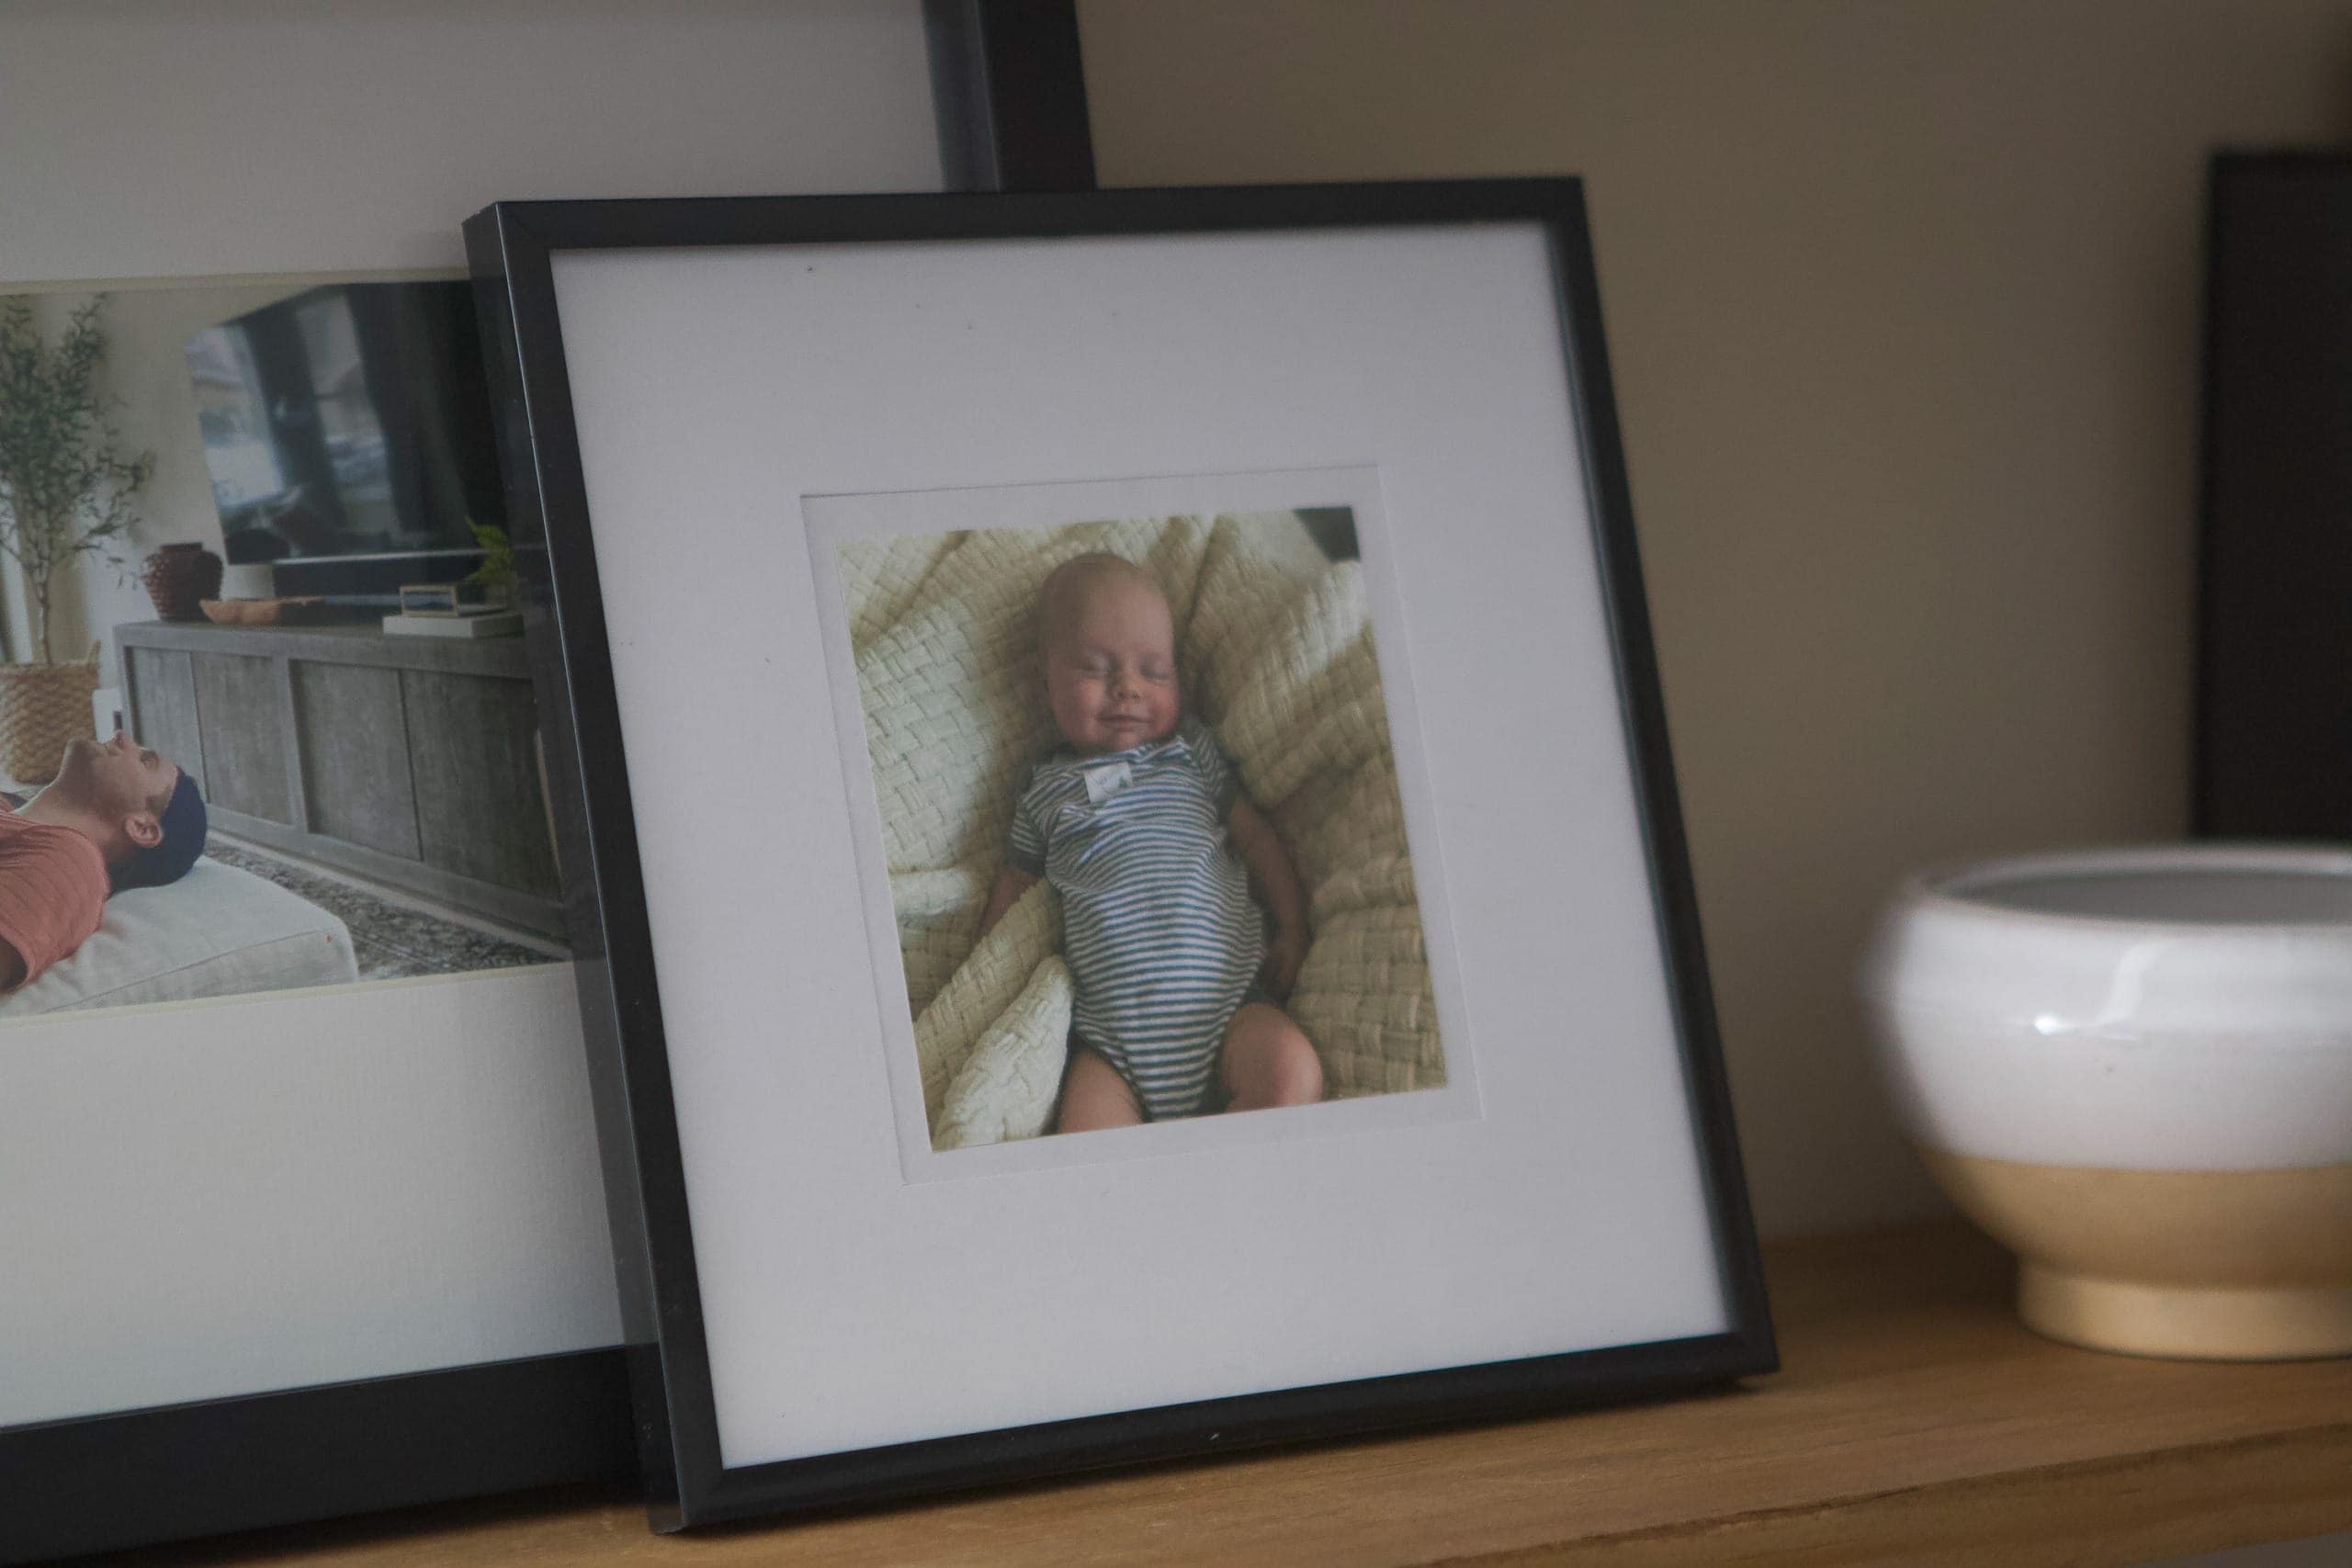
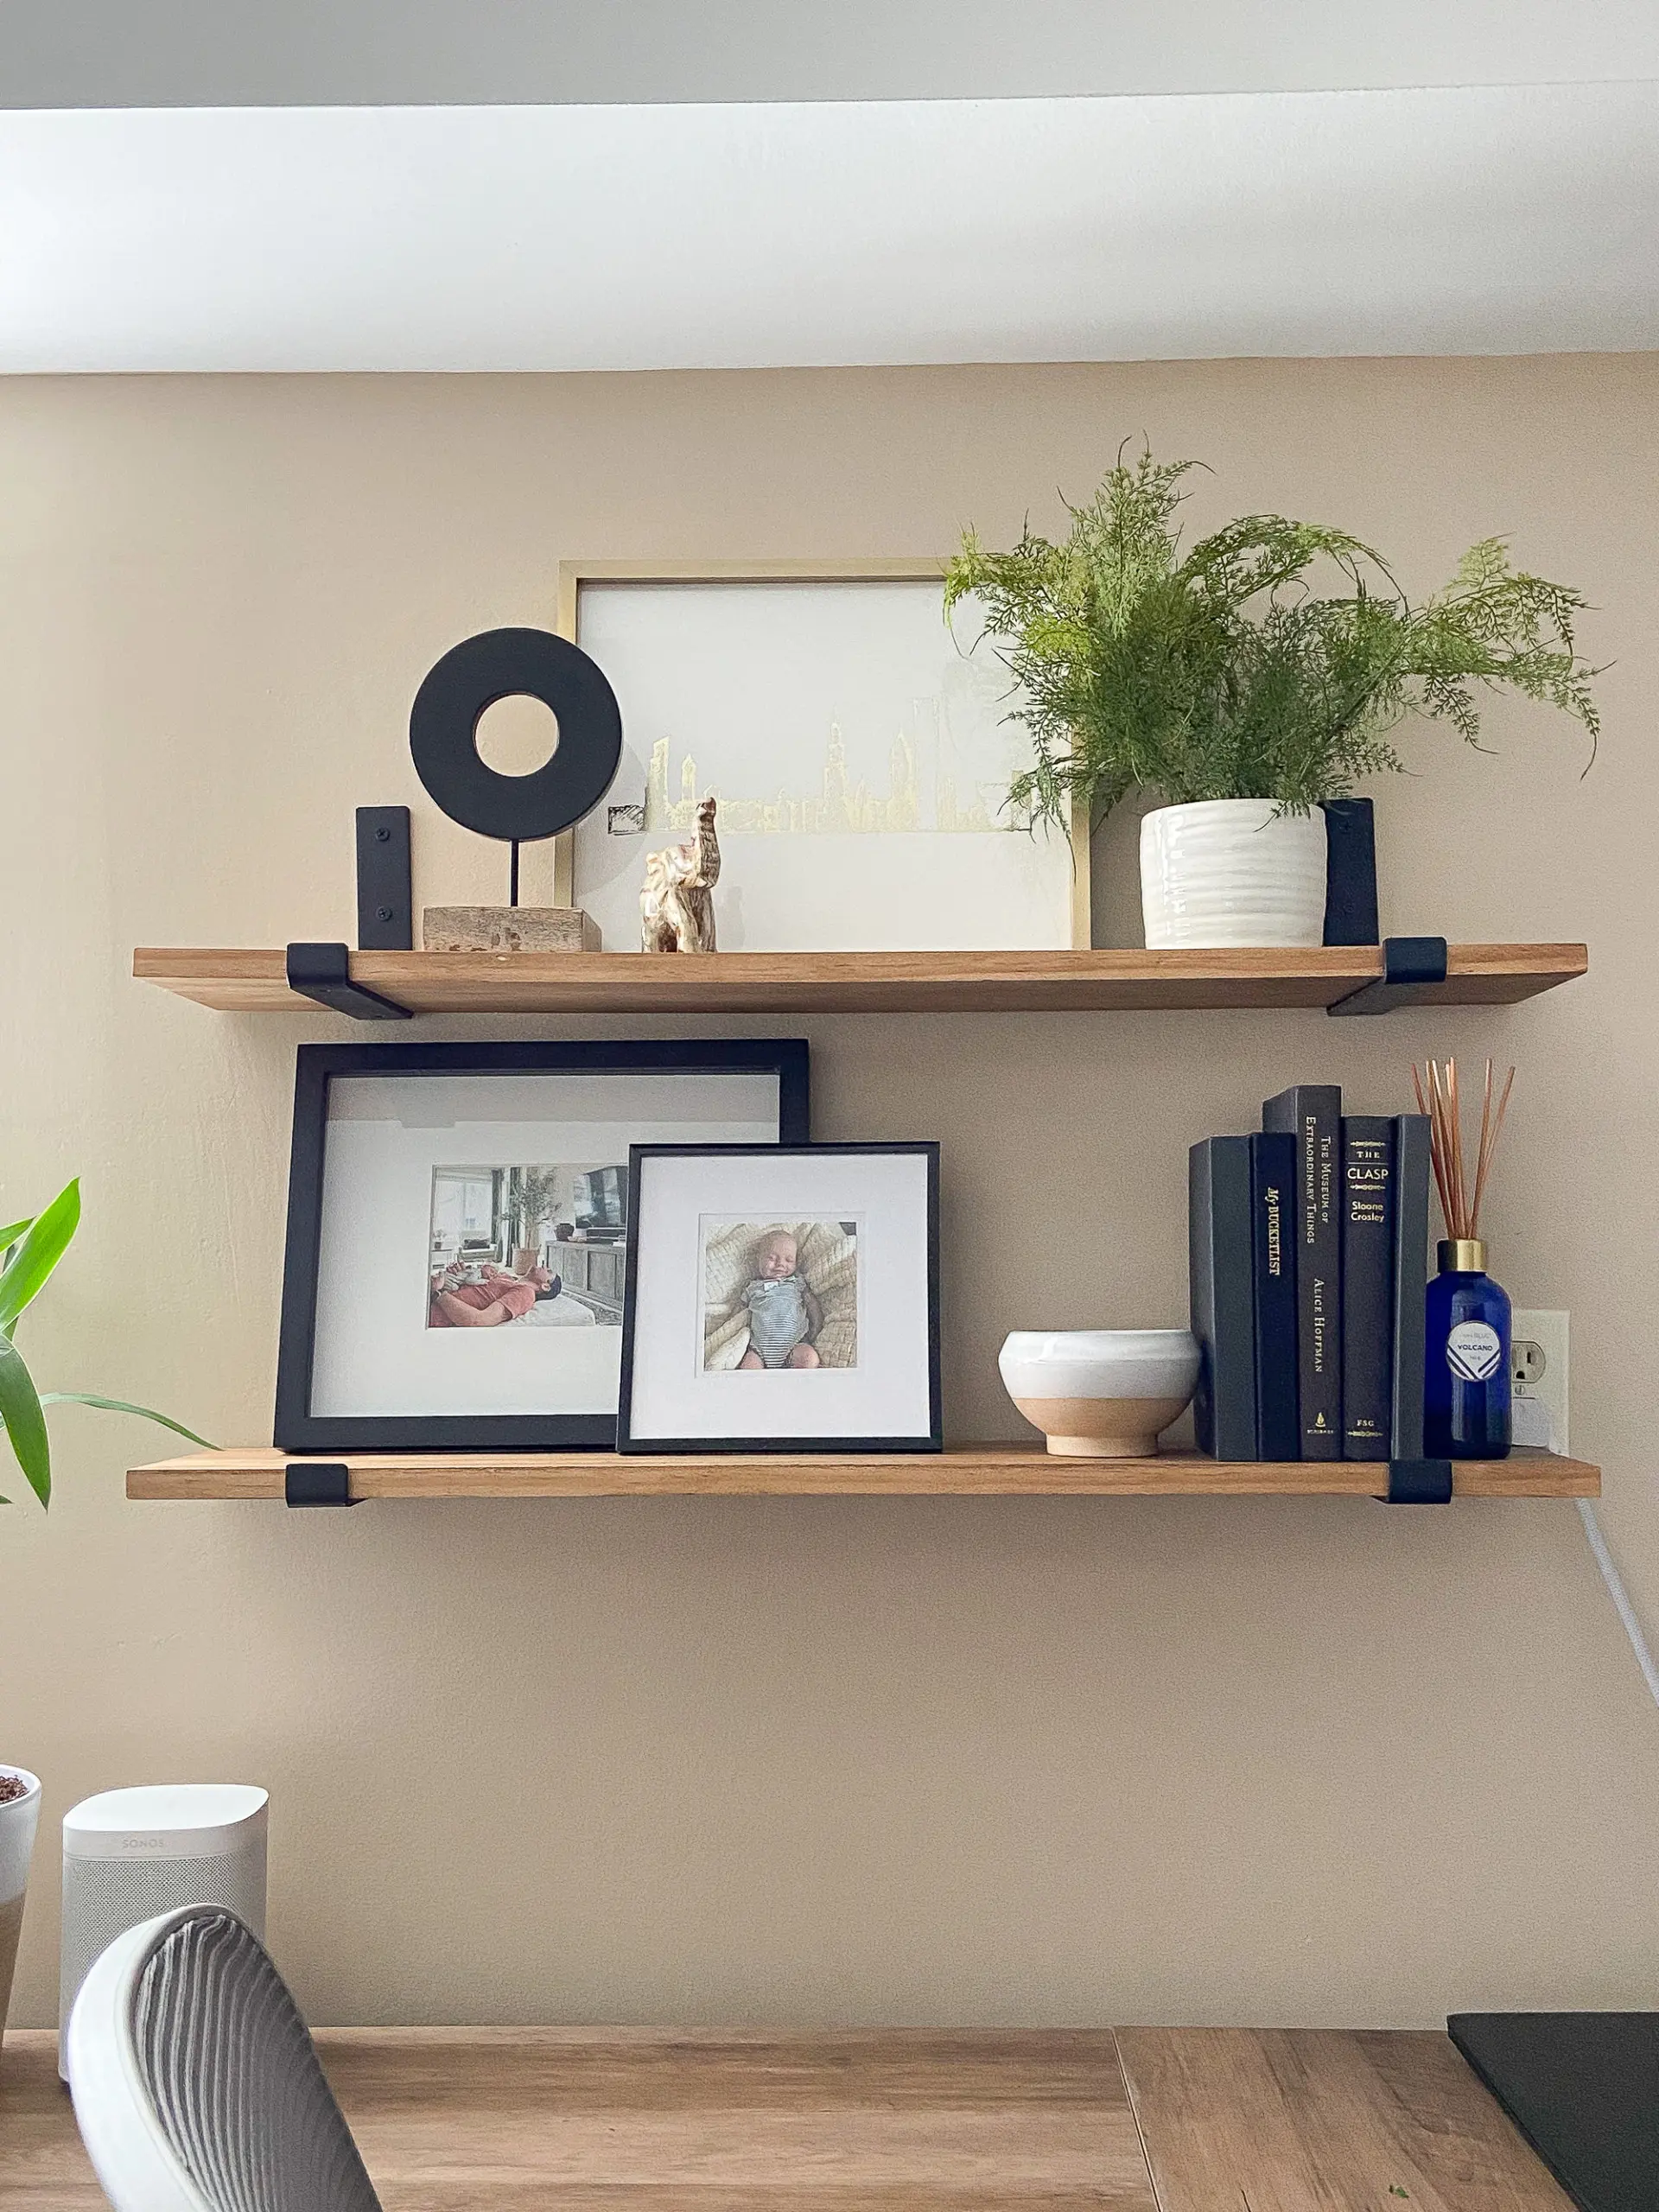
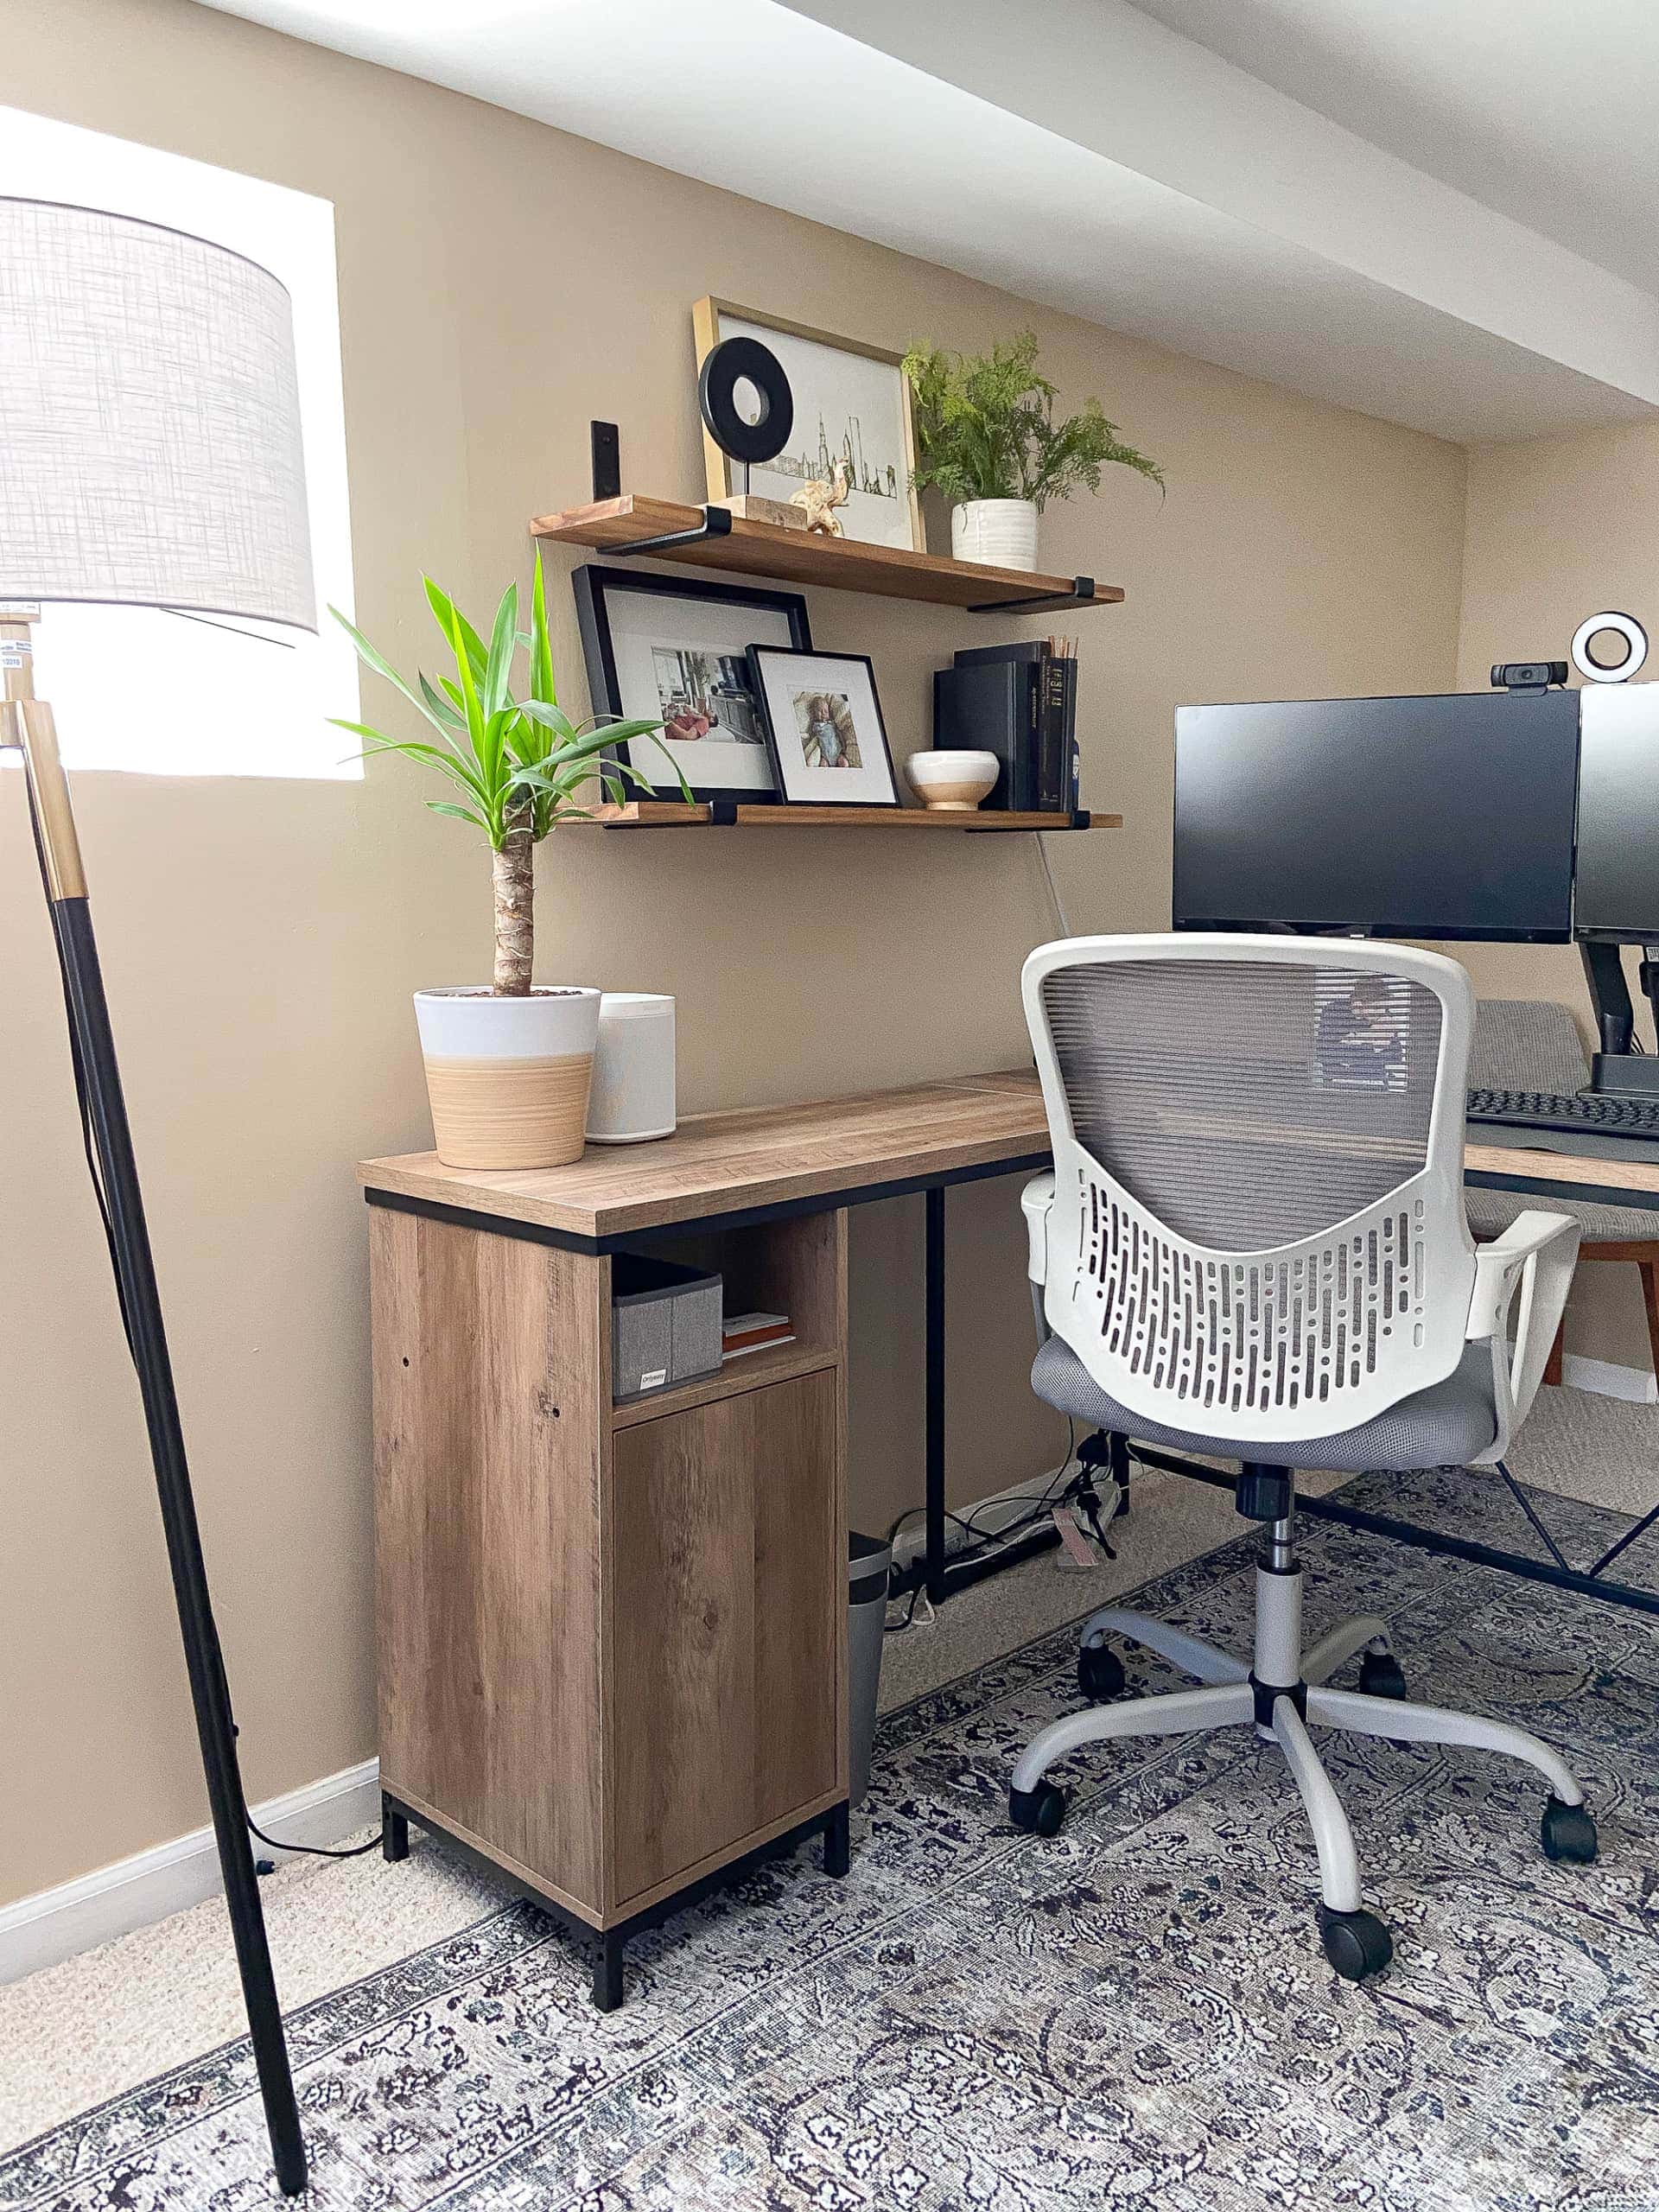
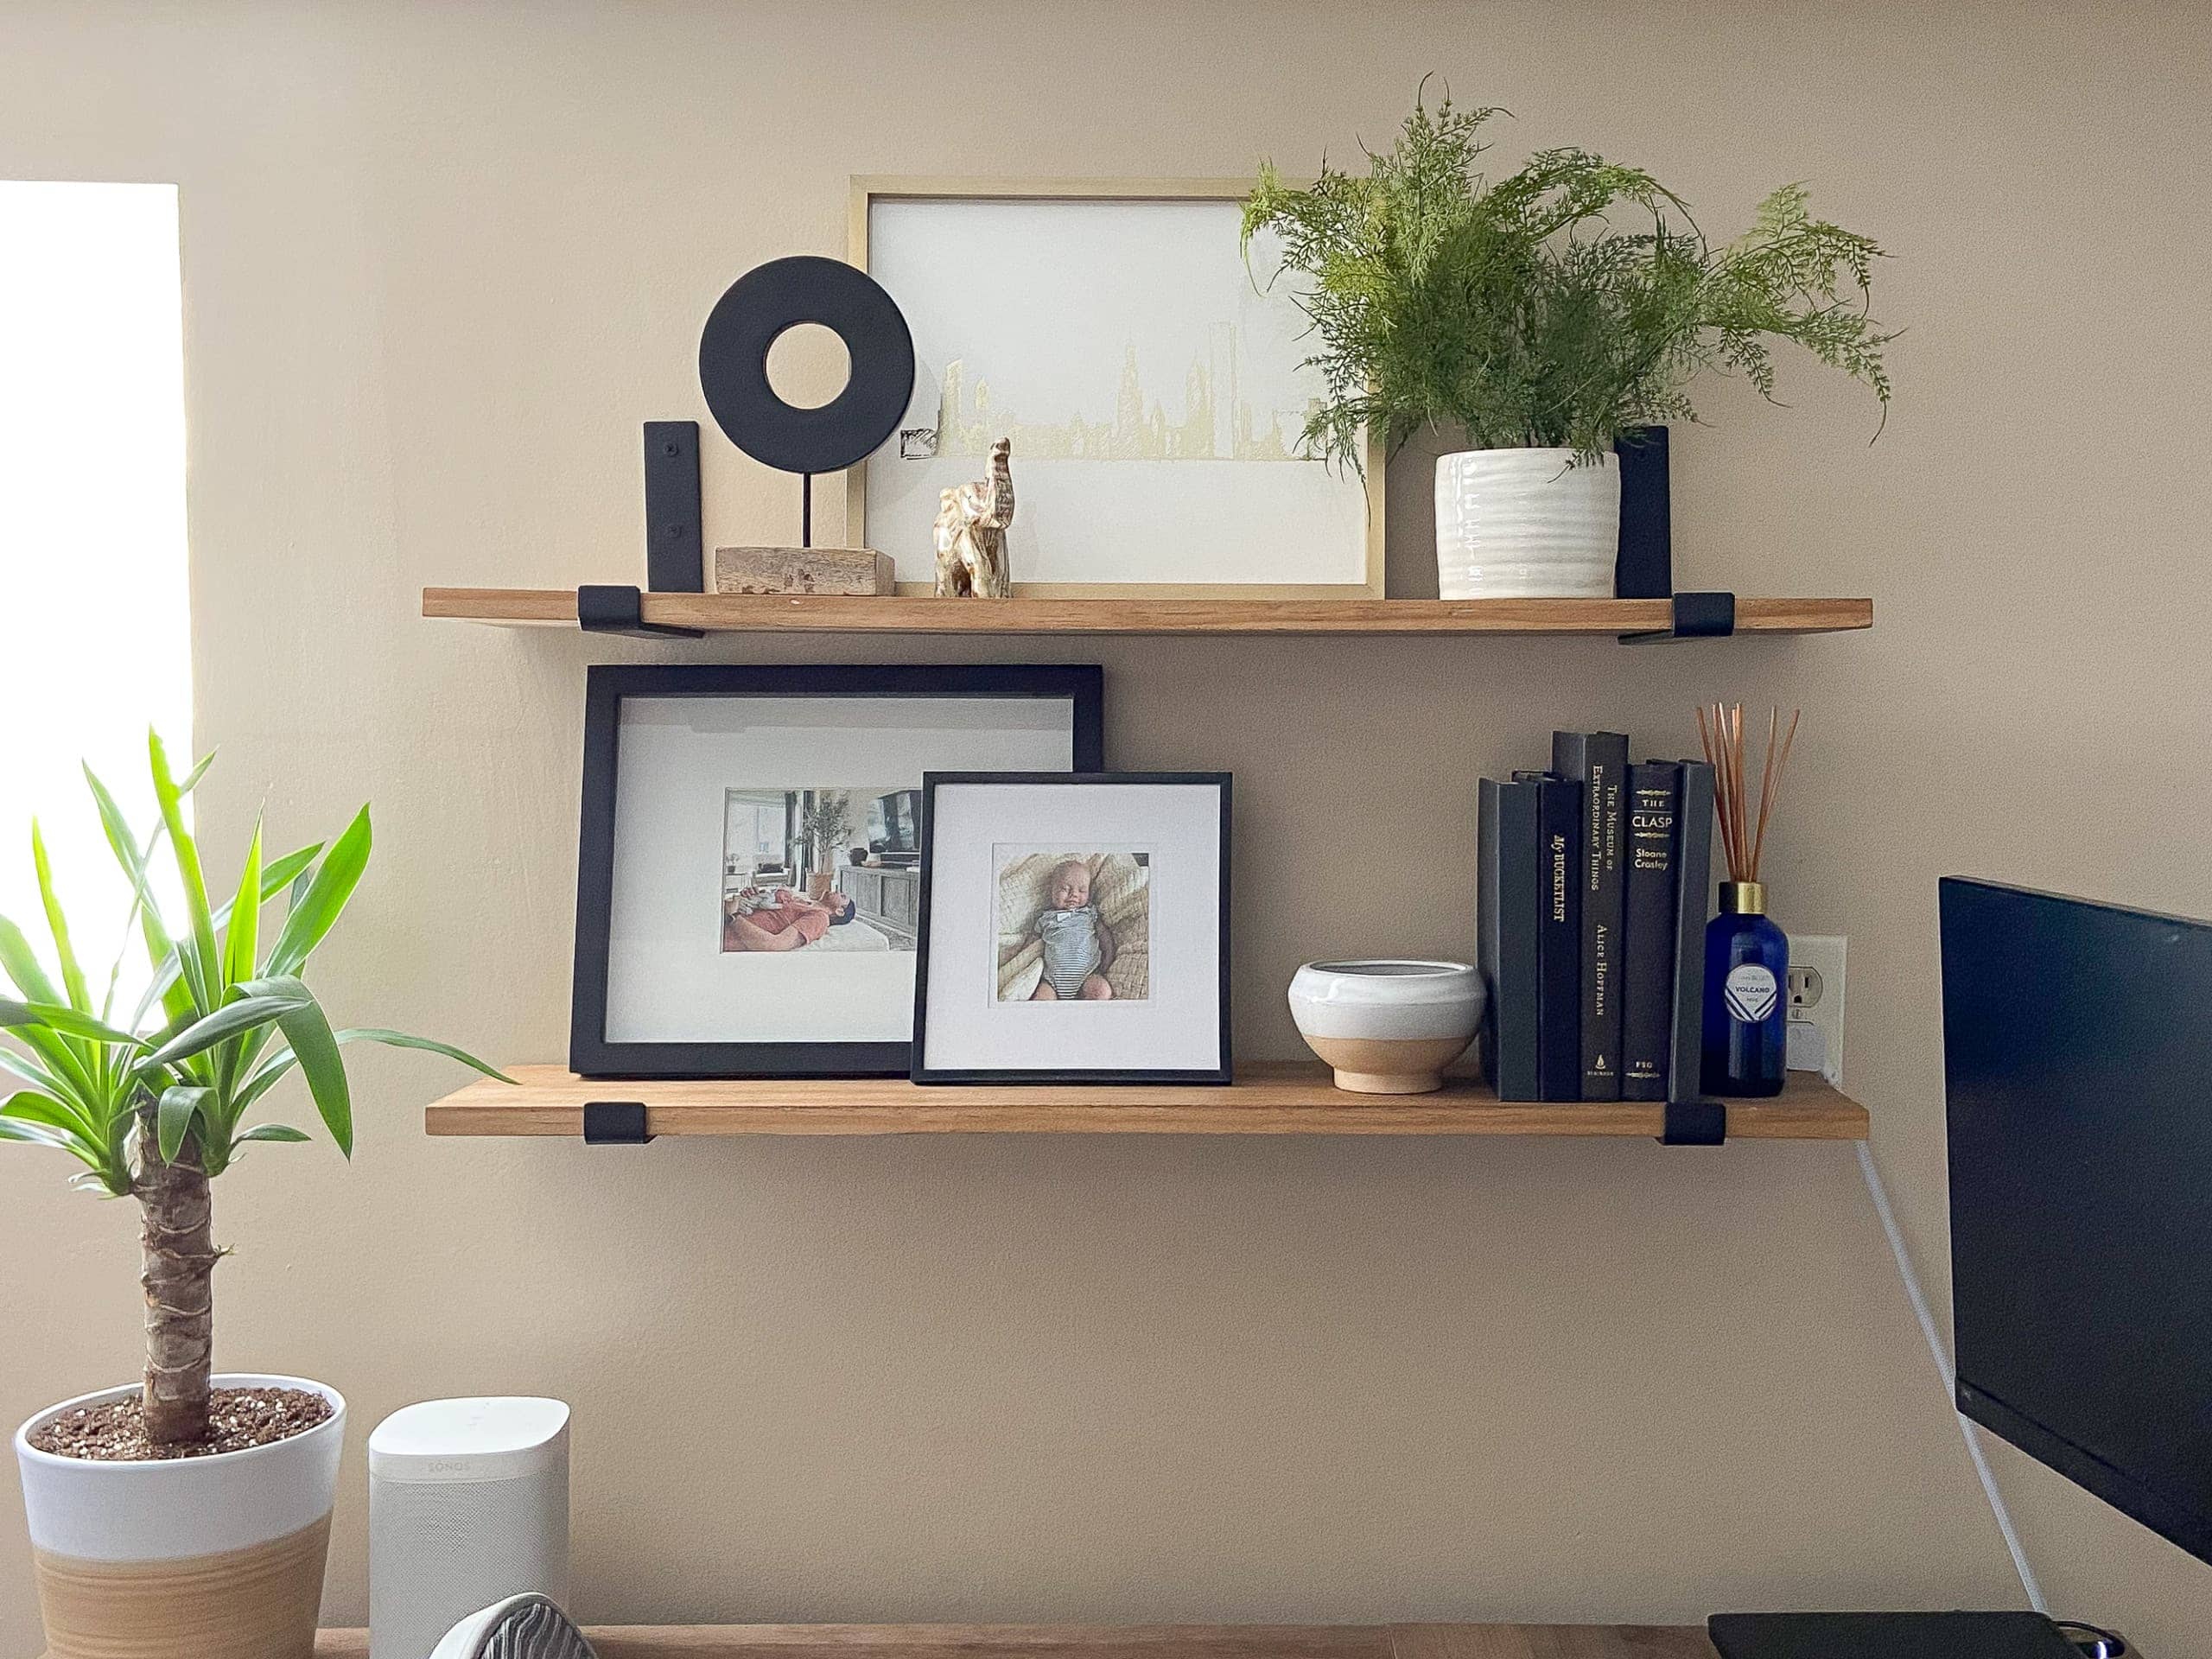
I think they turned out awesome for such a simple and quick DIY project and that outlet is less of an eyesore. It’s not concealed completely, but it’s not floating randomly by itself either. I styled these shelves and made it a surprise for Finn. He was seriously so excited that it was kinda adorable. He especially loved the photos of our sweet Rory girl.
It really makes the space cozier and it seems less like a floating desk in a big basement. Plus, the little details make it extra special. 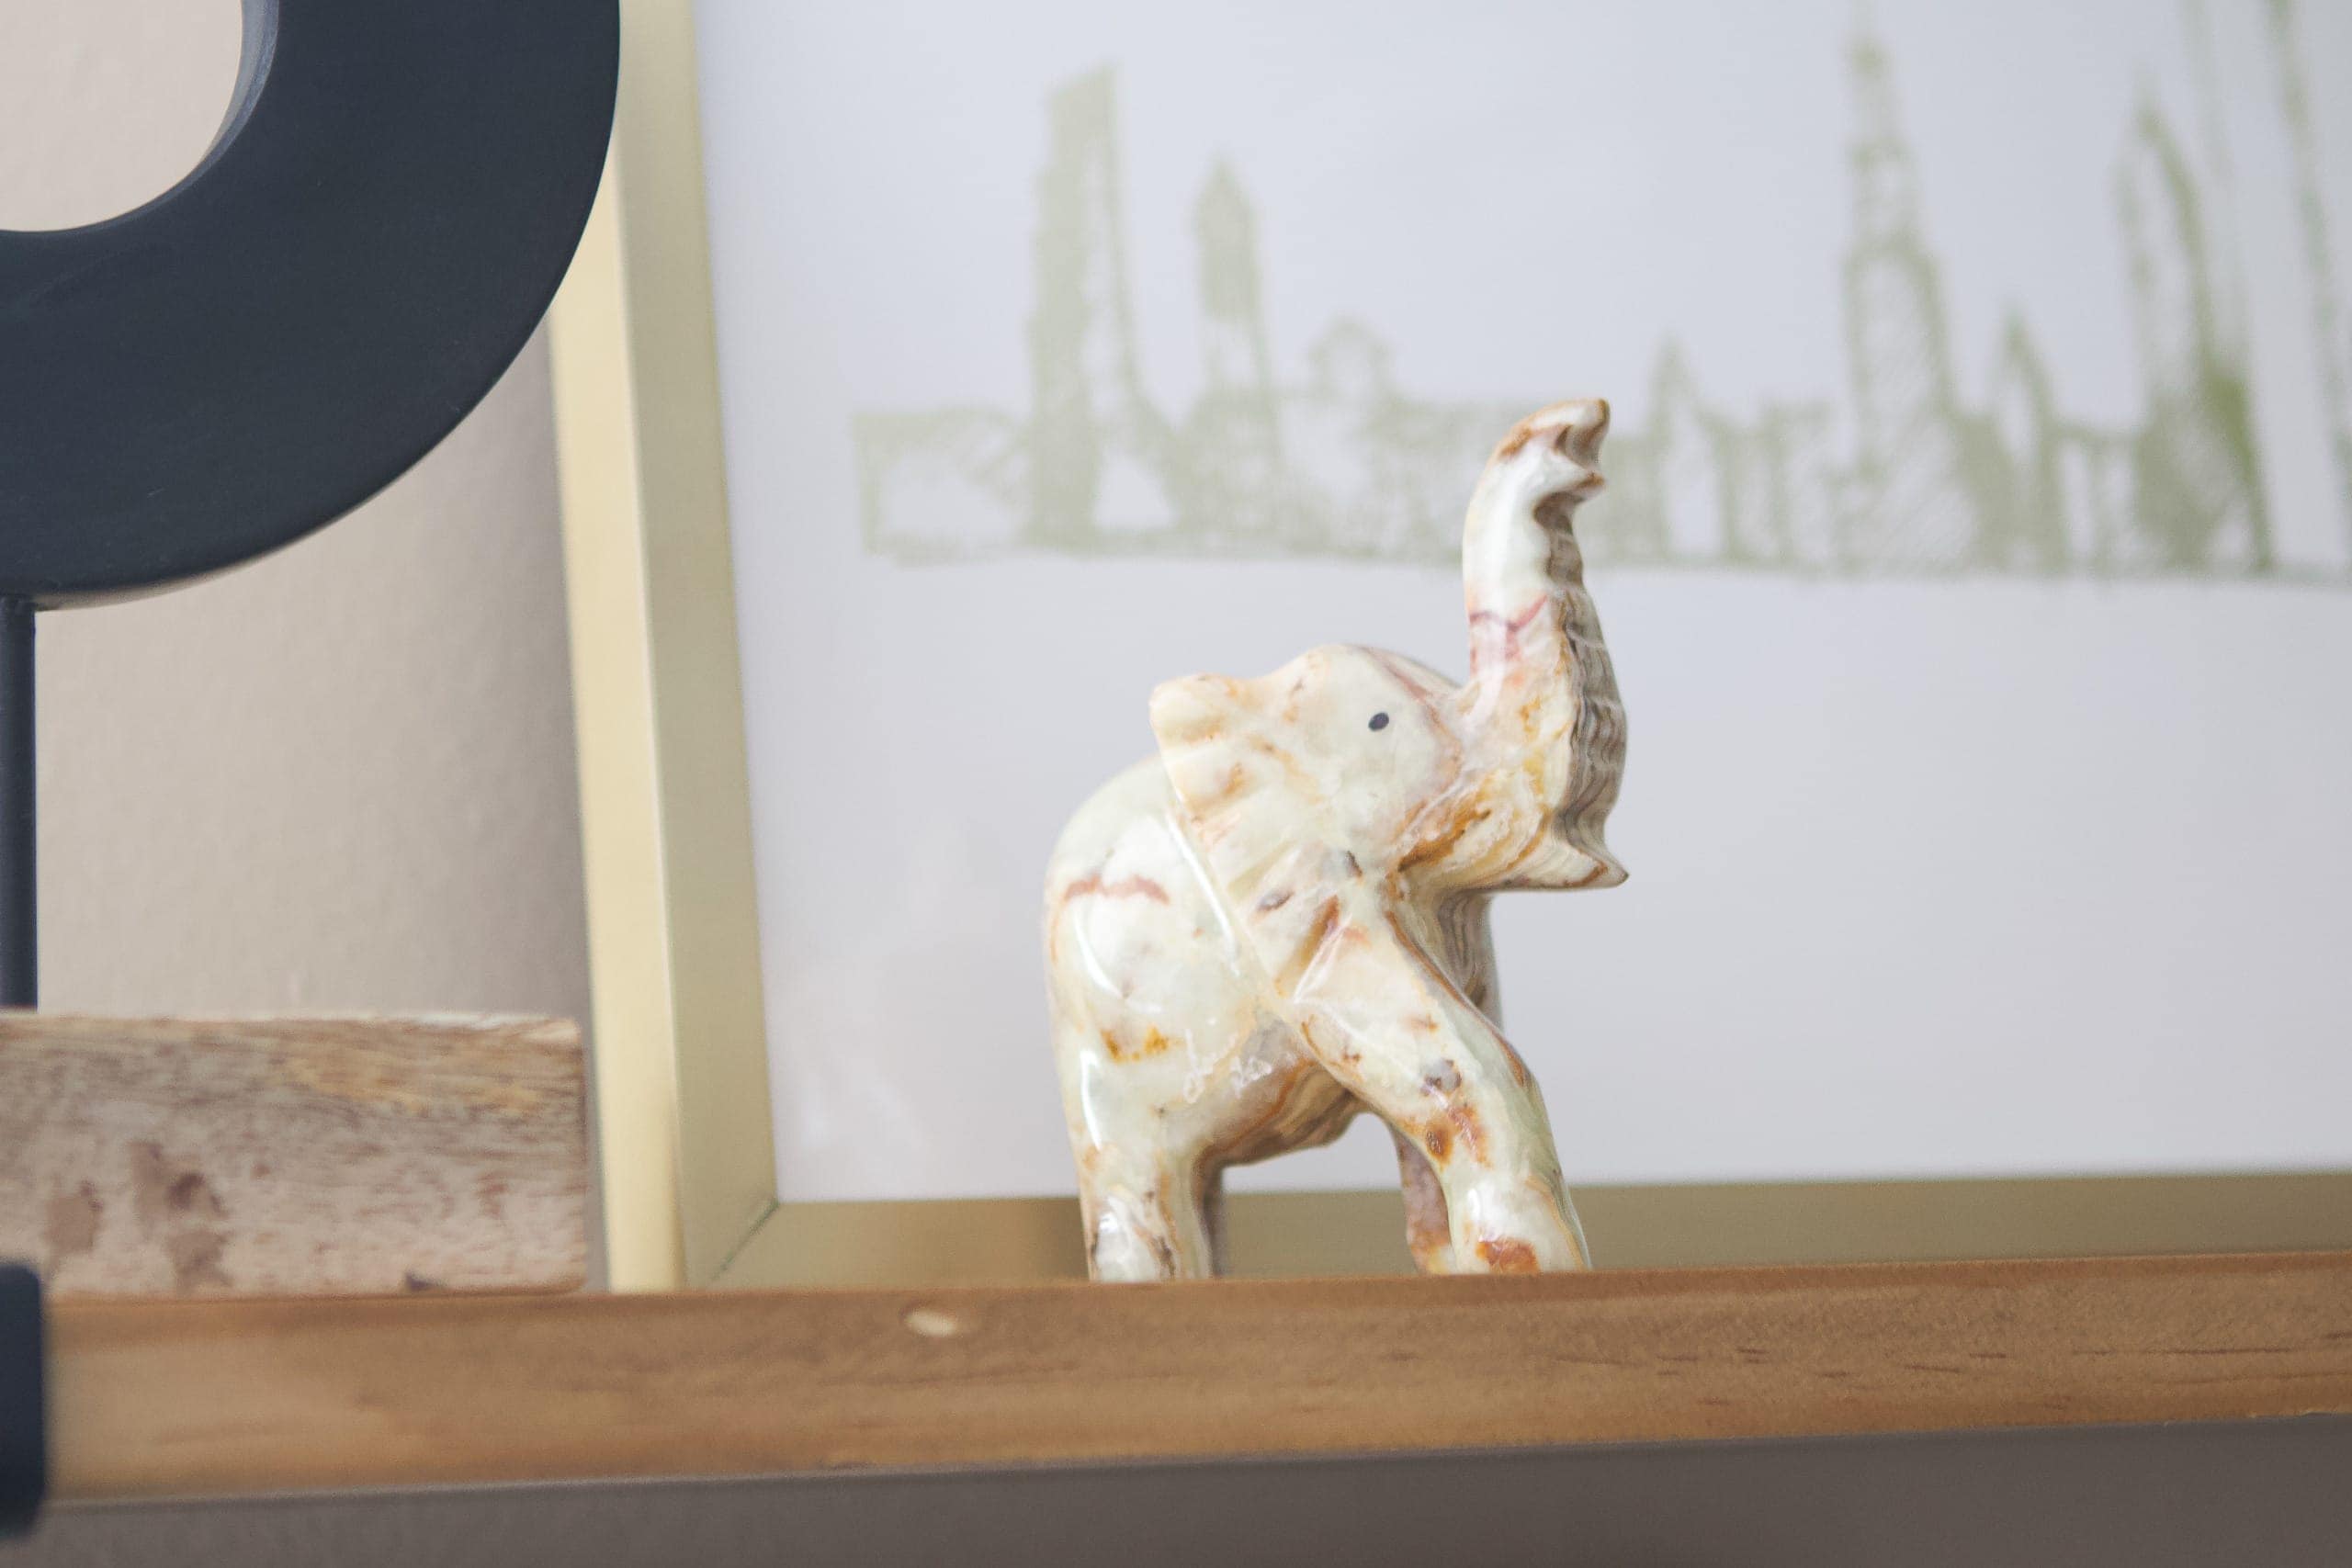
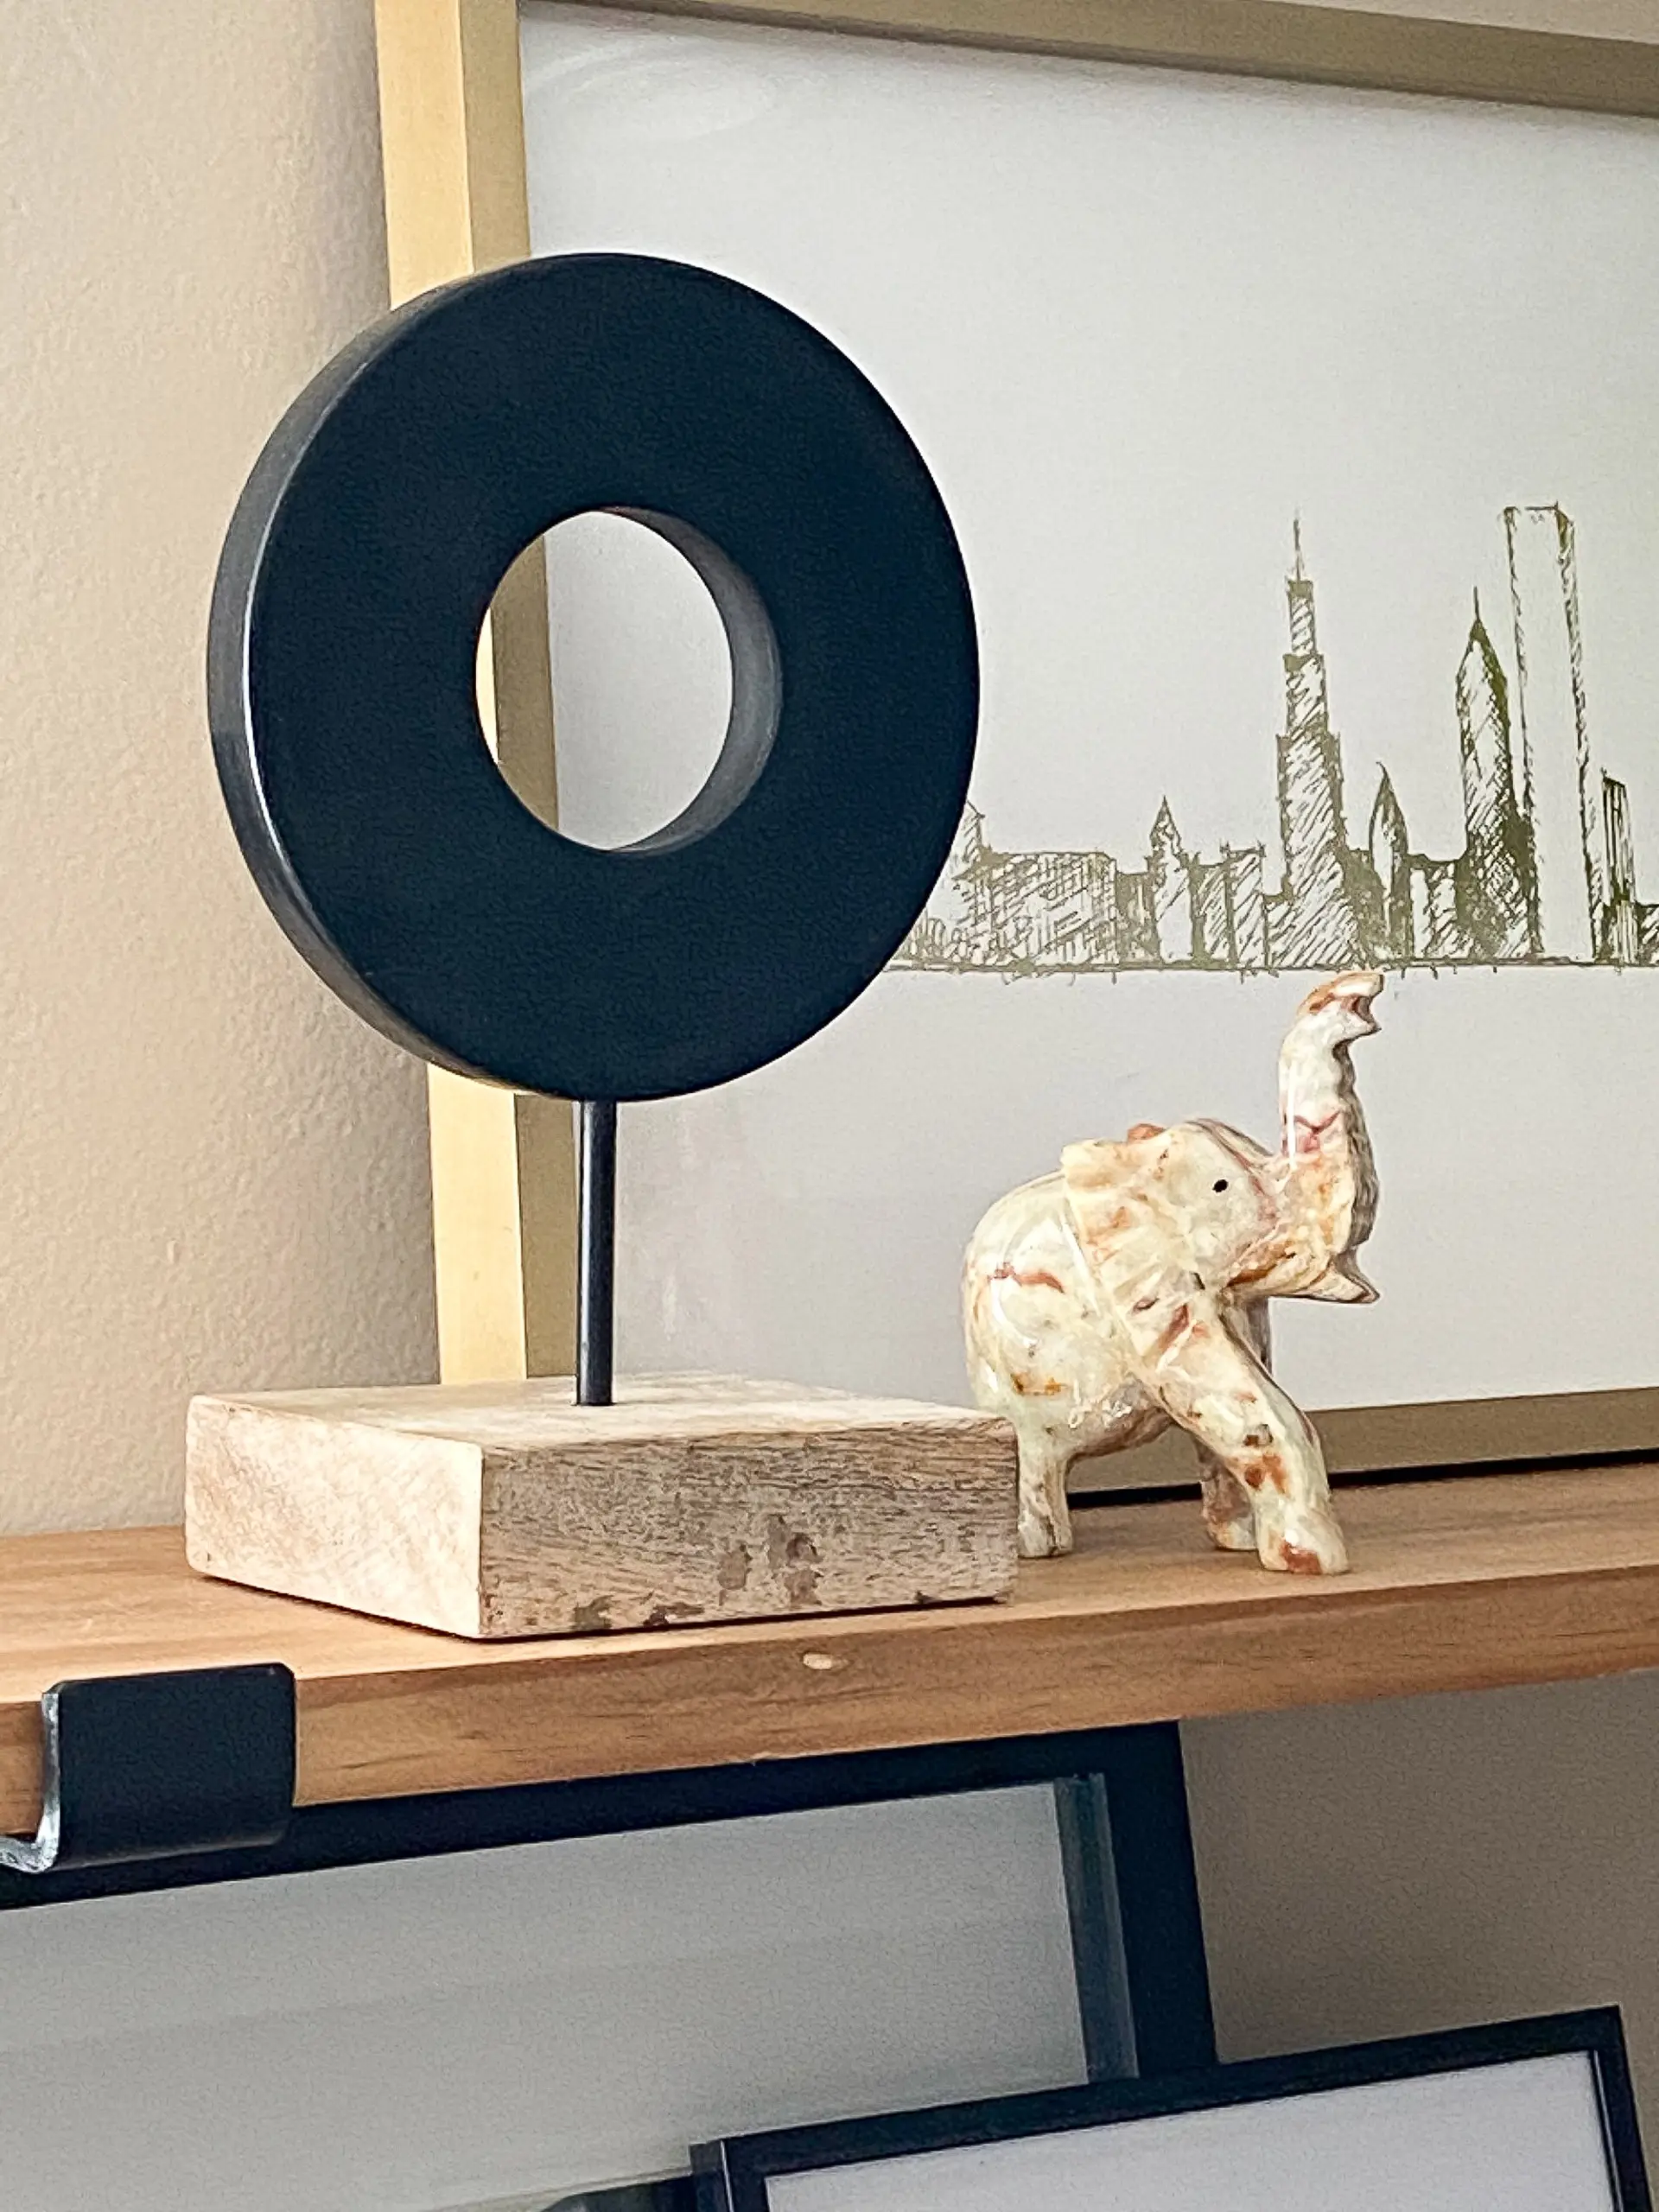
The elephant was originally sitting on a shelf in my office, but it feels like it has found a better home down here, adorning these simple wood shelves. It’s a souvenir from our Babymoon in Palm Springs. Oh, and I even filled up the ceramic bowl. (It used to be a candle but I used these steps to clean it out when it was all done!) Then, I fill it with Lifesaver mints for Finn to enjoy while he works away. It’s the little things, right?
Wood Shelves – Sources
Shelving Brackets // Black Sculpture (old from Target) // Chicago Print & Frame // Elephant (souvenir from trip) // Faux Plant // Black Frames (Michaels) // Ceramic Candle // Diffuser // All Basement Office Sources in This Blog Post
This is quickly turning into the book If You Give a Mouse a Cookie. Now that the shelves are up, I’m thinking, “Hmmm, maybe I should have painted the basement? Hmmm, maybe I should do more down here?” But as you know, the basement bathroom is my priority right now. Maybe once that is finished I can continue to make this a really nice office space for Finn…
P.S. Have a wonderful Labor Day weekend. I’ll see you back here on Tuesday with more kitchen updates.
Casey