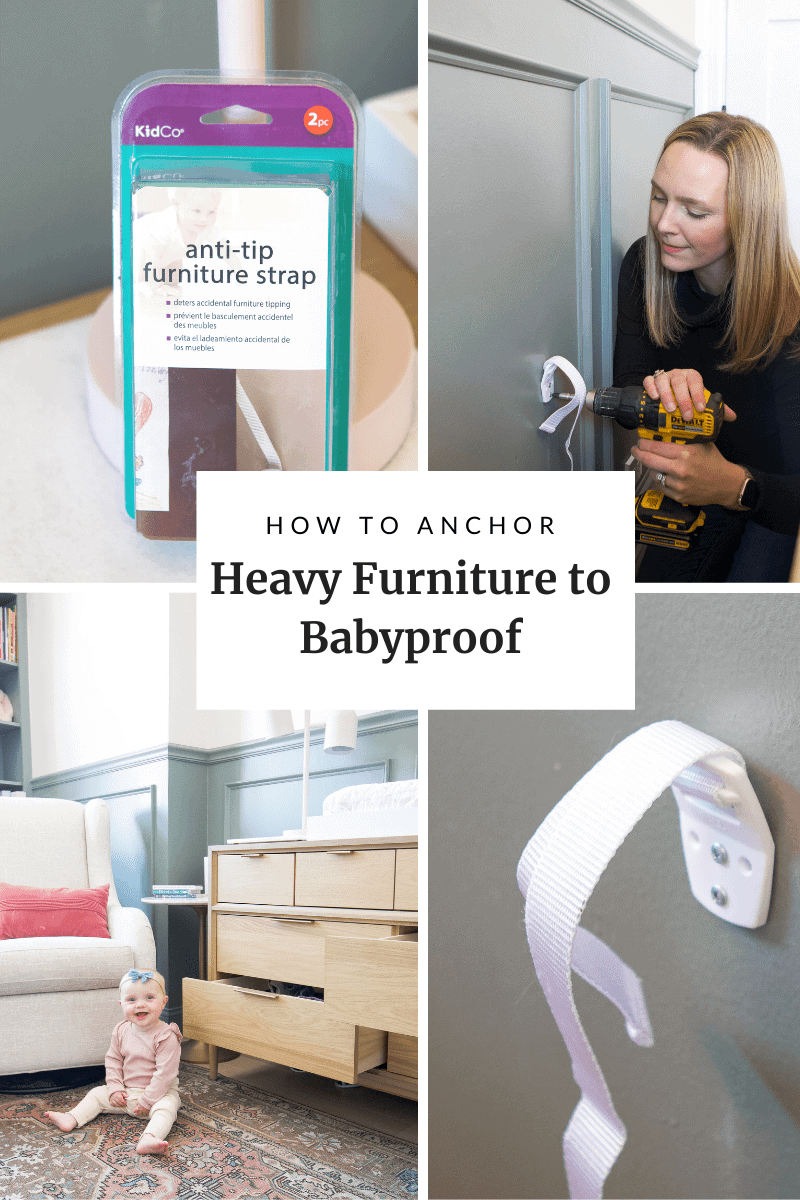
How to Anchor Heavy Furniture to the Wall
Earlier this week, I shared all of the details about babyproofing our home from top to bottom. From toilet locks to cabinet locks and more, our house is feeling a lot safer for our 10-month-old baby girl. Today, I want to show you how easy it is to anchor heavy furniture to your walls by installing furniture straps on the dresser in Rory’s room. This was on the very top of my babyproofing list and I feel so much relief knowing that all of the heavy furniture in our home is securely attached to the walls.
Why Anchor Heavy Furniture?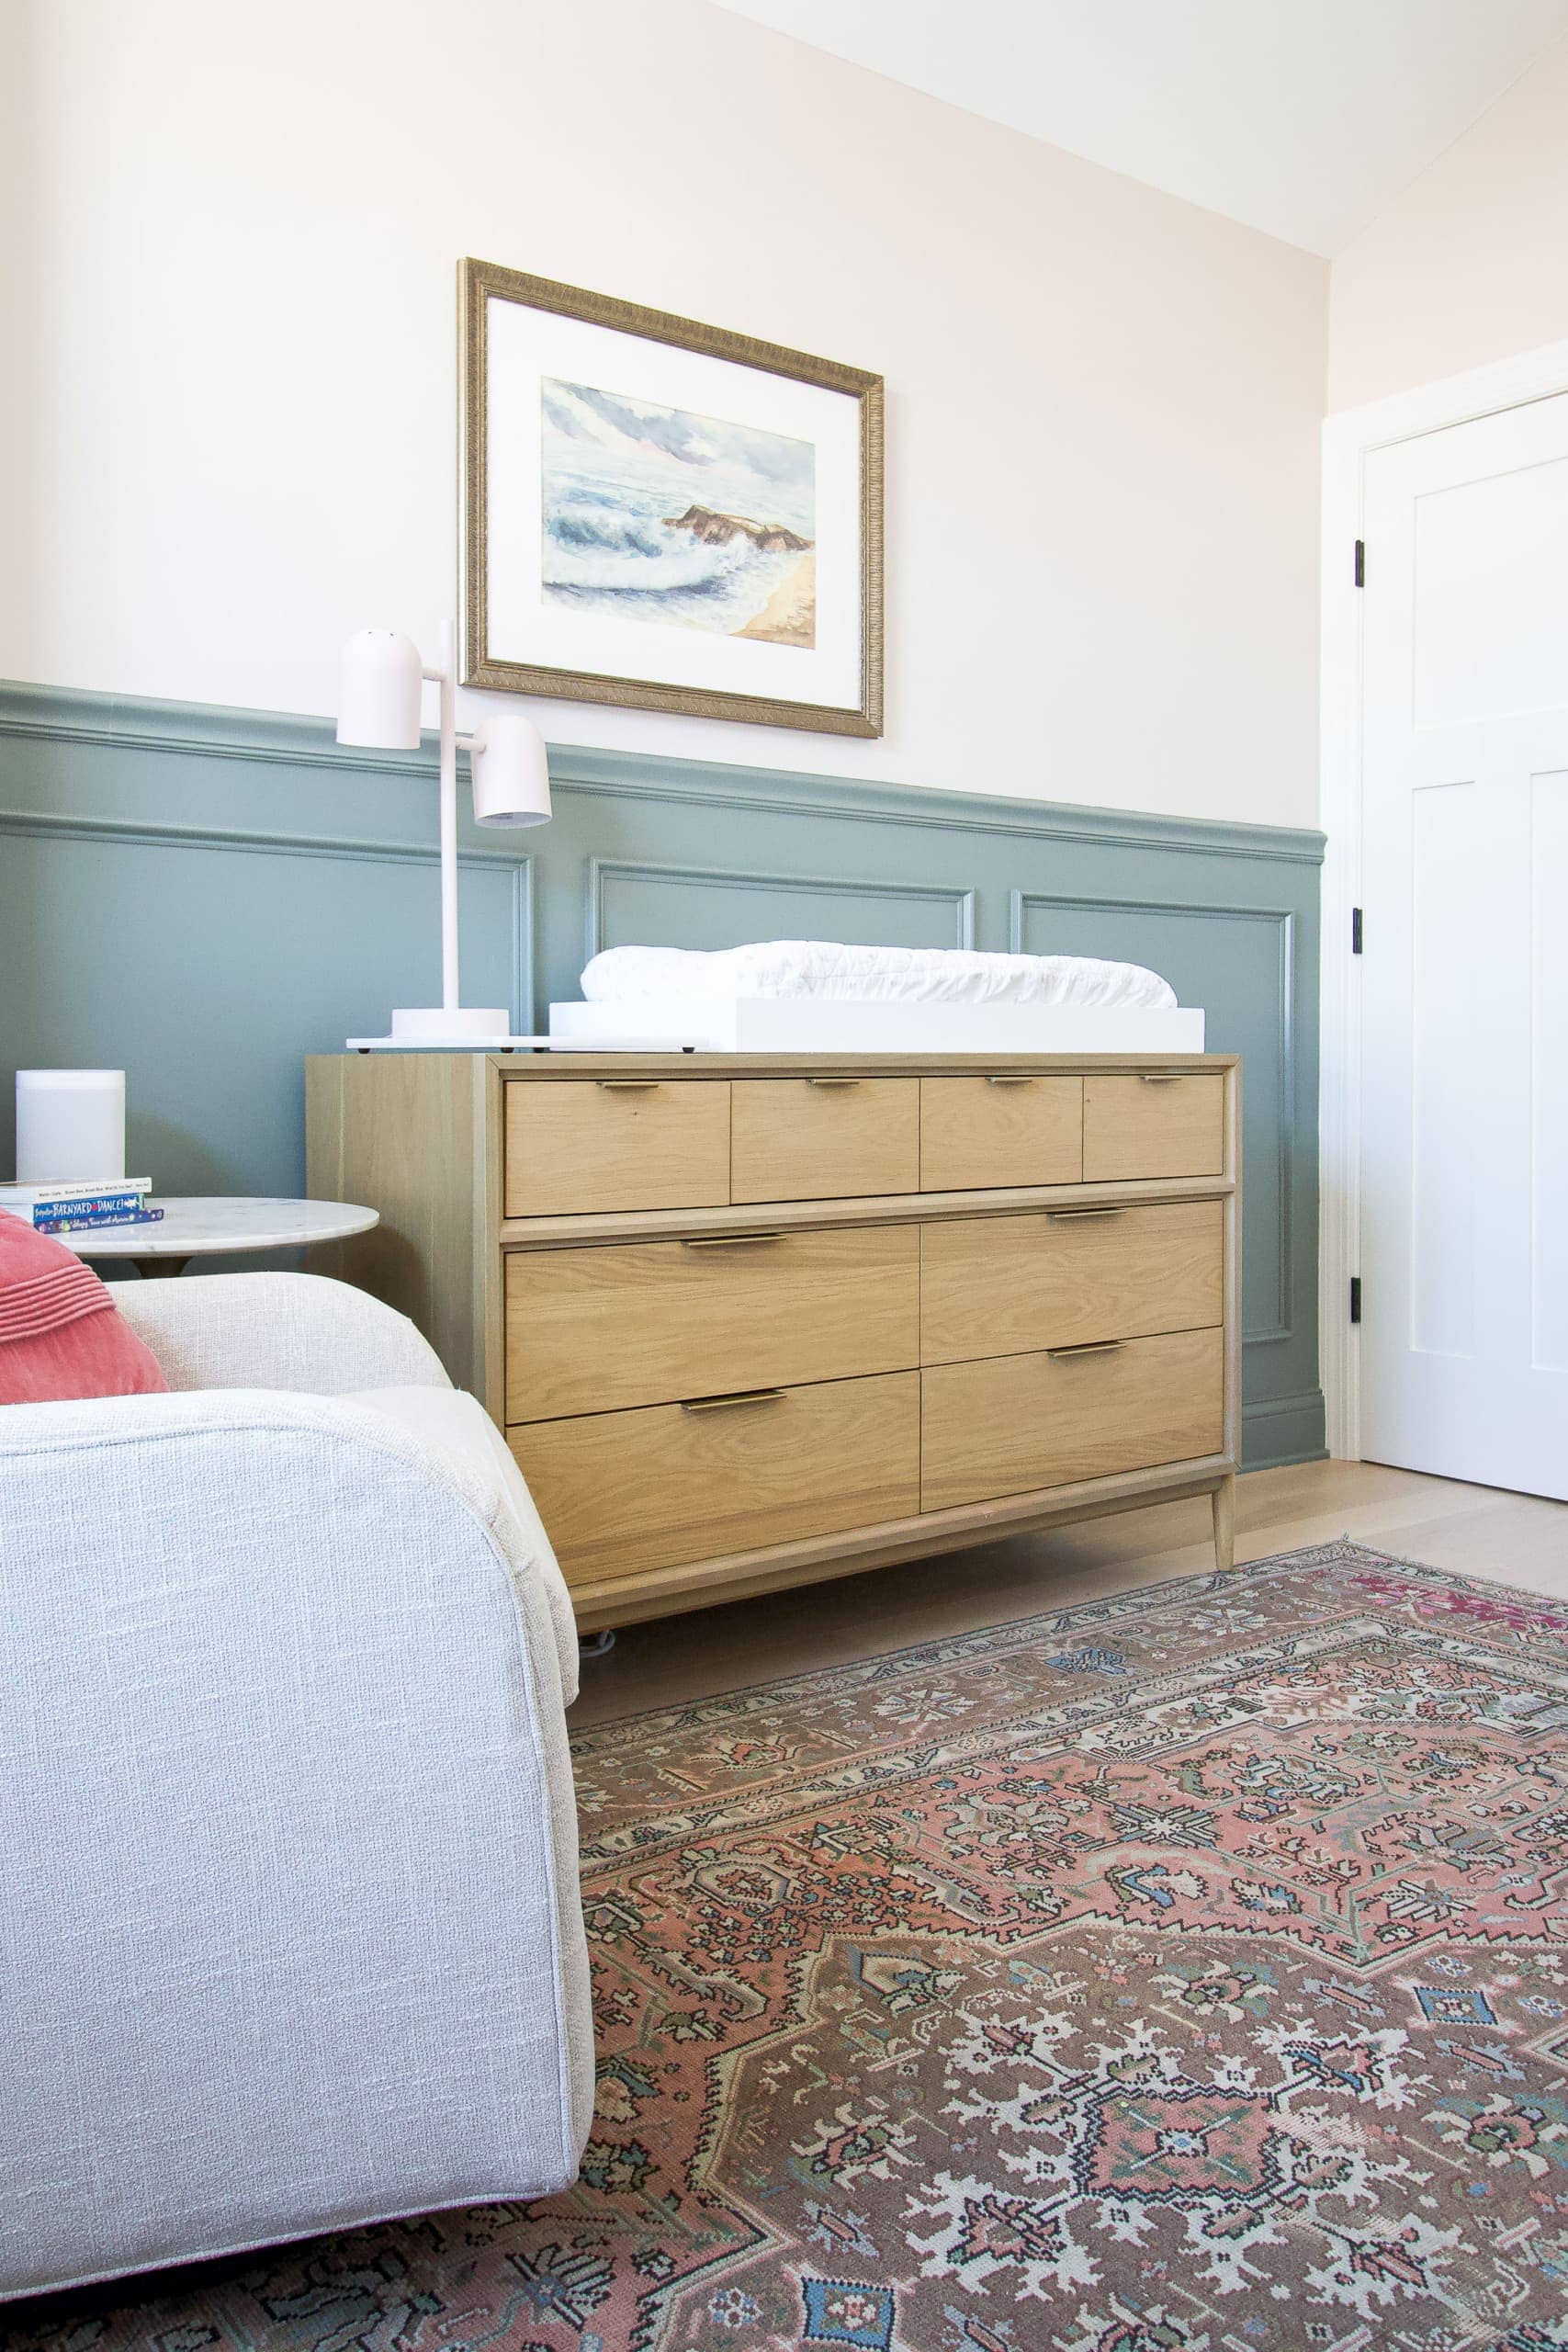
It’s hard for me to even type this out because it scares me so much, but heavy furniture is one of the biggest dangers to a little one. Rory is pulling up to stand on everything and I’m sure she will try climbing up those same pieces in a few short months. Attaching dressers and cabinets to the wall is a must because you don’t want them tipping forward and falling onto a child. Even though many of our pieces are super heavy (looking at you, TV console) that doesn’t mean that they can’t topple forward. According to the Consumer Product Safety Commission, every thirty minutes, a child receives care due to a tipped over television or piece of furniture. Yikes. Those are scary numbers.
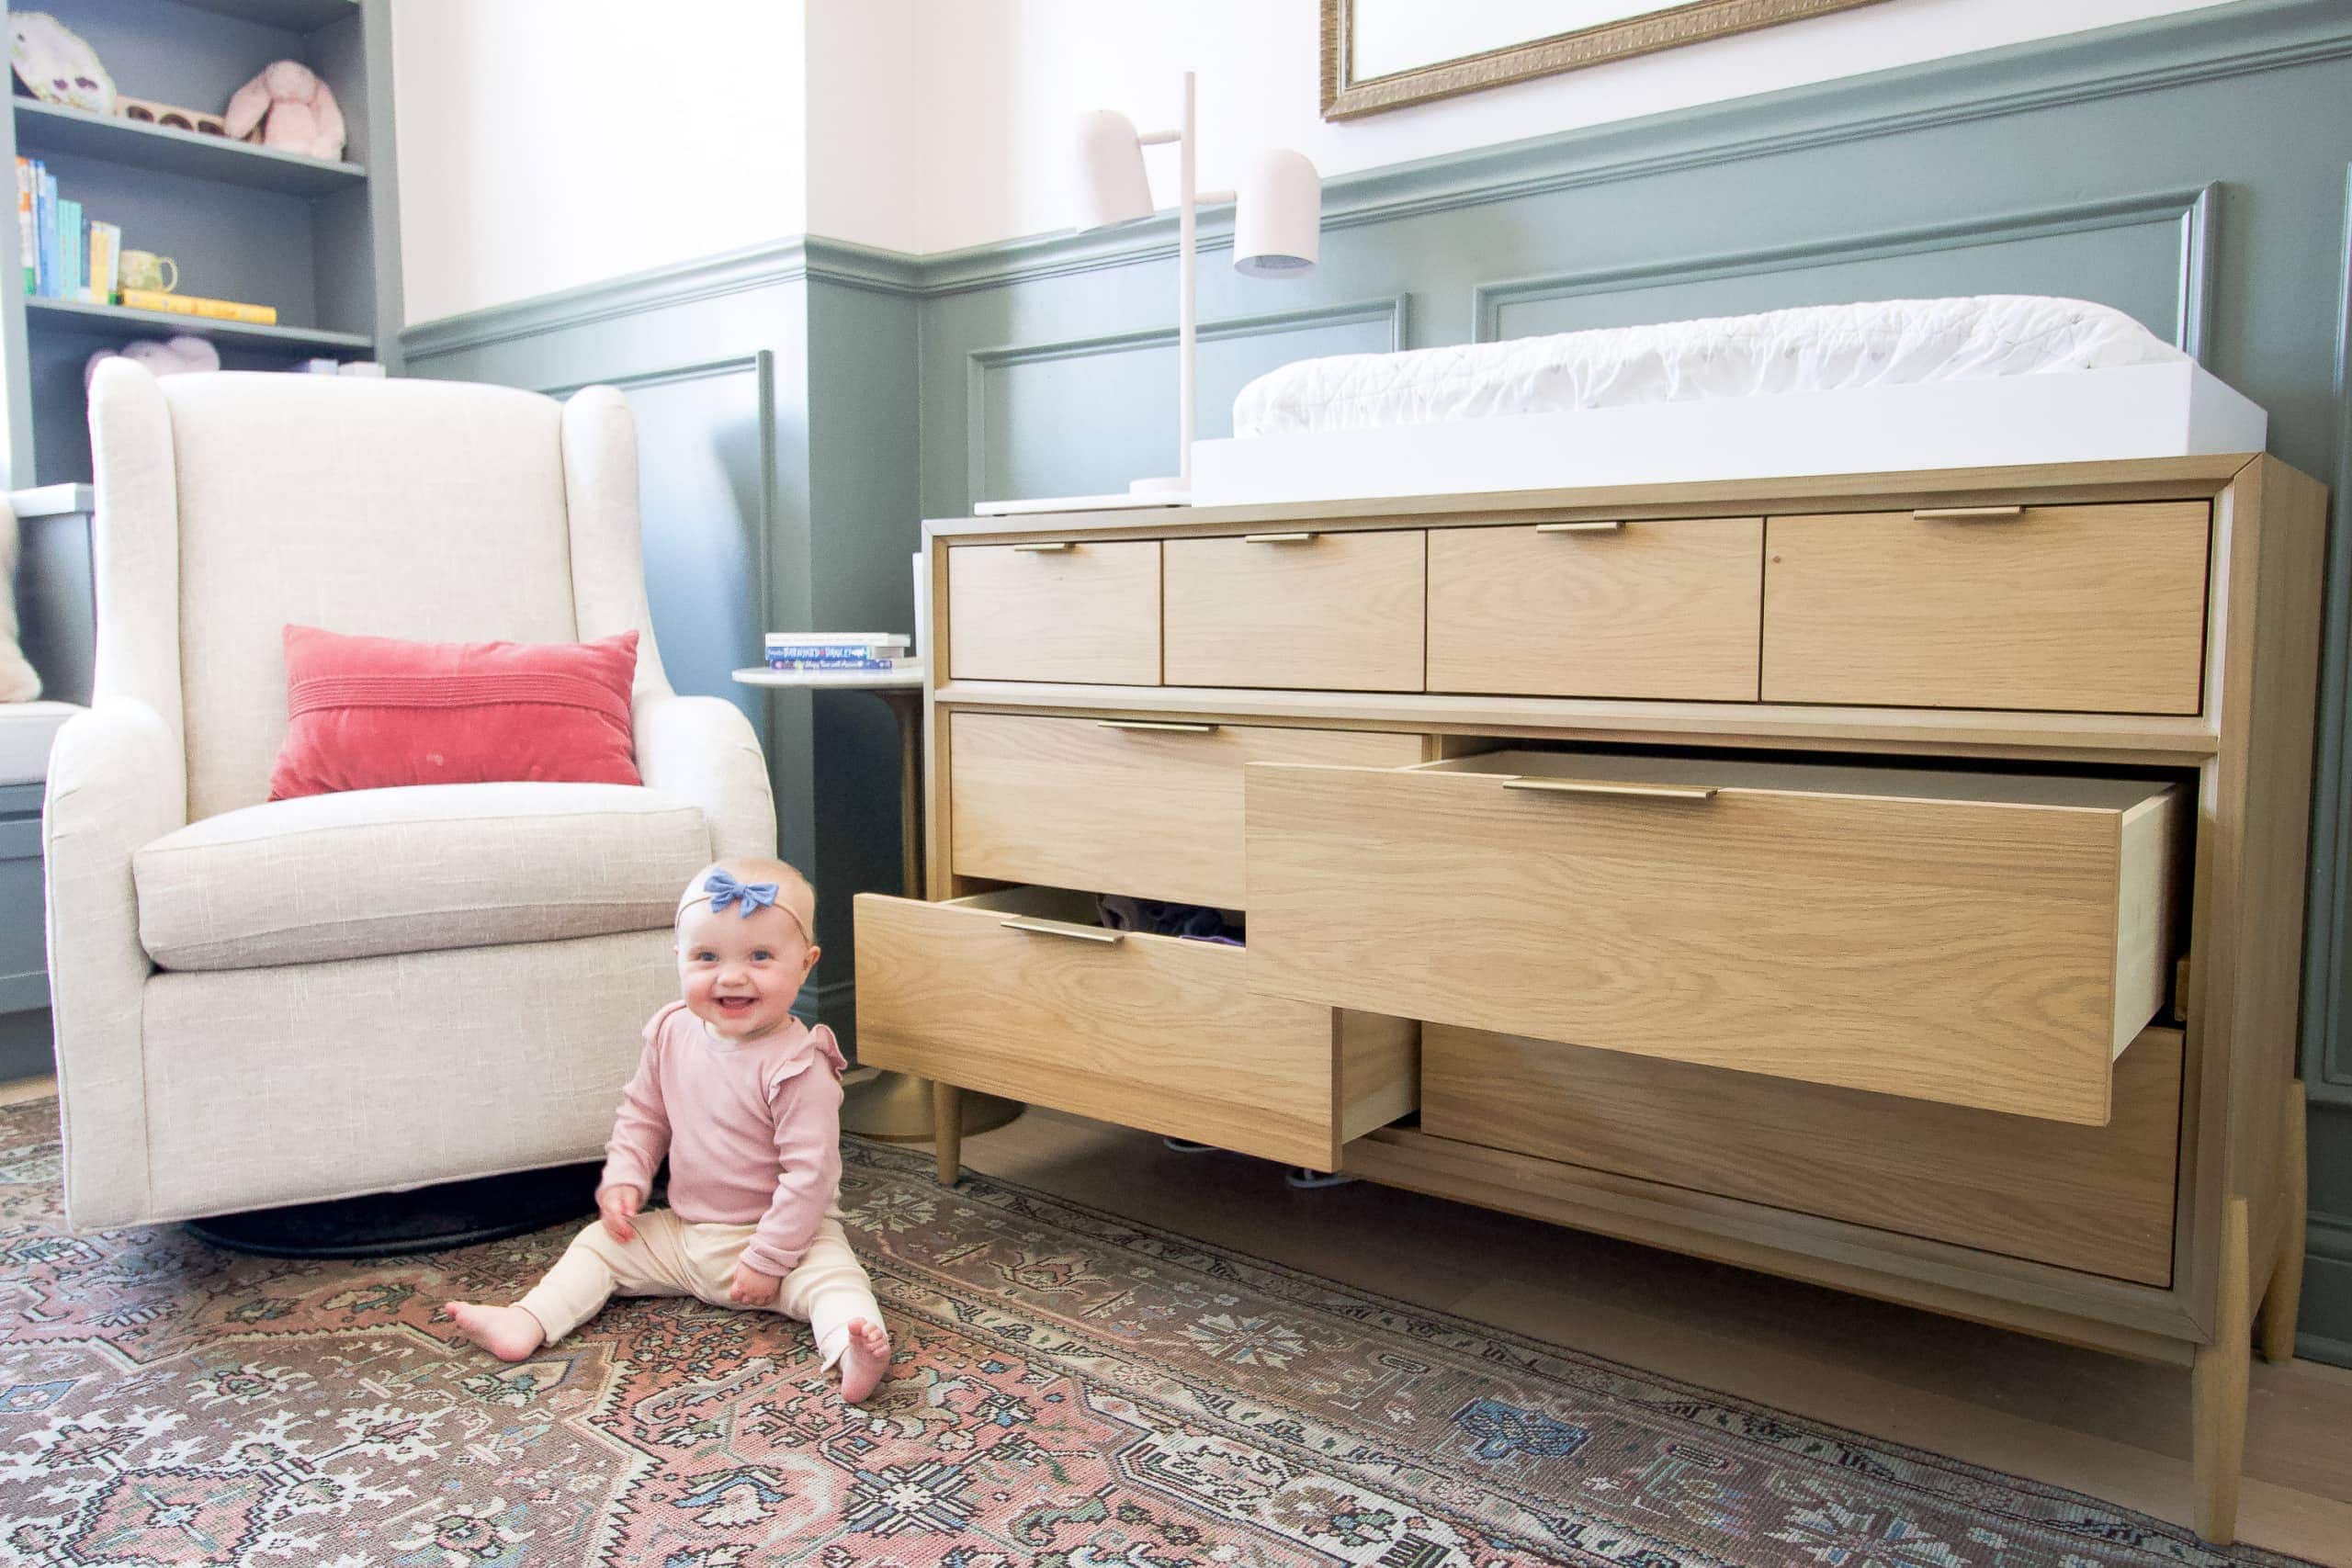
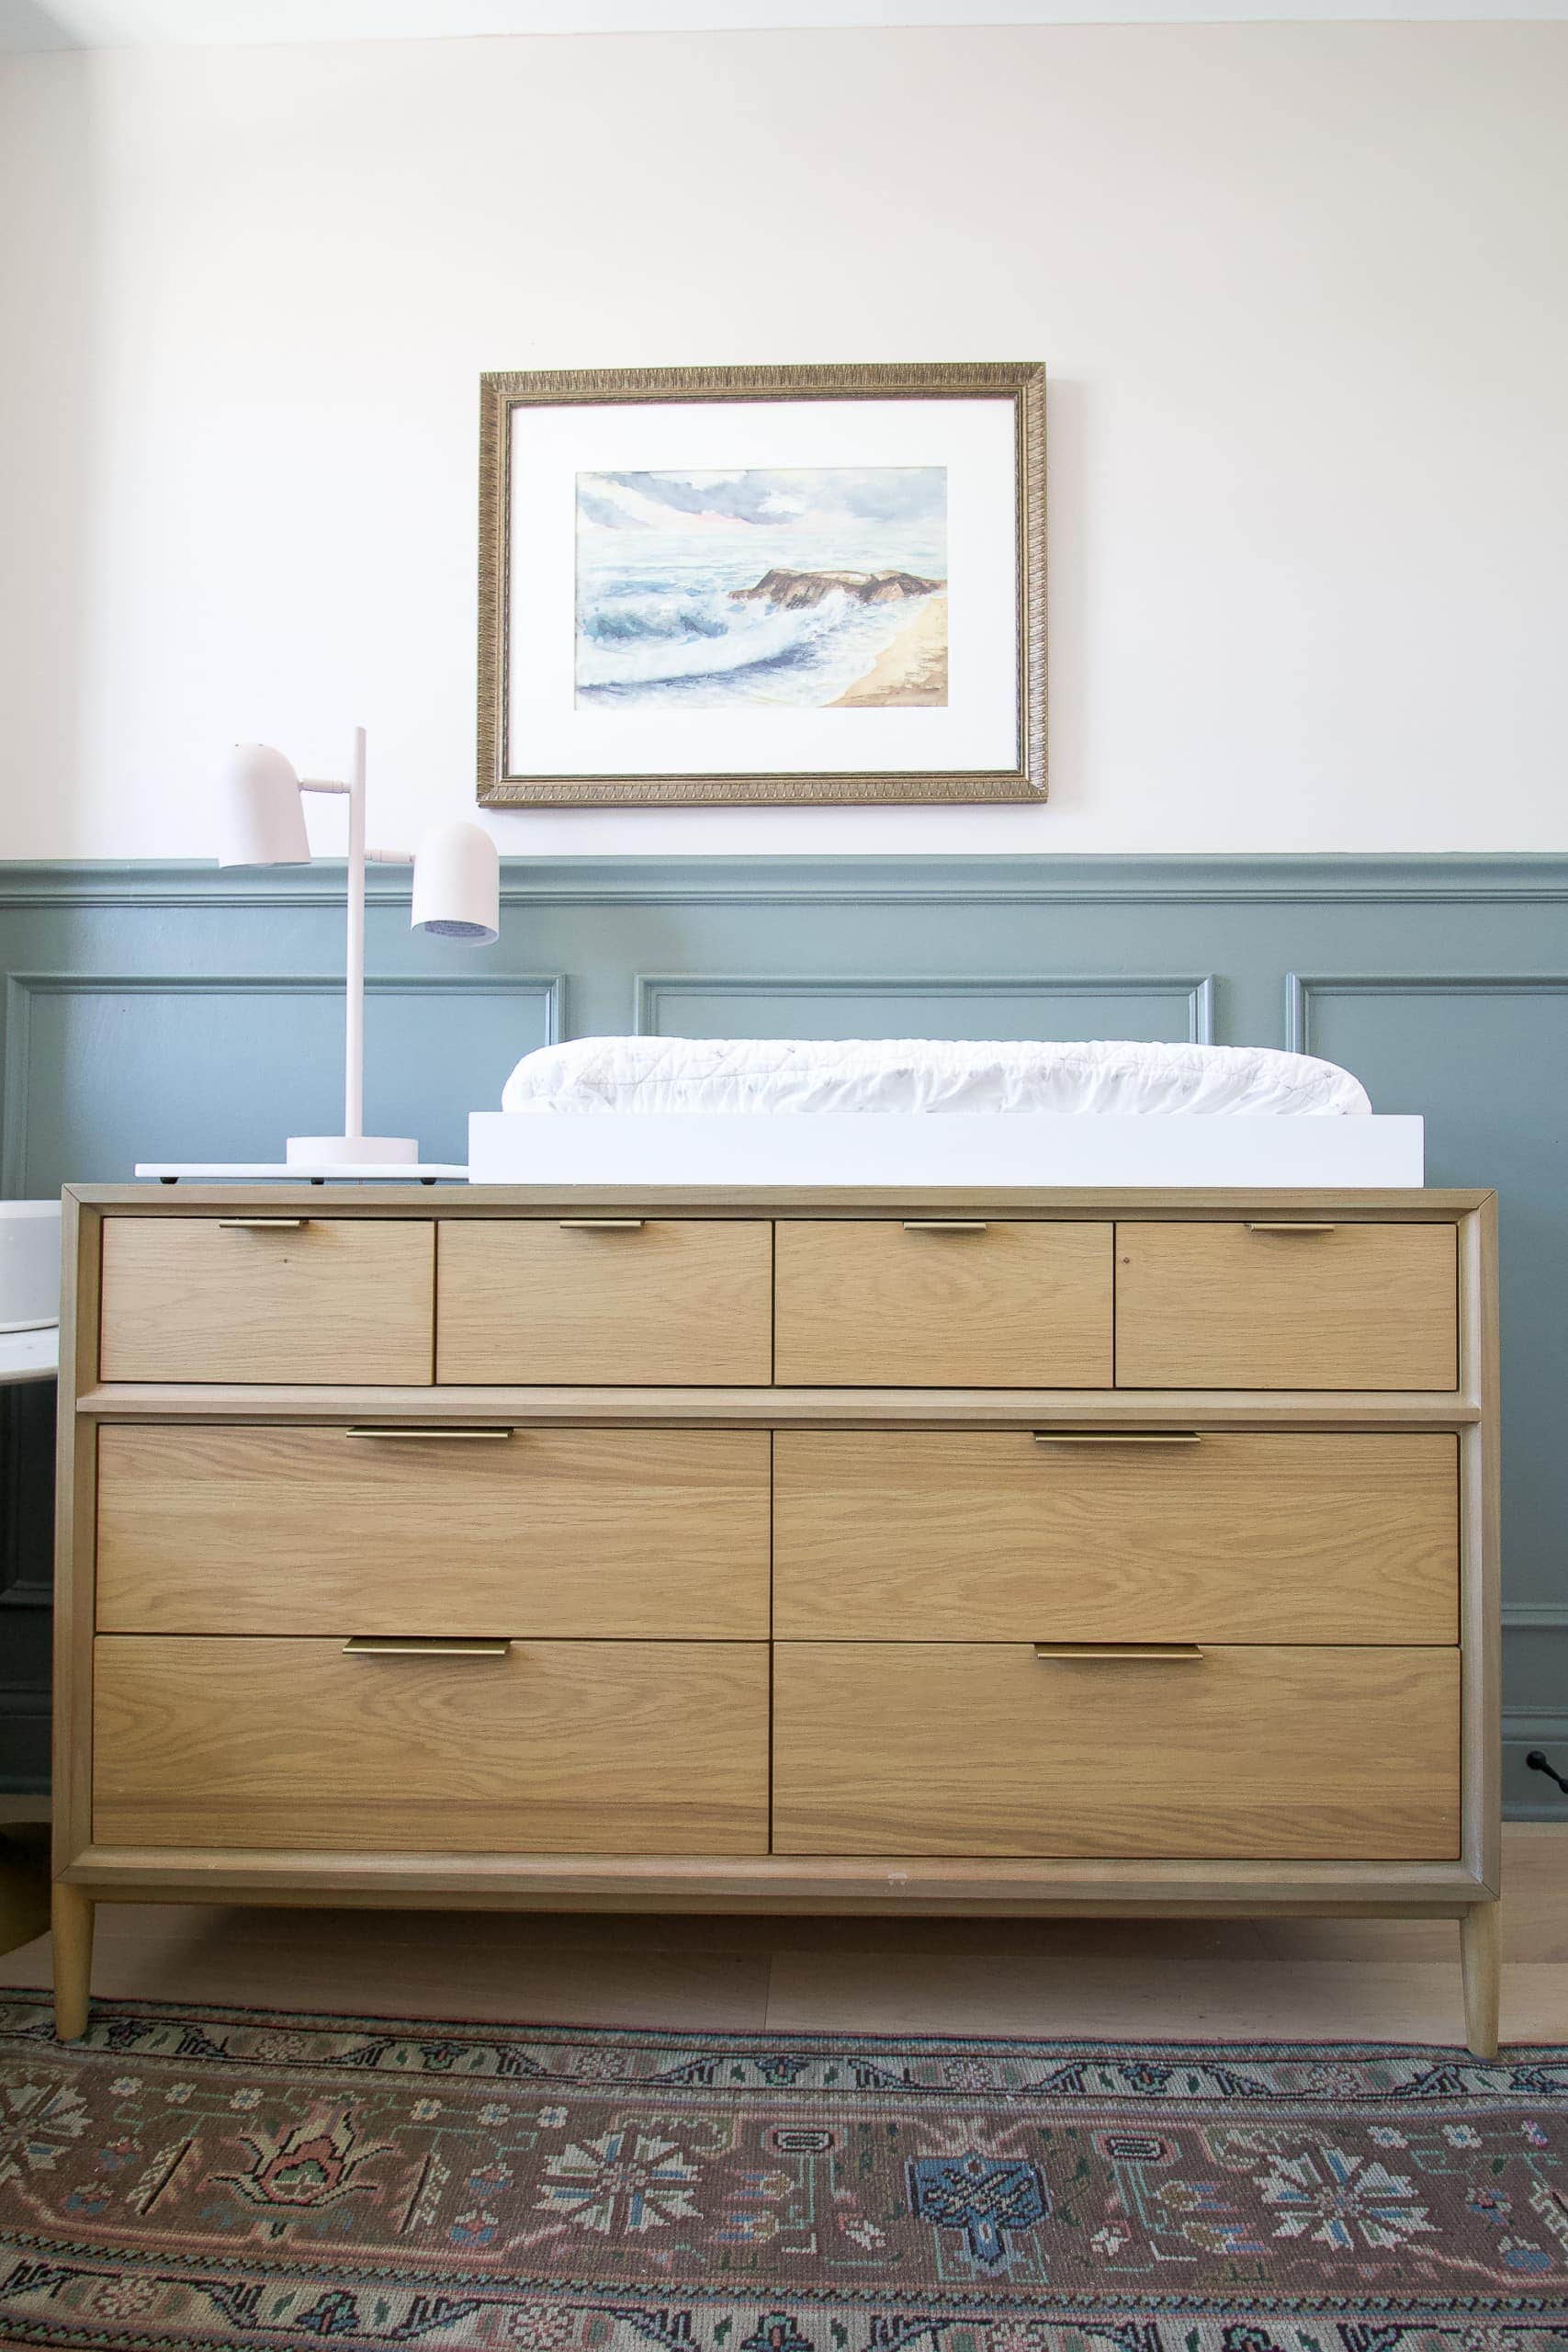
Dresser // Hardwood Floors // Wall Color: Valspar “Warm Fog” // Chair Rail Color: Custom (formula in this blog post) // Chair Rail Tutorial // Vintage Rug // Table Lamp // Changing Pad Topper // Changing Pad // Changing Pad Cover // Watercolor Art (Painted by my great grandmother) // Marble Side Table // Glider (Crate & Kids, but no longer available)
So I want to show you how this is a DIY that absolutely anyone can do! Let’s get to it.
How to Anchor Heavy Furniture to the Wall
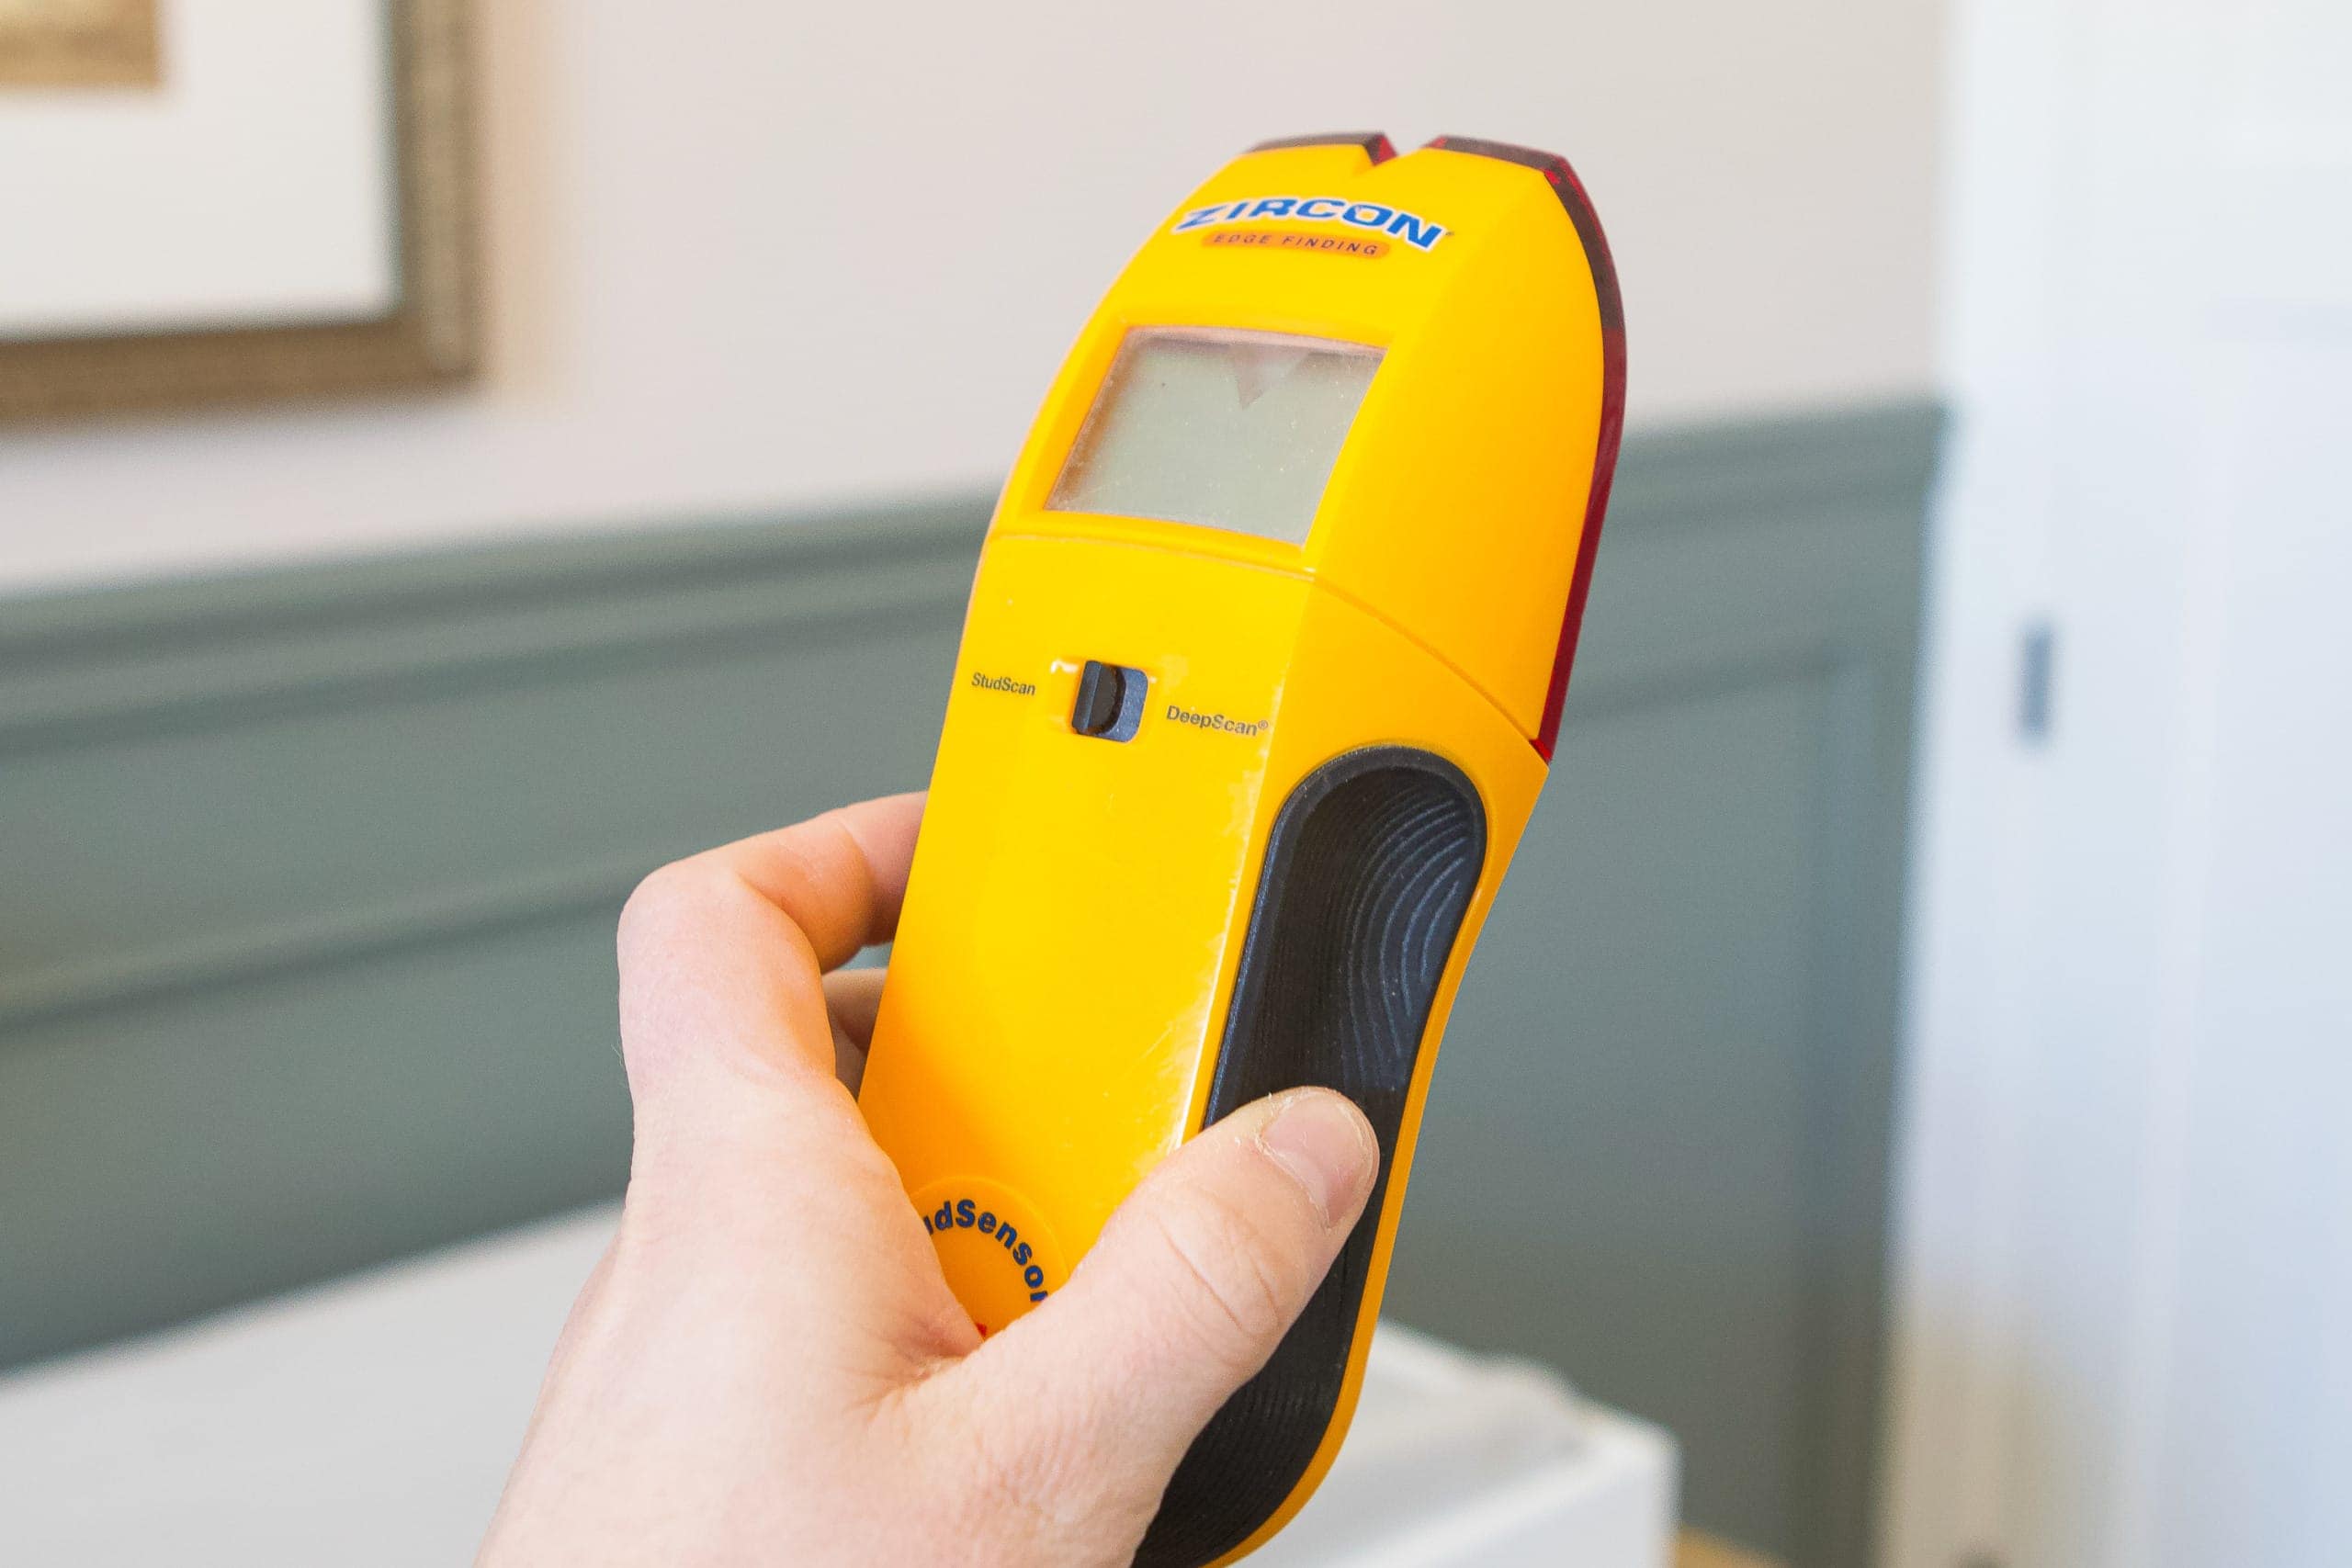
The most important supply you’ll need for this project, besides the furniture straps, is a stud finder. Installing the straps into studs is incredibly important. That will ensure that the piece is very stable and won’t rip out of the wall if it tips over. Here’s the list of supplies you’ll need to grab…
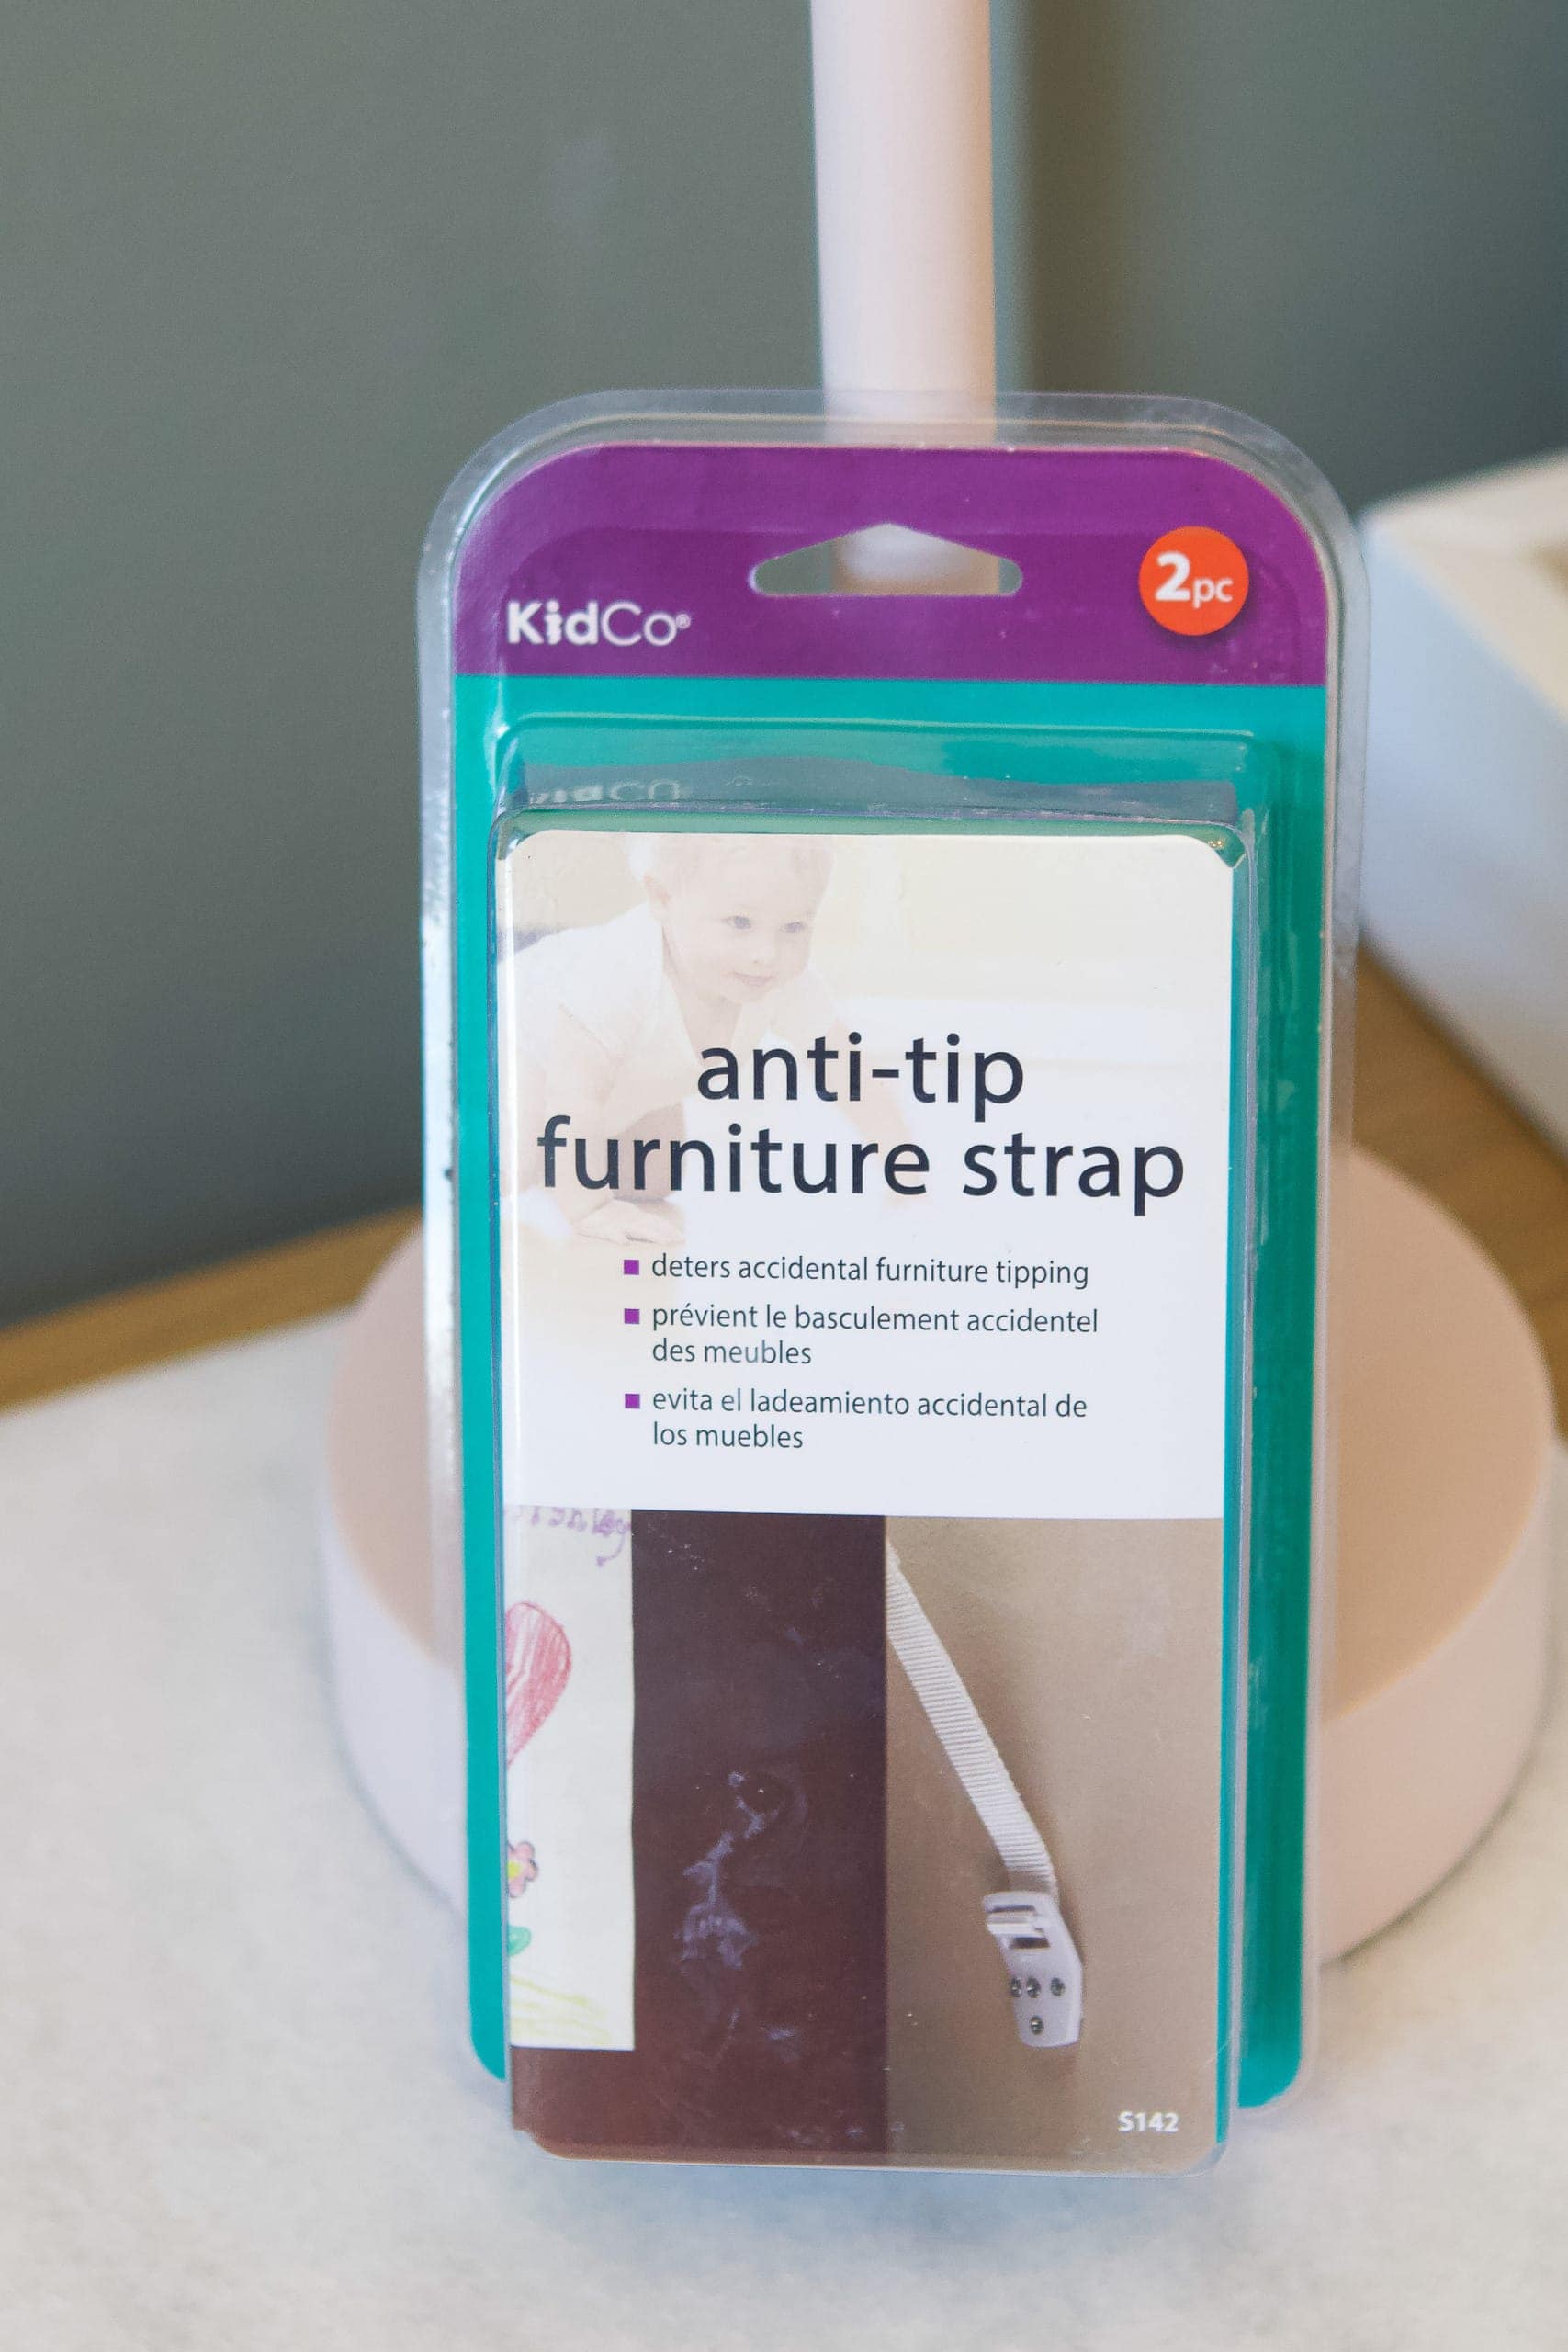
Here are the furniture straps that we used all around our house. I like them because you can loosen them if you need to move the dresser a bit and then you can tighten up the straps to make sure they’re super snug to the wall. Oh, and I must mention that besides securing your furniture, make sure you also attach your TVs to the wall. Ours are all mounted, but if you have a TV that sits on top of a dresser, you would want to use straps like these to secure it.
Mark Your Studs
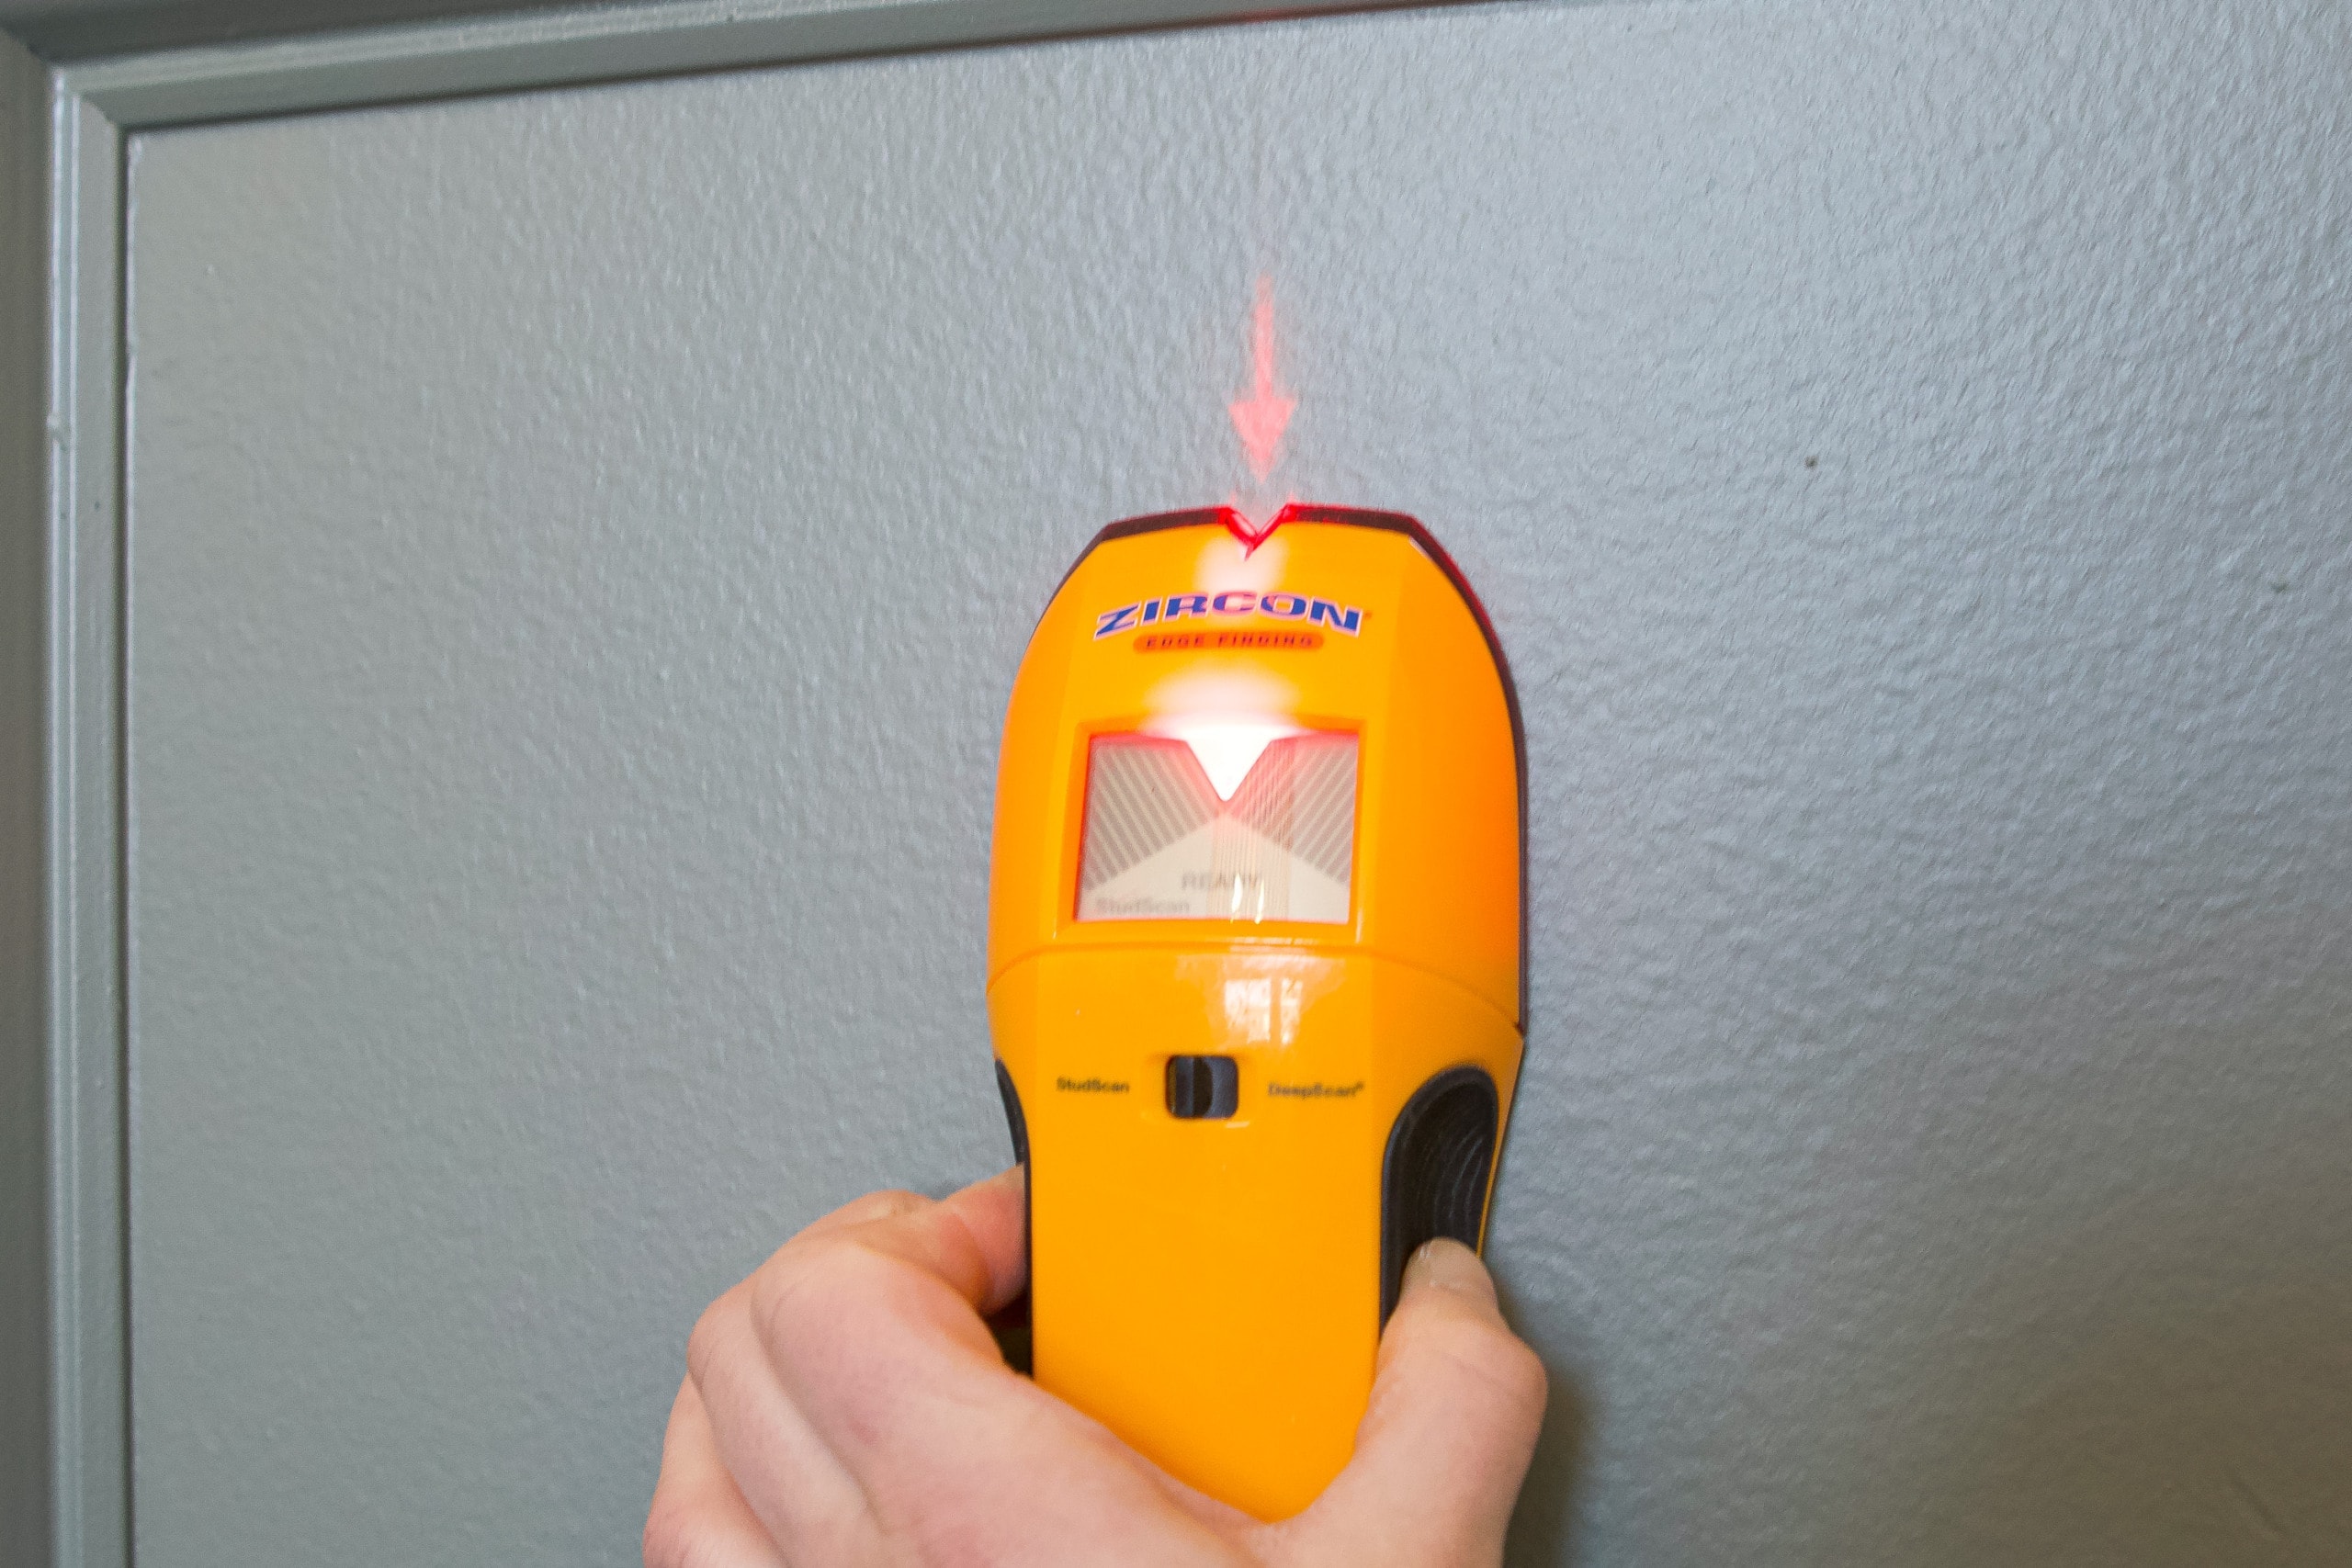
First, I moved the dresser back a few feet and marked the studs on the wall behind it. (That was tough because it is so dang heavy)! To use a stud finder, you just push the button on the side and slowly run the tool across the wall. It will beep when it hits a stud. Make sure you move it both ways so you can mark the entire width of the stud and hit it right in the middle. Most studs are made from 2x4s, so the area will be a little less than two inches wide. You’ll also often find them every 16 inches or so. 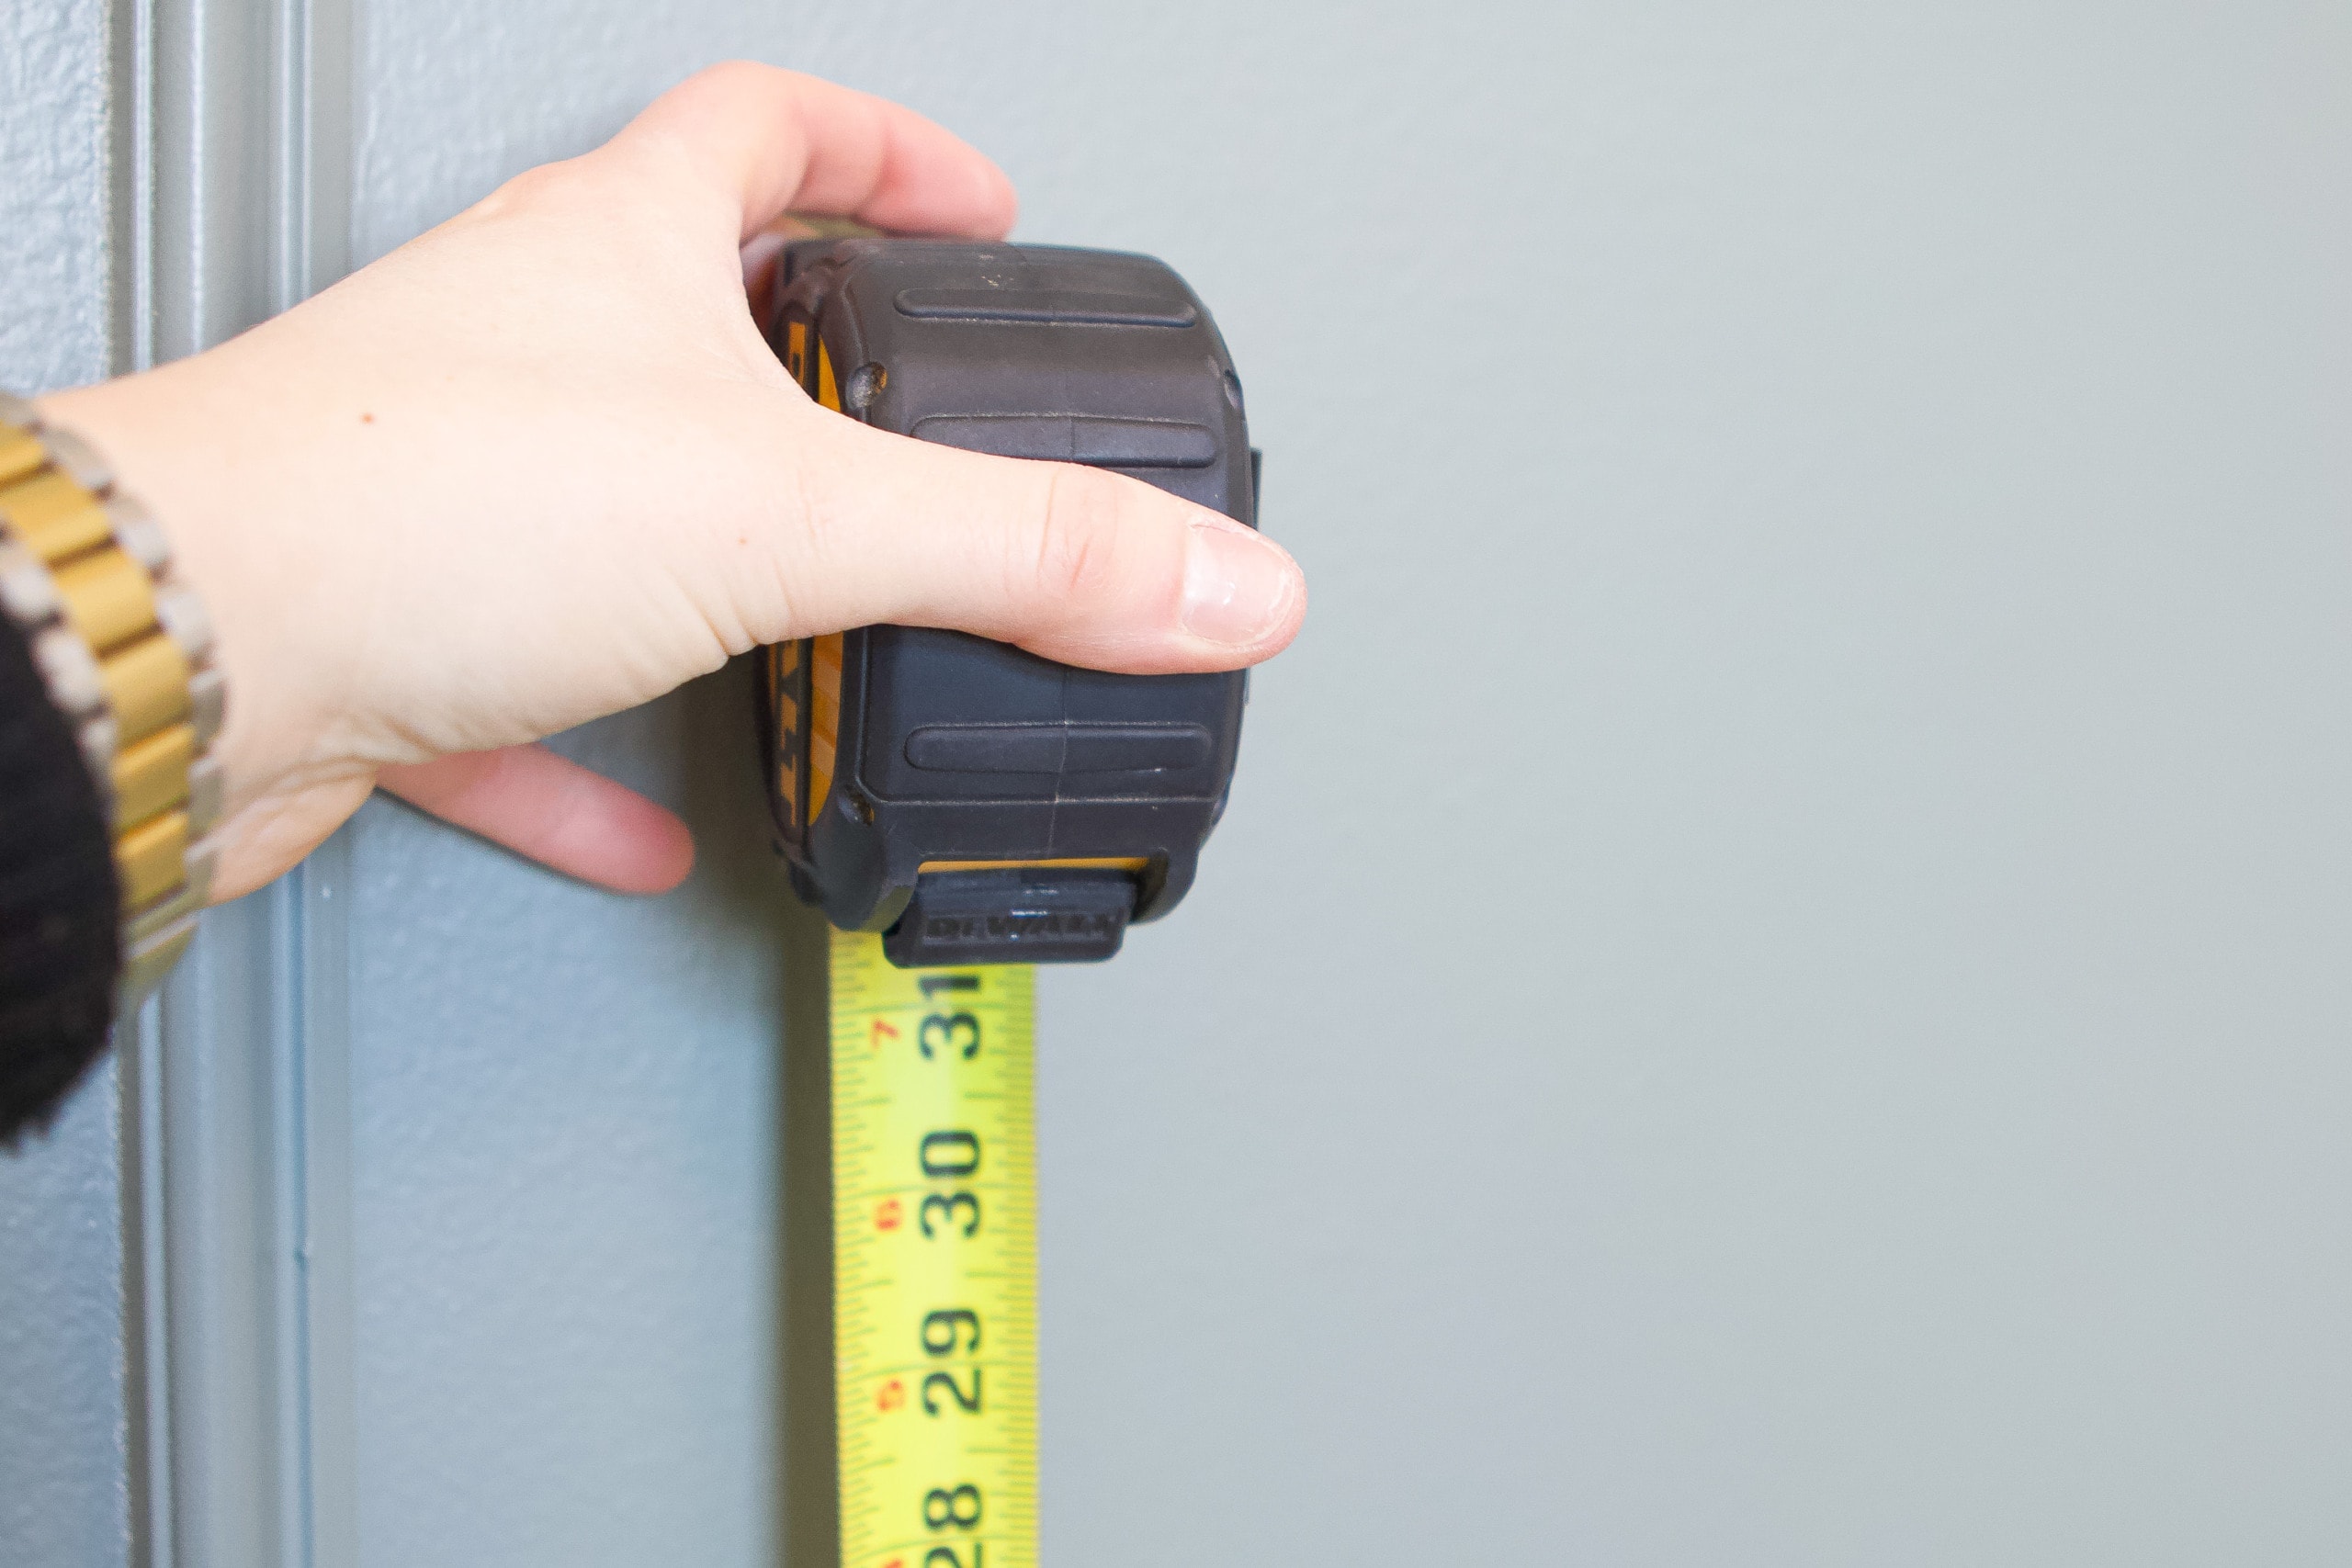
To attach these particular furniture straps. you attach one to the back of the piece of furniture and one to the wall, six inches below the top of the dresser. My dresser is 32 inches tall, so I ended up marking the wall at 26 inches high. I marked two studs on the wall on opposite sides of the dresser.
Attach the Wall Strap

I then took my drill to attach the first furniture strap to the wall. I find it easiest to use a pilot bit first to make a hole in the wall, and then I can secure it with a screw. These furniture straps came with all of the hardware, so it made things a bit easier. 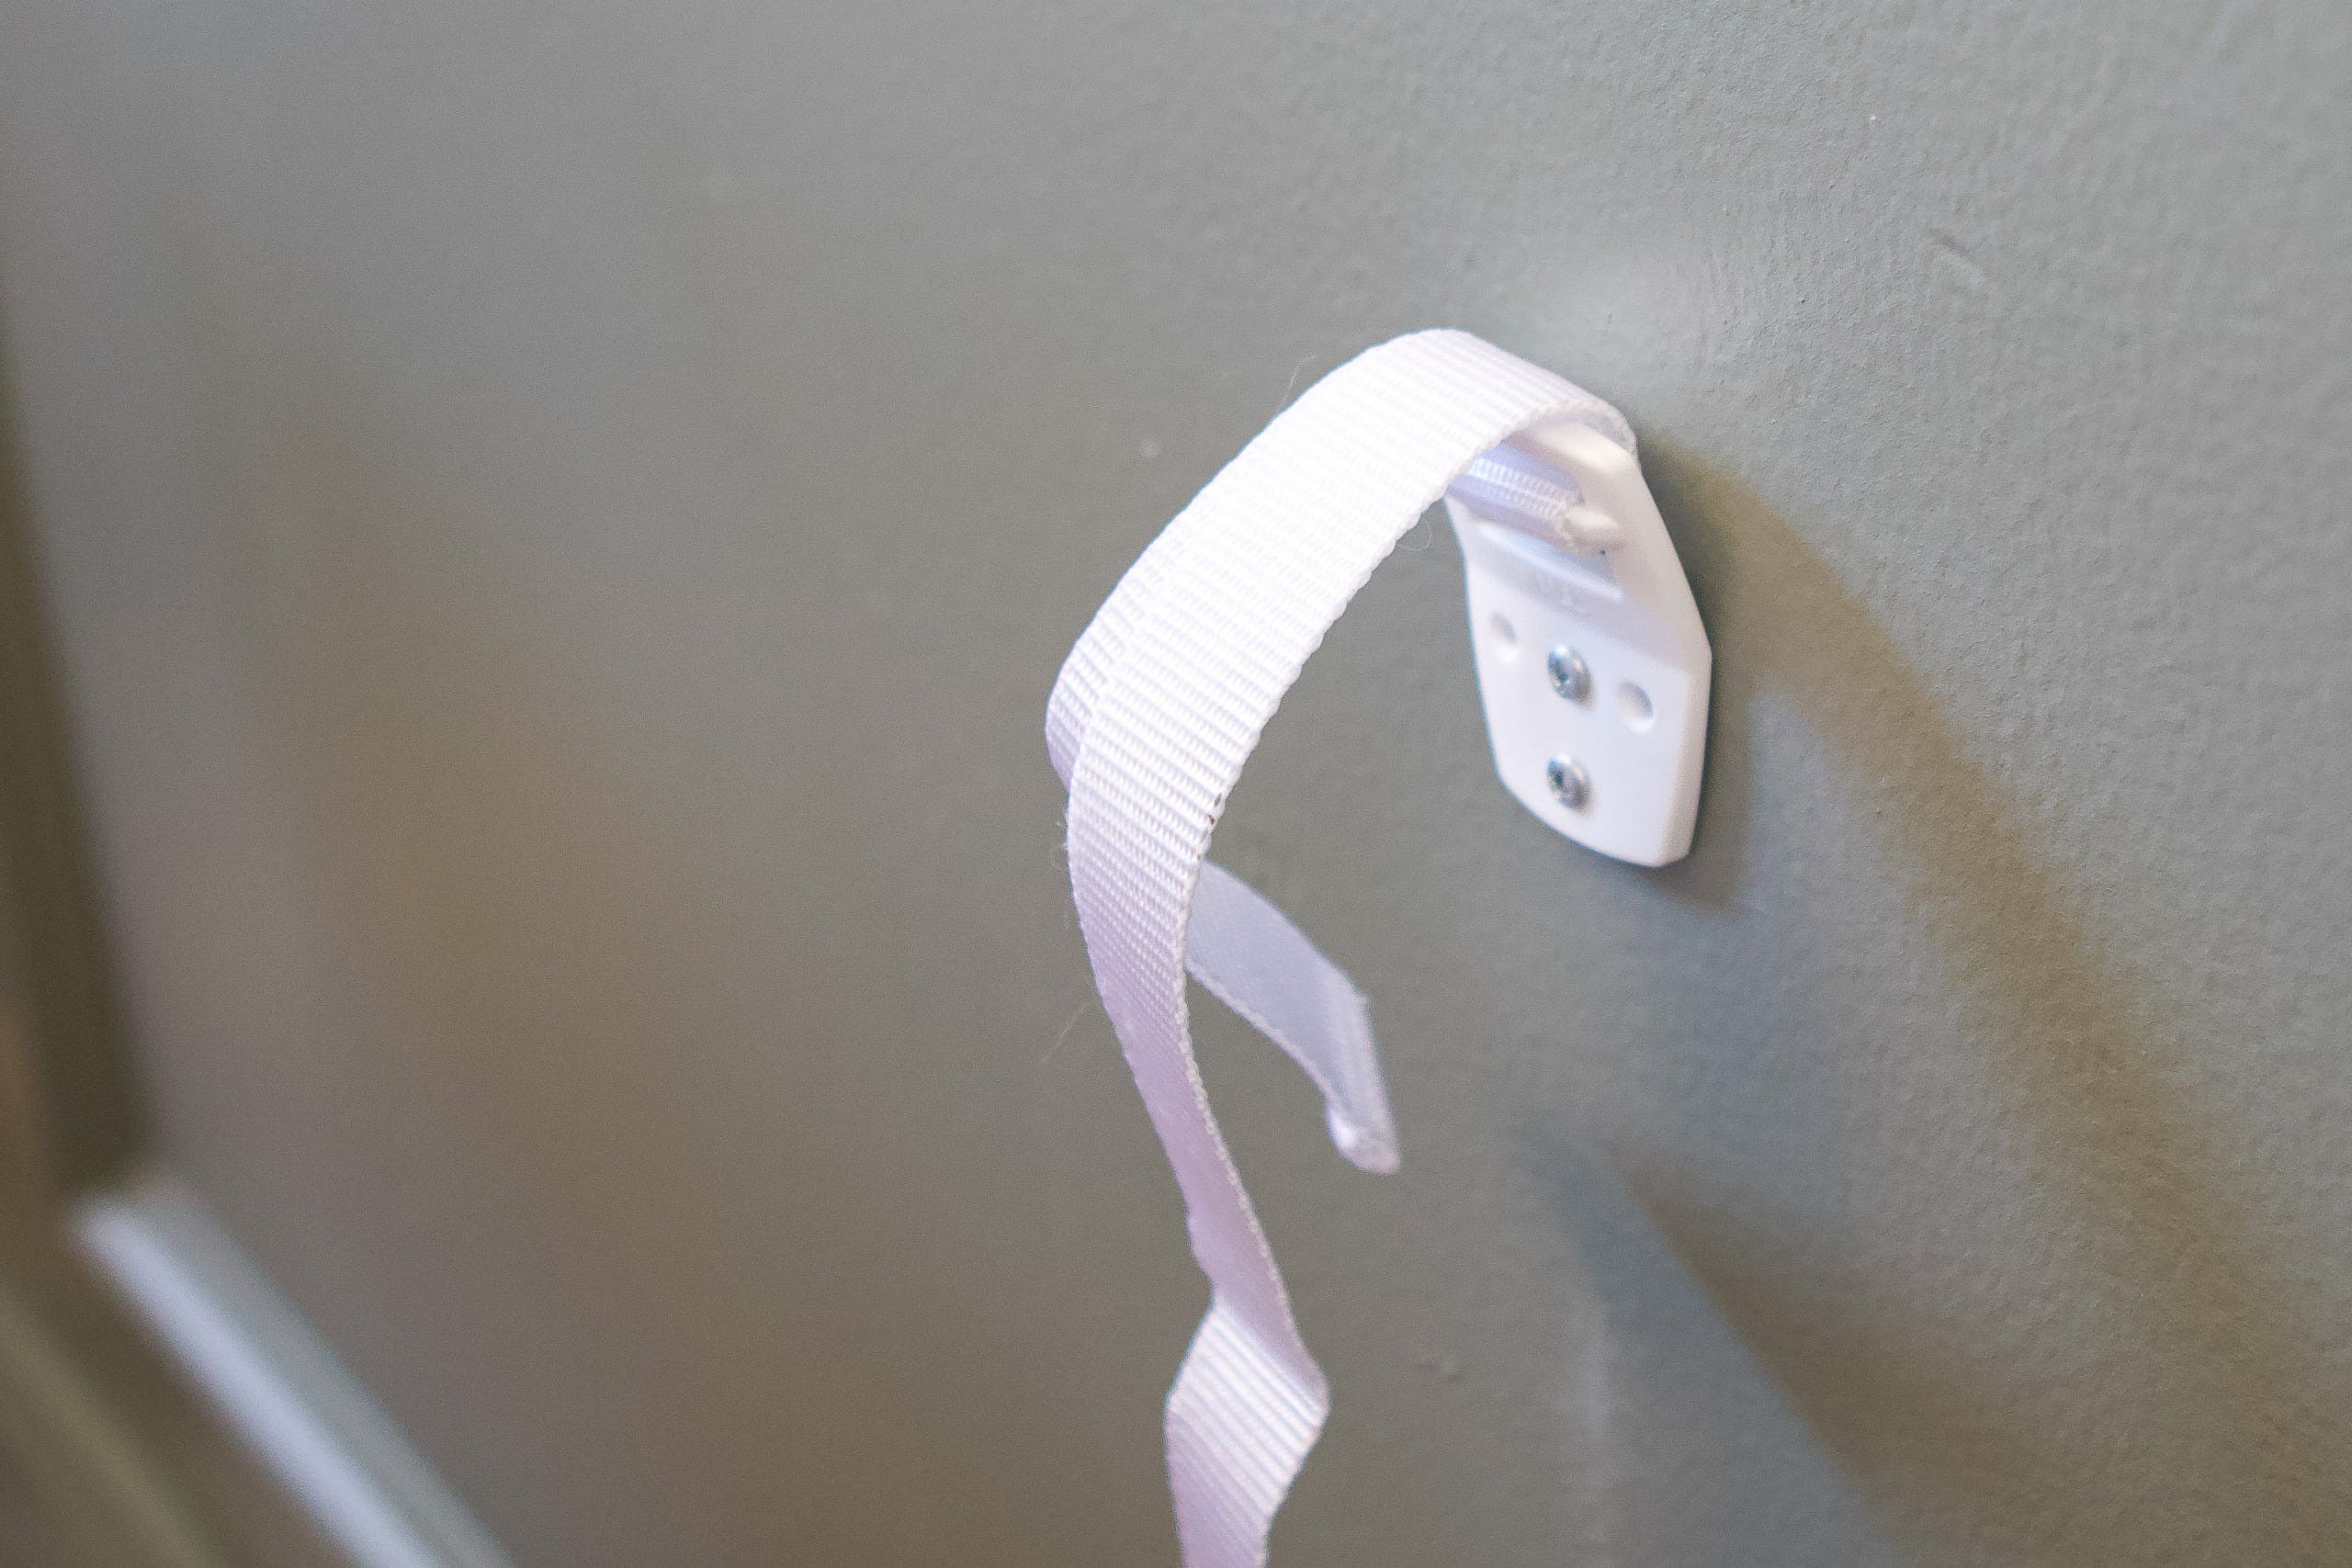
I ended up using two screws, attached directly to the stud, for the wall strap. I pulled on it really hard and it didn’t budge.
Attach the Furniture Strap
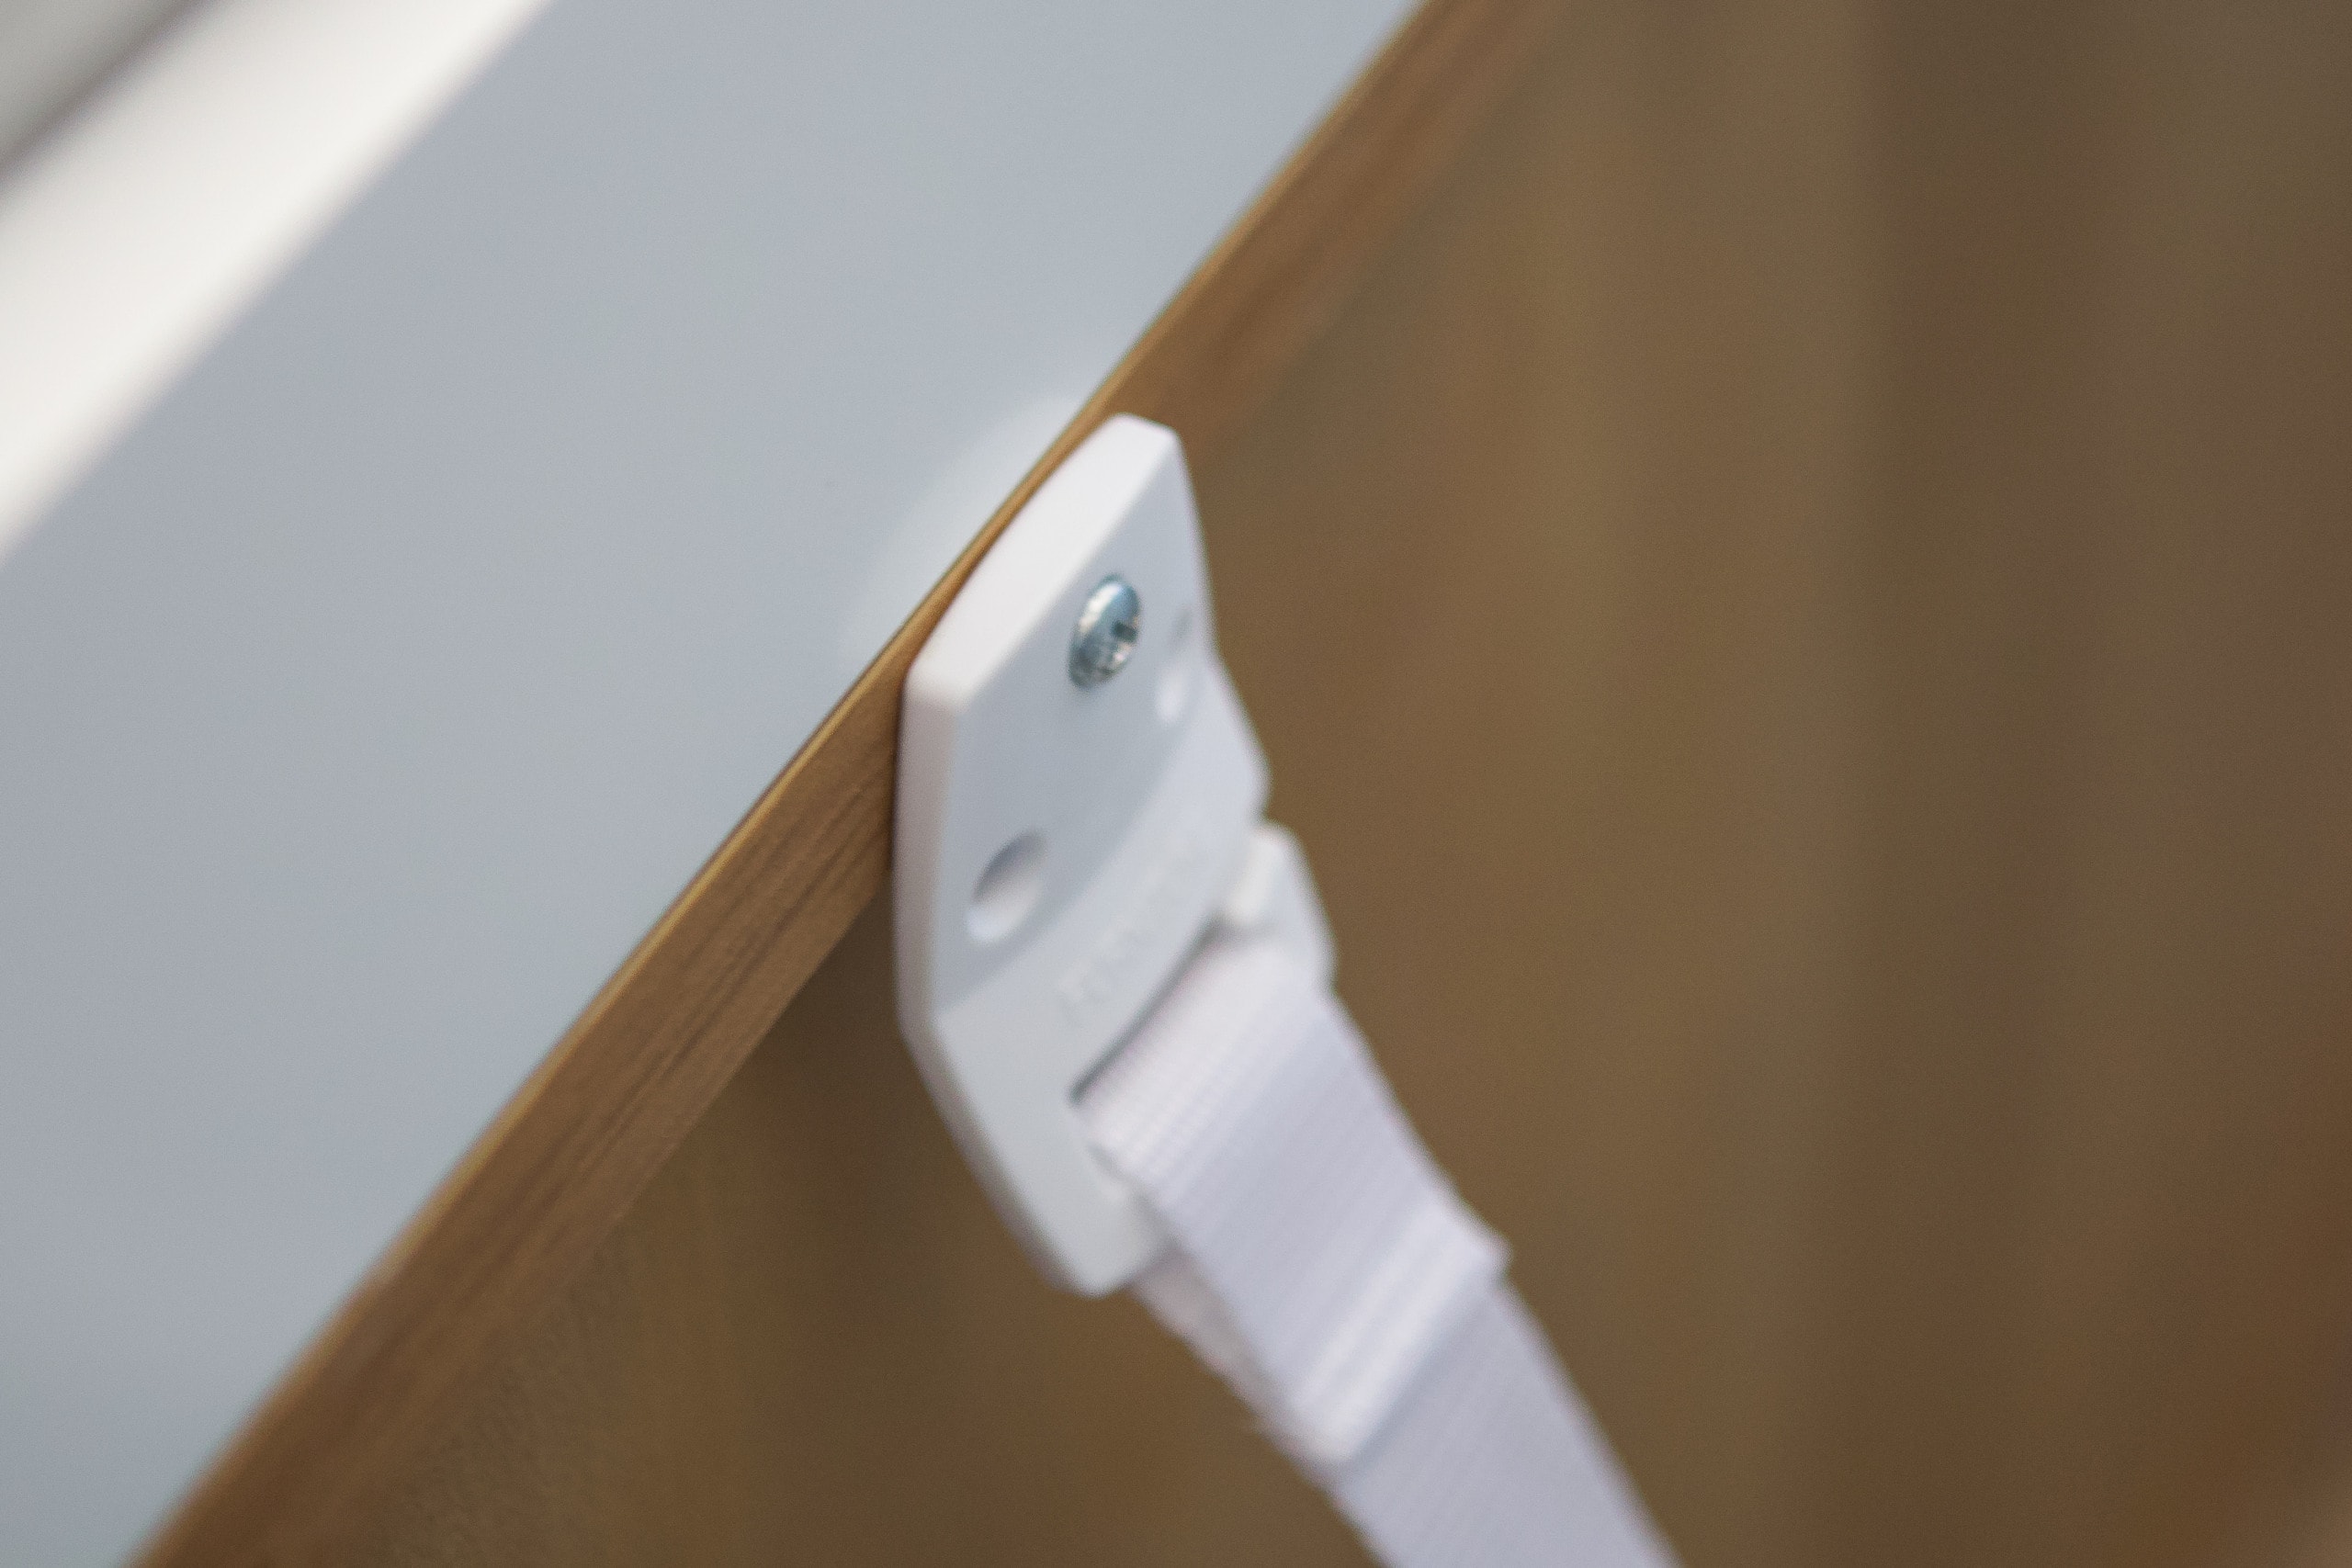
With the wall side secure, I then took the other end of the strap and attached it directly into the wood dresser. I decided to secure it to the top lip of the dresser because that wood is really thick and I knew the screw would be extra secure there. 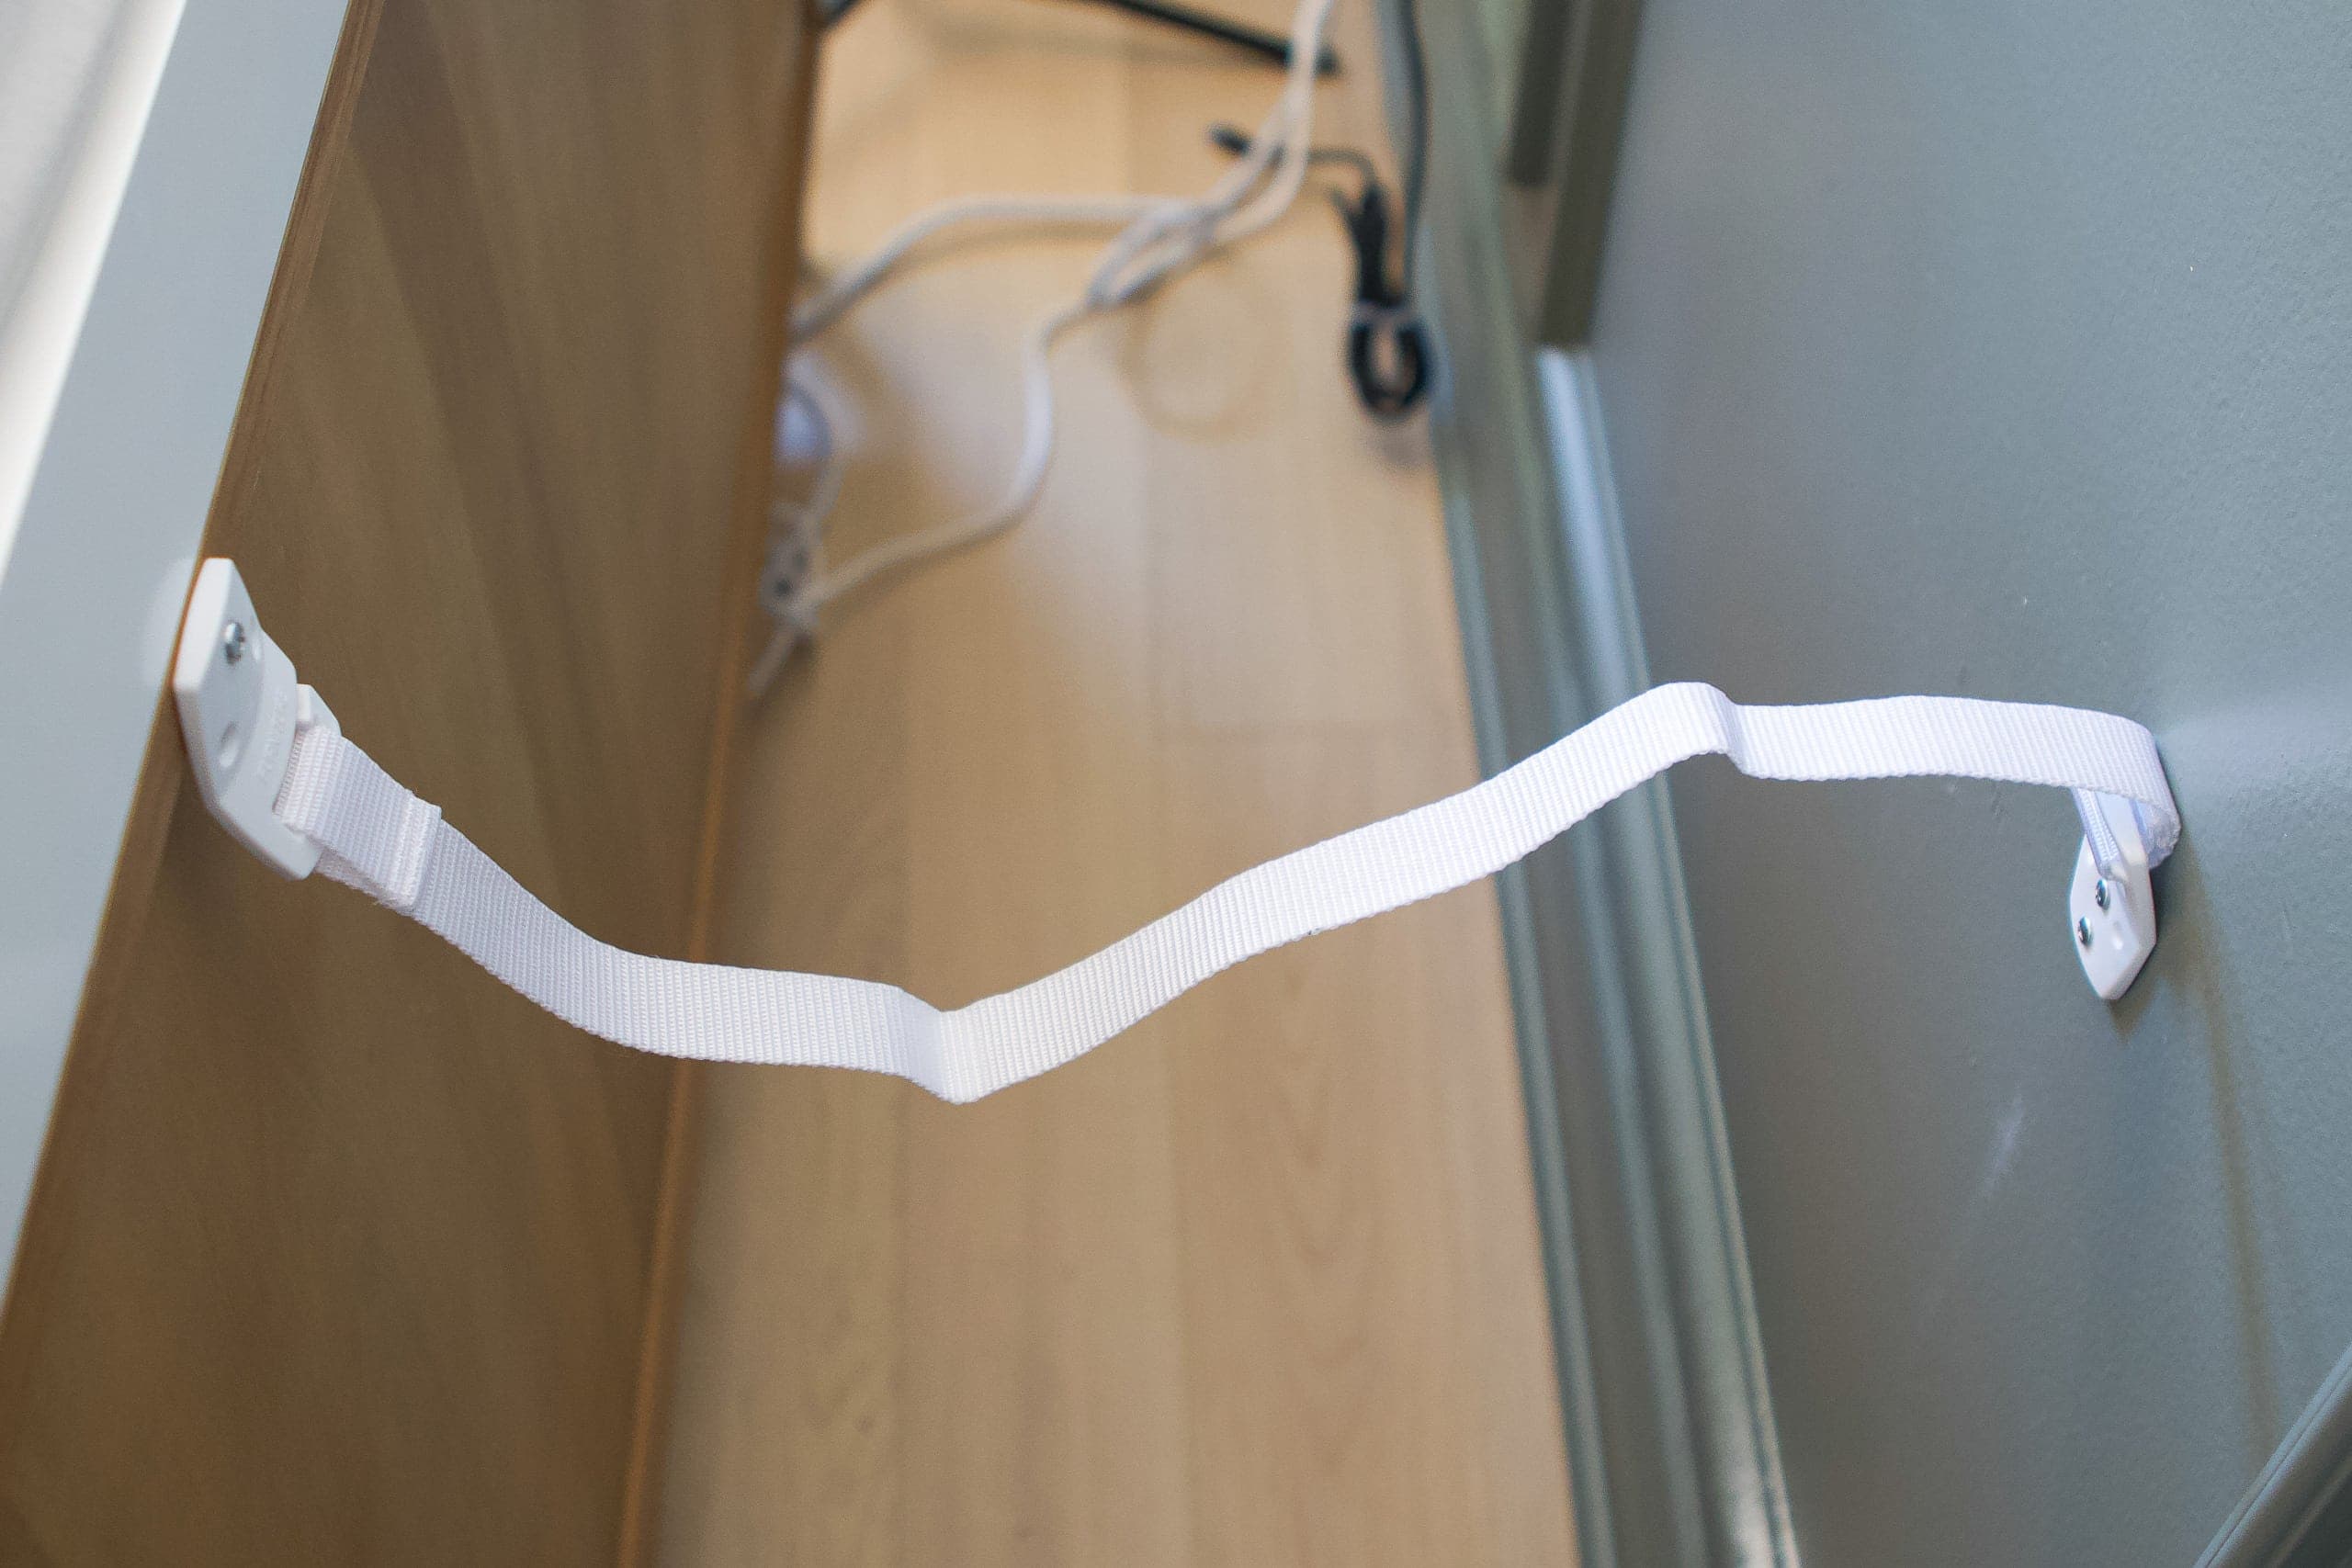
This is what it looks like behind the dresser with the one side secure. The strap is as loose as possible so I could squeeze back there to do the other side.
Secure Other Side & Tighten

It’s important to use at least two furniture straps on big heavy pieces like this nursery dresser. So I followed the exact same steps and put one more strap into the wall and onto the piece of furniture. 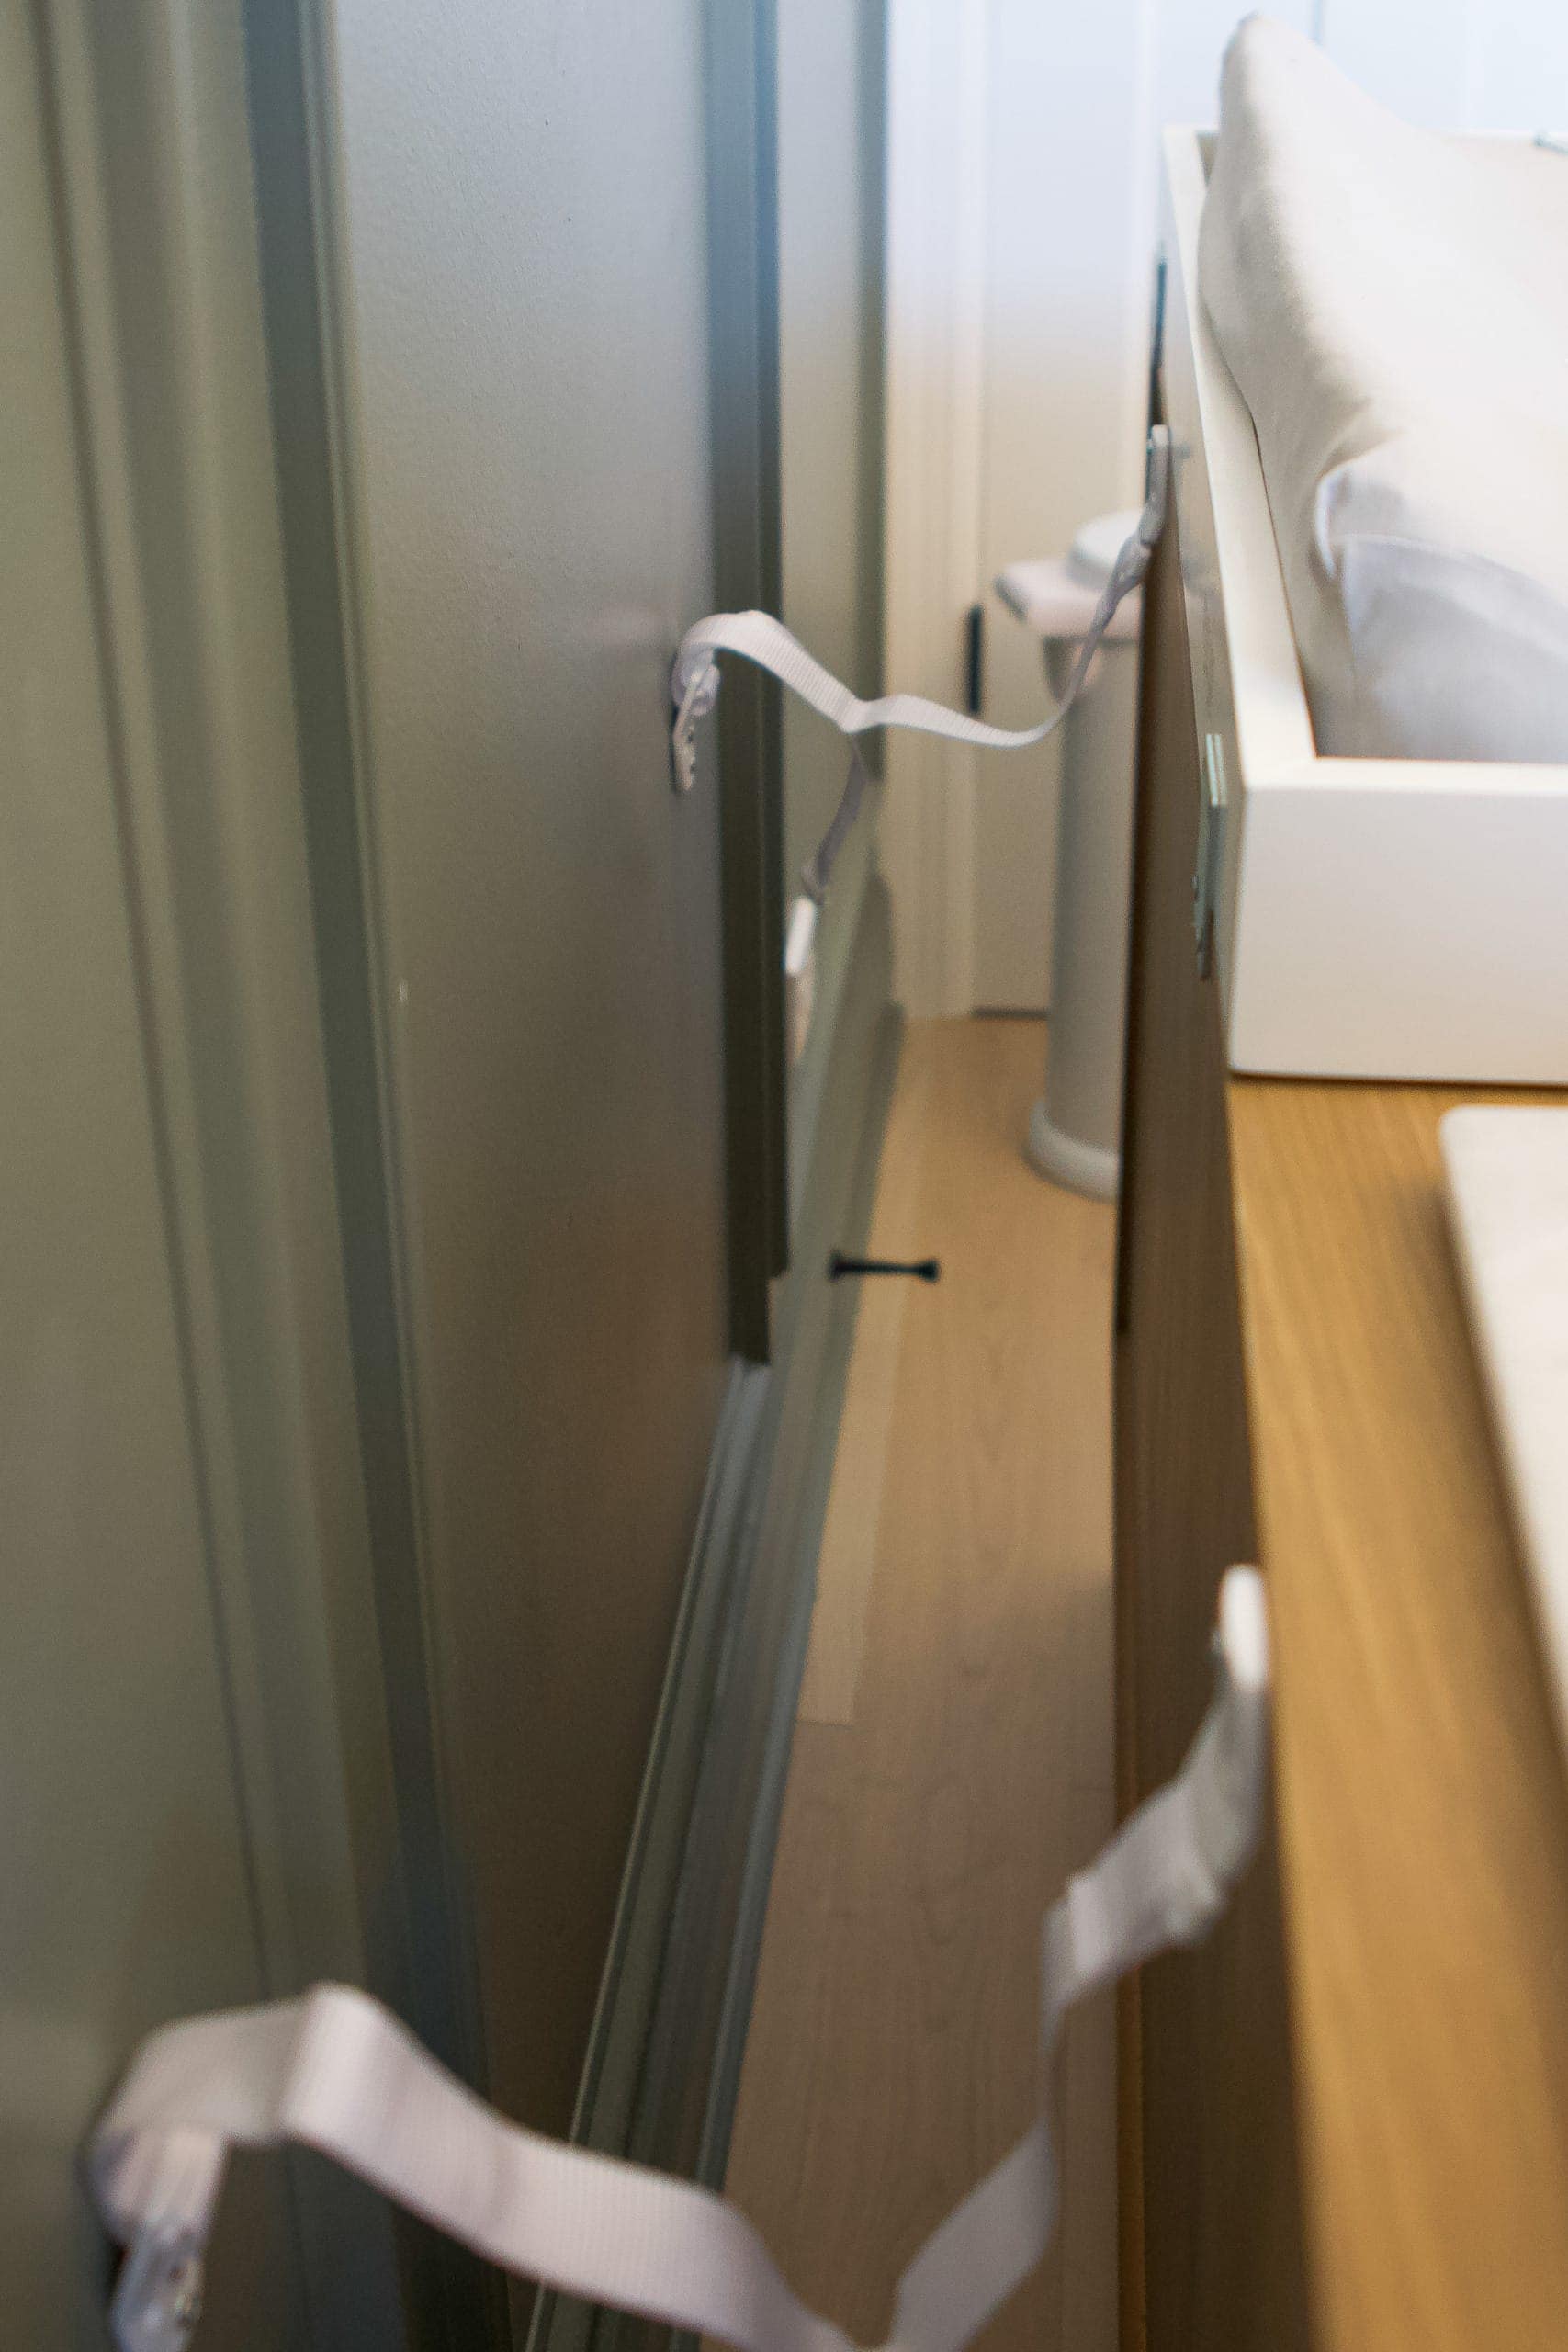
Once both of my straps were attached, I scooted the dresser back, pulled the straps tight, and then scooted it all the way back to its final resting place. 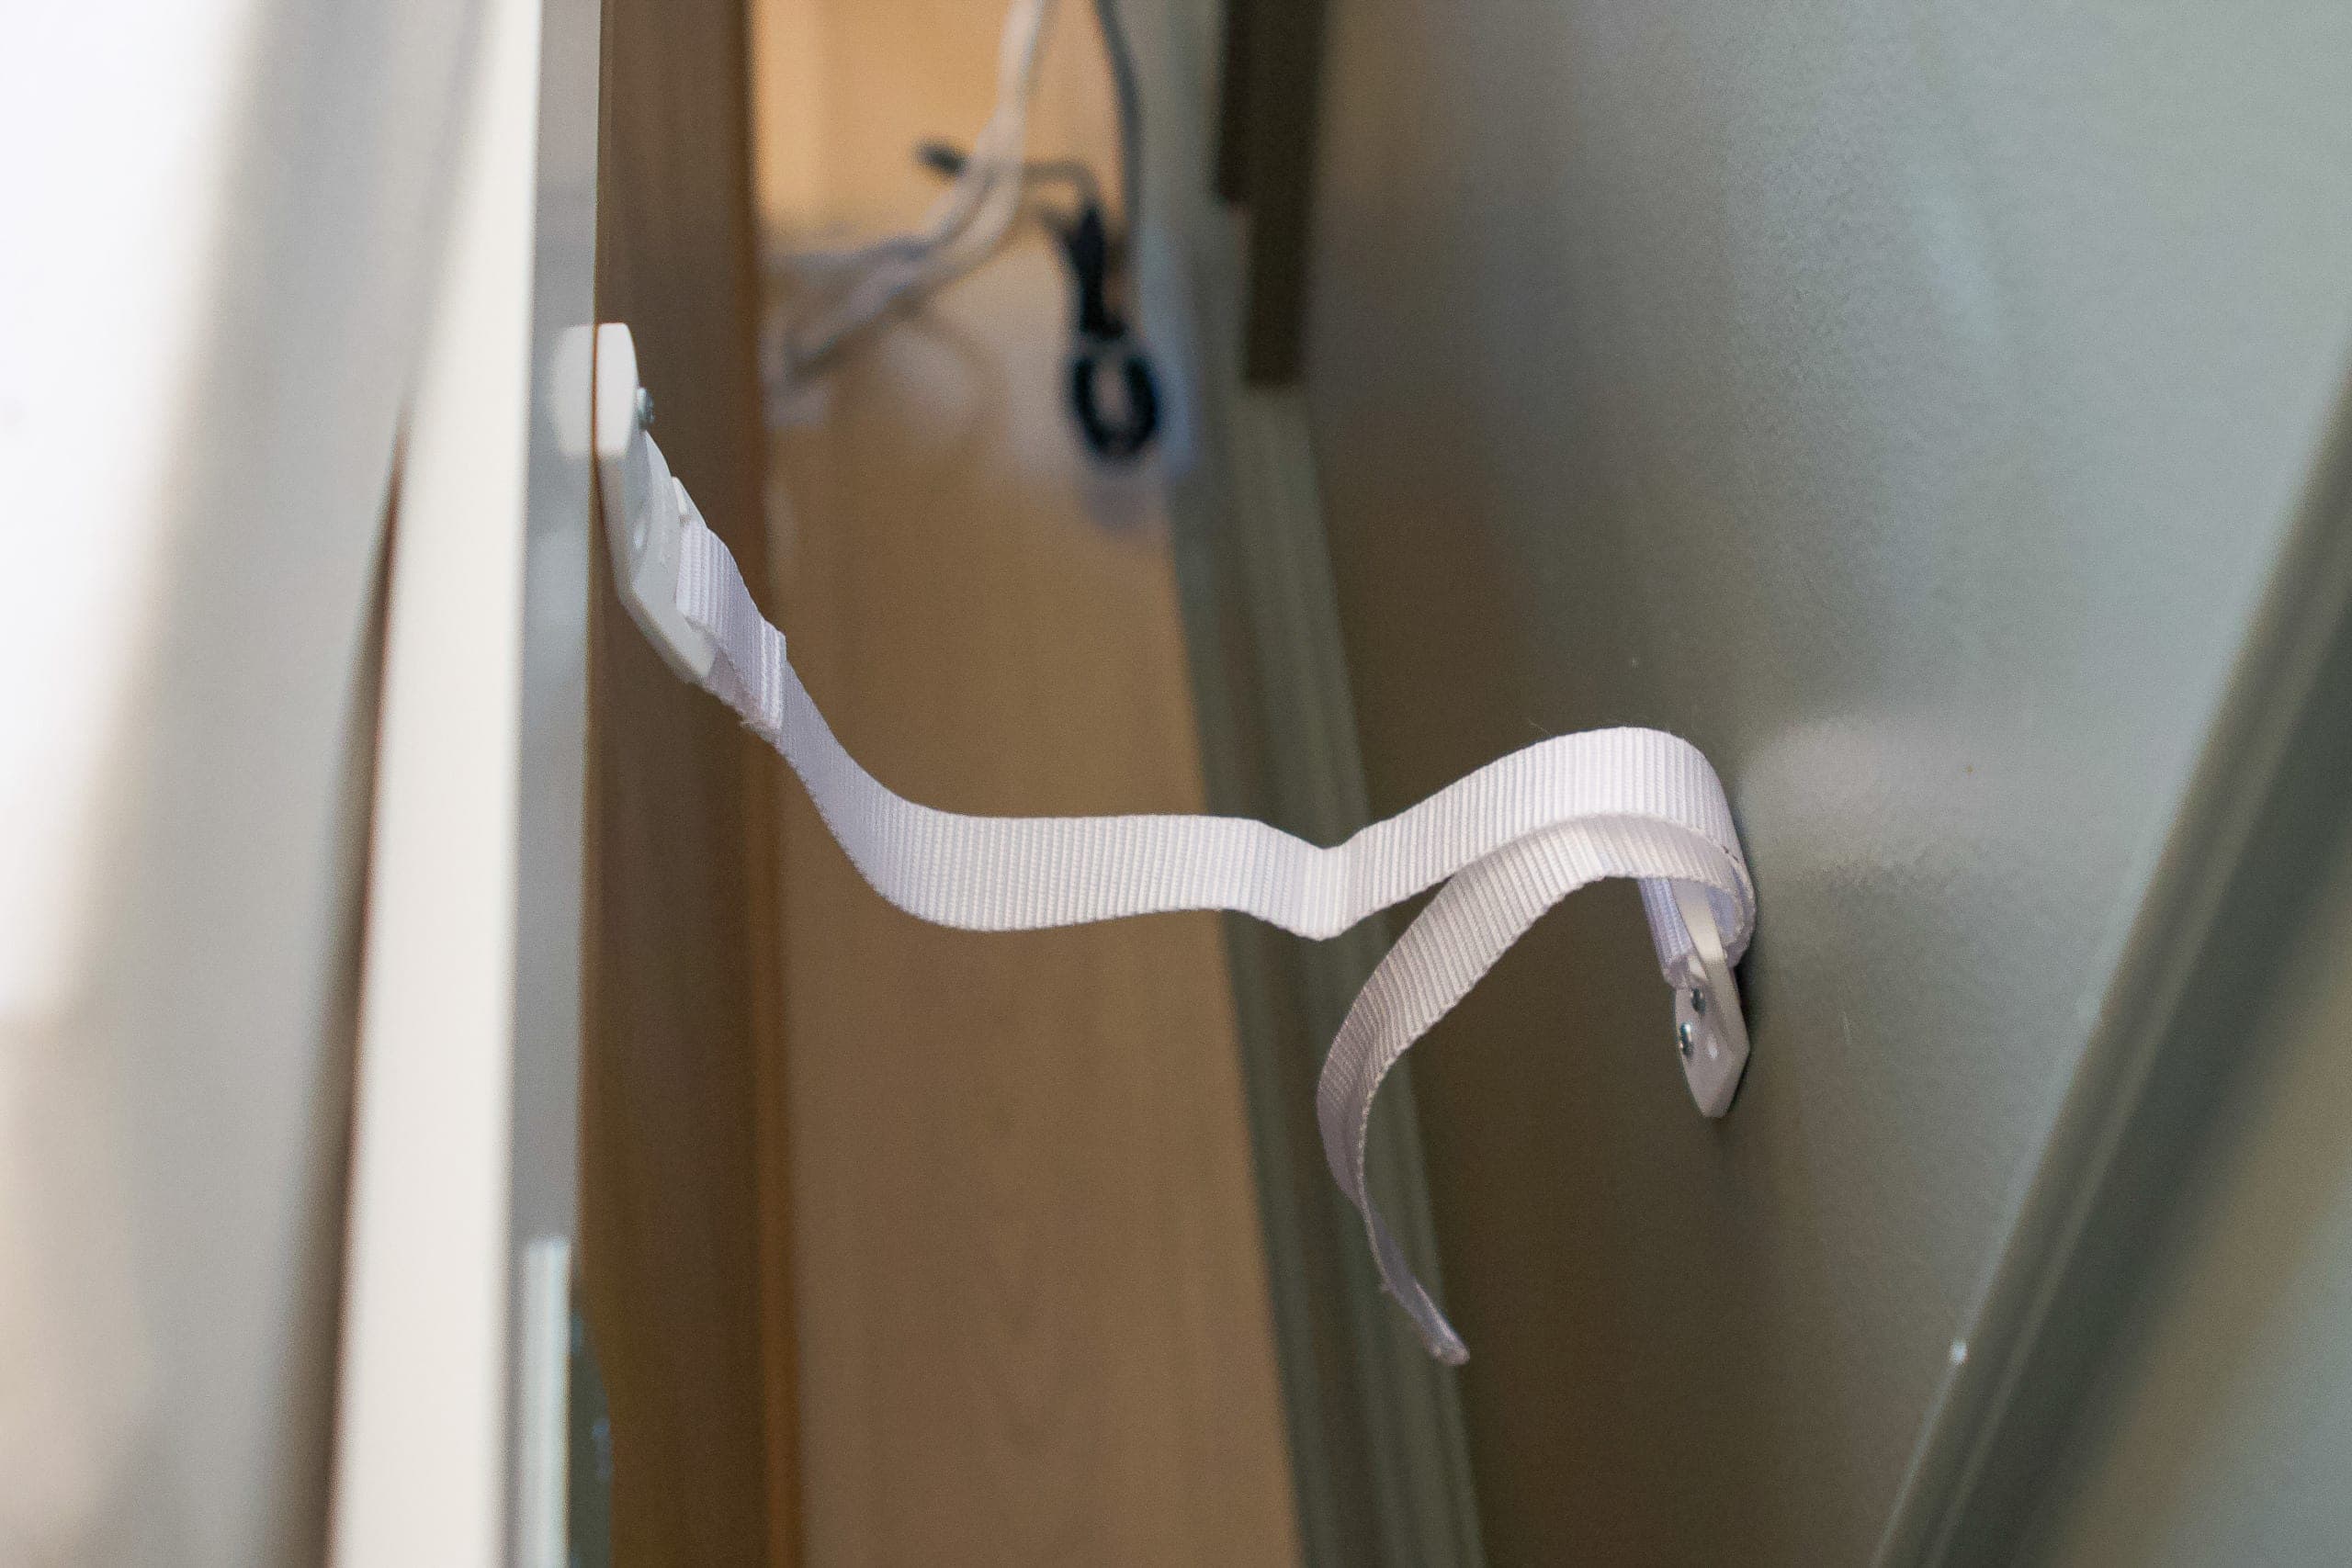
I’d say all in, it only took about 15 minutes to complete.
Keeping Rory Safe
I can’t tell you the relief I feel knowing that Rory’s heavy dresser is secure. While she isn’t climbing up on this dresser yet, that day might come (or maybe she won’t be a climber, who knows?) and I’m now prepared! In fact, I wanted to secure this piece to the wall when we were getting the nursery ready for her arrival, but as you all know, we ran out of time there at the end with her early debut. This is one babyproofing task that you can definitely do before your little one arrives.

If you need to anchor heavy furniture in your house, these straps worked out great for us, so you might want to try them. And if you’re looking for the other products we used to babyproof our home you can check out this blog post and this list of products below…
Stay safe, friends!
Casey
P.S. Have a leaning wall mirror that you want to secure? I used these same furniture straps to secure ours. Here’s the full step-by-step to secure your leaning mirror to the wall.