Office Accent Wall with Decorative Molding (DIY Design)
I’m in the middle of refreshing my office, and the walls needed a little something extra to elevate the small space. Come see how I added chair rail and picture frame molding throughout the room, plus a larger accent wall design that will eventually be wallpapered.
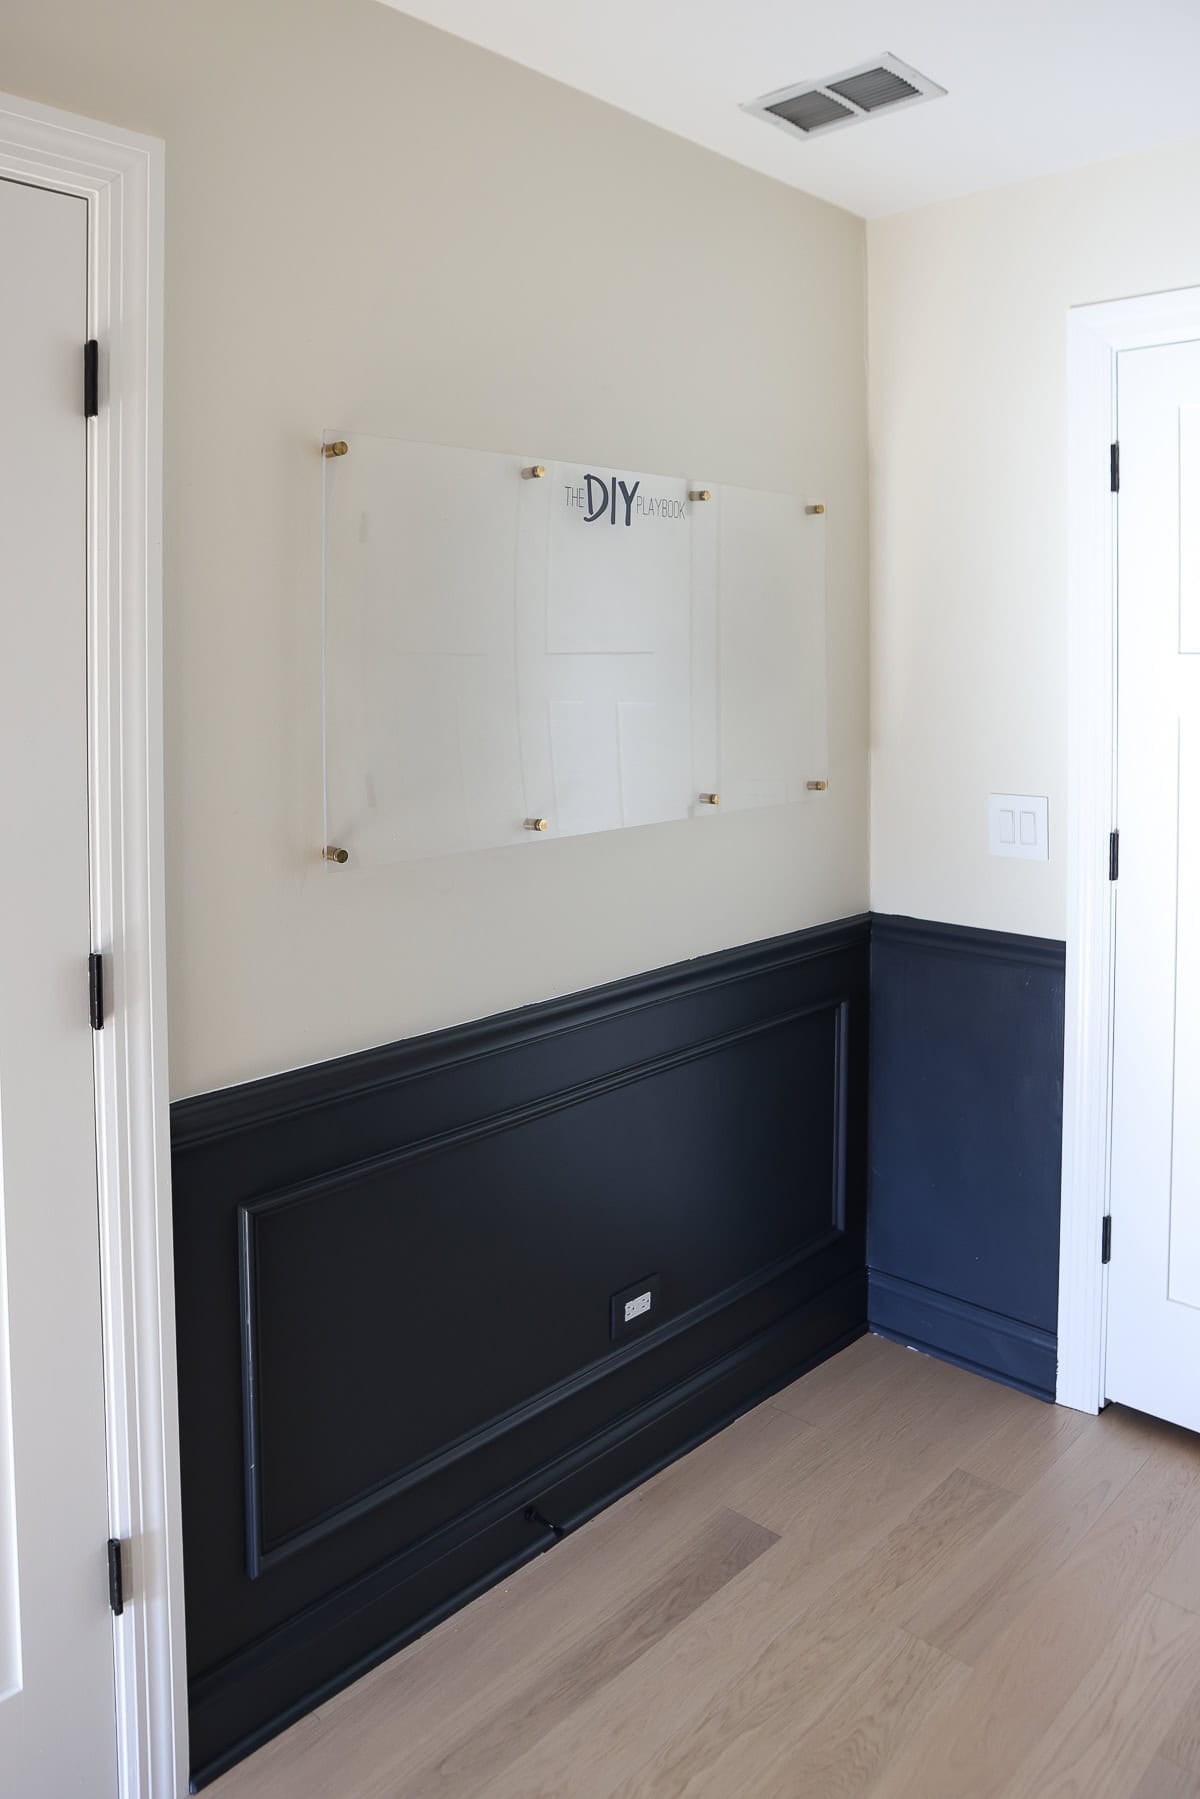
After removing the wallpaper in my office (that some of you said looked like mold, yikes!), I was left with a ginormous blank wall. And if you’ve been here for a while, you know I can never leave a wall alone for long.

Finn always jokes that I love putting walls on walls, which honestly feels fair at this point. But I really do think wood wall treatments are one of the best ways to elevate your home design and make a space feel more polished. I’ve added chair rail and picture frame molding in Rory’s room, Ellis’ room, our stairwell accent wall, and our first-floor bathroom. Decorative molding is kind of my thing at this point.
At first, I thought about doing chair rail molding and picture frame molding on the bottom and wallpapering the entire upper portion of the wall. But the more I thought about it, the more it felt like it might be too much. Between the built-ins and the height of the ceilings, that would be a lot of pattern competing in one space.
Then I considered wallpapering just the accent wall, but I’ll be honest, the idea of an accent wall isn’t usually my favorite move unless it really makes sense in the room. It just wasn’t quite clicking for me.
Eventually, I came across the idea of wallpapering inside picture frame molding, and that felt like the perfect balance. It gives me a chance to bring pattern into the space, but in a way that feels more thoughtful and polished. That wallpaper project is coming next, but before I could get there, I needed to build the foundation.
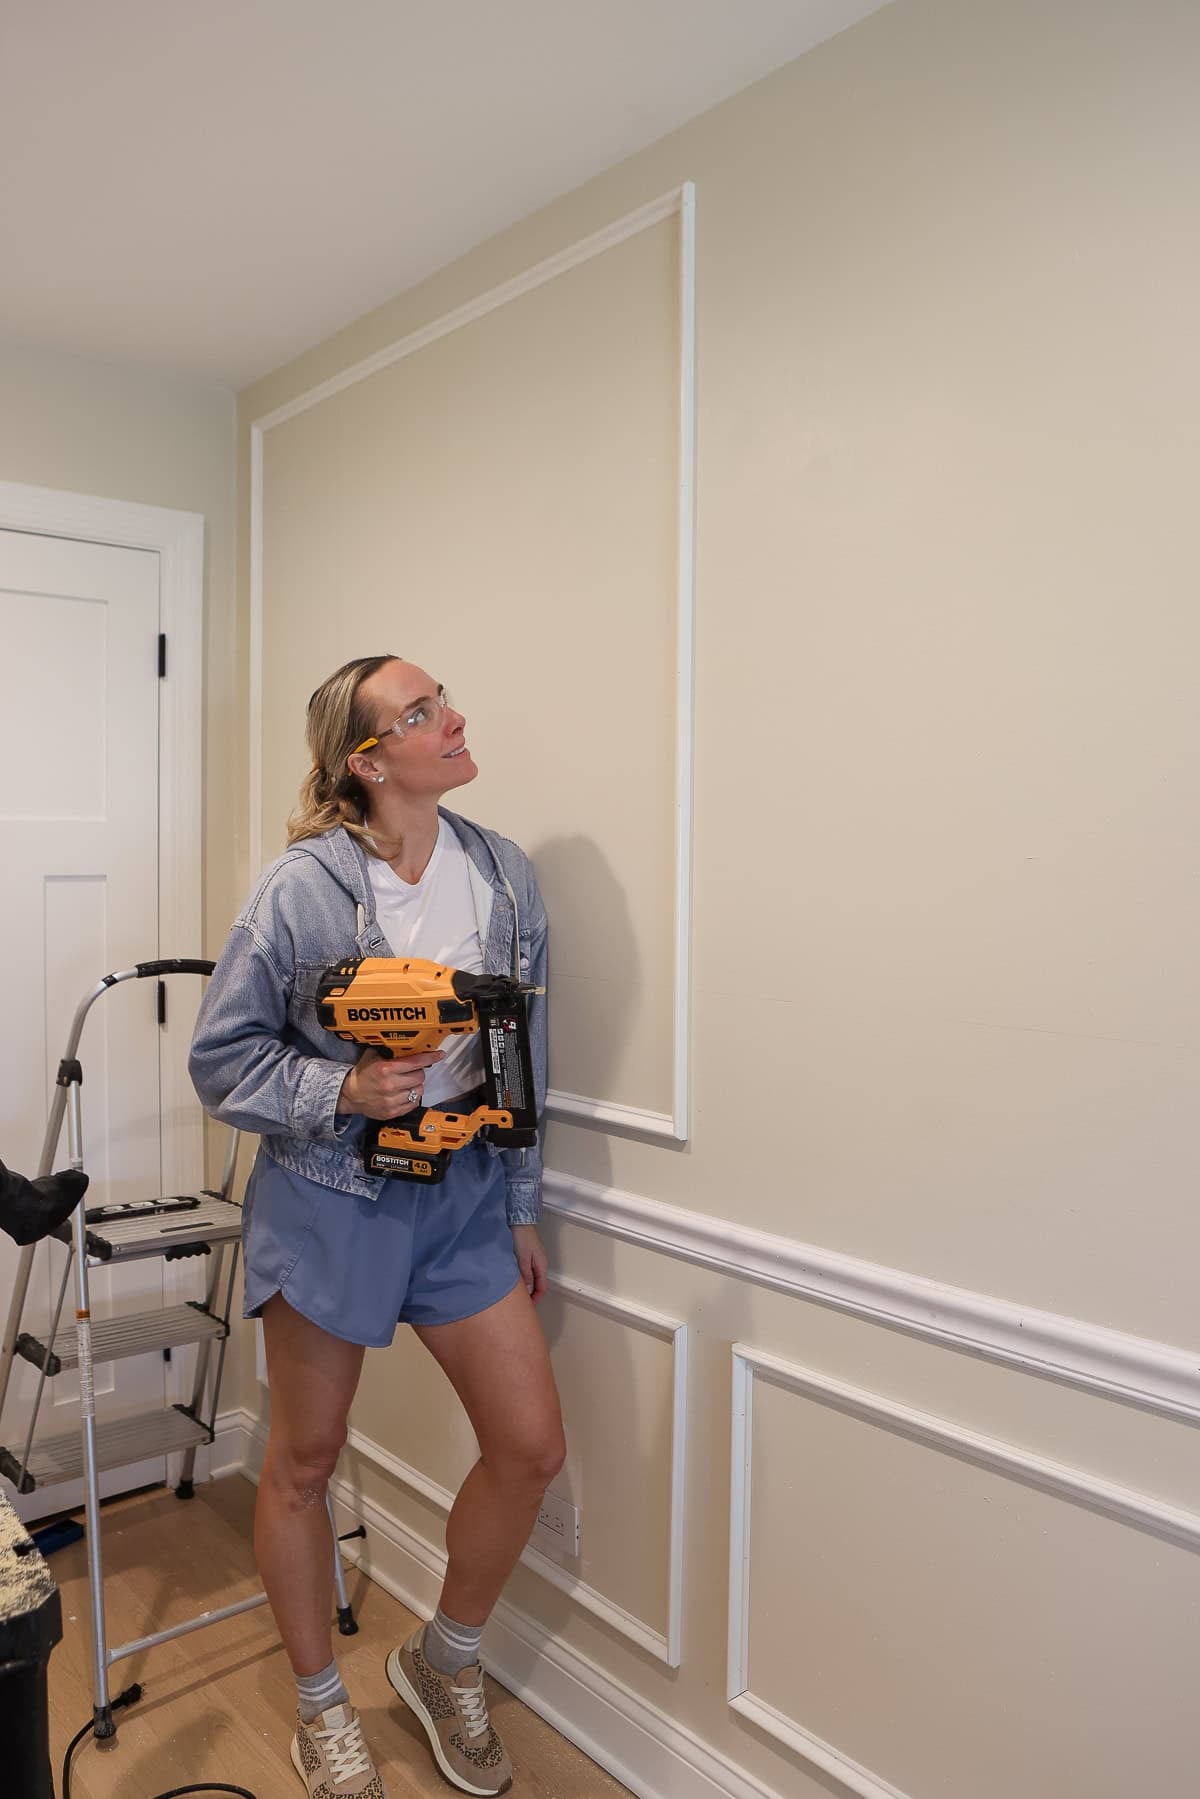
So for this office, I decided to add chair rail and picture frame molding around the entire room, and then build out one larger focal wall with additional picture frame molding above the chair rail. That wall will eventually get wallpaper inside the frames, but first I needed to get all of the molding in place.
That wallpaper project is coming next. But today, I’m sharing how I designed and installed all of the molding that laid the foundation for this space.
Quick Disclaimer

This isn’t a full step-by-step tutorial. I already have detailed posts on how to install chair rail, how to add picture frame molding, and how to use a miter saw. They walk you through all of my best tips, supplies, and every step you need to recreate this look in your space.
This post is more about the design, the layout, and how this project came together in this space.
How I Designed This Office Accent Wall

Before I picked up a single tool, I spent time figuring out how I wanted the molding to work in the space.
I knew I wanted chair rail and picture frame molding on every wall to give the room a more finished, cohesive look. But I also wanted that large wall to stand out, so I added an extra layer of picture frame molding above the chair rail there. That’s the wall that will eventually get wallpaper inside the frames.
Because the ceilings are tall and the built-ins already bring a lot of visual weight, that big blank wall needed something substantial to balance things out. This ended up feeling like the right mix—consistent around the room, but with one clear focal point.
The Layout I Used Around the Room

From there. I kept things really simple. On every wall, I added:
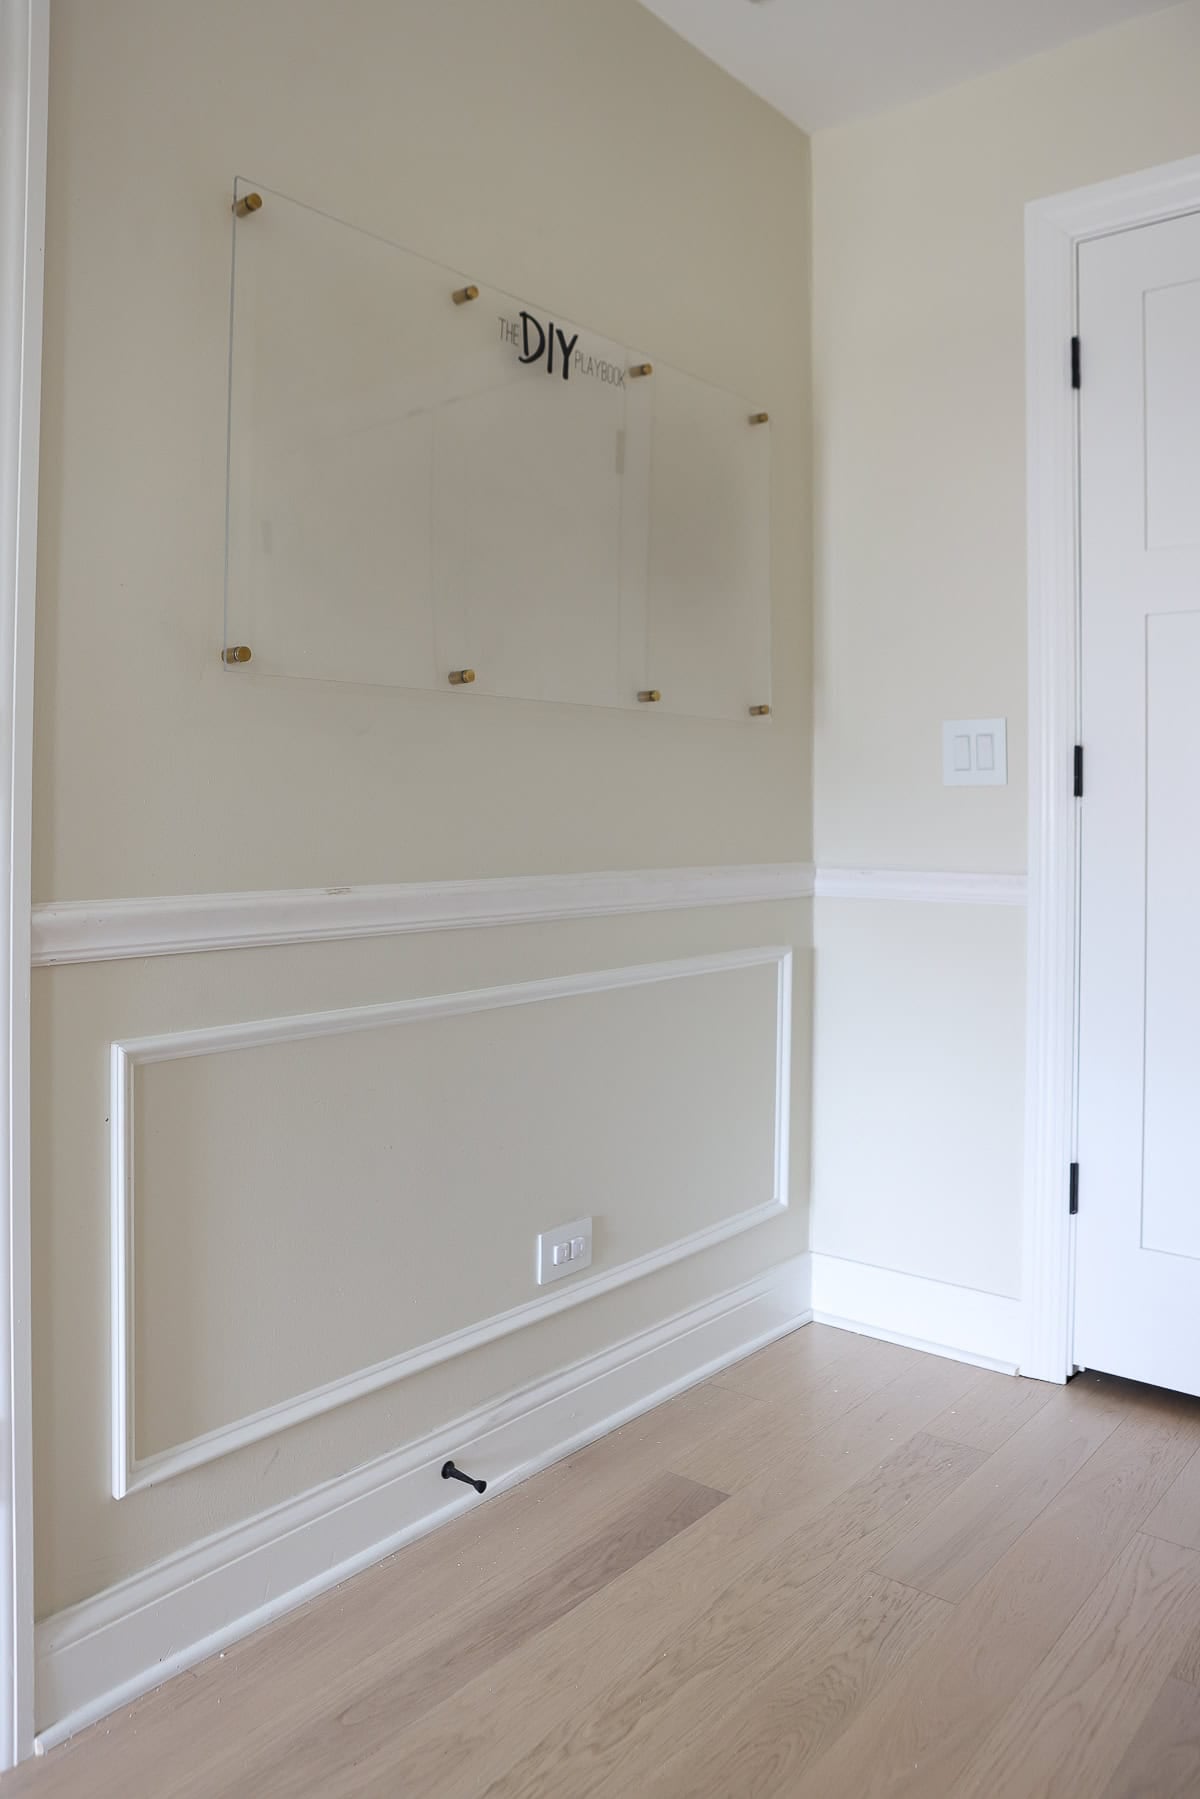
- Chair rail at the same height (about 32 inches up from the floor)
- Picture frame molding below
Then, on the large wall, I added picture frame molding above the chair rail, as well, to give it a little more presence. I also kept the box layout straightforward. The smaller walls each have one box, while the large wall has three wider boxes to better fill the space.
Once I had that mapped out, it was time to figure out the exact dimensions.
The Exact Dimensions I Used (By Wall)
My spacing stayed consistent throughout the room, but the box sizes varied based on the width of the wall, so everything felt balanced. These measurements helped the molding feel proportional across the entire wall, instead of forced.

Spacing (used everywhere)
- 4” from walls
- 4” below the chair rail
- 4” above the baseboard
- 4” between boxes
Cut a spacer (in my case, 4″) that you can use to space out all of your molding. It saves time and prevents you from having to whip out your tape measure every single time.
Wall 1 (65.5” wide)
- Box: 57.5” W x 20.5” H
Wall 2 (60” wide)

- Box: 52” W x 20” H
Long Wall (175” wide)

- Bottom 3 boxes: 53” W x 20” H
- Top 3 boxes: 53” W x 52” H
Window Wall

- Box: 55” W x 20” H (I chose to go with the width of the window).
Use painter’s tape to map this out first. It makes a huge difference before you start cutting.
How This Project Came Together
First tip…always buy more molding than you think you need. I thought I had enough and ended up just a tiny bit short on the picture frame pieces. I made it work with scraps because I didn’t feel like going back to the store, but learn from me here. Just buy extra!
I broke this project up over a few days, which made it feel way more manageable.
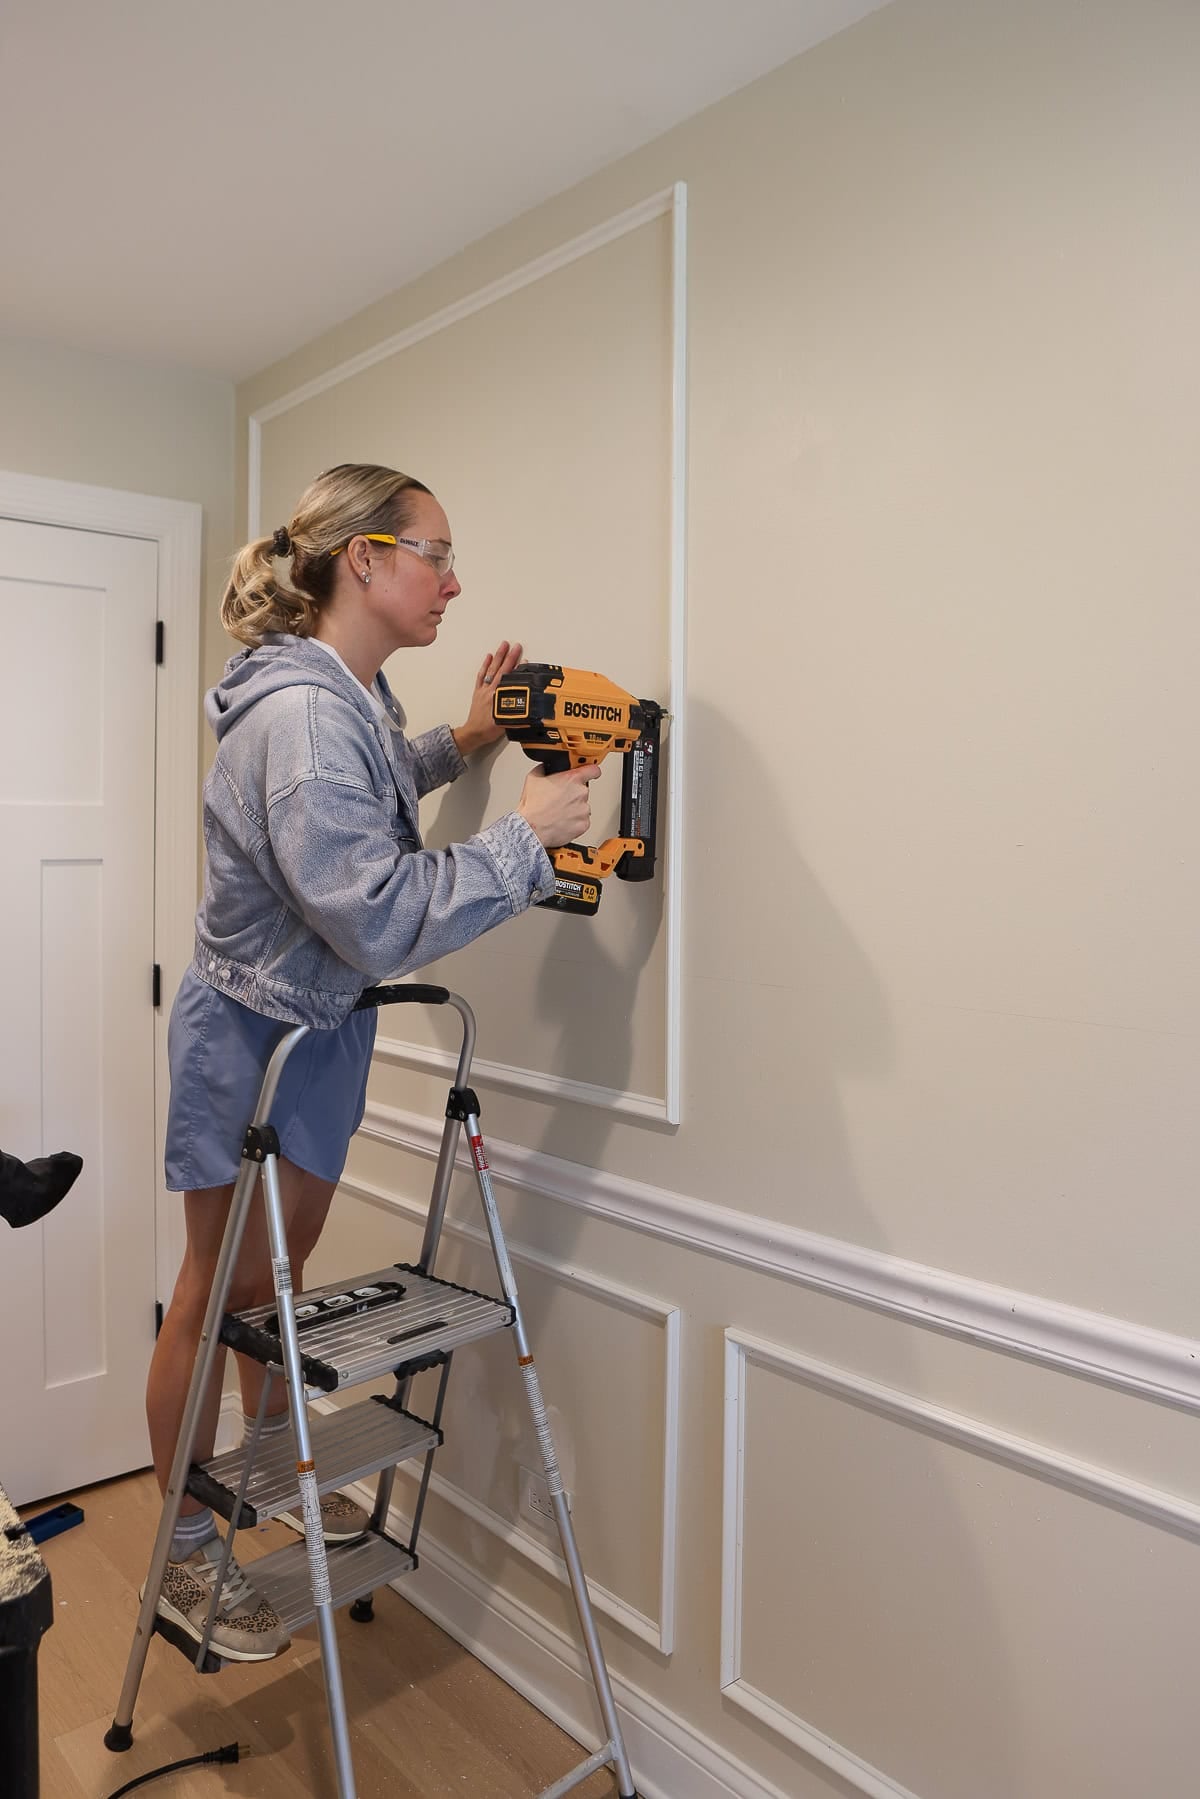
- Day 1: Installed the chair rail (about 2 hours)
- Day 2: Added the picture frame molding (4–6 hours)
- Day 3: Filled nail holes and caulked (around 2 hours)
- Day 4: Painted (two people, about 9am–2pm)

This is a pretty simple DIY project once you get the hang of it, especially if you’ve used a miter saw before. Your miter saw and a nail gun do most of the work here. I also used a laser level this time, which made it much easier to keep everything straight.
There was one thing I did differently this time, I skipped wood glue. In the past, I’ve always used it on the back of my molding, but this time I just used my nail gun, and it held up totally fine. Between that and caulk, everything feels really secure.

And speaking of it…caulk will save us! Not every wall is perfectly square or level, especially in older homes, so don’t stress if your cuts aren’t perfect. Caulk fills gaps, smooths everything out, and makes the finished wall look seamless.
Once every single piece was installed and finished, it was time for the part that made the biggest difference.
Painting The Molding

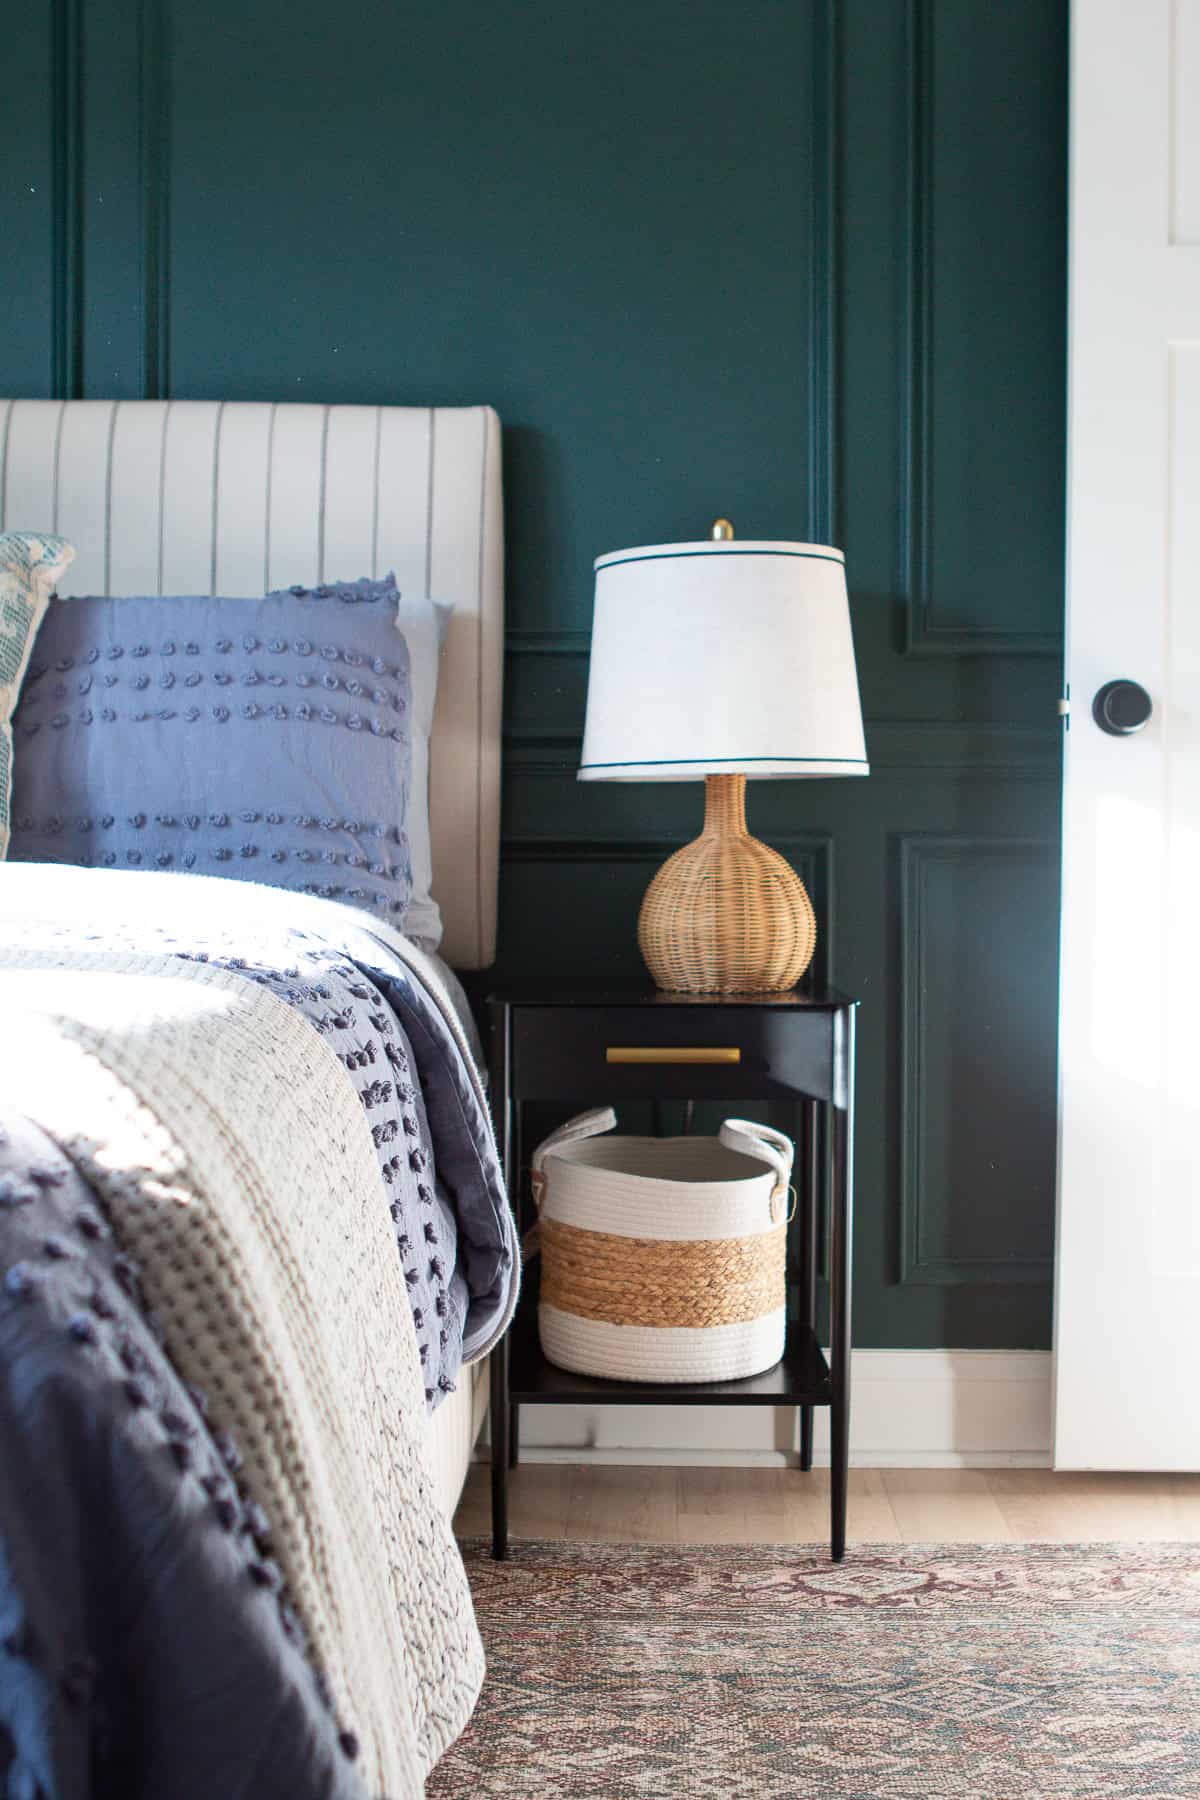
The molding looked good right away, but once the paint went on, the entire room shifted. It instantly felt more finished, more intentional, and just more elevated.
I used Valspar “Chimney Smoke” in a satin finish, which is the same color as my built-ins. I actually had leftover paint, so it matched perfectly and made everything feel really cohesive.
We ended up doing three coats, and I had my mom come over to help because it was a lot of surface area. I definitely recommend having a second set of hands if you can!

The darker color does make the room feel a little smaller, but in the best way. Before, it felt really empty and kind of cold—especially after I removed the wallpaper and cleared everything out. Now it feels warmer, cozier, and like a space I actually want to spend time in.
The darker color paired with the molding adds just enough contrast to create a bold statement without overwhelming the space. It still lets plenty of natural light bounce around the room, but adds a lot more depth.
What’s Next for This Space
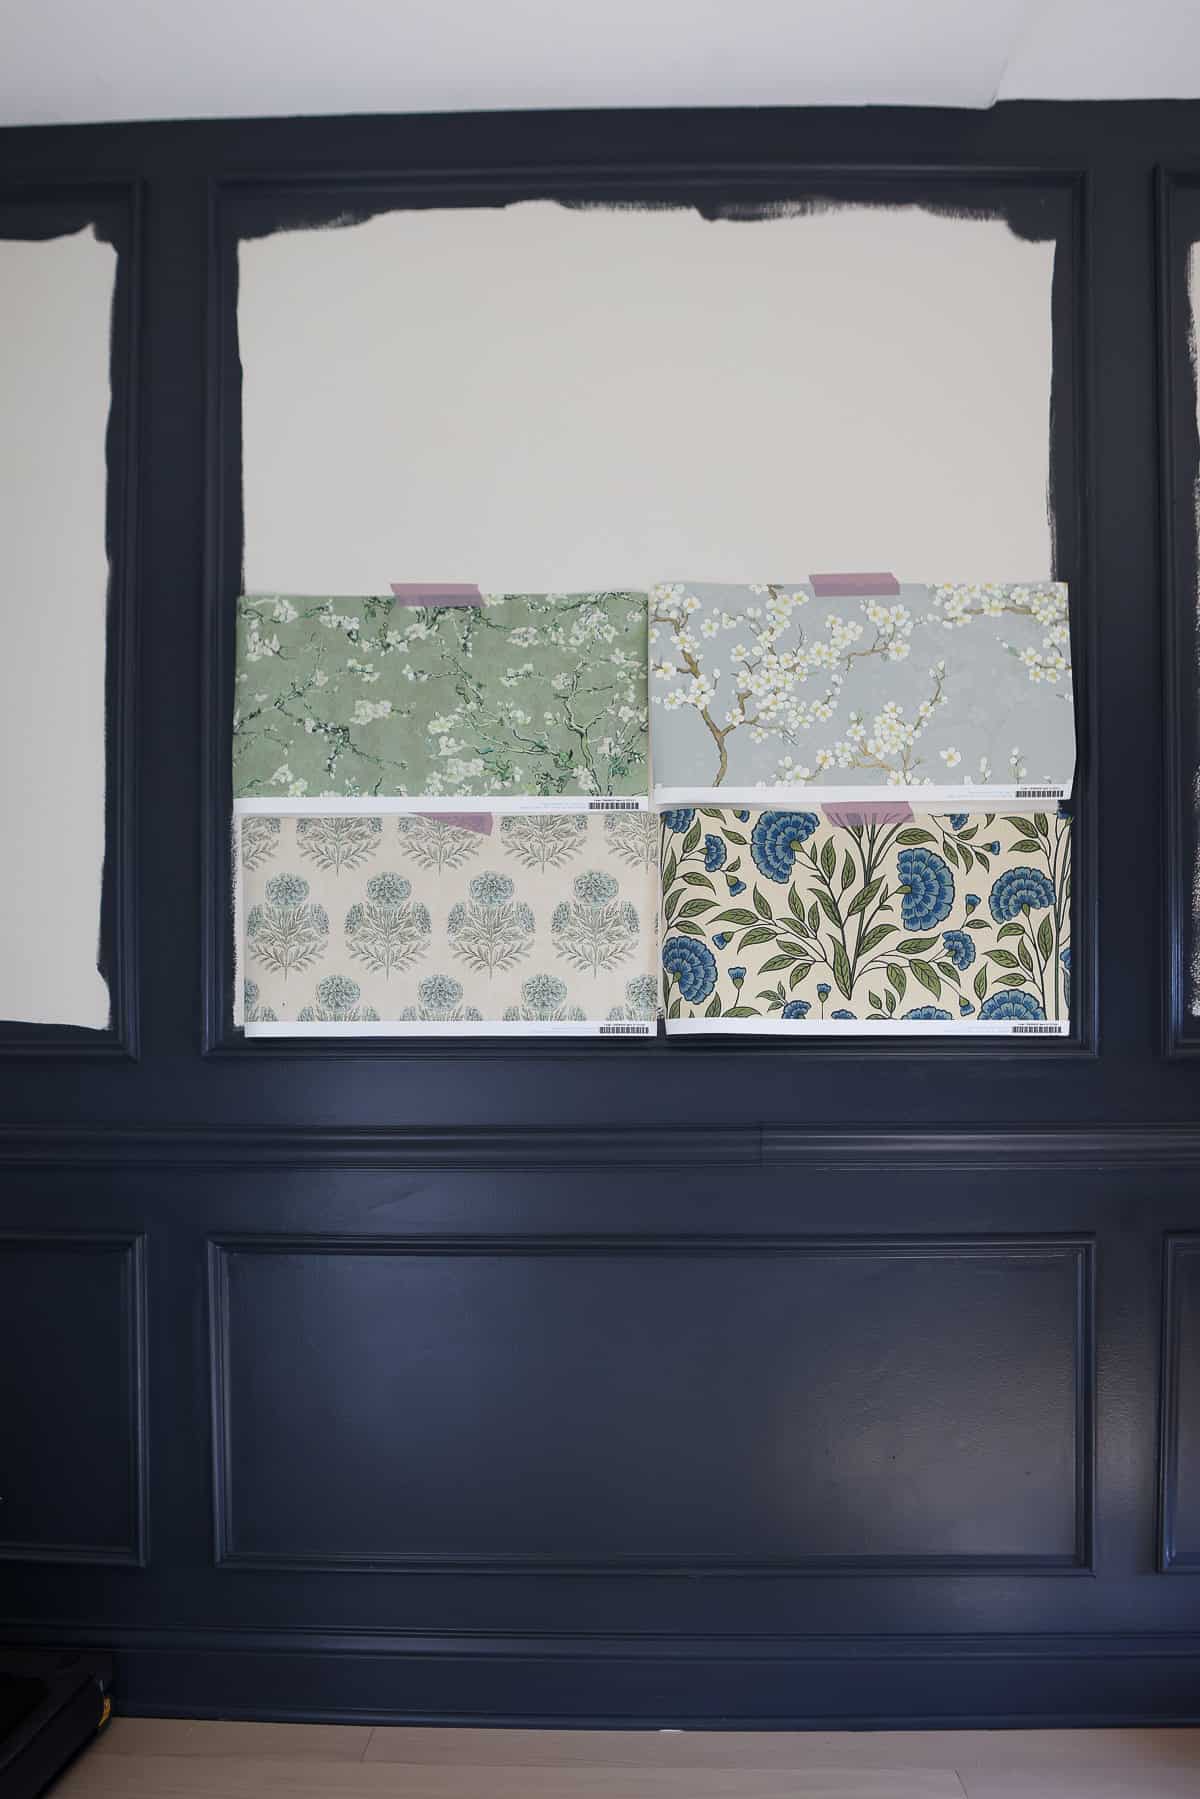
Next up is wallpaper inside the picture frame molding on the accent wall, and I’m very excited about this one. I think it’s going to add just the right amount of pattern and personality without overwhelming the space. I’m ready for this room to feel like a boutique hotel.
Update: Come see the wallpaper inside the picture frame molding right here. It looks so good!
This kind of trim accent wall works in so many spaces, too, from a home office, like this, to a dining room, living room, or even a master bedroom. If you’ve been thinking about adding molding to your home, this is your sign. It looks like a big project, but once you break it down, it’s totally doable.


