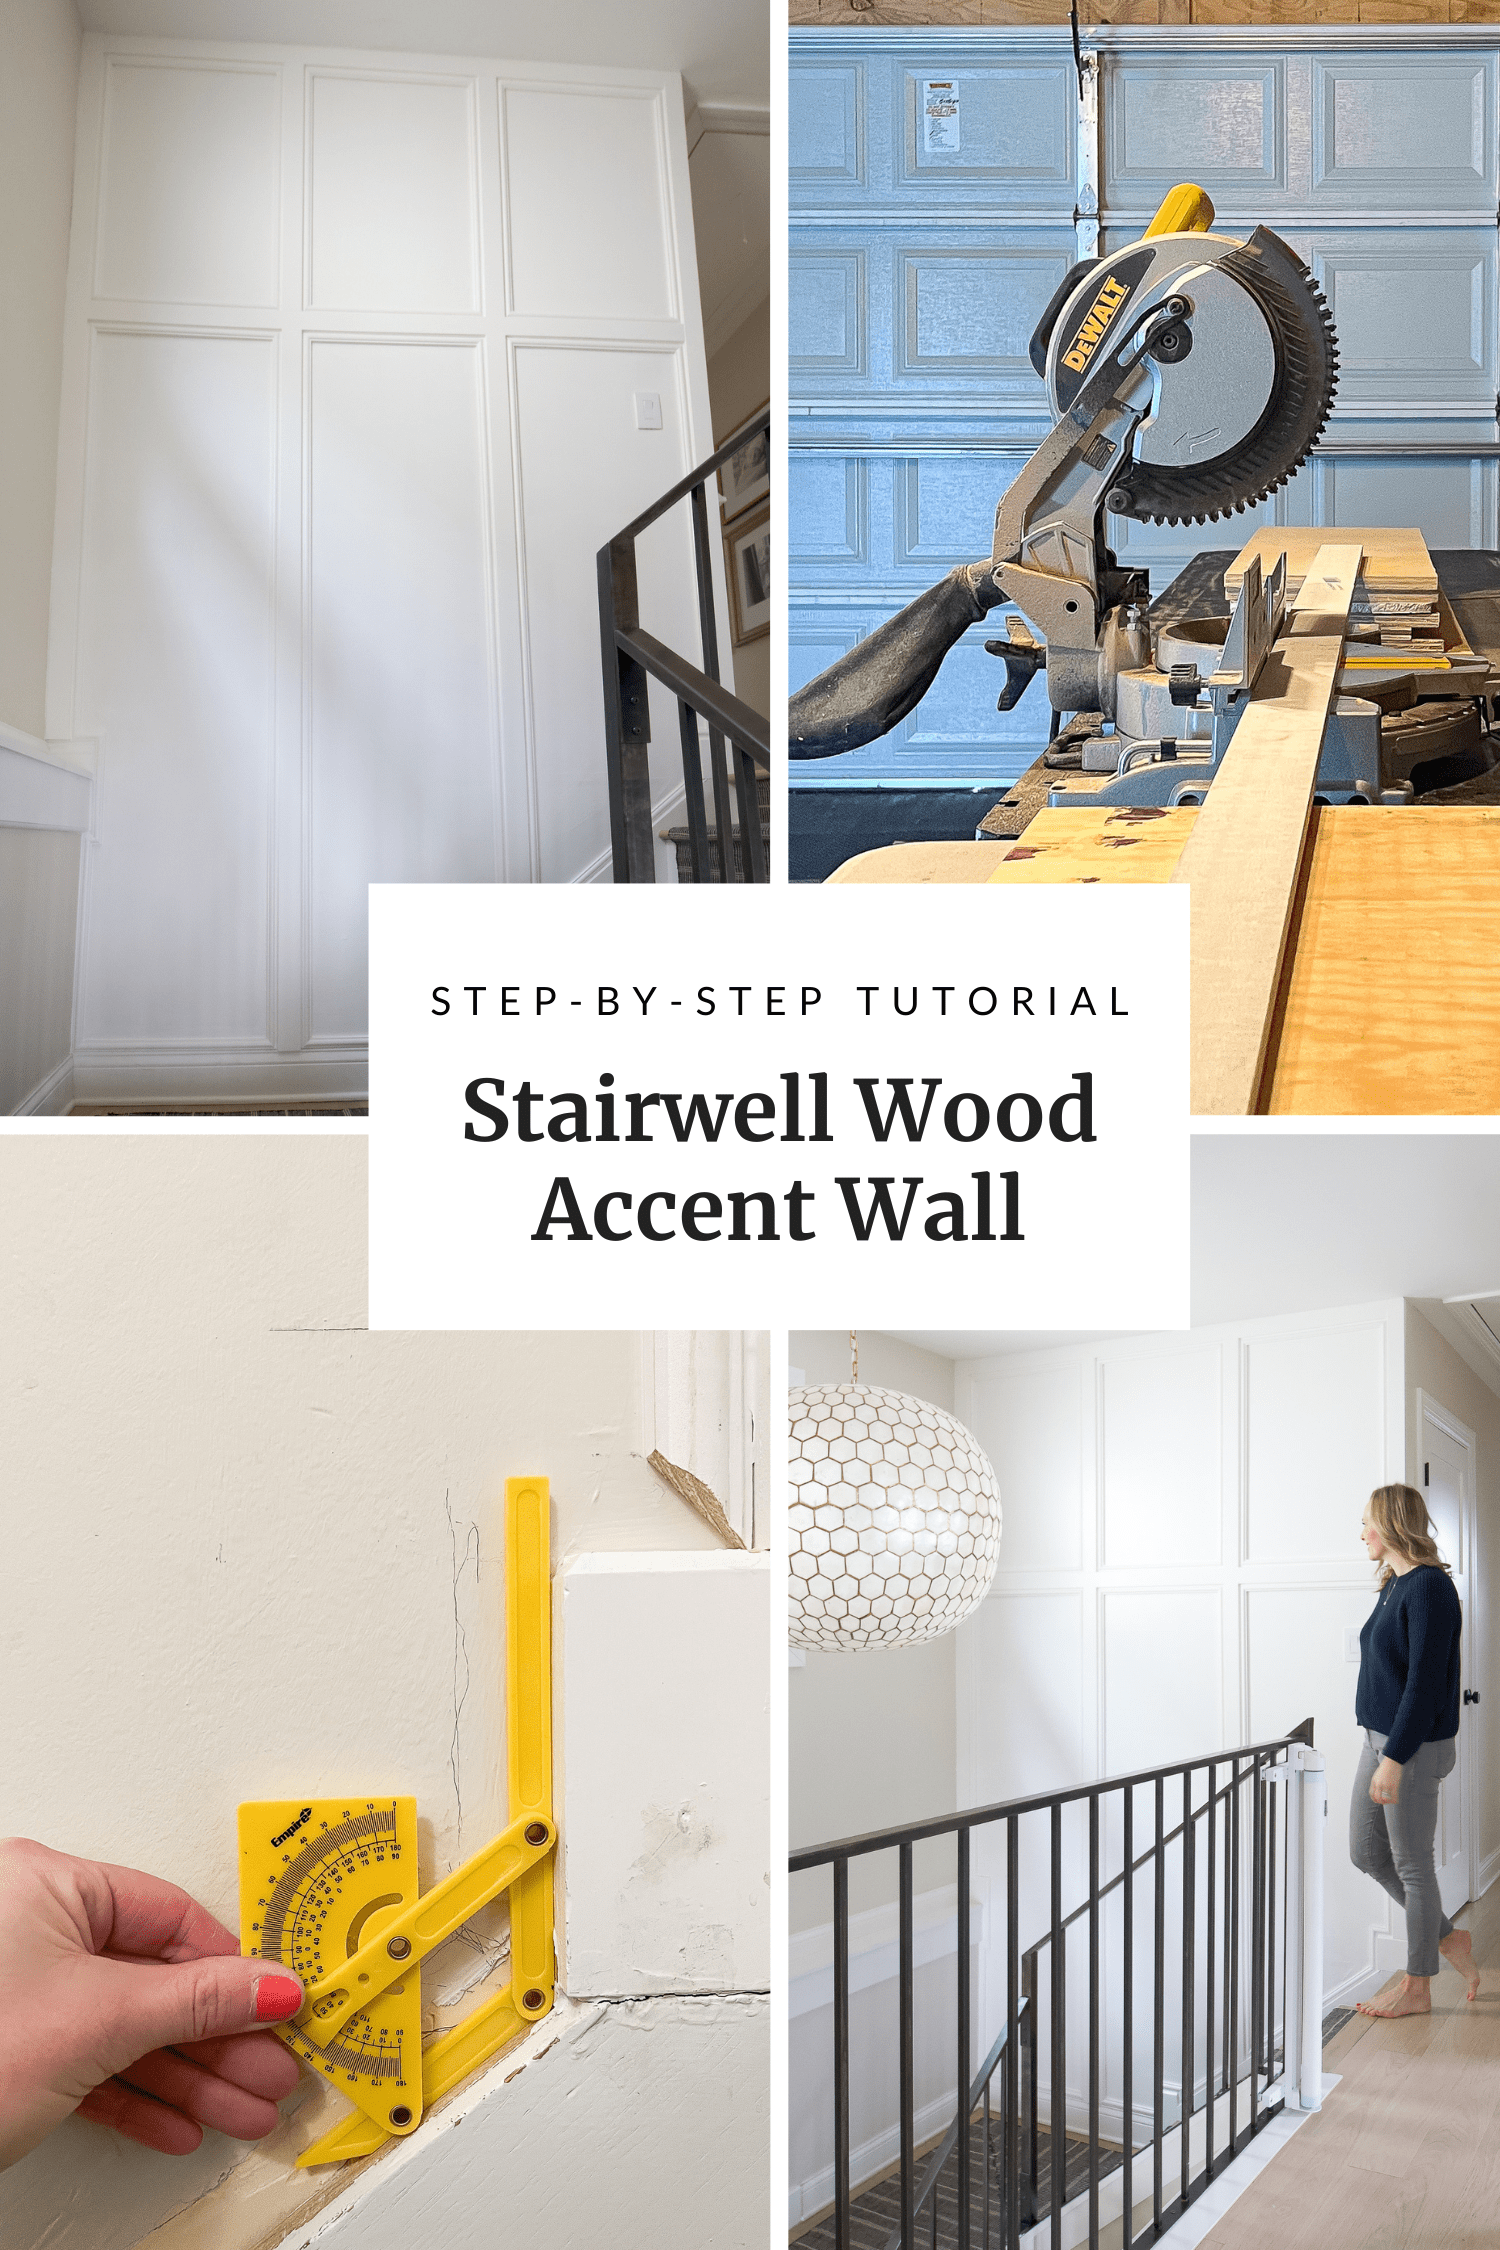
Our New Stairwell Accent Wall
Back in January, I shared my design plan for our new stairwell accent wall. I’m happy to report that the project is complete AND I’m alive and well, albeit a tad sore, from all of the up and down, using the scaffolding.
Let’s Backtrack…
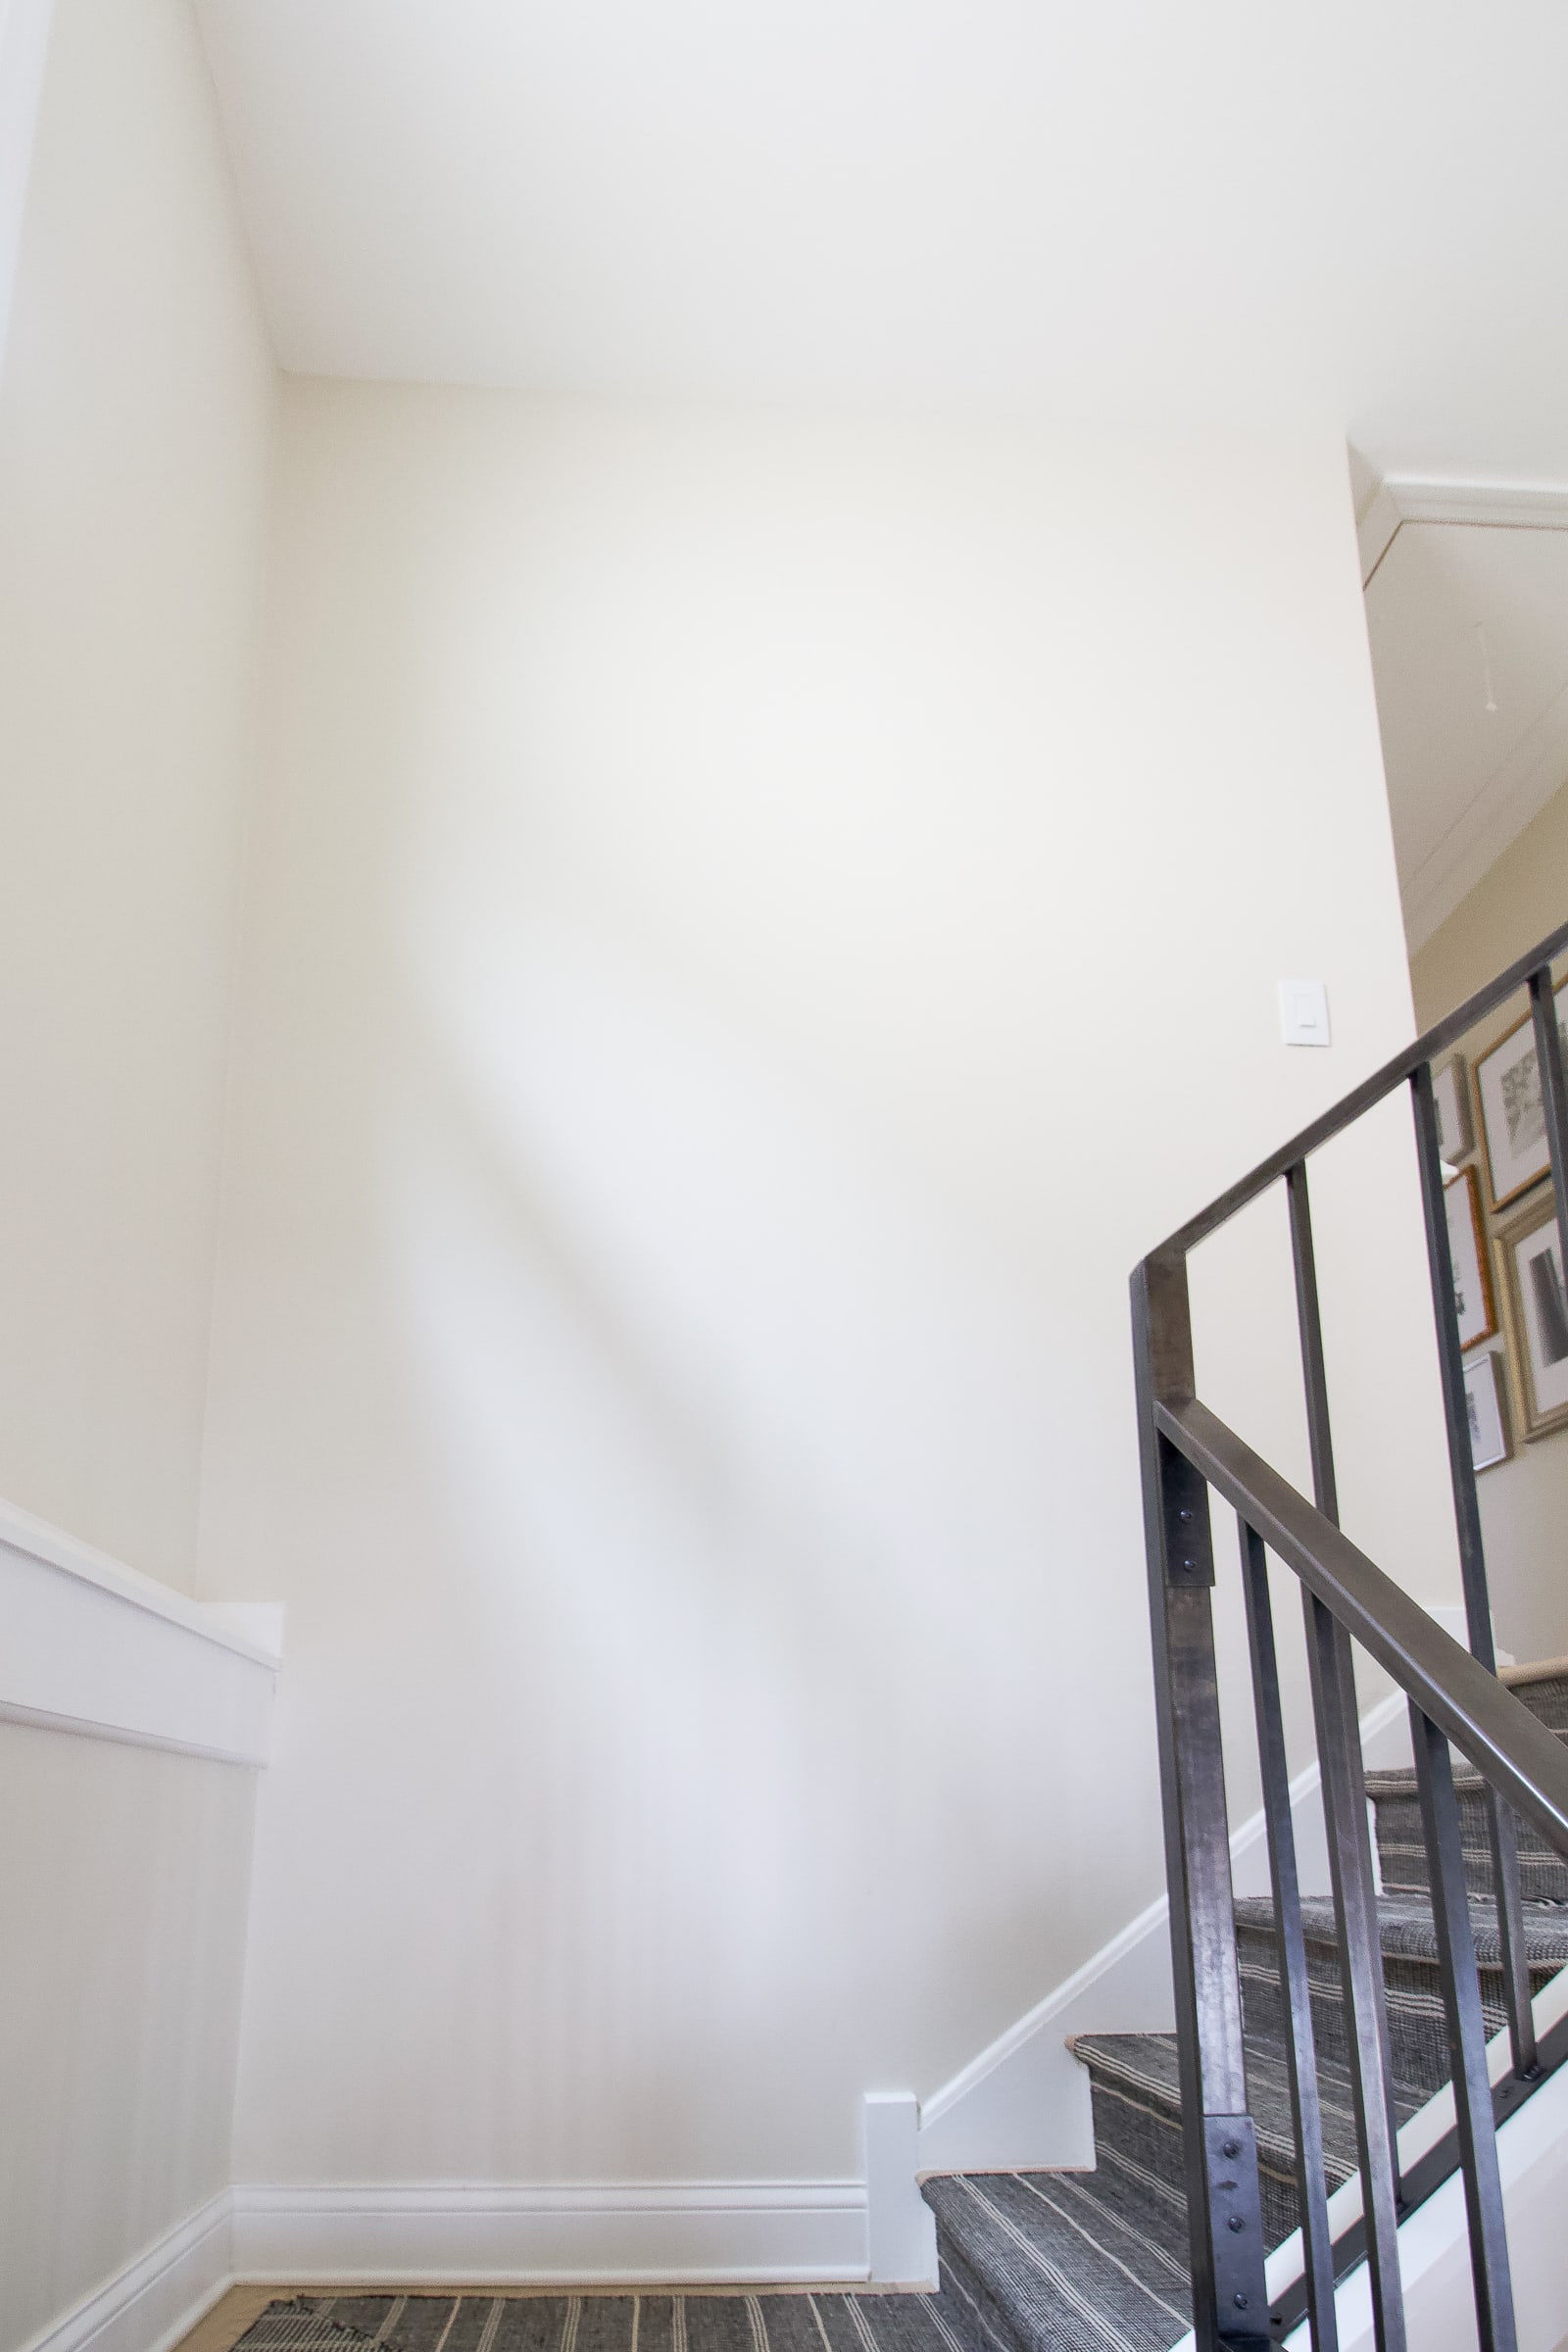
If you missed it, I have a large blank wall in our stairwell, leading from the first to second floor of our home, that I’ve always wanted to jazz up with some wood molding. I kept putting this project off because I couldn’t wrap my head around the logistics. Sure, I could easily add a wood accent wall since I’ve done many before, but how was it going to work on such a large scale?

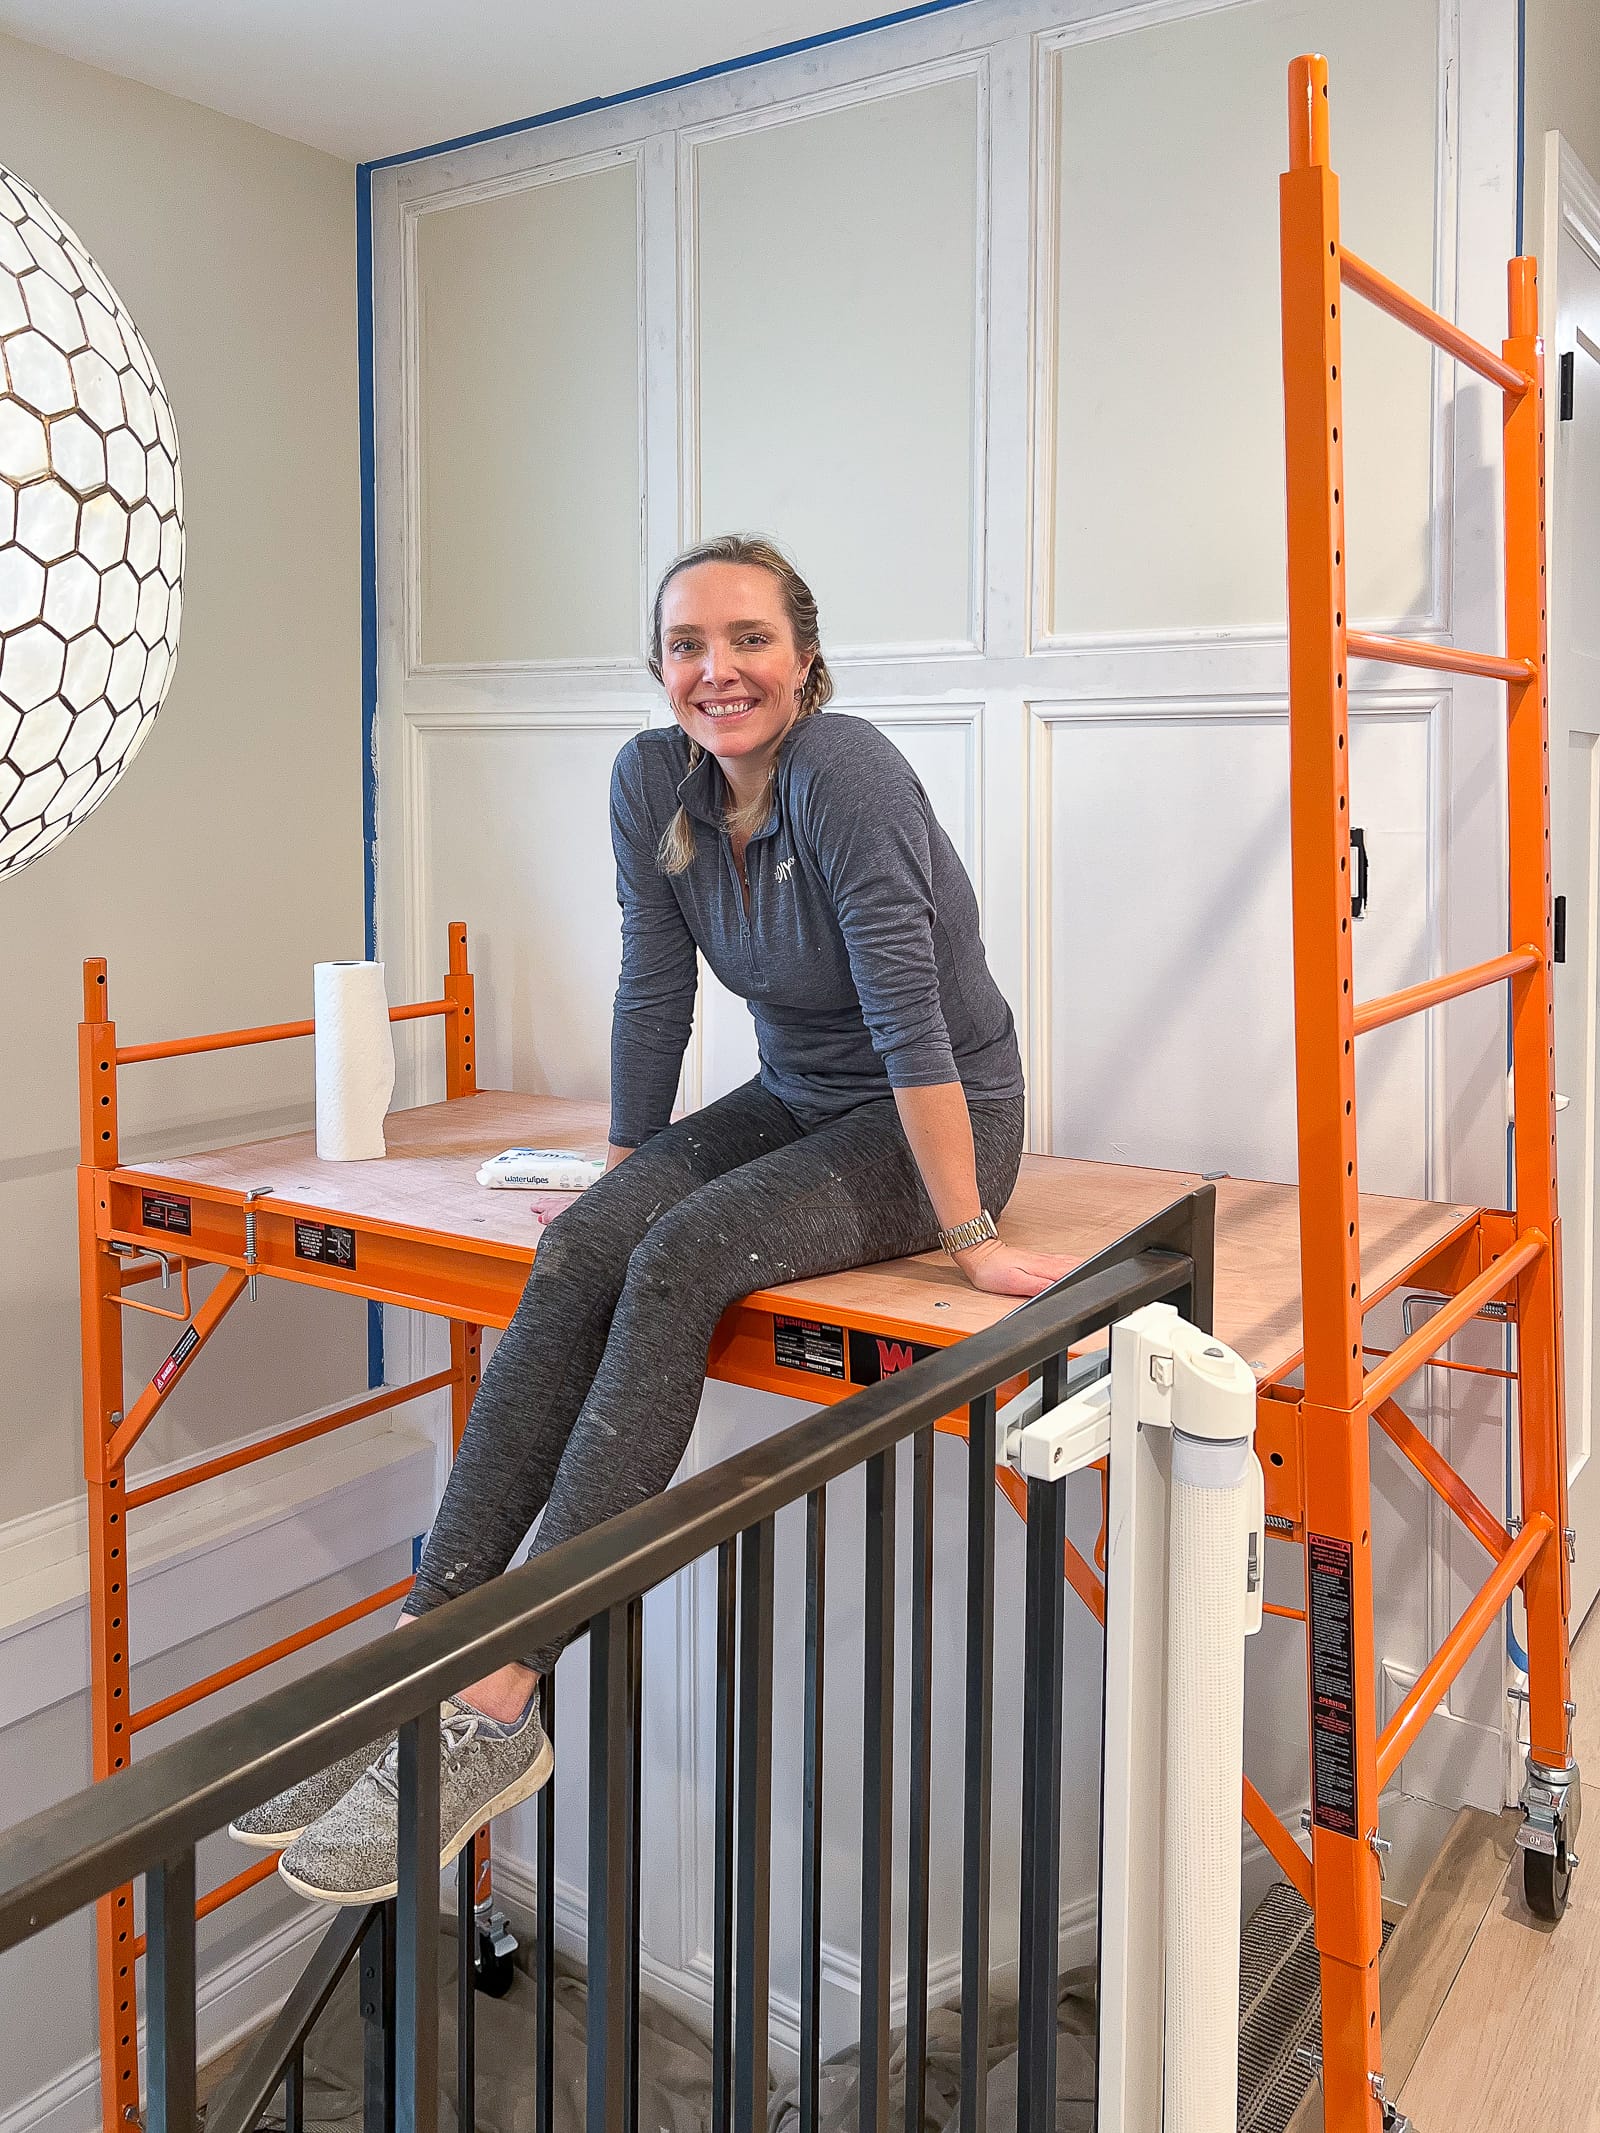
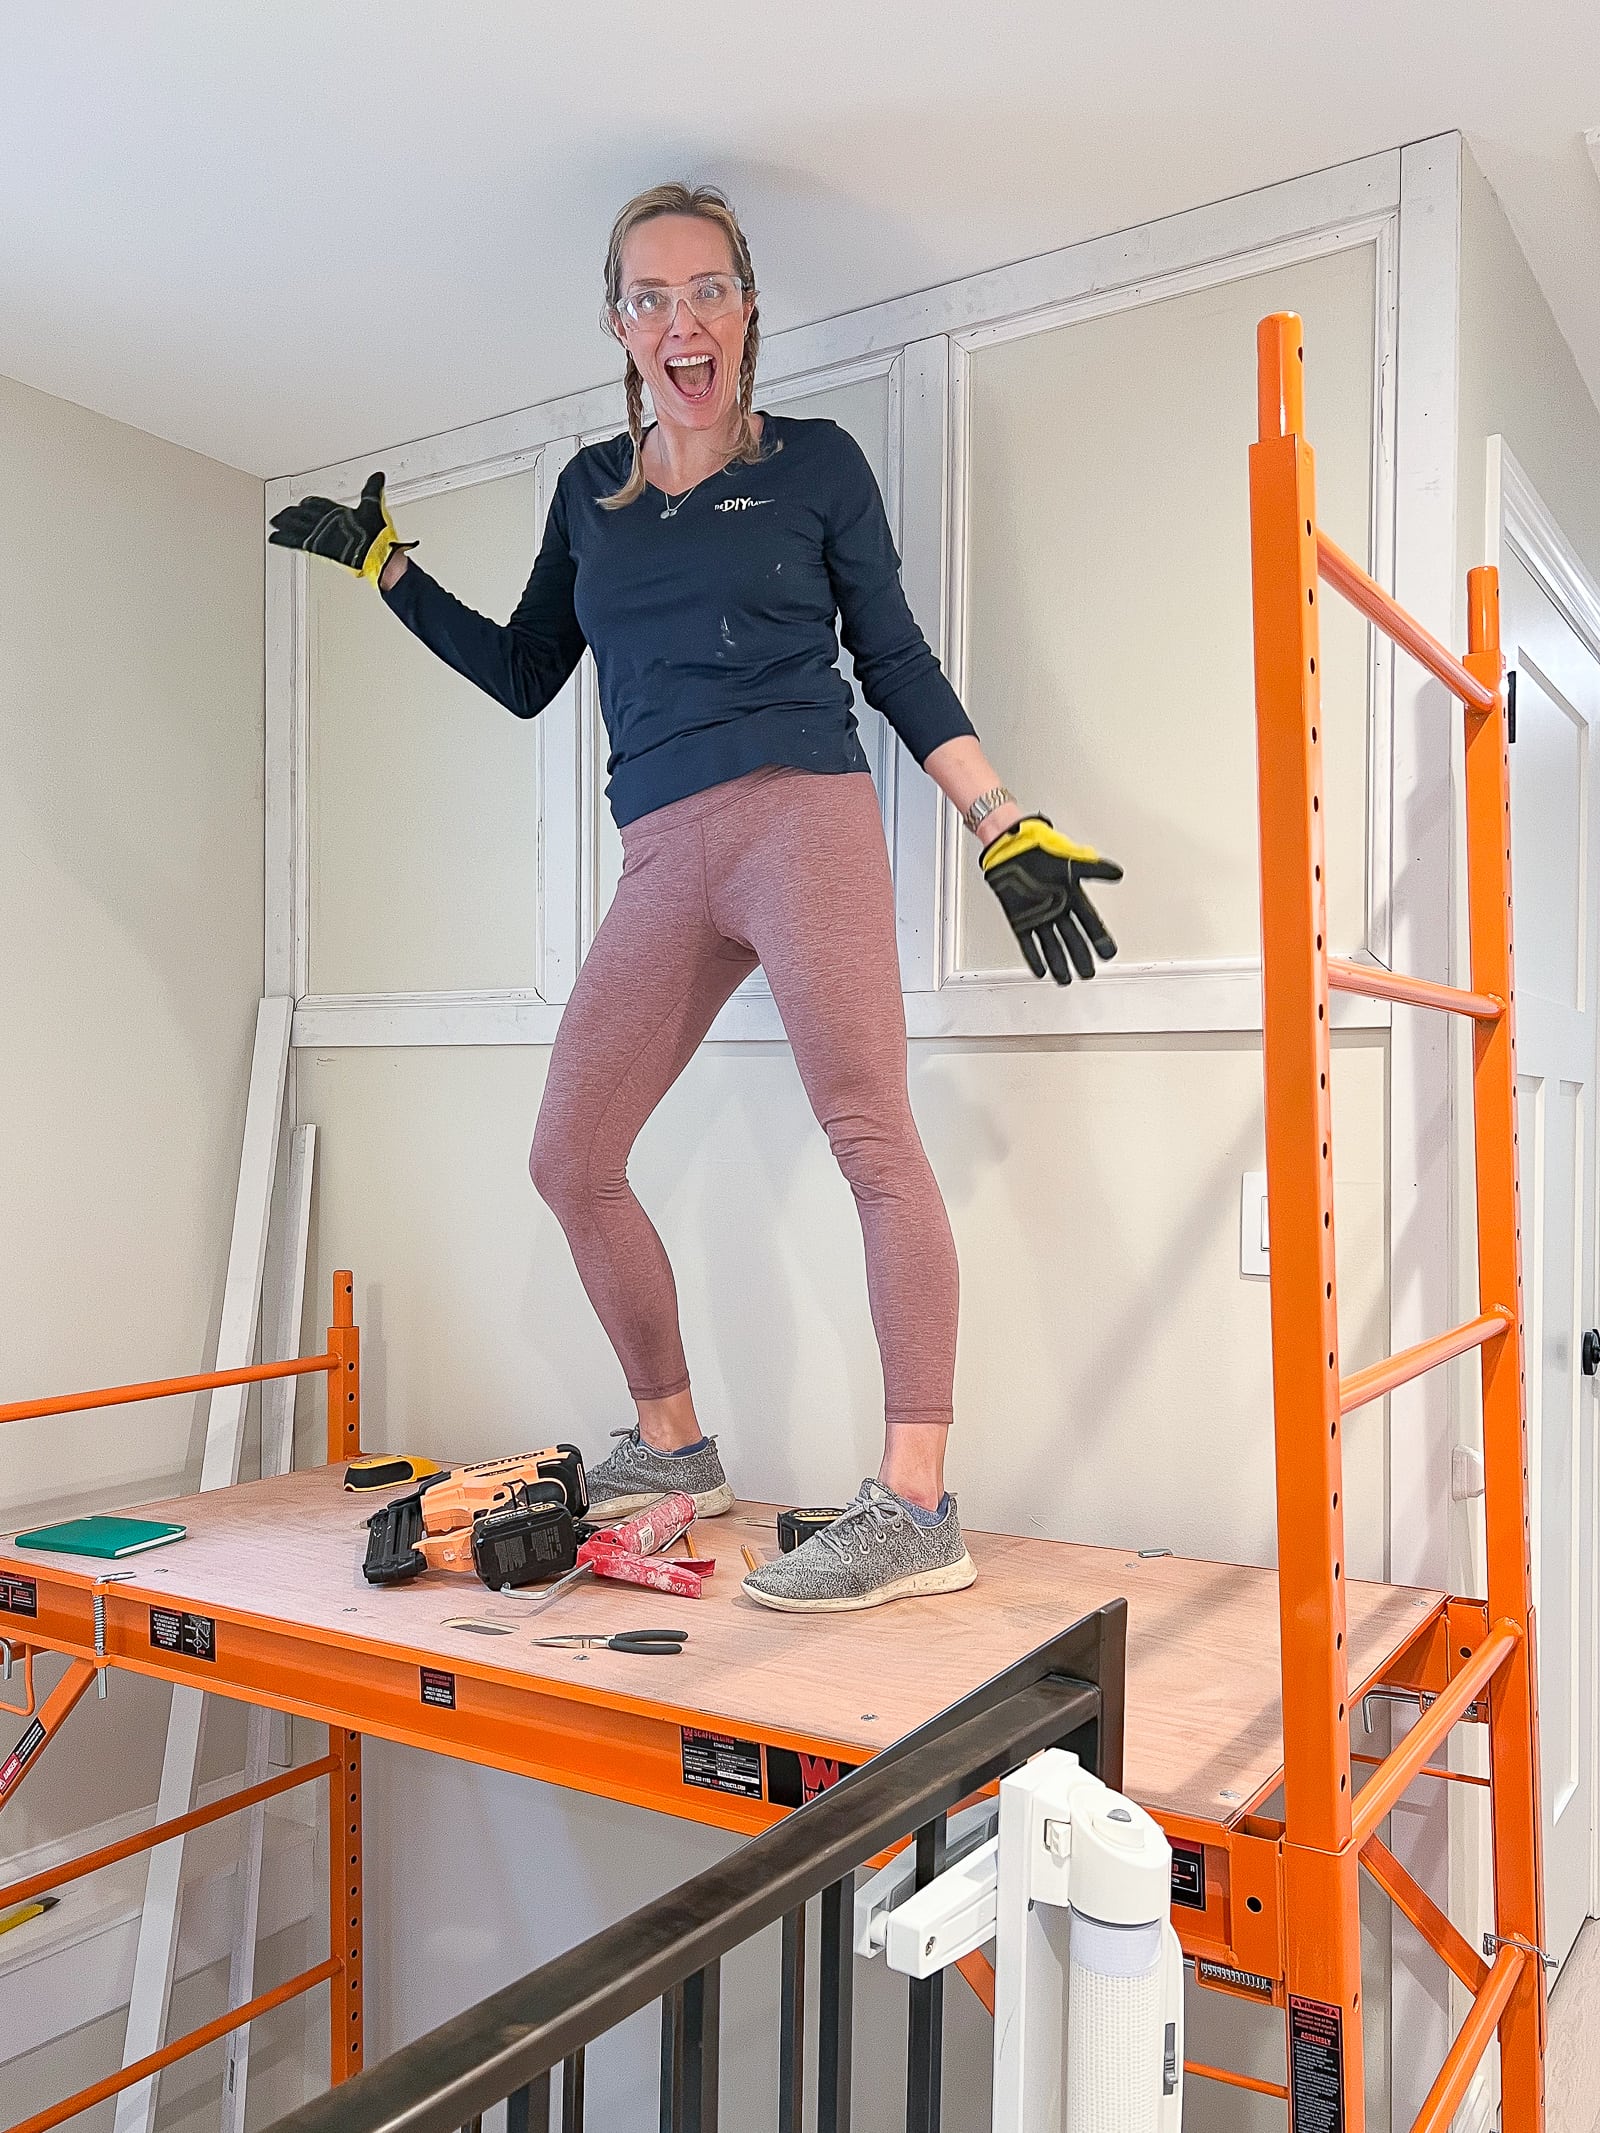
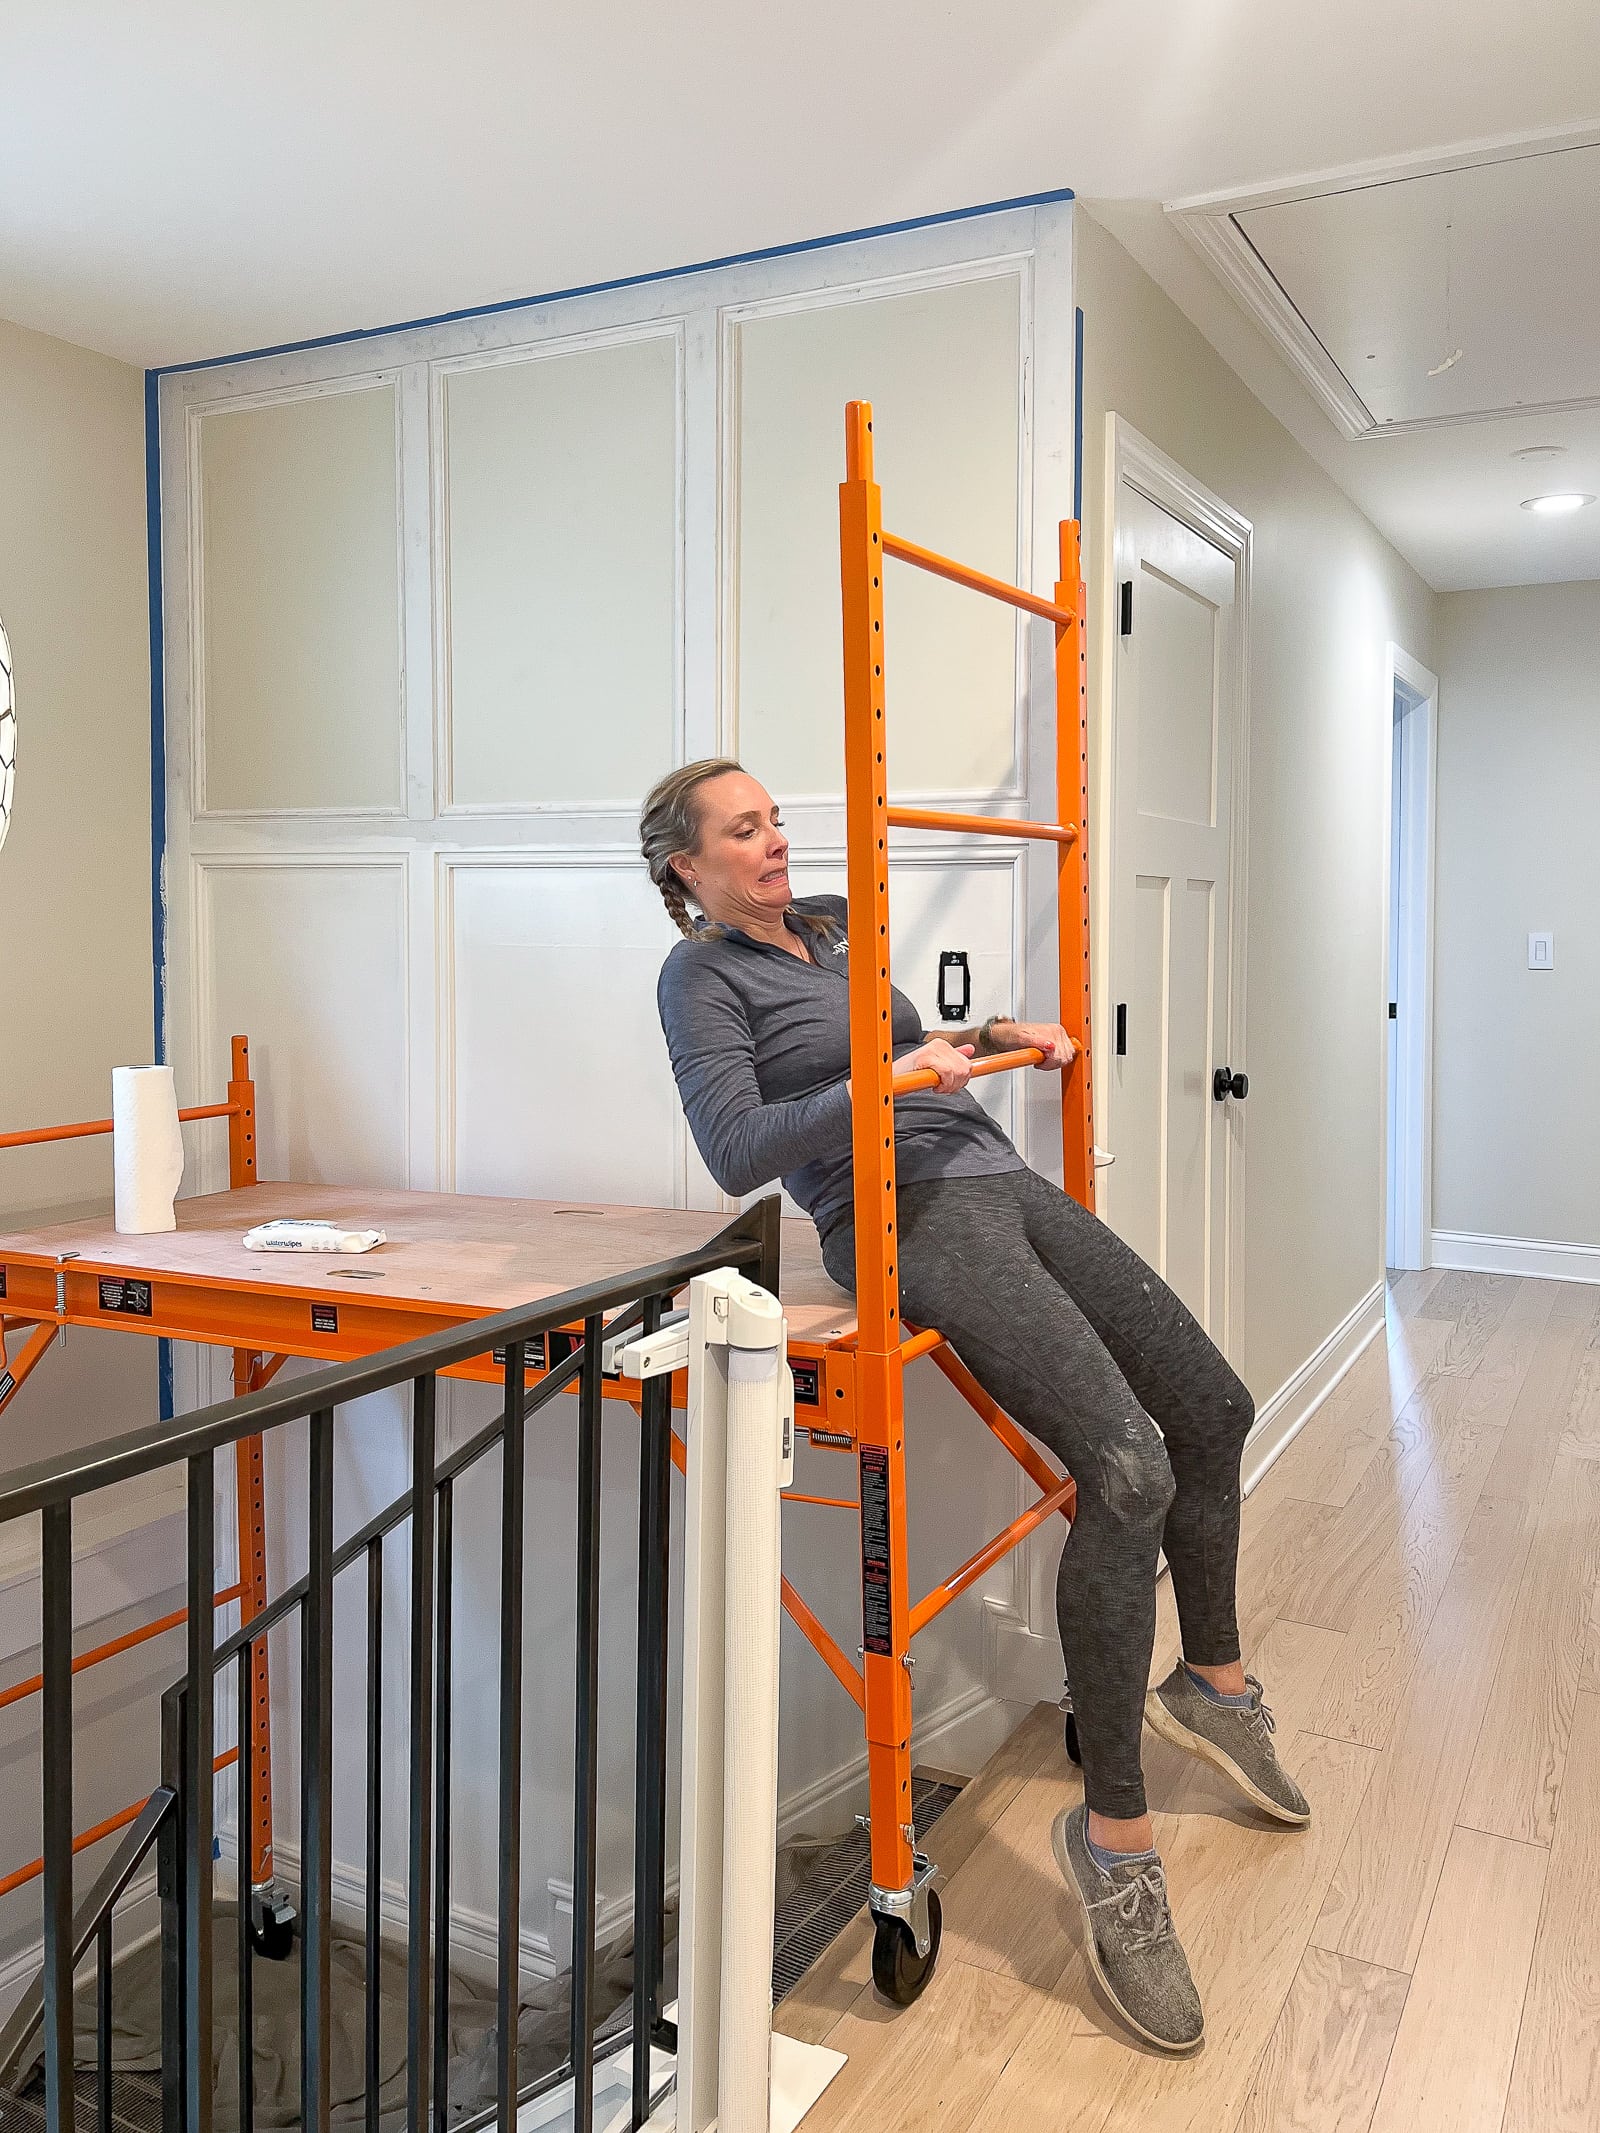
In the end, I purchased this scaffolding so I could safely reach the high portion of the wall without using a ladder. I had a few worried followers tell me that I should maybe hire this one out, but I know my body and I pride myself on being safe when it comes to DIY. I’ve used saws, nail guns, and worked on ladders before, and I take safety very seriously. I was confident that I could do this project myself. I will say that if you’re at all afraid of heights, this might be a project that you want to sit out!
Stairwell Accent Wall – The Supplies
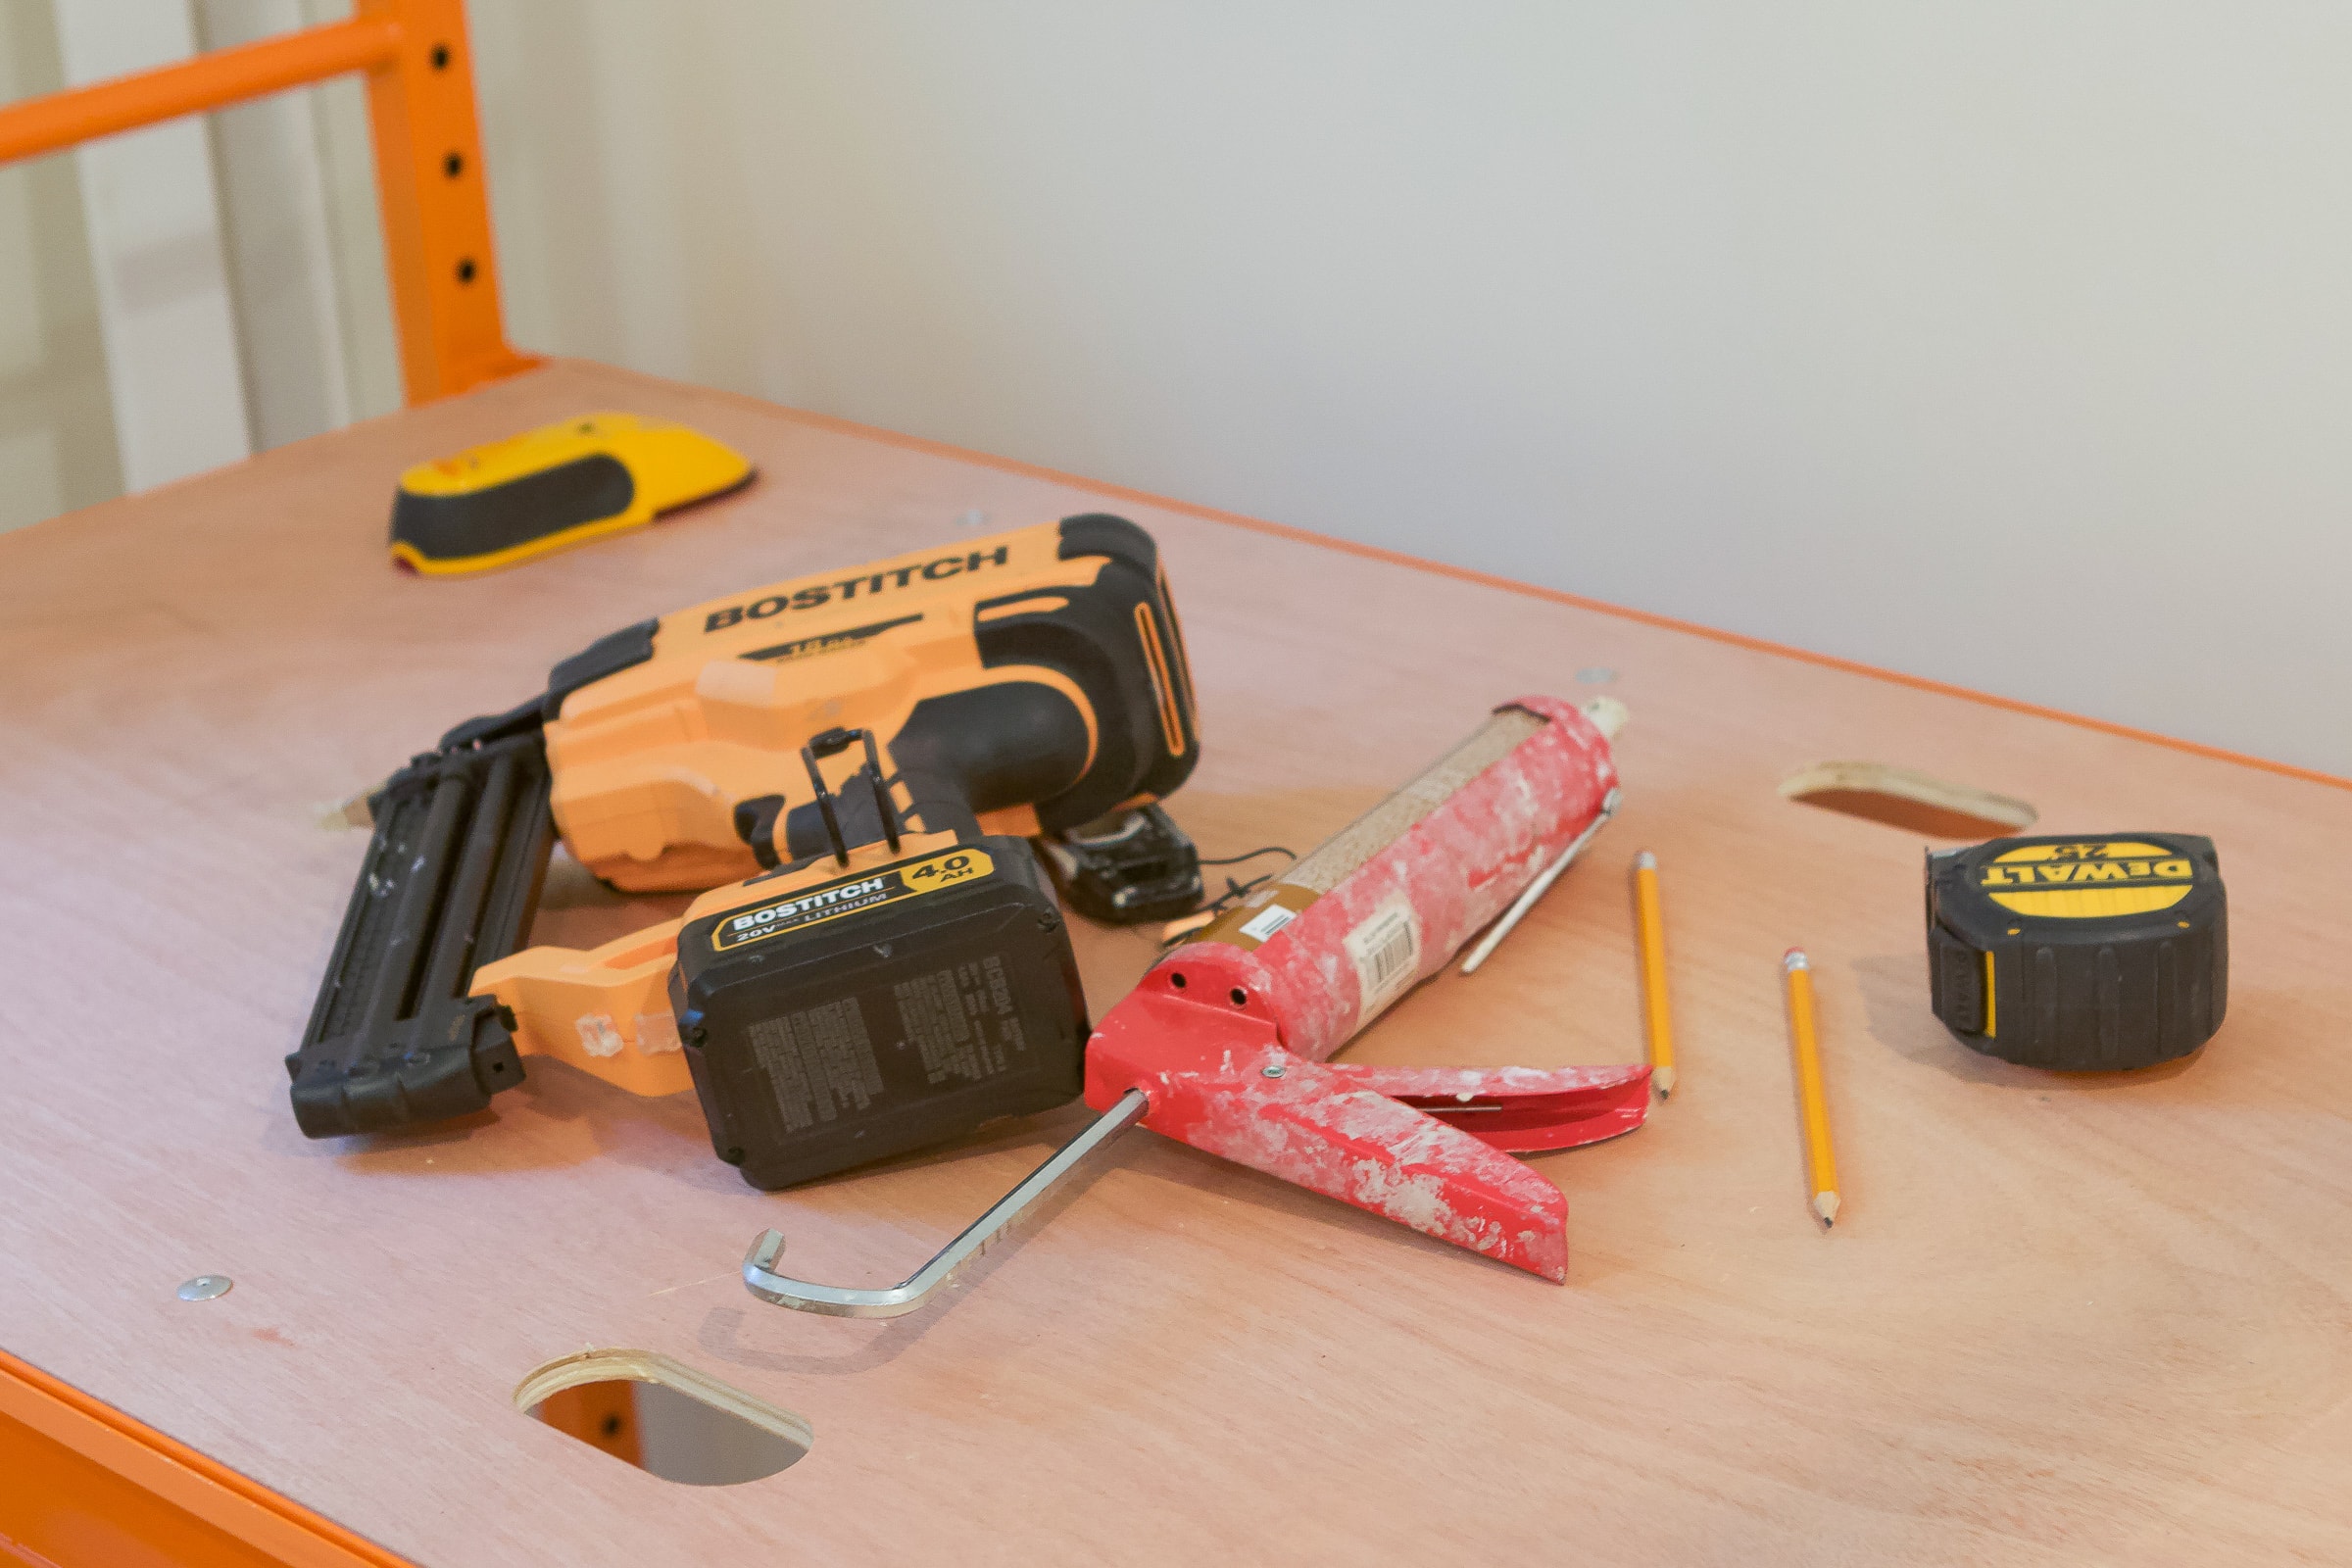
These supplies are similar to what I have used in the past for woodworking projects here on the blog. The additional supplies are the scaffolding and the protractor, used for angled cuts.
- 1×3 MDF
- Molding
- Scaffolding
- Paintable Caulk (white)
- Liquid Nails
- Brad Nailer
- Caulk Gun
- Painter’s Putty
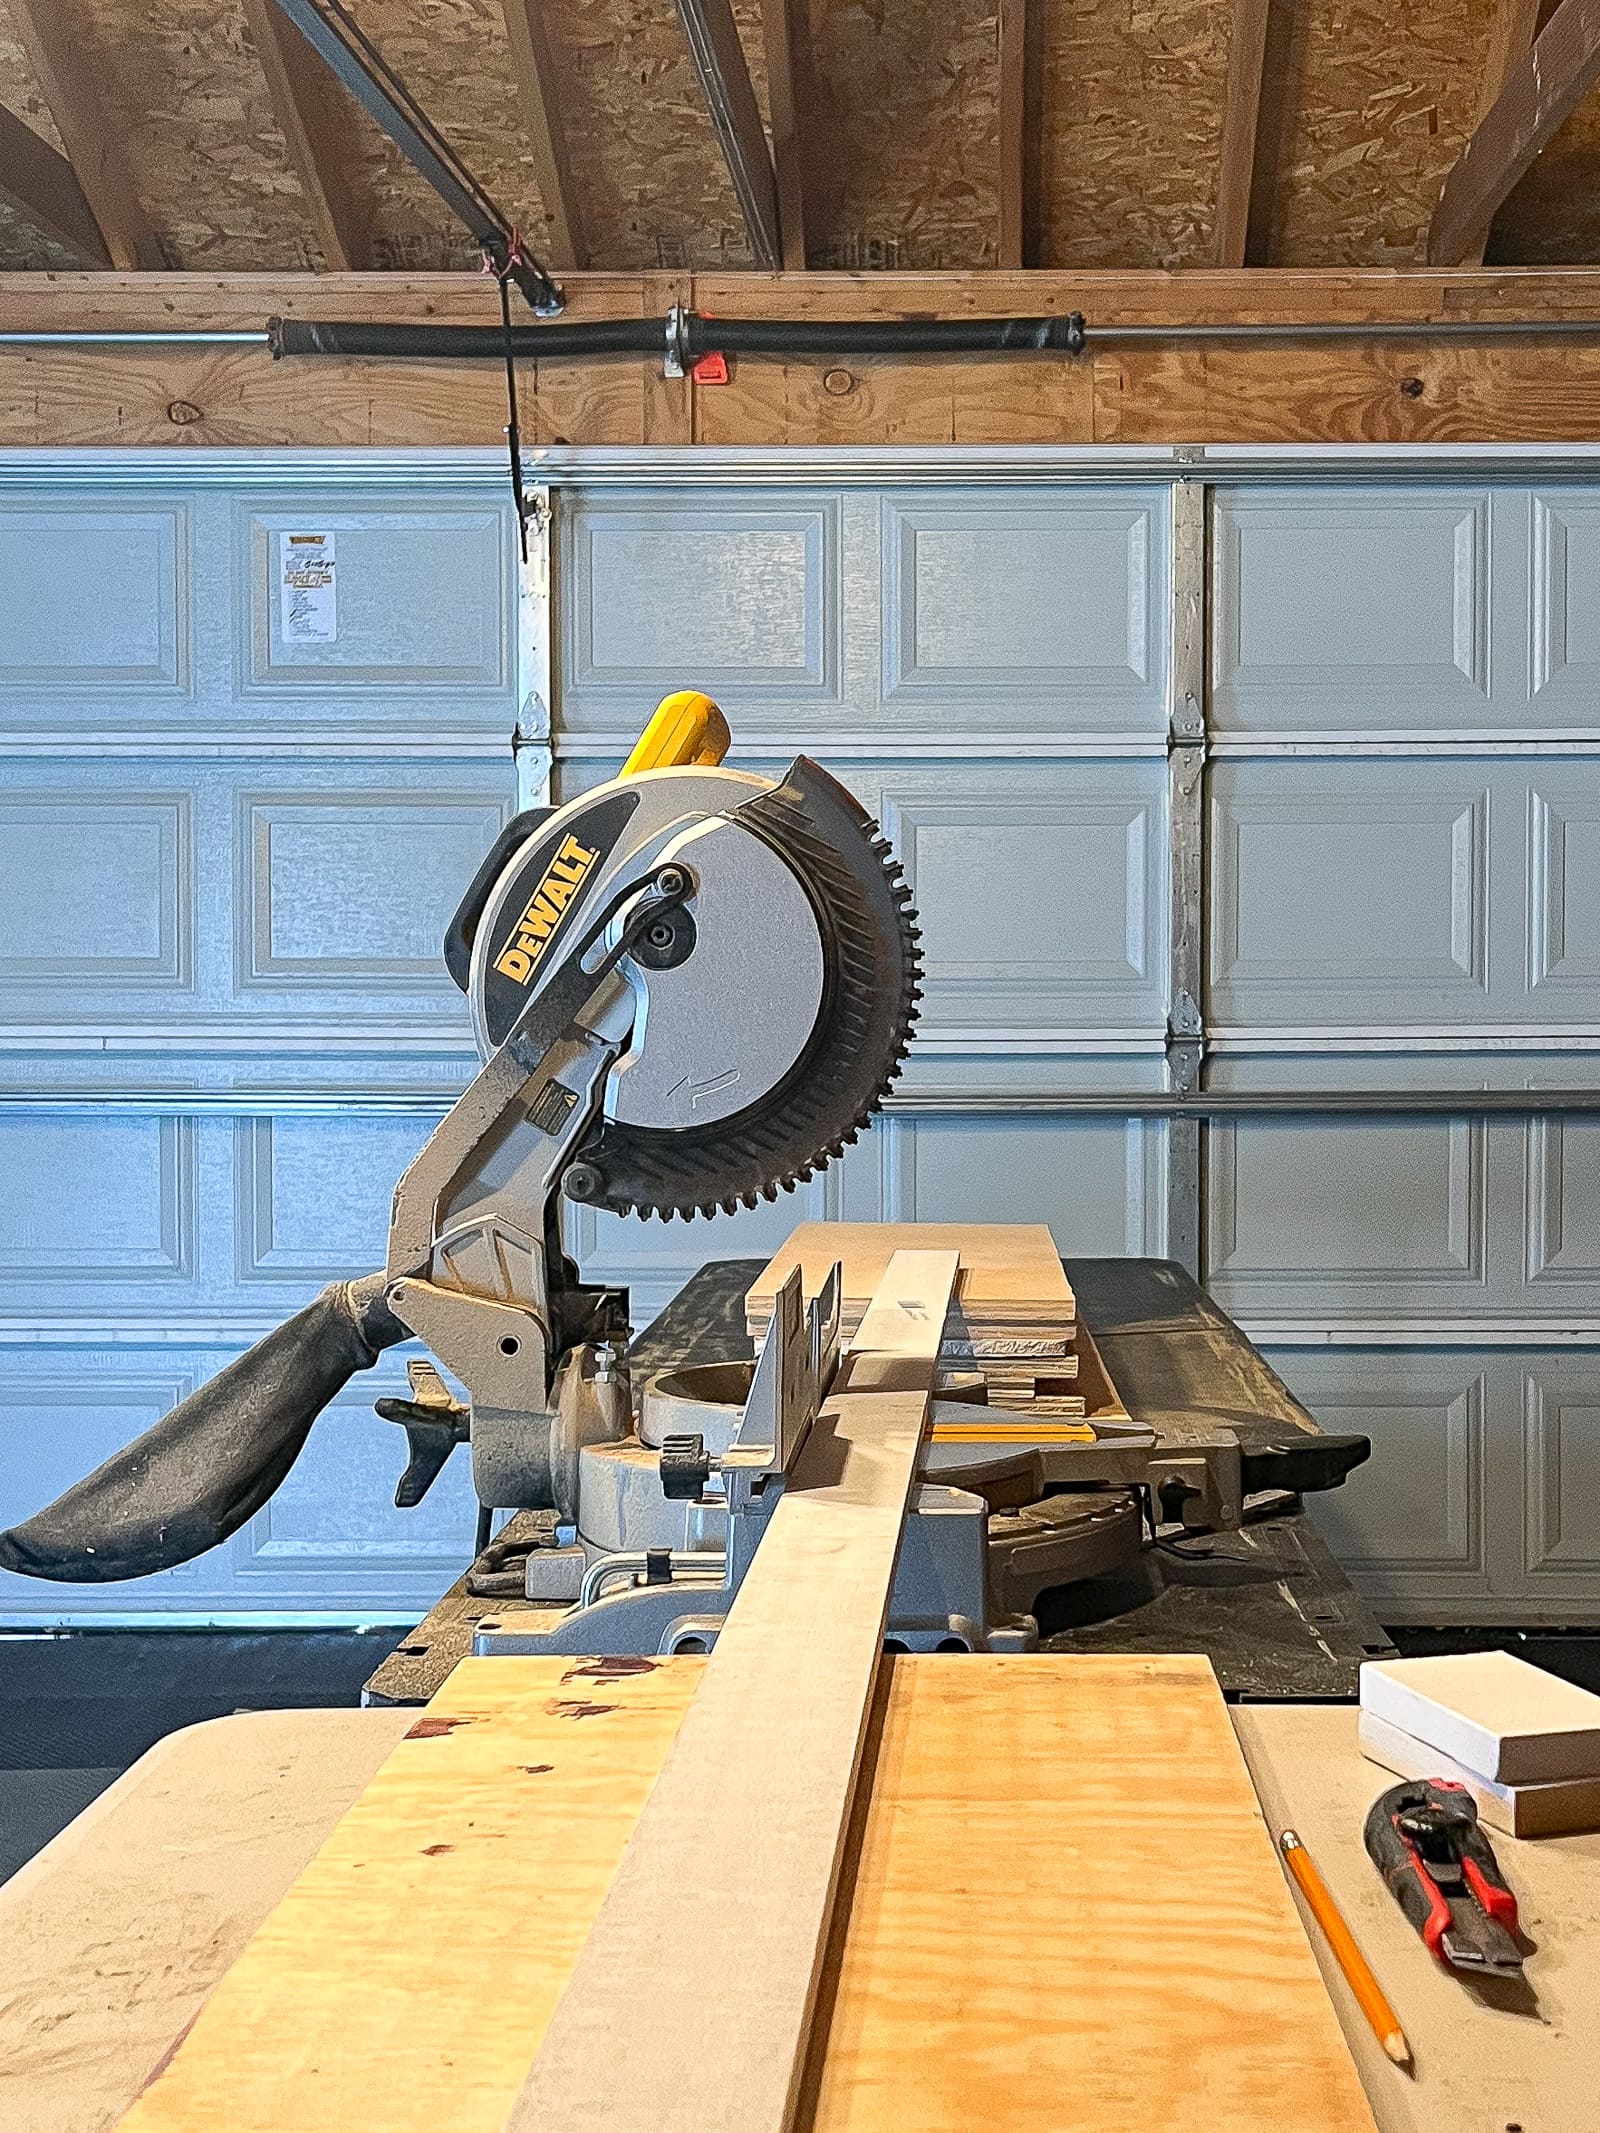
- Compound Miter Saw
- Protractor
- Paint (I went with Benjamin Moore “Simply White” in a satin finish)
- Purdy Paint Brush
- Paint Roller & Tray
- Painter’s Tape
- Tape Measure
- Spirit Level
Set Up Your Scaffolding
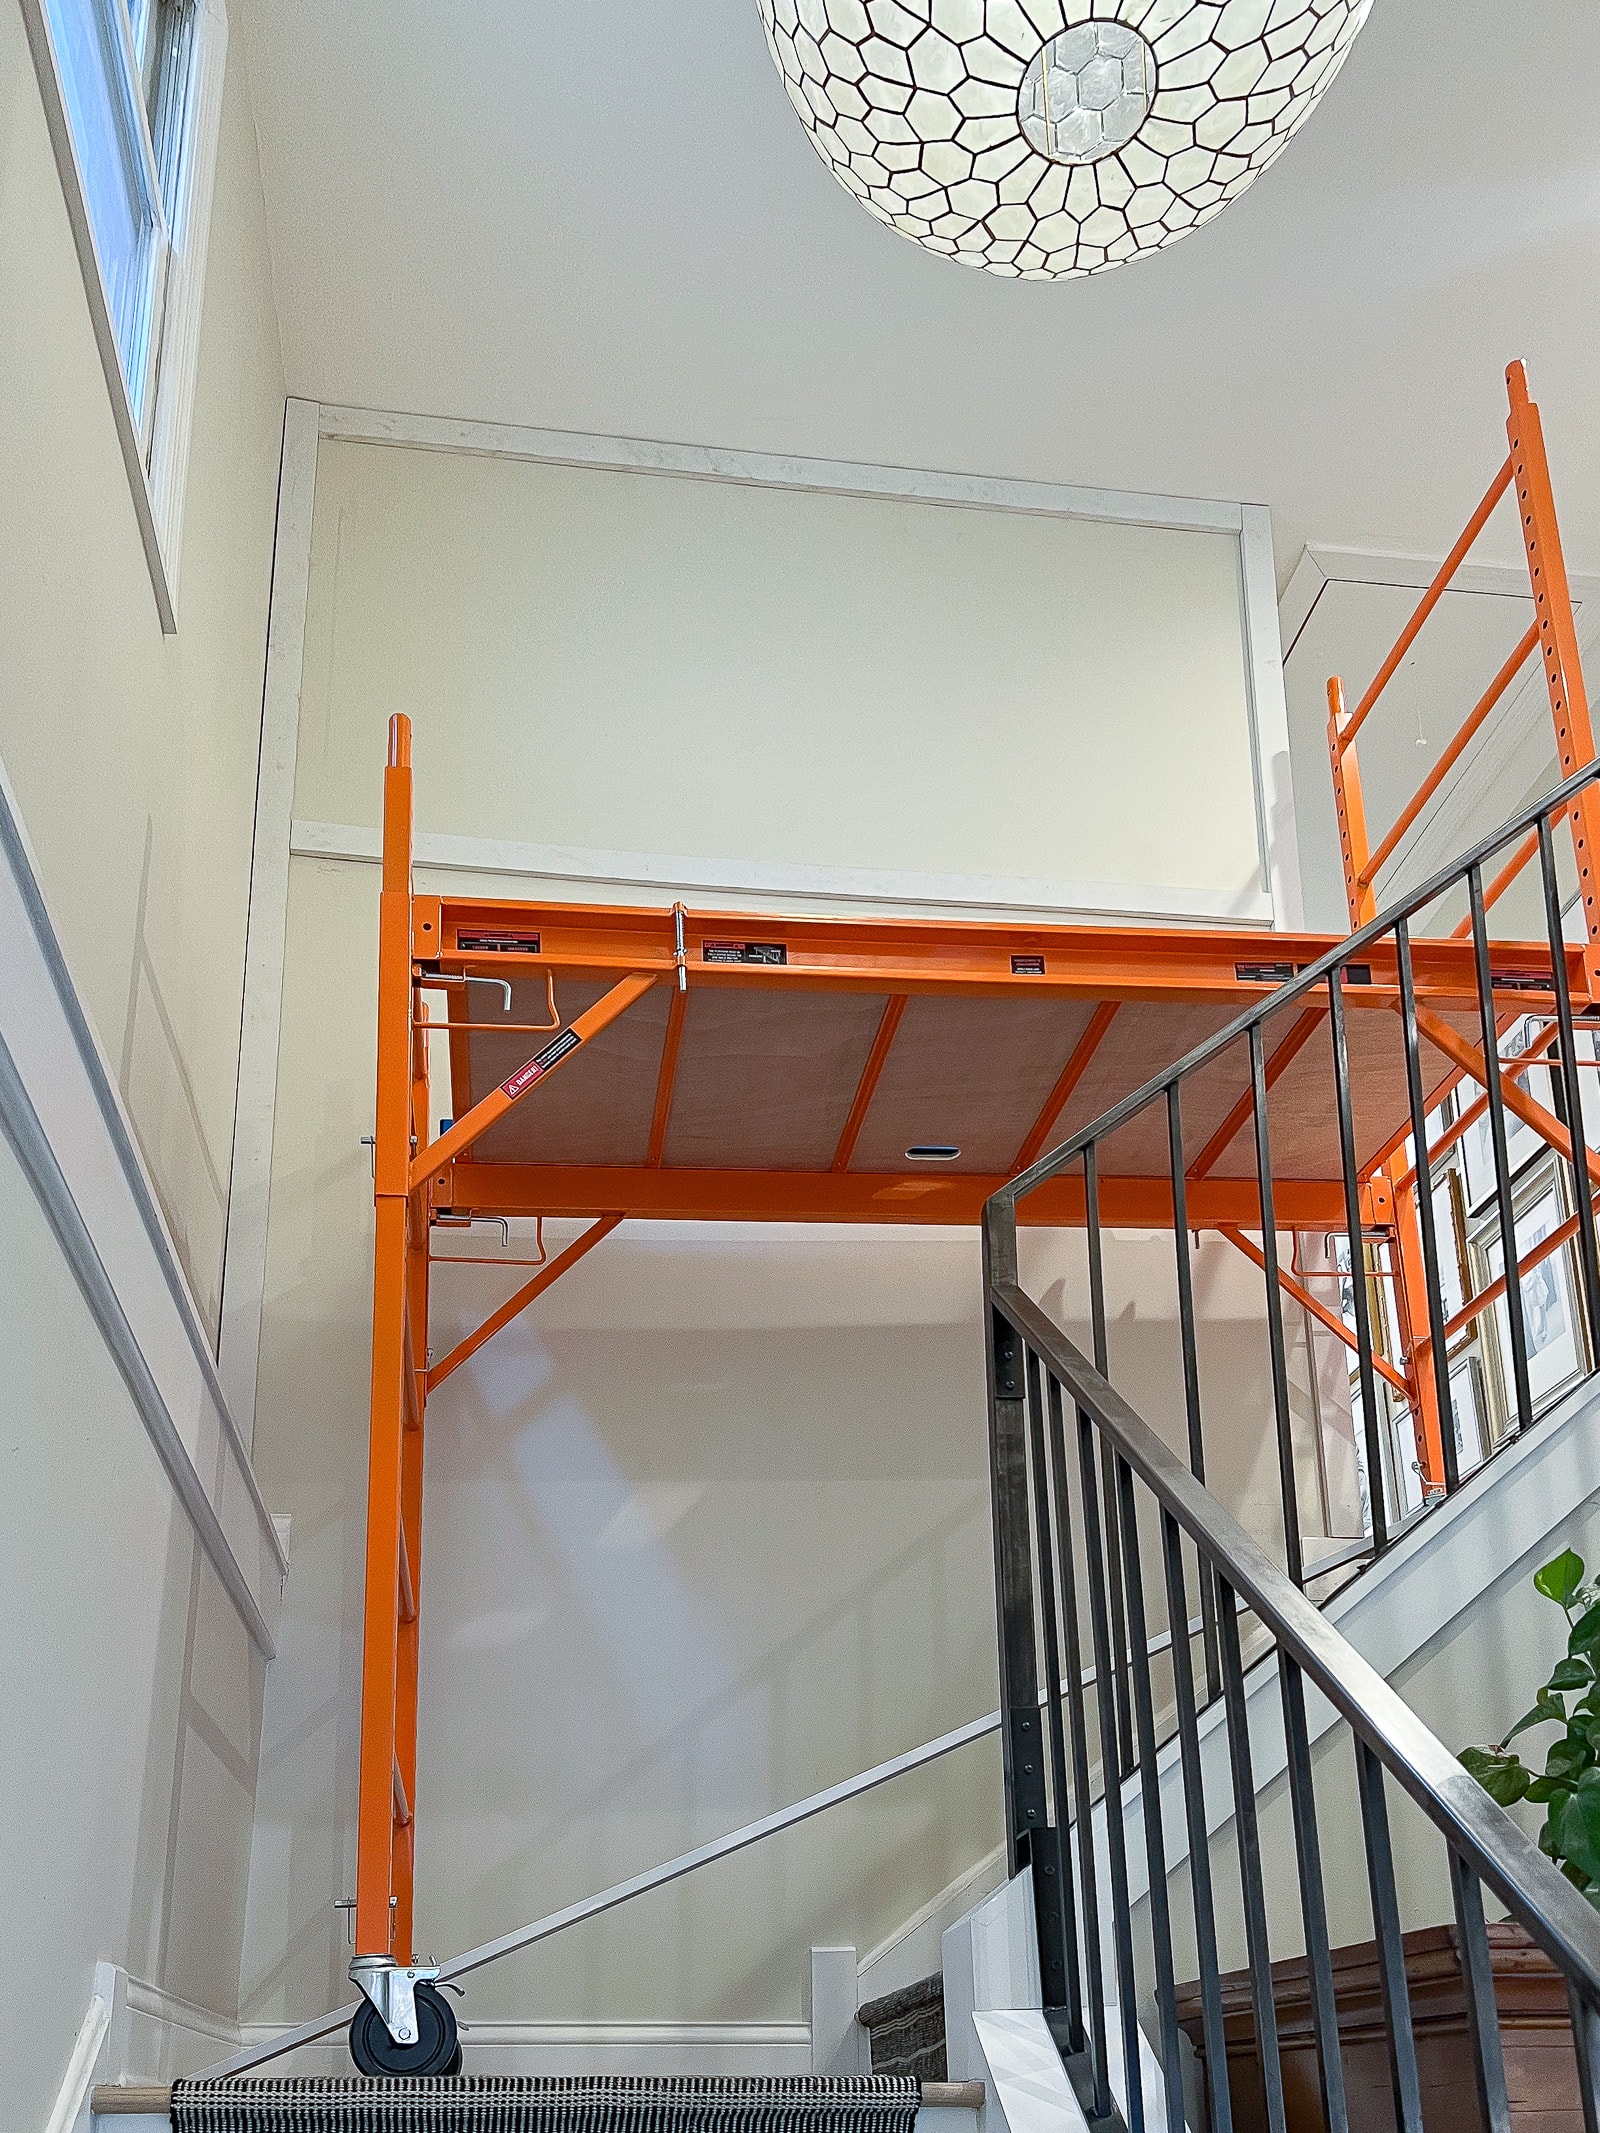
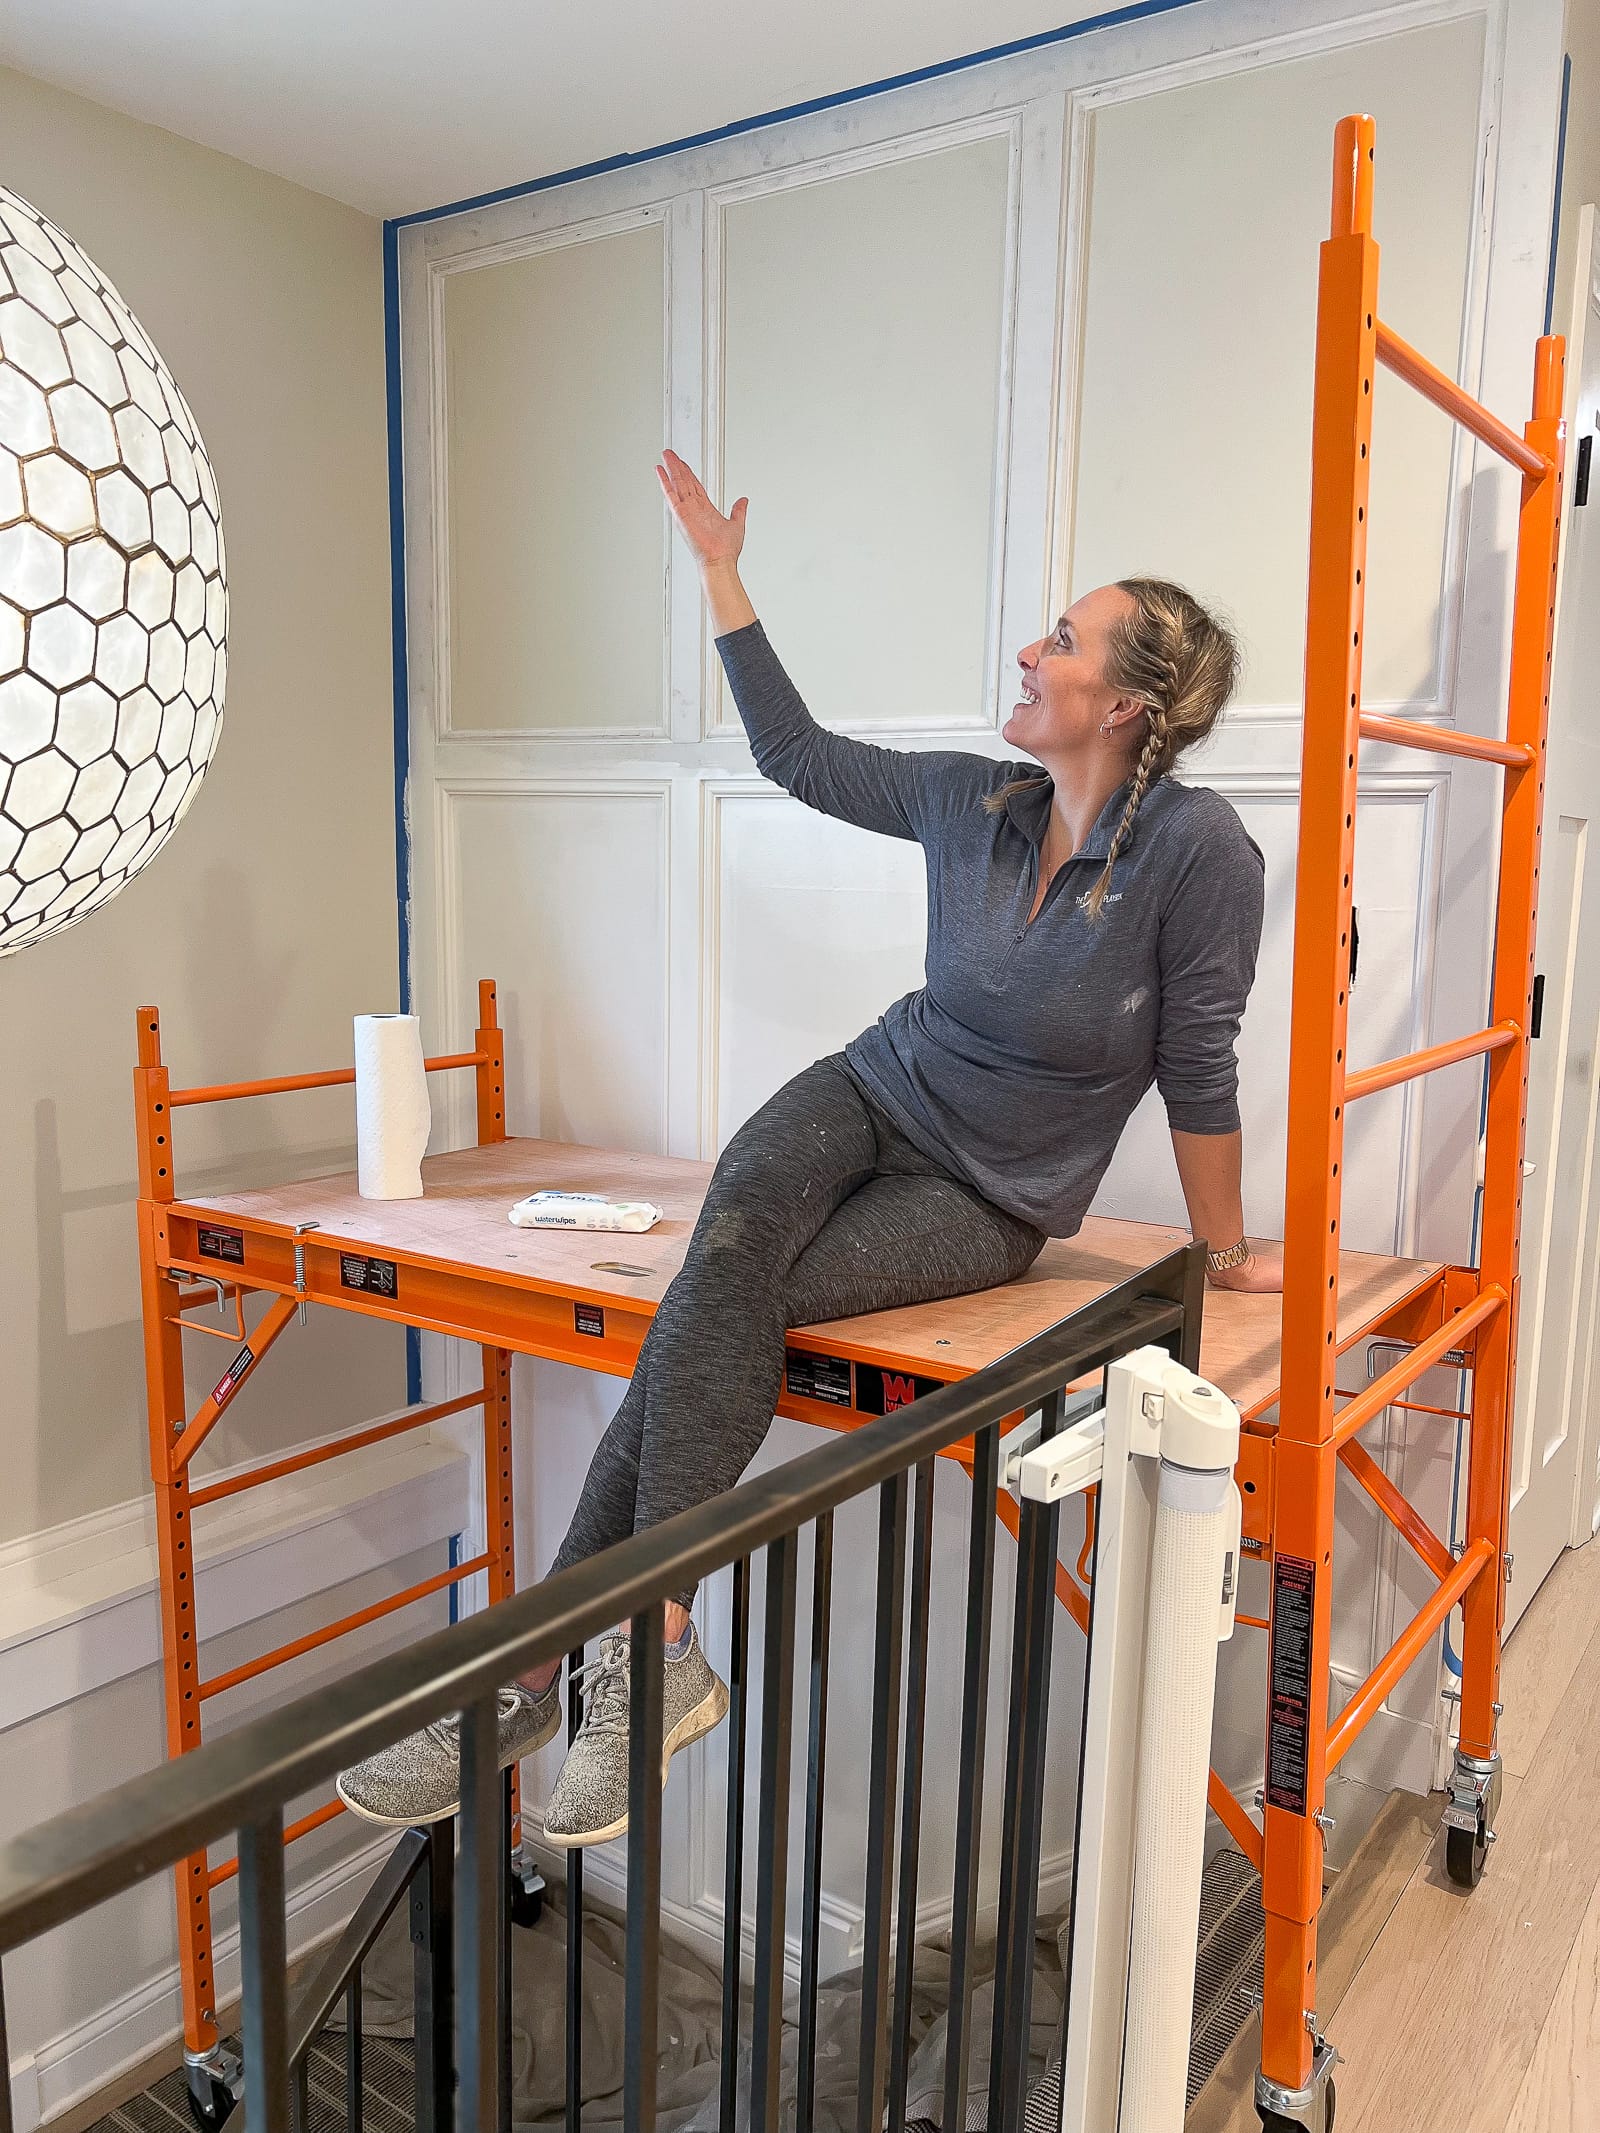
First things first…. I had to get the scaffolding in place. This was definitely a two-person job, so I had Finn help me set it up and tear it down every day that I worked on this project. Honestly, it wasn’t difficult to do as it was only a five-minute process. But it was definitely a pain in the butt because we had to lug it to and from the garage, and put it away every night, since it was situated in a central part of our home.
Because it was on the stairs, we placed one set of legs in the hallway, at a low setting, and the other on the landing, at a high setting. This worked really well and I felt very secure up there! I’m actually really excited we purchased this because I know we’ll get use out of it for other projects around the house.
Add Your Large Boards

My first order of business was to get my large 1×3 boards up. With my design (above), I decided to place these boards on the outside of the wall, as well as one horizontal, and two vertical. These cuts were mostly straight cuts on the miter saw and I attached each board with a nail gun and liquid nails. It was important to use a level as I worked because my walls aren’t straight and I needed to get these first boards as straight as possible.
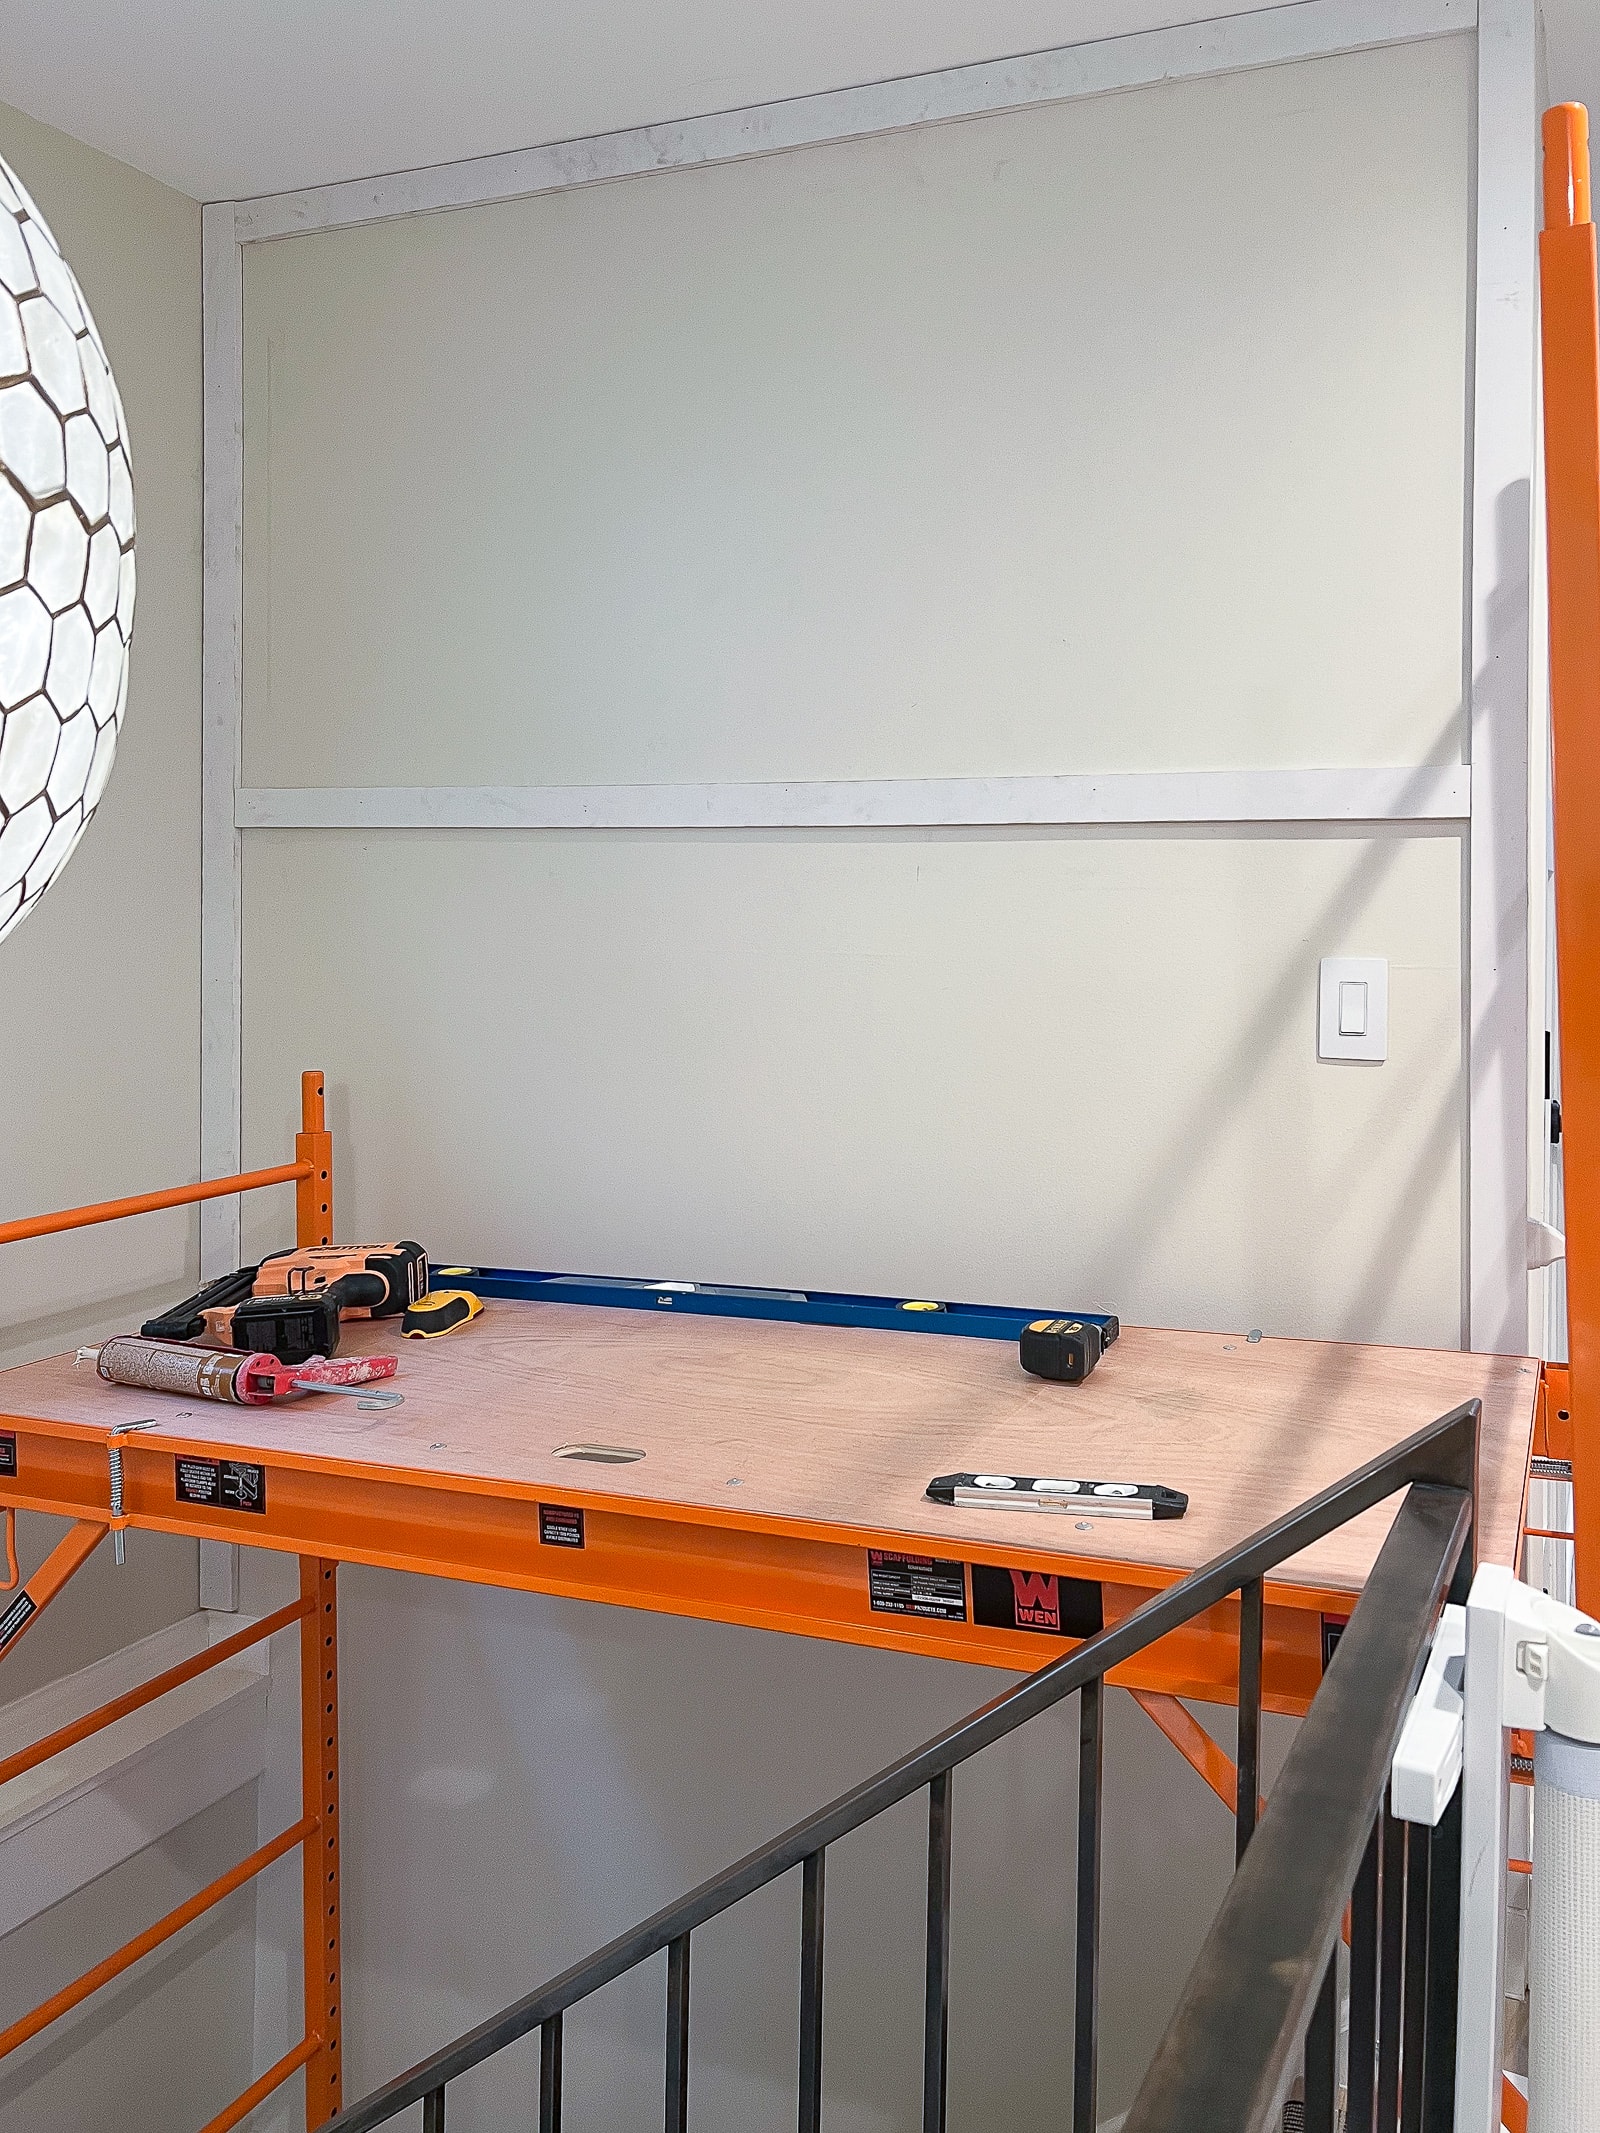
I was actually surprised by how quickly I was able to install these top large boards, and I soon moved onto the trim for this upper portion of the wall.
Add Your Inside Trim
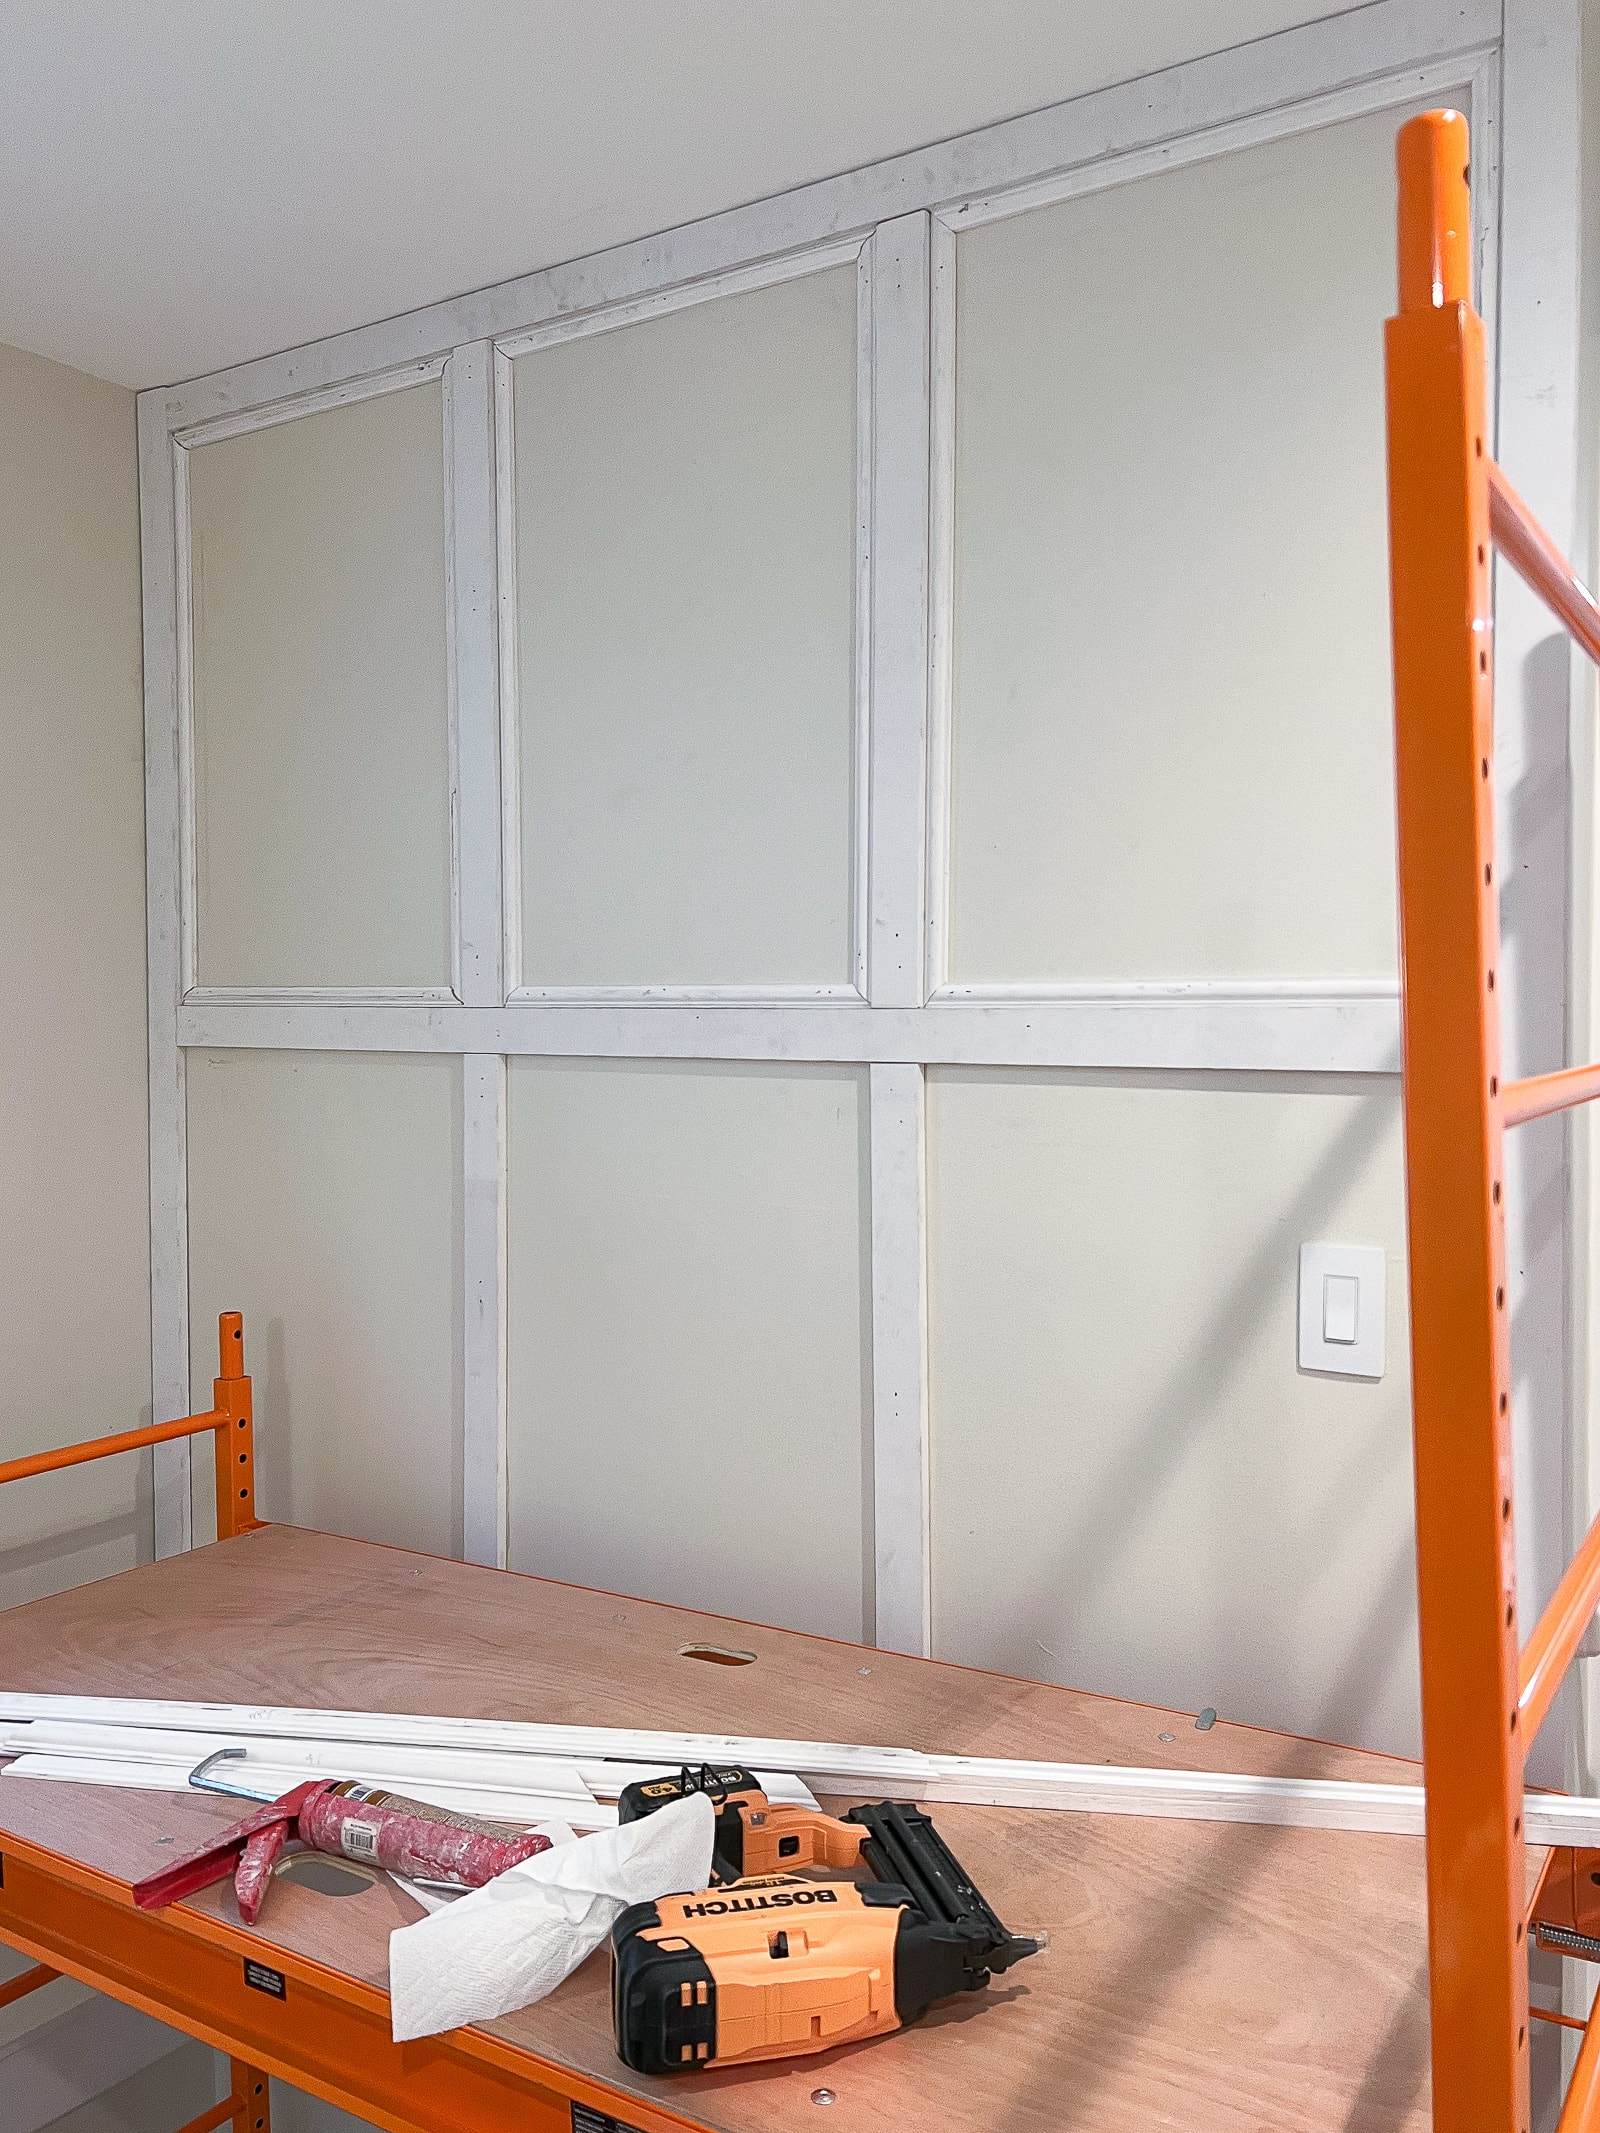
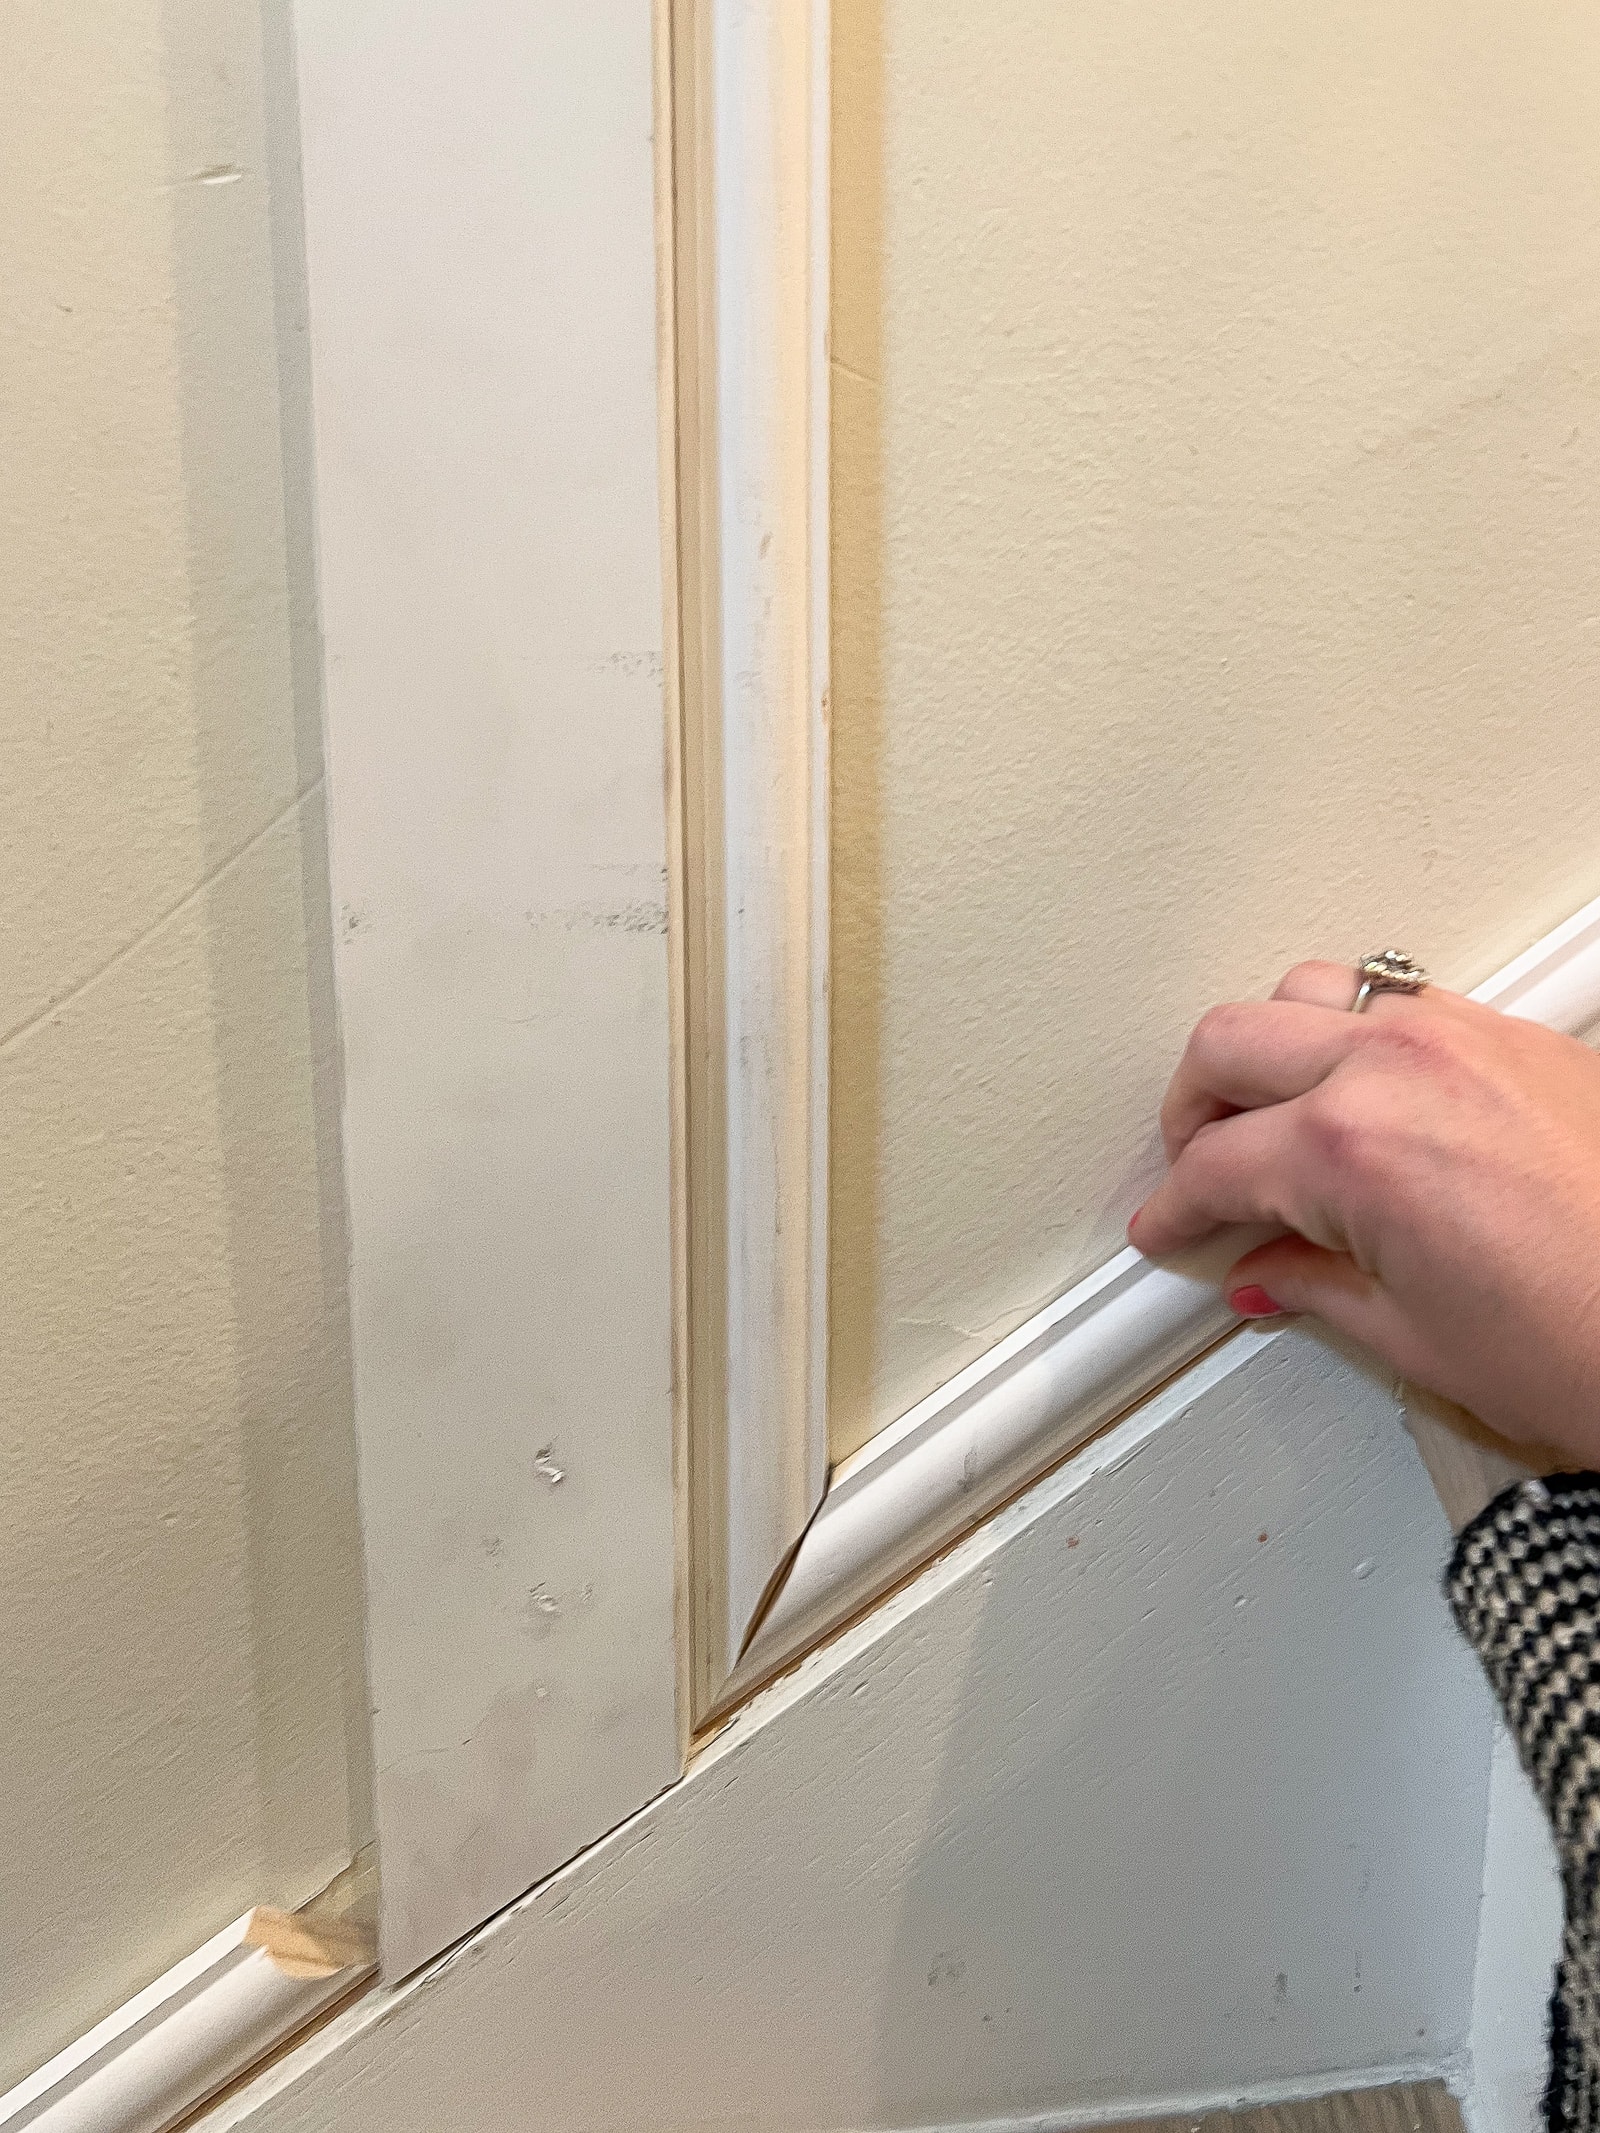
For the inside trim, I went with this molding and I cut each end at 45-degrees, so the corners would be mitered together. My molding had two different lips on it, so I had to keep in mind which way I needed to make my cut, so the correct portion was on the inside of the box. This isn’t difficult, but it messed with my head as I was working away. I found it easiest to take my measurements and then draw little diagrams on my paper, so I could remember which way to cut each piece of trim.
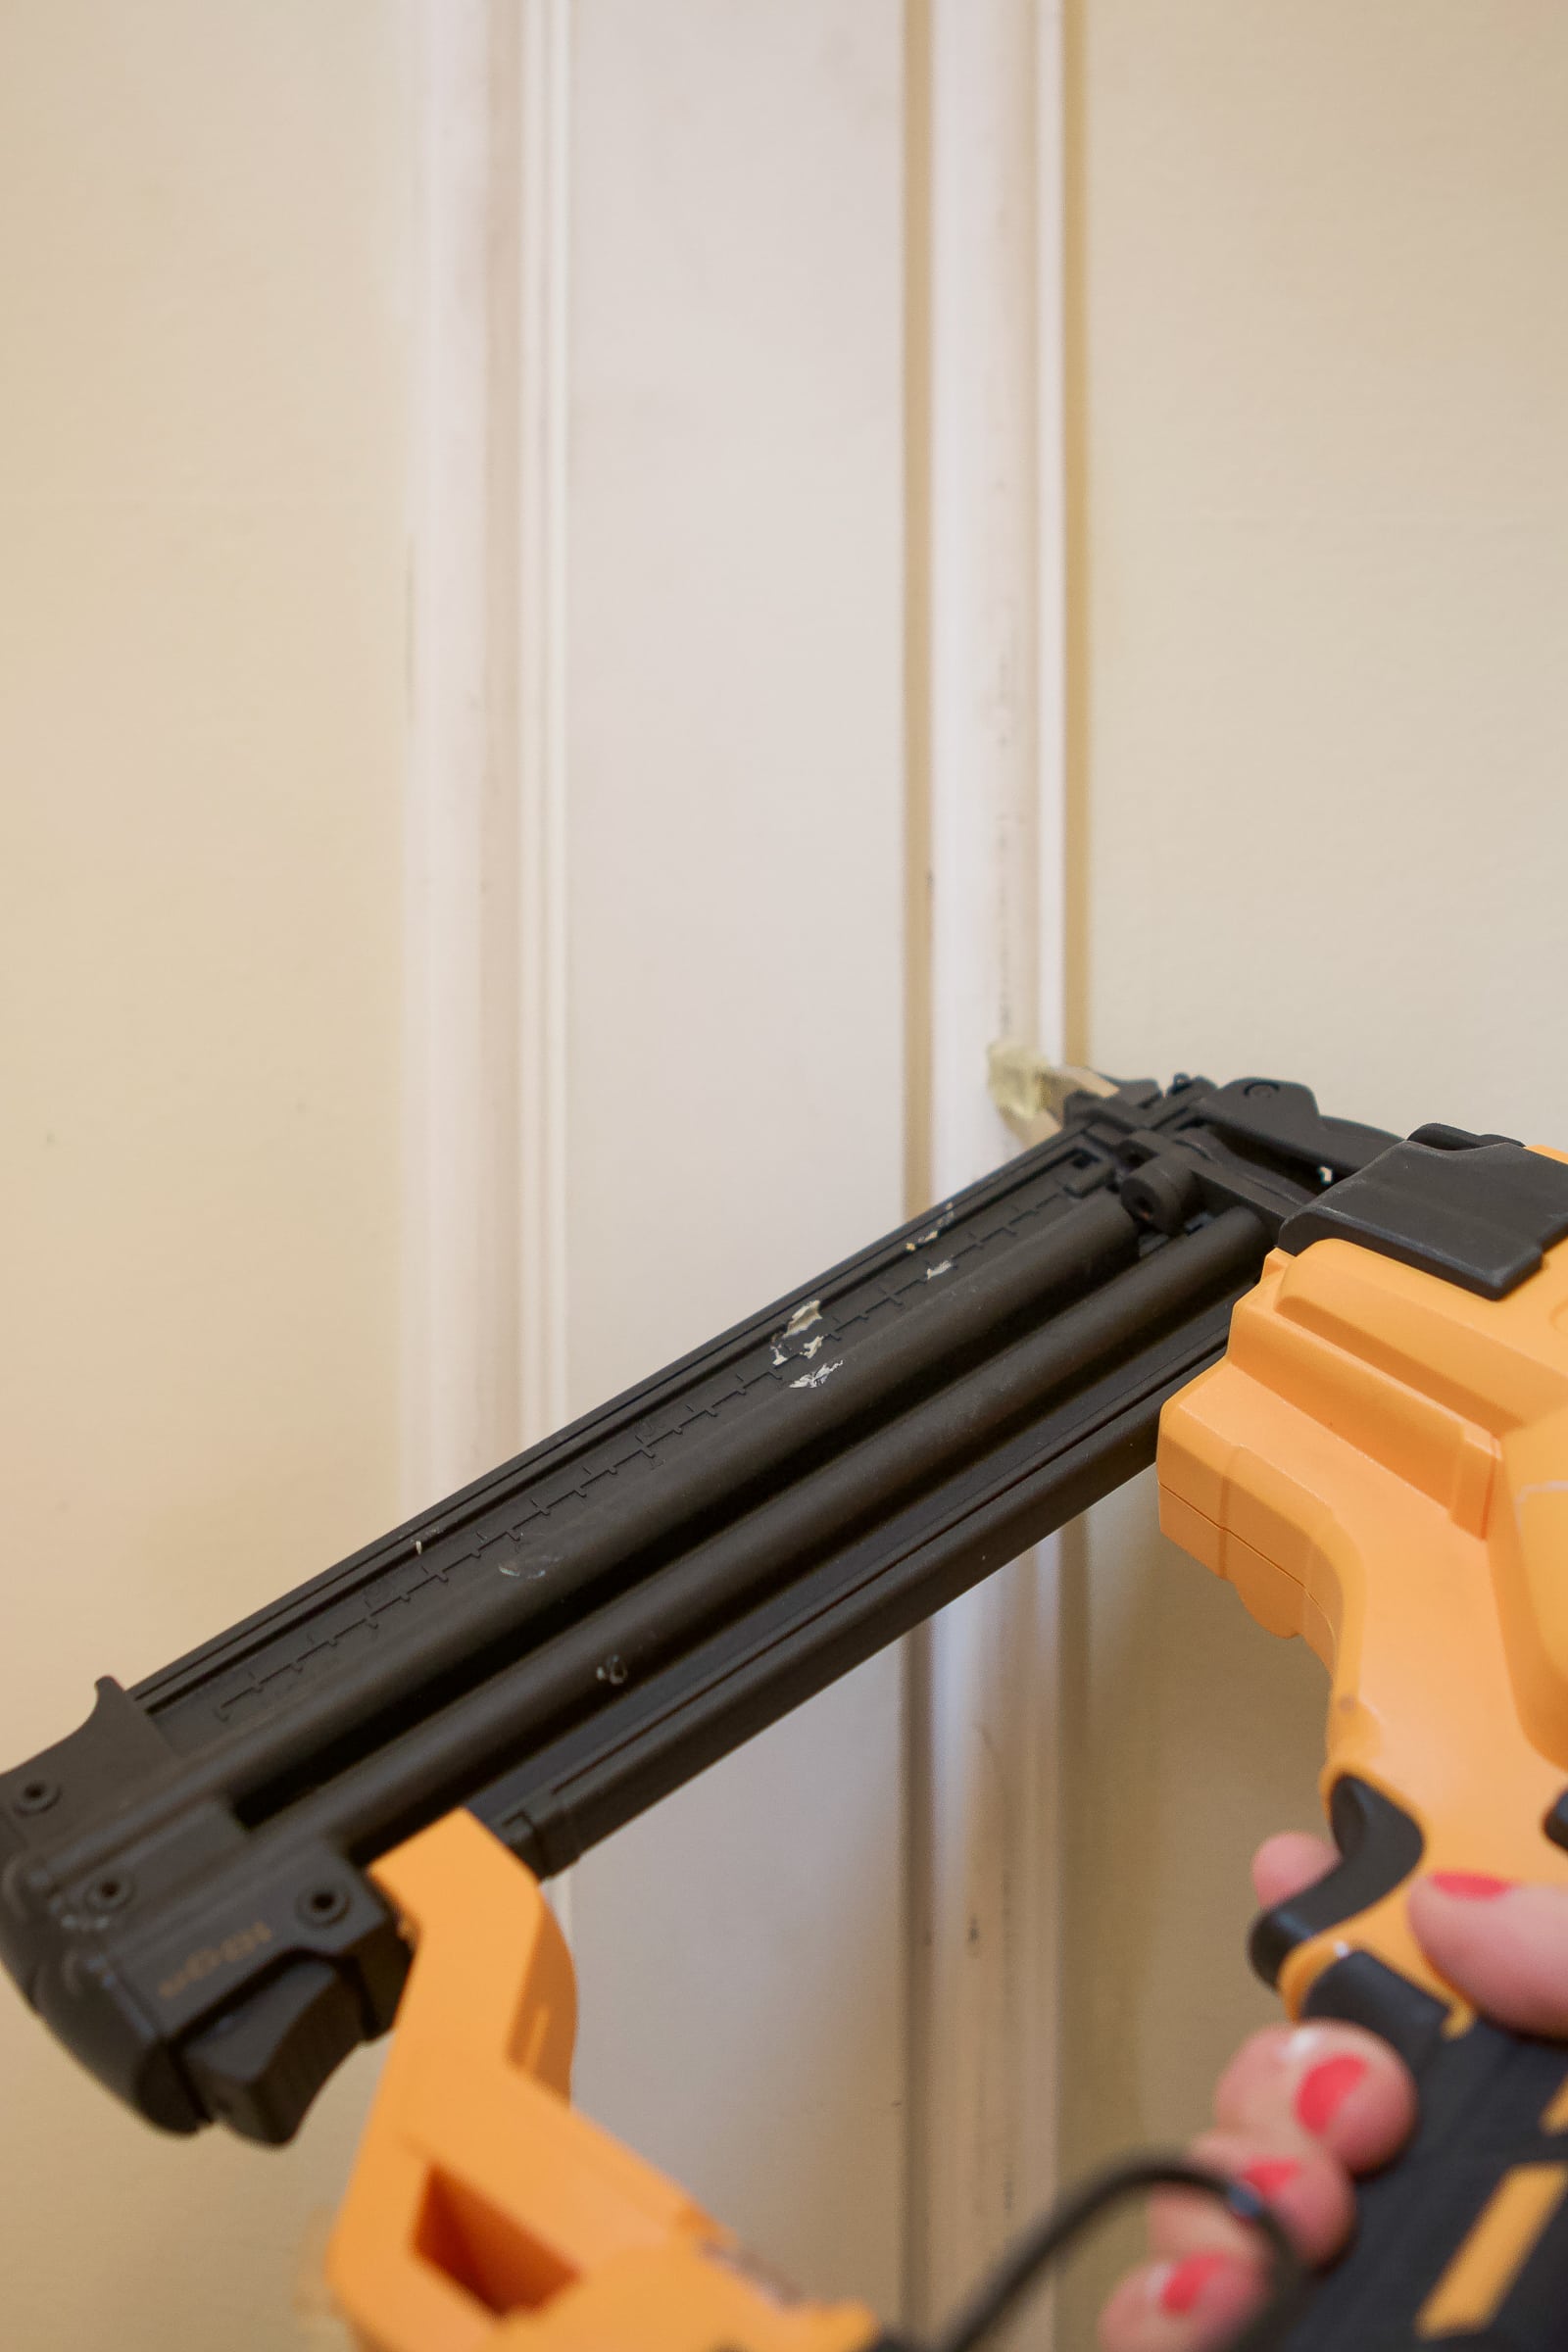
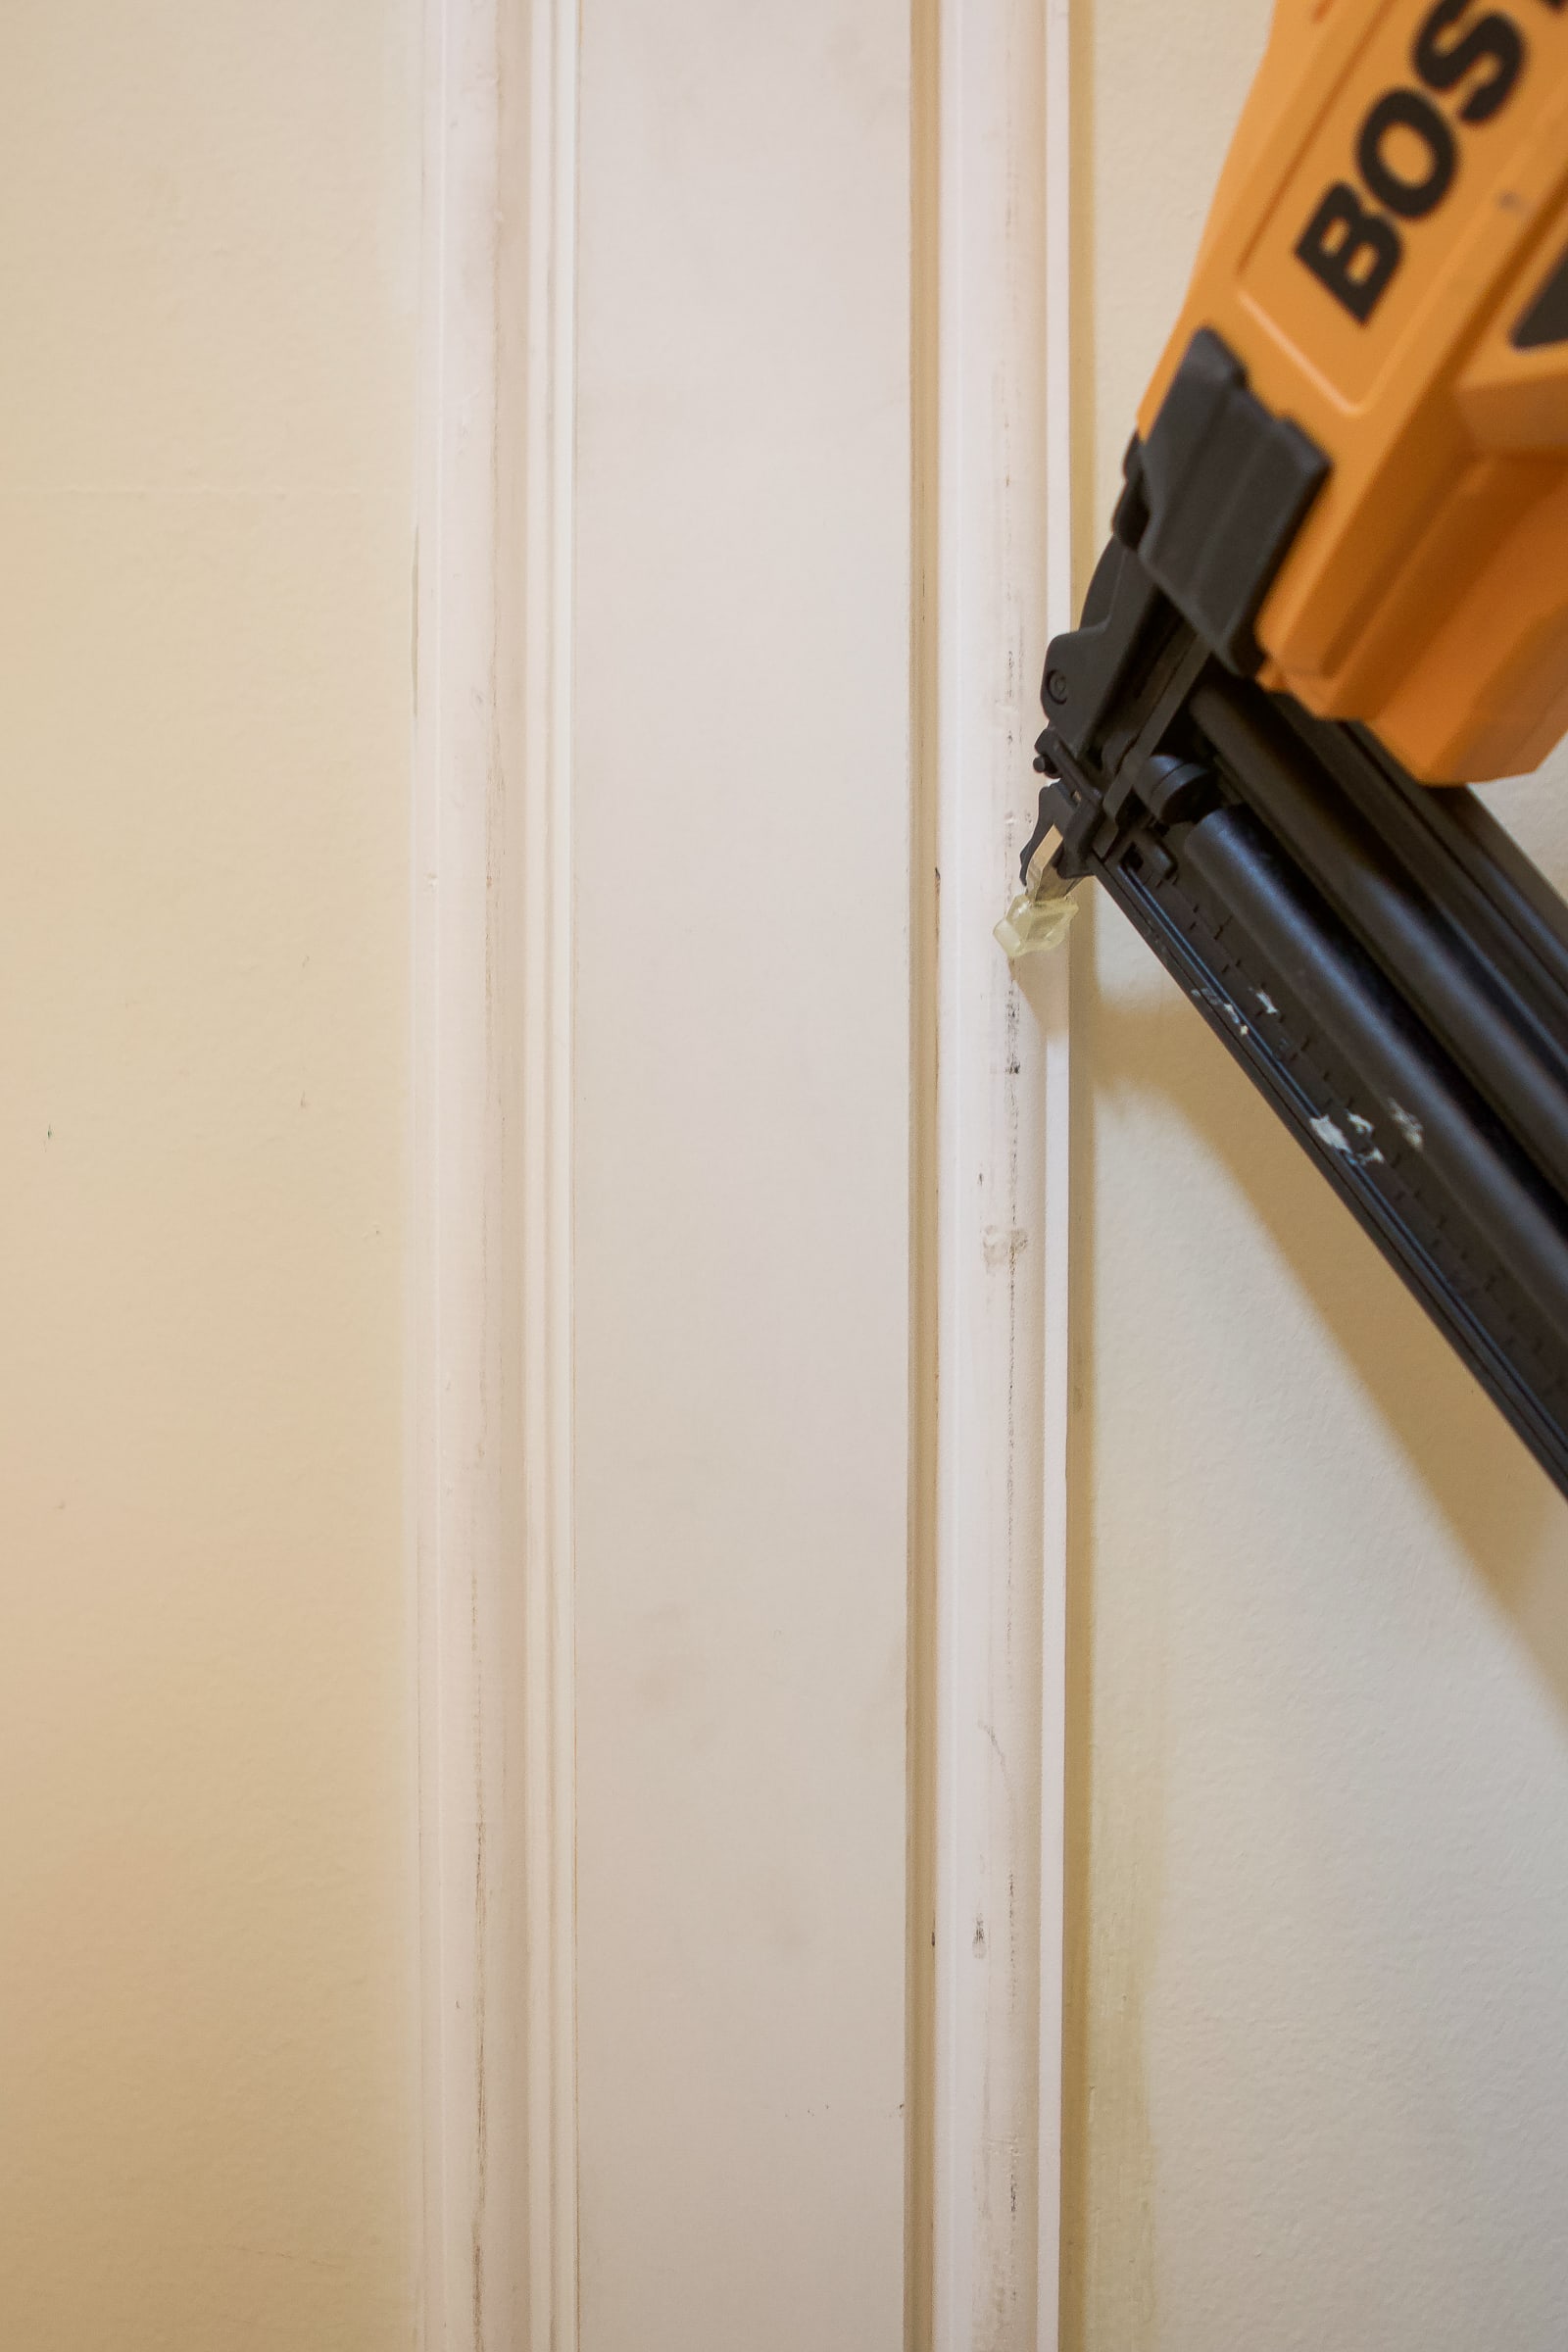
Again, I attached these with liquid nails and real nails, using my brad nailer. Since you won’t always be hitting studs, you can “lock” your nails together by pointing one nail down, and a second one up, so they lock behind the wall for a tight bond. If you put your nails in straight, you will be able to pull the wood right on out.
At this point, I was feeling pretty good and proud of myself. But then, it was time for some math.
The Bottom Was Tricky…
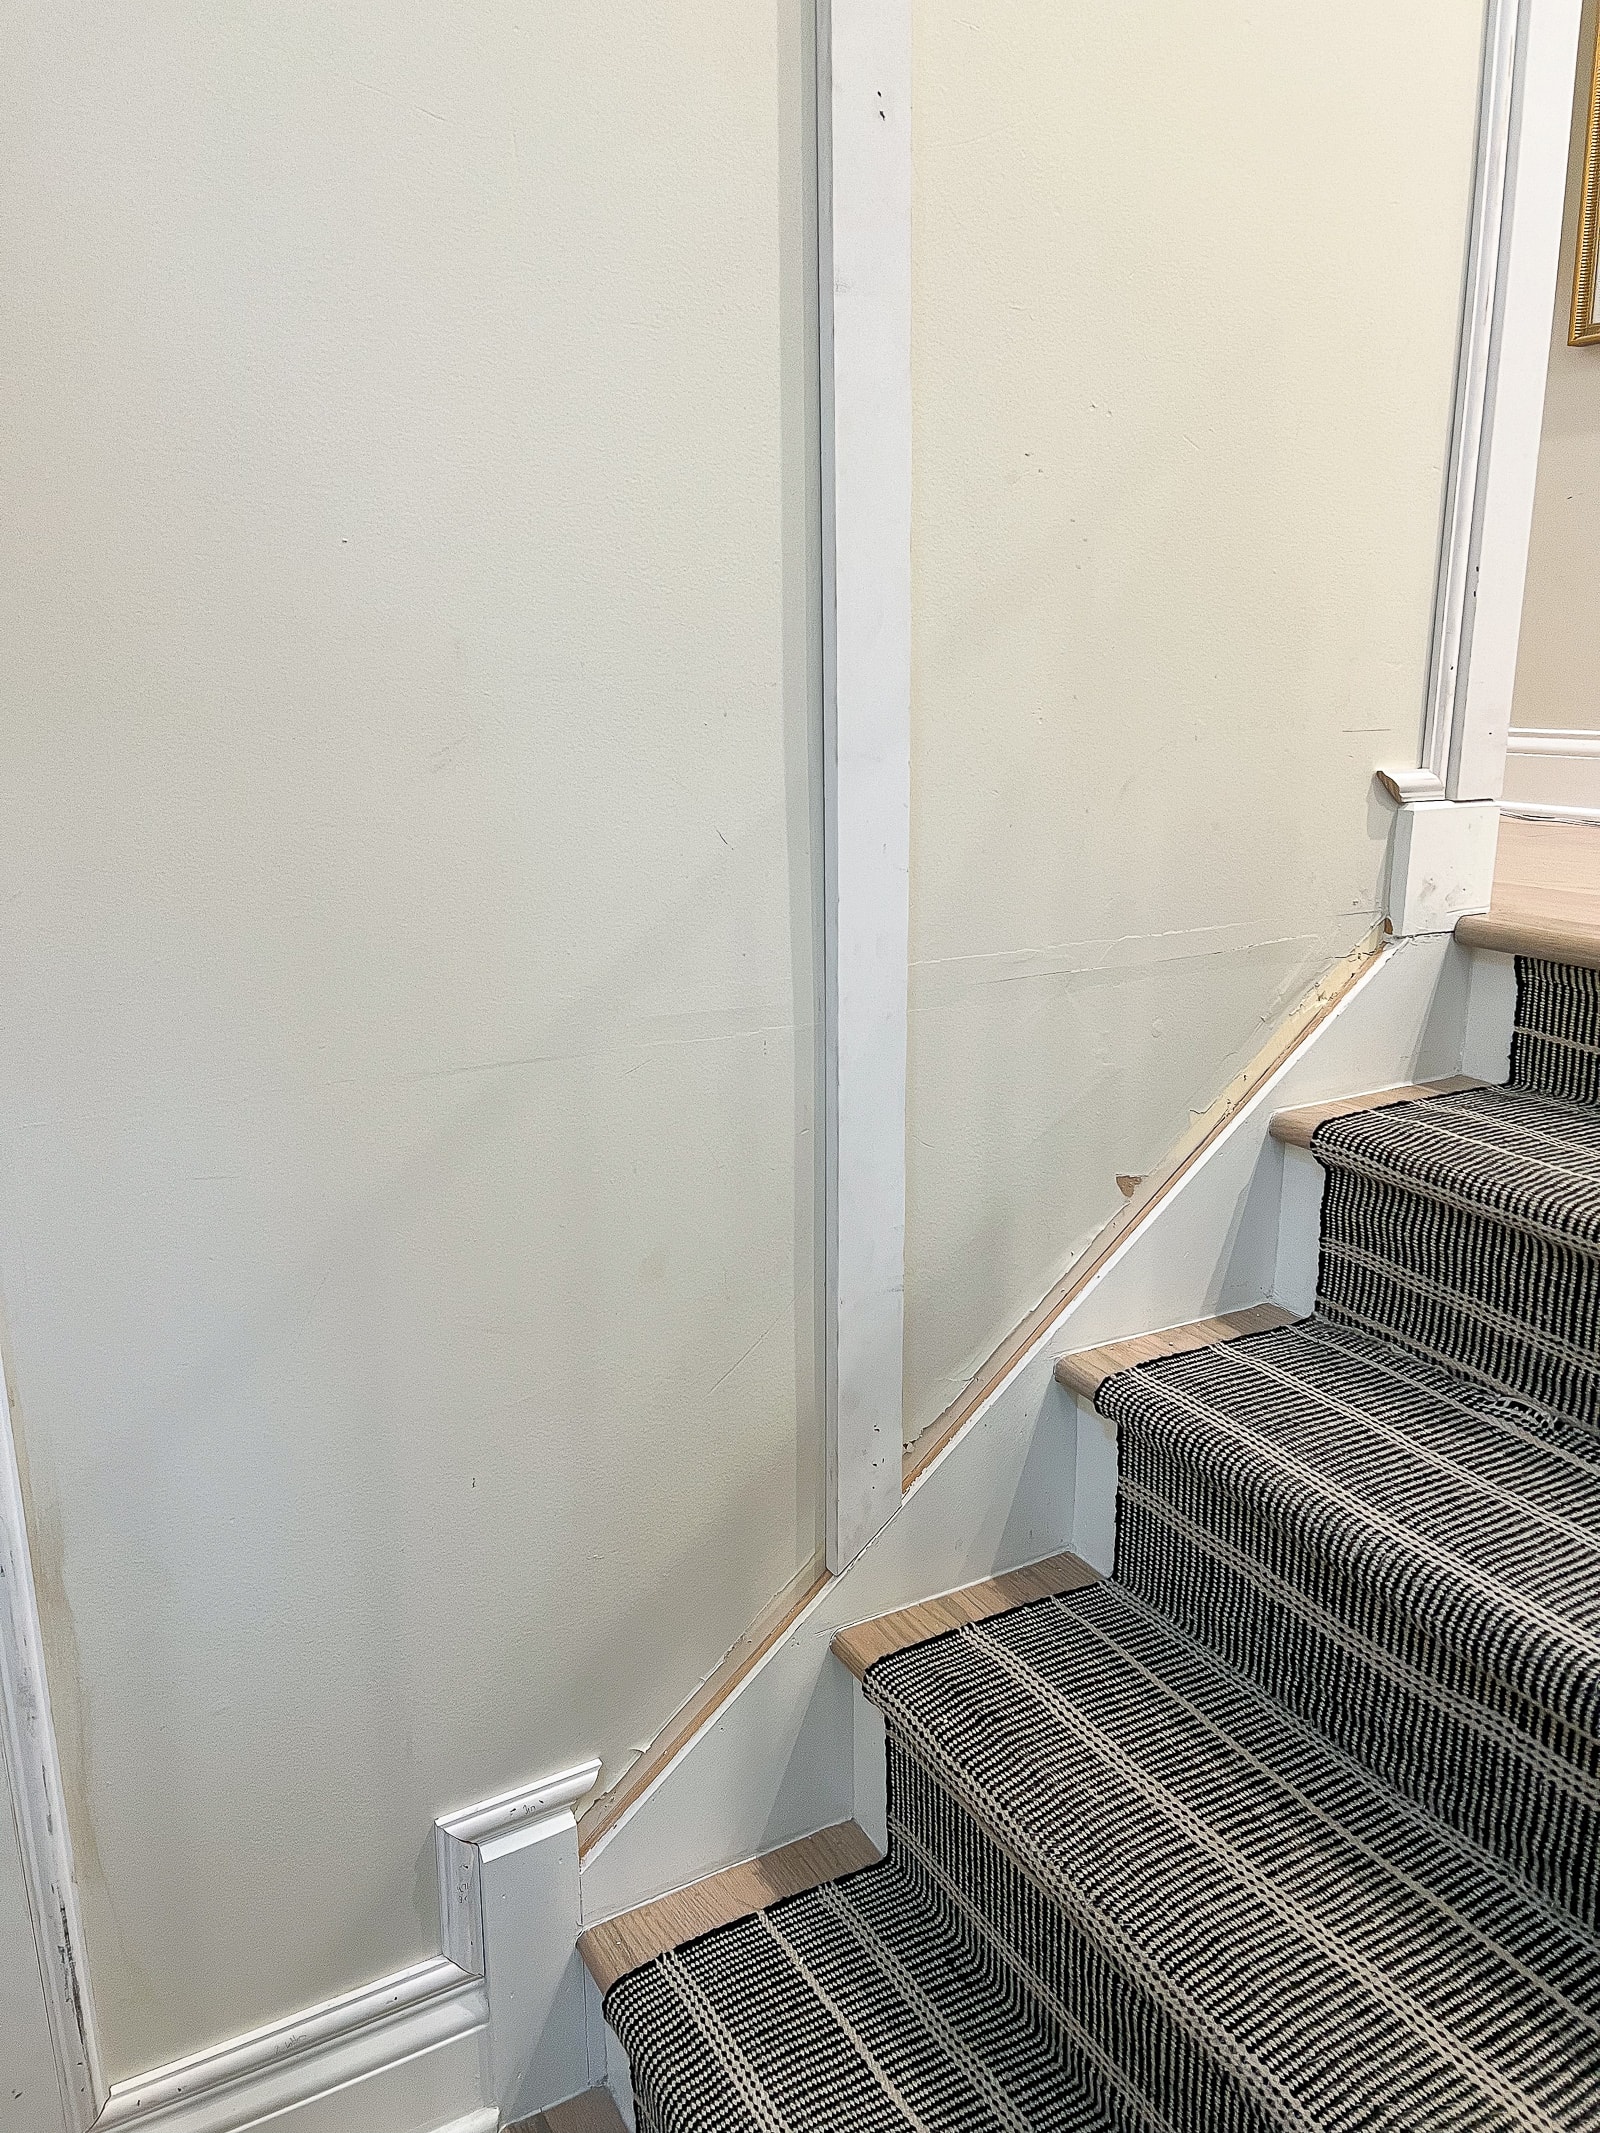
Okay, so this is where things slowed down…a lot. Because this stairwell accent wall is on a staircase, I had the angle of the stairs to deal with. That meant that I had to make my bottom cuts on angles and the trim pieces were especially tricky. Let me walk you through the process for the various cuts.
How to Make Obtuse Angle Cuts
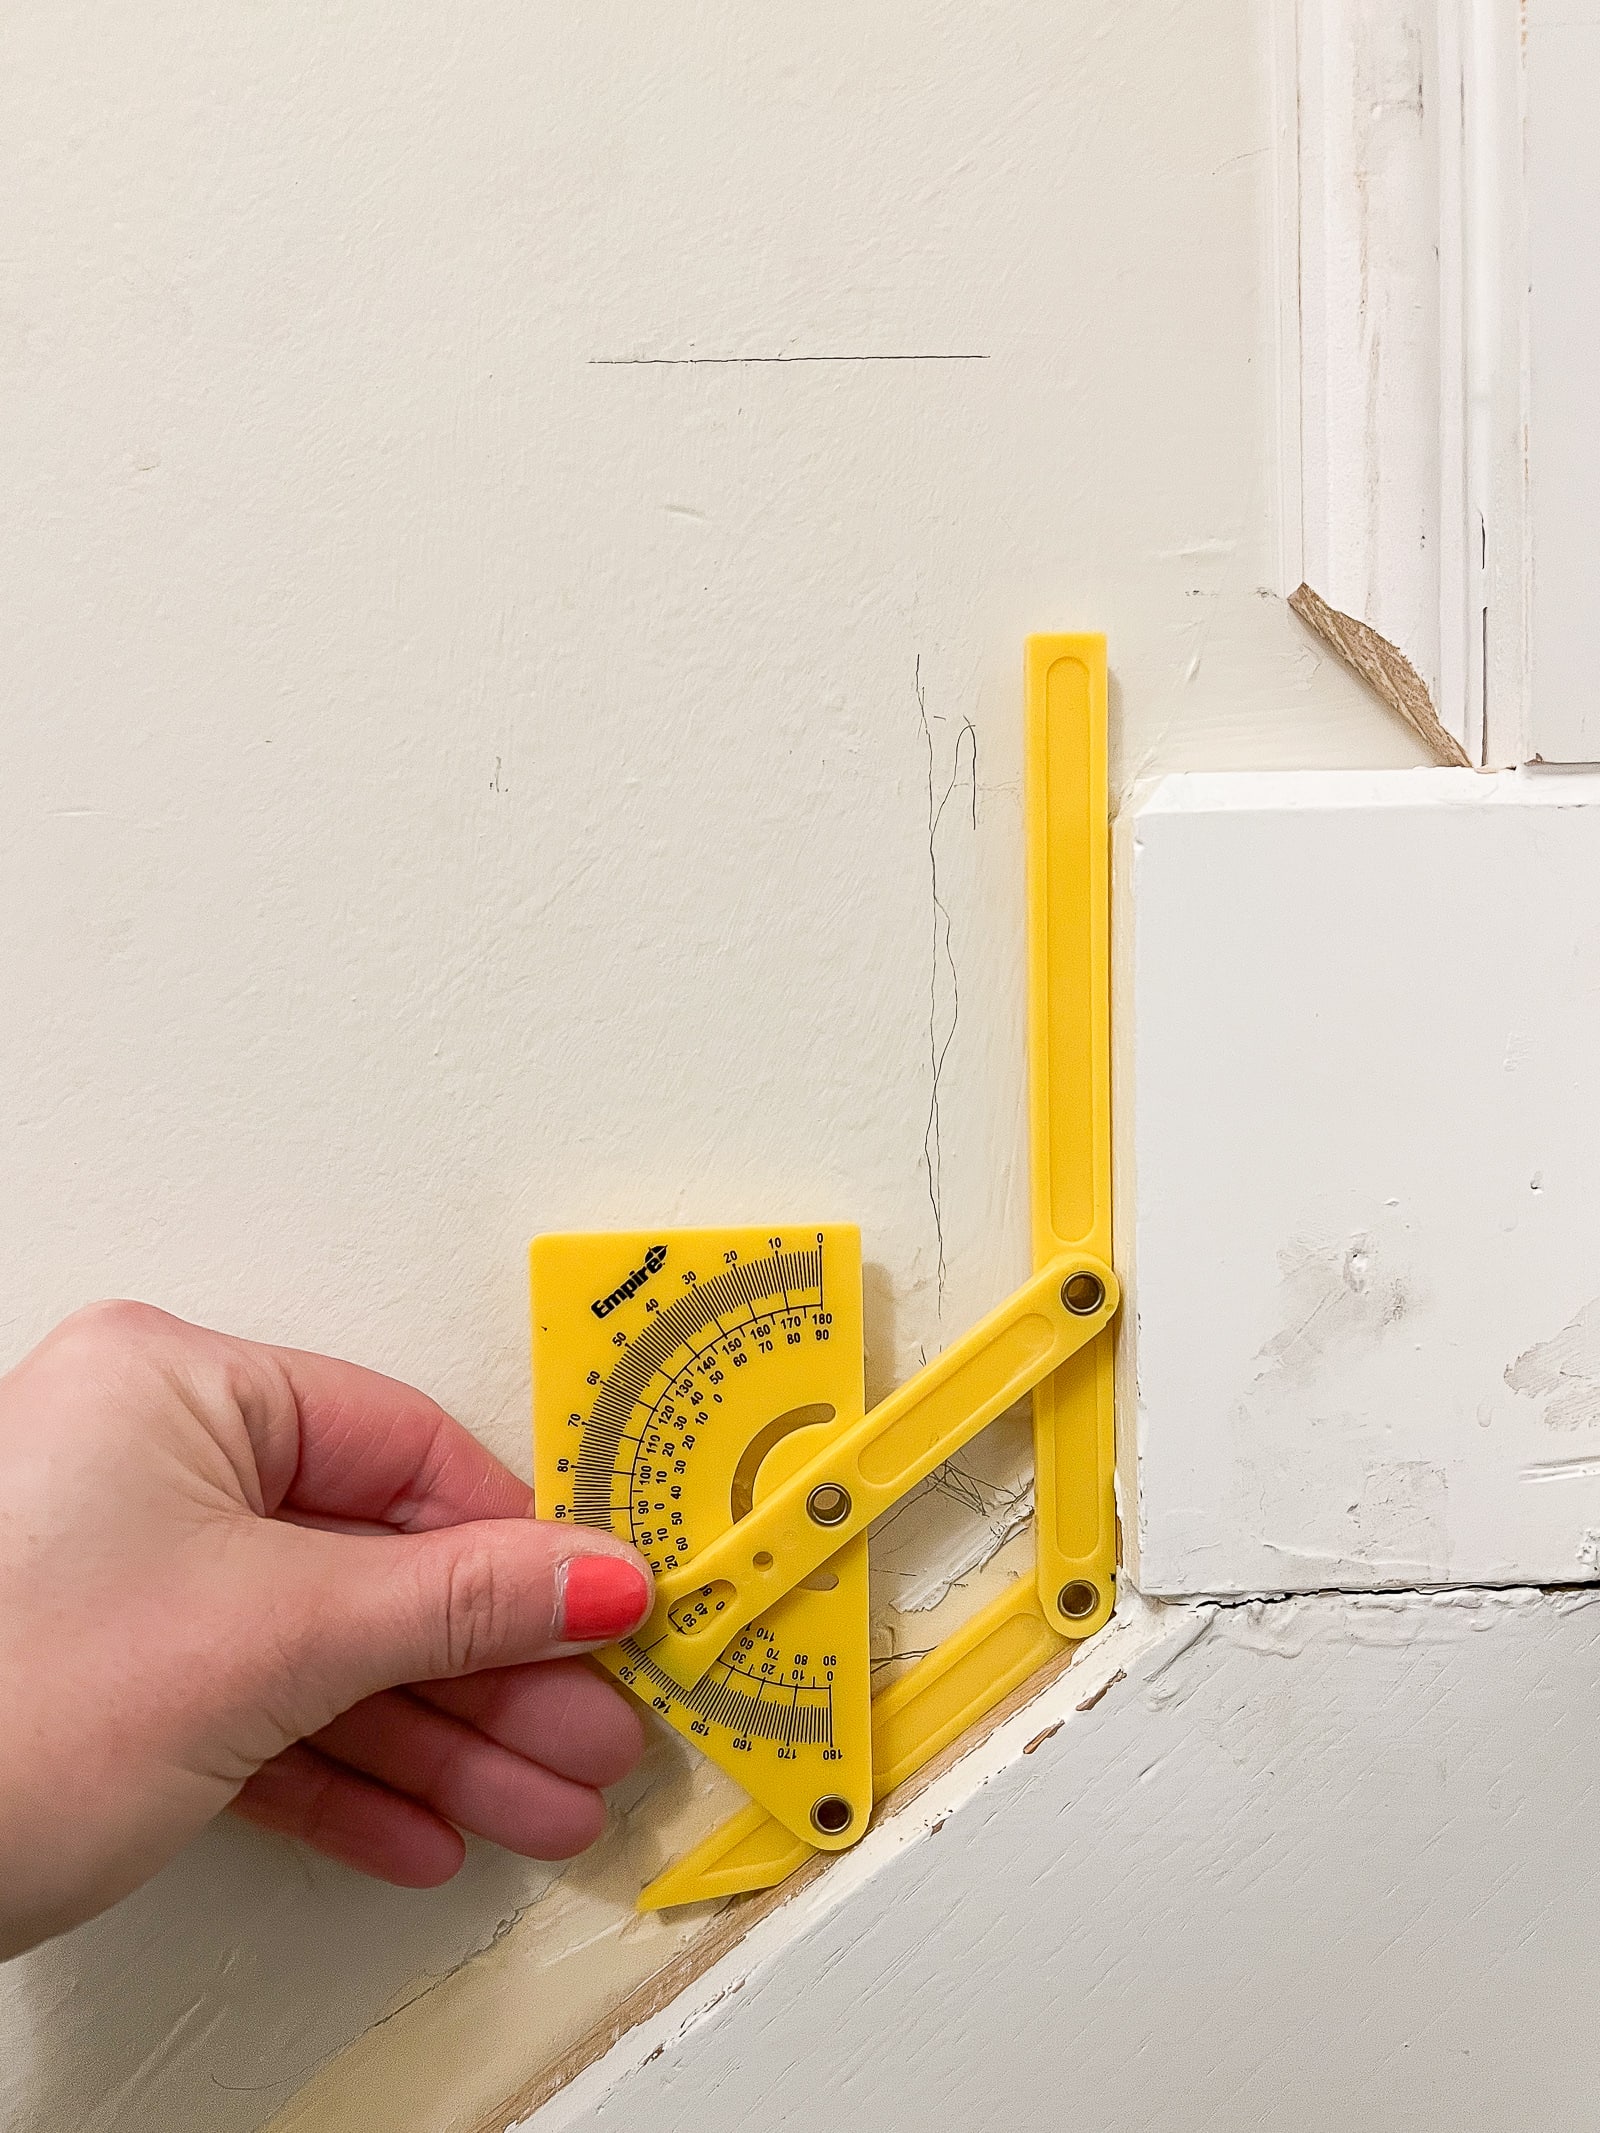
We are heading back to geometry class today and I’m pretty sure my high school teacher (Mrs. K!) would be very proud that I’m using these skills as a 34-year-old woman. For the trim on the upper portion of the walls, each piece was meeting at a 90-degree angle, so my cuts were 45-degrees (45 + 45 = 90). Easy peasy.
But, what about an angle like this, that’s greater than 90 degrees – an obtuse angle? For this, I needed to use a protractor. I placed it in the corner of the trim to find the angle. In this case, it was 129 degrees. At first, I thought that I would just divide 129 in half and I would be good to go. Wrong. Here’s what I had to do…
- 180 – 129 = 51
- 51 divided by 2 = 25.5
My cuts needed to be 25.5 degrees. When I took that number to the saw, it worked like a charm! Okay, obtuse angles done. I could handle that.
How to Make Acute Angle Cuts
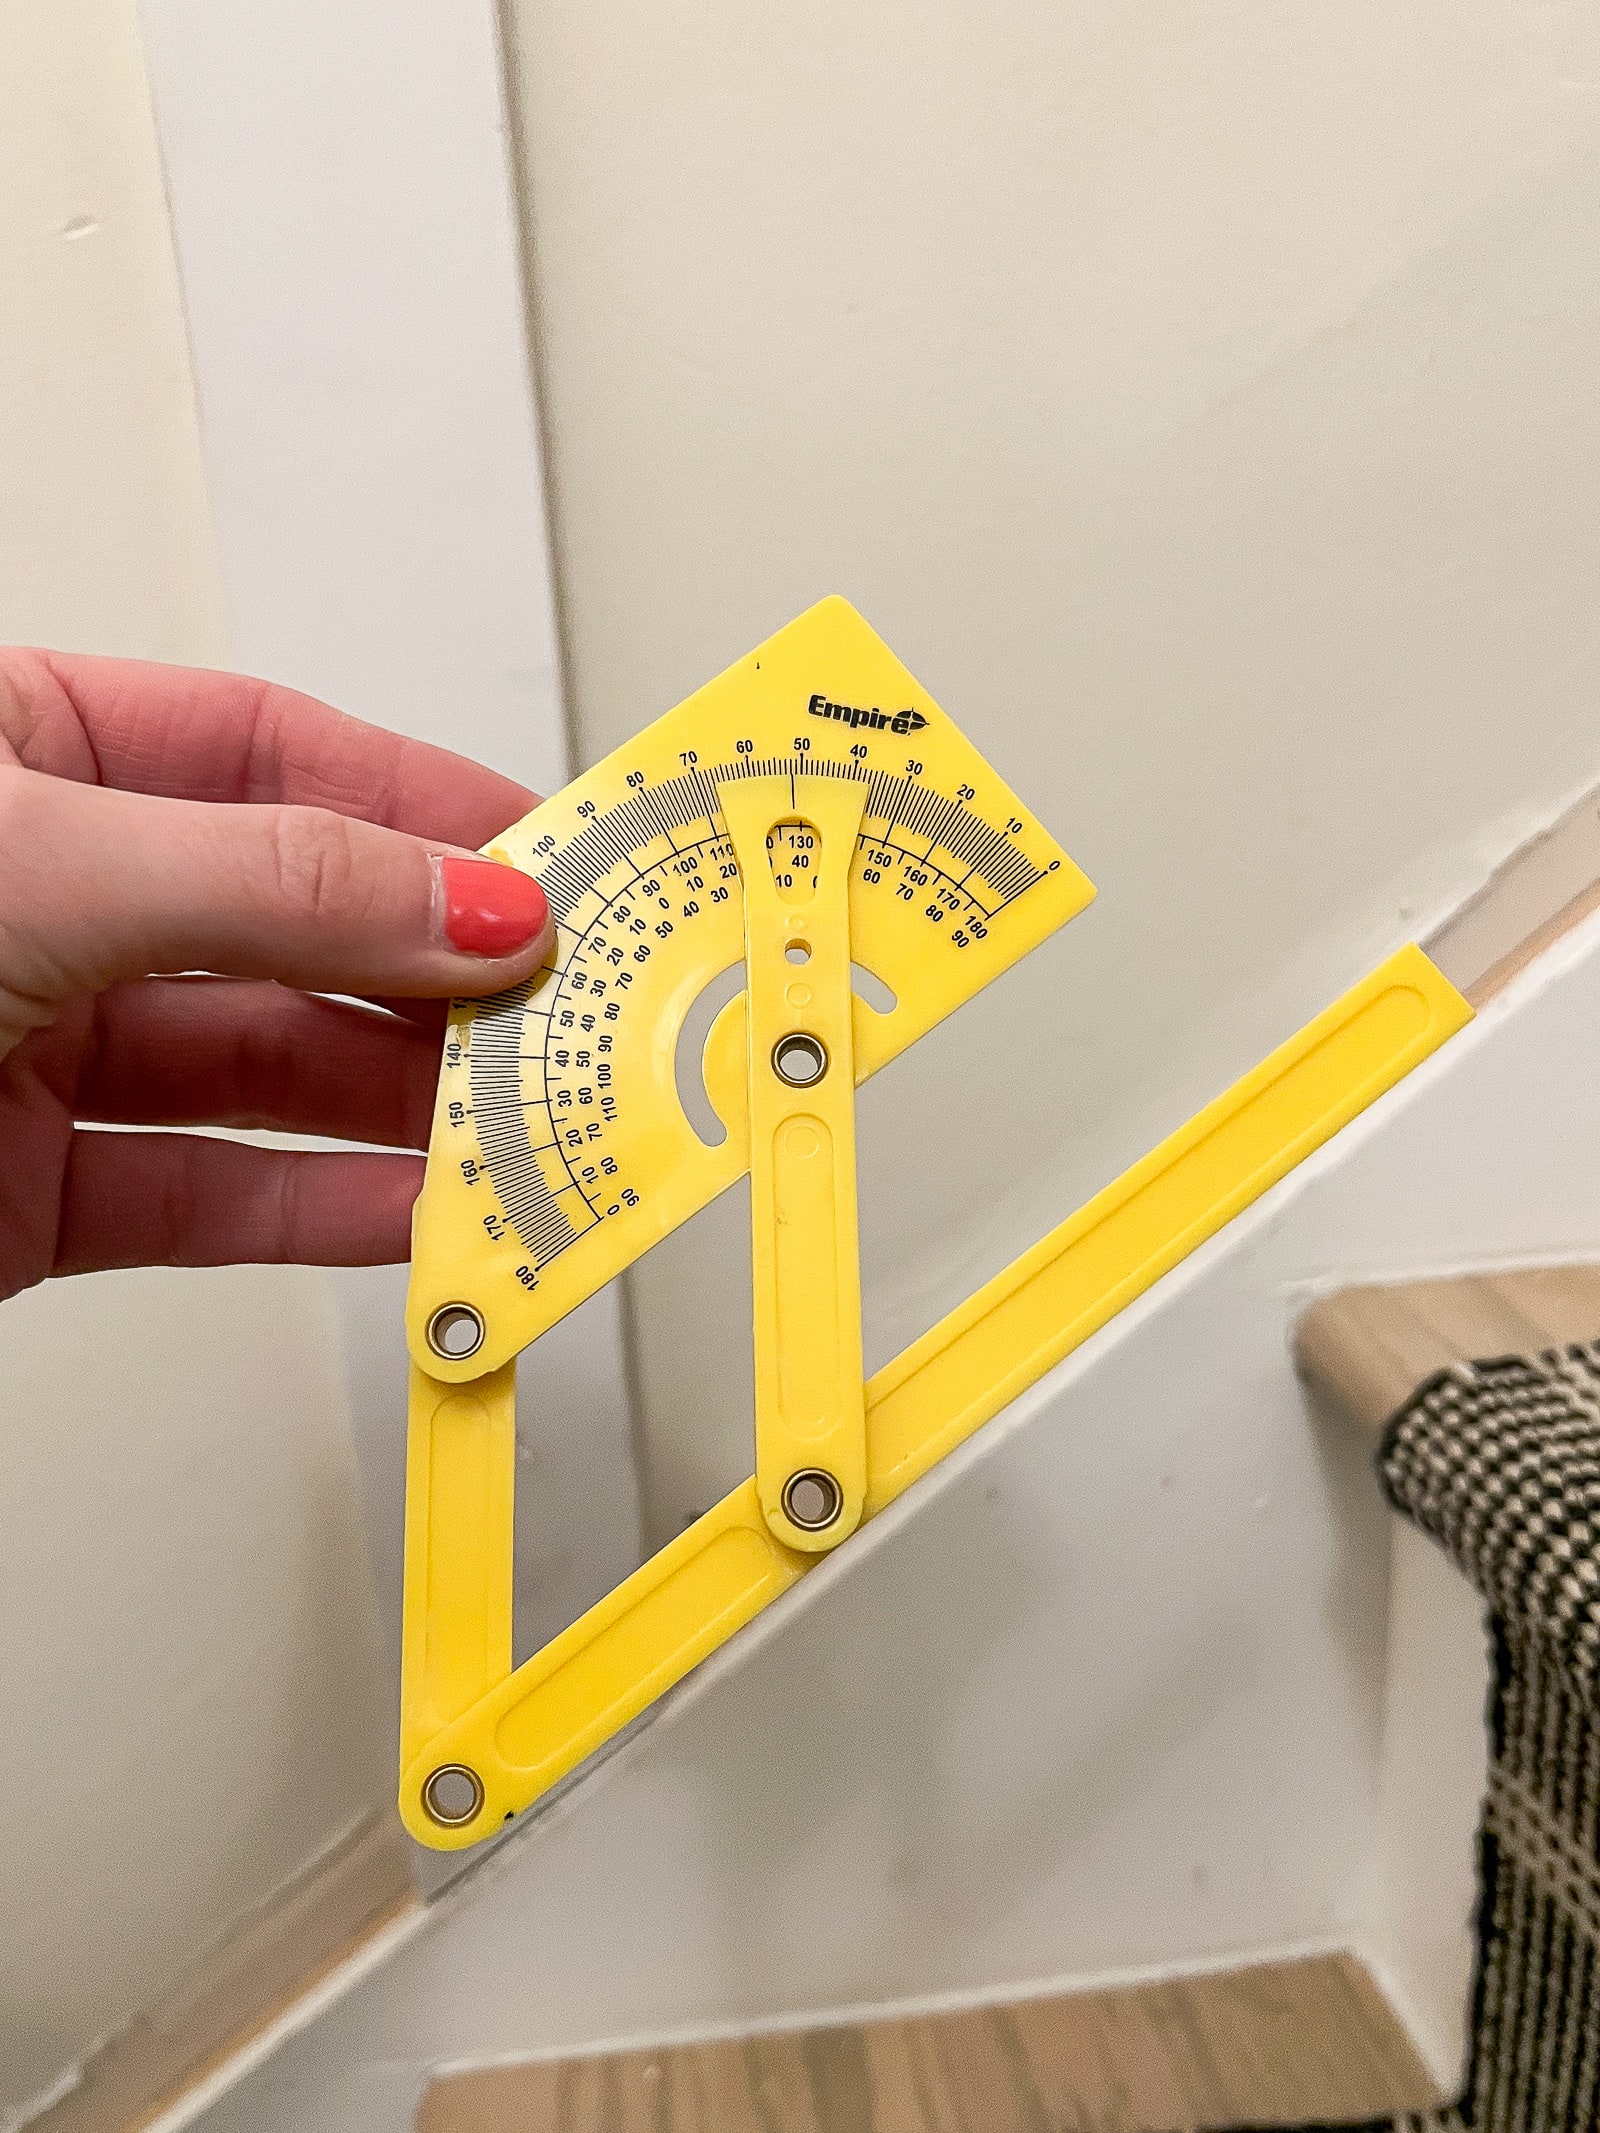
The acute angles (less than 90 degrees) were more difficult for my brain to comprehend. For this spot, my protractor said the angle was 52 degrees.
- 180 – 52 = 128
- 128 divided by 2 = 64
My cuts needed to be 64 degrees. But, then I headed to my saw and realized that a miter saw only goes up to 50 degrees! Dang, what was I going to do? Well, I turned to YouTube for the answer and I found this video. Essentially, I needed to make a fence that would allow me to cut greater angles.
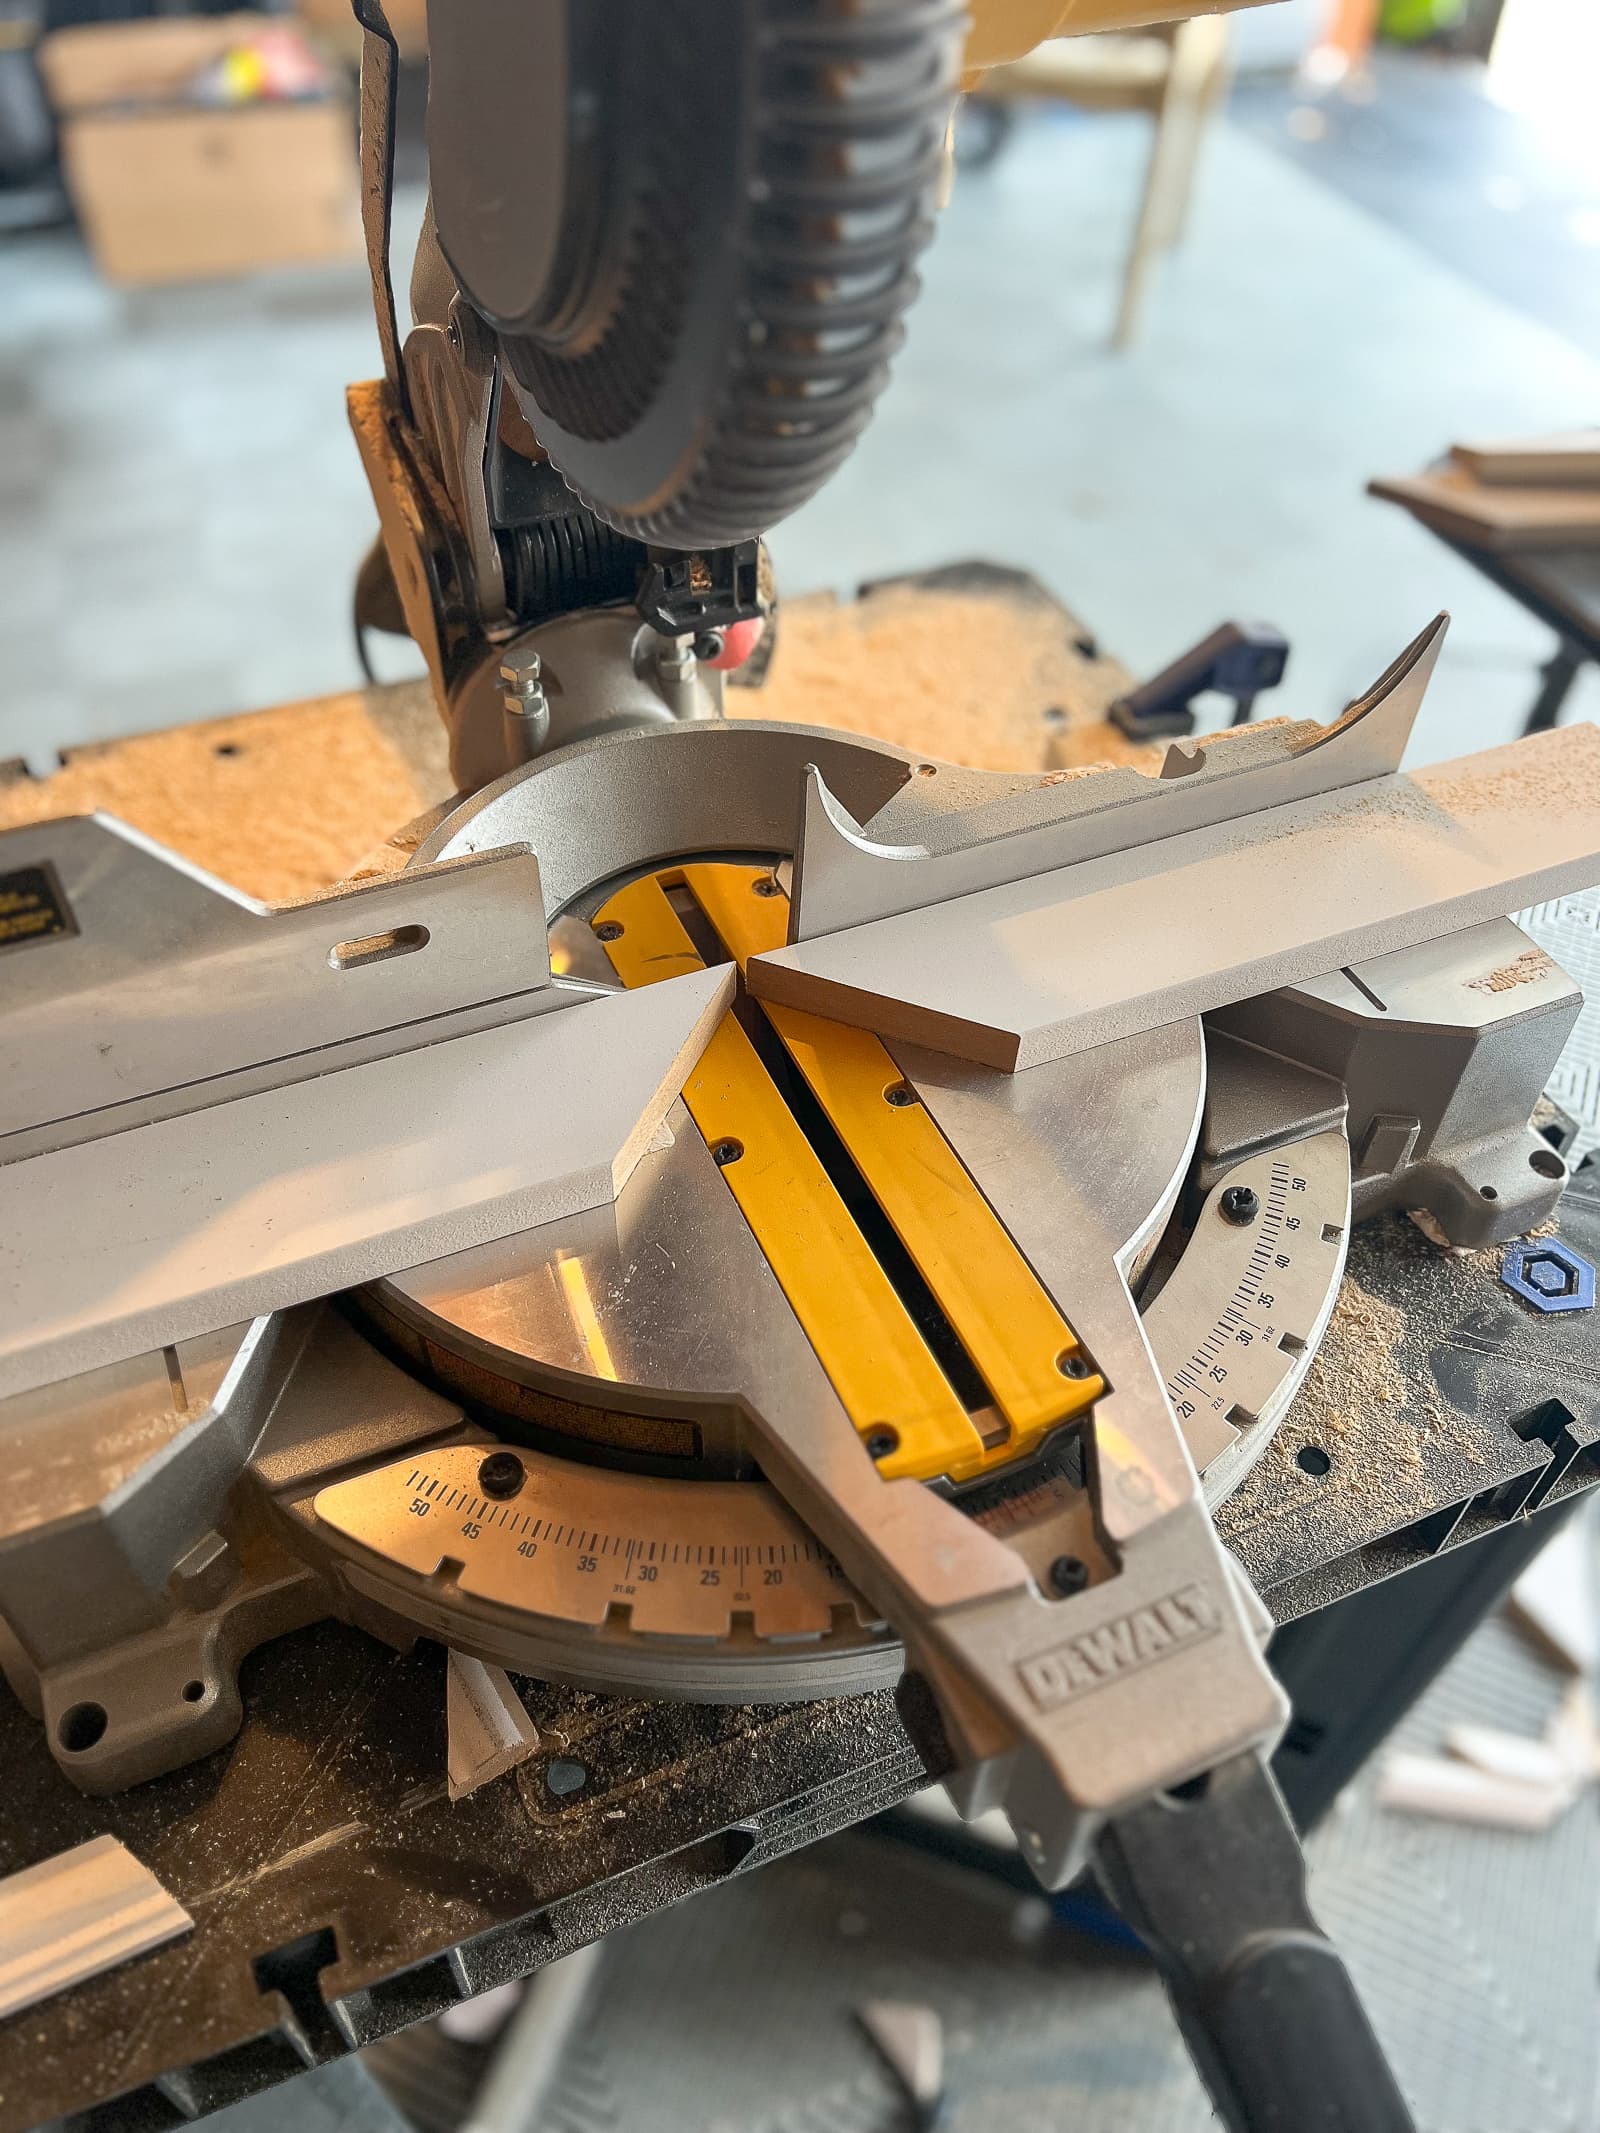
To do this, I used a piece of scrap wood and carpet tape. Yes, carpet tape! I placed the carpet tape on the edges of the saw and I placed the wood on top. I then cut the wood at a 45-degree angle, each way. My fence was now in place and not going anywhere due to the sticky tape!
Since the fence sits at 45-degrees, it makes a 45-degree cut when the saw is set to zero. To make a 64-degree cut, I had to do some simple math.
- 64 – 45 = 19 degrees
I set the saw to 19 degrees, placed the trim up to the new fence, and boom…a 64-degree cut! I may have lost you there (it definitely took my brain a few tries to get this figured out), but if you need the information for your future woodworking project, it will always be here!
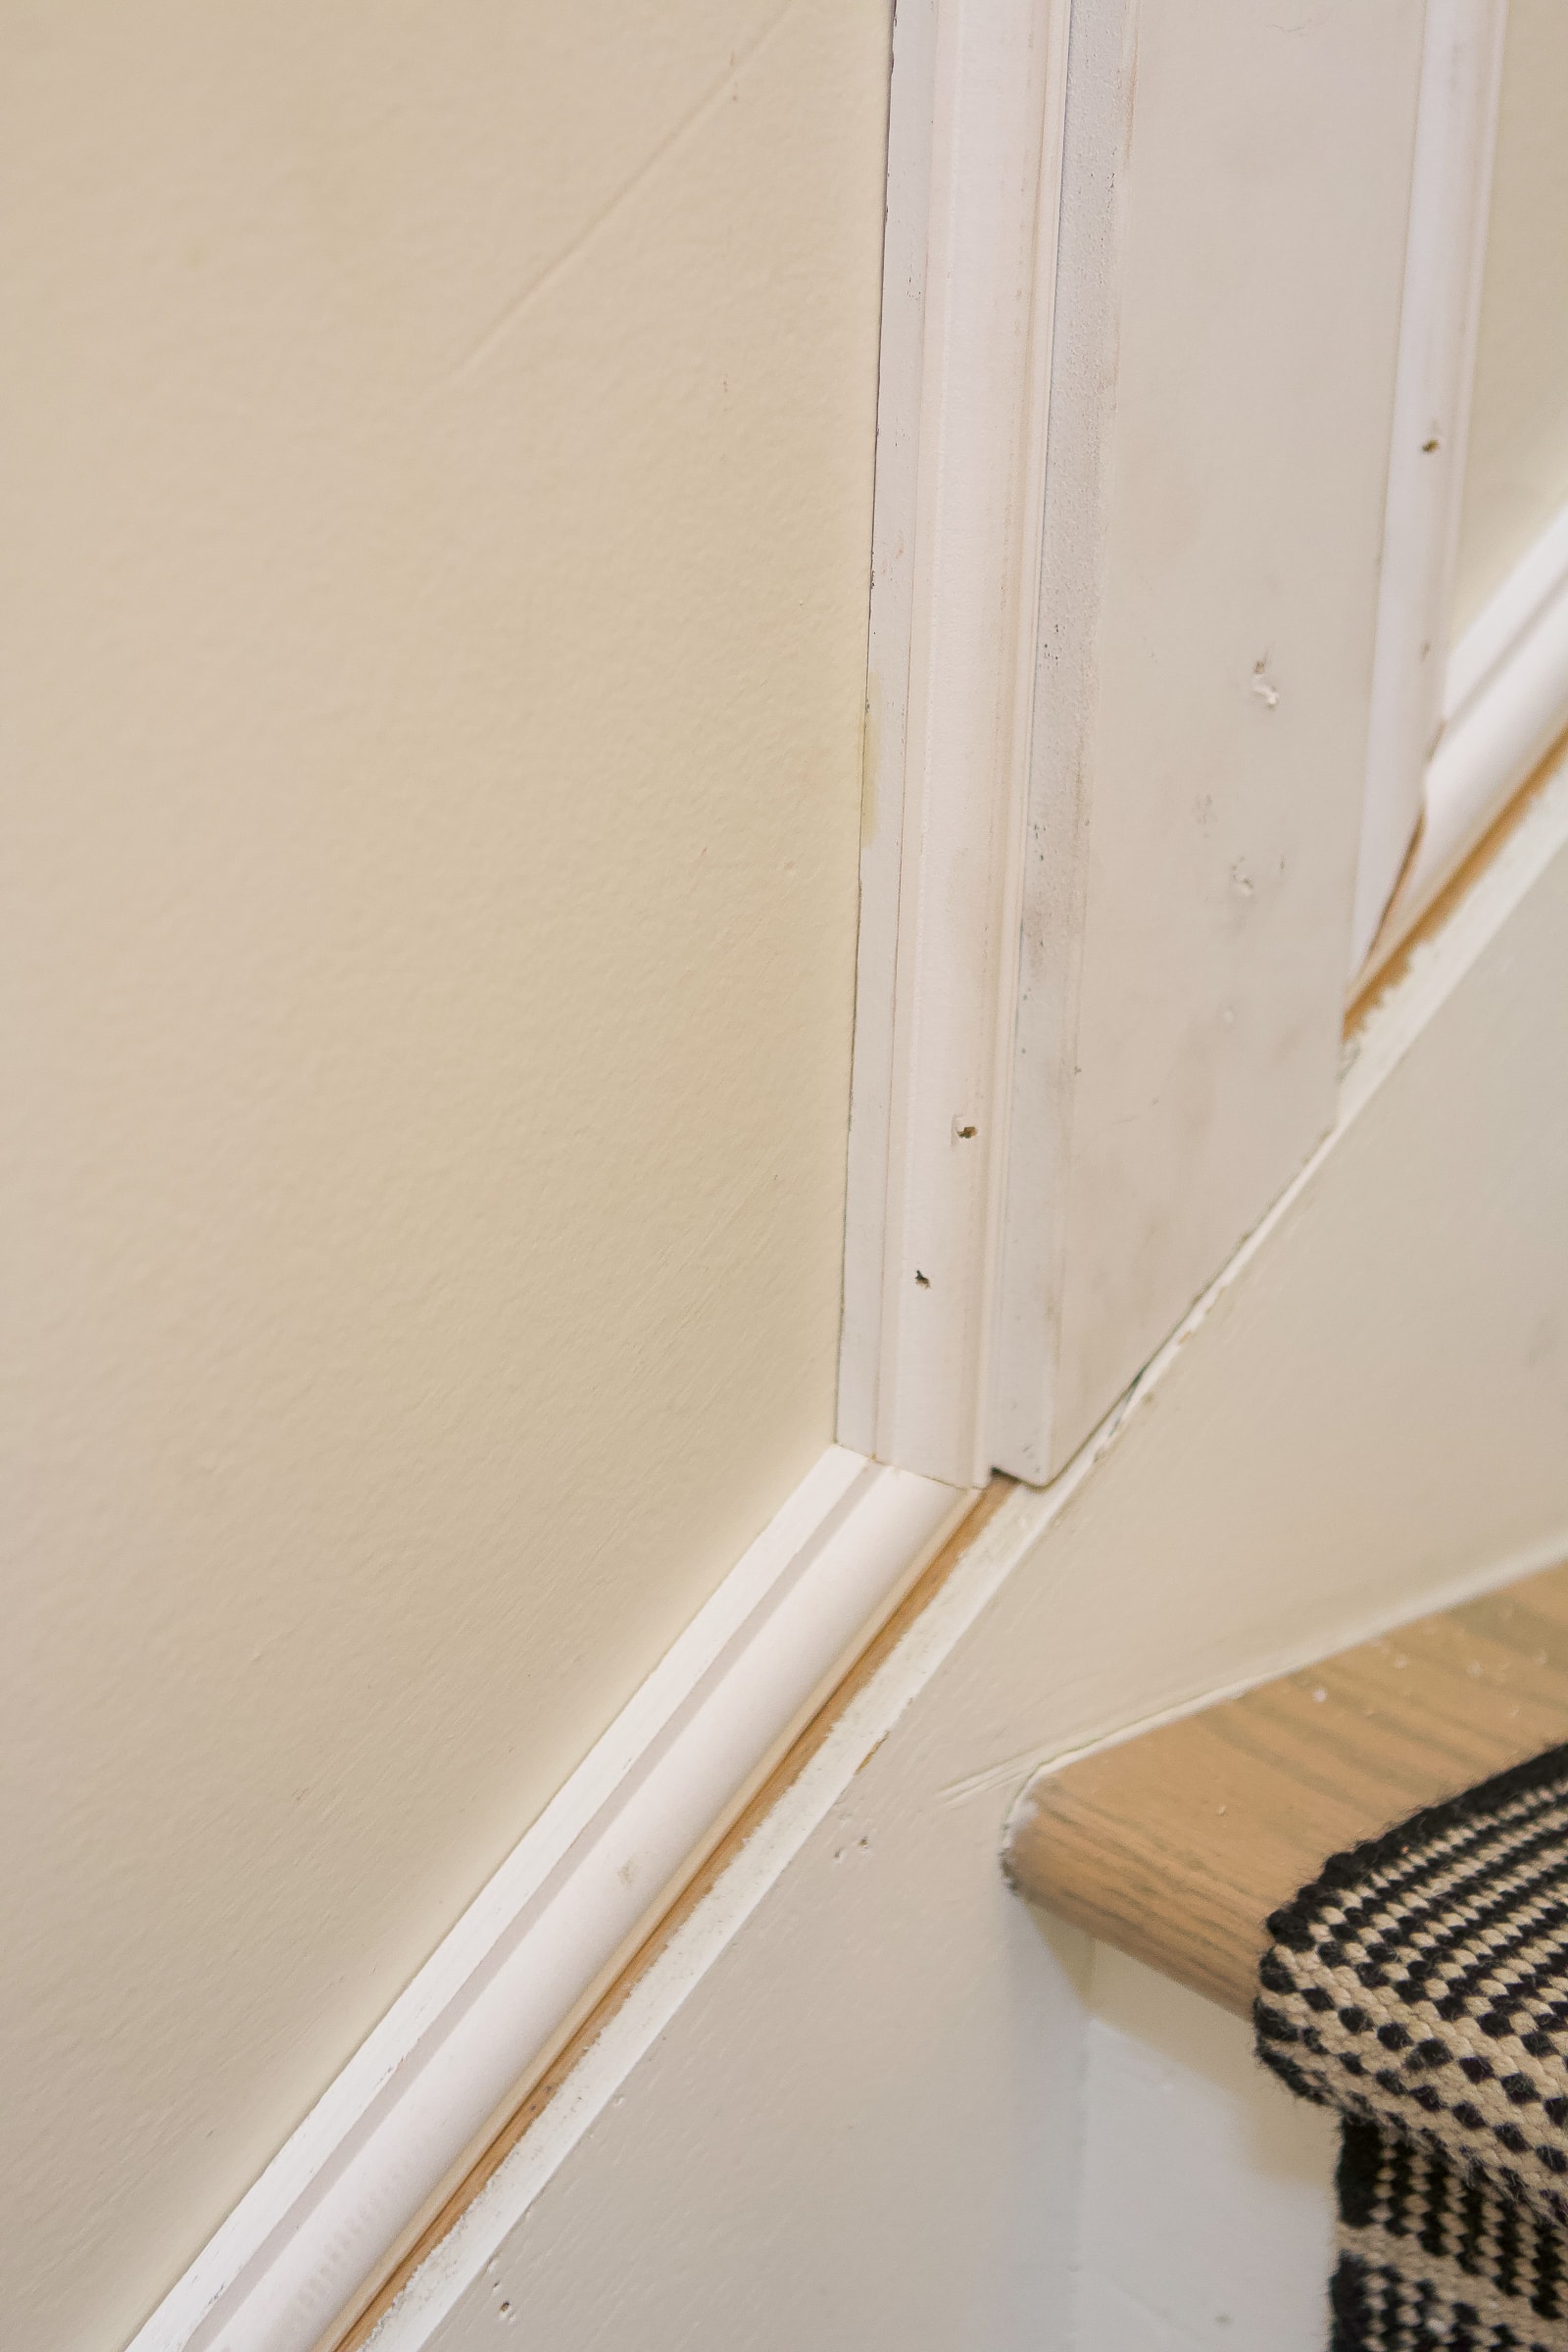
The Finishing Touches
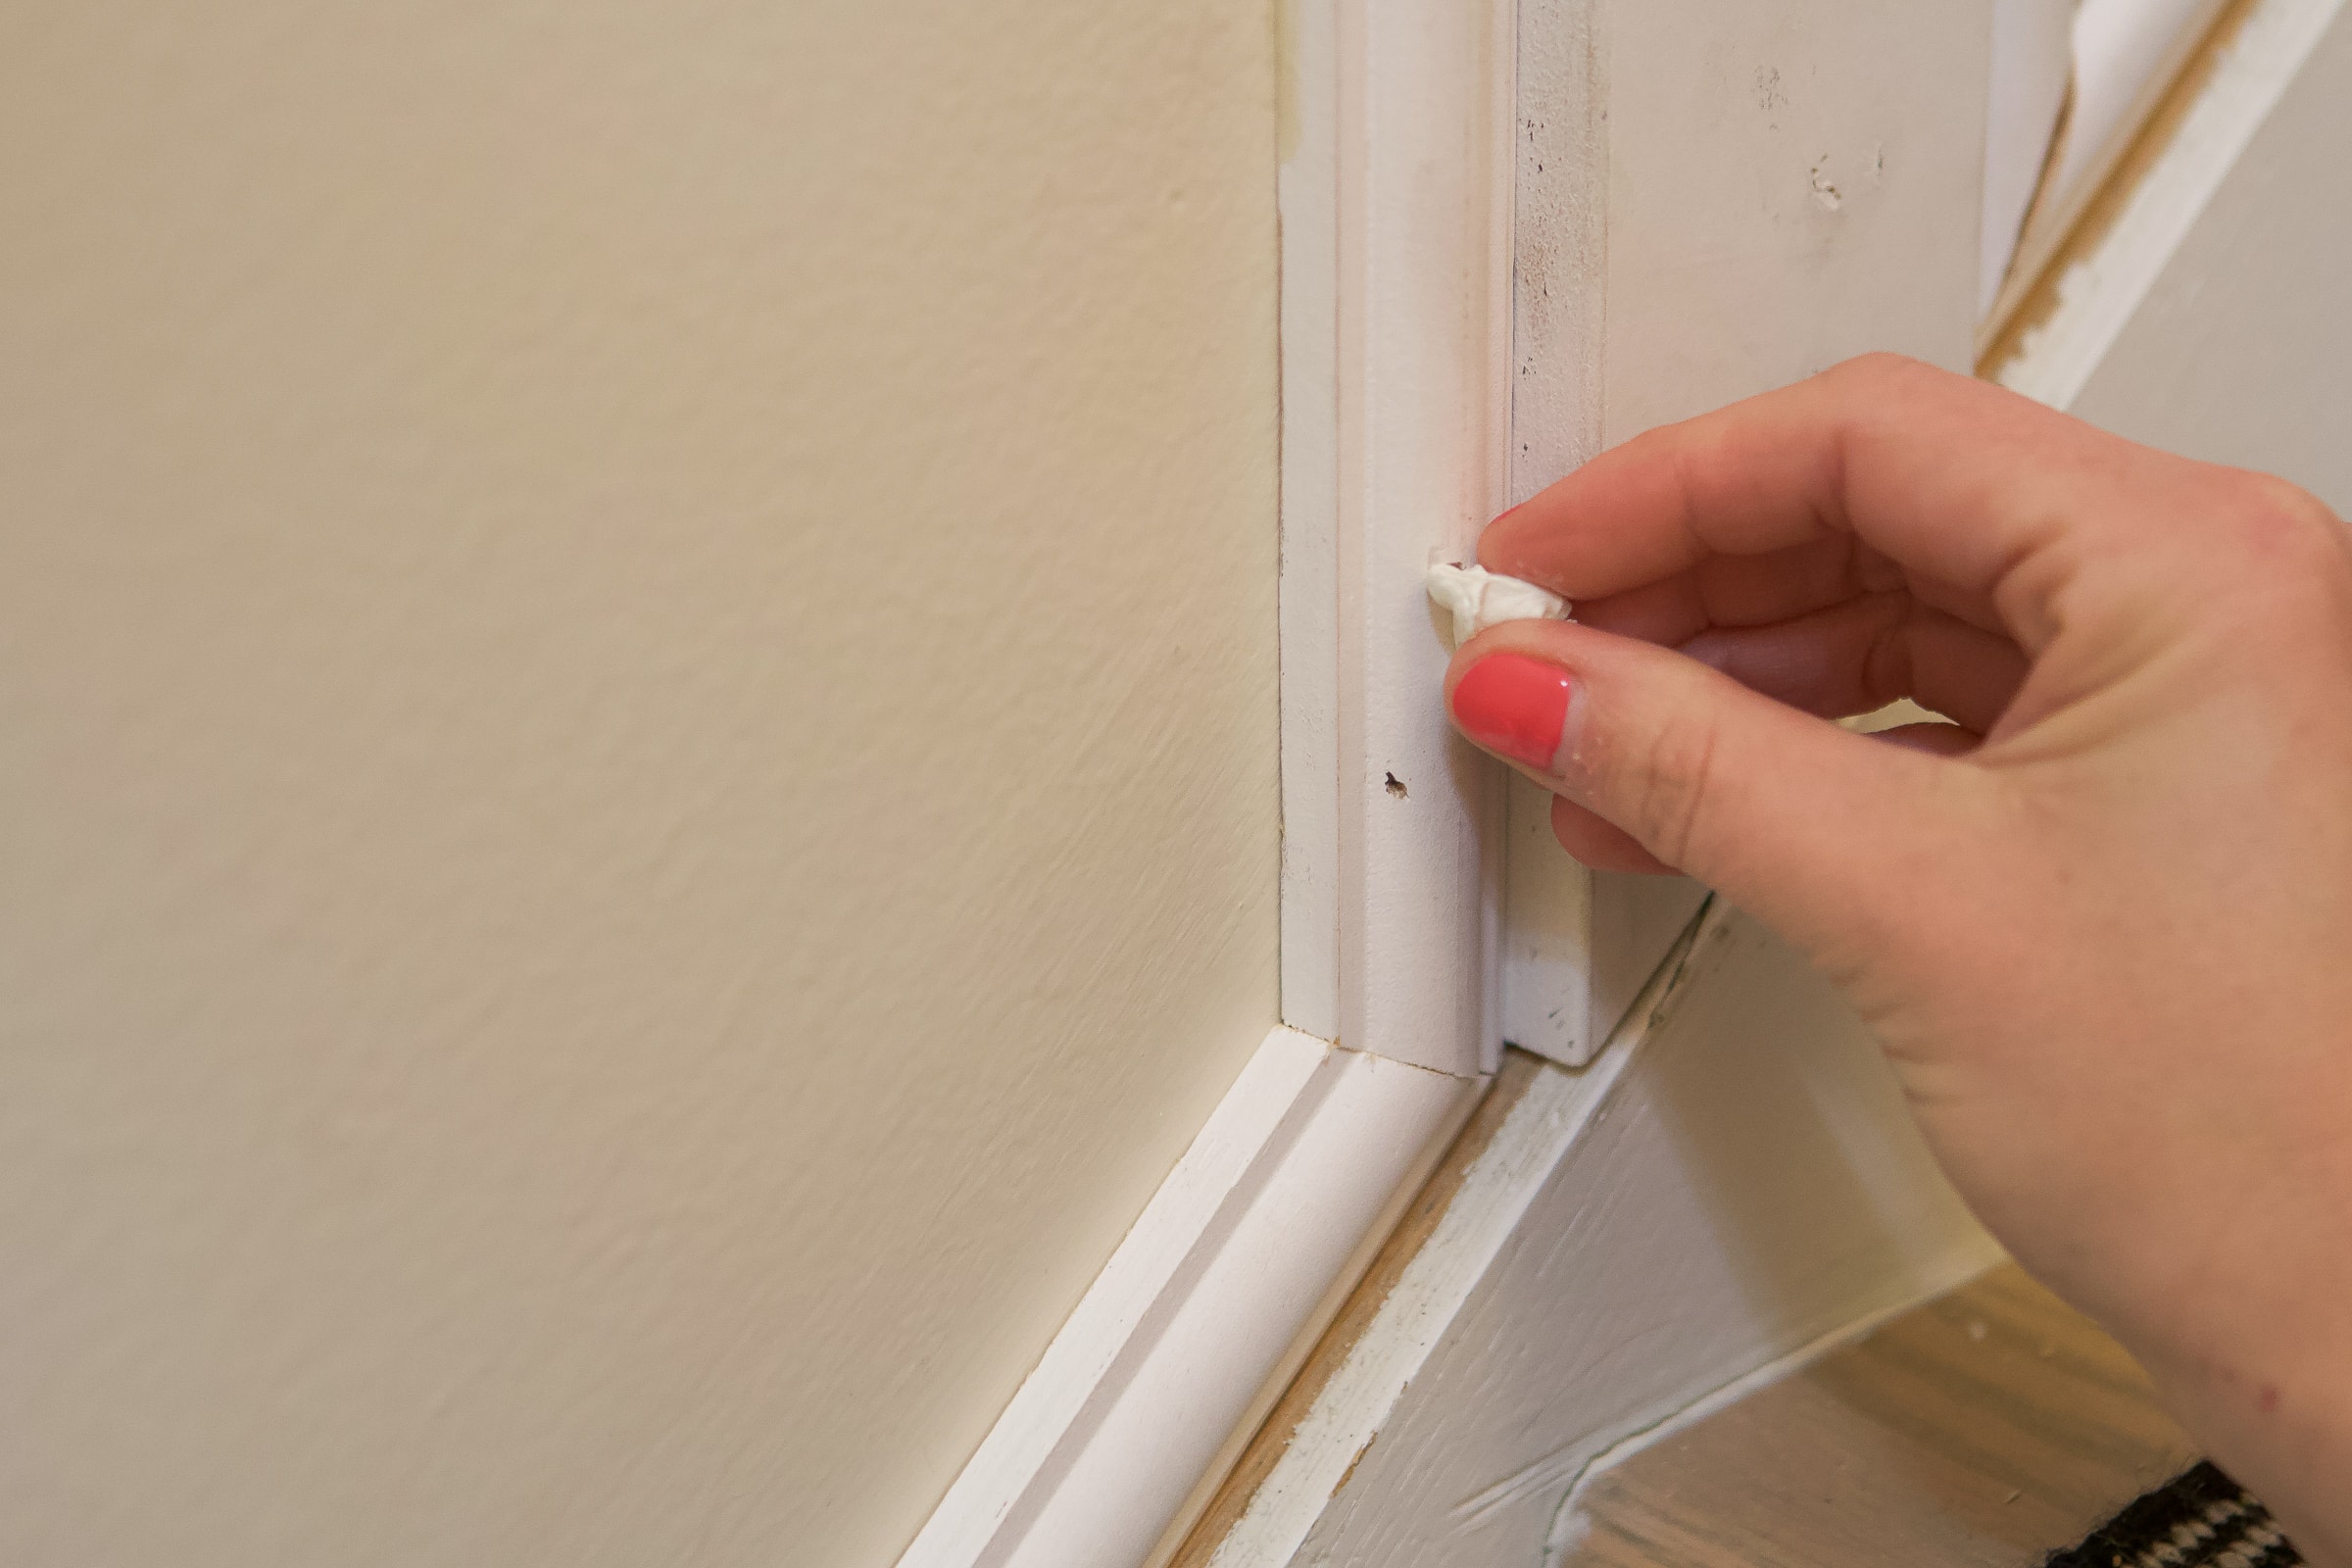
With the cuts all finished (hooray!), I was able to get everything up and on the wall and it was time for the finishing touches. For me, that’s the fun part! I used painter’s putty to fill the nail holes and I caulked every seam using my favorite caulking secret! With woodworking projects like this one, I always recommend caulking wherever wood meets a new plane or another piece of wood. Every edge and seam was caulked and this gave it a polished look. Don’t skimp on caulk!
Once the caulk and painter’s putty dried, I gave the wall three light coats of Benjamin Moore “Simply White” in a satin finish. I actually had a can left over from my basement door painting marathon and I was thrilled I could put it to good use!
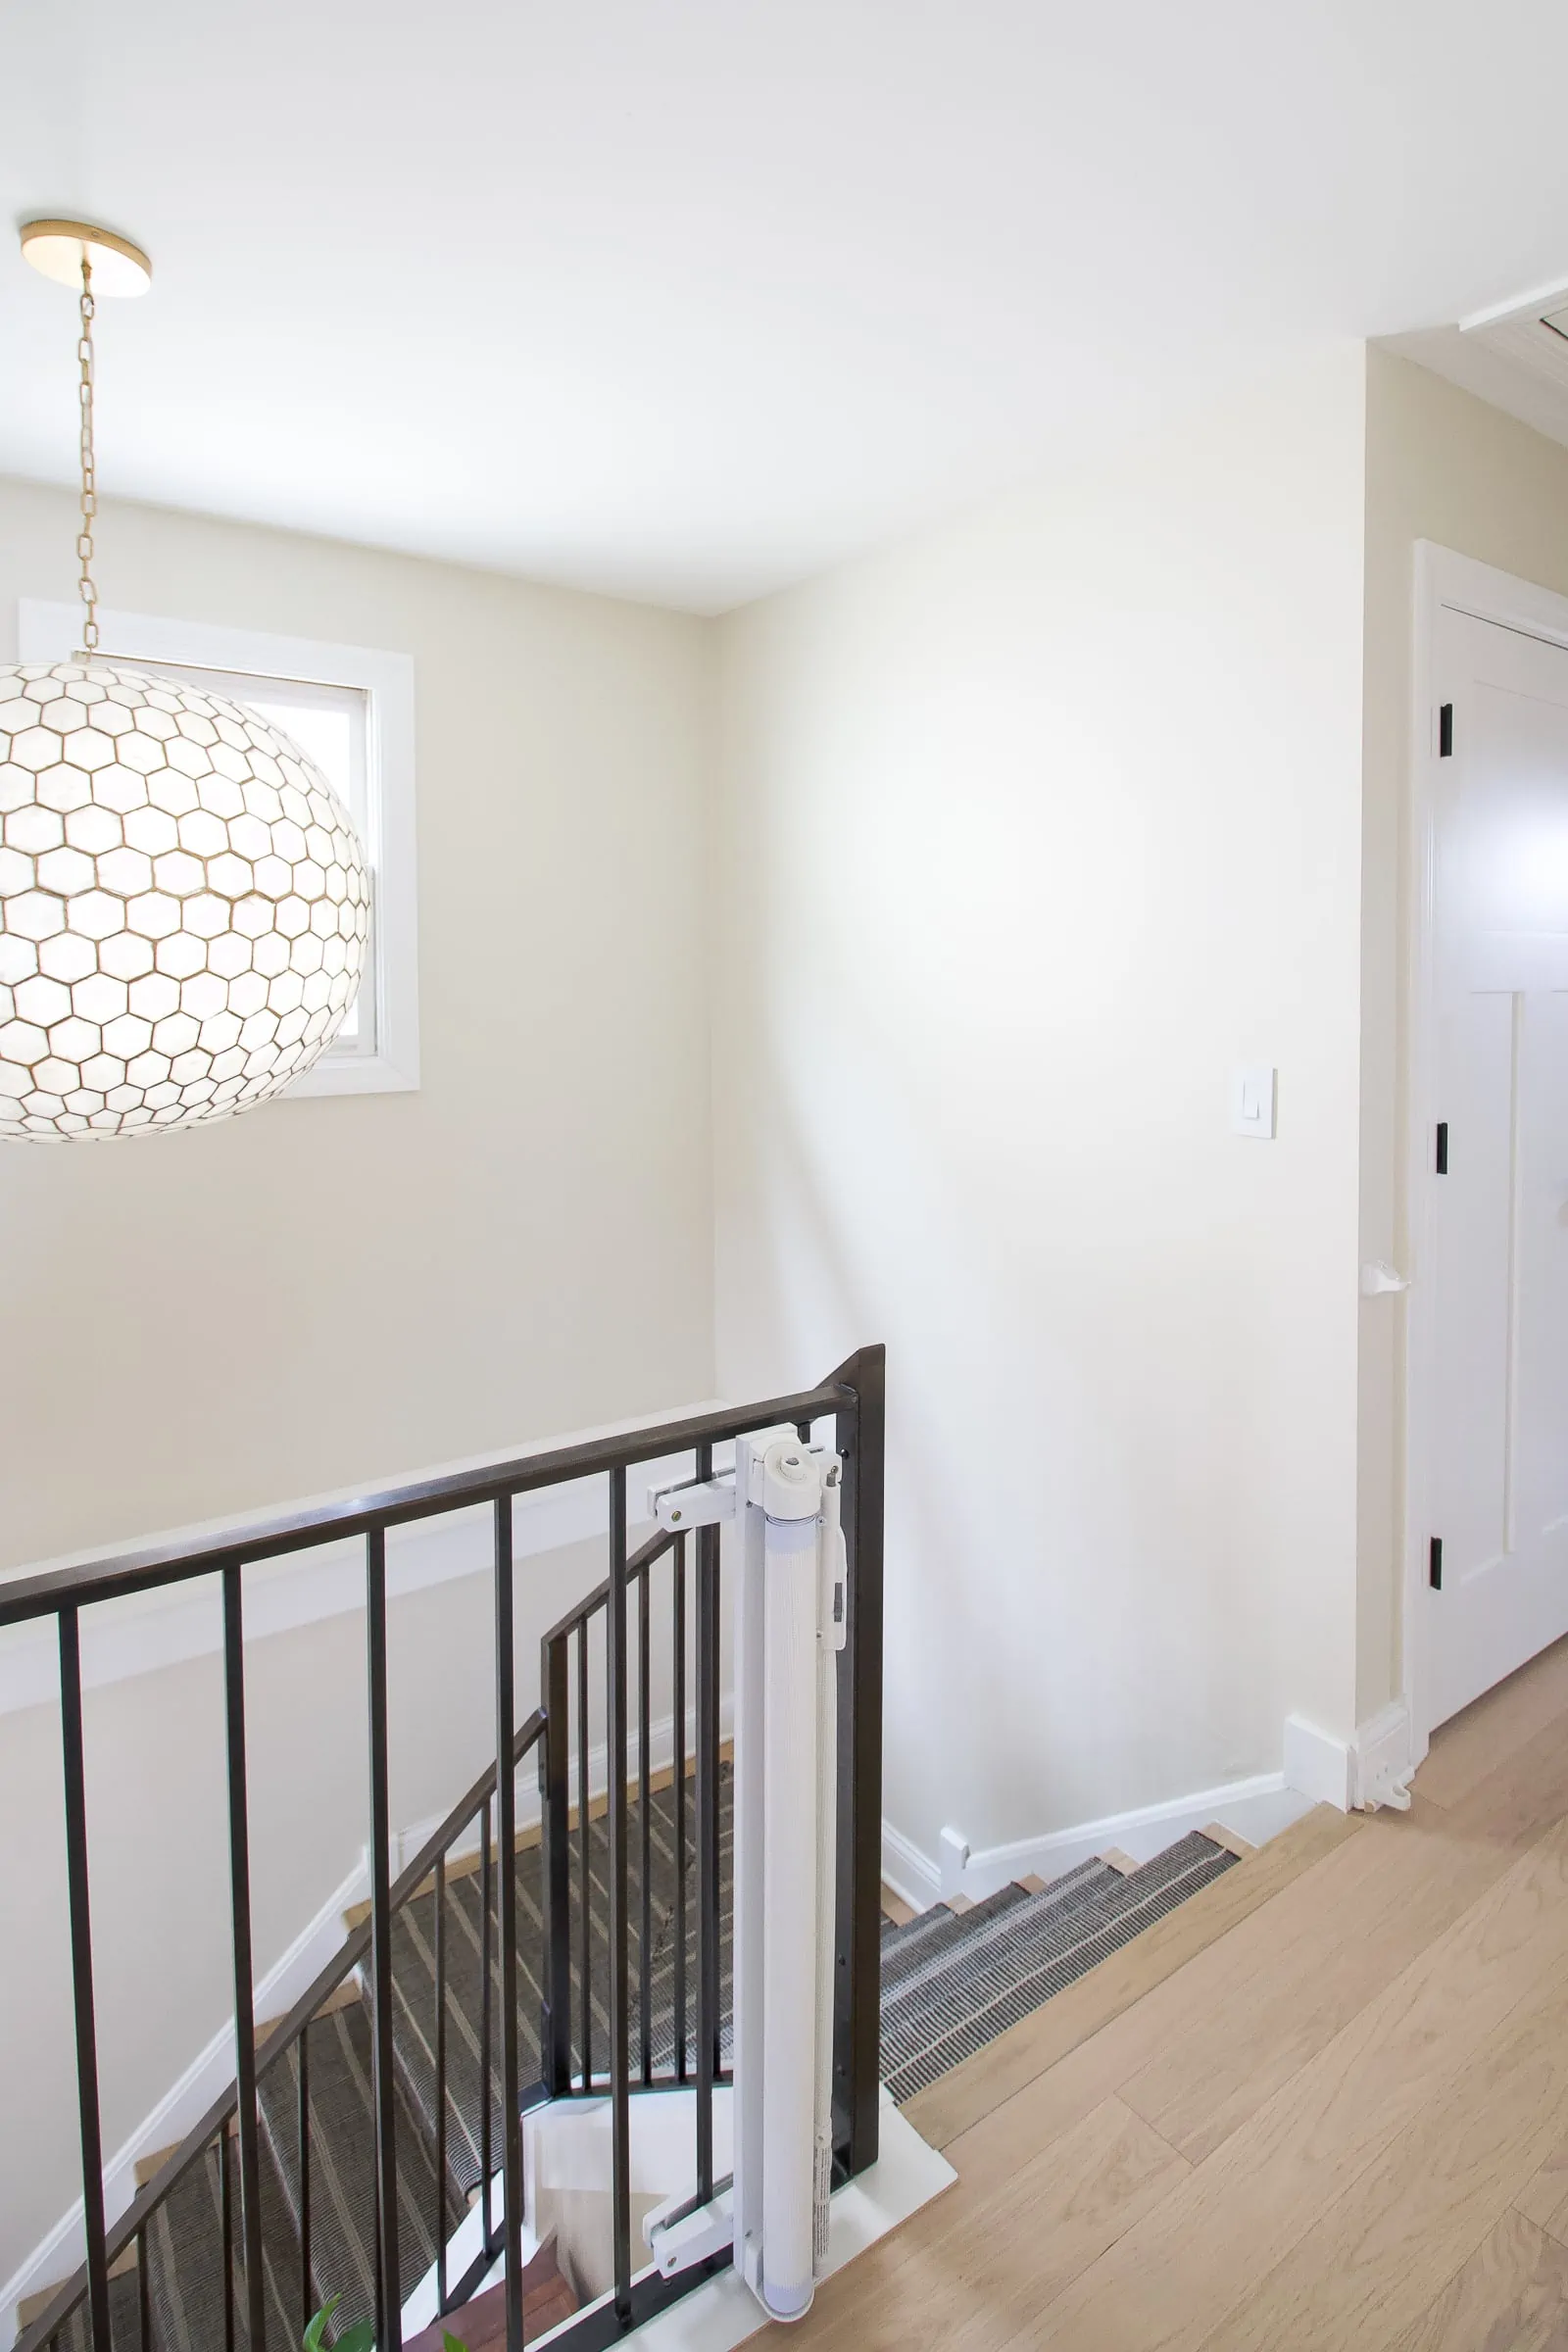
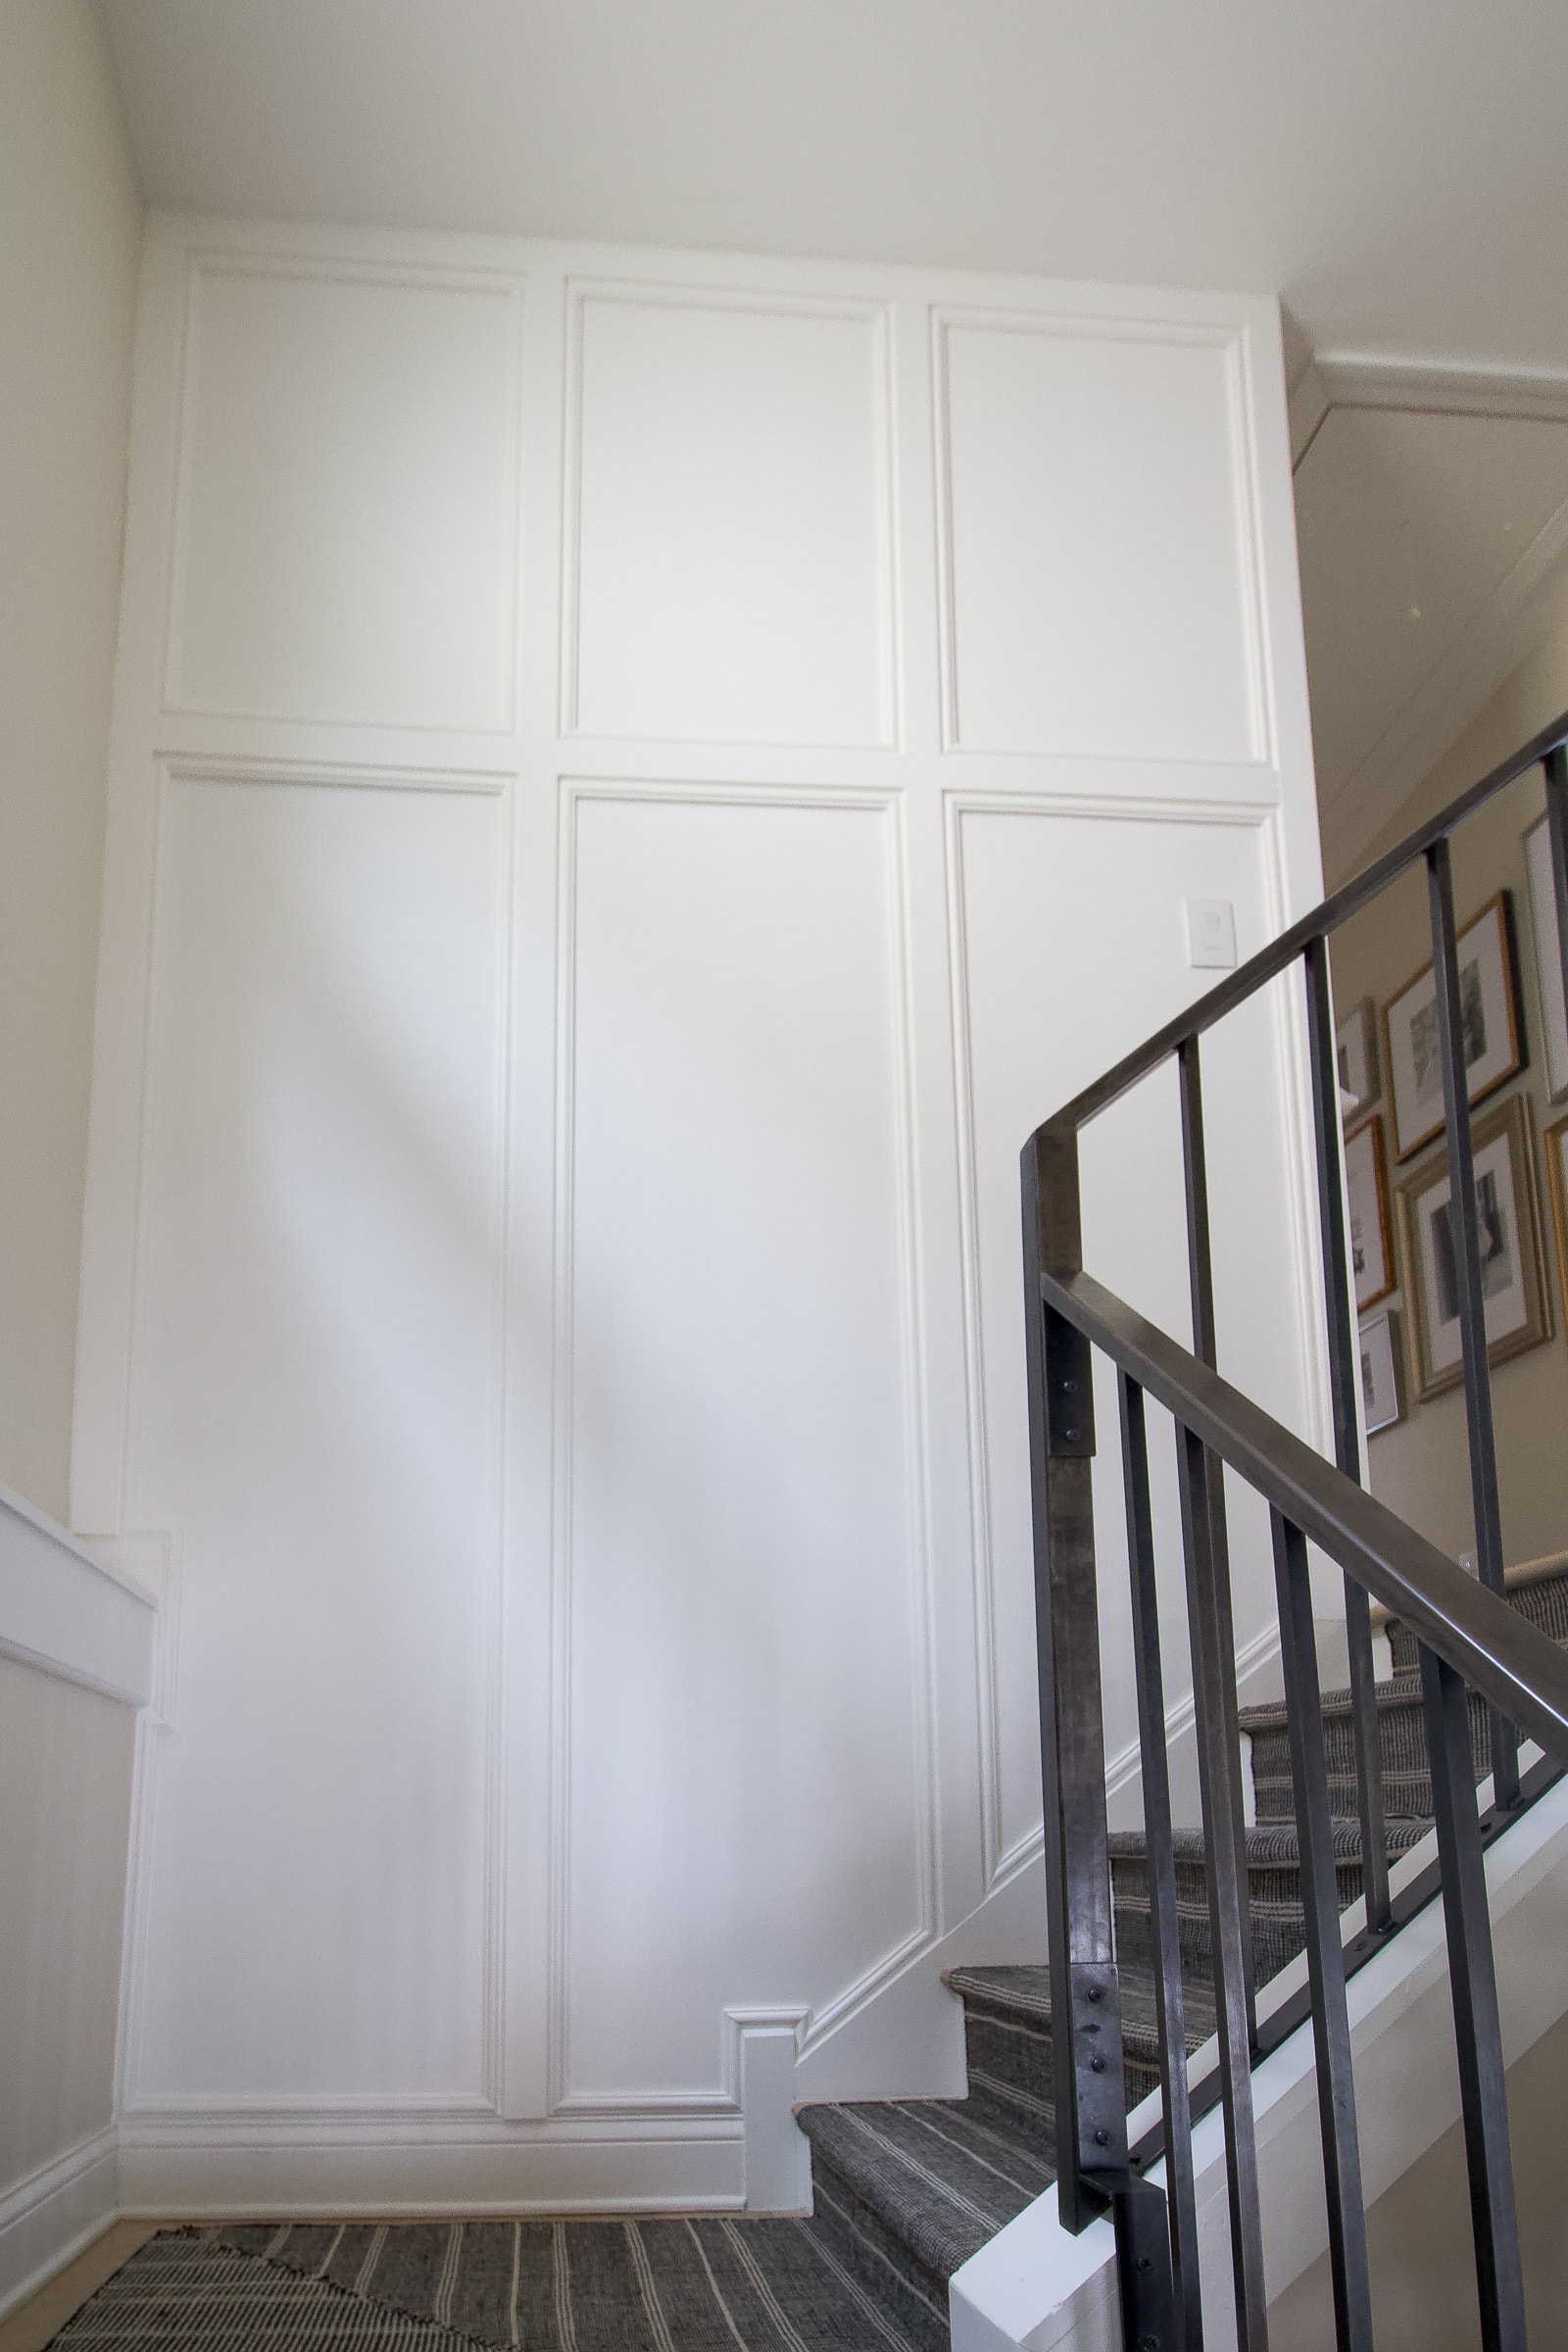
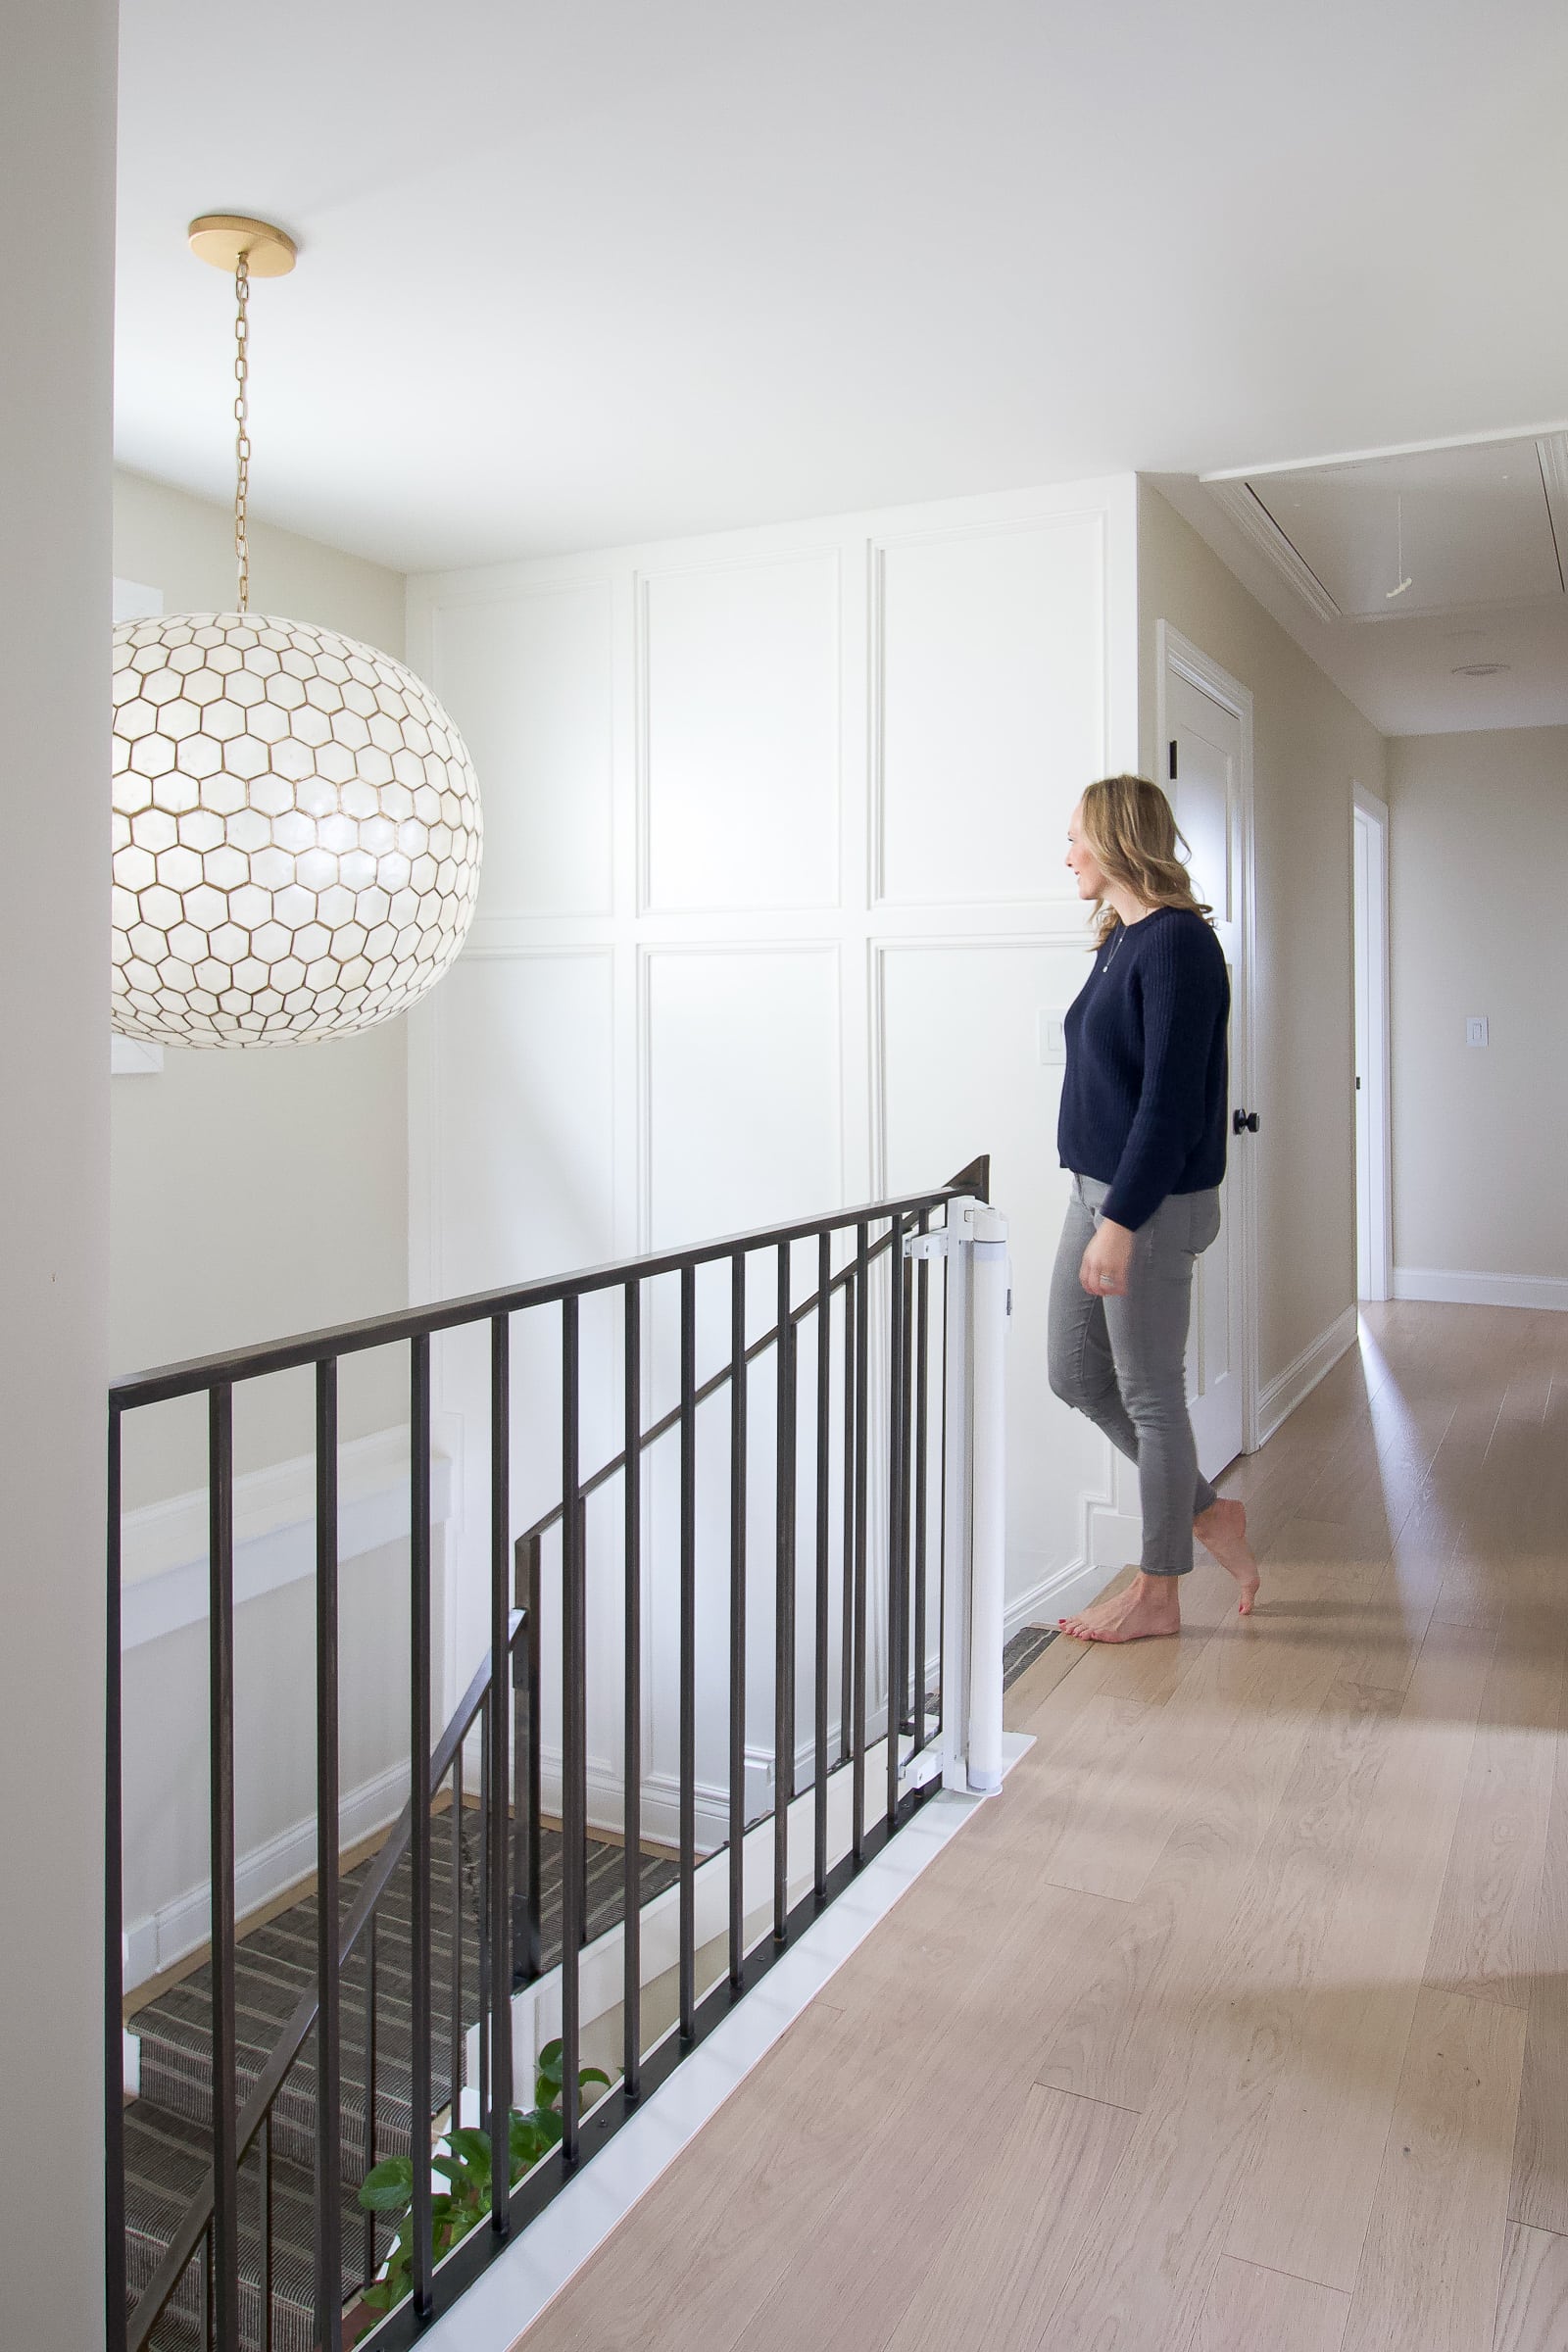
Our New Stairwell Accent Wall
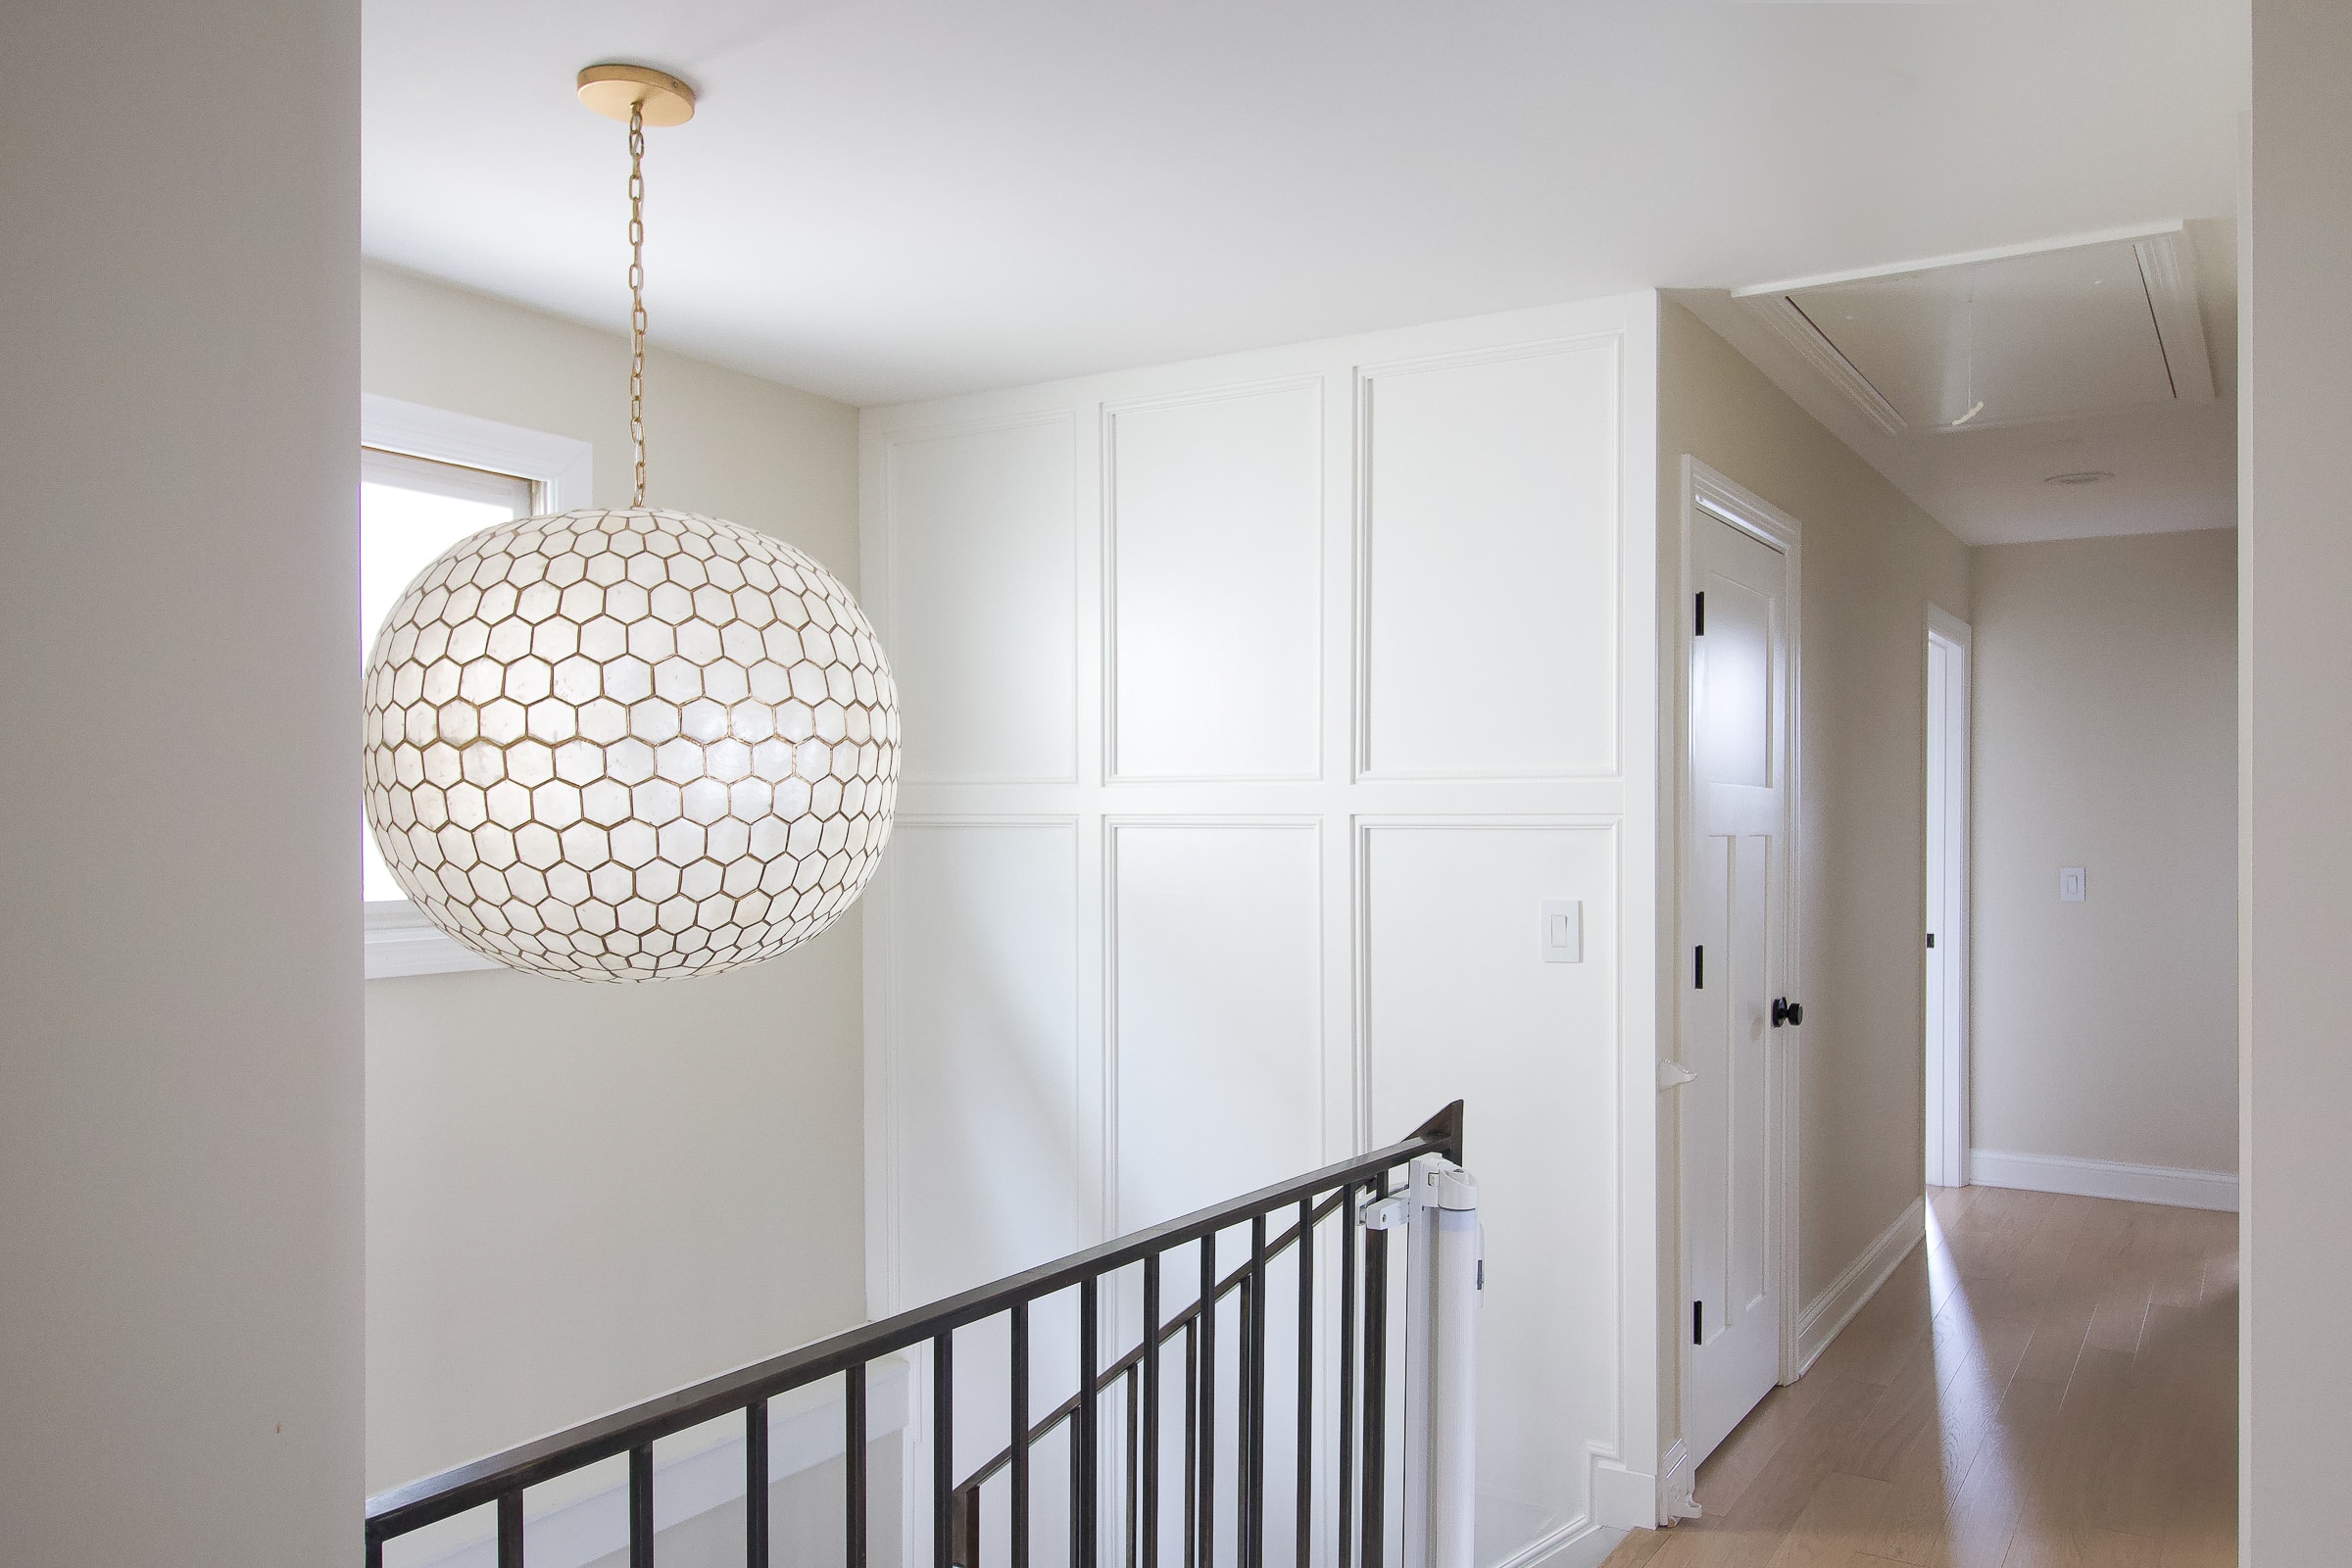
Here you go! A look at the new stairwell accent wall. I absolutely love it!
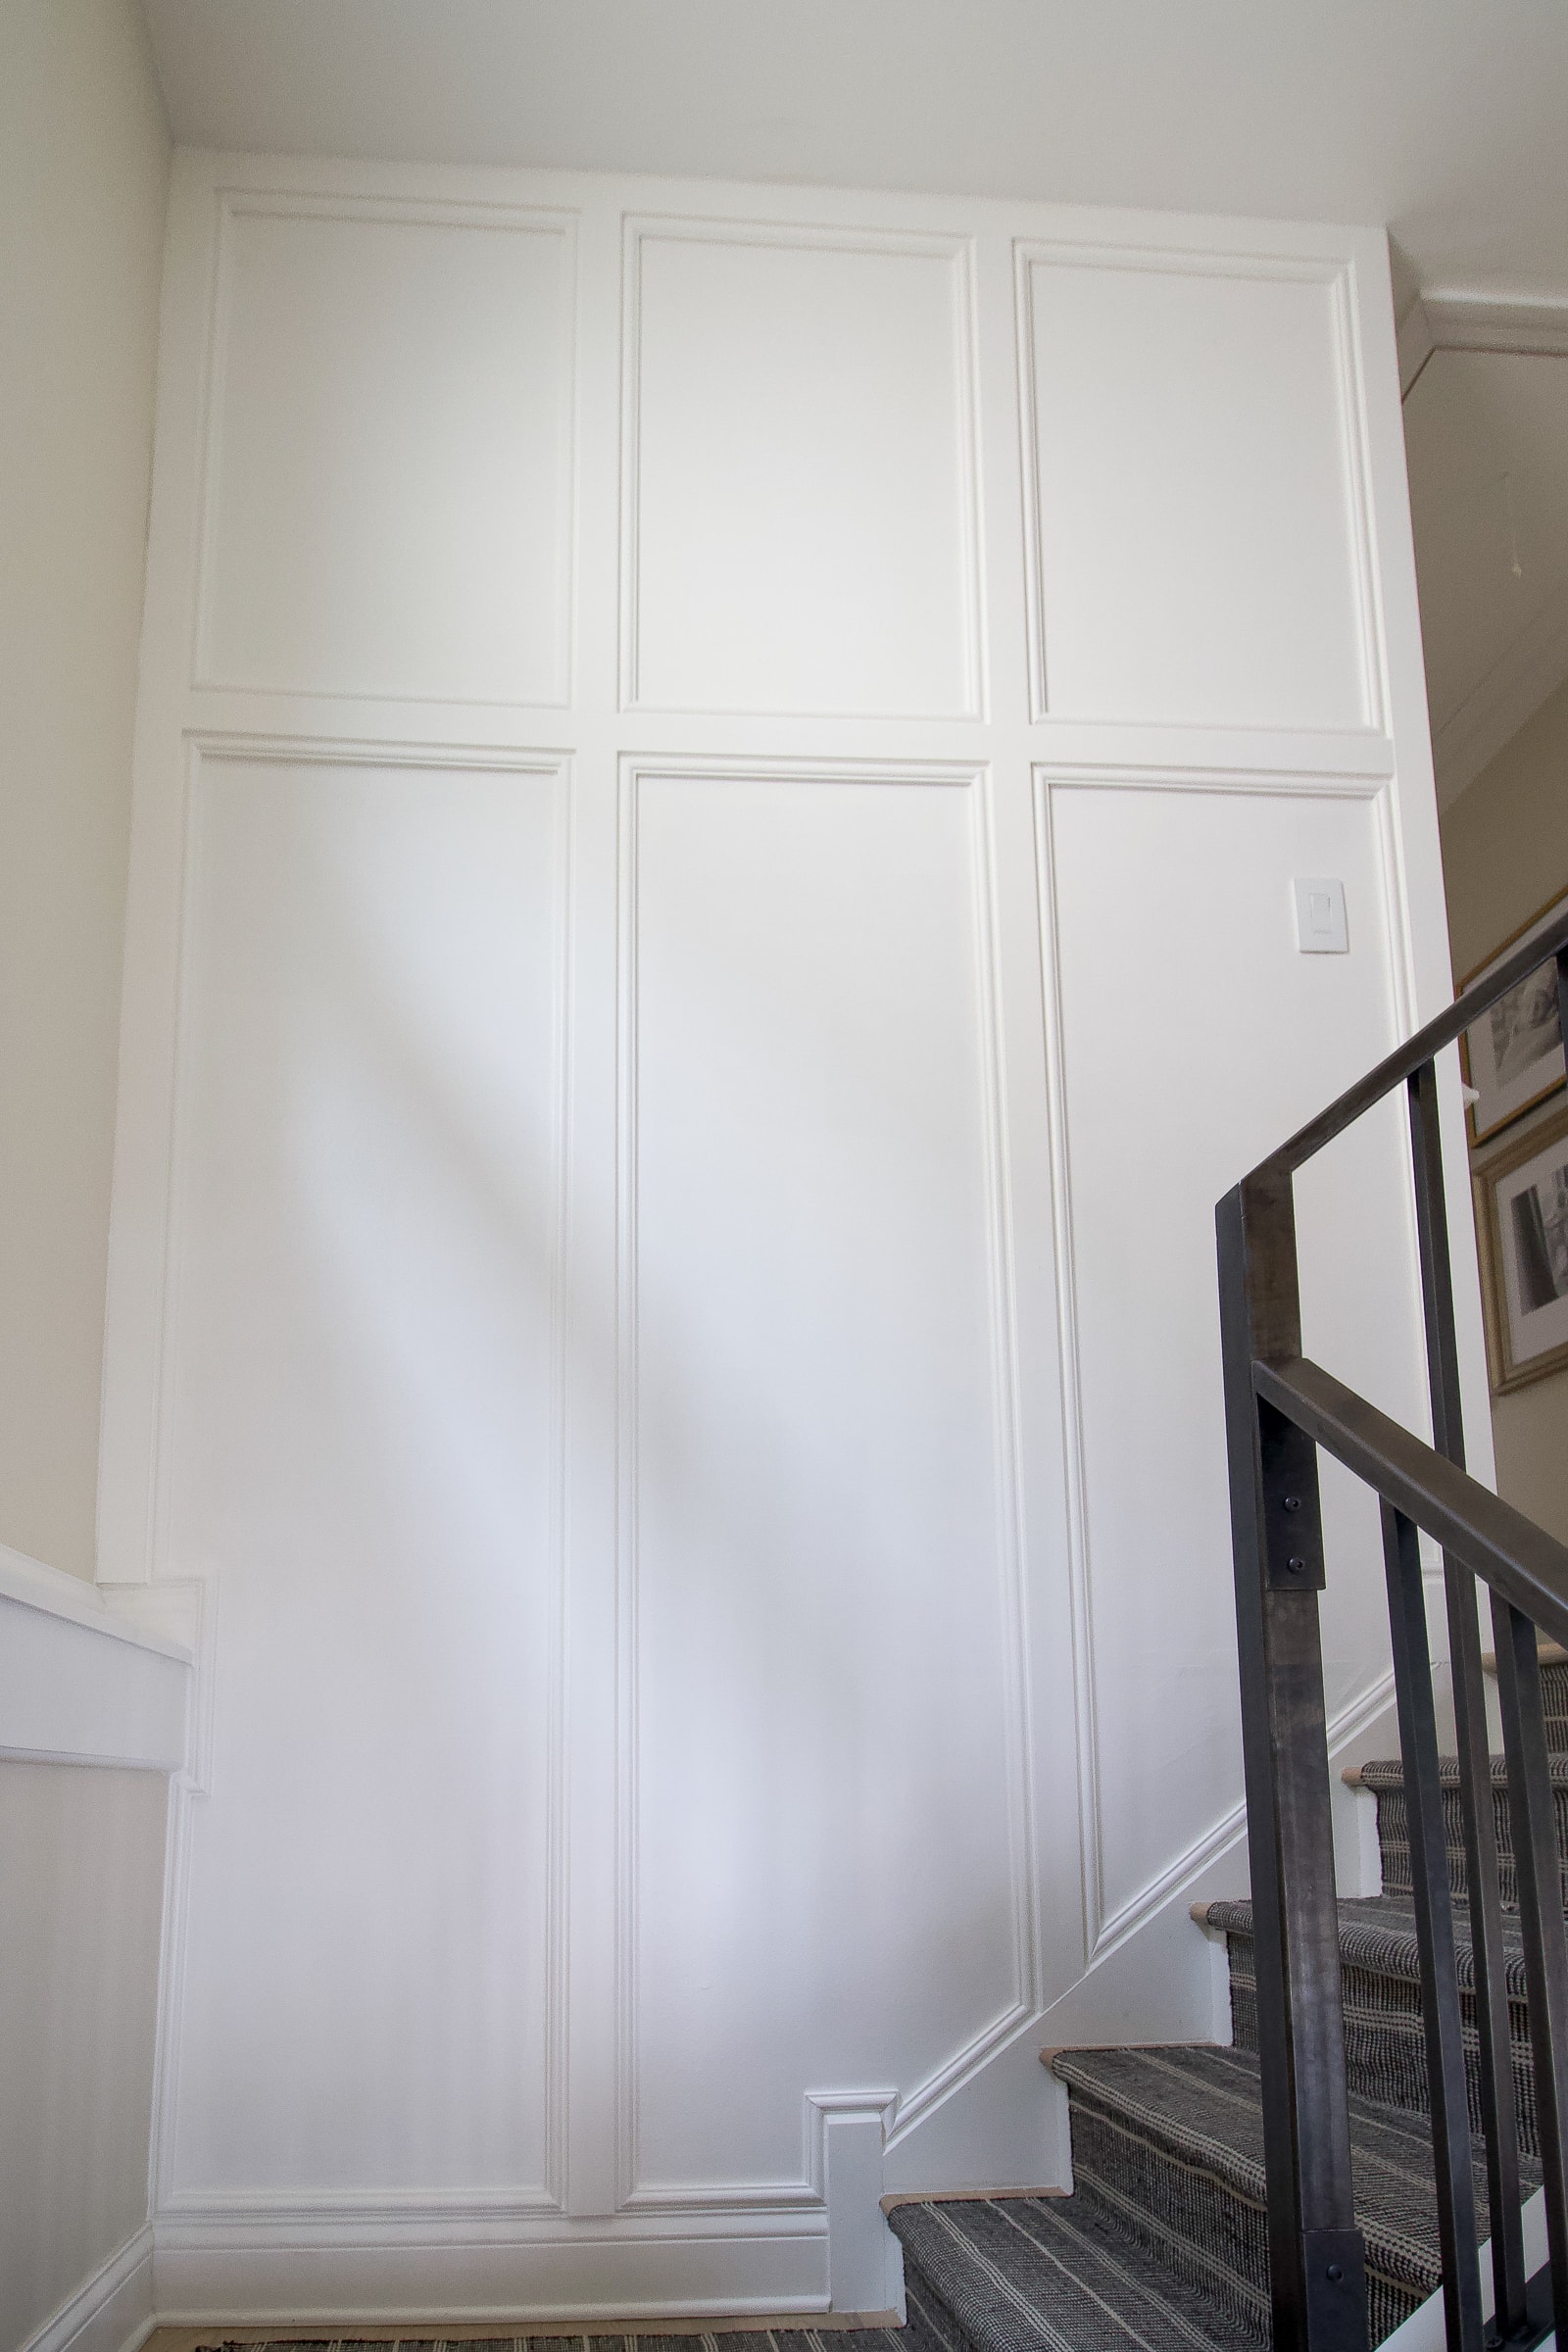
The white color keeps it subtle and the trim detailing makes it look high-end.
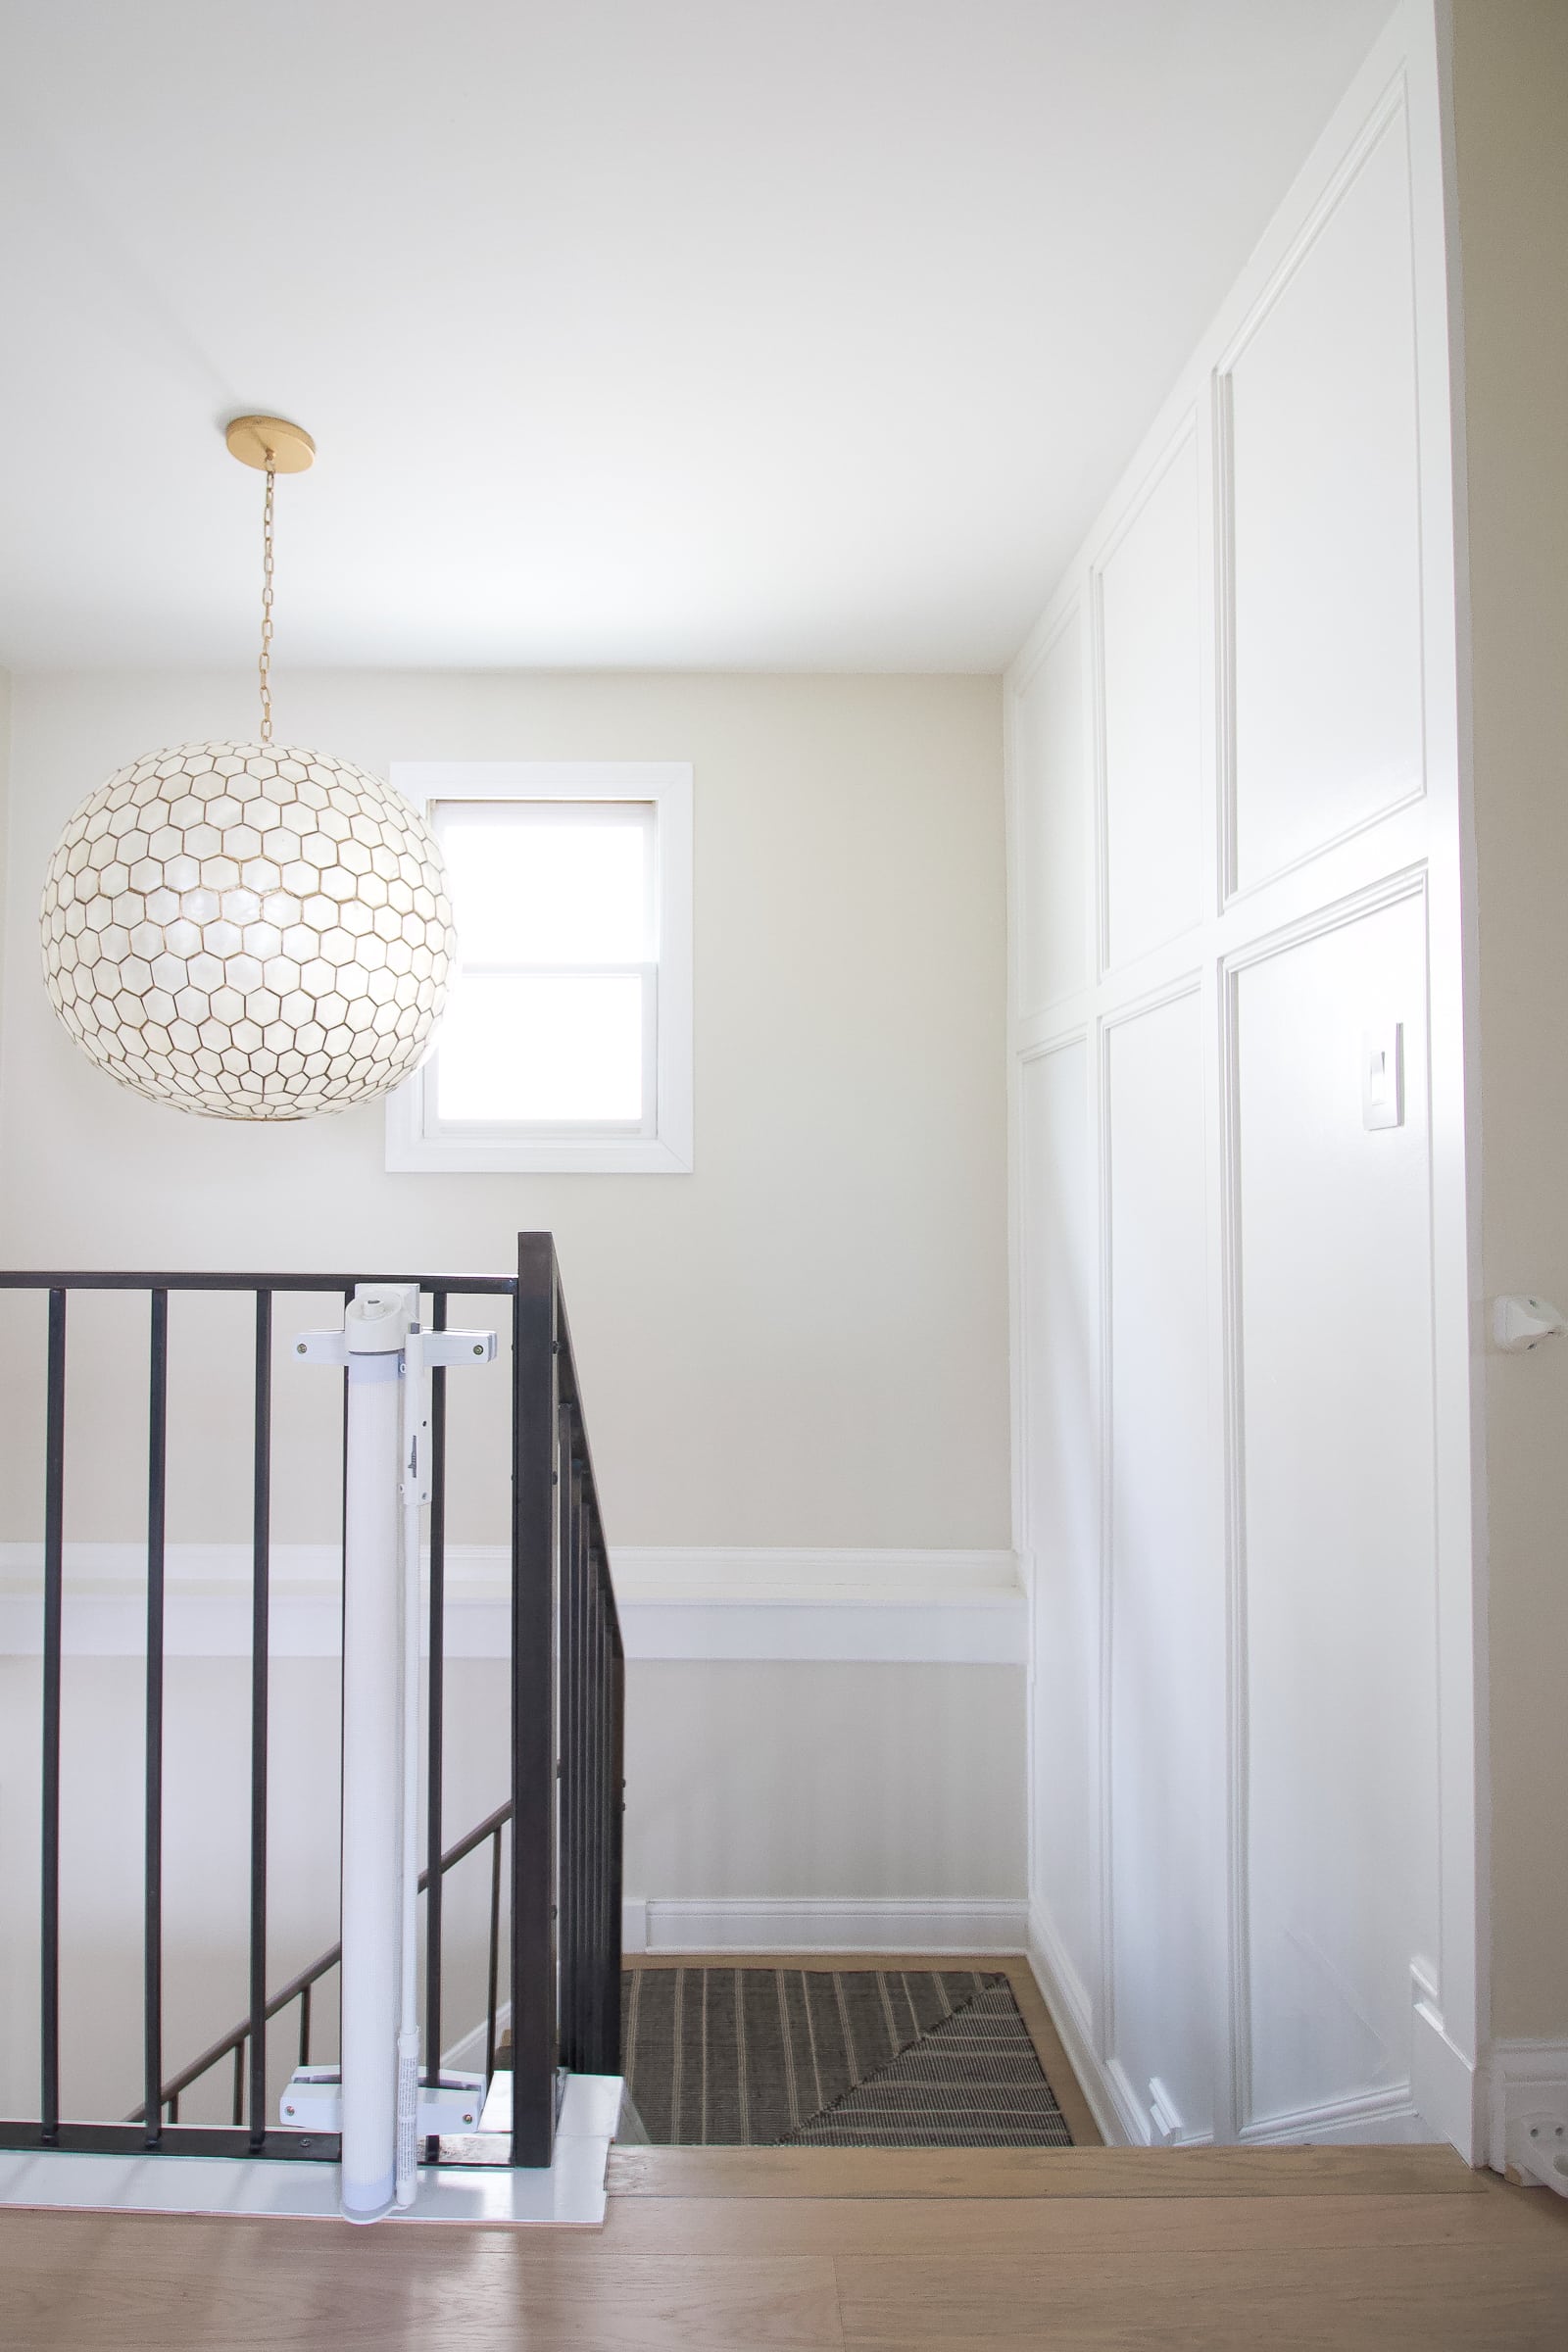
It makes the space look less builder-grade and boring and much more special. It looks like this stairwell accent wall was always meant to be here!
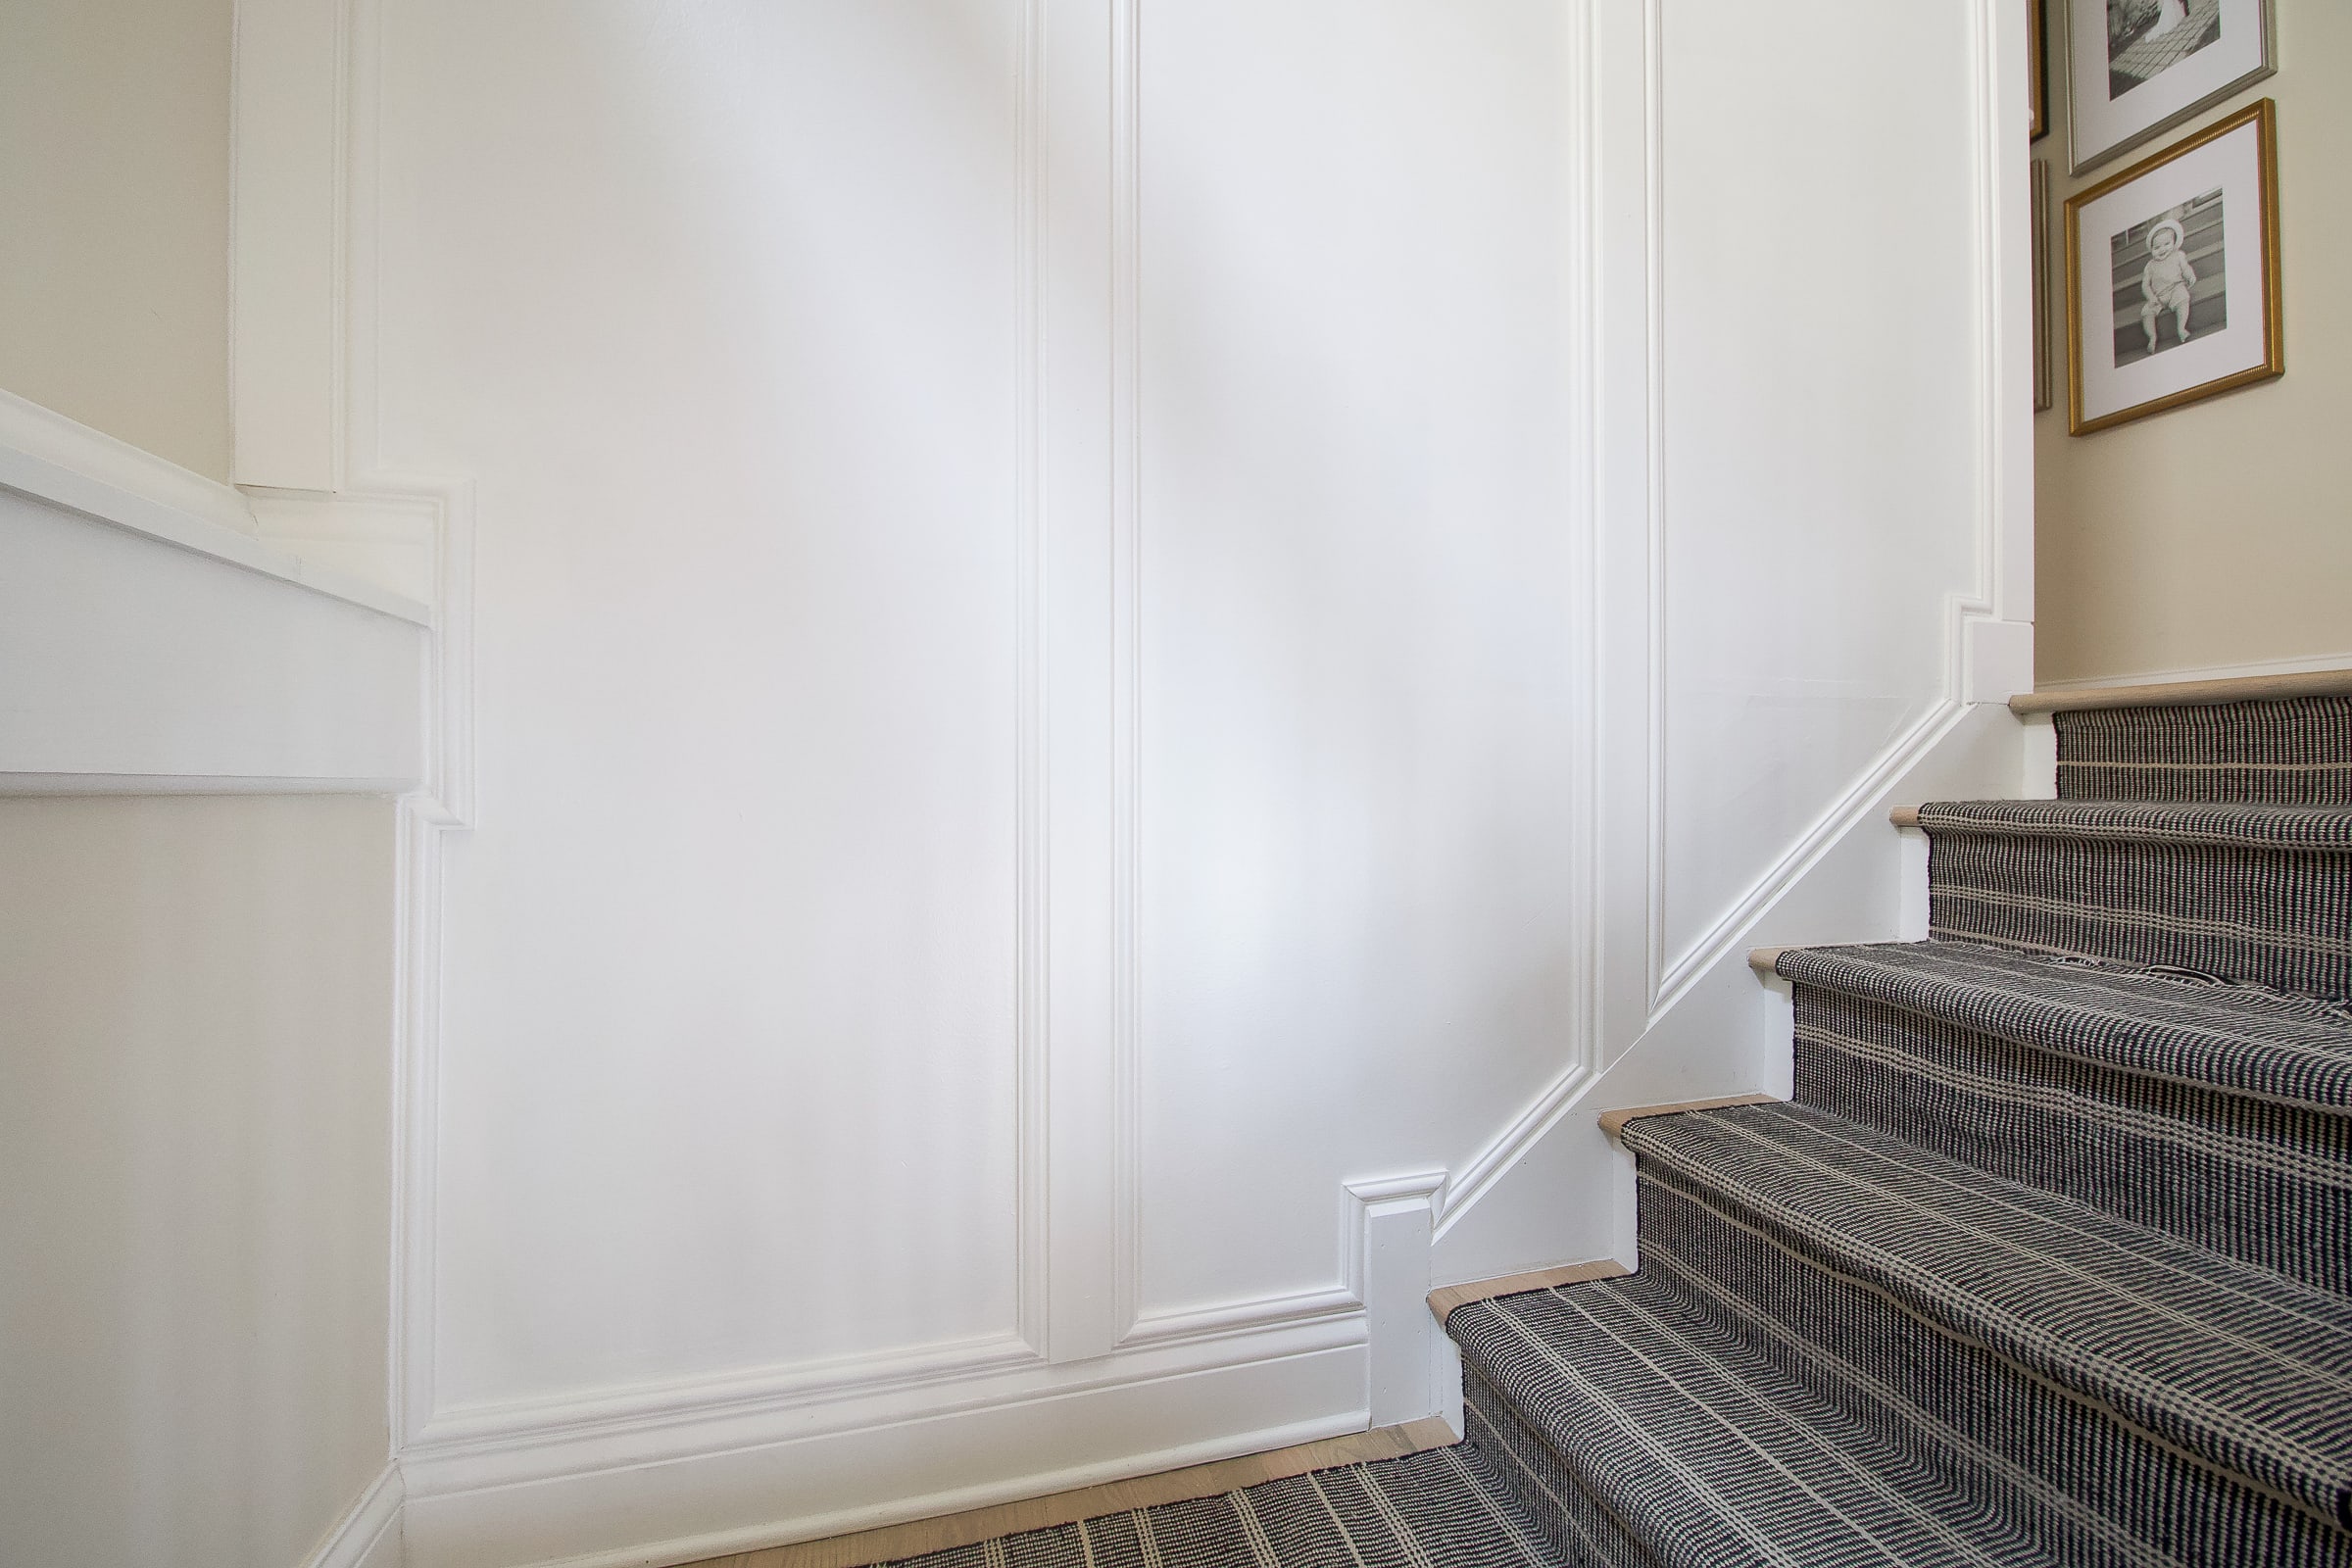
And how about those angled cuts?! I’m pretty proud of myself for figuring those out!
Before & After
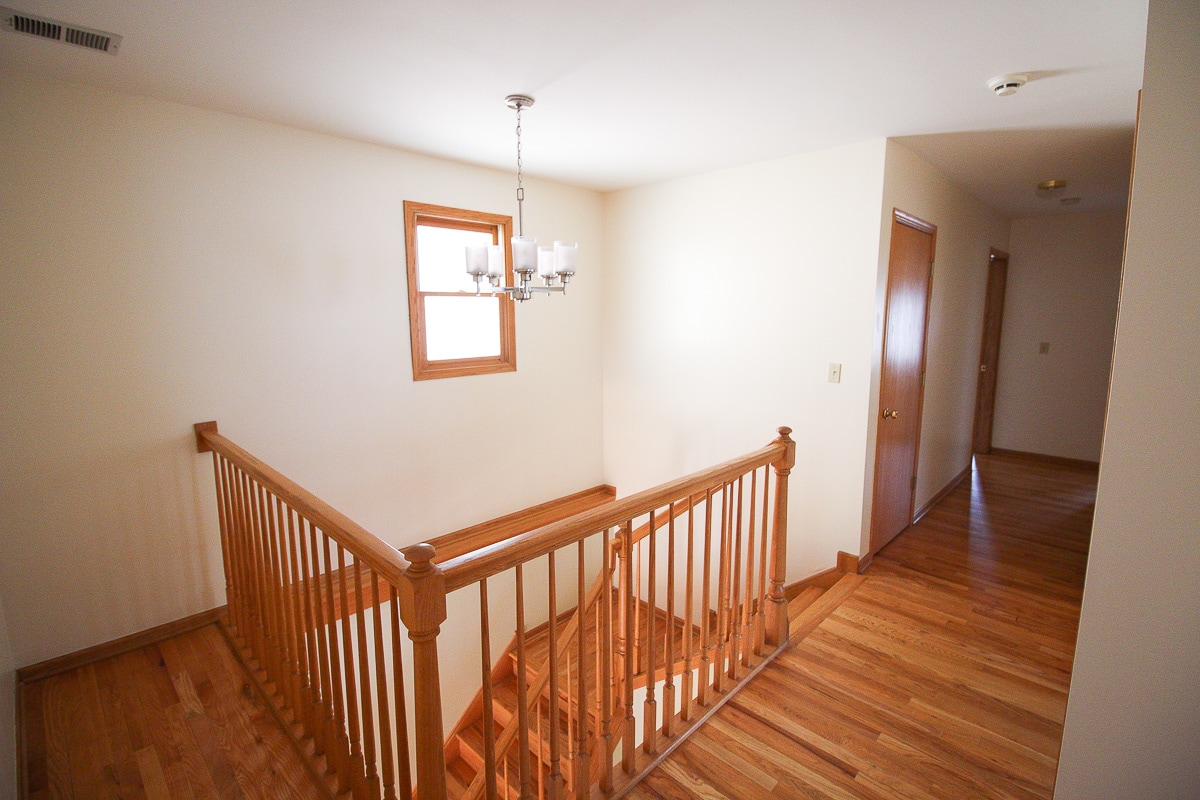
Here’s what the stairwell looked like back in 2019 when we purchased the home. Wowza!

This little area has come a long way, hasn’t it?!
Stairwell Details

Here are some sources and tutorials from this space.
- Paint colors: Benjamin Moore “Simply White” (satin) and “Ballet White” (eggshell)
- Stair runner tutorial
- Metal railing design
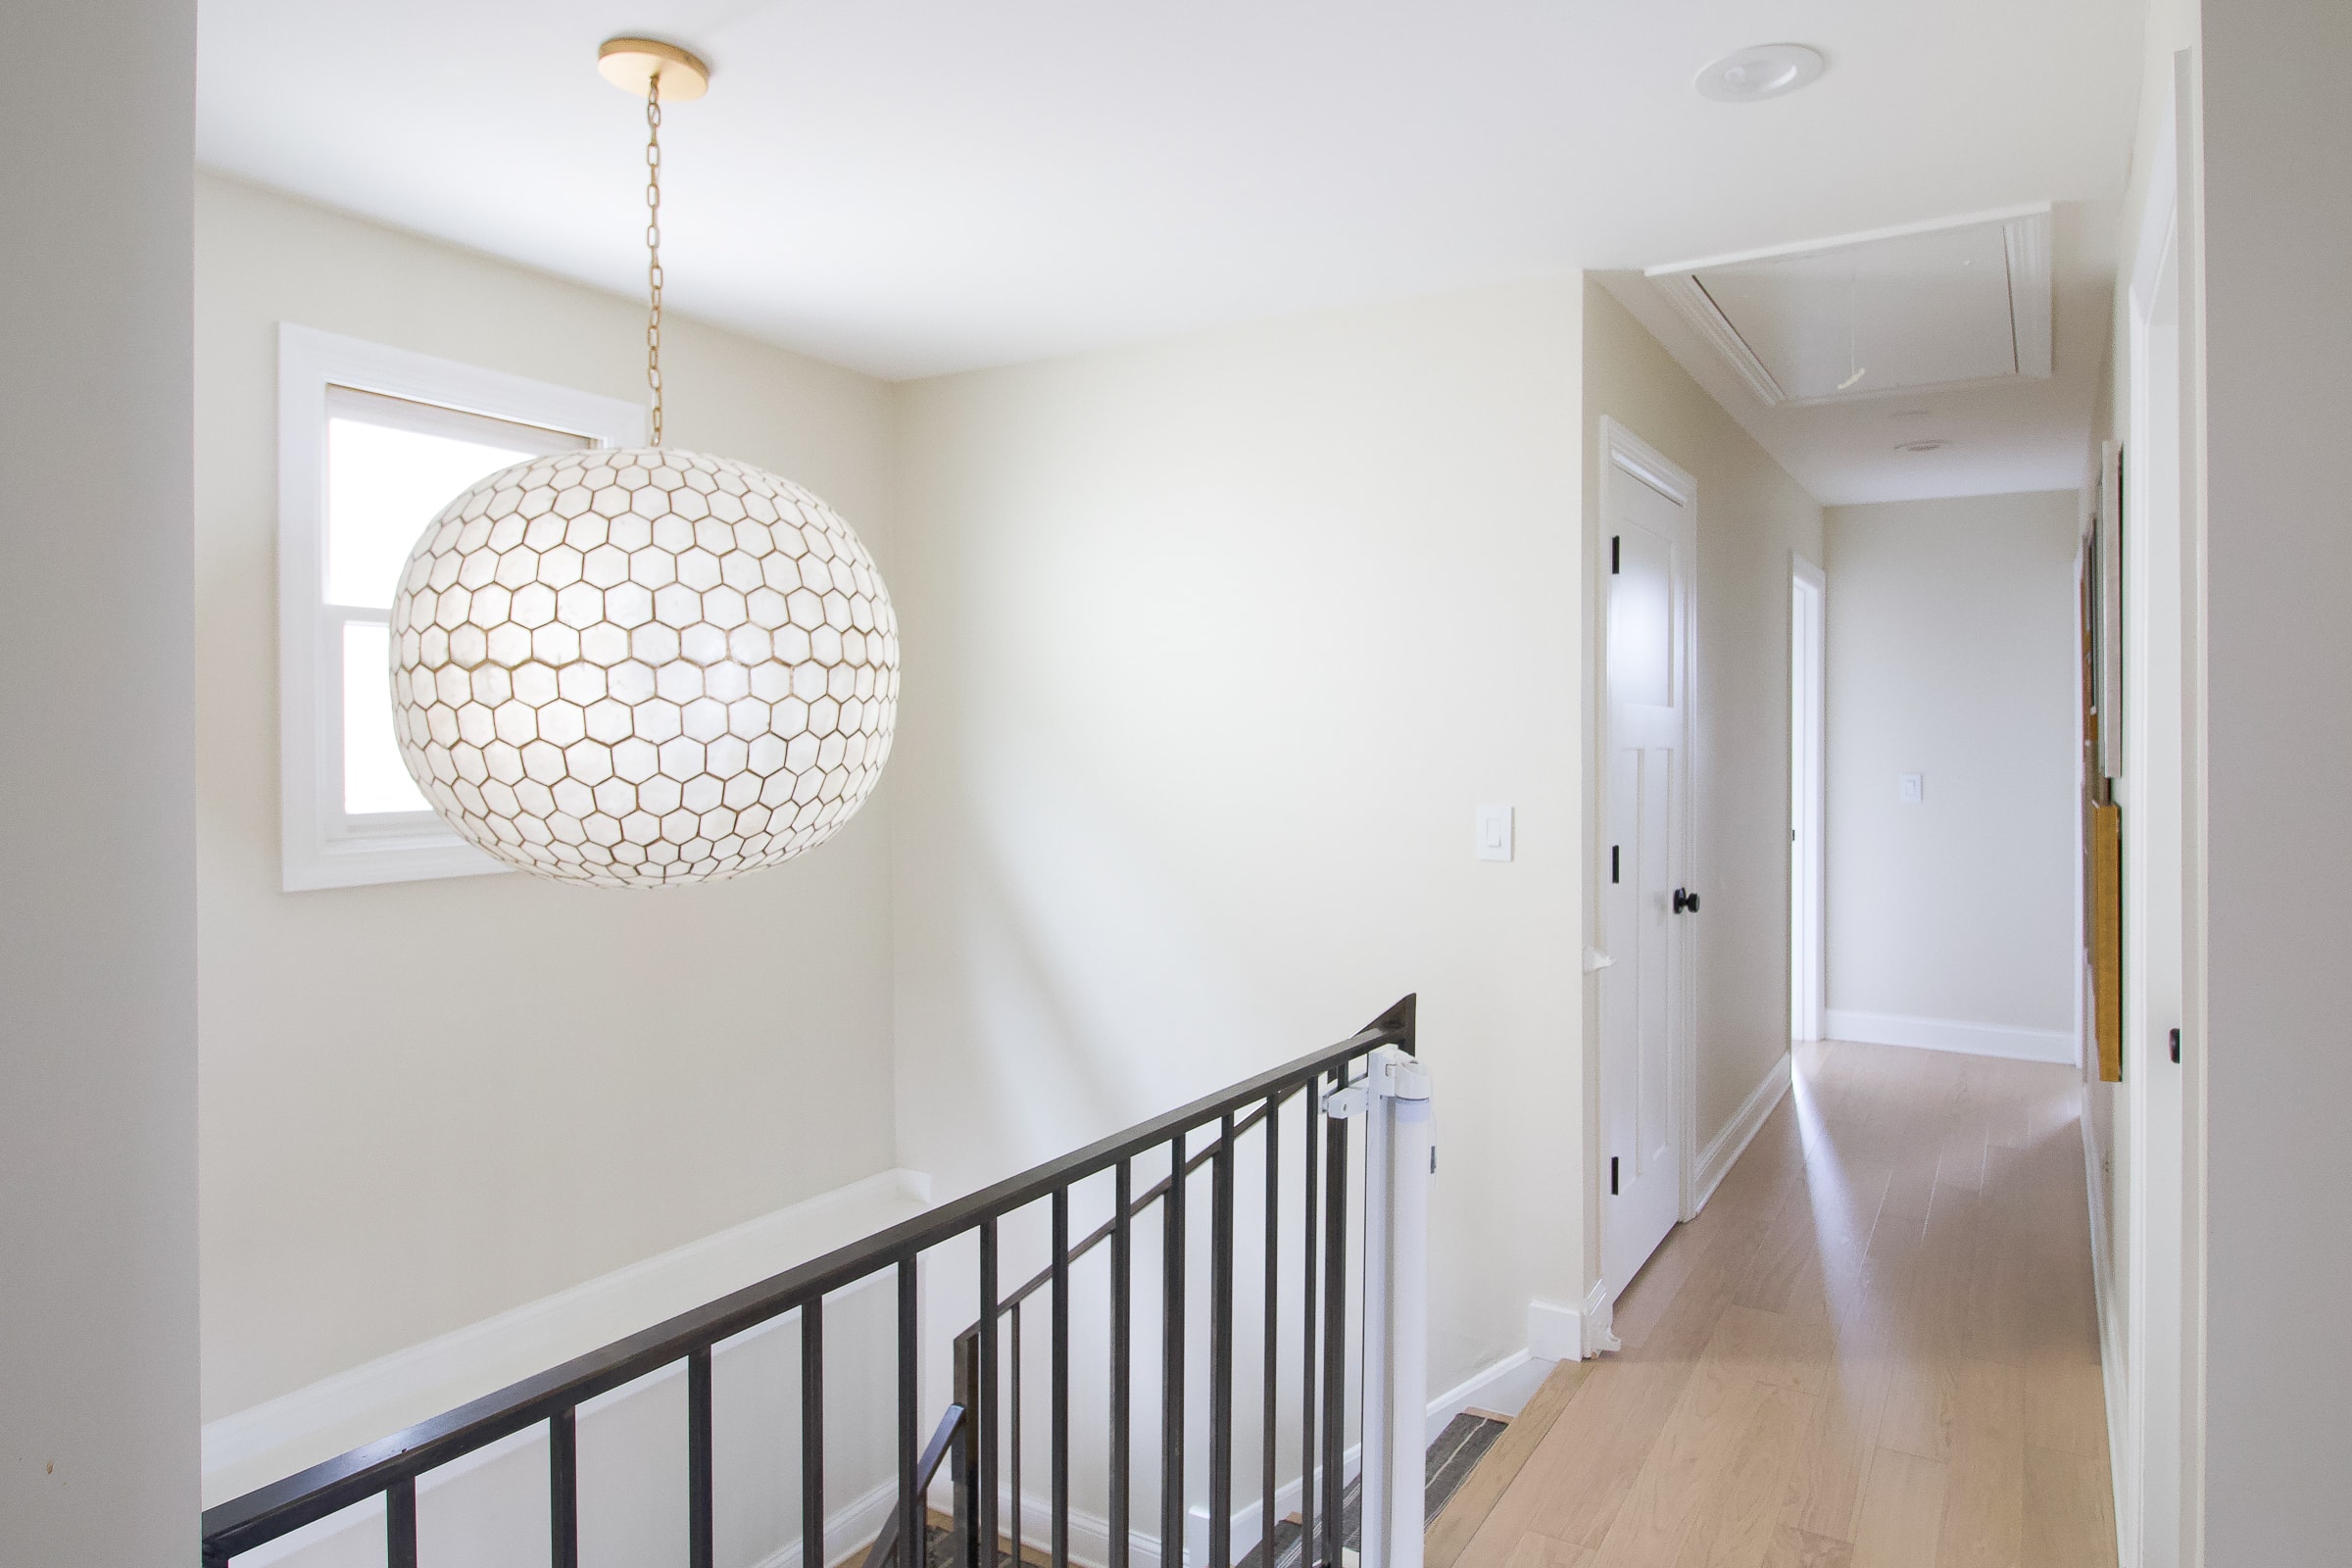
- Chandelier details (we have the 29″ size)
- Hallway gallery wall
- Our baby gate at the top of the stairs
My Overall Thoughts

I’m not gonna lie, my body was FREAKIN’ SORE after this one. It was so much up and down on the scaffolding and every time I had to get up on this thing it was like a gymnastics show to heave my body up there! This would be easier as a two-person project, with one person staying on the scaffolding and the other person running to the garage for cuts.
BUT, I’m very proud of myself for doing this entire project solo – minus, Mr. Finn’s help setting up and tearing down the scaffolding each day. I also had to do a majority of it during nap times, with sound machines blasting in the hallways to prevent the kids from hearing the ruckus right outside their doors. It would have been much easier to get this project done in two long days. However, I made do with a few free hours, here and there. You make it work when you’re a working mom of young kids, right?!
I’ve thought about this project since 2019 and I’m so happy that I finally got around to it. I smile every time I walk up and down these stairs, which is a lot in a day! It’s fun to walk by this and think “I did that!”.