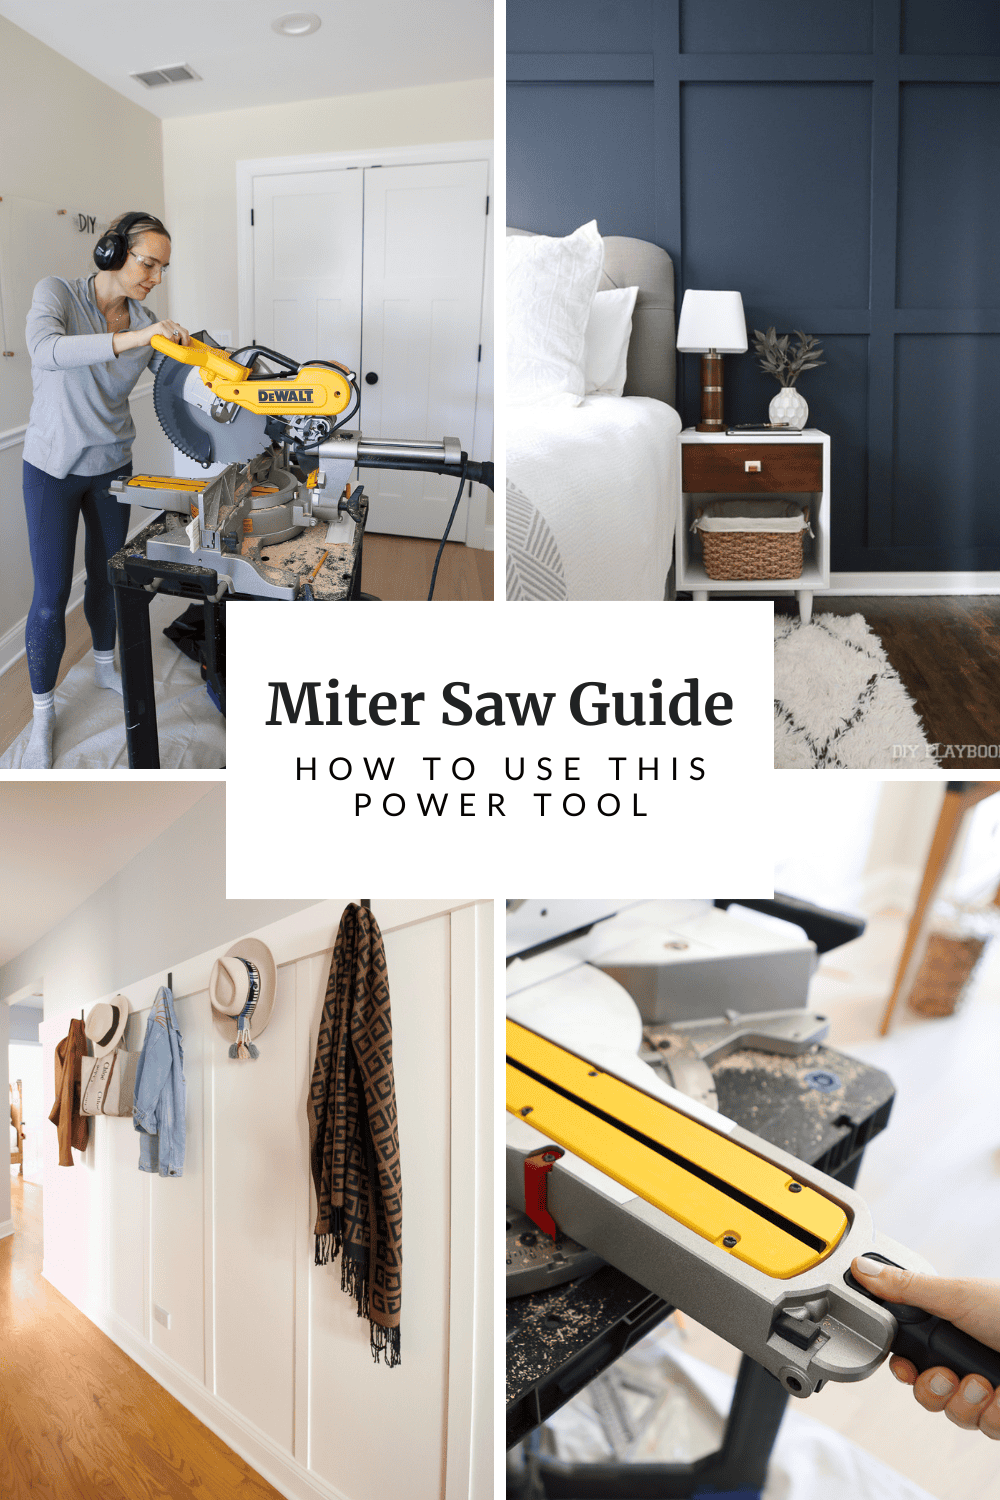
How To Use A Miter Saw: DIY Basics & Beginner Guide
If you’ve ever wanted to add trim or molding to your home, learning how to use a miter saw is a total game changer. This beginner’s guide will show you how to make accurate cuts so you can tackle DIY projects with confidence.
A miter saw is one of those tools that can be used to instantly make your home look more high-end, but I’ll be honest, it felt really intimidating to me when I first used it about 10 years ago. I remember closing my eyes and turning my head every time I made a cut. Do not do that! It felt loud and powerful, and I wasn’t confident using it in the beginning. But over time, it got easier, and now it’s one of the tools I use most.

After a power drill (here’s my beginner’s guide for that tool), this is my next recommendation. I’ve been using a miter saw for over a decade, mostly for projects like wall molding and trim work that completely transform a space.

In this guide, I’ll walk you through exactly how to use a miter saw and show you how to make clean, accurate cuts with confidence.
What Is A Miter Saw?
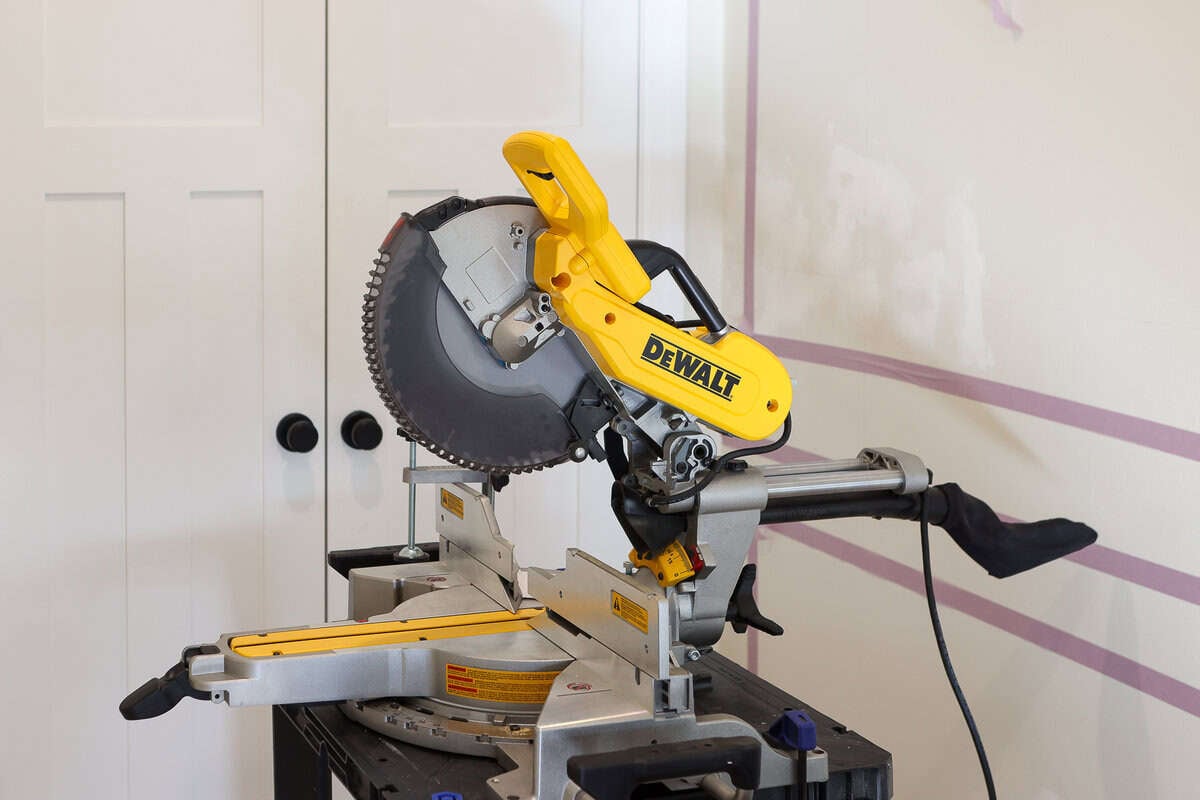
A miter saw is a power tool that’s used to make accurate cuts in wood. Instead of pushing the wood through a blade like you would with a table saw, the blade comes down onto your workpiece for a clean, controlled cut.
It’s designed to make straight cuts, angled miter cuts, bevel cuts, and even compound cuts, which makes it incredibly useful for trim, molding, and other DIY projects around your home. Plus, because it’s so controlled, it’s a great first saw to try.
What Can You Use A Miter Saw For?


You can use a miter saw for a wide variety of cuts, but where it really shines is with projects that require clean, accurate angles. This is the tool I reach for anytime I want to make something look more custom or high-end.
I use my miter saw all the time for projects like:
- Cutting trim and baseboards
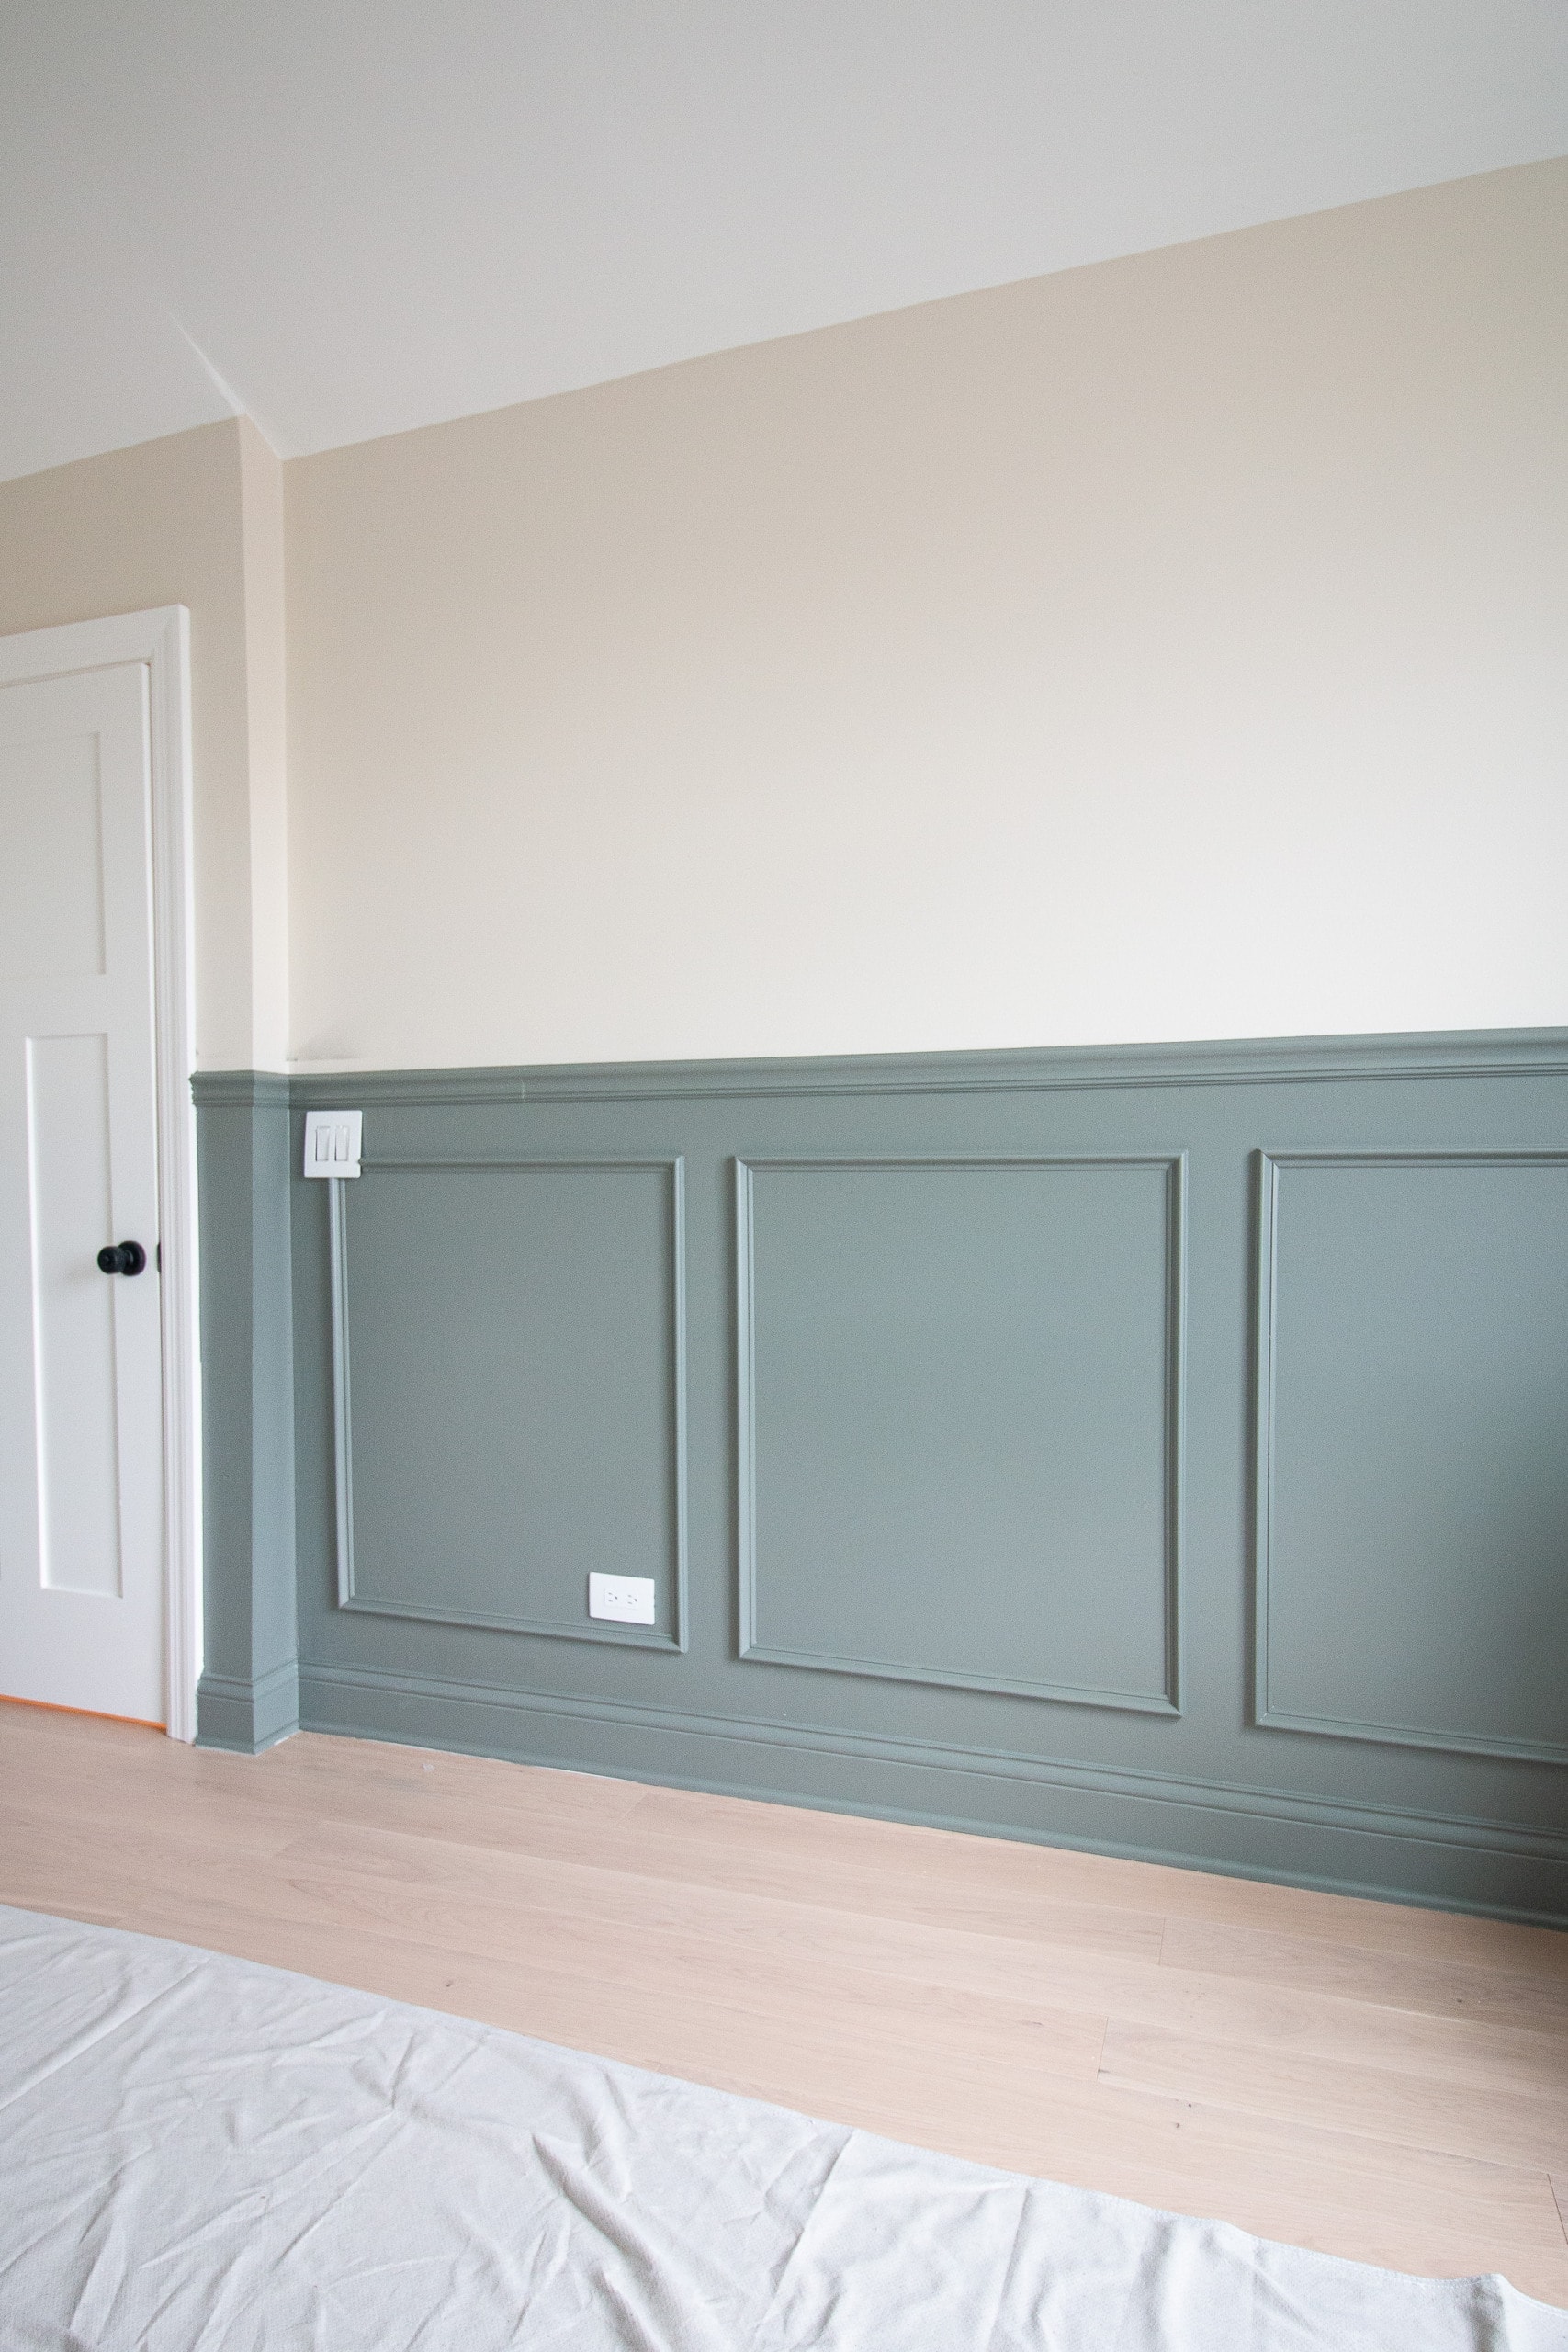
- Adding wall molding and picture frame molding
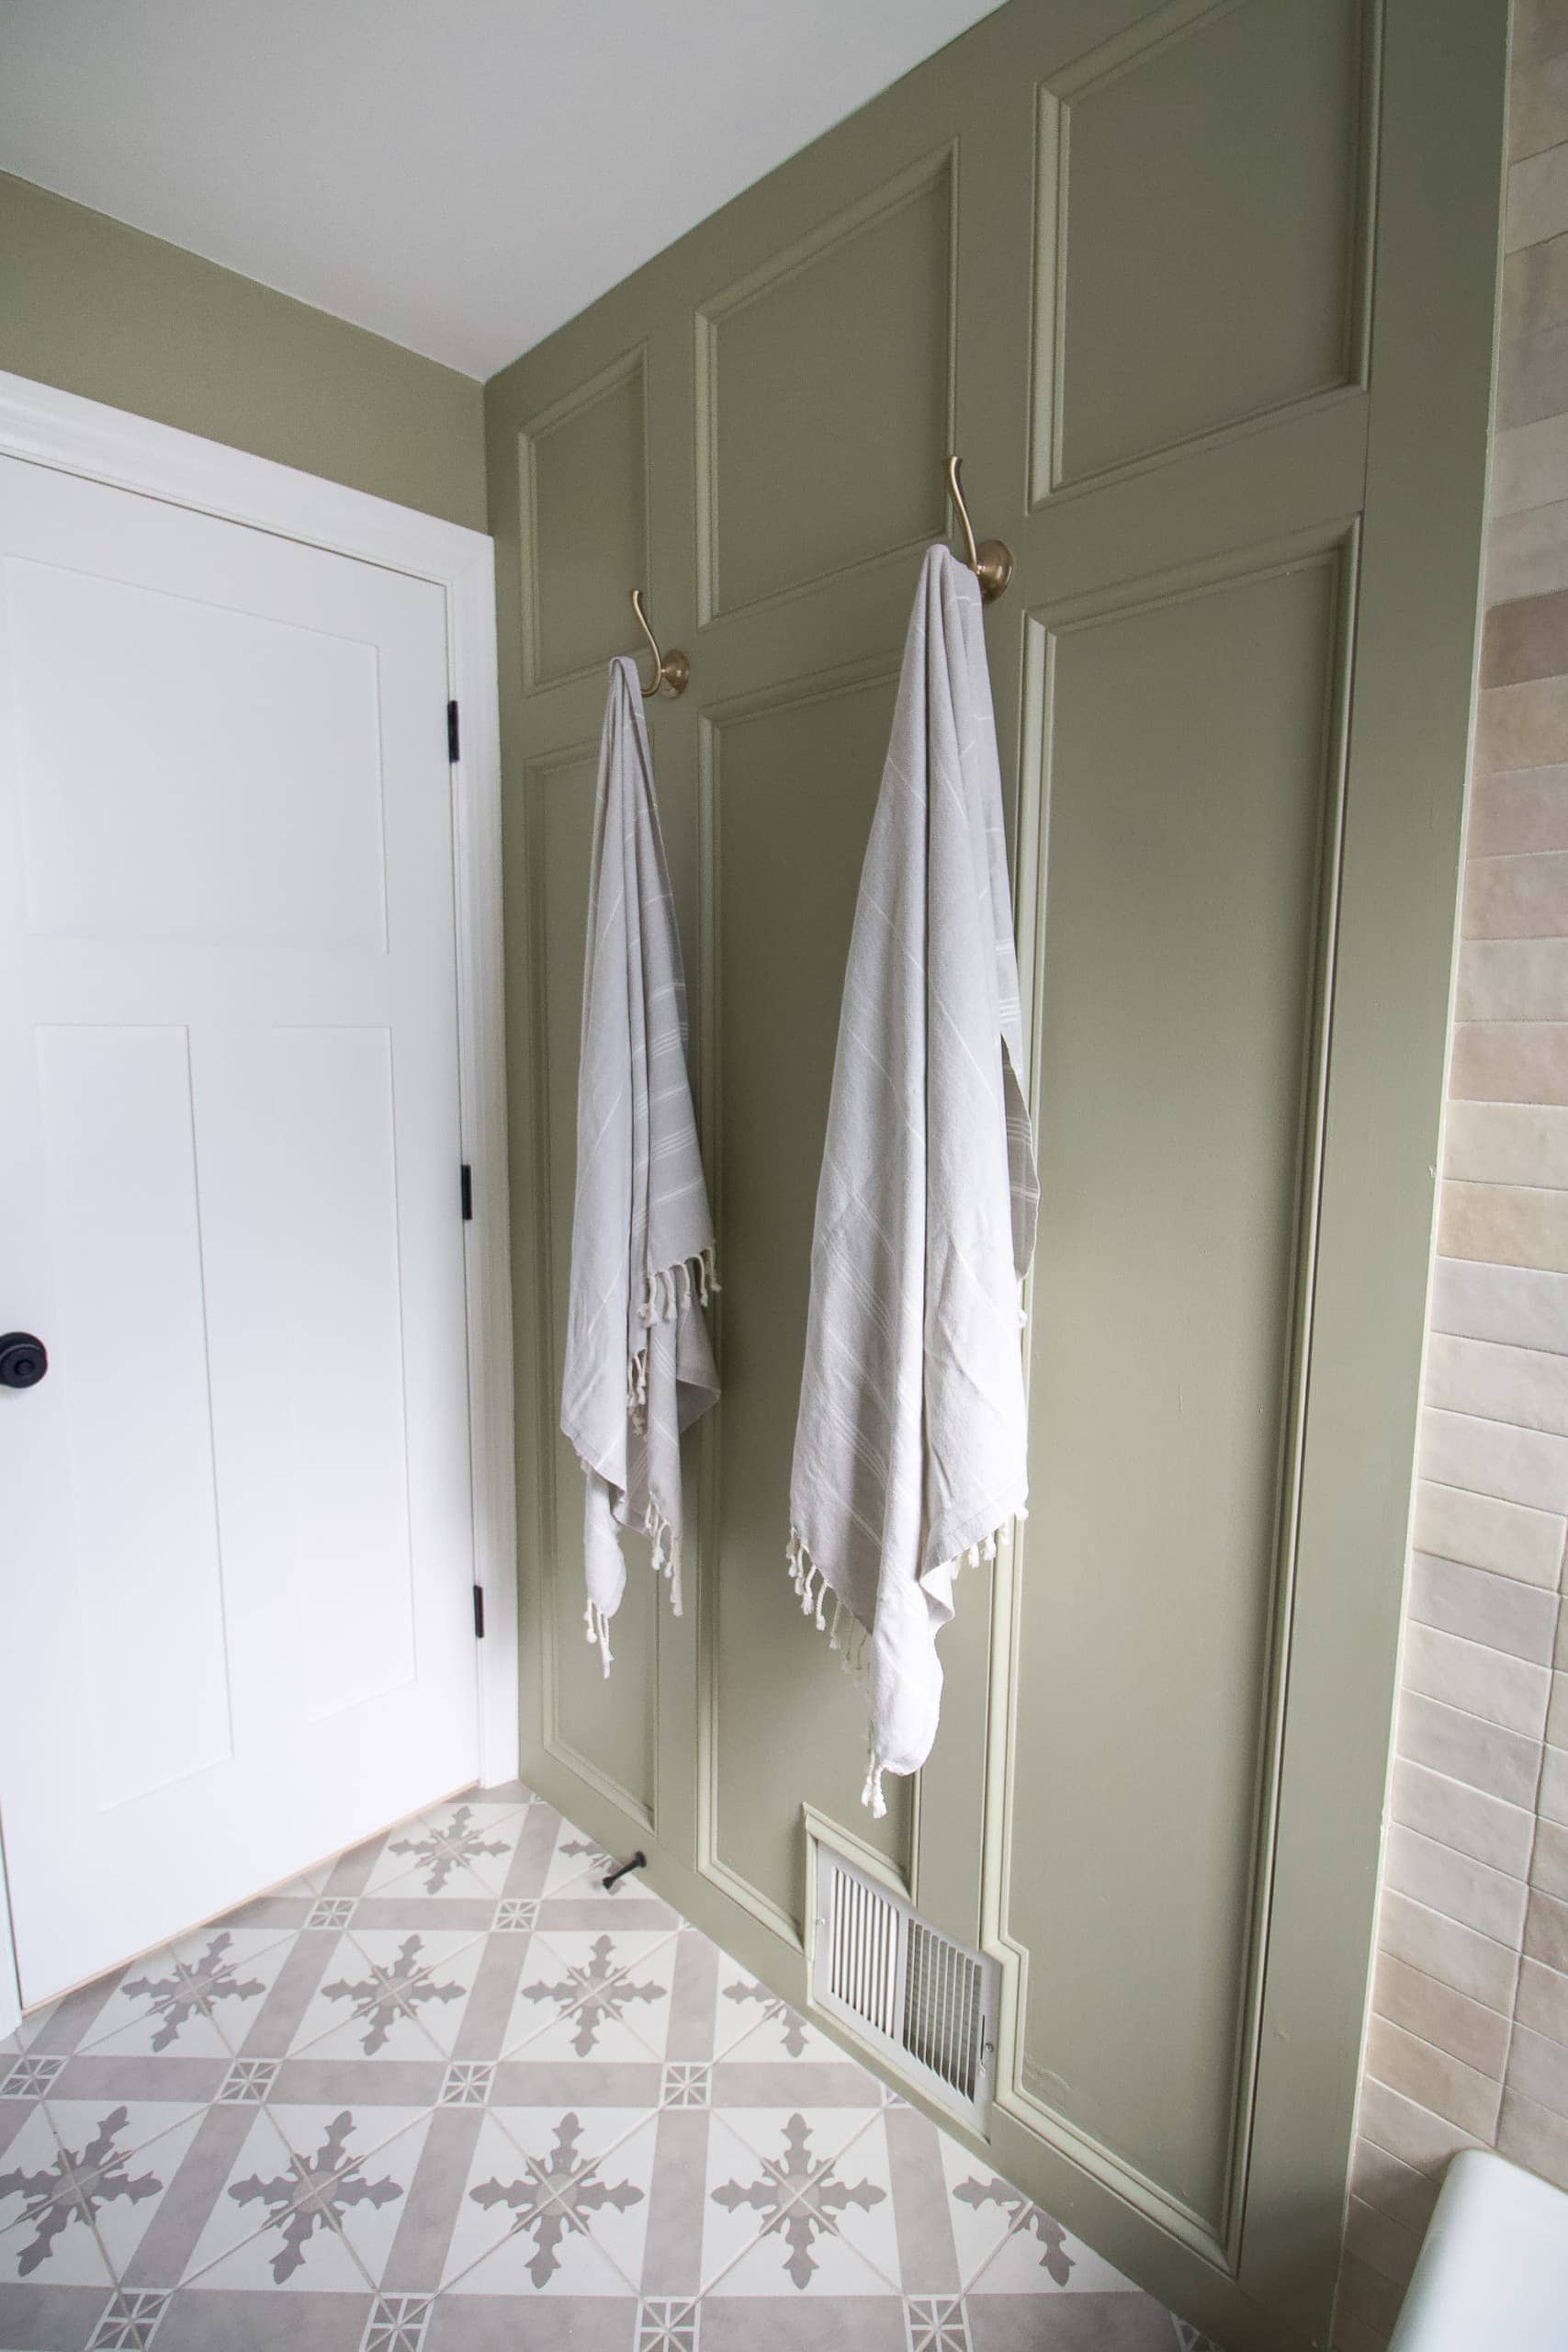
- Installing board and batten
- Cutting pieces for built-ins and shelving
- Adding decorative chair rail
- Office accent wall with decorative molding
It’s also great for cutting framing lumber and making straight cross cuts, but if I’m being honest, I use it most for finish work. Those clean miter cuts and precise angles are what make everything line up perfectly and look professional.
Once you get comfortable using it, you’ll start to see just how many projects you can tackle with this one tool.
Types Of Miter Saws
There are a few different types of miter saws, but don’t let this part overwhelm you. Most beginners only need to understand the basics.
Standard miter saw
This is the most basic option. It can make straight cuts and miter cuts, but it does not tilt for bevel cuts. It’s a good entry-level tool, but a bit limited.
Compound miter saw
This is what most people use. It can make straight cuts, miter cuts, and bevel cuts because the blade can tilt. This is a great option for trim, molding, and most DIY projects.
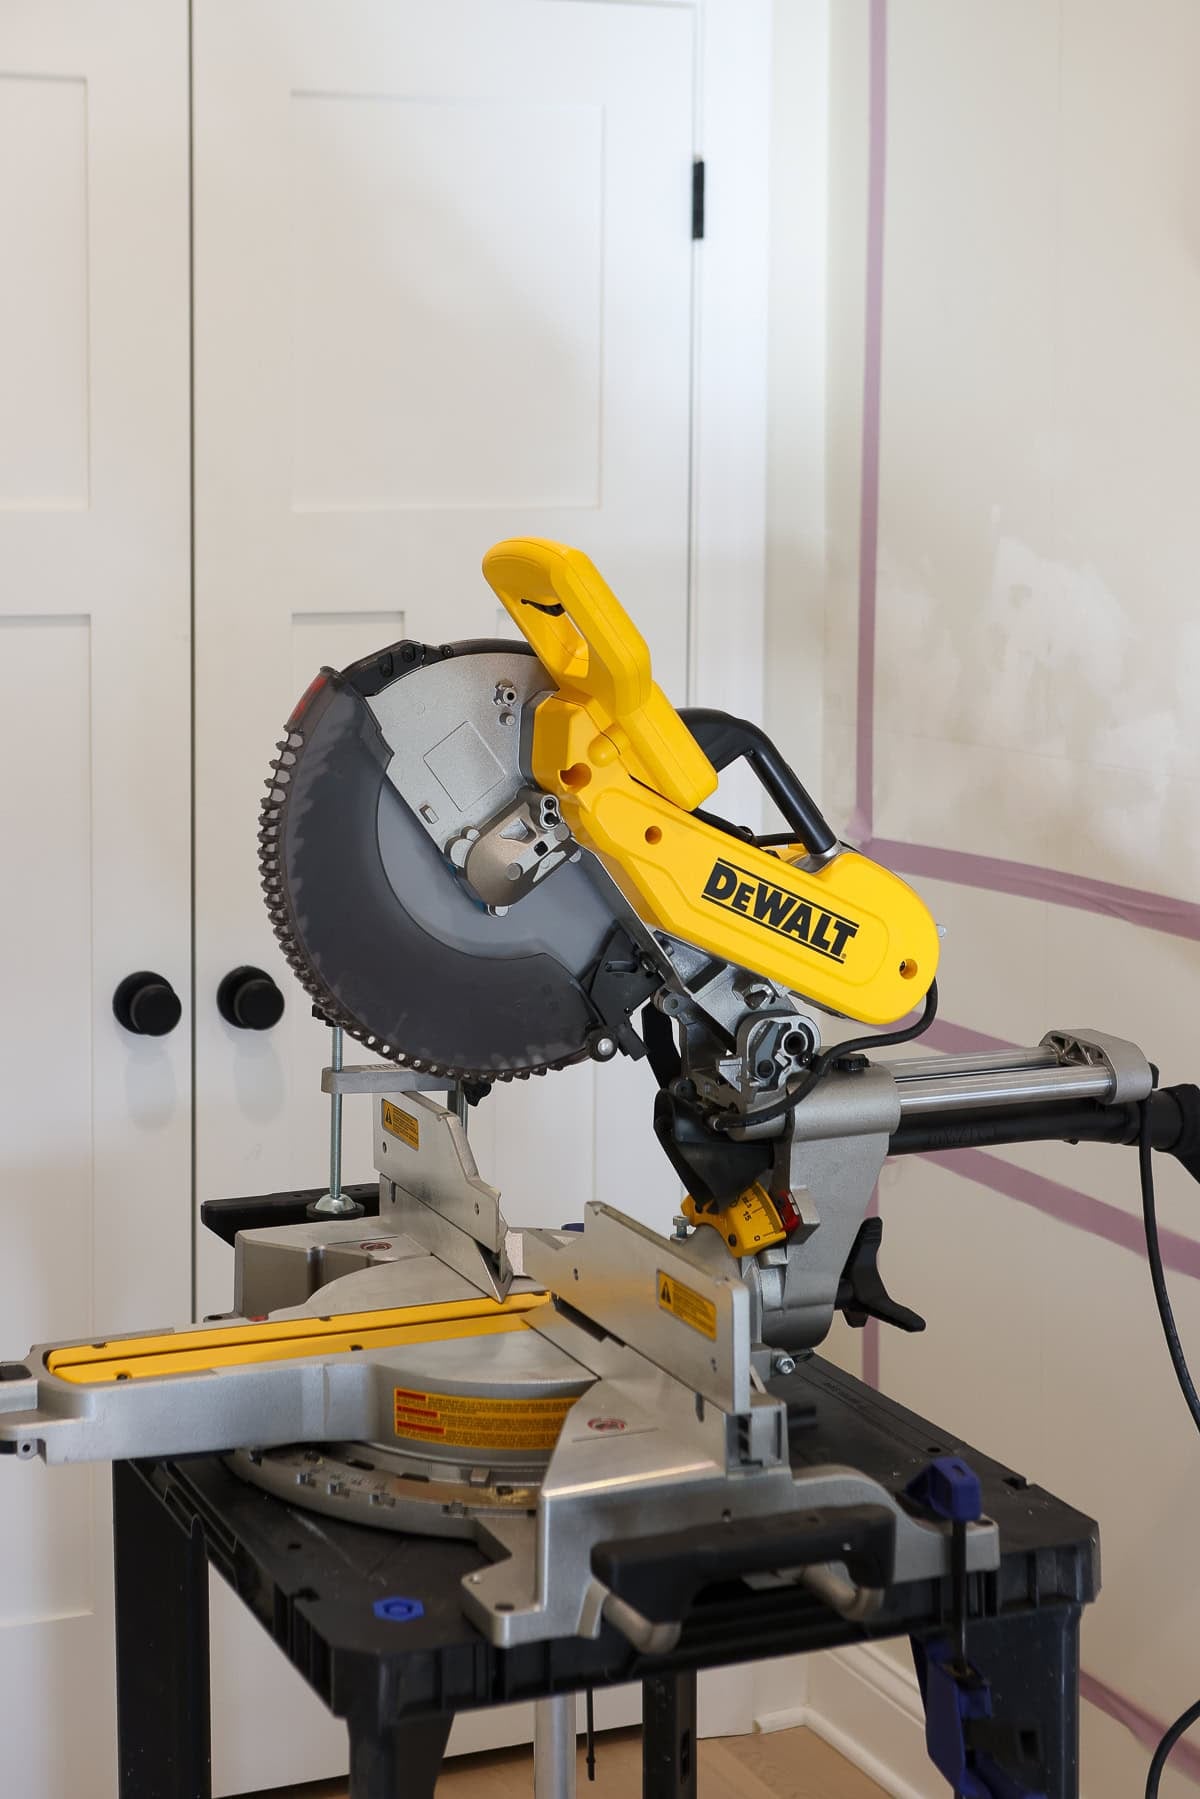
Sliding compound miter saw
This is the most versatile option. It does everything a compound miter saw can do, but it also has a sliding action that allows you to cut wider boards. This is what I use now, and it’s especially helpful when working with larger pieces. I actually had to upgrade to this in a moment of panic during this board and batten project. My 10-inch miter saw couldn’t cut my thick wood, so I ran to the store and got a larger sliding one!
If you’re just getting started, a compound or sliding compound miter saw is usually your best bet. It gives you the flexibility to handle a wide variety of cuts without needing to upgrade later.
Types Of Cuts You Can Make
One of the best things about a miter saw is the variety of cuts you can make. Once you understand these, everything starts to click.
Cross cuts

This is your basic straight cut. You’re cutting straight across the board at a 0-degree angle. I use this all the time when cutting pieces to length.
Miter cuts

A miter cut is an angled cut across the face of the board. The most common example is a 45-degree cut, which you’ll use when joining two pieces of trim at a corner. I use this for all of my picture frame molding to make the boxes on the wall.
Bevel cuts
A bevel cut is made by tilting the blade instead of turning the base. This creates an angle through the thickness of the wood. These are often used for more detailed trim work.
Compound cuts
This combines both a miter cut and a bevel cut at the same time. It sounds more advanced, but it’s just a combination of the two. You’ll see this used most often with crown molding – which definitely intimidates me!
With the projects I tackle, I mostly stick to straight cuts and simple miter cuts. As you get more comfortable, you can start experimenting with bevel and compound cuts for more detailed projects.
If the trim is flat against the wall like chair rail, baseboards, or picture frame molding, you’ll use miter cuts. If the trim sits at an angle between two surfaces like crown molding, you’ll likely need bevel or compound cuts.
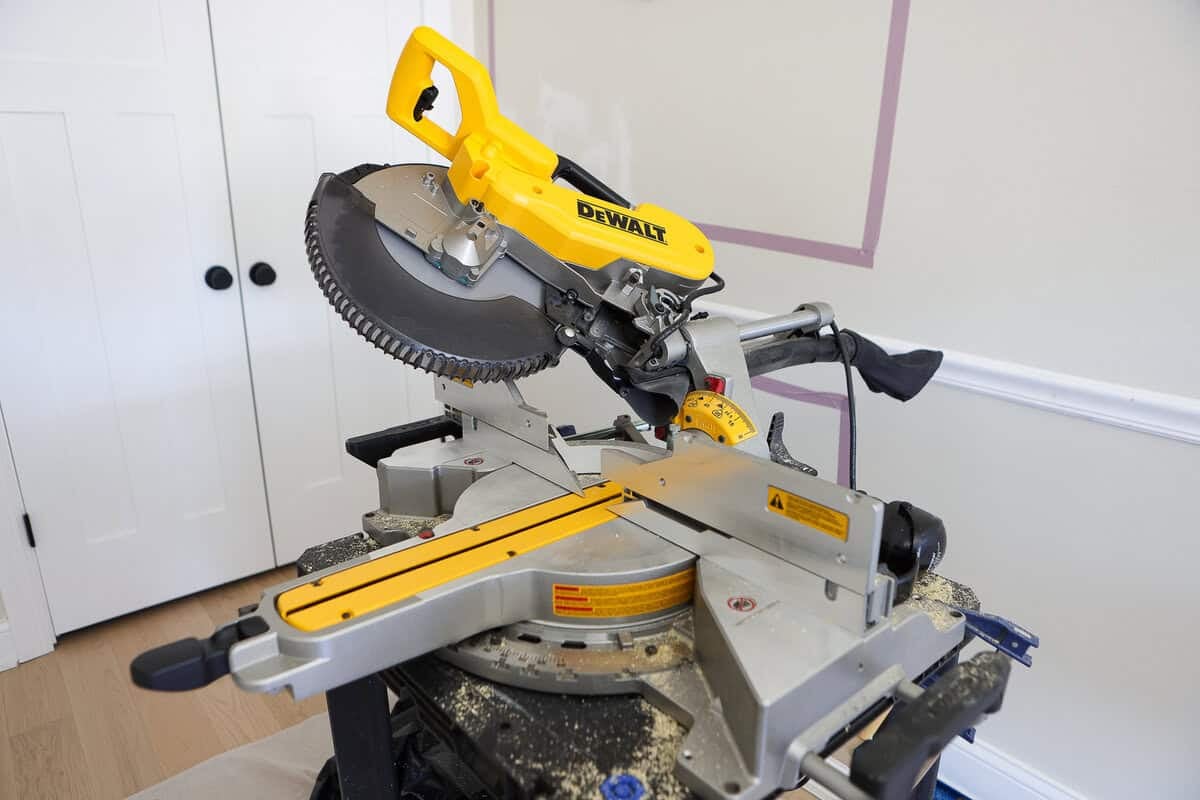
Miter Saw Basics (Parts + How It Works)
Before you start cutting, it helps to understand the basic parts of a miter saw. Don’t worry, this is simpler than it looks.
- Blade: This is the circular blade that does the cutting. It spins quickly and comes down onto your work piece to make the cut.
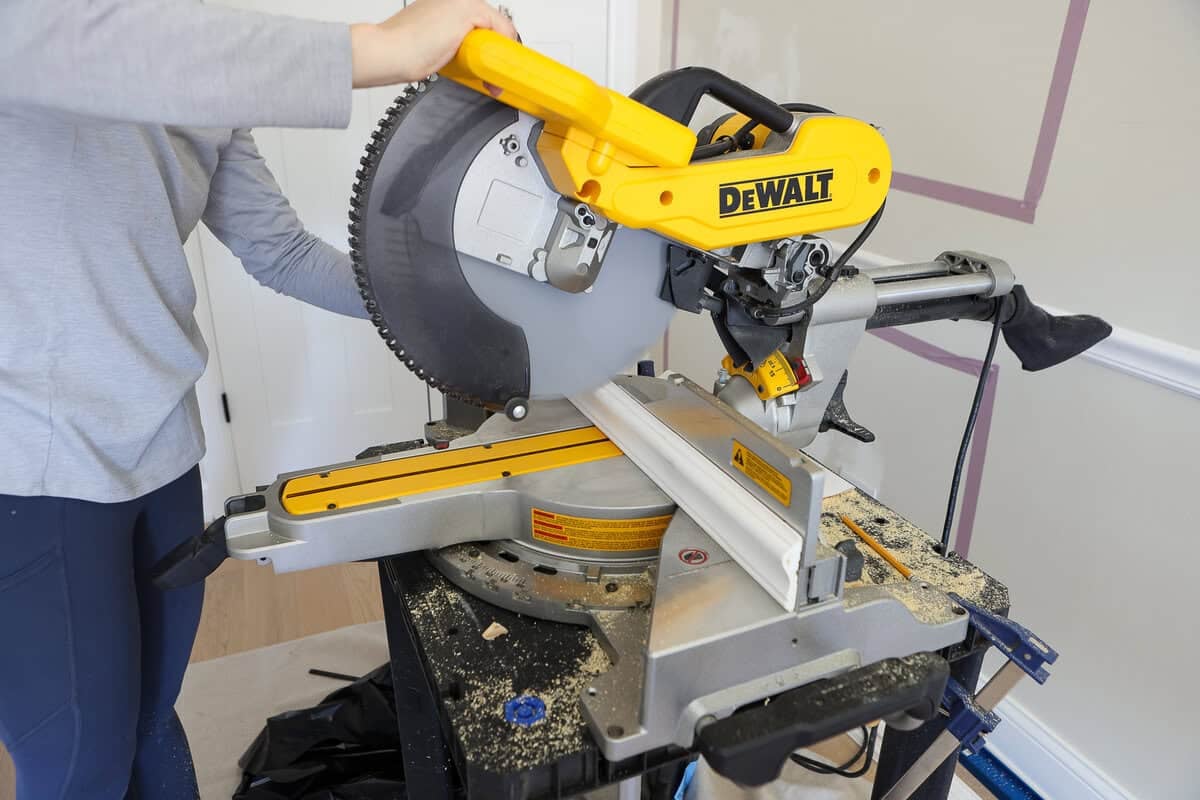
- Handle + trigger: This is how you operate the saw. When you press the trigger, the blade starts spinning. You’ll lower the handle to bring the blade down into the wood.
- Fence: This is the vertical back piece that your board rests against. Keeping your work piece flat against the fence is key for making accurate cuts.
- Base / table: This is the flat surface where your wood sits.
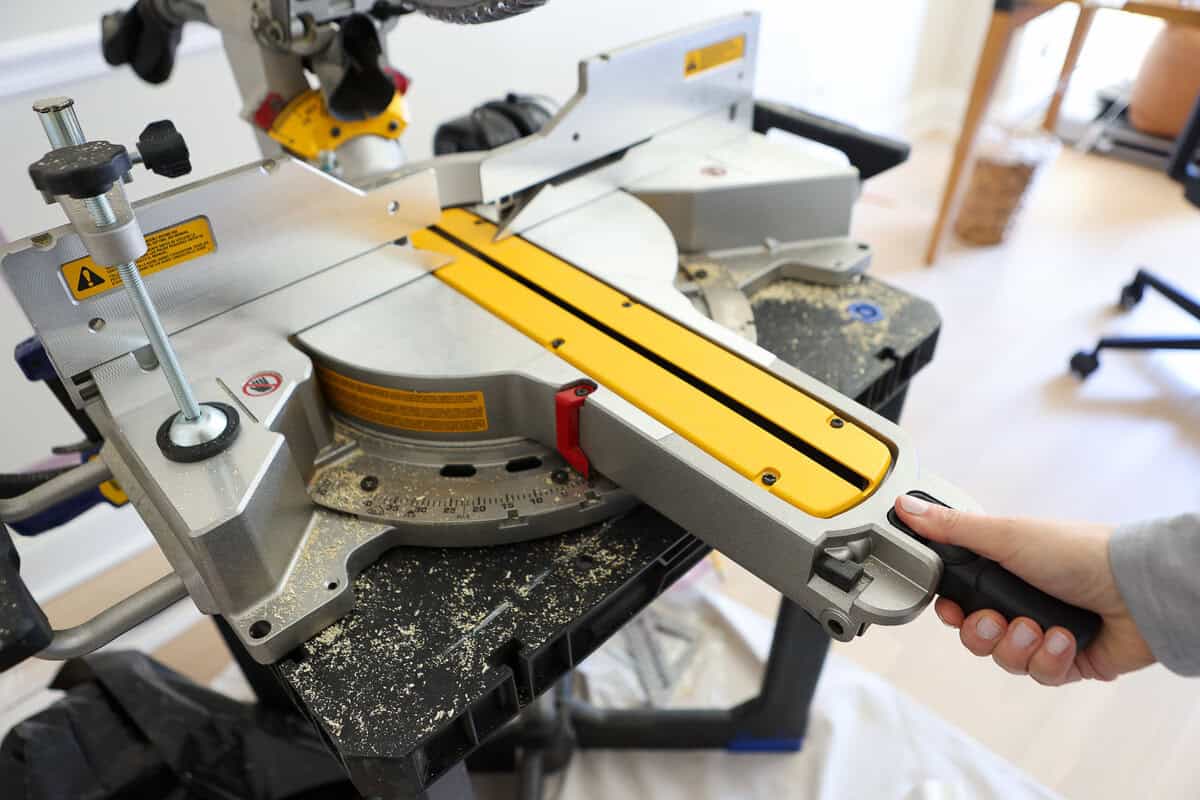
- Miter adjustment: This is what you use to change the angle of your cut from side to side. You’ll use this all the time for things like 45-degree cuts.
- Bevel adjustment: This allows the blade to tilt, which is how you make bevel cuts. You likely won’t use this as often when you’re just starting out.
- Sliding rails (on sliding compound miter saws): If you have a sliding compound miter saw, the blade can move forward and back. This sliding action allows you to cut wider boards.
You also want a sturdy work surface. I have a work table that I specifically bought to use with my saw. This work bench is very similar.
How To Use A Miter Saw (Step-by-Step)
Before you start, take a second to get comfortable with the saw and read through the instruction booklet. You don’t need to rush this part. Go slow, pay attention, and you’ll get the hang of it quickly.
I always recommend wearing safety glasses, and if you’re making a lot of cuts, ear protection is a good idea. And put your hair in a ponytail!
Step 1: Measure and mark your cut
Use a tape measure to find your length, then mark your cut line clearly on the board. I like to extend the line across the entire piece so it’s easy to see.
Step 2: Position your work piece
Place your board flat on the base and firmly against the fence. This is really important for making accurate cuts.
Step 3: Line up your blade
Lower the blade down (without turning it on) to make sure it lines up exactly where you want to cut.
You’ll want the blade to sit just next to your pencil line, not on top of it. The side you’re cutting off is the “waste” side.
Step 4: Set your angle (if needed)
If you’re making a straight cut, keep the saw at 0 degrees. For miter cuts, adjust the angle on the base. For bevel cuts, tilt the blade.
Step 5: Make the cut
Hold your board firmly in place, press the trigger, and let the blade come up to full speed. Then slowly lower the blade down through the wood. Let the saw do the work. Don’t force it.
Step 6: Let the blade stop before lifting
Once your cut is complete, release the trigger and wait for the blade to fully stop before raising it back up. This helps prevent splintering and keeps things safe.
My Best Miter Saw Tips
These are the things that made the biggest difference for me once I got comfortable using my miter saw.
- Go slow and don’t rush it: It feels intimidating at first, and that’s normal. Take your time and focus on control over speed. The confidence comes pretty quickly.
- Always cut on the waste side: This is huge. If you cut on the wrong side of your line, your piece will end up too short. I still double check this every time.
- Start with simple cuts: Stick with straight cuts and basic miter cuts in the beginning. You don’t need to jump into complicated angles right away.
- Practice on scrap wood first: Before making your real cut, test it out on a scrap piece. This has saved me so many times, especially when working with angles.
- Support your boards: If your board is hanging off the side of the saw, it can move while you’re cutting. Use a stand or stack something nearby to keep everything level. Clamps come in handy, too.
- Let the saw do the work: You don’t need to force anything. A steady motion will give you cleaner, more accurate cuts.
- Start the blade before cutting: Don’t start the saw while it’s touching the wood. Let it get up to full speed first, then slowly lower it down. This helps prevent tearing.
- Your cuts don’t need to be perfect right away: Especially with projects like molding or board and batten, you’ll figure it out as you go. A little caulk and paint can fix a lot. During every single project, Finn and I always say, “Caulk will save us!” And honestly, it’s so true!
You Convinced Me…Which Miter Saw Should I Buy?

If you’re just getting started, I recommend going with a compound or sliding compound miter saw. It gives you the flexibility to handle a wide variety of cuts without feeling limited as you take on more projects.
I personally use a sliding compound miter saw, and I love it. The sliding feature makes it so much easier to cut wider boards, which came in handy during projects like my board and batten wall.
If you’re deciding between sizes, here’s a simple way to think about it:
- 10-inch miter saw: Great for most beginner projects and smaller trim work.
- 12-inch miter saw: Better for larger boards and gives you more flexibility long-term
I started with a 10-inch and eventually upgraded to a 12-inch when I needed the extra capacity. If you have the space and budget, I’d go with the 12-inch from the start.
Go Forth & Use Your Miter Saw
Using a miter saw might feel intimidating at first, but I promise it gets easier every time you use it. Start with simple cuts, take your time, and don’t overthink it.
This is one of those tools that can completely change what you’re able to do in your home. Once you get comfortable with it, you’ll start looking at your space differently and thinking, “Wait… I could totally build that.”
And that’s when things get really fun.


