10 Tips for Installing Subway Tile
After installing the mosaic floor tile in our guest bathroom, Finn and I were so excited to start our subway tile project. Yes, we were tired and drained from all of the time spent on the floor…but classic white subway tile certainly had to be easier than that marble floor…right?!
Well…sorta. It certainly wasn’t a super difficult installation. But, boy oh boy, was it time-consuming. And here’s the thing…we are both workhorses. I will not stop until I complete tasks and Finn and I were determined to get this baby done. But even if you’re working hard, it’s still pretty slow work.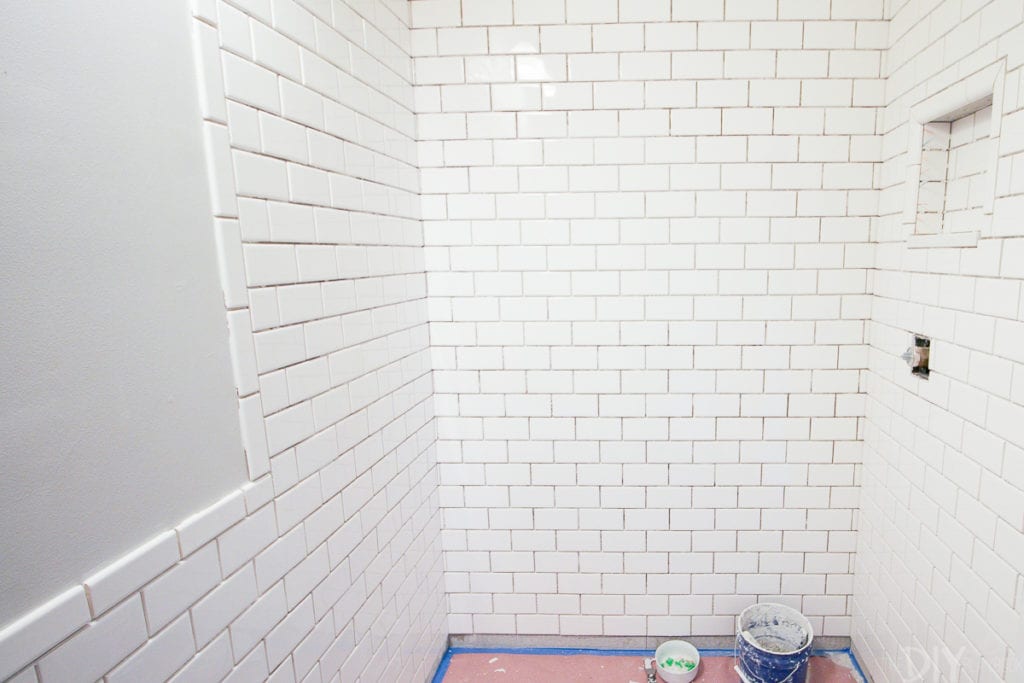
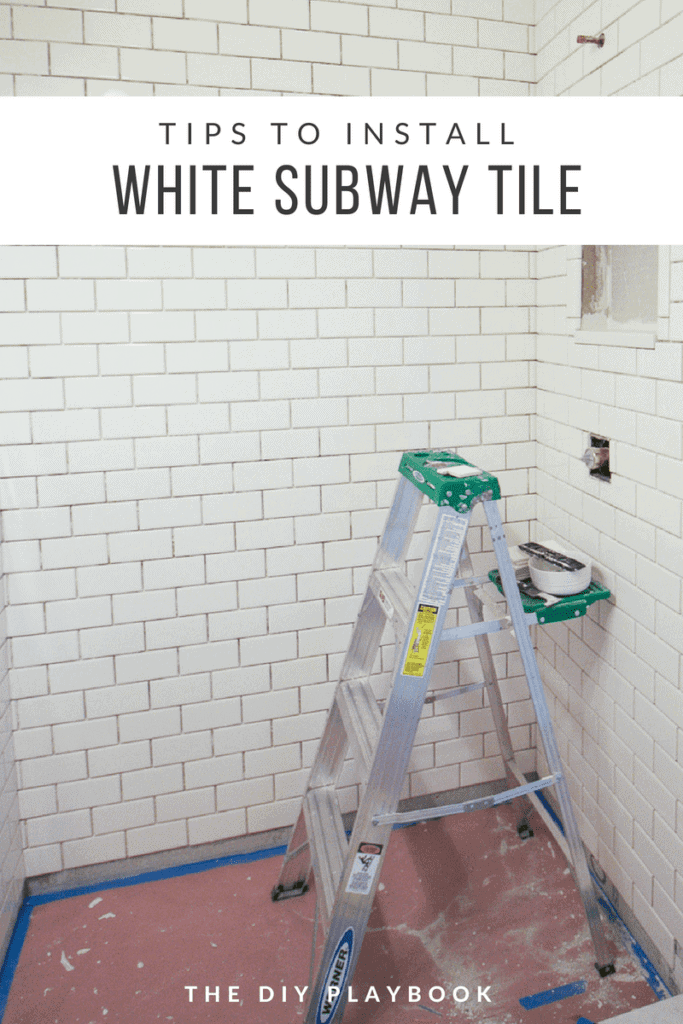
And we had A LOT of ground to cover. We started on the shower walls and I seriously felt like I was climbing Mt. Everest. I laid the first two rows of tile, glanced up to the top of the wall, and felt like there was no way in hell we could ever “climb” to the top!
With 10-foot ceilings in the bathroom, and a plan to go all the way up to the ceiling, right then and there we knew we were in for it.
However, we prevailed! It took us two weekends and multiple nights after work to get ‘er done, but we did it. And we’re obsessed with the timeless look we have going on in this space.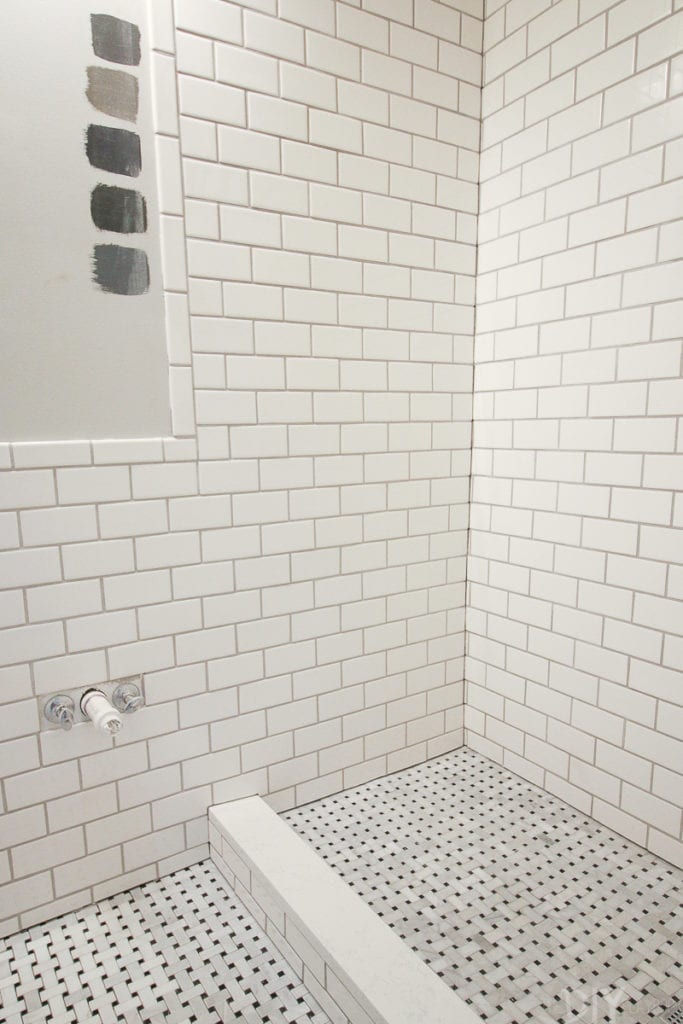
I’m not going to give you a step-by-step tutorial on how we hung our 3×6 white subway tile since I just shared the detailed process for the floor tile yesterday (and it’s very similar to that).
Instead, I’ll share tips and tricks we learned along the way. And things I wish I would have known before I got started tiling our bathroom…
10 Tips to Install Subway Tile
Before I dive into these tiling tips, I just want to say how much I love ceramic subway tile. It comes in a wide range of colors and in this small space, we decided to opt for a white tile with a glossy finish. I think subway tile is a popular choice for a few reasons. It’s inexpensive (ours was $.15 a piece), it can be used on a bathroom wall or kitchen backsplash, it works with just about any design style, and ceramic tile has easy maintenance with easy cleaning.
So, there’s my plug to go with classic subway tile for your next project! Now, onto what we learned…
Use Ledgers
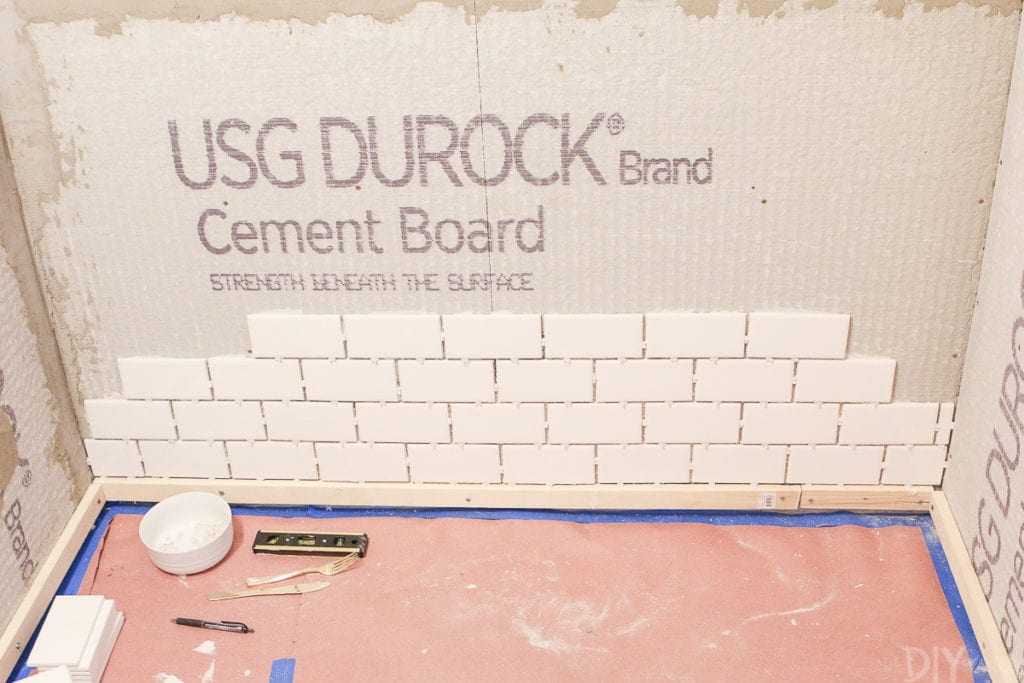
As a tiling newbie, I didn’t know that ledgers were used in tiling. In order to make sure all of your tile is level, you need to install a level piece of wood at the first subway tiles in the bottom row. This ensures that all of the ceramic wall tile you install above that board will be straight. 
I purchased inexpensive wood at Lowe’s (and brought the measurement of each wall in the room) and had it cut down to size right there. Then, I used a drill, screws, and level to get all of our ledgers in before we started tiling. Take the time to do this (& make sure they’re perfectly straight) before you install one piece of tile.
Wear Gloves
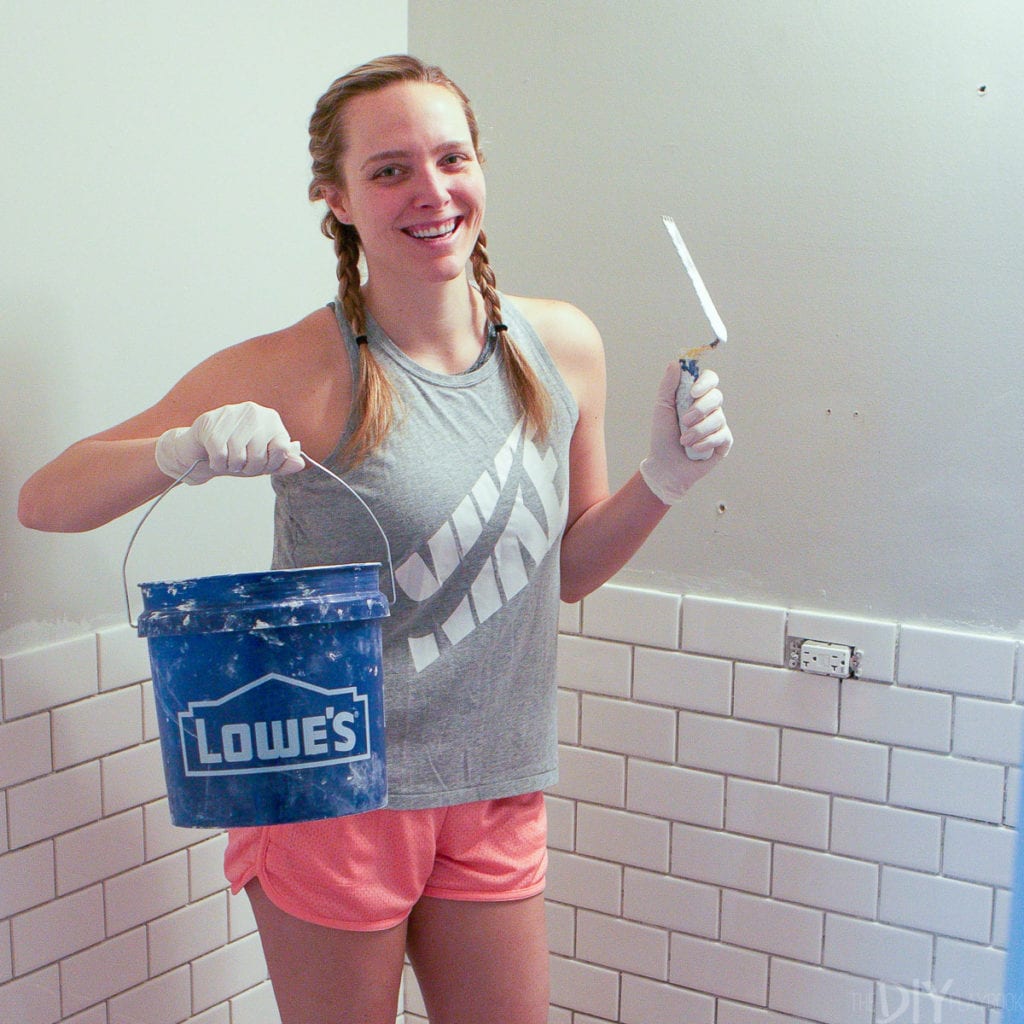
After the floor installation, my hands were wrecked. The thinset dries out your skin like crazy and you really can’t expect to keep your hands clean when tiling. It’s impossible. For the subway tile, I bought dozens of disposable gloves. This was a lifesaver and my hands are finally feeling less scaley and gross!
Try a Tile Cutter
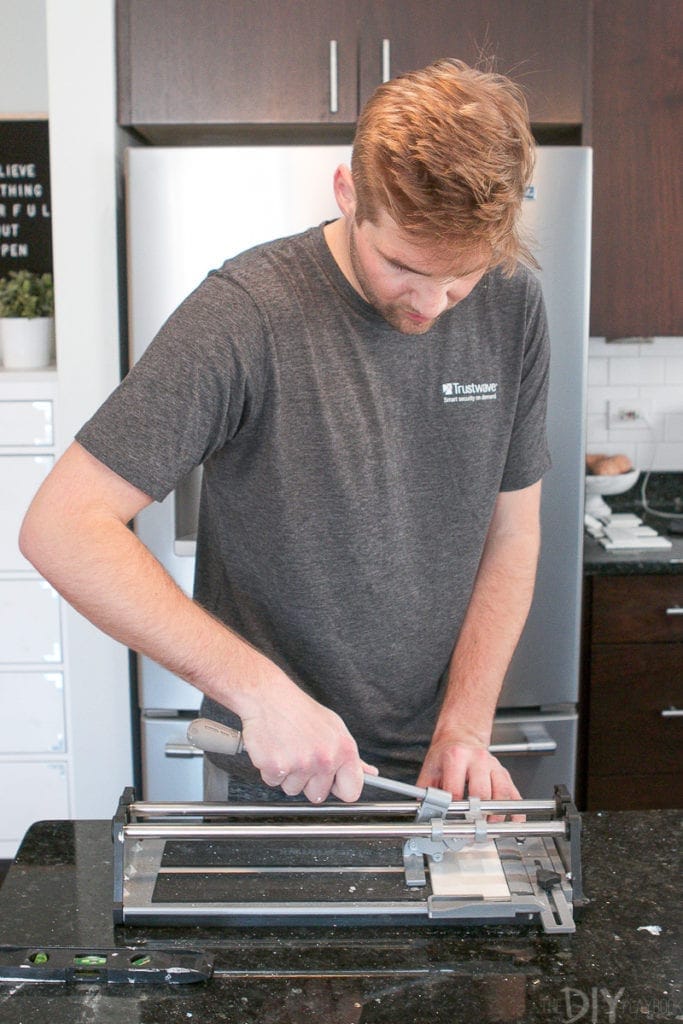
Our wet saw was the main workhorse for our floor tile, but we whipped out a tile cutter for the subway tile installation. This little tool is incredibly easy to use and it’s inexpensive…only $20!
But my favorite part about it? We could use it at night without making a peep (unlike the wet saw, which shakes the entire building), so we could work on the space on weekday nights.
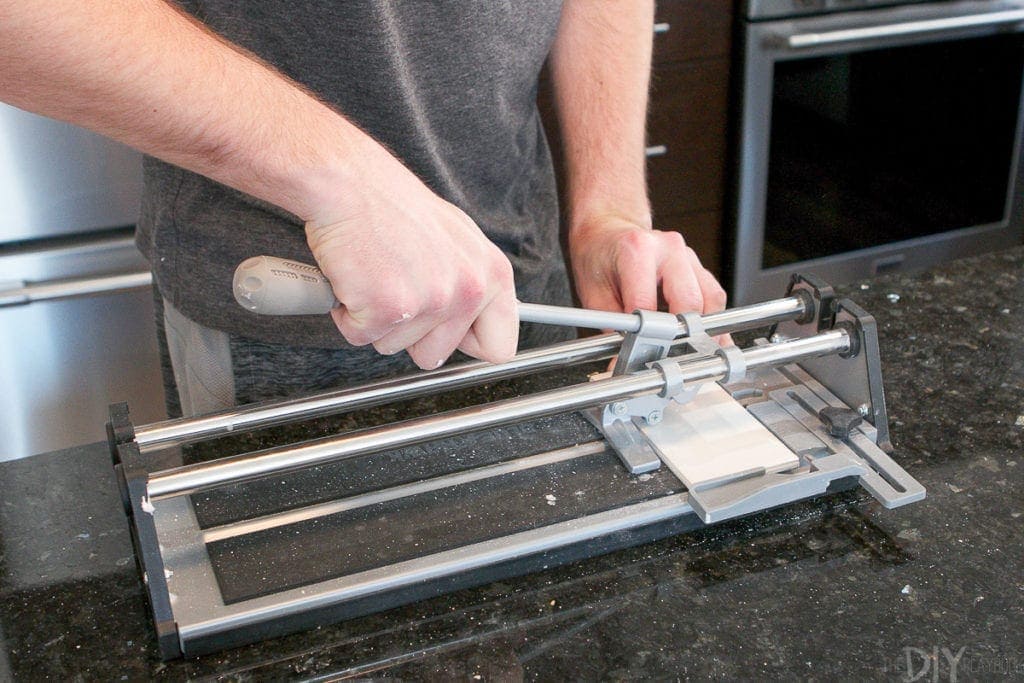
I will say, we did have to use the wet saw for super small cuts, curved cuts, and angled cuts. So we kept that out too. But for 85% of our cuts, the tile cutter worked like a dream.
Plan It Out

As much as we wanted to just get started tiling, we had to go in with a game plan. And when I say gameplan, I mean math. Dun dun dun. Not my strong suit, but luckily that husband of mine is a math whiz!
We decided on a traditional subway tile layout, instead of going with a modern twist like a herringbone style. We figured it was a practical choice since we’re newbie tile installers. But we did consider different patterns before resorting back to our traditional pattern.
Since you don’t want to have any tiny cuts on the corners (because it will make your life 10000x harder), you need to plan your layout from the start. Pick a starting point (in our case, the main shower wall) and work your way out from there. Think about the ceiling and the floor too, you don’t want any slivers of tile on either end. Finn ended up planning ours out using Excel, but just a simple drawing and math will help!
Know your Spacing
You know how I just said that you need to make a plan? Well, we did do that. But we forgot to calculate one HUGE factor…the spacers.
We were doing math based on our 3×6-inch rectangular tiles and the measurements of our walls. We totally forgot to include the 1/8″ spacers (rookie mistake) and that meant we had small cuts on our first big wall. Bummer (and a major setback). 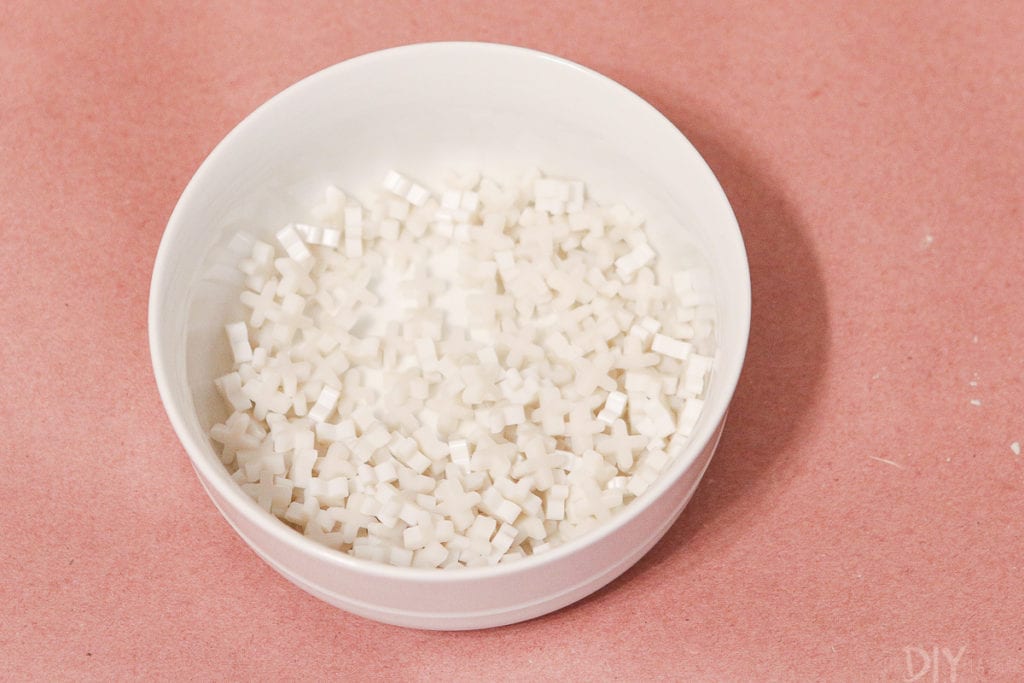
So, please account for your spacers!
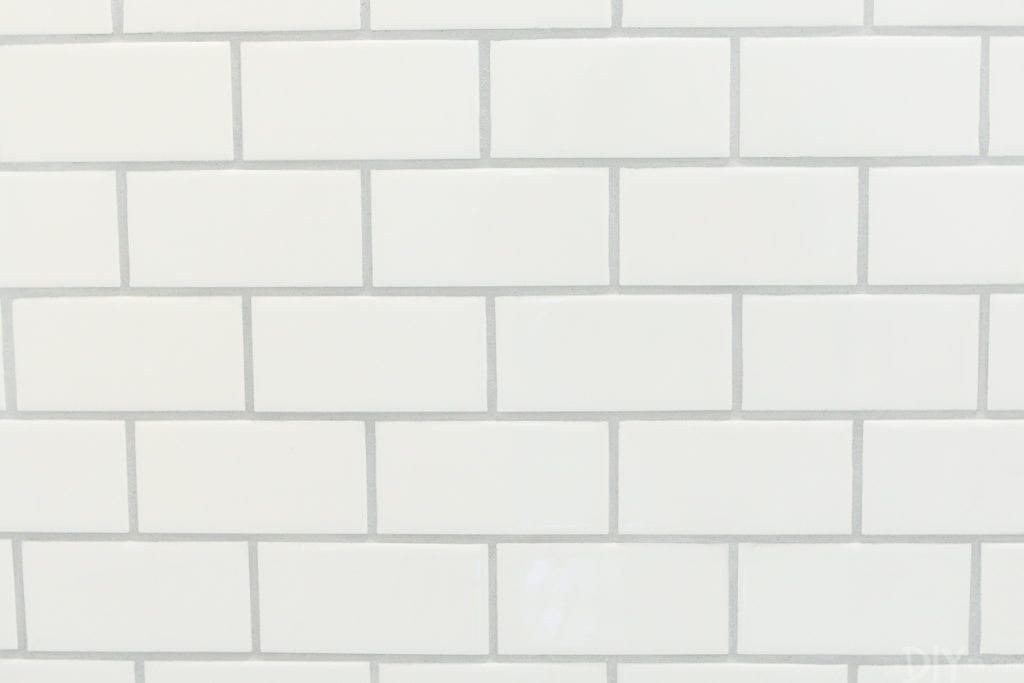
And another DUMB move I made? I didn’t account for the fact that our subway tile already had built-in spacers. Yes. Most subway tile has grooves on the sides so you don’t need to use spacers at all because it’s an automatic 1/16″ grout line. I completely forgot about that and used 1/8″ spacers.
This meant that we ended up with pretty wide grout lines. Which ended up being fine for the room, but it’s just something to keep in mind.
Protect your Floors

This may be an obvious tip, but please protect your floors! With our new marble floors installed, we didn’t want to take any chances of ruining them. We laid down cardboard that we cut to the room, and then we put rosin paper on top of that.
We secured that down using painter’s tape. Be sure to protect everything in your room when tiling because the thinset will occasionally plop on the ground and you’ll be left with a mess!
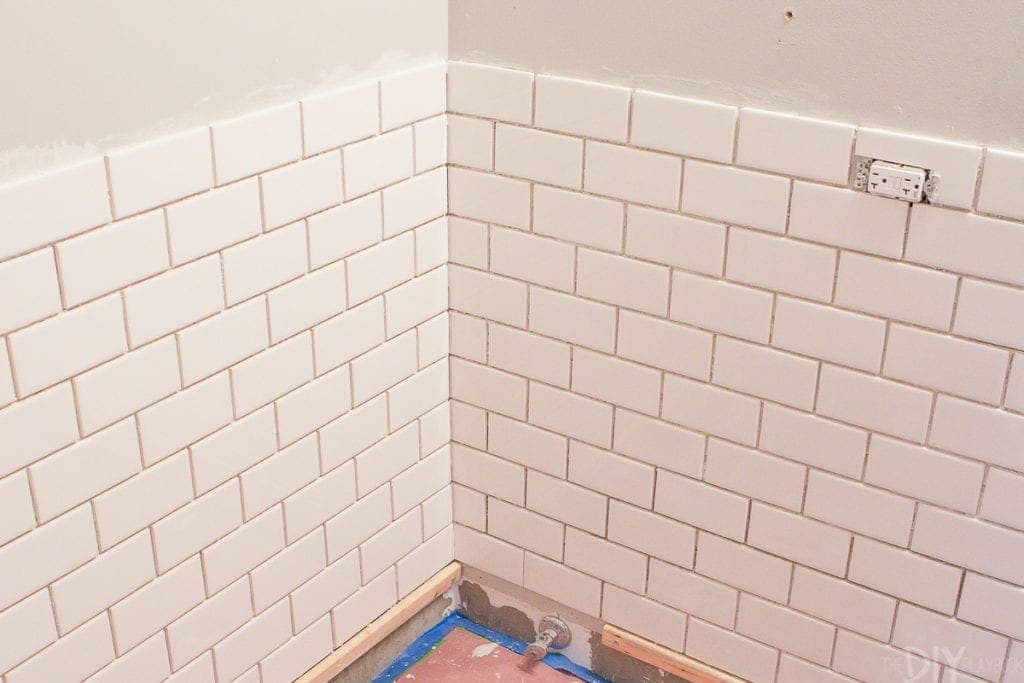
Have a Plan for the Edges

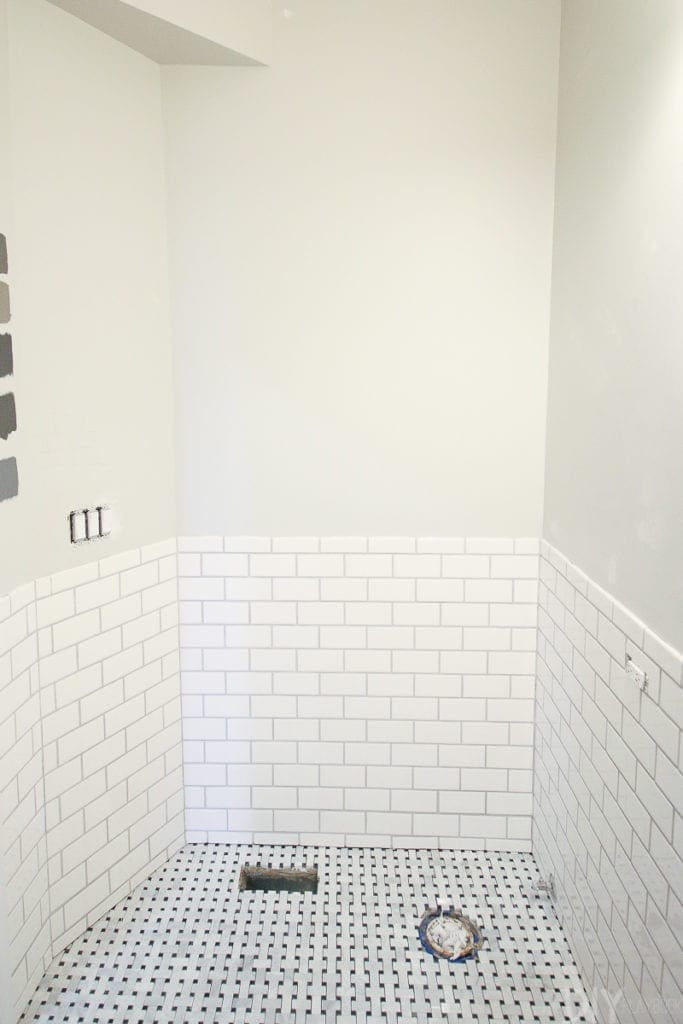
When ordering my tile, I didn’t realize that my regular 3×6 white subway tile didn’t come with a 3×6 bullnose piece (bullnose is the rounded edge). Instead, the only matching tile was a 2×6 bullnose tile.
This ended up being fine, but we had to make a plan for how we would have it flow as both the top ledger and the side edges of the shower. 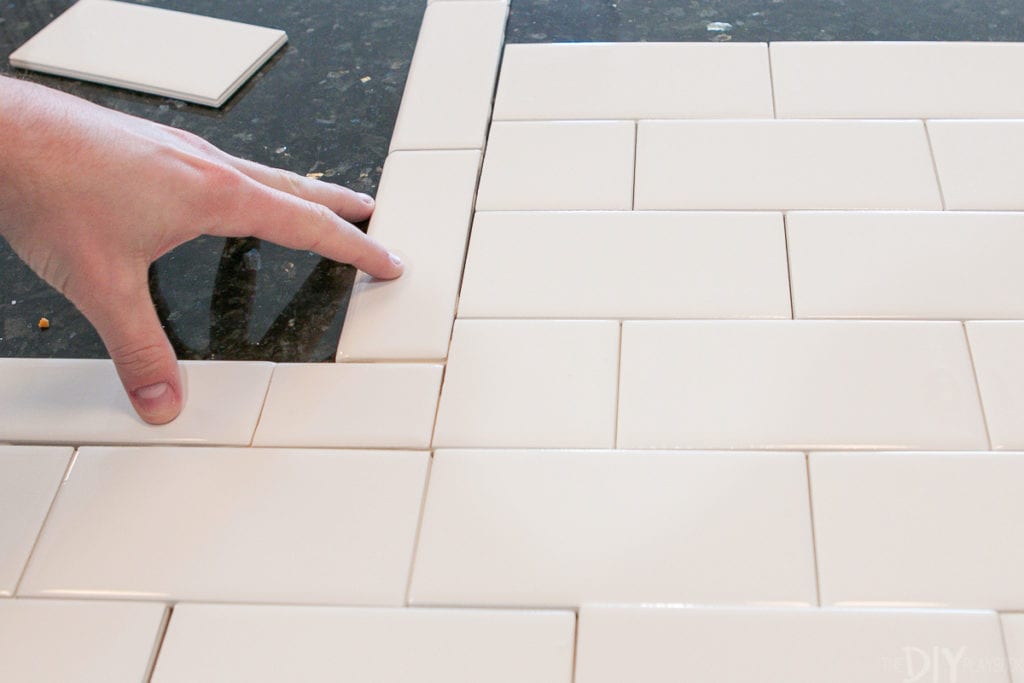
Finn and I laid out various scenarios before committing to anything and we ended up going with the look above.
Clean As You Go

The thinset is bound to ooze between your tiles a bit, so do your best to scrape it out as you go. If it dries, it’s a lot harder to get out before grouting.
We also kept a sponge handy to wipe down tiles along the way to ensure that no thinset was drying on our pristine white tiles. Just be aware and wipe up after each tiling session.
Buy Extra Grout
Once all of the tile was up, we were ecstatic and I (naively) thought I could grout the wall in a couple of hours. Boy, was I wrong.
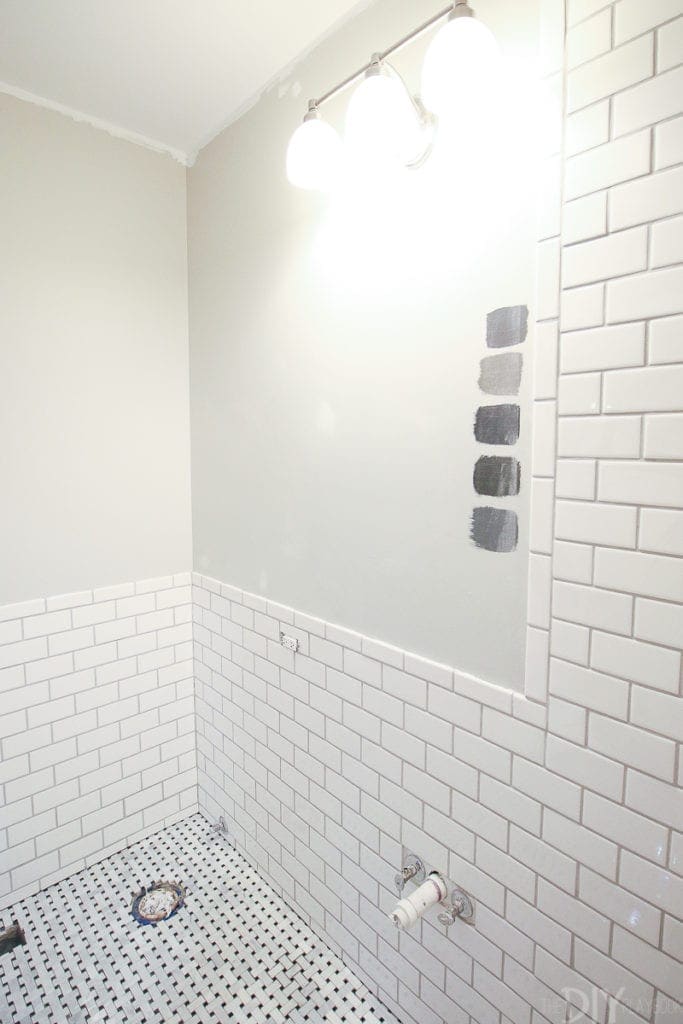
Because our grout lines were huge and we had so much ground to cover, it ended up taking me (& my mom who I recruited to help) about 8 hours to grout the walls. I bought two 10 lb bags of grout for the space (sanded in the color “Silverado” for a contrasting grout color) and ended up having to run back to Home Depot for three more! Stock up on grout and you can always return it if you end up having some leftovers.
Be Patient
Finn and I weren’t prepared for how long the subway tile was going to take. I mean it’s just straight lines…right? Between all of the math, our high ceilings, and the large grout lines…we had our work cut out for us.
But I’m happy we took our time and got ‘er done because it truly is the focal point of this small space. What an amazing feeling to see it all up, grouted, and lookin’ good!
Our Finished Bathroom
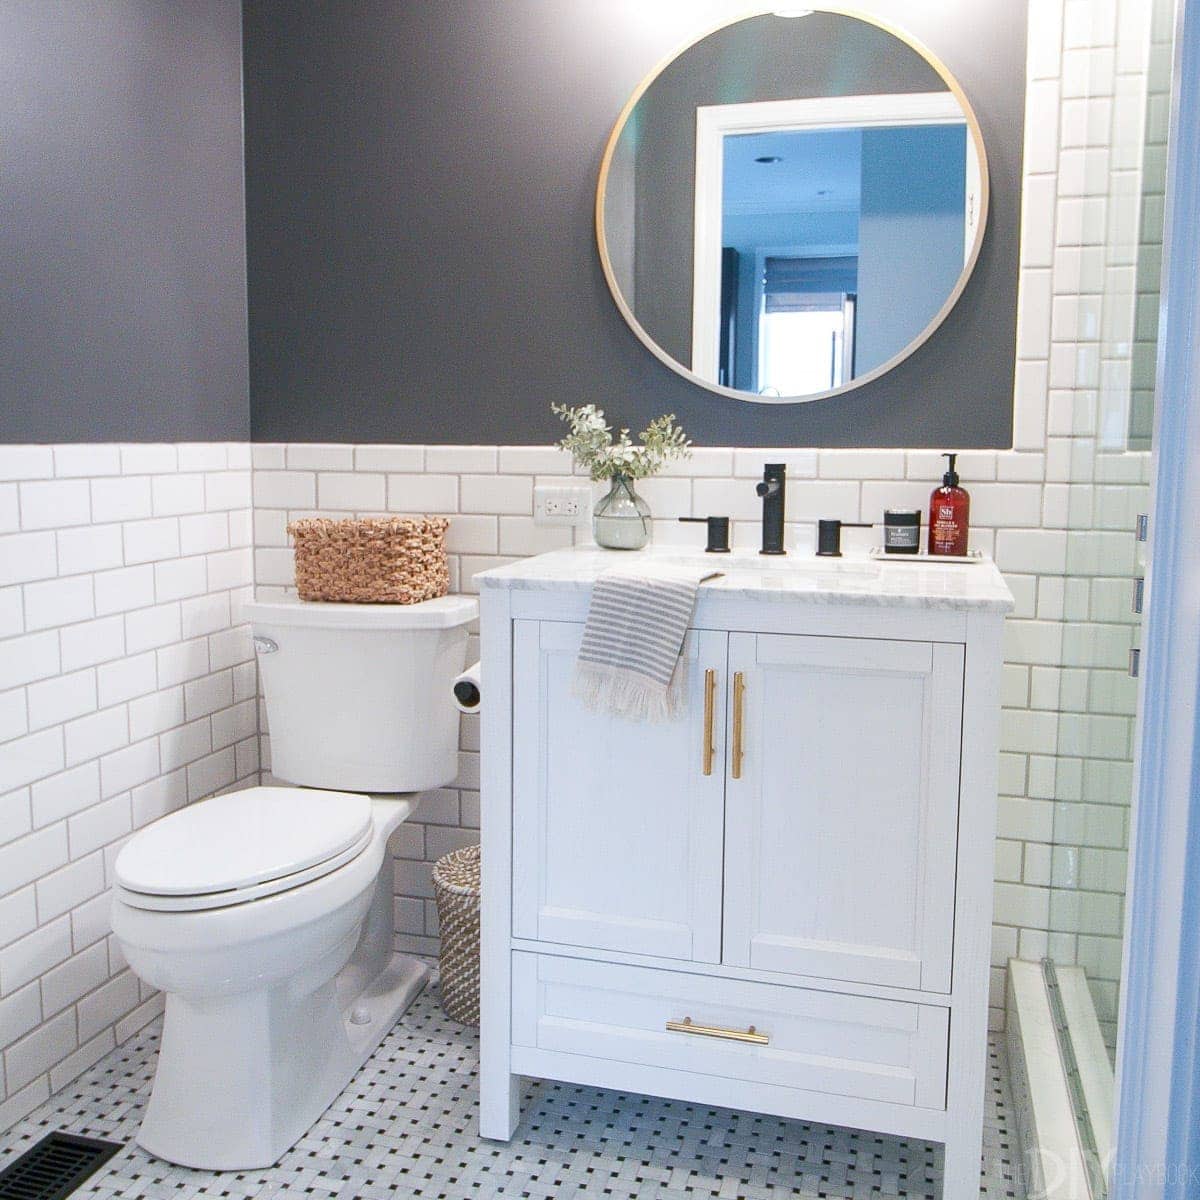
Want to see the finished space? You can find the full room reveal right here and catch up on this entire bathroom project below.
Catch Up on the Bathroom Renovation
- Bathroom Planning
- Bathroom Mood Board
- Our Demo Weekend
- Bathroom Progress Report
- Tiling the Floor
- Adding Subway Tile
- Choosing a Dark Gray Paint Color
- Painting the Bathroom
- How to Install a Vanity
- How to Hang a Mirror
- Bathroom Renovation – Reveal
- Storage Solutions for Small Bathroom
- What We Learned Renovating Ourselves
More Tiling Posts
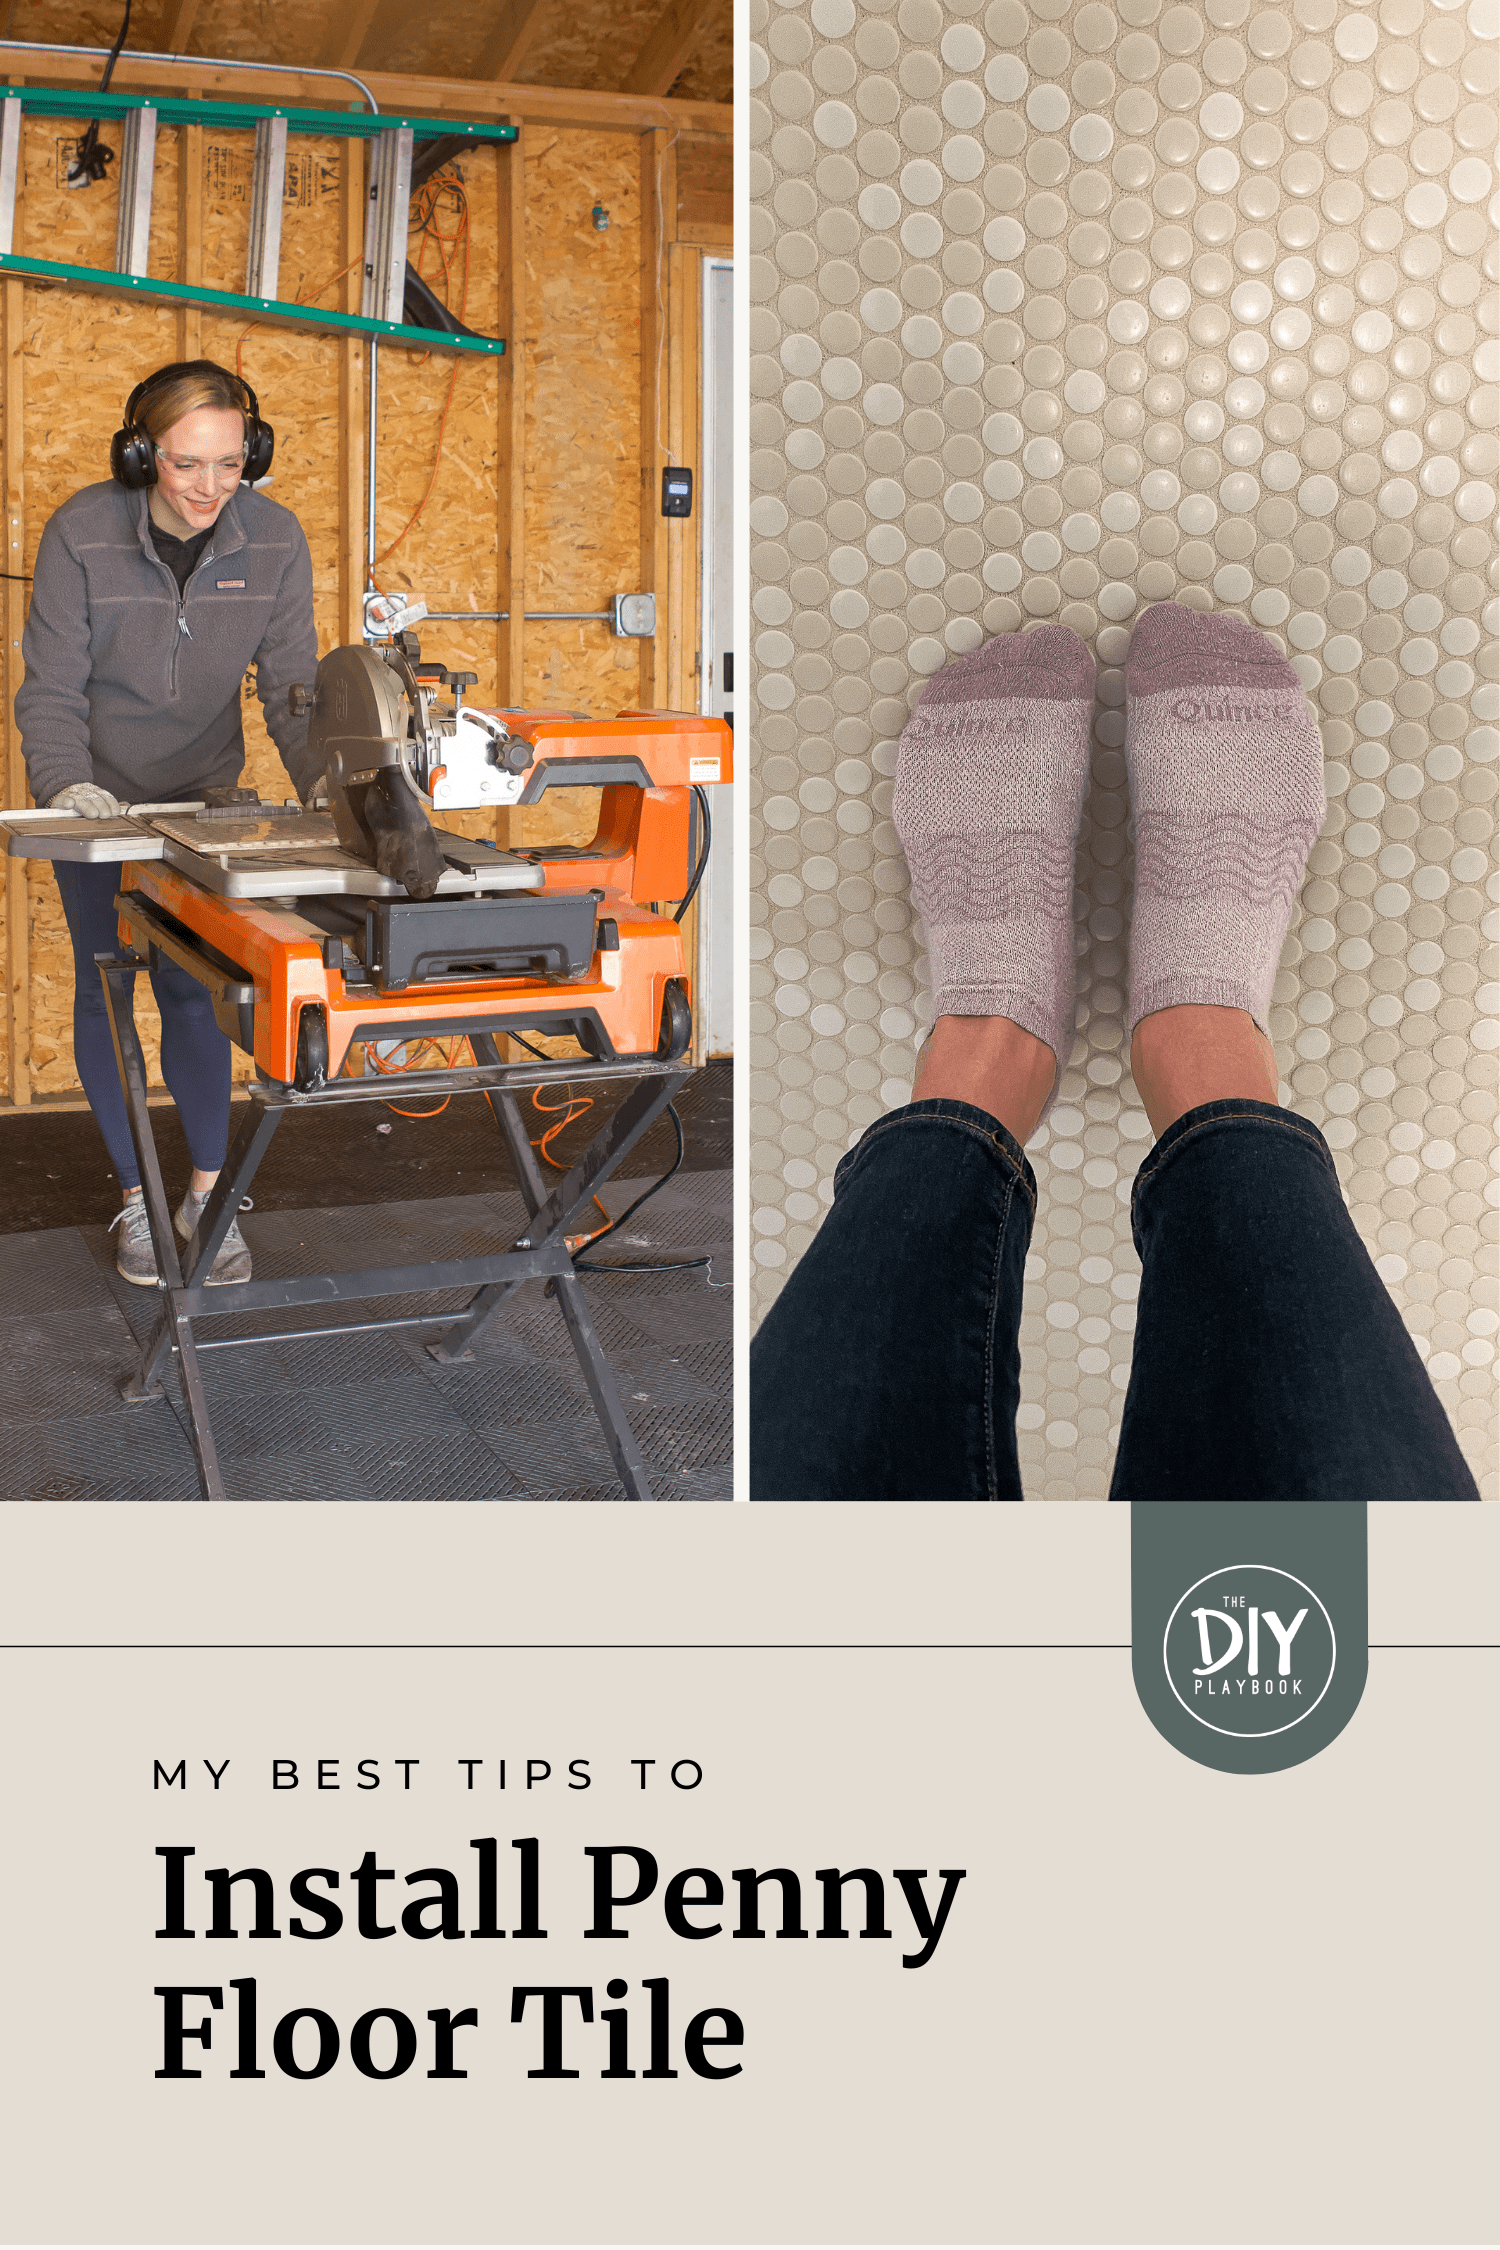
Interested in penny tile instead? This blog post walks you through all of my best tips for a smooth penny tile installation.
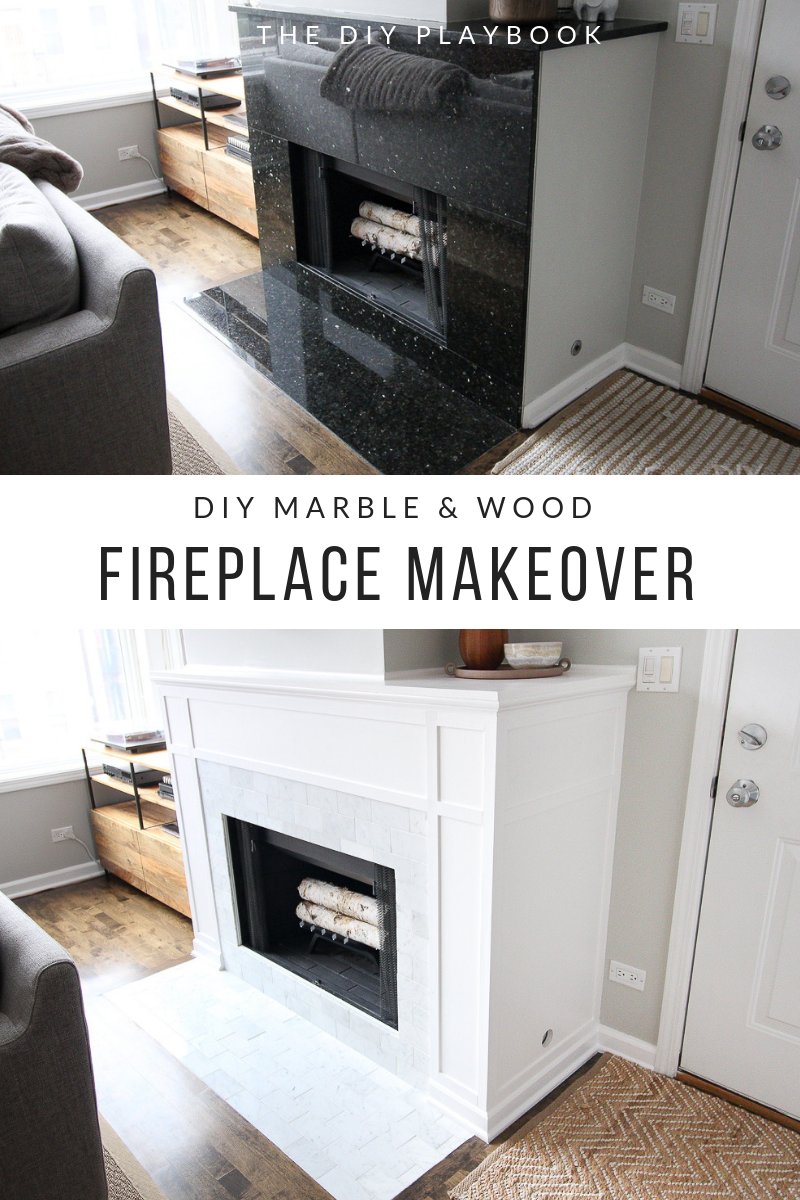
We used marble subway tile and white grout for our fireplace surround. It turned out so dreamy.
Casey