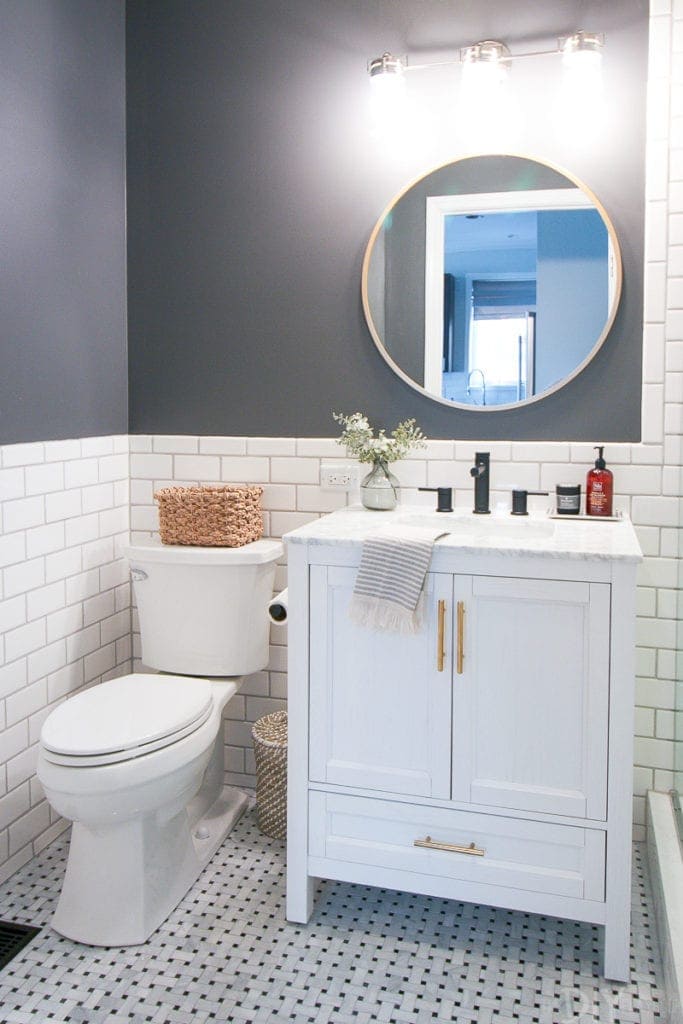
What We Learned Renovating Our Bathroom
Well, friends, we made it to the end. The end of our bathroom series. It was a good run, but I’m eager to move onto another home project and officially put this space to rest. But before I do that, I wanted to offer some renovation advice and share a list of all of the things we’ve learned over the past 2 months since we started the bathroom project.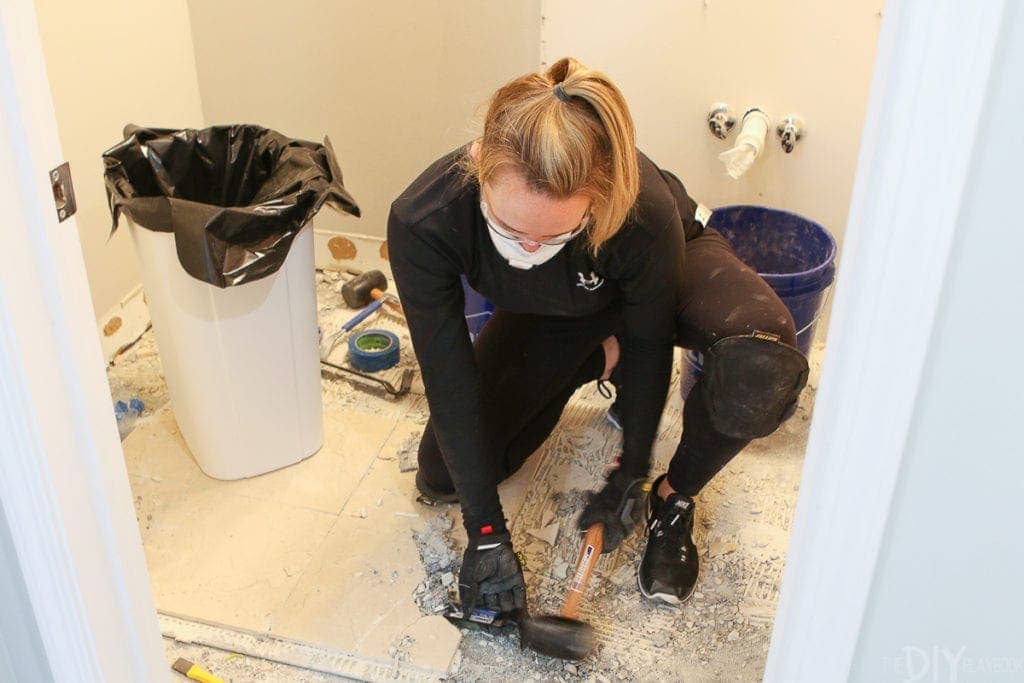
As you guys know, this is the by far the largest DIY project I’ve ever tackled and I had never done a bathroom from start to finish like this before. I learned SOOOOOO much along the way, and honestly, I think there is no way to really get good at something except to dive right in and give it a try.
When we tackle another bathroom project, I will go in feeling 10x more confident in my skills and I think I’ll be at least 2x as fast in executing a project of this scope. If you have a bathroom renovation in your immediate future (or really any big DIY project coming up…), then I hope you take some of this renovation advice and put it to good use.
Renovation Advice from First-Timers
Make a Realistic Timeline
I look back at myself in May when I was planning out this entire project and I see such a naive girl, unaware of the chaos that is about to ensue in her home. Okay, maybe that’s a tad dramatic, but holy moly I thought we could get this entire project done in 3-4 weekends. Eek. More like 8-10 weekends and plenty of weeknights in between.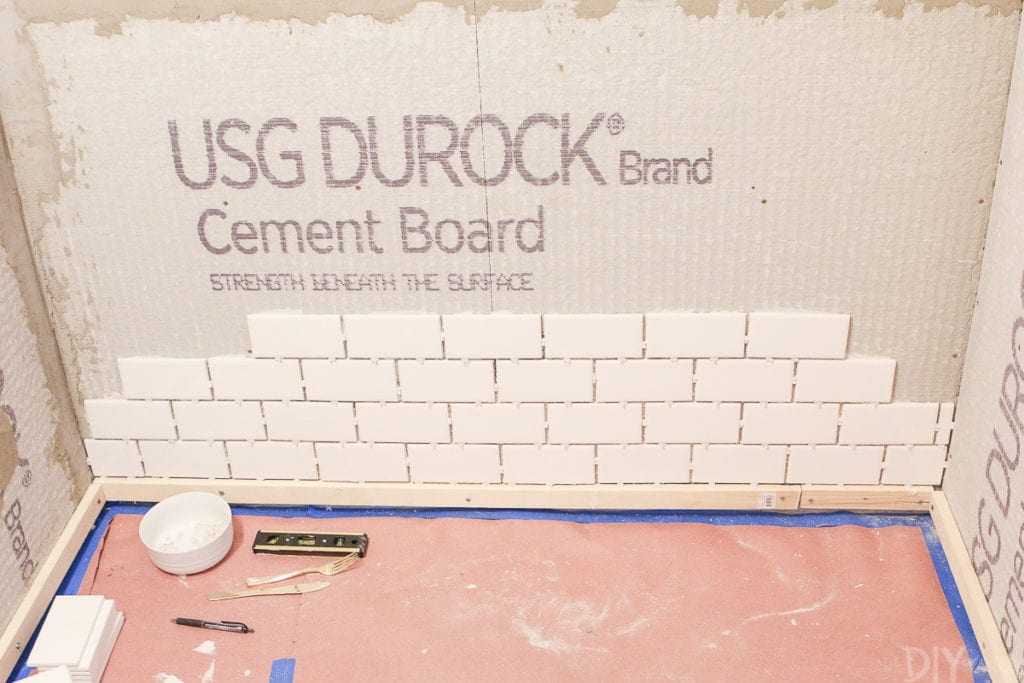
I thought the demo would take 2 days, and it did take 2 days. Other than that, every task took a lot longer than I anticipated…especially the tiling! When you’re doing something for the first time, there is such a learning curve. Just setting up the wet saw the first day took us at least an hour, and then we were timid for the first 2 hours of using it because it was our first time with that tool. Finn and I would wake up early each Saturday and Sunday, prep the house and get out all of the tools, and then work for 8-10 hours straight. We would then take another hour cleaning up our place and putting all of our tools back. I never accounted for the prep and cleanup time, and it really did add up throughout the course of the project.
My renovation advice: Reserve extra time to get the project done and make sure you clear a lot of your weekends.
Learn to Live with the Mess

I can be a little bit of a neat freak, so living in a construction zone wasn’t the easiest for me. Because we live in such a small space, we kept all of the supplies on our dining room table and in our main room. Then our guest room had our overflow of DIY supplies or items that we didn’t yet need. Oh, and our lovely neighbors let us use their garage spot for big items like the vanity and shower door. There was stuff absolutely everywhere.
The first week or 2…it was hard. But I quickly learned to live with the mess and I continuously told myself that it was only temporary.
We also “cleaned up” every night, which meant sweeping up any large debris and doing a clean of the kitchen counters so they were usable. This was pretty much the bare minimum because it just seemed silly to deep clean a place when it was just bound to continue to get gross. I just wore socks so it didn’t hurt as much when walking around on little pieces of tile on our floors. Yikes.
My renovation advice: Loosen up and know that the mess will be gone soon enough.
Create “Safe Zones”
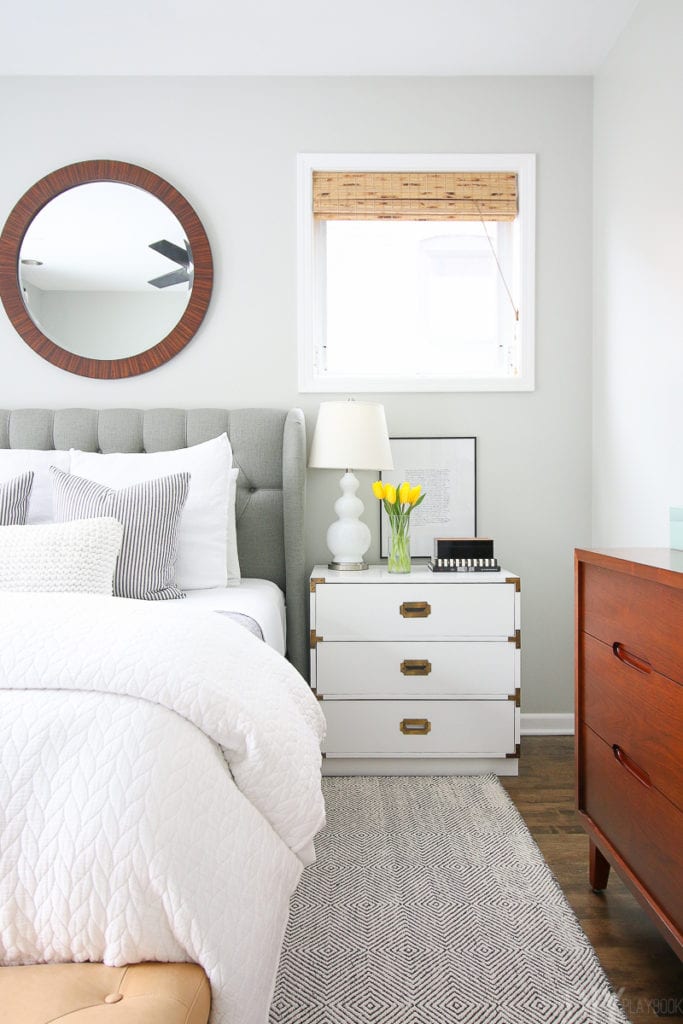
While the rest of our home was a disaster, I made sure to keep our master bedroom and master bathroom a “renovation-free zone.” That meant no DIY supplies or mess was coming into these rooms. This was incredibly helpful and it really did keep us both sane. Knowing that our bedroom was clean at the end of a hard day of work was so comforting. We would shower, order food, and close the door to the mess on the outside of our master bedroom door. Back there…everything seemed normal and heavenly.
My renovation advice: Keep the construction mess to a few key spaces and don’t let it overflow into important rooms like the master bedroom.
Go Easy On Each Other
If you want to put your marriage to the test, renovate a bathroom together. Ha! Seriously though, this was definitely a lesson in teamwork and communication and Finn and I learned a lot about each other along the way. I’ve pretty much only ever done DIY projects with Bridget. Finn is a newbie to the DIY world, so I really didn’t know what to expect when it came time to tackle such a large project side-by-side.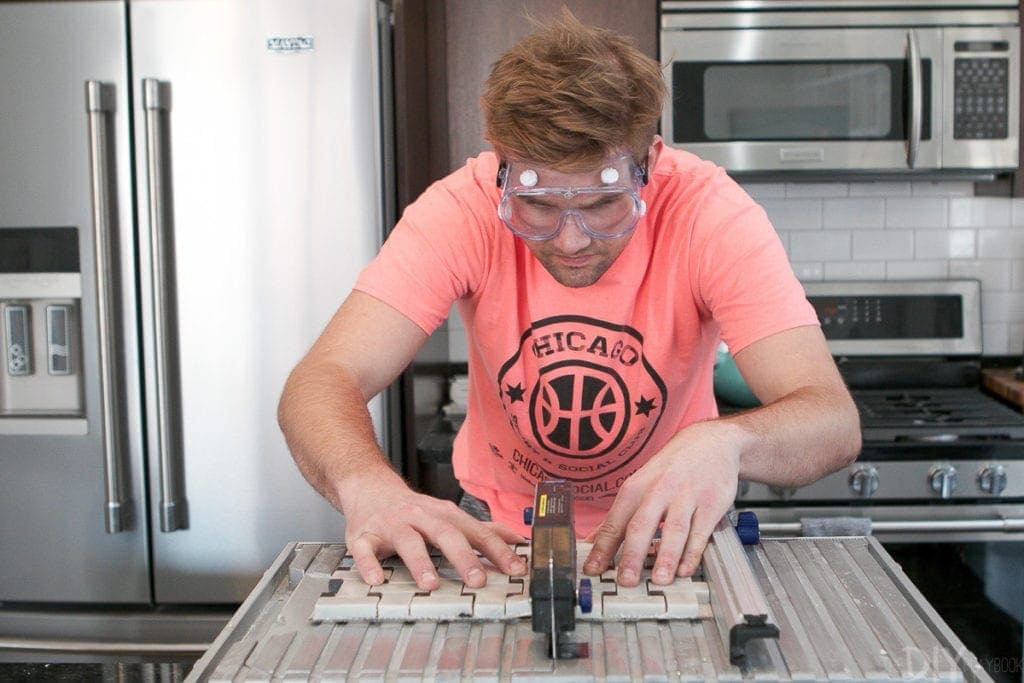
I learned that we are both workaholics…we won’t quit until a specific task is done. But I learned that I’m more of a “done is better than perfect” gal, while Finn is a perfectionist. When it came to tiling, I would say a piece of tile fit fine, while he would go back, again and again, to try to cut the perfect piece for that tiny spot. That was definitely something we didn’t know about each other. And he definitely got annoyed when I would measure for a piece of tile, only to say that it should be “a smidge” bigger than the last one. This math man of mine wanted exact centimeters, while I’m much more of an eyeball it kinda gal. 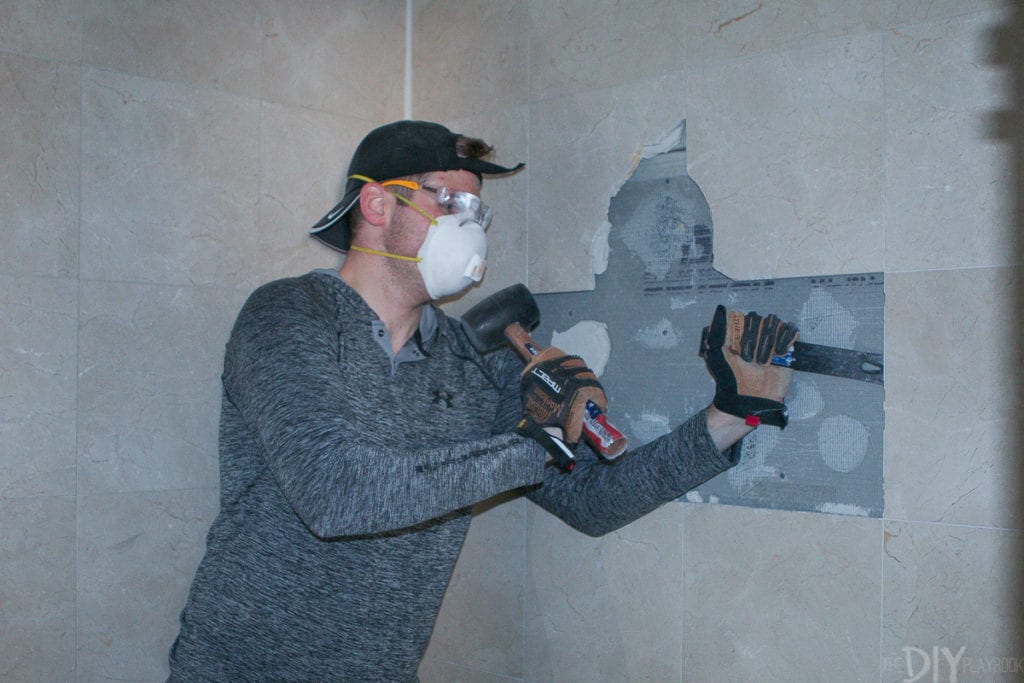
But I will say that we learned that we needed to go easy on each other, especially since we were spending so much time in a teeny tiny room together. We had the most fun when we would just put some music on, work away, and take water and snack breaks along the way. Finn was a trooper, often coming home from a long day of real work to come work in the bathroom until it was time for bed, and I appreciated his positive attitude and work ethic. We balanced each other out through this crazy process.
My renovation advice: Enjoy the process of working with your partner (& don’t forget to take food breaks. Working when hangry is never a good idea.)
Buy Extra of Everything
I’m pretty sure the workers at Lowe’s know me by name now because I was there at least 5x a week over the past 2 months. Finn and I tried to buy project supplies in stages, so things didn’t overwhelm our home too much. Why have a toilet sitting in your family room when you wouldn’t be installing it for another 3 weeks? We would often hit up the store on a weeknight and gather all of our supplies, that way we were ready to go on the weekend. However, I found myself running back to the store so many times for more supplies.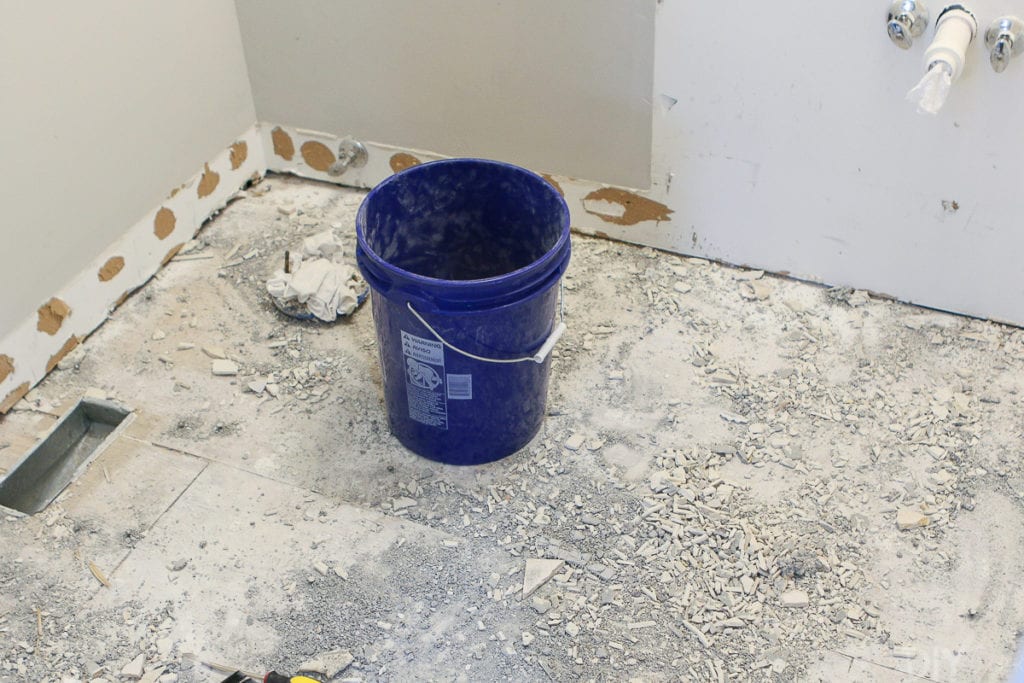
When it comes to tiling, be sure to buy extra buckets, extra tile, and extra grout. You can always return things if you don’t use them! Just buy more than you need, because running to the store at the last-minute is the absolute worst.
My renovation advice: Buy more of everything on your list, you can always take it back!
You Get Better with Practice


Here’s one thing I know…you’re never going to be great at tiling if you don’t do a tile project. Wow, I feel like the next tiling project I do I’m going to feel like a superstar. And the one after that? I will feel unstoppable! The only way to get good at something is to do it. No amount of googling, reading tutorials, or watching Youtube videos is going to equip you with enough skills to be a master at DIY. Instead, you have to go out there and give it a try.
Finn and I say that if we did this bathroom knowing what we know now, we’d be able to finish it in half the time. Our first day on the wet saw was laughable compared to how much better we are today. Every task with this project felt like that…we just got better and better.
My renovation advice: The only way to get good at DIY is to go out there and do some projects!
You’re Capable of More than you Think
My final piece of advice…YOU CAN DO THIS! Finn and I are first-time homeowners with zero experience renovating a bathroom, and we were somehow able to figure this thing out. And so far, nothing has come crumbling off the walls. Knock on wood…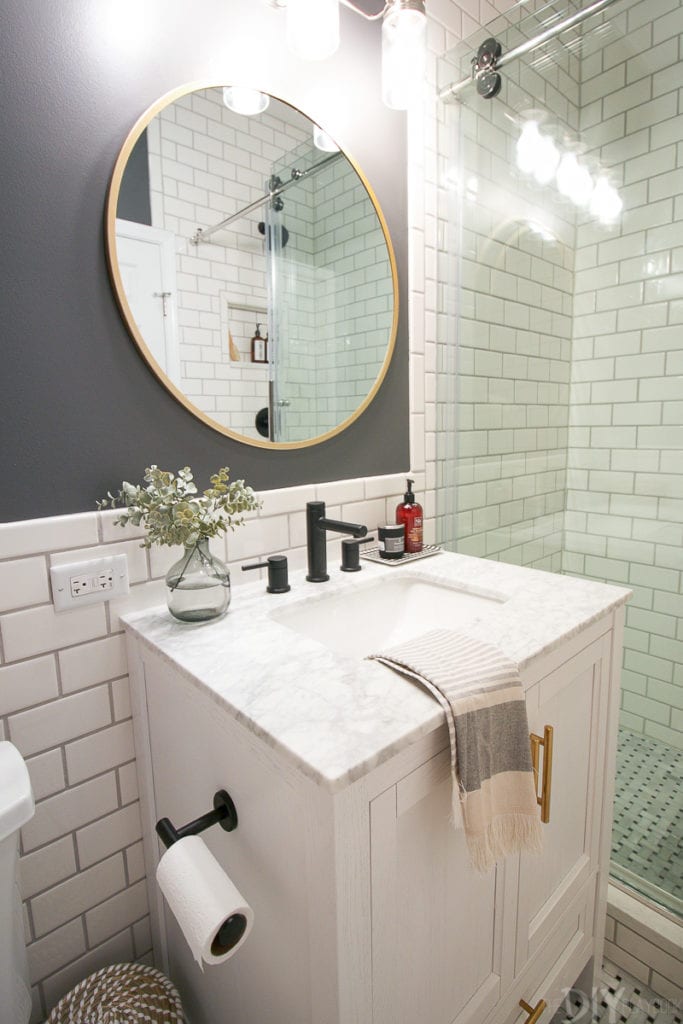
We took it one task at a time and researched as we went. Between Google, YouTube, and employees at Lowe’s, we were able to figure out any DIY dilemma that came our way.
My renovation advice: If we can do this, you can do this!
Catch Up on the Bathroom Renovation
- Bathroom Planning
- Bathroom Mood Board
- Our Demo Weekend
- Bathroom Progress Report
- Tiling the Floor
- Adding Subway Tile
- Choosing a Dark Gray Paint Color
- Painting the Bathroom
- How to Install a Vanity
- How to Hang a Mirror
- Bathroom Renovation – Reveal
- Storage Solutions for Small Bathroom
- What We Learned Renovating Ourselves
So that’s officially it on this bathroom project. I hope you guys learned a lot along the way. And for those looking to tackle a similar project…YOU GOT THIS!
Casey