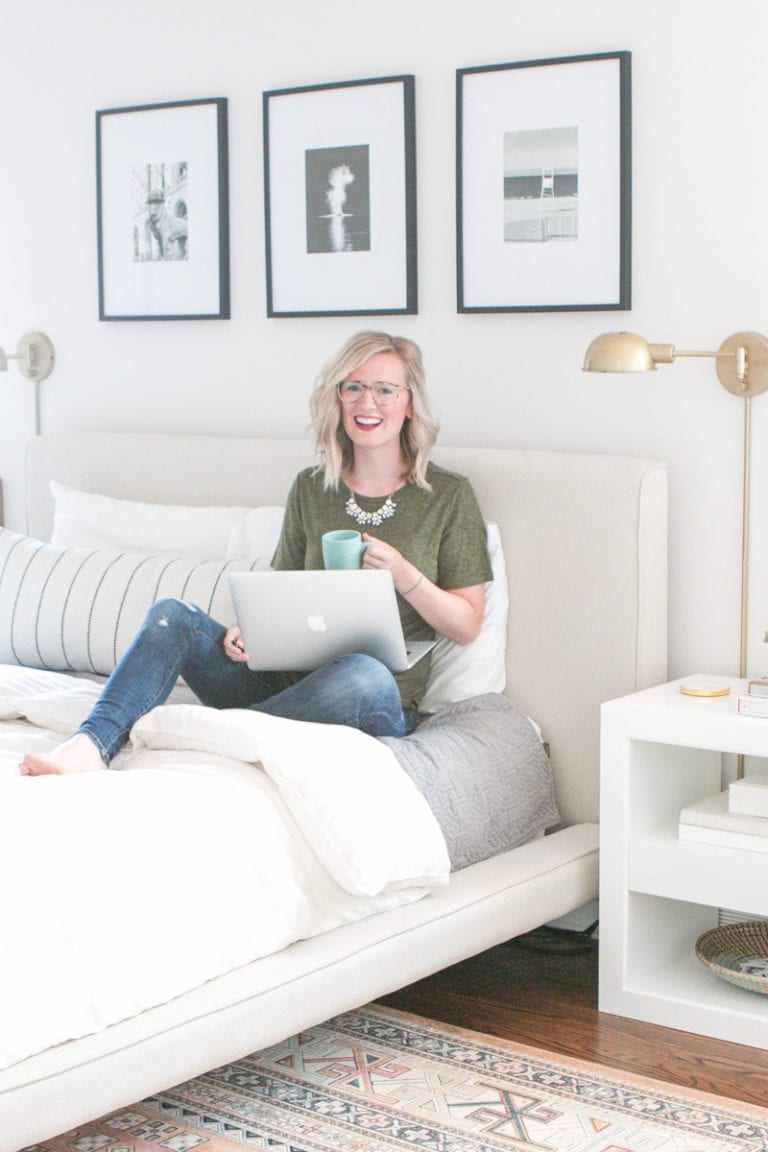
8 Tips For Better Baby Photos with Marshalls
Disclaimer: This post is sponsored by Marshalls. All opinions and photography are our own and are not influenced by Marshalls. Thanks for supporting the brands that support this blog.
If you’re anything like me, you’re constantly snapping pics of your little one(s). Maybe because you are documenting those memories (like I am) or maybe because you’re convinced that you have never seen such a cute baby (#guilty). I swear every time I look at Ben he gets cuter… haha, but I’m also well aware that I have a thick pair of “mom goggles” on.

Either way, I’m here to confirm your suspicions. YES, your baby really is that cute, and I want to make sure that your pictures highlight those precious faces! I’ve heard far too many moms disappointed that their photos aren’t as “Pinterest-worthy” as they want and even see moms shelling out $500+ for professional photos. Don’t get me wrong, paying a professional every now and then is well worth it. BUT, I’m convinced that with a few simple tricks, you can improve your photography and create those Pinterest-worthy images we’re all striving for.
Before I got started, I headed to my local Marshalls to pick up a few essentials for the shoot, including Ben’s outfits, blankets, the adorable towel wrap, toys, and more. While it’s always a one-stop shop for all things home, fashion, baby and more, our friends at Marshalls are celebrating all things baby in stores throughout the month of September. If you’re in the game for name brand baby apparel, toys, necessities (like DIAPERS!) or even large items, but don’t want to break the bank — be sure you stop by your local Marshalls!
8 Steps For Better Baby Photos (Using Your CELL PHONE!) 

1. Make Sure There’s Natural Light
This is first on the list because it is BY FAR the most important component. If you want light, bright photos… you HAVE to take the photo when it’s light and bright outside. Find a place in your house that is light and bright and that’s where I want you to “set up shop” for your next round of photos.
 If you want to snap a picture of your little one doing something you usually do at night, maybe a picture of post bath time, then you’ll have to plan ahead and take that bath during the day. ALL photos should be taken in natural light (with no lights on). Oh, and one more thing. When you’re looking for a bright area in your house. Be sure to look for a bright room, but avoid any direct sunspots that may be on the carpet.
Once you find that “winning spot”, it’s time to move onto tip #2.
2. Lay Down A Neutral Blanket

The next thing I always do for better baby photos is lay down a baby blanket to create a background. I know this won’t work when Ben becomes a toddler, but during those first few months, getting baby photos on a blanket is perfect.
 I recently scored this thick, plush blanket from Marshalls for only $16. I love it because it can work in just about any room in our house and it’s reversible, which is perfect for baby pics. There are always a lot of super soft, high-quality blankets at Marshalls, plus they usually have lots of colors and patterns to choose from for incredible prices. I would personally suggest getting a neutral option (with minimal pattern) so that you can use it for all of your photos.

I ended up doing three different photo examples for this post (all very different looks) and was able to use this same blanket for all of them because it is so versatile!
3. Set the Scene
Now it’s time to “set the scene”. I usually gather a prop or two to give the photo a bit more context… and increase the cuteness factor even more. Typically I’ll try to get the “prop” and blanket ready while Ben is taking a nap since Ben is usually most smiley when he wakes up. But don’t be too impressed by my ambition. Those two steps literally take 3 minutes – tops!

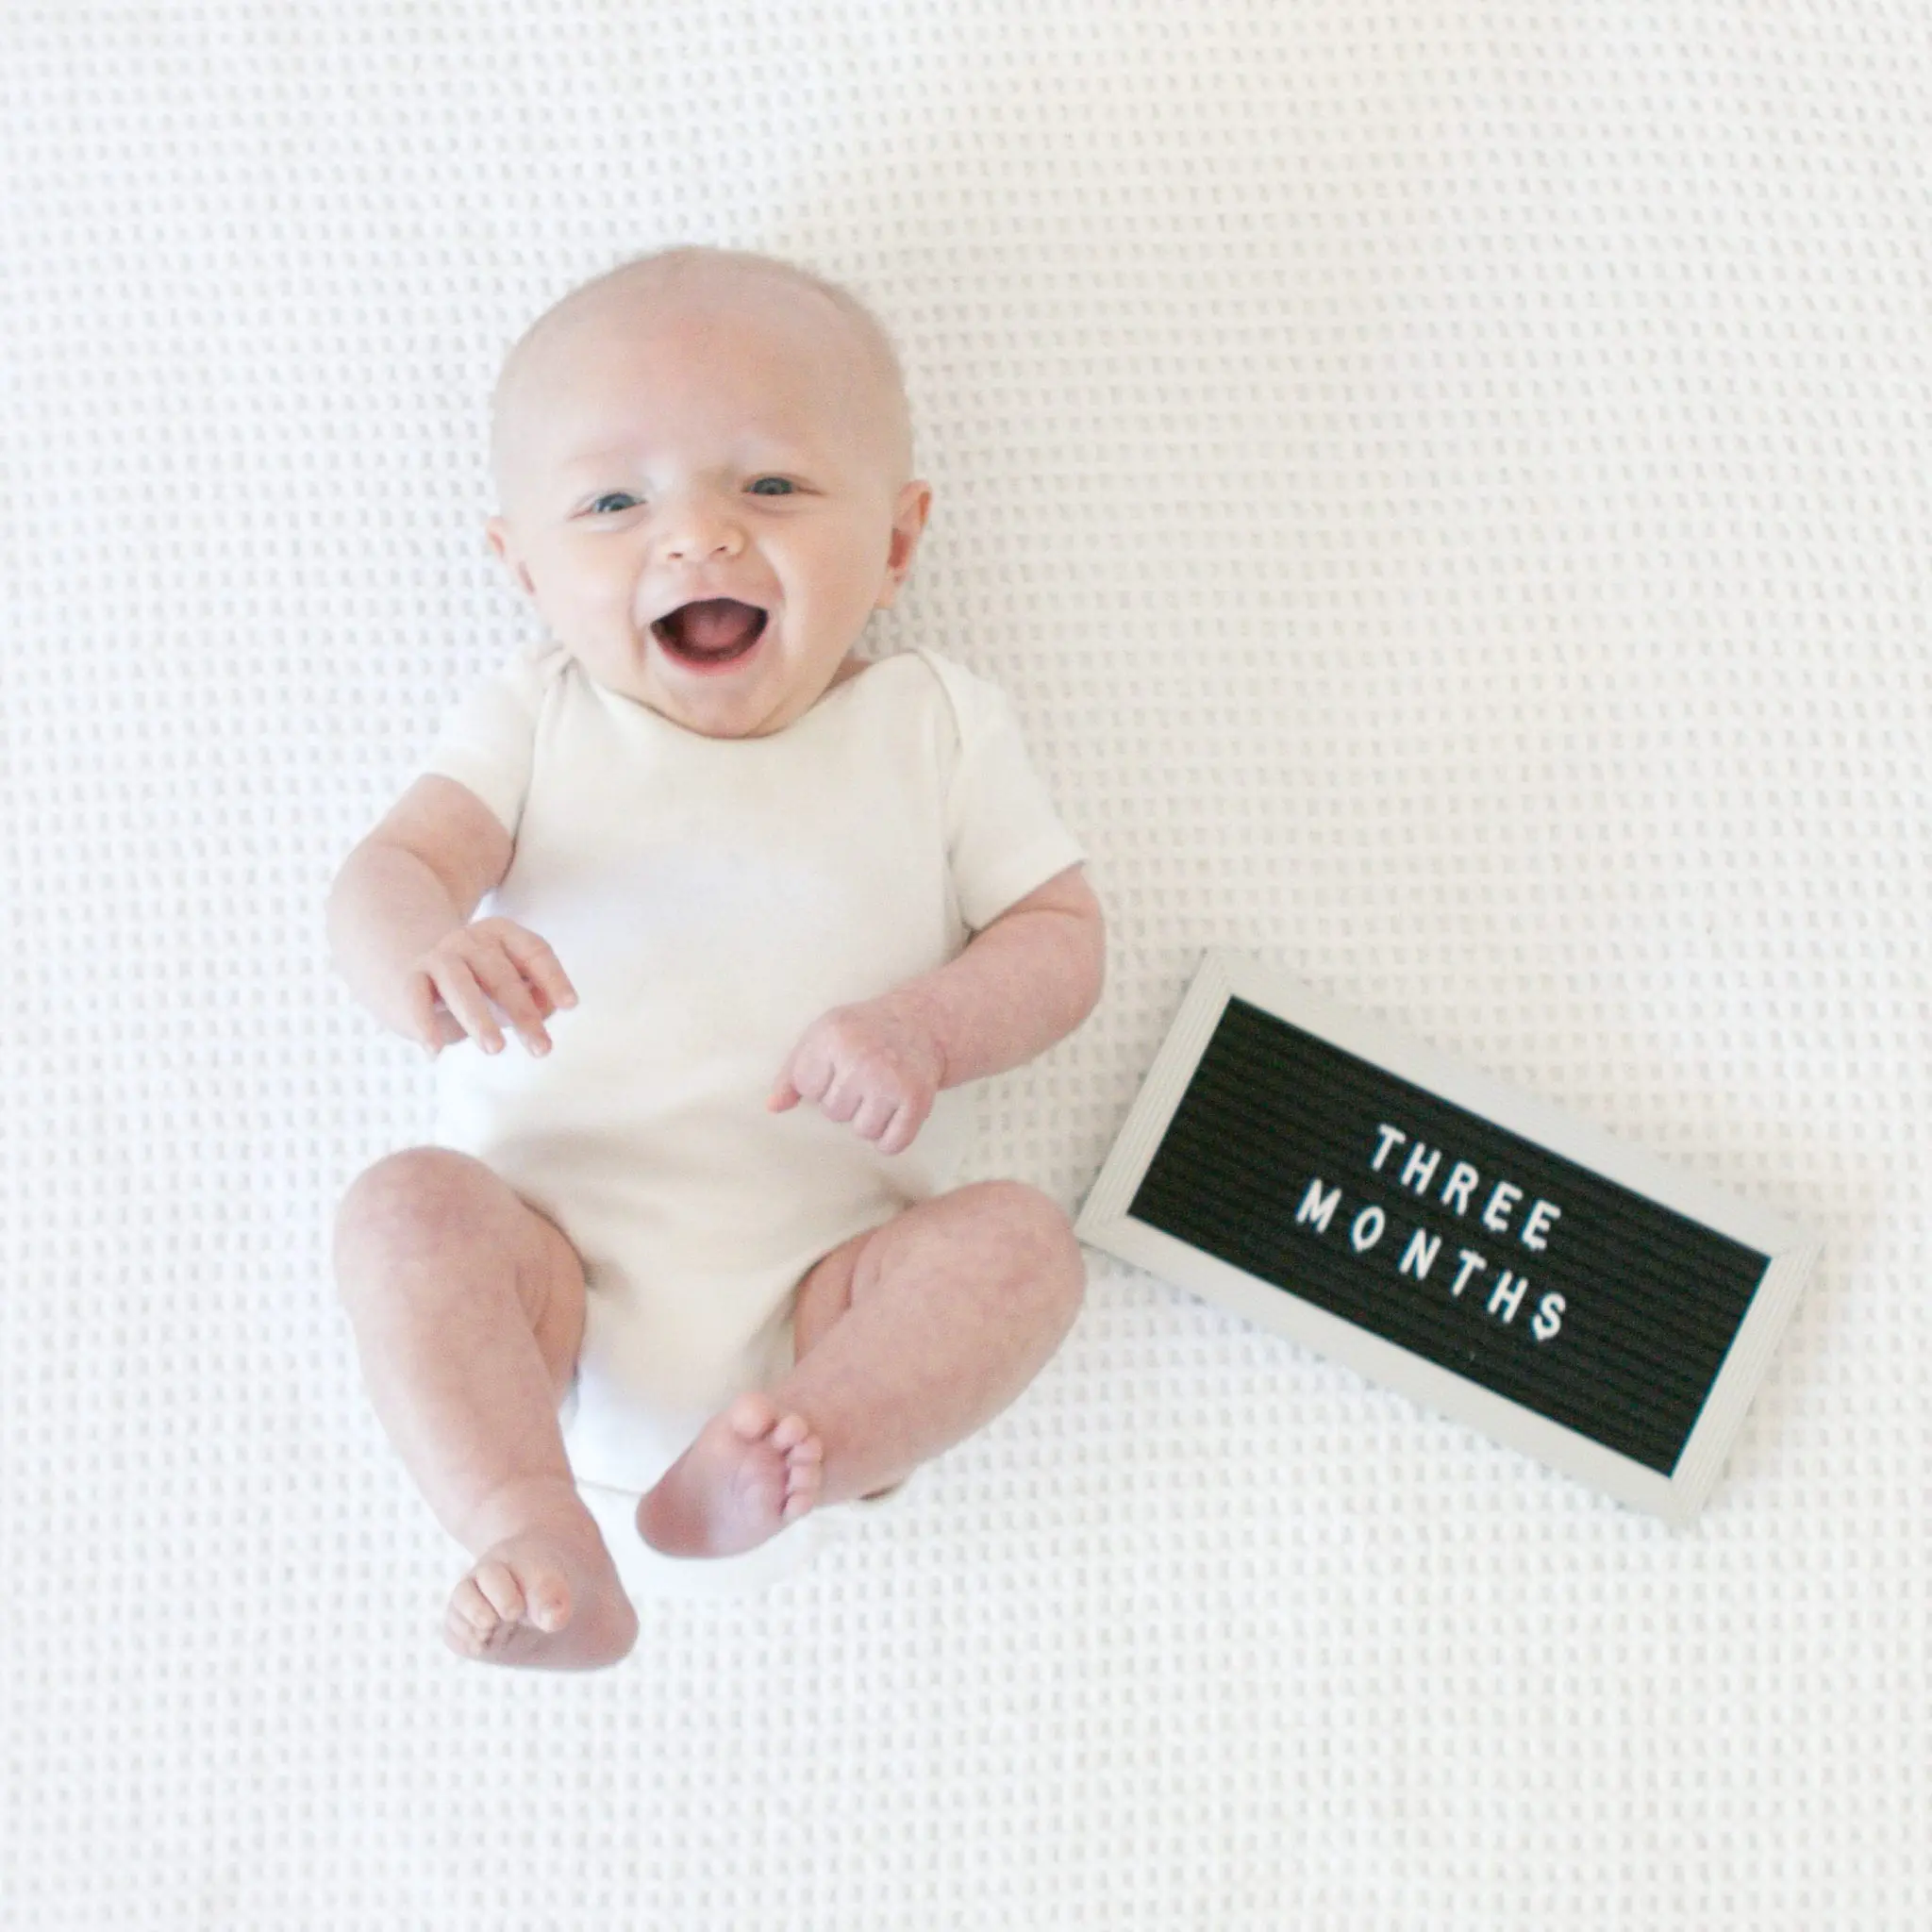
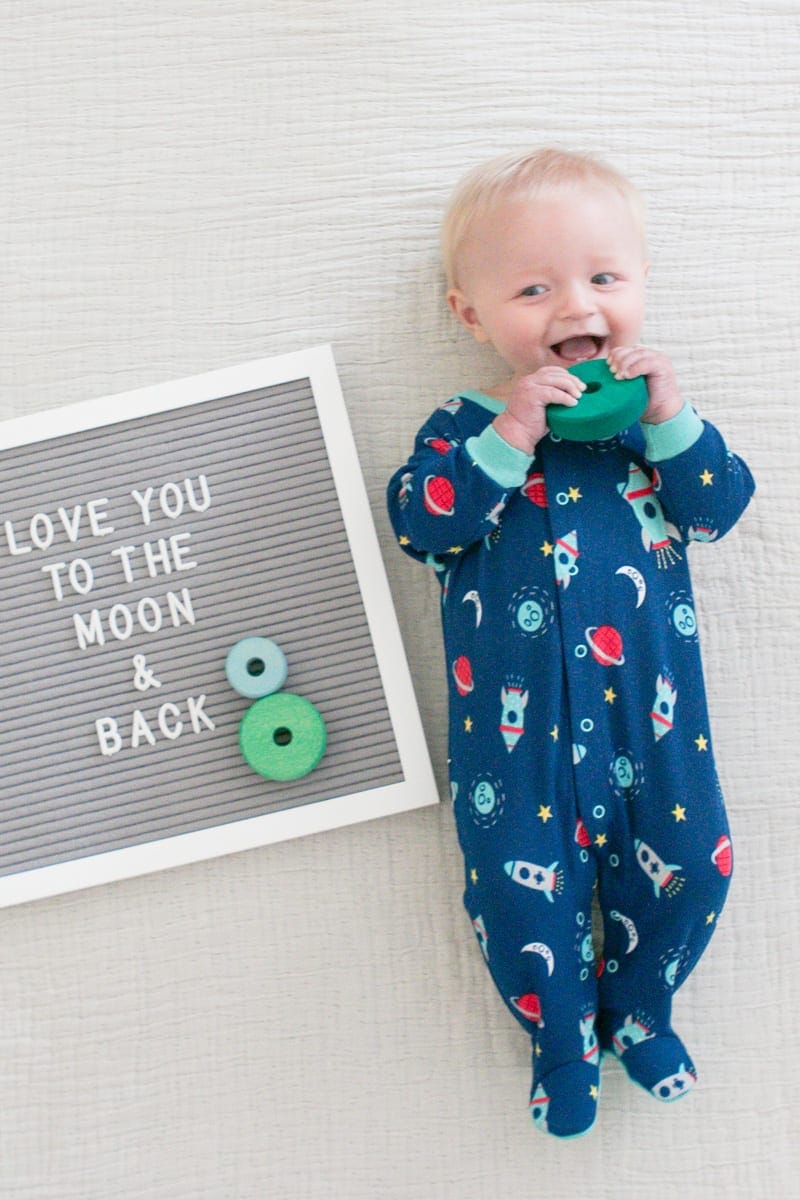
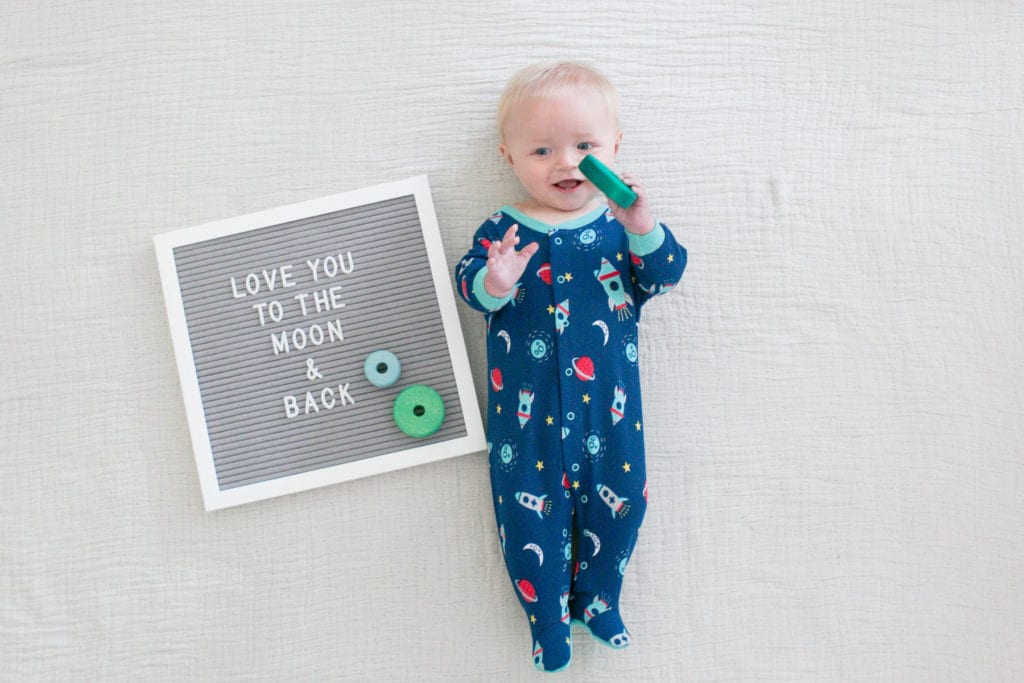
One of my go-to props for baby photos is a letterboard. I found this gray one at Marshall’s for $19 and love that I can use it in photos, but also display it in Ben’s room (or any room of the house).
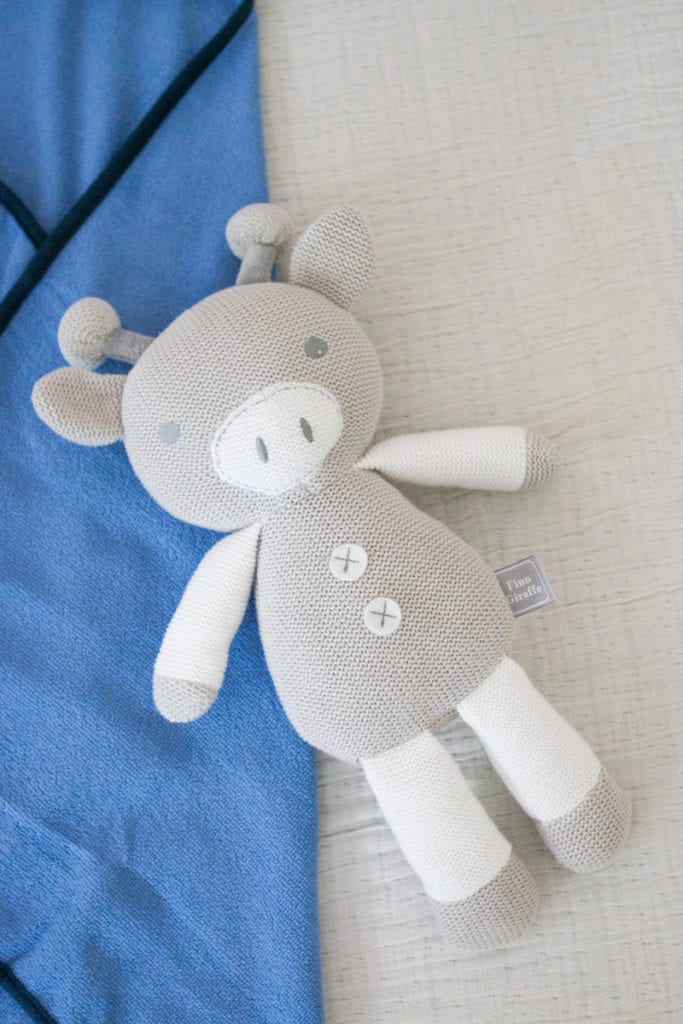
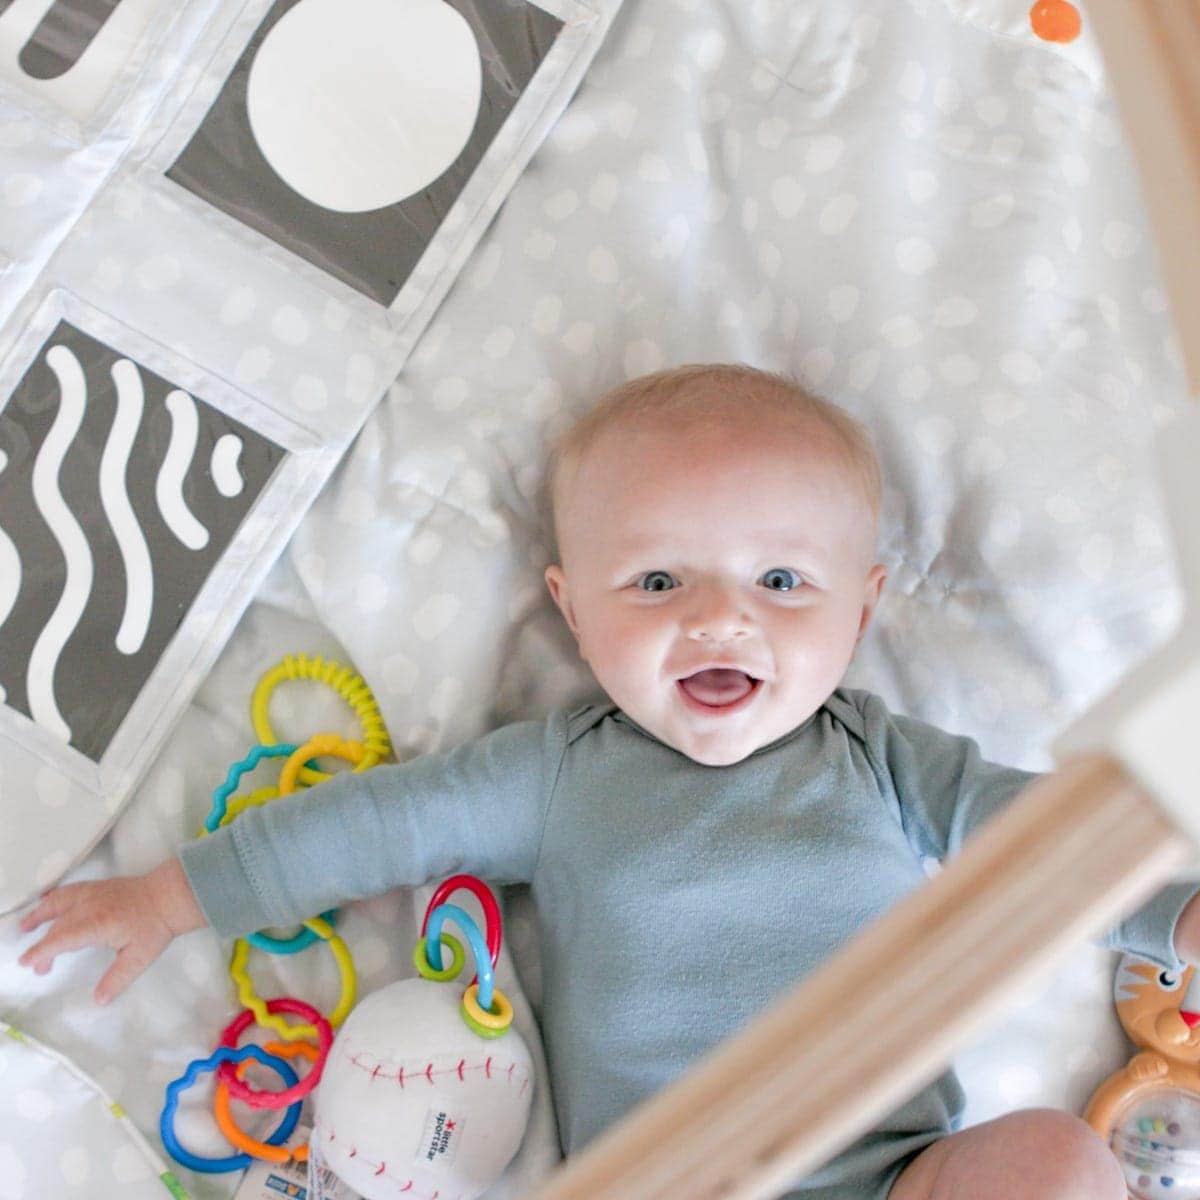
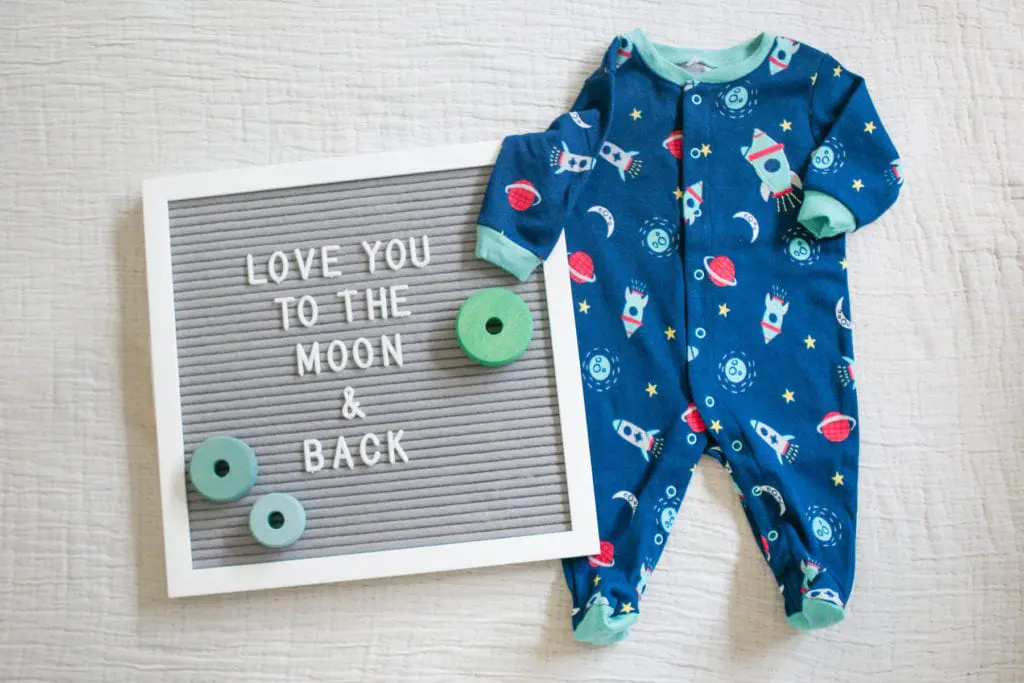
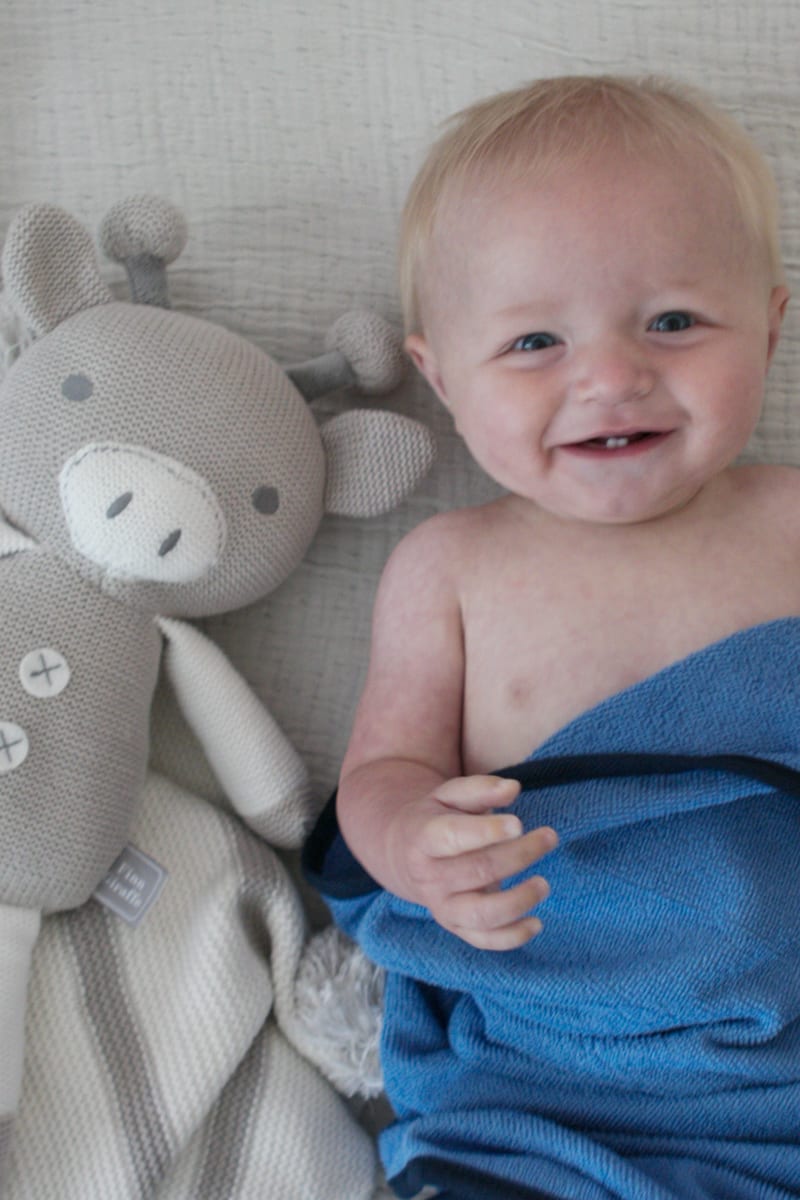
I also scooped up a few other fun baby-approved props for the photos from Marshalls. I love going there for props because the items are always unique AND available at great prices. I picked up a 3-pack sports ball pack that came with a mini football, soccer ball, and basketball. They were a great addition to the photos, and Ben loves playing with them! I had a hard time deciding what toys to purchase because there was such a wide variety. I also found this cute, soft stuffed animal for under ten bucks. Plus, its name was “Finn” so I had to get it, right?!
Regardless of what prop(s) you choose to use, make sure it’s ready before baby is ready!
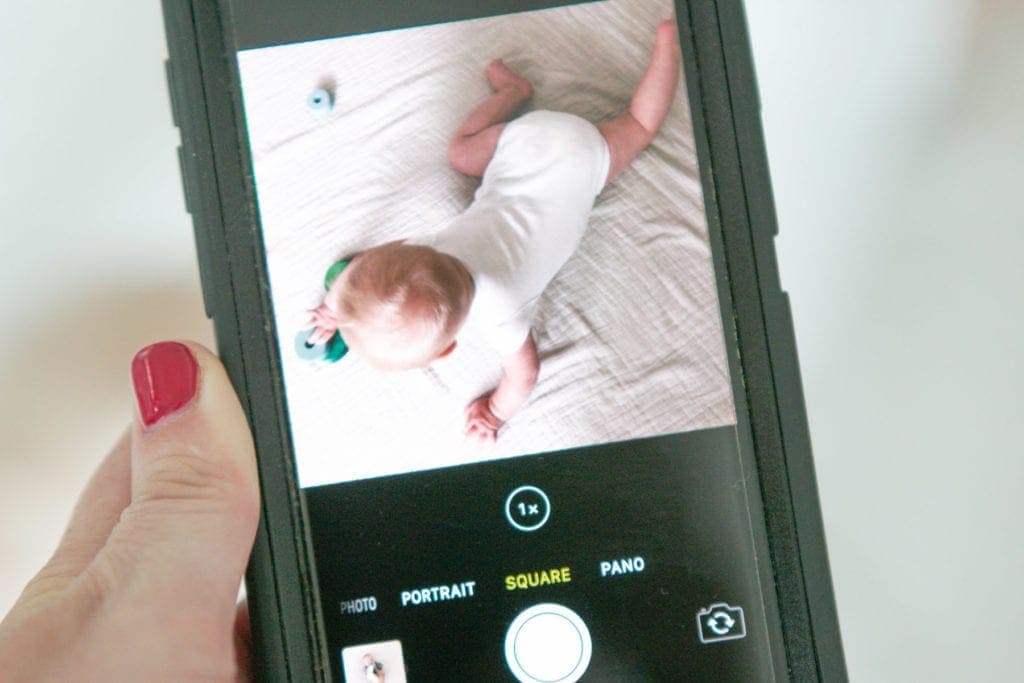
4. Get Camera Ready, Take Practice Shots!
This is the last step I do to prepare the “scene” before Ben wakes up, which takes about a minute. I usually take a few practice shots without Ben in the photo, especially if I’m using my DSLR. But even when I’m using my phone, I’ll snap a few photos of the scene (including the outfit) to ensure the colors work, the patterns play well together, and the lighting is good.
 And if you’re in a room with lots of natural light but the photos still aren’t bright enough, don’t worry! Step #8 addresses these concerns!
5. Get Baby Dressed & Happy
What I’ve learned over the past six months of taking photos of Ben is to NEVER force it. If Ben is hungry or crabby, trying to force the perfect photo is only going to make both of us aggravated. My best piece of advice is to wait until baby is happy and ready before you start.
 And lucky for you, all of the prep work is done. So whenever your little one is ready, you can get to work.
I usually opt to take photos of Ben right when he wakes up because he is the most smiley then. Once he wakes up, I put his outfit on and it’s go time!


And since busy moms can appreciate one-stop-shopping for anything, I picked up these adorable, name brand baby outfits for Ben while I was at Marshalls. I always find some from my favorite brands at less than I was expecting, which is key since Ben grows out of them so fast! The gingham shirt and khakis fit well and would be a great outfit for running errands or a family dinner. I also love how cozy and soft the onesie is, and the space design is fun! If you stop there for the blanket, you can get the props and the baby clothes too. Plus, you’ll probably be able to find name-brand items for a lot less. #winwin
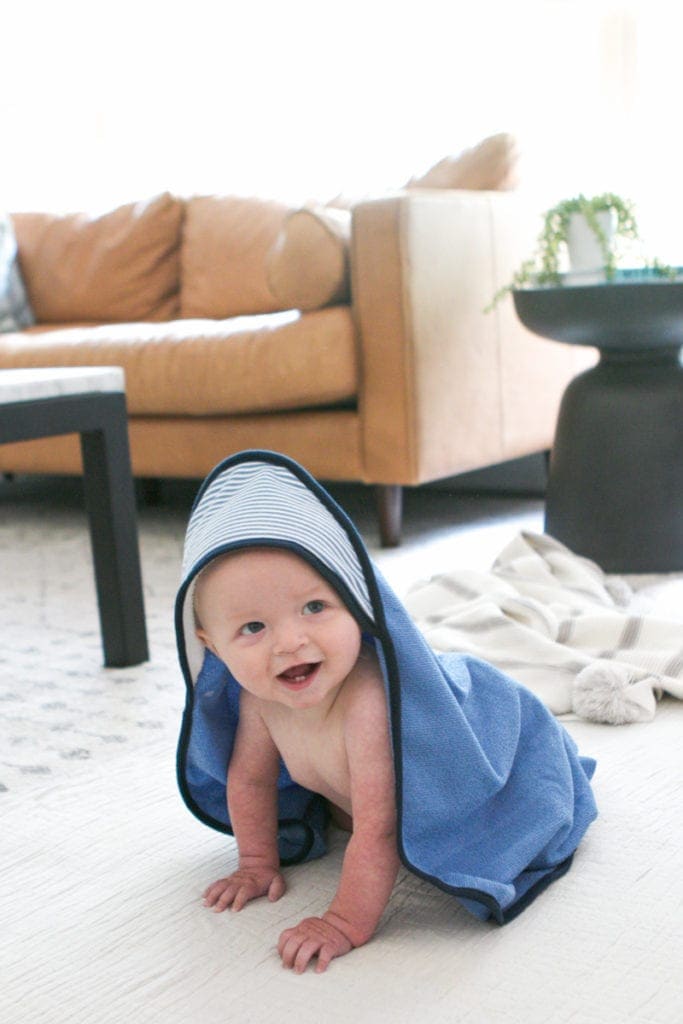
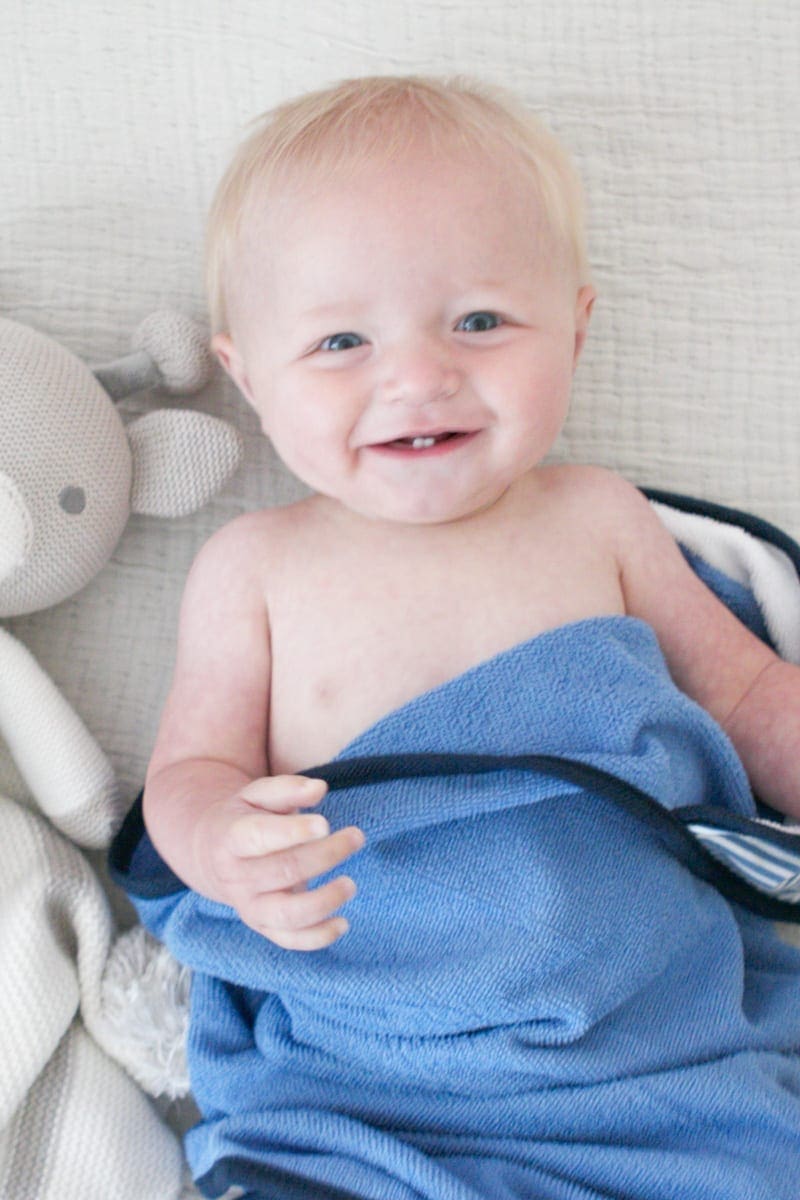
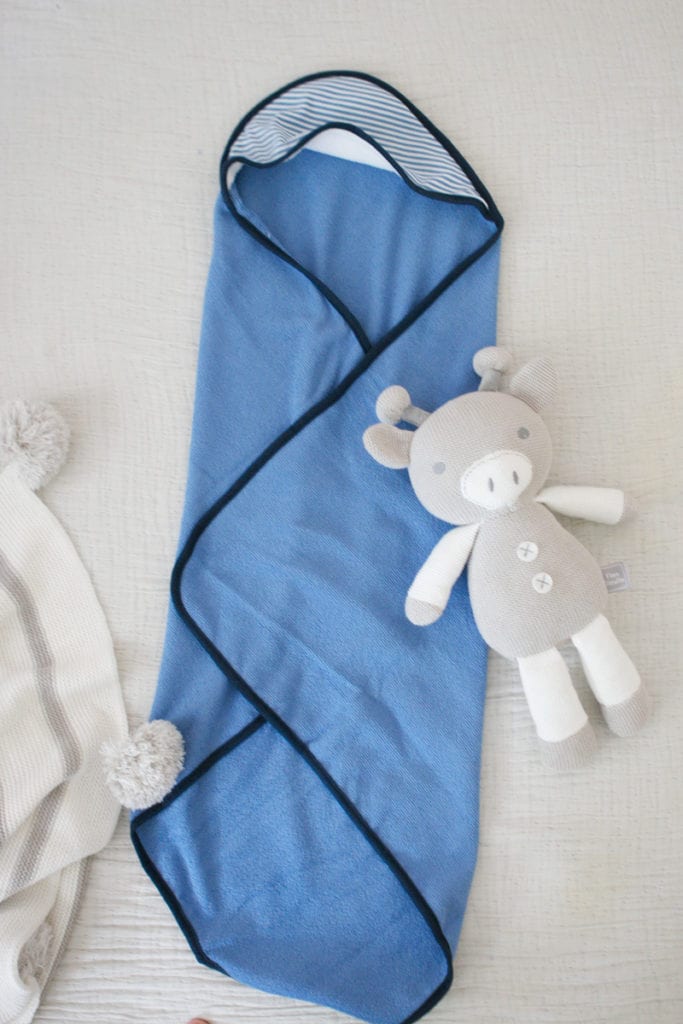
When I was shopping in store, I also picked up a few adorable hooded towels for a great price! They came in a pack of three, and there were a ton of options available in store. It was hard to decide which pack I liked most!
6. Step Stool
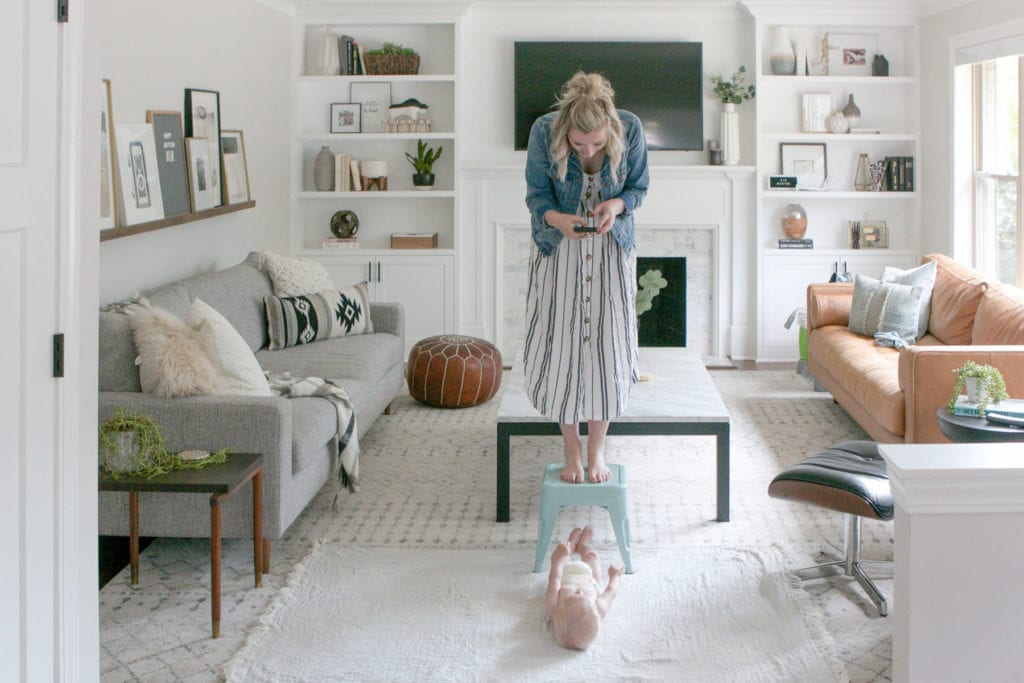
It’s showtime! I typically lay Ben on the blanket with the items that are already set-up and then tighten the blanket around him so there are minimal wrinkles. Sometimes if I want a really wide shot, I’ll step up on a step stool for additional height. Or if I use the portrait mode function on my iPhone. But when I don’t need a super wide shot, I prefer to just stand over him.
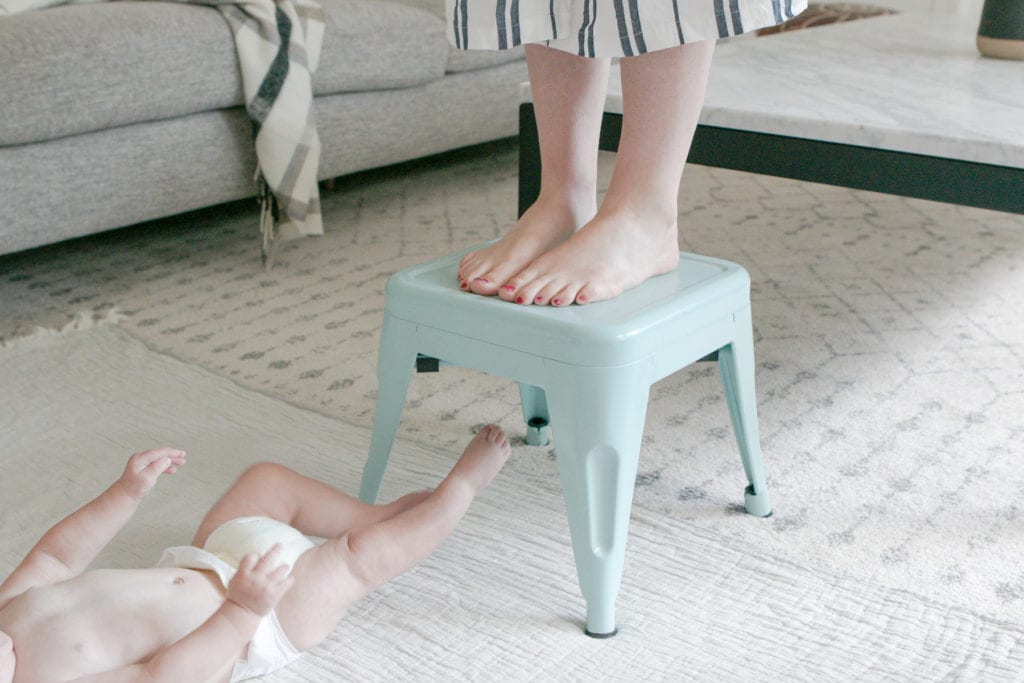 I usually use this stool from Ben’s play area for most of the photos. I scored it at Marshalls a few months ago. I love how versatile it’s been since we bought it, and it was an amazing price. Every time I use it for random household chores I think to myself, “what did we do without this?!”
7. Snap Away!
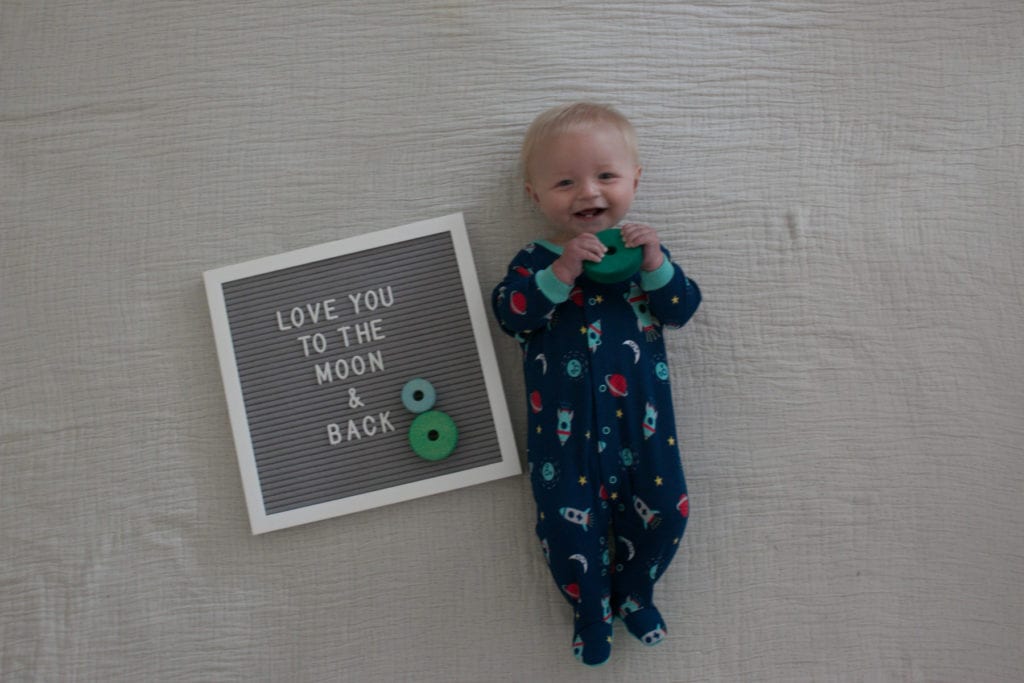
Since I choose to snap photos of Ben when he’s in a good mood, I usually have a lot of luck in making him smile/laugh. I coordinate between playing with him and then snapping some photos. My advice would be to SNAP as many pictures as you can because many times the “imperfect” faces turn out to be my favorite ones. Note: if your photos aren’t as bright and Pinterest-worthy as you had hoped, that’s very normal.
Especially if you’re using your iPhone, don’t worry! Just be sure you’re shooting in bright, natural light with no lights on. Step #8 will bring that photo to the next level… and hopefully, have you extra impressed with your own DIY photo skills.
8. Edit On Your Phone
This step is the one that will bring your photos from great to GORGEOUS. Here’s an example:
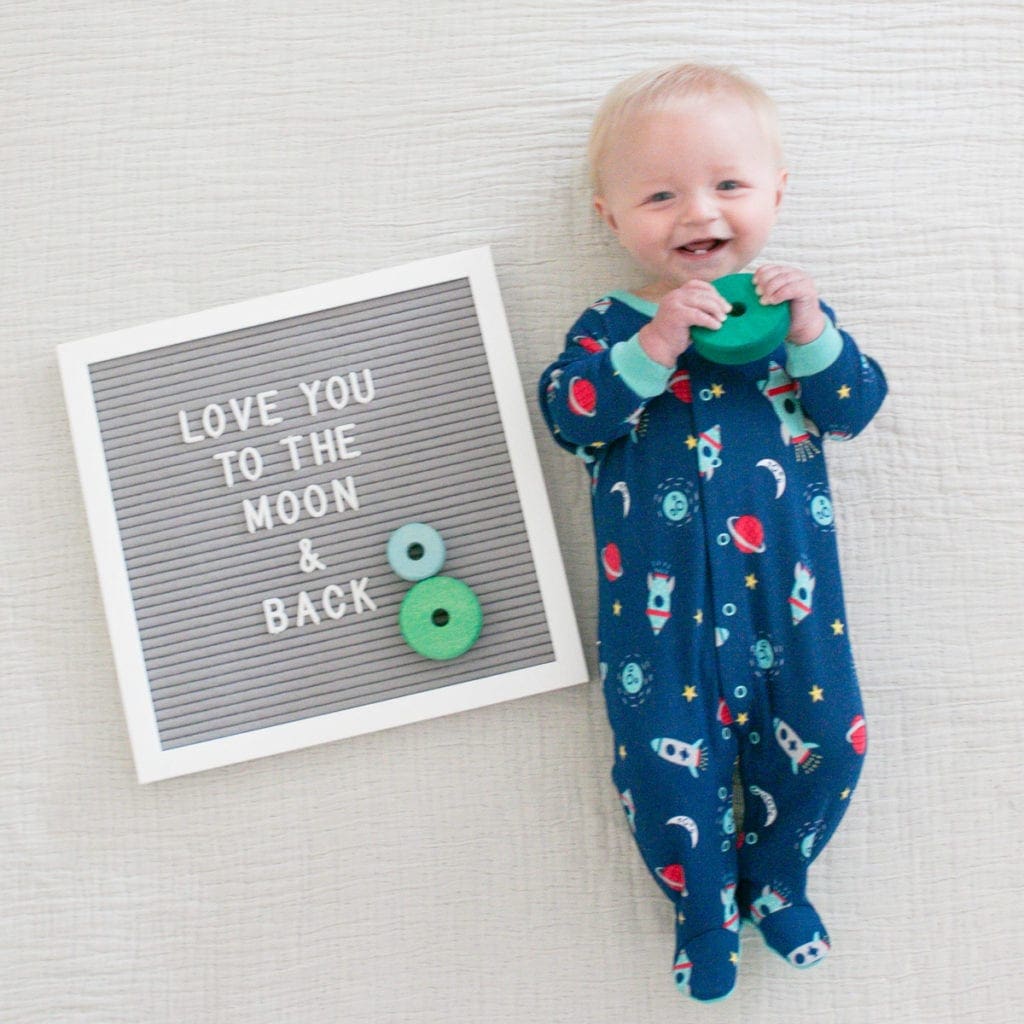 My photo was fine before, but with a little extra TLC, it’s SO. MUCH. BETTER! There are lots of great photo apps out there to easily edit your photos. I usually bump up the exposure, brightness, curve, contrast and then sharpen the photo a tad. If you want, Casey and I would be more than happy to write a more detailed post on this, but for now, my best advice to you would be to play around with different photo editing apps and find the style that you love!
Such a difference, right?!
You Can Do This
I promise that these 8 steps will help you take better baby photos without a ton of time, money, or effort. Honestly, all of these steps take me about 15 minutes… including editing (tops!). And the best part is that ANYONE can do this. You don’t need a fancy camera to get the most out of the photos you’re taking! A camera phone, a little creativity, some items from Marshalls, and these 8 steps and I promise you’ll be taking better baby photos in no time!
If you’re interested in taking your photography game to the next level, check out some of these posts we’ve written…
- Our Favorite Photography Equipment
- How We Edit Photos in Lightroom
- Tips for Better Blog Photos
- Newborn Photography Tips – Part 1
- Newborn Photography Tips – Part 2
- 1st Birthday – Smash Cake Photo Tips
Bridget
P.S. Marshalls has so many adorable baby items in store, which reminds me…. is it too early to start buying Christmas gifts?! #guilty