How To Add Board And Batten To A Small Bathroom
Last time I checked in, we finally made progress by adding tile into the half-bathroom that has been demoed since October!! Today I’m back with (drumroll please)… MORE PROGRESS!
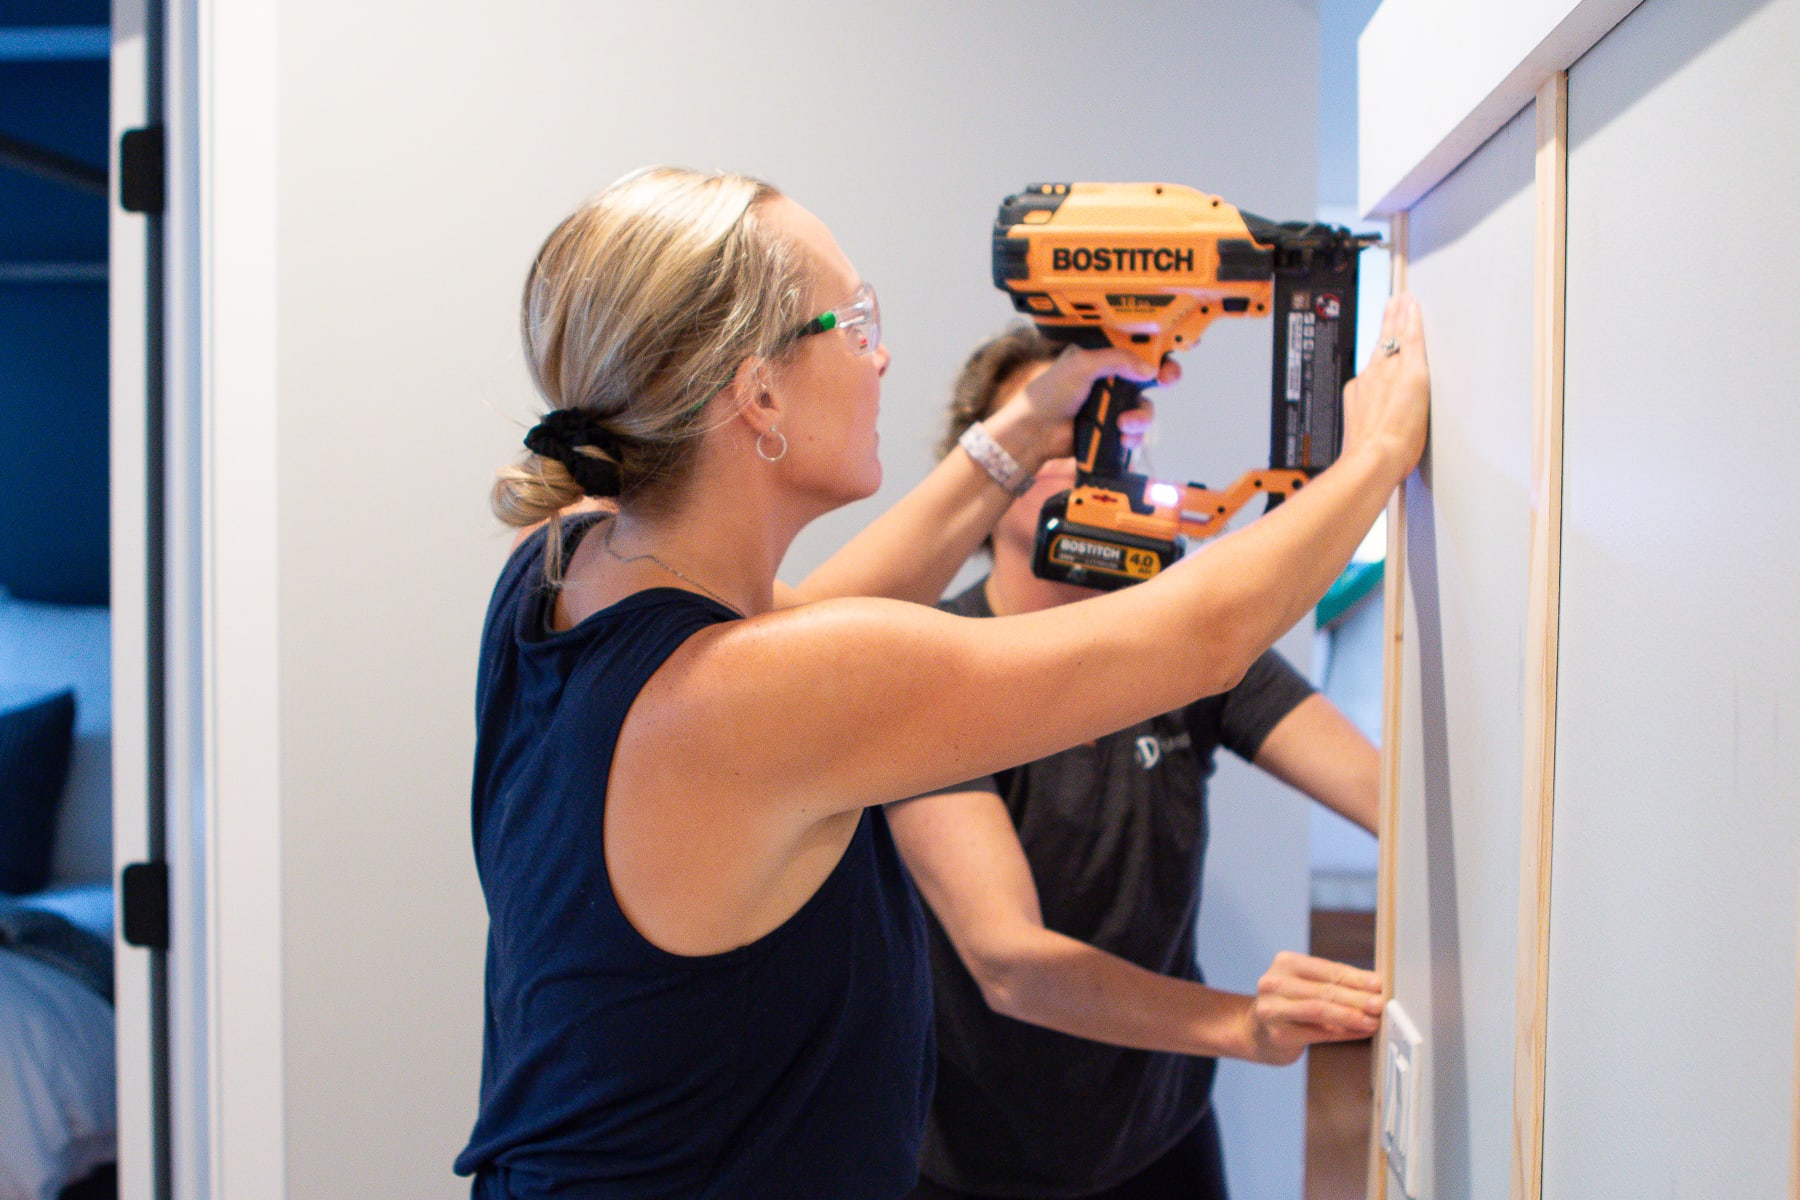
My dad and I teamed up on Saturday to add board and batten in the bathroom and I’m loving the direction this small space is heading. I love the look of batten wall treatments and knew a modern take would be perfect in this powder room.
Board & Batten In The Bathroom
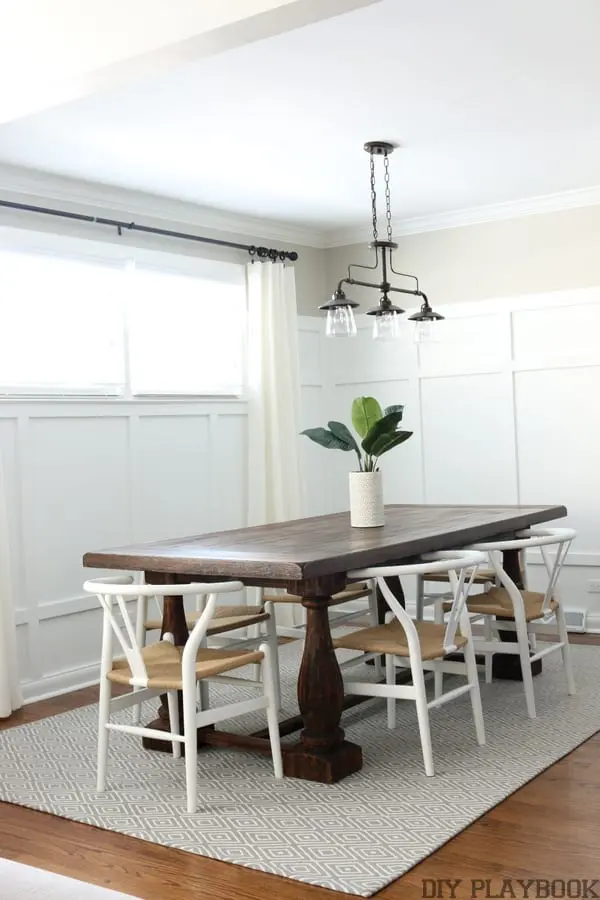
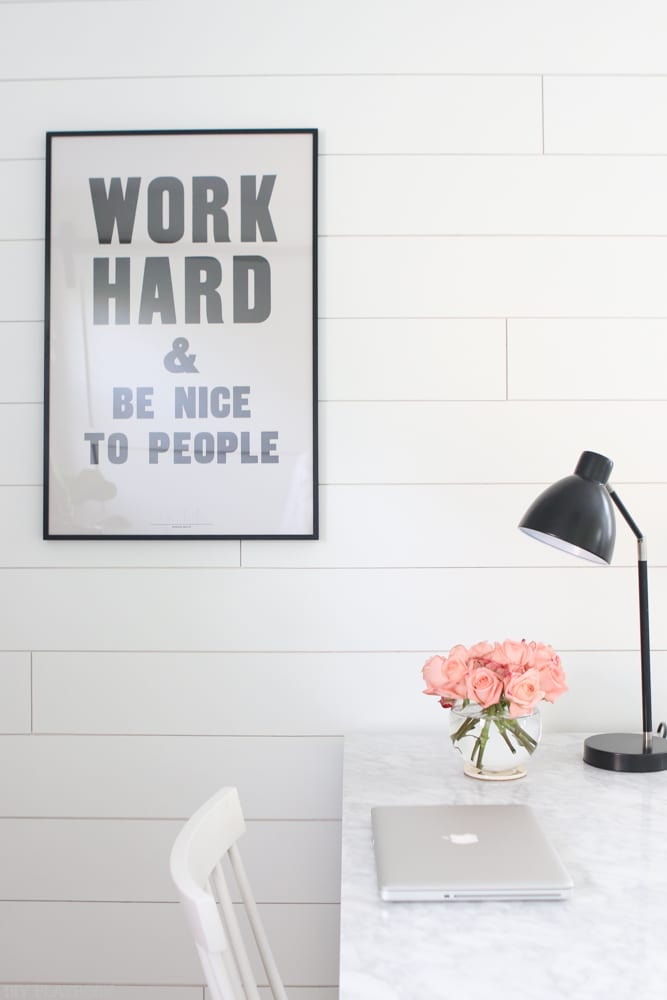
We’ve tackled plenty of wood wall treatments here on the DIY Playbook (like this entryway, this hallway, this guest room focal wall, and this bathroom). I can say with certainty that I love every single one of them… even to this day! It’s a great option for just about any space, especially small bathrooms.

Here’s a full step-by-step tutorial for adding a DIY board and batten to a hallway with hooks.
I love how all of these projects turned out. Adding a bit of wood trim to any space is an easy way to do something a little different without making a huge investment. It’s a chance to add texture, visual interest, detail, and a bit of contrast. I knew this boring half bath could benefit from all of those things with a bit of trim work!
Bathroom Board & Batten – Supplies
Here’s everything you’ll need to grab for this board and batten project. Yes, there are a few power tools on the supply list. If your space is as small as mine, this will be a fast project and won’t take much time!
- Top Board: 5 1/2″ Wide & 1/2″ thickness
- Thin Lattice Strips
- Safety Gear
- Tape Measure
- Spirit Level
- Power Drill & Bits
- Miter Saw & Stand
- Cordless Shop Vac
- Protractor
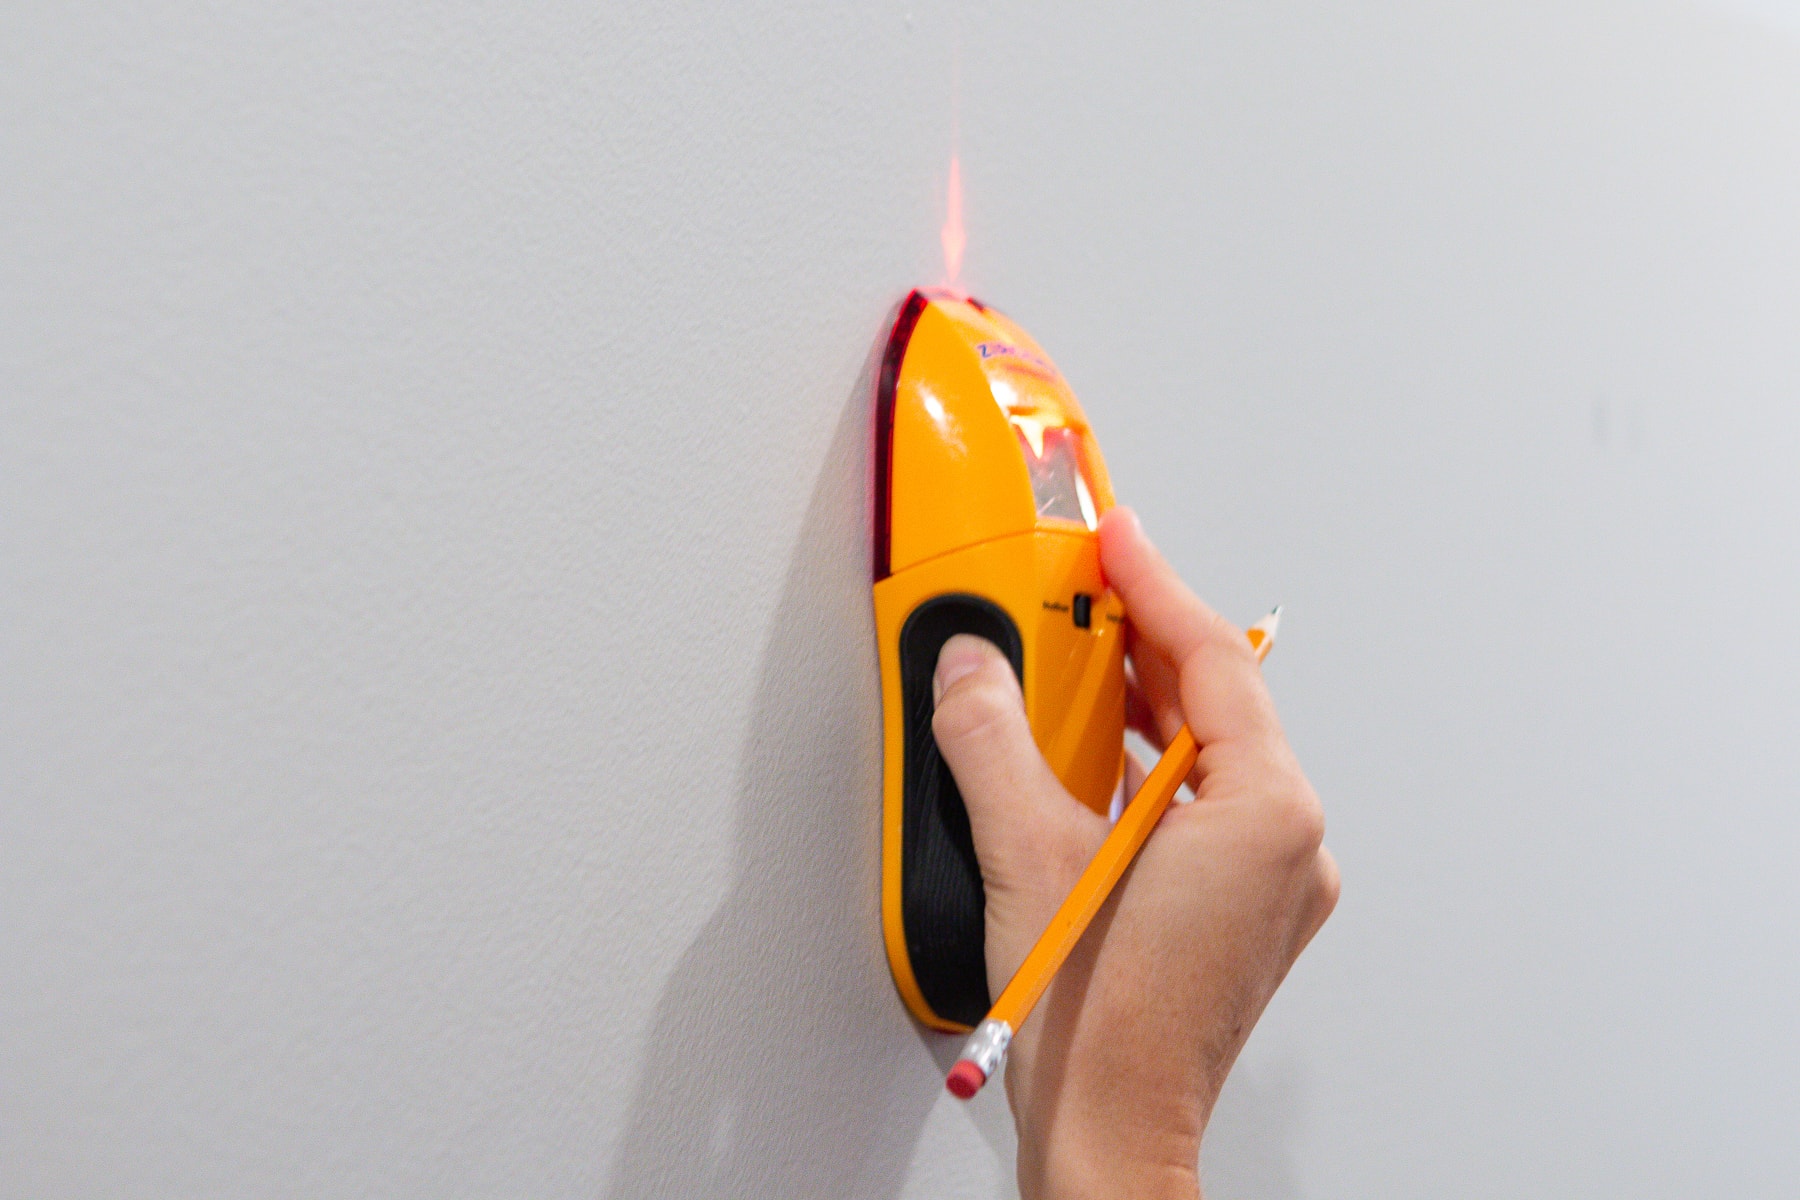
- Stud Finder
- Paintable Caulk (white)
- Liquid Nails
- Brad Nailer Nail Gun
- Brad Nails (I went with 2″)
- Caulk Gun
- Primer
- Painter’s Putty
- Paint
- Purdy Paint Brush
- Paint Roller & Tray
- Pelican Paint Pail & Liner
- Painter’s Tape
- Drop Cloths
- Speed Square
Board & Batten Tutorial, Step-By-Step
Since I already have a comprehensive post showcasing how to add a batten design to your walls, I’m going to point you to that blog post for the full step-by-step tutorial. It walks you through every single step of this easy DIY board and batten project.
Choosing Vertical Boards
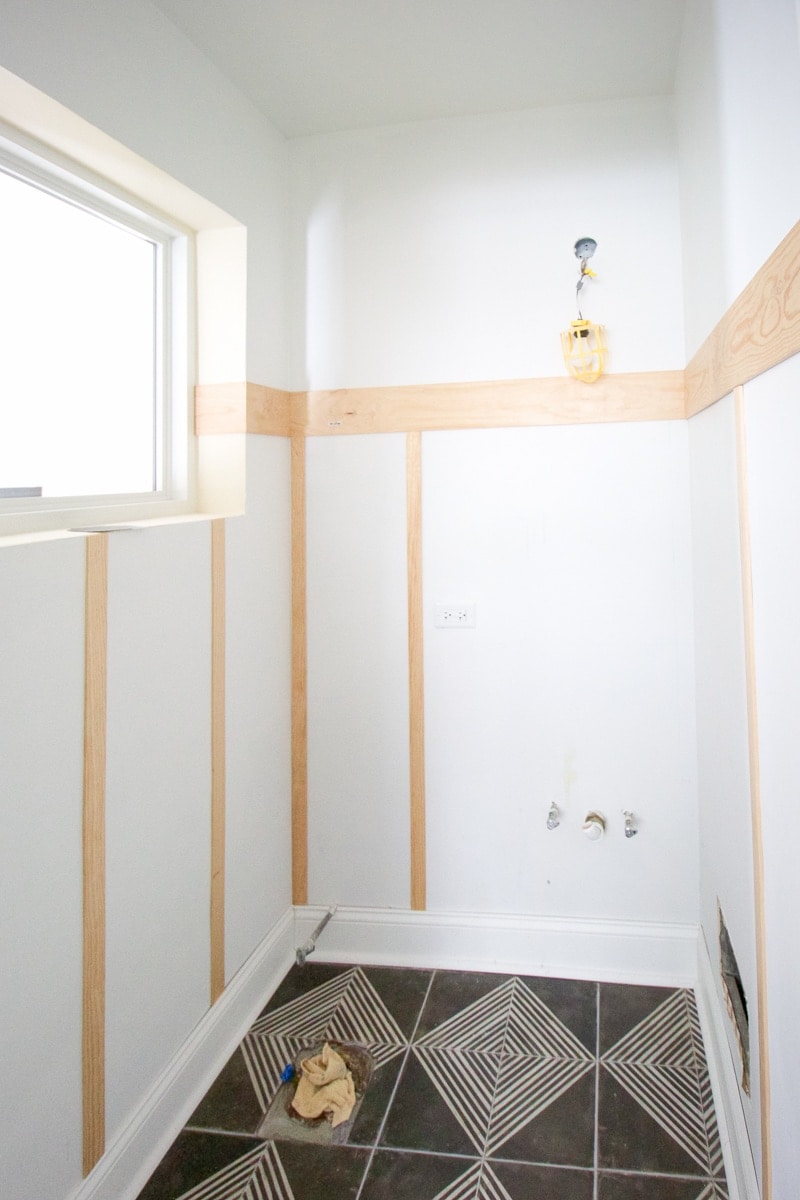
One thing I do want to point out is that I used these thin lattice strips for the vertical pieces. I was very intentional about choosing wood that was super thin (aka lattice strips) because there’s not much space in here. These specific strips were from Lowe’s and are 1.5″ wide and less than a 1/2″ thick. For the top piece, I went with lattice molding that is 5 1/2 inches wide and 1/2″ thick on the bathroom walls.
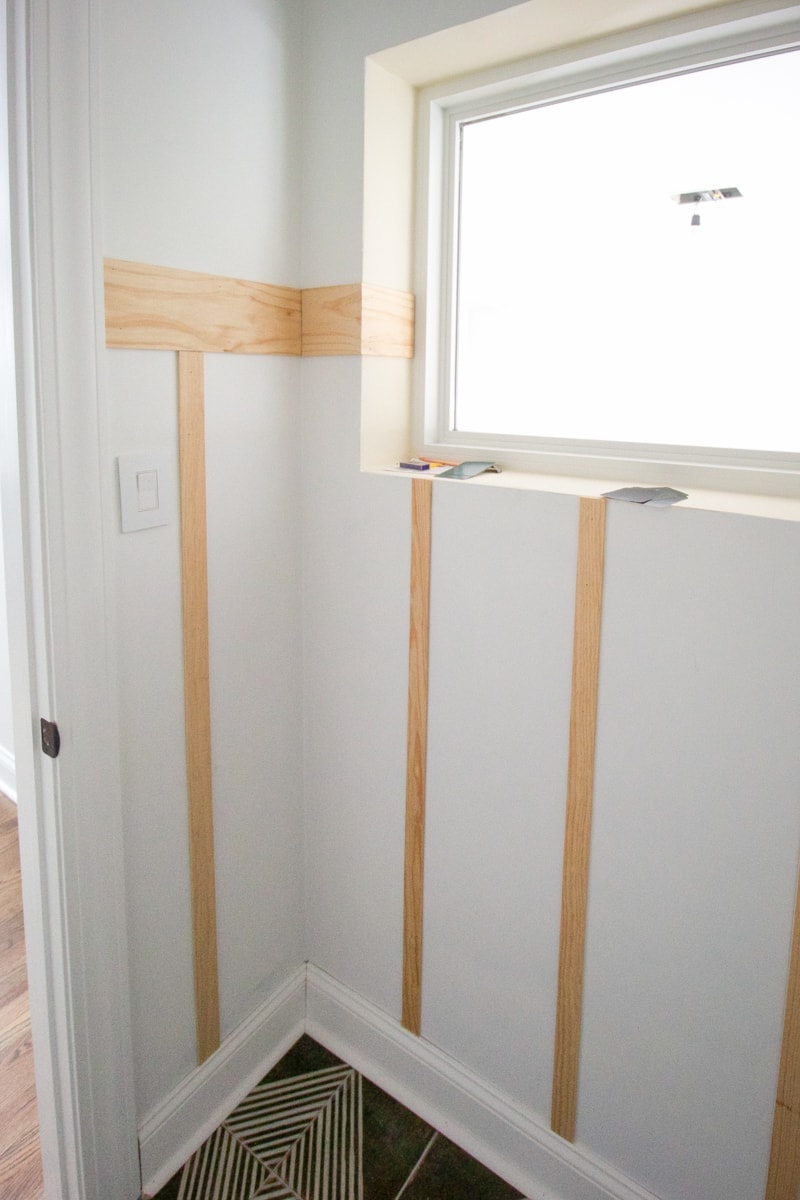
Choosing A Thin Horizontal Piece For The Top Ledge
I also didn’t want to choose a traditional 2×4 horizontal board because wood (or primed MDF board) protruding off the wall too much would have swallowed up valuable space in this bathroom (making it feel even smaller). I was also nervous about the potential of running into problems when it came time to hang the mirror, mount the vanity, or put the toilet back in place with such thick wood on the walls. Sticking with the super thin lattice allowed me to “get the look” without sacrificing space or function.
As for the placement, I went about 3/4 of the way up the wall leaving some drywall available for paint to the ceiling. We also placed the vertical lattice pieces right up to the bottom baseboard.
Missing Pieces

I realized during this project that even the thin lattice strips I chose are going to intrude on the vanity installation. So, I kept those off of the wall for now. I plan to install the vanity, sink, and faucet and then add the three remaining pieces around the vanity. This way the vanity can fit flush against the wall and the lattice strips can be added with a “custom fit” after the fact.
Not the ideal plan to keep things efficient, but I know it’ll be worth it in the end when everything fits perfectly.
Painting The Board & Batten
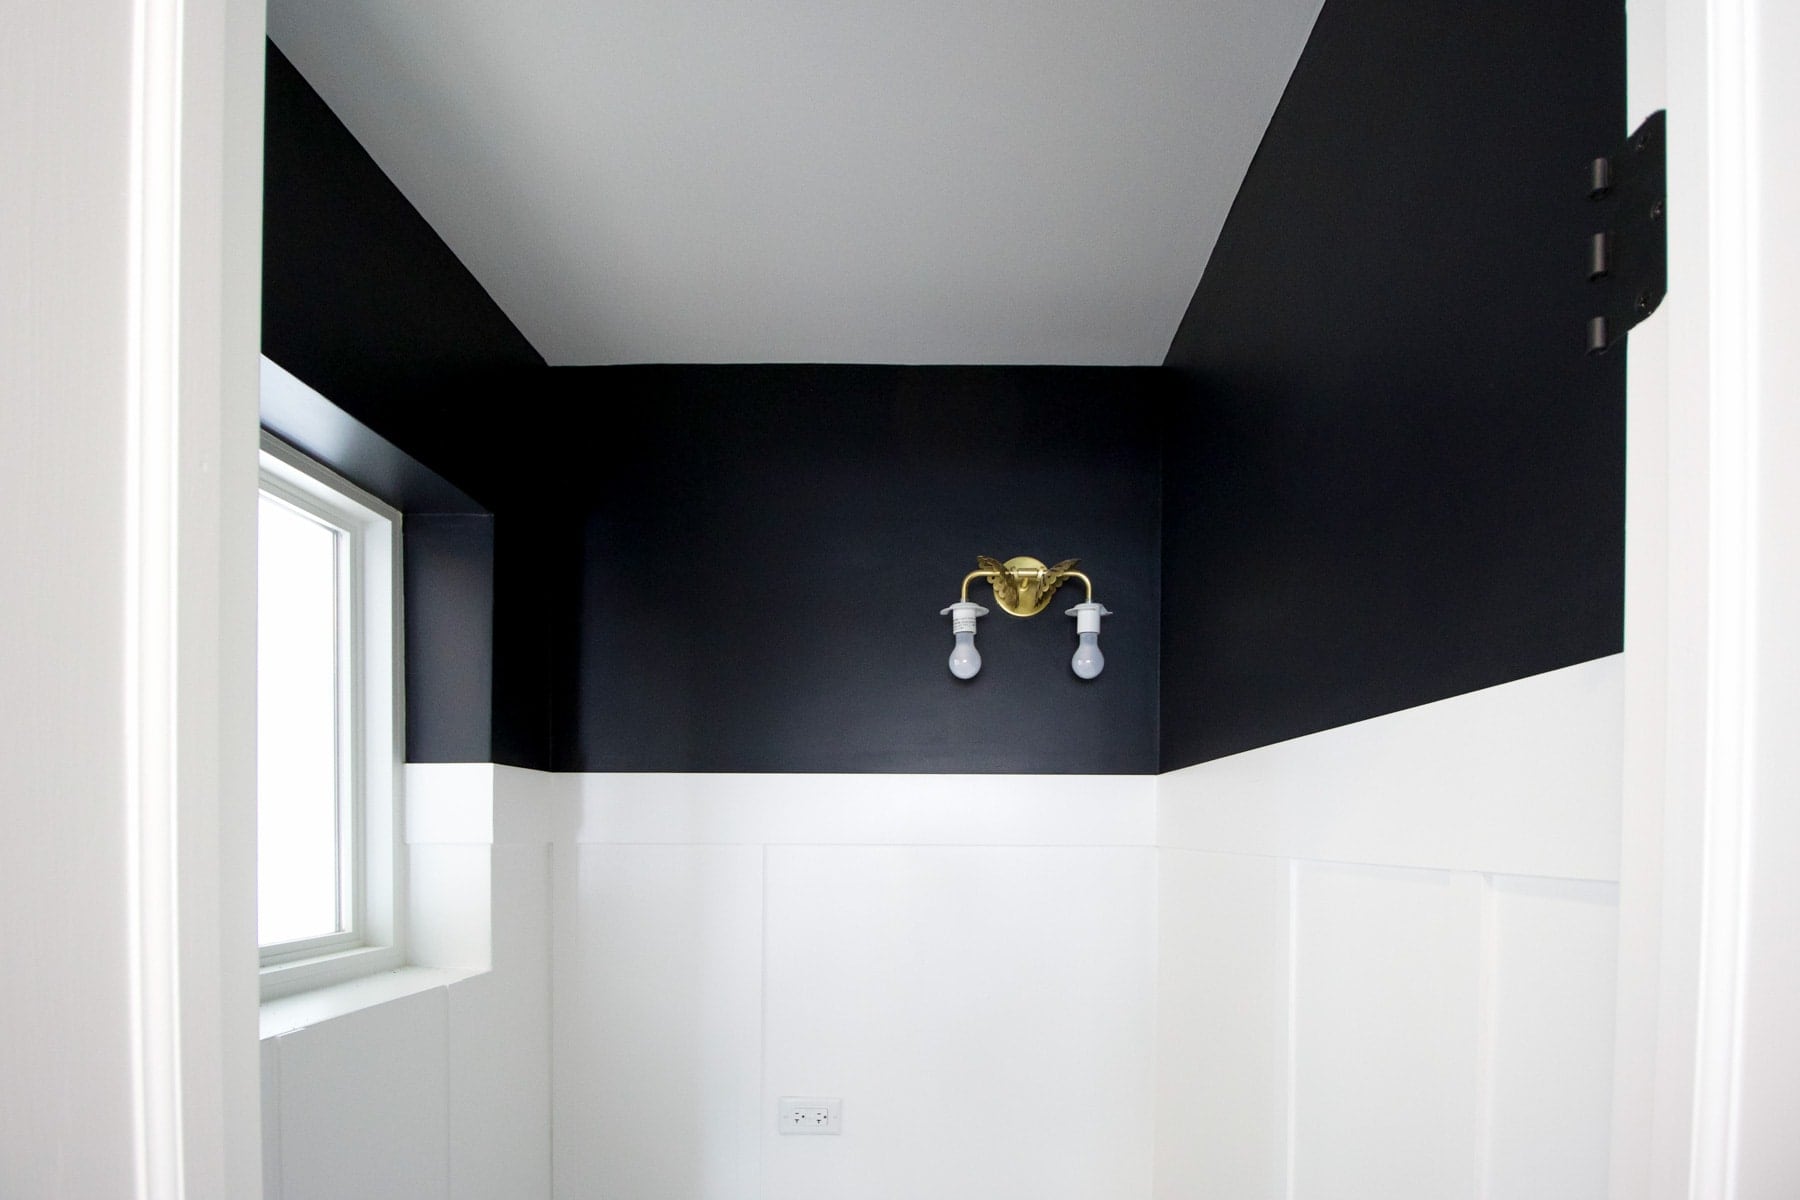
I ended up going with a black and white look for the space using Valspar’s “Perfect White” on the board and batten and Valspar’s “Dark Kettle Black” on the top drywall. You can read all about choosing the perfect black paint color for this small space right here.
I originally thought I would do wallpaper above the batten accent wall, but I’m happy that I went with the dark paint color because it gives it a much more modern look. Even without a ton of natural light, this space still feels bright and happy.
See The Space Now!

From the demo, to the tile, to the board and batten, the paint, and even the new plumbing fixtures, we DIY-ed every step of this 20-square-foot guest bathroom.
You can find the full reveal over and all of the before and after pictures in this blog post.
- Board & Batten Tutorial
- Floor Tiles : Overstock
- Tile Tutorial
- Paint Color: Valspar’s Dark Kettle Black
- Paint Tutorial
- Vanity: Wayfair (similar here)
- Light: Wayfair (similar here)
- Mirror: Target (similar here)
- Faucet: Lowe’s (more details on choosing a black faucet here)
- Soap Dispenser: Target (similar here)
- Faux Greenery: HomeGoods (similar here)
- Book: Amazon
- Black & White First Aid Box
- Toilet Paper Holder: Amazon

Need another wood wall treatment idea for your small powder room space? I added dark green beadboard to our basement bathroom and it’s perfection! Full tutorial right here.


