Board & Batten Hallway Progress
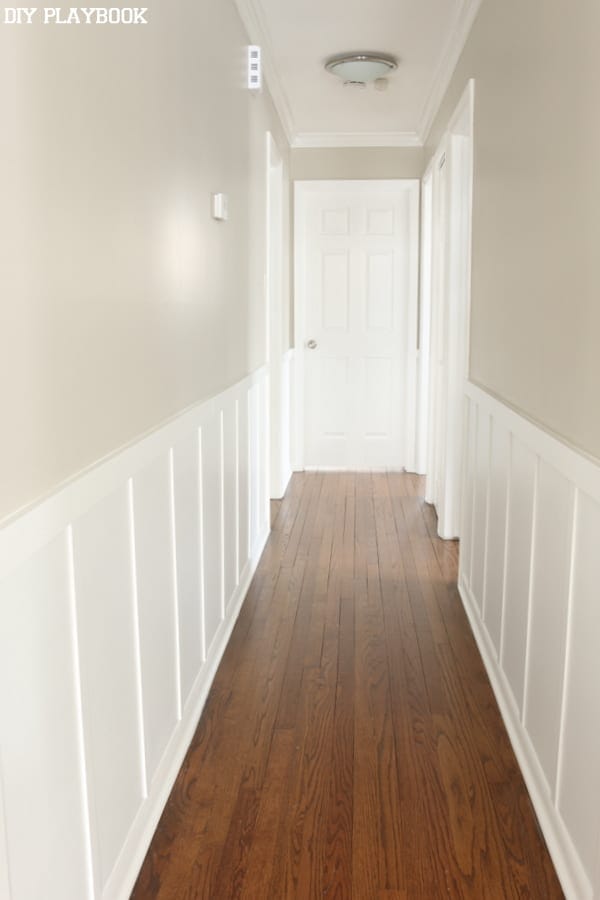
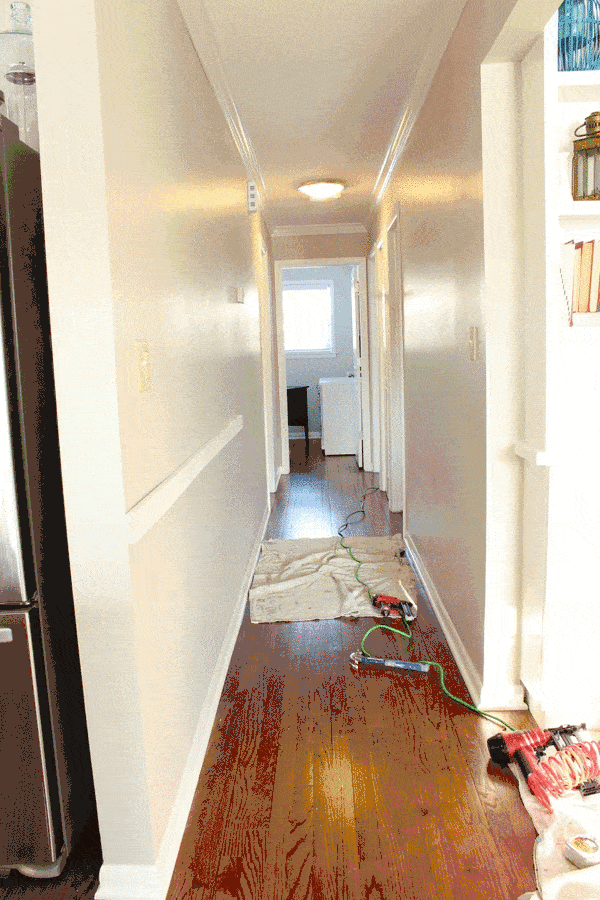
This just in: we have progress on our board and batten hallway (ya know that darn project that has been one year in the making?). Our hallway started out looking like this:
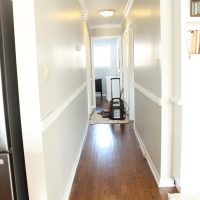
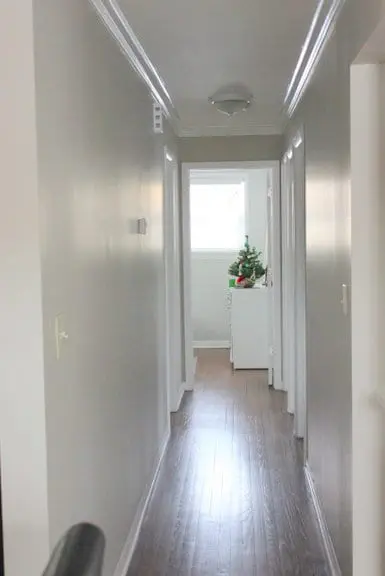 Now, it’s looking more like this (well technically it’s finished, but more details on that Thursday!):


Excuse the change in lighting, we started this DIY in the early morning and finished in the afternoon (lots of sunlight changes throughout that time). Here’s a step-by-step GIF of what we got done so far!!!!!!
 I’m in LOVE already and we haven’t even painted! I can’t wait to see the final product and actually was really surprised at how much easier this project was compared to what I expected.
I’m not going to re-invent the wheel by offering a step-by-step tutorial, especially since YoungHouseLove’s post and video tutorials are spot on! If you do plan on adding board and batten to a space in your home, I would highly recommend their comprehensive tutorial.  However, I will offer a few other tips I learned along the way:
1. Put all of your tools on a small drop cloth in your work area. As you move down the hallway, simply pull the drop cloth with you. This will save time and ensure you always have all of your tools following you along the way. (pencil, level, tape measure, nail gun, etc).
2. Cut a “spacer” out of wood. Forget having to measure the space in between each of the vertical wood pieces every single time. Simply cut a piece of wood to the size you wish to space each vertical piece and use that to identify where to hang your next piece. This will cut down on the amount of measuring, will save time, and will decrease your chances of making a measuring mistake! Our wood “spacer” was 14 inches long.
3. Purchase your wood at least 48 hours before you get to work and let it sit in your home to “acclimate”. This will allow the wood to adjust to its new environment (contract or expand) prior to hanging it on the wall.
4. Pencil Marks: You can mark right on the wall since you will be painting the board and batten after you hang it. Therefore, measurements, level lines, or a sketch of where you’ll place each board can be marked right on the wall!
5. Use WHITE painter’s putty to putty the nail holes. It’s important to use bright WHITE in order to match it to the soon-to-be primer and paint. If extra gooey putty gets on your hands, use a little baby powder to remove it without a mess!
* Other Random Facts:
– Existing Wall Paint Color: Benjamin Moore’s Revere Pewter
– Height: 36 inches
– Length in between vertical strips: 14 inches


Spoiler Alert: Like I mentioned yesterday, my amazing dad and I were able to get it done last weekend. So stay tuned… the reveal of our new and improved hallway is Thursday! And let’s just say I need to officially add “AMAZING GIFT FOR DAD ON FATHER’S DAY” to my to-do list. What would this rookie DIY-er do without him around?! #notmuch <– literally.
Bridget
PS. Come check out the REVEAL here! Here’s a teaser…