How to Demo Trim to Save Money
It’s been a while since I checked in with some house updates. I’m excited to bring you guys up to speed with what’s been going on lately (especially for those of you who aren’t following the live updates on InstaStories!).
DIY vs. Hiring Out
Like I mentioned in our first to-do list, a lot of the large-scale projects we decided to hire out because of the expertise (and time) required. These include installing can lights, laying the tile in the mudroom, refinishing the floors, and installing all of the new trim and doors. I don’t mind splurging on these professionals, but I’m also trying to do as much prep as we can ahead of the professionals to save them time… and me, money. For starters, this included demoing all of the trim, casings, doors, and door frames ourselves so we wouldn’t have to pay the carpenter for a job that we are capable of tackling.
YOU Can Do This… I Promise
Demoing trim is something that anyone can do, which is why this is a great option for just about any homeowner in order to save money on a project like ours.

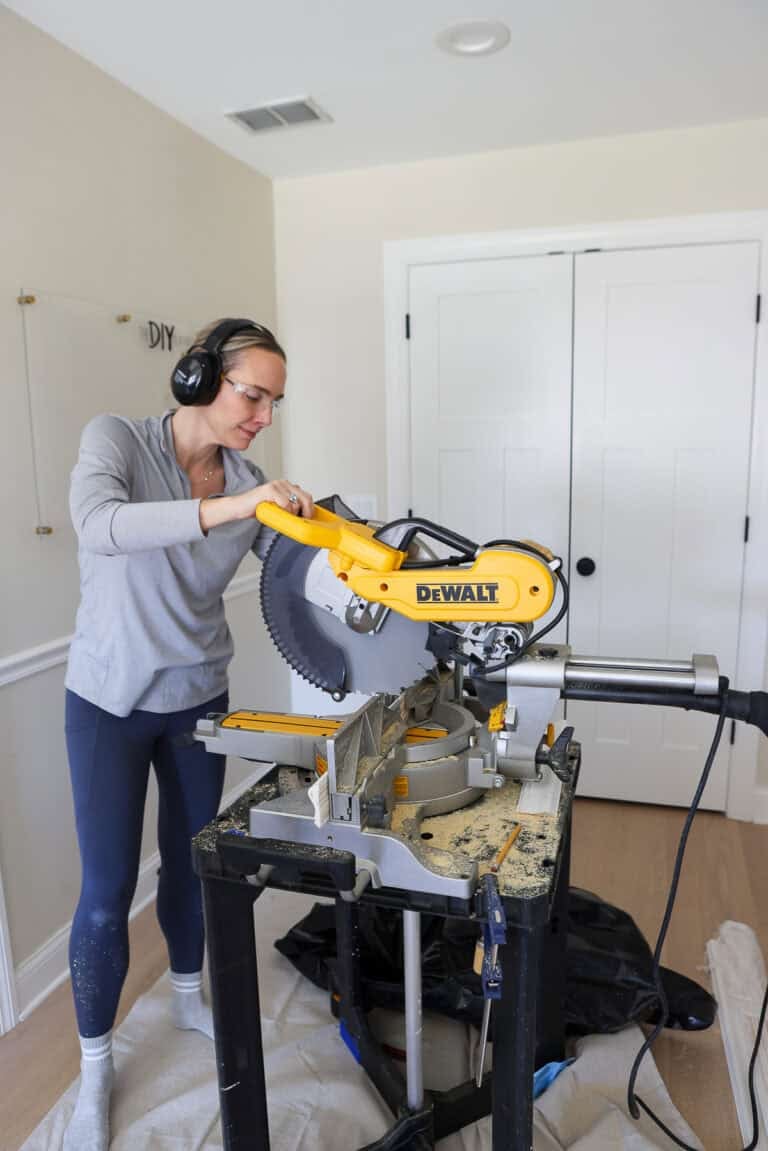
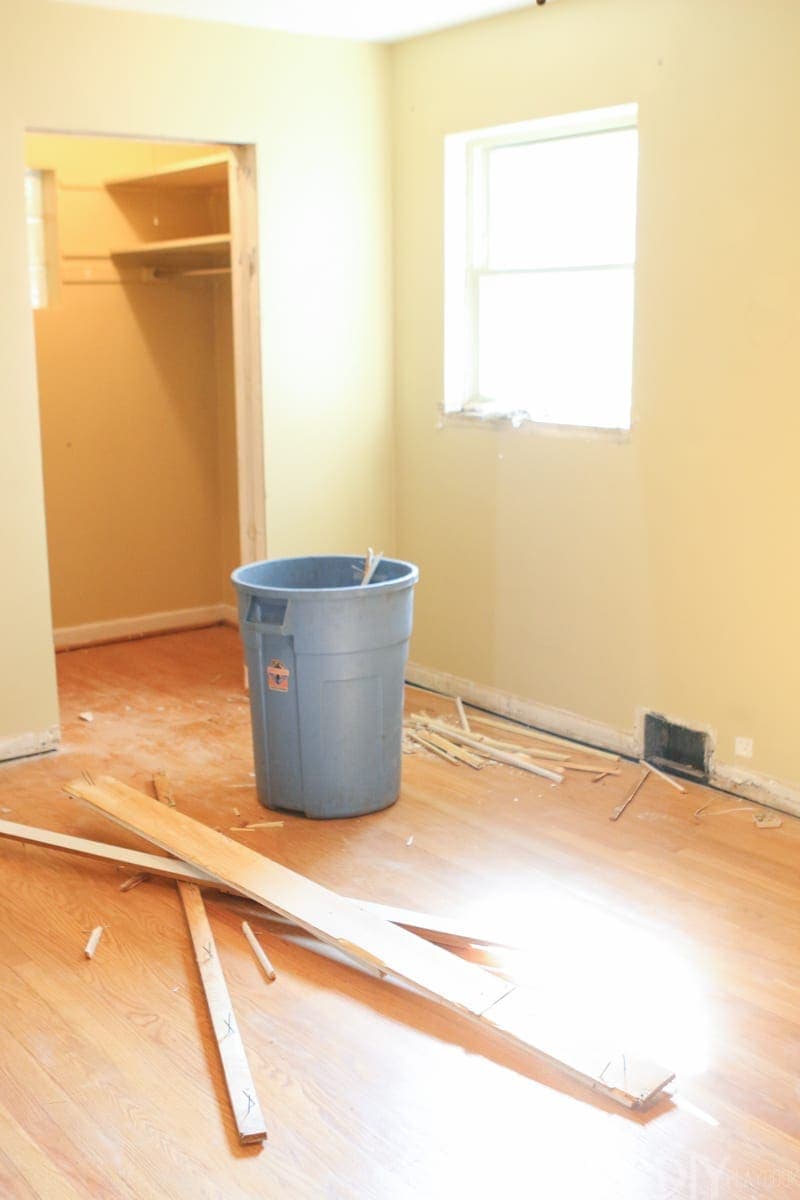
Matt, my dad, my mom and I demoed (or removed) all of the trim, window casings, doors and door frames throughout our entire first floor in less than 24-hours. I promise there is no skill required, just a little patience and muscle. This task probably would have taken our carpenters a day’s worth of work, meaning we would have paid an additional several hundred dollars for a task we easily did ourselves.
Necessary Supplies
The only supplies you need are a hammer, a crowbar and a cat’s paw (aka nail puller). You’ll also probably need to rent a dumpster in order to get rid of all of the old wood. Buy a pair of protective gloves too so you can protect your hands from the nails inside of the trim.
 Buy a pair of protective gloves too so you can protect your hands from the nails inside of the trim.
Three Easy Steps
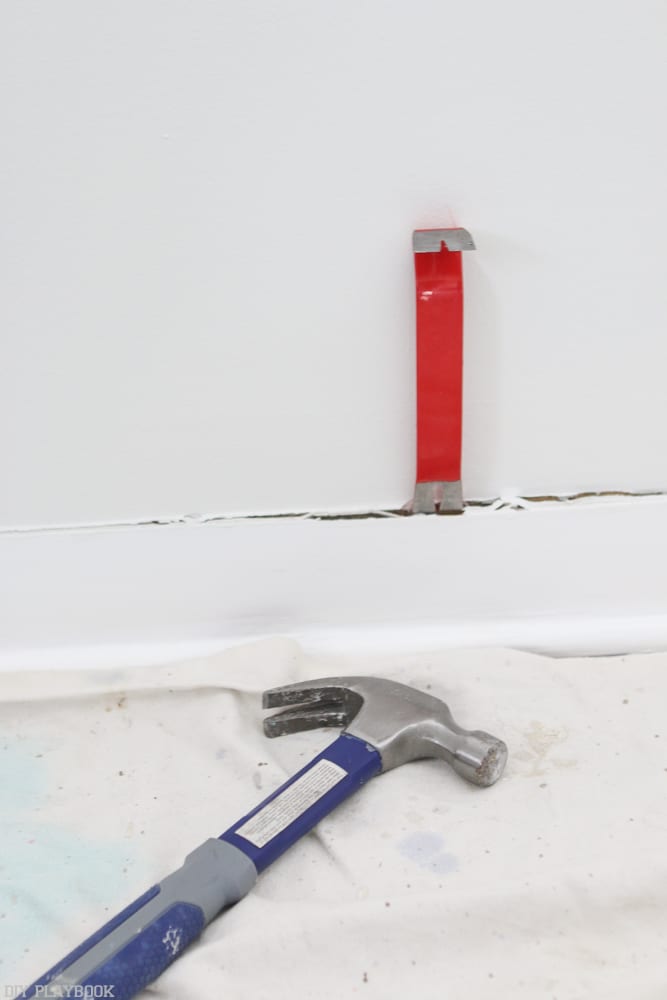
Then you simply place the crowbar behind the wood, hammer it down if necessary, and then slowly pry it away from the wall. We usually did this at several spots along the baseboard until the board was loose enough where you could easily rip it away from the wall. You use this same exact method for the baseboard, the trim around the windows, the trim around the doors, and any other wood detail on the walls.
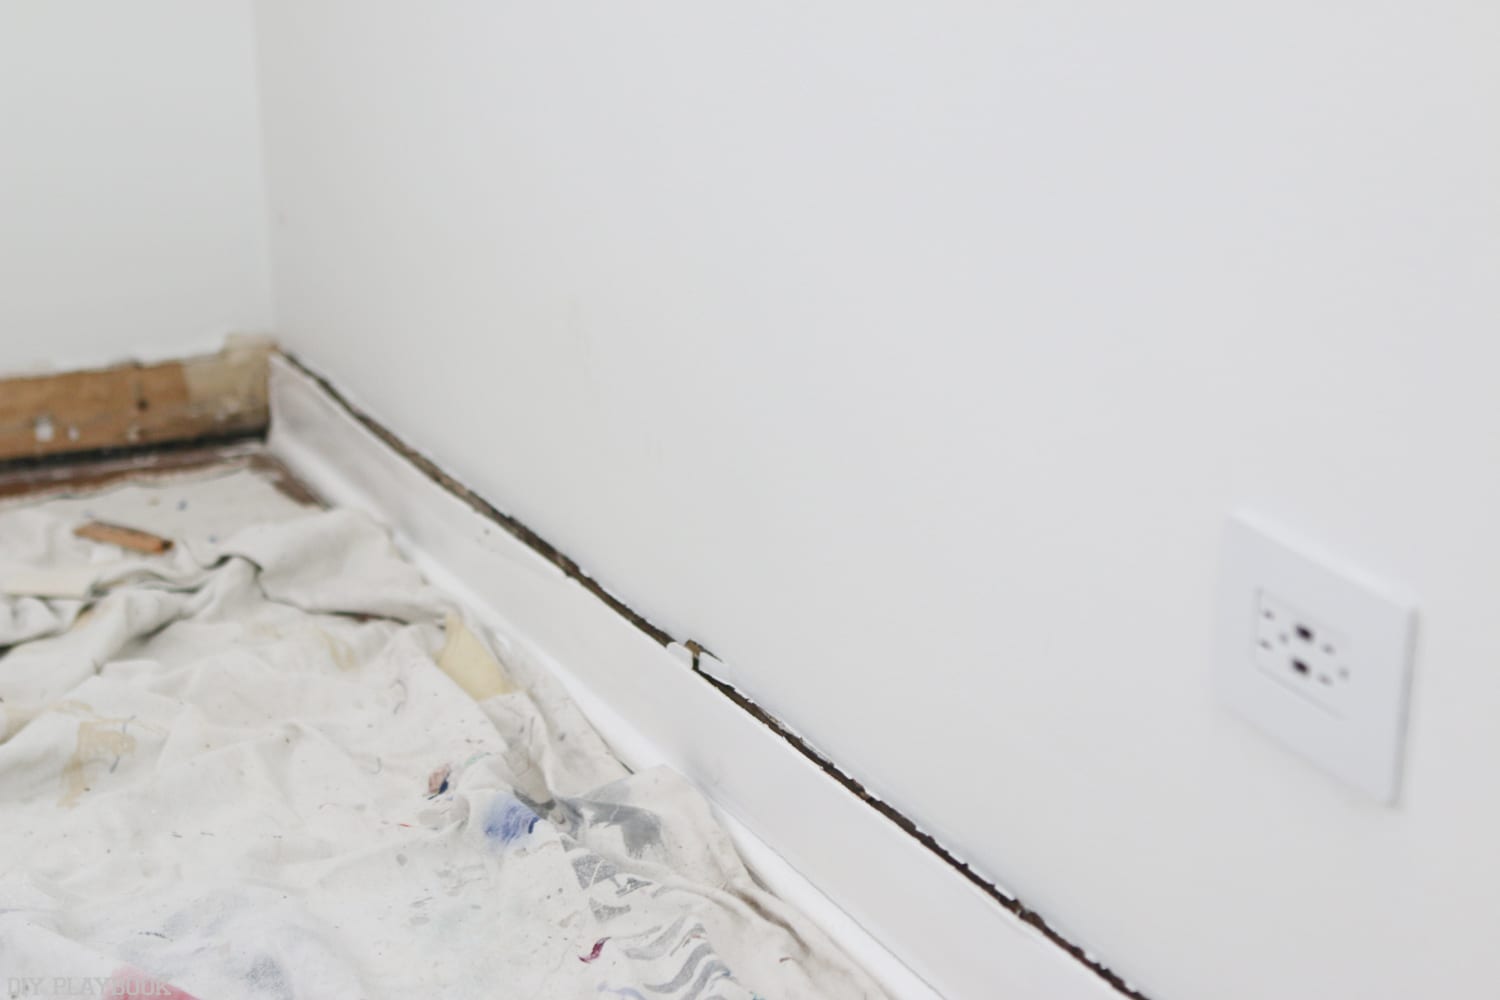
Just be as careful as possible that you are not damaging the drywall (or plaster in my case) too much because the carpenter will need that intact in order to secure the new boards onto it. I’m assuming most people plan to paint right after the new trim and that’s a good idea because some of the walls may get scuffed or paint may peel in those areas. Just something to be aware of prior to starting the project.
The Mystery Tool That Saved Us So Much Time
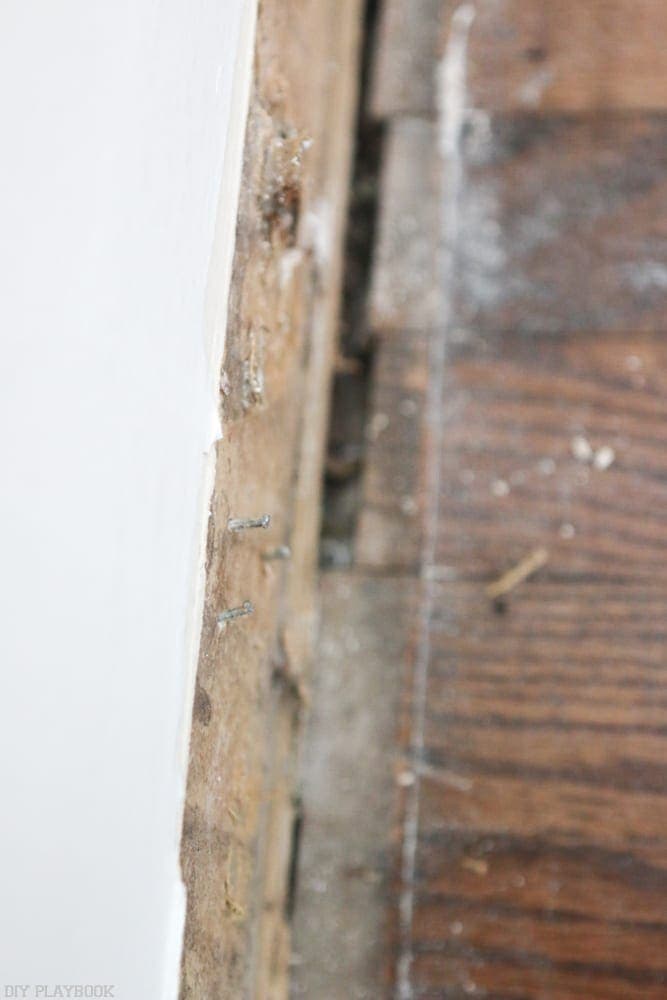
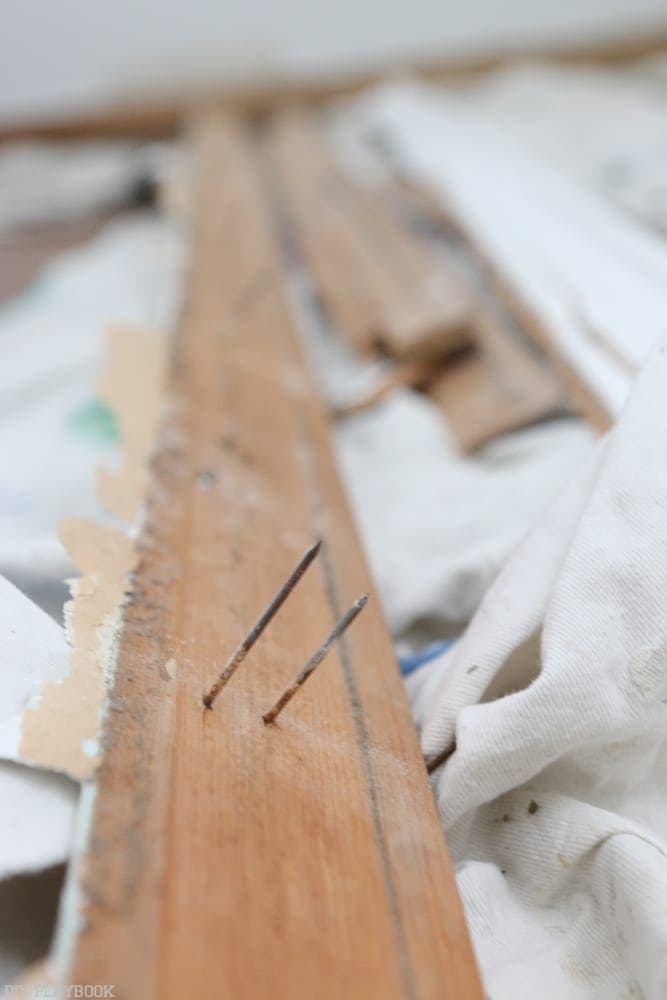
Some of the nails will stay in the wood when you remove the baseboard or trim so be careful handling it. Some of the nails will stay stuck on the wall or the floor and that’s where you will need your cat paw (or nail puller).
You can probably use the back of a hammer for this task but we borrowed a cat paw to remove all of these nails and could not believe what a difference this little tool made. We were able to pull out all of the old nails that remained on the walls or floor with minimum damage. Sometimes the heavy hammer can cause some dents or drywall/plaster damage so the cat paw was key for us!
Honestly, that’s basically all of the information you need to demo! Hammer, pry, & pull — it’s really that easy! Some boards take a little more coaxing (or muscle) than others, but once you get into a groove, you’ll be making quick progress.
Removing the Doors
As for the doors and door frames, you basically use the same method. Simply use a screwdriver to unscrew the hinges of each door. That should detach the door from the frame, leaving only the casing to worry about. Then use the hammer and prybar to repeat the process of prying the wood away until all the wood around the door is removed.

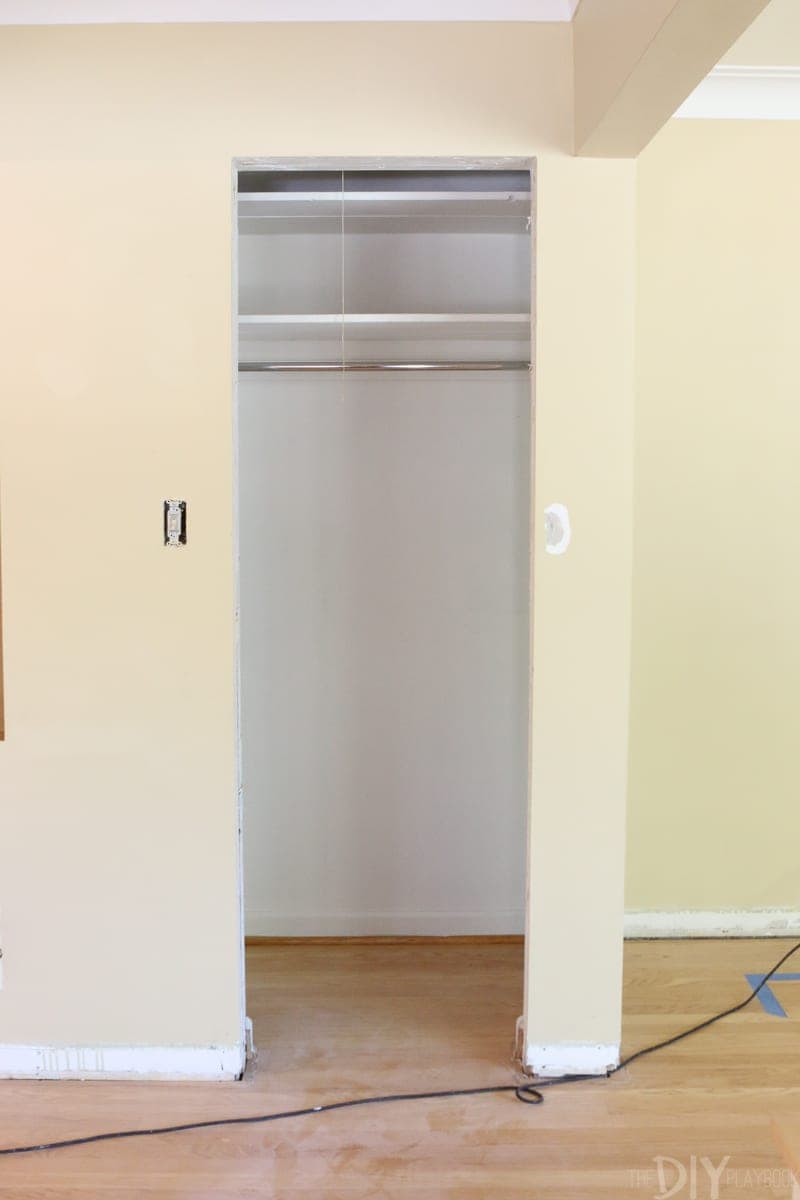
You may want to save the door hardware if you plan on using them again for your new doors. In that case, all you need to do is unscrew the knobs with a screwdriver and plop all the parts in a baggy to use later. If you don’t need the hardware, you can throw the whole door in the dumpster and call it a day!
A Chance to Save

This project was dusty, but a whole lot easier than I ever anticipated it to be. I budgeted a full weekend to complete our demo and we had everything done by Saturday early afternoon… and we didn’t get to start until after work on Friday!
If you’re looking to save money on your next carpentry project, I would highly suggest looking into DIY demoing. It’s the perfect chance to save money, yet still hire a professional for the important parts! Sounds like a win-win to me.
Bridget
P.S. Speaking of carpenters, my carpenter has been busy at work over the past few days and I can’t wait to update you on the progress. The white trim and new doors have me seeing everything with permanent heart eyes. I’m sharing updates on the mudroom starting next week (more heart eyes!) and hopefully, then I’ll follow up with details and pictures of the finished trim and gorgeous craftsman doors. Lots of excitement lined up over the next few weeks here on the blog… so happy I can share this journey with all of you!