How to Make a DIY Baby Gate with Fabric
The content of this post may really confuse you for 2 main reasons…
- Neither of us has stairs in our homes.
- Neither of us has babies.
So allow me to explain why we’re showing you a step-by-step for this particular project on how to make a DIY baby gate. Over the past couple of months, we’ve been shooting a few segments for a local TV show called Weekend Workbench. In fact, it’s actually the show that I (Casey) produce for my “day job”. It’s a DIY show that airs on WGN here in Chicago, and on the show our host learns how to tackle DIY projects (big & small) with the help of local experts.
I’ve loved working on Weekend Workbench because I truly have learned a lot about DIY and home maintenance and it isn’t as intimidating as it used to be for me. This season we are introducing a new segment called the “Home Hack” where Chicago DIY bloggers show a project that corresponds with the theme of that particular episode.
Today, I want to show you the Home Hack from our first episode that aired yesterday here in Chicago. The theme of the show was “DIY: Family Style” and throughout the episode, we showcase family-friendly projects to please everyone in your household.
When it comes to TV, you don’t have much time to explain every step in full detail, so today I wanted to lay out the steps so anyone can easily recreate this stair gate at home.
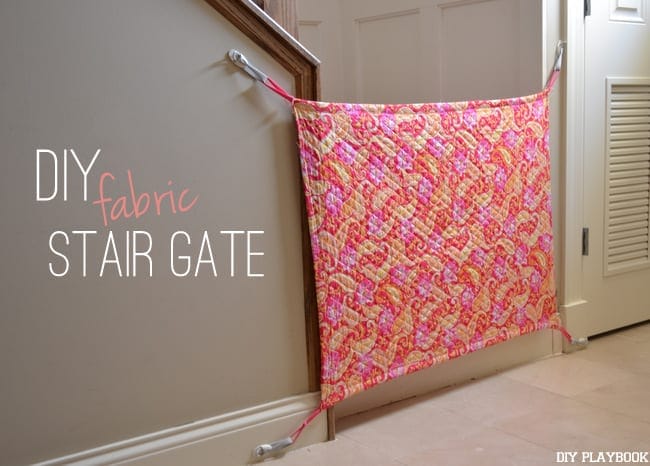
How to Make a DIY Baby Gate

A custom stair gate like this is great for a few reasons. First of all, it works for odd shaped spaces where a straight, plastic gate simply won’t fit. Plus, you can customize it to fit with your home’s decor (or your kid’s playroom decor). And finally, it’s super easy to install and take down…leaving zero marks on your walls. So if you have a child or a pet that you need to keep away from an unsafe area…this just might be the DIY project for you!
Disclaimer: This gate is meant to be either a room divider or to go at the bottom of the stairs so your child does not go up the stairs. I do NOT recommend this for the top of a staircase. And as always, do what’s right for your family & your home! No one knows your kids better than you do!
DIY Baby Gate – Supplies
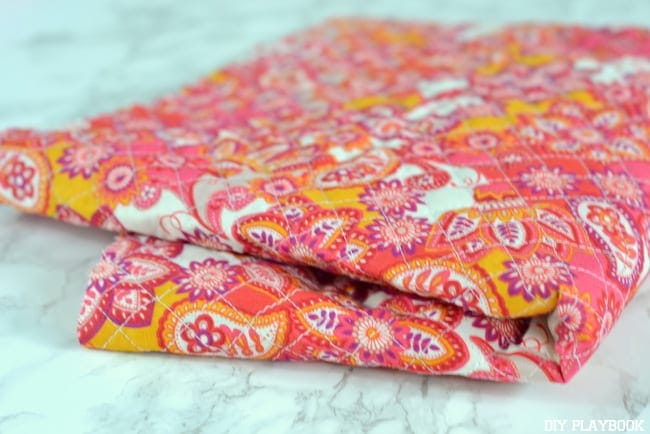
We first measured the stair area and figured out how much fabric we would need to cover the open space. Then we decided to go with quilting fabric, specifically because it is thick and has a pattern on both sides.
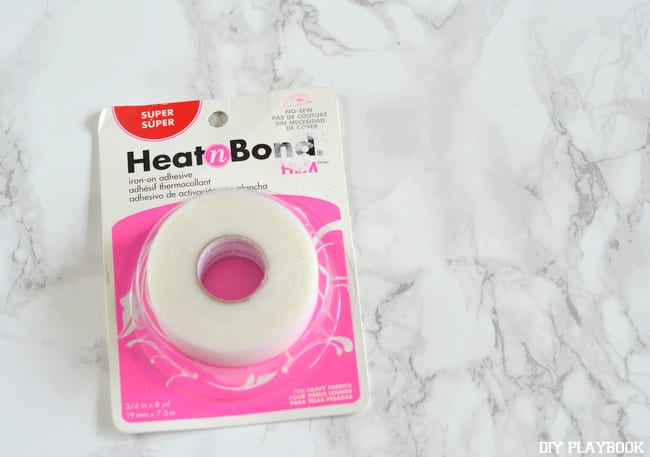
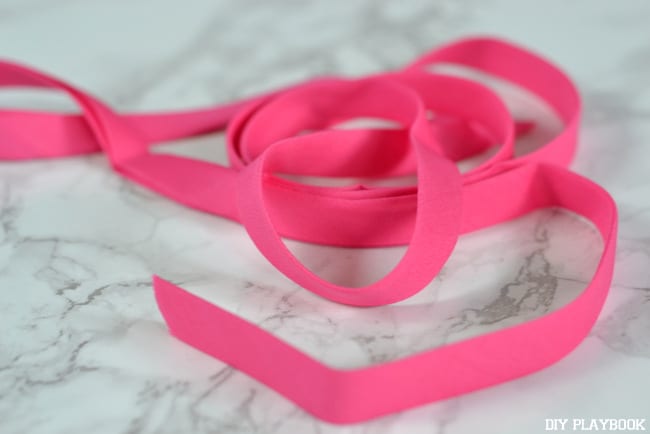
Now I’m no seamstress (I mean how many sewing projects do you see on the blog….z.e.r.o.) so I decided to go with a heat-activated adhesive (aka iron seam) to hold a majority of my gate together. I also went with pink bias tape to coordinate with the color of the fabric. Bias tape is essentially a strong, thick ribbon.


Then to hang the 4 corners on the wall, you need cord bundlers like these ones that are installed with sticky command strips.
Okay, you’ve got your supplies…let’s get started.
DIY Baby Gate – Steps

1. Take your bias tape and lay it flat on the long edge of the fabric. Then create a little loop in the corner. You’ll then seal the loop using the iron seam and your iron. You may need to hold the iron on for quite some time to make sure it really sticks together. 2. When you’re done you’ll have a little loop on the end. Repeat this on the other end of your bias tape. So by now, you should have a piece of bias tape the same length as your fabric, with 2 loops on each side.
You still with me?
3. Now you’ll need to secure the entire piece of bias tape in the fabric. Rip off a long piece of adhesive, fold the fabric over both the adhesive and the bias tape, and secure it together with the heat from the iron.
4. Repeat same steps on other side of fabric, until you have a loop in all 4 corners.
Note: As stated above, I’m no seamstress. Seriously cannot even sew on a button (sorry, Mom!) So, if you’re good with a needle and thread, or you own a sewing machine, you can forgo the iron seam and just sew it all together. If you only do the iron seam, then you may want to think about stitching together just the 4 corners to reinforce them. You don’t want them to come loose if you have a child pulling on the fabric. So moral of the story…sewing will give you the best and longest-lasting results.
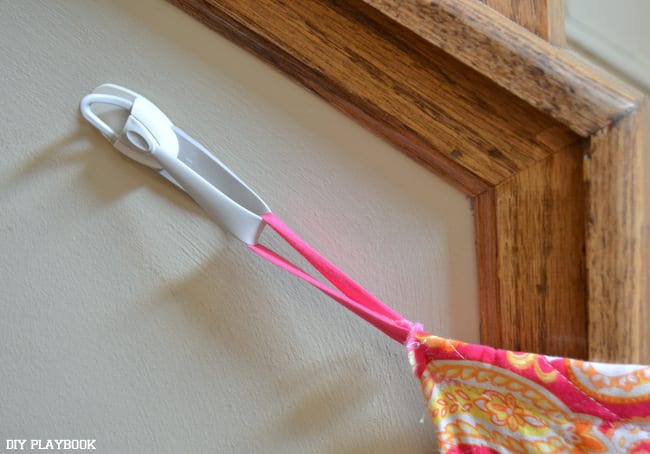
5. Secure your cord bundlers to the wall, put your loops through…and you’re good to go!Besides all of that sewing talk, this is an incredibly easy DIY baby gate and I hope moms out there give it a try!
Casey