How to Drill Holes for Cords
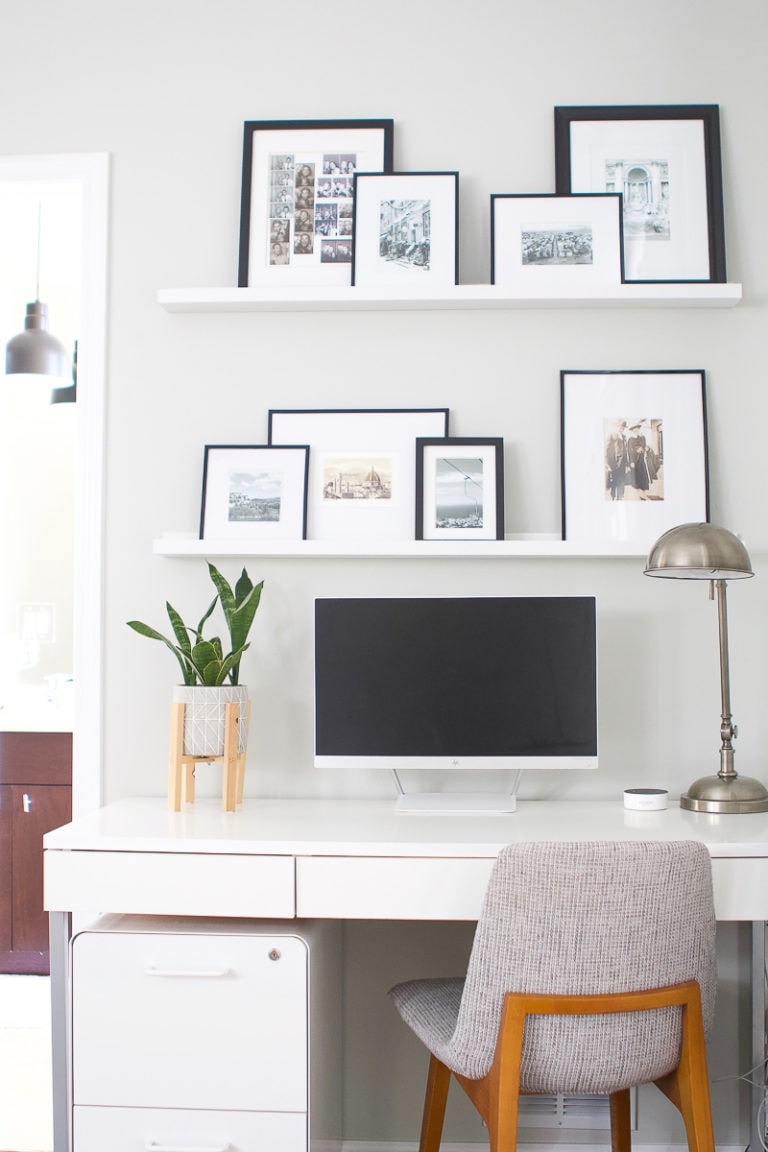
So yesterday we chatted about our desk updates, and I briefly talked about the hole we drilled in the top of the desk to fish our wires through. I’m sure you’ve seen these drilled holes, but if you’re anything like me, that’s about the extent of knowledge you have of ’em… or ever want to have about them. Trust me, I get it. But how to drill holes for cords or wires is SO easy!
2 years ago I never ever would have imagined that I would have even thought twice about these random holes ever, let alone create one all by myself! Since when do I know what a hole-saw is, what a grommet does, or how the heck those holes get there? I’m not sure when this “hole” thing changed, but I promise I’m still pretty clueless with power tools and I survived this DIY alone. No boys allowed! And not only did I survive, but dare I tell you that this is so darn easy (and cheap!) Like less than $10 cheap…
How to Drill Holes for Cords

Supplies
- Drill
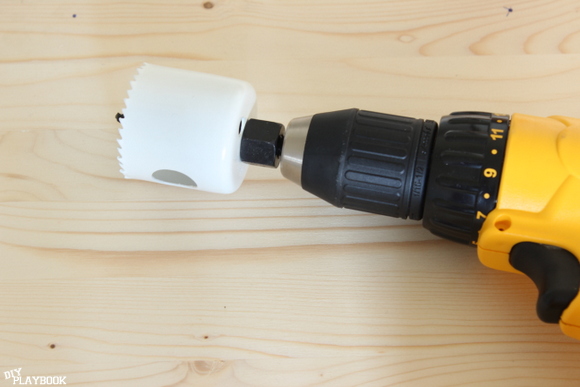
- Hole Saw Drill Bit
- Grommet (Plastic cover to put inside the hole, come in a variety of colors)

Rookie Tip: Purchase the hole saw bit based on the desired size of your hole. They come in all sorts of diameters. I went with the 2″ diameter, and therefore I also bought the 2″ grommet so that it would fit into the hole. Not rocket science, if you buy a 1 1/2 hole saw, can you guess what size grommet you should buy? See, you got this!
Now onto the super simple steps to create one of these super official looking holes while making yourself feel like you actually know what you’re doing for 2.5 seconds.
Step 1: Attach Bit
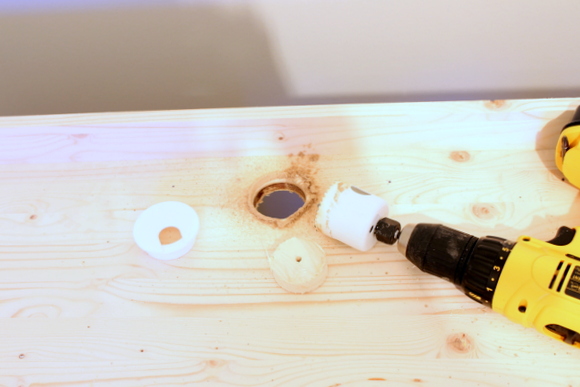
Step 2: Place Hole Saw onto Surface
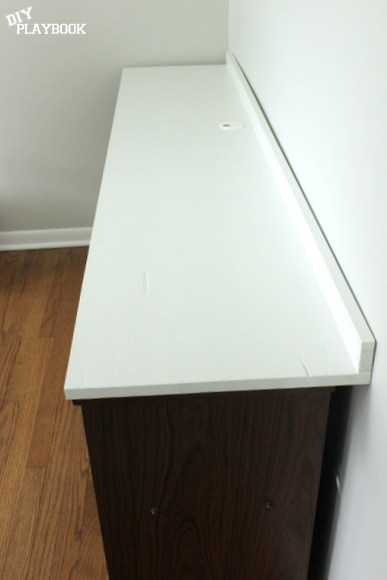
Apply pressure (lots of muscle!!) onto the wood and push the drill through the entire surface. Before you know it, your hole is cut! The wood from the inside of the hole will probably stay stuck in the hole saw. Simply stick a screwdriver into one of the holes on the side of the hole saw to pop that piece right out.
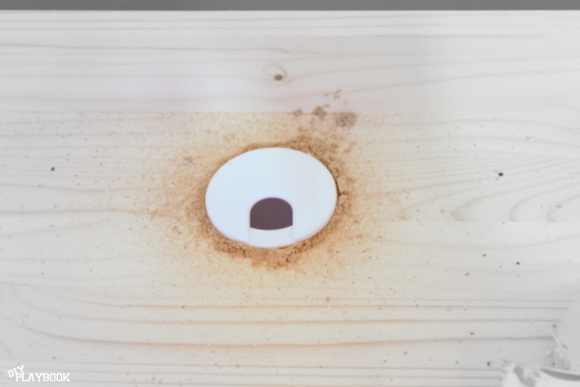
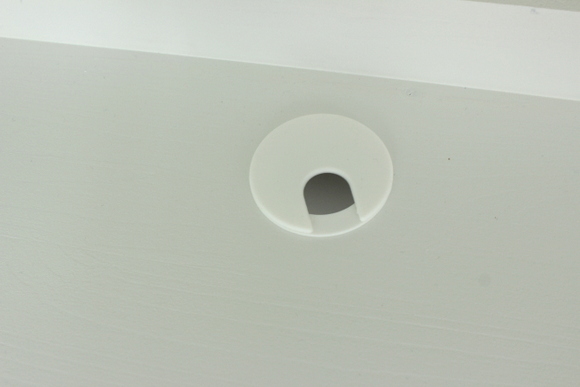
Step 3: Make Sure Grommet Fits
Just put the piece of plastic into the space and it should fit perfectly, almost like a “cap” in the hole. Because I was painting my wood white, I bought a white grommet.
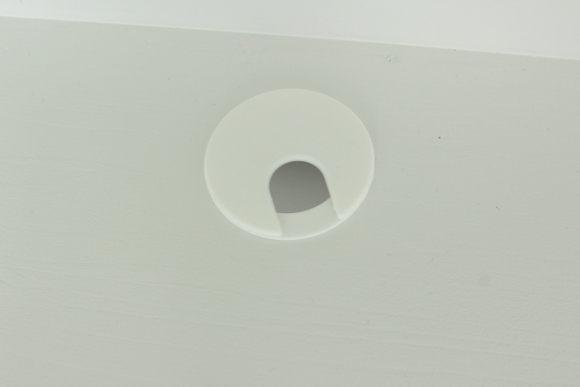
I removed the white, plastic grommet to prime and paint the wood and keep the piece looking clean & professional. Once I was finished with the wood, I stuck that grommet right back into place and was left with a professional and “finished” looking hole for cords that blended right in with the rest of the white desk. Mission accomplished!
It really was that easy. I would highly recommend giving this process a try and tackling it as a do-it-yourself mini-project. I always noticed the random holes on top of desks, but little did I know that all it took was ONE new drill-bit for under $10 and a little extra muscle to create my very own.
Bridget