Five Things I Learned From My First Renovation
Last week, I introduced you to my sister, Liz, who lives in a gorgeous condo about ten minutes from us. We took a look at her ultra-cozy guest room and I promised that this week we would be back to peek in on her new bathroom. Liz recently “survived” her first renovation project and she learned a lot along the way. While I’m really into DIY and home improvement, Liz is a complete newbie when it comes to all things home. Undergoing a large renovation was new territory for her and she was incredibly nervous going into the experience. I got many panicked calls from her prior to the start of this project. She had lots of fears about spending so much money and not knowing how the project would turn out.
But Liz made it through her first renovation with flying colors and she learned so much along the way. I thought it might be beneficial for others out there who are also nervous to jump into a big project (whether you’re hiring it all out or doing it yourself) to hear about her experience. So take it away, Liz!
Surviving My First Renovation
Hi all, my name is Liz, I’m Casey’s older sister. I’m here to tell you about my experience renovating my bathroom and closet at the beginning of this year. I bought my condo in the summer of 2018 and I love the space. It’s a two-bedroom and two bath condo in the heart of Wicker Park/Bucktown with central city access via the “L” blue line for this carless gal!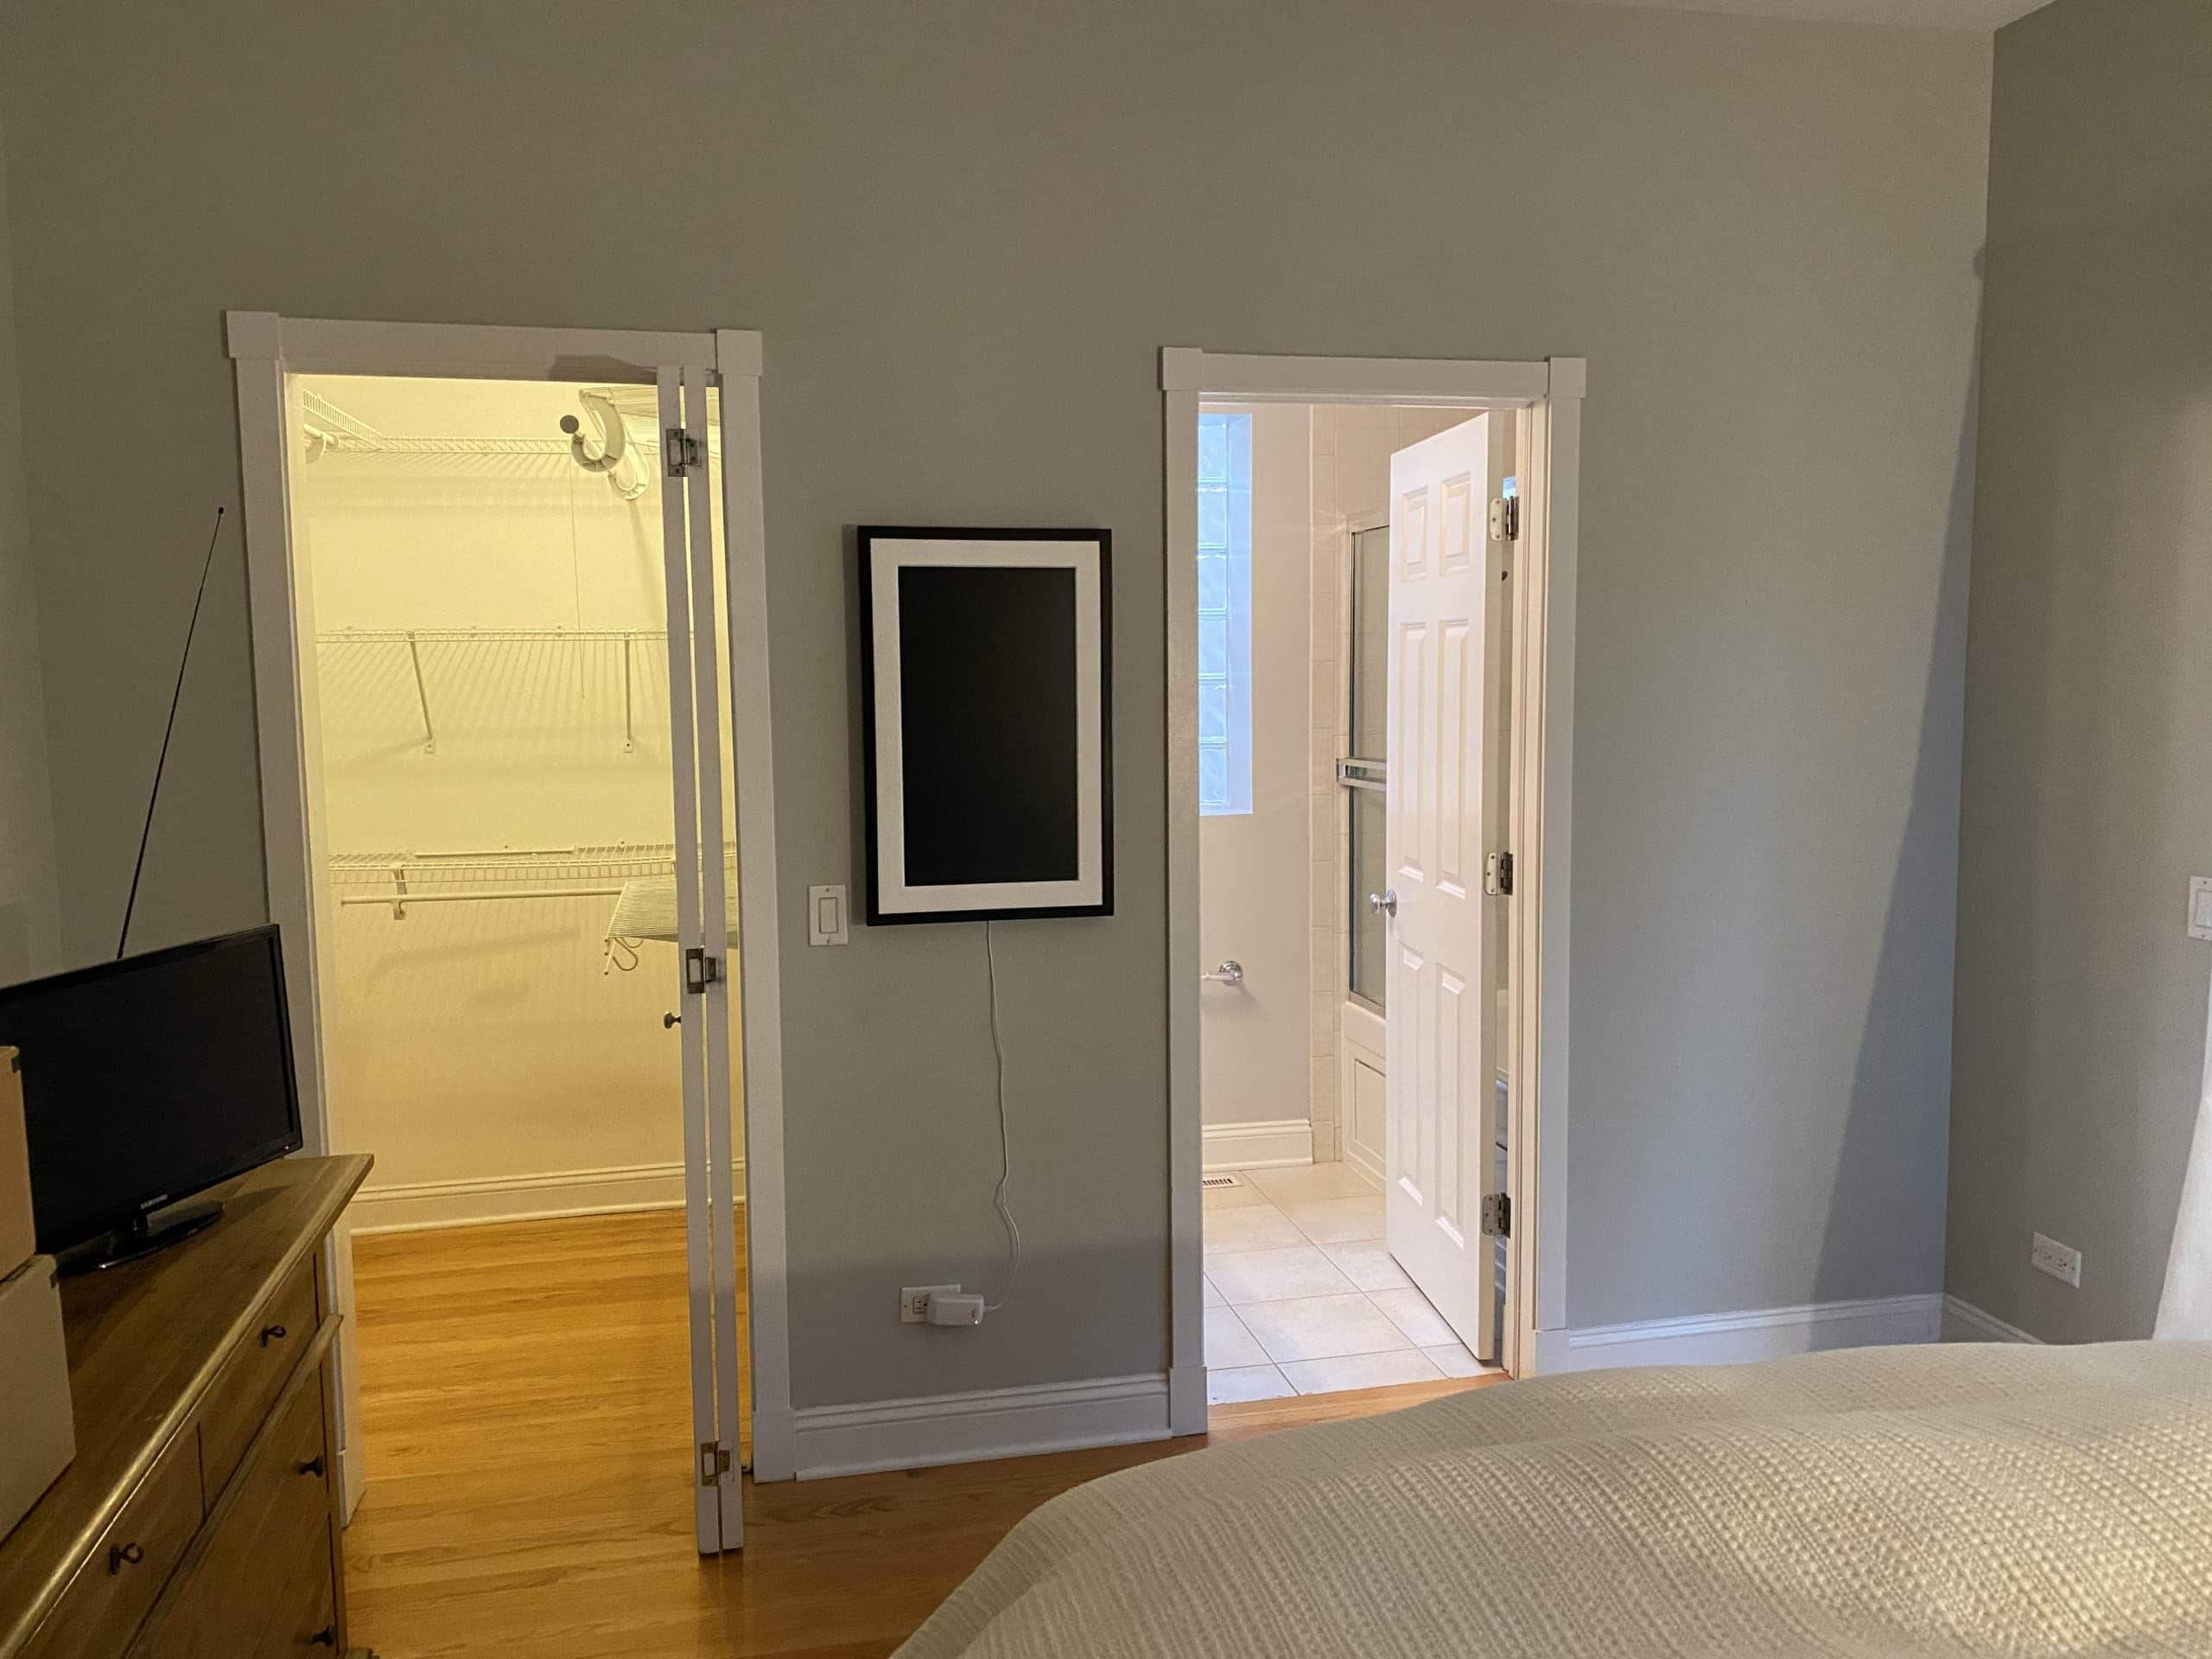
I loved almost everything about the condo when I first moved in, except for my main bath and closet area. The closet had hanging racks on both sides and it was very small. I joked around that instead of a“walk-in”, I had to “bob and weave” around items to get to clothes in the back. In addition, the main bath had a tiny sink and a jacuzzi tub. 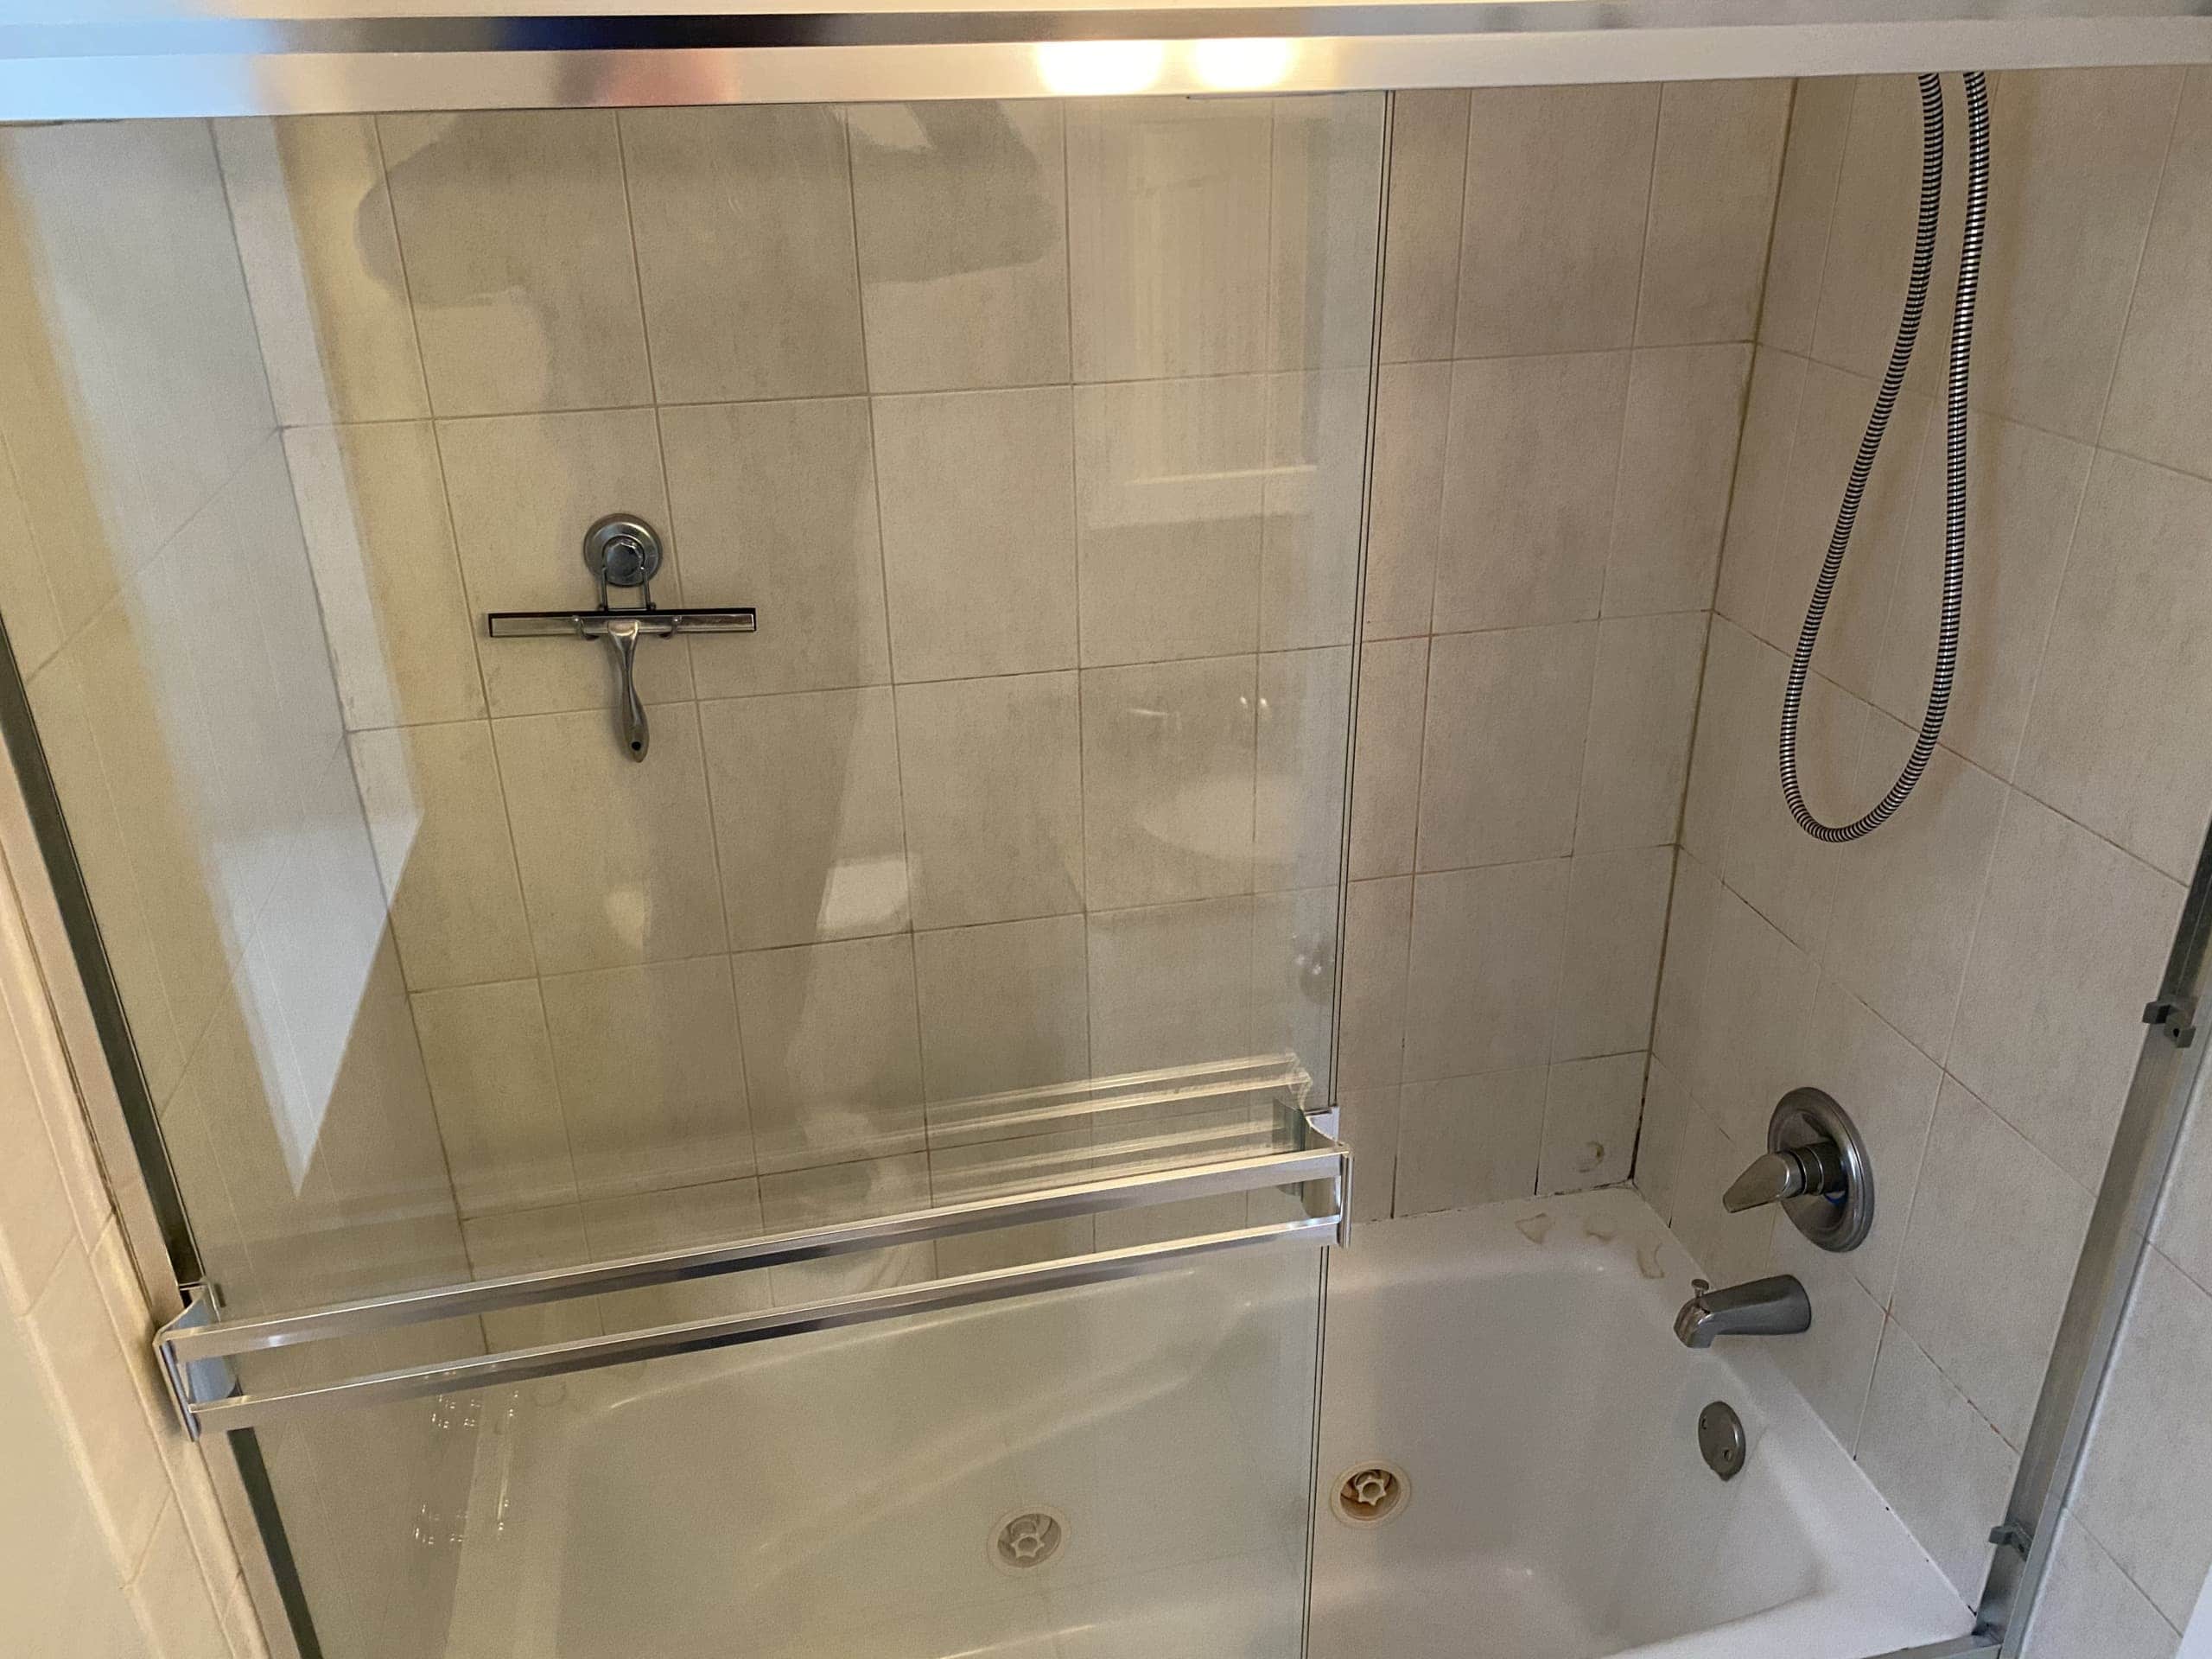 When I first moved into the unit, I was super excited to try out the jets in this tub…until I turned on the engines and black goo/flakes started spilling out. Ewwww! Needless to say, that was the first and last time I used the jacuzzi feature and I stuck to showers from then on.
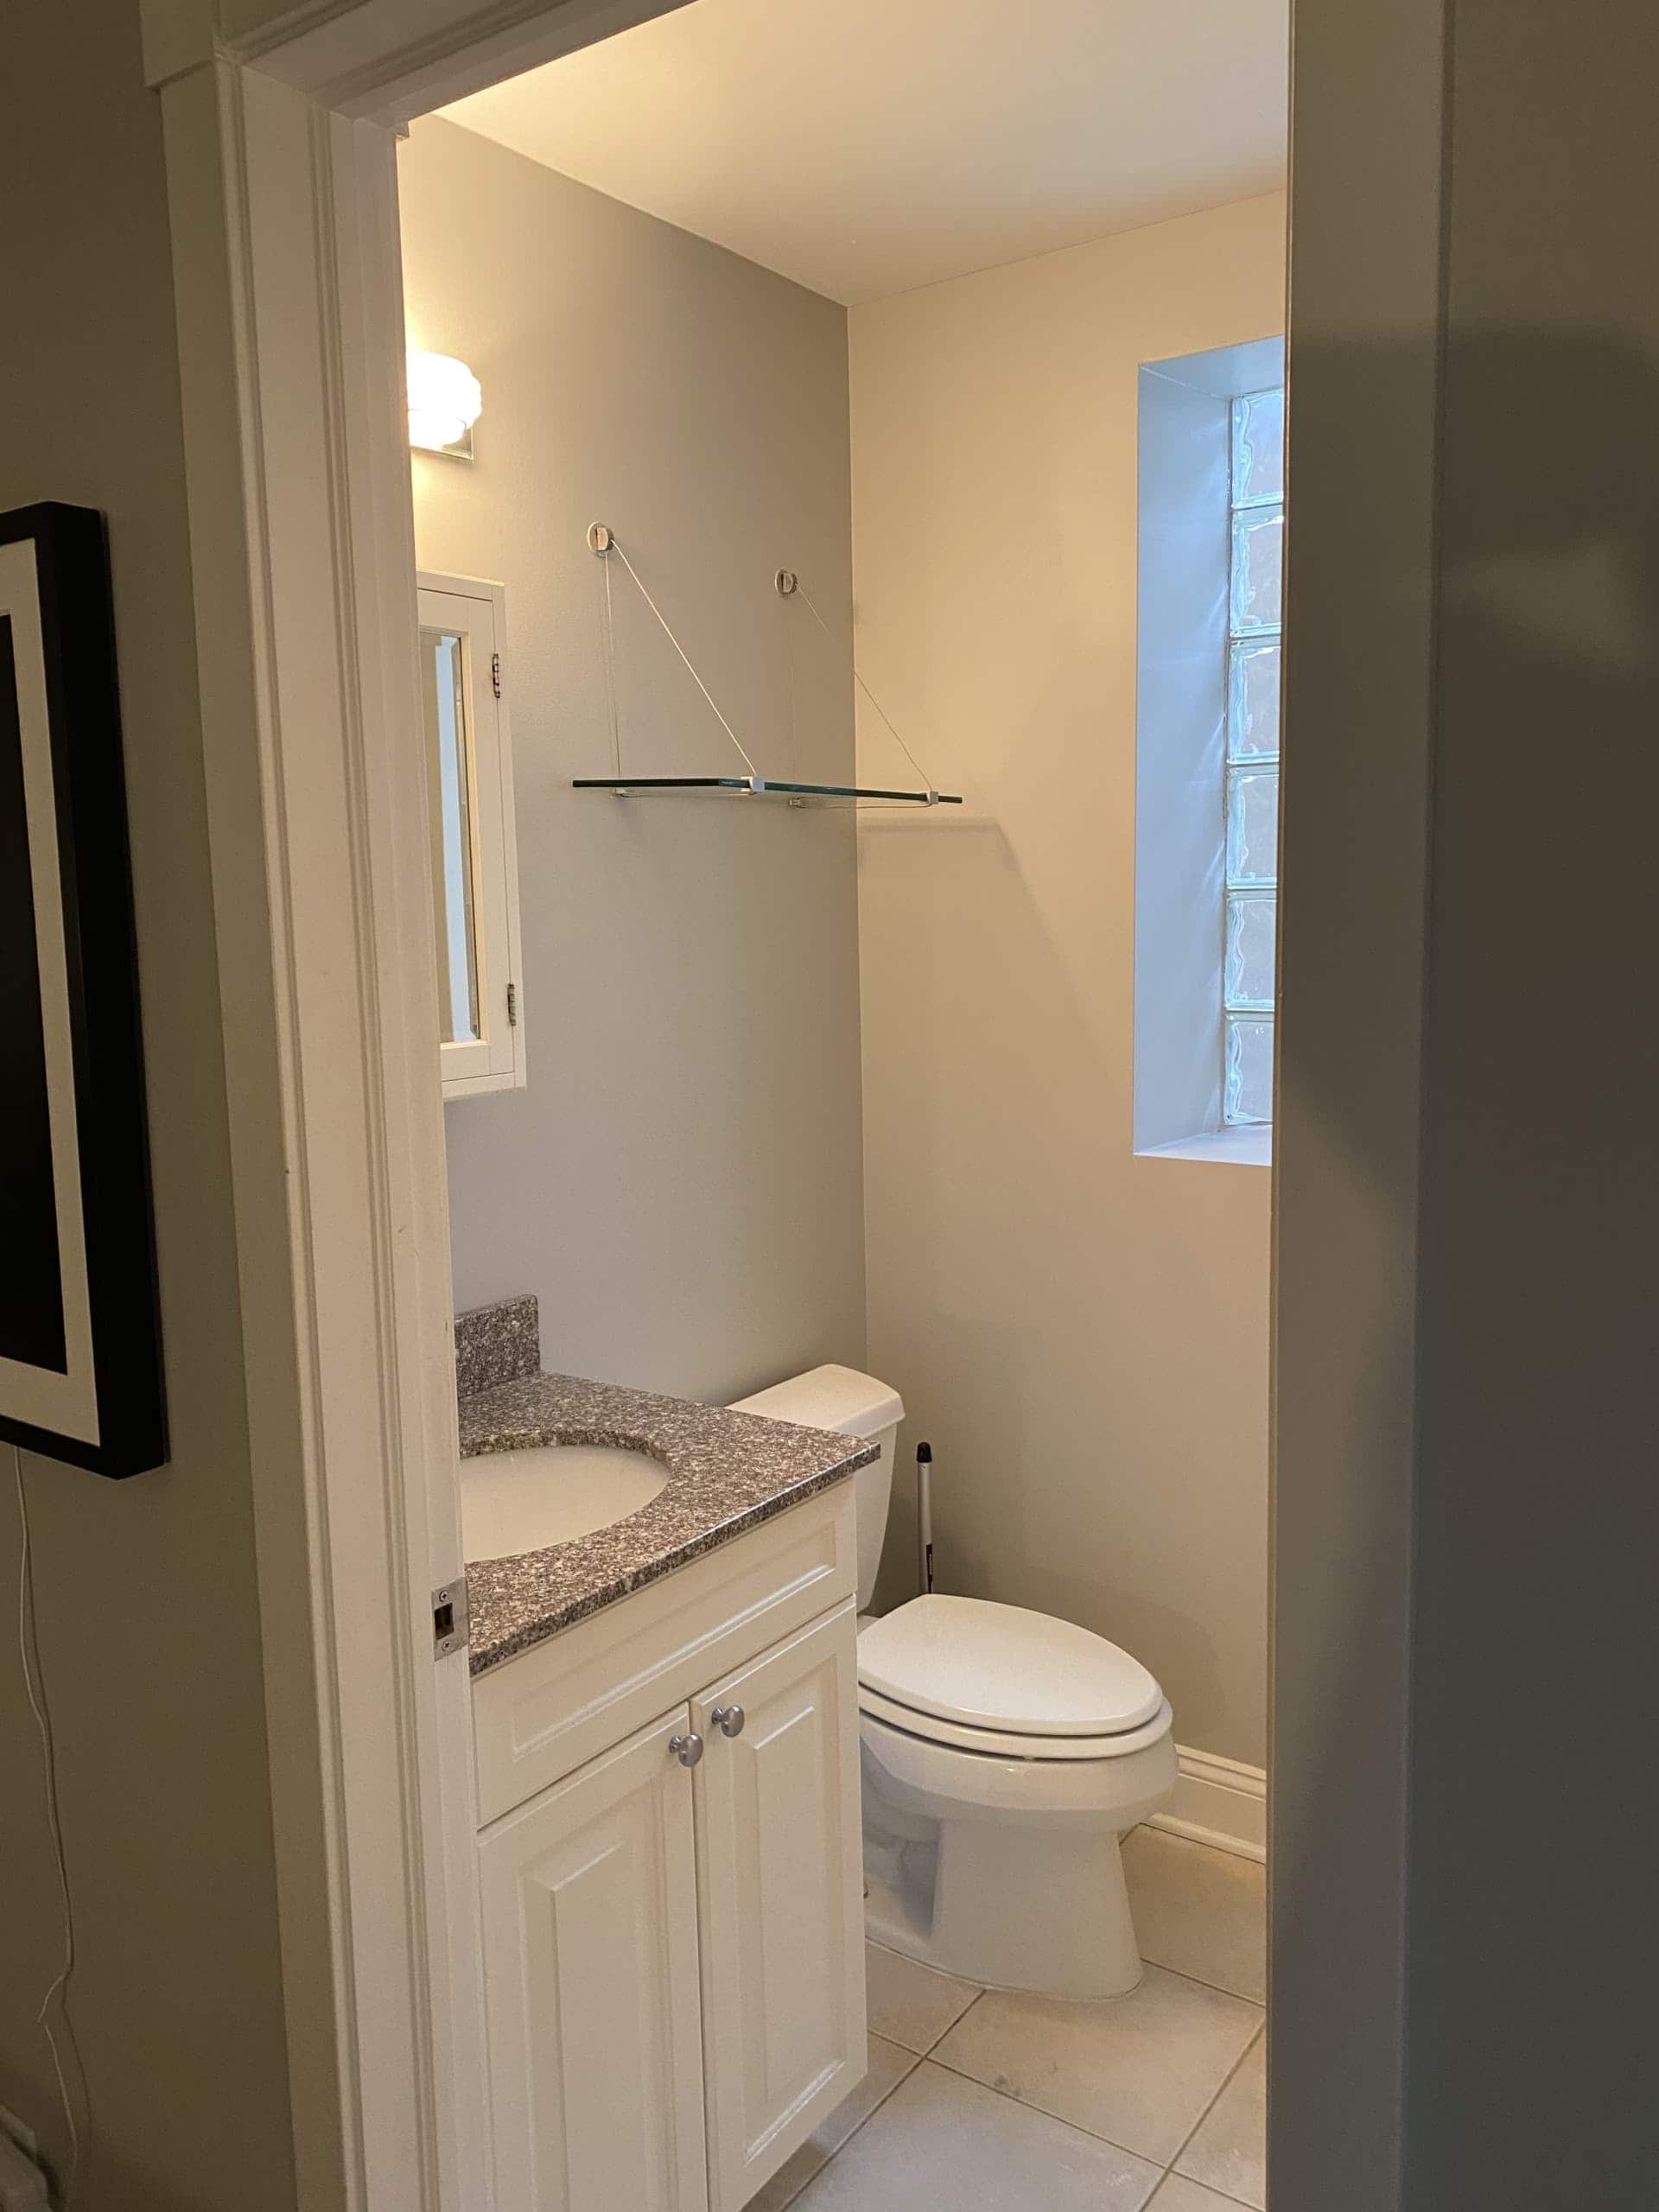
I knew that I wanted to renovate this main bath and closet to make the space more functional (and to improve the value of my home), but I had no idea where to start. Luckily for me, Casey is well-versed in renovations and she guided me along the way. Here’s what I learned as I embarked on my first renovation project.
Hire a Designer
From the start, I knew that I would need some professional help to figure out a new layout and the overall design of the space. Casey suggested a local designer and she was great (Shoot Casey an email at diyplaybook@gmail.com if you are local and want her contact info.). She came to my condo, looked at the space, and measured it out carefully. This was an added expense on top of an already expensive project, but it was worth it to me to have someone draw up exact plans and answer my endless questions. Once her drawings were complete, I handed them over to my contractor and he took it from there.
Here’s a look at the original floor plan…
And here’s the new floor plan the designer created for me. 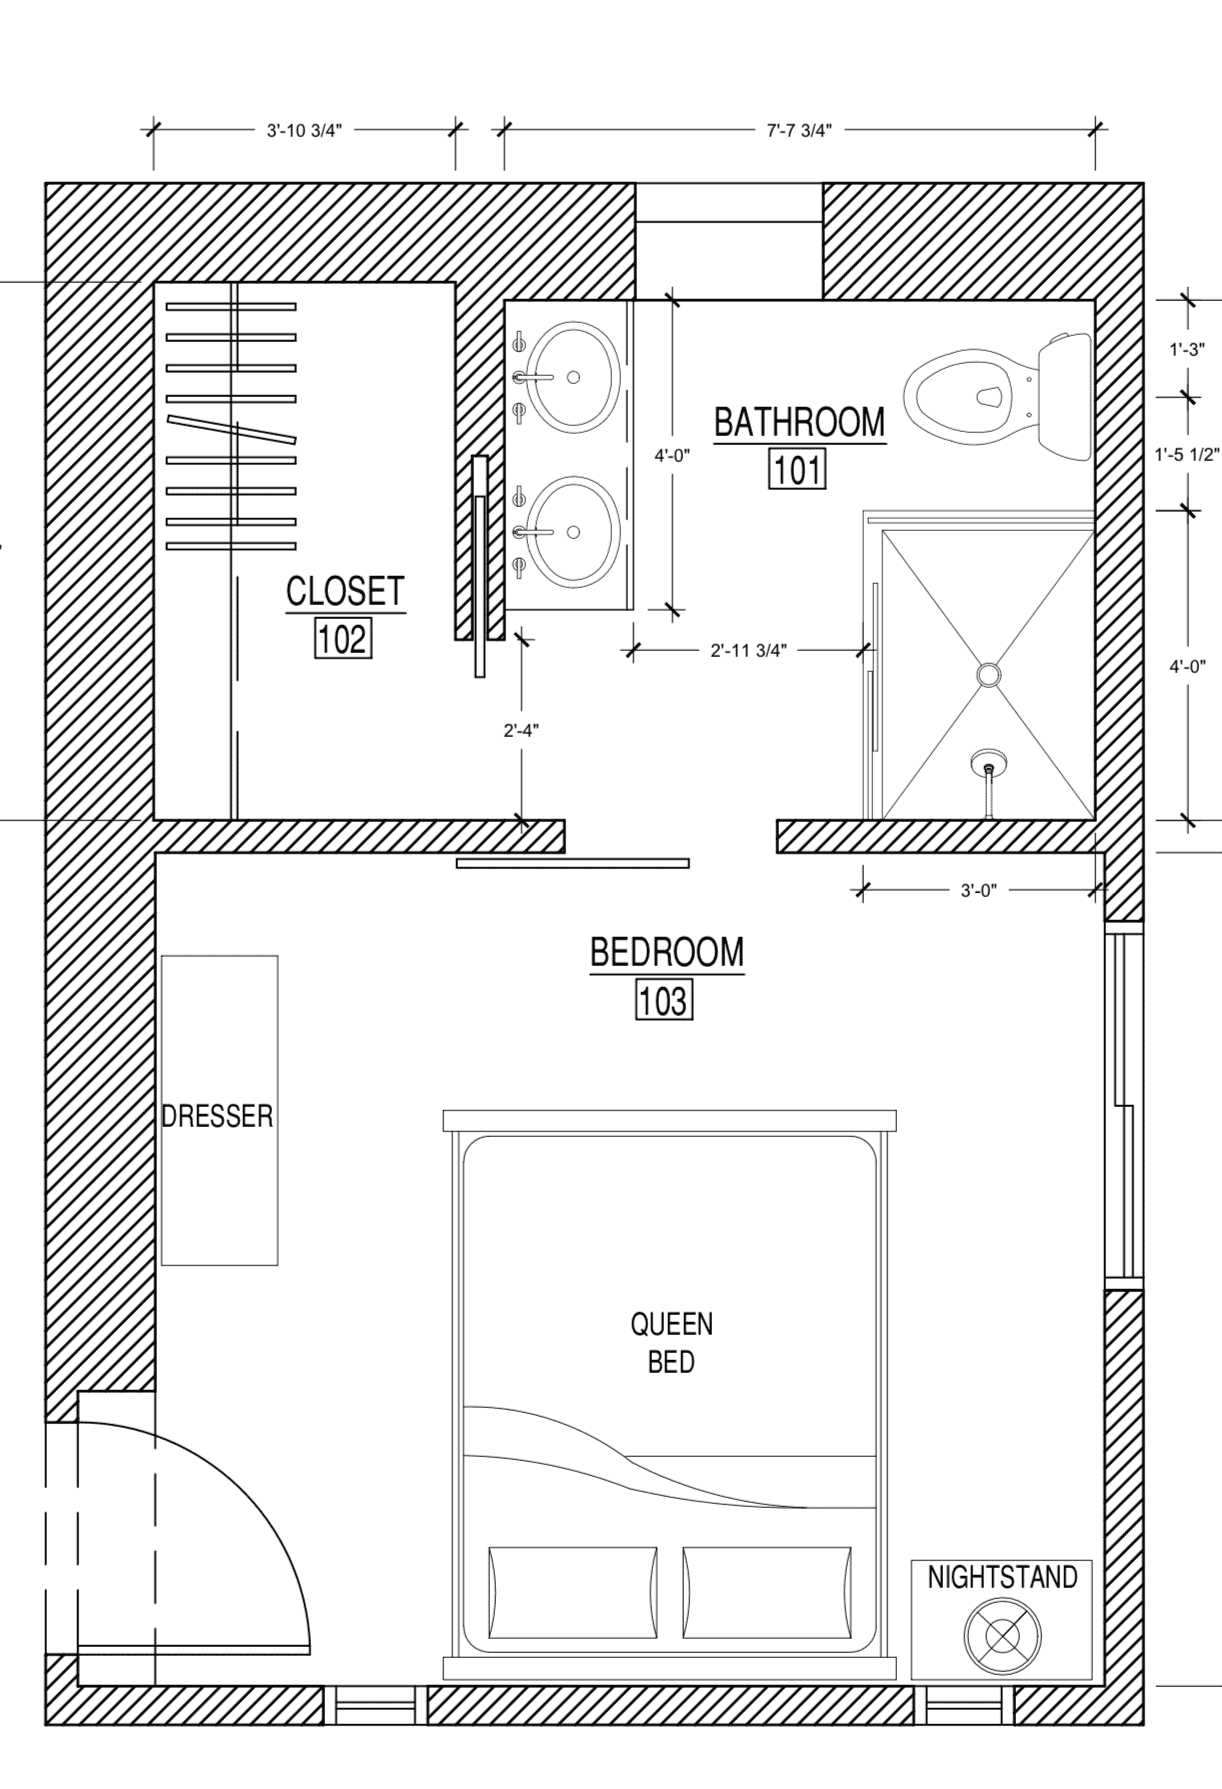
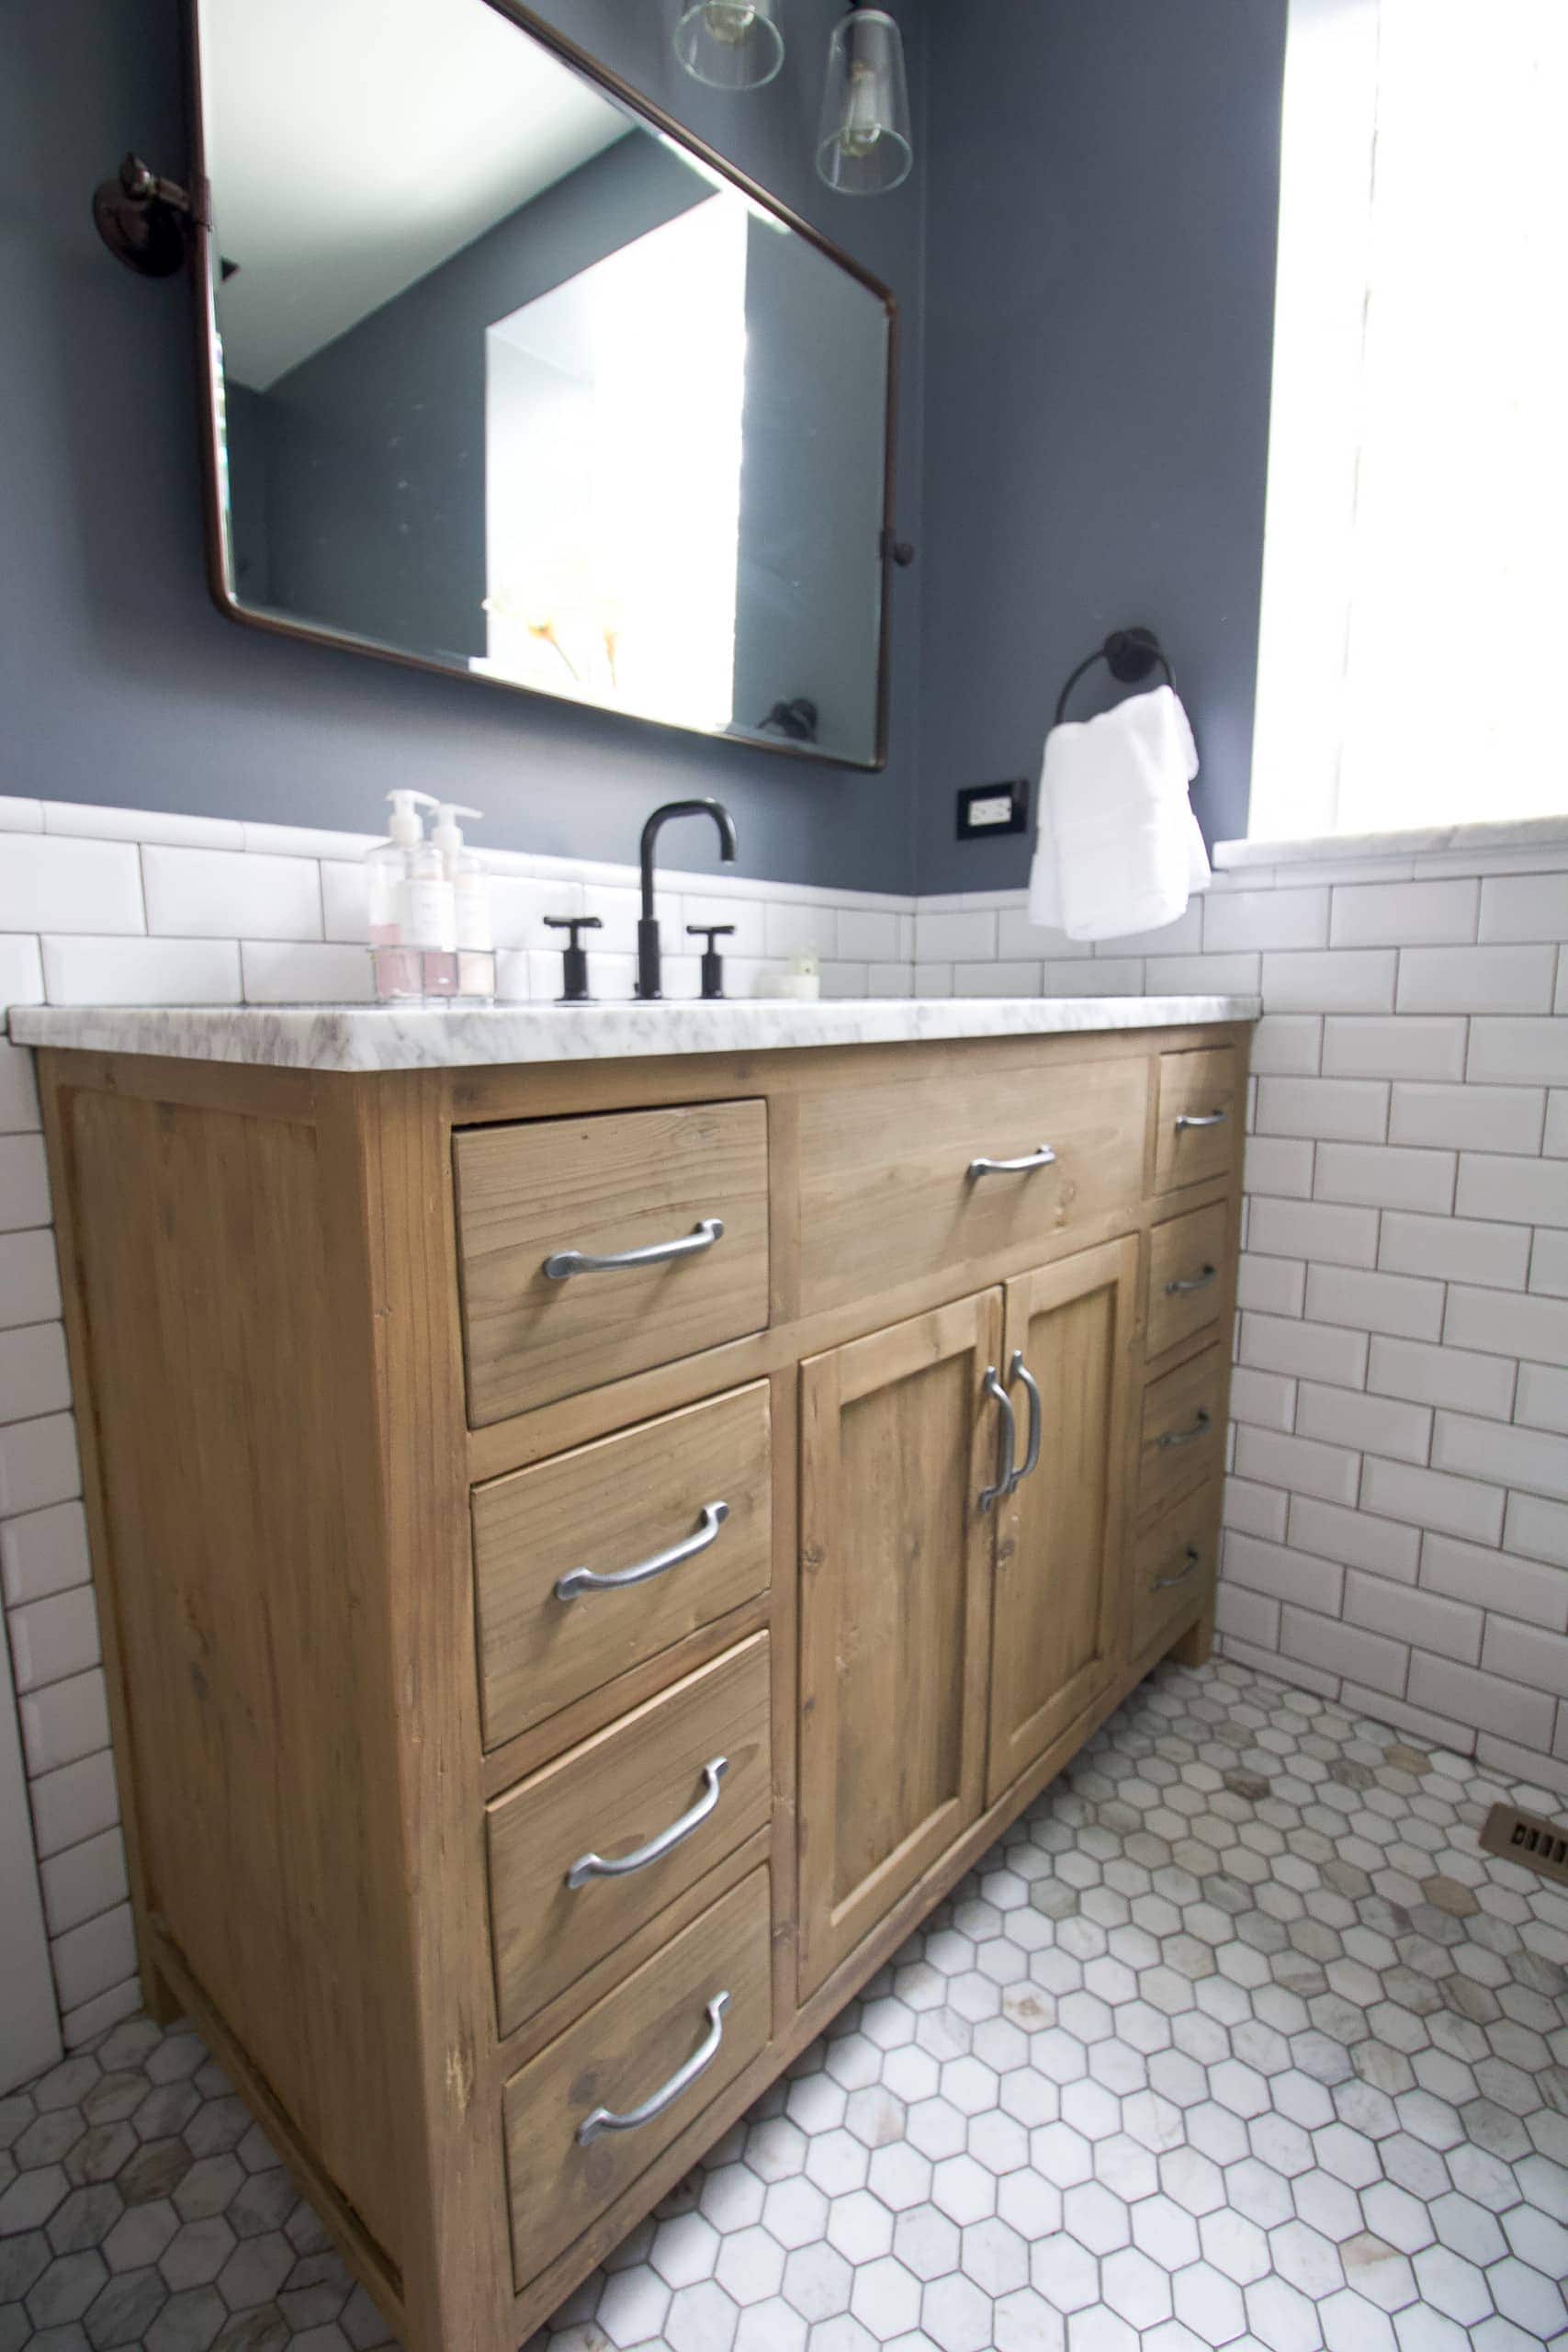
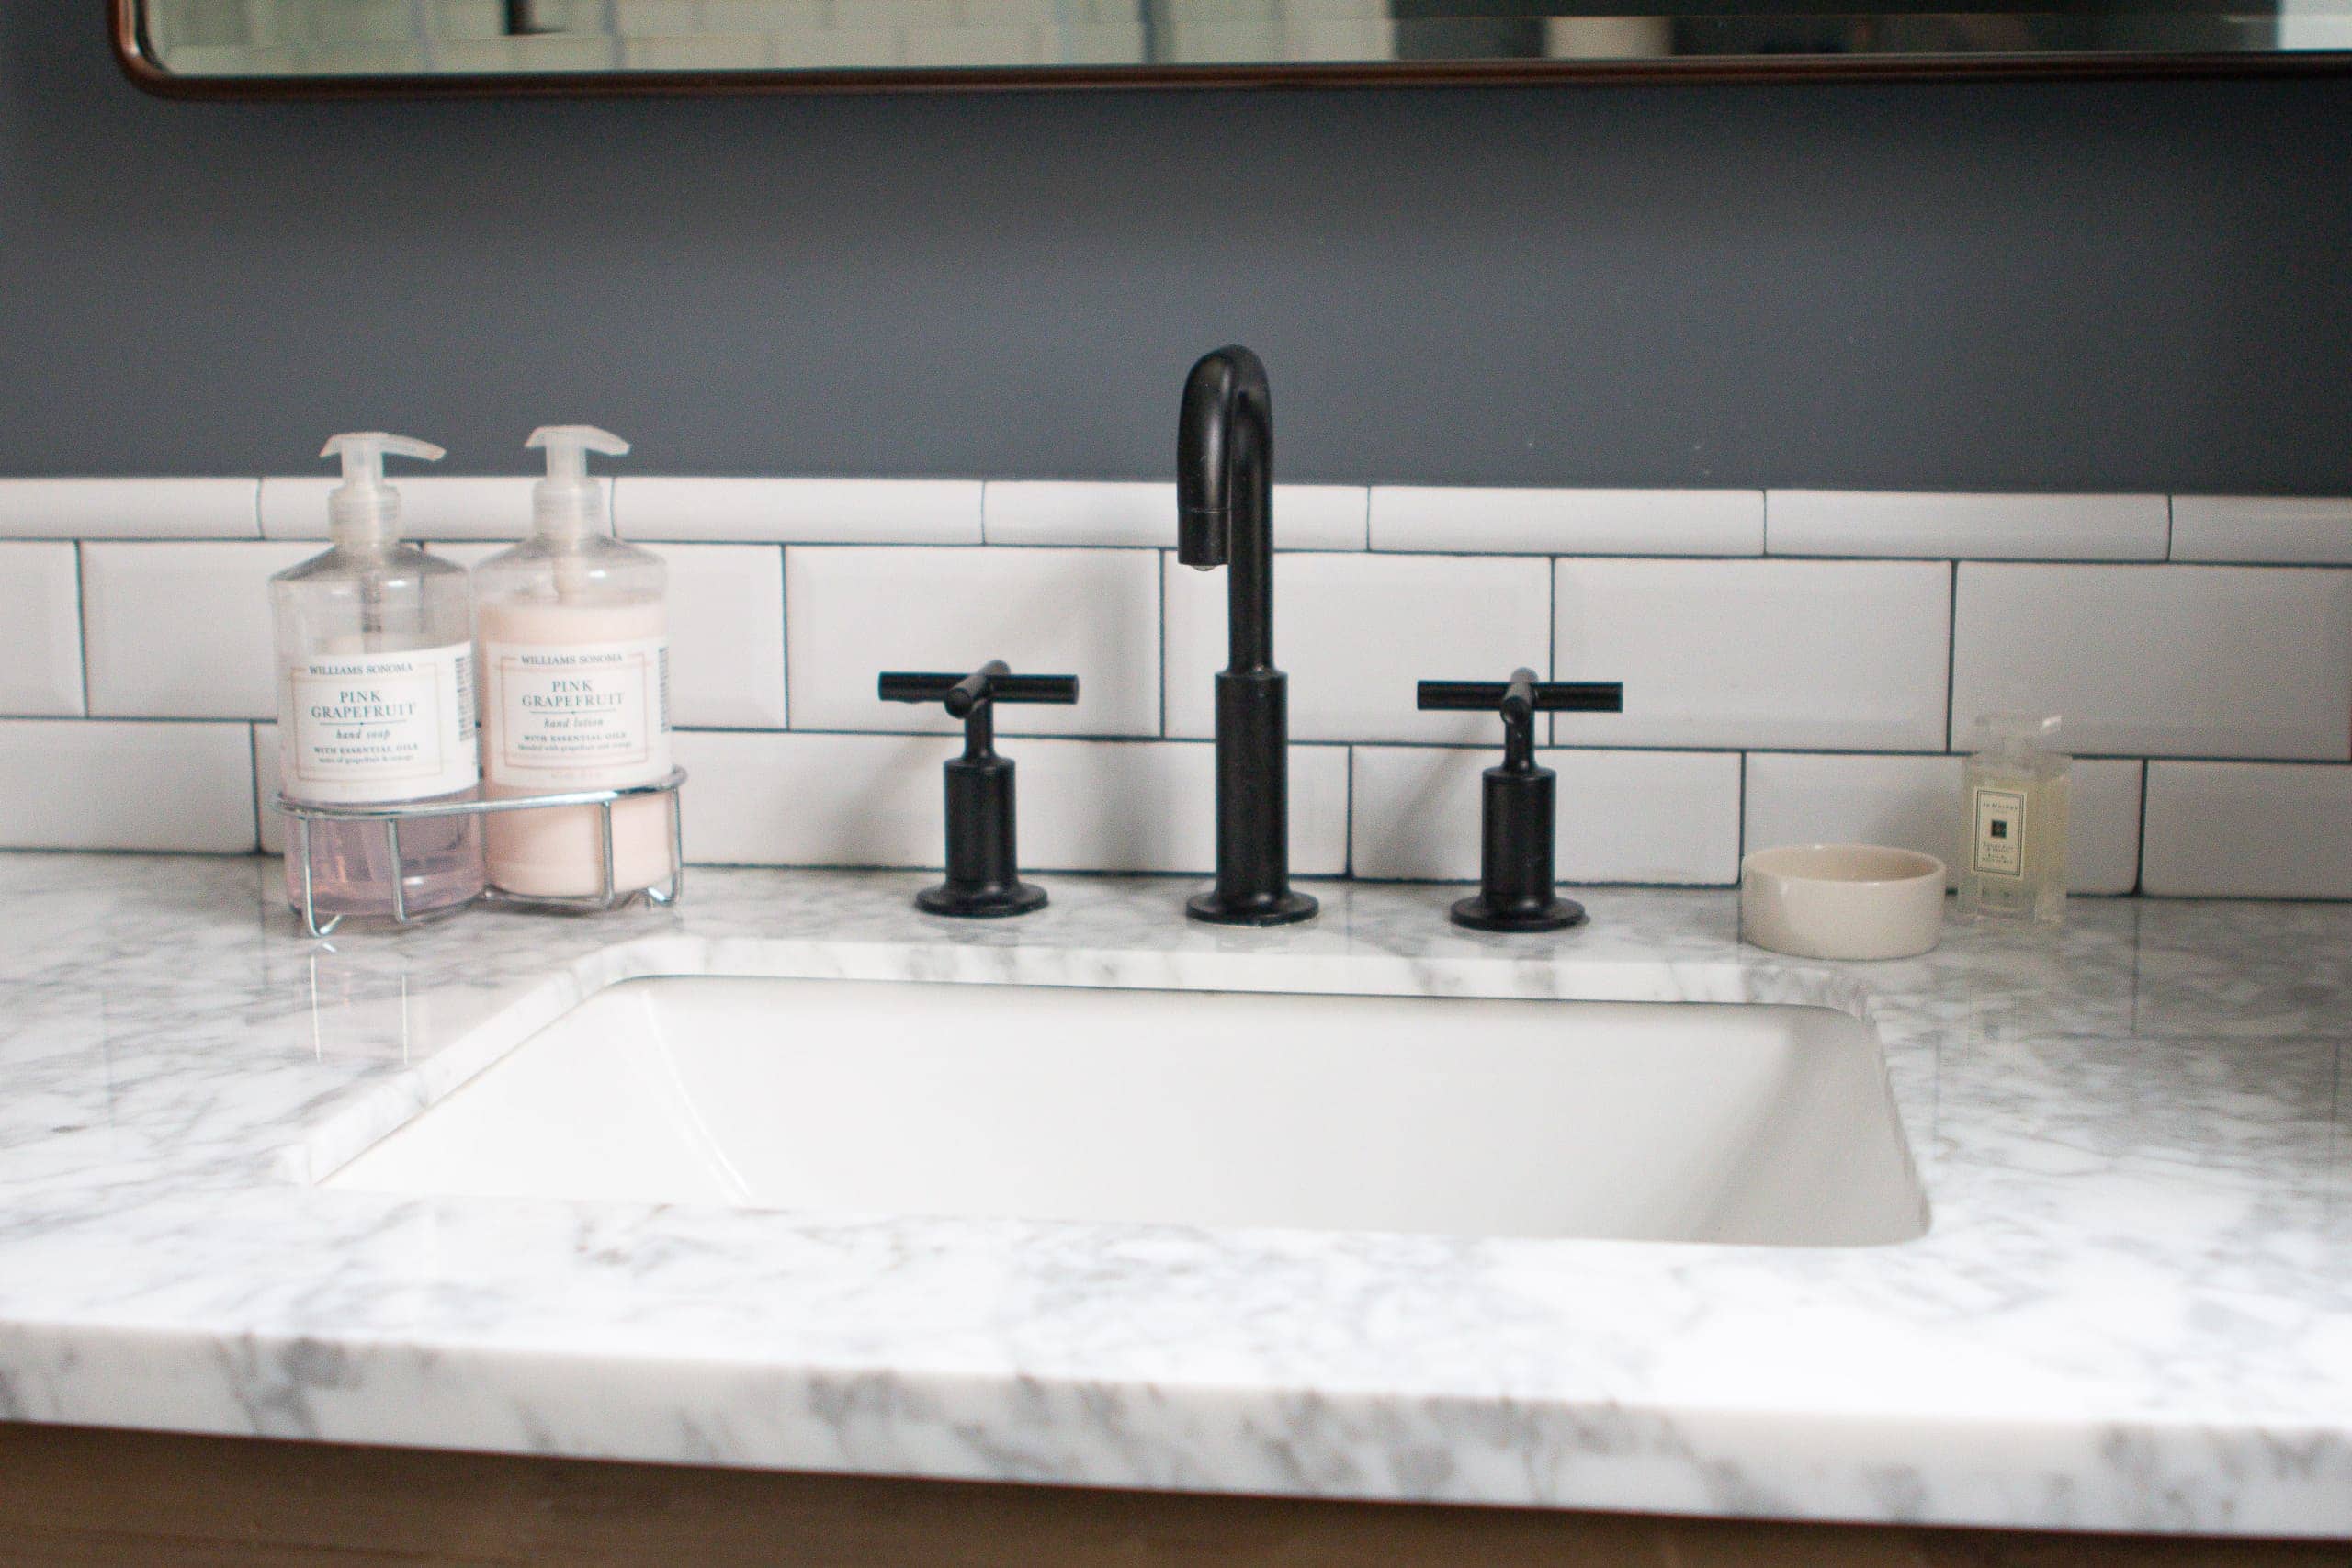
I was originally dead set on dual sinks (like the drawing above) until Casey mentioned that the area between the sinks would probably cause me to have more things fall in the sink, give me less counter space, and the dual fixtures that it needed would make it more expensive. As a curly-haired girl, who likes to straighten my hair, I usually need quite a few products on my vanity to get ready in the morning. One sink sounded ideal.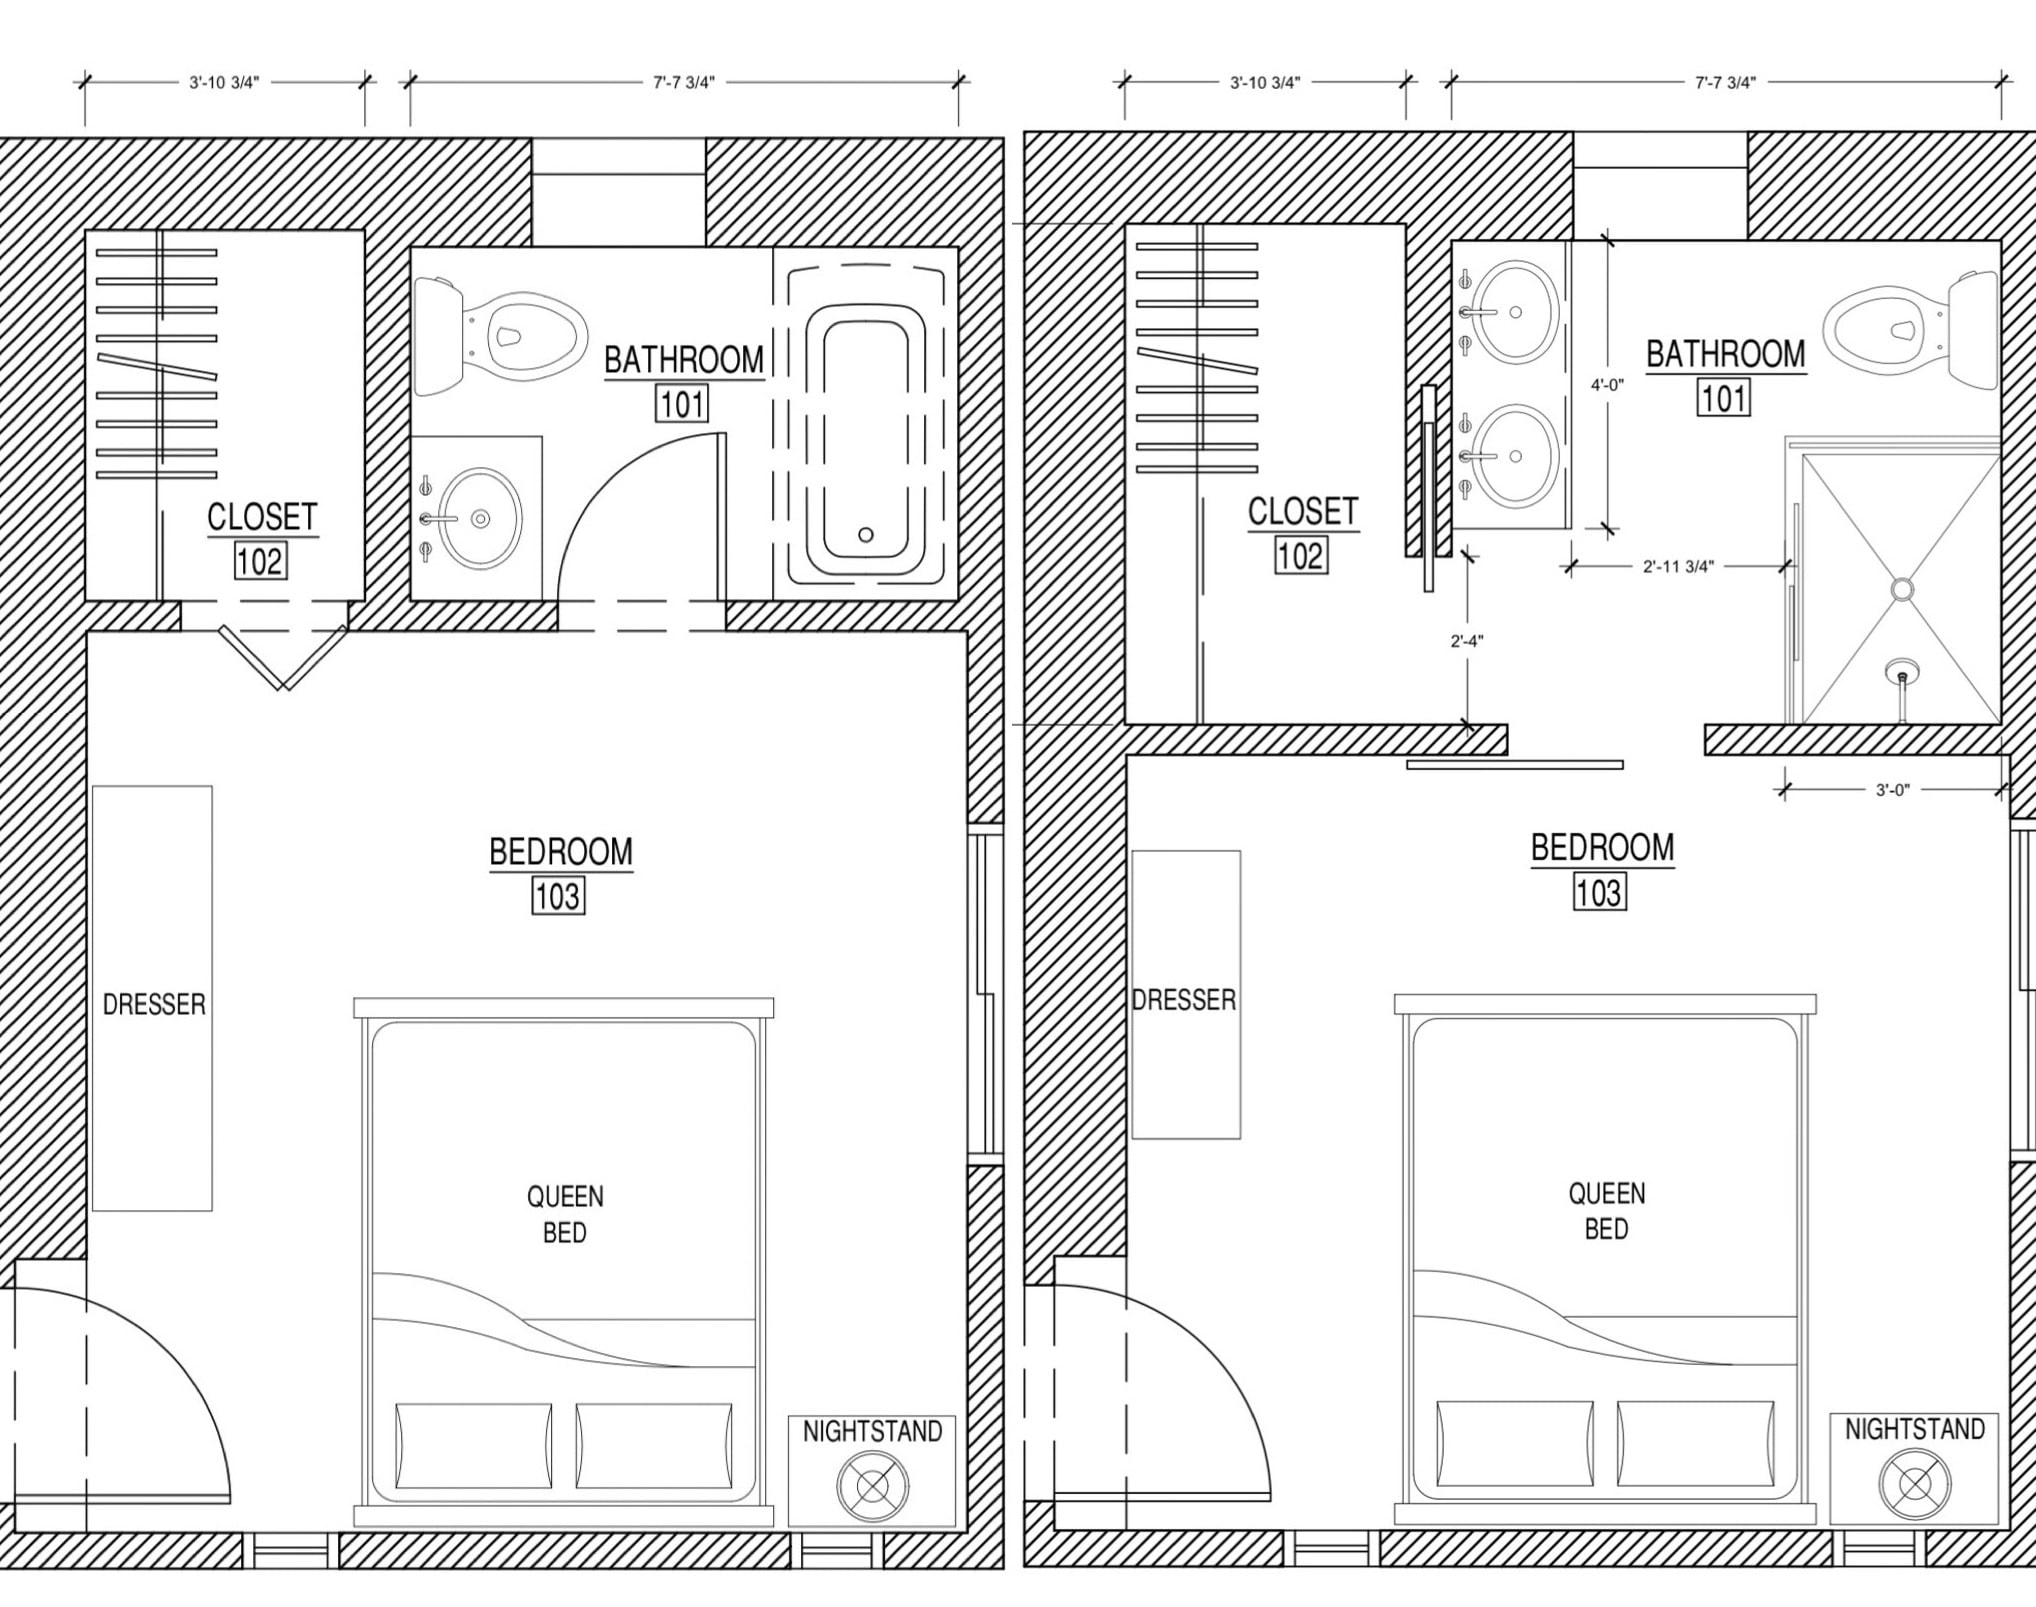
We ended up taking a bit of space out of my bedroom to make the bathroom larger, but this allowed us to add the closet entrance in the bathroom, so the wall in the bedroom has only one door, not two. I like the nice, clean look of only one entrance door too!
Plan & Buy BEFORE Demo
The designer created the new layout, but I picked out all items for the renovation, which meant spending A LOT of time on Pinterest looking at bathroom ideas. When I first moved into my condo, Casey asked my style, and I replied, “clean”. After lots of time spent on Pinterest, I finally found that my style is “Napa Farmhouse”. Browsing inspiration online helped me figure out what I liked and what I didn’t like and it was really helpful when it came time to start buying.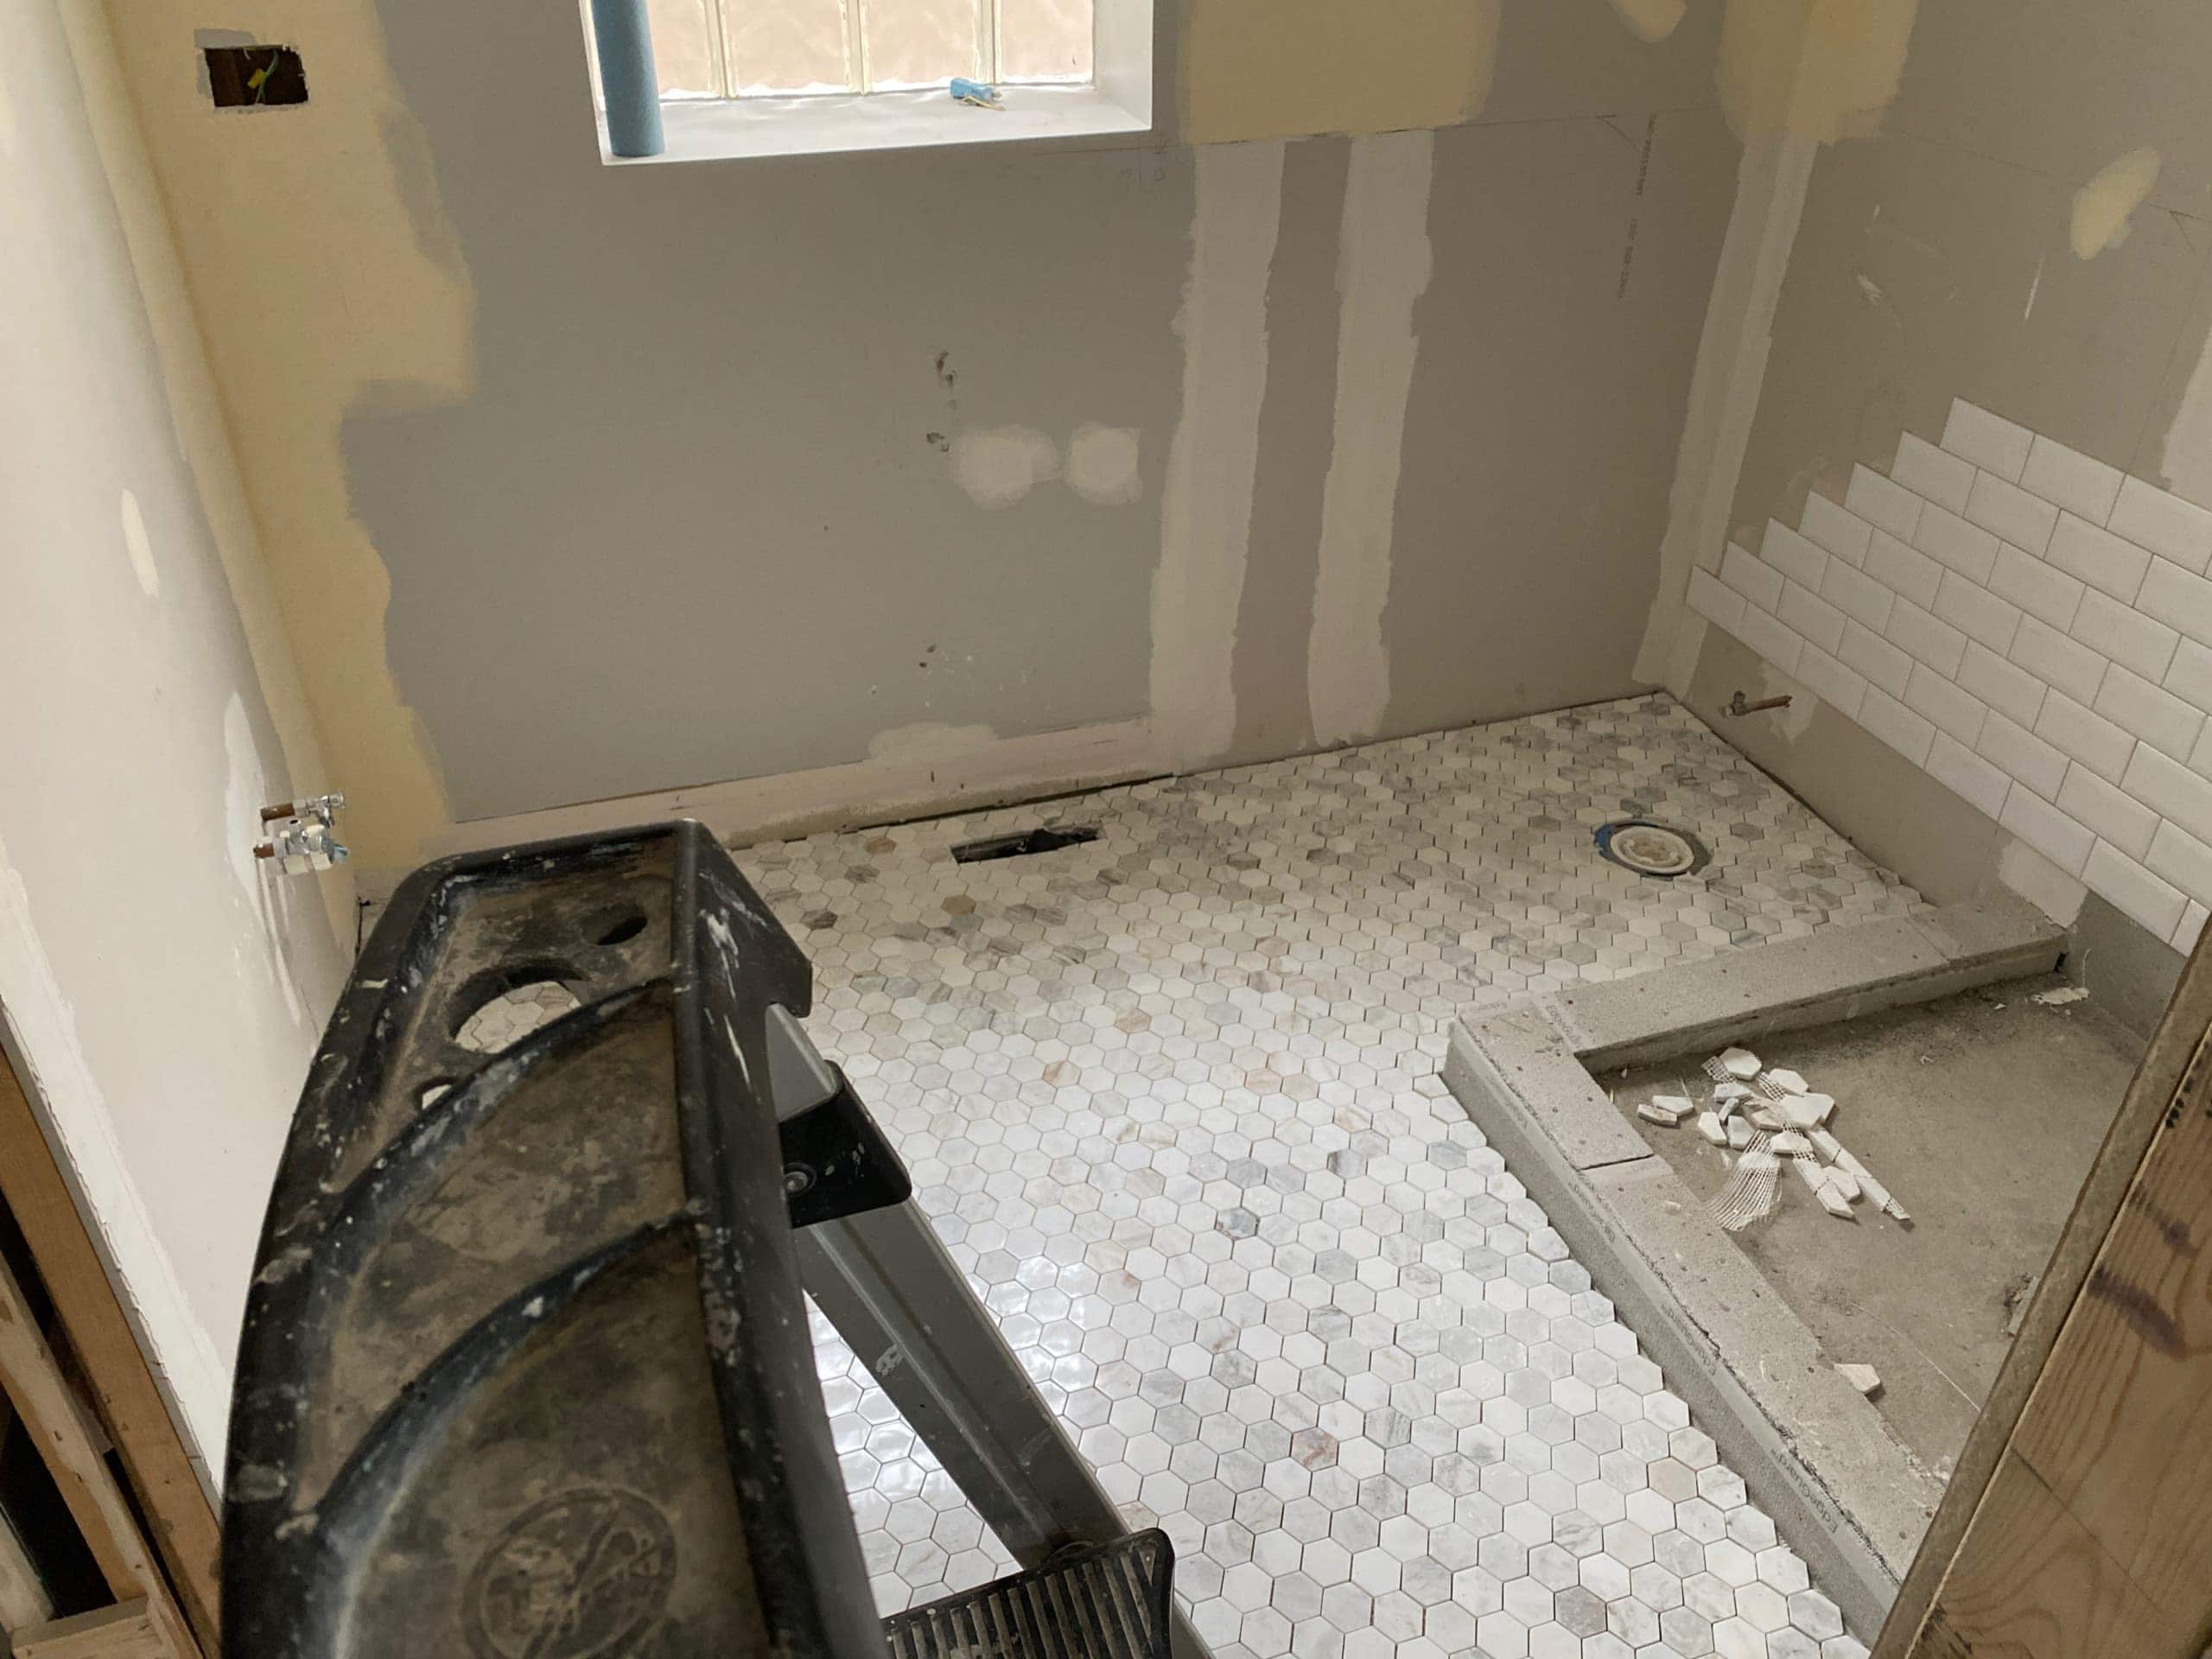
One thing I didn’t realize was that I would need to have all of the items on hand before my contractor got started. He preferred that everything was on-site when his team arrived. That way, they could have exact specs for any items going in the new space. Plus, it just makes things less stressful once the demo actually begins. My plan was to start the renovation on February 1st, so I started buying items around Christmastime. I put together a budget and started to look at the larger ticket items: shower, vanity, tile for the floor, and tile for the shower and the room. I also had to get the fixtures, drain for the shower, toilet paper holder, towel hook, and hand towel holder. Be sure to give yourself plenty of time to allow for shipping and any back orders or delays.
Figure Out Storage
So I bought all of these items, but where were they going to go? My condo is small and I needed to figure out where all of these large items would be stored. I tried to time the deliveries of all the items for the beginning of the demo. Unfortunately, working with third-party online companies, this was not always possible.
At one point, I had to call Casey and ask for her to store my vanity in her garage because it had arrived four weeks early!! The boxes were BIG and I live on the second floor of my condo building. Most deliveries were only to the curbside, and were too heavy for me to be able to get up my stairs. Thankfully, I had the vanity rerouted to Casey’s house and my contractor then got it when he needed it. But this was something I didn’t really think about beforehand, so be sure to have a storage plan.
It’s Not Cheap
Designing the space was one thing, paying for it was definitely another. It took me a while to save up for all the items required for the renovation, as well as the cost of labor. Patrik, Casey’s contractor, was awesome, but labor is definitely not cheap (it was the priciest part of my renovation, at around $17,000)! I ended up getting an estimate from Patrik months before my project started. That way, I had a goal for how much money I wanted to save up beforehand. This was really helpful and motivating for me.
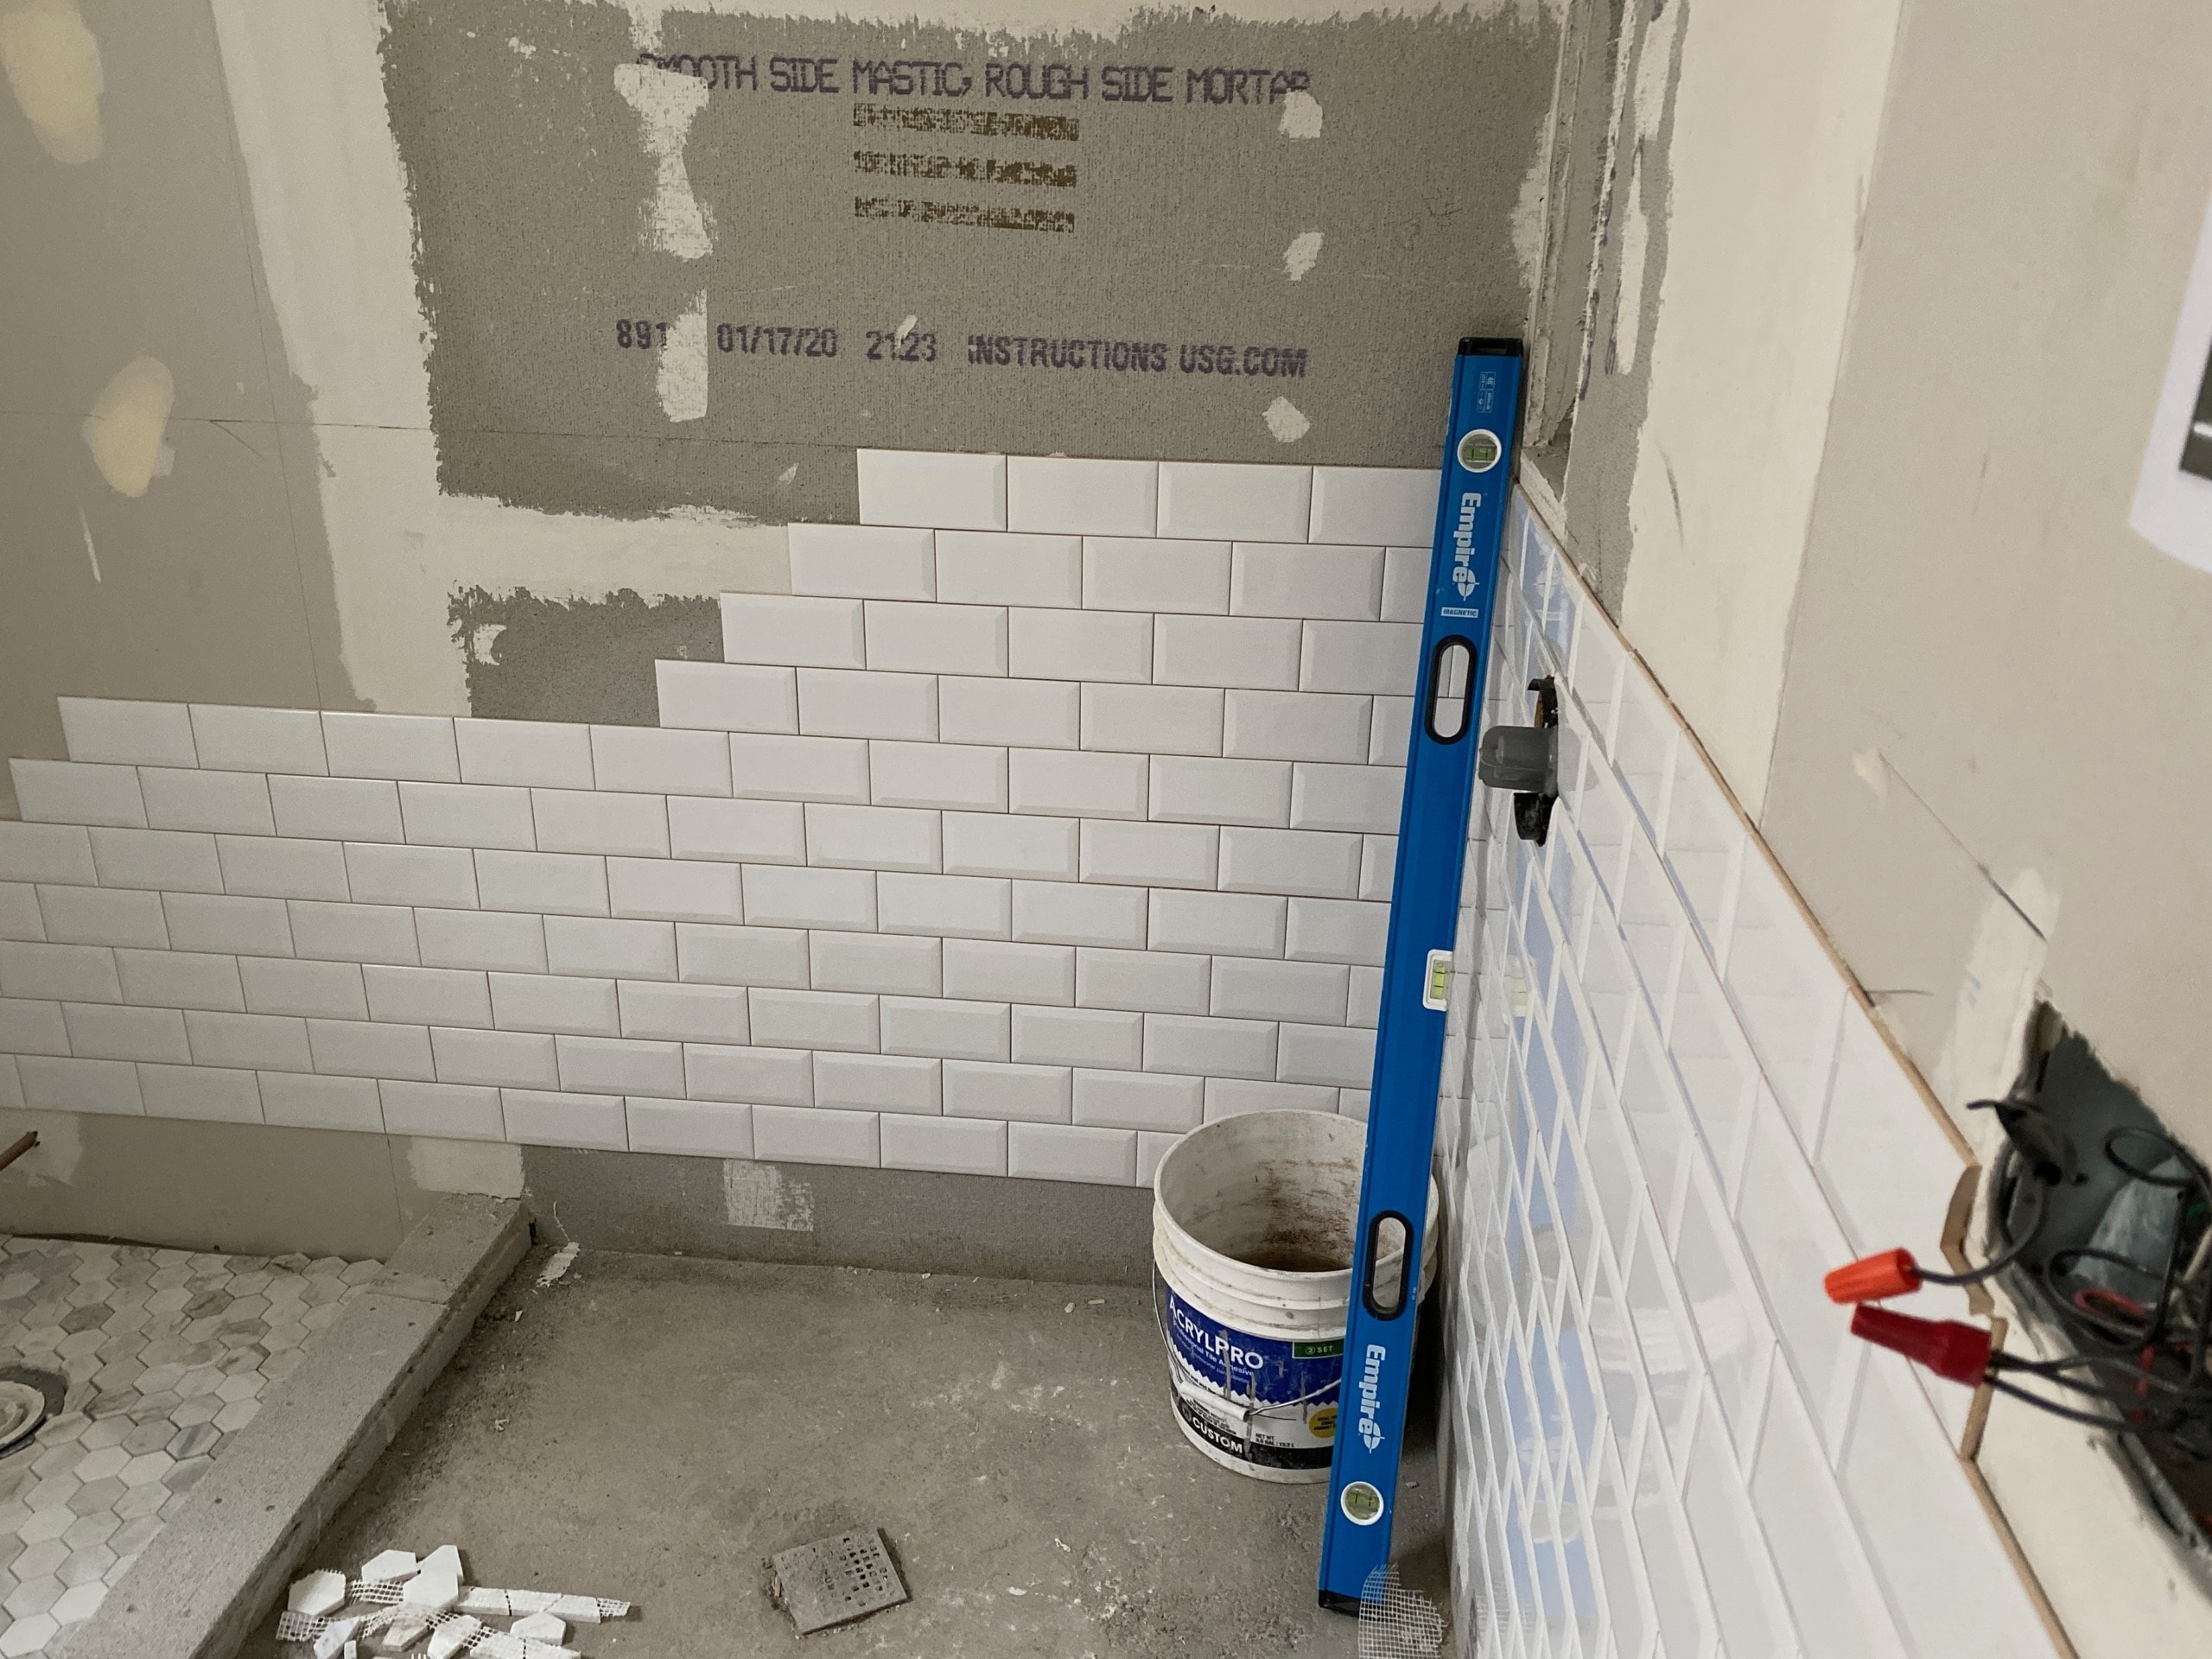
I also think you should know your priorities when it comes to where to spend your money. I splurged on heated floors and a pricey vanity but saved by using inexpensive subway tile for the shower and walls. Between the tile, the vanity, the toilet and all of the other small things in this space, I ended up spending another $10,000 or so. It was a lot of money, but Casey reassures me that all of this will be worth it when it comes time to sell someday. According to her, bathrooms and kitchens sell homes! And in the meantime, I have the bathroom of my dreams.
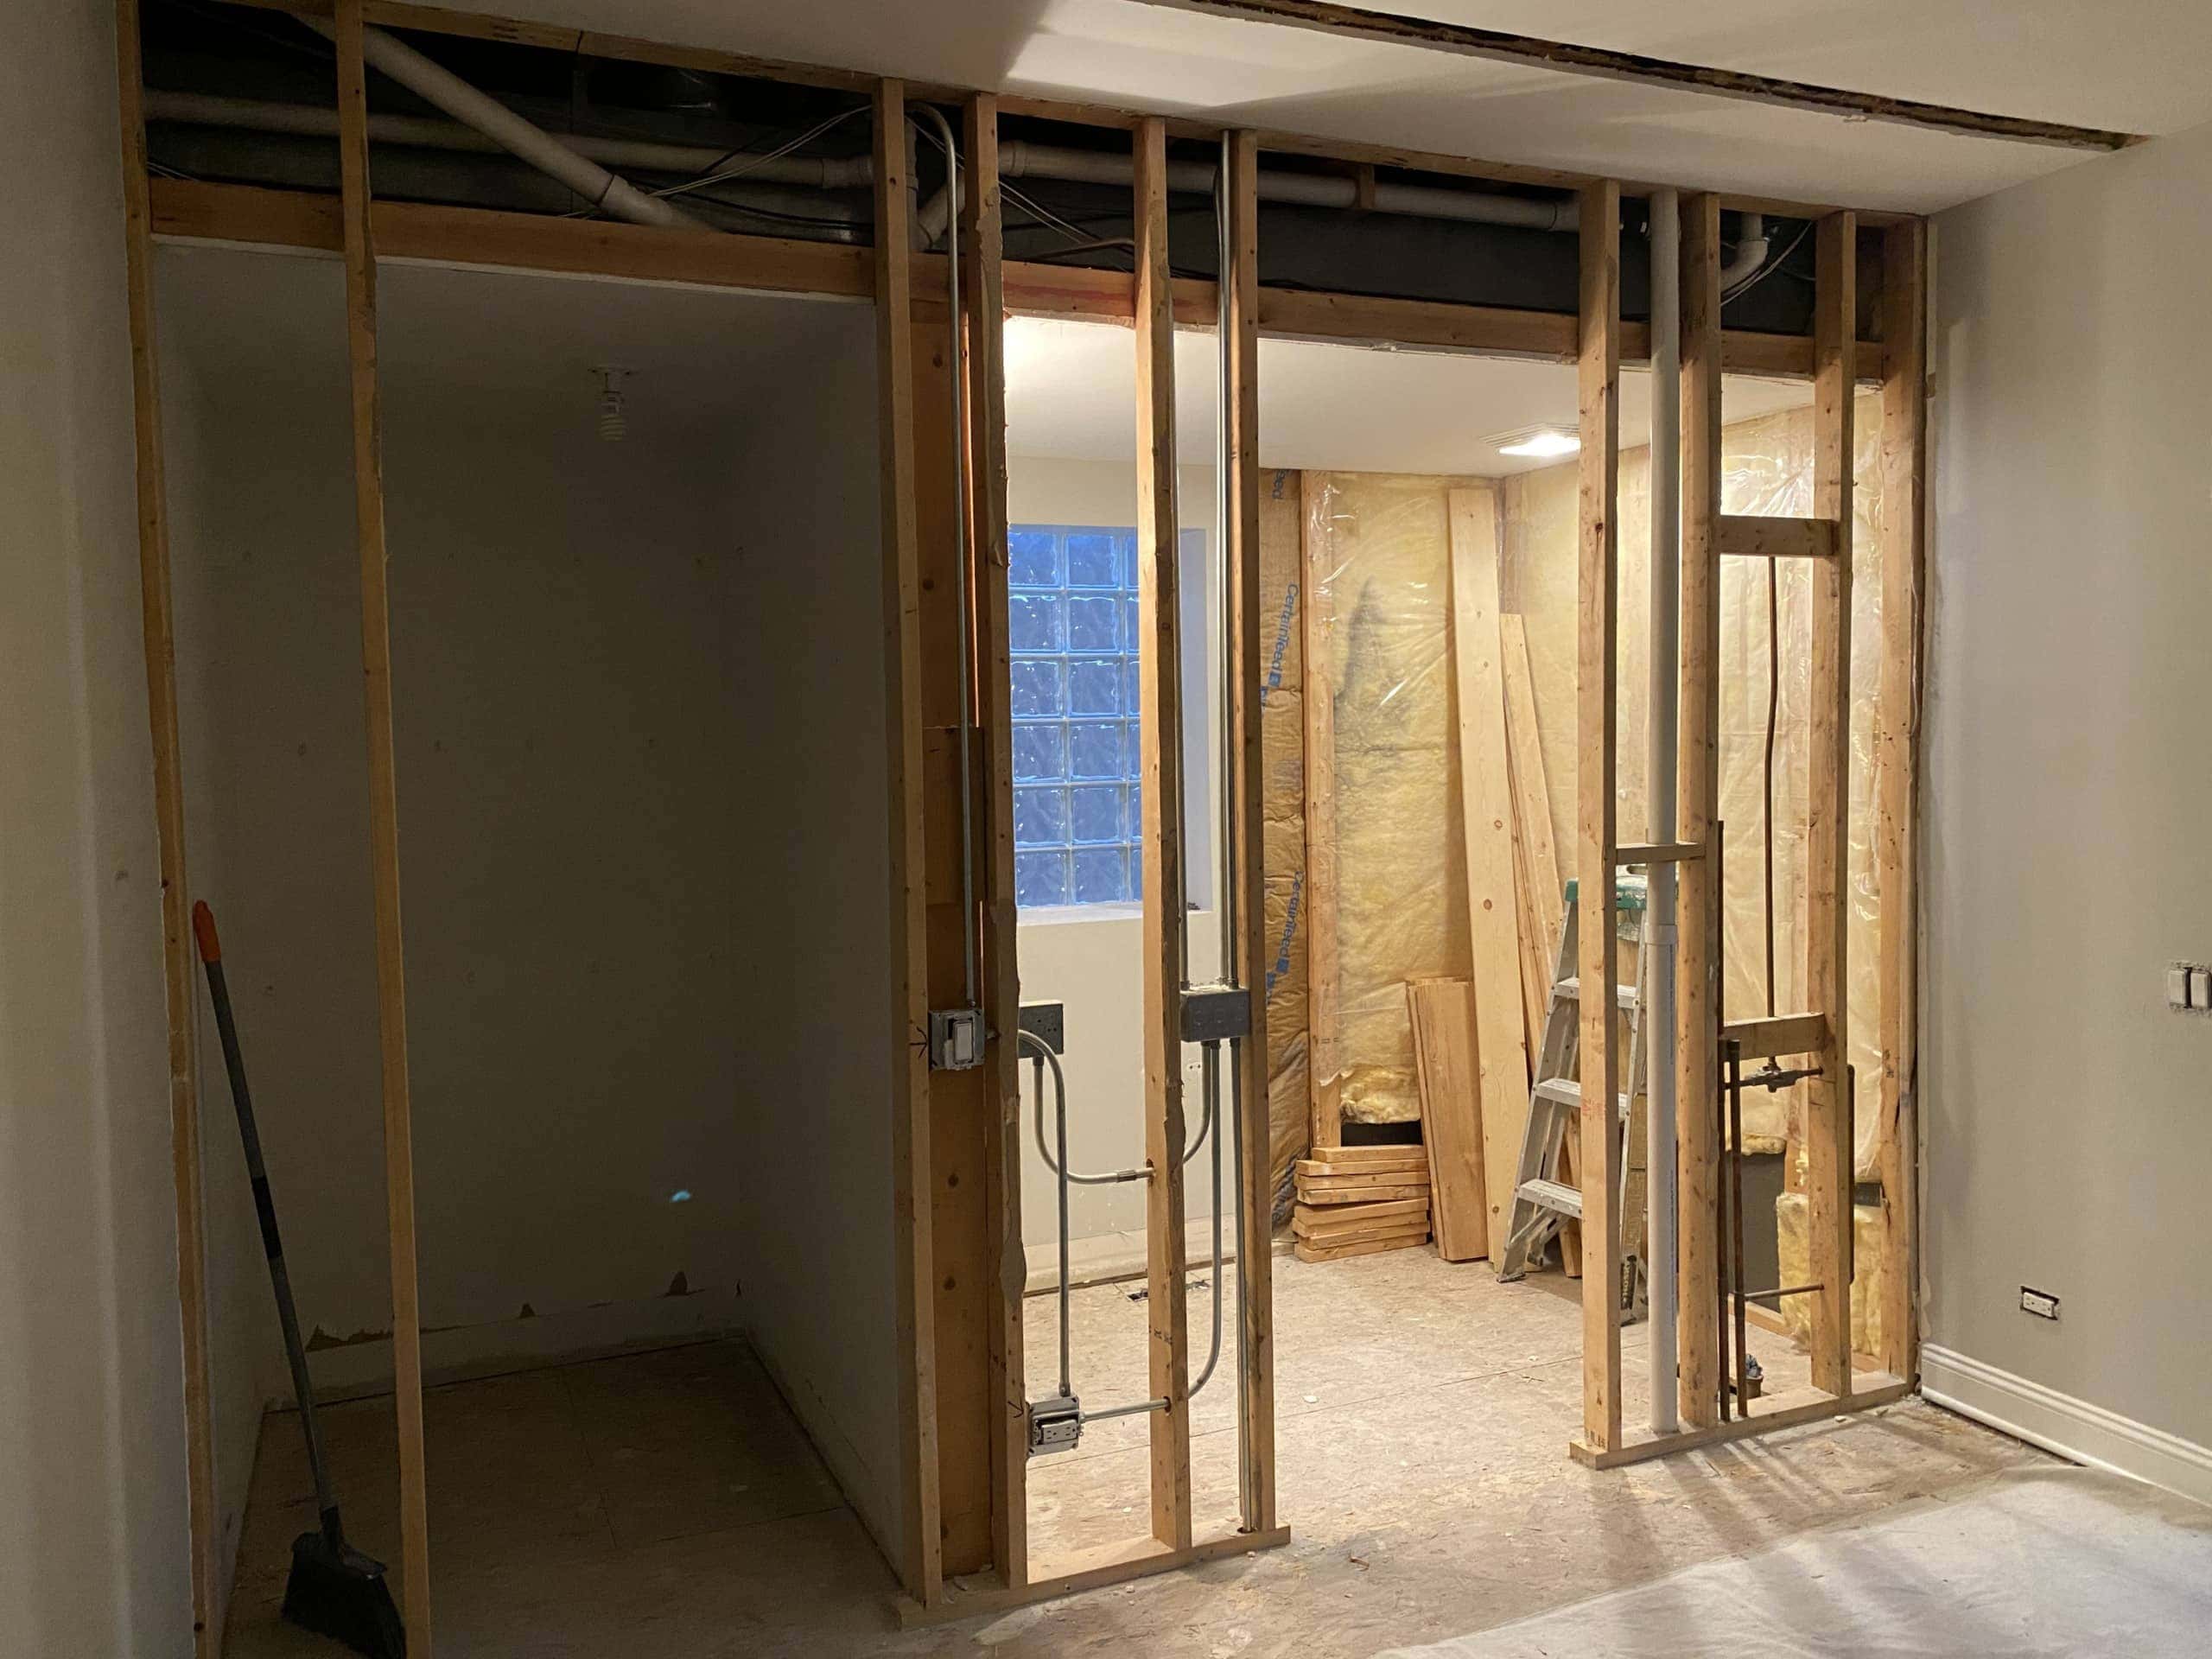
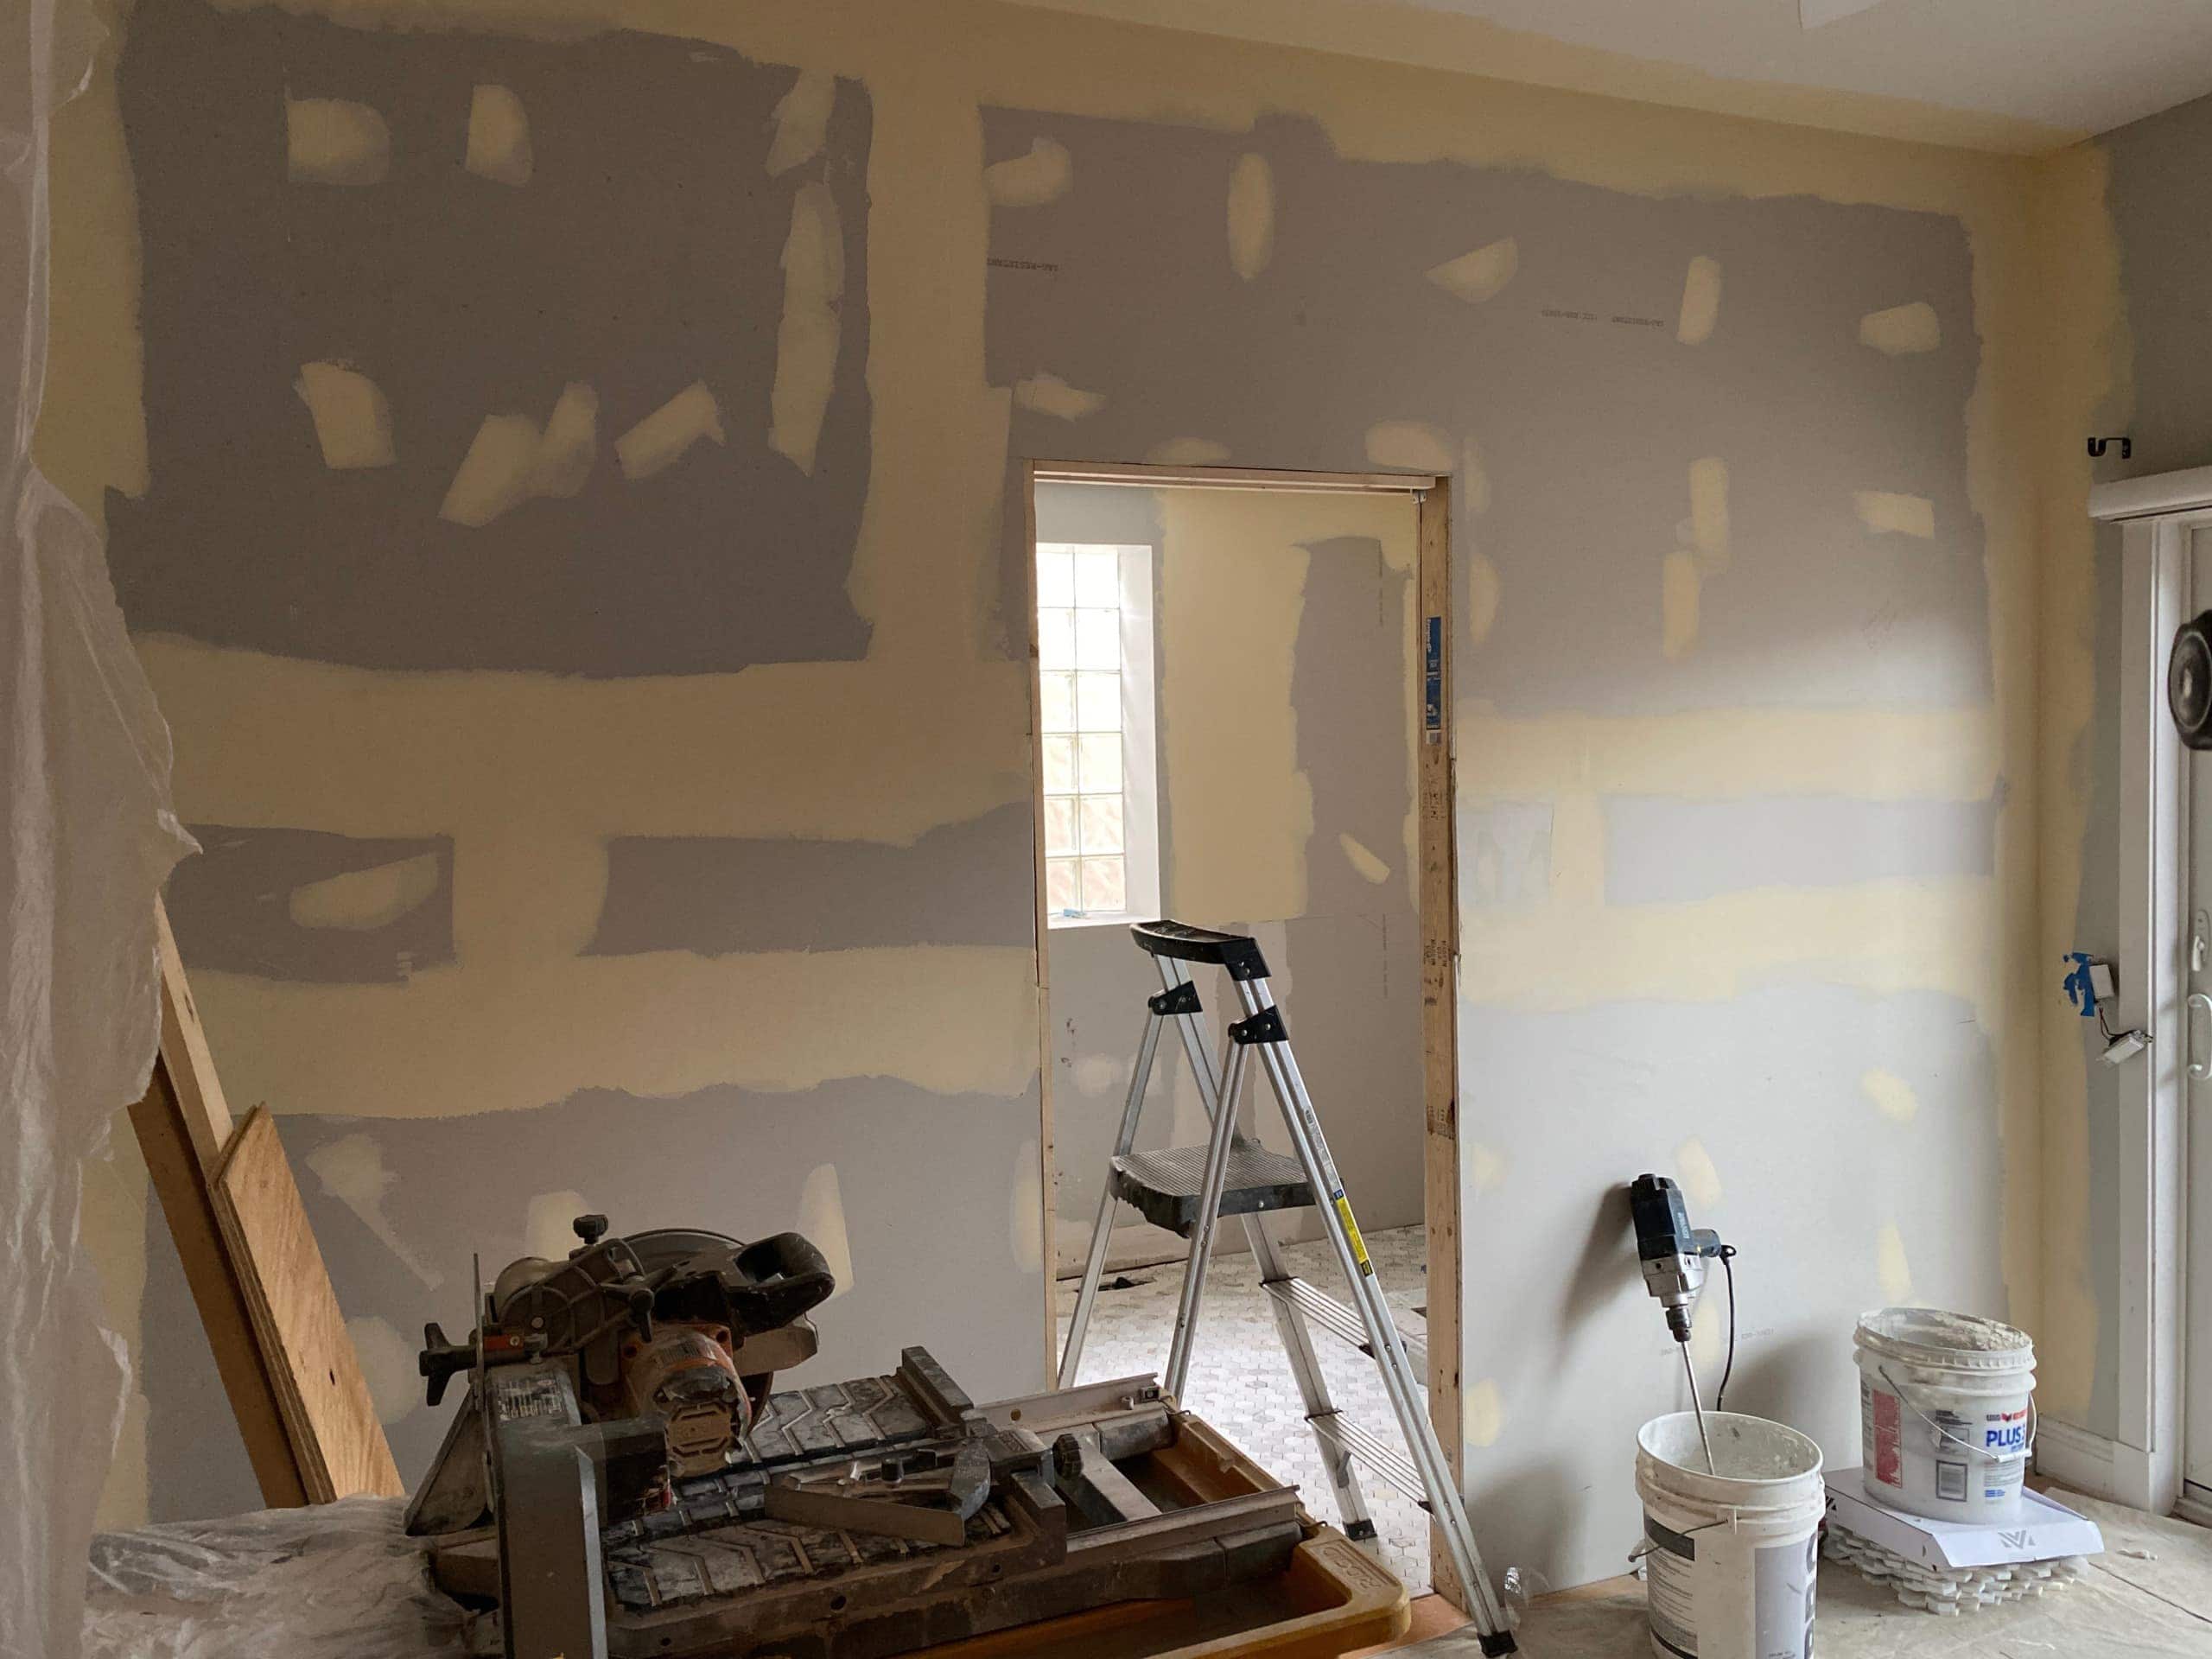
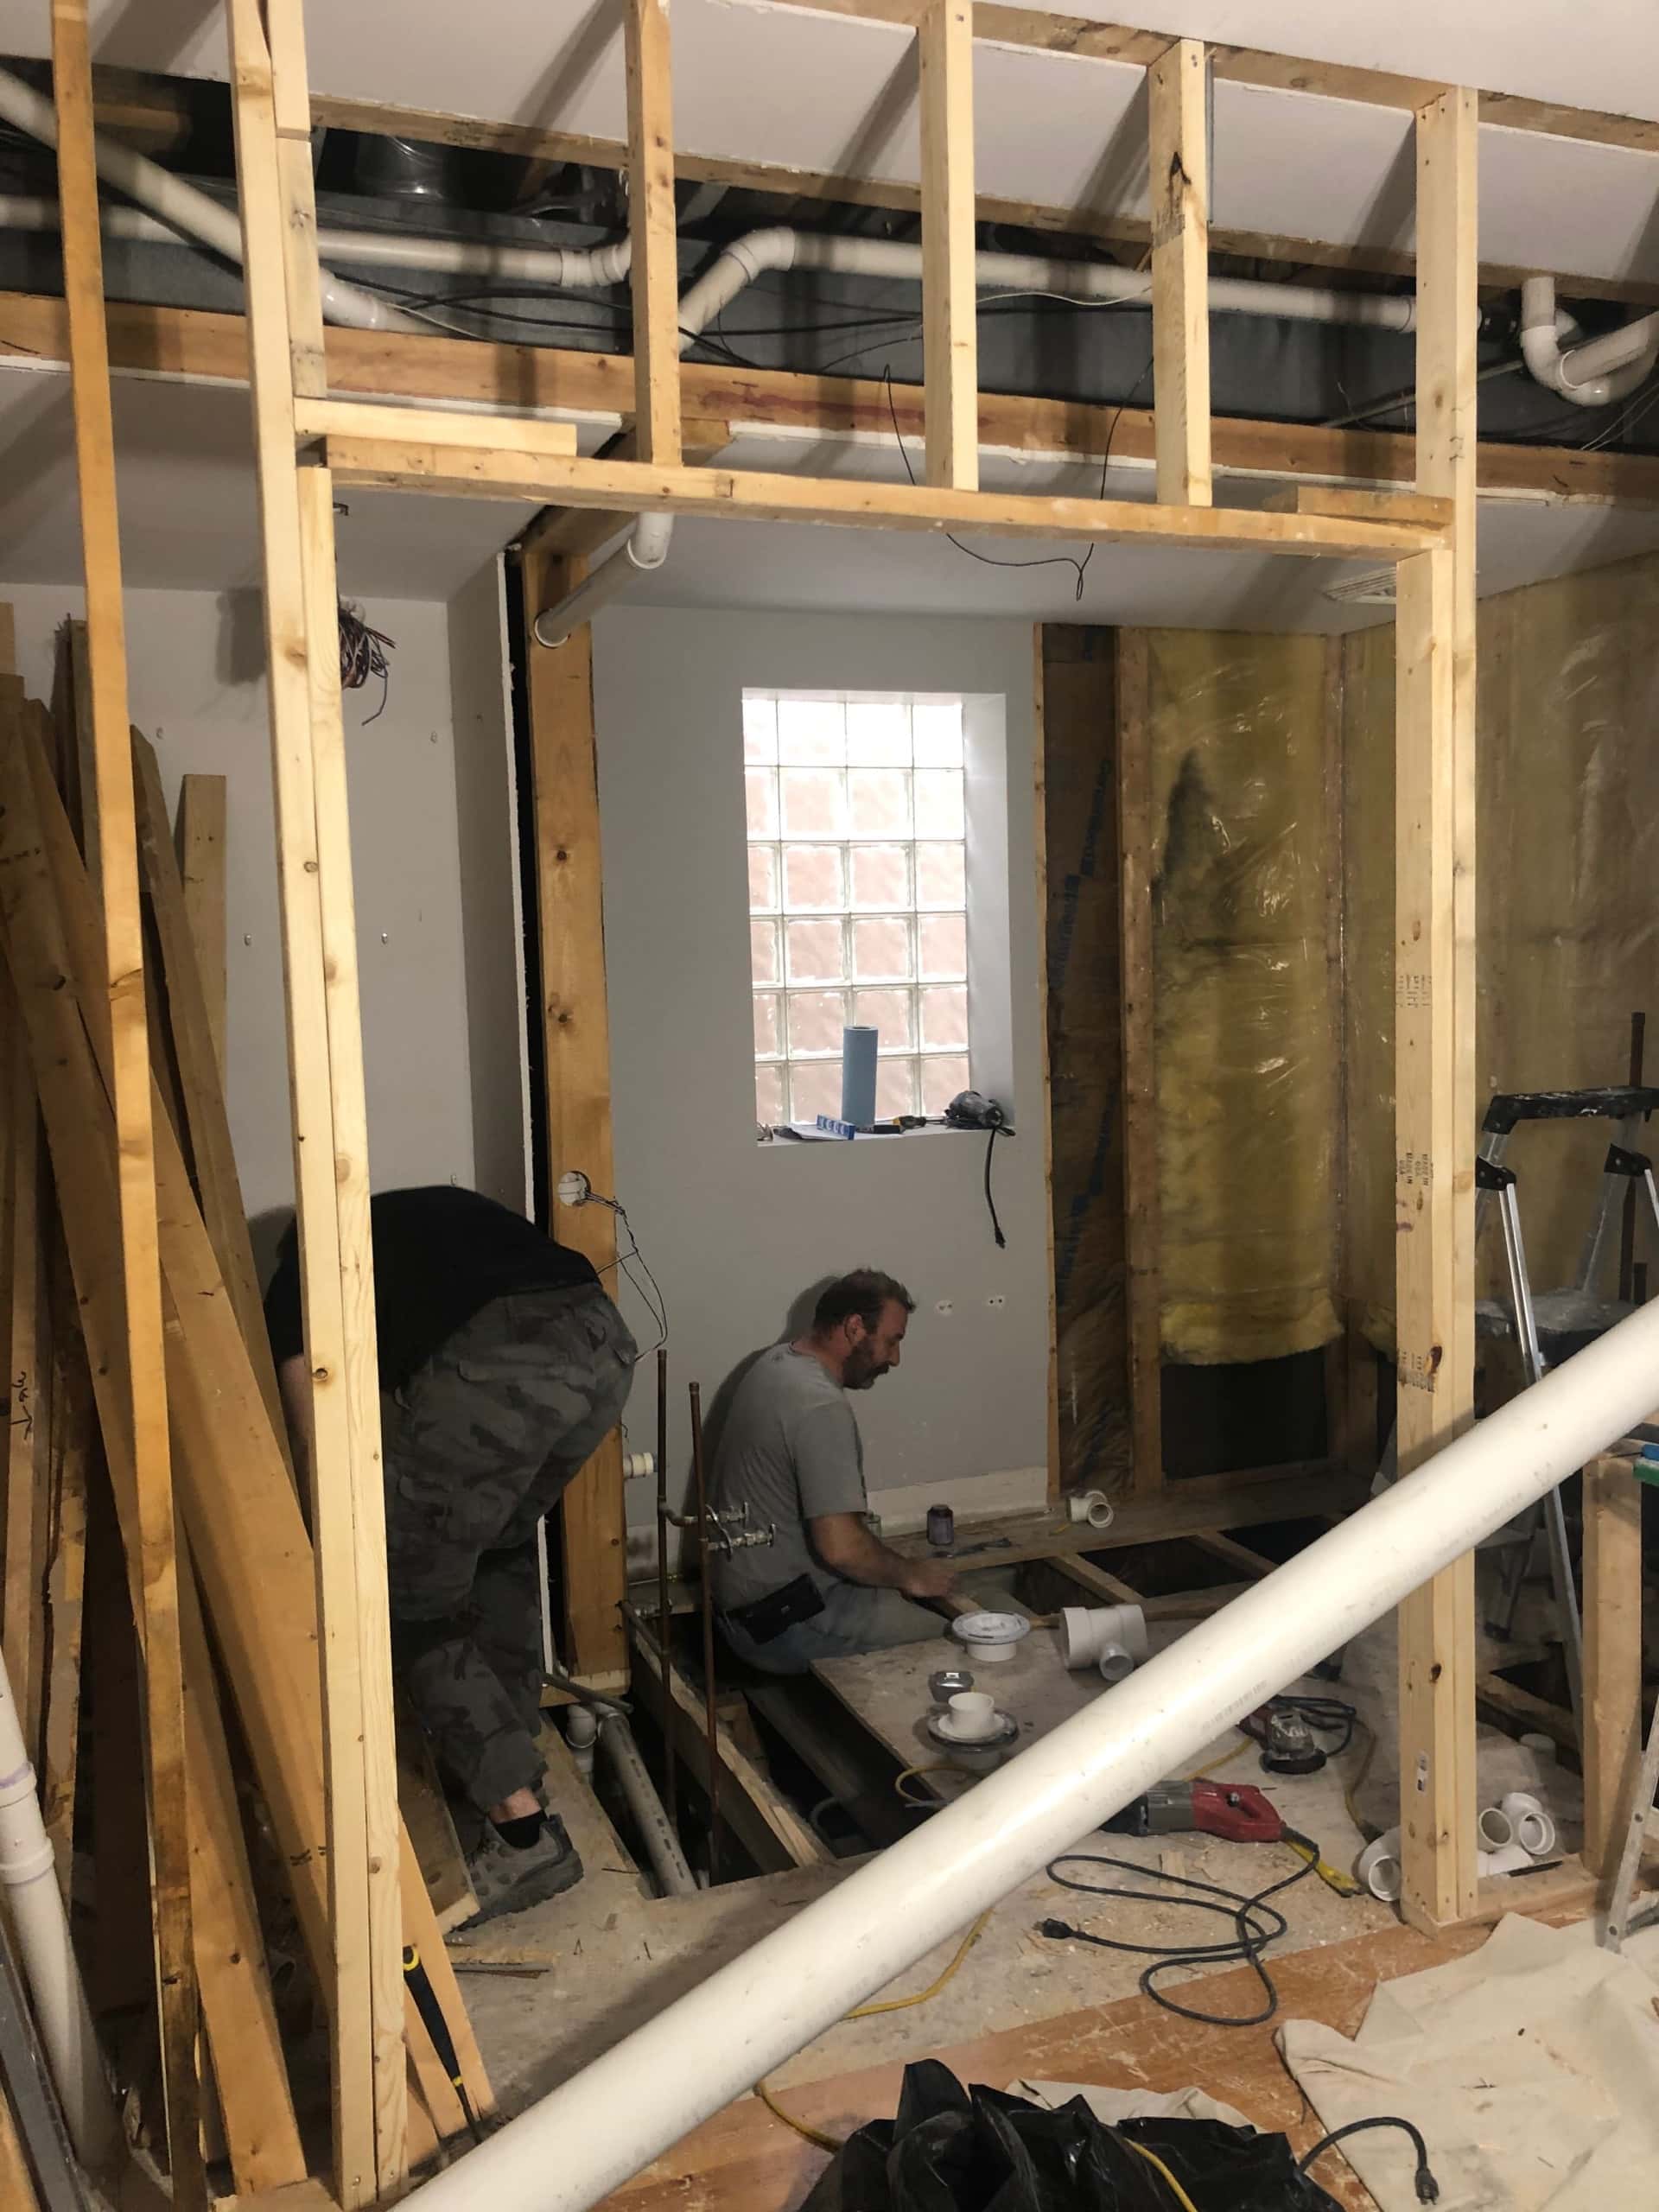
Be Prepared for Mess
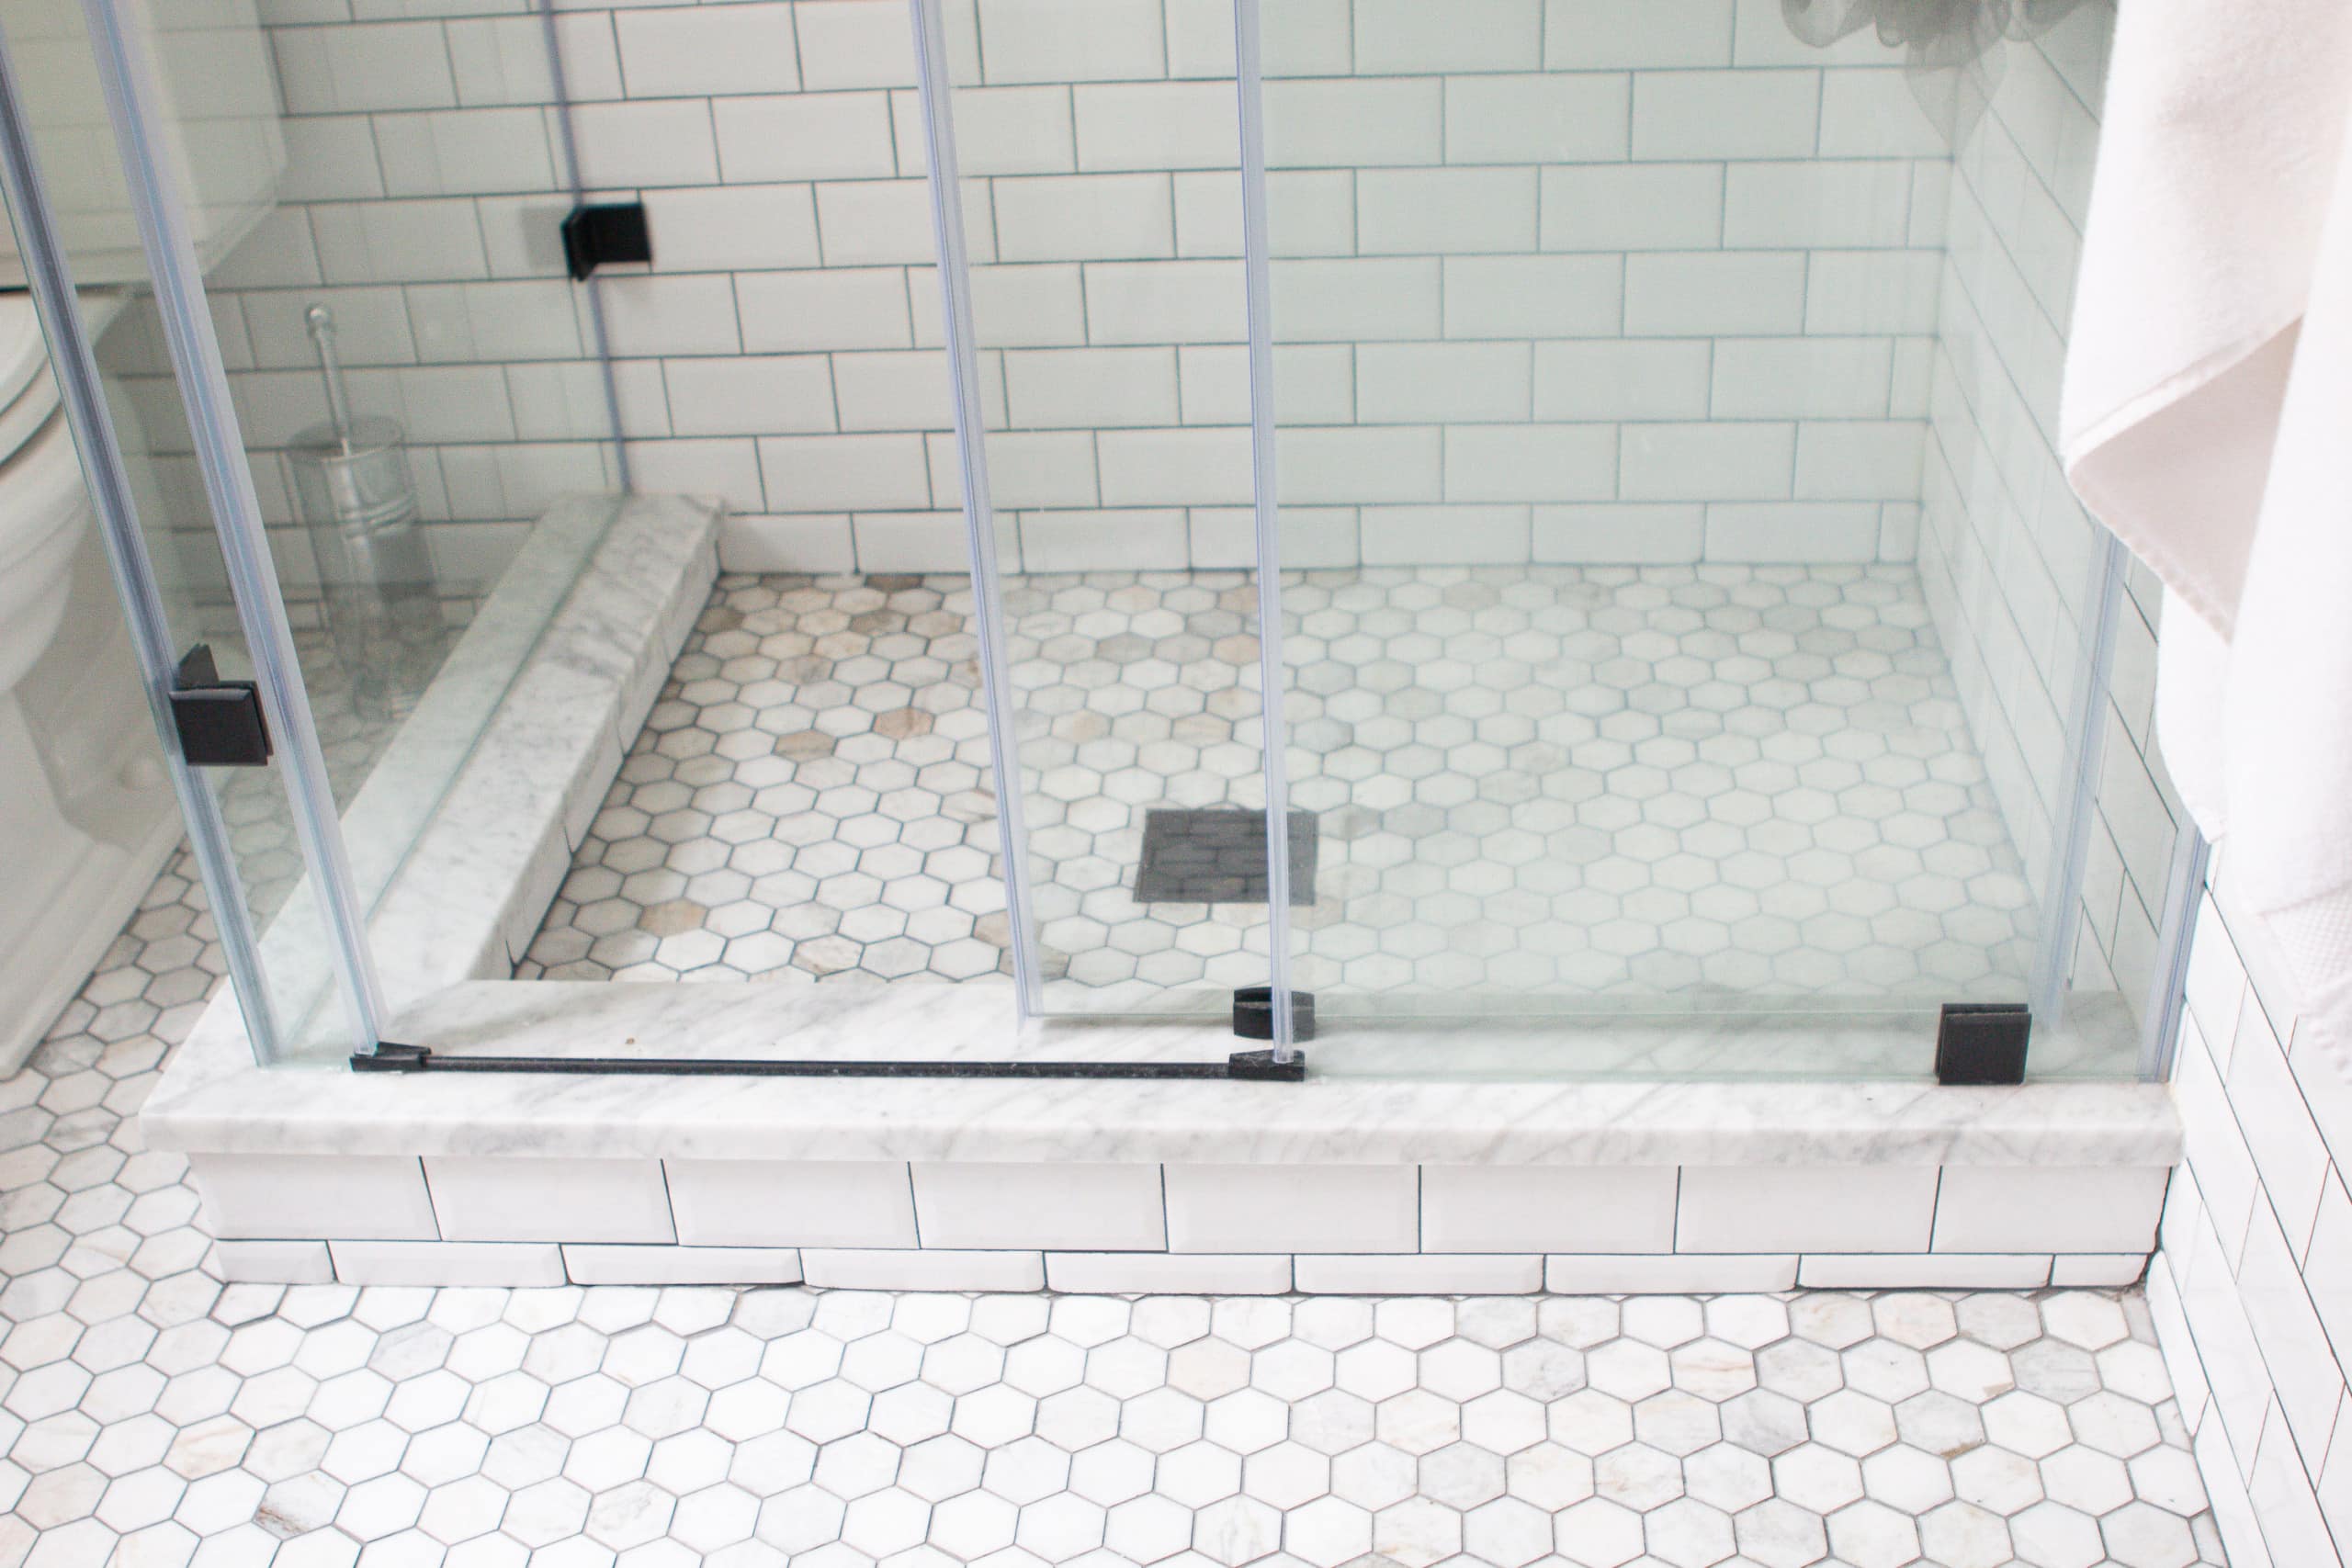
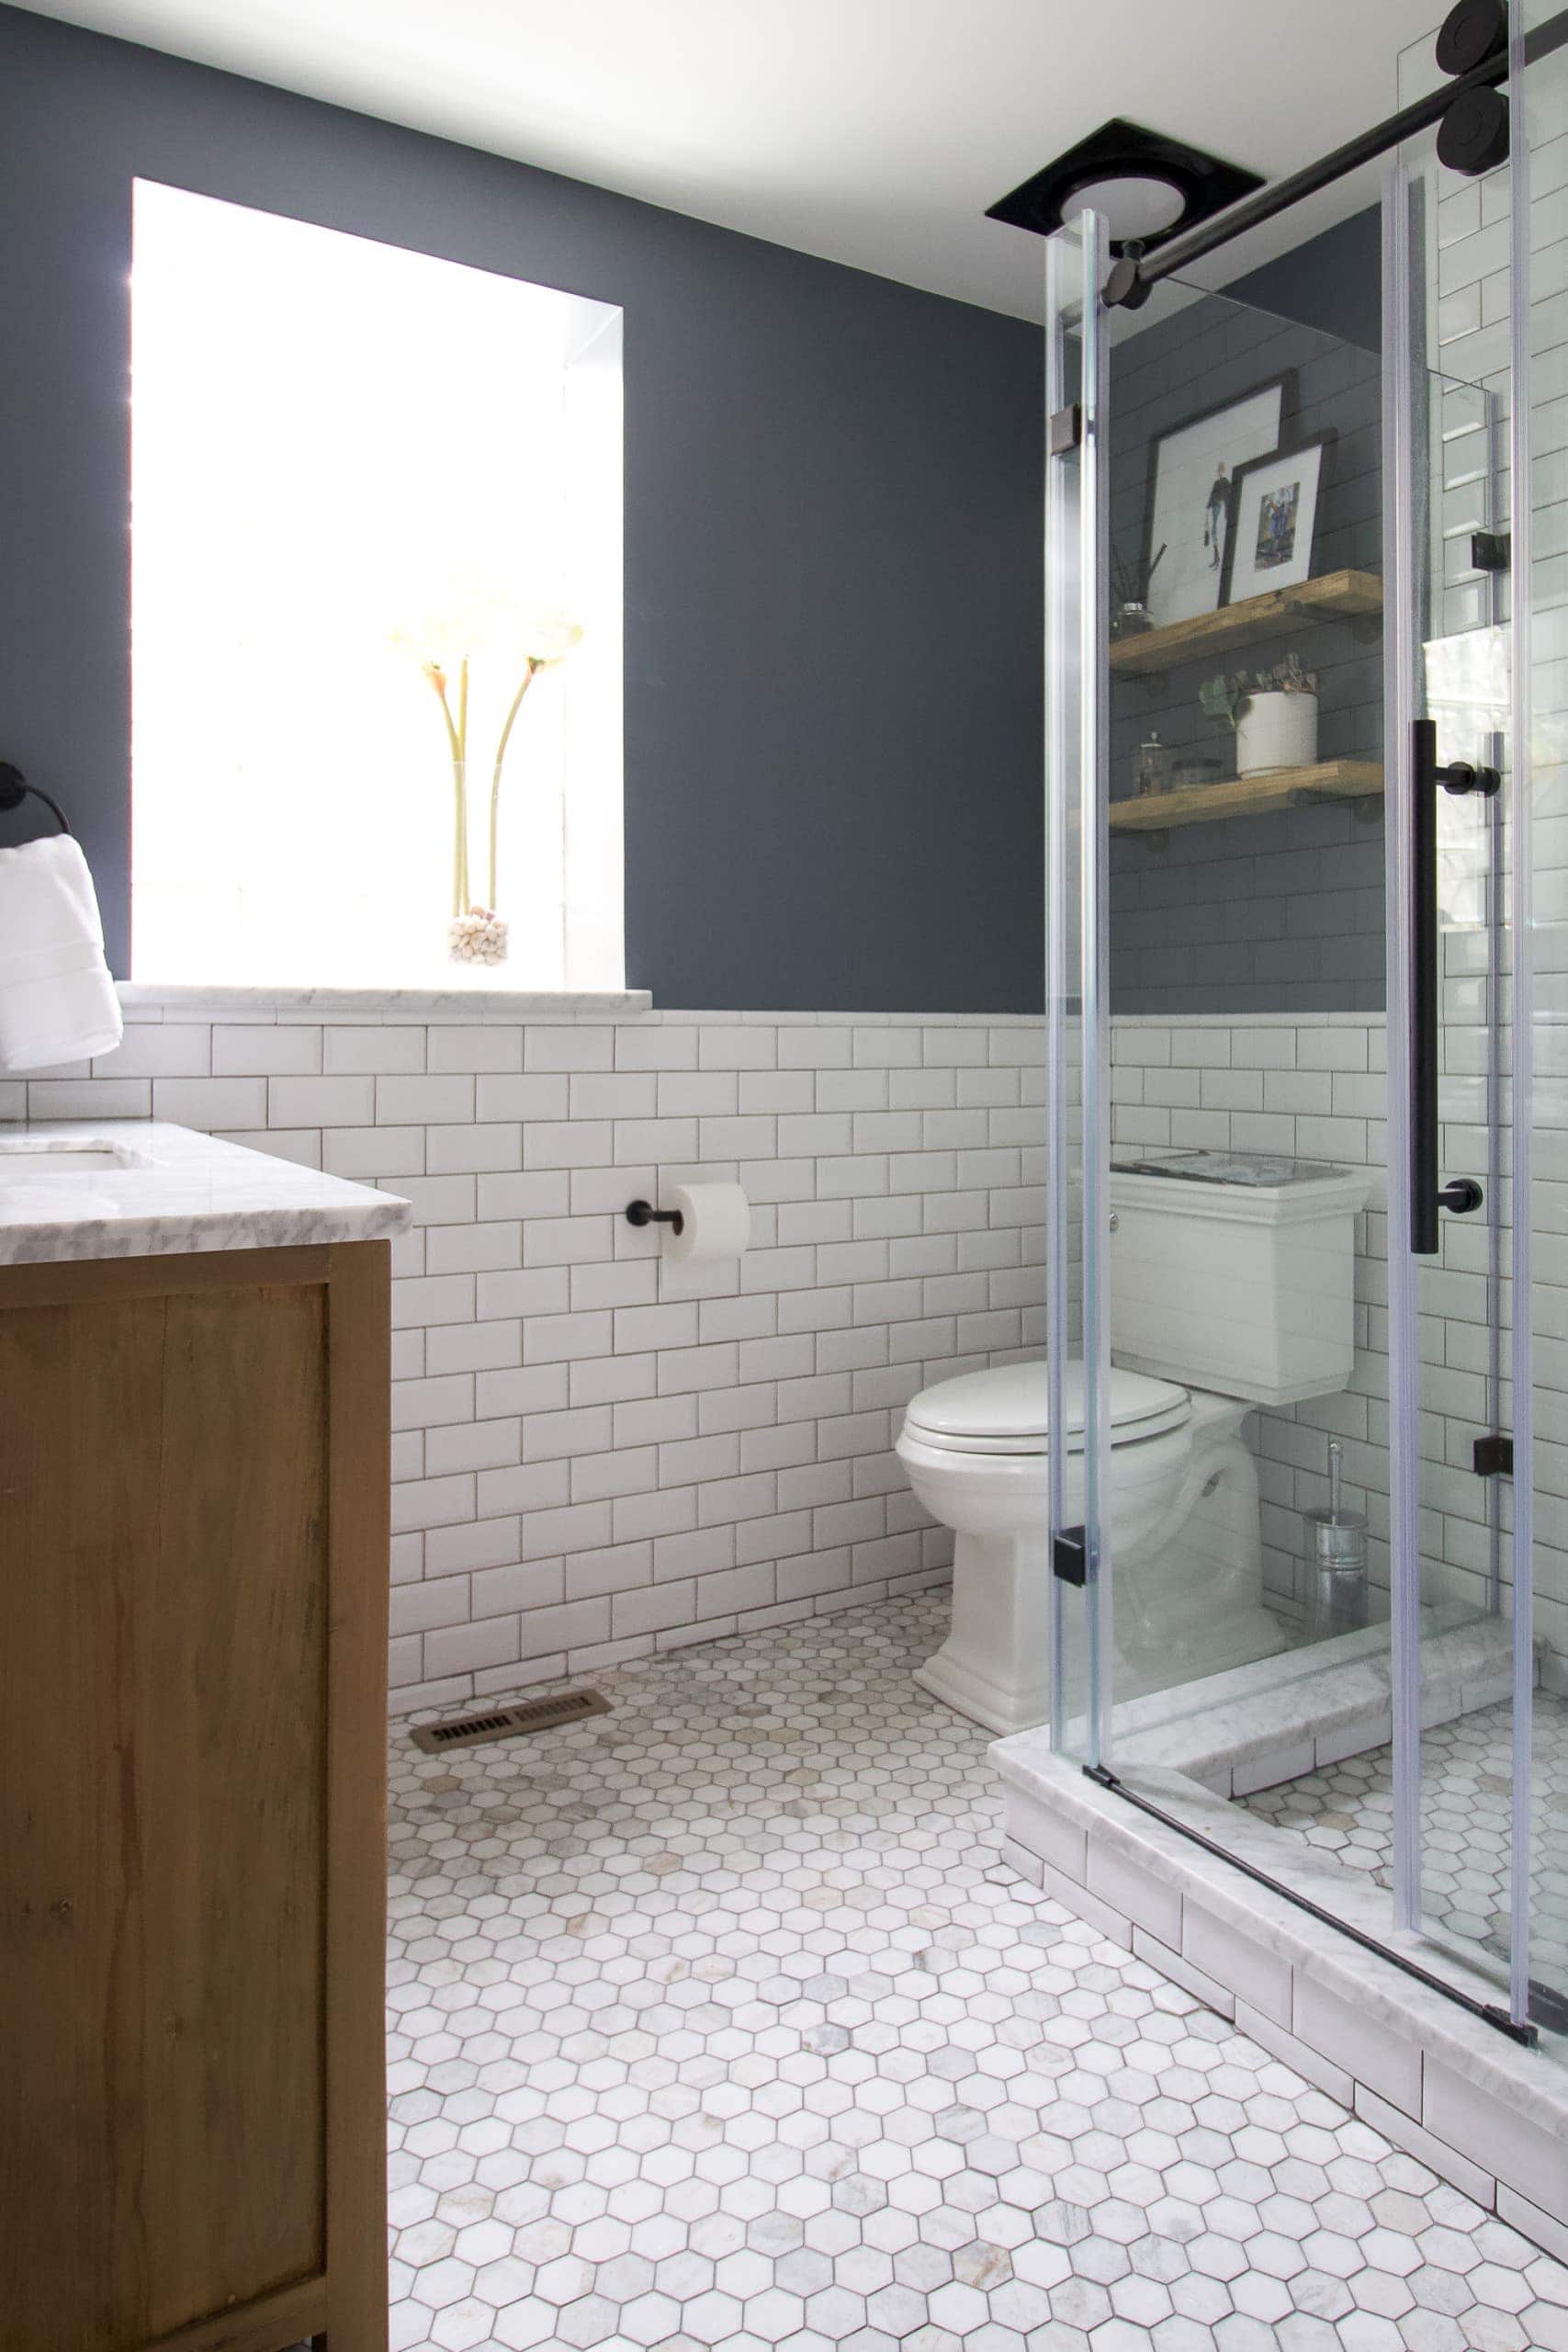
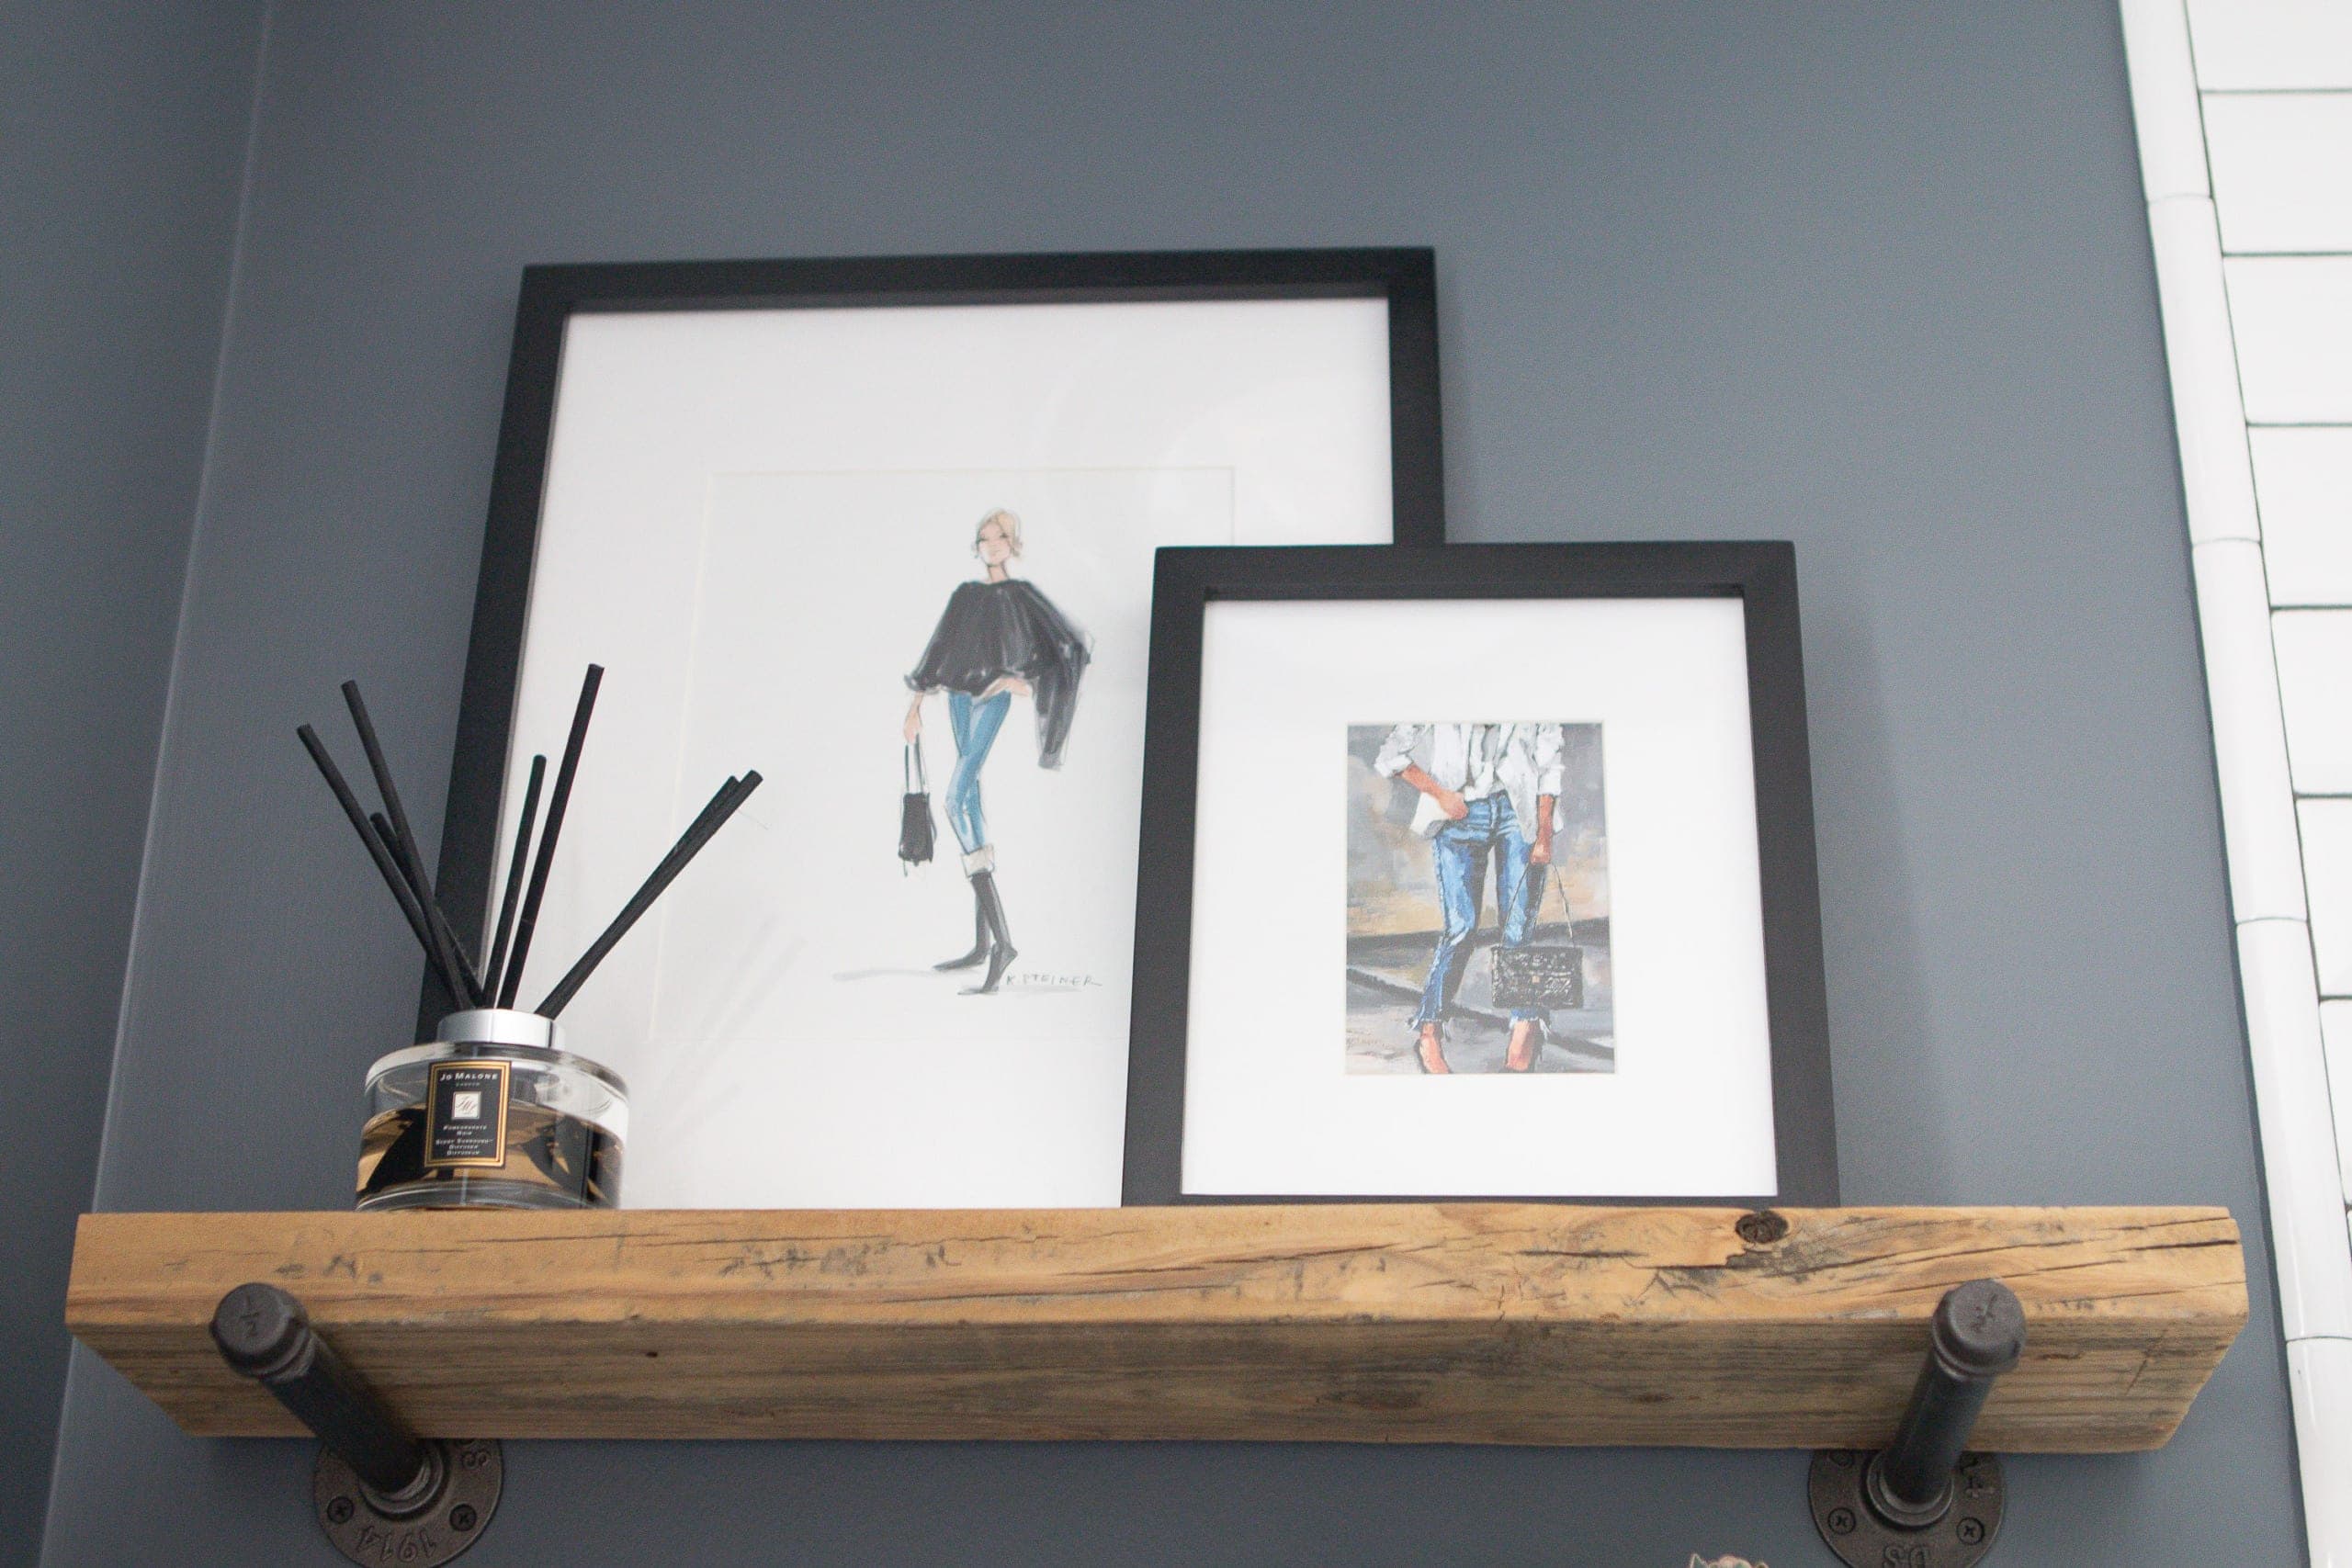
My New Bathroom
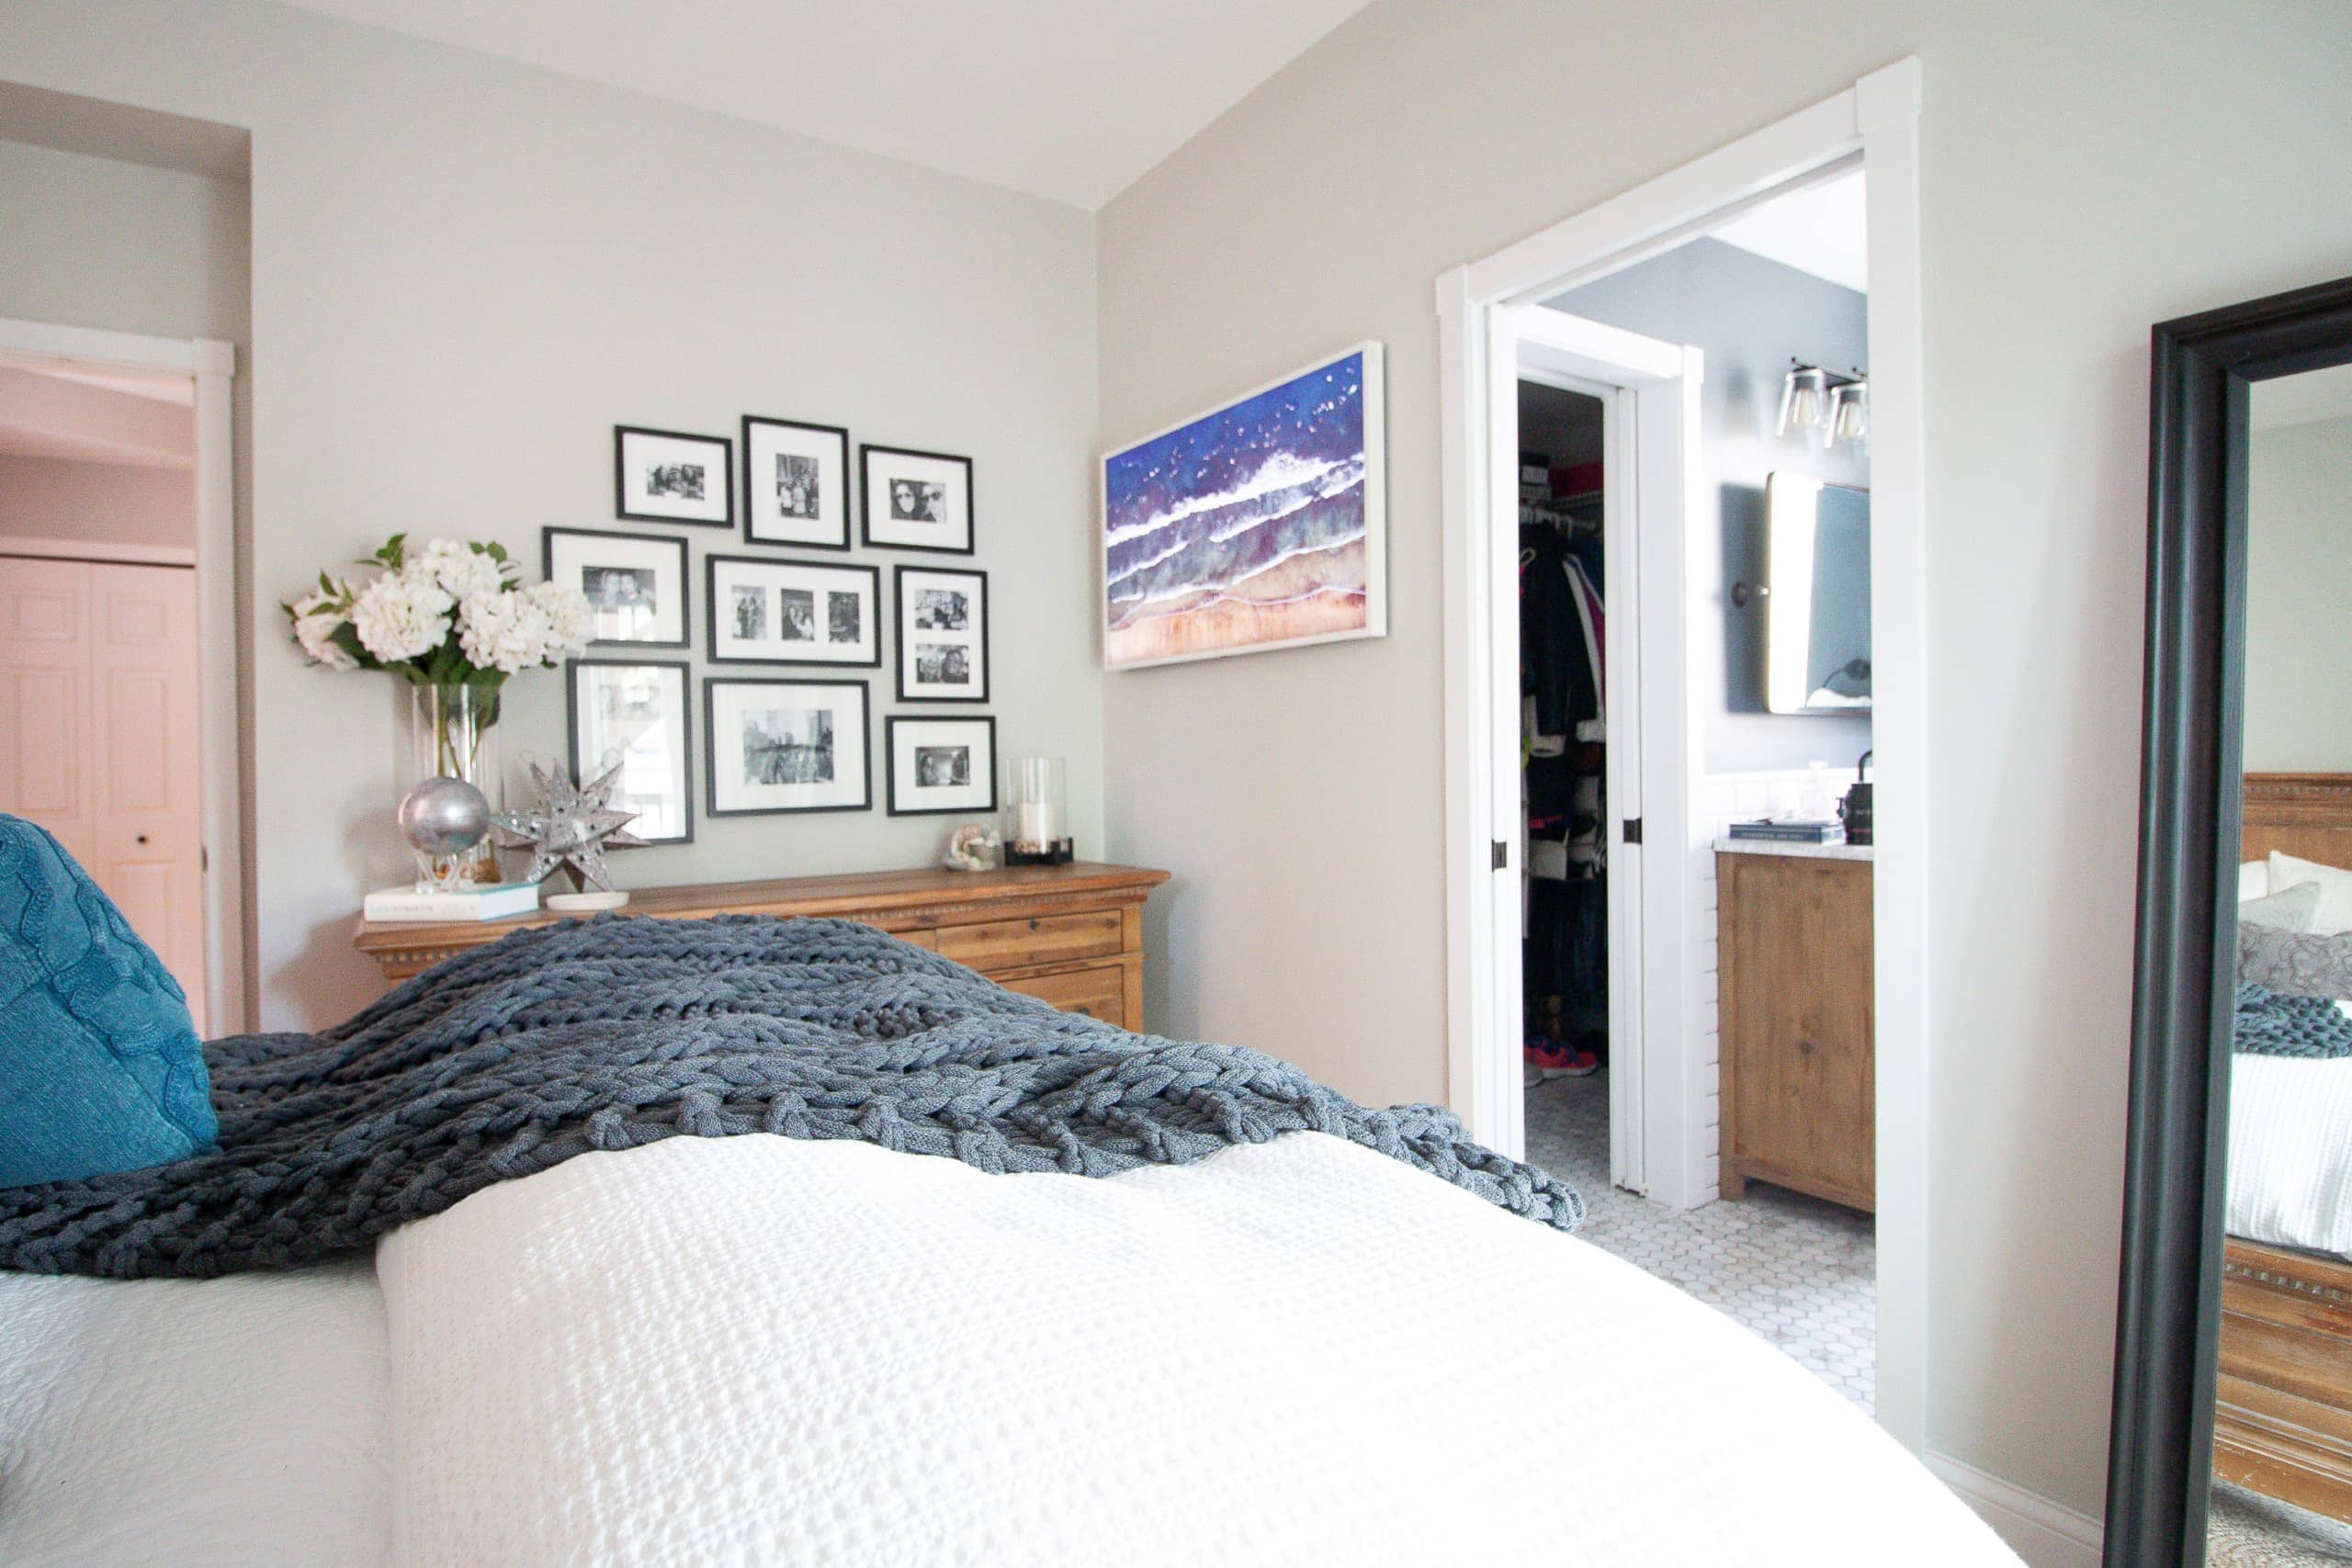
Here’s a view from my bedroom. Remember how we constructed the bathroom and closet so there is only one door on that wall? It’s so much better now!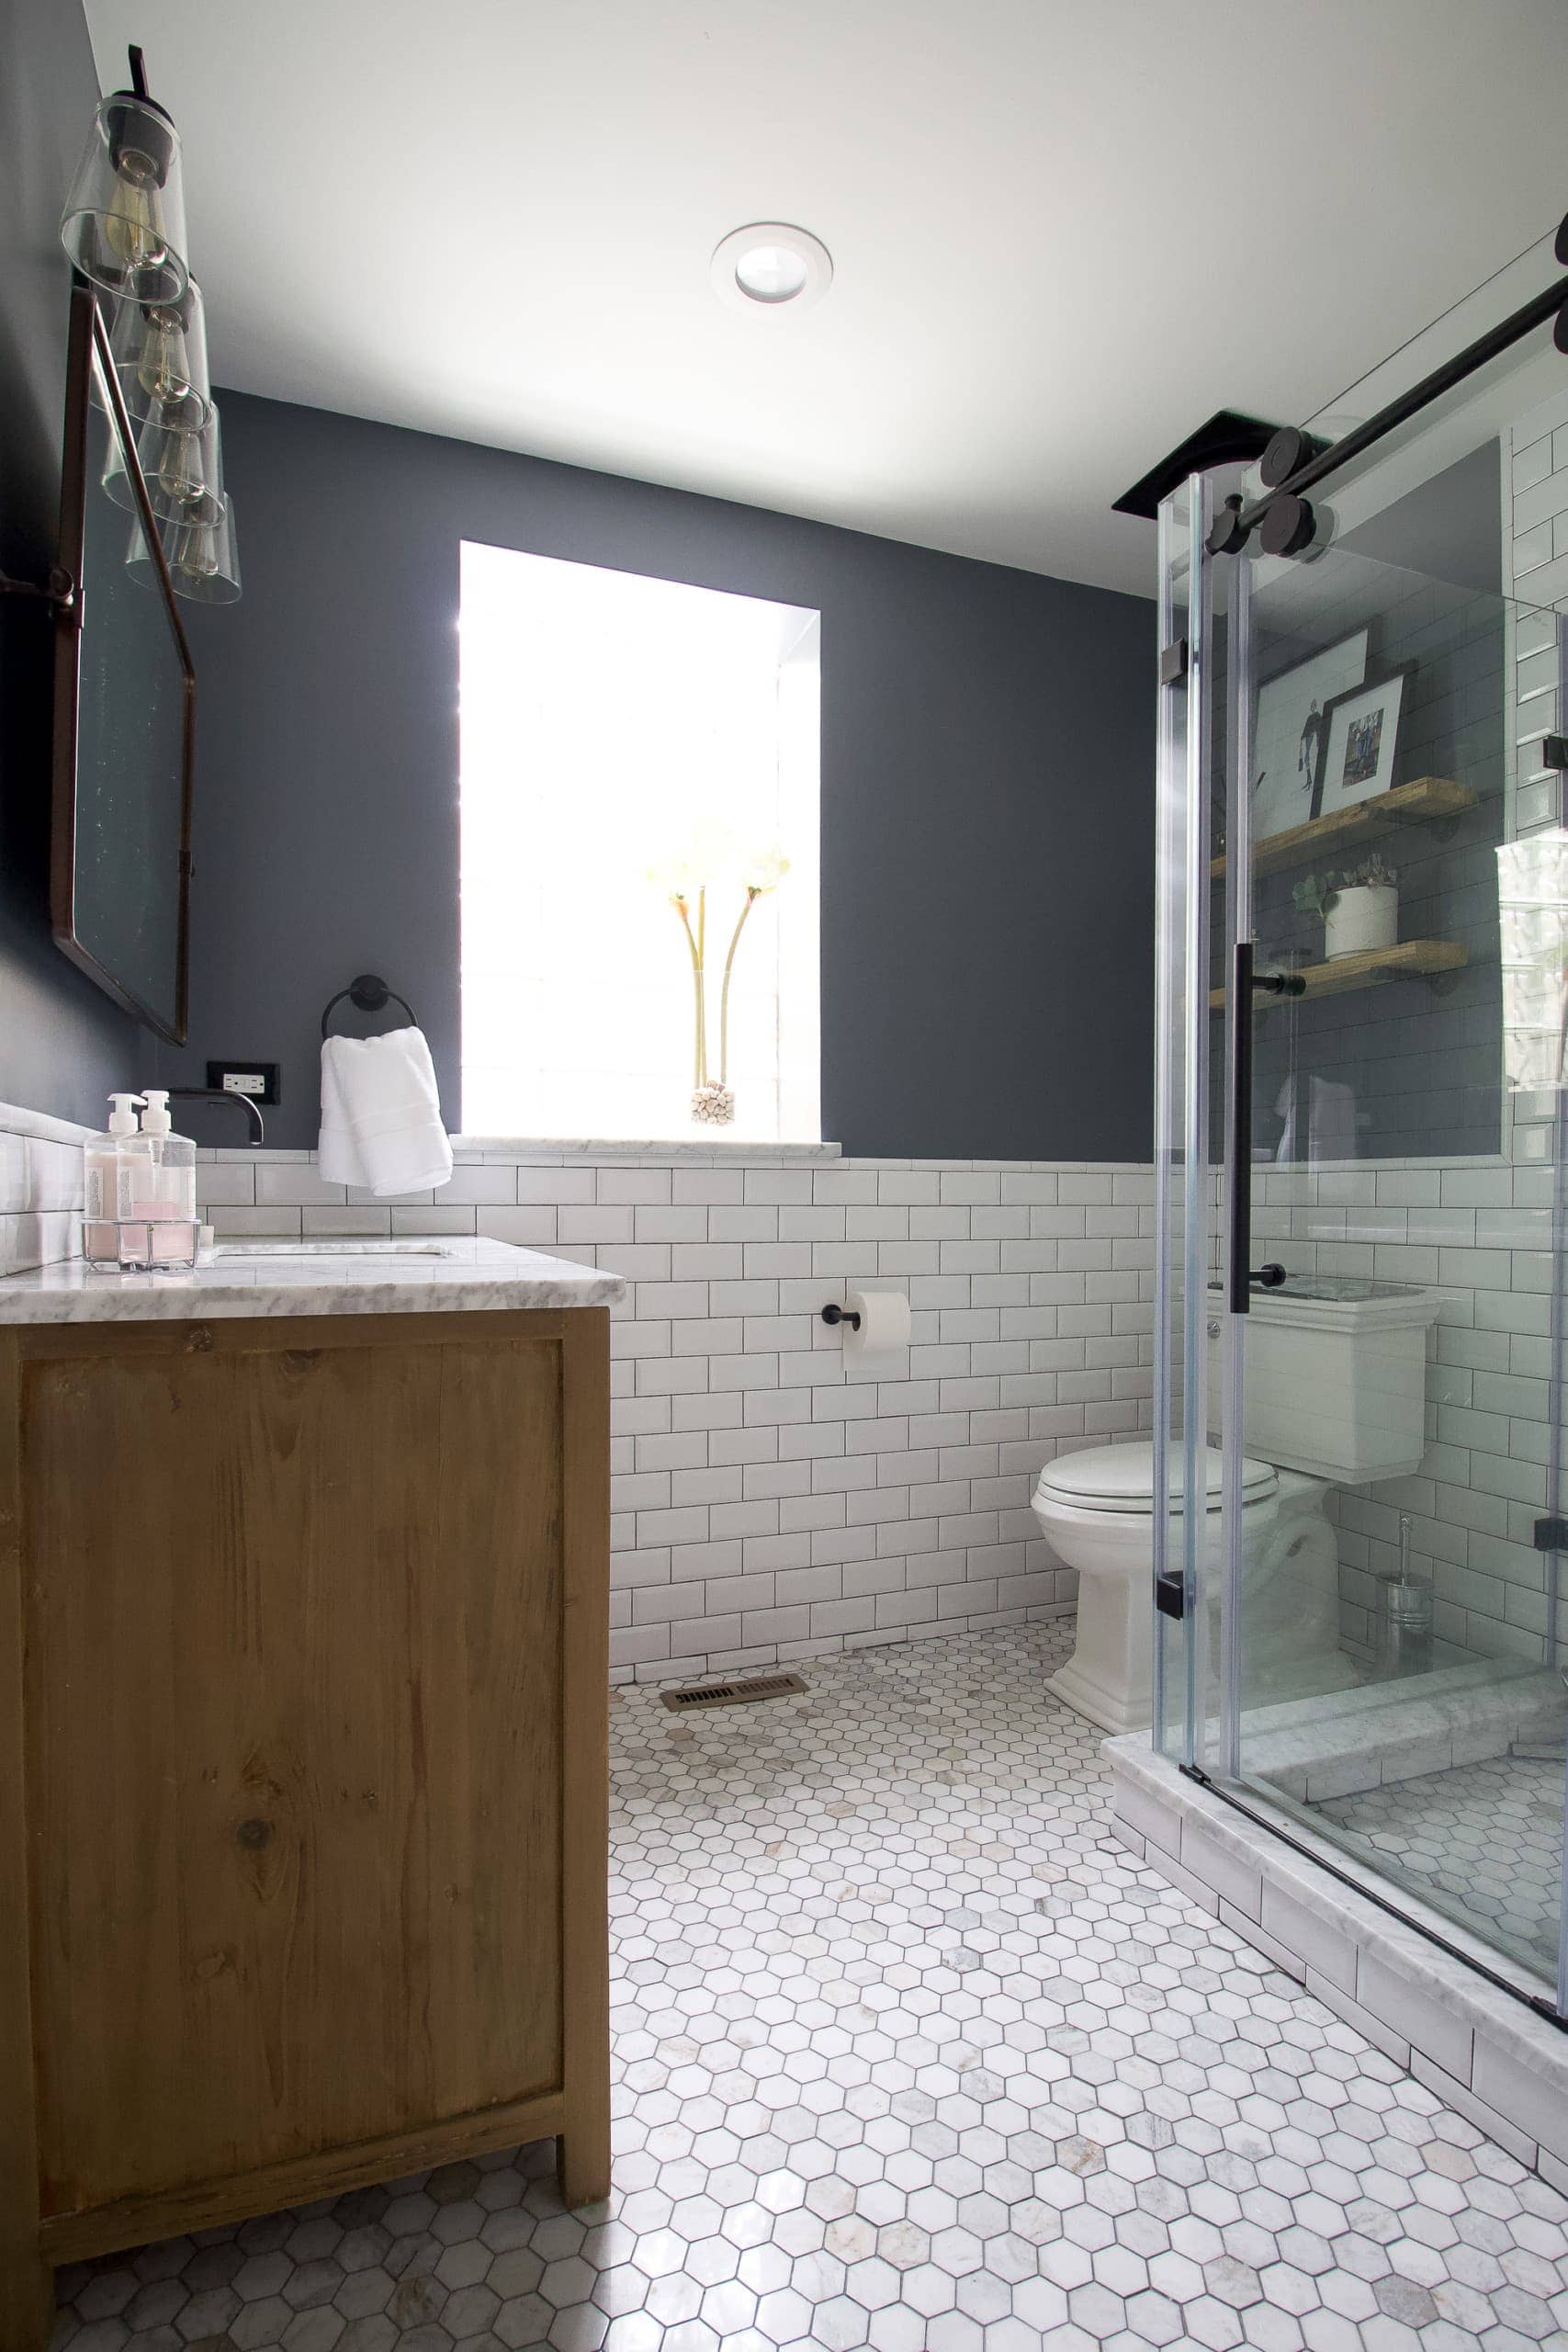

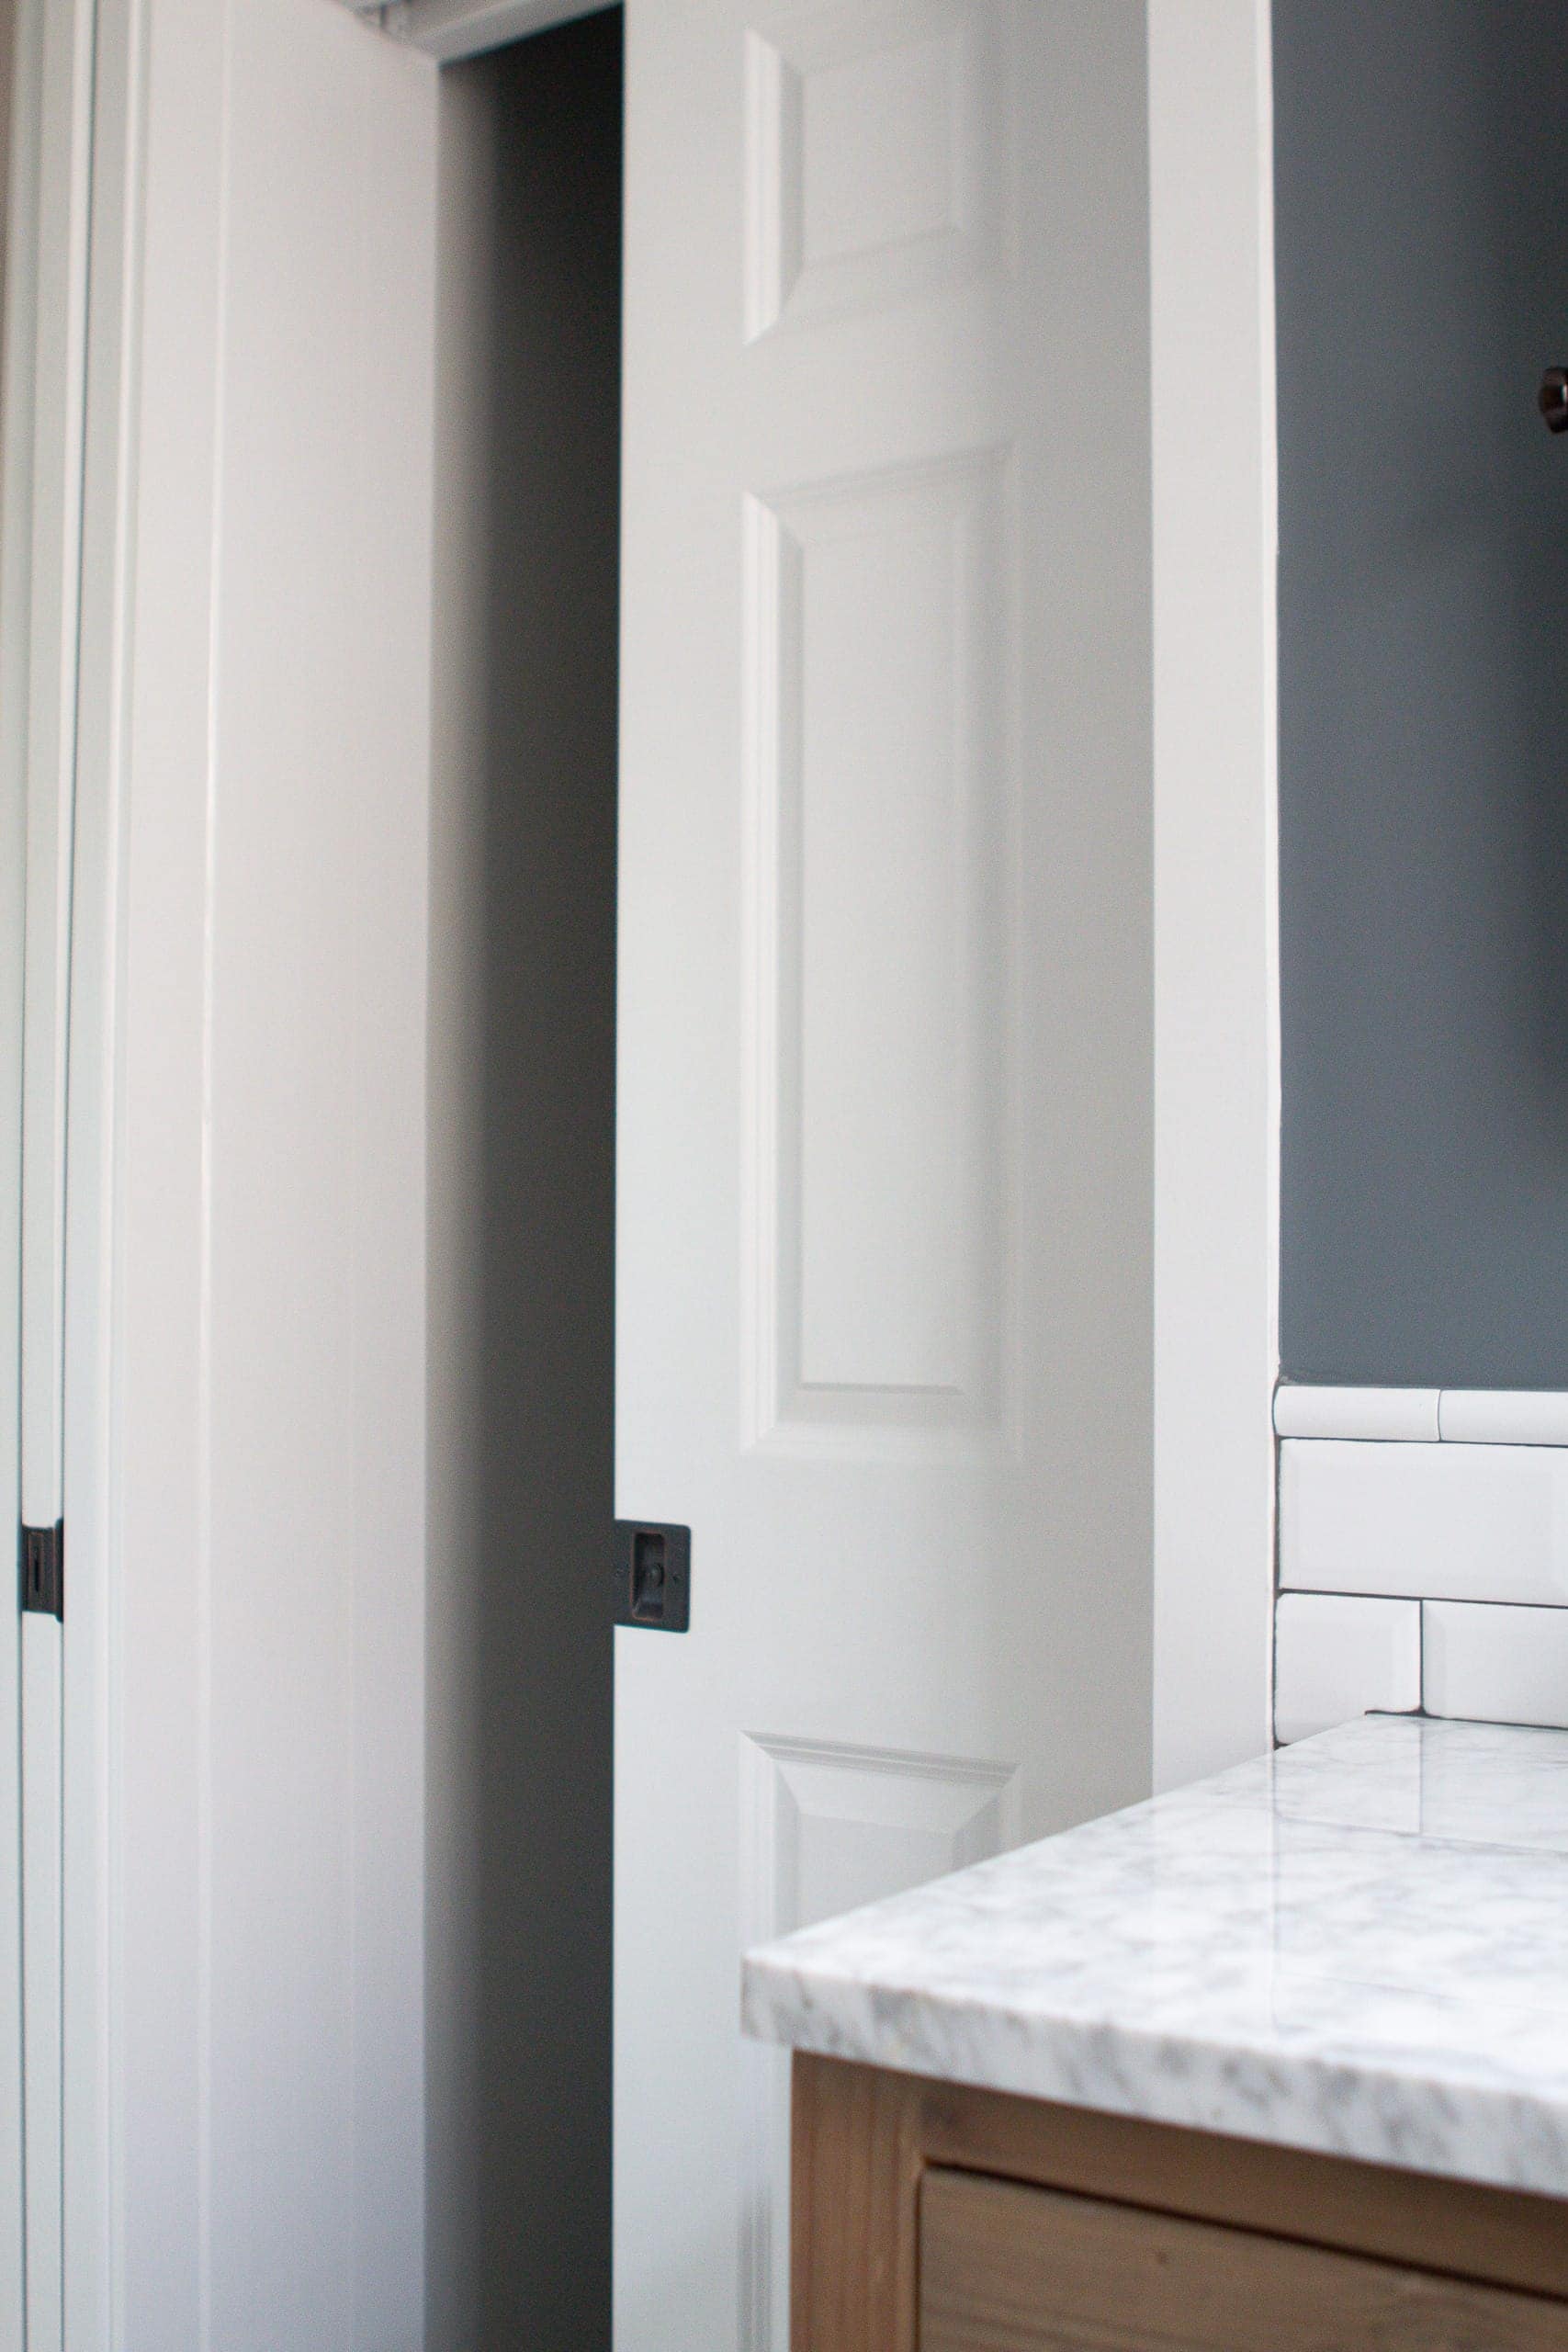
Here’s a view of the door leading into the closet. I haven’t fully organized that space, so that will have to be a post for another day!


 A month after the completion of the renovation, everything started shutting down due to COVID. I am so thankful that I renovated this space before we locked down. I’ve been able to enjoy it that much more now that I am in my condo every day for the foreseeable future!
Bathroom Sources
What I Would Do Differently
Liz