How to Hang a Hook on a Hollow Door
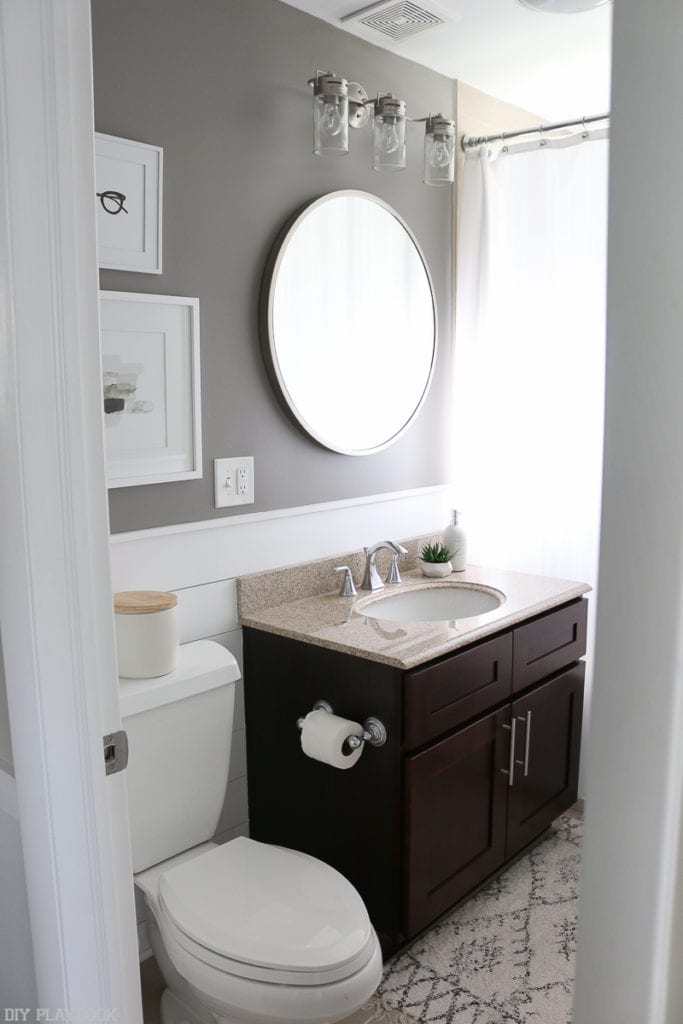
I know it’s only been a few months since I “finished” my mini bathroom makeover, but I am still SO in love with this tiny space. Like I said throughout the makeover process here on the blog, our only bathroom was always fine but never felt like my style. And because I didn’t have a budget or most importantly, the need to gut the whole thing (it was too nice for that) I thought my bathroom would be forever fine.
Bathroom Updates
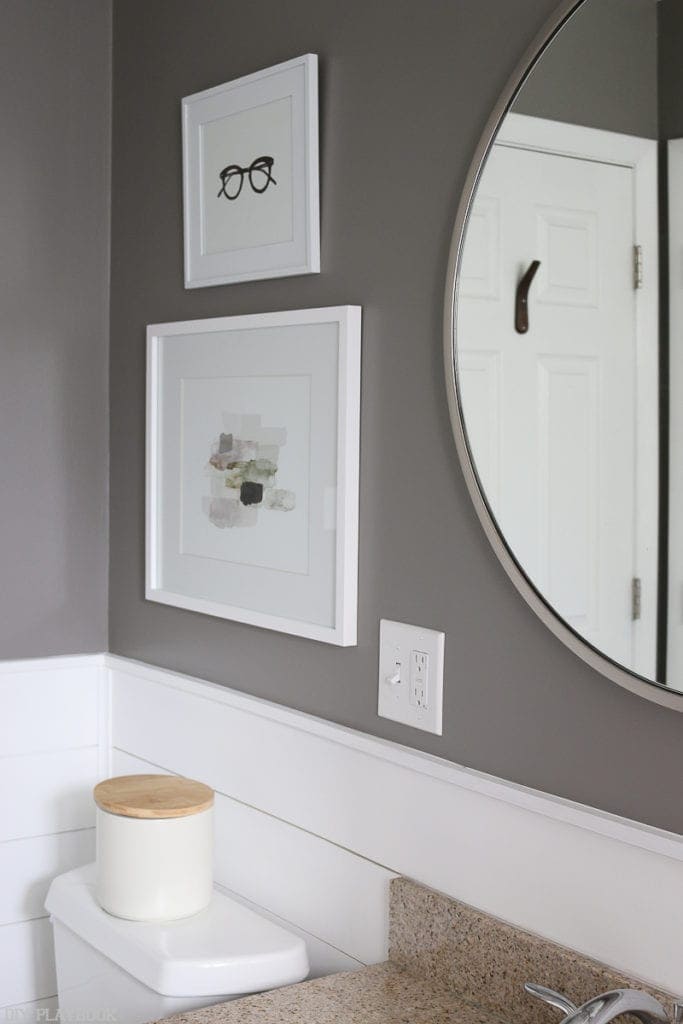
But after some new paint, new lights, DIY shiplap, and a touch of decor/art that was far more me, I now love our bathroom. Fast forward a few months and this feeling has not gone away (yay!), but I have noticed a tiny upgrade that I want to make in order to allow this tiny space to work even harder for us.

The Problem
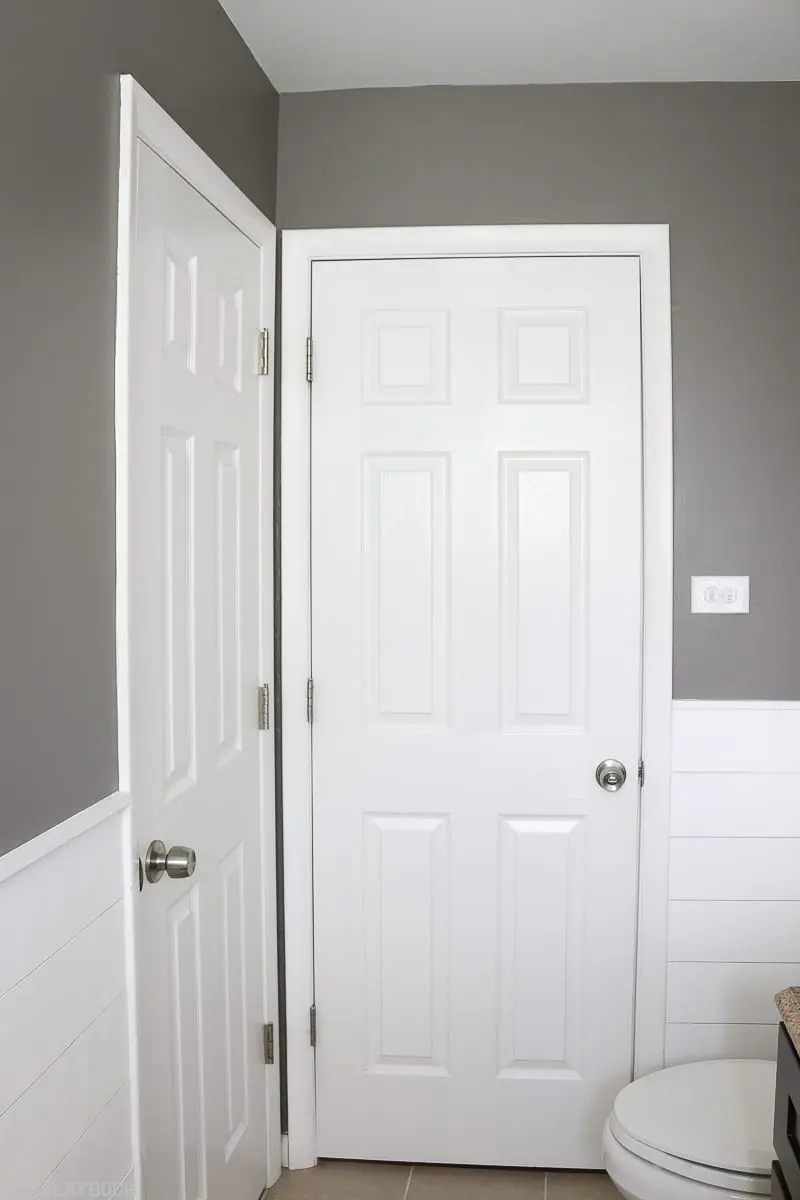
There are currently hooks in our linen closet (the left door) that Matt and I use to hang our towels, but drying towels inside of the closed closet is not always effective (hello damp, mildew-y towels). We used to have towels hanging out in the open, which solved that problem previously but we ditched those hooks with the makeover and are now in need of a solution. Hanging damp towels in the linen closet at night to find that they are still damp the next day is never a good idea. Ew.
How to Hang a Hook on a Hollow Door


I brainstormed a few options but ultimately decided to add a hook onto the back of our door. I figured if I added a cute hook, it would not only add a bit more of my style but most importantly, it would allow me to hang my towel overnight.
But allow me to backtrack a bit because I’m getting a little ahead of myself here. When I decided I wanted to add a cute hook to the back of the door, I had two challenges:
- Picking out a hook
- Learning how to hang this hook on a hollow door without impacting the other side of the door
So let’s chat…
Deciding on a Hook
I initially planned to hang the same hook as Casey’s because I love it so much. But when I went to order it online, I quickly realized that I have ZERO hints of gold in my tiny bathroom so this hook may not work as well as I had imagined. I decided that I wanted to use this hook sometime in the future, but this bathroom project was probably not the right time.
That’s when I started searching for a hook that would work well with this design. Here’s what I found (along with the pros & cons of each):
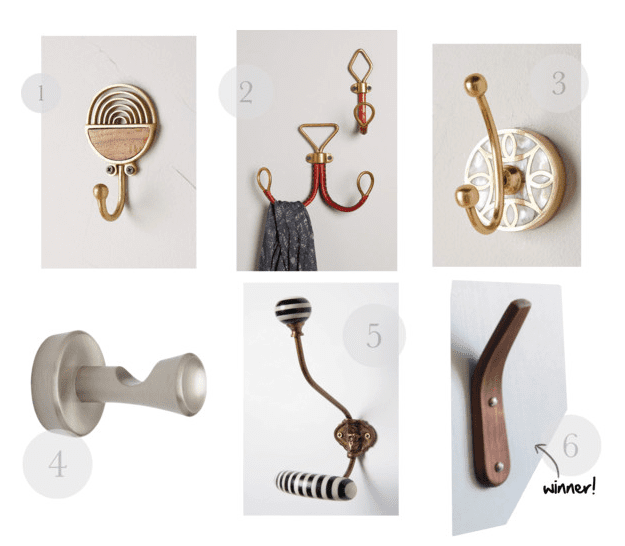
Wooden Hook // Triple Hook // Simple Black Hook // Slim Gold Hook // Knotted Hook // Classic Brass Hook
- Hemisphere Hook: I have been pretty obsessed with this hook since Casey added it to her guest room, but because my bathroom doesn’t have ANY gold in it, I just don’t think it works. Maybe in my next bathroom because I love this look and totally think it goes with the ‘feel’ of this space.
- Leather Hook: This is a bit outside of my normal look but I really liked the hint of leather on this hook. But because the leather seemed a bit “orange-y” online, I decided this was not the perfect option for this space. Plus this one only came in gold.
- Brass + Pearl Round Hook: Loved the detail on this hook but because it didn’t come in silver/chrome, I didn’t think it was a perfect fit for my bathroom.
- Simple Knob Hook: Loveeeee the simplicity of this hook but I wasn’t sure how well it would hold a heavy towel. Plus, I wanted to add a bit more personality with the hook and this one seemed a little too much of a “safe choice”.
- Black + White Hook: I’ve ALWAYS been obsessed with this hook and I really wish I could have made it work, but I was afraid that it may stick out too much and hit the wall/door behind it. Plus, I think the stripes is a bit too preppy for this space but someday I definitely hope to incorporate this cutie.
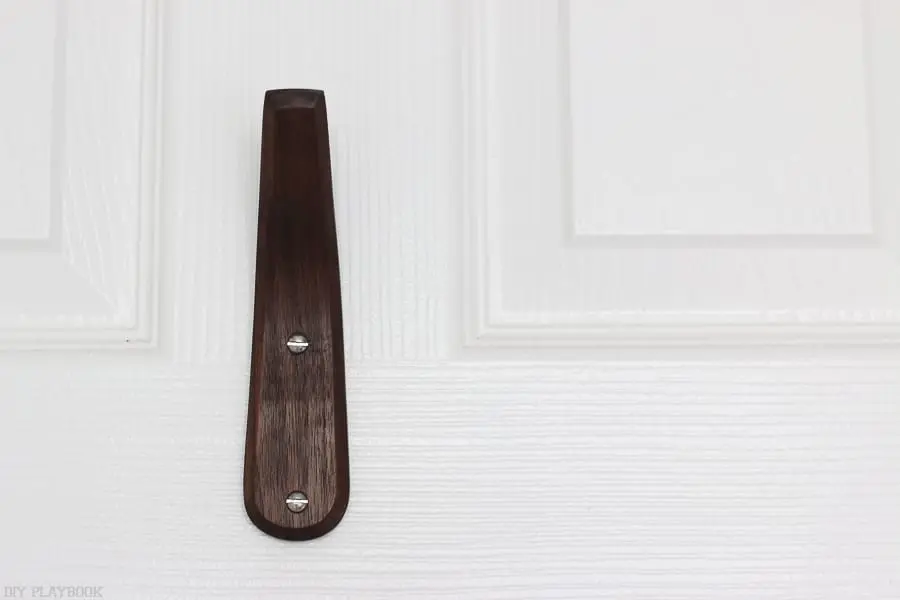
- Modern Wood – I ended going with this one because I loved the modern, simple design. PLUS, the wood went really well with the vanity, it didn’t stick out too far, and came with screw colors of your choice (I requested silver). I’m not sure if I would use this exact hook in a grouping of hooks, but for this specific purpose, I REALLY love it.


How to Hang a Hook
Once I finally found the hook I wanted, I had to hang it… on a hollow door… for the first time ever! Here are the steps I took (along with some rookie tips that will hopefully save you from drilling all the way THROUGH the door!) #notgood
Double Check
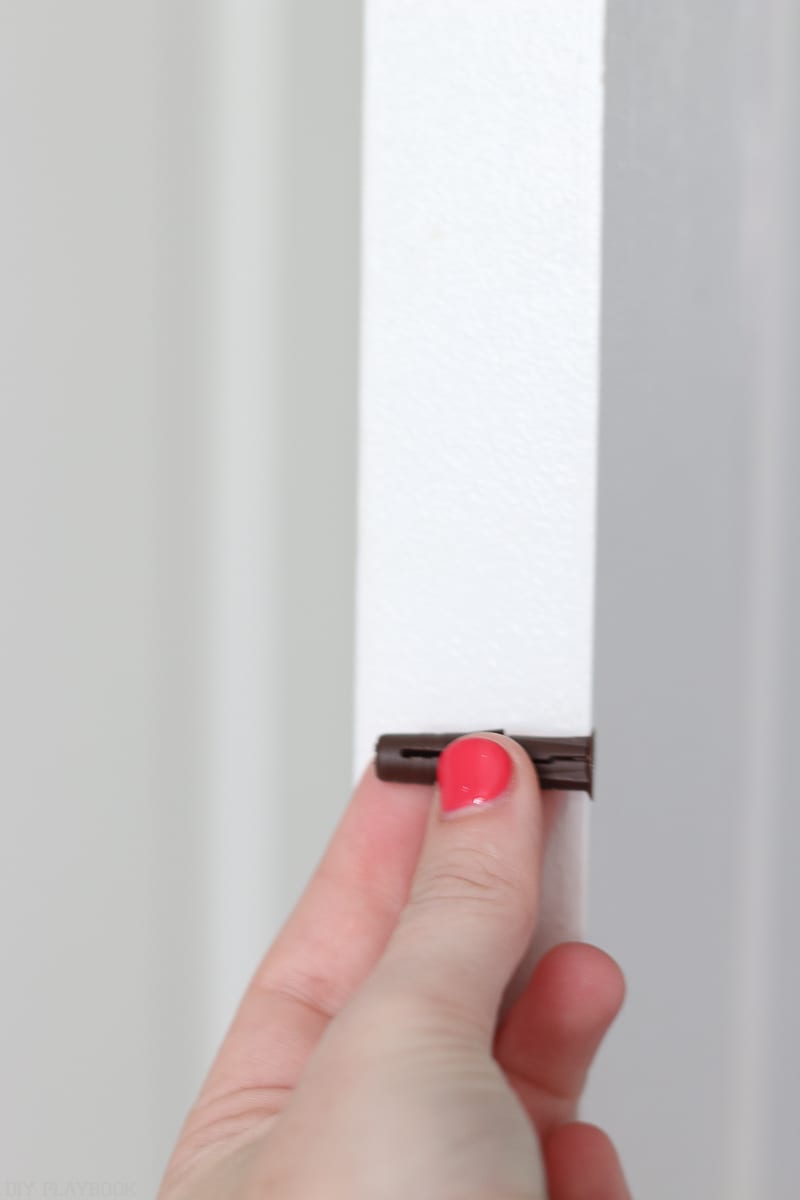
The first thing you need to do is find anchors that are short enough that they will not go all the way through the door. My hook came with anchors + screws, so I held both of these items up to the door just to make sure that they were short enough to fit inside the door.
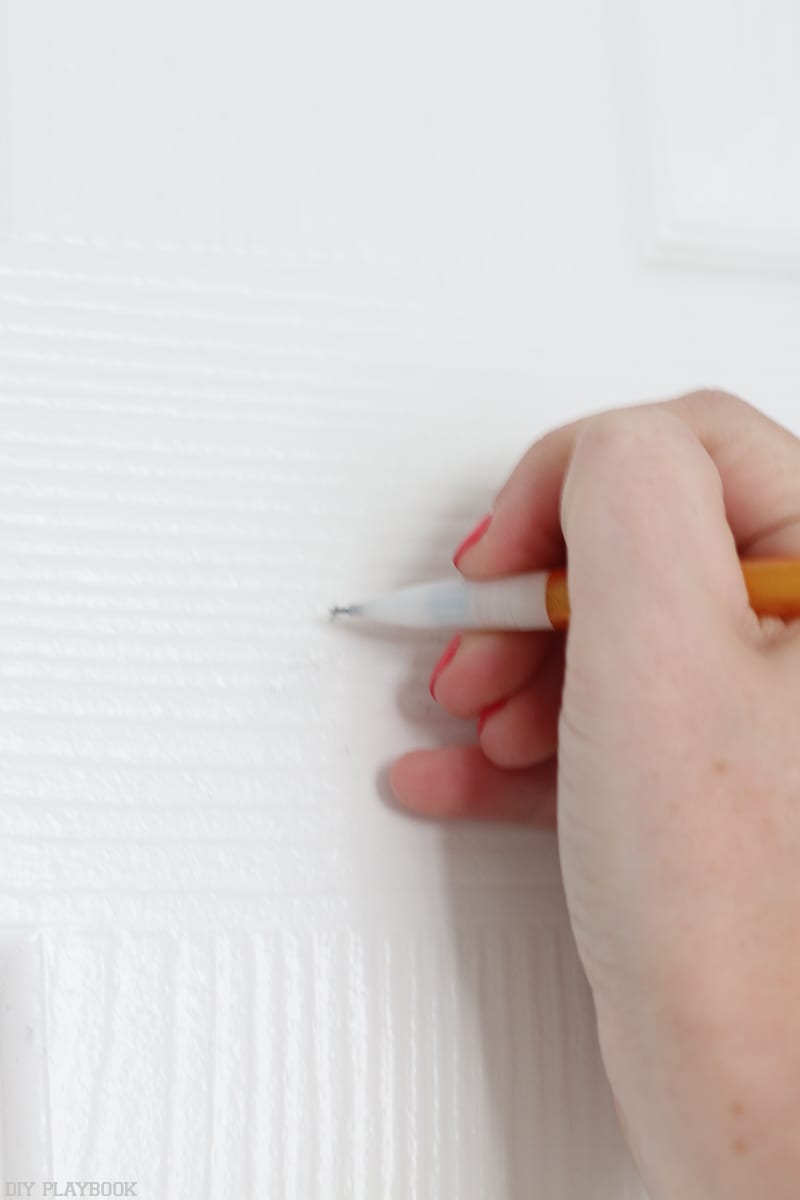
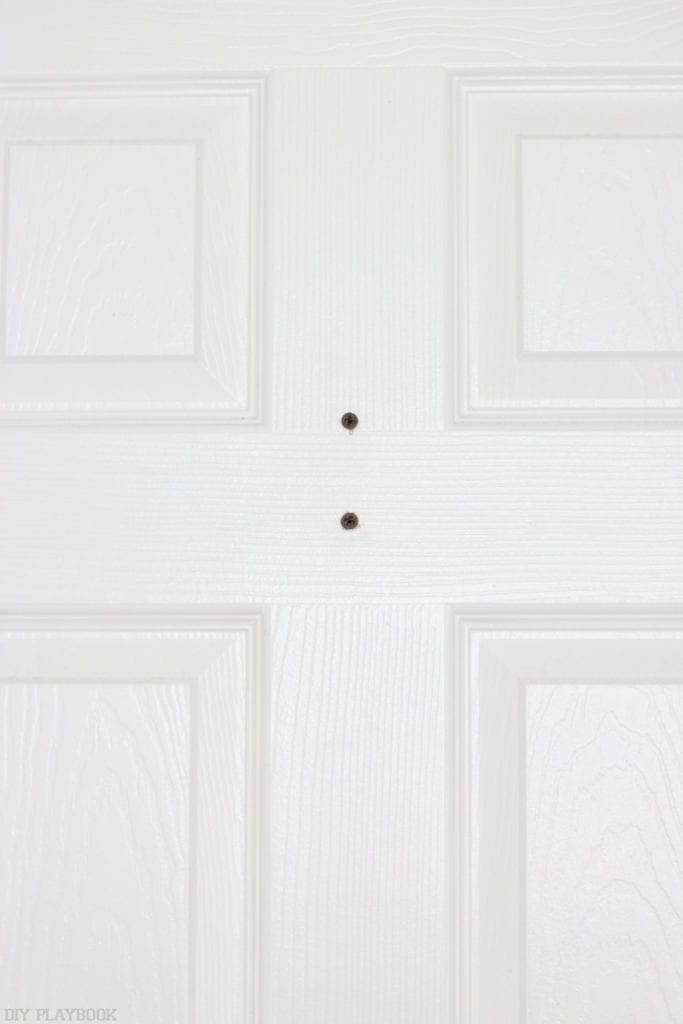
Using a tape measure, I measured the center of the door and held the hook up to that spot. Then I colored in the markings to identify where I would drill the pilot holes for the anchors. I double checked my work with a tape measure and a level a few times JUST to make sure.

Drill Pilot Holes
Rookie Tip: Add painter’s tape on the pilot bit so you know how far you can drill into the door without poking out the other side. I put the anchor (which I knew was a safe length) next to the drill bit and taped exactly where that stopped. I knew that the painter’s tape was the absolute FURTHEST that the drill could go into the door.

Starting to drill is the scariest part…. not to freak you out or anything. I only say that because it’s important that you proceed with major caution drilling your pilot holes because if you put too much muscle behind the drill, you could find yourself poking a hole all the way through the door. This would be AWFUL because it would mean you need to buy a whole new door. Luckily pairing some serious caution with the painter’s tape trick, I drilled both pilot holes without drilling all the way through the door.
Rookie Tip: Drill slowly! The door is hollow, which causes a problem when you drill through the door surface. Once you get to the hollow part, your drill tends to fall forward so it’s important you don’t have a lot of muscle/momentum behind it. Drilling very slowly will ensure that even after you hit the hollow part, you drill won’t take off and keep on moving!
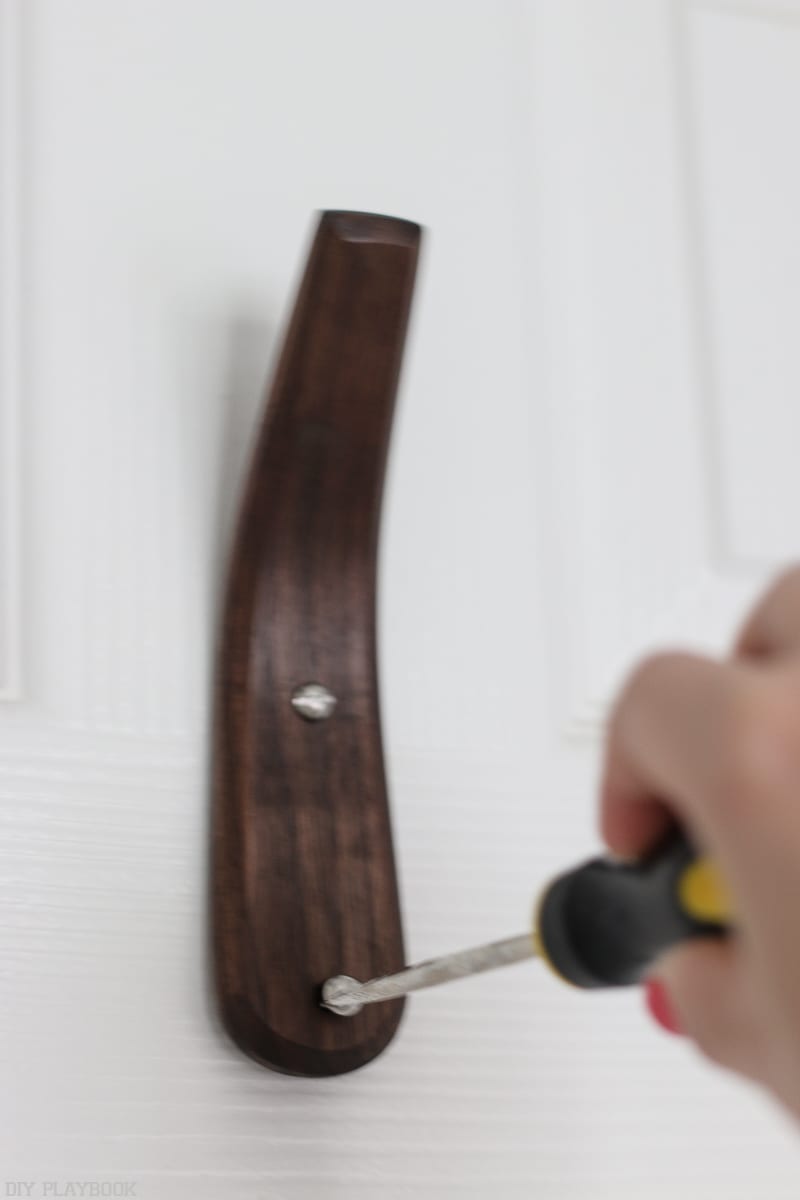
Add Anchors and Screw In
Once the anchors are secured, it’s pretty easy from here on out! I held up the hook and slowly tightened the screws into the anchors with a screwdriver.
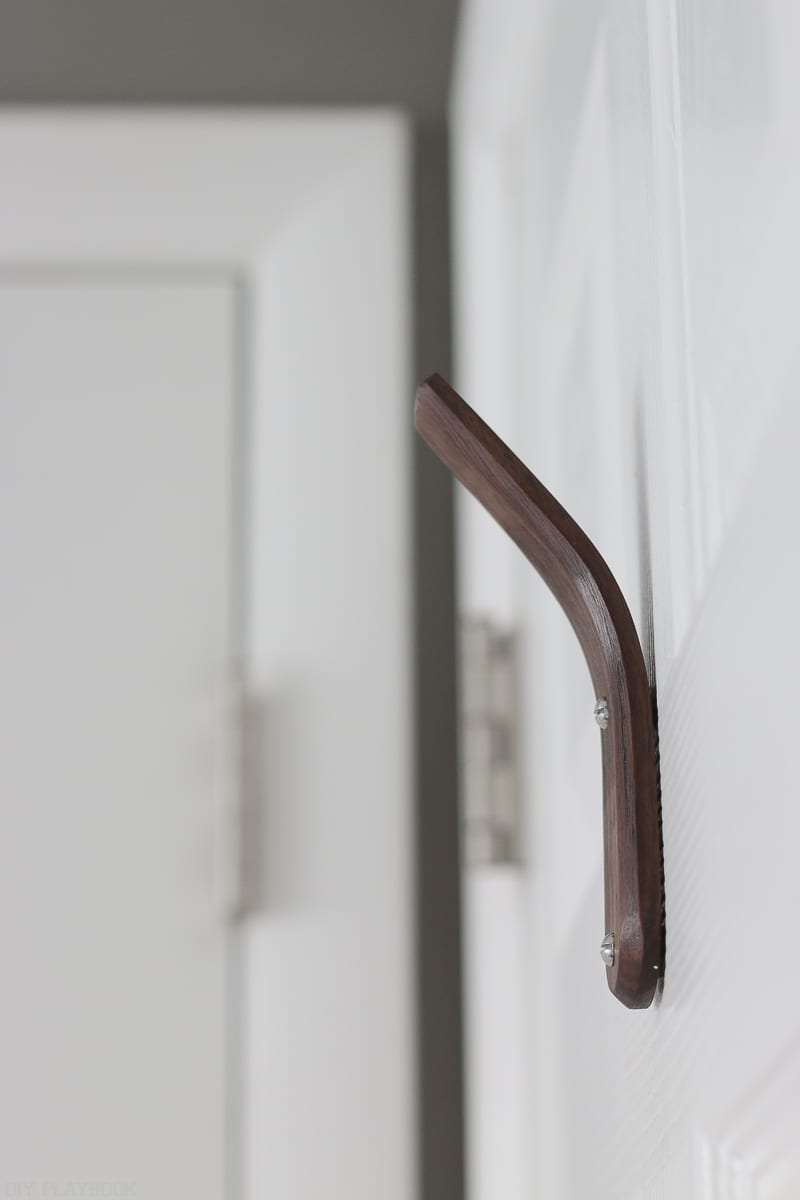
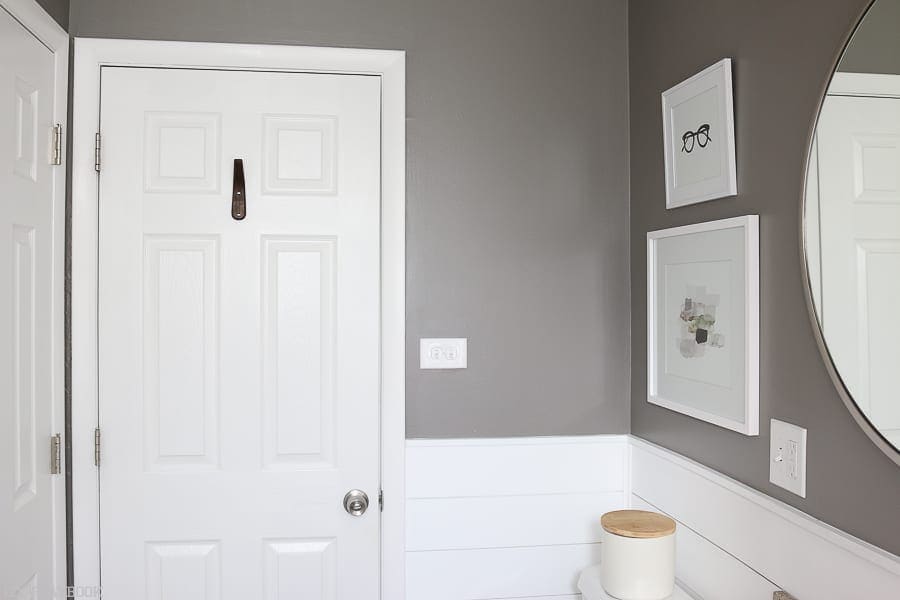
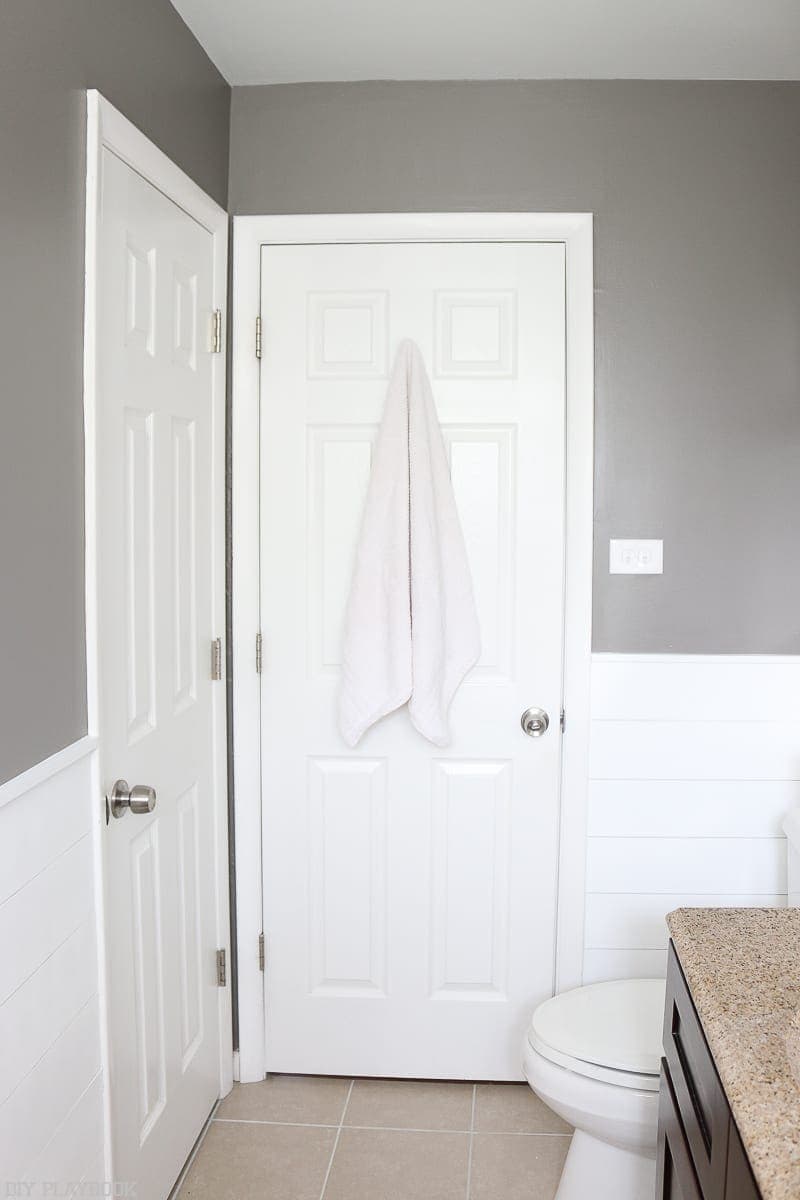
Just like that, my hook was secure and I was digging the new look!
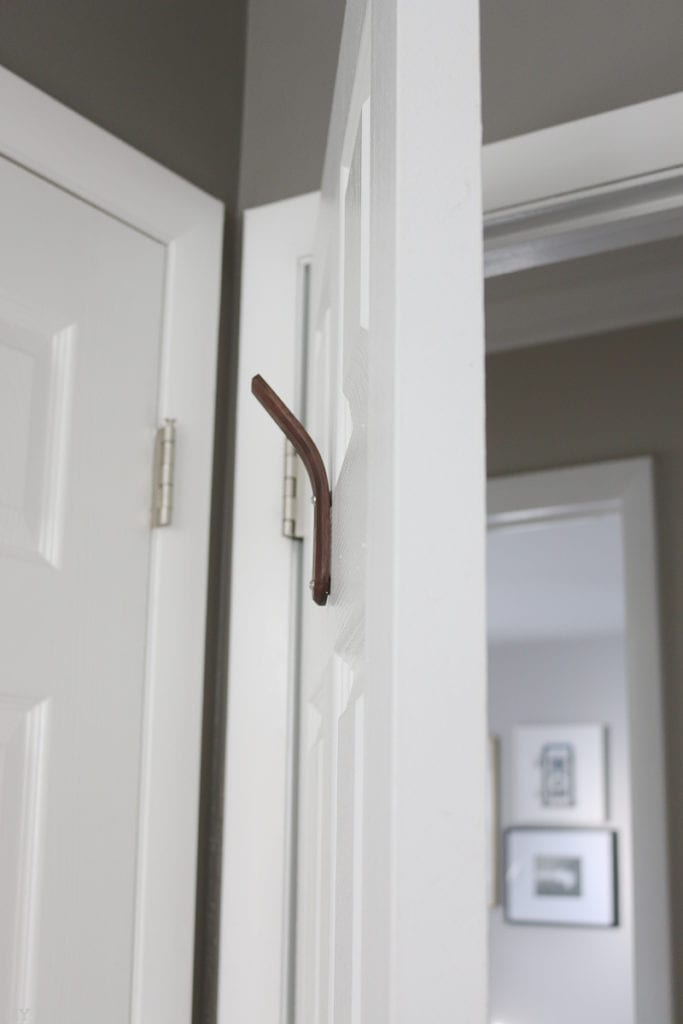
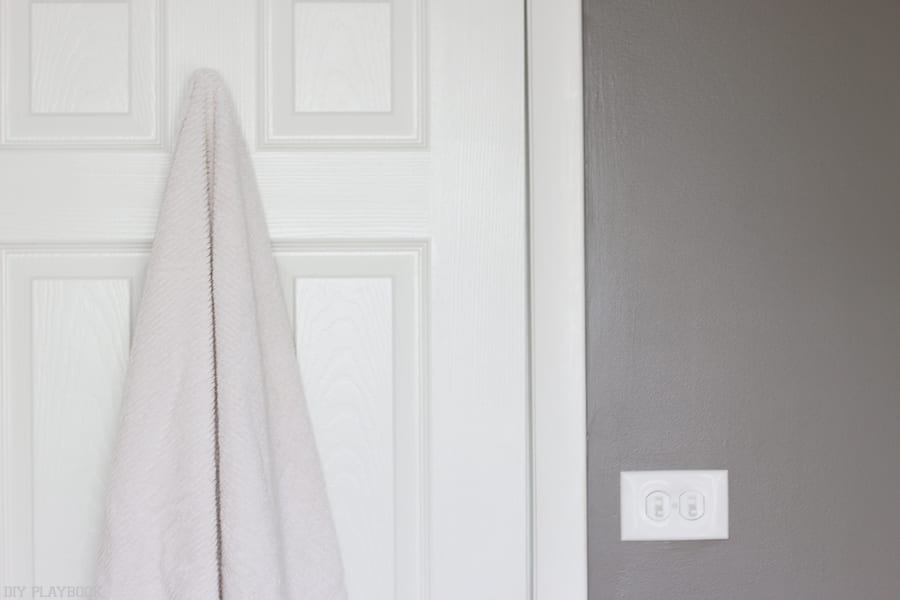

And since it’s been up, no more damp towels in the morning! Plus, the hook is so darn cute that when I remove the towels and just look at the plan hook… I still love it!
This mini-project took me about 15 minutes and I could not be more excited. Quick projects that make such a difference in our daily routine are seriously my favorite and motivate me to continue to make these minor changes throughout our house.
Motivation!
Has anyone else recently tackled a 15-minute project that made such a big impact on your daily routine?!

Bridget
P.S. To catch up on the entire bathroom makeover, check out this post!


