How To Edit Baby Photos On Your Phone
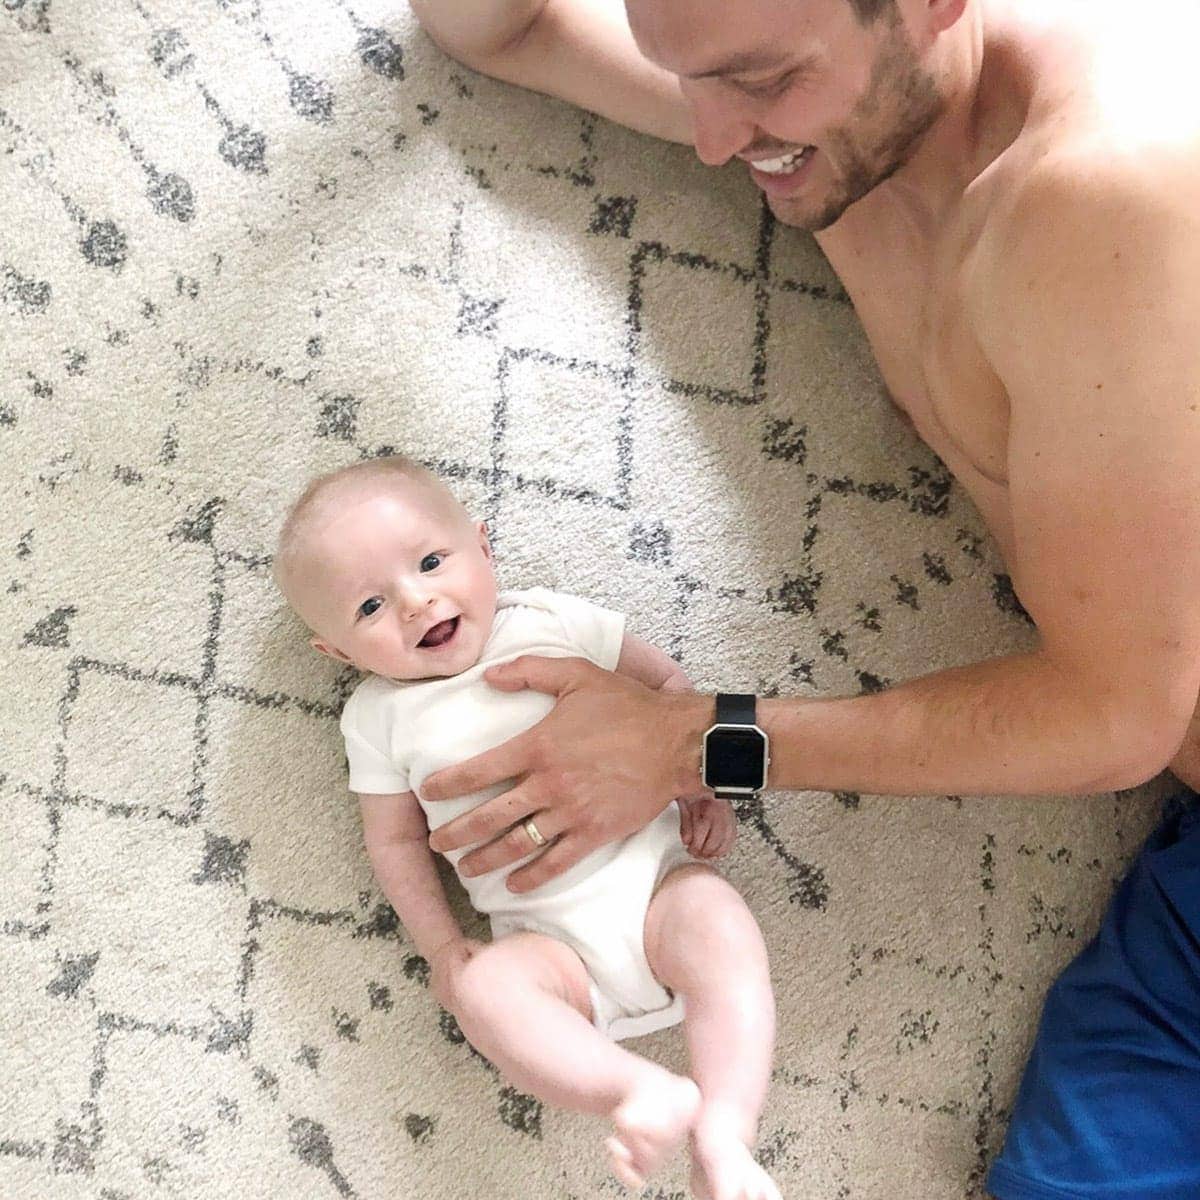
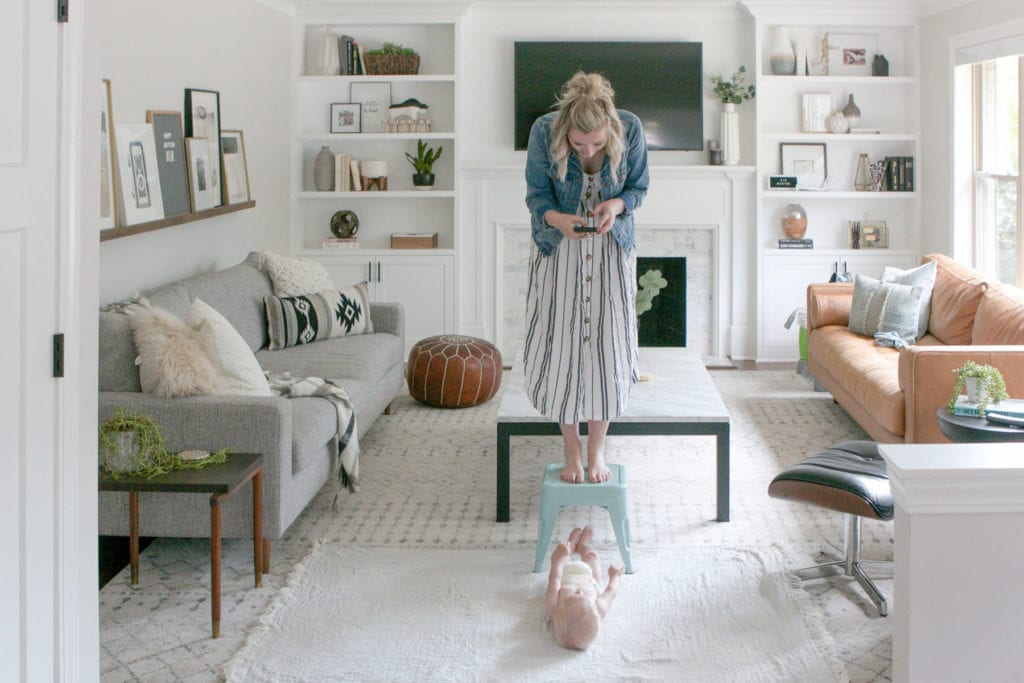
A few weeks ago I chatted about the tips and tricks I use to capture Ben’s baby photos without spending a lot of time (or money) making it happen. I’m passionate about empowering the average mom to take better photos of her babies, which is why I’m back again today to chat about how to edit baby photos.
But before I dive into these details, I want to give you a little backstory.
 Real Talk
New moms, experienced moms, soon-to-be moms… YOU CAN DO THIS! Stop staring at other people’s Instagram photos and self-doubting your ability to create these light, bright, Pinterest-worthy photos. YOU CAN DO THAT TOO!
I’m all about hiring a professional photographer every now and then, but all the time in between these special occasions can be captured by you. And the photos don’t have to be dark and super amateur. You may be surprised to find that even your cell phone photos can look a lot more “Pinterest-worthy” with a few simple tricks that I’m sharing today.


Bottom line– I want you to love your photos just as much as you love the little ones in them. And guess what? Today’s tutorial does not even require a professional DSLR camera. All you need is a cell phone and one of our favorite FREE apps and you will be shocked at the difference you’ll see in your photos!
And before you start the photo editing process, re-read this post with tips to take great baby photos!
Download These FREE Apps
We use typically use one of two different editing apps, A Color Story and VSCO. I personally prefer to use the free app created by the extremely creative duo at A Beautiful Mess. This app is called A Color Story. There are a few “in app” purchases you can buy, but you can easily get the job done without purchasing any of those extras.
 Another FREE App we use to edit both blog photos and baby photos is VSCO. This is another photo editing app that doesn’t require a payment but has a ton of editing capabilities. Honestly, both are amazing but I would recommend getting familiar with one and becoming confident with that one so that you don’t feel overwhelmed right from the start. As you gain confidence with that platform, transitioning to the capabilities of the other one will be a breeze!
How To Edit Baby Photos on Your Phone – Let’s Practice
For the sake of trying to communicate these steps as clearly as possible, I’m going to stick with one of the apps as I take you through the steps of how I edit my cell phone photos. For no specific reason, I’m going to use A Color Story so that you can follow along and hopefully use one of your own little one’s baby photos to practice as we tackle each step.
Choose A Photo

Open the app and choose a photo to edit. If I take ten photos of Ben in the same setting, I’ll usually look at all ten and “favorite” the one that I want to edit. By hitting the favorite button on my iPhone it automatically gets added to my “favorites album”.
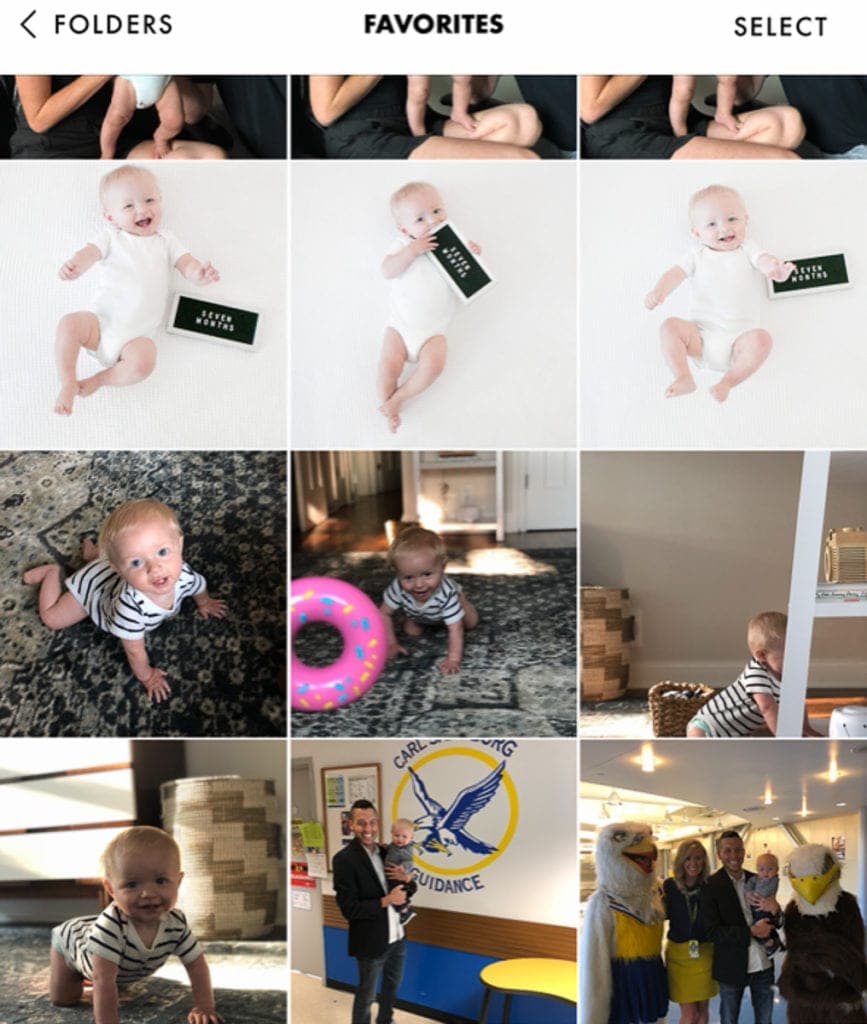 Therefore when I open up my favorites album on the app, I know exactly which photo I want to edit and am not clicking on all ten to find the one where he’s actually looking and smiling.
Crop
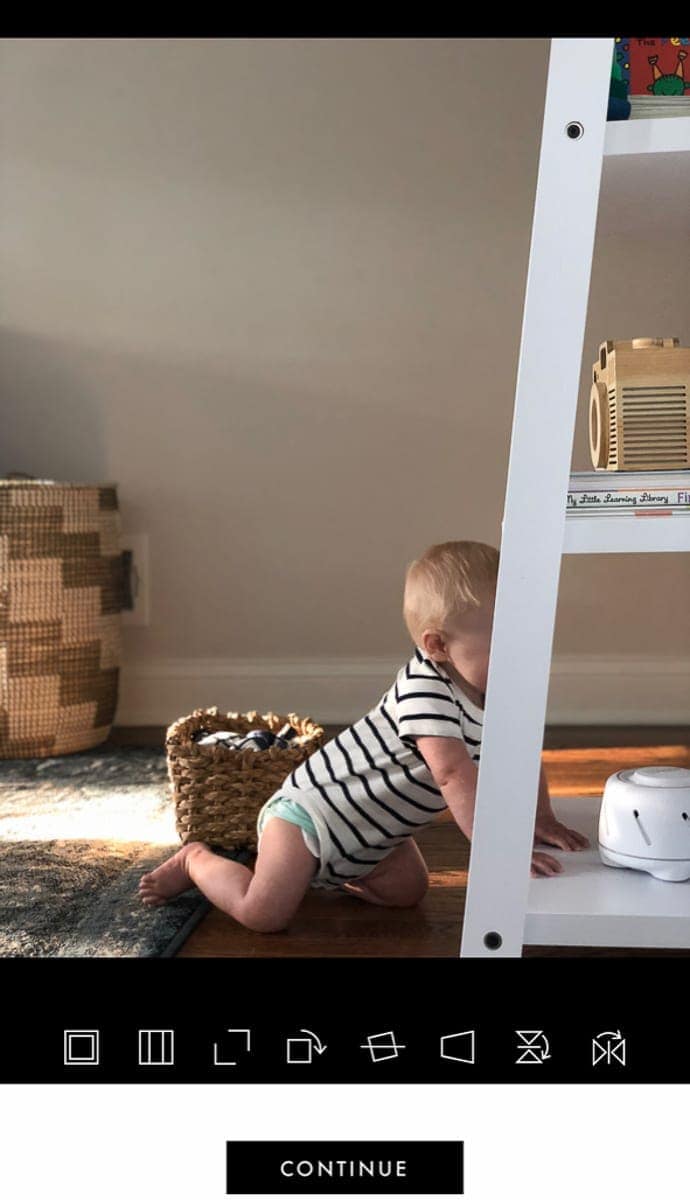
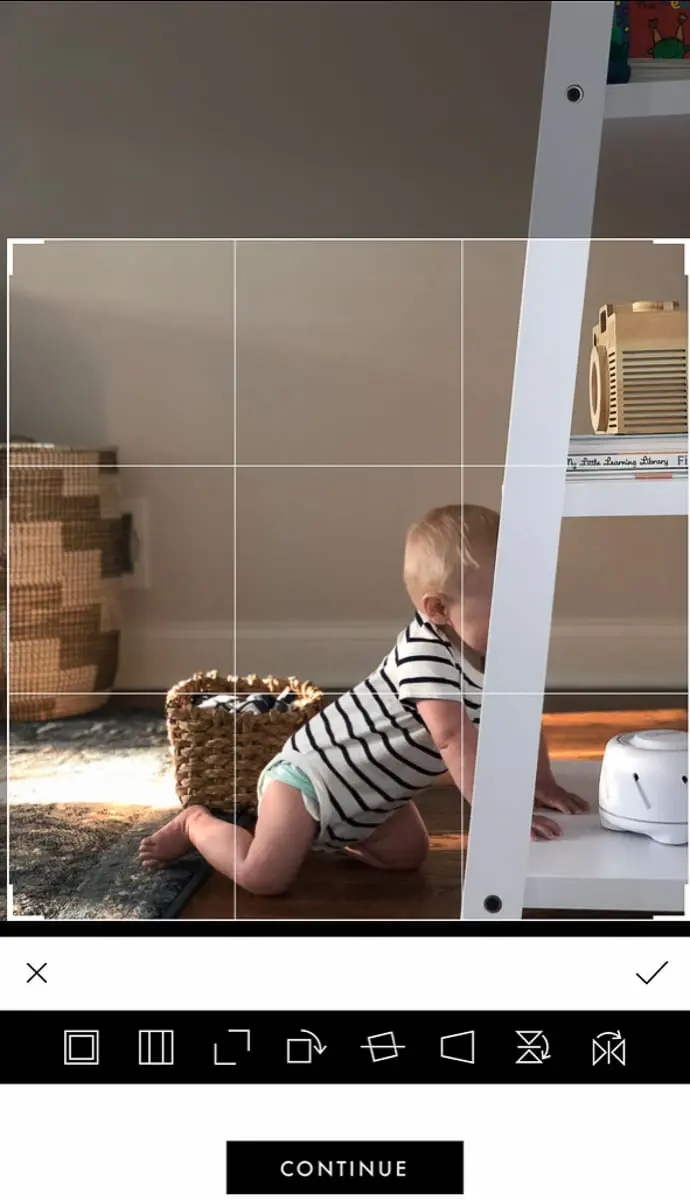
The first thing I do is crop it. Typically the photos I take on my cell phone are shot in square because I post them to our family Instagram account for our annual yearbook. But for some reason, if the photo was not shot in square, I’ll crop it into a square first.
Straighten
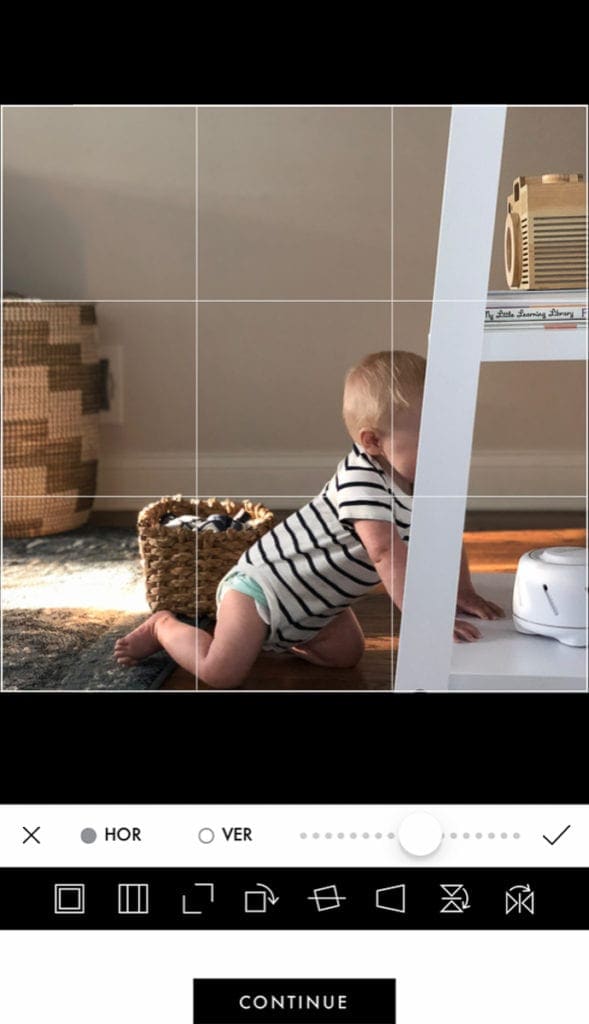
Then I’ll use the straightening tools to adjust the photo if it isn’t level or doesn’t seem straight. In this example, I use the floor board in the room to make sure it’s level and straight.
Brighten
So far you may be thinking, wait… why wouldn’t I just use Instagram for editing? And to be honest, that’s a great question… so far. My answer is that although I LOVE Instagram, Instagram doesn’t offer merely as many editing options (especially for brightness, which is the key to Pinterest-worthy photos). These apps provide a lot more options for brightening, among lots of other things, which is why I don’t solely use Instagram to edit my photos. And these next few steps will prove why brightening is the name of the game to change good photos to amazing ones!
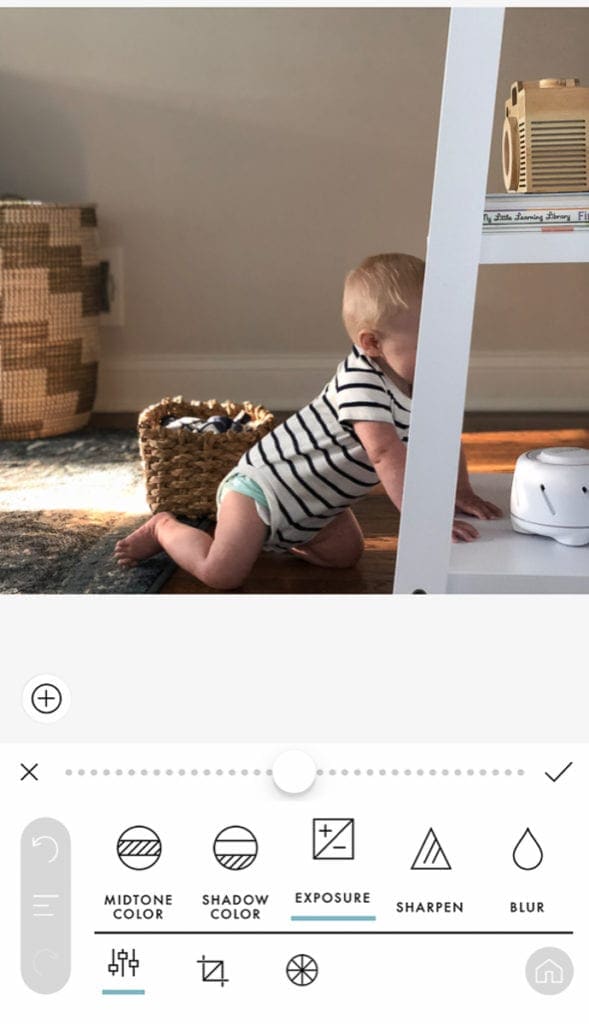
Exposure
The first thing I do is bump up the exposure of the photo as much as I can before areas look blown out or Ben’s skin or hair start disappearing because they are so light. The lighter and brighter, the better.
Ideally, you want your photos to start on the lighter side, which is why we recommend always trying to shoot your photos in a naturally lit room or even outside. But in the cases where the suns not out or you just can’t make natural light happen, brightening the photo helps make up for that.
Brighten

After the exposure is increased, I go ahead and brighten it a little more using the brighten scale. Again, I increase it as much as possible without distorting the photo. Ironically, I like this step because it brightens it without making areas of the room/person look blown out, or too bright.
Adjust The Curve
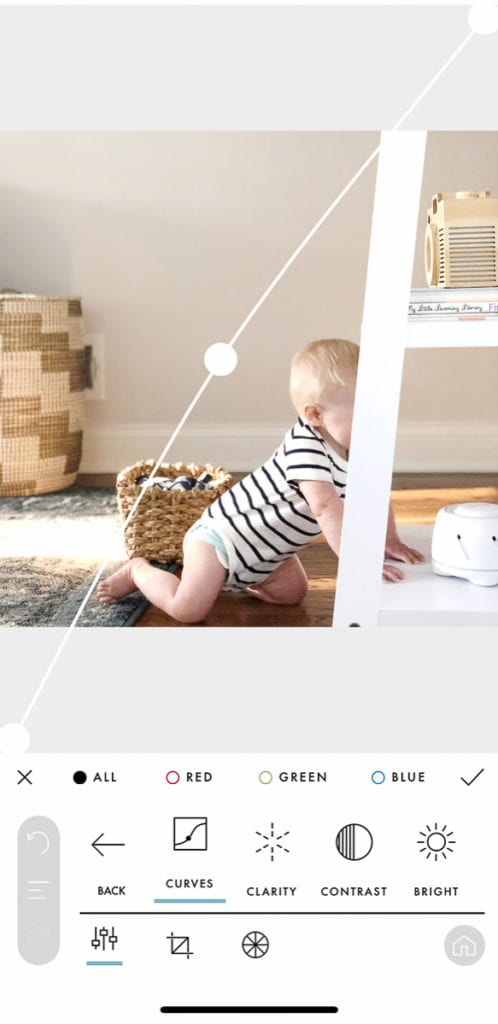
And last, but certainly not least, playing with the “curve”. When you pull the middle of the curve upward slightly, the photo should be brightened and the subjects in the photo should be softened a bit. I love using this component when editing baby photos especially because it can make imperfections on a baby’s skin a little less noticeable.
Contrast

Now after all of that brightening, especially with the curve, your photo may seem a little washed out. This is when I typically bump up the contrast (just a little bit) so that the photo still looks vibrant.
Saturation/Temperature
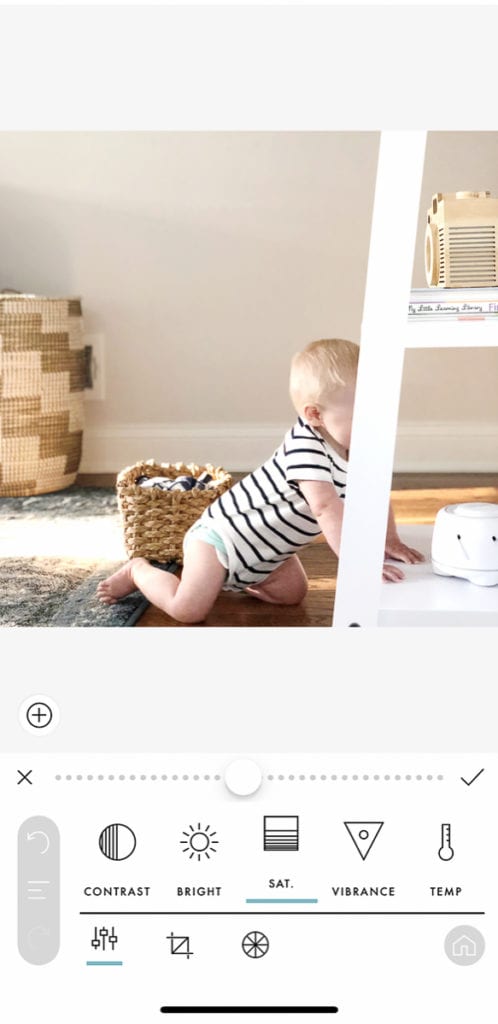
I don’t always have to use this step, but I wanted to mention it in case your photo needs a bit more color/life brought into it OR if the color temperature is a bit “off”. You can go ahead and increase the saturation if you want it to look more vibrant. And you can play around with the temperature of the photo if it looks a little too yellow or a little too blue-ish. You can adjust the temperature scale to make the necessary adjustments.
Sharpen
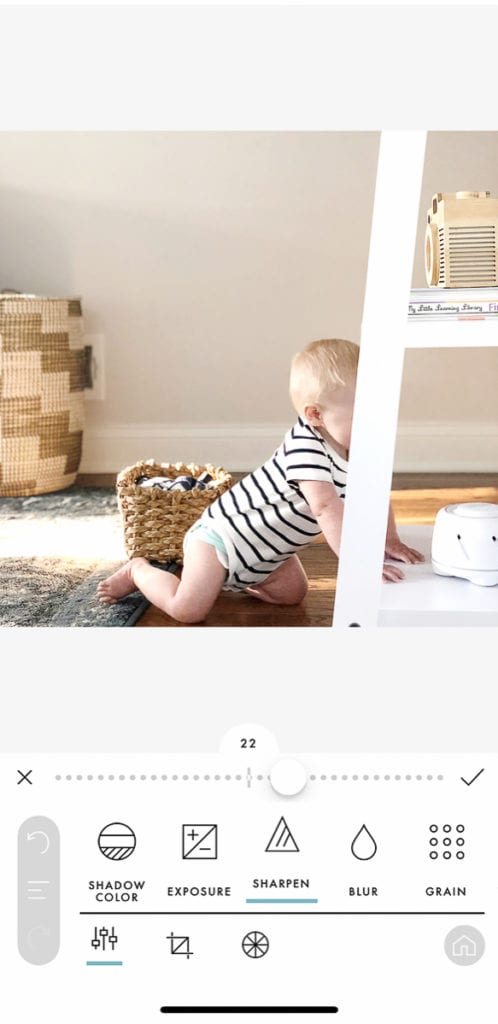
The last thing I do for almost all of my photos is sharpen them. I use the sharpening tool so they look a bit crisper. I try not to over sharpen the photo, but do increase the button about 10-25% on the scale so that the photo is a bit sharper.
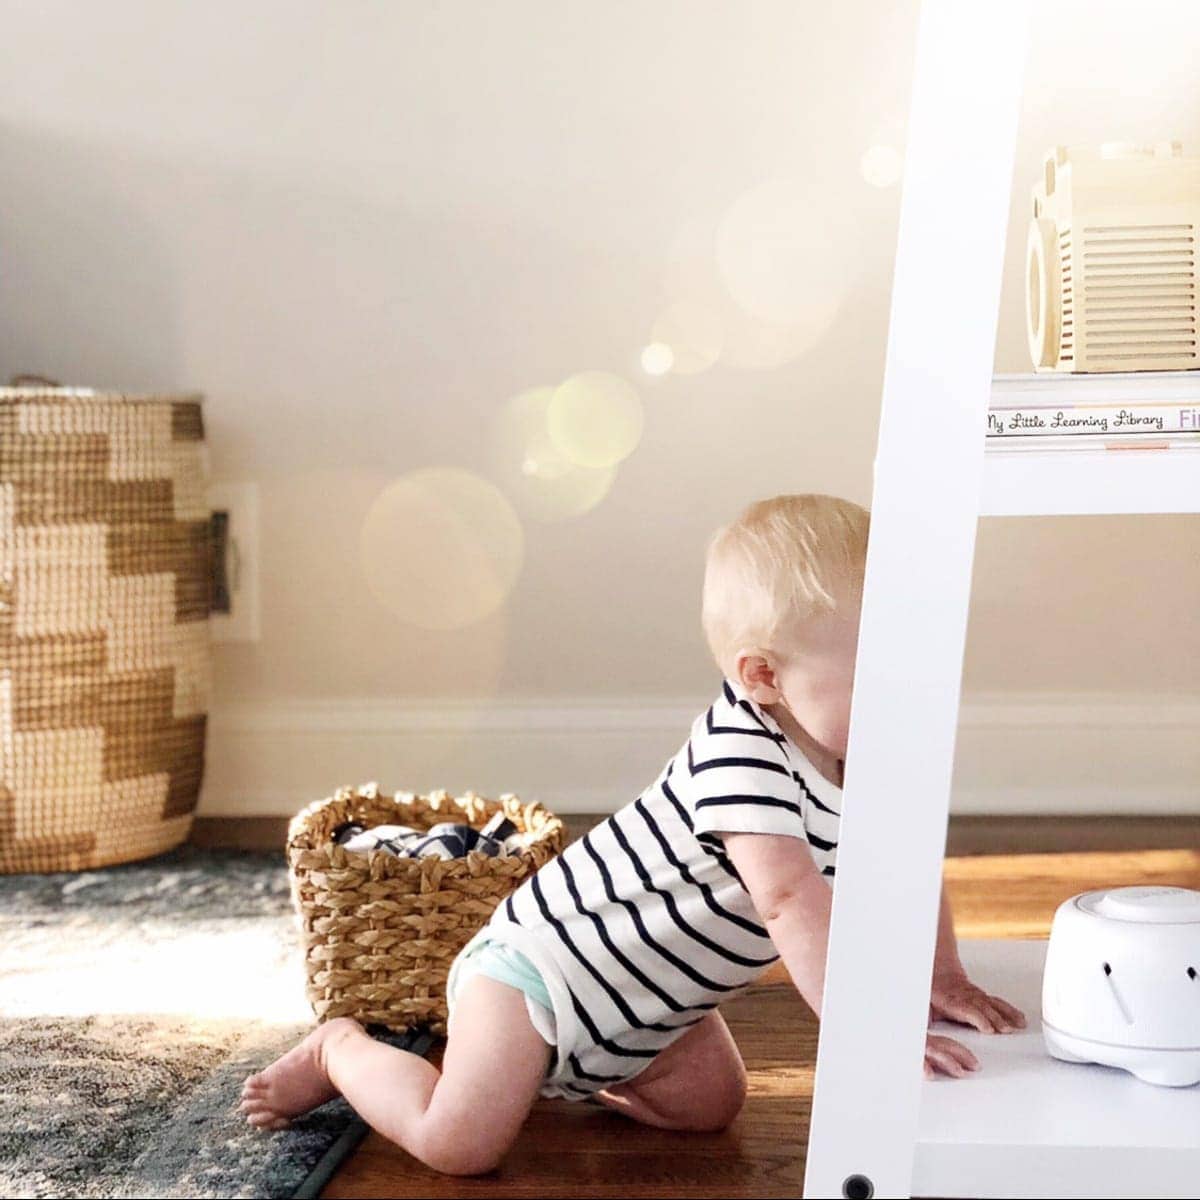
Special Effects

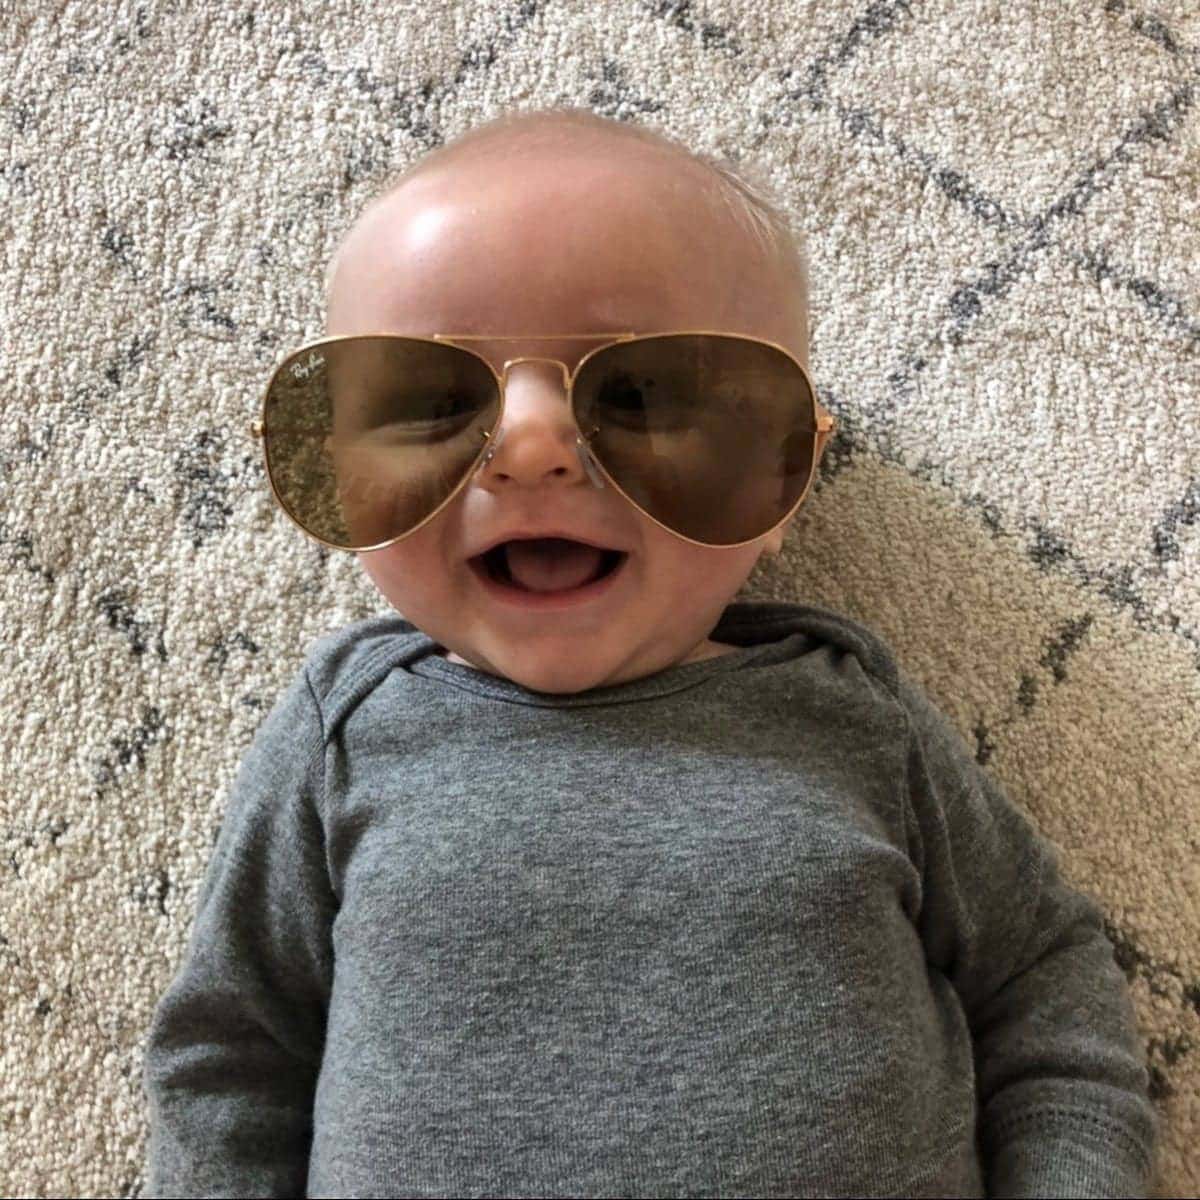
And last but not least, here’s where the “fun” filters come in, which is also where the small purchases come in. A Color Story offers a lot of very creative options to add on top of the edited photos, like sunspots! Obviously, I’m not going to add sunspots to all of my photos, but if it’s a rare photo where a sunspot would work, I do like to have fun with this feature.
My advice to the beginner’s tuning in would be to master the photo editing part first and save this step until the time. Then I would start exploring and having some fun with these extra features!
Save

Once you’re done editing your photo, go ahead and press SAVE! I love this app because the photo will be saved as a separate copy, meaning the original photo will still be intact in your phone (dark features and all).
Now you can go to your regular iPhone album and the new, light and bright photo will be at the very top for you to access.
Post & Delete

From this point, I’ll typically post it to my family Instagram account or add it to a specific file in my phone. Then I try and go back and delete the photos I won’t need so that I don’t have a million photos on my phone. I’m not always as consistent about this step, but that’s the ultimate goal.
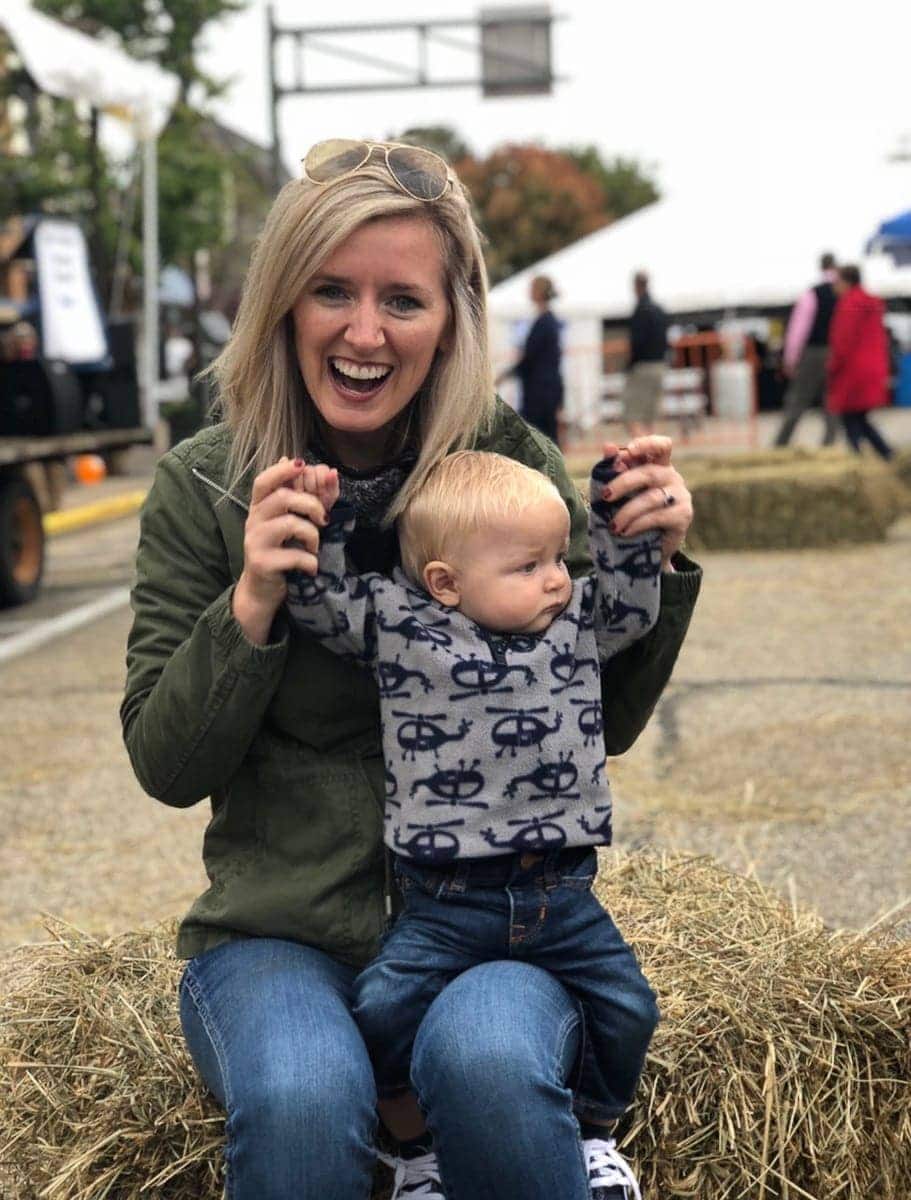
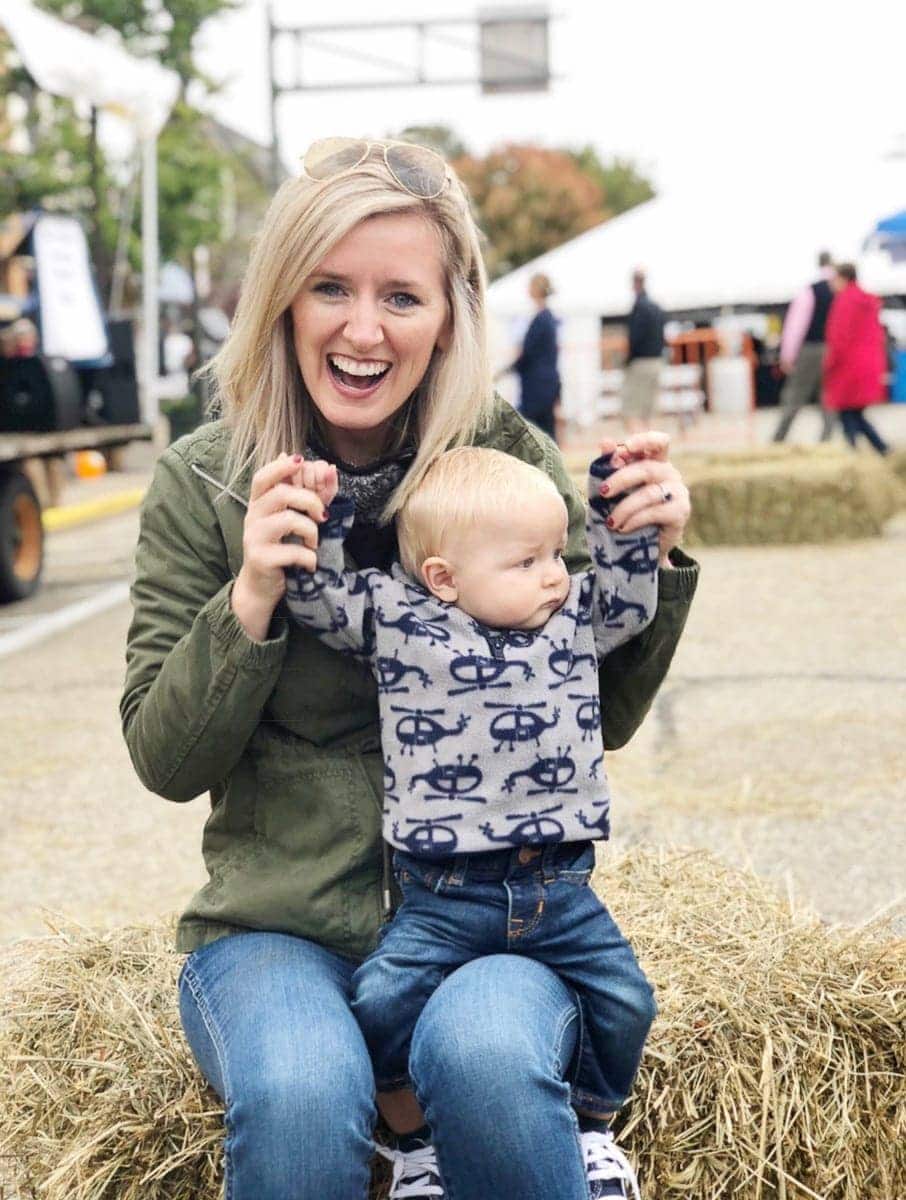
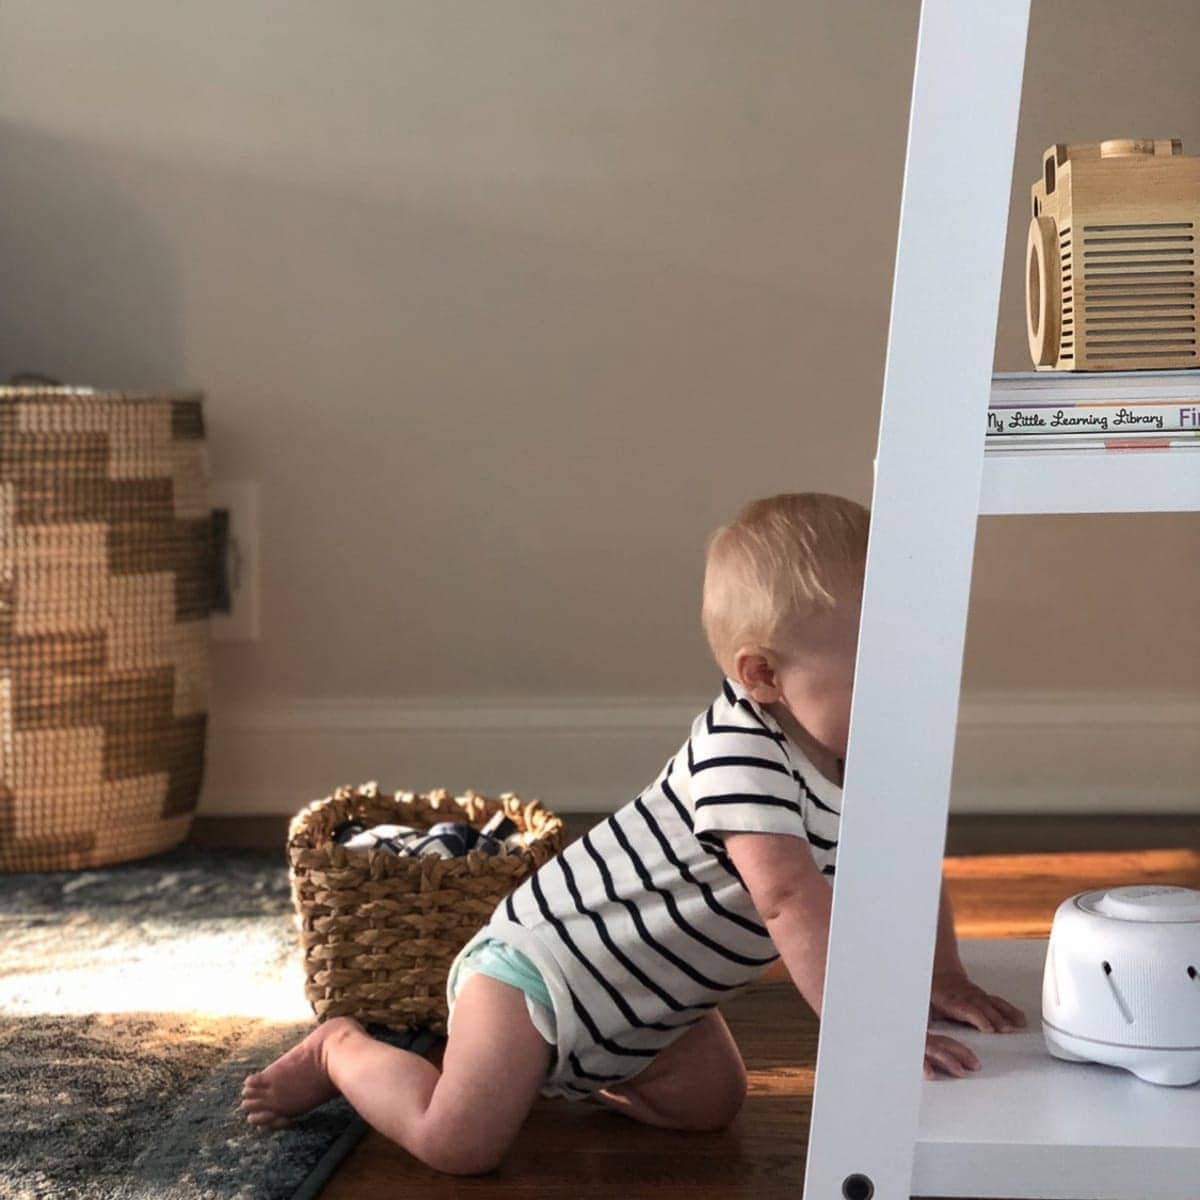
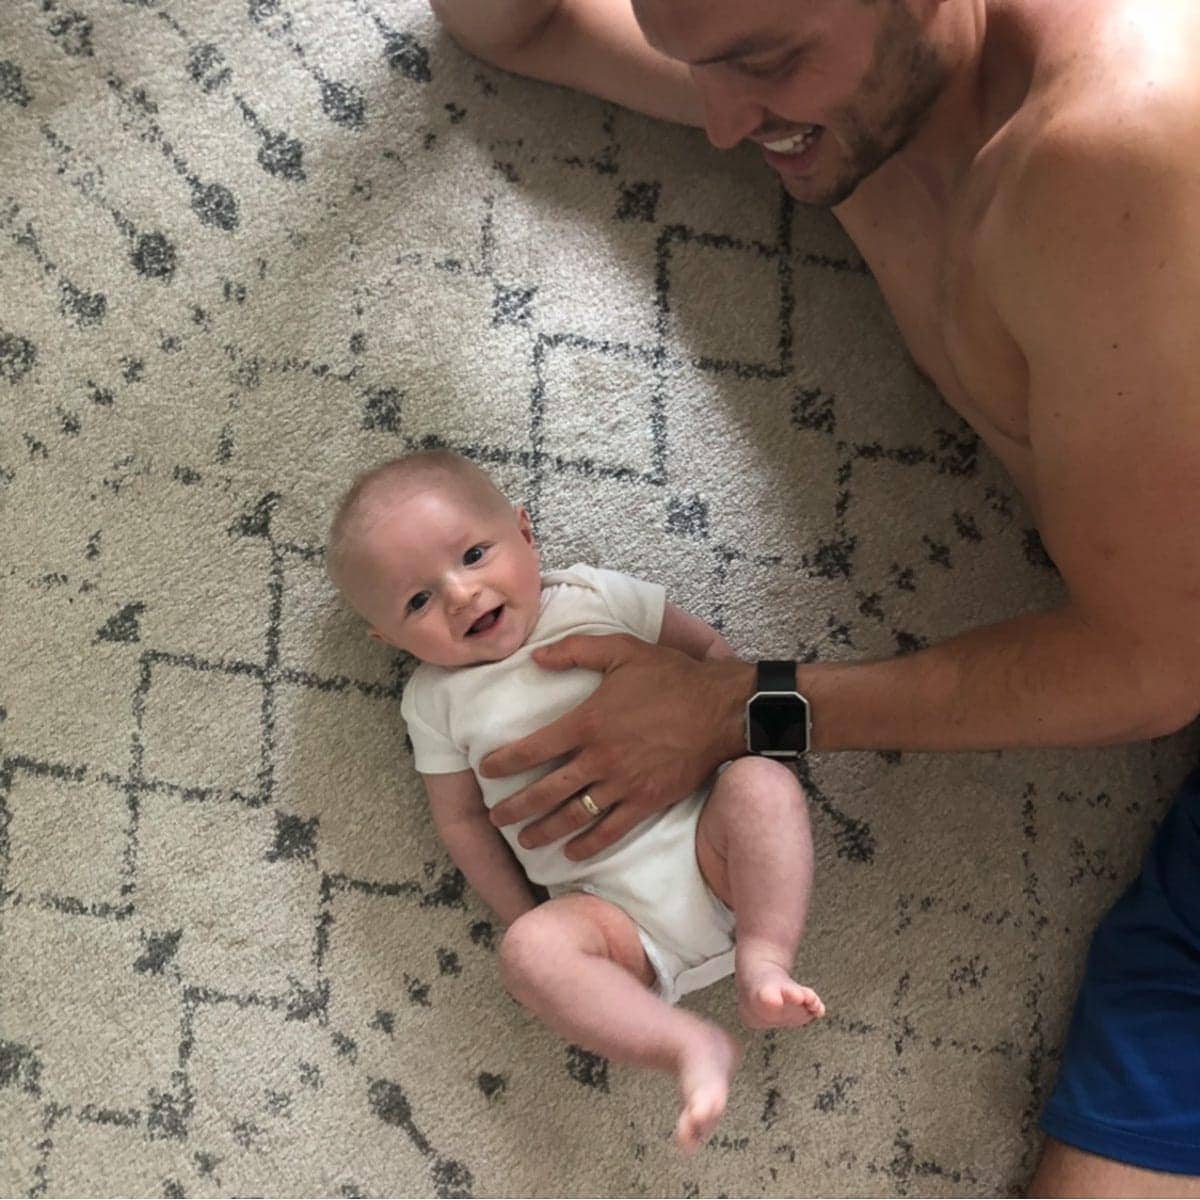
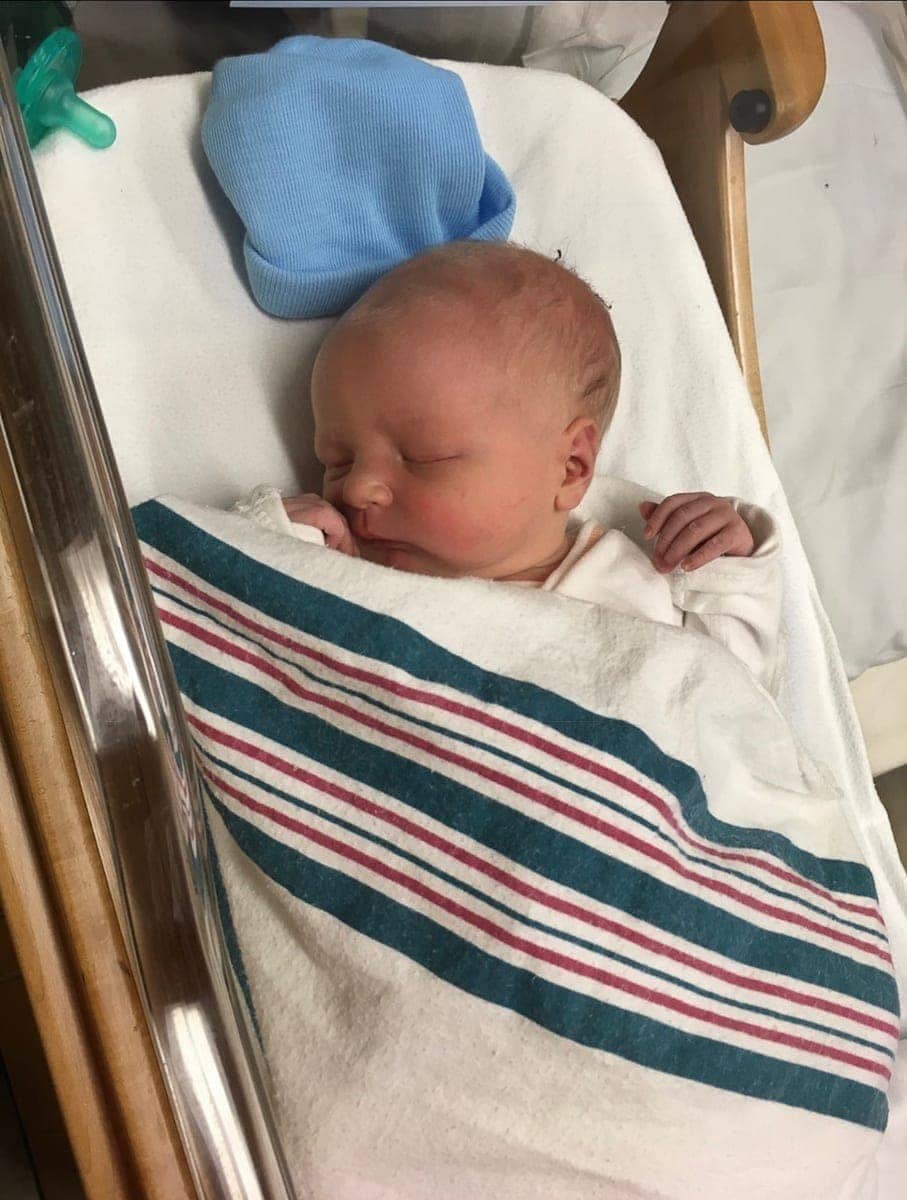
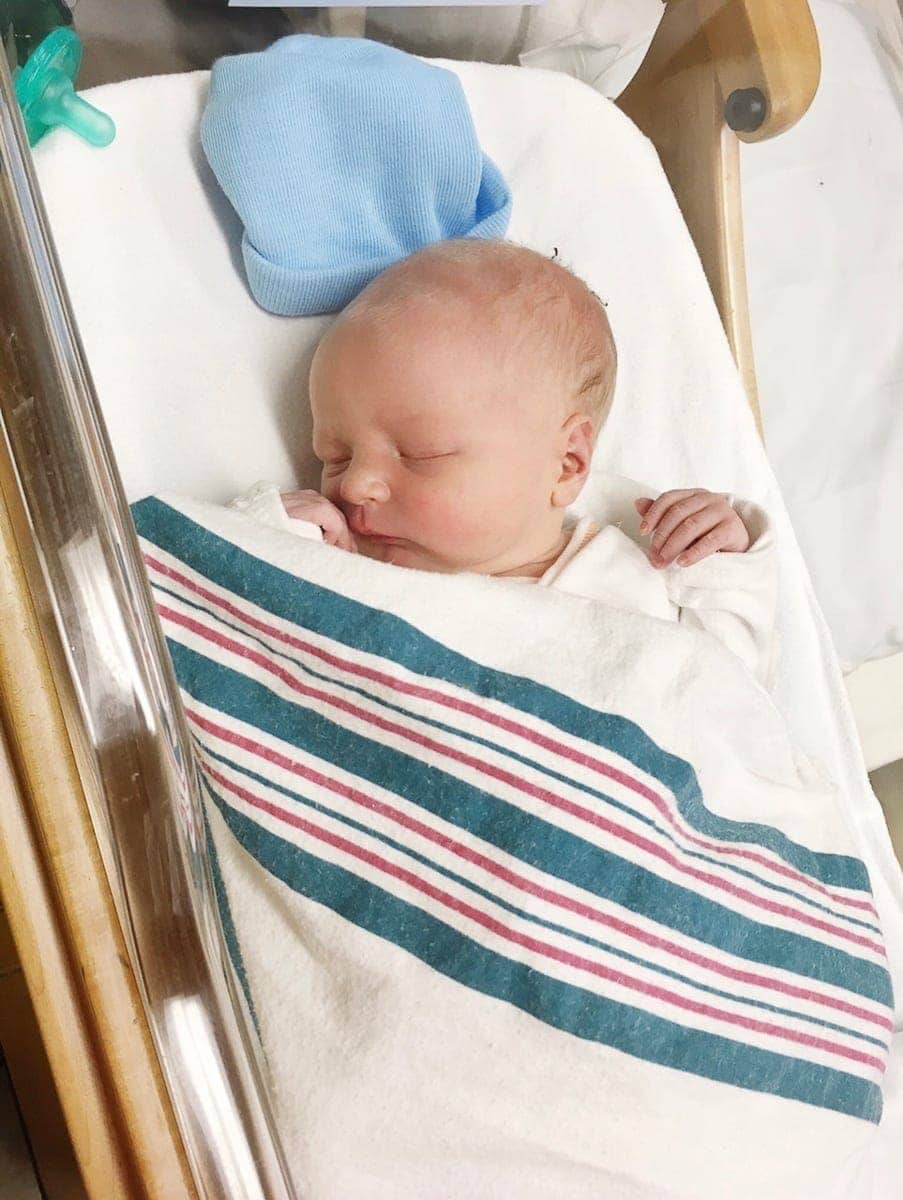
Easy enough right?! Here are some of the before and after photos to prove that a few simple steps can improve your regular ol’ cell phone photos tremendously!


You Can Do It
If you’re someone who doesn’t have a need for baby photos, but you’ve made it this far in today’s post… thank you!! These steps don’t just apply to baby photos. You can use this strategy for just about any photo in your cell phone album!
 And for the new moms, experienced moms, and soon-to-be moms tuning in, I’m confident in you! I know these simple steps will make a big difference in those iPhone photos and hopefully encourage you to start loving your photos just as much as those little cuties in them.
Bridget