How to Help Pea Gravel Stay In Place
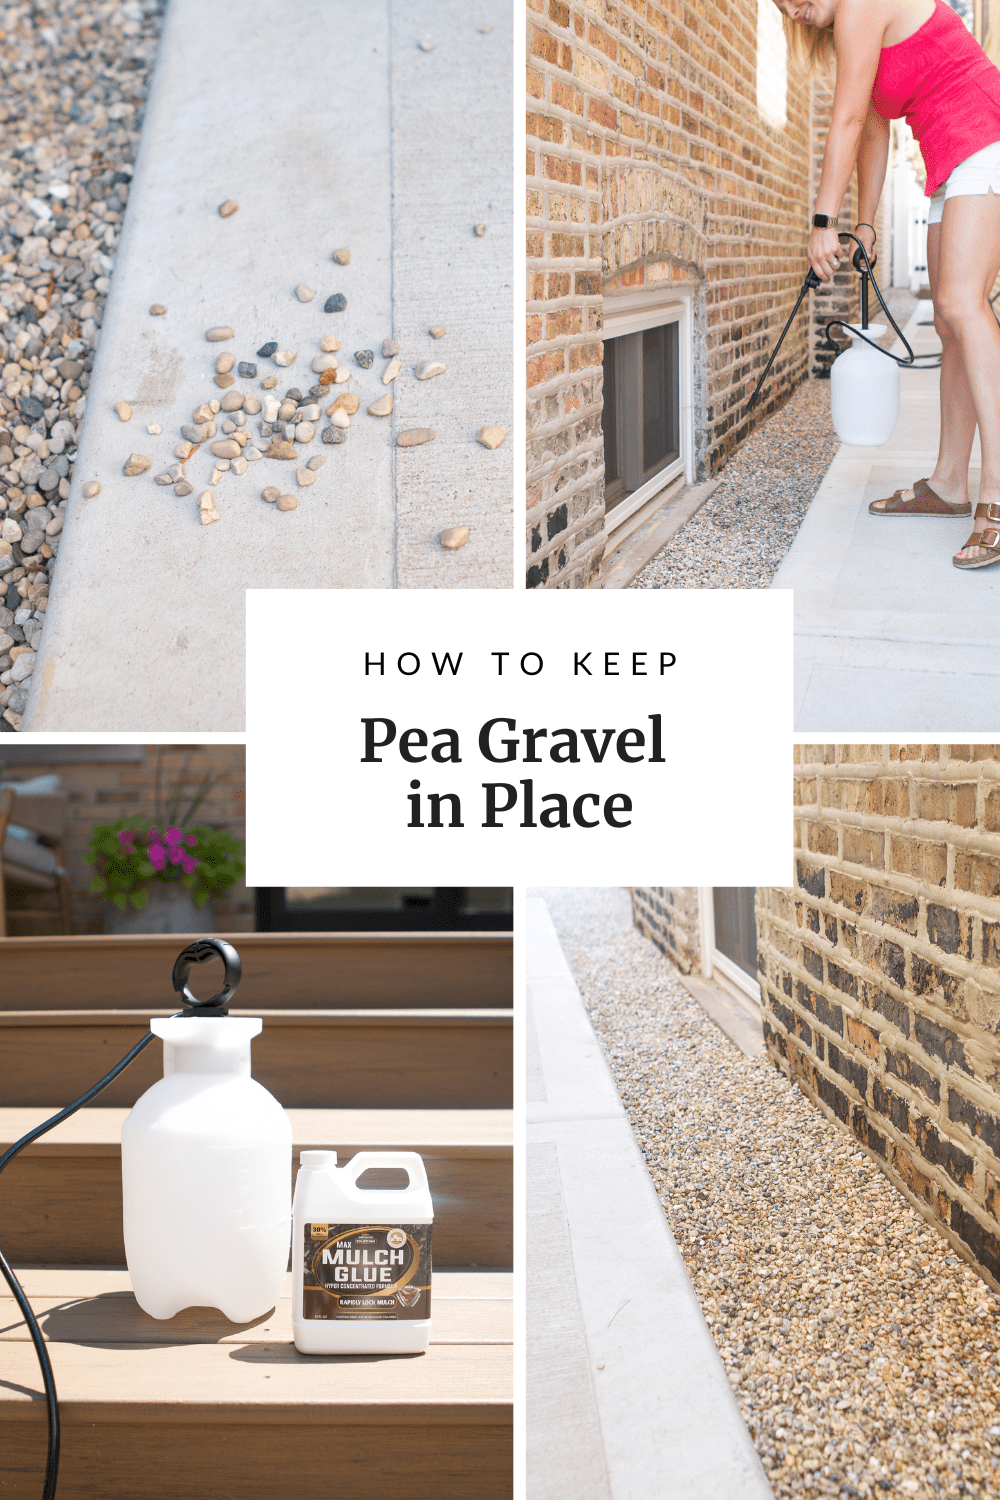
I test out a new-to-me product called Mulch Glue to keep our new pea gravel house border in place.
About a month ago, I showed you how we cleaned up the side of our house by adding a pea gravel border. Before, it was full of weeds, garbage, and broken pavers. A half day of work and $120 later and it was looking cleaner and so much better! You can see the full tutorial and before and after in this blog post.
When I showcased that project, a few people reached out and told me I should try out mulch glue to keep my pea gravel in place. Mulch glue? I had never even heard of such a thing!
It’s used to lock mulch in place so it doesn’t get messy or blow around when you use a leaf blower. A few readers said they used that same product on their pea gravel and it worked. Once I heard that, I knew I would have to try it out for myself.
Our Side Yard Before The Mulch Glue
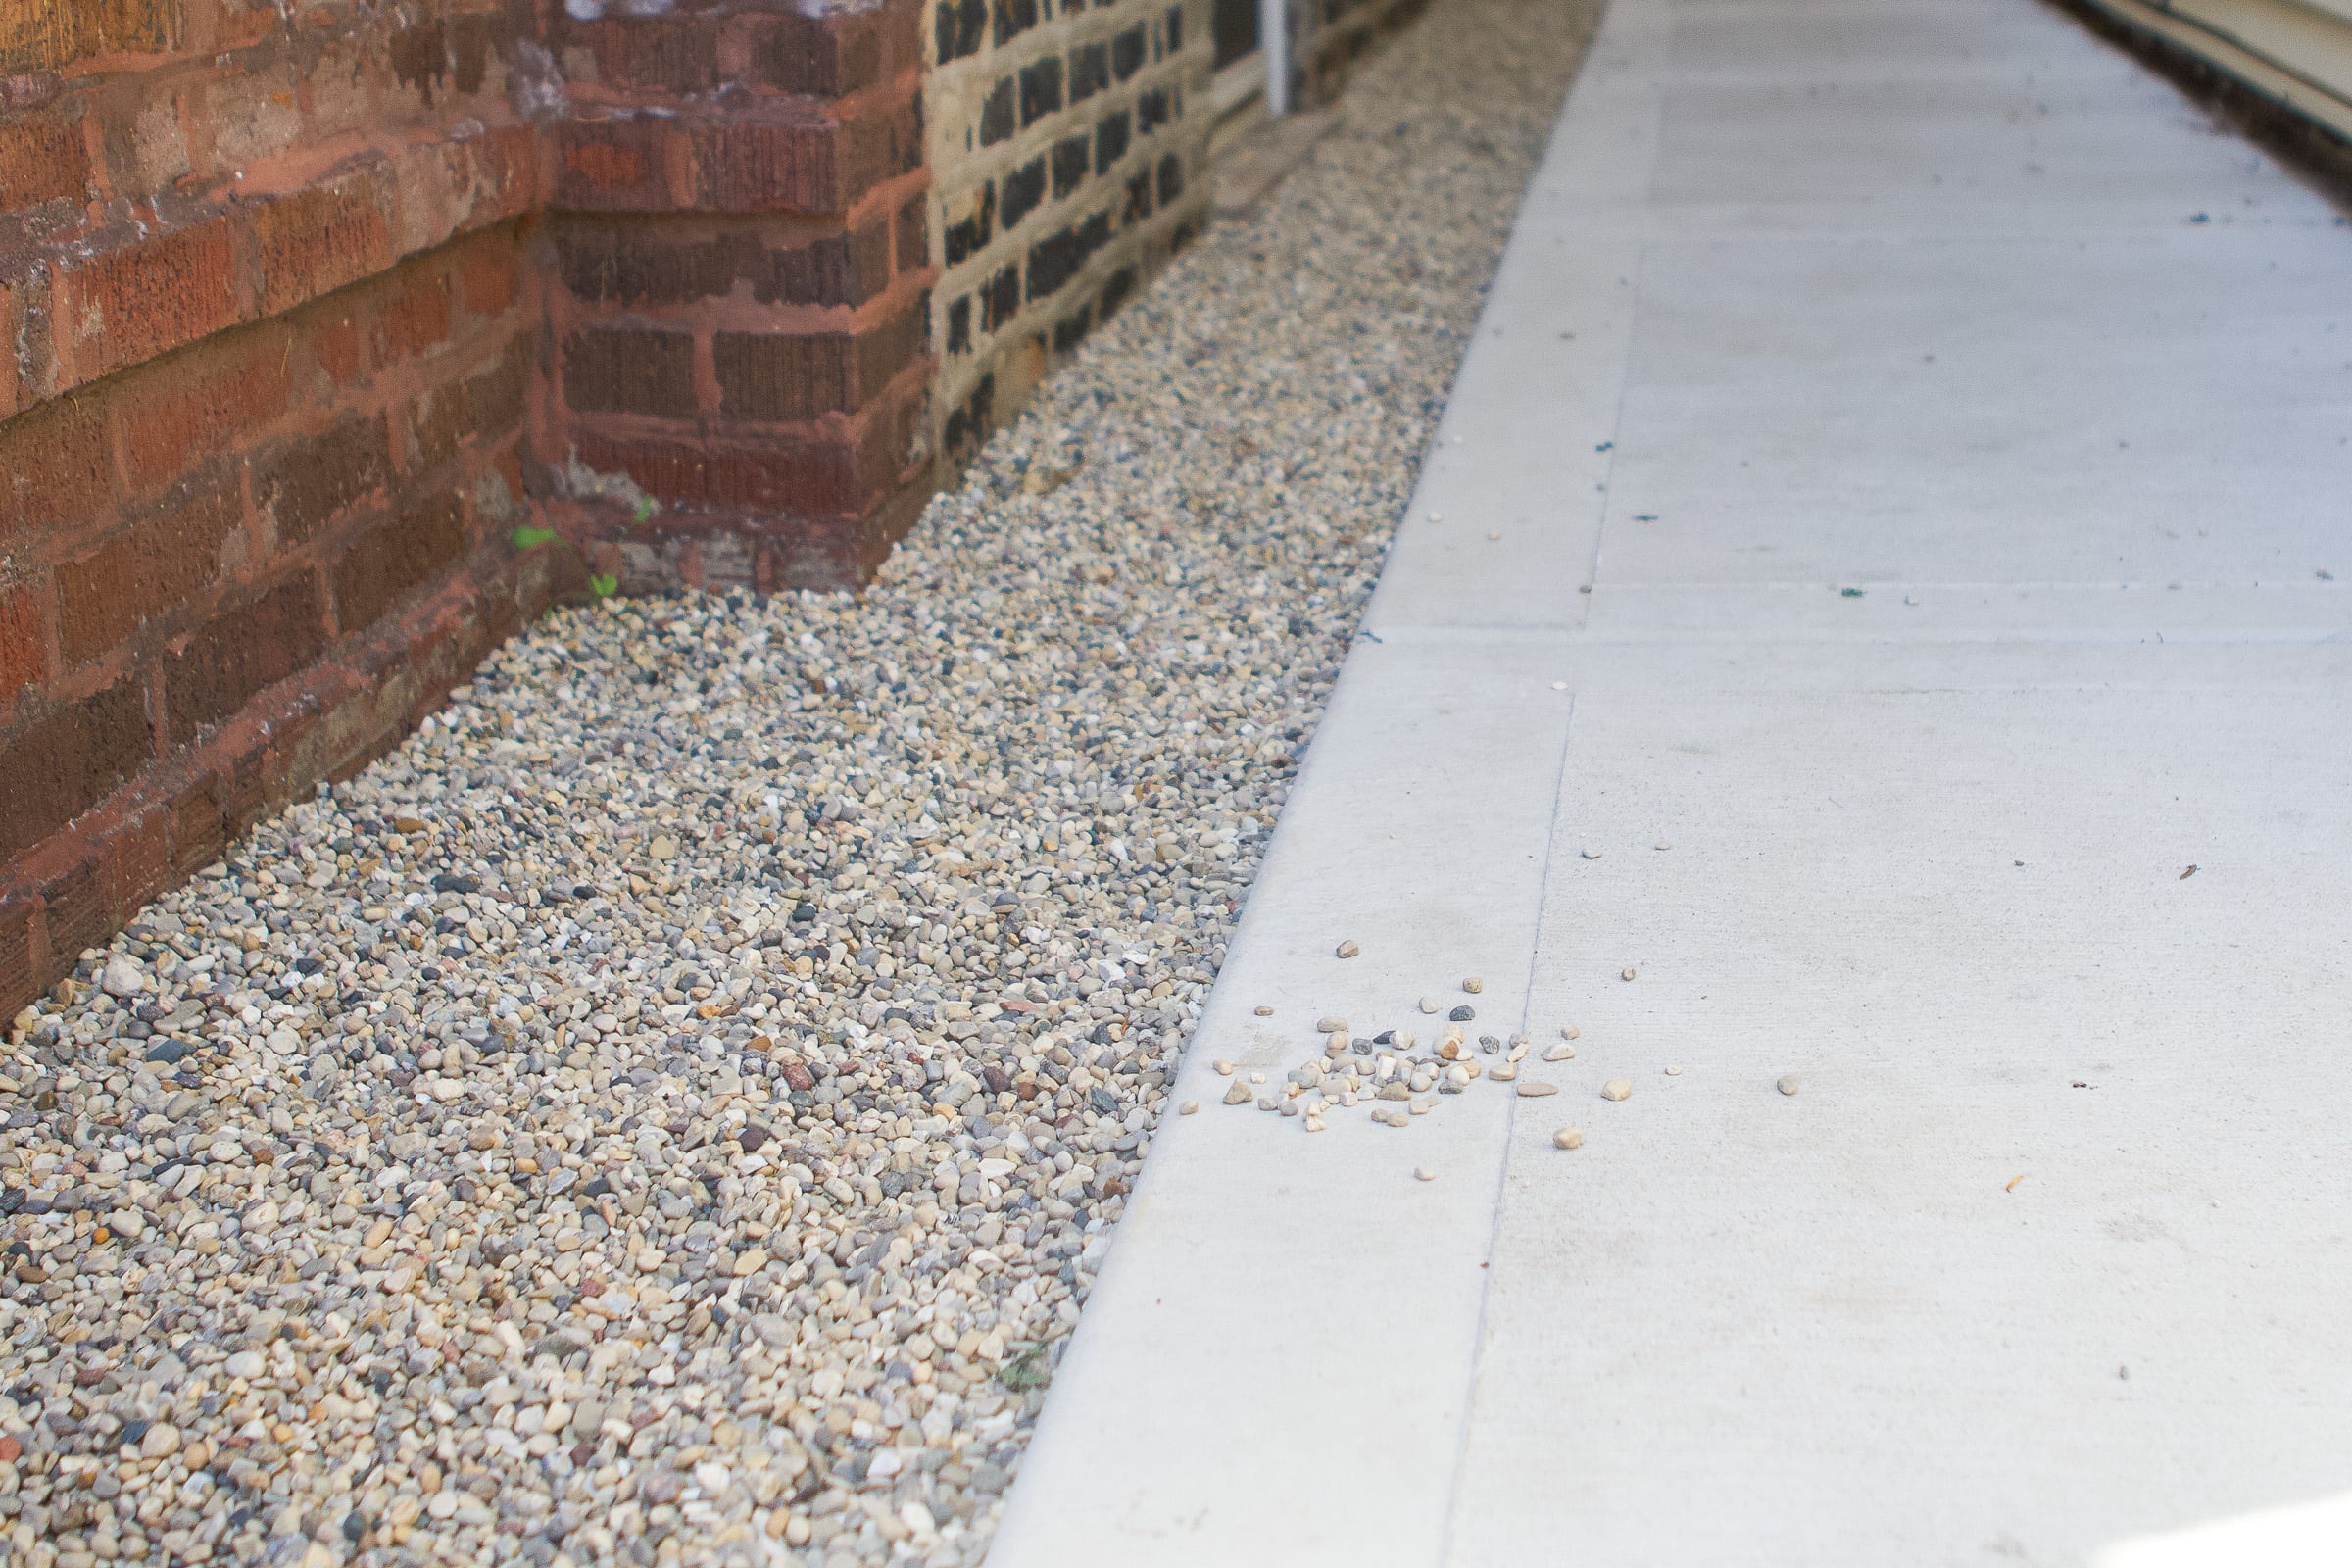
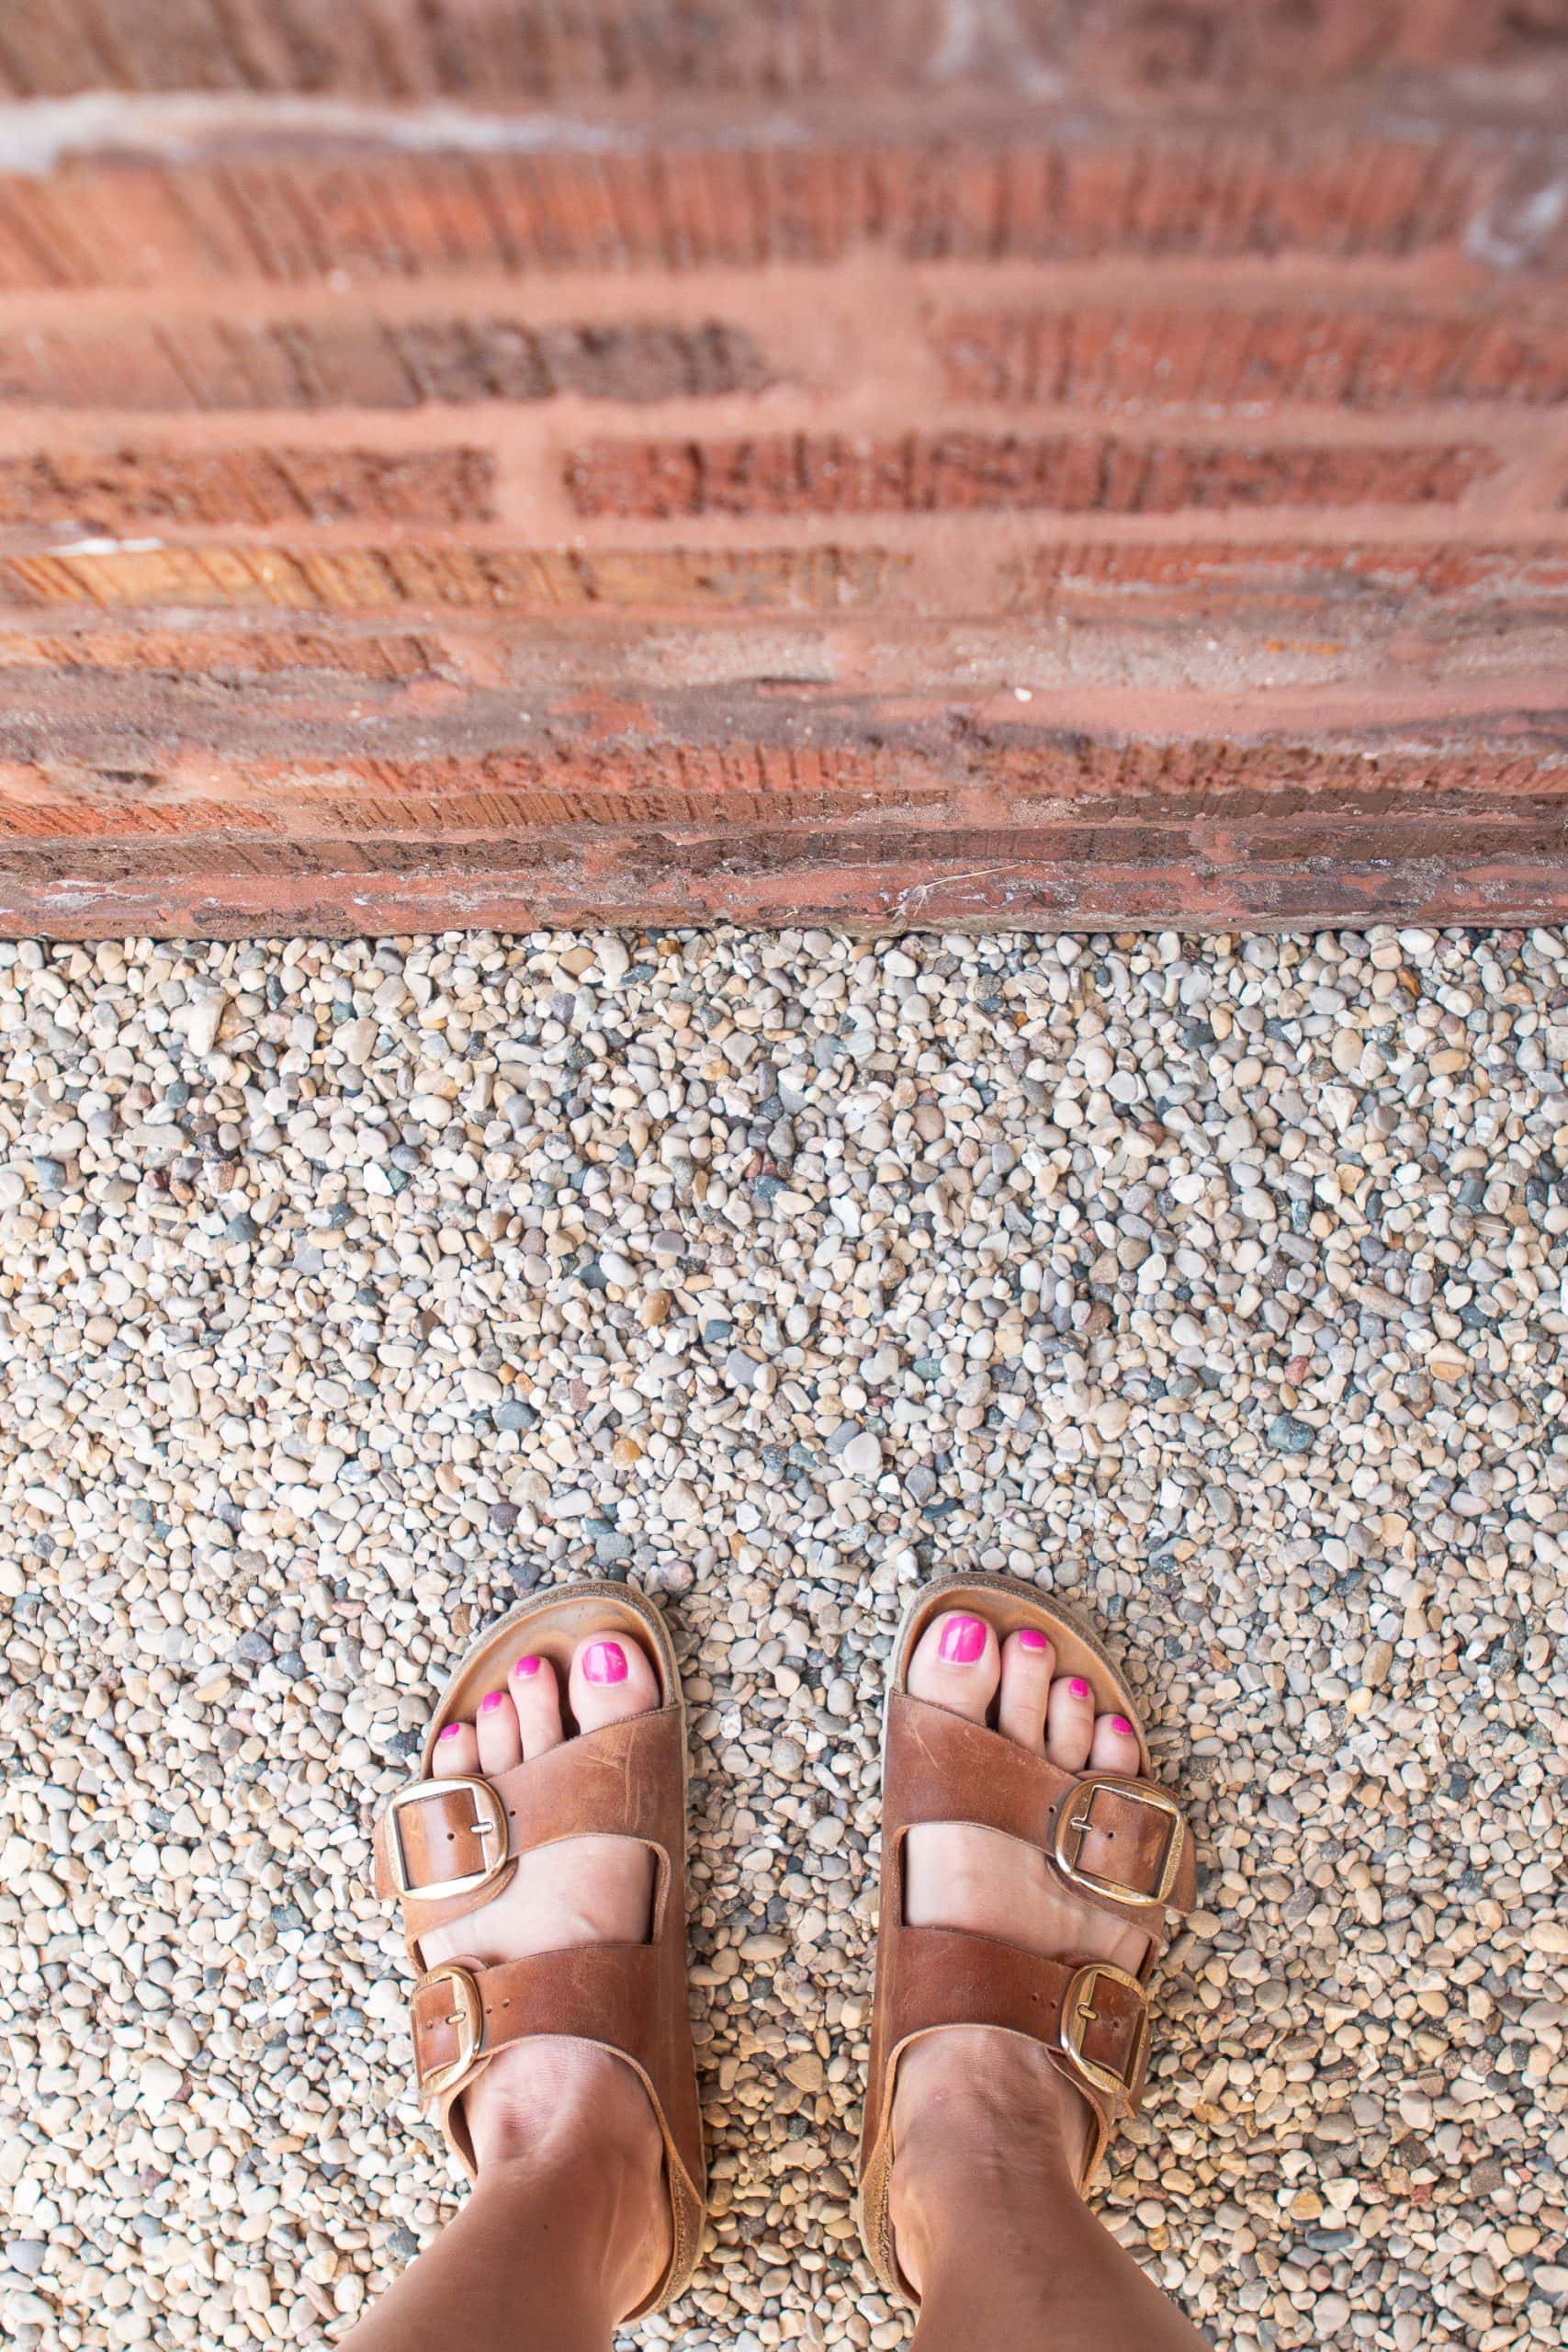
We rarely ever go to that side of the house, since the sidewalk leads to our neighbor’s front door. But I have been peeking my head over there when I get the mail to see how the pea gravel has been holding up.
For the most part, it looks great! But I did notice a bit of gravel getting onto the sidewalk, particularly in the front area before their door. I don’t want our gravel to create a mess for our neighbors, so I figured this was a good project to try out!
Supplies to Grab

- Mulch Glue
- Bucket
- Stir Stick
- Garden Sprayer
- Water
Mix It Up

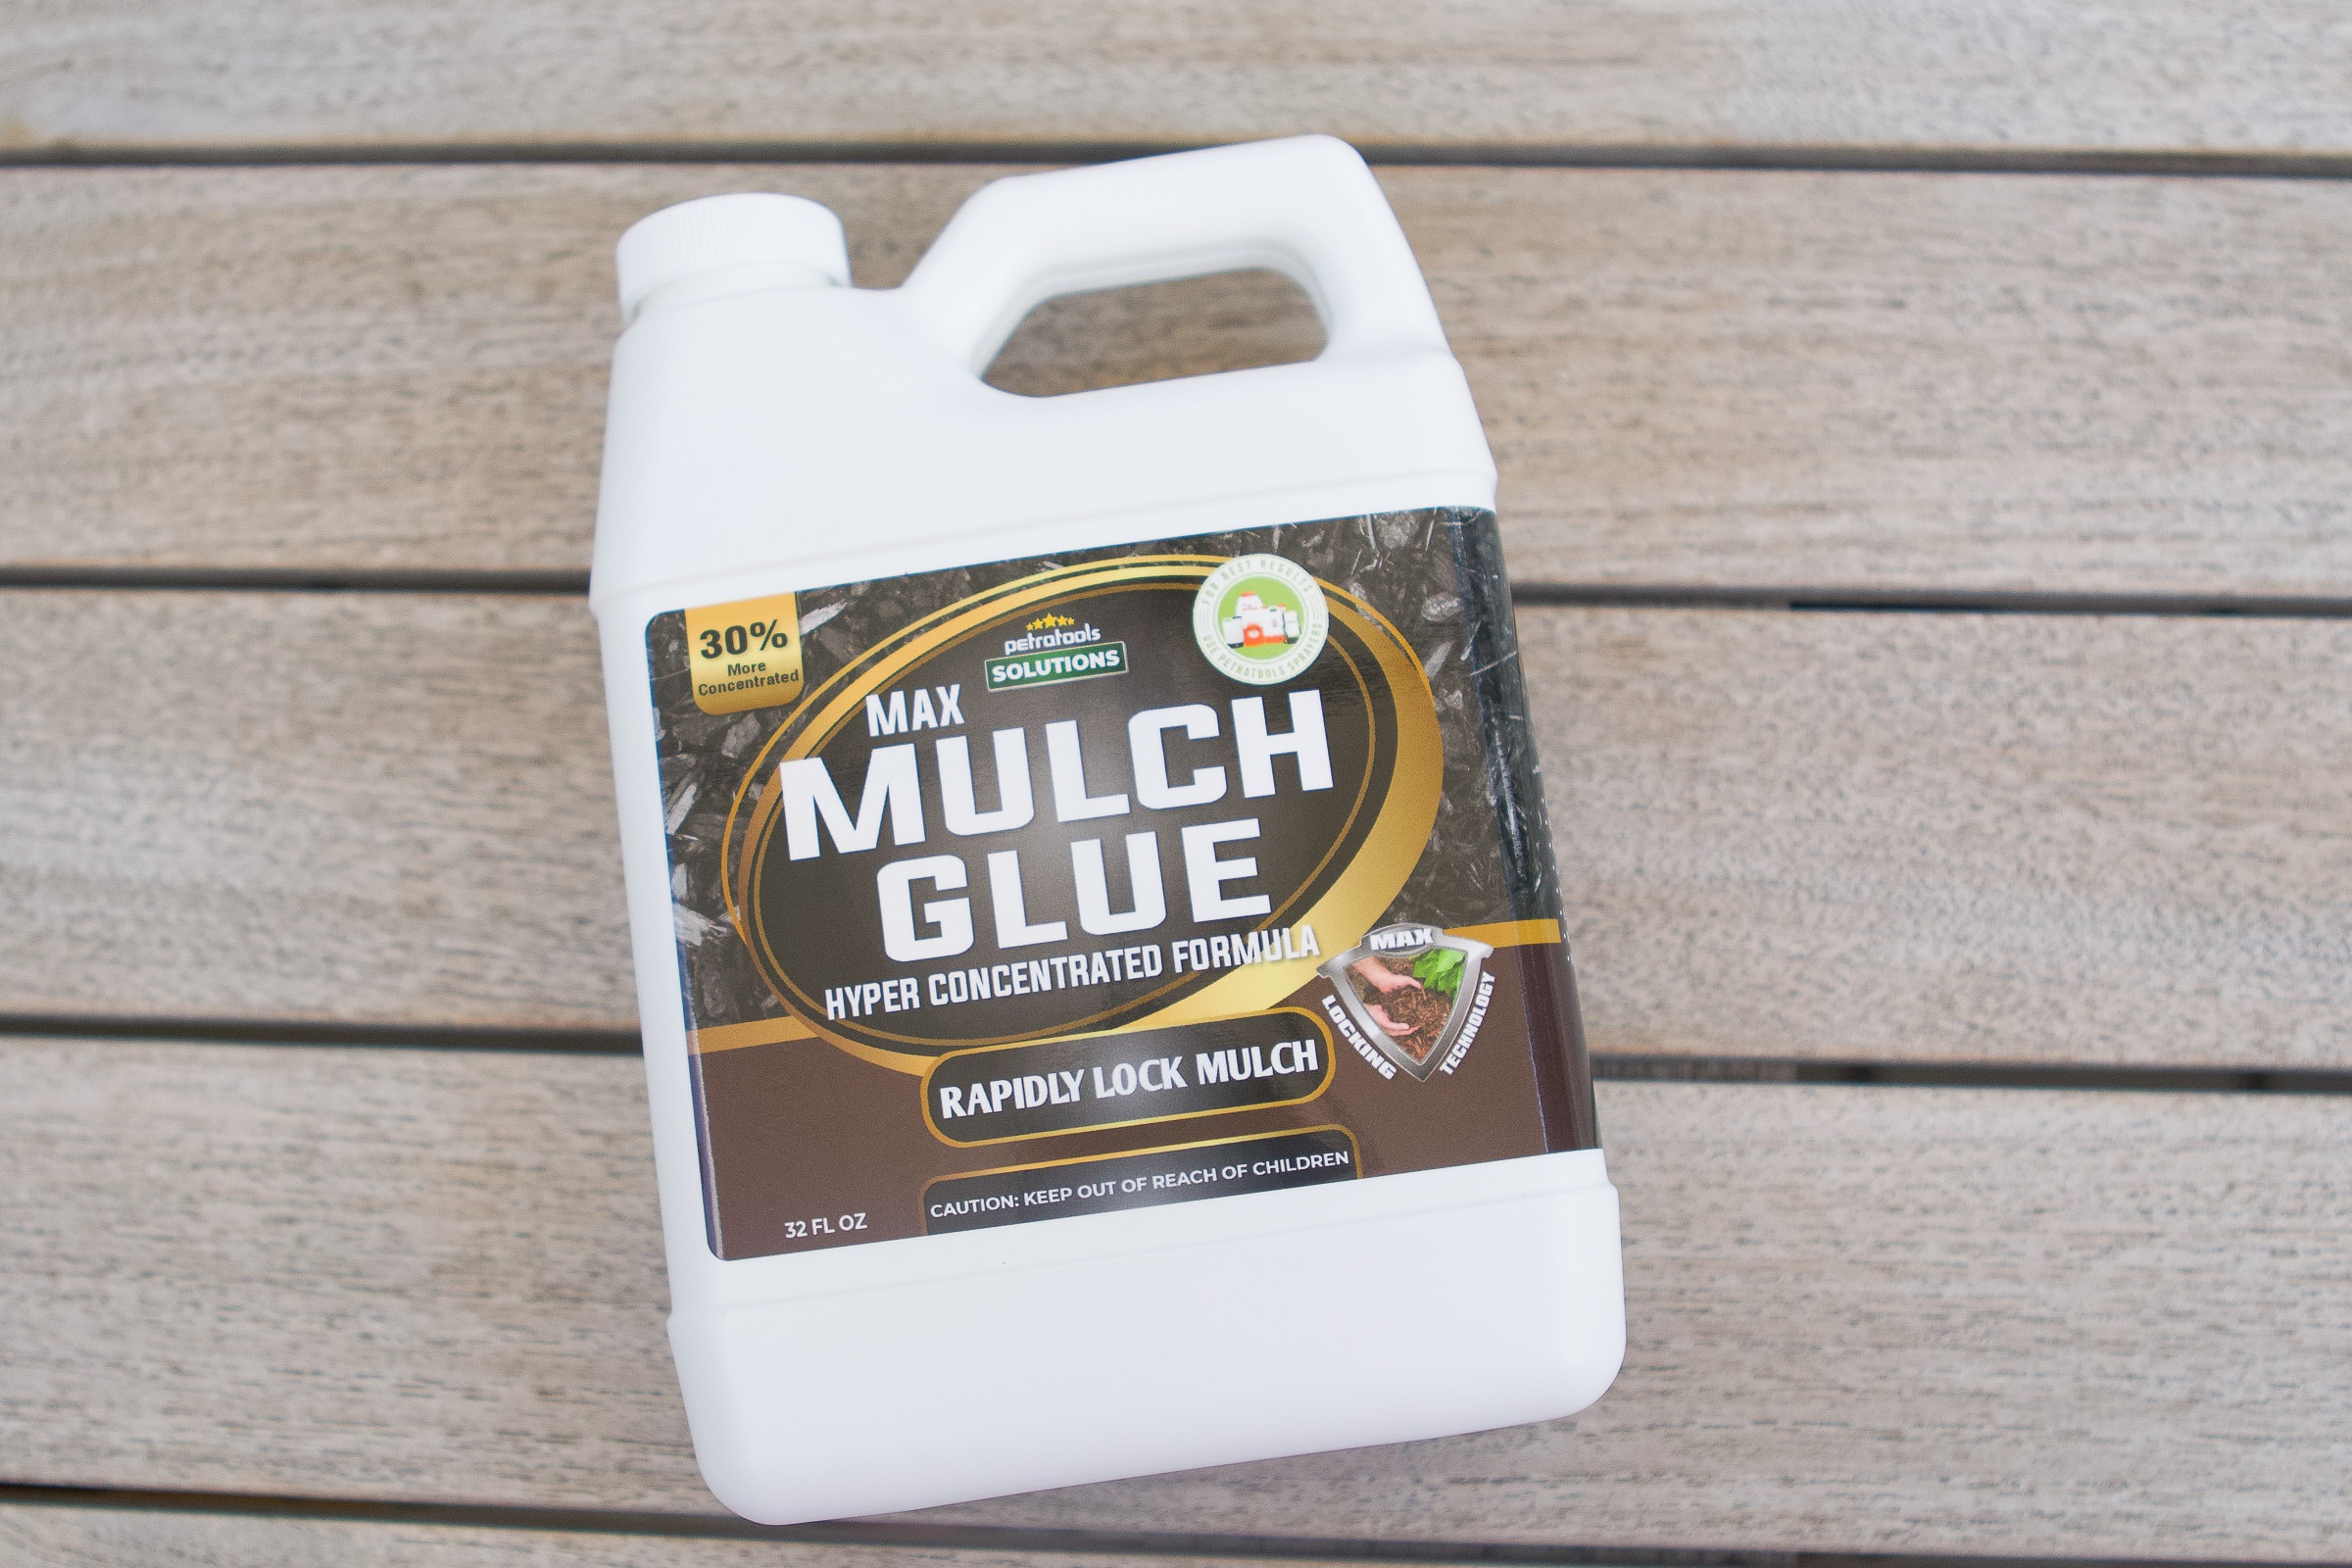
With this particular mulch glue, you need to mix one part glue with two parts water. You combine them and then stir for at least a minute.
While I was all prepped with the glue and sprayer, I didn’t buy any sort of mixing bucket or stir stick. Oops. I ended up using an old bucket and I used red solo cups to measure out the mixture (one solo cup of glue to two solo cups of water). To mix, I used a pencil. Ha!

Later on, when I mixed up more solution for my second coat, I realized that I could just mix everything directly in the garden sprayer. So I suggest putting the glue and water directly into the sprayer, closing it tight, and then shaking it up really well for about a minute. That worked far better than my pencil stirring.
See guys, this is why I do these projects first, so I make all of the mistakes for you!
Get The Pea Gravel In Place

Before you start spraying it, and locking it in, you’ll want to sweep any pea gravel back in place and make sure there isn’t any garbage or leaves in your rocks. I did a once-over to make sure the pea gravel was just as I wanted it. There were a few footprints here and there, so I used a broom to get it all level and the way I wanted.
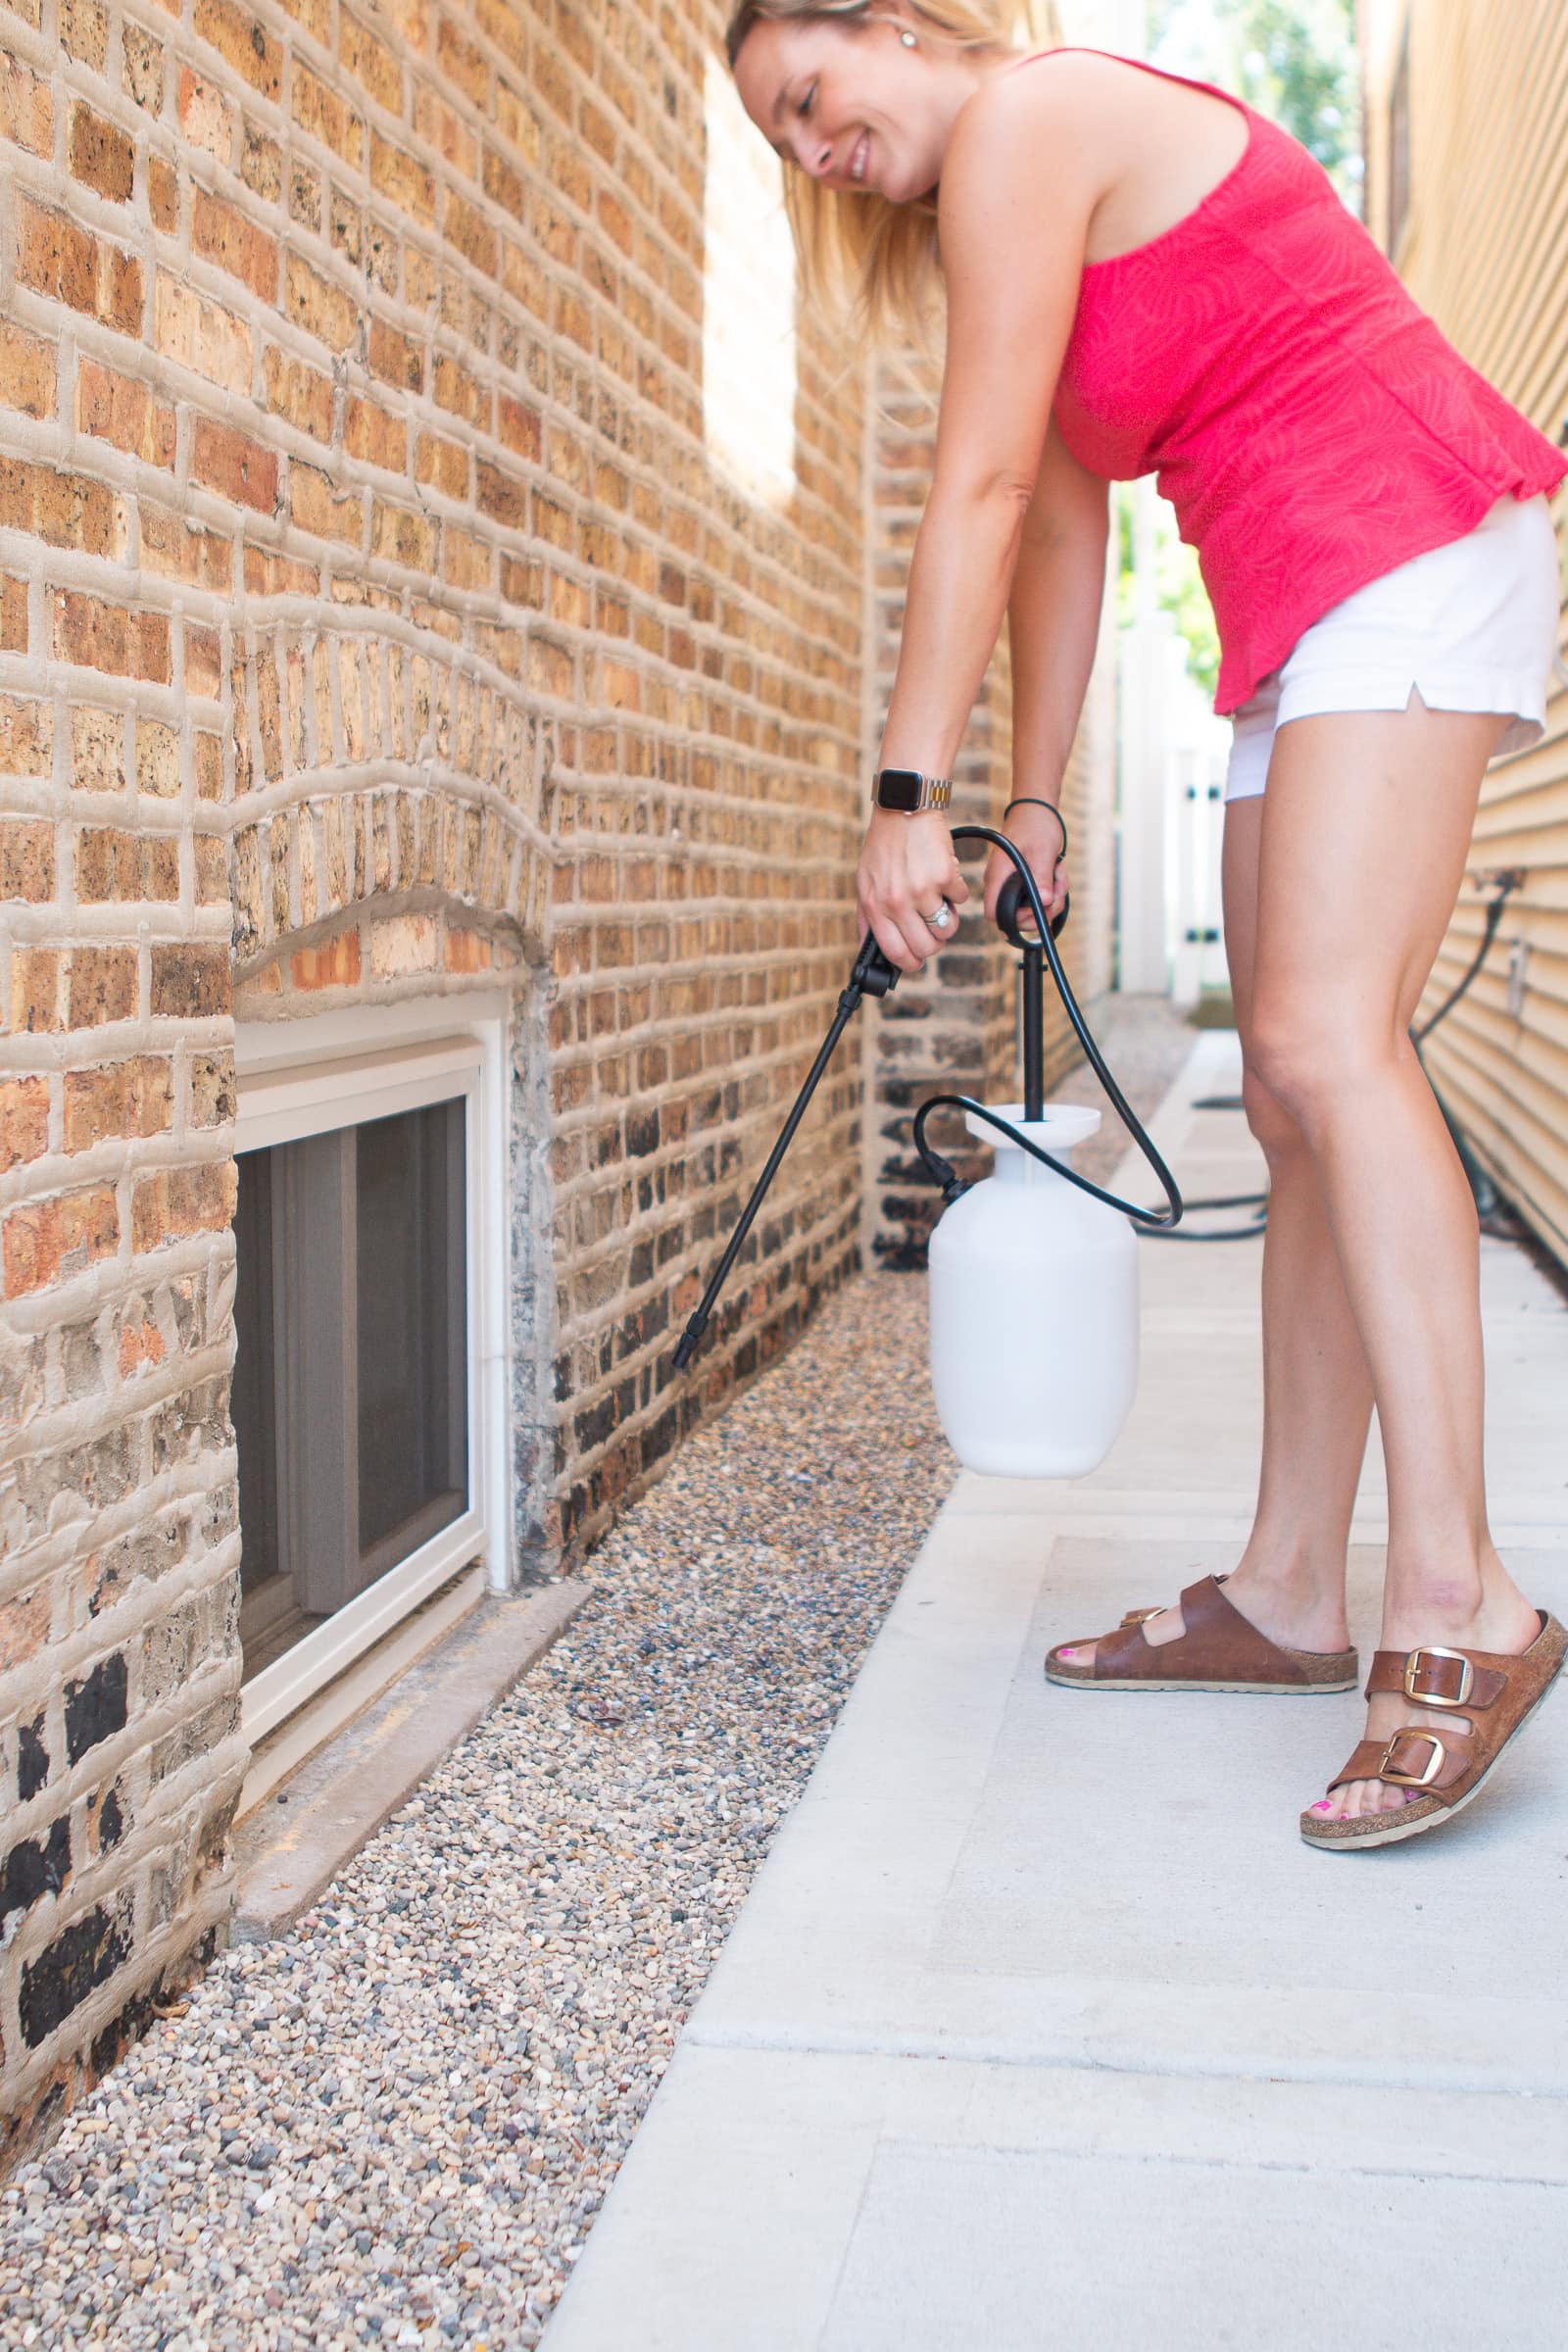
Start Spraying

I have never used a garden sprayer before, but wow, it’s super easy. You push down on the pump a few times until you feel some resistance and then you start spraying away.


The mulch glue comes out white so it’s easy to see the areas you cover. I did my best to cover every single area with glue.
Wait An Hour Between Coats
Once everything was covered, I waited an hour to put my second coat on. By the time I came back outside to put on the second coat, it was dry and the white milky glue was now clear. Any overspray that got onto the sidewalk or house was invisible too. I felt the rocks with my hands and they were fairly secure, but not completely.

For my second coat, I ended up going a bit thicker with my application to ensure that every single rock was covered with mulch glue.
Did It Work?

I was pretty shocked by how well this stuff works! Overall, I’d give it a grade of a B+. If you pick at the gravel, the little stones don’t move! There were a couple of pebbles here and there that didn’t get hit with glue and those were moving around when I ran my hand over them.
But for the most part, the pebbles don’t move! It’s wild! I think this will keep our neighbor’s sidewalk clean and he won’t have to sweep any gravel off anymore.

This is also a great idea if you have kids and they’re constantly digging in the gravel or throwing it. We don’t ever play on that side of the house, but I imagine that would be an issue if we had pea gravel in our backyard!
More About Mulch Glue
I did a bit of research on mulch glue before adding it to my property and found that this particular product is kid and pet-friendly, non-toxic, and can last for about a year. I was worried about water since this is near our foundation, but apparently, it’s permeable.
We specifically chose pea gravel so the water could travel away from our house and to the grass, so I’m happy to hear that that will still happen! I’m not sure if it will keep weeds from coming in (they always seem to find a way), so I’ll keep you posted if they do pop on through the pea gravel.

And since it’s called mulch glue, I’d have to imagine that it works even better on actual mulch! The bottle says it works well on wood chips, sand, small pebbles, hay straw, and more. So, it’s worth a shot in your own yard if things are looking messy!
I’ll keep you posted on how this lasts over time. Again, it said it should be good for about one year, so we will see if that is true!
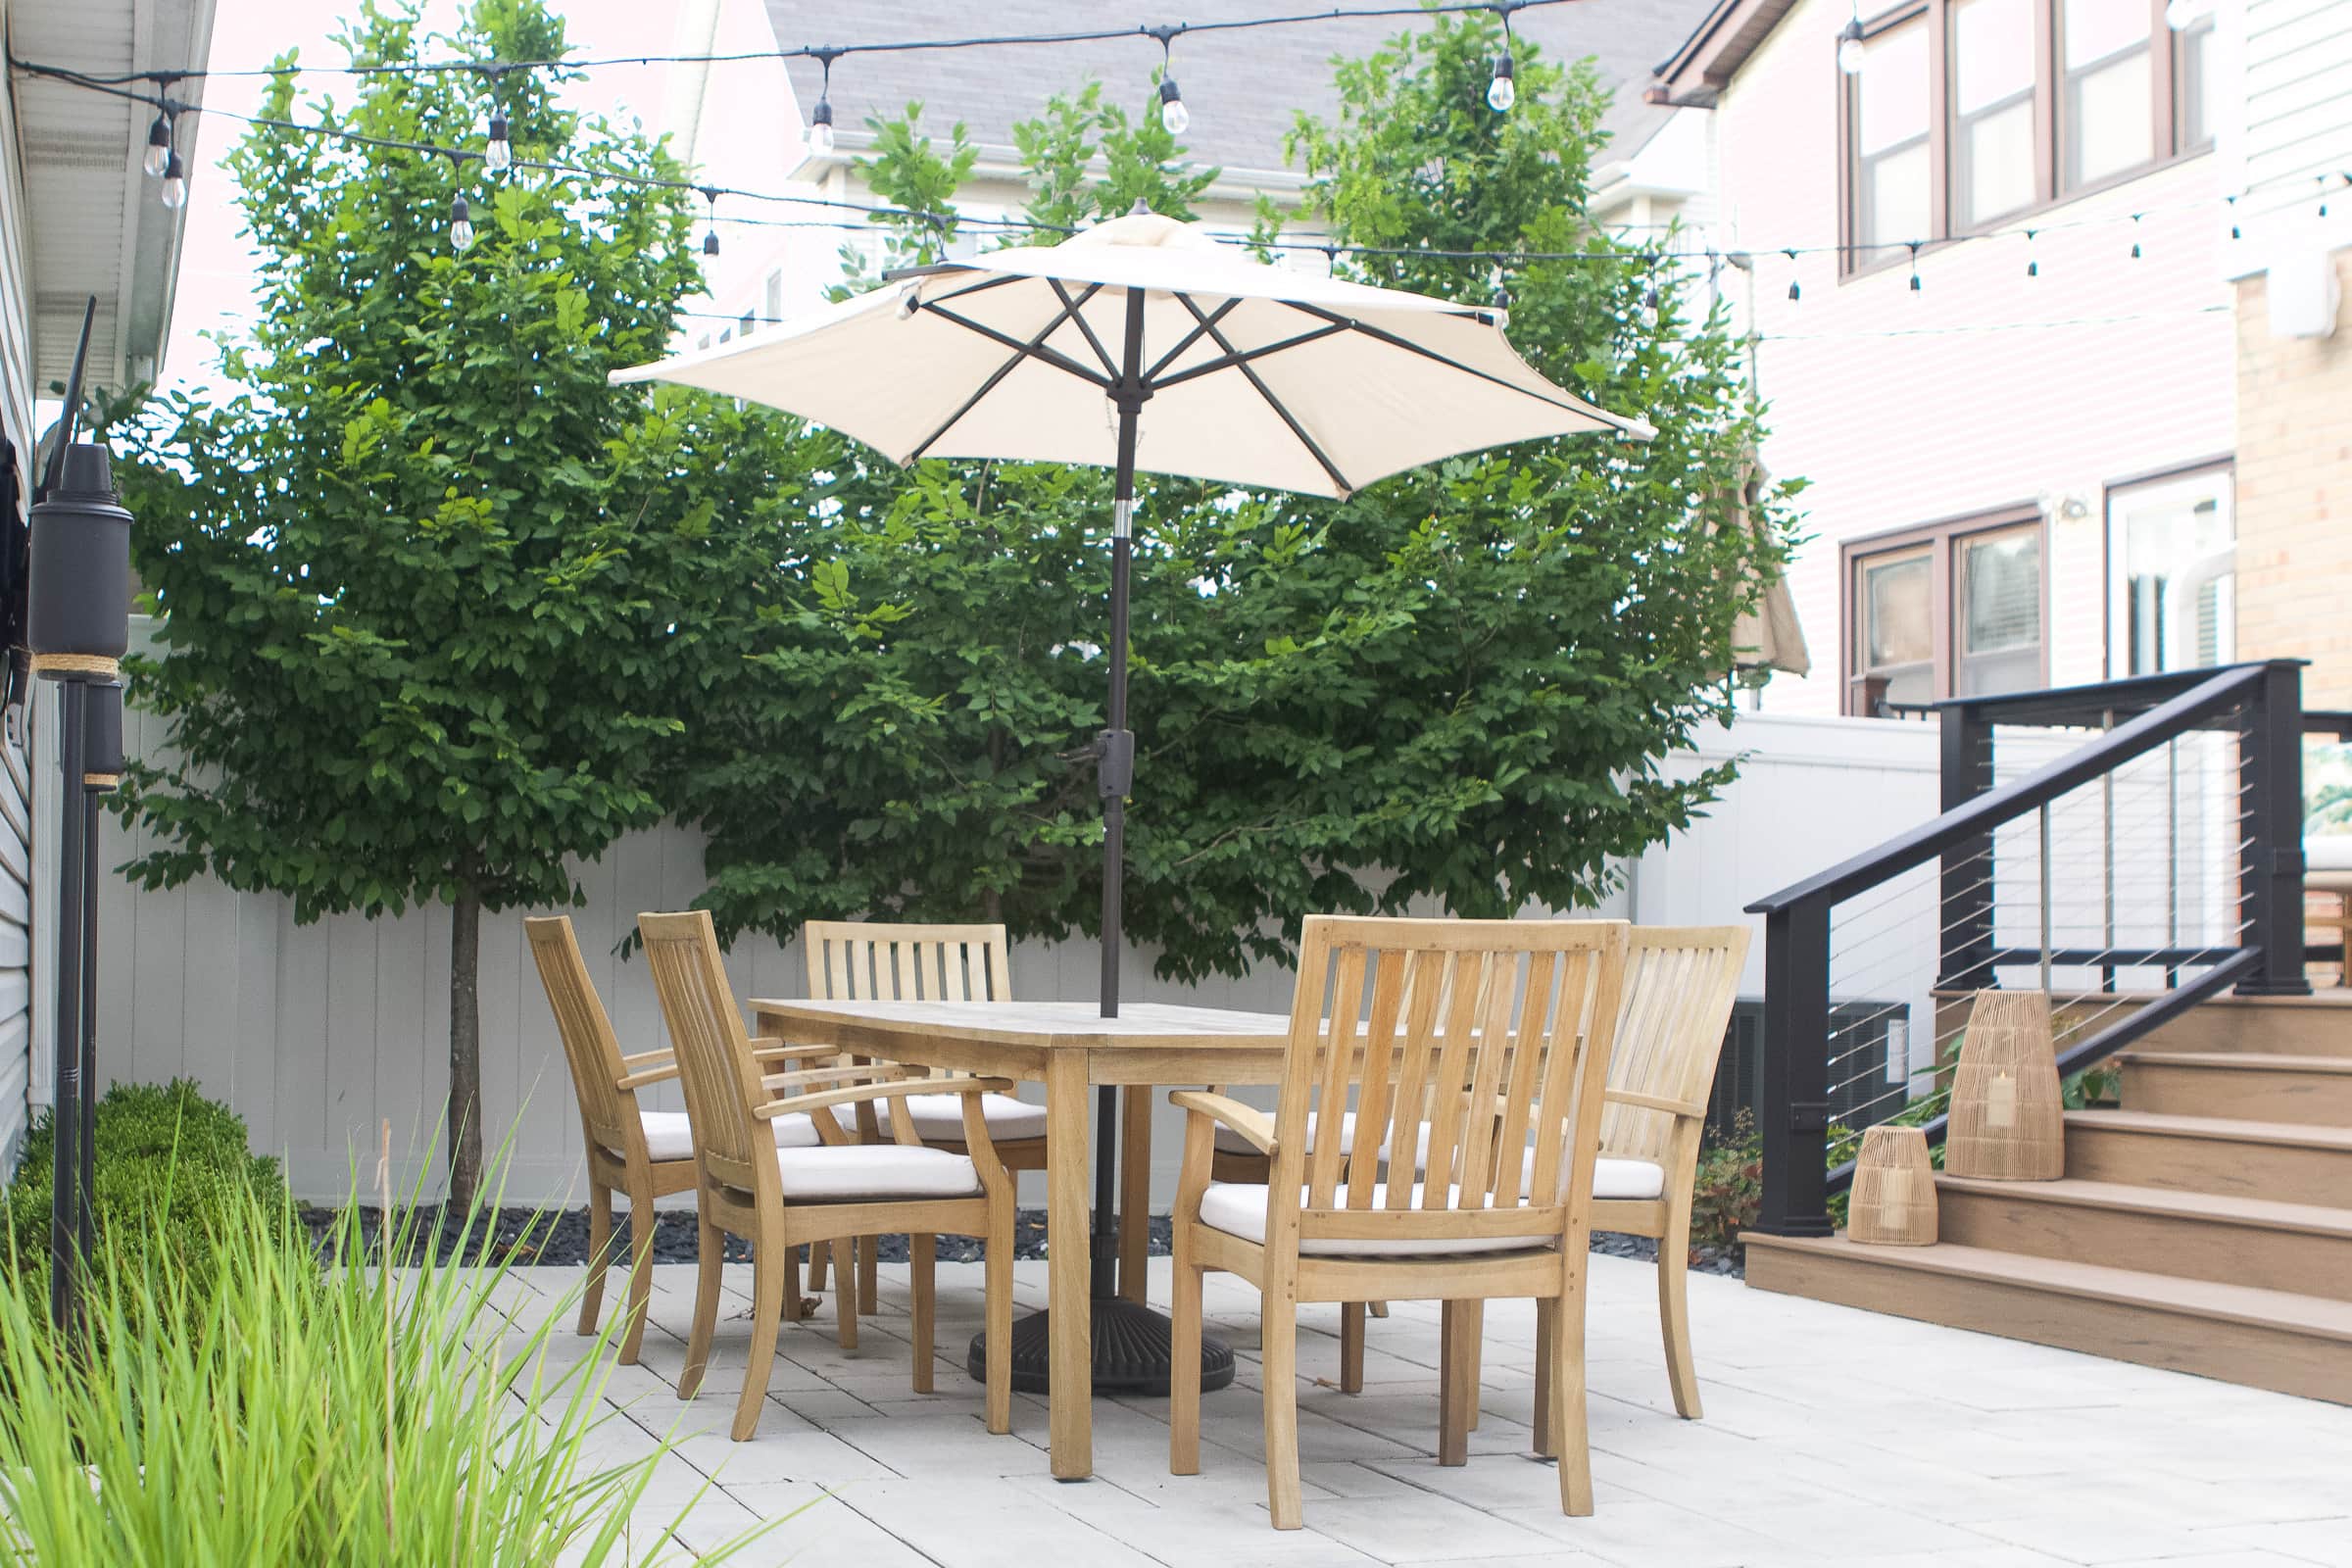
If you want to see more of our outdoor space, you can head to this blog post for a tour.
How’s It Holding Up One Year Later?

I shared a big review of how the mulch glue is holding up after one year of use. Check out this blog post for all of the details.
If you’re looking for tips to take care of your home and stay on top of home maintenance tasks like this, check out Your Home Playbook. It’s a digital guide to keep your home running smoothly.

Casey