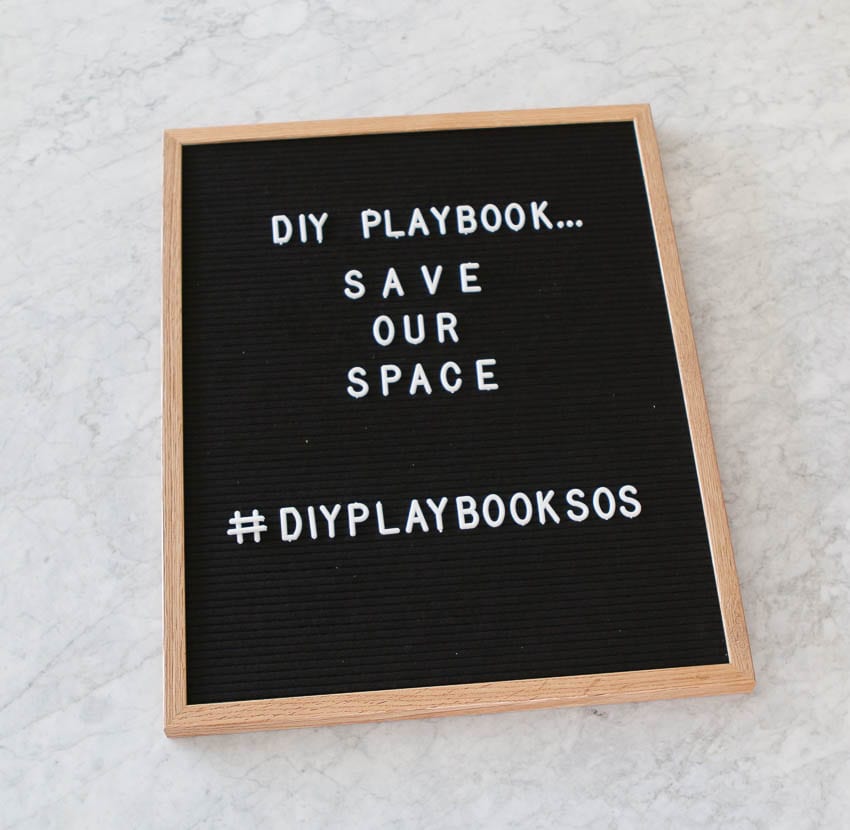
Reader SOS – Designing an Organized Entryway
I’m back with another “DIY Playbook, Save our Space”. My plan for #DIYPlaybookSOS is to take a reader’s space and (virtually) offer design tips and tricks on how to improve it.
Here are some of my favorite design solutions from this series…
- Upgrading a Kitchen on a Dime
- Transforming an Outdated Staircase
- Designing an Open Concept Living Space
- Solutions for Awkward Spaces
- How to Design a Budget Bedroom
- Adding Personality to a Gray Bedroom
- Transforming a Concrete Patio
Today’s Reader SOS post comes from Megan and Chris who need help with their entryway. It doesn’t have much storage and they need a spot for all of their belongings. They’re also renters, so they can’t do anything too dramatic to change the space. I am going to give two options for the space. One organized entryway is renter-friendly and the second is an option if you own your home and can make more dramatic changes to it or if your landlord is on board with your improvements!
How Do I Create an Organized Entryway?
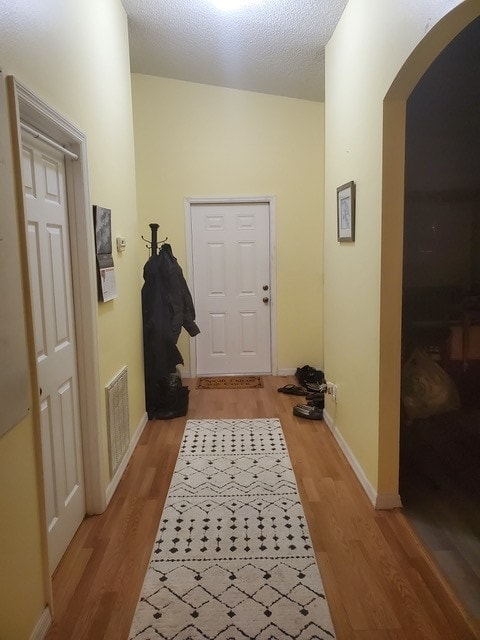

We are renting a home and the entryway into our home is so dark and not useful. We would like to lighten up the area somehow and also add some storage for our motorcycle helmets, gloves, and boots. 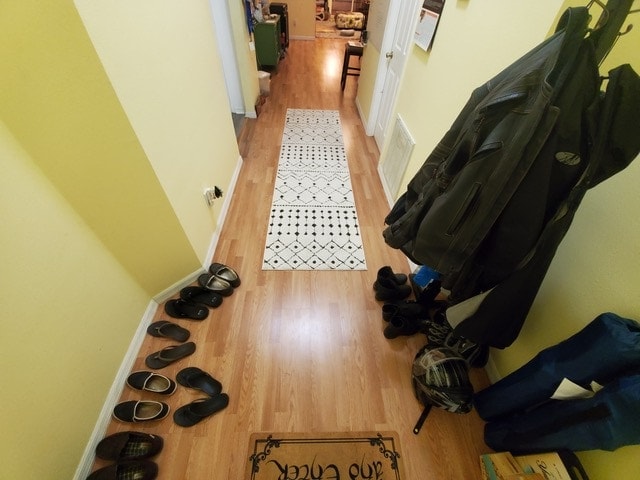
We are looking for a place we can drop our keys and knickknacks, hide away our shoes, hang motorcycle jackets and rain coats, as well as hiding our motorcycle helmets, gloves, and boots.

Renter-Friendly: Organized Entryway
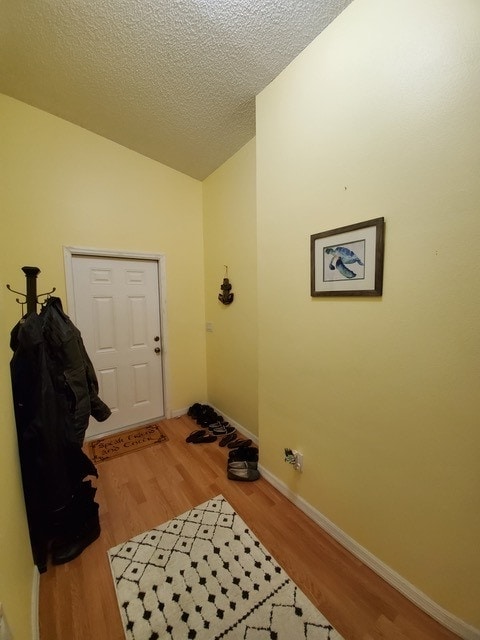
Let’s first dive into a renter-friendly idea for this space assuming that Megan and Chris are not able to do any permanent updates. Megan mentions a few times that she really wants a spot for all of their stuff. Because this entryway lacks a true “coat closet” this entryway has become an area for shoes, coats, and more and we need a way to organize and conceal it.
Right Side: Coat Storage & Bench
I have to start this by saying that even if you’re a renter, you shouldn’t be afraid to put some holes in your walls. Spackling and patching holes are not difficult (you can find my tutorial here) and it would be a shame to live with bare walls for months or years because you’re afraid of filling holes when it’s time to move. So first, get over that fear! Also, read this post with some of the common rental decorating mistakes I see.
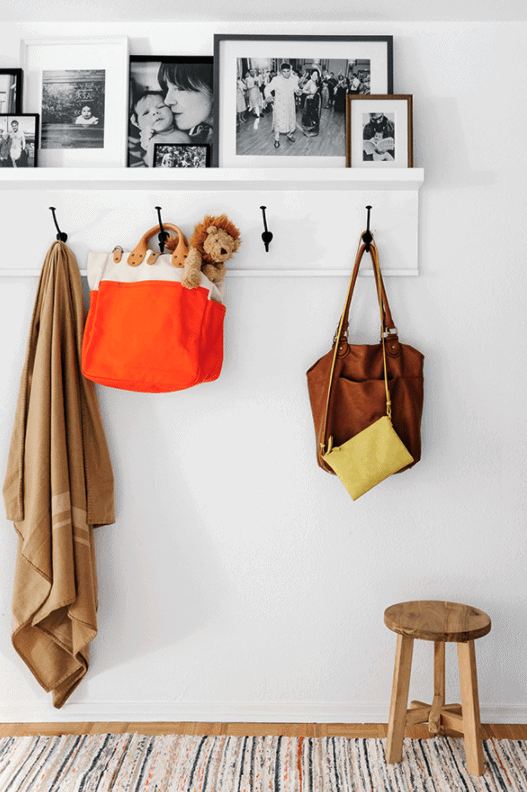
Photo via Juniper Home
On one side of the wall, I would focus on creating a spot to hang coats. I would suggest buying a piece of wood or MDF to fit the entire width of the wall. Megan and Chris could then add hooks to this piece of wood, along with trim to make a little picture ledge up top, similar to the inspiration photo above. Not only would this give them hooks for their coats and bags, but they could display frames on top. It would be such a nice treat to see favorite memories the moment you walk in the house.
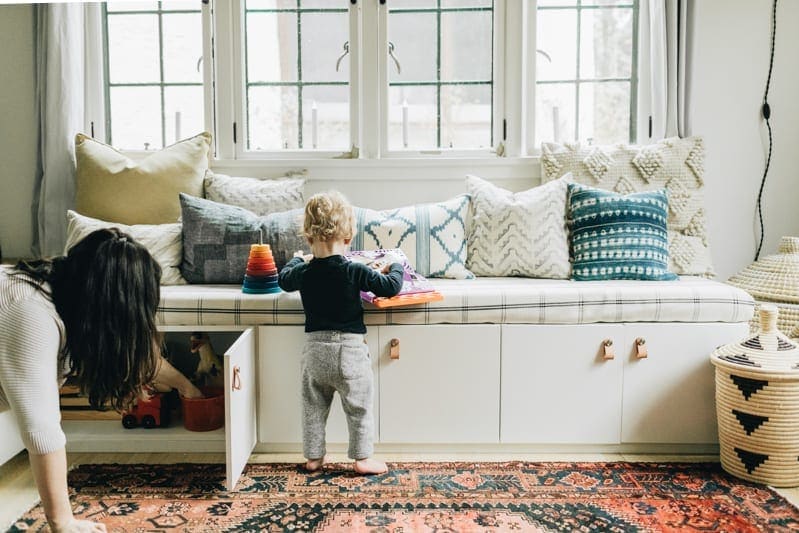
Photo via Wit & Delight
Beneath this, I would place a storage bench that could be used as a spot to sit and put on and take off shoes. It’s key that this bench has storage in it to hide some of those items that Megan wants to organize, like their motorcycle helmets or shoes. If they’re interested in a budget-friendly DIY, I love the above idea of using IKEA cabinets for hidden storage. Plus, they could choose cabinet sizes to really maximize the space between the two walls.
 Or they could always buy an ottoman that already has storage because this would be easy to take to their next home. Depending on their style, they could use this bench with baskets or this gray and gold one that opens for storage.
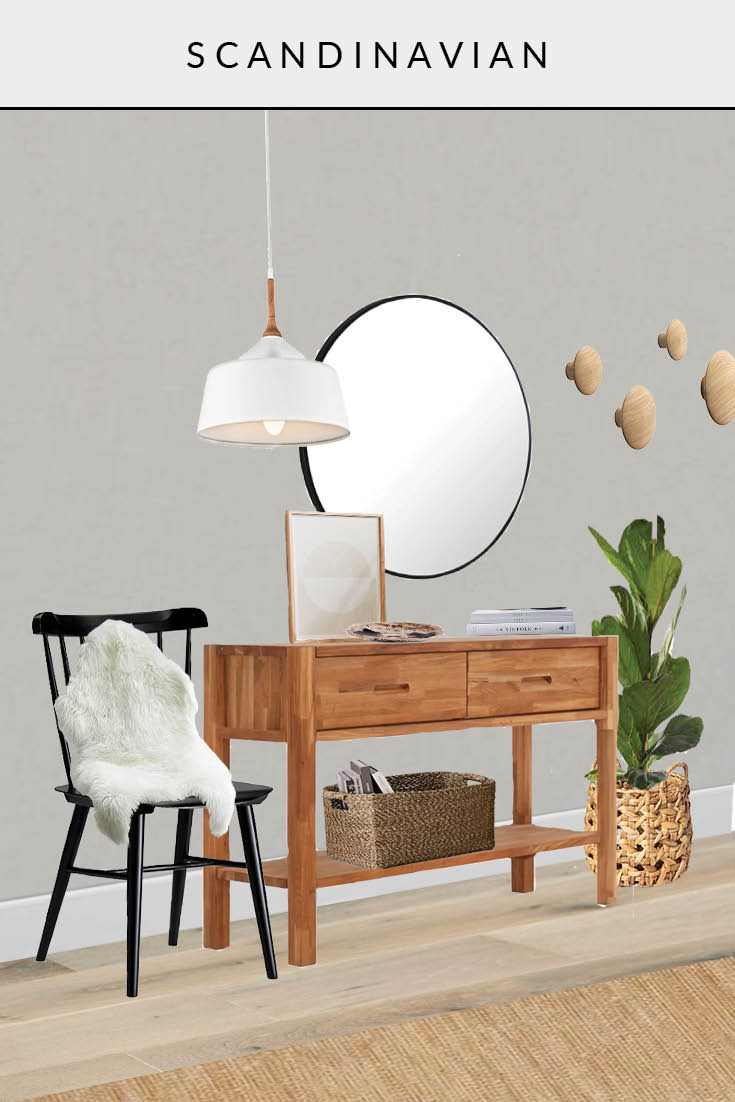
Left Side: Console Table with Mirror
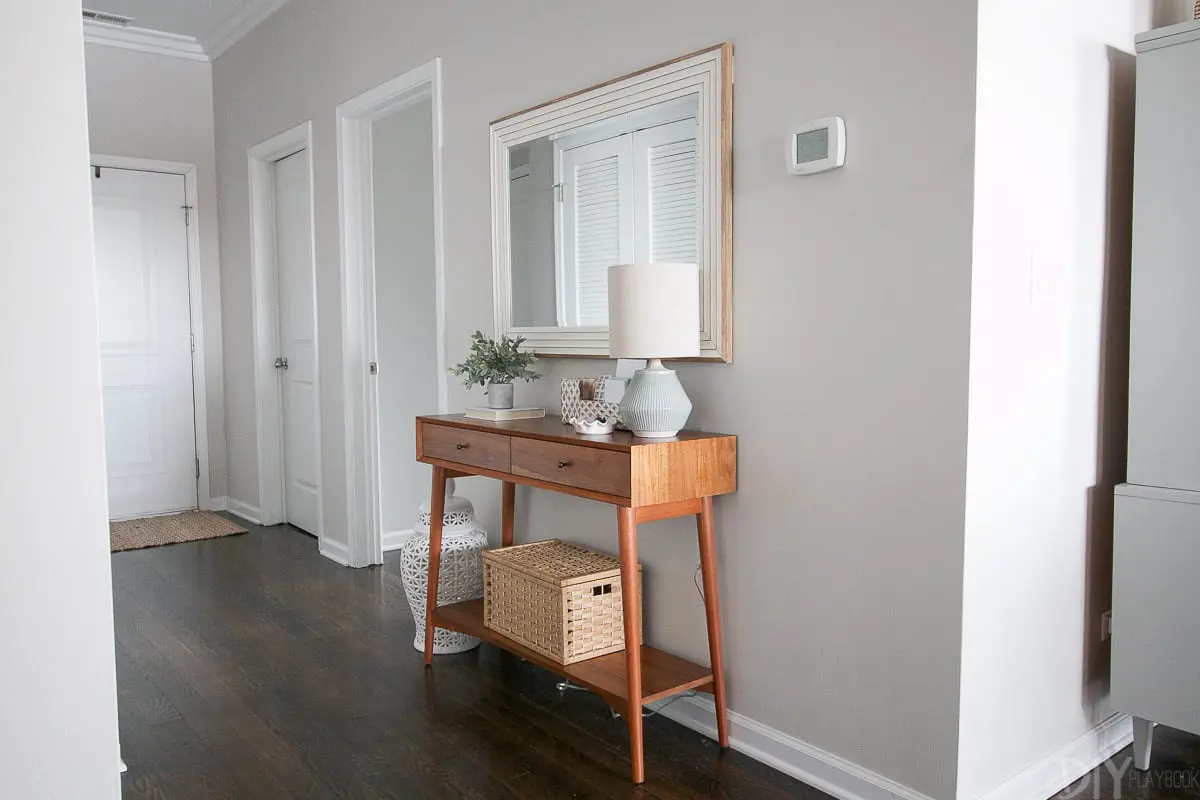
Okay, so one side of the entryway is accounted for. Let’s focus on the other side. Over here, I would create a little drop zone similar to what my mom has in her hallway. She doesn’t have much room at all, but we added a slim console table, a mirror, lamp, and a basket and it’s really functional. (You can read more about it in this blog post.)

I always like having a mirror in an entryway because it makes it easy to check yourself out as you’re heading out the door. This would also be a good spot to add a table lamp since Megan mentioned that she thinks the hallway is a little dark and dreary at night. 
I’m also a big fan of adding a bowl for keys so you can just drop them in there when you come into the house.
As for the console table itself, definitely choose one with storage. Megan and Chris could add a basket for gloves, scarves and umbrellas. They might also consider a basket or shelf for shoes. I’d recommend always opting for furniture with hidden storage so everything stays neat and tidy. No one wants to walk in the front door and see piles of stuff everywhere.

I also want to bring up this blog post where I created three separate entryway looks using the same foundational pieces. It just goes to show that a few small tweaks can dramatically change the look of a room.
Permanent Home: Organized Entryway
Okay, now let’s dive into my gameplan if you own your home and you’re able to make more permanent changes. My ideas are similar – hidden storage, a bench, a mirror – but with a more custom and built-in feel.
Right Side: Built-In Bench with Wood Wall Treatment
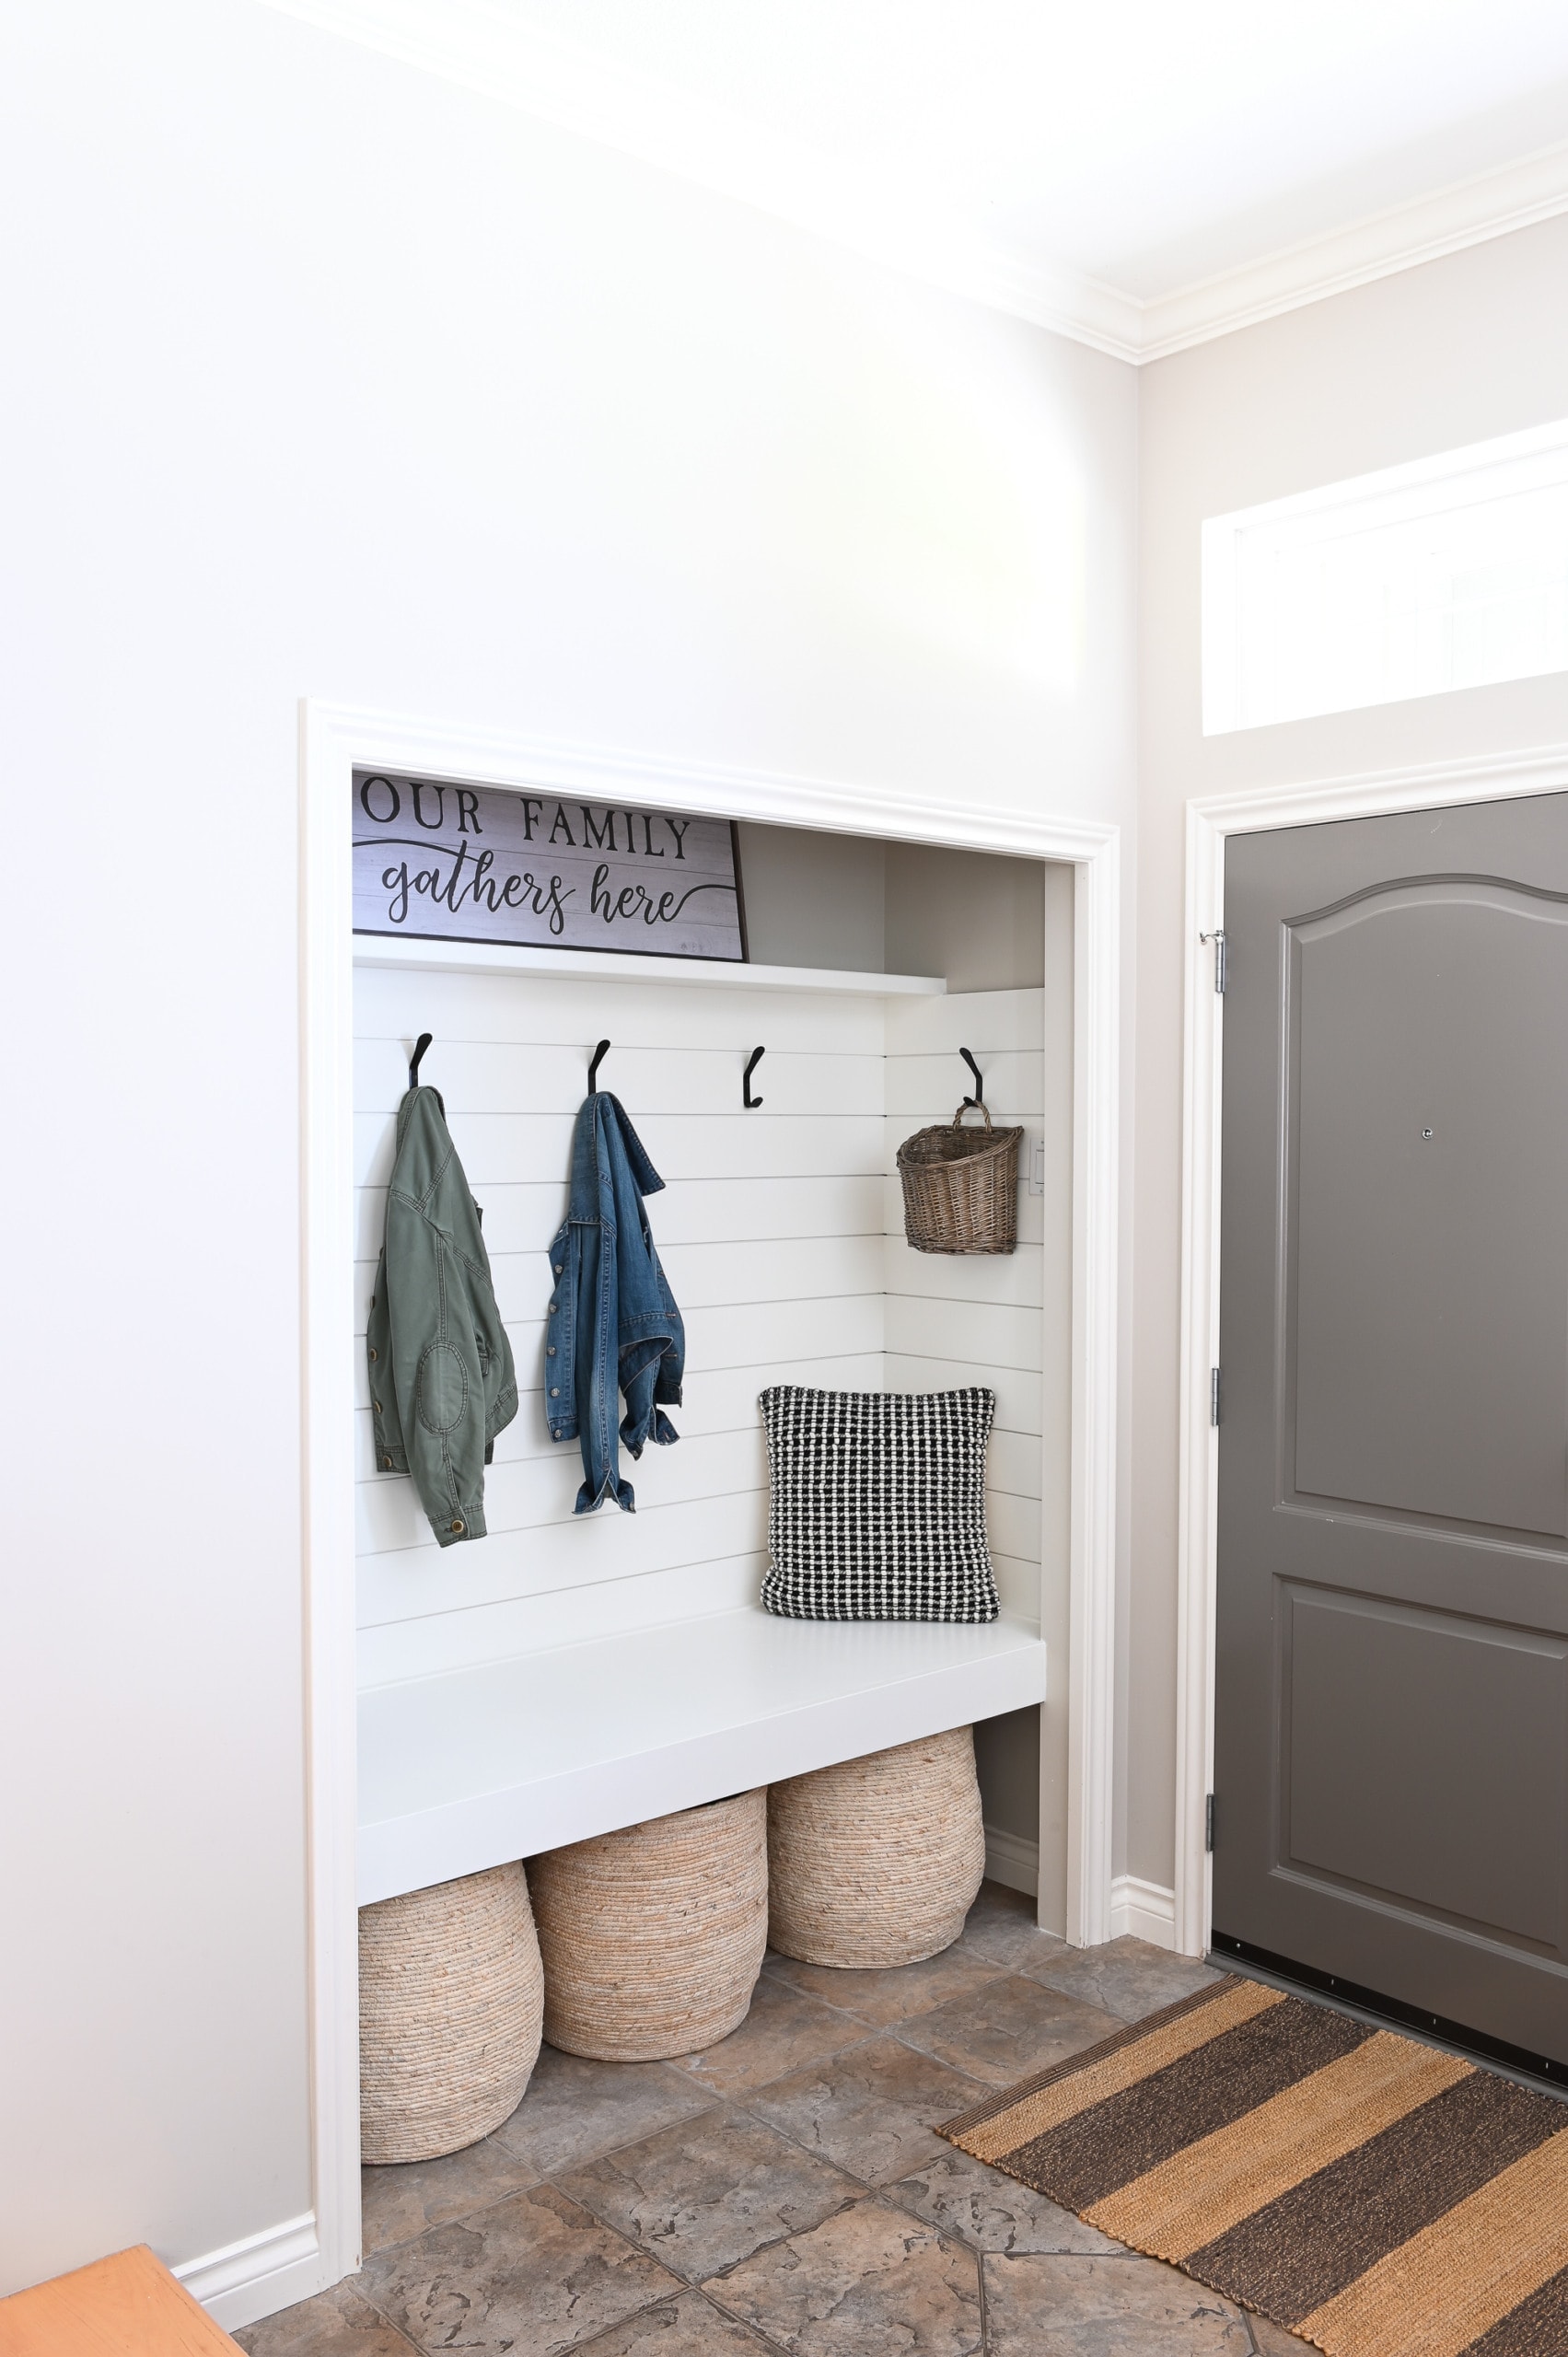
Photo from Reader OMG! post featuring @dinasdigs
While the renter-friendly design plan has a removable coat rack and bench, I would make these structures a bit more permanent if you own the home. Even though there isn’t a large front closet, like in the home above, you could still create a built-in bench between the two walls. 
Photo via Crazy Life with Littles
This tutorial from Crazy Life with Littles outlines how she built this custom bench with storage for $140. I love that there’s a place for baskets, a spot to sit, an area for coats, and more. I would recommend that Megan do something similar between the two walls on the right side. The beadboard also adds interest and texture. 
Photo via Francois et Moi
It might also be fun to continue that same wood wall treatment down the hallway a bit. This would give it more of a “mudroom” feel and make it feel distinct from the rest of the home. This beadboard tutorial from Francois et Moi outlines the entire process.
IKEA Shoe Storage with Mirror

Photo via HouseTweaking
On the other side, I would opt for a shoe cabinet from IKEA. This could hold many pairs of shoes, while keeping them hidden away, and you could still hang a mirror above and use a tray to hold keys. 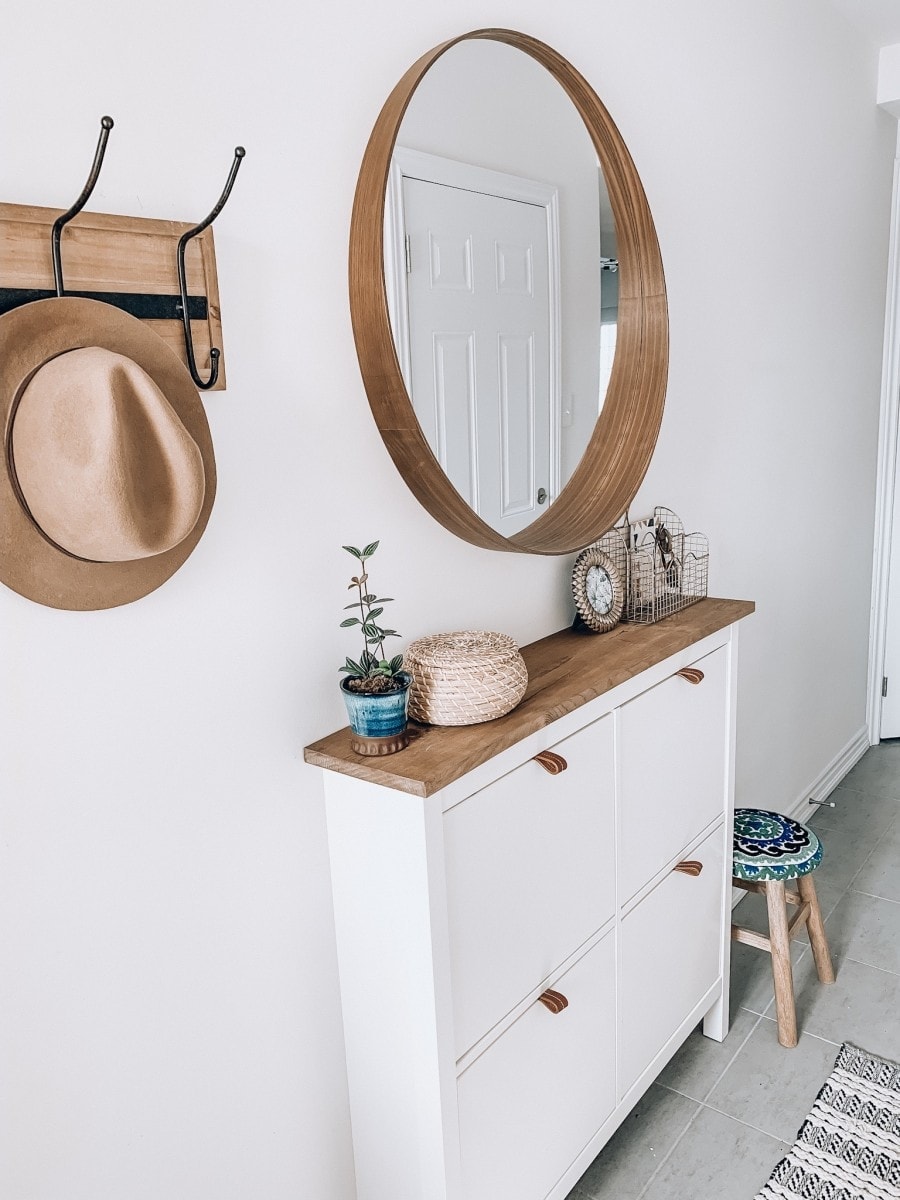
Photo via Lavender Julep
You could even customize the cabinet a bit more, adding a wood top to match the bench across the hallway. This tutorial from Lavender Julep walks you through the process.
Renter-Friendly Entryway – Shop the Look
Here are some pieces that can help bring this vision to life, adding lots of secret storage to create the ultimate organized entryway.
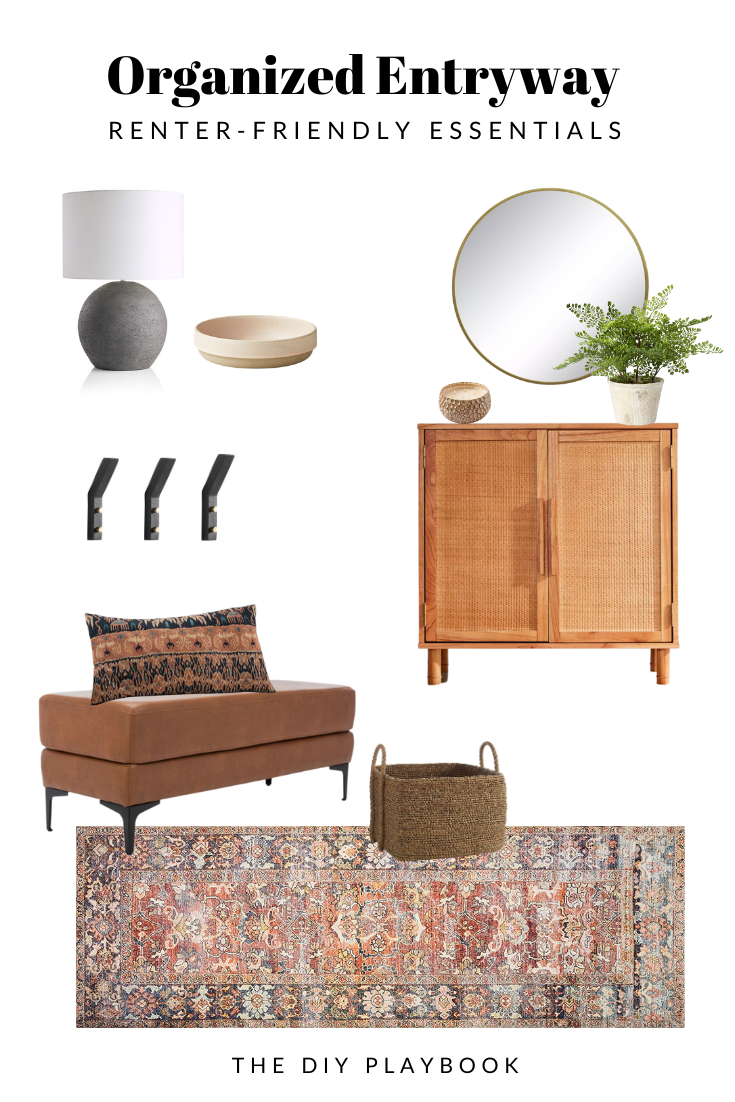
Bench // Black Hooks // Cabinet // Basket // Table Lamp // Gold Mirror // Faux Fern // Runner // Candle // Bowl for Keys // Lumbar Pillow
So there you have it…my thoughts on how to create a functional and organized entryway while still getting your rental deposit back. I hope these ideas help Megan and Chris transform their space into one that works well for their everyday lives. Motorcycle helmets? I can already tell they’re a pretty cool couple!
Here’s another small entryway I worked on for a reader. I love the wood wall treatment I added to this entryway design. In this blog post, I share three reader dilemmas and my best ideas to create more storage space in their entryways.
Casey