Rookie Mistake: Picture Frames
Rookie Mistakes: a series of common decor mistakes made by rookies… aka us. And no we are not judging because we have made (and continue to make) these mistakes too!
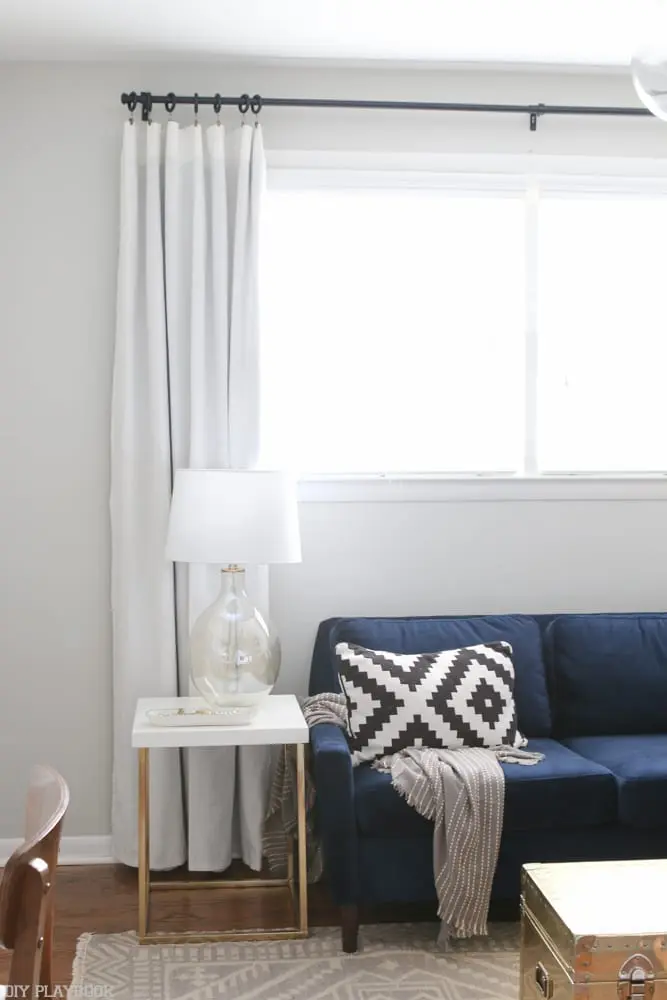
- Rookie Mistake #1: Couch Pillows
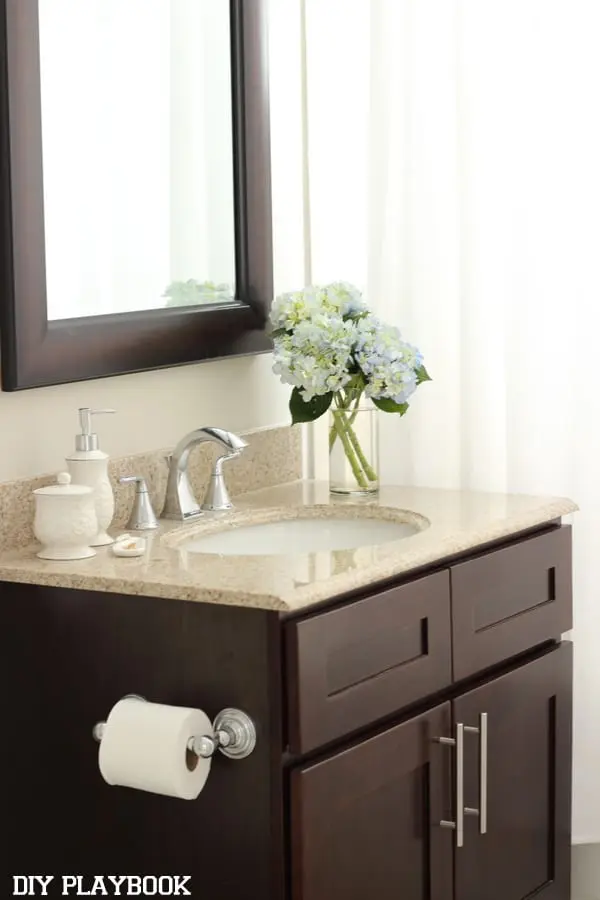
- Rookie Mistake #2: Shower Curtains
- Rookie Mistake #3: Generic Home Decor
- Rookie Mistake #4: Carnations
- Rookie Mistake #5: Decorating with Picture Frames
- Rookie Mistake #6: Shop First, Plan Second
- Rookie Mistake #7: Hanging Curtains
- Rookie Mistake #8: Matching Furniture
- Rookie Mistake #9: Over-the-door Hooks & Mirrors
- Rookie Mistake #10: Hanging Wall Art
- Rookie Mistake #11: Buying the Wrong Size Rug
- Rookie Mistake #12: Fireplace Mantel Decorating
- Rookie Mistake #13: Displaying Throw Blankets
- Rookie Mistake #14: Countertop Clutter
- Rookie Mistake #15: Rules for Lighting
- Rookie Mistake #16: Not So Secret Storage
- Rookie Mistake #17: Too Many Quotes
- Rookie Mistake #18: Scale & Proportion
Remember the Rookie Mistakes series is a NO JUDGEMENT ZONE. We’ve both made ALL of these decorating mistakes in our own homes, and simply want you to learn from us so you can make your home look amazing without having to make the mistakes we did!
Rookie Mistake – Picture Frame Display

So let’s chat about this very common mistake and one we’ve been making for longer than we can remember (oops). Loooooong before we knew much about “styling” we tended to decorate all of our tabletops in a similar fashion.
We’d take pictures frames, lots of them, and put them on just about every single tabletop in our homes. Dressers, consoles, entryways…they were all littered with pictures frames. It was nice that we could display some of our favorite memories, but it was a bit too much. Plus, with picture frames covering the top of every surface, we were losing a bit of function in these “prime real estate” spots around our spaces.
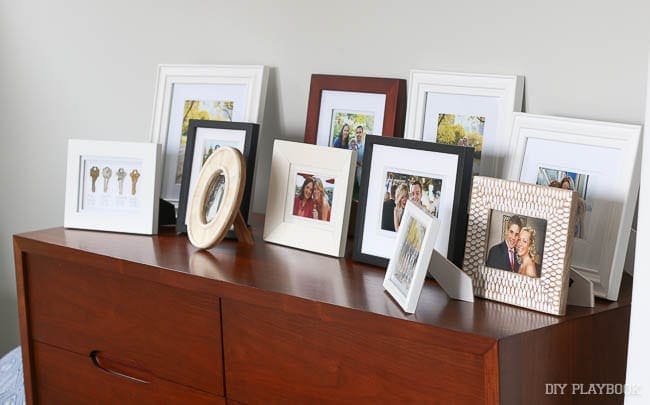
We see many people decorating this way, with dozens of picture frames lined up on a surface. Big frames in front of small frames, mismatched sizes all jumbled together, and so many picture frames that you can barely see the table. We love displaying memories, but a lineup of frames on a surface is not necessarily the best way to show off your family or favorite moments.

Instead of making that rookie mistake, we have a few ways to remedy the situation where you can still show off your favorite photographs, yet have less cluttered and better decorated surfaces in your home.
The Right Way to Create a Picture Frame Display
1. Gallery Wall
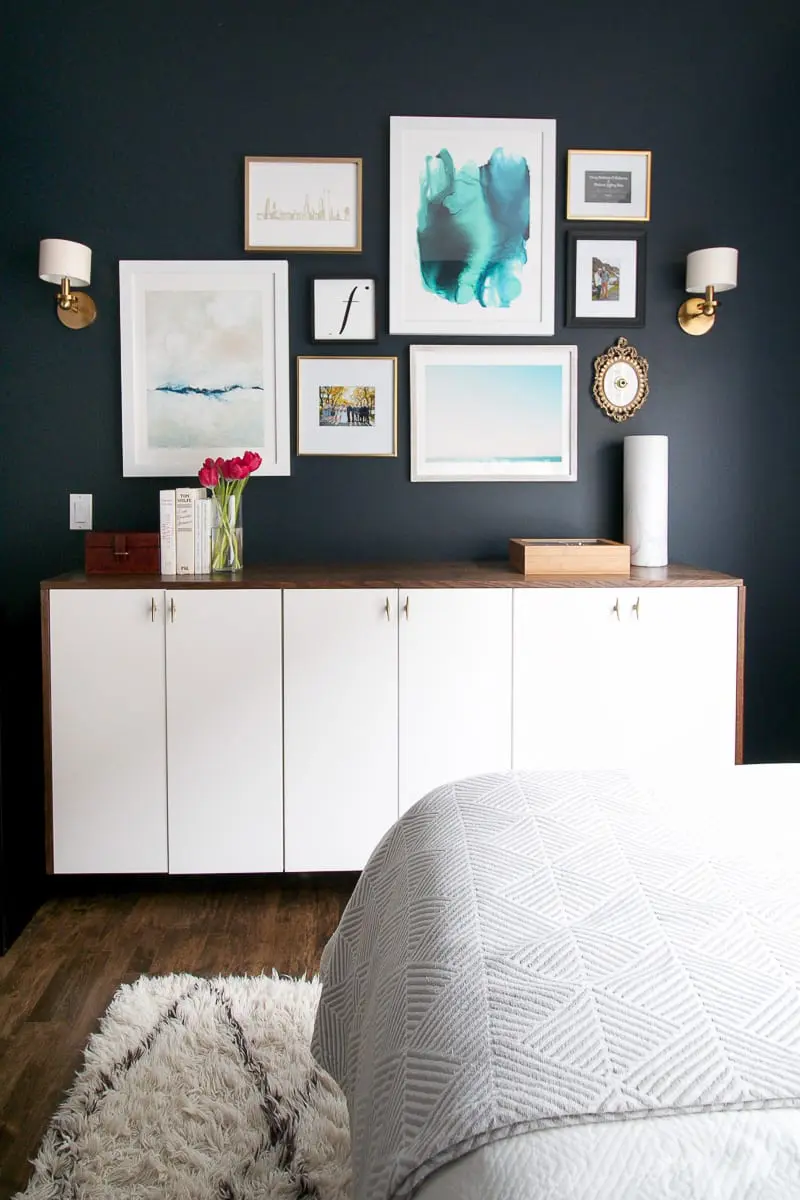
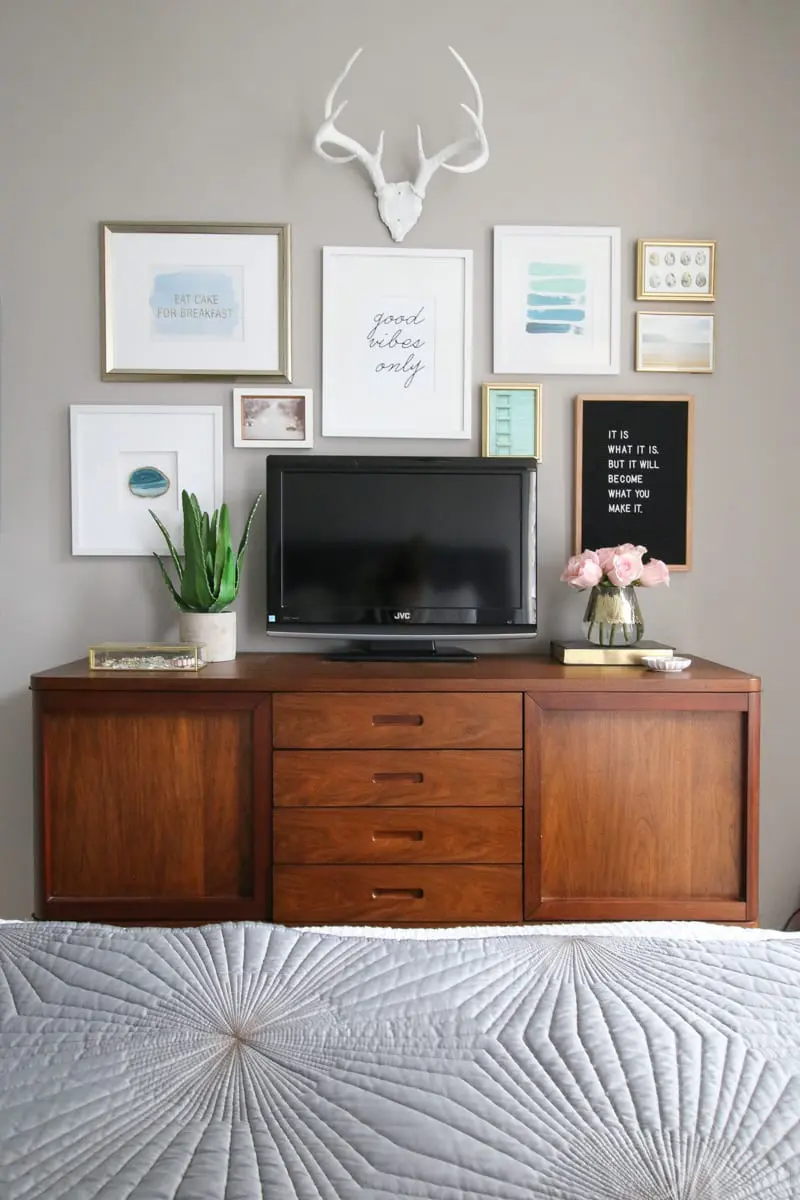
We love a good gallery wall and both have a few in our homes. Gallery walls are great because you have the opportunity to show off a variety of pictures and art all in one area. We love that we can mix and match frames, include photographs, prints, and artwork all together. Sometimes 3-D objects look cool too (like the antlers we included in Maggie’s bedroom gallery wall to camouflage her TV!)
By using the vertical wall space above the dresser, you are opening up that dresser top for alternative decor and functional items (like a jewelry box, plant/flowers or even perfume like we placed on Maggie’s dresser above).
2. Symmetrical Gallery Wall
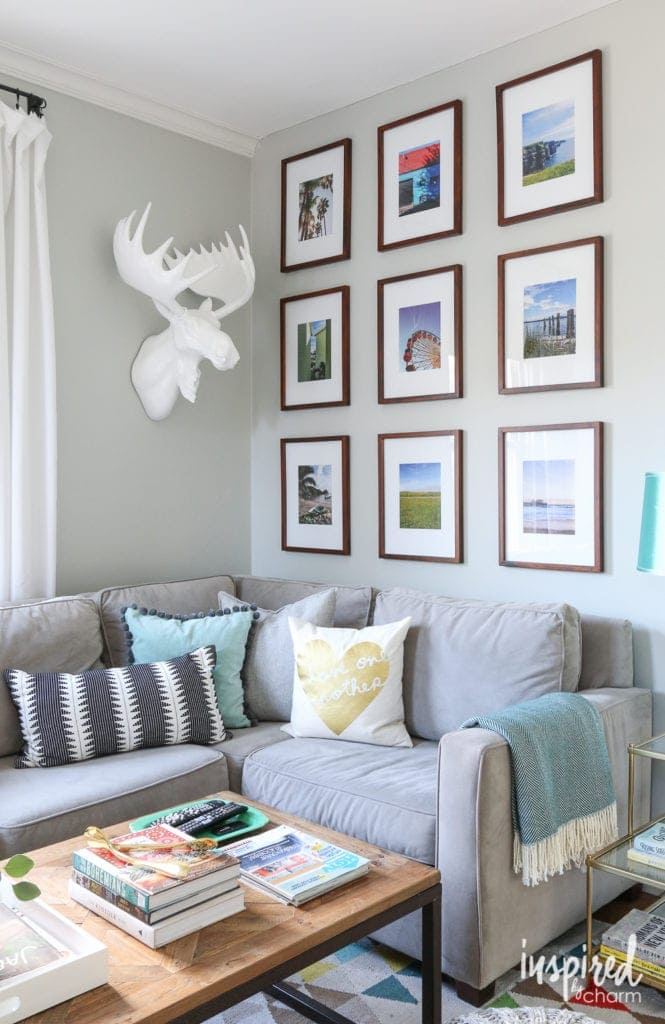
Photo via Inspired by Charm

Symmetrical gallery walls are another favorite of ours, and we wish we each had spots in our homes for one. This one by Michael from Inspired by Charm is absolutely dreamy. Instead of buying a large (expensive!) piece of art, he creates an impactful display with a symmetrical wall of frames. His showcases photos from his travels (similar to Bridget’s travel themed hallway!), and we think it’s a fantastic idea to give the photos a “theme.” Maybe it’s all family photos printed in black and white? Or perhaps it’s a photo from every year you’ve been married? Whatever it is, we think a symmetrical gallery wall is a perfect way to cut down on the cluttered frames while still displaying those treasured memories in an organized (and very stylish!) way.This post showcases our tips to hang a symmetrical gallery wall of frames like in the hallway above.
3. Picture Ledges
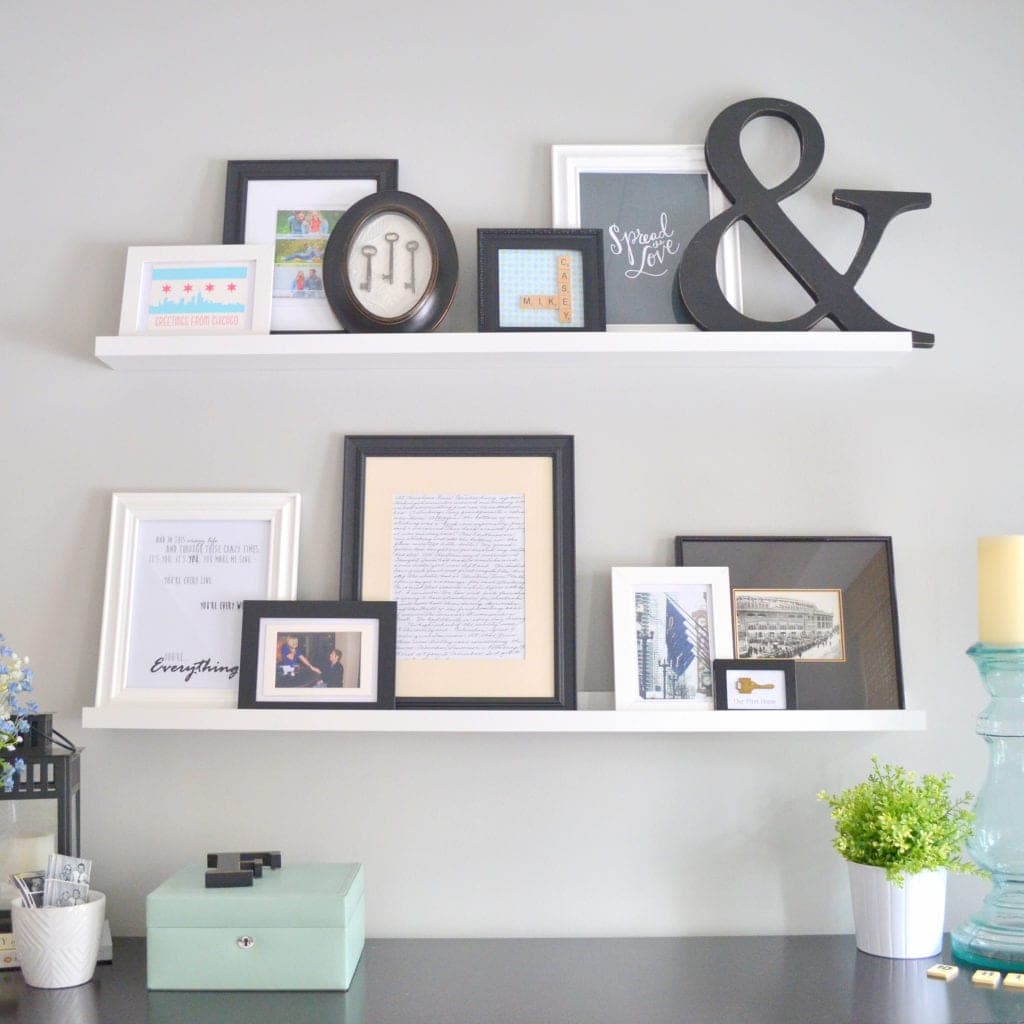

If you enjoy moving things around often (like we do…), then picture ledges might be your best bet to display frames. We love them because you can easily move frames around & swap them out without creating any holes in your wall every time. <— we like to think that picture ledges are perfect for people who love gallery walls but have a fear of commitment.If you’re scared of committing, then we highly recommend that you pick up some of these picture ledges from Ikea. Your guests will be able to easily see all of the frames you display, instead of moving them around on your dresser to see the ones in the back. And once again, your favorite photos and memories are displayed while offering a ton of extra tabletop space for other purposes (like a desk in Casey’s situation above).
4. A Few Tabletop Frames
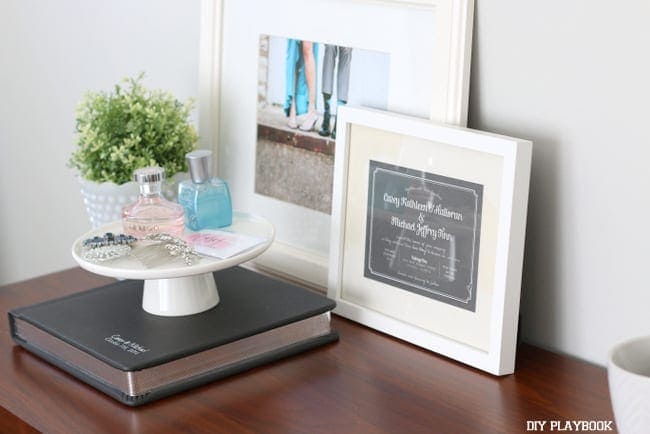

If you’re reading this post and thinking, “oh my goodness… I do have some frames on my tabletops and I think they look great! What the heck… these girls are crazy!!”. You may be right… about both. Your frames may look great and…. you’re right, we are a bit crazy.
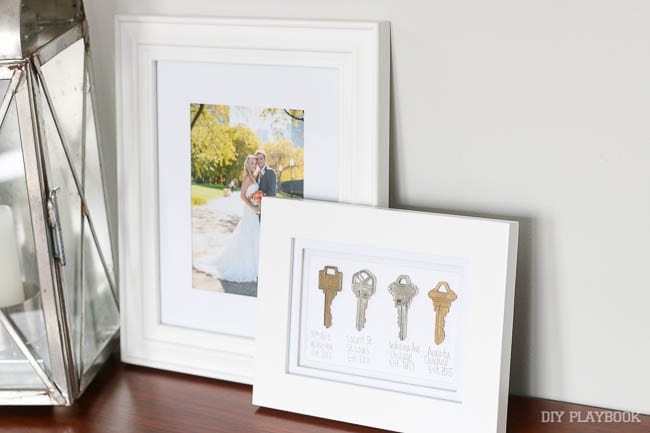

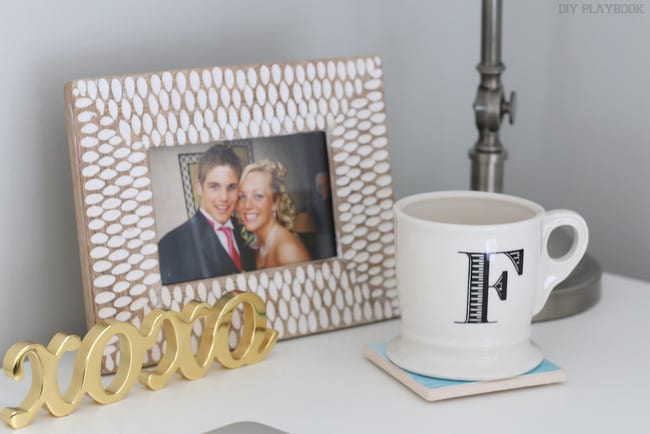
We think it’s a-okay to display a few frames on tabletops, especially if they’re “styled” well. We just don’t think a dozen of them is a great idea. Layering a couple on a dresser or shelf is an amazing option to showcase memories while adding some height and depth to a vignette. <— SEE… we don’t hate tabletop frames, we promise! Instead of stuffing dozens of frames in an area, display a few favorites in prominent areas. That way you’re highlighting the best and they won’t get lost amongst a tabletop filled to the brim.
So what do you say? Can all of us rookies promise to stick together in order to transform our dressers from this…

to this?!
Remember: This is a NO JUDGEMENT zone and we’re only sharing this rookie mistake because we have made it more times than we’d ever care to admit. We hope that by sharing this “OOPS”, you don’t have to make the same mistake we made! Deal?!
Casey