7 Steps For Sealing A Marble Dining Room Table
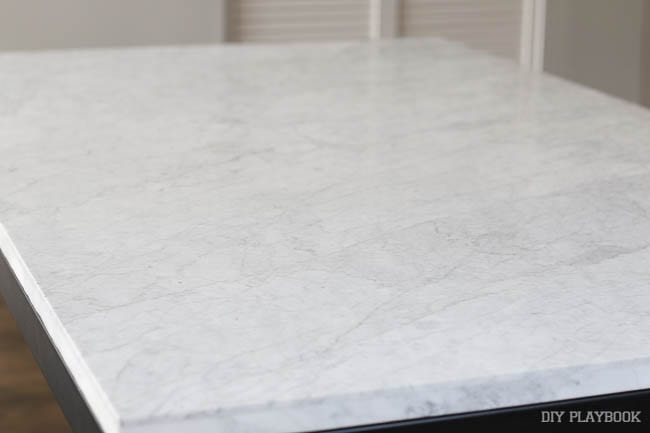
As you guys know, we finally have a dining room table. It only took us about ten months of living in our home to take the plunge and choose one. Can you tell we like to weigh all of our options first?! Ha!

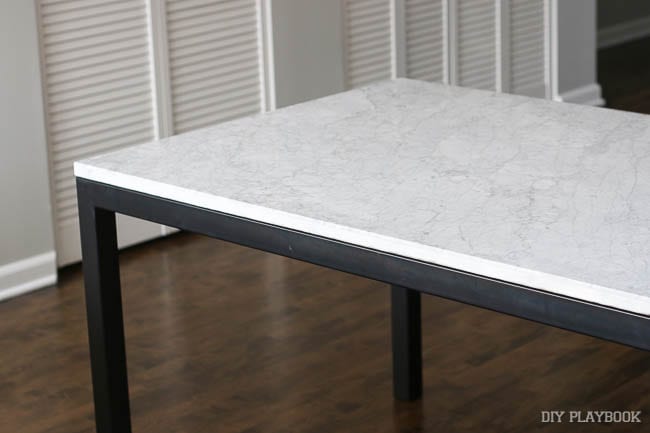
But lo and behold, we finally chose a stunning, marble dining room table and I could not be happier with our purchase! During the entire first week of it being in our home, I’m pretty sure I “pet” it every day while walking by. Yep, weird. But that’s how much I love this baby!
Because my love for this table runs deep, you can bet your bottom dollar that I am going to do everything in my power to keep it looking great for years to come. Marble surfaces, or porous materials, need long-lasting protection and regular maintenance to keep them looking fabulous. And so I began my research on how to seal marble, and the best products to keep my beloved table safe.
Why Seal Marble?

Earlier this year, we chatted about the importance of sealing your granite countertops. It’s just as (if not more!) important to seal marble surfaces, or else you’re leaving the pores of the stone exposed, and open to staining or markings.
Even something as simple as putting a glass of iced water on an unsealed piece of marble can create permanent damage (otherwise known as the dreaded water ring). No bueno.
So, it’s important to use appropriate surface sealers and to be aware of the frequency of sealing needed for your type of stone.
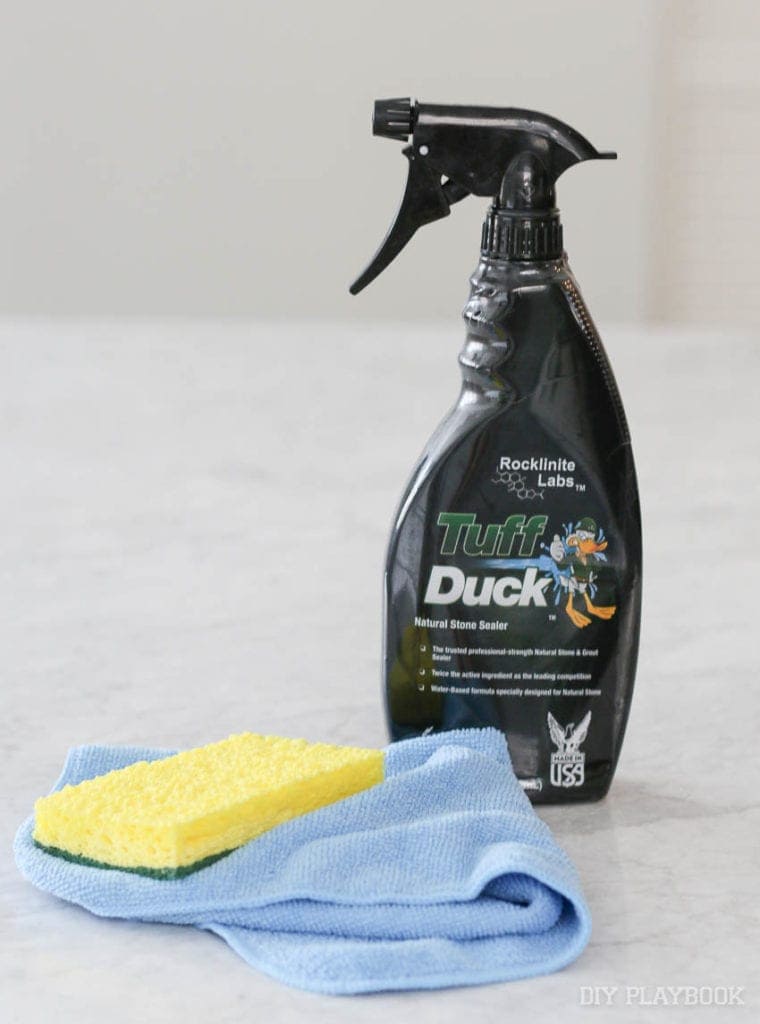
Before the table even arrived, I had already researched dozens of products to find the best way to seal our porous marble. After reading lots of tutorials and reviews, I went with Tuff Duck (which I found on Amazon, because online shopping is the only way I know how these days! #prime).
Tuff Duck is a water-based sealer that maintains the natural beauty of the porous surface you’re putting it on. I love the table as it is now, and I didn’t want anything to change the look of it!
Supplies To Seal Marble Tables

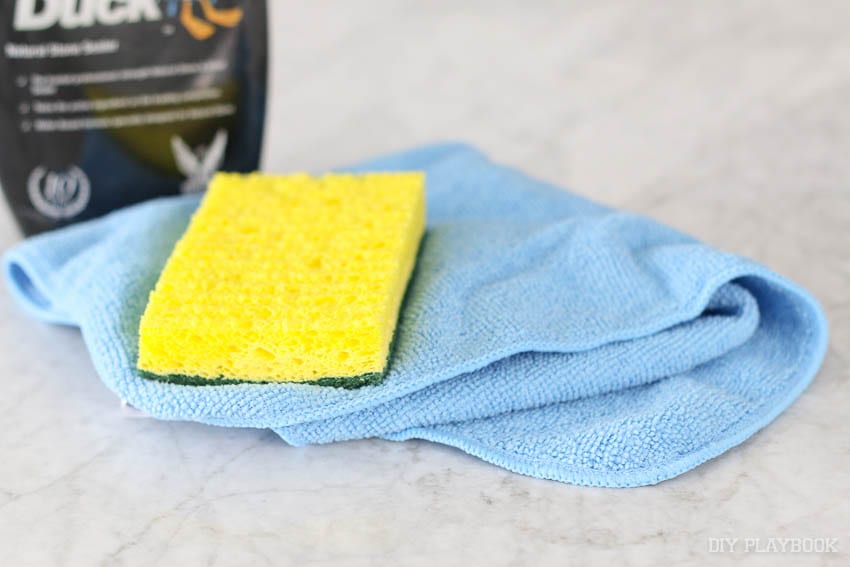
- Stone Sealer (I used the brand Tuff Duck)
- Kitchen Sponges or foam brush
- Rag or soft cloth (I switched to these microfiber cloths when we started to make our home a little bit greener)
- Beach Towels (to keep your surrounding surfaces clean from over-spray)
How to Seal Marble Surfaces in 7 Simple Steps
Let’s dive into this simple process. I promise it’s much easier than you think!
Step 1 – Wipe Off The Table
First, I wiped off the table with a clean cloth and some mild soap. You want to make sure there isn’t anything sticking to the surface.
Step 2 – Protect The Area
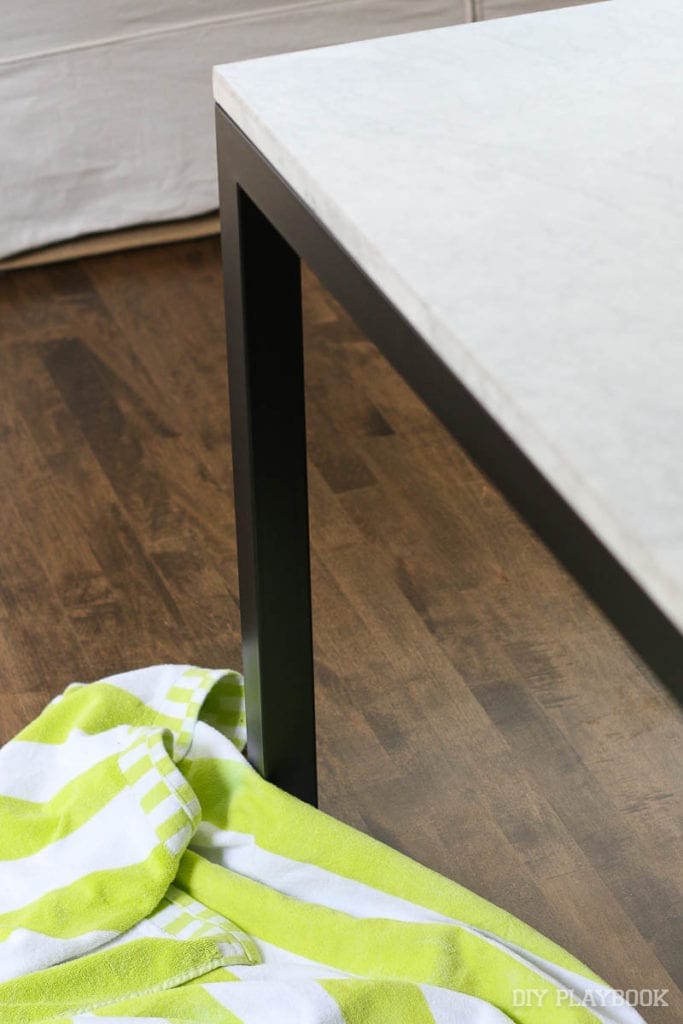
Next, I shook up the bottle of Tuff Duck and put beach towels on the ground where I was going to spray, so it wouldn’t over-spray onto the ground. Then I started spraying generously in a small 2ft x 2ft area.
Step 3 – Start Spraying
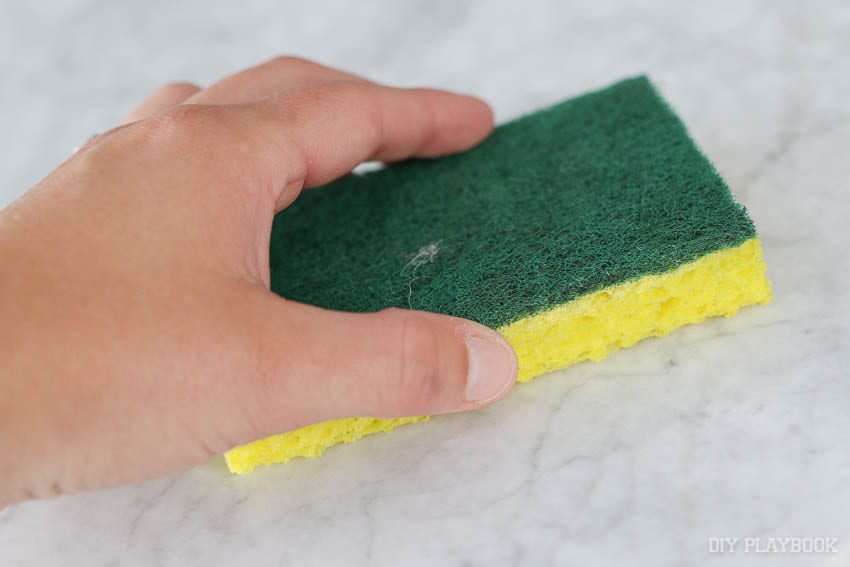
Then, I started spraying generously in a small 2ft x 2ft area. Per the directions, I made sure to keep the area very wet and evenly coated. To get it even, I used a kitchen sponge and patted the sealer all around that small area. The sponge really helped ensure that I didn’t miss any areas, and it kept any areas from being too heavy, and others too light.
Step 4 – Keep It Wet
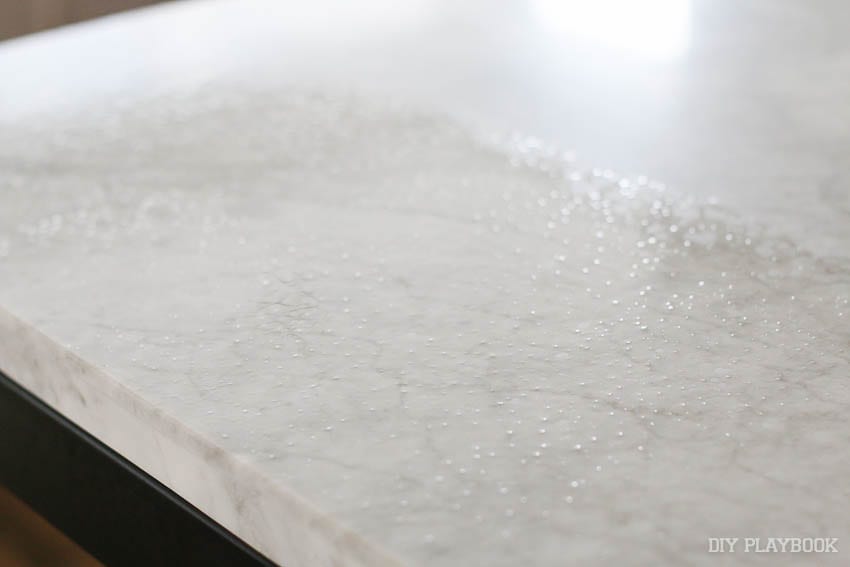
I continued doing this until the entire table was covered with sealer. I had to keep moving my angle to make sure it wasn’t drying. If an area looked dry, I simply sprayed and patted that spot again.
Step 5 – Wait 15 Minutes

This is an essential step; the instructions inform you to keep the area fully wet for 15 minutes. So again, if it looks like it’s drying, spray some more sealer on there!
Step 6 – Wipe Off Excess Sealer
Once it had been 15 minutes, I wiped the excess sealer off with an absorbent rag. You’ll want to make sure you get all of the sealer off of the table.
Step 7 – Repeat The Process
s
Because I’m super nervous about our table getting stained, I repeated this process twice to increase the level of protection as best as possible! Depending on the specific needs for what you’re sealing, you may or may not need to do this.
Because it’s a table we’ll be using every day, it was a good idea for us. That second coat went on 30 minutes after the first. The bottle says full protection happens after 24 hours; so, we avoided using it until then (which was pretty easy since we didn’t even have chairs at this point…)

And seriously…that’s it! Not very hard, right?! Seems worth it to take some time upfront, instead of being stuck with a stain or watermark FOREVER!
It was such a straightforward process that I would have the confidence to do this with marble countertops, a shower wall, or even a marble floor!
Marble Maintenance – How Often Should You Seal It?
As I mentioned, to get the best results with your marble and keep it looking good for a long time, you want to keep up with regular maintenance. The manufacturer’s instructions for Tuff Duck suggest a fresh coat of sealer every 3-5 years; however, you may find your marble needs a fresh coat of sealer as soon as one year later.
Various factors such as how much action the surface is getting daily, can indicate the frequency with which you need to redo the sealing process. You can read more about the water test and when to reseal here.
How To Clean Marble Every Day
Marble is certainly a great material for the wear and tear of a kitchen; however it’s a bad idea to use any harsh cleaning tools (like steel wool) that could cause etch marks.
My go-to for keeping my marble surfaces looking nice is this cleaner along with a microfiber cloth. This stone cleaner doesn’t leave a film and smells amazing! I use it on our quartz kitchen countertops too.
A Marble Update
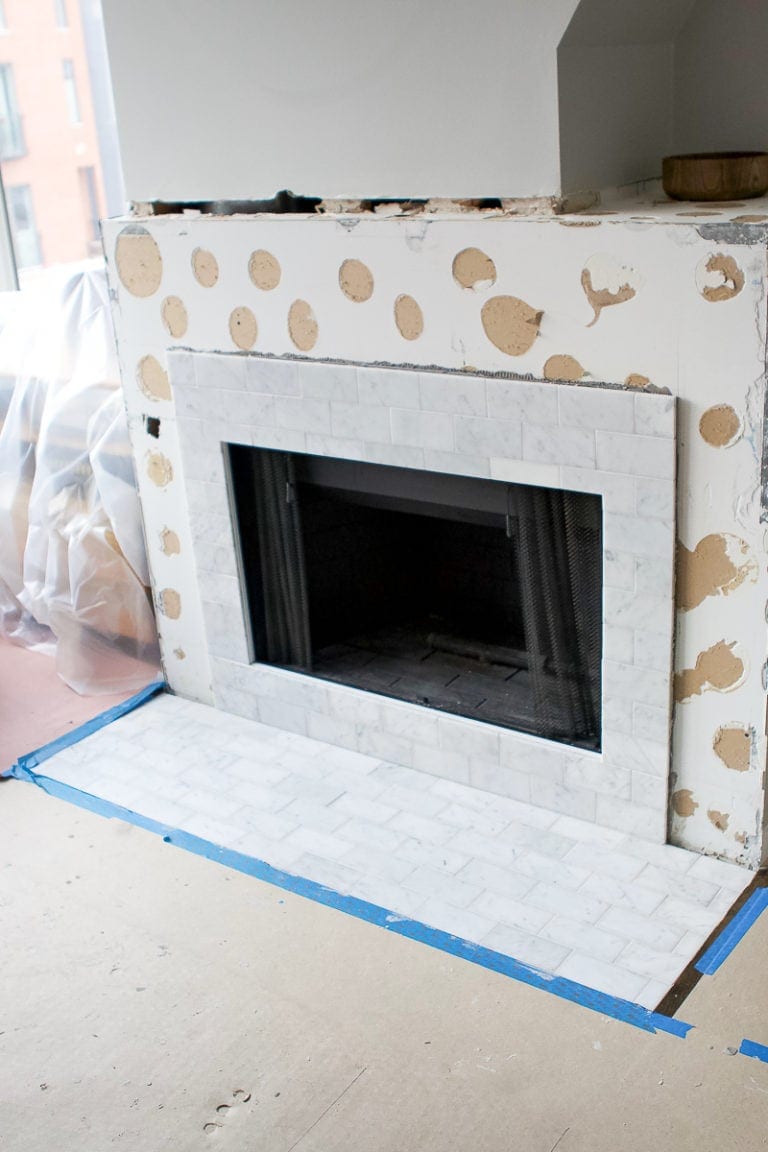
Since sealing this table, we’ve gotten more comfortable with using this porous stone! We installed marble tile in the bathroom of our condo, and conquered a DIY marble fireplace I wish we had done so much sooner! In both of these projects, we used our trusty Tuff Stuff stone sealer!

I’m not gonna lie though, even though the table is sealed, I still find myself always using a coaster. Plus, when we eat we use placemats. Am I being overly crazy? Do any other marble owners out there want to ensure me that it is safe?
No one ever likes to be a crazy coaster lady. But can you blame me? It’s just so pretty!
Casey